Practical Fusion 360 Videos

I have been wanting to produce a series of Fusion 360 videos.

Recently I purchased desktop microphone so still getting use to talking while CAD ing.

These videos will be short and to the point while working through practical scenarios relevant to using a plasma table.

The first project in the series will be:

-aAn overview of using Fusion 360 to produce the CAD and CAM for a simple part for the Langmuir Pro.

Here is the drawing of the part we will make in this video.

Here is the video

https://loom.com/share/24634a8b7a3b4042b77e79532338e927

Project Files

example plate.pdf (74.9 KB)
example plate.dxf (3.1 KB)
Sample Plate v2.f3d (102.5 KB)
Example Plate.nc (2.4 KB)

Edit: All these videos and more are available on my YouTube page.

17 Likes

The next video scenario is that the measurements of the pervious project need to be updated and a paper template produced.

The points in this video we will visit are:

-A Basic overview of Fusion 360 's interface

-Rework an existing Sketch.

-Export a PDF

-Print a paper template to scale

Attached is the rework needed for the updated drawing.

Here is the video

https://loom.com/share/863f8b9211f24faab490e6ce6902bd2c

Project Files

Sample Plate v2 (1) v2.f3d (111.2 KB)
new sample plate.pdf (76.7 KB)

For this video I tried to bring a couple requests together into one video.

I welcome any suggestions for topics to cover or how to improve these videos.


10 Likes

Very well done, going to start a library of your videos. Thanks, for sharing.

1 Like

Same here!
This is off to a good start!
Thank you @TinWhisperer :beers:

1 Like

Yes that is the one, might be my issue, I see I don’t have 1.6 loaded properly ( no green tick ) I will follow the video now and let you know.

Video 3

The points in this video we will visit are:

Creating , Inserting, Exporting Files to and from Fusion 360

Create a DXF using “project” command

Posting file for collaboration

File types: F3D ,DXF ,SVG ,PNG

Here is the Video

https://www.loom.com/share/3c47332e858e454fa334c9f6e529fc3c
Attached is all the project files from Video 3

Sample Plate video 3|80


Sample Plate video 3 test.dxf (3.1 KB)

Sample Plate Video 3 v2.f3d (125.1 KB)

( the SVG above is hard to see because of the thin lines and transparent background but it is there between the picture files)

3 Likes

thanks you! your videos are great! If we have a question about something in the video can we ask here? thank Joe

Sure this would be the perfect place to ask I’m sure if you have the question someone else will too. It’ll give them a quick answer in the future.

You or anybody else is more than welcome to direct message me too.

thanks! I hope my questions are not to dumb! :grinning:
I’ll watch it a couple more times to understand it a bit better.
I have used fusion but completely lacking the basics!

1 Like

@TinWhisperer I have a couple questions.
at about :25 you opened the file that you had already worked on and saved before.
you then say to save it. why did you have to save it again?

at about :45 you make another sketch. why did you need to do that?
why cant you use the one you have and make the DXF, F3D…?

thanks Joe

I was doing it from the perspective that I would be downloading it from the previous videos project files. Then saving it so it’d be part of your accessible cloud documents.

I did already have it saved from video 2 and I could have opened it instead.

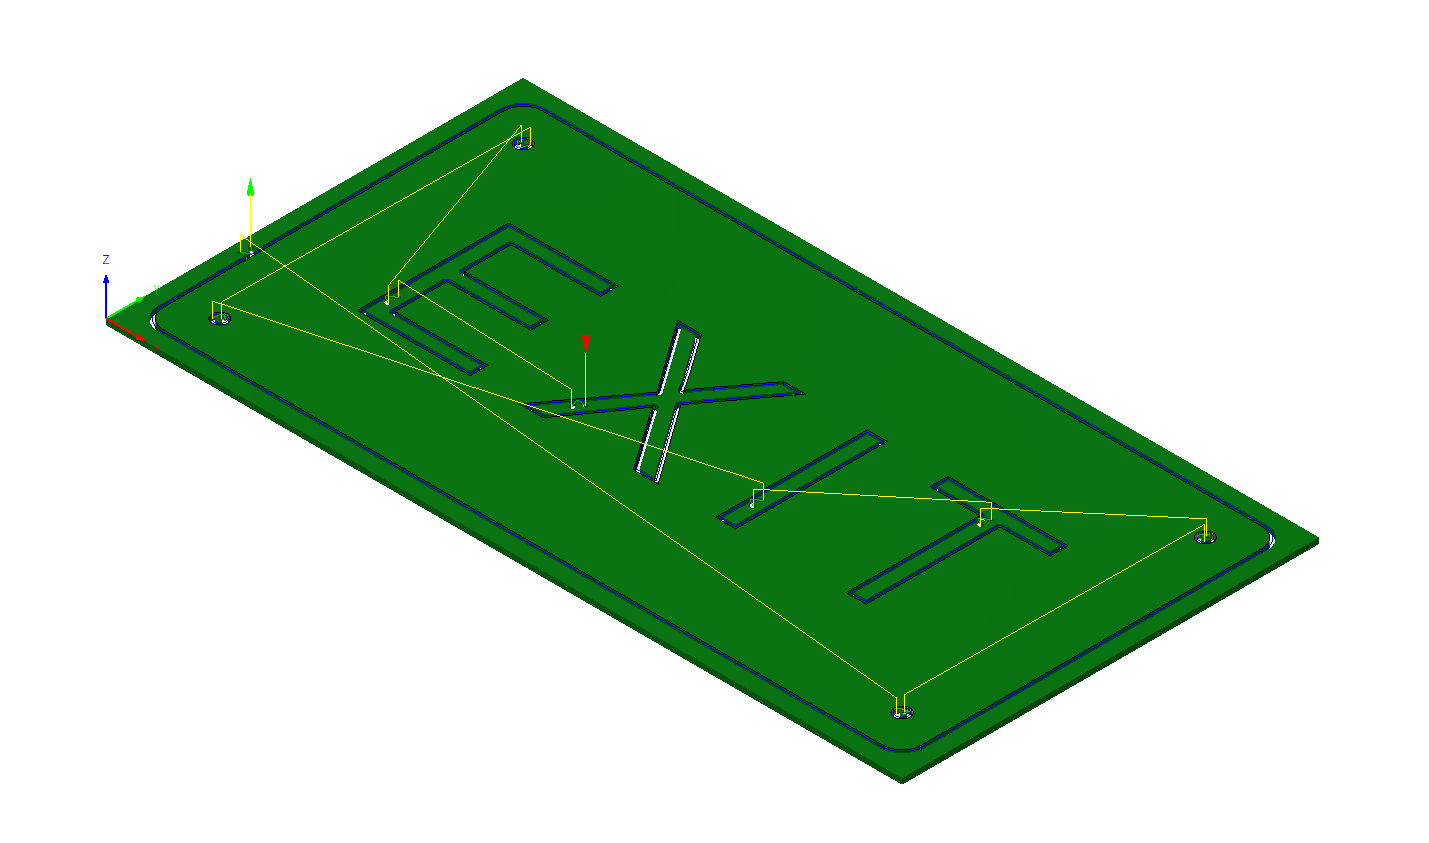
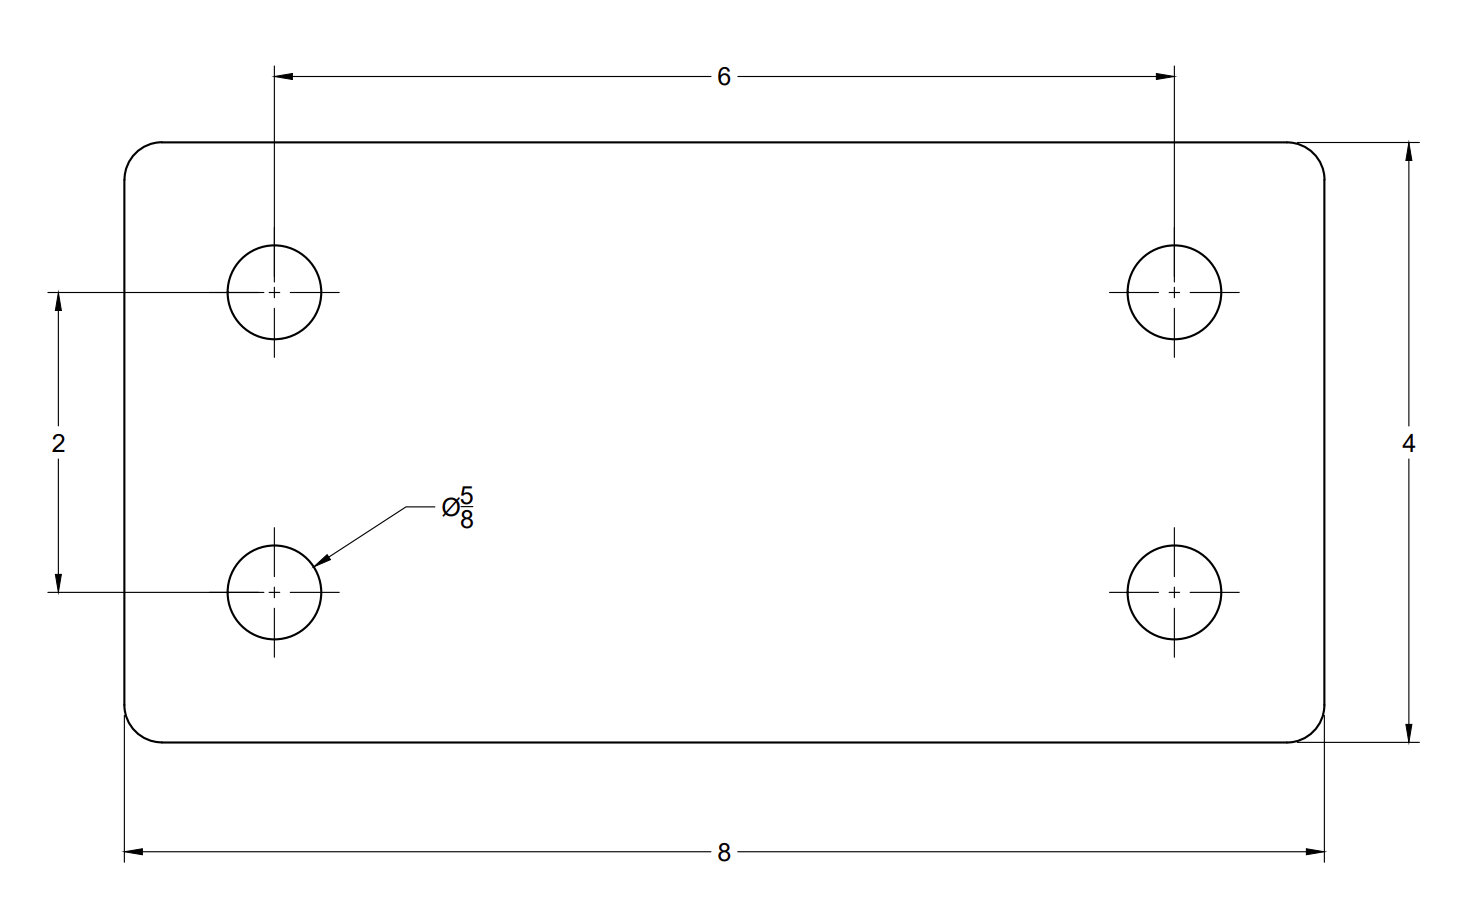
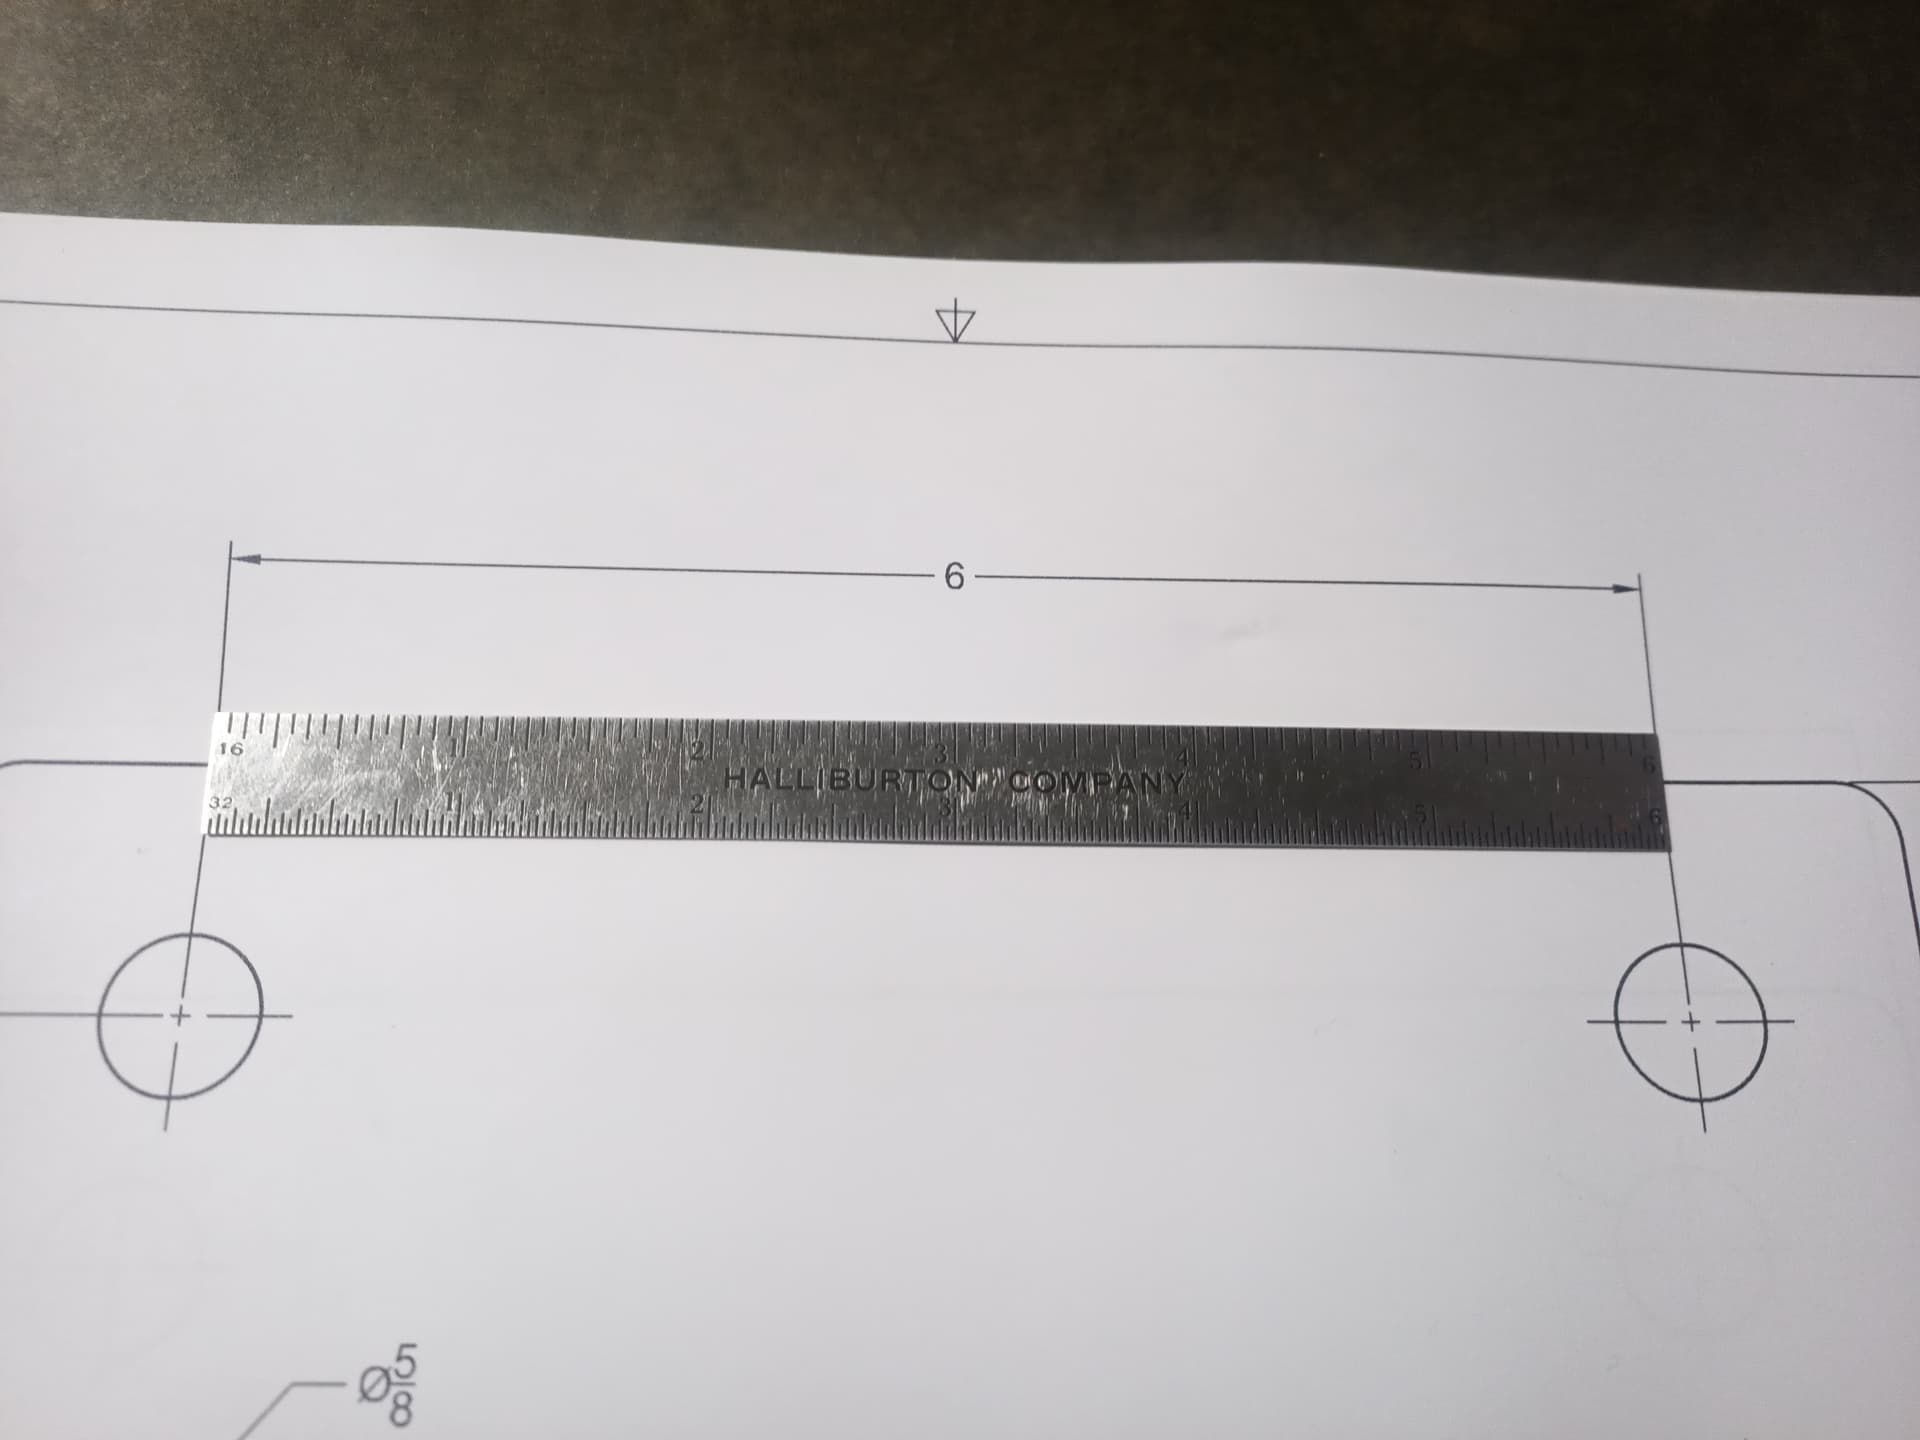
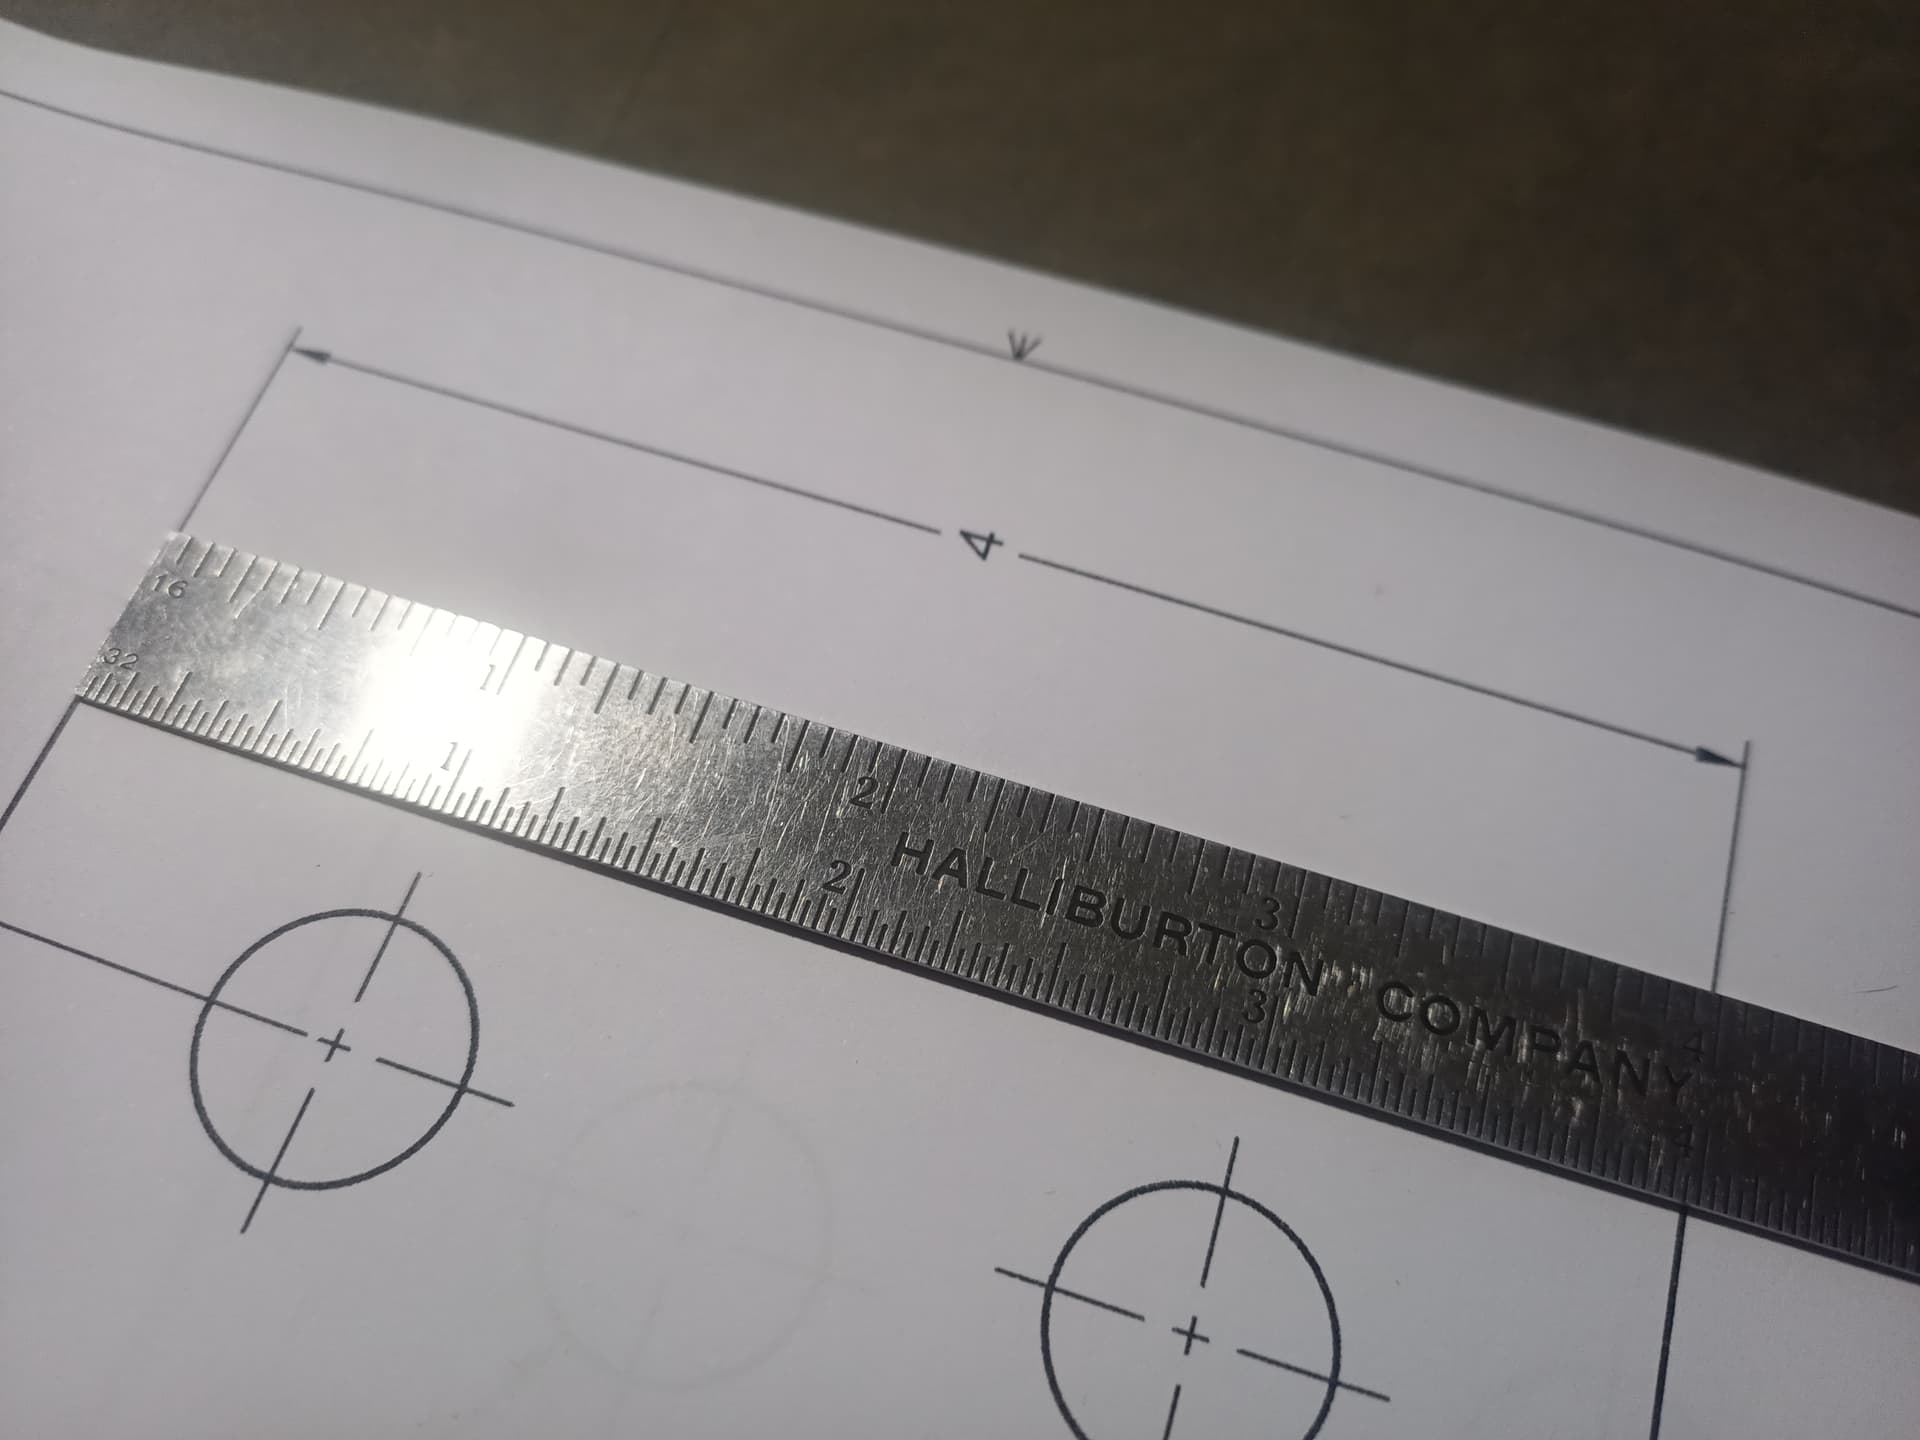
If I used the sketch from sketch one (our original sketch) make the *.DXF it would not have had the radius corners(fillet tool) that we made after we turned it into a body (extruded the sketch) . It also would have projected all the construction lines as sketch lines in the *.DXF.

As a good exercise could you save sketch one as a *.DXF, inserted it and capture an image of the DXF of sketch one and post it below. It will be a good visual for the description above. And great practice

The *.F3D contains all the data of a fusion file.
Sketch one, sketch 2, the bodies, all the manufacturing data, all the history , all the changes you made to that file. that’s why it’s such a great media to share.

2 Likes

@TinWhisperer Thanks so much for the answers to my questions. although
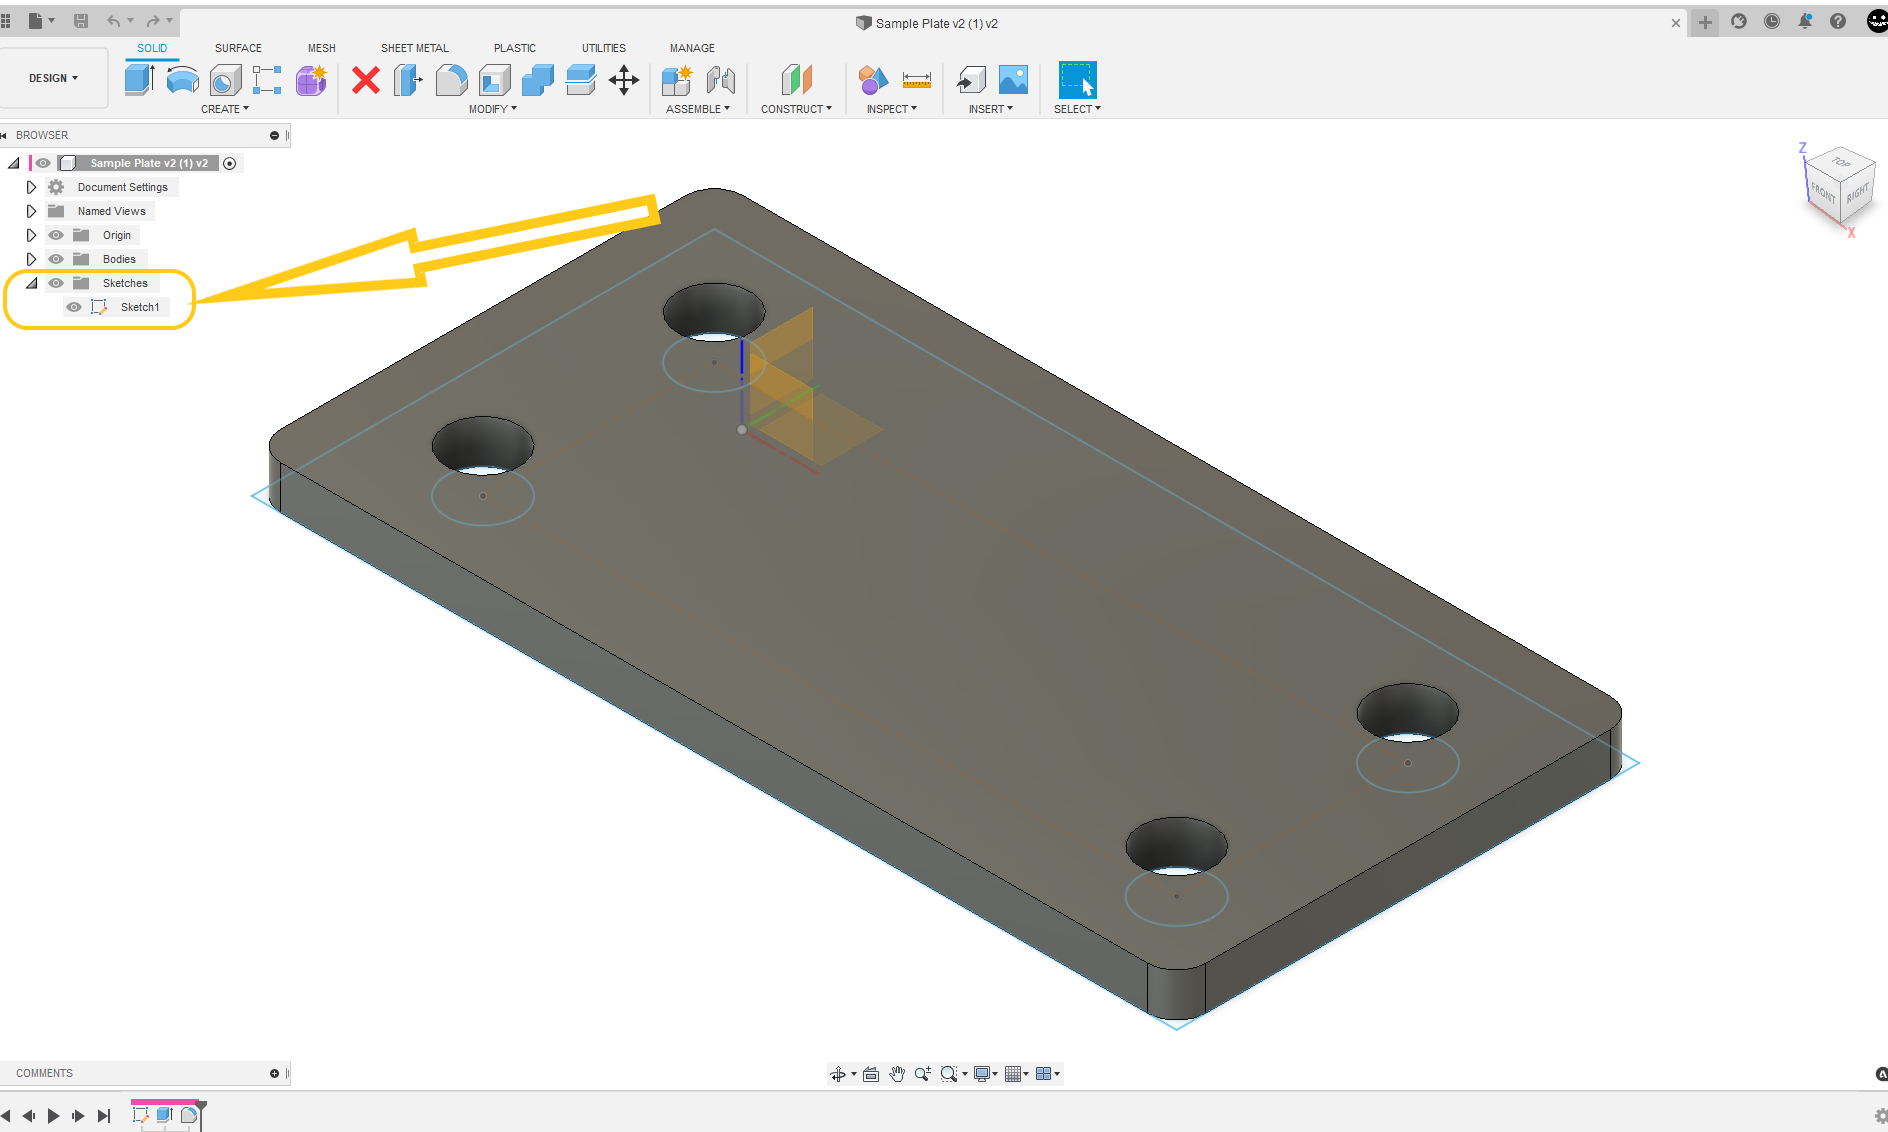
I’m lost :man_facepalming: on where to find the “sketch one” to practice! I do not see it up above.

Sketch one is located in the F3D file.

https://forum.langmuirsystems.com/uploads/short-url/c9VENXmJTvMaazUzk45ToWGMED4.f3d

It’s listed in your browser on the left hand side of the screen under sketches.

The next video I think I’m going to get back to some more friendly fun drawing.

1 Like

:+1: Wow I’m never going to get this! :joy:


Video 4 part 1 of 2

The points in this video we will visit are:

**Creating the CAD for an EXIT sign in Fusion360 **

Similar to Video 1 but with also adding text.

Here is the Video

https://www.loom.com/share/b3c1a8c197a343c2a142233f68a3dea9

Once I am done part two I’ll upload this project to fireshare but for now here is the DXF.

EXIT SIGN.dxf (8.0 KB)

6 Likes

Keep em coming!

1 Like

Perfect! I will practice this tomorrow! Thanks so much!

1 Like


Video 4 part 2 of 2

The point(s) in this video we will visit are:

**Creating the CAM for an EXIT sign in Fusion360 **

Here is the Video

https://www.loom.com/share/8d2d00e78a904cce815a87f7a7ca9a31

Project Files

Exit Sign.f3d (136.7 KB)
EXIT SIGN.dxf (7.9 KB)
Exit Sign.nc (5.0 KB)
exit sign example Video 4 part 1 or 2 1.pdf (77.6 KB)

https://www.langmuirsystems.com/fireshare/exit-sign-project-from-tinwhisperer-video-4

3 Likes

@TinWhisperer These are great videos, thanks for taking the time to make them.
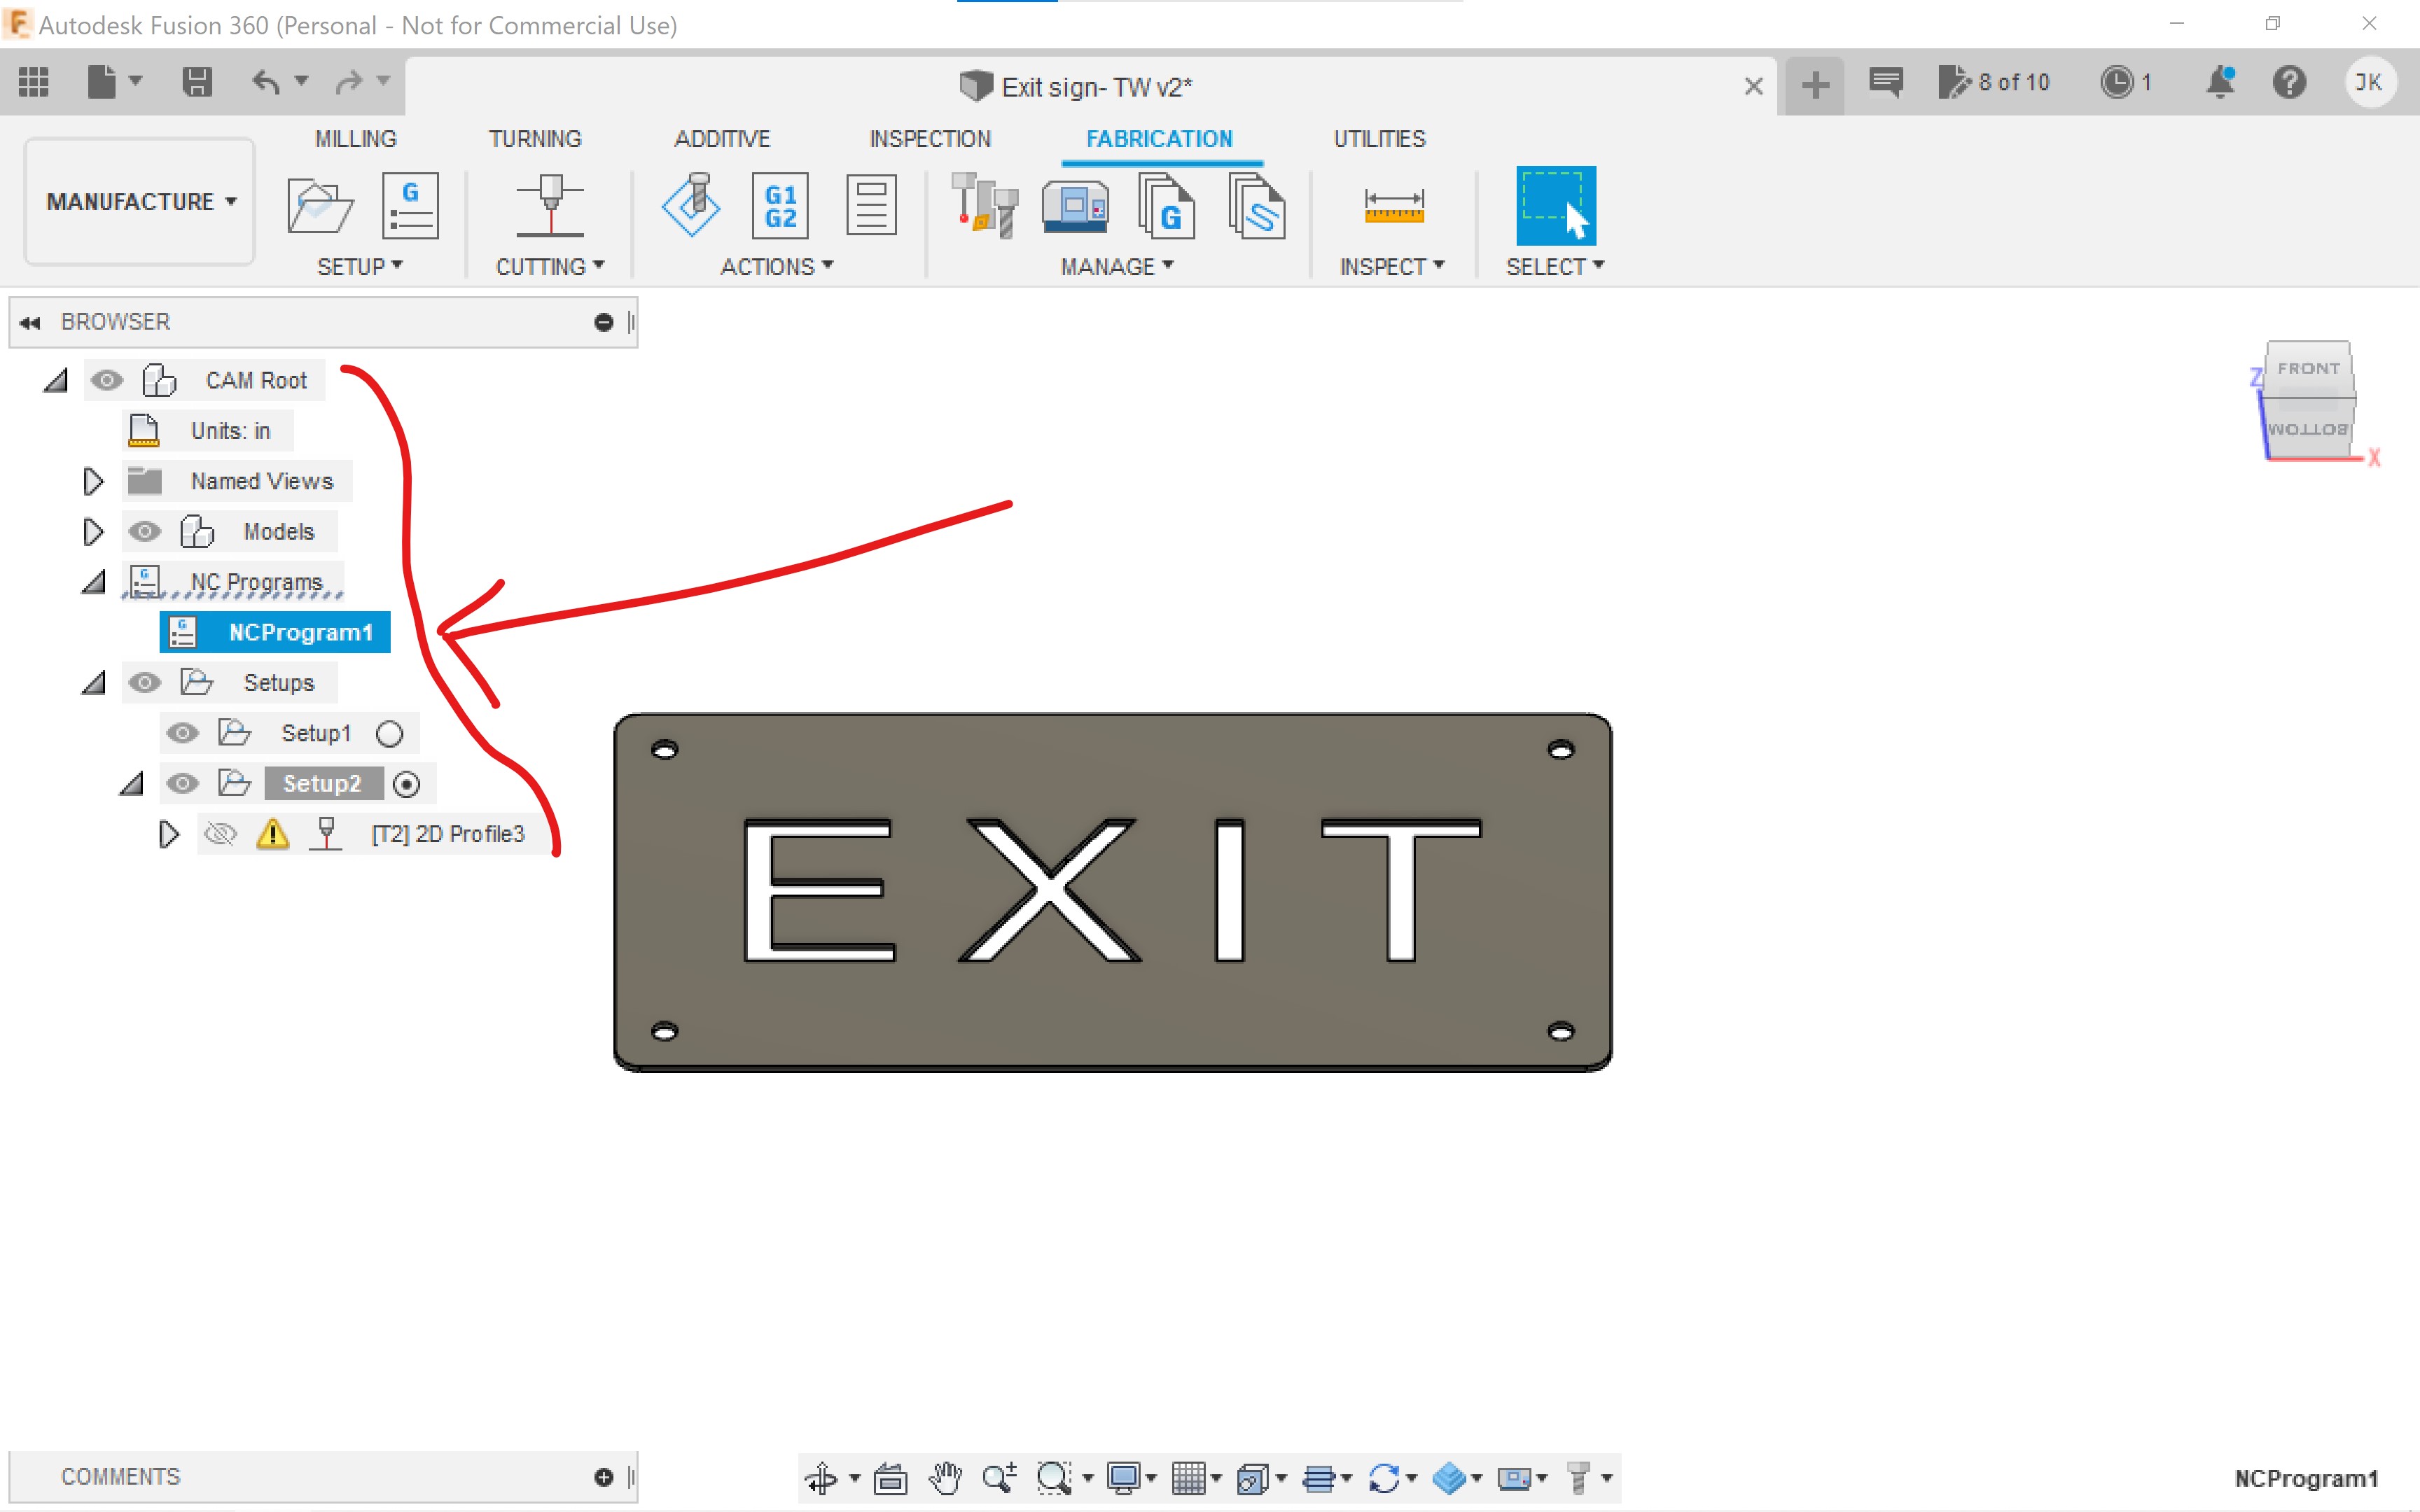
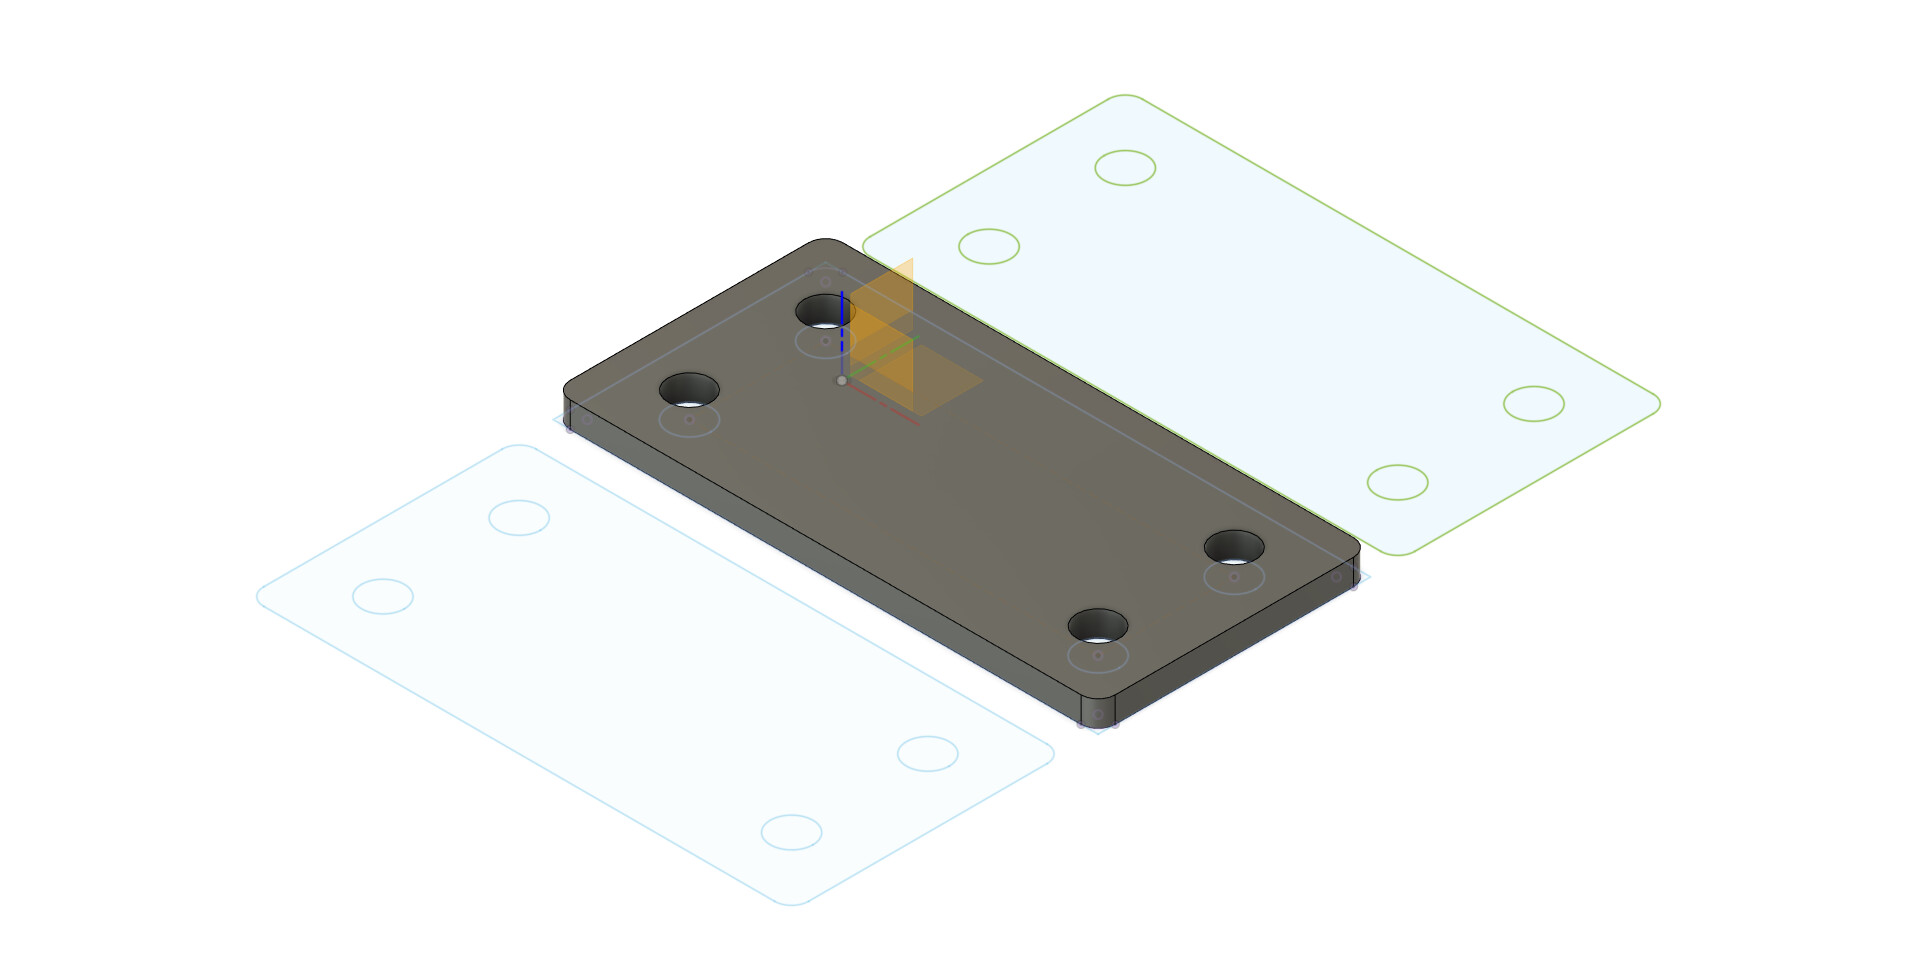
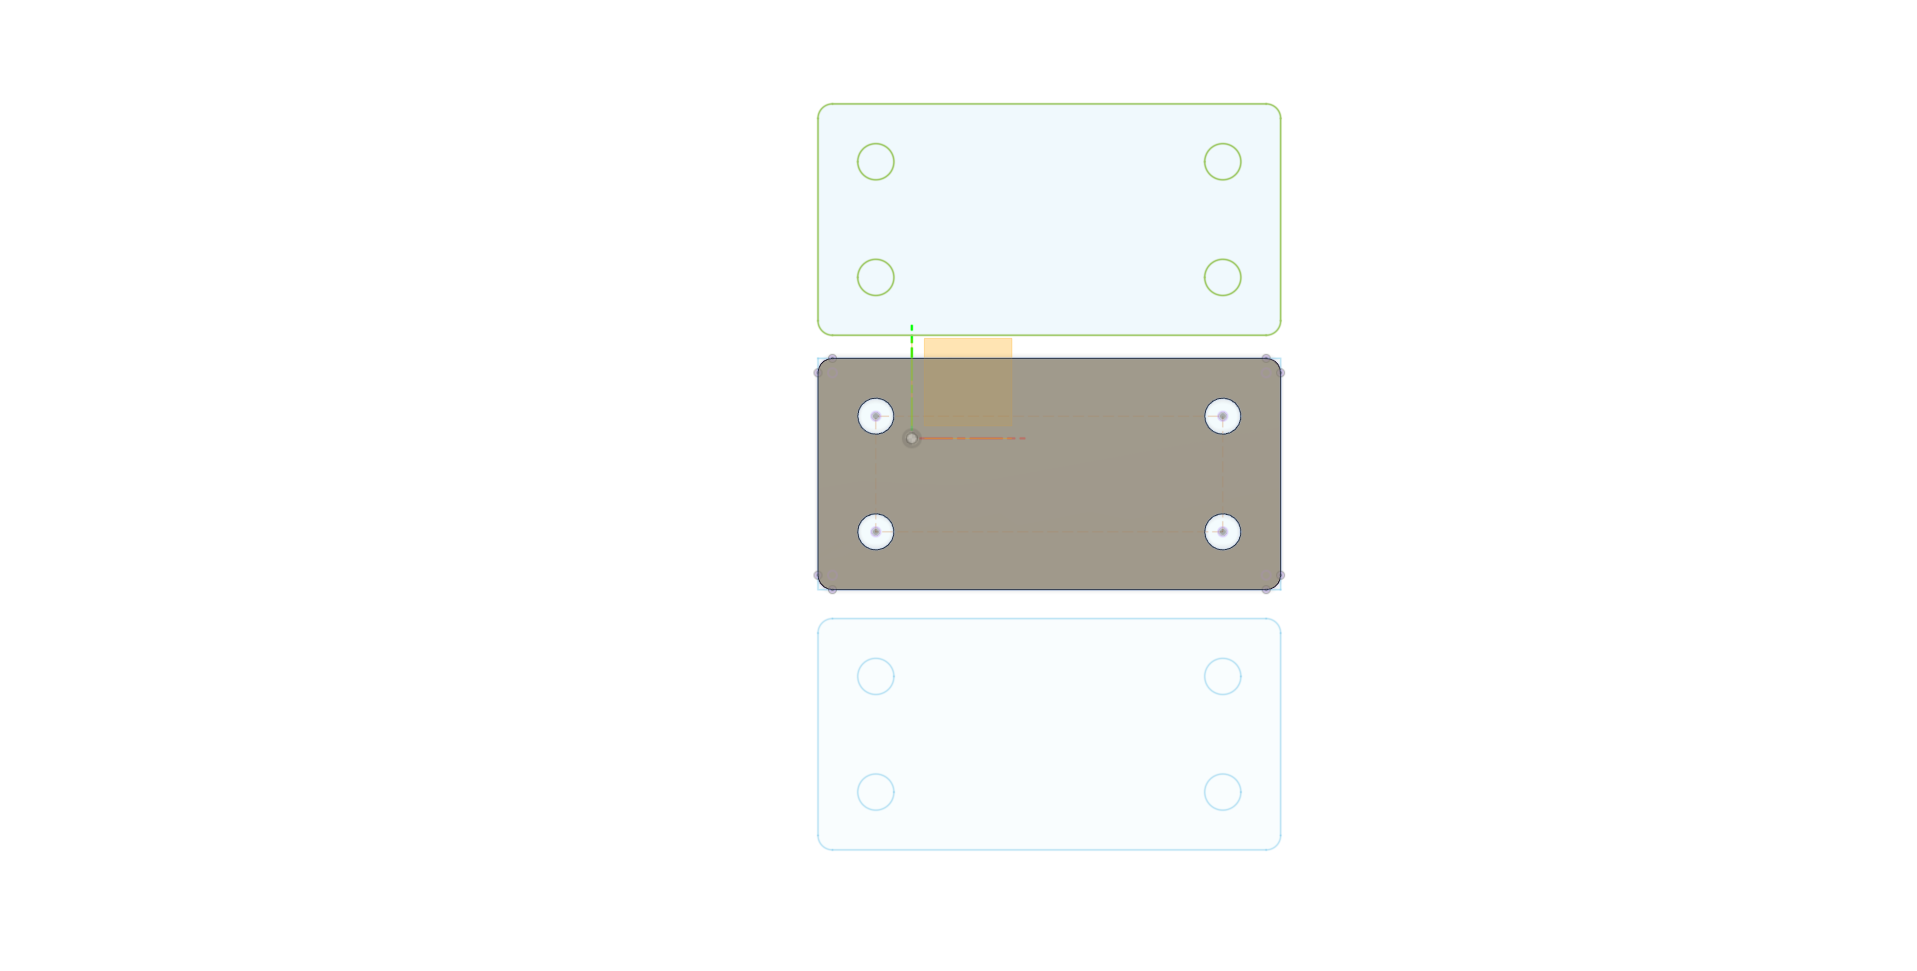
When i get to the cut path i chose the cut path but it did not cut the 4 holes, so i went back and let fusion chose the cut path still did not cut the 4 holes. I included the f3d file. I have no idea why this happened. I watched the video a few times but can not figure it out.

I also have a question and included a pic about this browser when i get to this point and have made some mistakes, edits and what ever else i did, what does all this now mean. And do i need to delete the setups that have the mistakes since i’m not going to use that one? I hope this makes sense?
no hurry and in your spare time, thanks
Exit sign- TW v2.f3d (145.2 KB)

2 Likes

This is likely going to be that Fusion believes there’s not enough room to fit the lead in,lead in radius, lead out radius, lead out and the kerf width within that cut.

Reduce the value on some or all of these and it will add them in as soon as there is enough room.

When I get back to my office I’ll check out your f3d file on my computer and make sure that’s what’s going on.

As far as those failed NC files and setups in the browser goes: you can right click and delete them or you could right click and edit them , either would work.

Just make sure you click the correct setup before going into producing g code.

Thanks for watching Joe.

2 Likes