Yes, it’s a Midwest. The big time saver is how I shoot my studs through backer into my front pieces on 16ga. Stud welders are expensive but for a business owner it’s a really nice thing to have in the workshop. On thick stuff I just mark with marker and shoot the studs. I use 1/4”x20x1” on most signs. I’m hobbyist but found one for deal and jumped on it.
Post below shows how to line up letters.
1 Like
@DonP ? so share please
Lots of sharp points on that baby! Looks very good, nice job
3 Likes
I felt like my first knock down fire pit was a bit too small, so I made it larger. I’m much happier with the size of this one.
This was heavily inspired by one that Lift Arc Studios made, but I designed this one fully in Inkscape.
Goes together with tabs and slots. Breaks down flat and it’s held together with carriage bolts and wing nuts for transport.
I may put this design on Fireshare, but I haven’t decided yet.


12 Likes
Been MIA, holidays are freaking busy
Made a larger one a week ago; 55" wide and 33" tall

You can see the size difference of these things


12 Likes
Better watch it or someone will want you to build a life size one. How long does it take to put together?
Are they pretty sturdy once done?
2 Likes
Interesting you say this… @dainesrw SIL does this for a living.
Seeing cool stuff Rob made on his pro table convinced me to buy my table.
1 Like
Clever idea with the carriage bolts. A lot of flat pack fire pits are a mess when they’re flattened after use for storage or transport and the parts just slide around.
2 Likes
Thanks, but it wasn’t my idea. I thought it was a great idea, so I copied it from Lift Arc Studios. The carrying handle was my idea, although I’m sure someone else has done that too.
1 Like
I have plans for a 7 footer but only if the steel comes cheap so that’ll be on the backburner for awhile
Putting it together takes like a minute or two and yeah it stays together very well considering there’s just over a hundredths of an inch in play on the slots in relation to the metal’s thickness.
1 Like
Please stop I cant keep up ![]() So big bird has over a 3’ wing span. I do want to make a bigger one. $
So big bird has over a 3’ wing span. I do want to make a bigger one. $
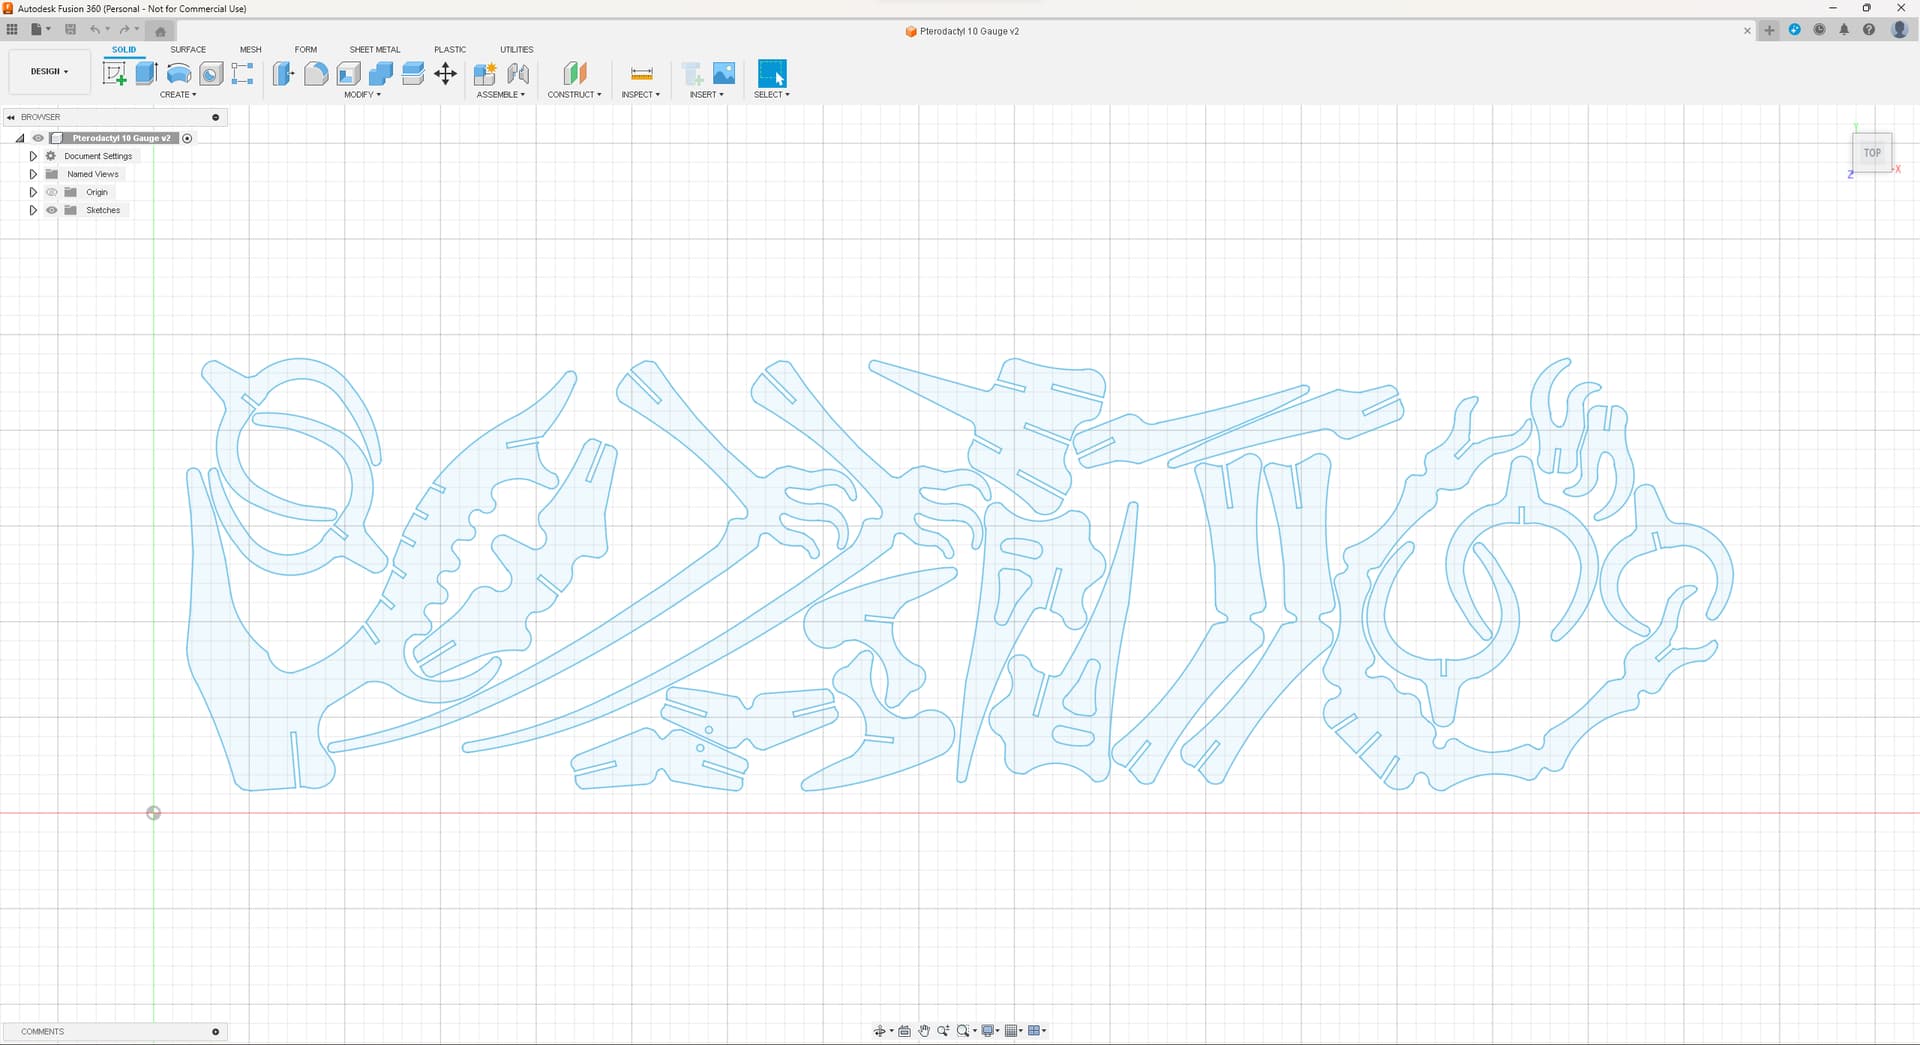
I need to nest the pieces better and also make few different NC. programs to cut the pieces out.
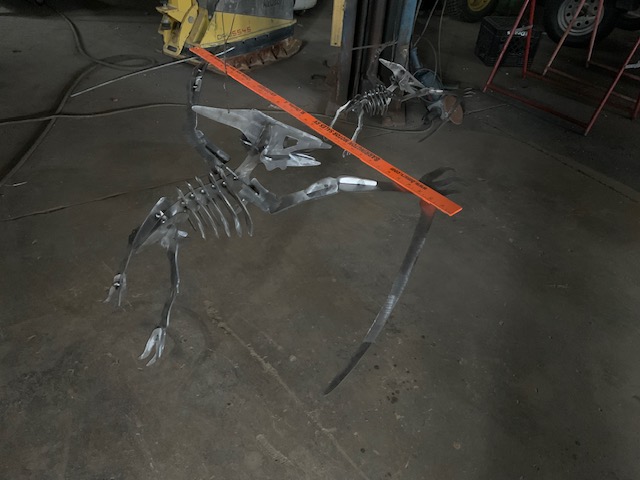
I tack welded all the pieces (and for you keen eye guys yes the tallens are welded backwards on the little one) Also Kwikfab you take better pictures.
6 Likes
Being that mine stands, it requires no welding at all to stand up.
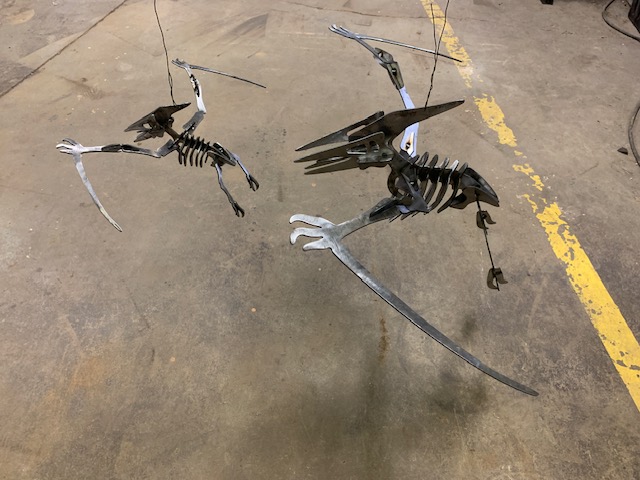
Here, one is assembled and one is tack welded (both are the 39.5" long variants) -

For the larger one (55" long variant), I placed short beads in areas that could benefit most from it like the skull, the hip, and joints at the legs


I’m gonna have to find your file source and make my own
6 Likes
1 Like
Here is a free site that has a bunch of 3d dino puzzles. Most of them are meant for wood so what you want to do is scale it and then adjust your connections to the size of steel you plan on using. I did a few in plastic over Xmas for daughters’ school and family friends. Nice thing with plastic is I could just do non uniform scaling and quickly adjust thickness to connection size. I did a video on using the offset in fusion to help make the connecting tabs correct. GL and keep posting those cool pictures!

5 Likes
I’ll add another to the list, it was Grabcad or something along those lines where I found the one posted (as well as a few more).
Tons of files available for free, but does require registering in order to access them.
2 Likes
yes it does
so after a long long time I am going to share my latest work…
A friend (yes I have a few) brought me an invitation he recieved to a special birthday party in Austria.
it was a card that was 4x6 in size…and it was an artwork done by specailly for his friend by a local artist in Austria.
the card has special scenes in it specific to his youth and growing up…it is very dear to him…
My friend asked me to possibly make a metal reproduction for him to take over to Austria in a couple of weeks…
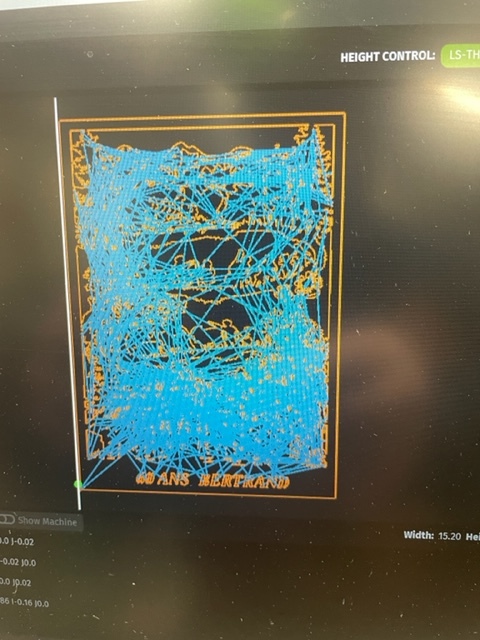
this was scanned then sent to inkscape and turned into a SVG file and I spent around 30 hours between Sheetcam and Inkscape getting all the cut clearances and small changes to keep it as close to the orriginal painting as possible.
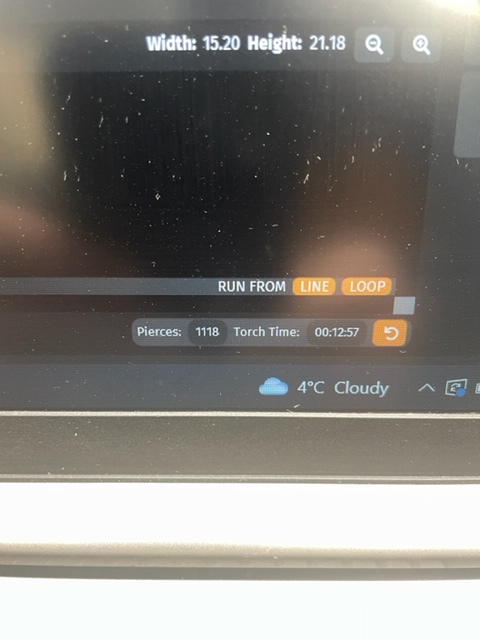
We decided to go with 20 gauge metalto keep it light for travel…I was worried about warping…melt out…and the number of Pierces…and the size is around 15" x 21"
I ran the Sheetcam job report…and I was freaking out on the time on the table and the pierces required…one of the biggest to date…
I put the metal down and clipped it all over with the paper clips found on the forum…
I installed a 0.06 tip and new electrode and went to work…
Did it in ONE cut from start to finish
1118 pierces and close to 13 minutes of actual torch time…but it was 1 hour on the table from start to finish…
the battery is an AA battery to show level of detail…


and here is my tip after all that…still good to cut with after all that…gonna break a personal reconrd with my dry air set-up…

23 Likes
Glen, that is superb! ![]()
2 Likes
thanks @ChelanJim
I am really pleased with the life of the consumables…
and there was only one part that heat warped a but…dremmel cut the warp and reweld…all flat.
1 Like
I believe grabcad no longer exists. Am I wrong?