@Domo I’ve been doing a few Dead signs for craft fairs. I use 18 gauge. I just tonight cut out a backing plate for the round one. I’m gonna go three layers for additional color.

3 Likes
Nice take on the Steelie @Wsidr1, I like the added embellishments! I’m not on here a ton, but the layered signs that I have seen on this thread alone look extremely nice IMO, post it up when you get er done!
1 Like
2 Minute PLC Enclosure Build

6 Likes
@holla2040 Thanks allot for taking the time to make the video. It’s great.
I’ve only been doing 2D stuff so far while I got good at the CAM and knowing my machine.
Thanks to you, @DonP, and @TinWhisperer I am about ready to start moving into the 3D stuff. I think my first attempts will be to start boxing in some signs for lighting. I don’t have a metal break, so probably 18 gauge or lighter.
5 Likes
During @holla2040 great video he said he was looking at bend order. Fusion will give you this information if you know how to go get it.
Below are some pics to help…
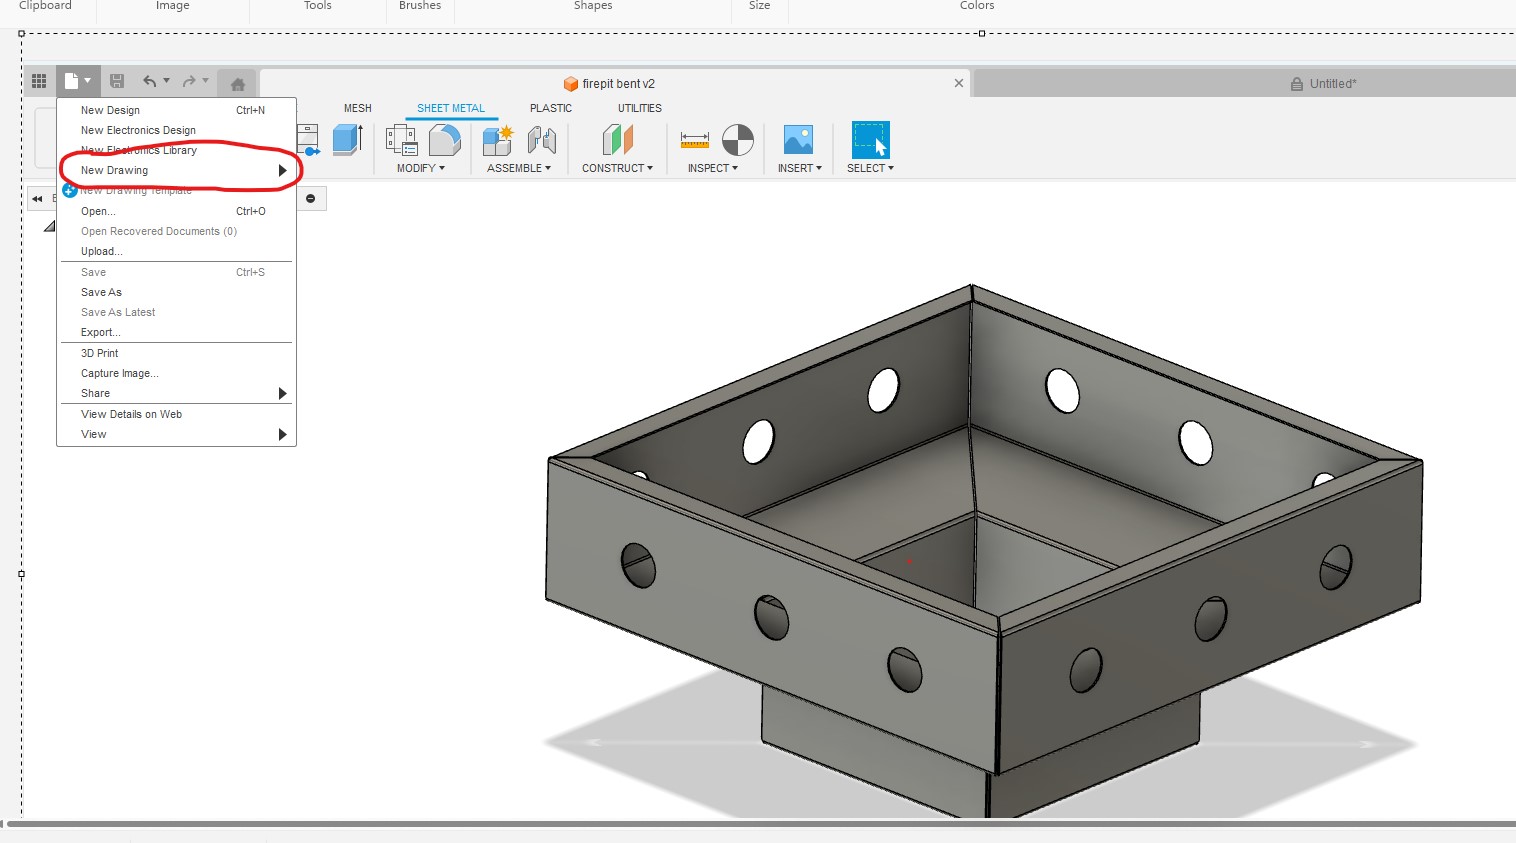
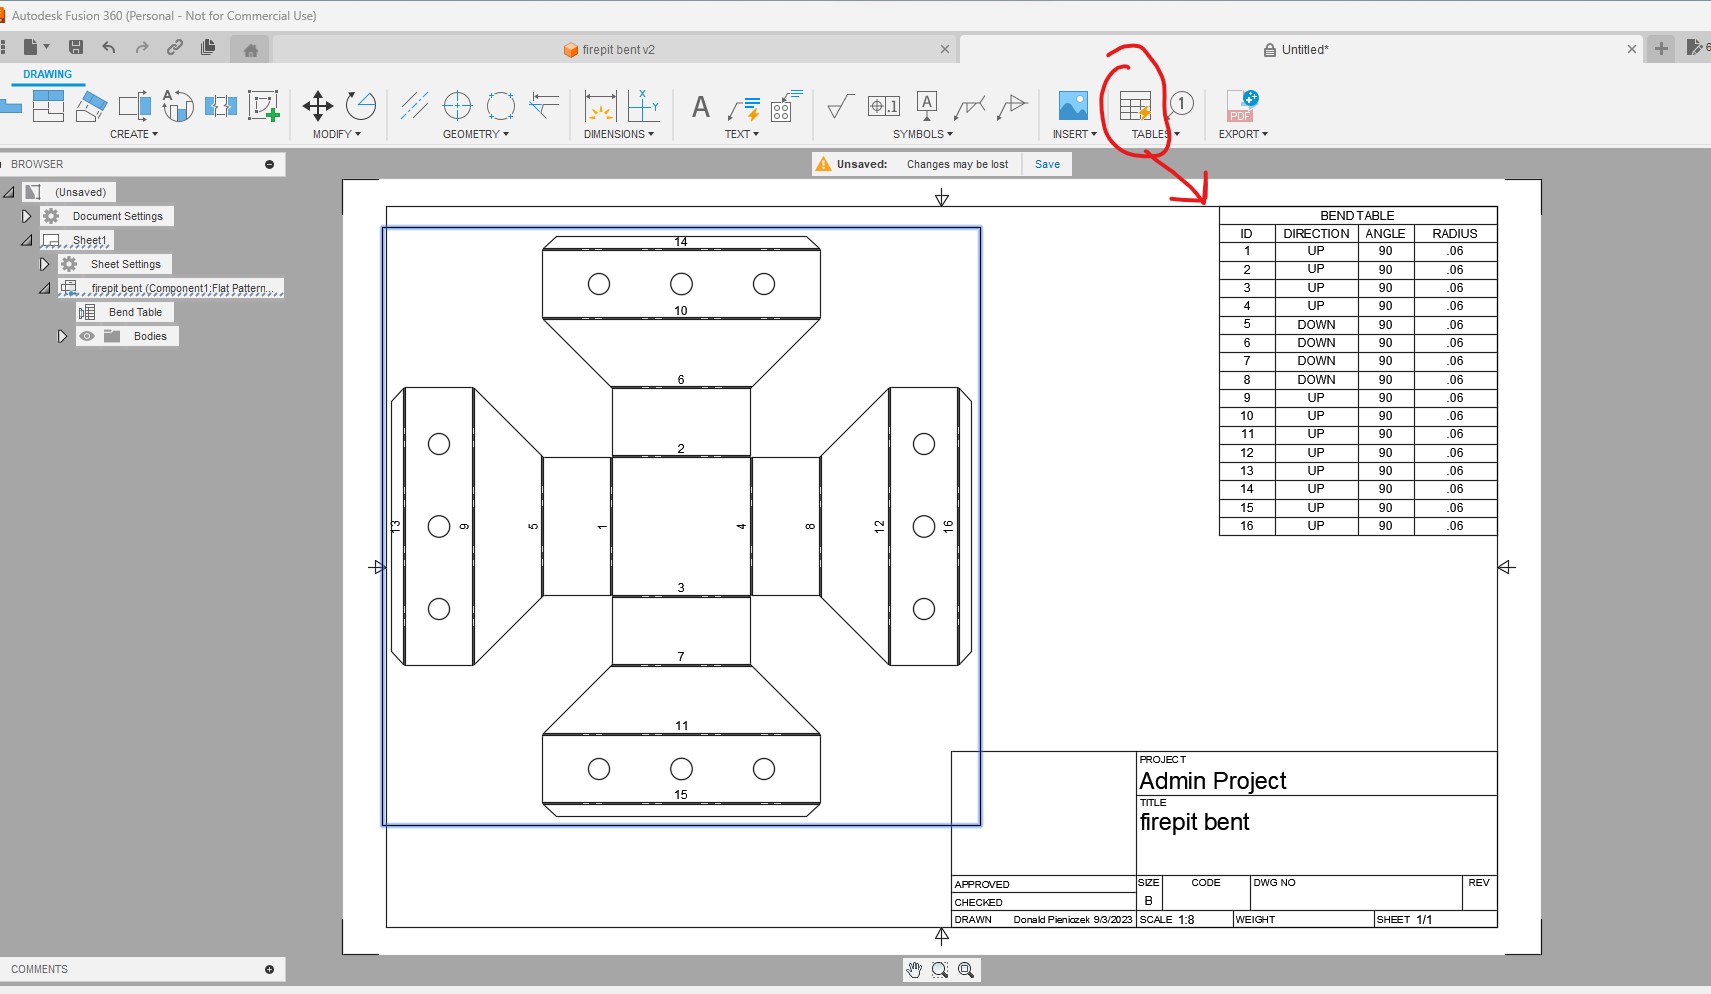
This is not real firepit. I made it to show a bunch of bends and hopefully help others.
5 Likes
@DonP @TinWhisperer I’ve watched several Fusion sheet metal videos and found this one to be a direct match to what I needed (slanted front). It showed me to think about the first face selection.

Thanks, I’ll check out Fusion’s manufacturing documentation with bend ordering.
5 Likes
Pan Brake questions for your future Teams video
I would really like to hear your thoughts on
- setting pan brake set back
- which bend line do you use
- do you place to edge of finger or pivot point
- how to calculate the k-factor based on a bend from your brake to improve repeatability?
1 Like
@DonP your psychic: I was going to ask @holla2040 how he determined the order. He said he “had a sheet” with the order.
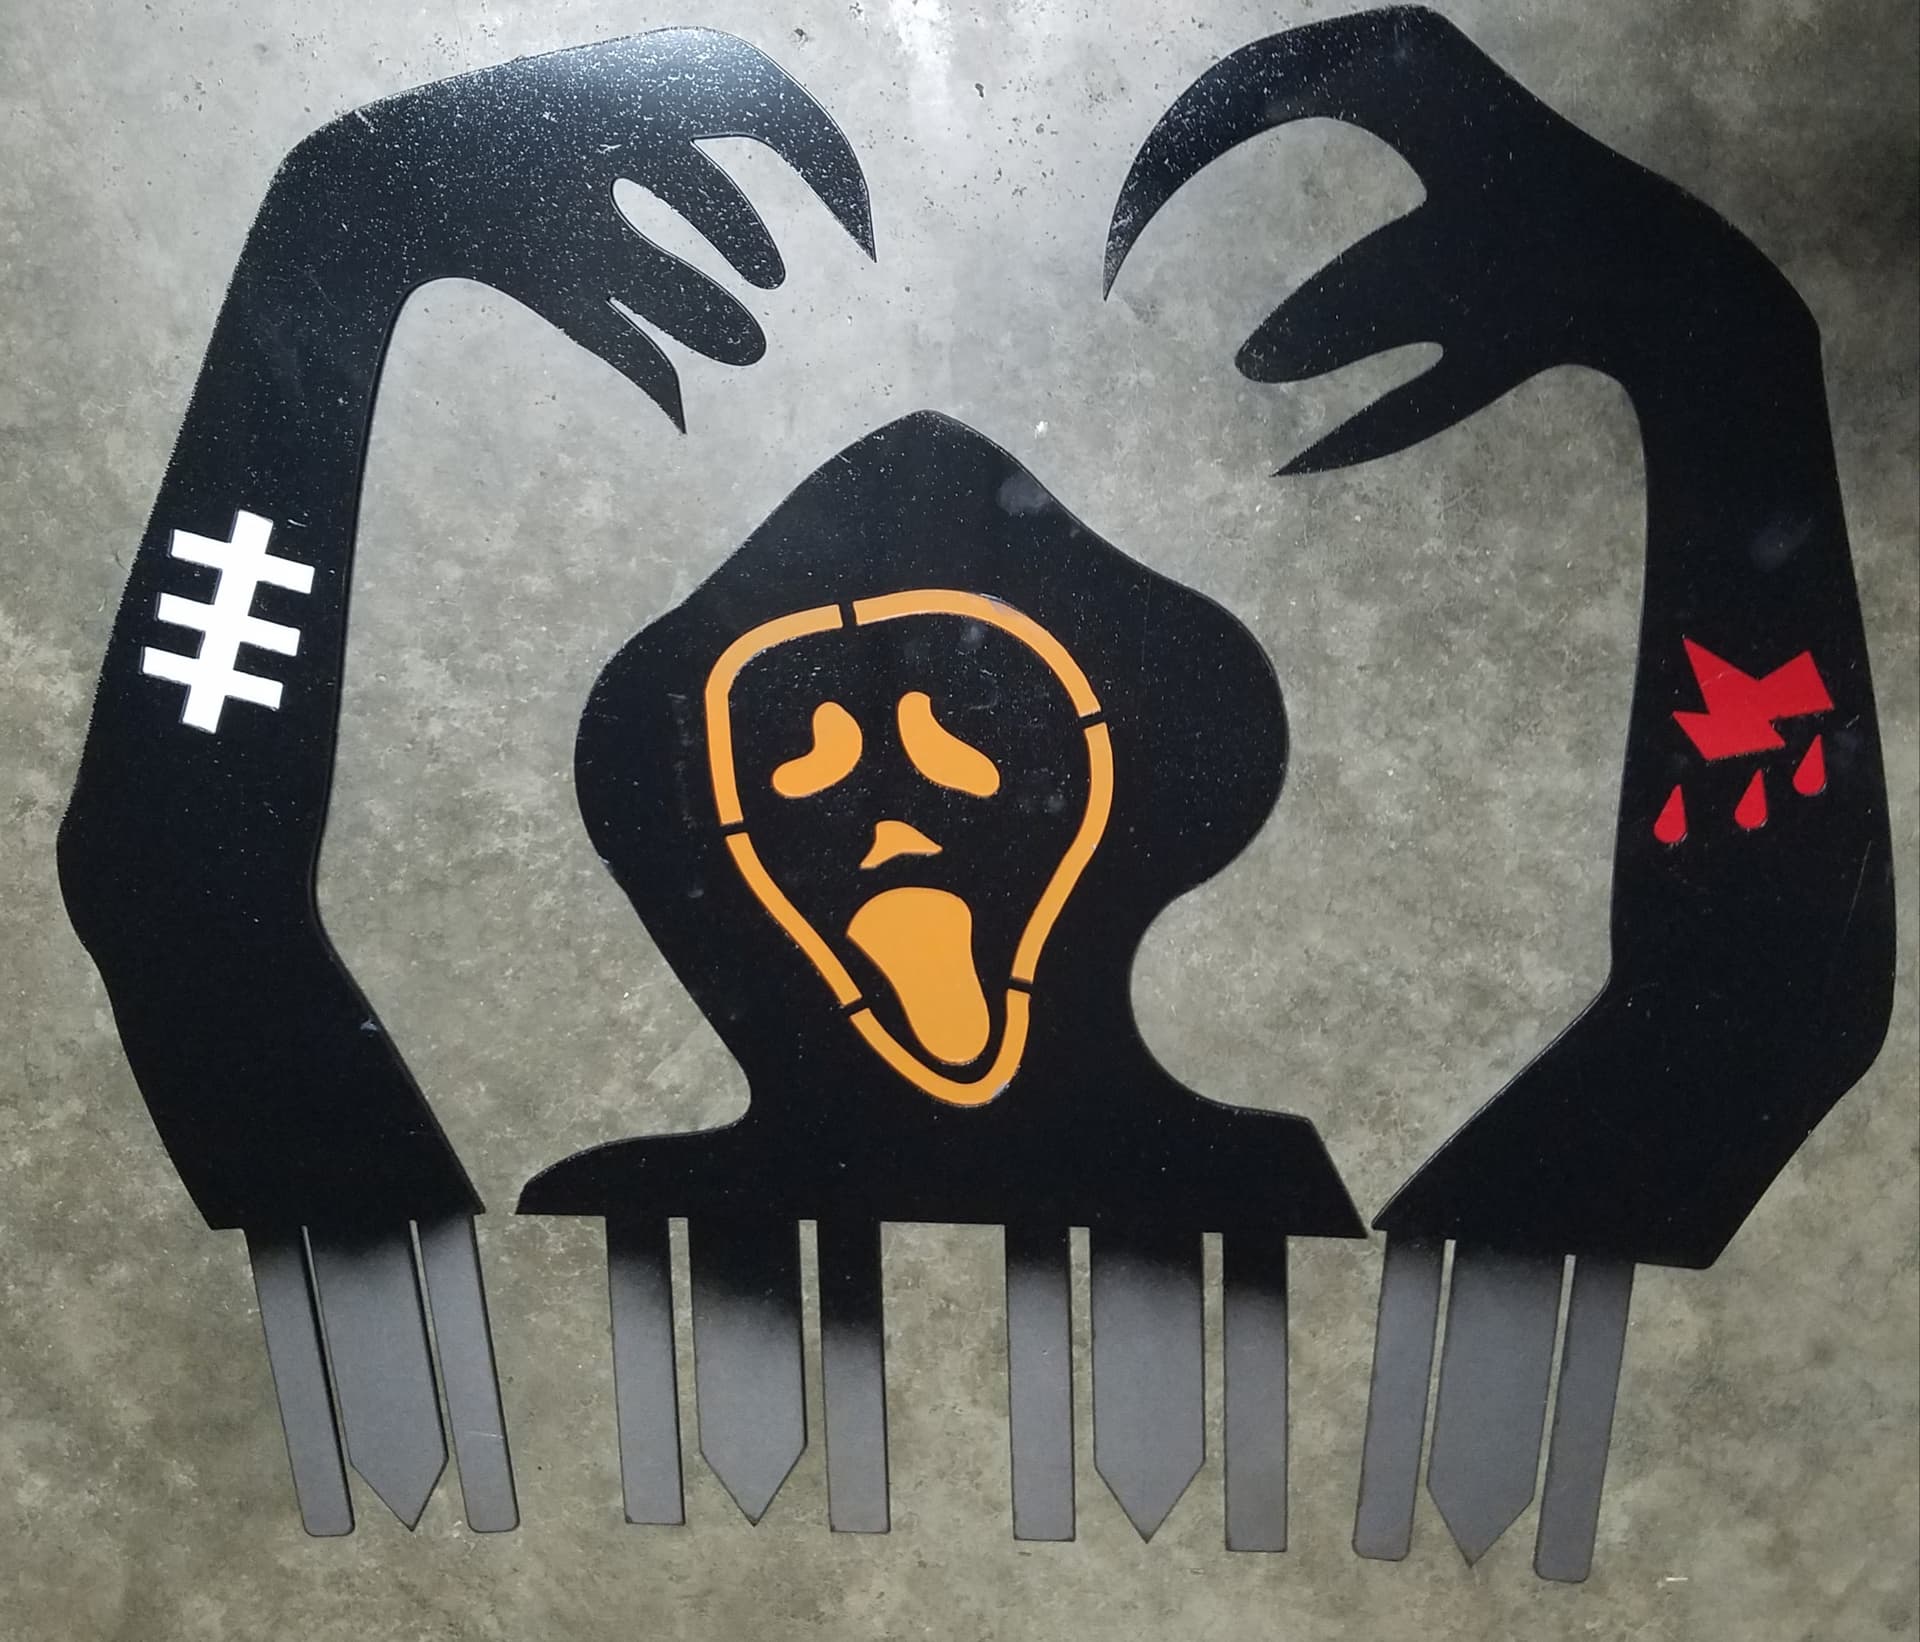
Also, I borrowed a set of your Halloween arms and made my parents a set for their yard where they sit every day. Going to set them tomorrow after paint dries a bit more. I kinda wish I’d gone with white on the face.
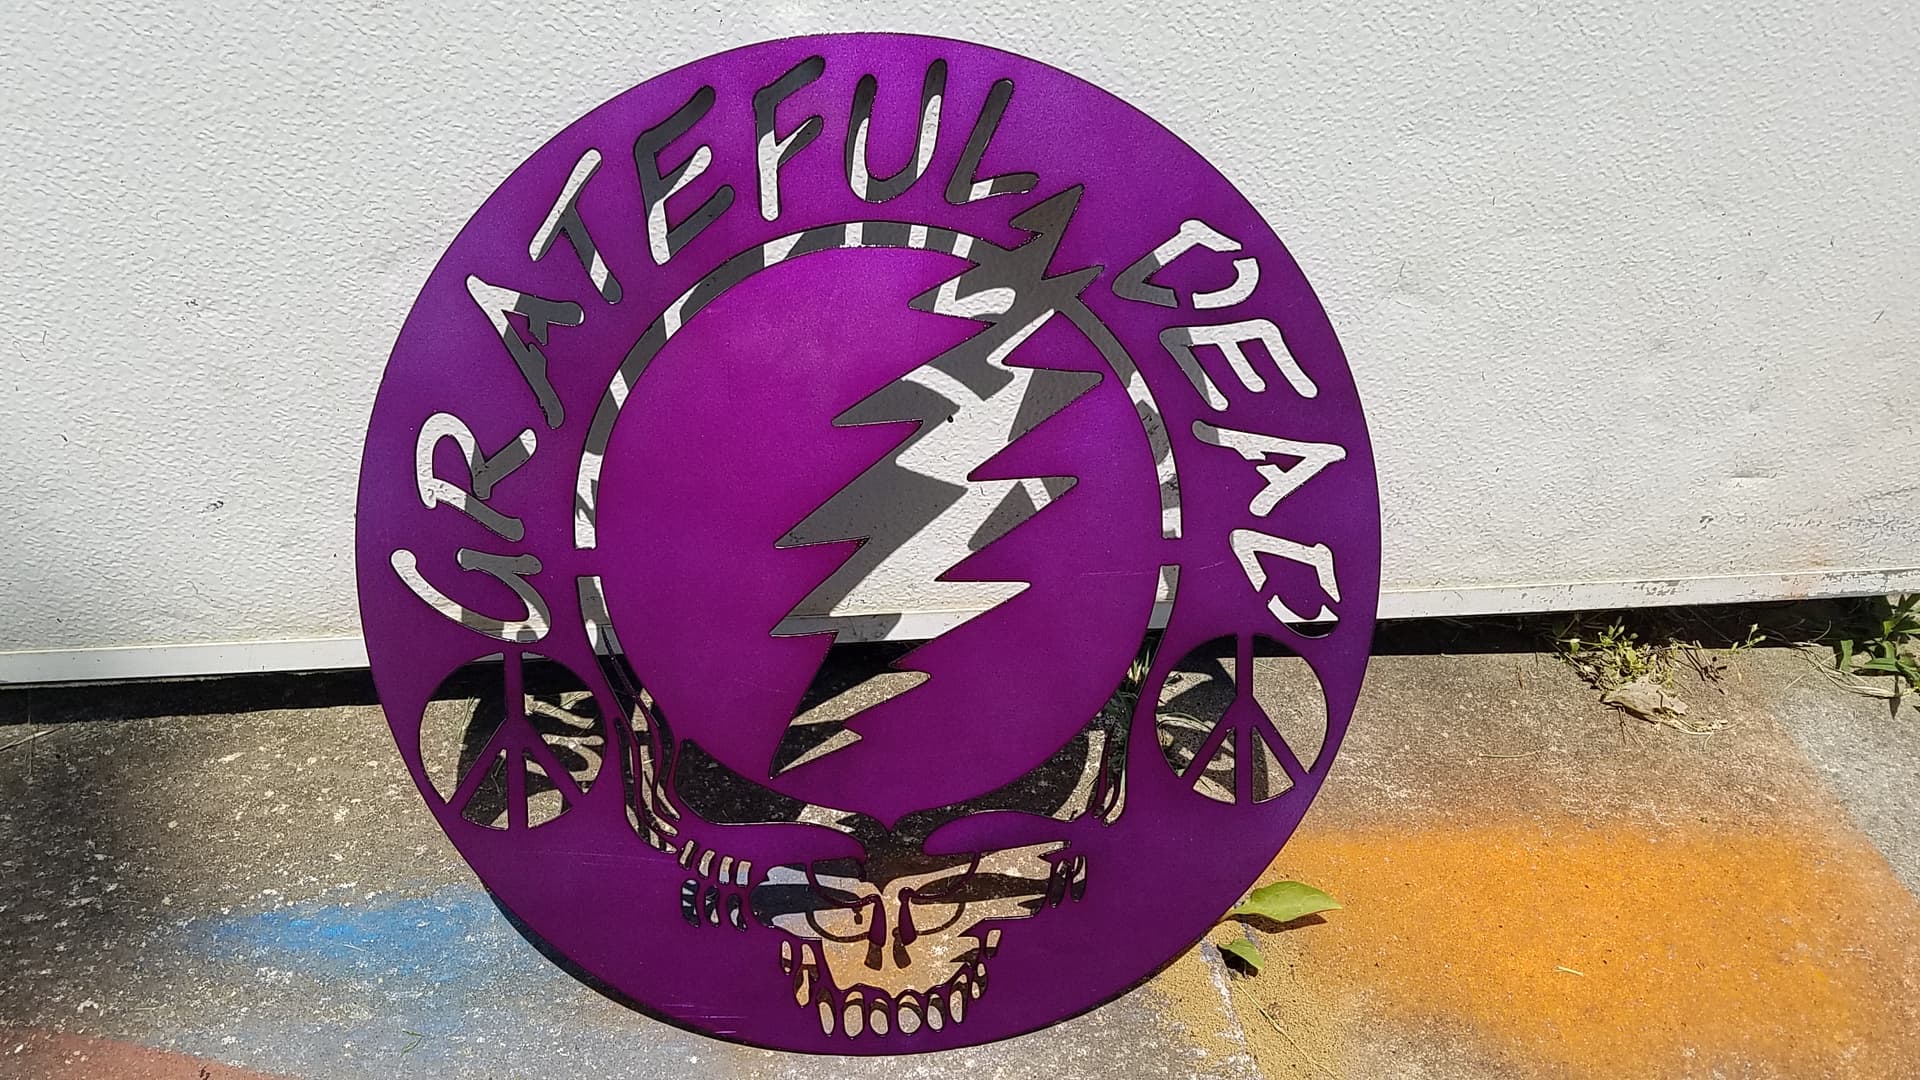
@Domo Here is the latest rendition of my Dead sign:

That purple is automotive paint I got off Amazon, the magenta and off-white are Home Depot. 18 gauge with a 22 gauge backplate.
7 Likes
Maybe Tin will have more to add to topic.
- good question…lol i would be guessing
- Middle line in fusion is bend line.
- another good question…lol I have mine near edge but not sure that is correct
- My knowledge is not great on k factor, but I do understand basics on neutral axis and how one side is compressed and other is under tension. So, fusion has a k factor of like 0.44 for steel and aluminum but aluminum is softer so maybe k factor should be 0.35.
Here is great way to get your k factor…
Calculate K factor, bend allowance and Y factor for sheet metal bending | Gasparini Industries

5 Likes
I suspect those k factor calculators assume that set back is ideal. If you have a large setback you get a larger radius. I might have that backwards.
4 Likes
I just had to look up how to set my fingers on brake and the general rule sounds to be 2 thickness of the material your bending.
This video has a bunch of good information…

4 Likes
That’s what my brake manual says as well.
1 Like
-
Definitely you’ll want to set your setback according to the manual and the clamping pressure is also important which should be listed in your manual.
-
3.This is exactly the right question to be asking with a leaf break. On thinner material I do try to line up with the center line but depending on which part of the material is inside or outside of the break it’s going to bend that line slightly different. A leaf brake is not a press brake which is what all these bending allowances charts are designed for. A piece of metal does not deform the same way in a leaf brake as it does in a press brake.
When bending a pan uniformly on a leaf brake using the same line to break from you would either have to go around the whole pan and break all the flanges facing into the brake or brake the whole pan with the flanges facing out of the brake to have a result that’s uniform. If you’ve been some of the flanges with the body inside the brake and some of the flanges with the body outside of the brake the flanges would not come out to the same height.
- Again while you can get a bend allowance from a leaf brake it deforms the metal not uniformly like a press brake does. Cut a 4 inch long piece of metal bend it right at the 2 inch mark and then measure how long the flanges are. Once you know the flange length you’ll know how much material you gained when the metal stretched during braking.
The math for figuring out the k factor using the material difference while it bend test.
This project I did I really had to be careful about not only my Bend order but which piece is inside or outside of the brake during the bend.
@holla2040 that product design online video you linked is really good. Product design online is probably one of the best resources for learning Fusion 360.
Here’s a sound effects pedal enclosure I made it very similar to the project in the video. About 600 posts up from here.
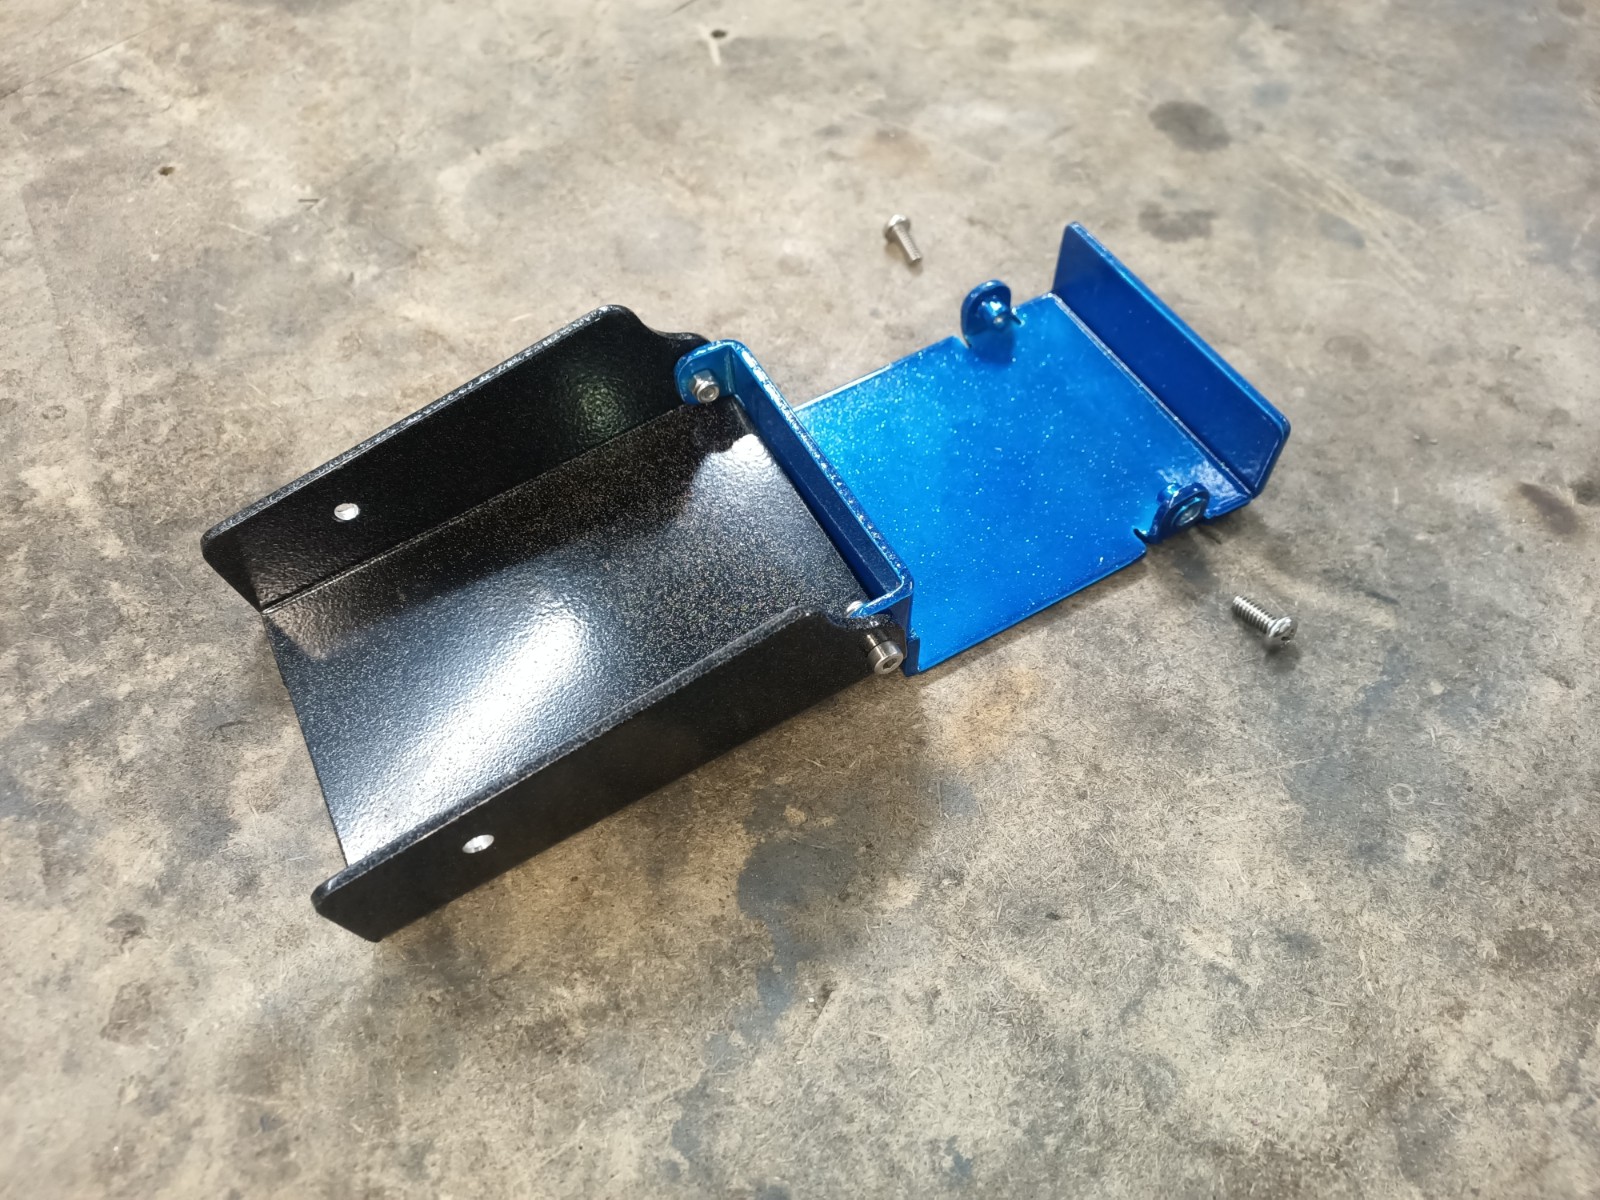
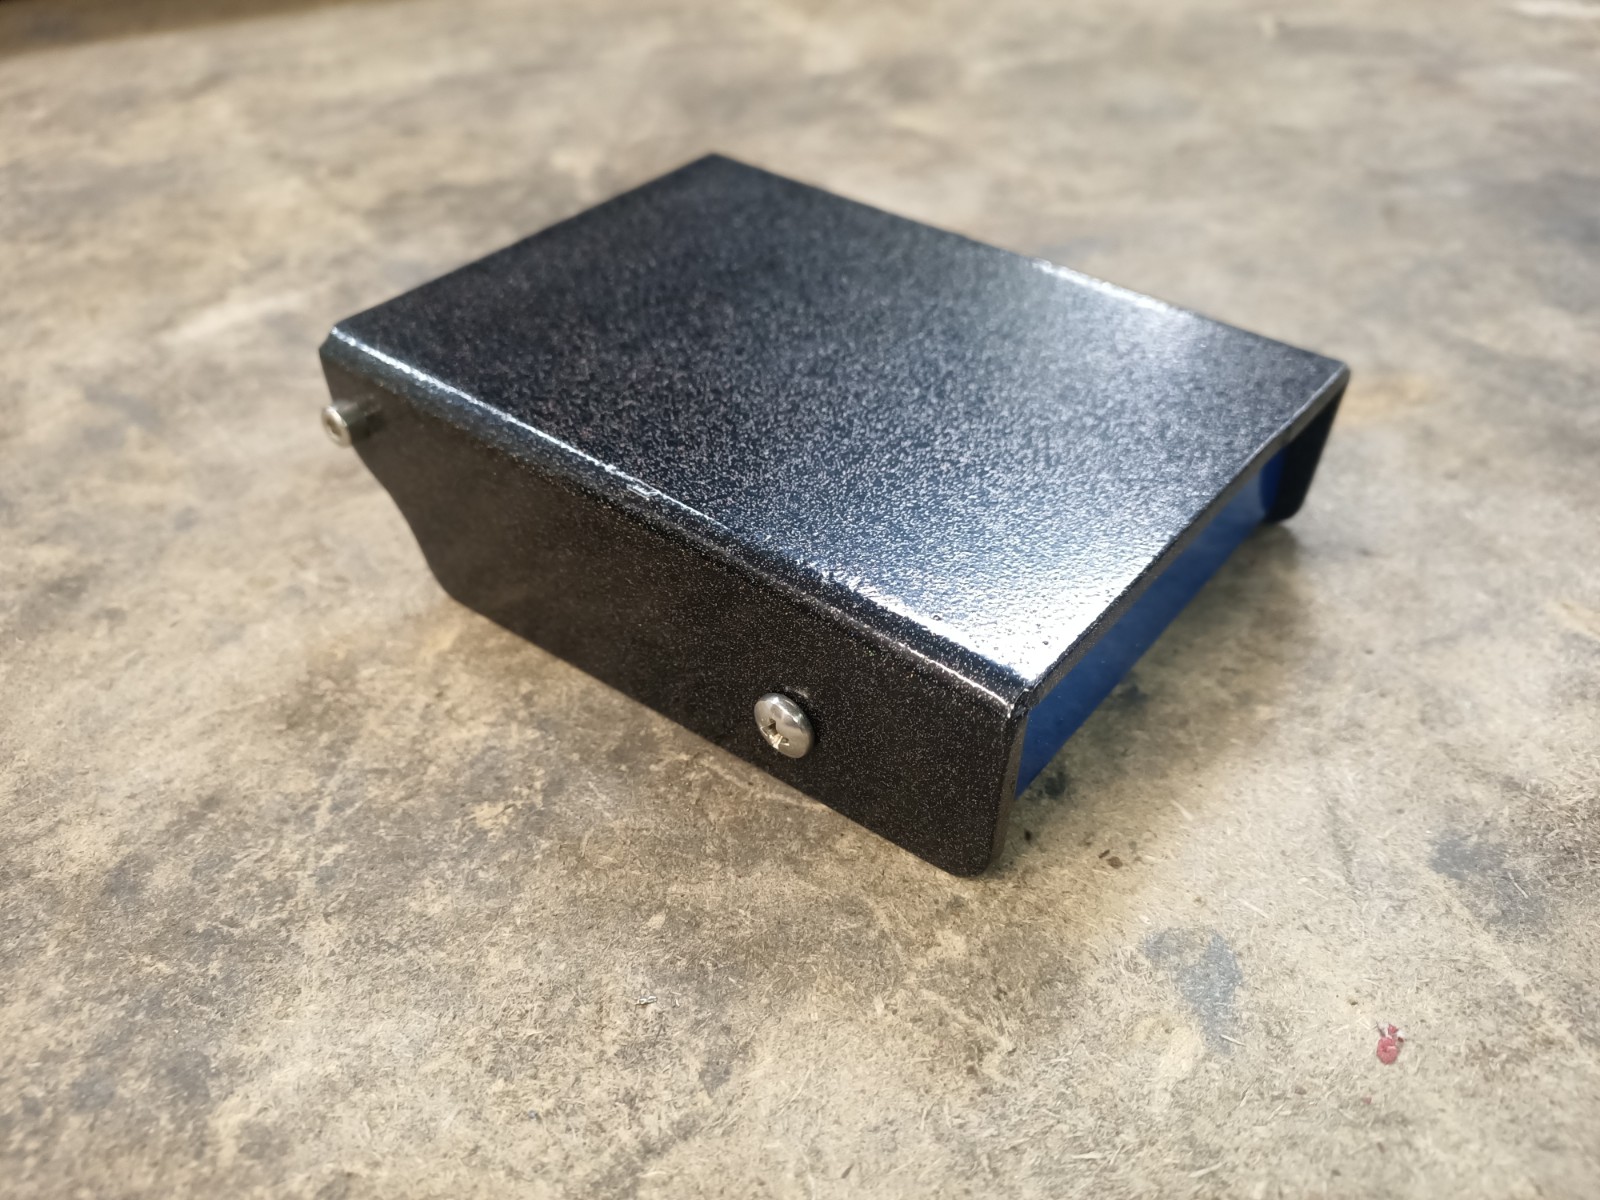


6 Likes
Tin
Would it be asking to much if you post something that you goofed up and threw in the scrap? That way I have something I can aim for? ![]()
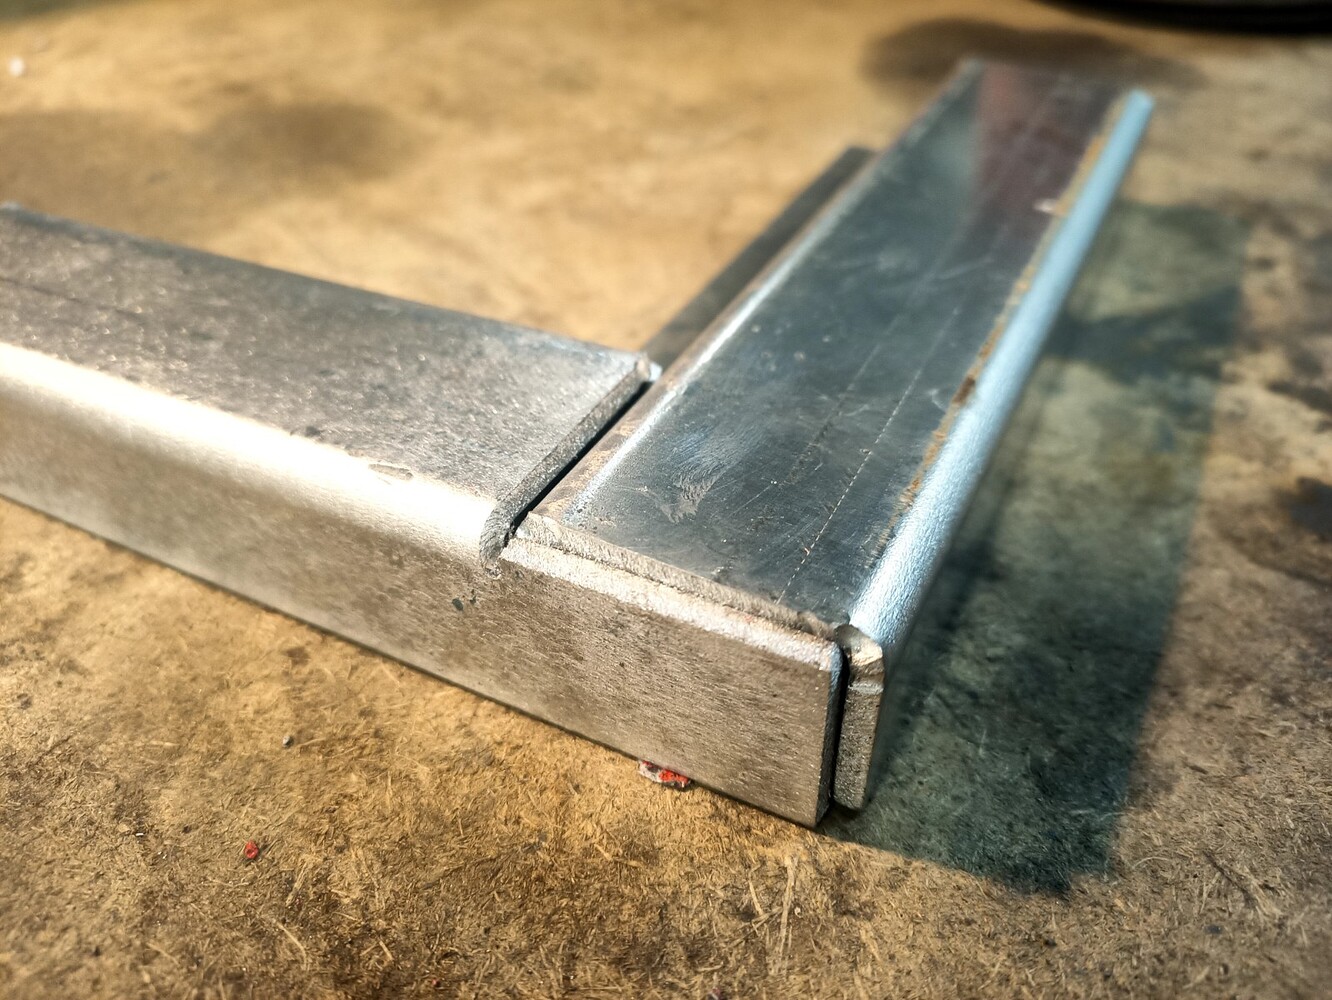
Your joint fit up was perfect! Dont see how it gets any better than that.
would not say the bottom line on bending is practice?
How thick of material was the first joint? Was it CR?
Thanks for posting
6 Likes
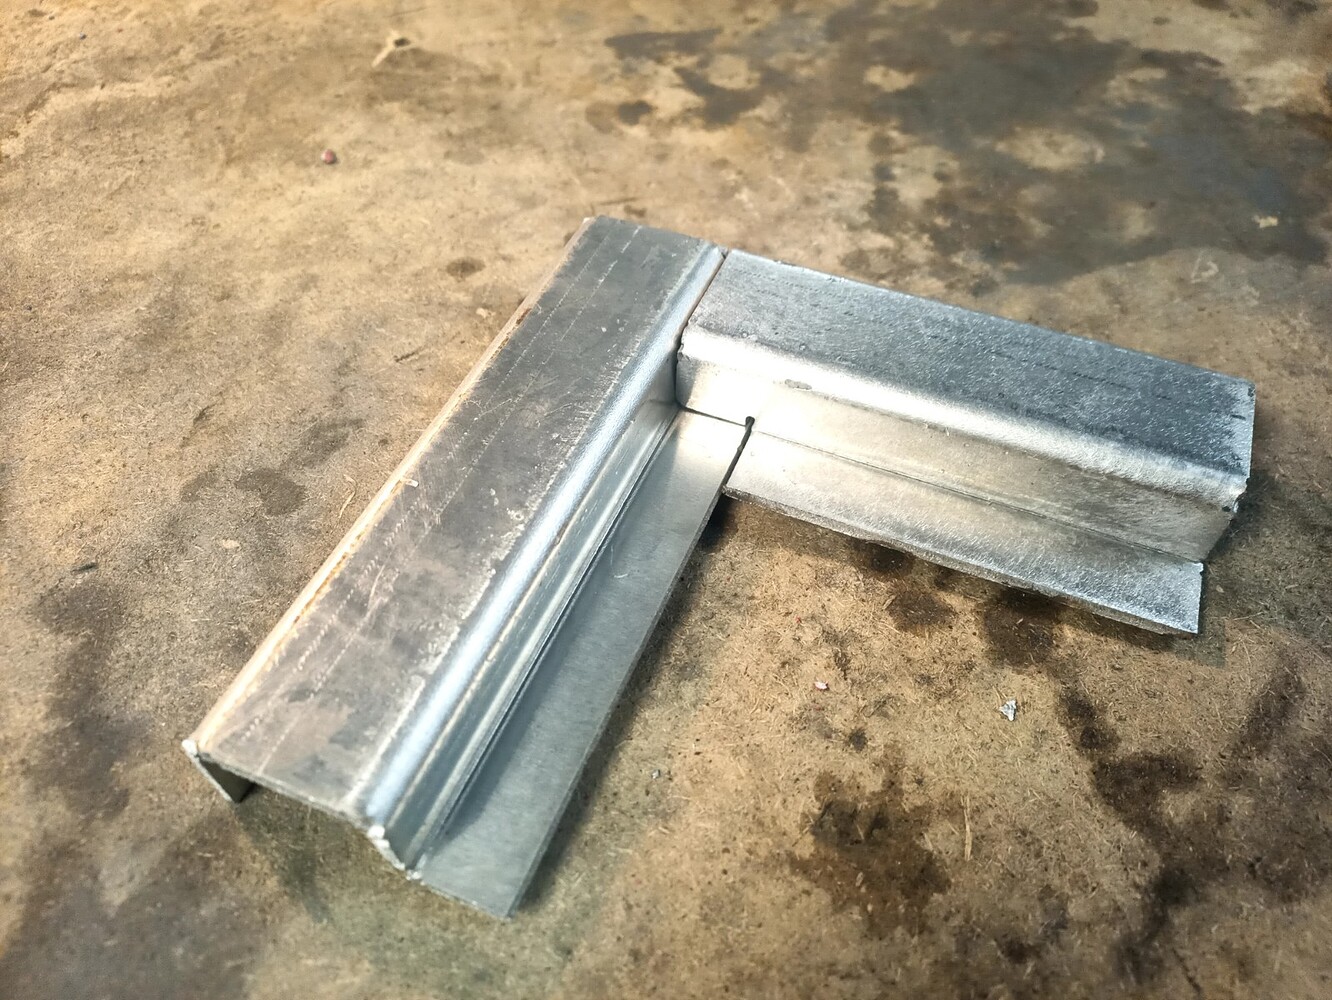
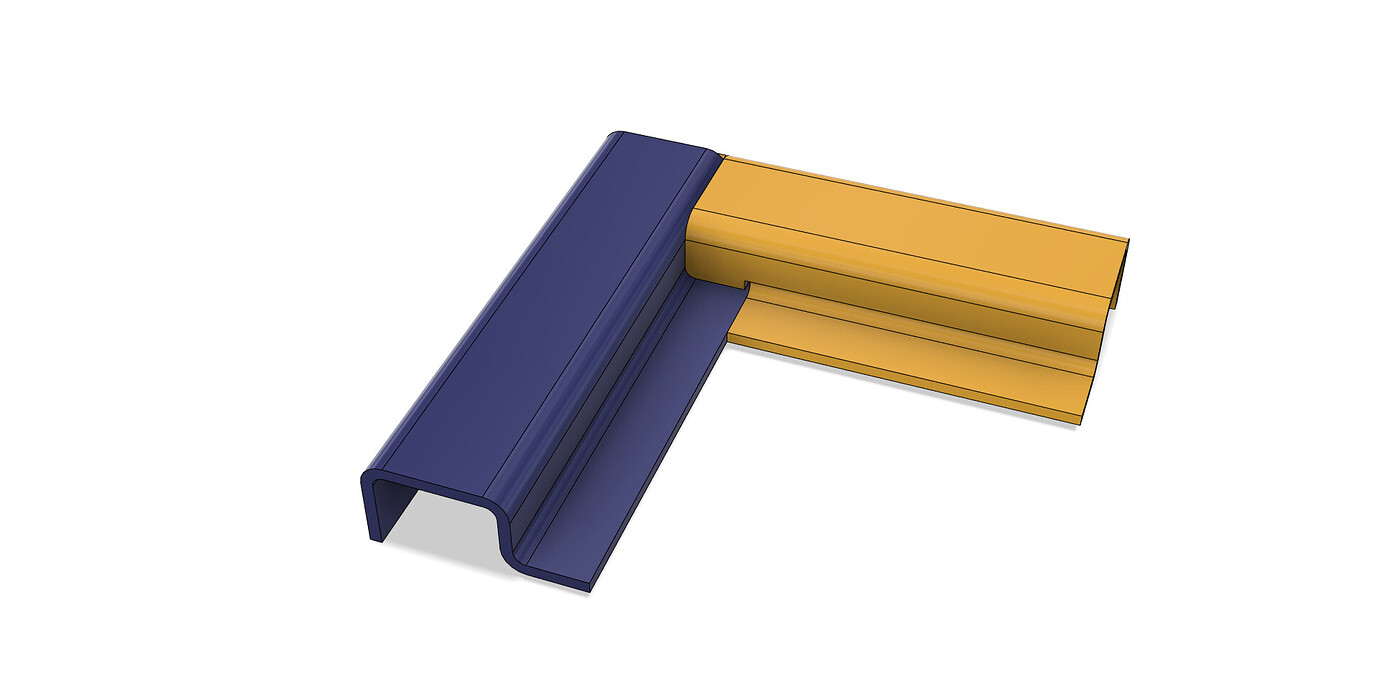
lol next time I do a run to the scrap metal yard i’ll take and post a picture of what i drop off, i am sure there will be a few mess ups to look at.
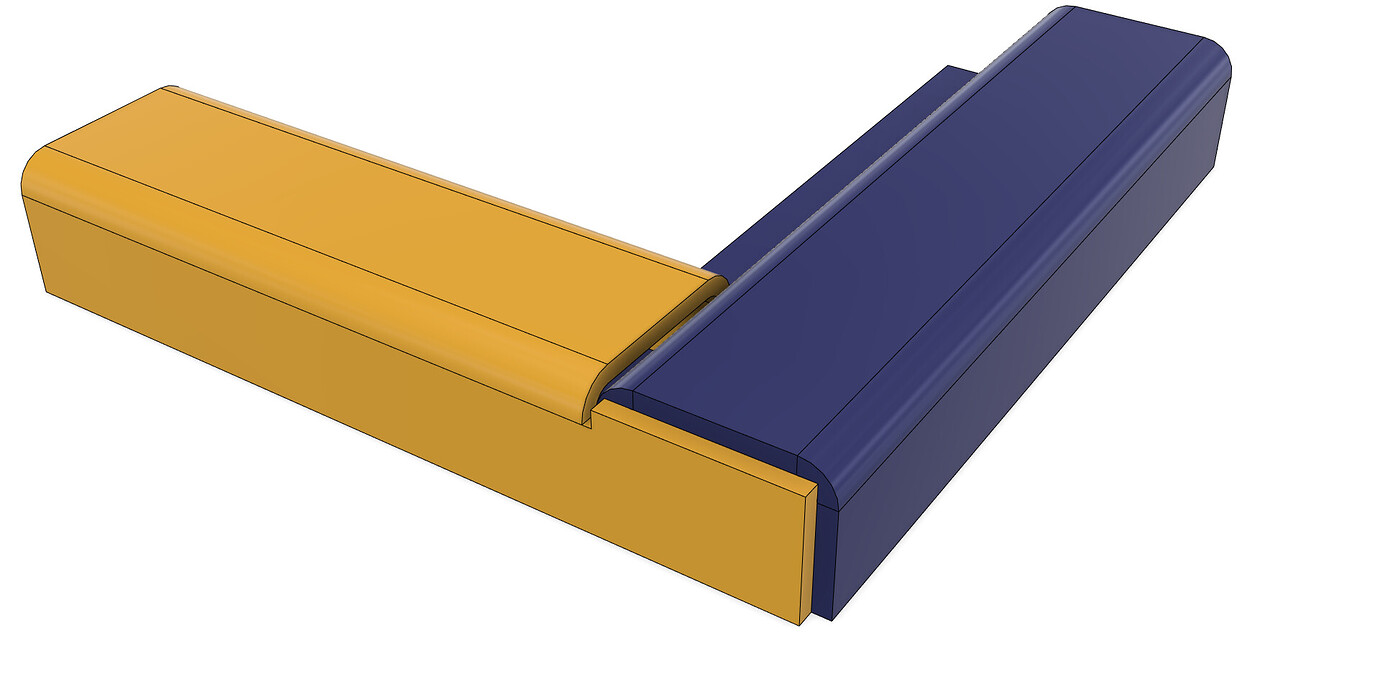
thanks I worked with it in cad for a while to get the joint i wanted.
yes doing some practice bends to see and take notes on how things will react is key,
it is all 1/8" aluminum, both the pedal and hatches.
3 Likes
I watched this video and I feel like it was one of the most fact-filled videos I’ve seen on F360, as well as a lot of great tips on metal cutting.
This is going to be a great reference for myself and others. Thank you.
5 Likes
One of these days I’m going to put more than 10 mins of time into these garage sale finds. I got 3 of them for $6 so 2 left to play with when I get time. If you haven’t cut saw blades it’s pretty cool and people love them. Lucky for them I give stuff away. It’s the fun of it for me.
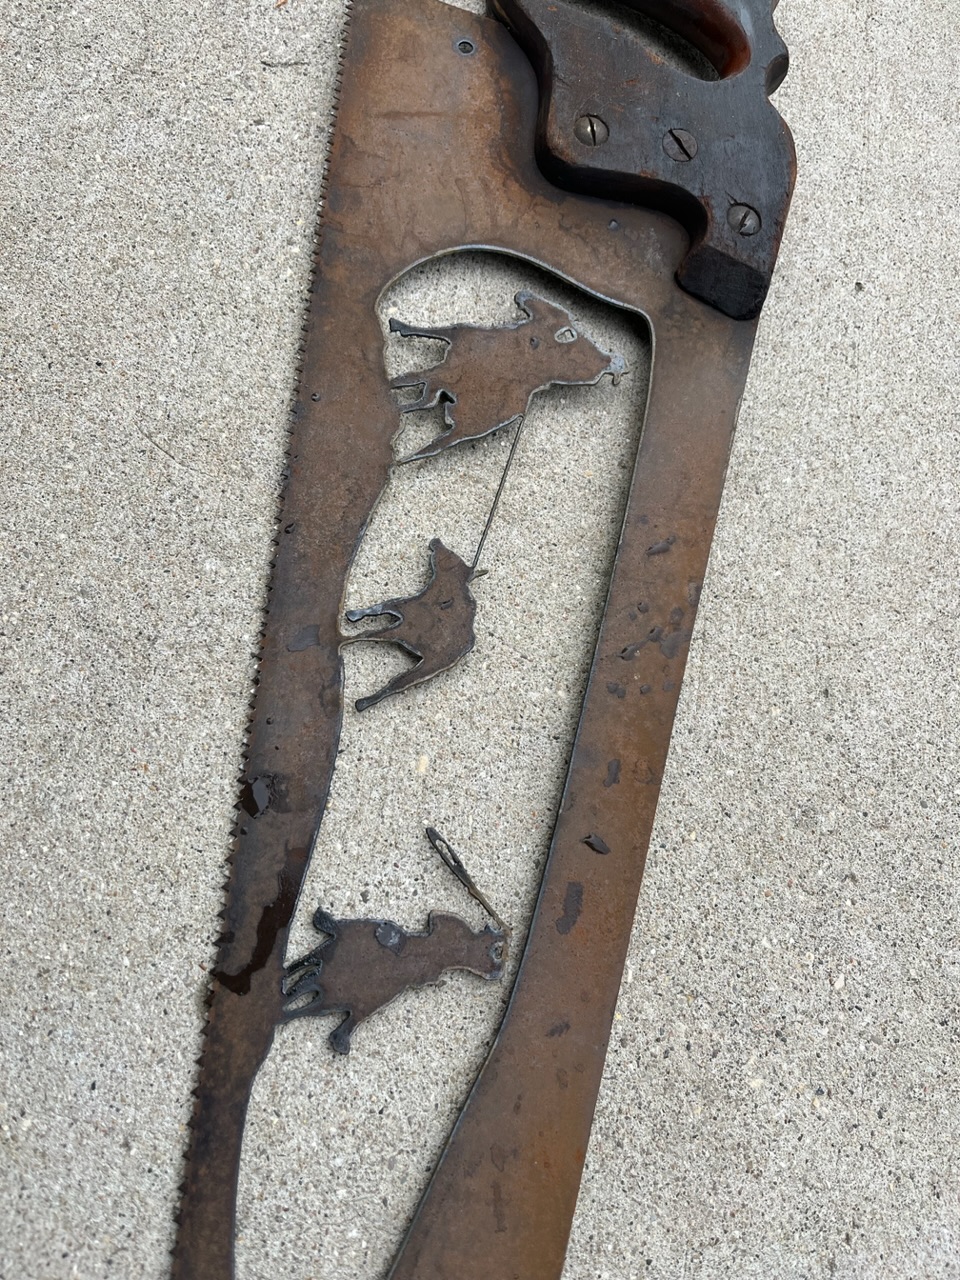
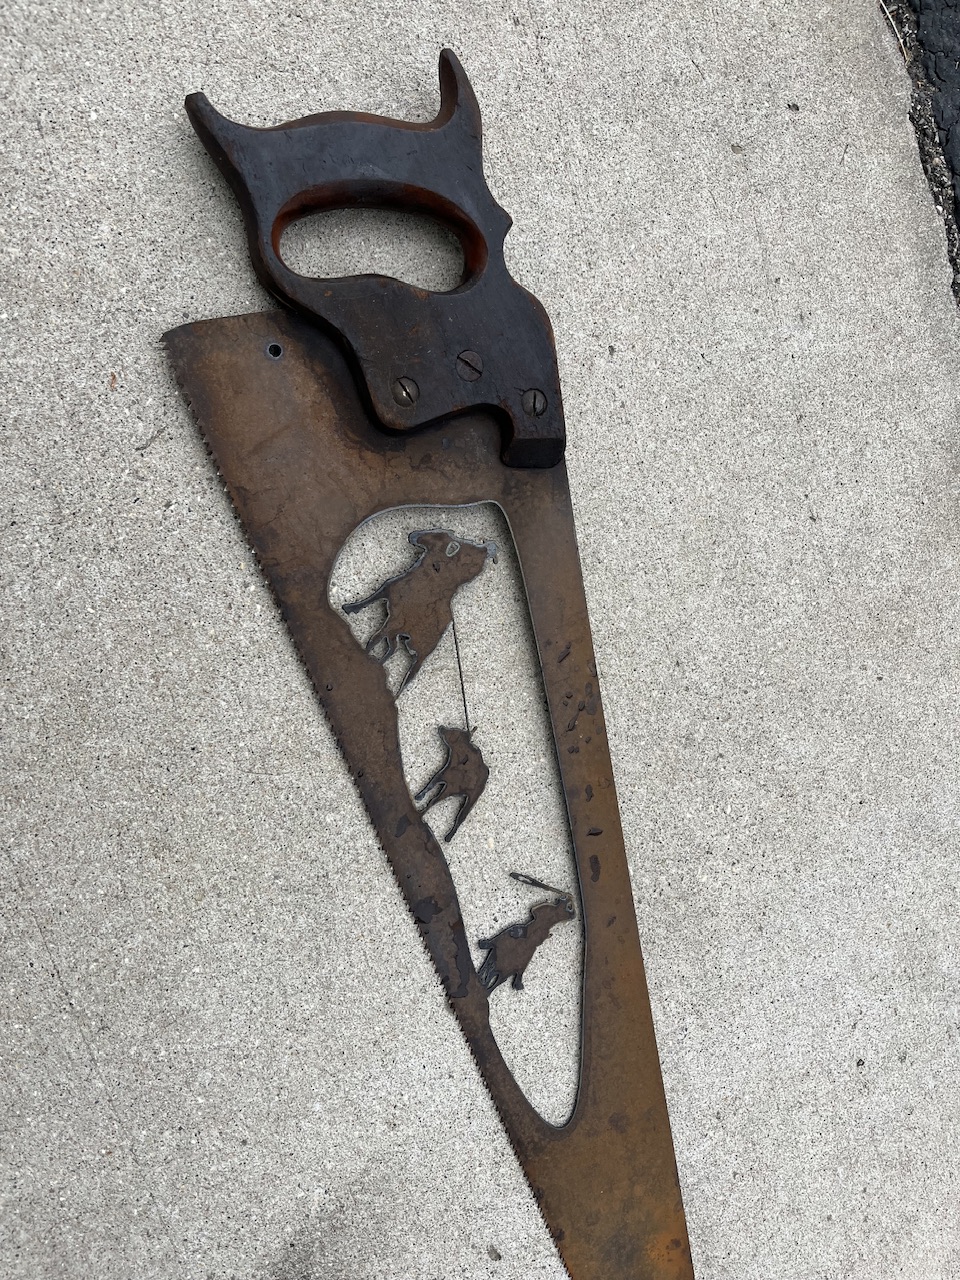
5 Likes
Agree, I’ve watched that video. Here are the set back videos I’ve found useful.
")


5 Likes
Tin, I read through the link you posted
Their example includes a finger edge radius. My brake’s finger edges are square (no perceivable fillet). However, my next experiment will be following their " 90 Degrees Bend Angle" example to calculate k, then use that in F360 to see if I can improve bend accuracy.
Why do I want all this accuracy? I want to get to this level

Of course, that requires TIG skills that I don’t have yet. ![]()
6 Likes
Those parts in the video were not cut with a plasma or bent with a leaf brake.
They were made using a CNC turret punch and a CNC press brake.
I would love to be at the level , I missed a chance at a 60ton CNC press brake last year and I am still kicking myself.
4 Likes