Thanks. The Ross Reels links and the machines are old. They now have this
https://youtu.be/4WMAG9Sp1qw?si=WAx5n-UQIXcSvsUu including the robot feeder which is killer to watch.
This is my LinkedIn page https://www.linkedin.com/in/craighollabaugh/
Thanks. The Ross Reels links and the machines are old. They now have this
https://youtu.be/4WMAG9Sp1qw?si=WAx5n-UQIXcSvsUu including the robot feeder which is killer to watch.
This is my LinkedIn page https://www.linkedin.com/in/craighollabaugh/
Great idea! Any chance you either have or would be willing to share your design/ files on this? Thanks! -Steve
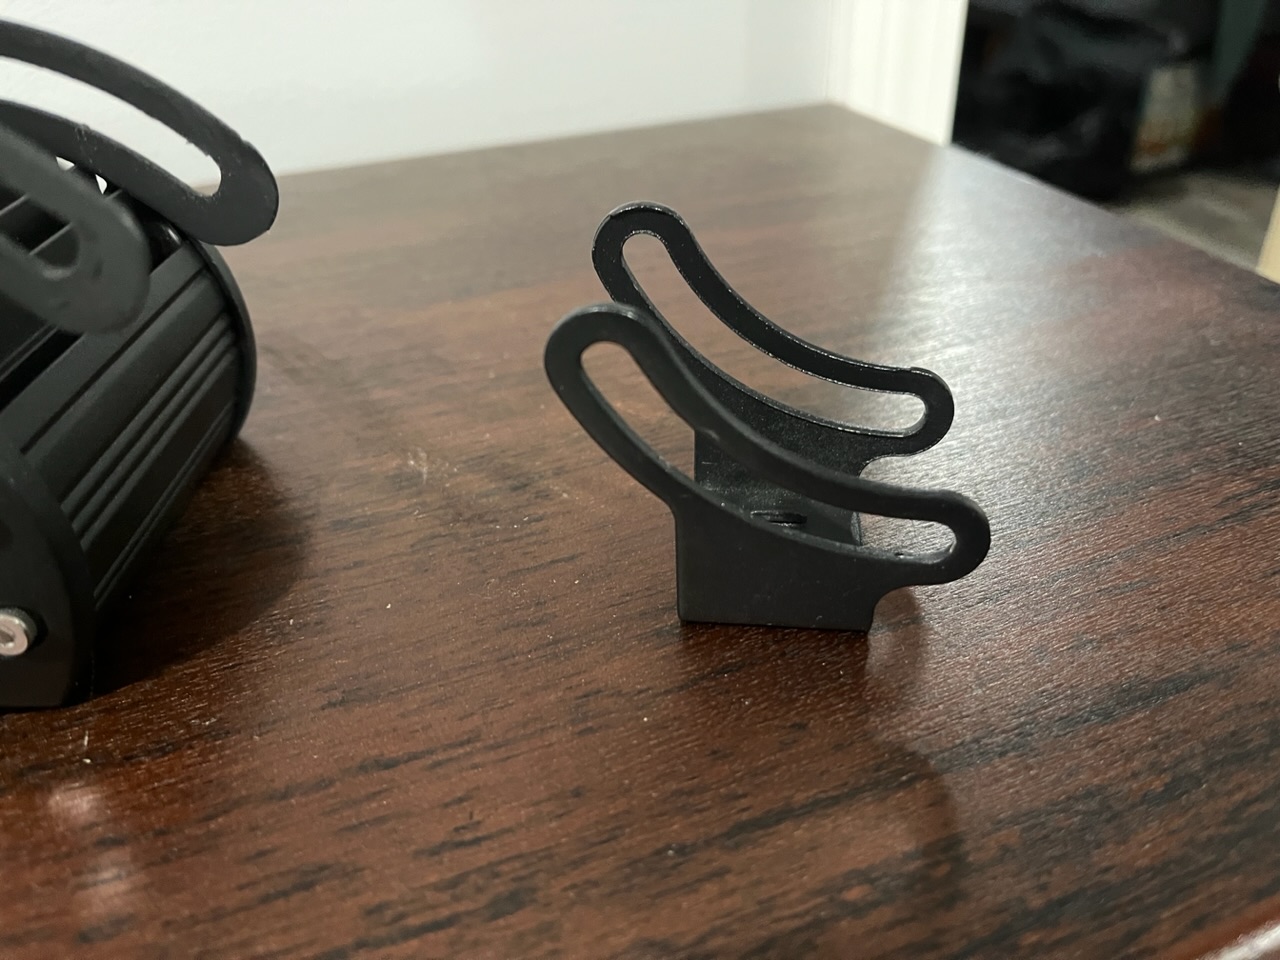
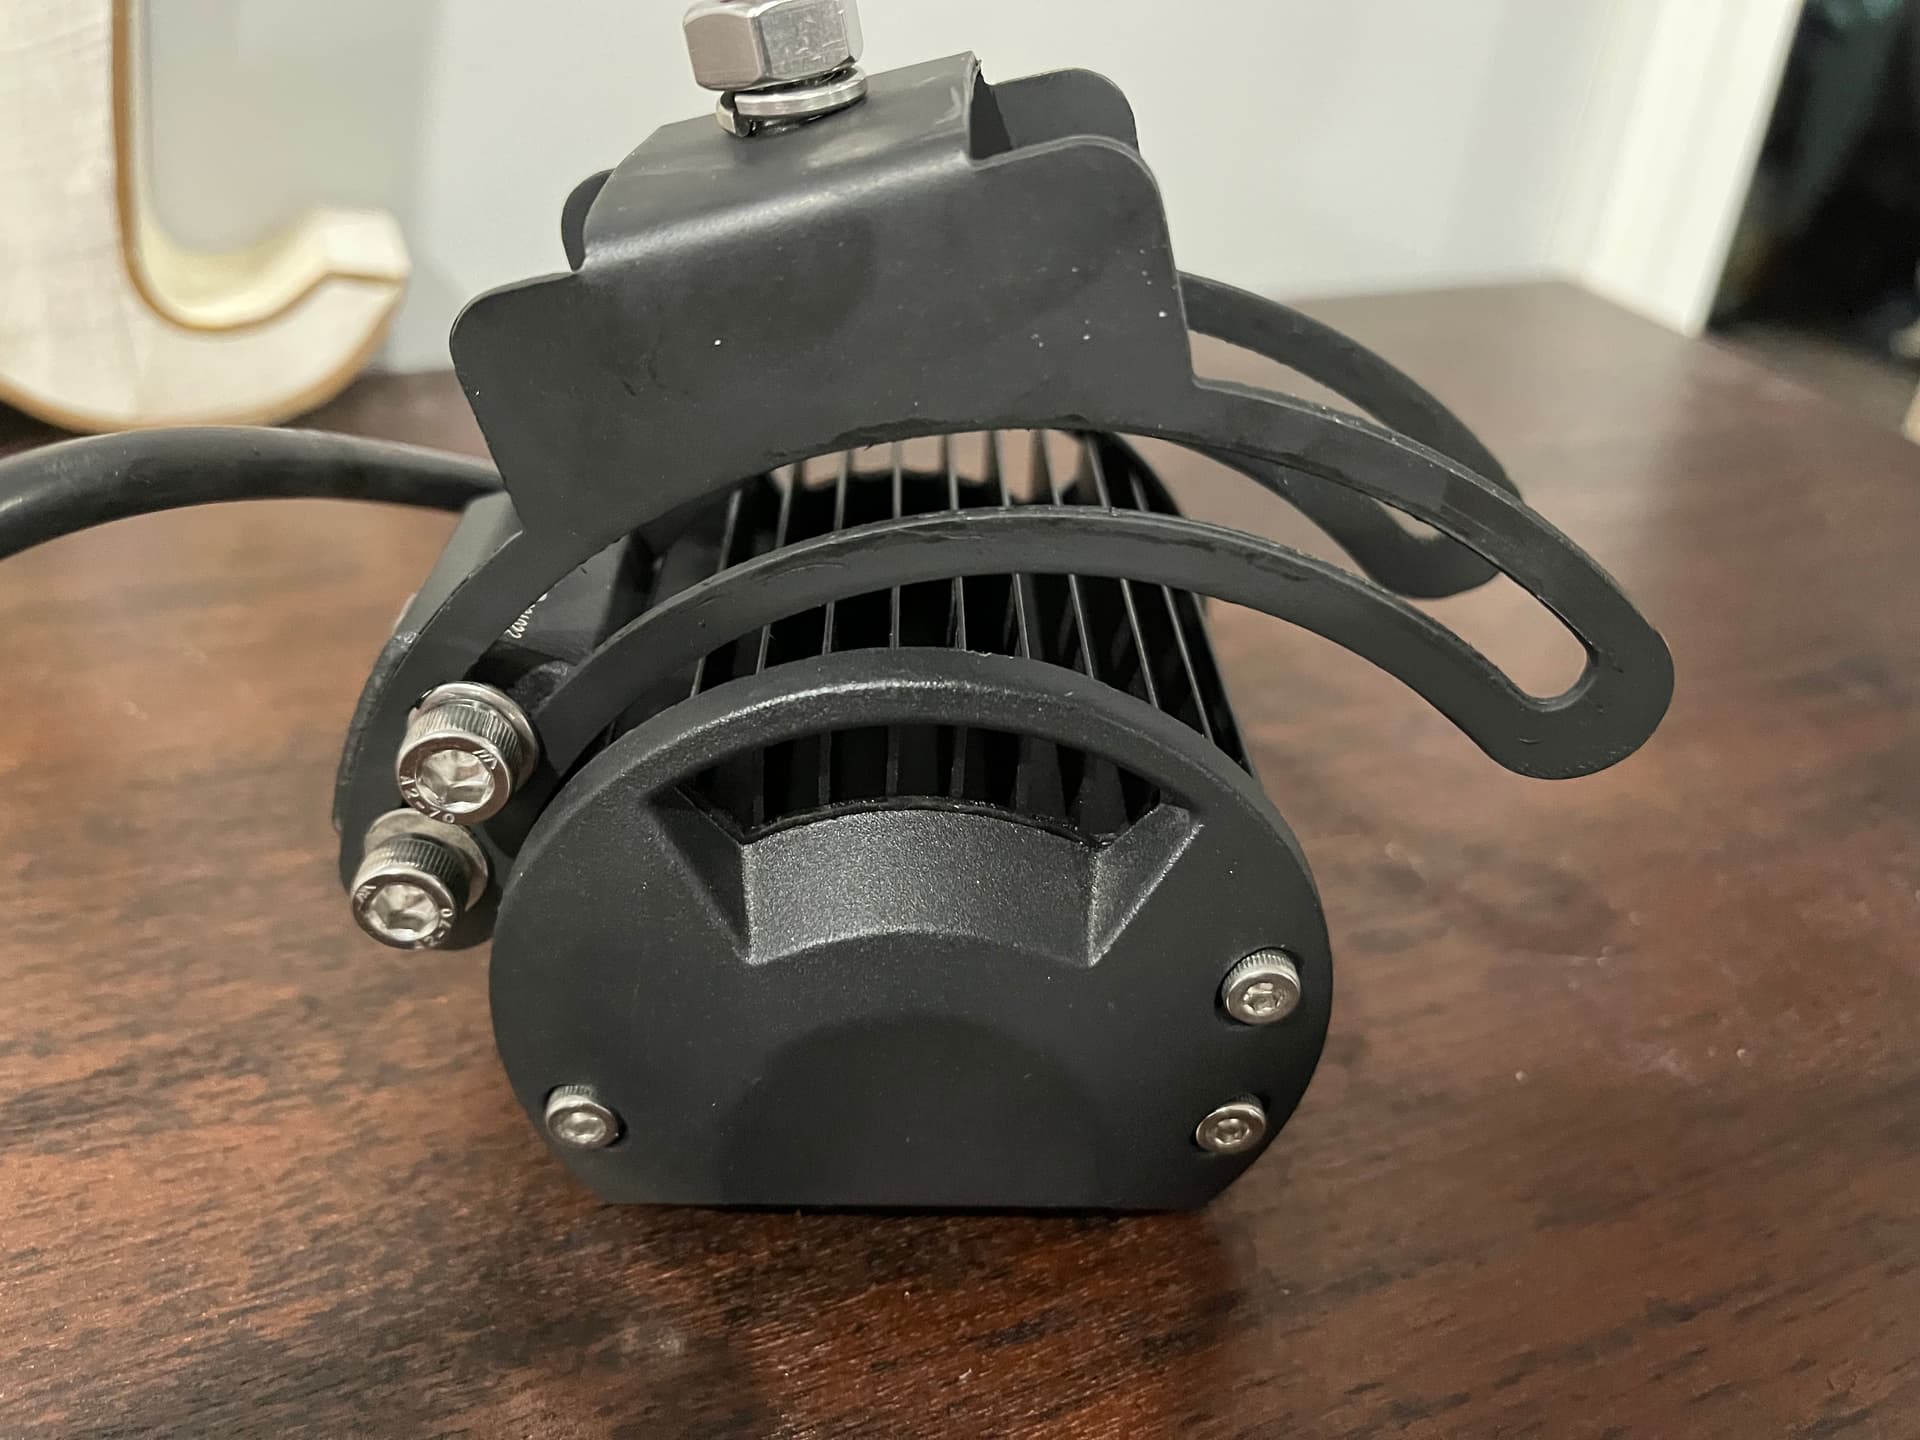
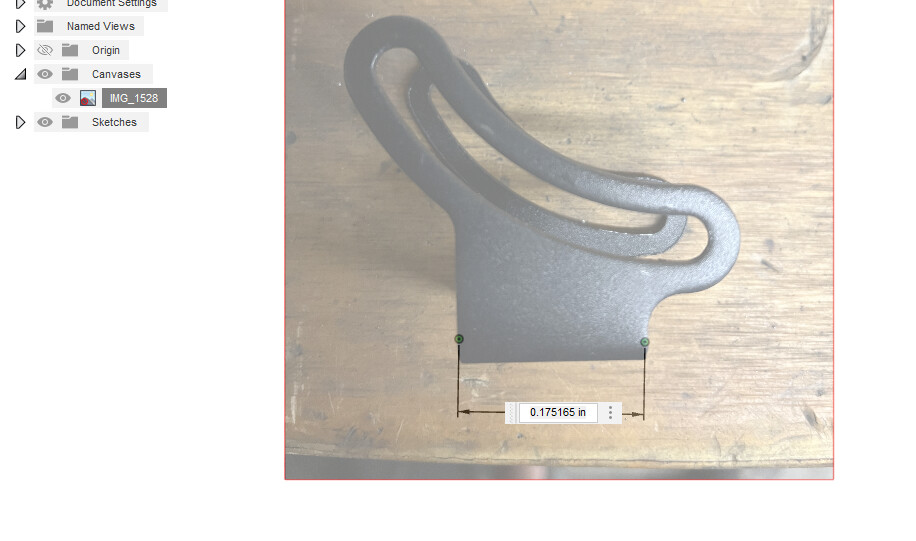
My son asked if I could make him a better sliding bracket that allowed the light to point up and down.
Original that came with light…
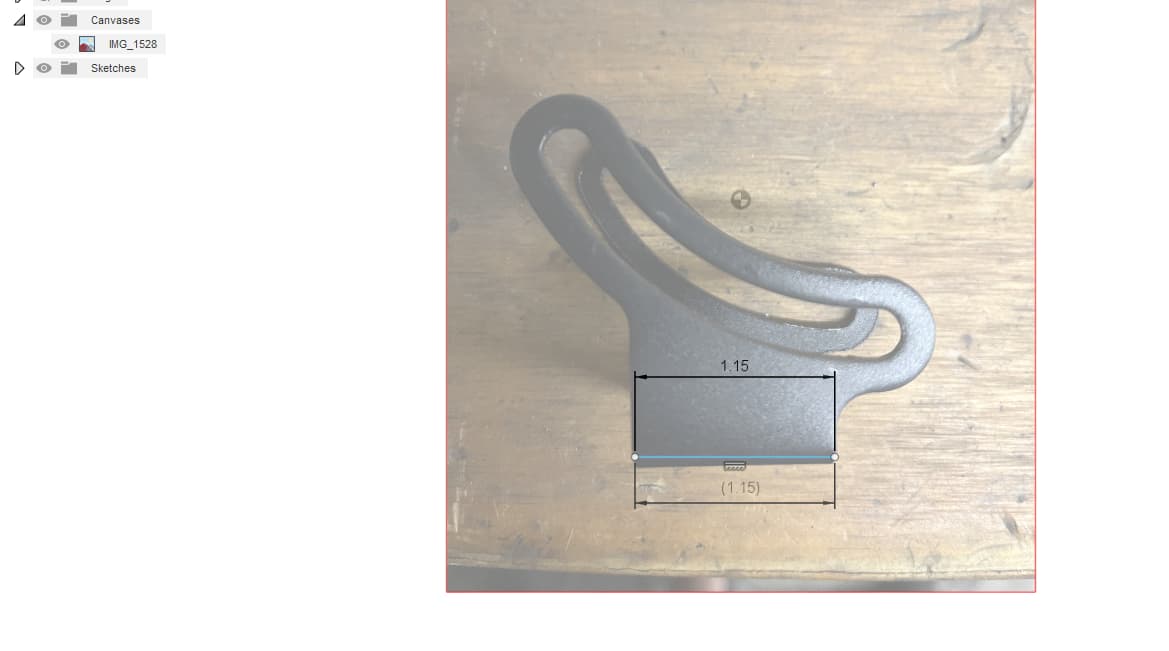
What we ended up with…
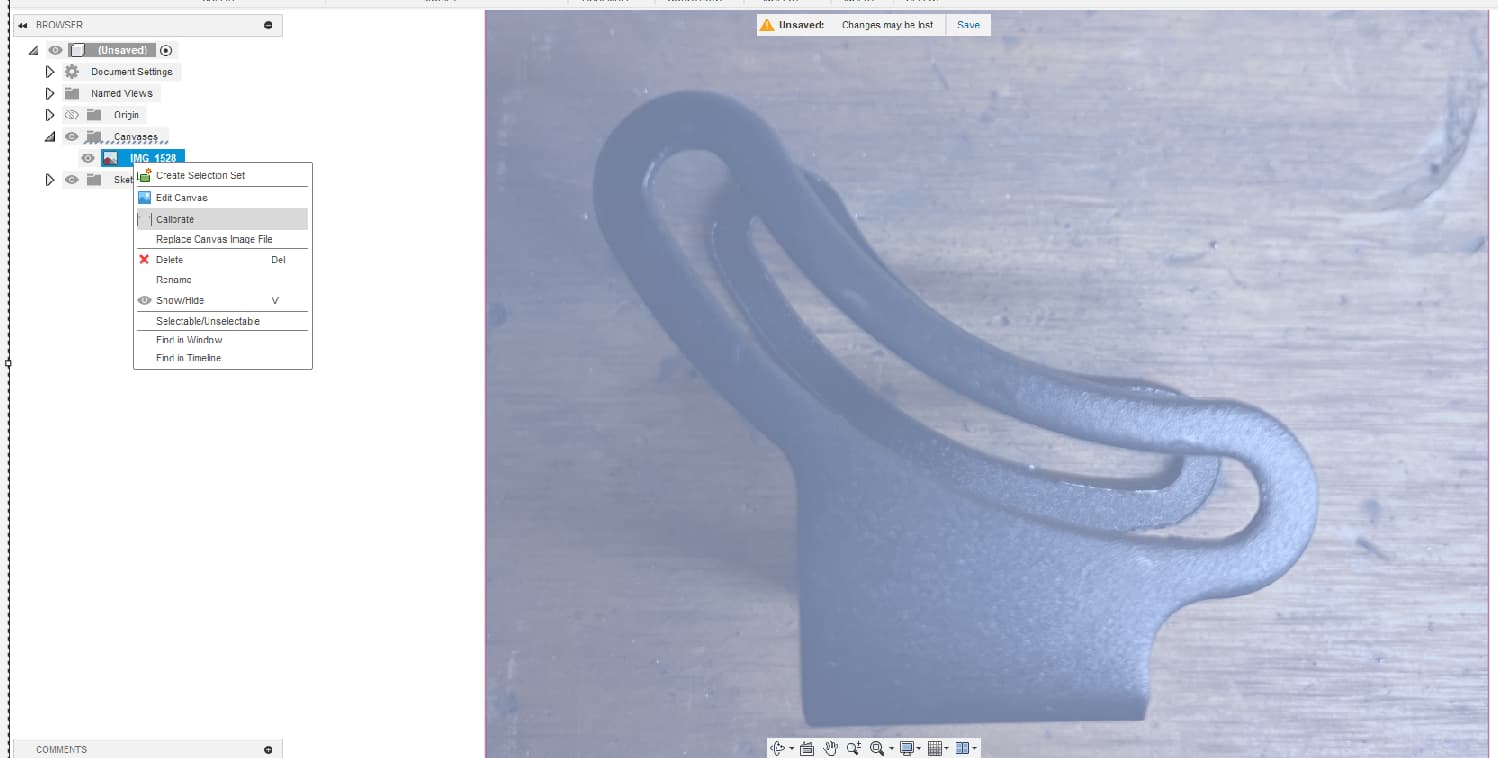
Making these types of things are super easy by inserting a flat side canvas and calibrating it. Then just tracing it in fusion. Many times, I measure a hole on a part but on this one I just took measurement on bottom of part which was 1.15’. I figured I would share this 10 min design tip.
oringinal canvas size
After calibrating my canvas
where did you get that pattern?..real nice!
I have those same lights on both my Tacomas and on the front and rear of my Kubota tractor. They are an awesome value for the money. Your son is right though, the brackets are a bit restrictive.
He’s putting them on his work truck. Wants to shine light up on power line pole and also rotate to see inside the box. I was going to find him some wing nuts or weld a tab on bolts. I do what you would call “gorilla welds”. Strong as hell but ugly as sh#t. So I better go find them replacements before I start welding them.
Your wasp nest isn’t goofy at all. Did you powder coat those wasps?
Rattle can artist
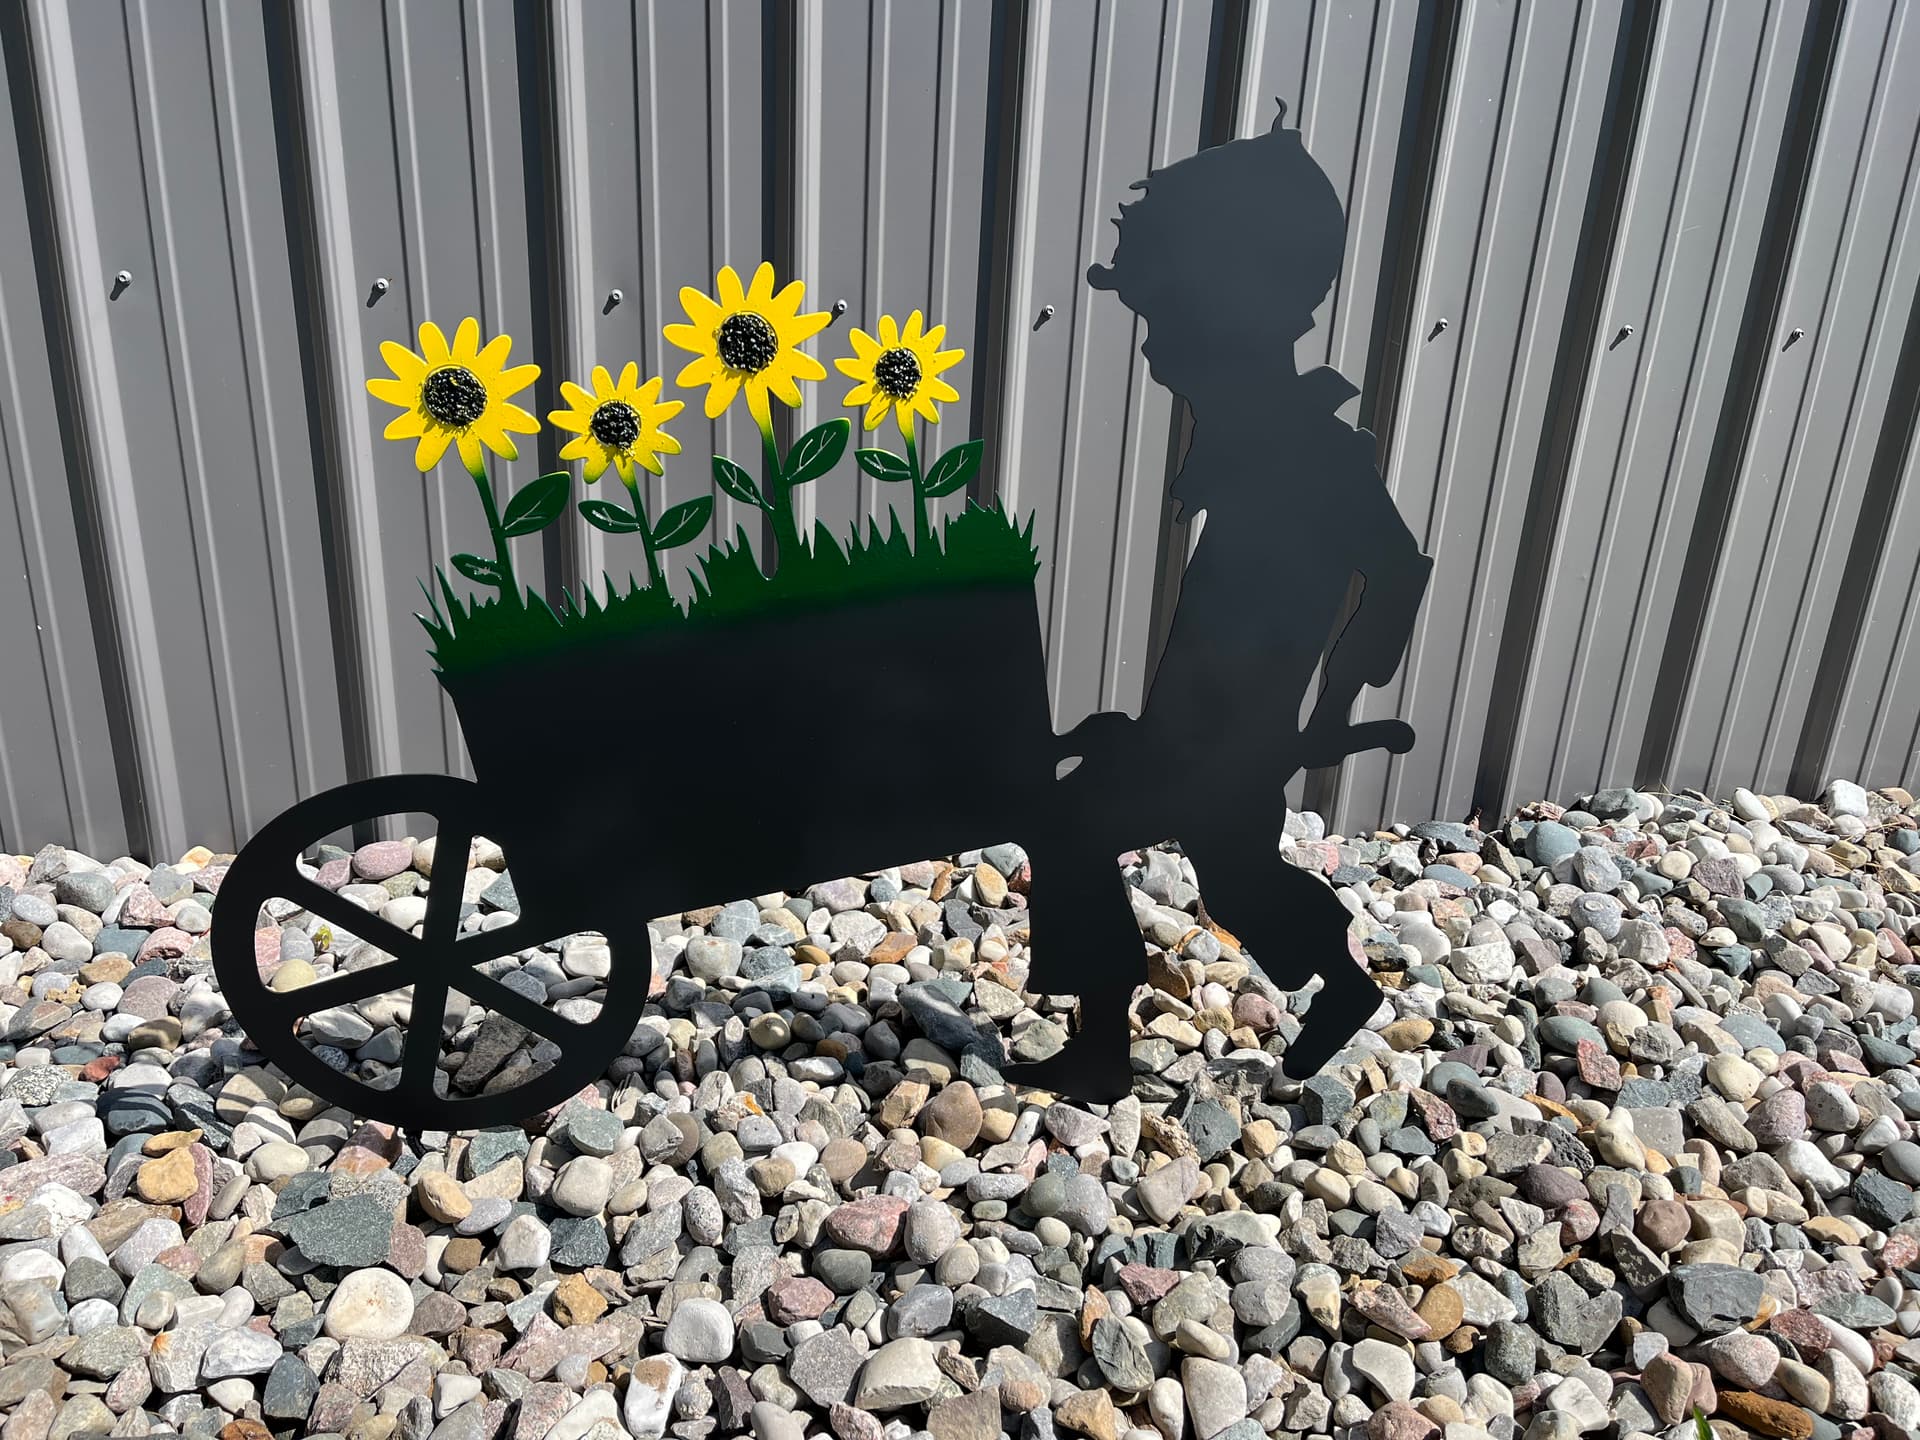
Finished up another project for the yard. I did add this one to the fileshare because its pretty easy…
Boy with Sunflowers | FireShare | Langmuir Systems
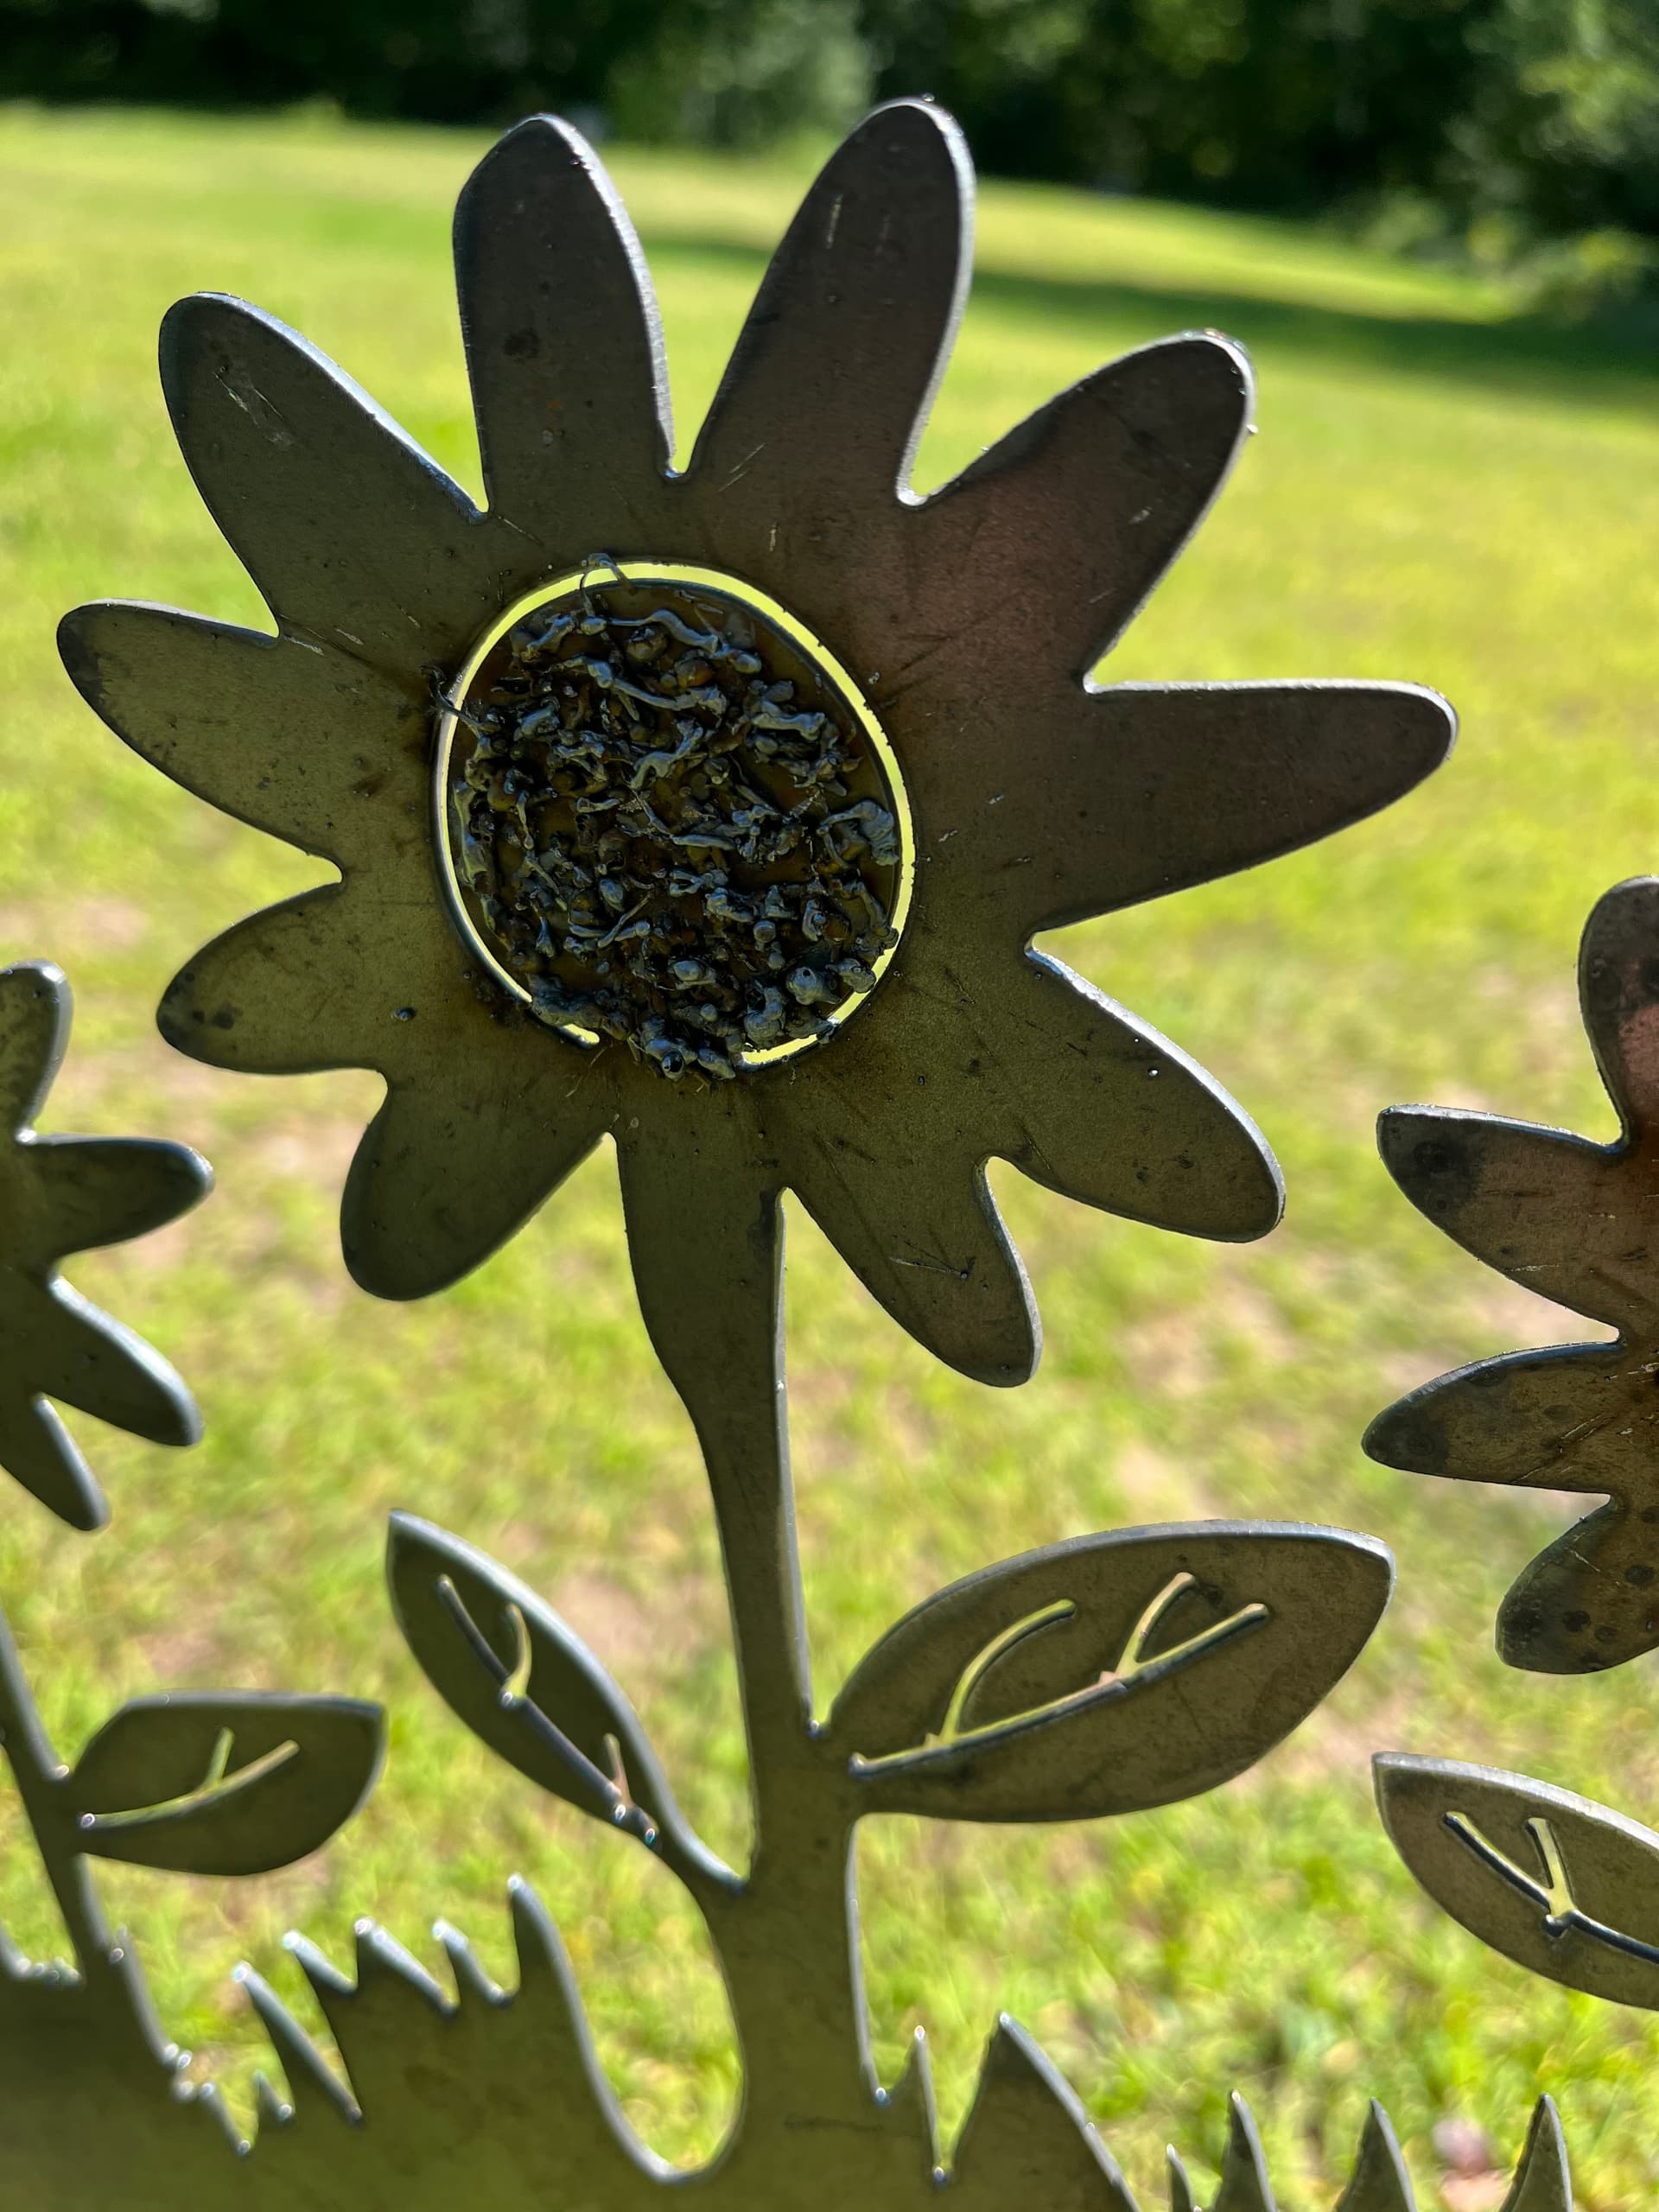
Turn feed up on welder to create the seed on my sunflowers
Just got my table built, solved some THC issues, and this was my first thing that wasn’t a test rectangle. ![]()
I scaled it down to fit the scrap I was testing on so I lost some of the fine details, but overall super impressed with the cuts!
Now I have a lot to learning to do…
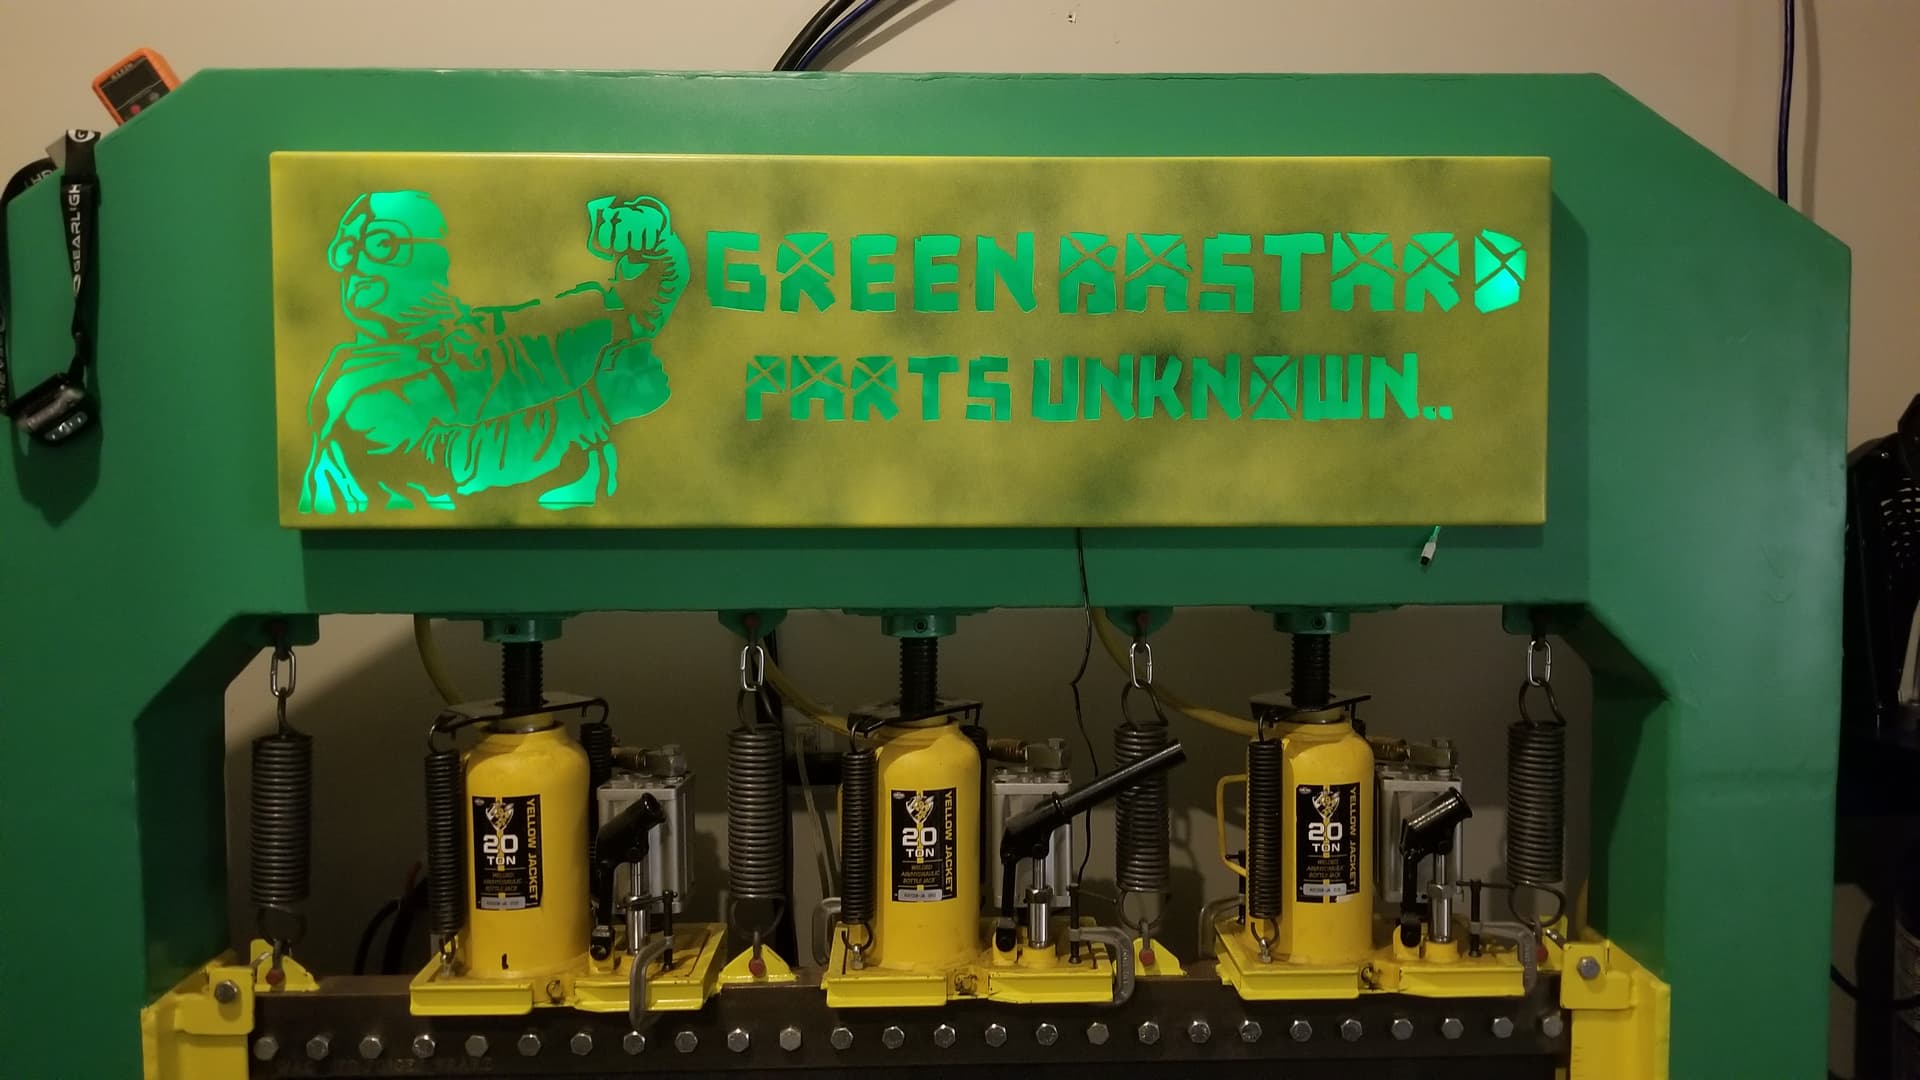
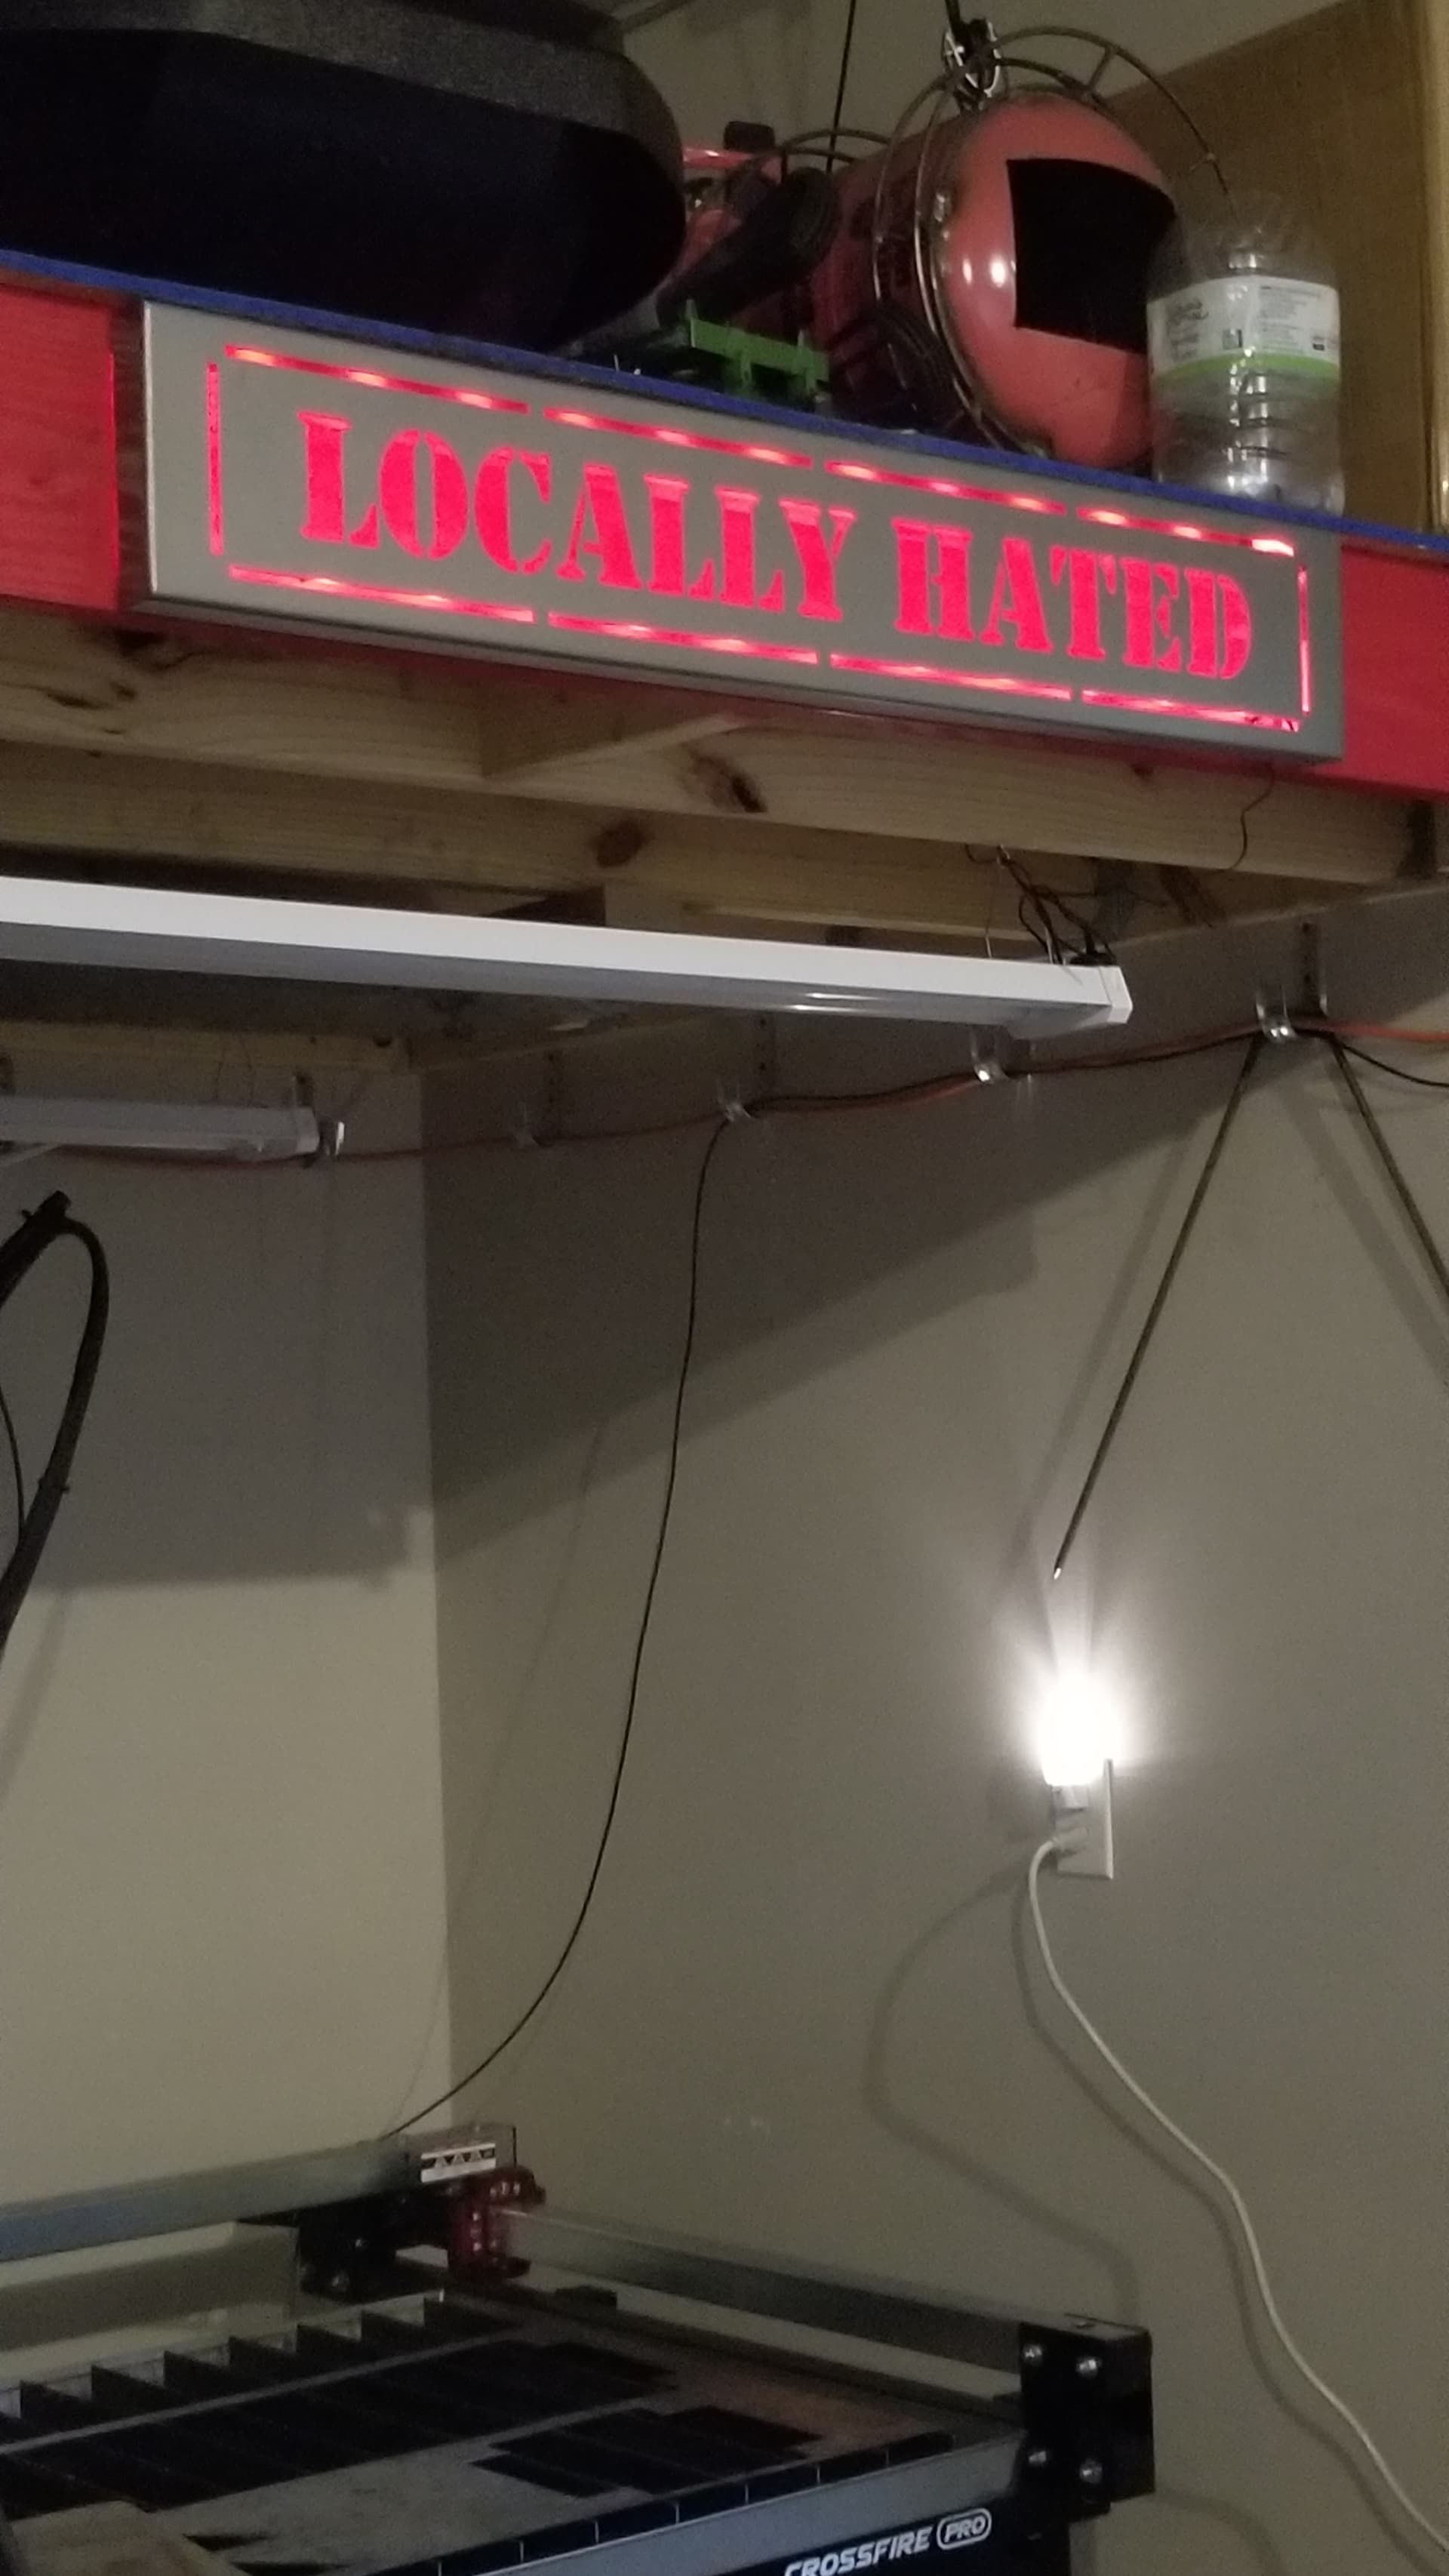
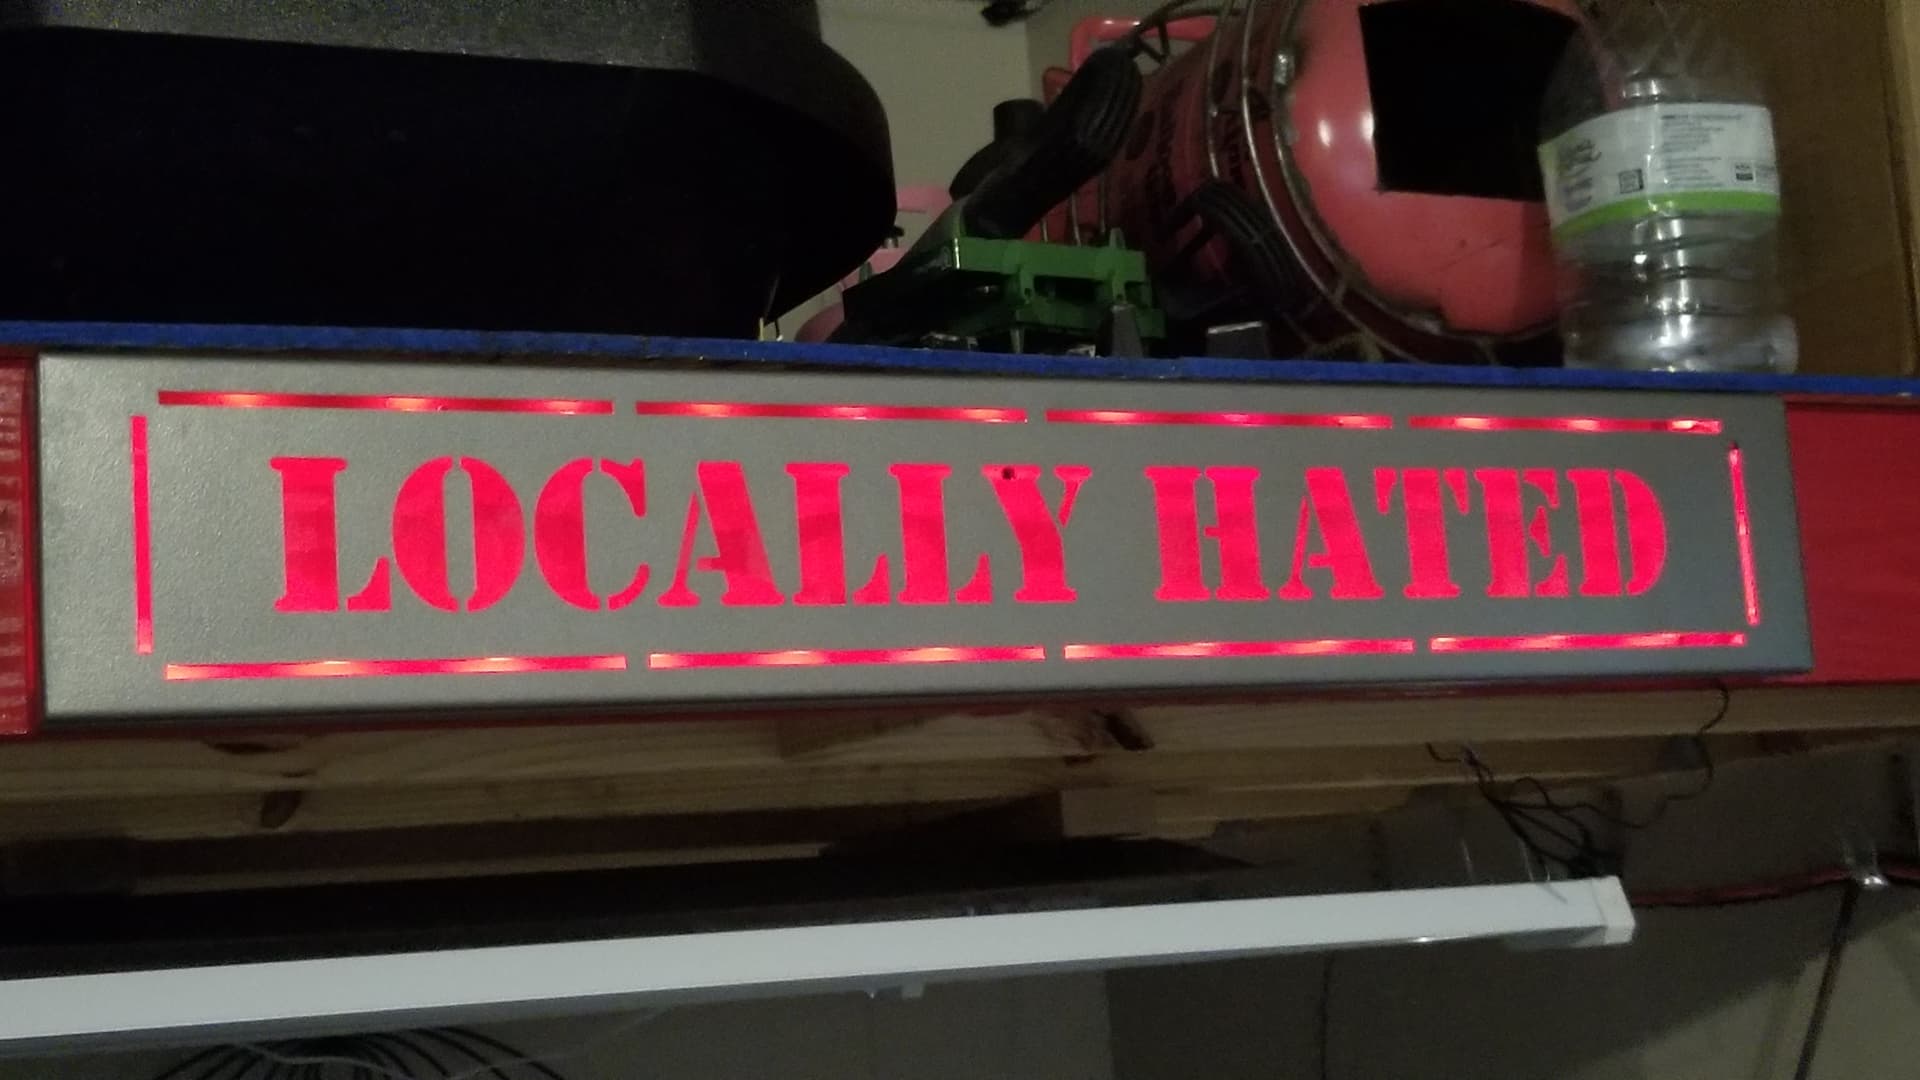
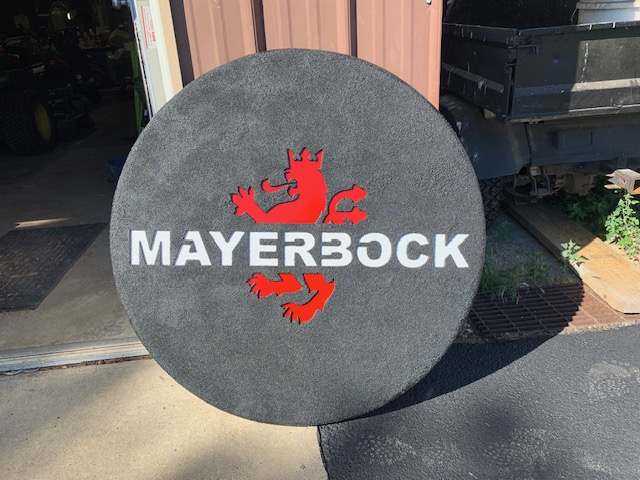
Ha, if I could find a decent word of mouth sales avenue! Otherwise Steinberg might sick Caveman Sam on me for copyright infringement! ![]() Here’s the finished signs. The red doesn’t show too well in the pic but looks pretty good in person.
Here’s the finished signs. The red doesn’t show too well in the pic but looks pretty good in person.
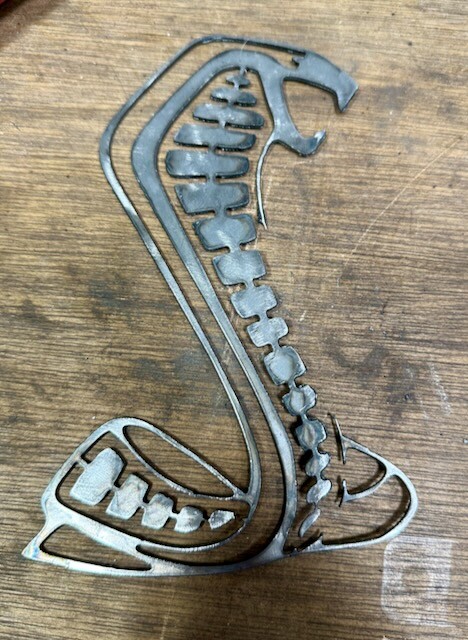
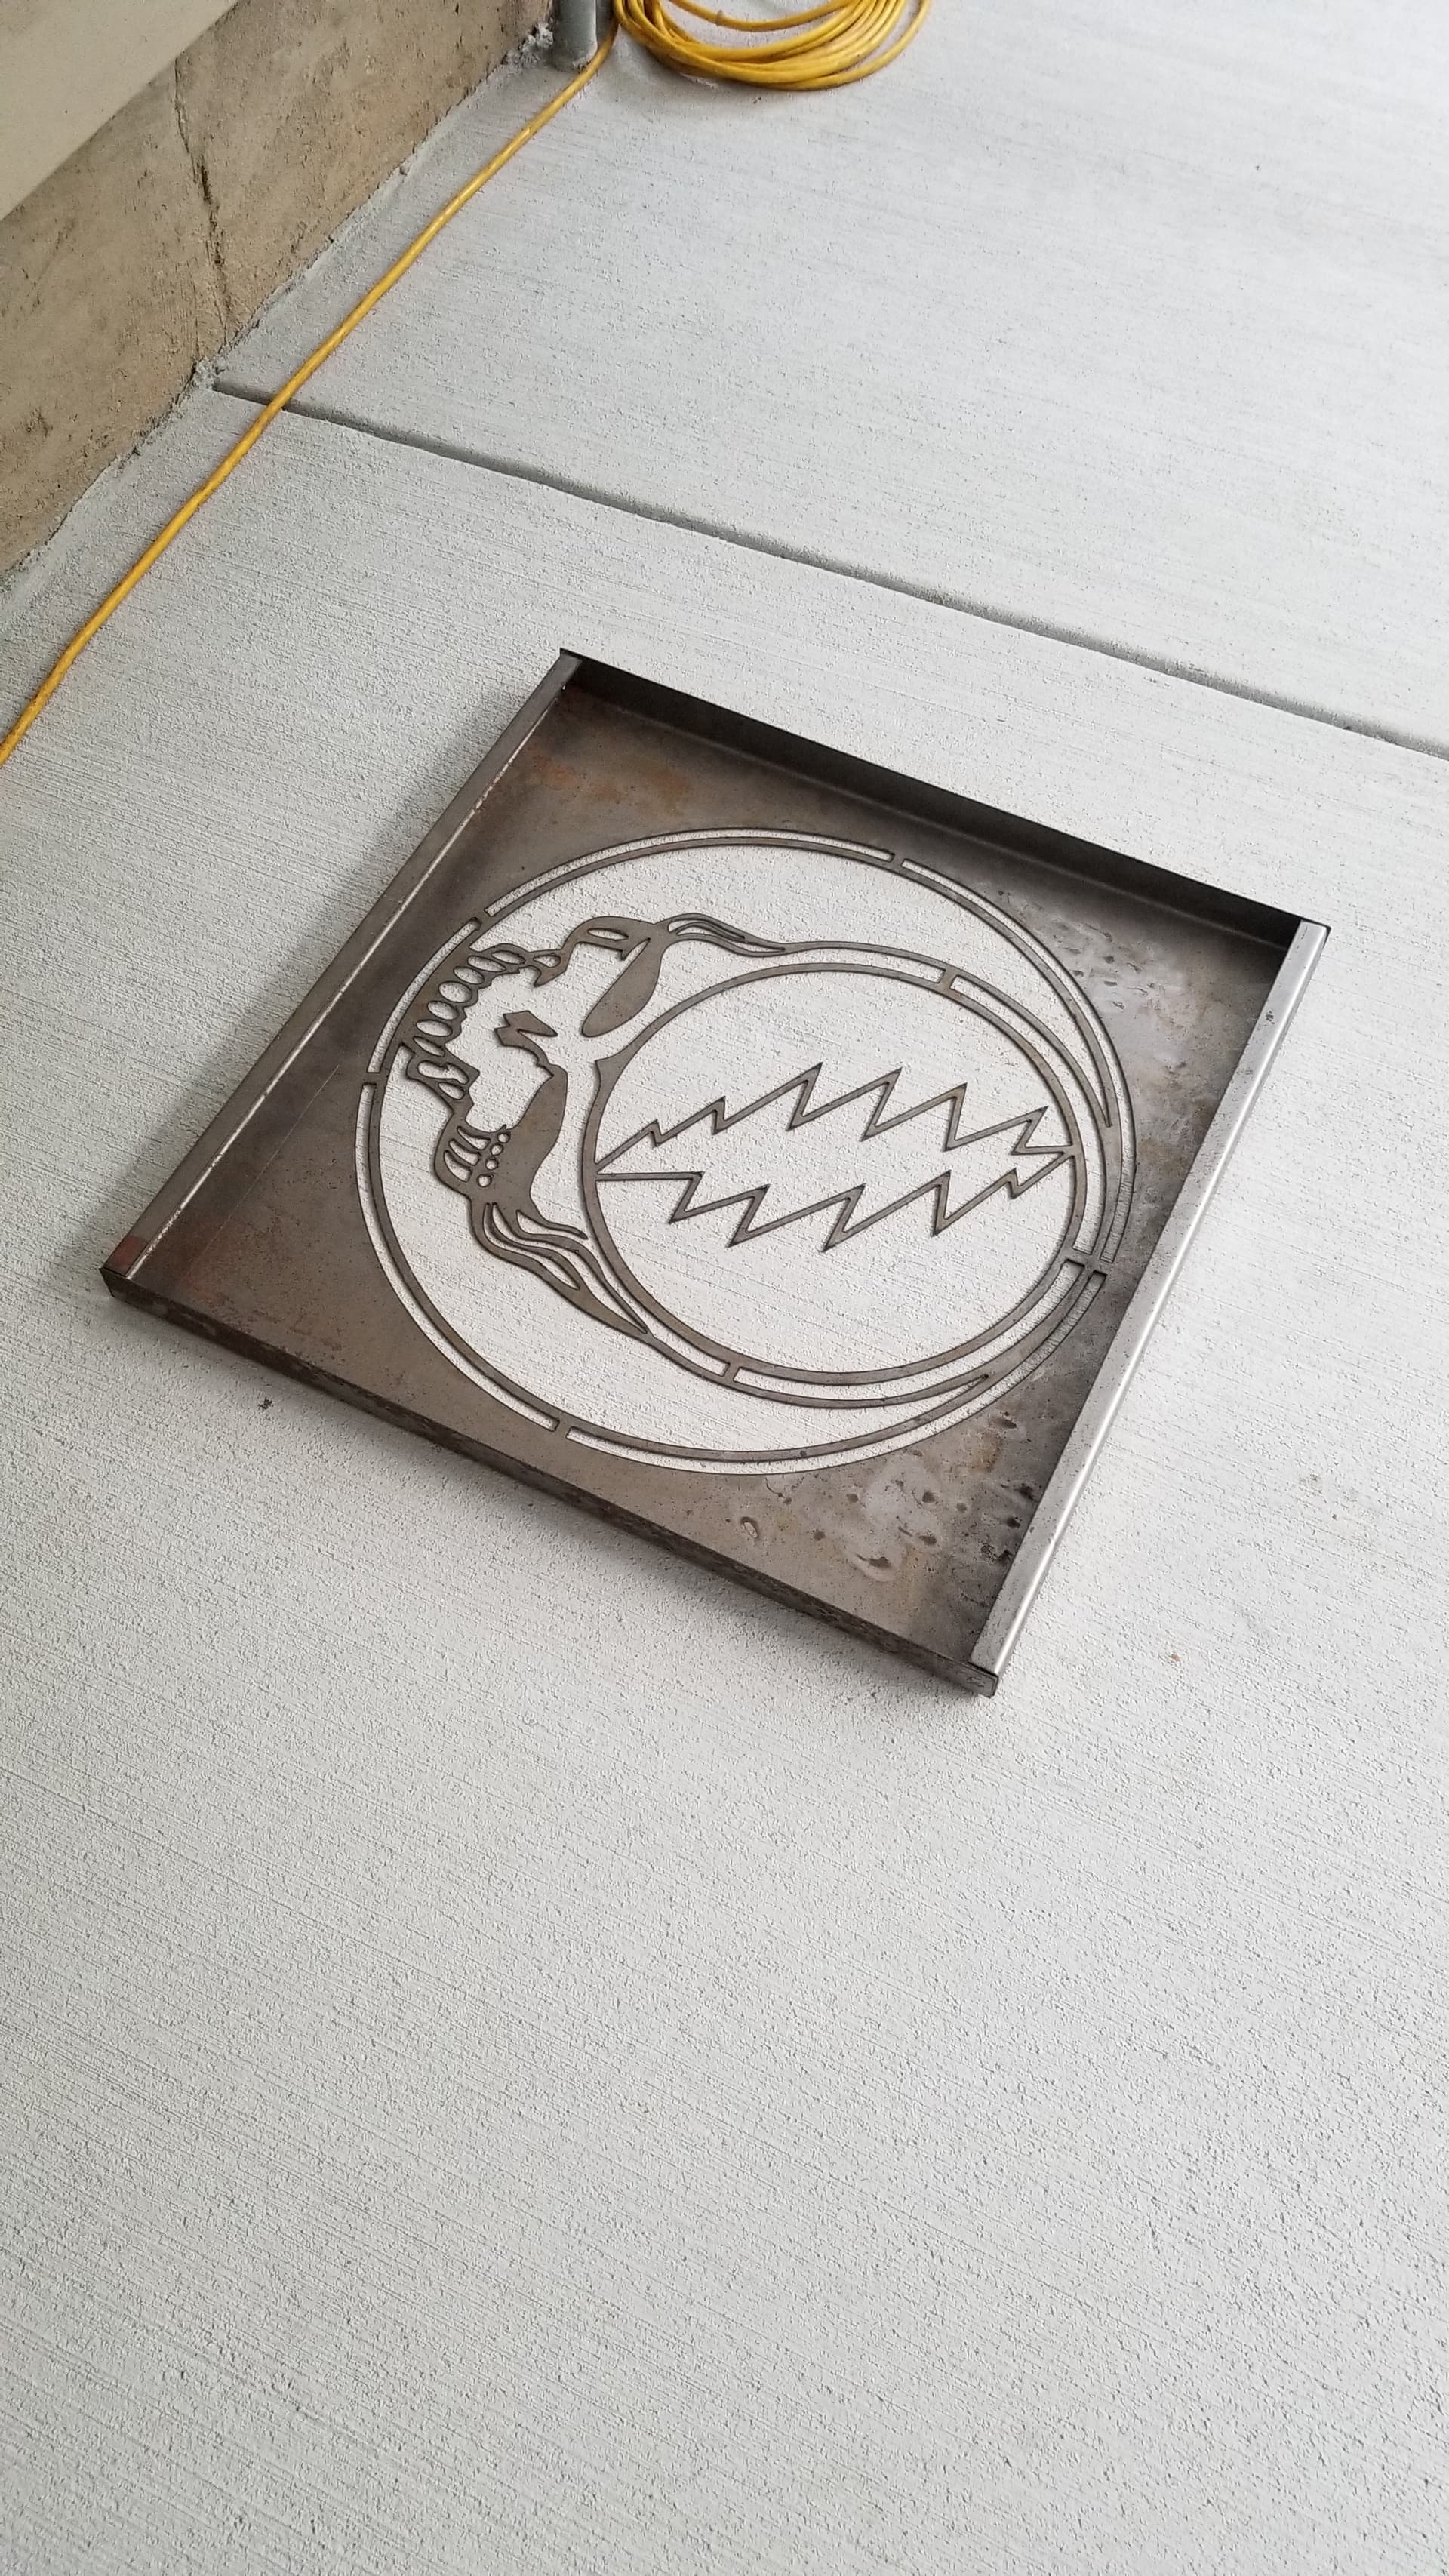
Just worked up a decent Dead steelie skull in a 24x24 frame for a friend(sssss). 16Ga is too thin for the design. Also need to bridge the inner circle better before the next cut but going to see if I can salvage this one by lining the inside with wood. Going to get crafty with it and either adhere something color coordinating into the cutouts or paint them.
Next up on the design block is some sort of Caterham Super 7 design for a friend. Not sure if I want to attempt a vehicle silhouette, but no time like the present to learn!
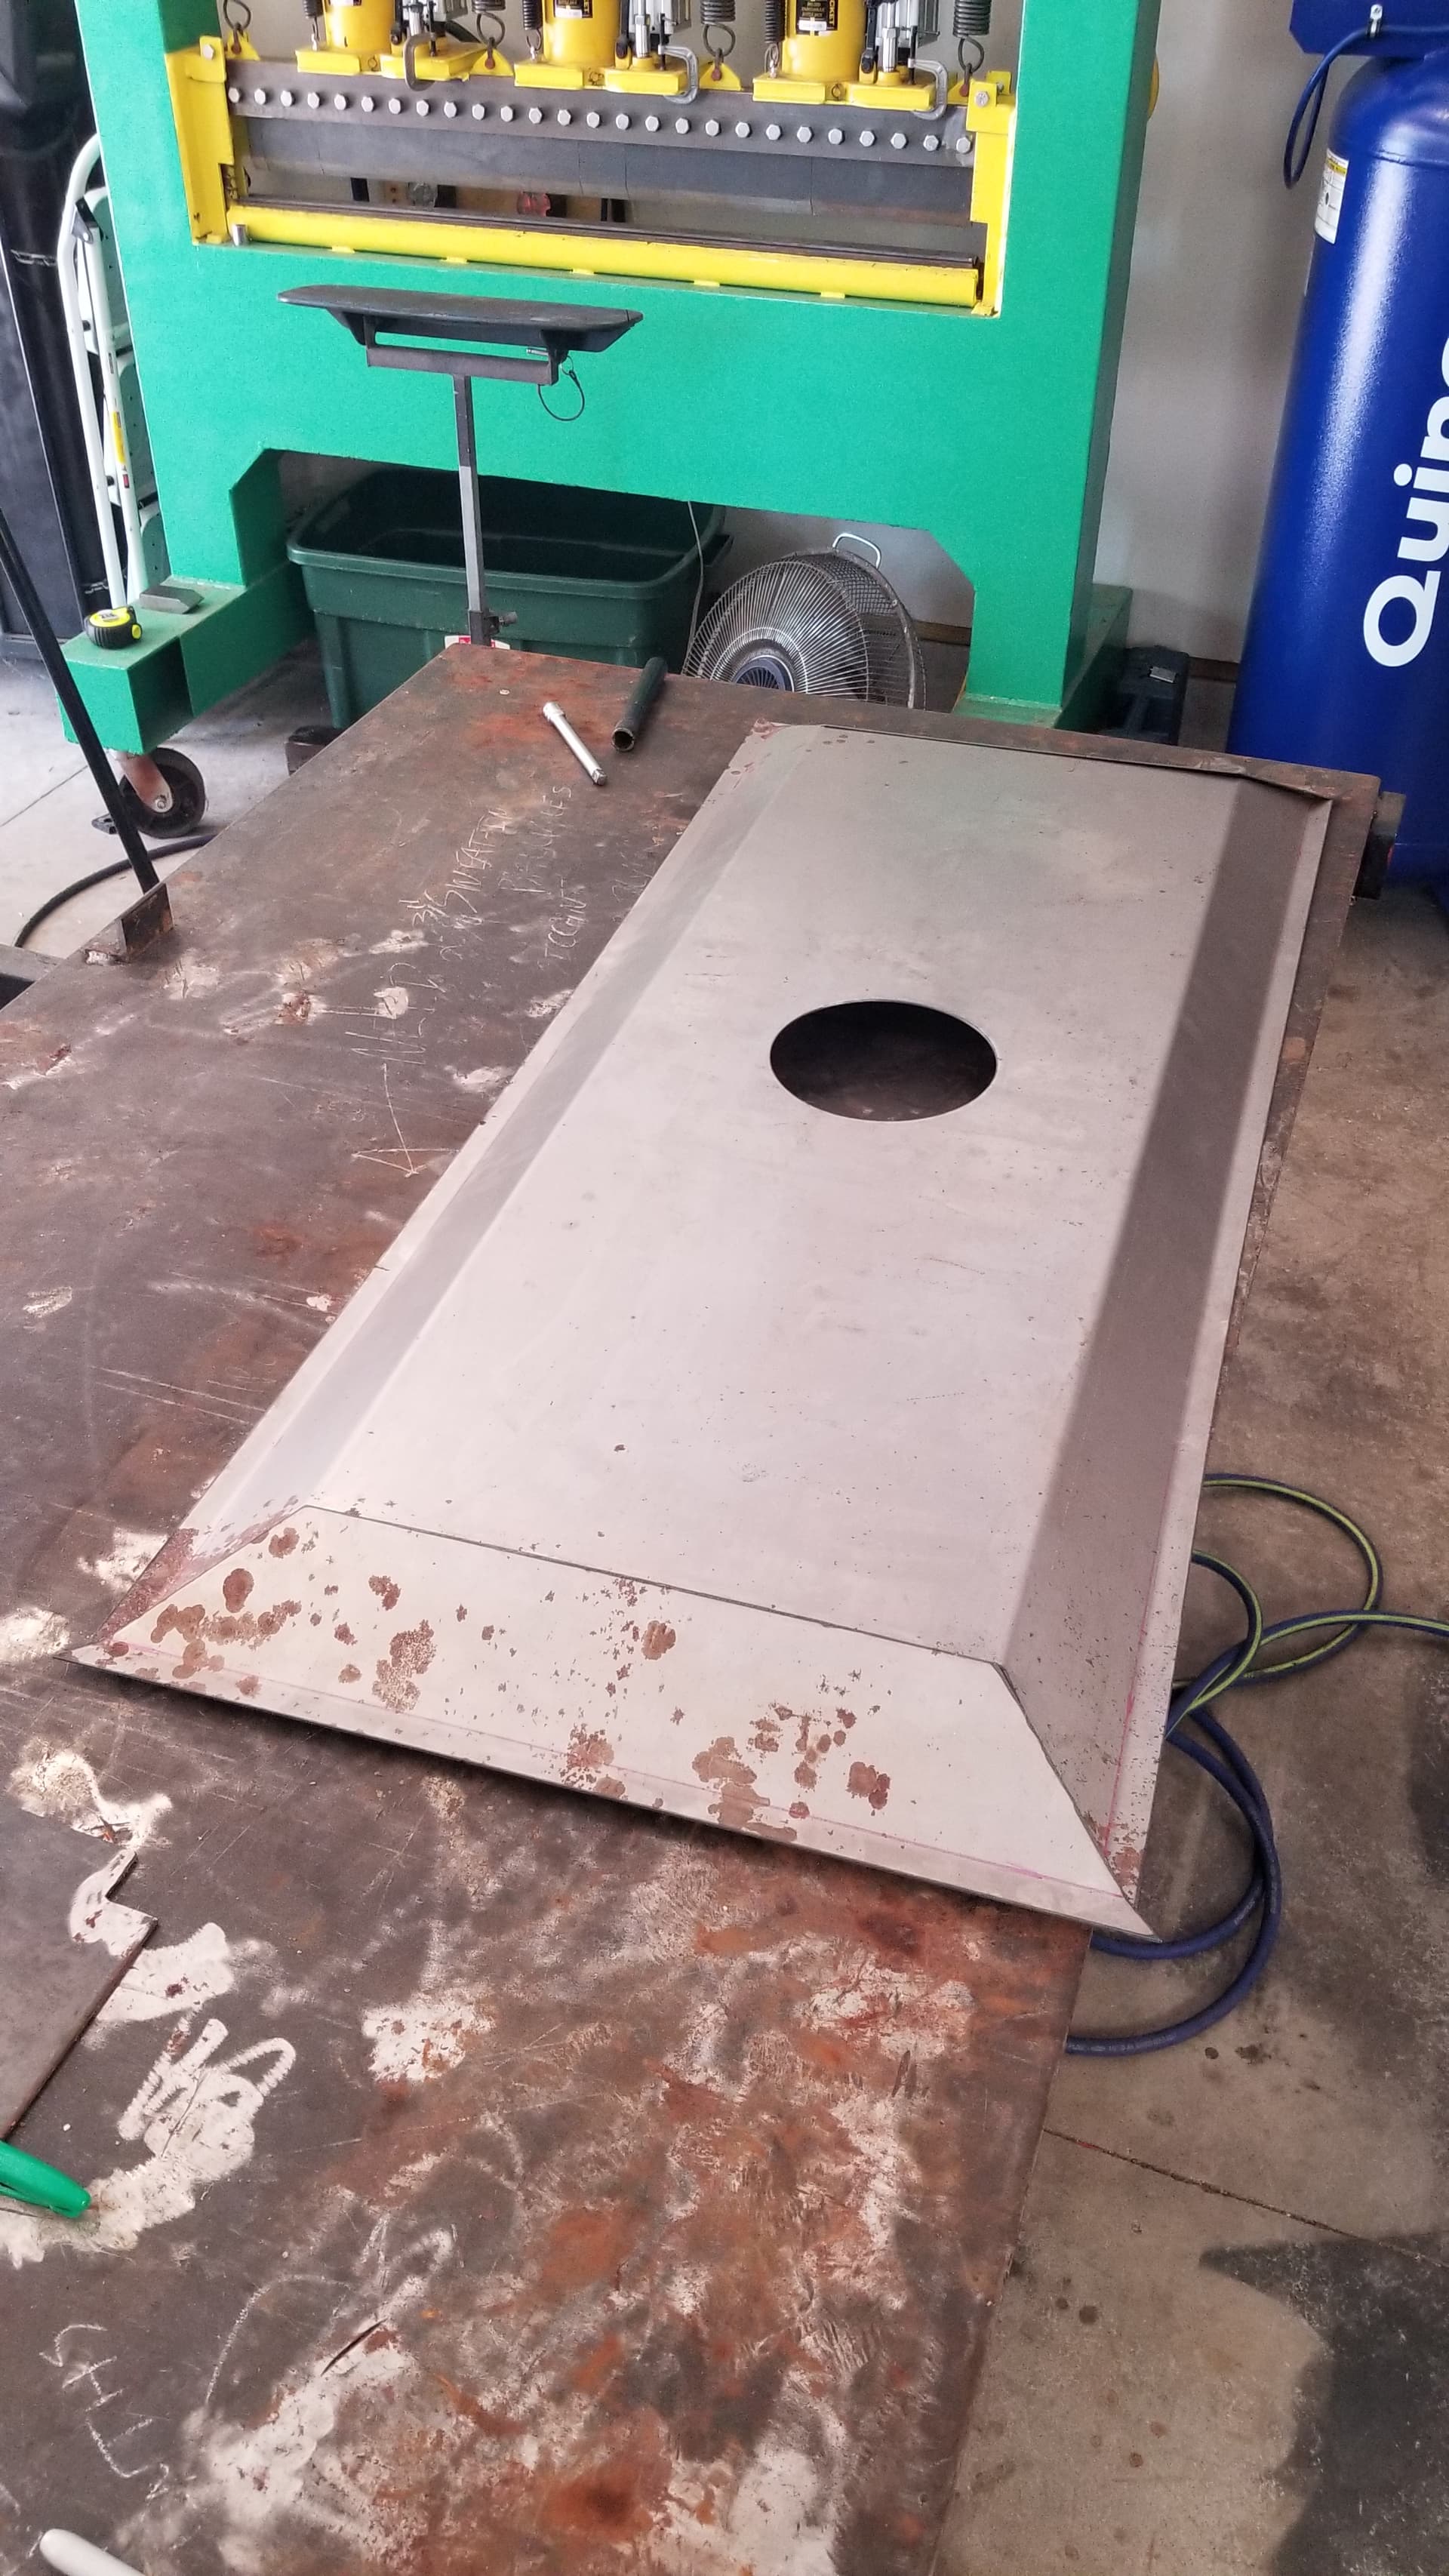
Cramped vent hood for above the table. I really need attain a better understanding of building in the sheet metal section of Fusion. If I knew what I was doing, this would have been one piece and the end caps would have been geometrically correct. Nonetheless, it’s cobbled up and hanging in the rafters above the table with a 6" extraction duct/fan to connect to hole to attempt some sort of smoke/fume extraction once all hooked up.
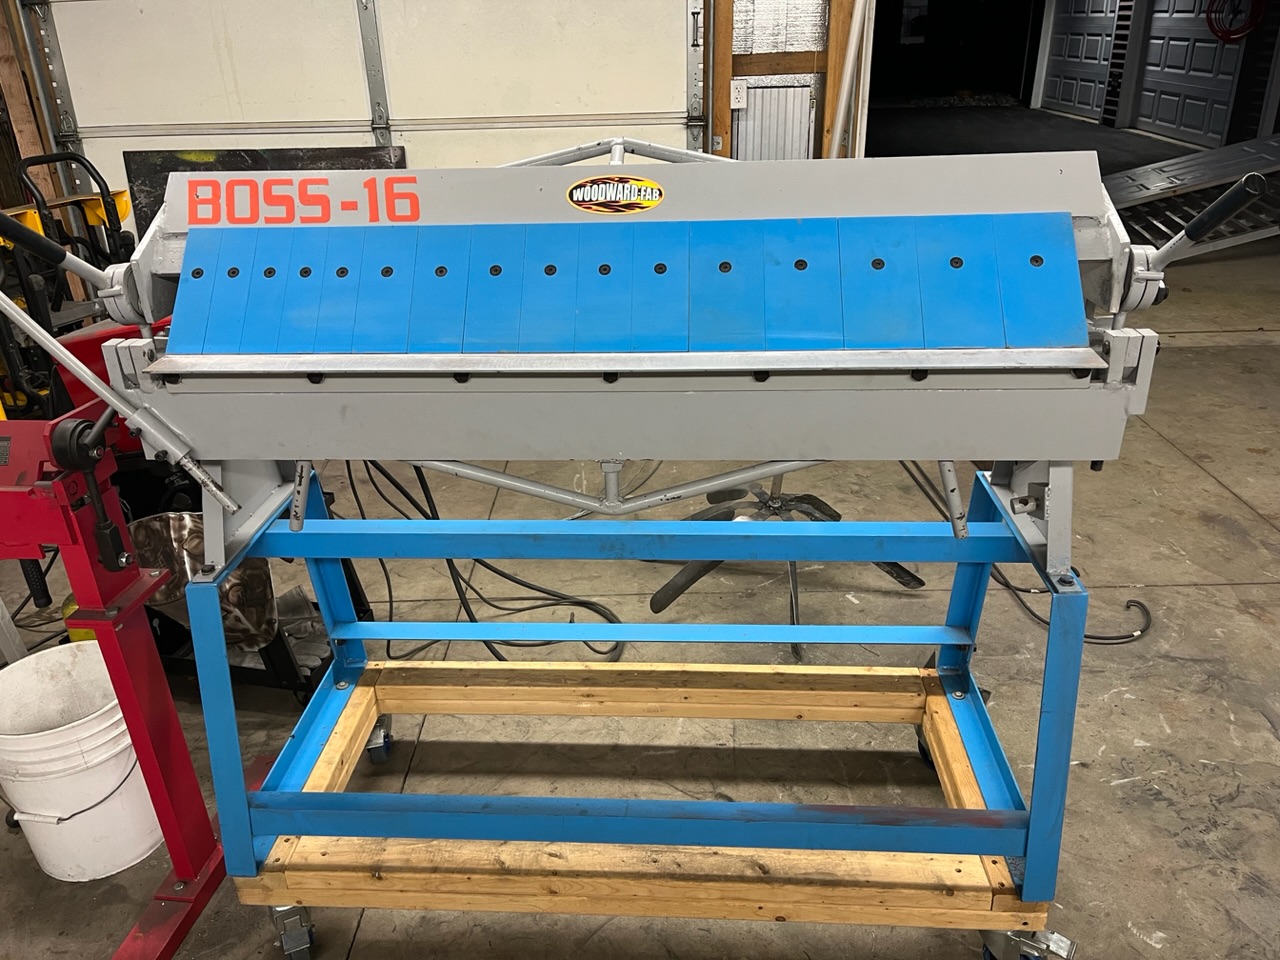
Let me know when you want to learn. 10 mins on Teams and you can get a basic understanding. I just got new bender myself because the strongest weld is no weld!
I did a really quick video on making a similar vent in fusion so you can see it. One thing I missed saying was when you create the component you can give it a thickness. I have 16ga as my default, but you want to make sure you create a library for metals so you can get correct bends. Super easy!
I’m limited on a 5 min video with Loom so not a lot of detail.
Since you made the raised frame, are you planning some kind of background for the Dead sign? Or lighted,… or both!
Ahh, if was the flange angle that I missed!! I only had to watch up to that point to see where I went wrong the first take at it! (I watched the whole vid, thanks for taking the time @DonP! ![]()
![]() ). Nice move on the brake! That will expand your realm no doubt!
). Nice move on the brake! That will expand your realm no doubt!
I feel like I am slowly getting the hang of a few new things in sheet metal. I have profiles built in my library for different types and thicknesses of metal It’s just that I watch different peoples approaches, from flanging a profile from an edge as you did, to creating the profile line first and dragging it out. This is what I did once I beat my head against the table a few against the table a few times trying to flange out from the top of the hood… I JUST figured out that if you hold the control key while setting lines or adjusting splines, it disables auto-constraints, which has also been driving me crazy! ![]() Oh, the other thing that I learned when making that hood is that you can only make one flat pattern per sheet metal project. uugh, that was a number of hours down the drain in the name of learning through my mistakes (my life story). I’d like to get into making multi component fabrication projects in Fusion where I will design each component individually and eventually (somehow) be able to view the project as a whole. This will be the holy grail for me in regards to what I ultimately want to get out of Fusion. A ways to go before I get there, I’m slowly coming along, but any help is greatly appreciated not doubt! It would save me from myself! You solved my hood design issue just with that vid and the illustration of the flange angle. If you have any other tip/tricks up your sleeve I’d be glad to meet up again! Jammed up this weekend with mostly work stuff, but this week sometime if there is a slot that is convenient for you.
Oh, the other thing that I learned when making that hood is that you can only make one flat pattern per sheet metal project. uugh, that was a number of hours down the drain in the name of learning through my mistakes (my life story). I’d like to get into making multi component fabrication projects in Fusion where I will design each component individually and eventually (somehow) be able to view the project as a whole. This will be the holy grail for me in regards to what I ultimately want to get out of Fusion. A ways to go before I get there, I’m slowly coming along, but any help is greatly appreciated not doubt! It would save me from myself! You solved my hood design issue just with that vid and the illustration of the flange angle. If you have any other tip/tricks up your sleeve I’d be glad to meet up again! Jammed up this weekend with mostly work stuff, but this week sometime if there is a slot that is convenient for you.
And sorry for the delayed response. I have to limit my accounts to my devices that I don’t have in my hand 24/7, else I’d never get anything done (again, save me from myself). ![]()
@Wsidr1 The thing is with that sign is the steel is too flimsy to give it to anybody and have my name associated with it Looks nice but not firm enough for my liking. Soooo, in an effort to salvage the design botch I am going to “try” and line the backside of the face (inside the sign) with some 1x4’s butted together. I was thinking that I might use some adhesive on the backside of the face to secure, then giving it a nice paint job. Who knows, I might be able to make chicken salad out of chicken shit and have something that looks decent in the end. I am already reworking the original design to include the extra bridging in the next take but if it piques interest, maybe standardize that aspect as a design feature. I was saying to my wife that with other projects where I don’t need the support, I could attach the wood (or metal) to the back lip and still have space between to light the sign up, so that might look kinda neat…
Just having fun for now and chalking up any mistakes to learning experiences. I’ll post what it ends up becoming once I finish though. ![]()