Looks great! Do you mind if I copy your design?
1 Like
No, I am not going to pull the plasma cord into the chain. I am keeping them separated.
2 Likes
Sure, no problem. It’s a real simple design. I posted it to share!
2 Likes
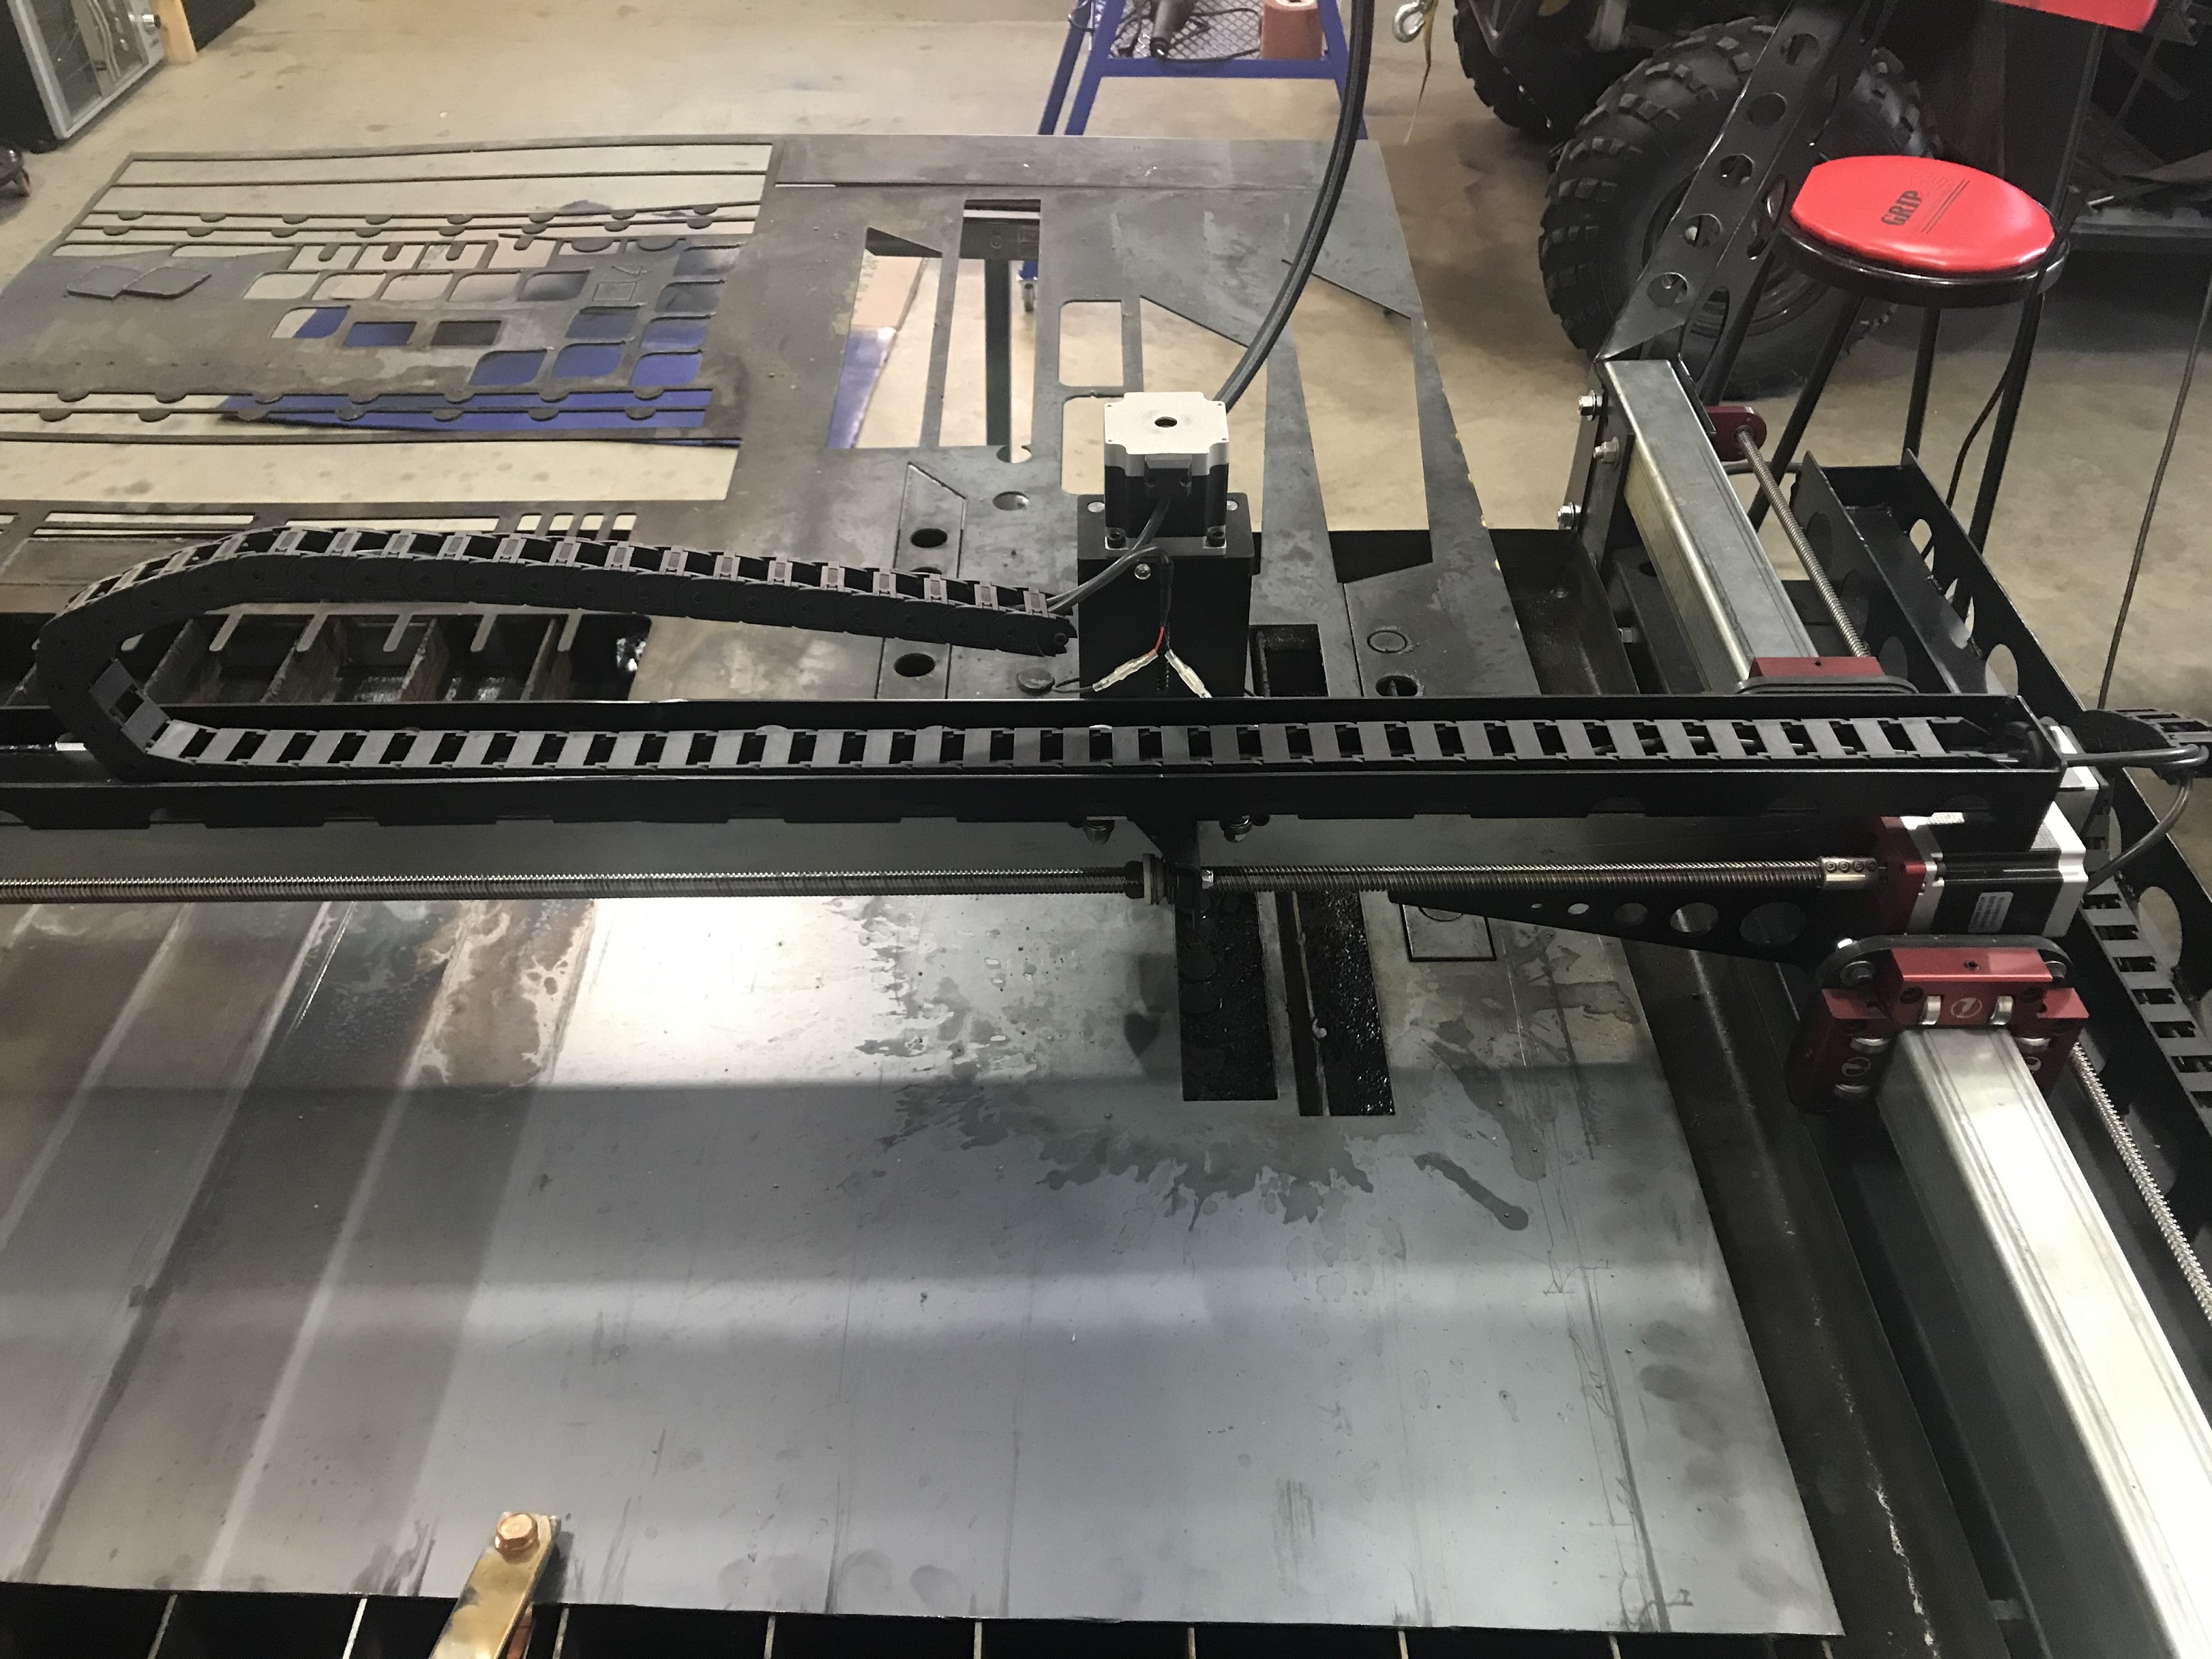
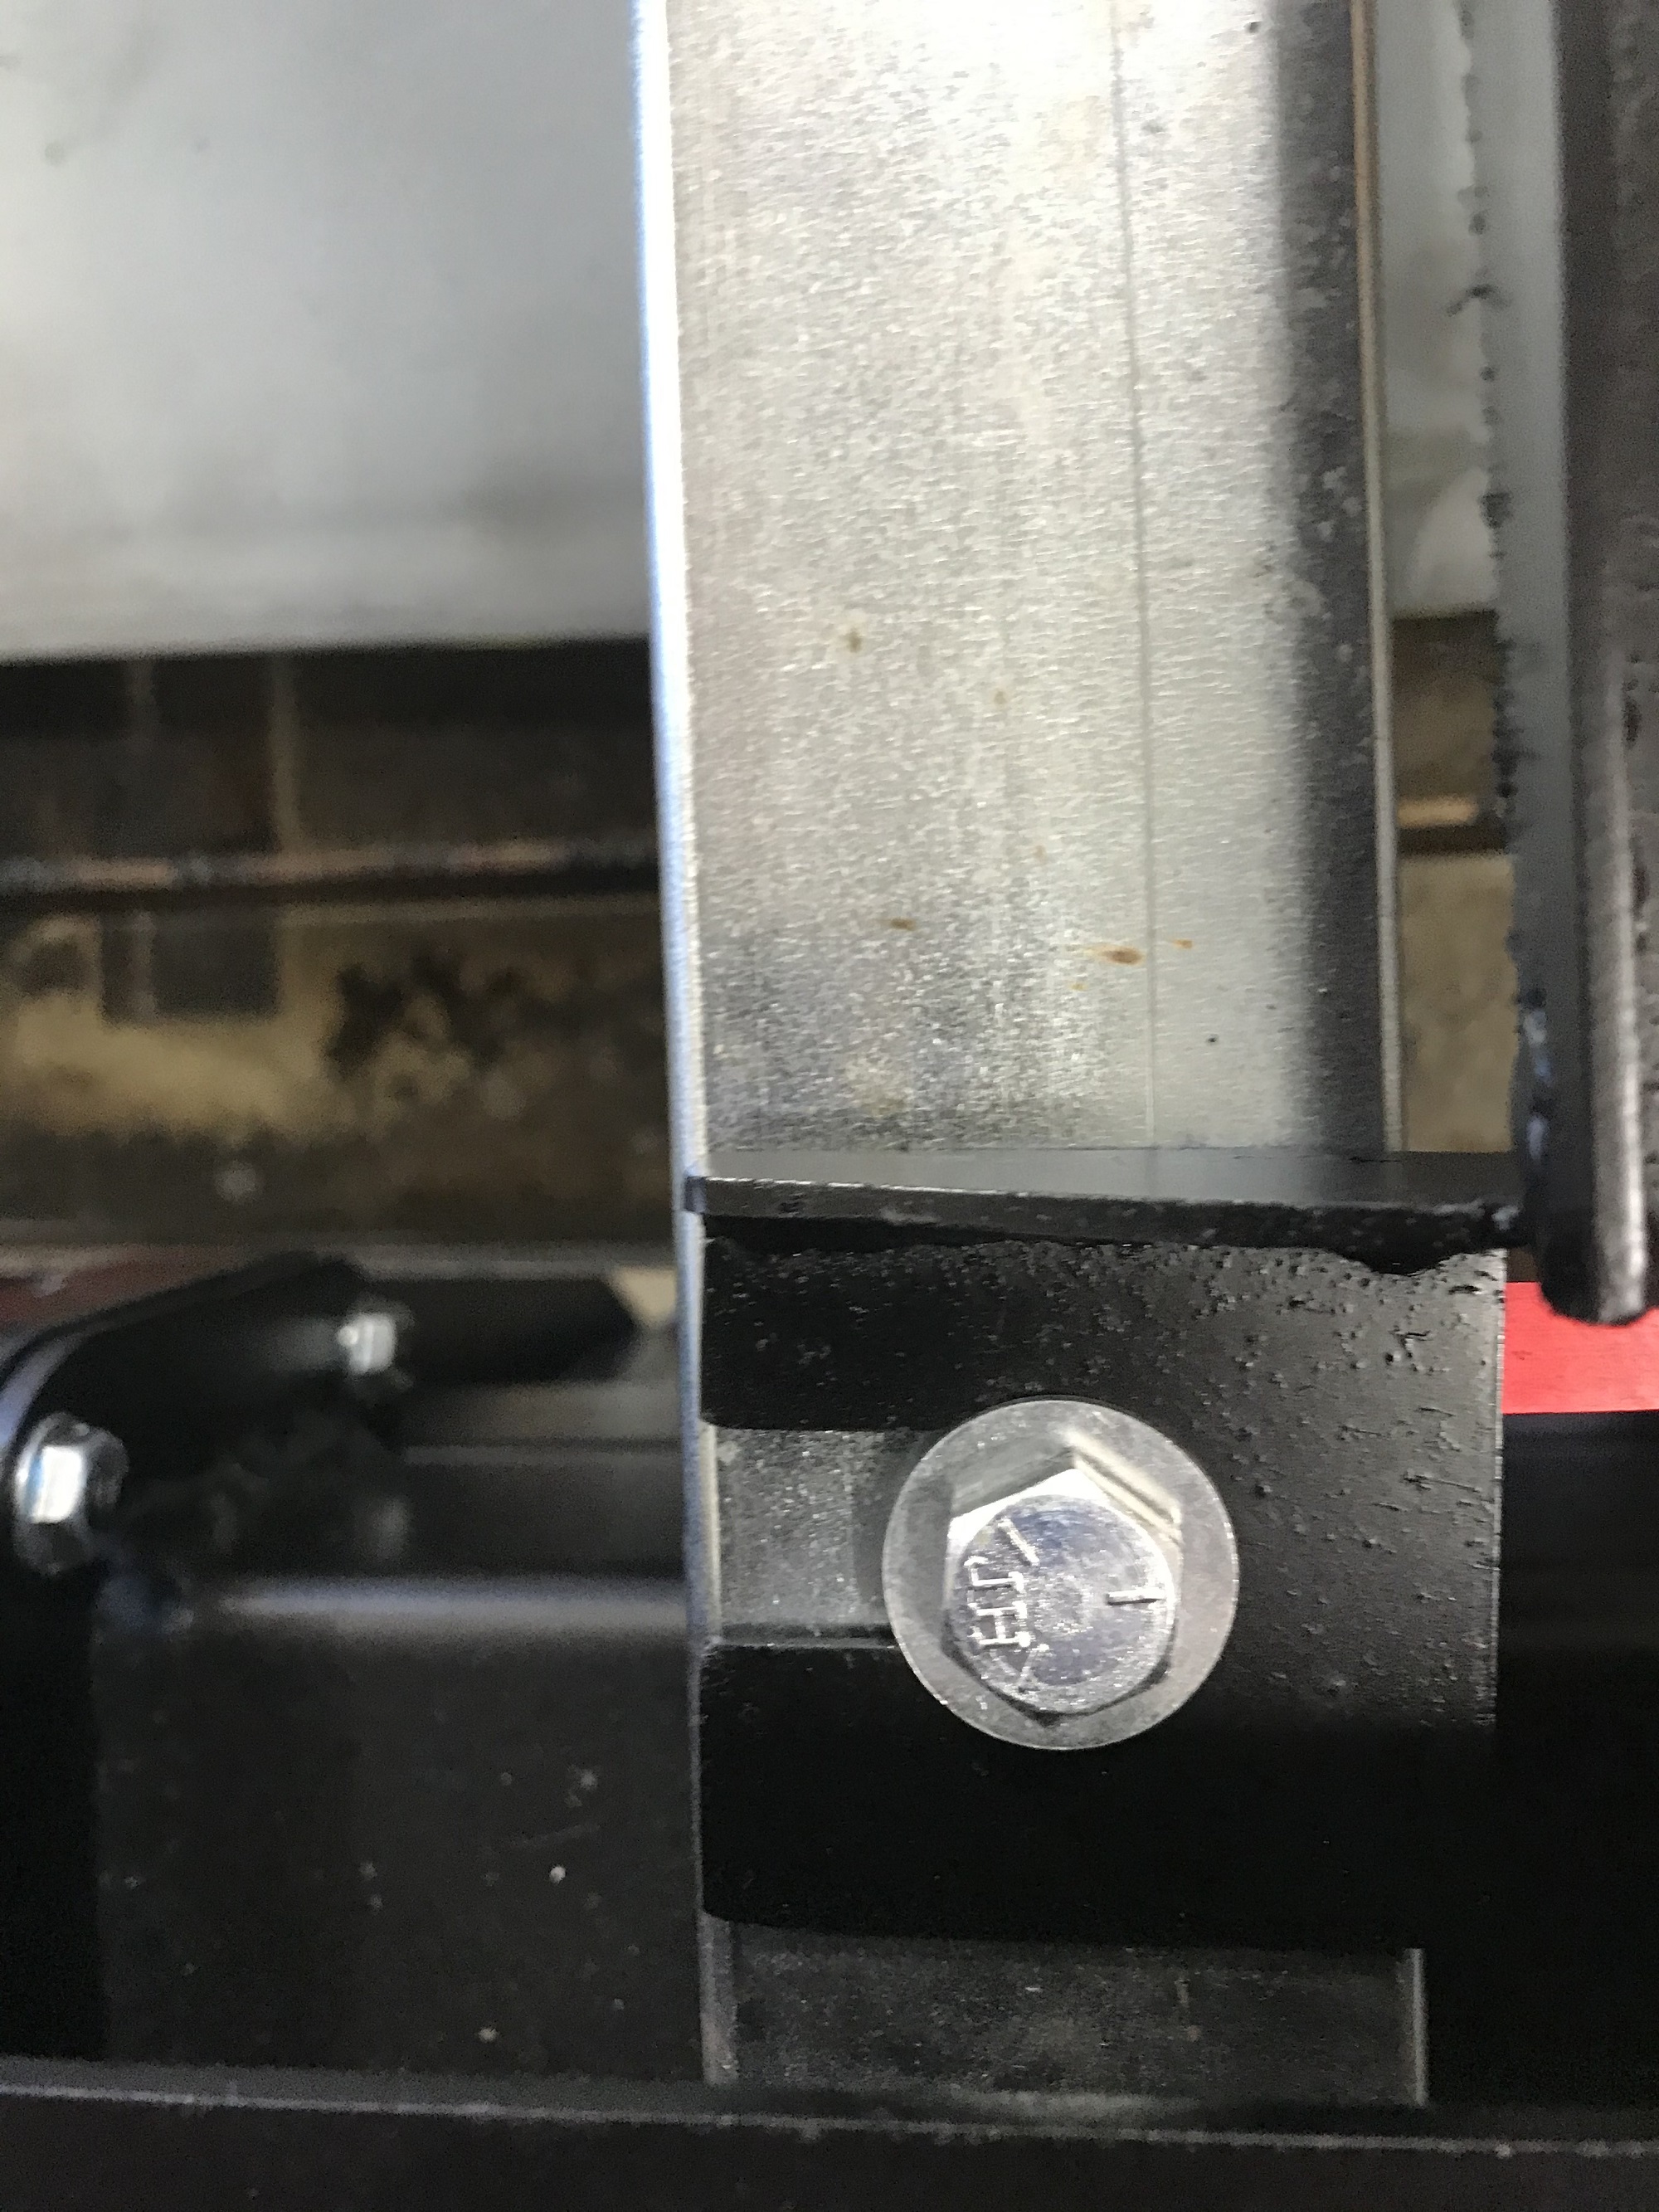
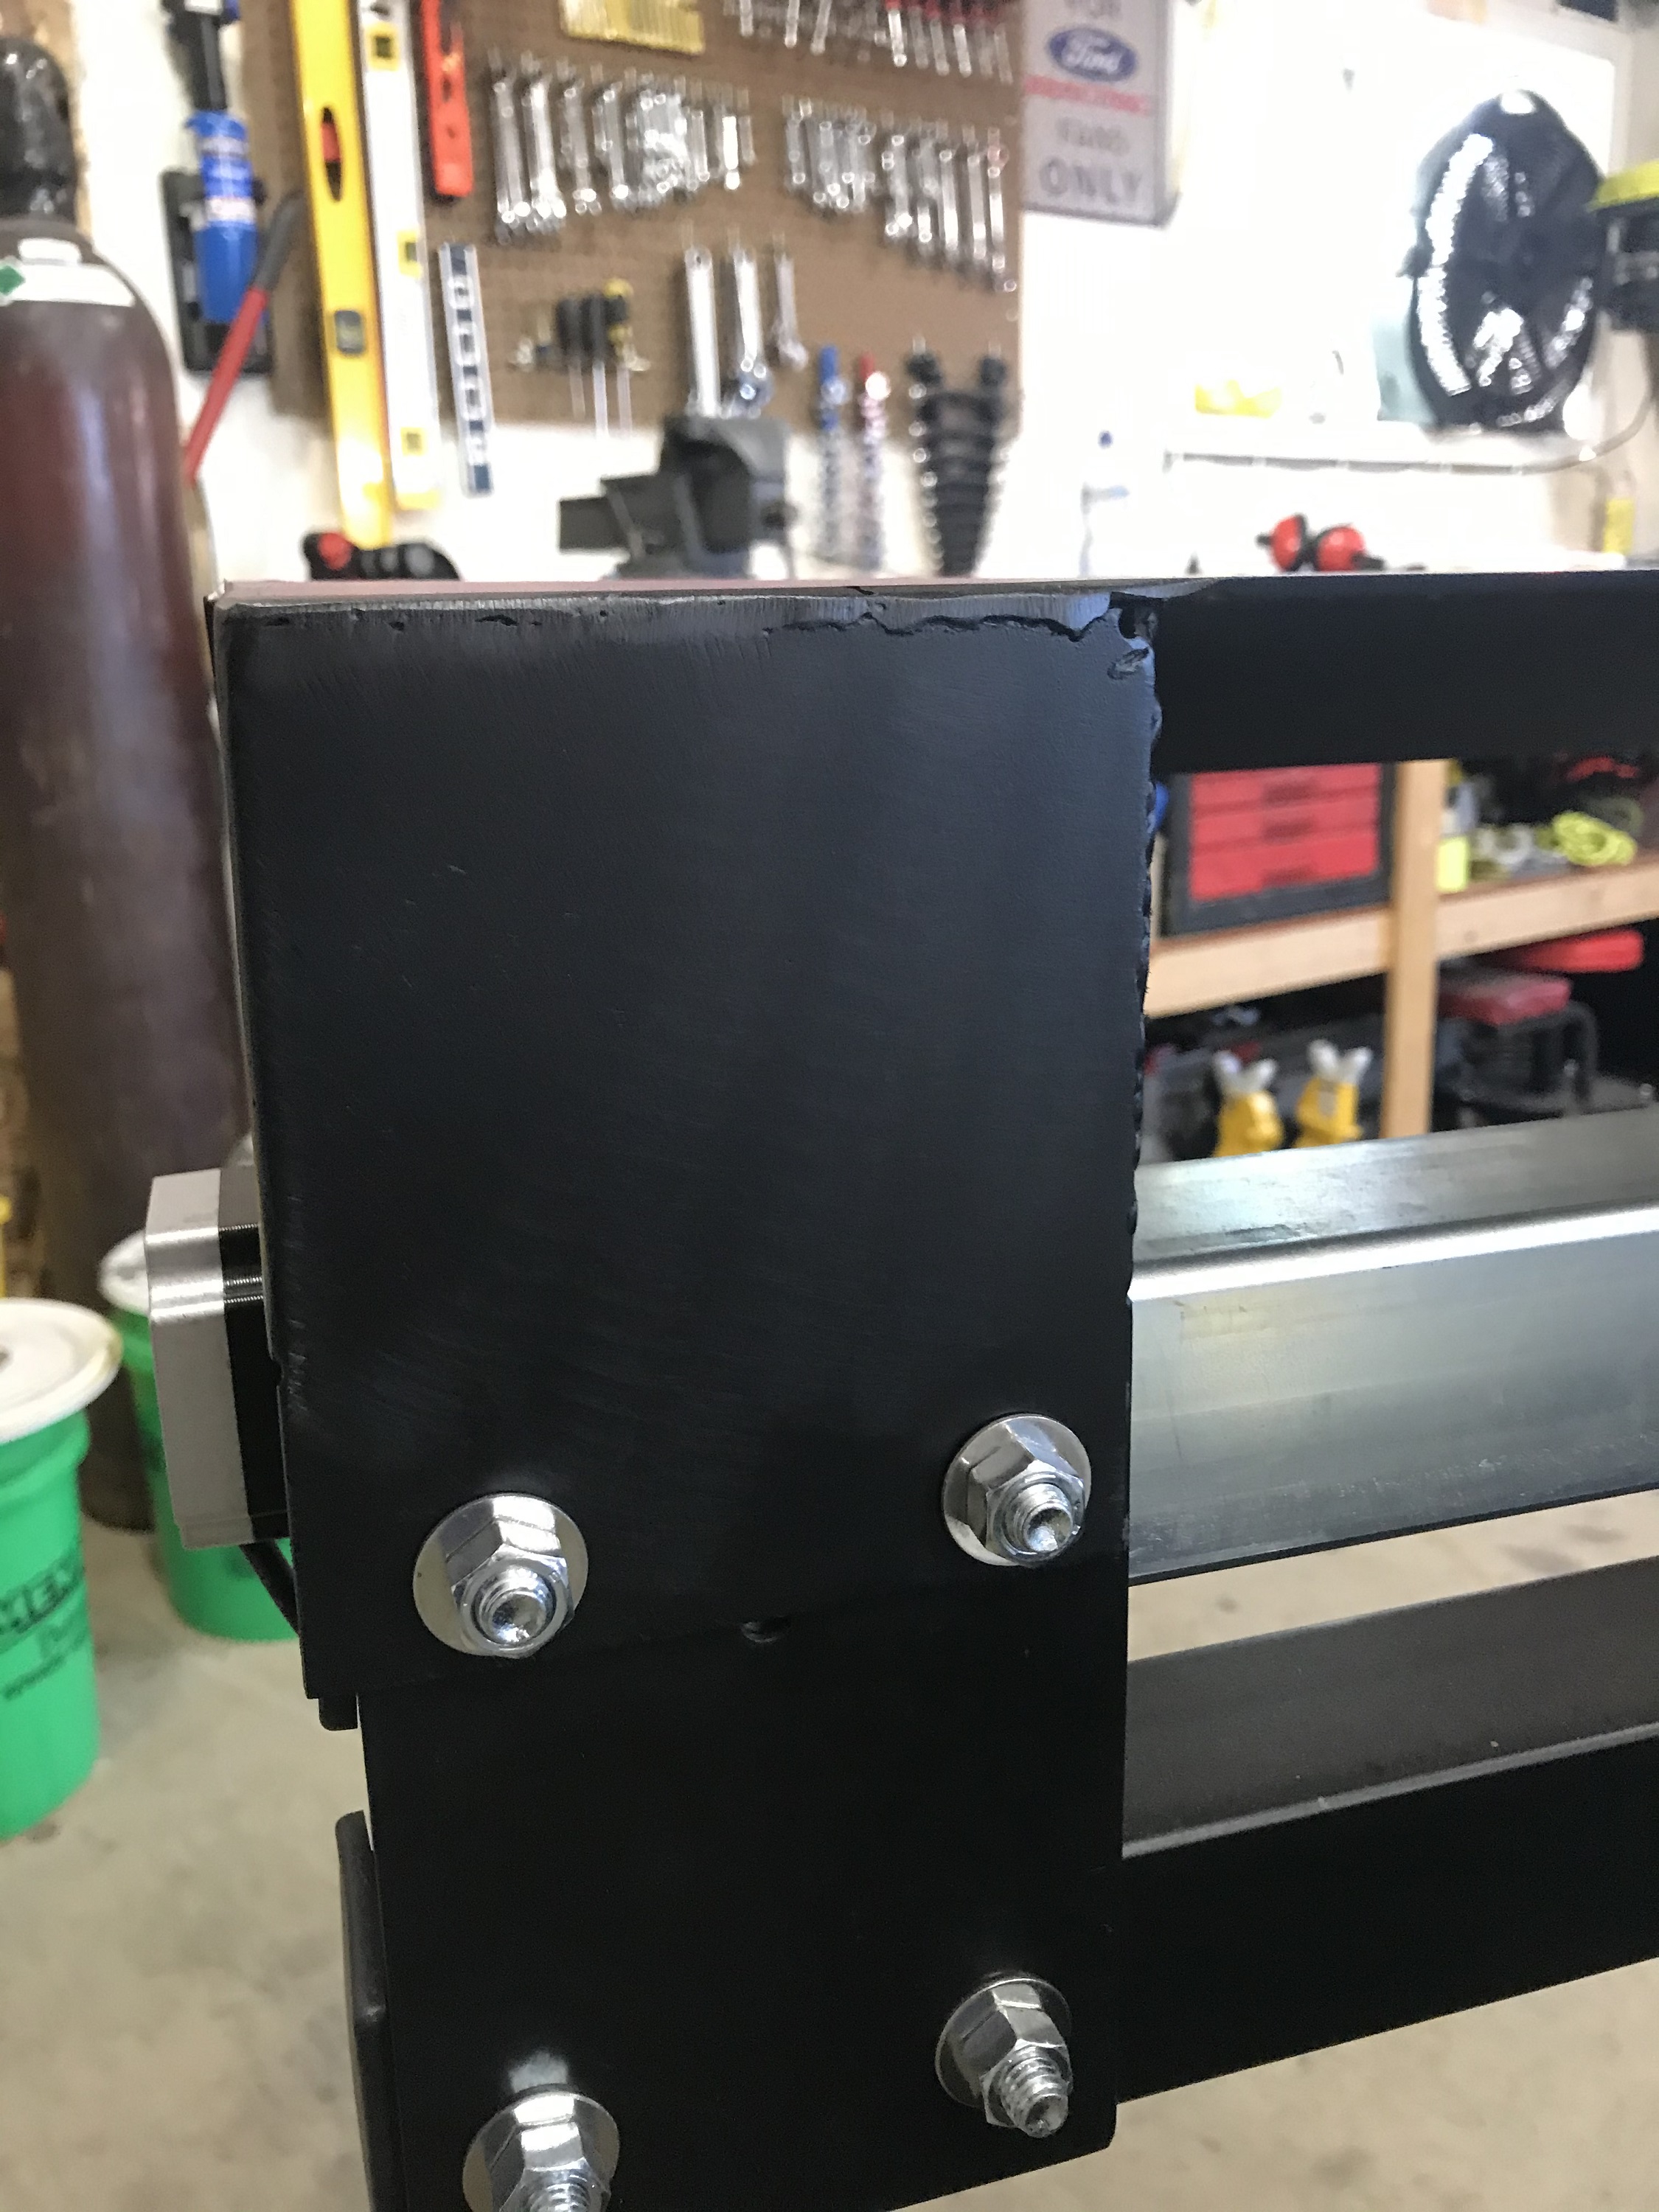
Made a Lead screw Guard for the right side of my Pro. File can be bent opposite for the left side. Remember to make sure your tabs are in place. My one piece project became a three piece project…LOL Break out the welder… would Make it 3 inches longer on each end next time, to help protect the drive motor as well. I would really hate to try and staighten that already thin lead screw. Now I can even lean against the side to position sheets and such.
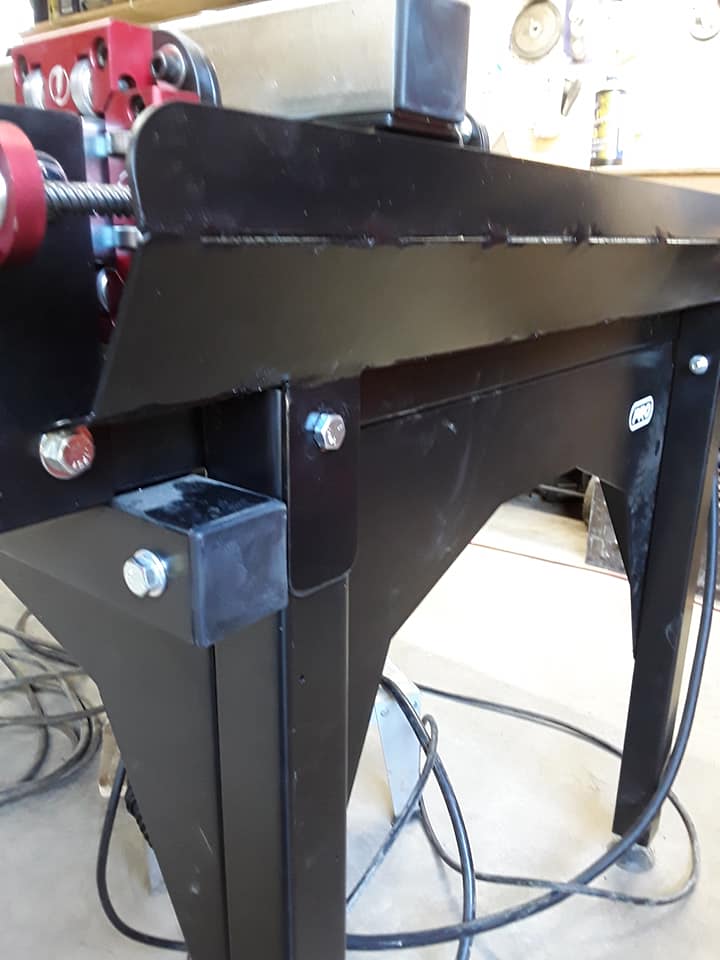
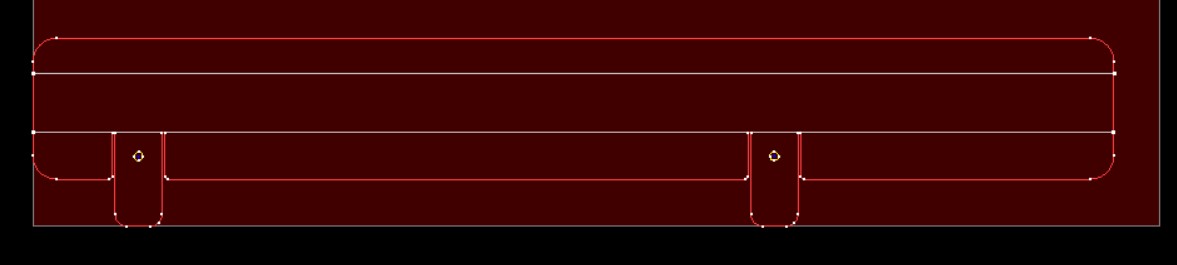
Heres the link to the thread, and the guard is posted on FireShare for those interested.
6 Likes
yeah, great approach! I’m going this route as well - ordered the stuff today. 
Thanks for sharing that.
oh, also - is that .125" wall thickness on the U channel? Any bowing in the center of the long span?
I used 1/16 or .0625 thickness. 3/4 high, 1 1/2 wide. No issues with bowing. But, I did elevate one end a bout a 1/2" for runoff.
1 Like
I think (I’ll check the invoice tomorrow) I ended up going 1.75x1.75x0.125 on my runs - I was worried about that long span, so good to hear it isn’t an issue. I’m going to follow your lead and elevate the origin end for drainage as well.
I found these on Amazon- they seem like they’ll do nicely with some standoffs.
Yeah, those magnets would work good.
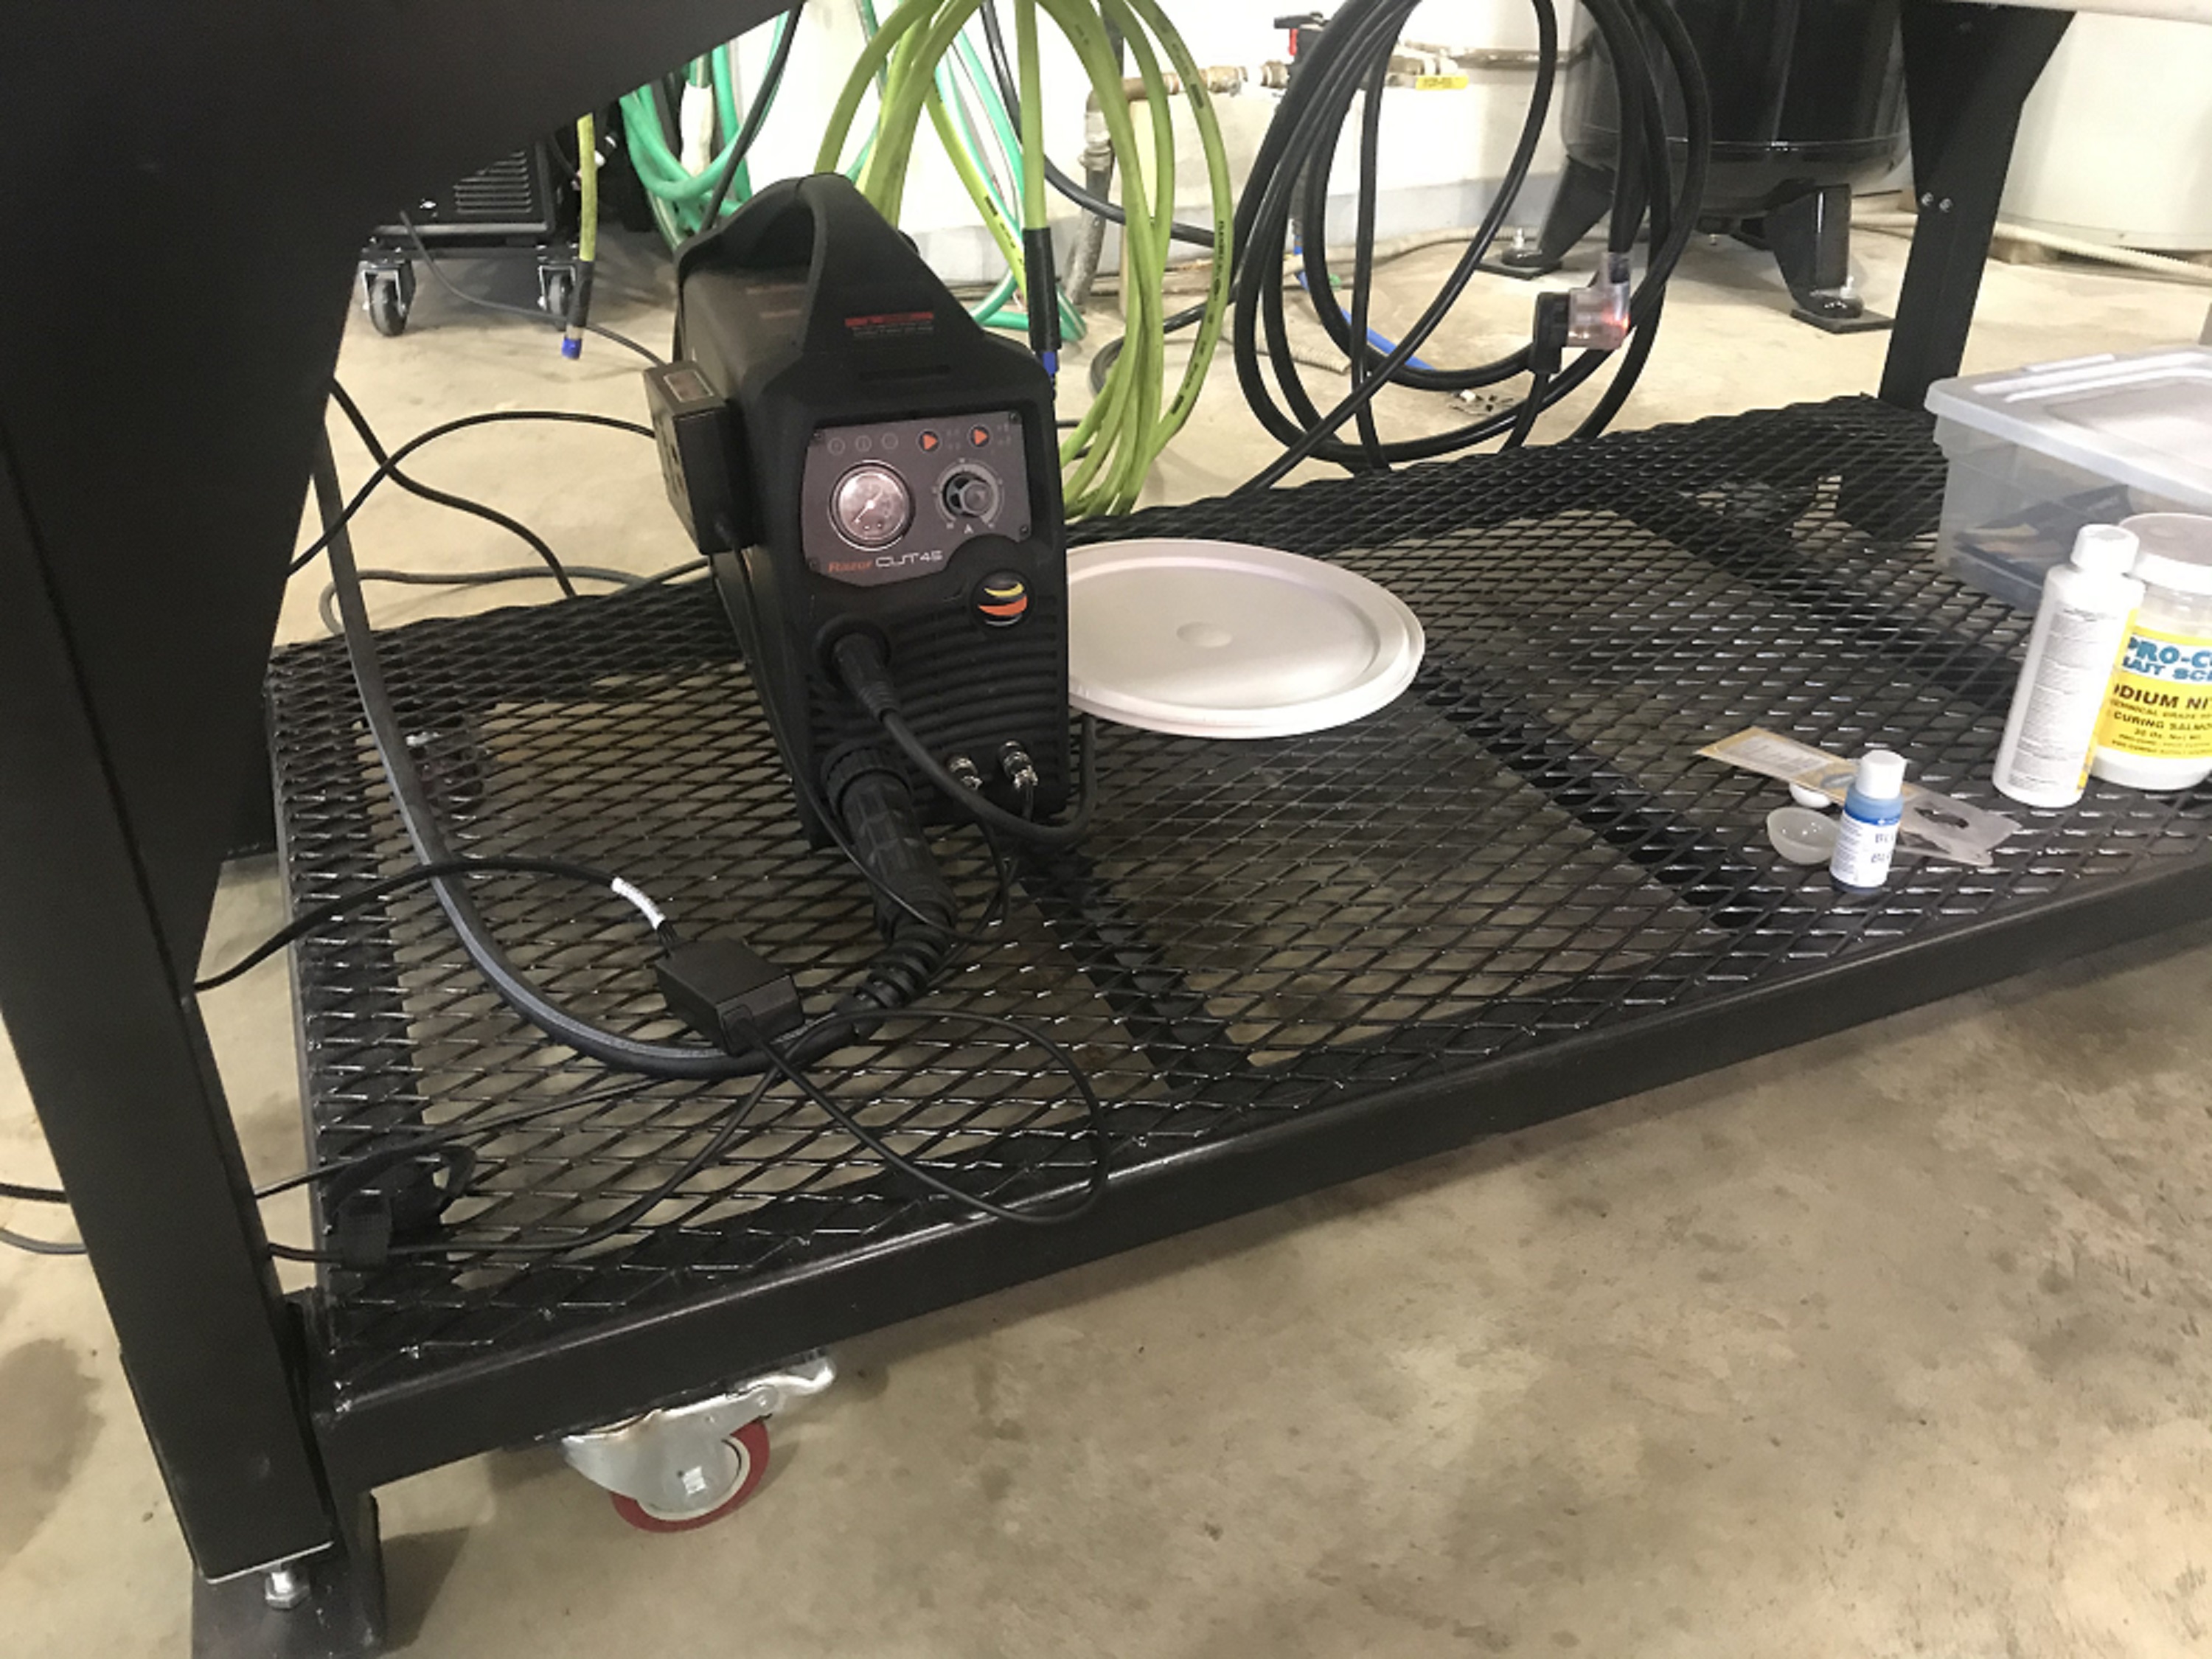
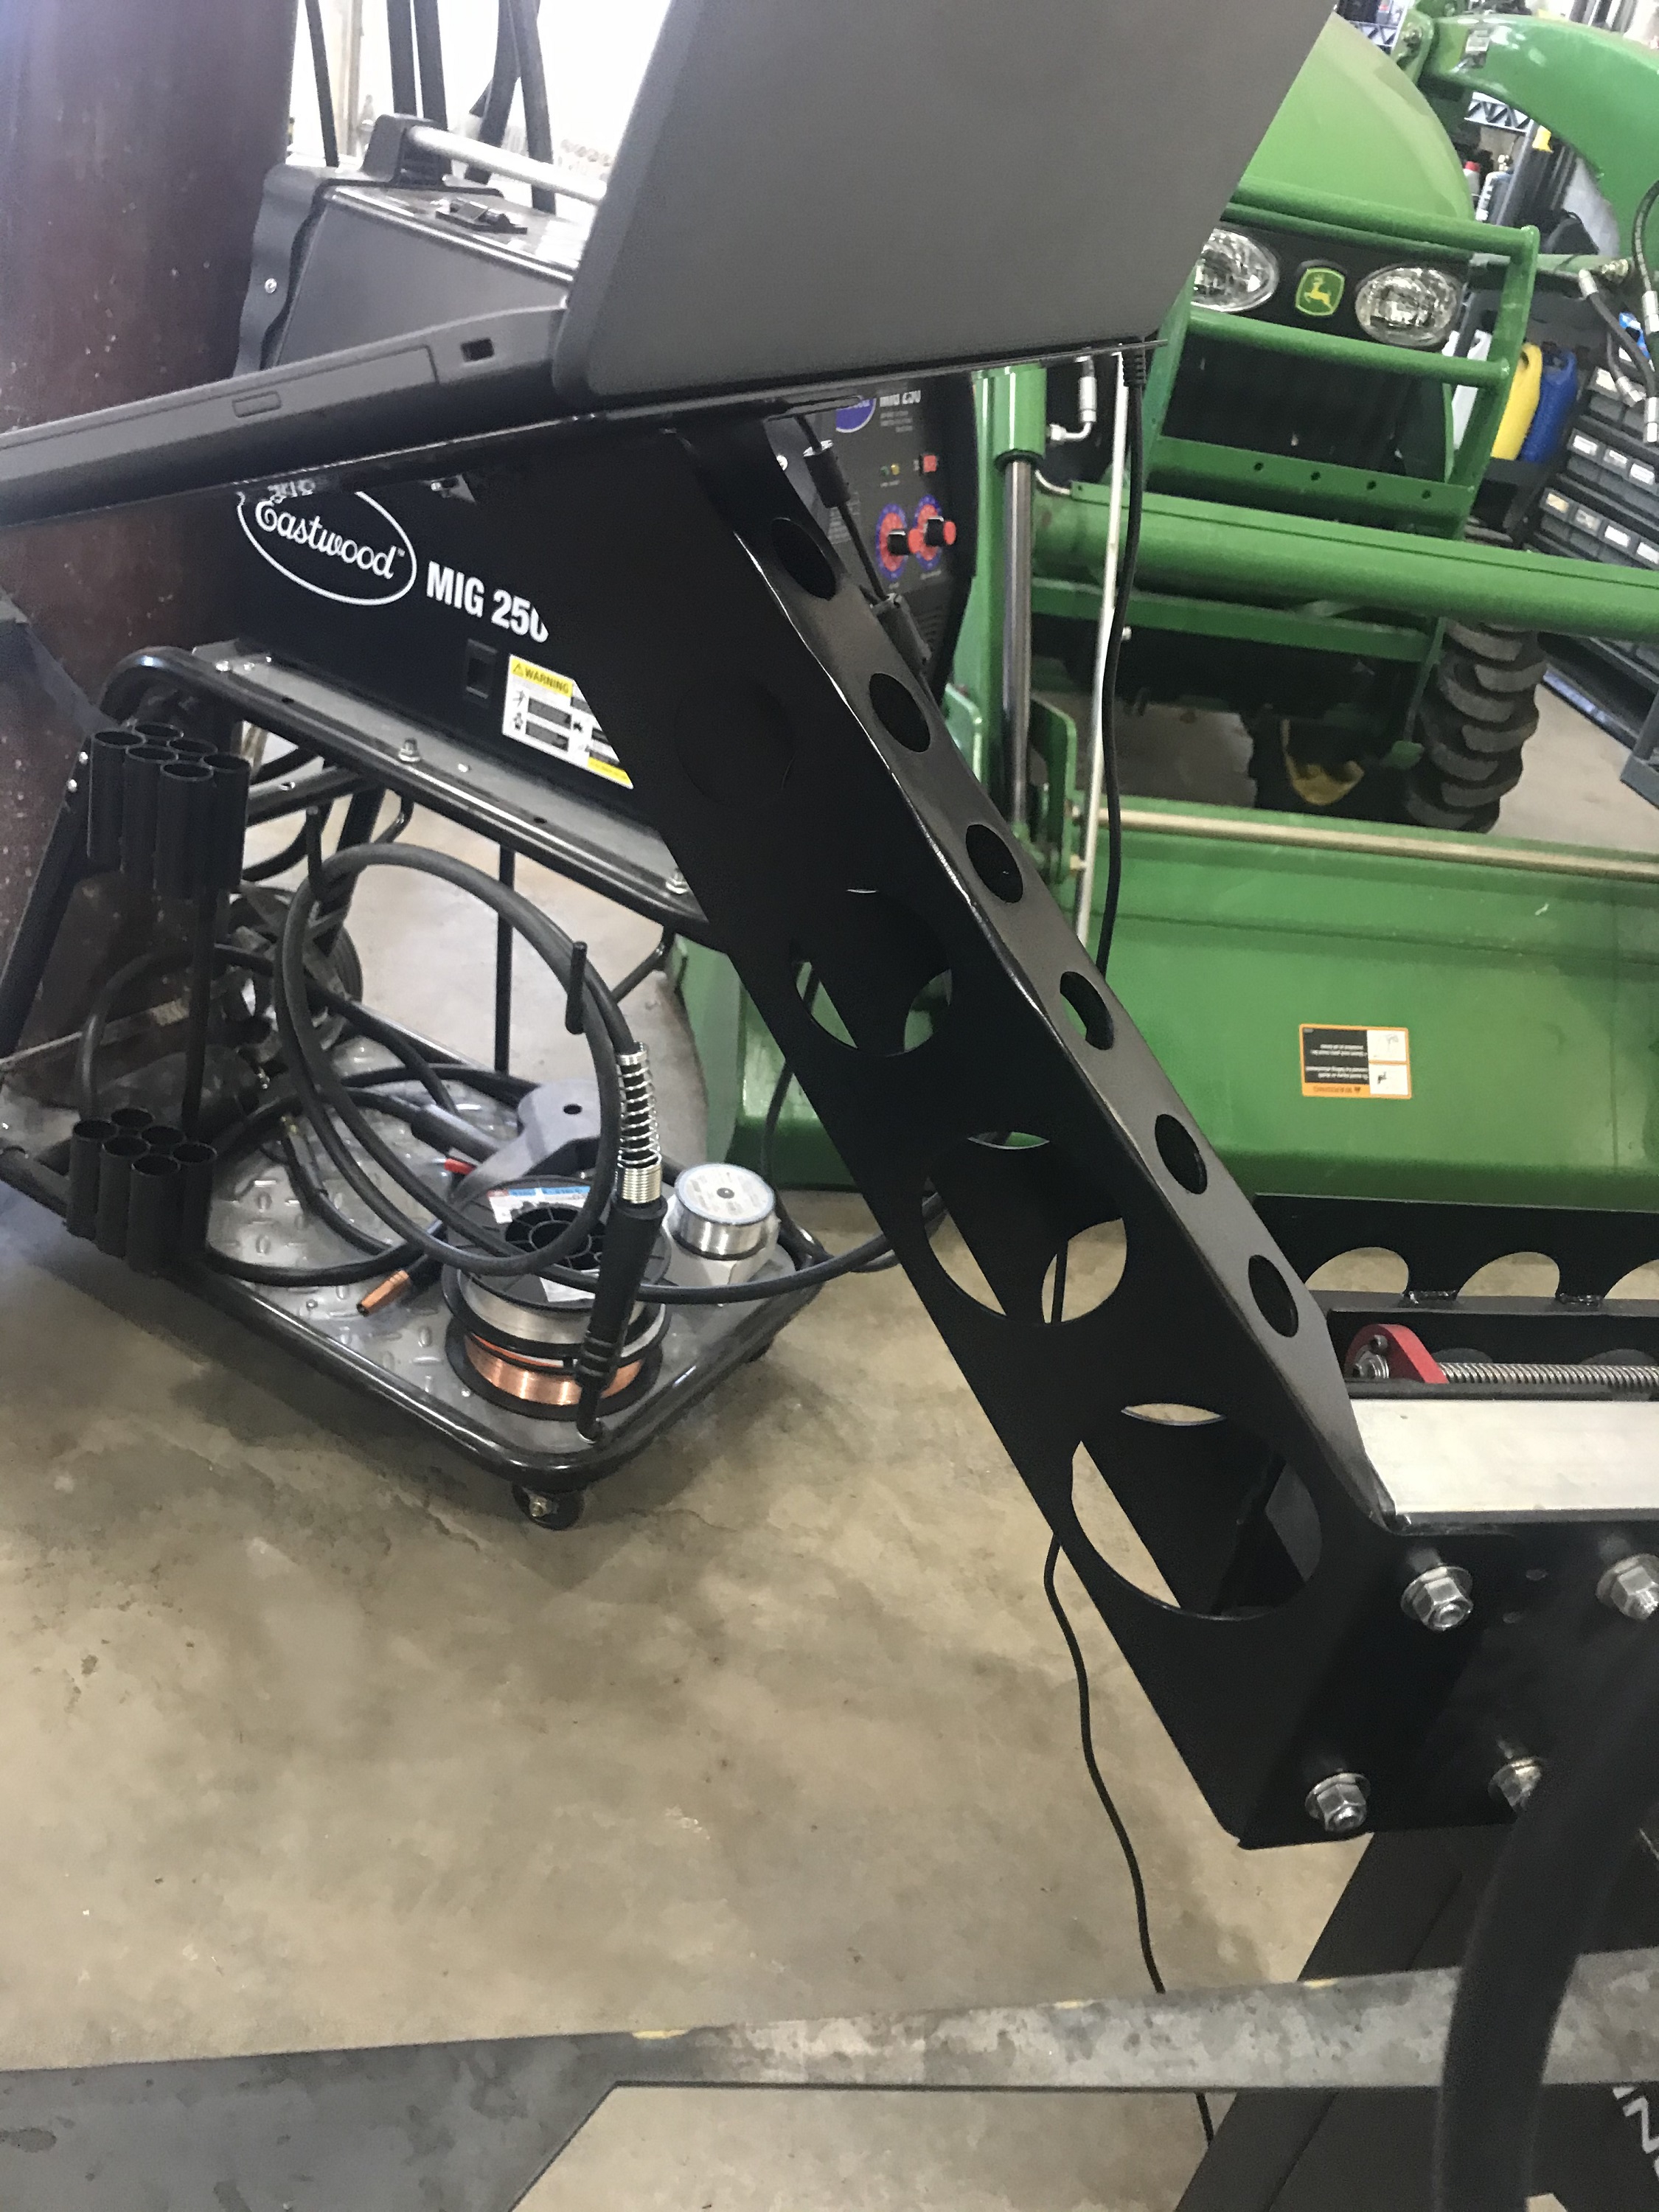
I’m working on my screw guard/electronics shield/drag chain tray mount today:
I’m thinking aluminum, attached with the same magnet/stand-off solution, any advice on plate thickness? (I don’t typically work with aluminum). 8ga?
3 Likes
also, for you guys using the BefenyBay R18 10x20 chain, what carrier bend radius are you using for the run parallel with the Y-axis, and what radius for the run along the X-axis? I’m sort of stuck until I determine those as they dictate the height of my chain guide channels…
.064" (14ga) should be plenty thick enough.
They are around 4 inch, outside to outside, at its tightest with cables in it. I have 4" on the X, and about 8" on the Y axis chains.
Redirecting... theres a bunch of pics
1 Like
After getting a lot of good ideas from this thread I though I would share what I ended up doing.
For the cart I did the same thing that Hellbent did and I love it.
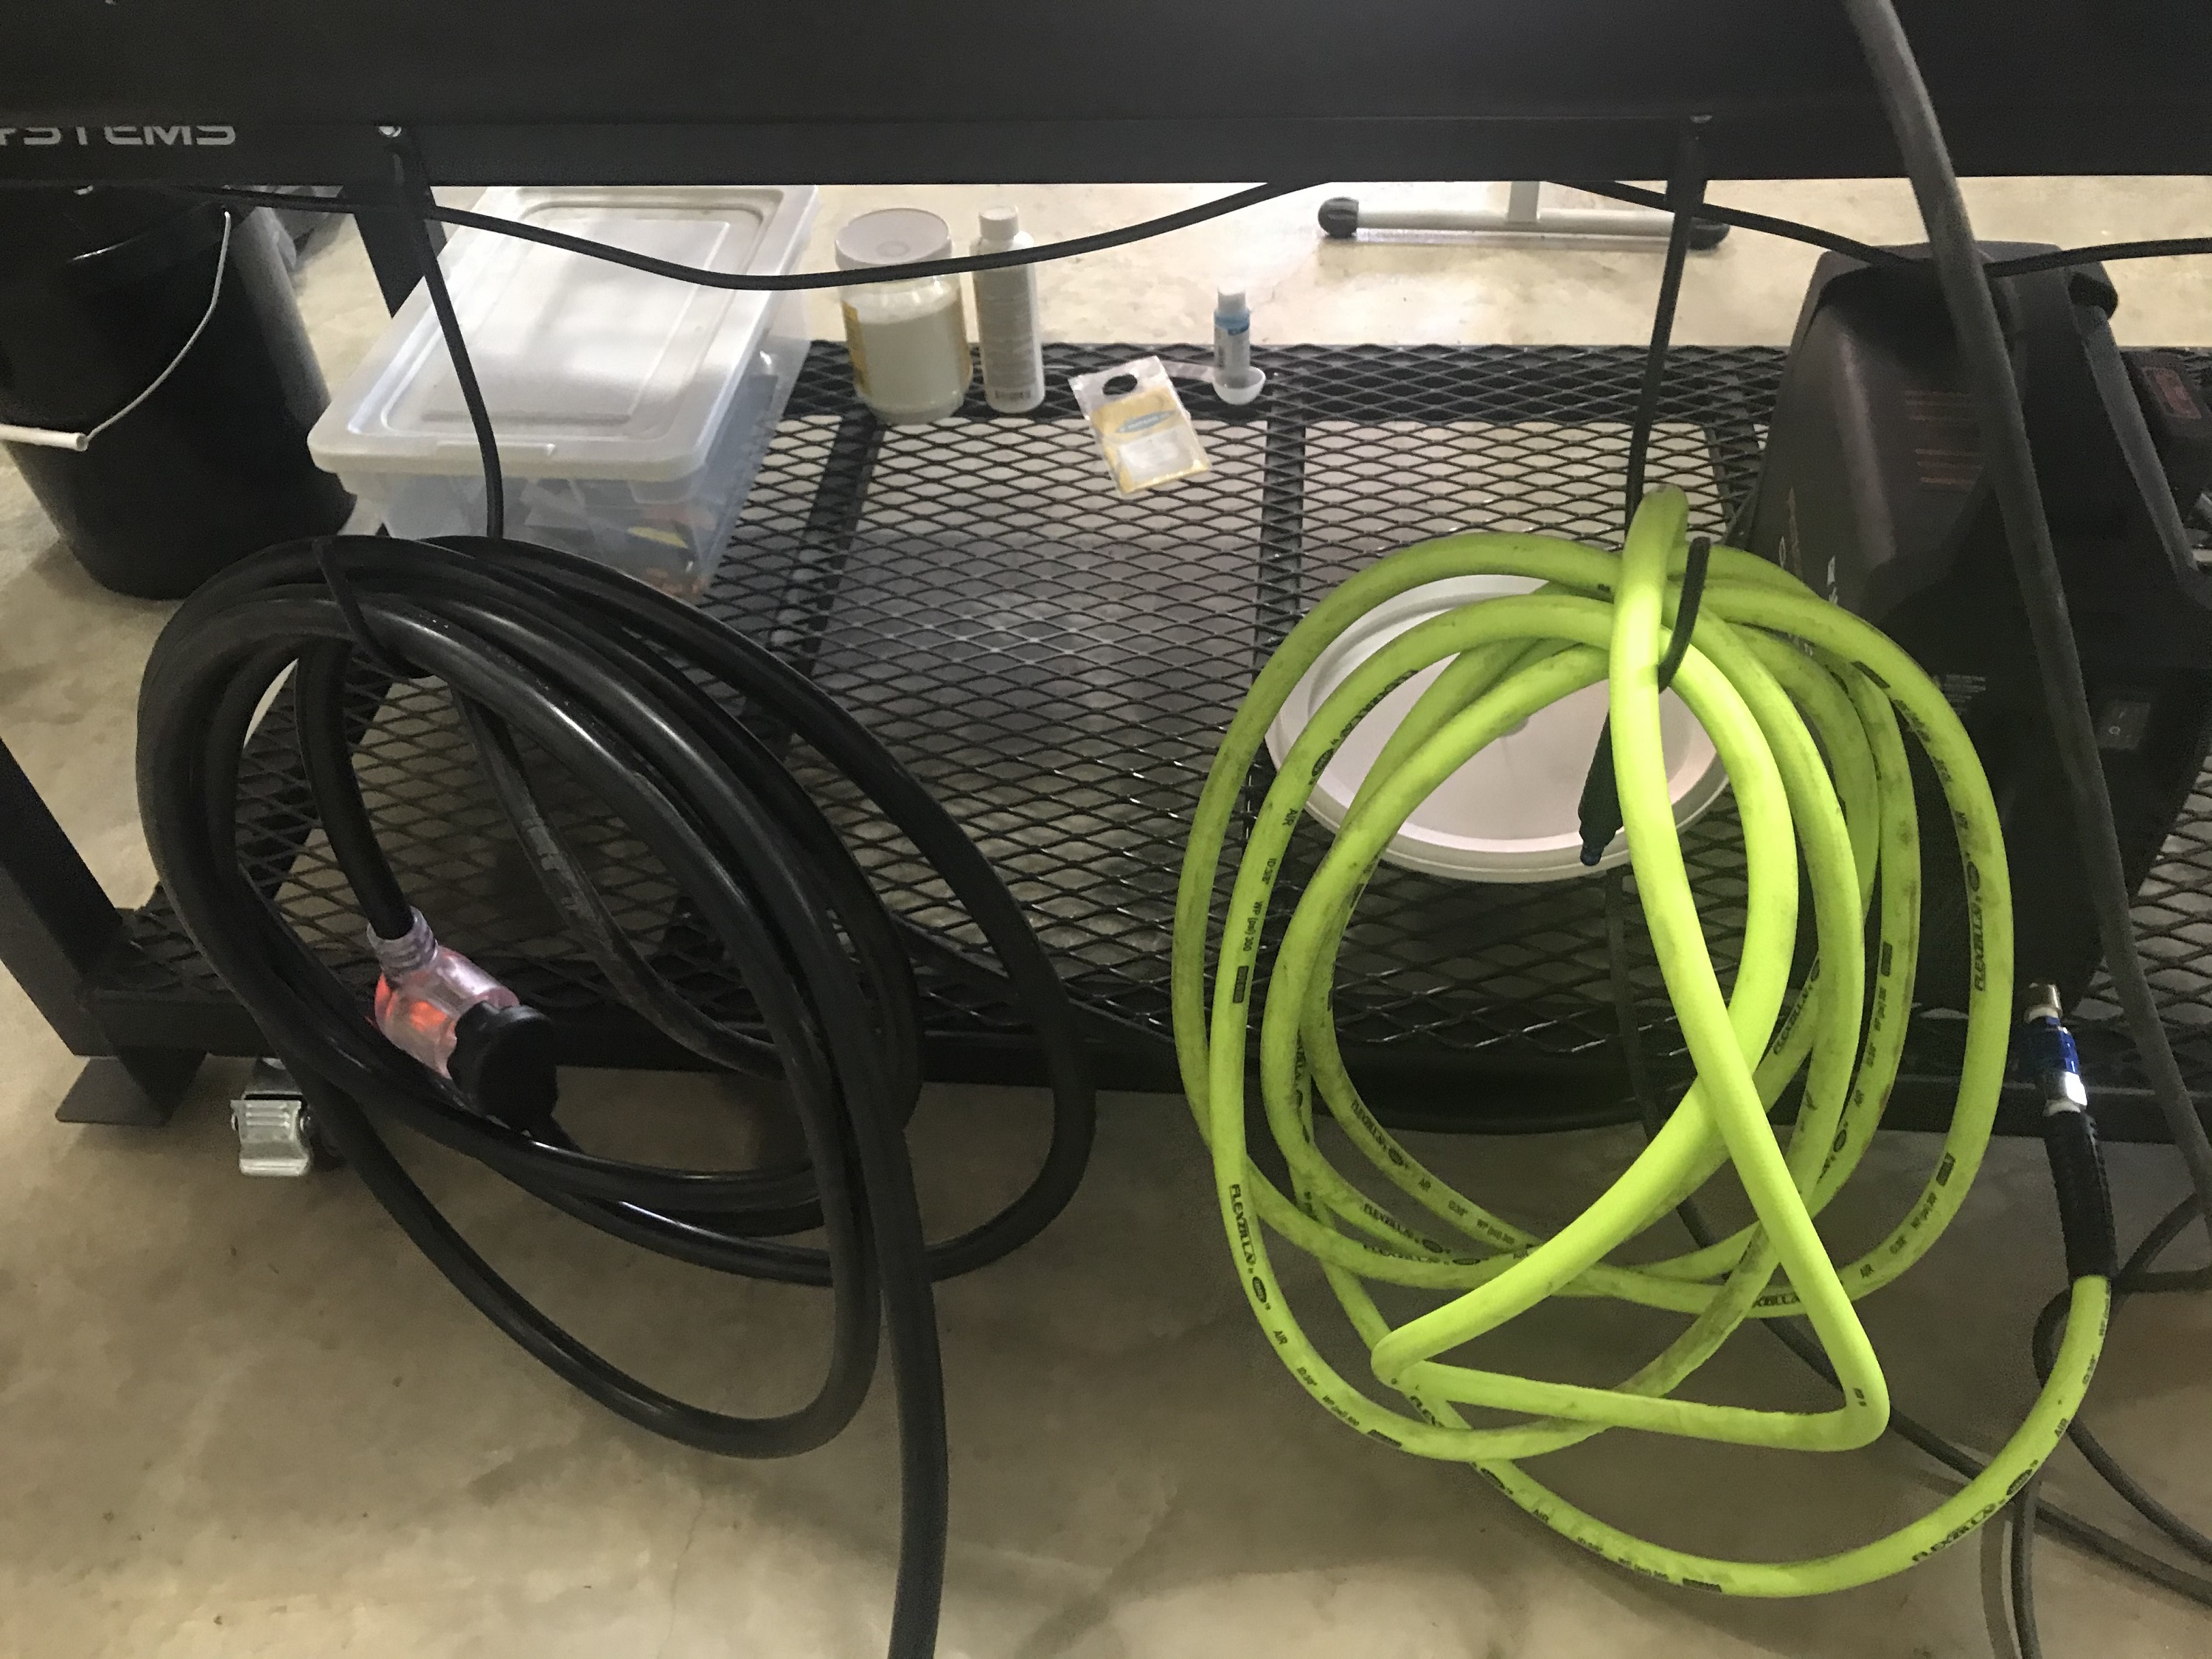
Then I added two hooks on the back made out of 1/4 round bar to hold the air hose and extension cord.
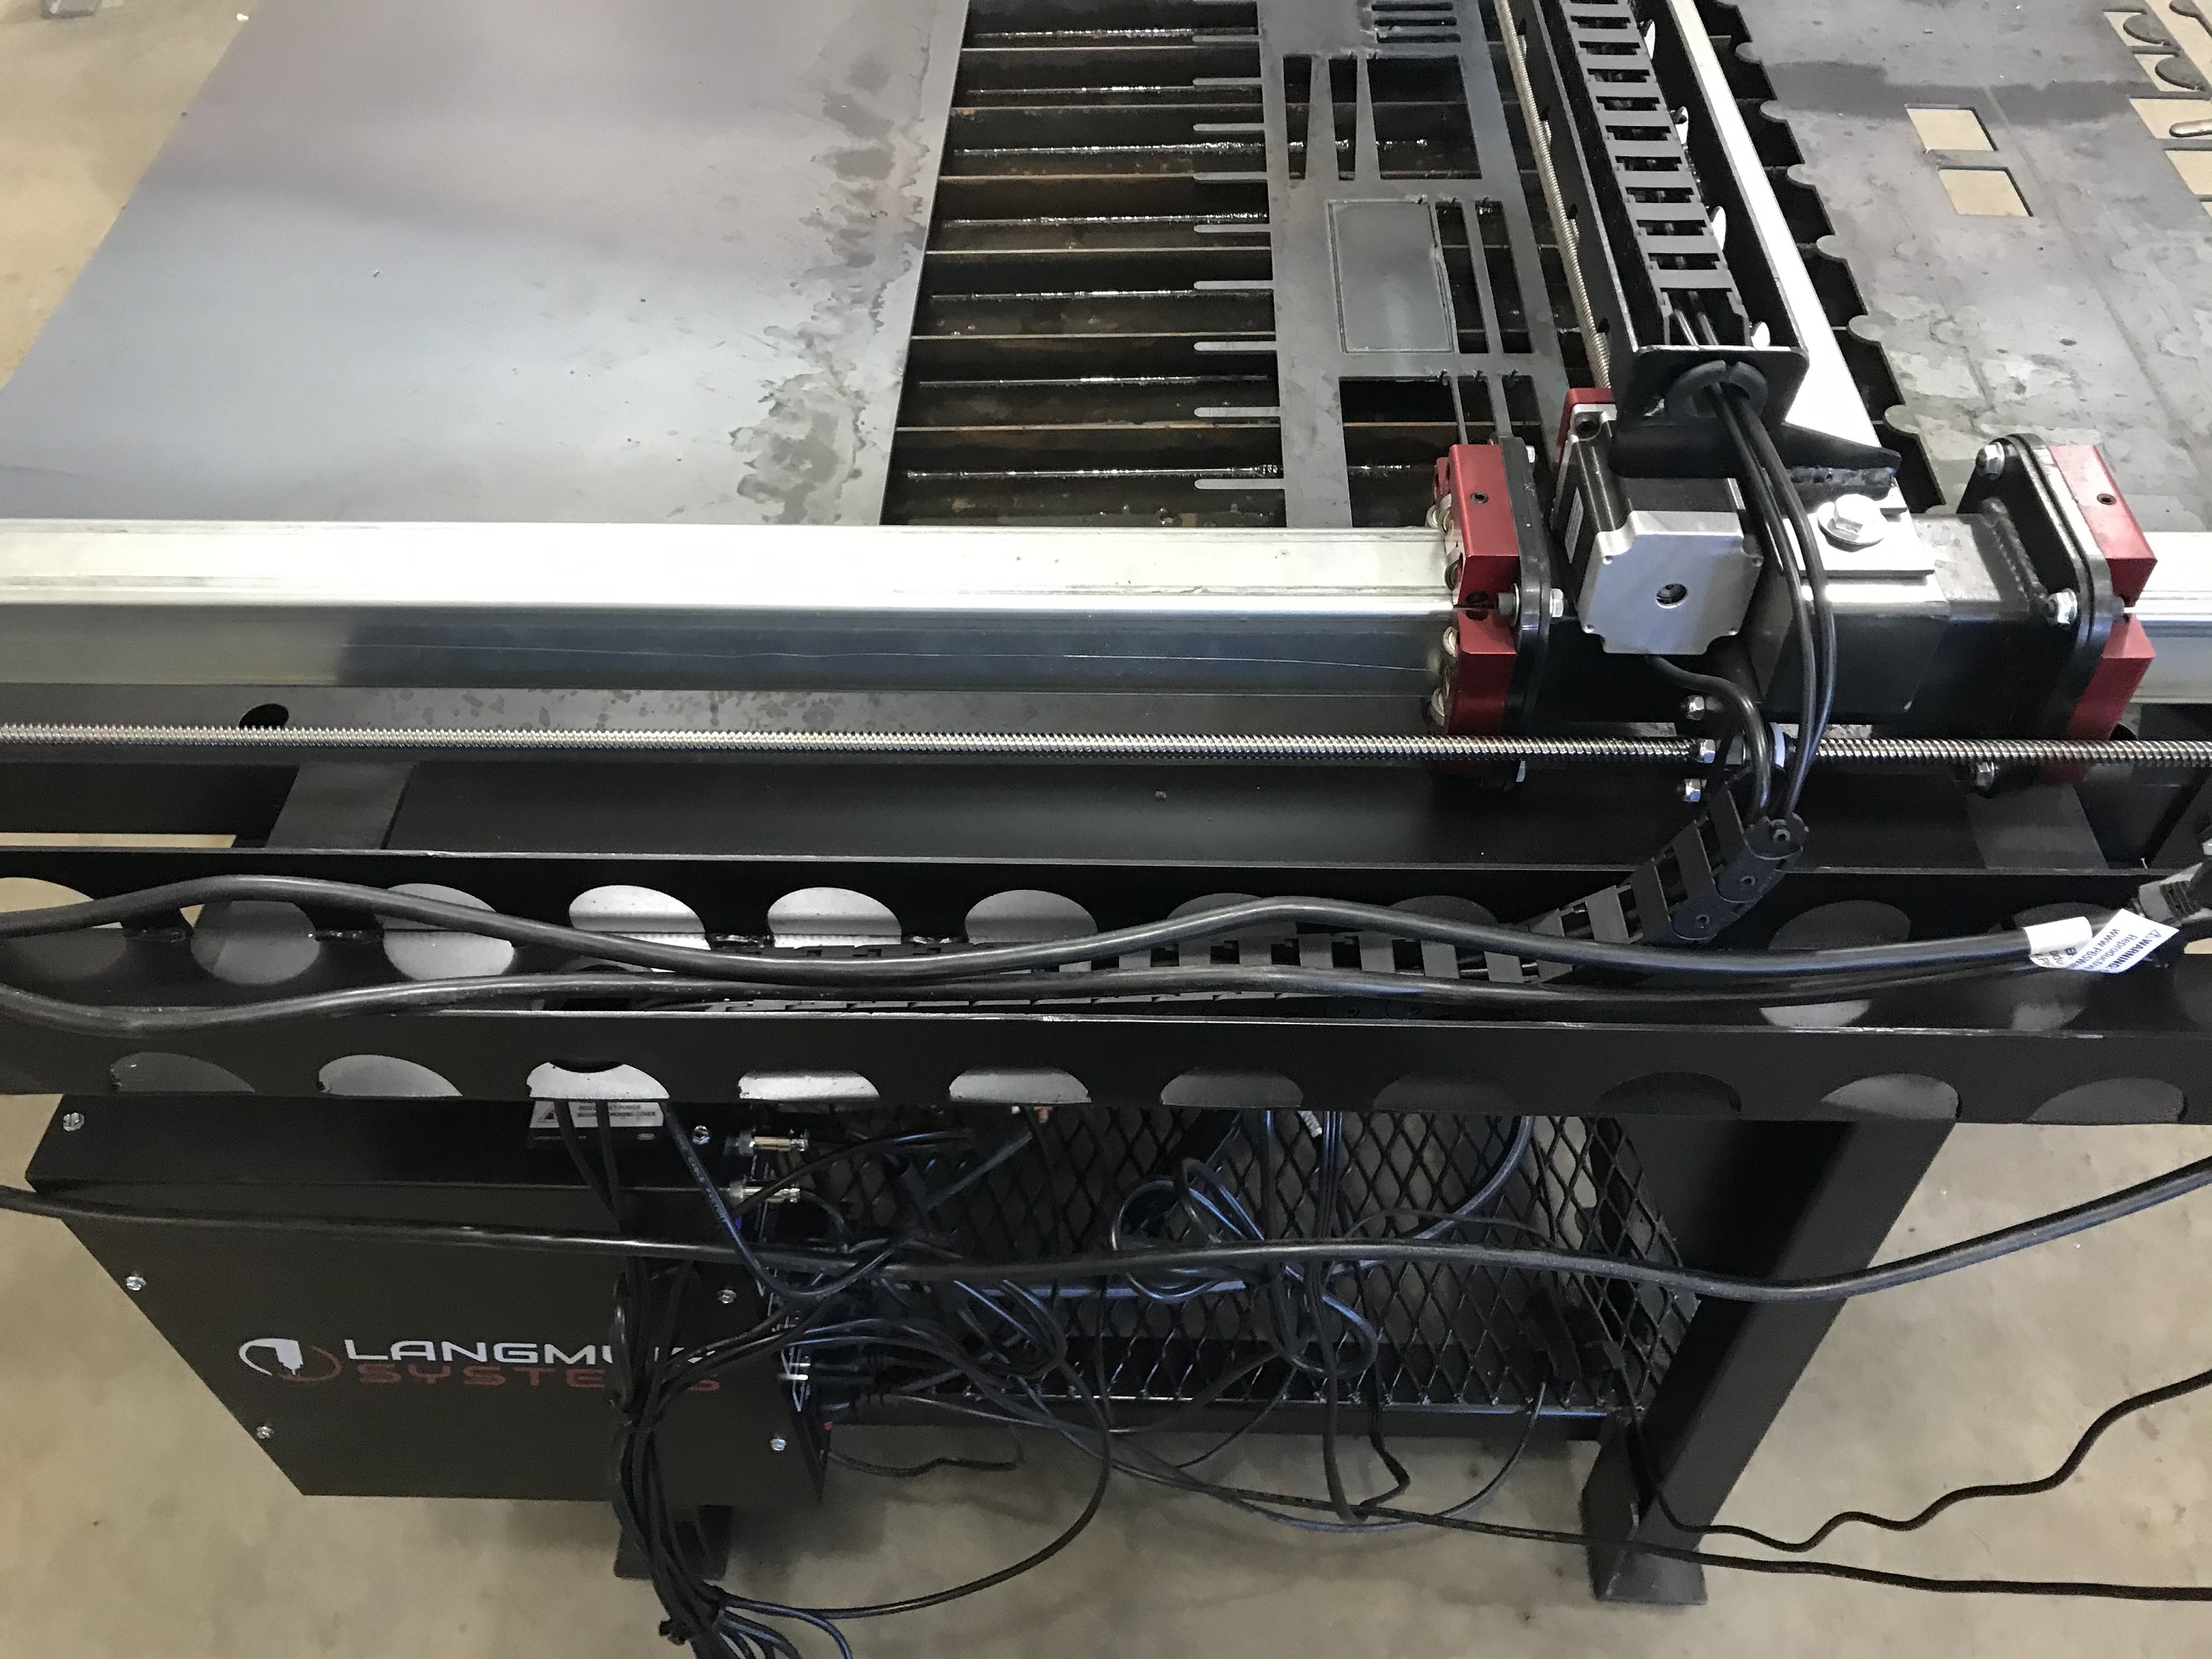
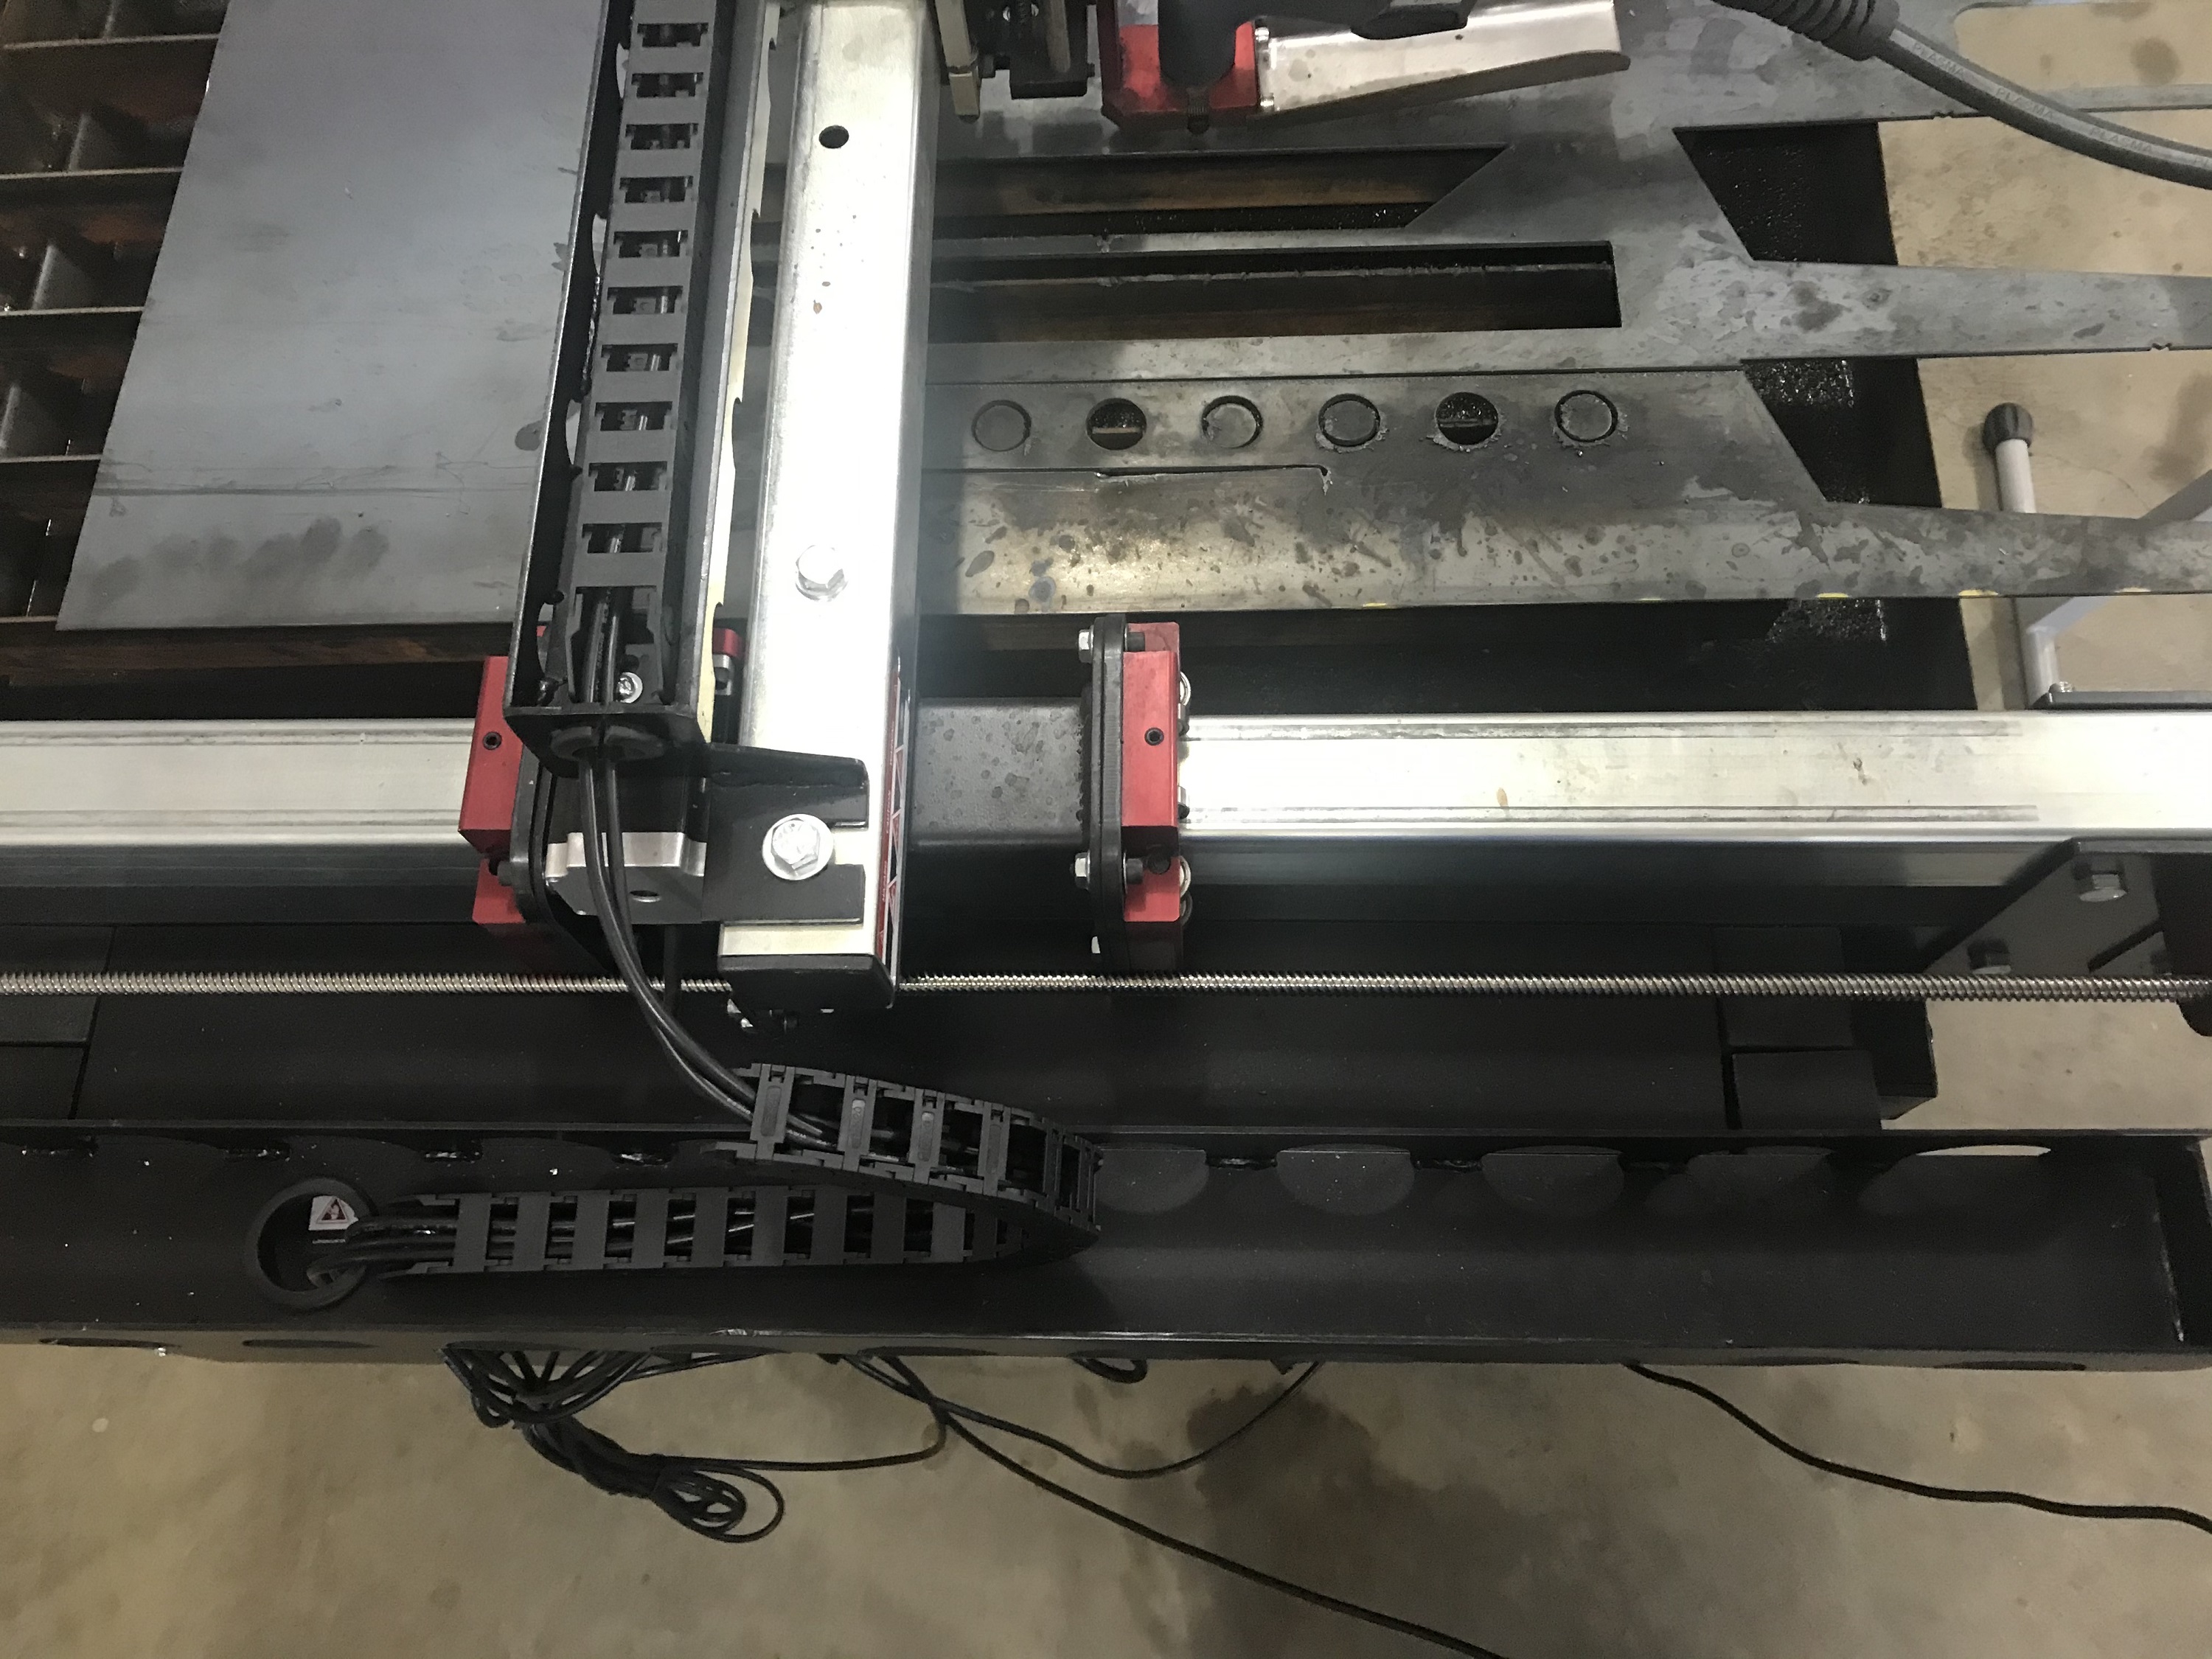
Next I built a guard for the screw that could also hold the cable drag for the wires. I used 12 gauge which I cut out with the table and welded together. I also added in a piece that closed the gap between the guard and the table to prevent sparks and/or water from hitting the top of the components below.
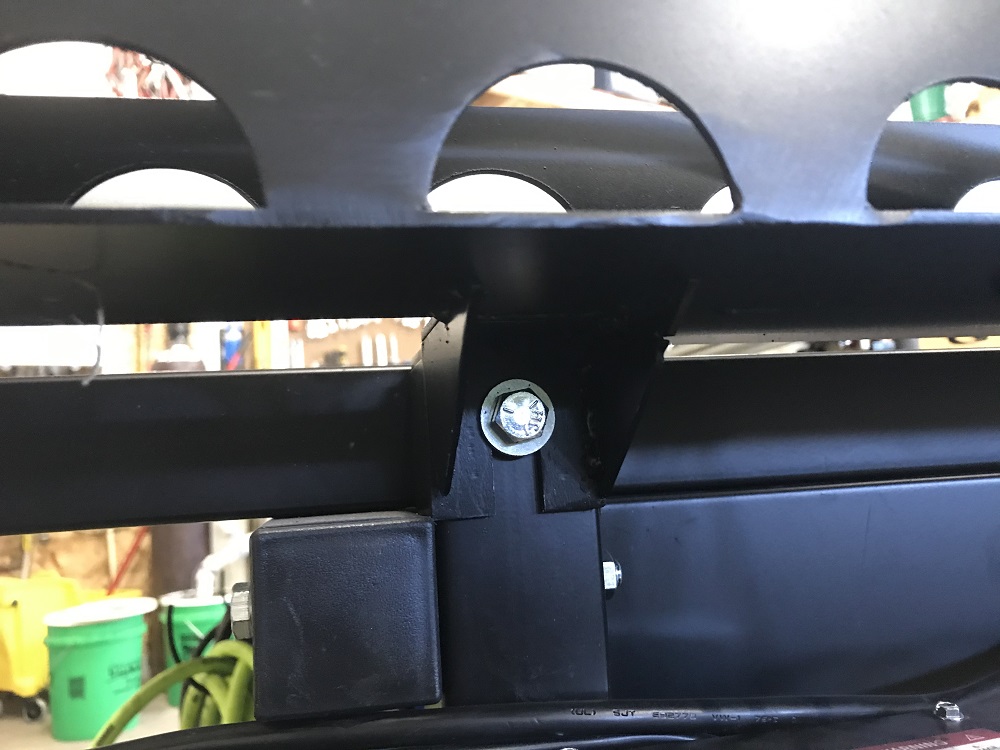
I attached that guard using a simple slot that could slide in behind the table bolts
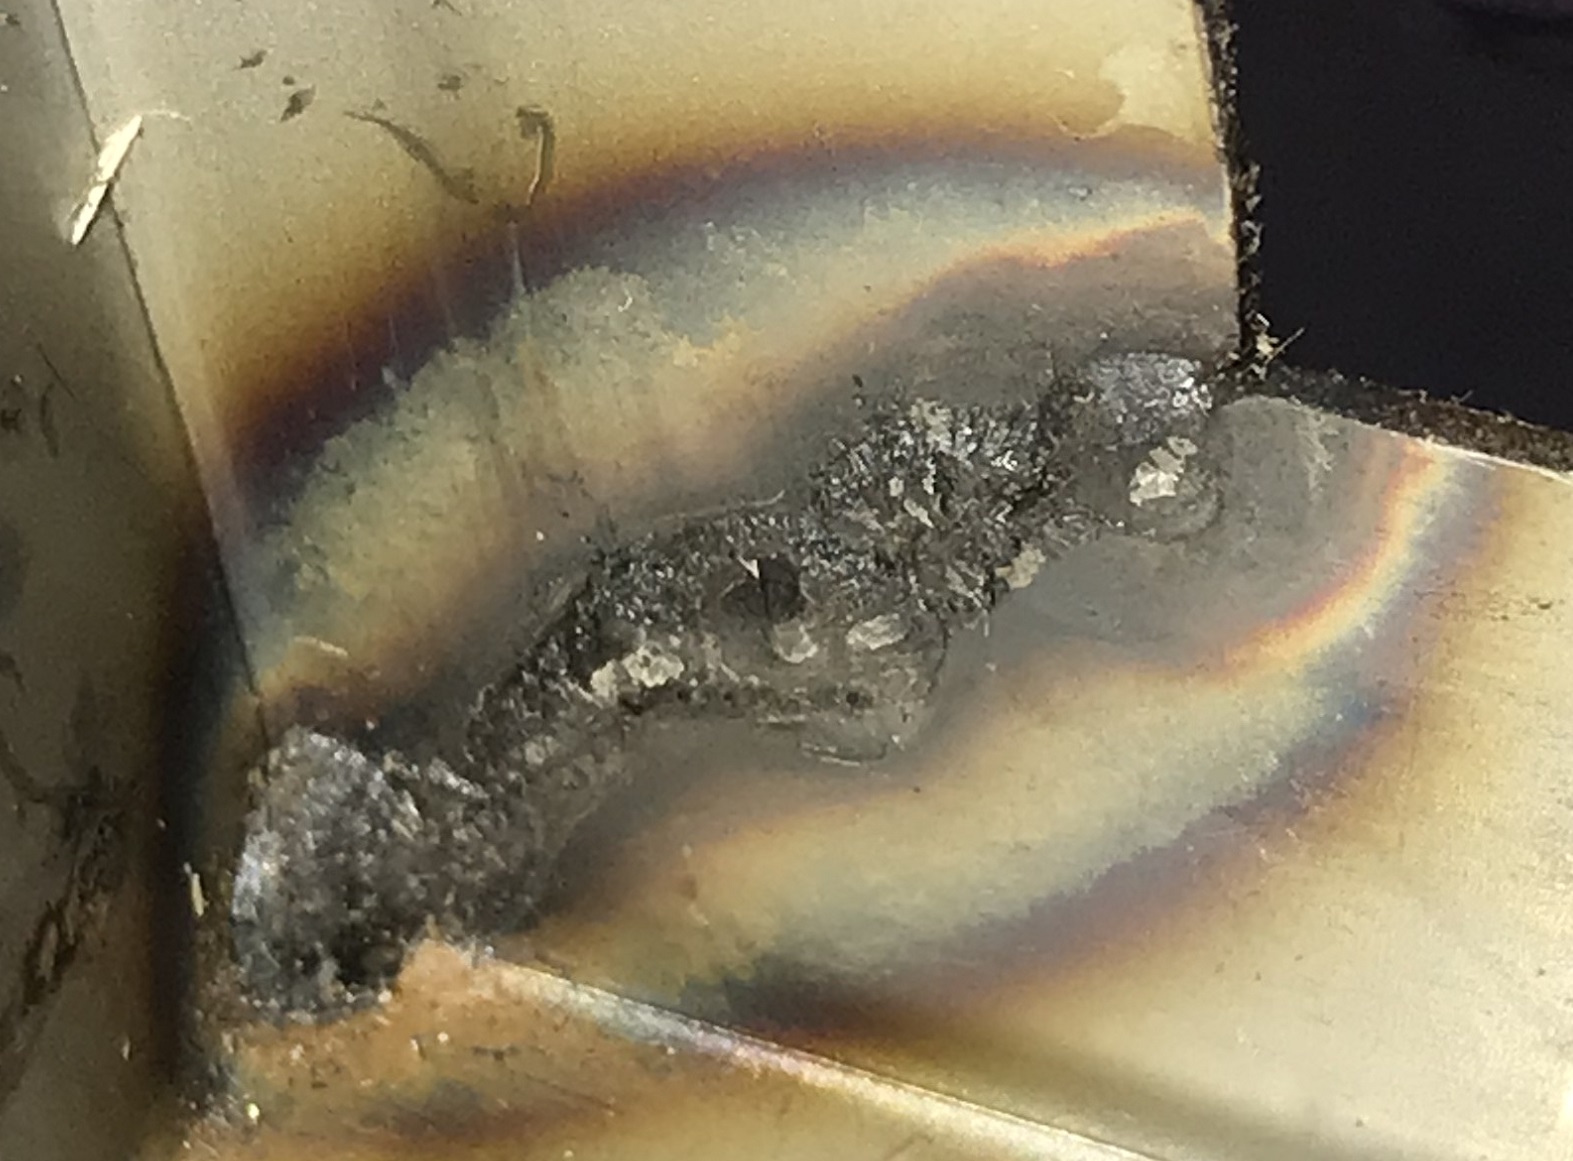
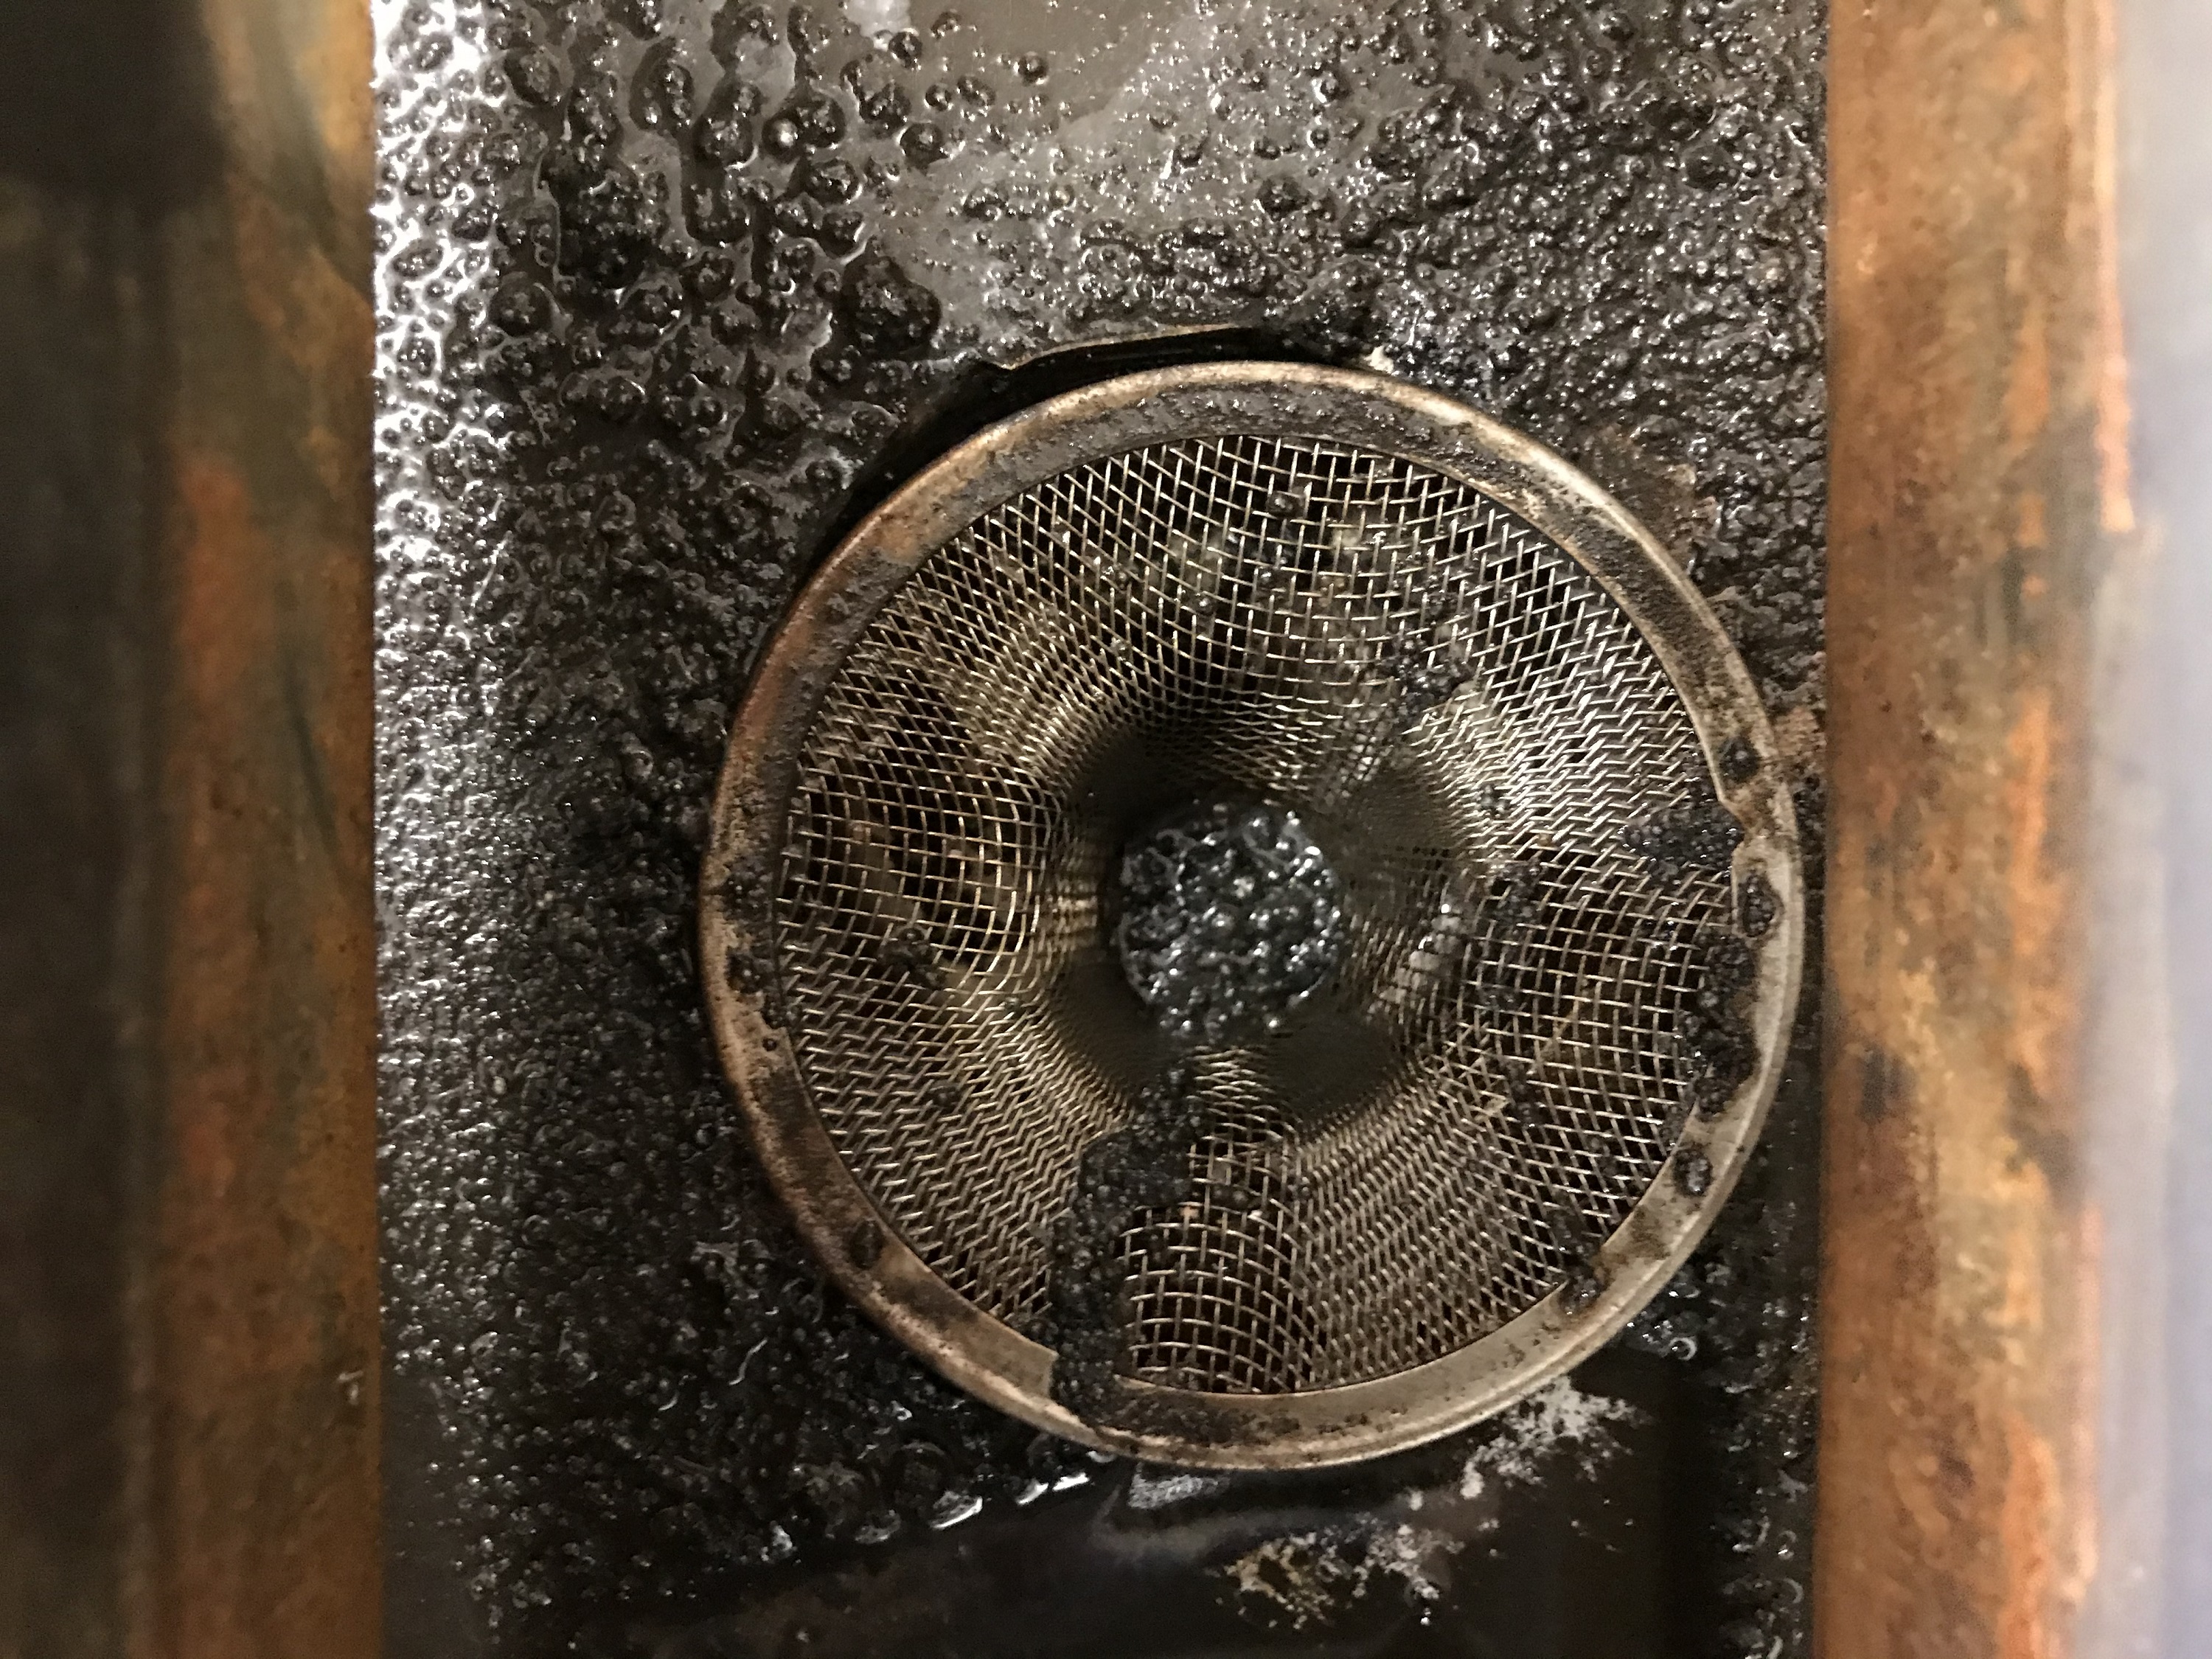
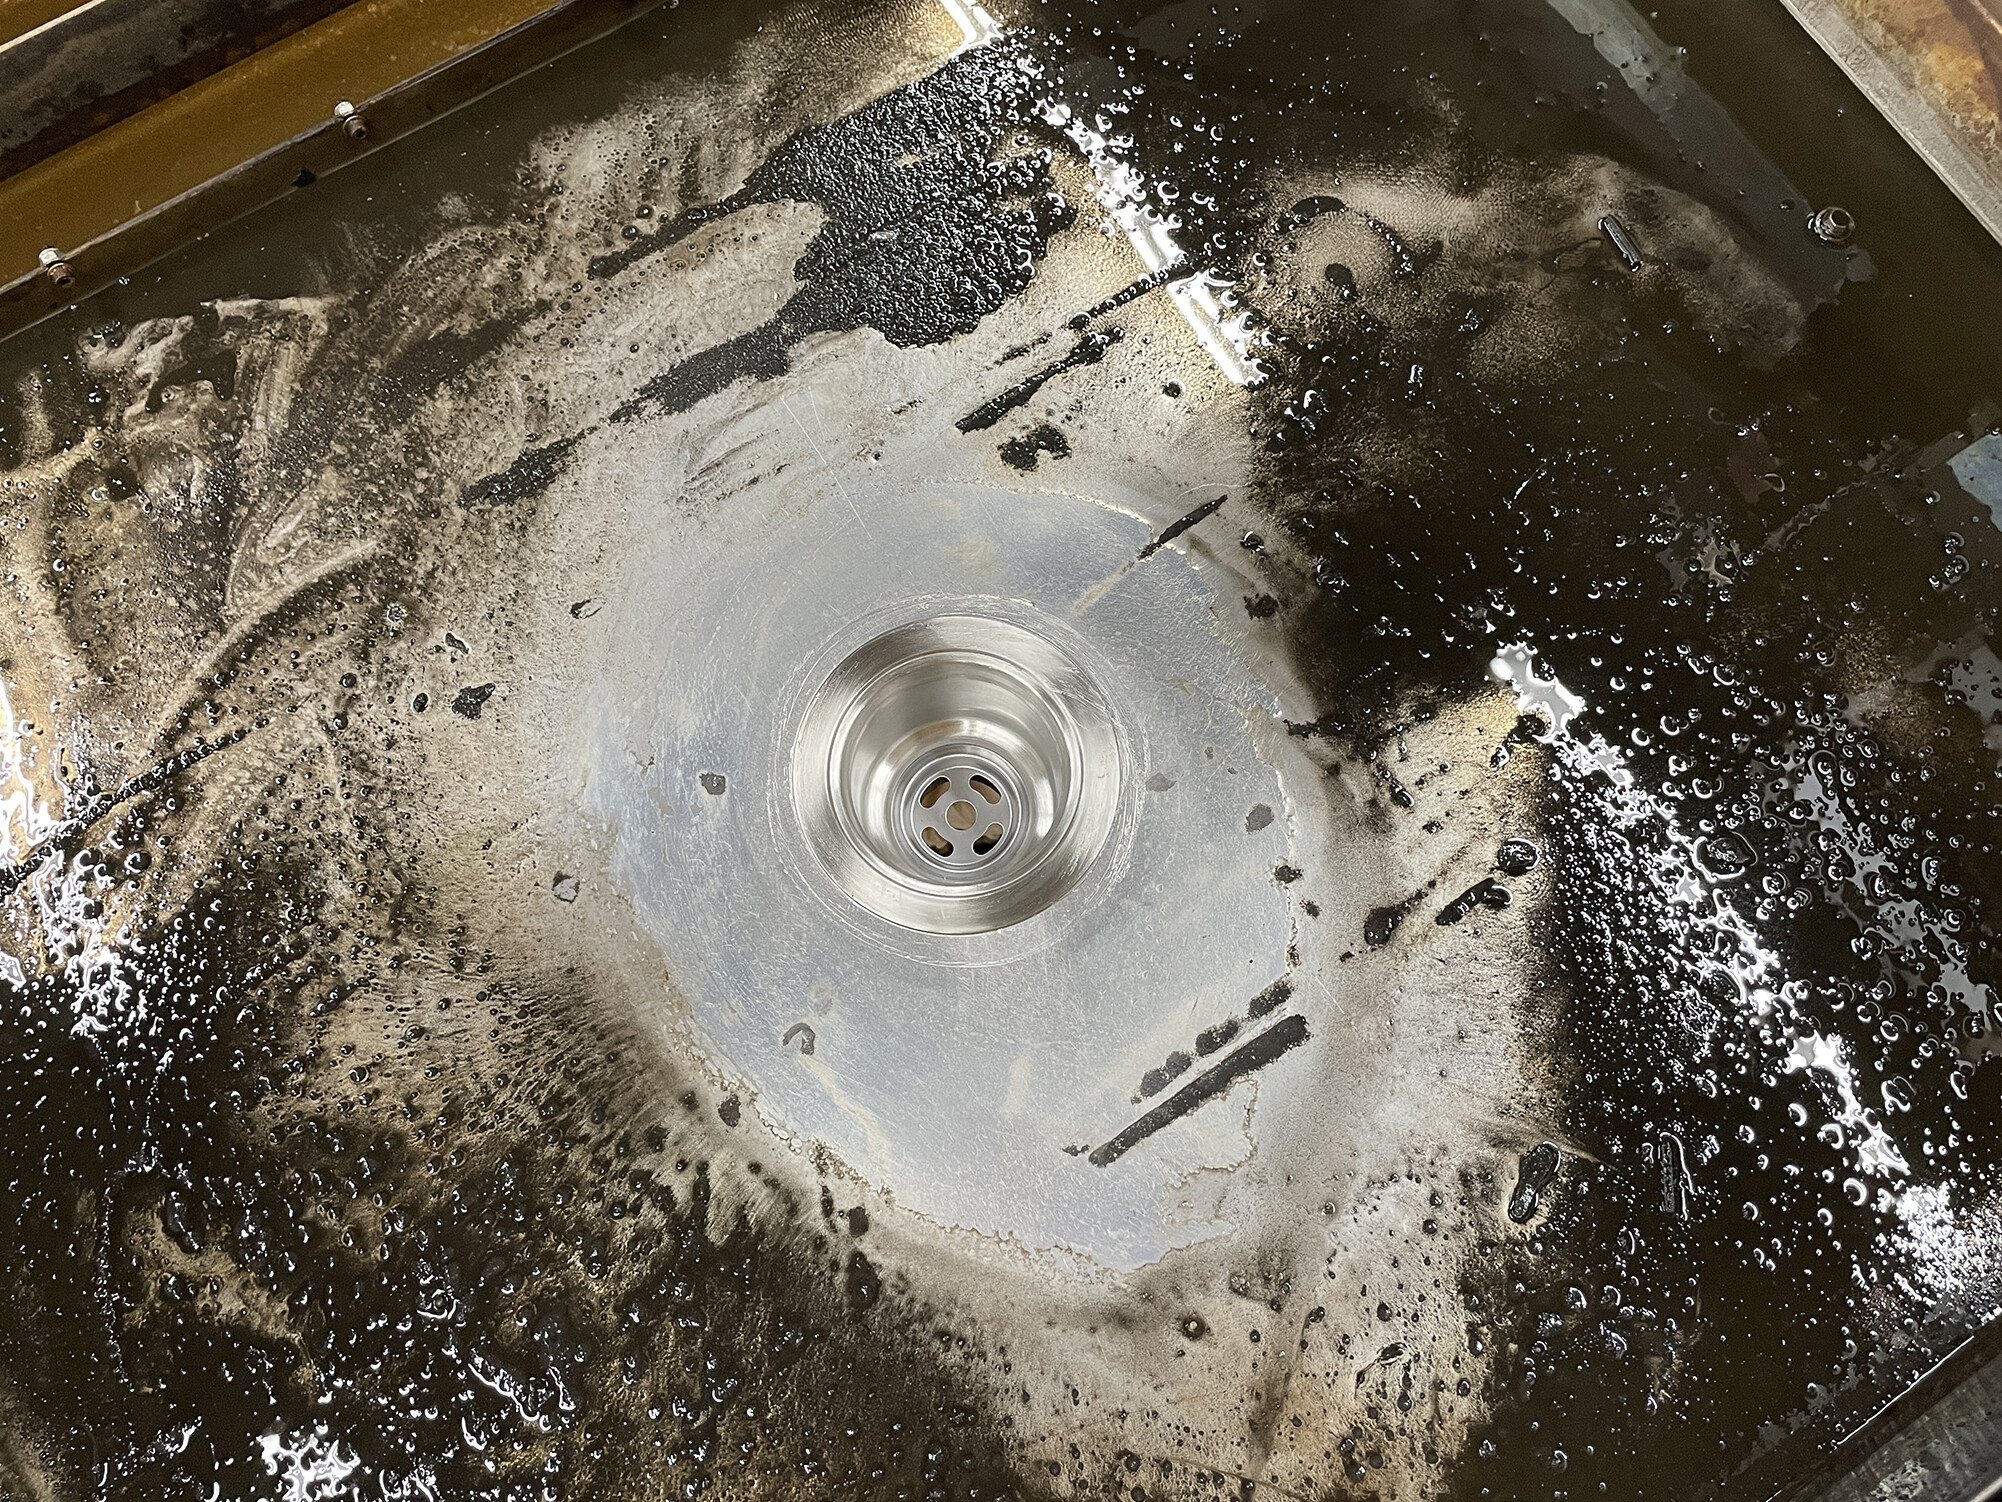
For the water table I was not impressed at all with the welding job they did when they made the table so I got a sheet of stainless and made a solid one piece water table.
I put one drain in the middle which I have a strainer made for sinks in to catch all the debris when I drain the table. The drain system underneath goes from a stainless steel 2x3/4 fitting that changes to PVC tube and attaches to a spigot on the outside of the table, much like Hellbent did.
For the screw that rides on the carriage I added another guard to protect the screw as well as giving me a place to attach the cable drag for the Z-Axis wires. I used anther slot bracket to attach the guard
For the last guard I have something that comes up and over the screw. My thinking was to protect it from things being dropped on it and people leaning against it.
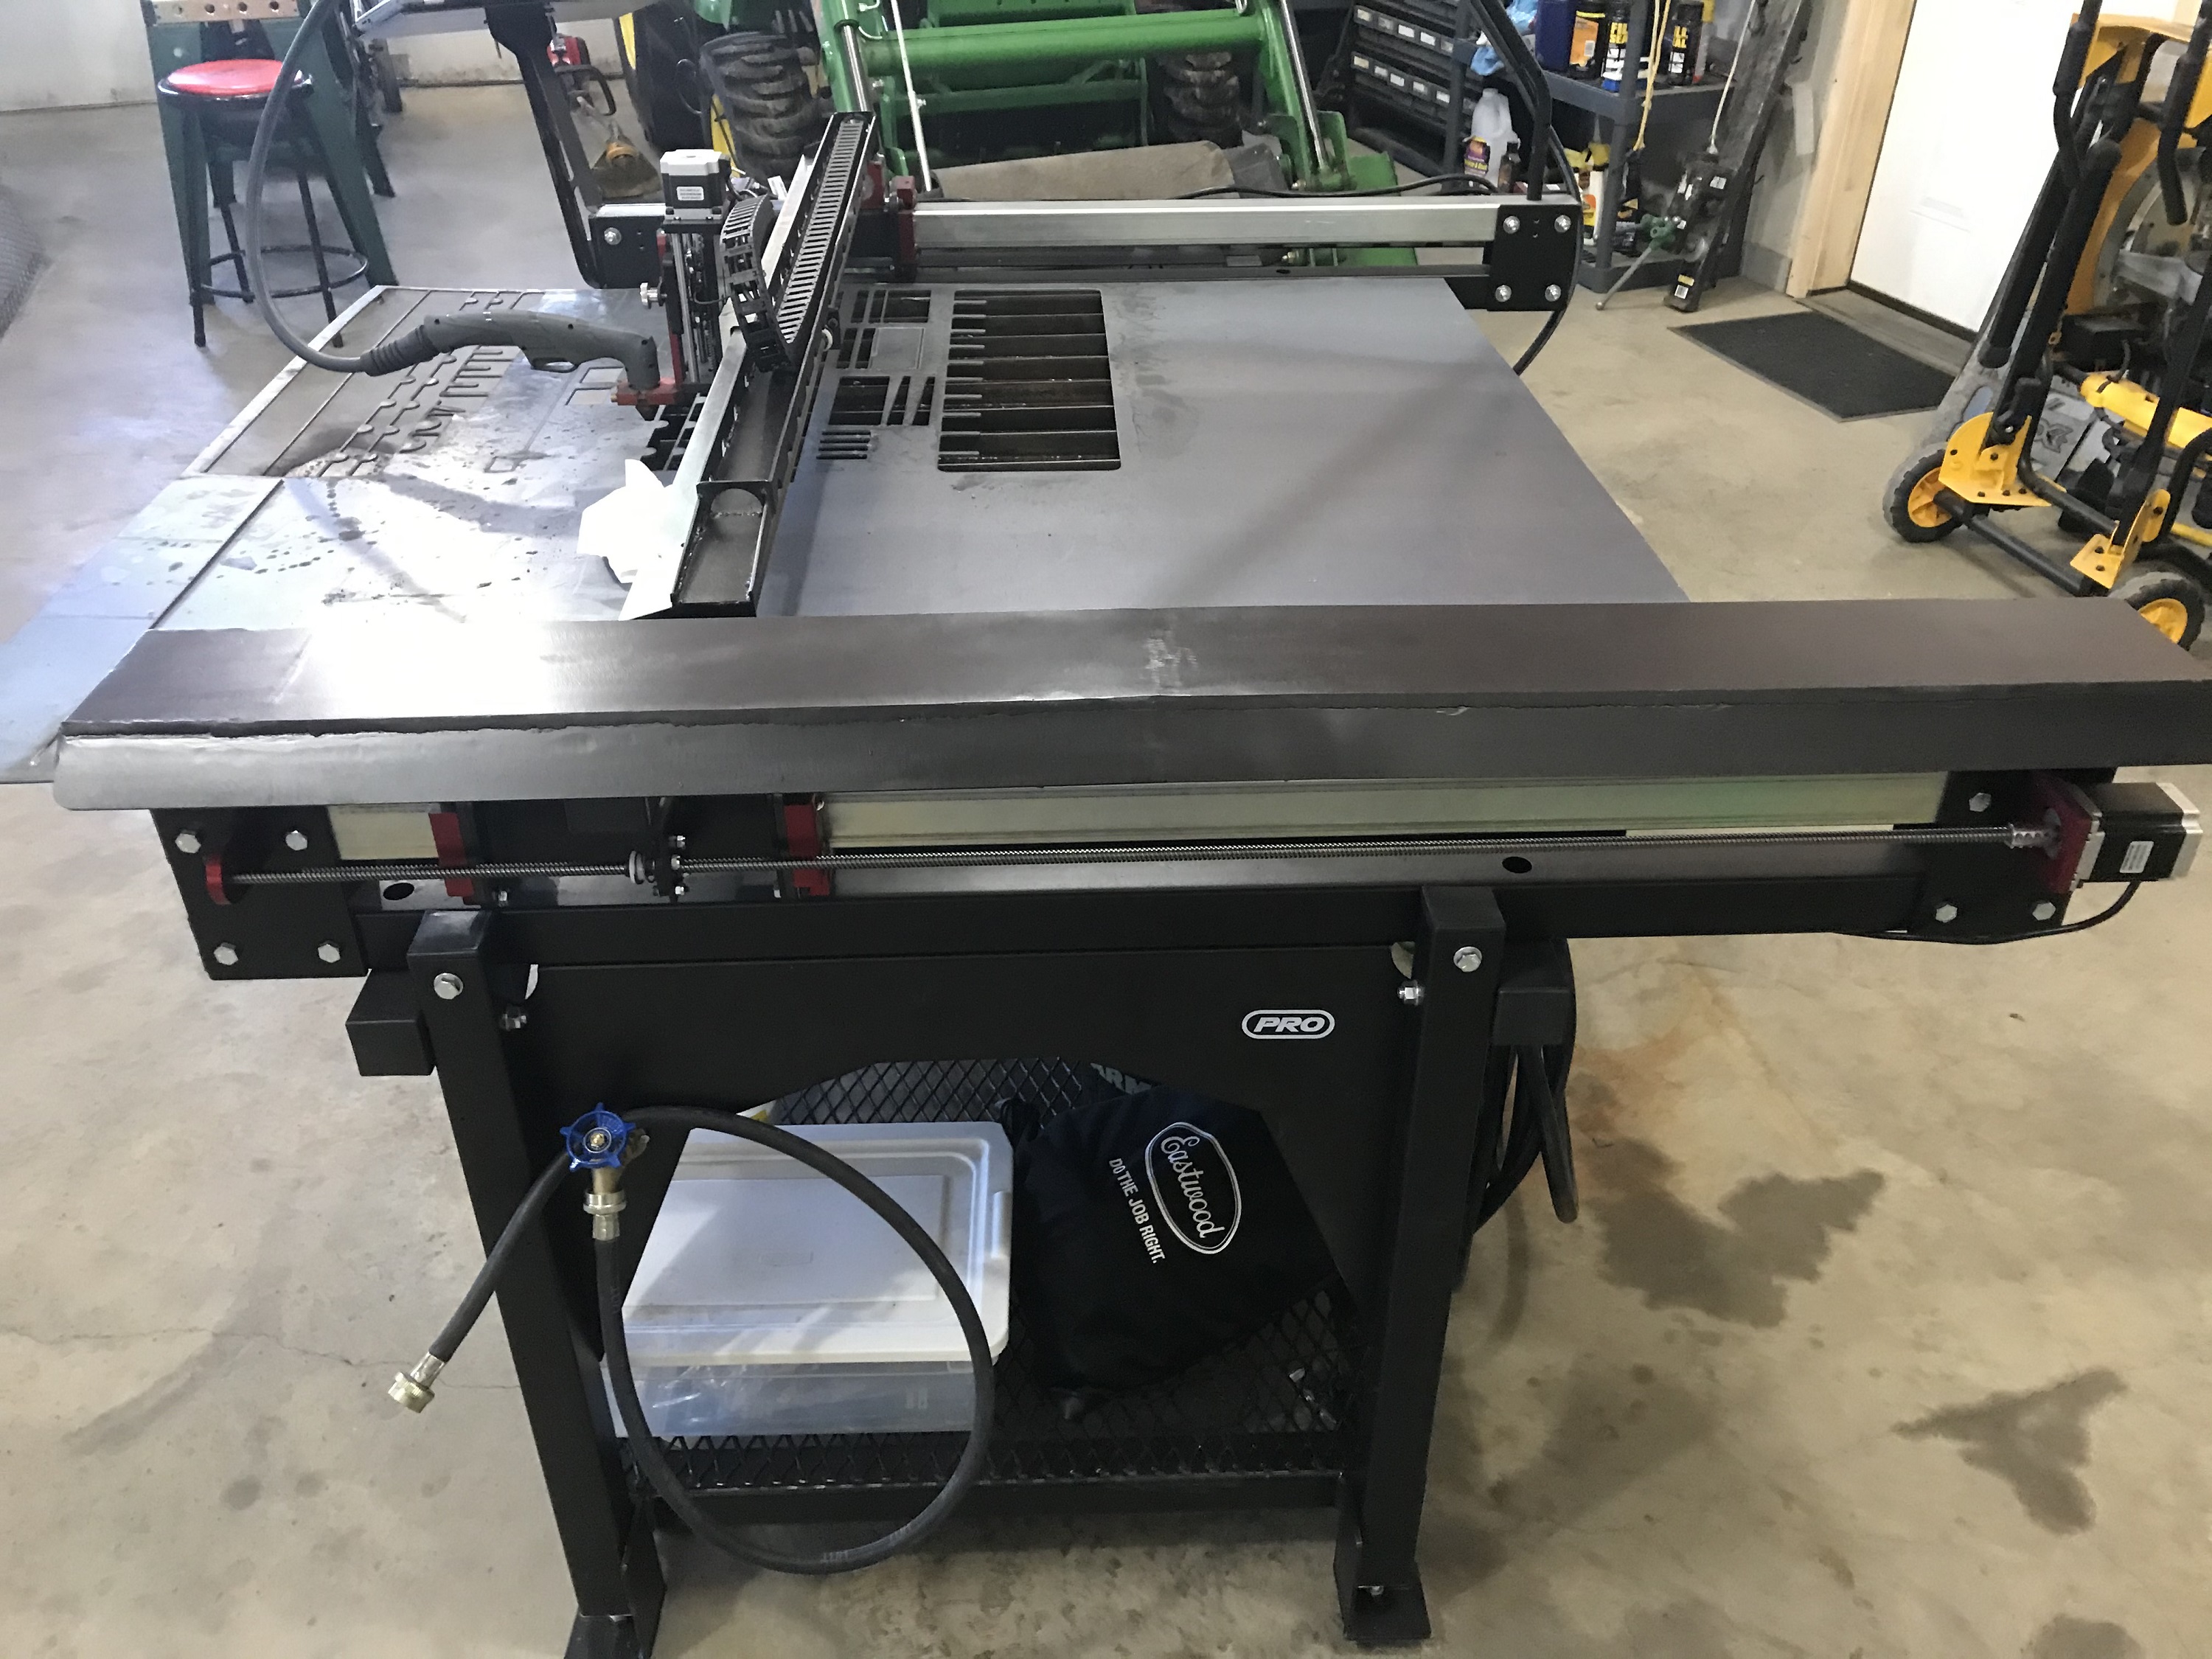
This guard is attached with a bracket that come down and uses the table bolts on the inside of the frame.
My final modification was to add a better laptop stand. The one I bought with the table was way to flimsy in my opinion so I made a stiffer one.
The best part about cutting all of these on the table was that I was able to play with the table and become better and more efficient at running the machine. Hope this gives someone some ideas of mods they want to do
12 Likes
Wow, everything looks great!
Love the mods! Your link to the Facebook page isn’t working. Did it move? Id love to see more pictures and details. I just got mine up and running and have all the same concerns!
Thanks!
Once I got the business rolling, I didn’t think my clients needed to know the whole background story of the build and such. You can see more of the story on here at this link. I can message pictures as needed, but it explains it pretty good.
1 Like
Been seeing this drain mod around and quite like it… and now that I’ve got this thing up and running damned if I ever lift a hand tool again let alone a 3.5” hole saw and some clamp doodads. Just enough room on the z-axis to pull this off. Work harder not smarter… ![]()
Can you embed youtube links?
https://youtu.be/gW8Q8icmdvw

Next up is the pressurized water tank to fill the trays.
7 Likes
This is the way to go. The table fills in less than 10 seconds and drains in less than 10 seconds. Still need to tidy up the hose lines but it works. I added the angle iron bracing around the tank, which makes a massive difference. I accidentally flipped the valve all the way open and everything was a-ok. Water was bubbling up at the table but it didn’t spray anywhere and the tank didn’t explode. I added a valve on the back of the tank to let the air out after the table is full and for draining water back down.
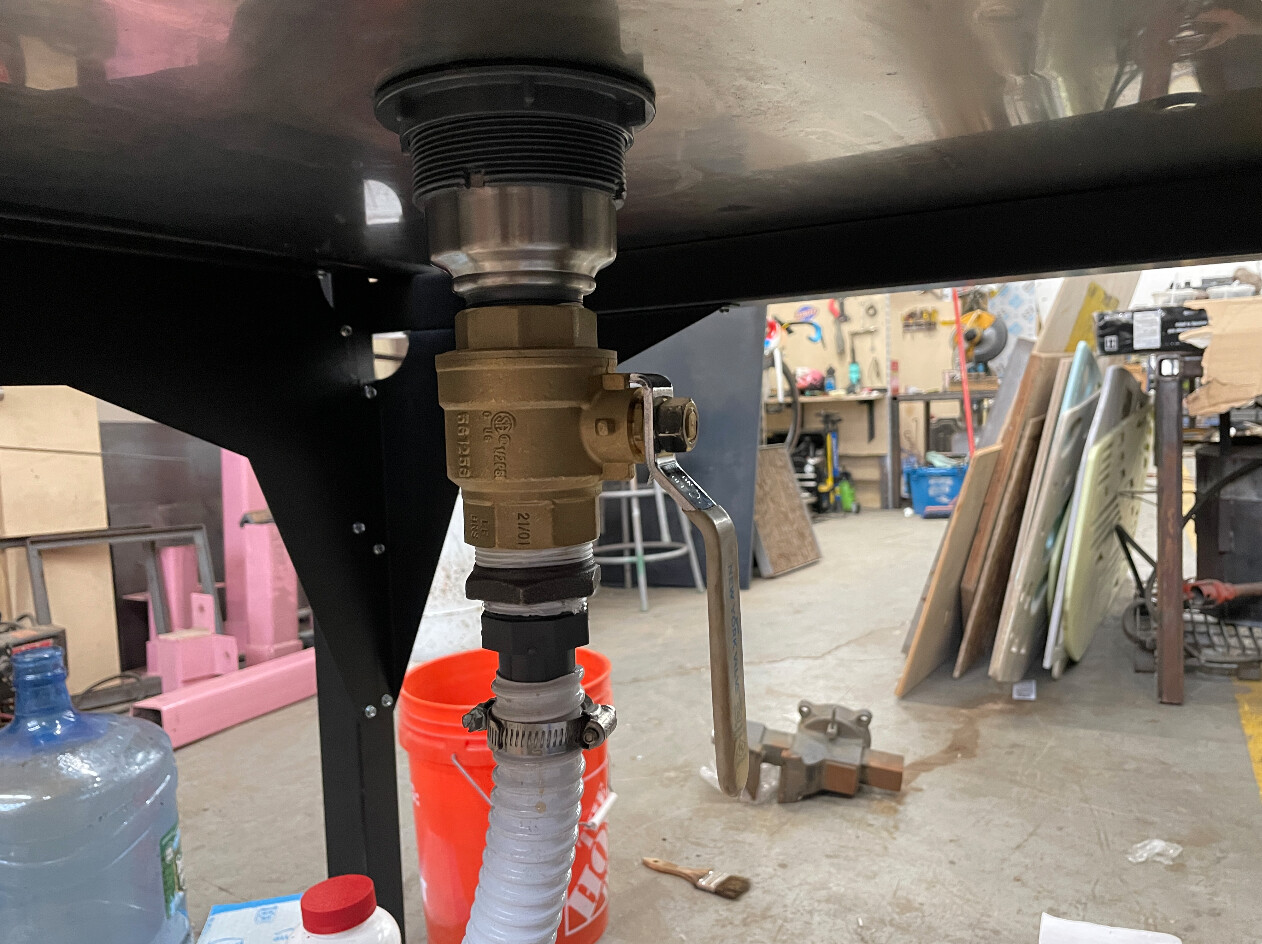
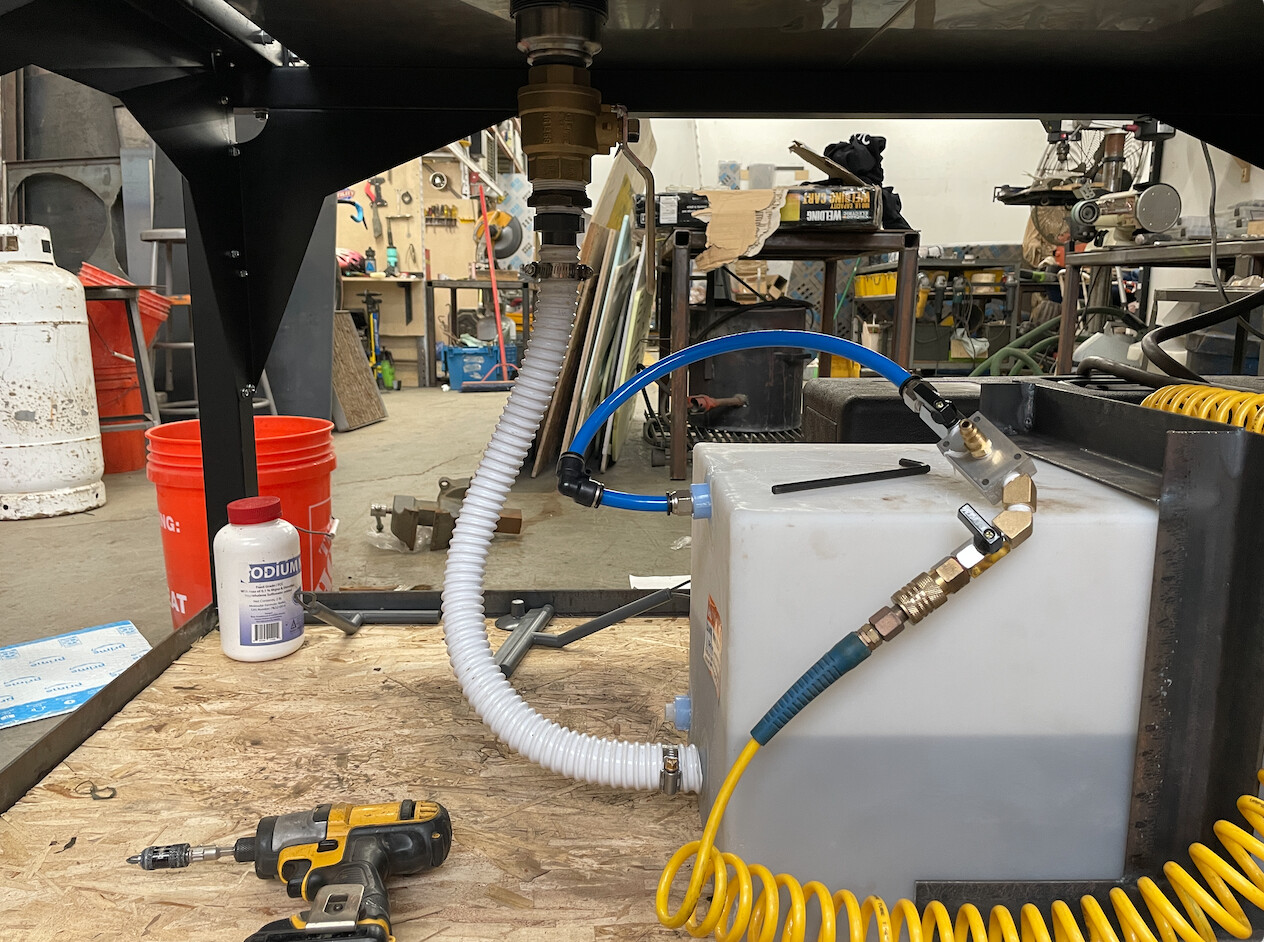
6 Likes
Your rolling shelf looks great! I get my crossfire pro in the next couple weeks. Super excited, although a bit timid of the computer stuff. I’d like to copy your lower shelf. Would be perfect for my setup. Any chance you would be willing to give me the demisions so I could weld this baby together before the table arrives. Thx!