A partial record of my build and experience using the Crossfire Pro. I started assembly mid June 2020 , and have completed my first cuts. I cant say how much I love this machine. The possibilities now are endless… ![]()
1 Like
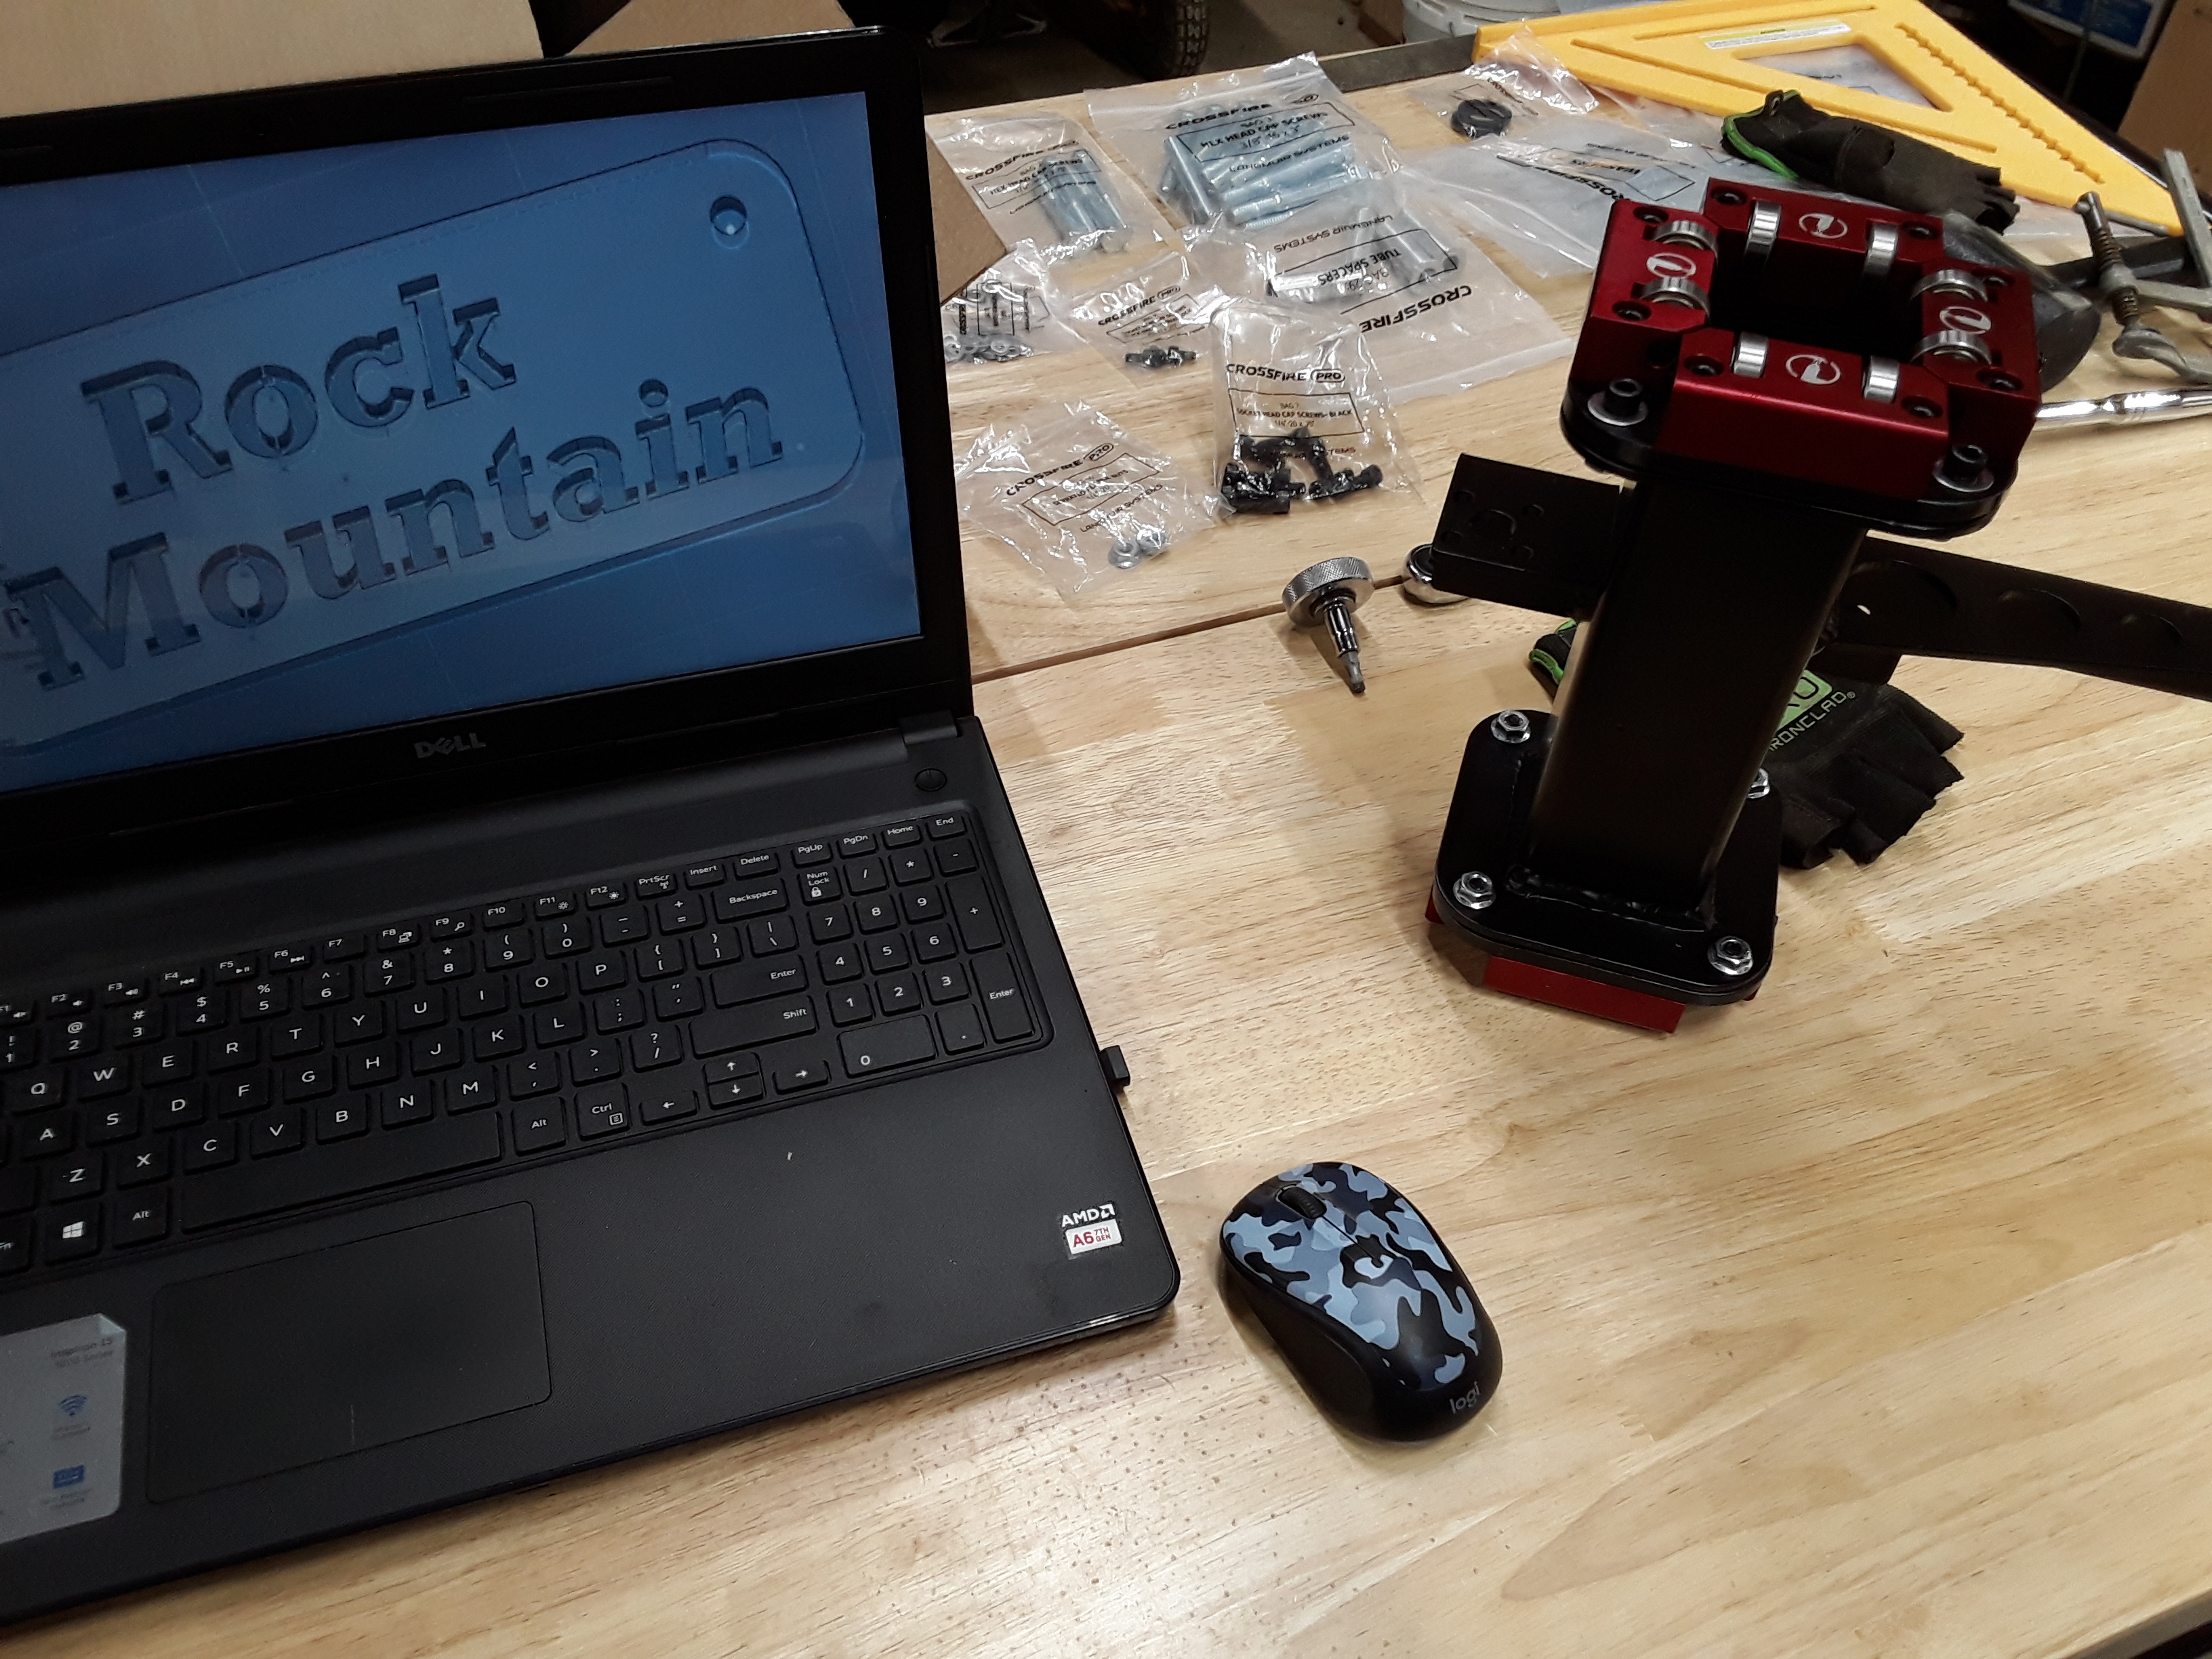
Followed all the assembly instructions on my Crossfire Pro to a tee, with a little bit of common sense and patience. I took my time getting accustomed to rapiding the carriage and learning the controls. Ran the break in program and stumbled through getting a file to Firecontrol to simulate cutting. Everything work beautifully first time. (This is my plug to really read and understand the instructions before starting assembly…lol)![]()
I did my best to pay close attention to what others on the Forum and other sites were experiencing as well, to get an idea where to start when first firing my Pro.
The software was definetly one of the biggest curves to learn. But repetition can help alot. Feel confident about my file handling now, but need to work on design skills. Using settings found on the Forum for a few materials, I fired my Crossfire Pro for the first time Friday. Of course I cut the F-bomb. Only steel I had was .070 stainless, and it went ok, but had tons of dross. Son spent 15 minutes cleaning it to his liking.![]()
Today (Saturday), after dropping the wife at the airport, I picked up 4x10 12g HR, 4x10 14g HR, and 4x10 10g HR, (and had them sheared in 1/3s for $20), and a .250 rem. Got home to son wanting to make some exhaust flanges. Speed course in DesignSpark Mechanical, and an hour later I cut him two. Went back to bomb, back to changed flange size, back to bomb. This is when I learned the program to program to program sequence and started getting good at it. Also starting to remember the GROUND CLAMP !! Yeah I did booger up a few square inches of stainless learning that one…![]()
These are my first cuts using settings found here and LS Forum.
#1 cuts, Large F-bomb ( 12g stainless scrap, lots of dross, and a bad Fireshare file, you’ll see it…) made 2 of these…
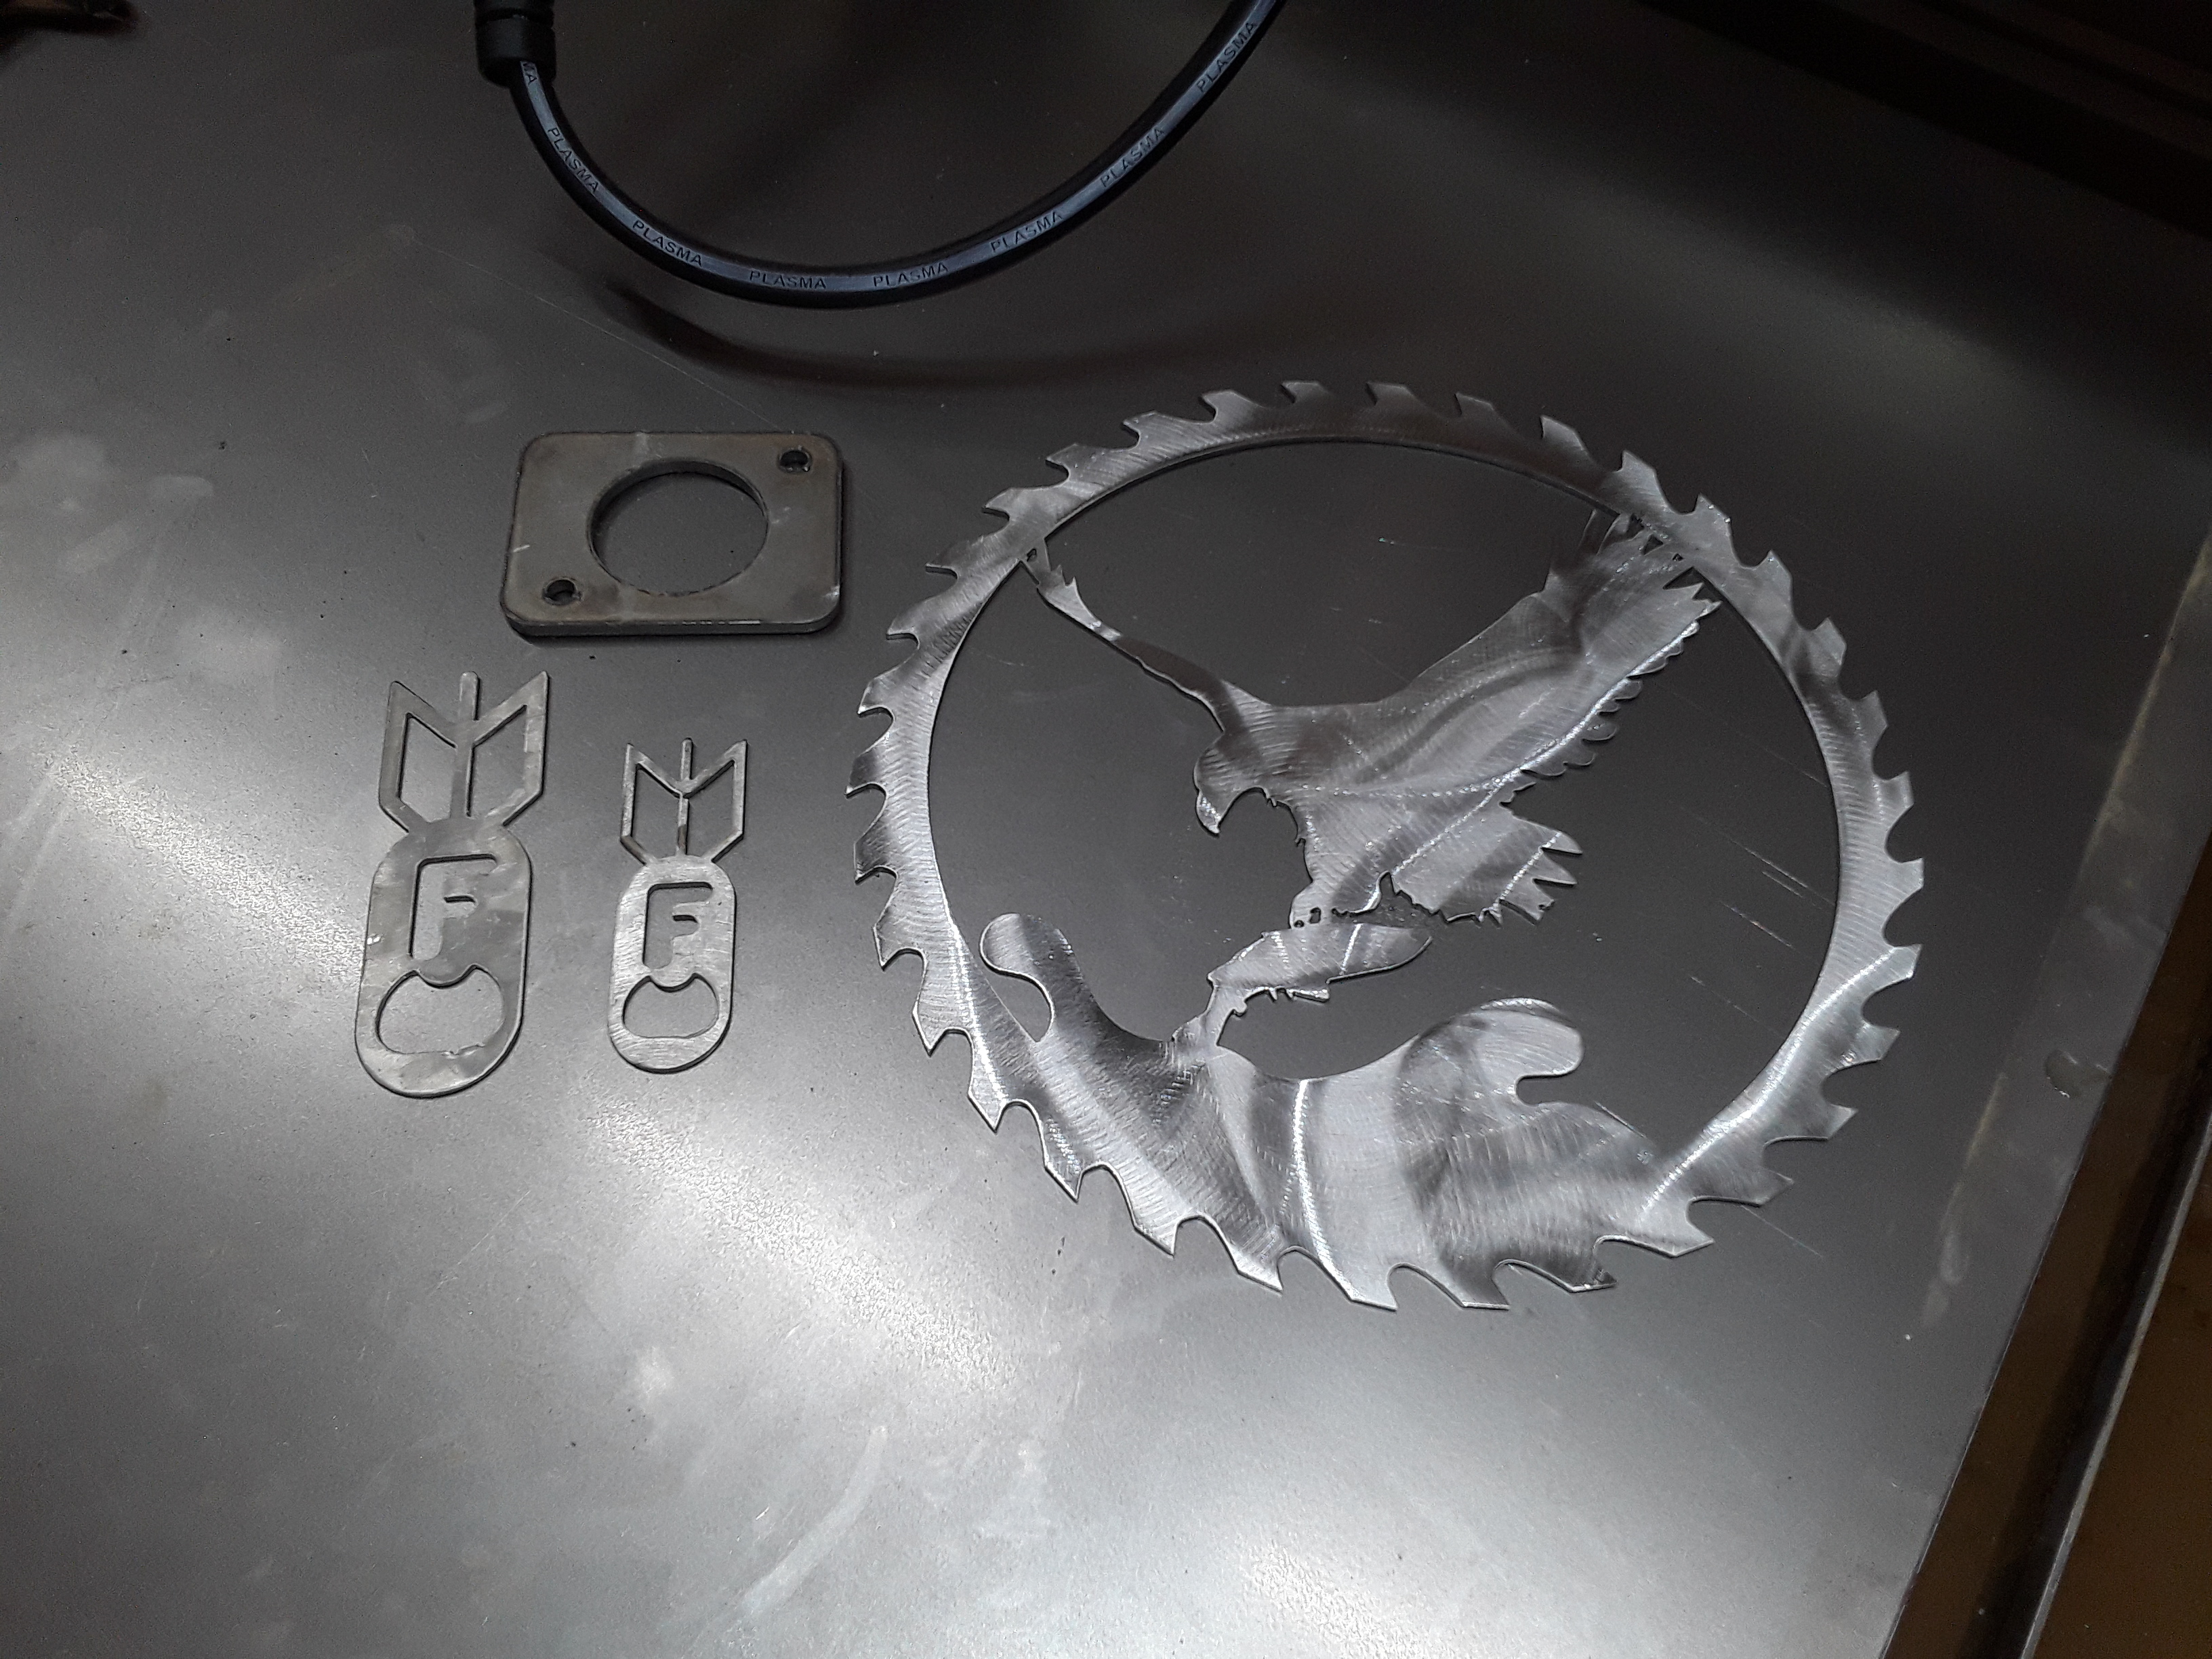
#2 cuts, Exhaust flanges (.250 HR, no dross, slight bevel, but butter like cut.) Cut 4 of them and all had same results. The pic shows the back side and edges without any cleanup. Love this machine.![]()
#3 cuts, Smaller F bomb ( 12g HR, no dross, no lead in because of messed up file) cut 2 of those.
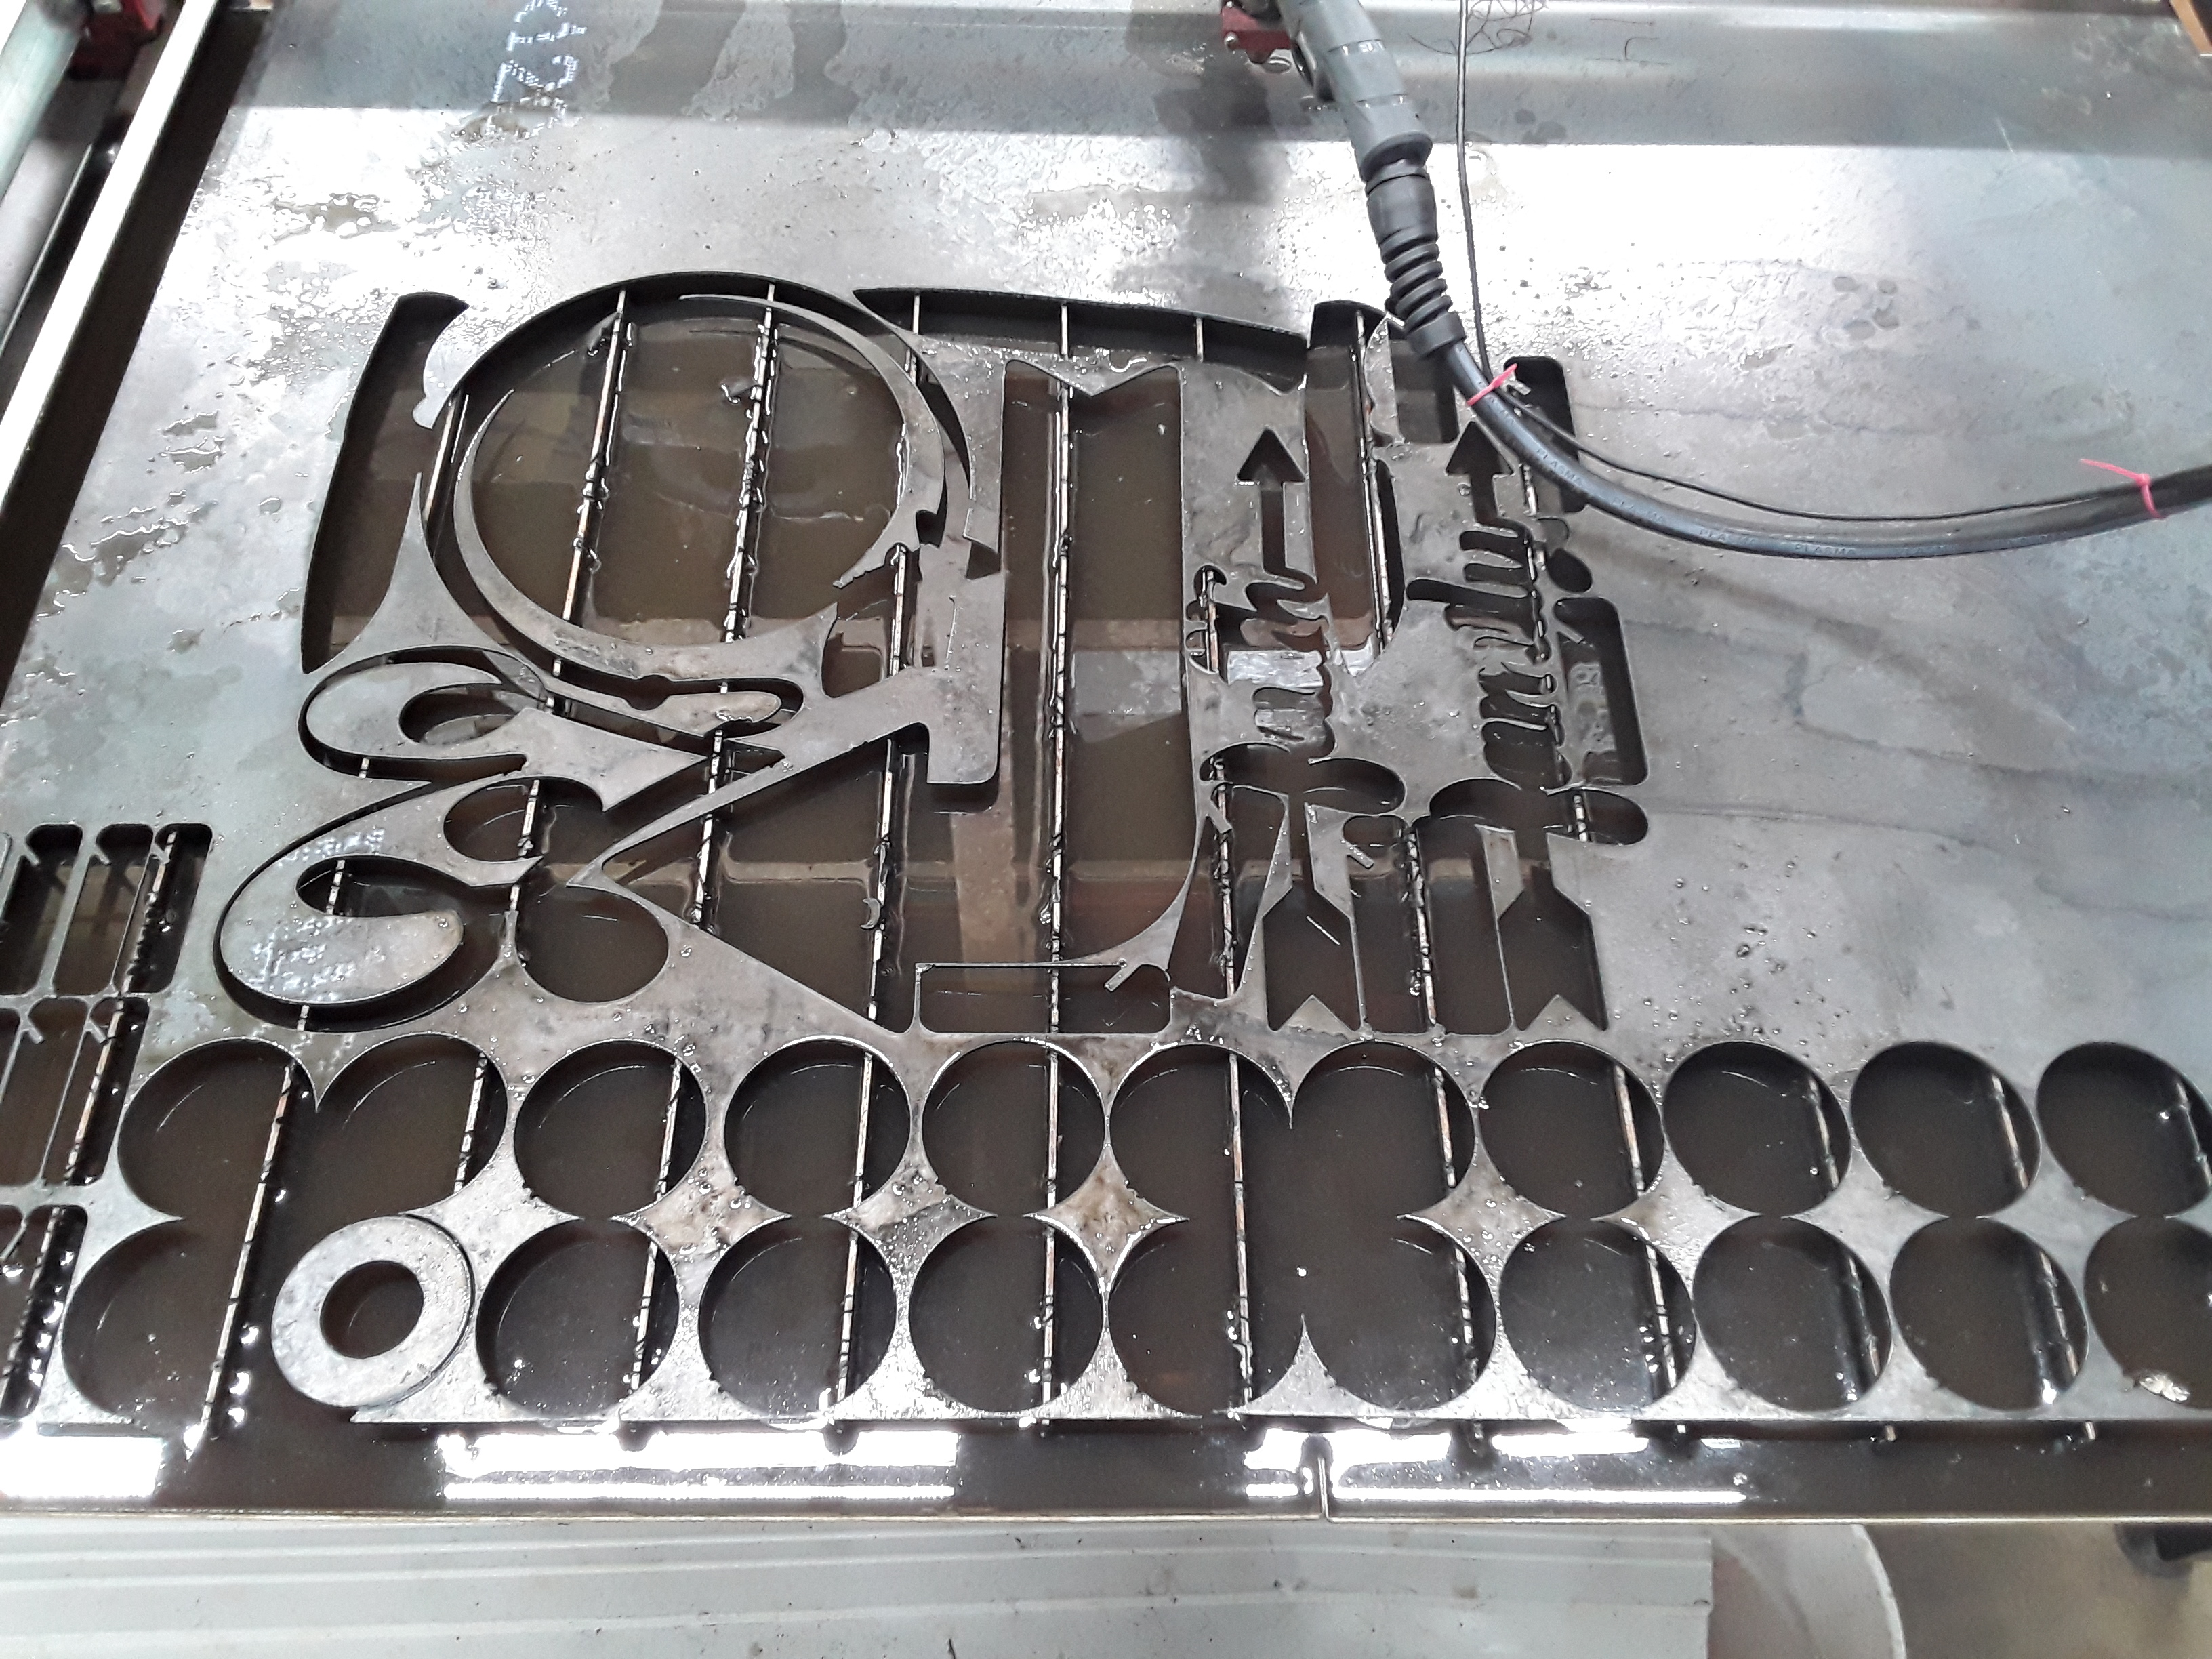
#4 cut, Eagle (12g HR, no dross, 10 minutes from file transfer to buffed). Sharp enough to cut wood with. There is a issue with a lead in from the Fireshare file, you’ll probably find them. Cut 1 of this one and called it a night on a high note.
Still got a lot more to learn, but feel I’m on the right track now… ![]()
1 Like
Here’s how she started. Unboxing -
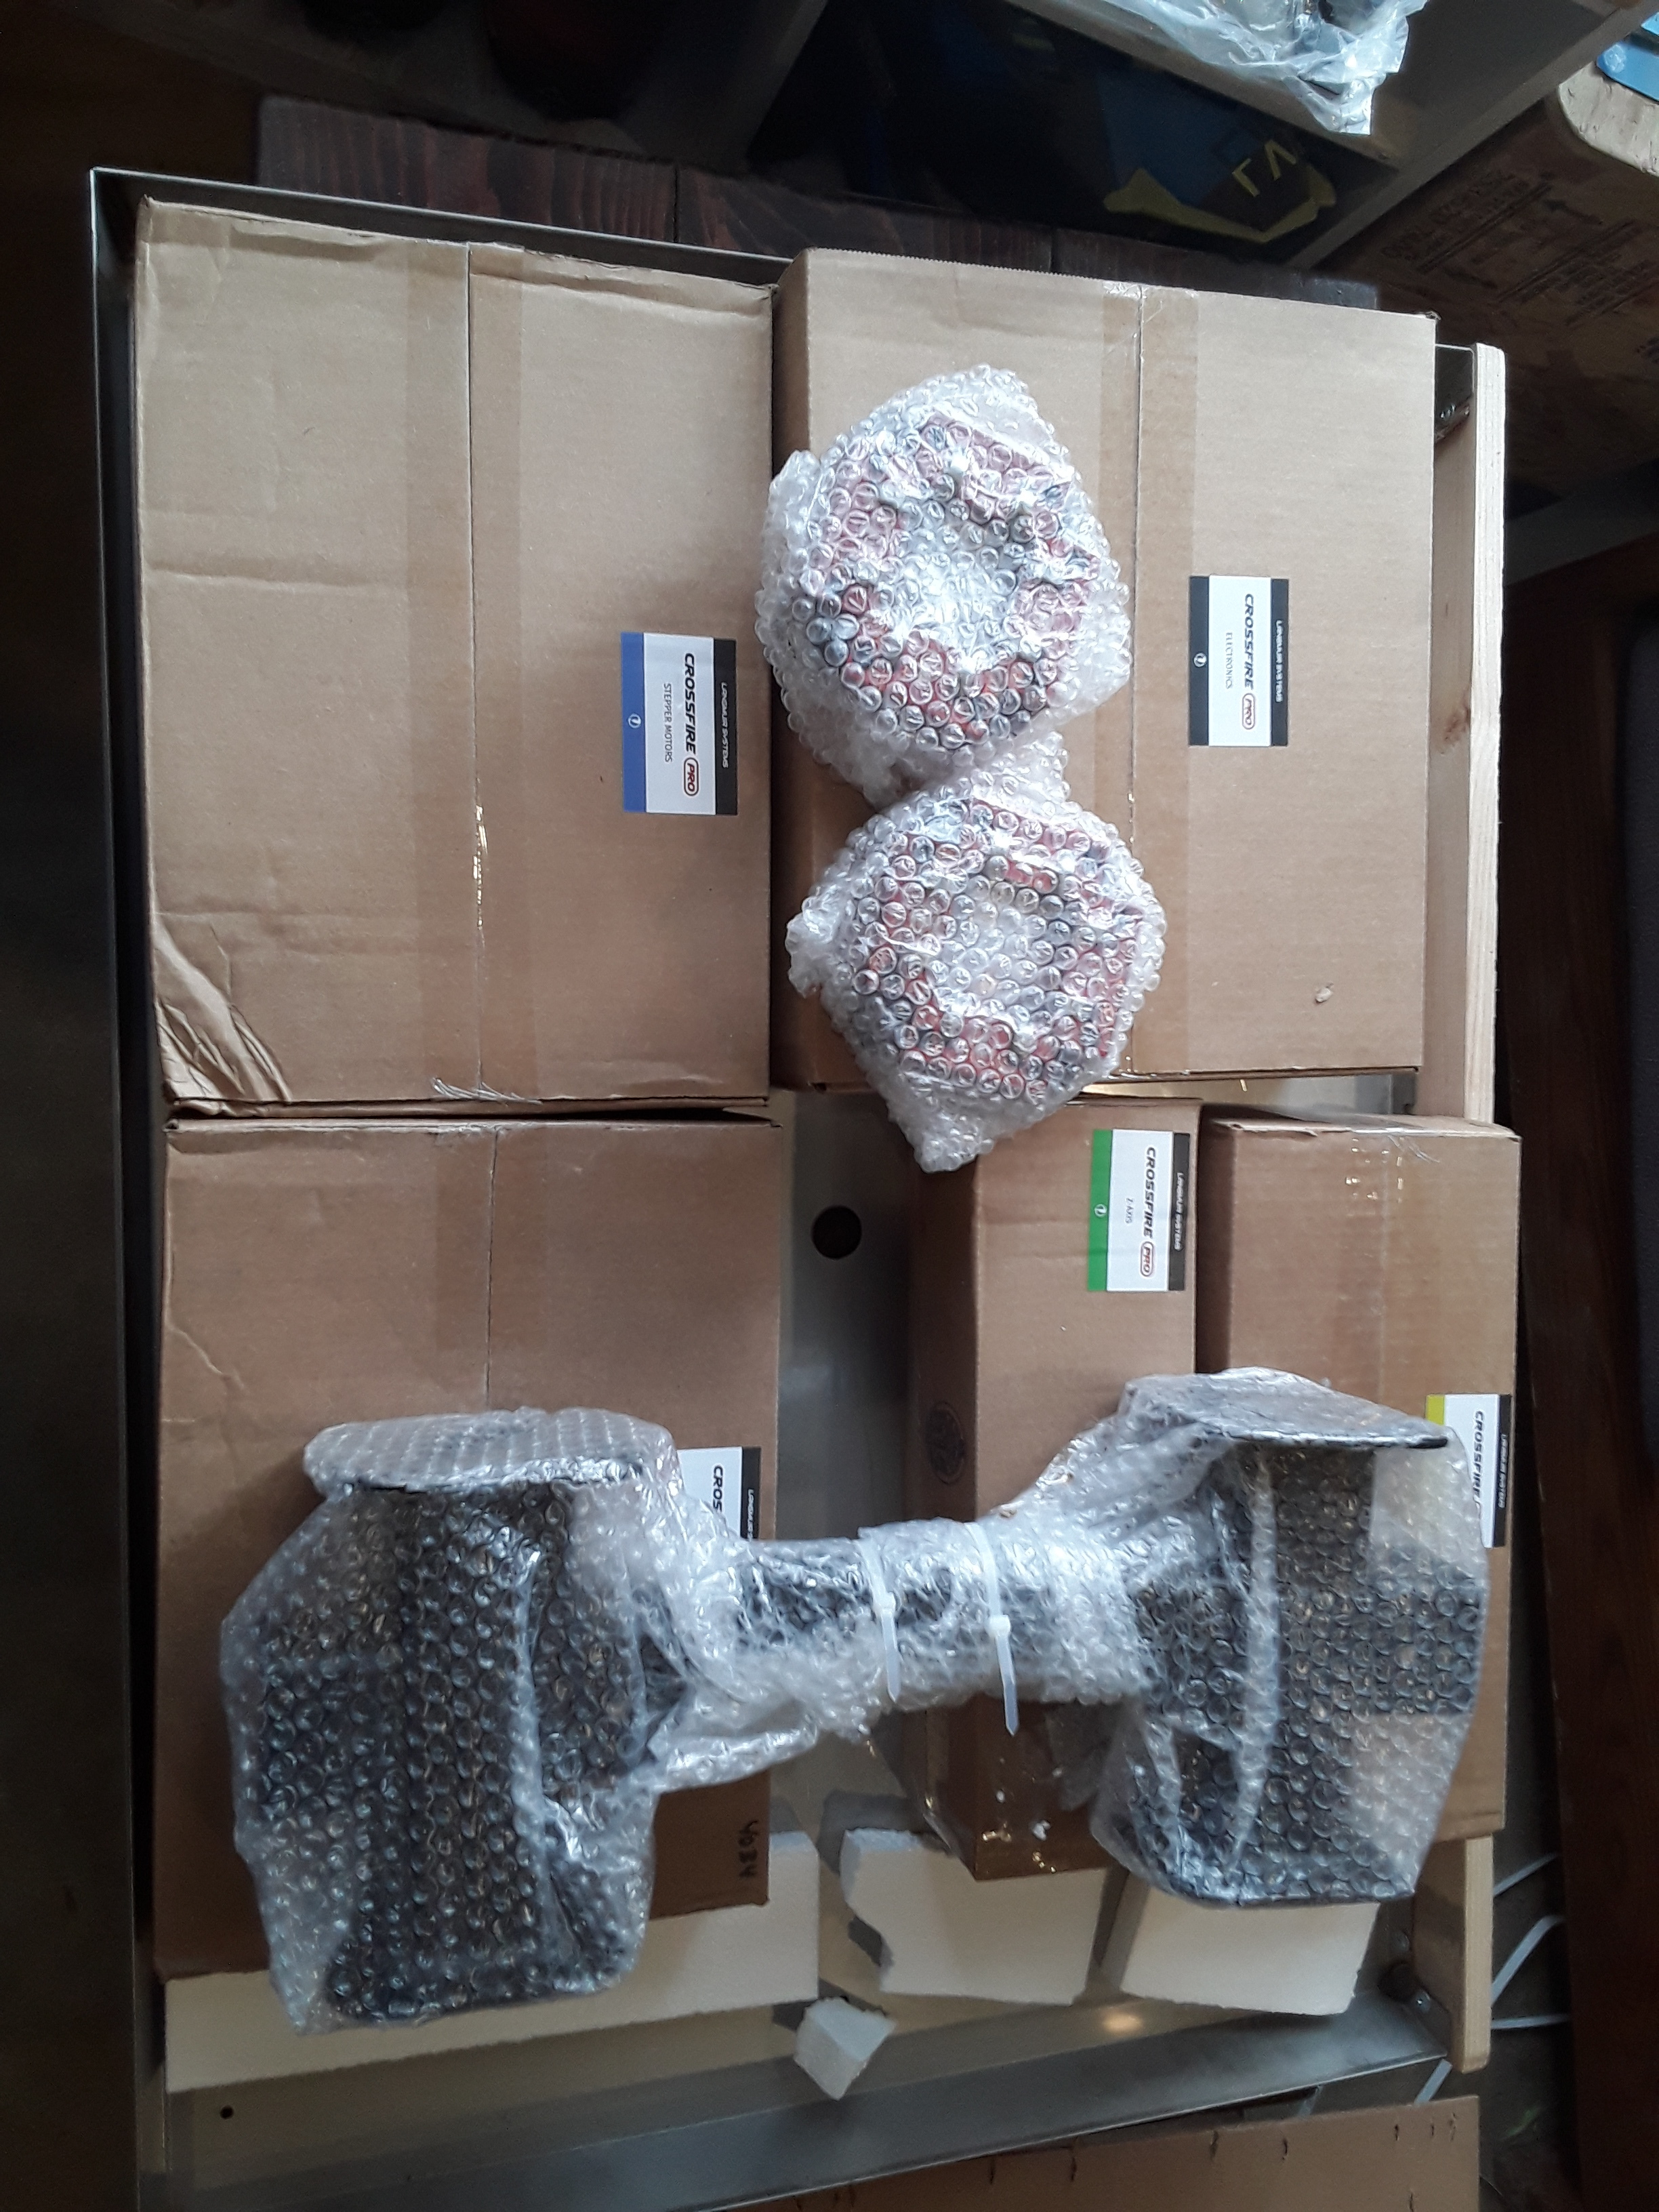
#12031 Box 2 Crossfire Pro Unpacking…![]()
This is a detailed review of the unpacking of box 2.
Kudos to the crew at Langmuir for puting out such a well packaged product.
At 69 pounds I understand why this box is so heavy. During the process of opening boxes I understand why the delay in shipping. The packaging alone must take some time. Somehow they managed to pack 10 gallons of fun into a 5-gallon box. Everything was bubble wrapped very well and packed with care.
Be careful cutting the tape on the boxes as some of the wiring is Right close to it, as well as various other parts and components. I’ve also included pictures of box 3 the water table and support brackets.
So for those curious here is what comes in Box 2 and 3 of the Crossfire Pro System.
Let’s dive in and see what we get…
Here’s the water table and supports that come box 3 and the contents of box 2. Sorry, lots of parts, lots of pictures. And for those curious, Yes, I got all the parts back into the box they came in… I know, Right?
All in All, I was very impressed with the care taken in making sure things arrived undamaged. Each box must take some time to put together, so be patient with the guys.![]()
To the Team at Langmuir, I think you guys are on the road to a very successful company for many years to come.
@langmuir-Mike, @langmuir-Daniel, your quick response to issues, and questions concerning the tables has been phenomenal, and your regular presence on the Forum is appreciated.![]()
Keep up the Great work, and Stay Safe…![]()
![]()
![]()
Sorry, I didn’t take pics of box 1. But rest assured, it was very heavy and well packaged. No shipping damage found…
More details at…
Then on to assembly and added mods…
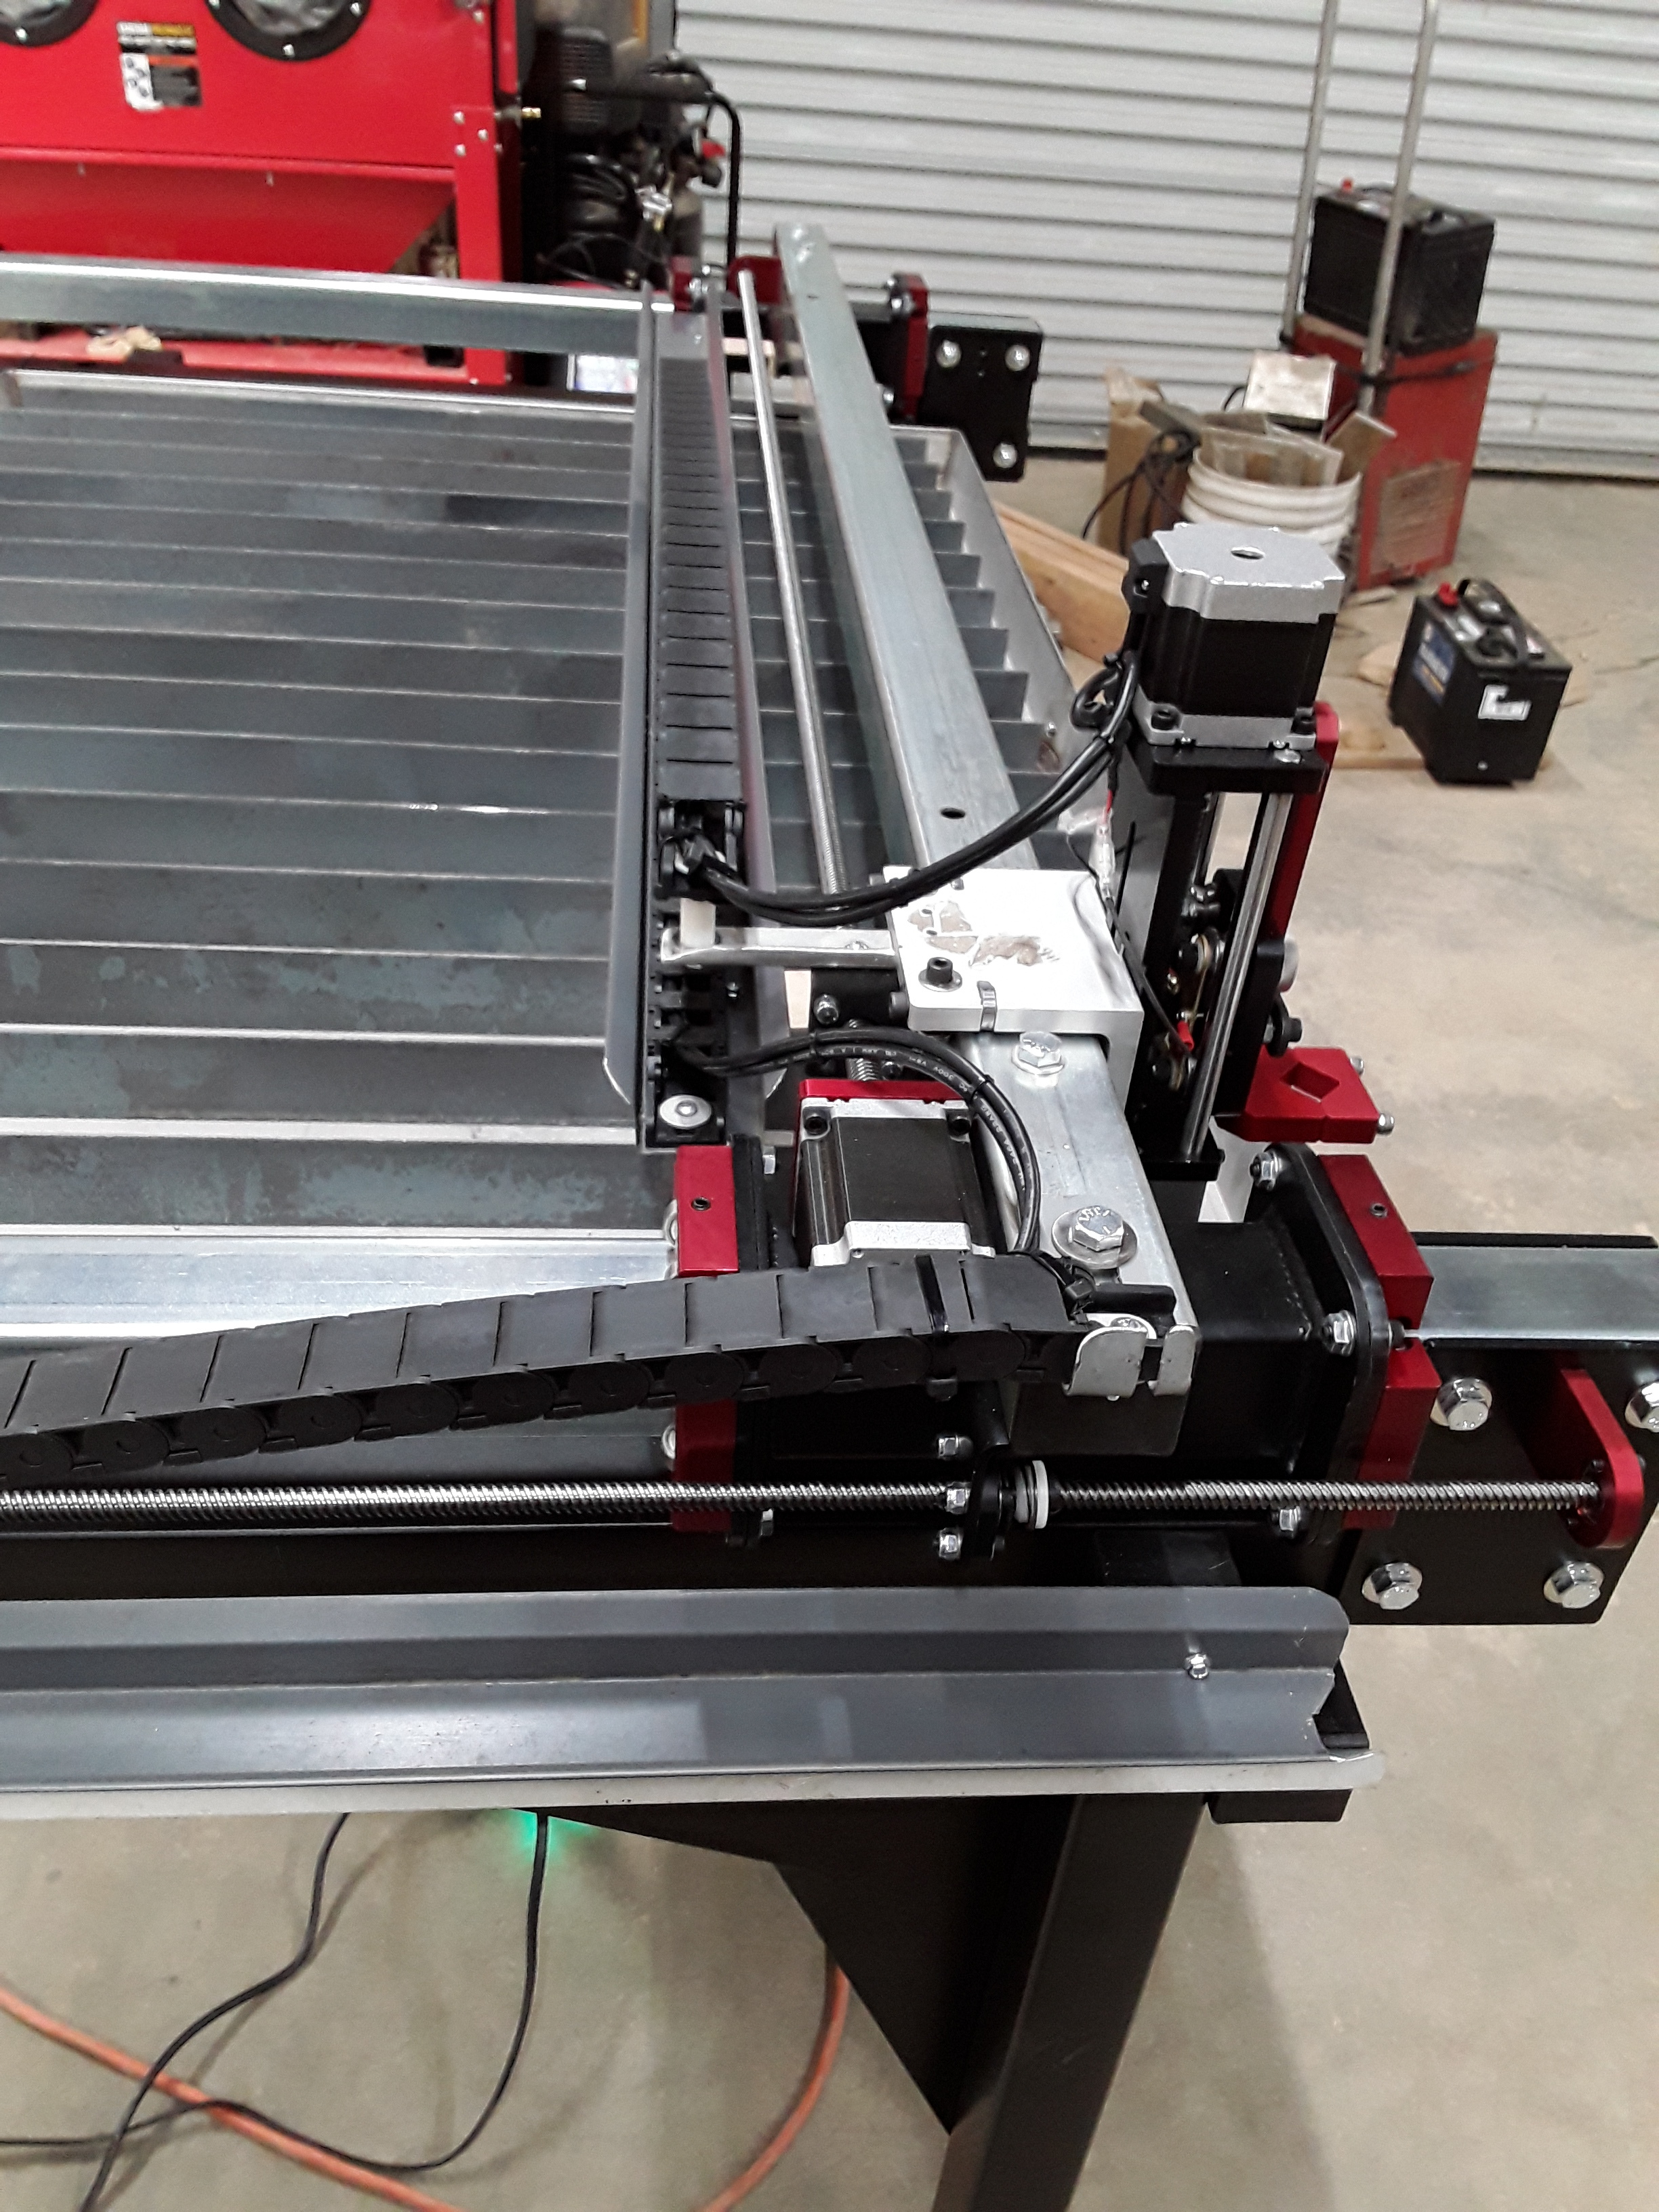
The cable chains were the only real mods so far. Keeps the cables safe from snags and off the pole next to the torch lead, cutting down on interference.
More pics from start to finish on my FB page…
2 Likes
Compressed Air System -
Kobalt 60gal 2 stage 175psi.
RapidAir Maxline everywhere in shop.
HF Refer/Dryer
Various regulators and filters

Also built a bypass manifold for the dryer for service, or allow the full 175 to the shop lines if need be.
Maxline is easy to work with and has a higher working rating than the cheaper $100 version. Do it right, do it once… After installing the master kit, I decided to get another for the other half of my shop.
You might be able to find a HF dryer somewhere and still use this coupon code.
Kobalt is a Campbell Hausfeld product for those curious. It only recharged once for this small amount of cutting. And we all have debated the CFM on the compressor thread.
2 Likes
Wow! …These success stories are driving me crazy. My machine is presently on the sea, on its voyage to the Caribbean. Can’t wait, all setup to build and burn! 
1 Like
At least you will probably get it all at once…lol
Mine came in multiple shipments in the US, over a 2 month period. Feb 12 preorder batch 2.
Yes, it was built and test run in Alabama, never used, taken apart, crated and shipped. Folks on this forum are THE BEST!
1 Like
Protect That Lead Screw!
LSCFP-Gaurd-v4
In earlier threads, I had mentioned the vulnerabilties of the lead screws sticking out on the Crossfire Pro. Today I finally got around to making a guard for the right side of my table, but not without an issue or two. When tool pathing in Sheet cam I deleted a few tabs with the back button and didn’t notice till it was to late…![]()
Break out the welder and all better. But not before going and fixing the mistake in the file.
I used 12 guage steel, in 1/2 tabs. Should have used 3/8 tabs for easy of bending. Used a cut off wheel to take some metal out and bent by hand. Test fit her, then back to the welder to secure the angles.
Fits like a glove and stayed even with the top of the rail. But, you should check your bolt spacing and tweak the file if needed, or enlarge the holes slightly. Mine was 27 1/16"
I’ll be posting the file on Fireshare for those interested in protecting that lead screw with a guard. Just flip and do the left side too.
More pics on my FB page…

Now I feel safe walking around that side.
4 Likes
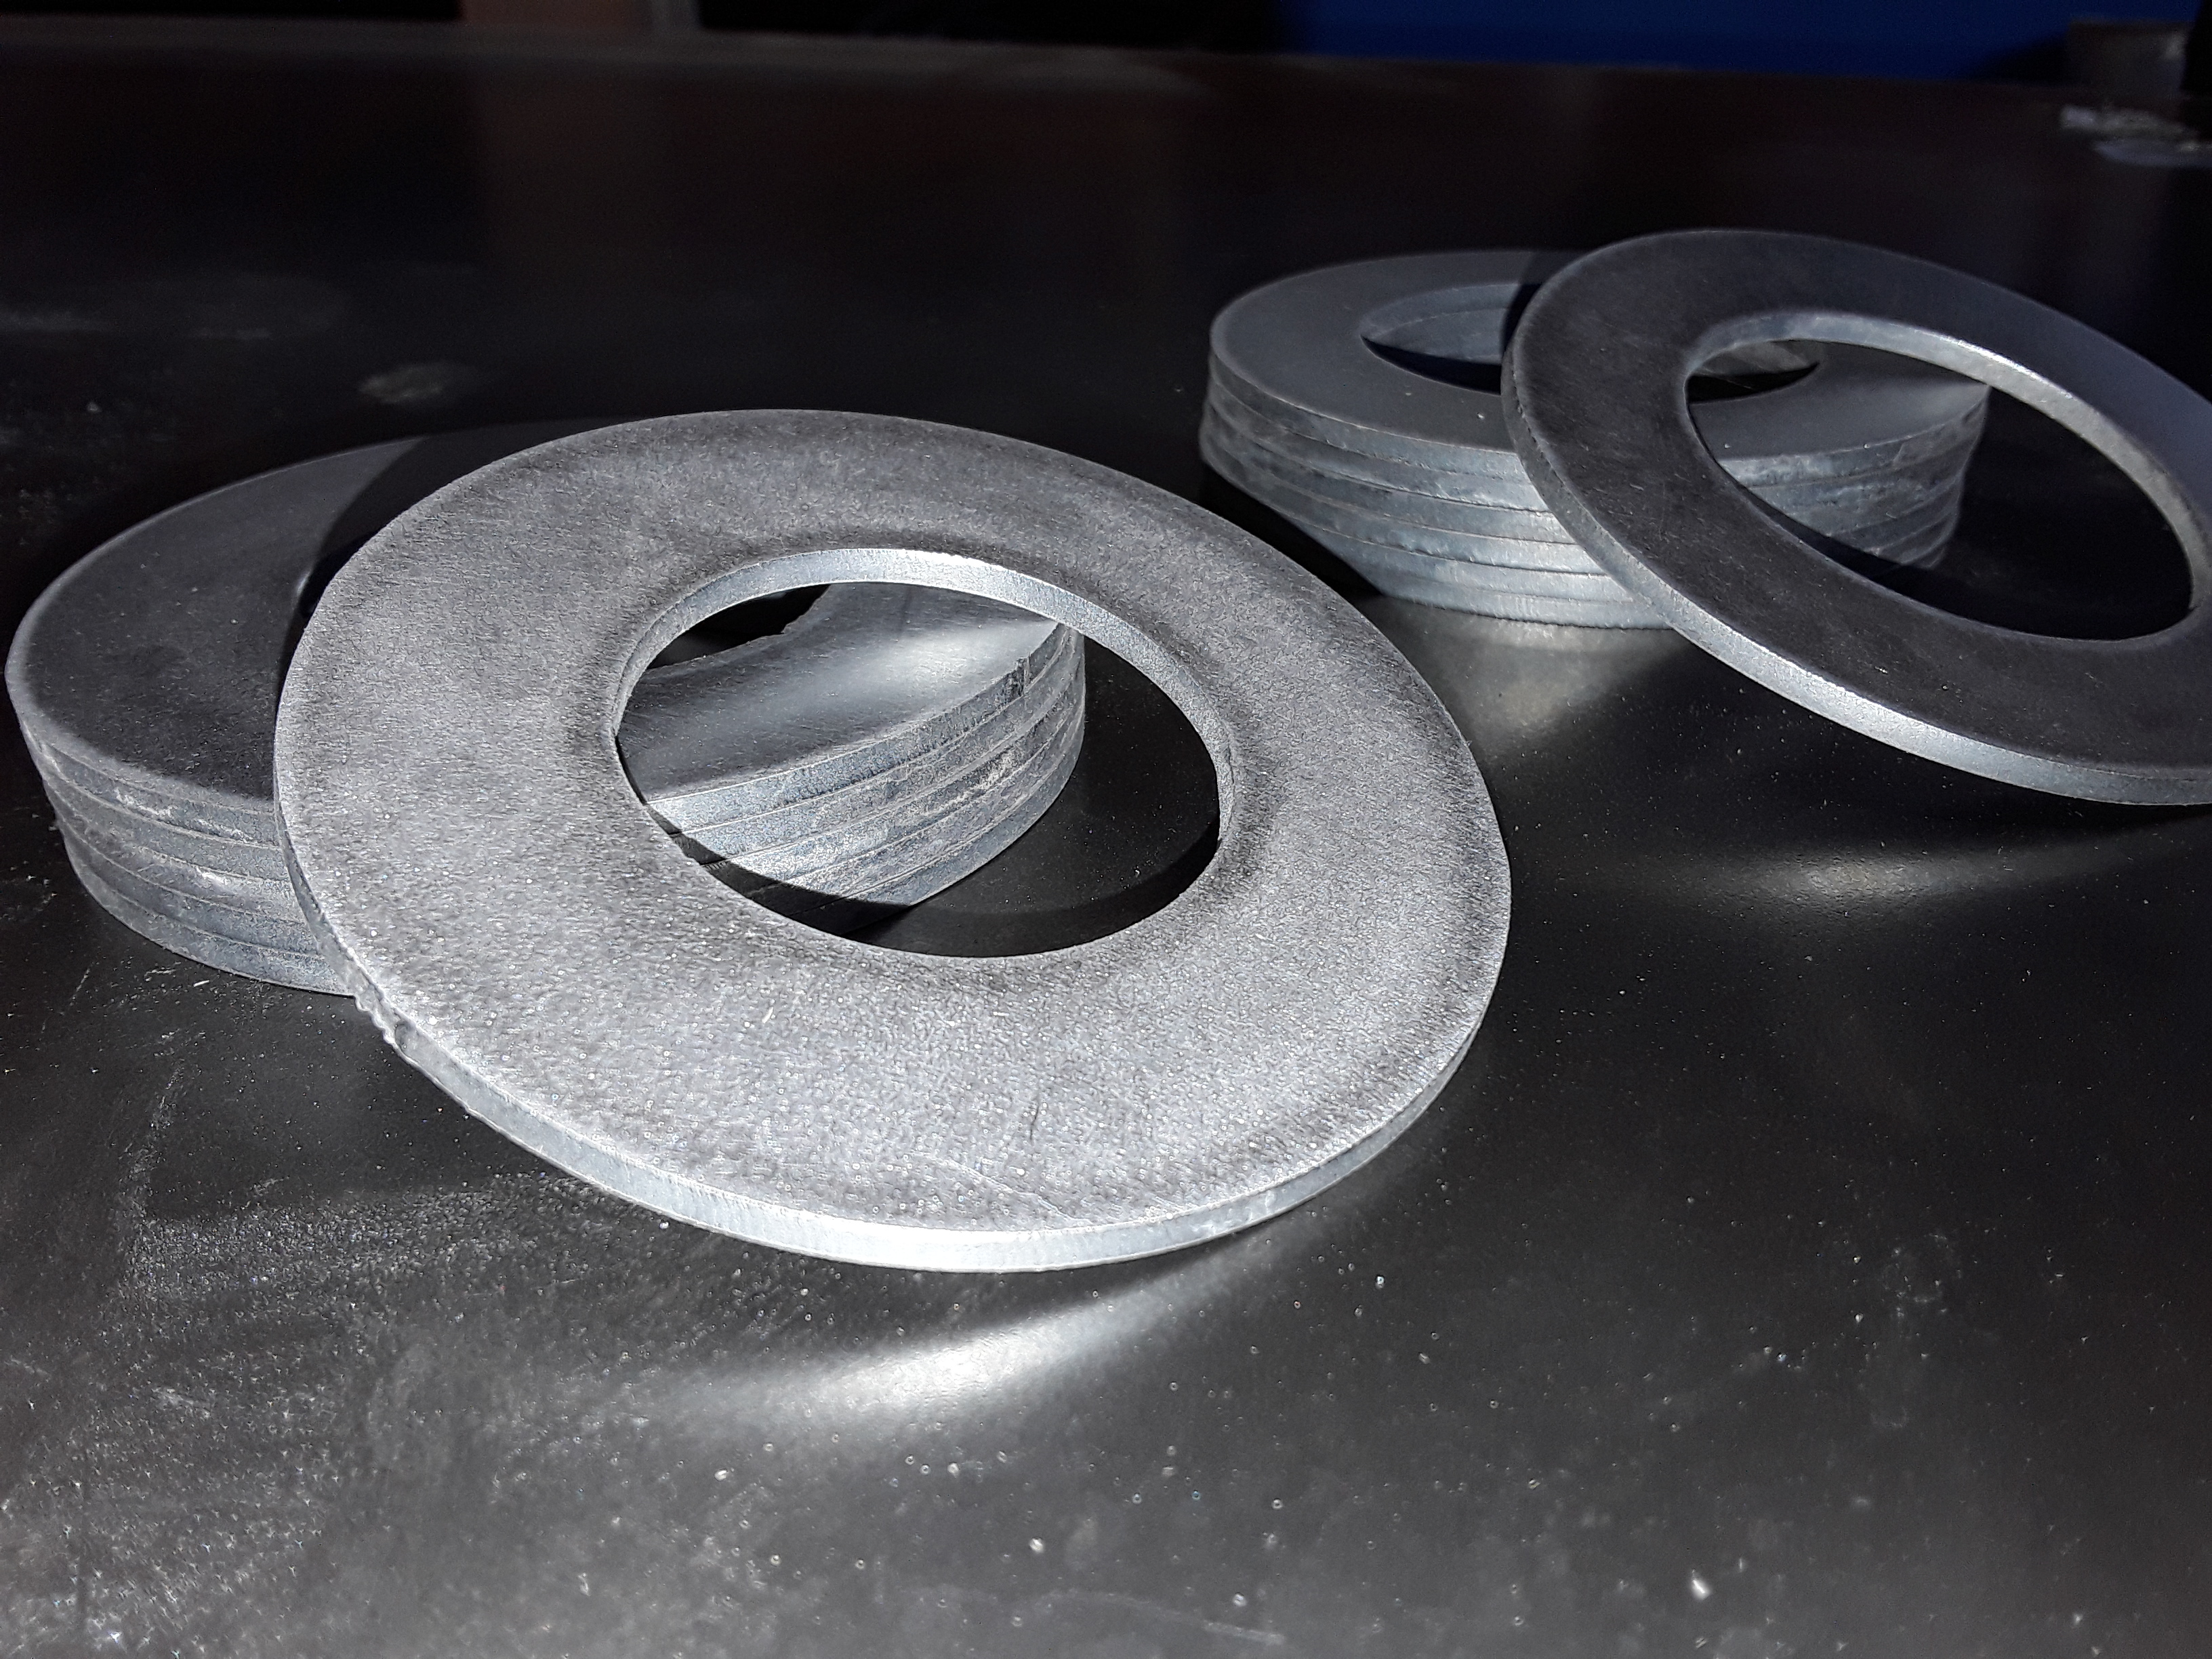
Nesting in Sheetcam is awesome, once you figure it out. Along with the guard, I made a few other pieces.
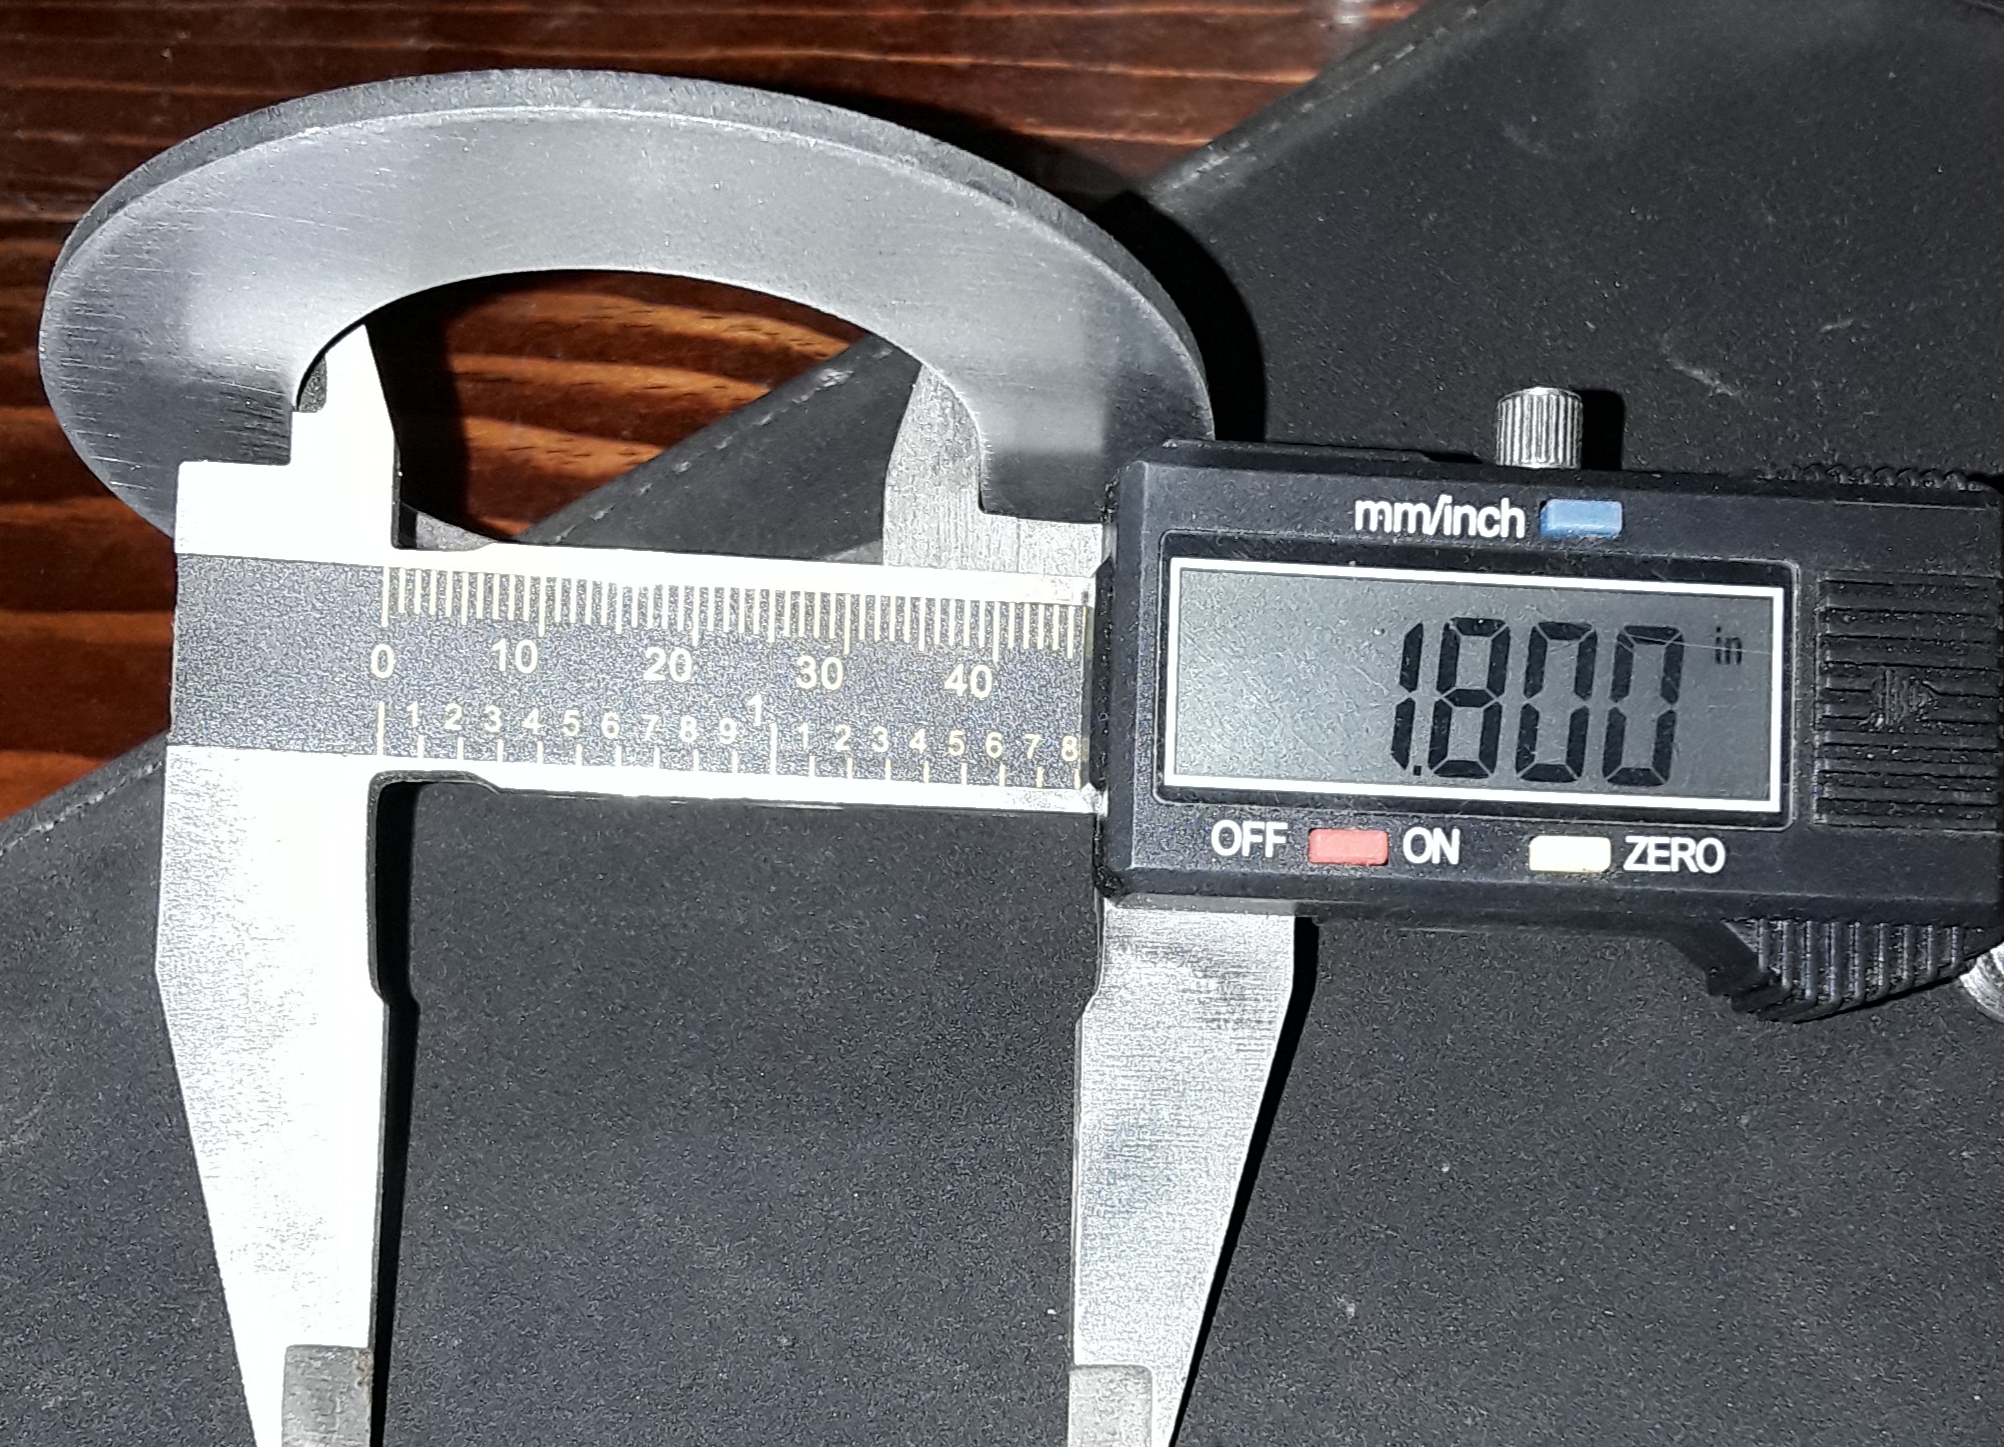
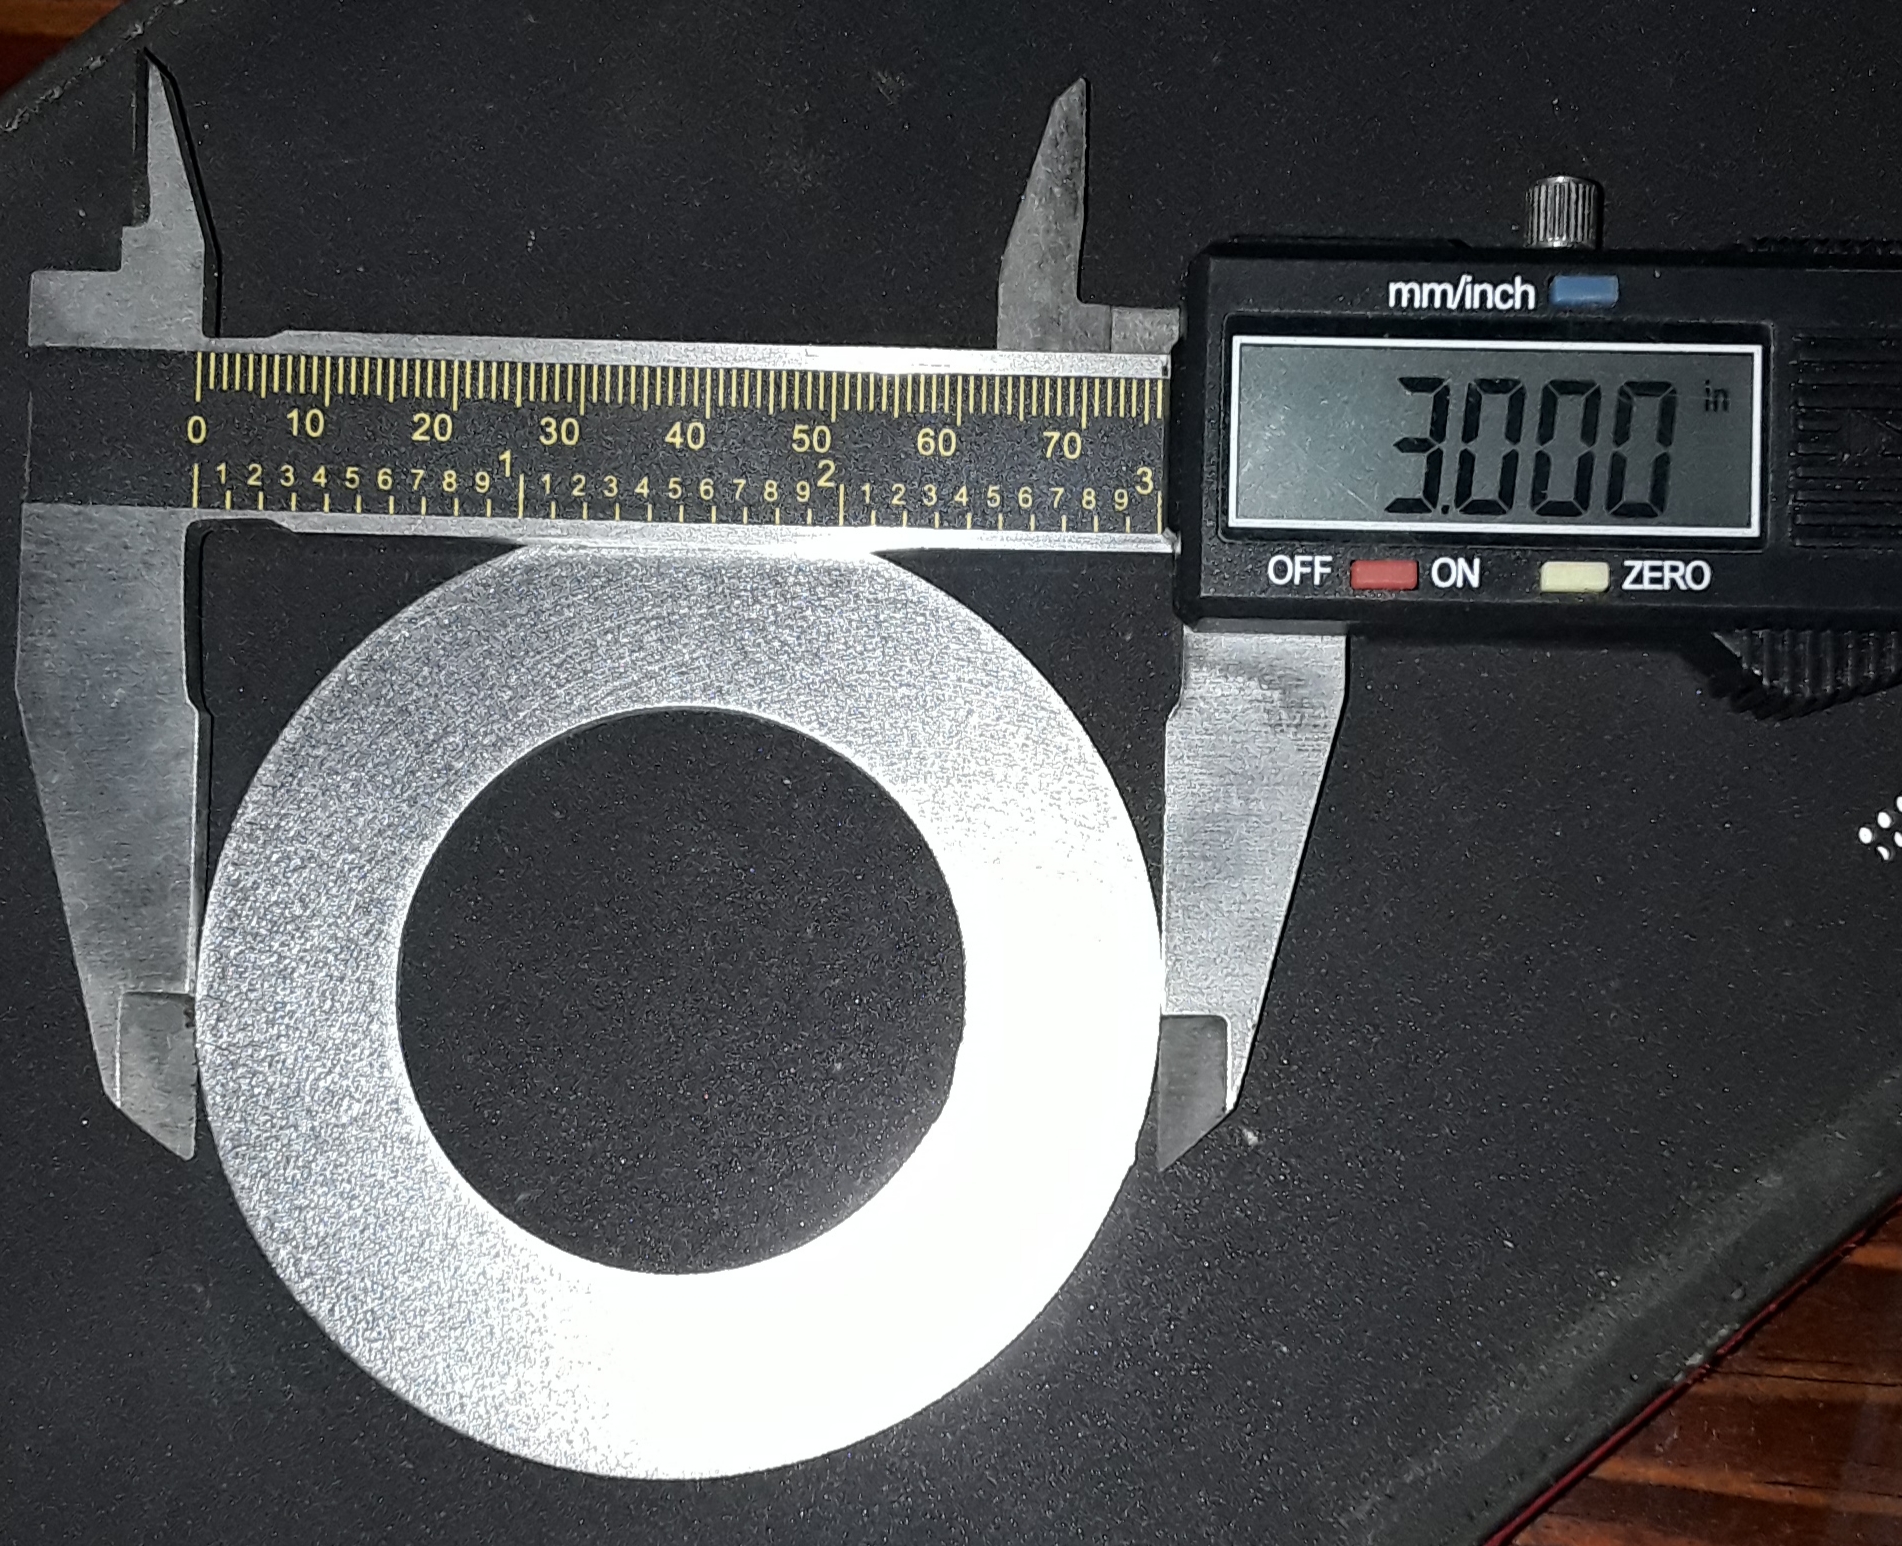
12 guage, 1.55x3" washers, 1.8x3" washers (for taking to slop out of out backhoe pins)
And of course, more fbombs… lol
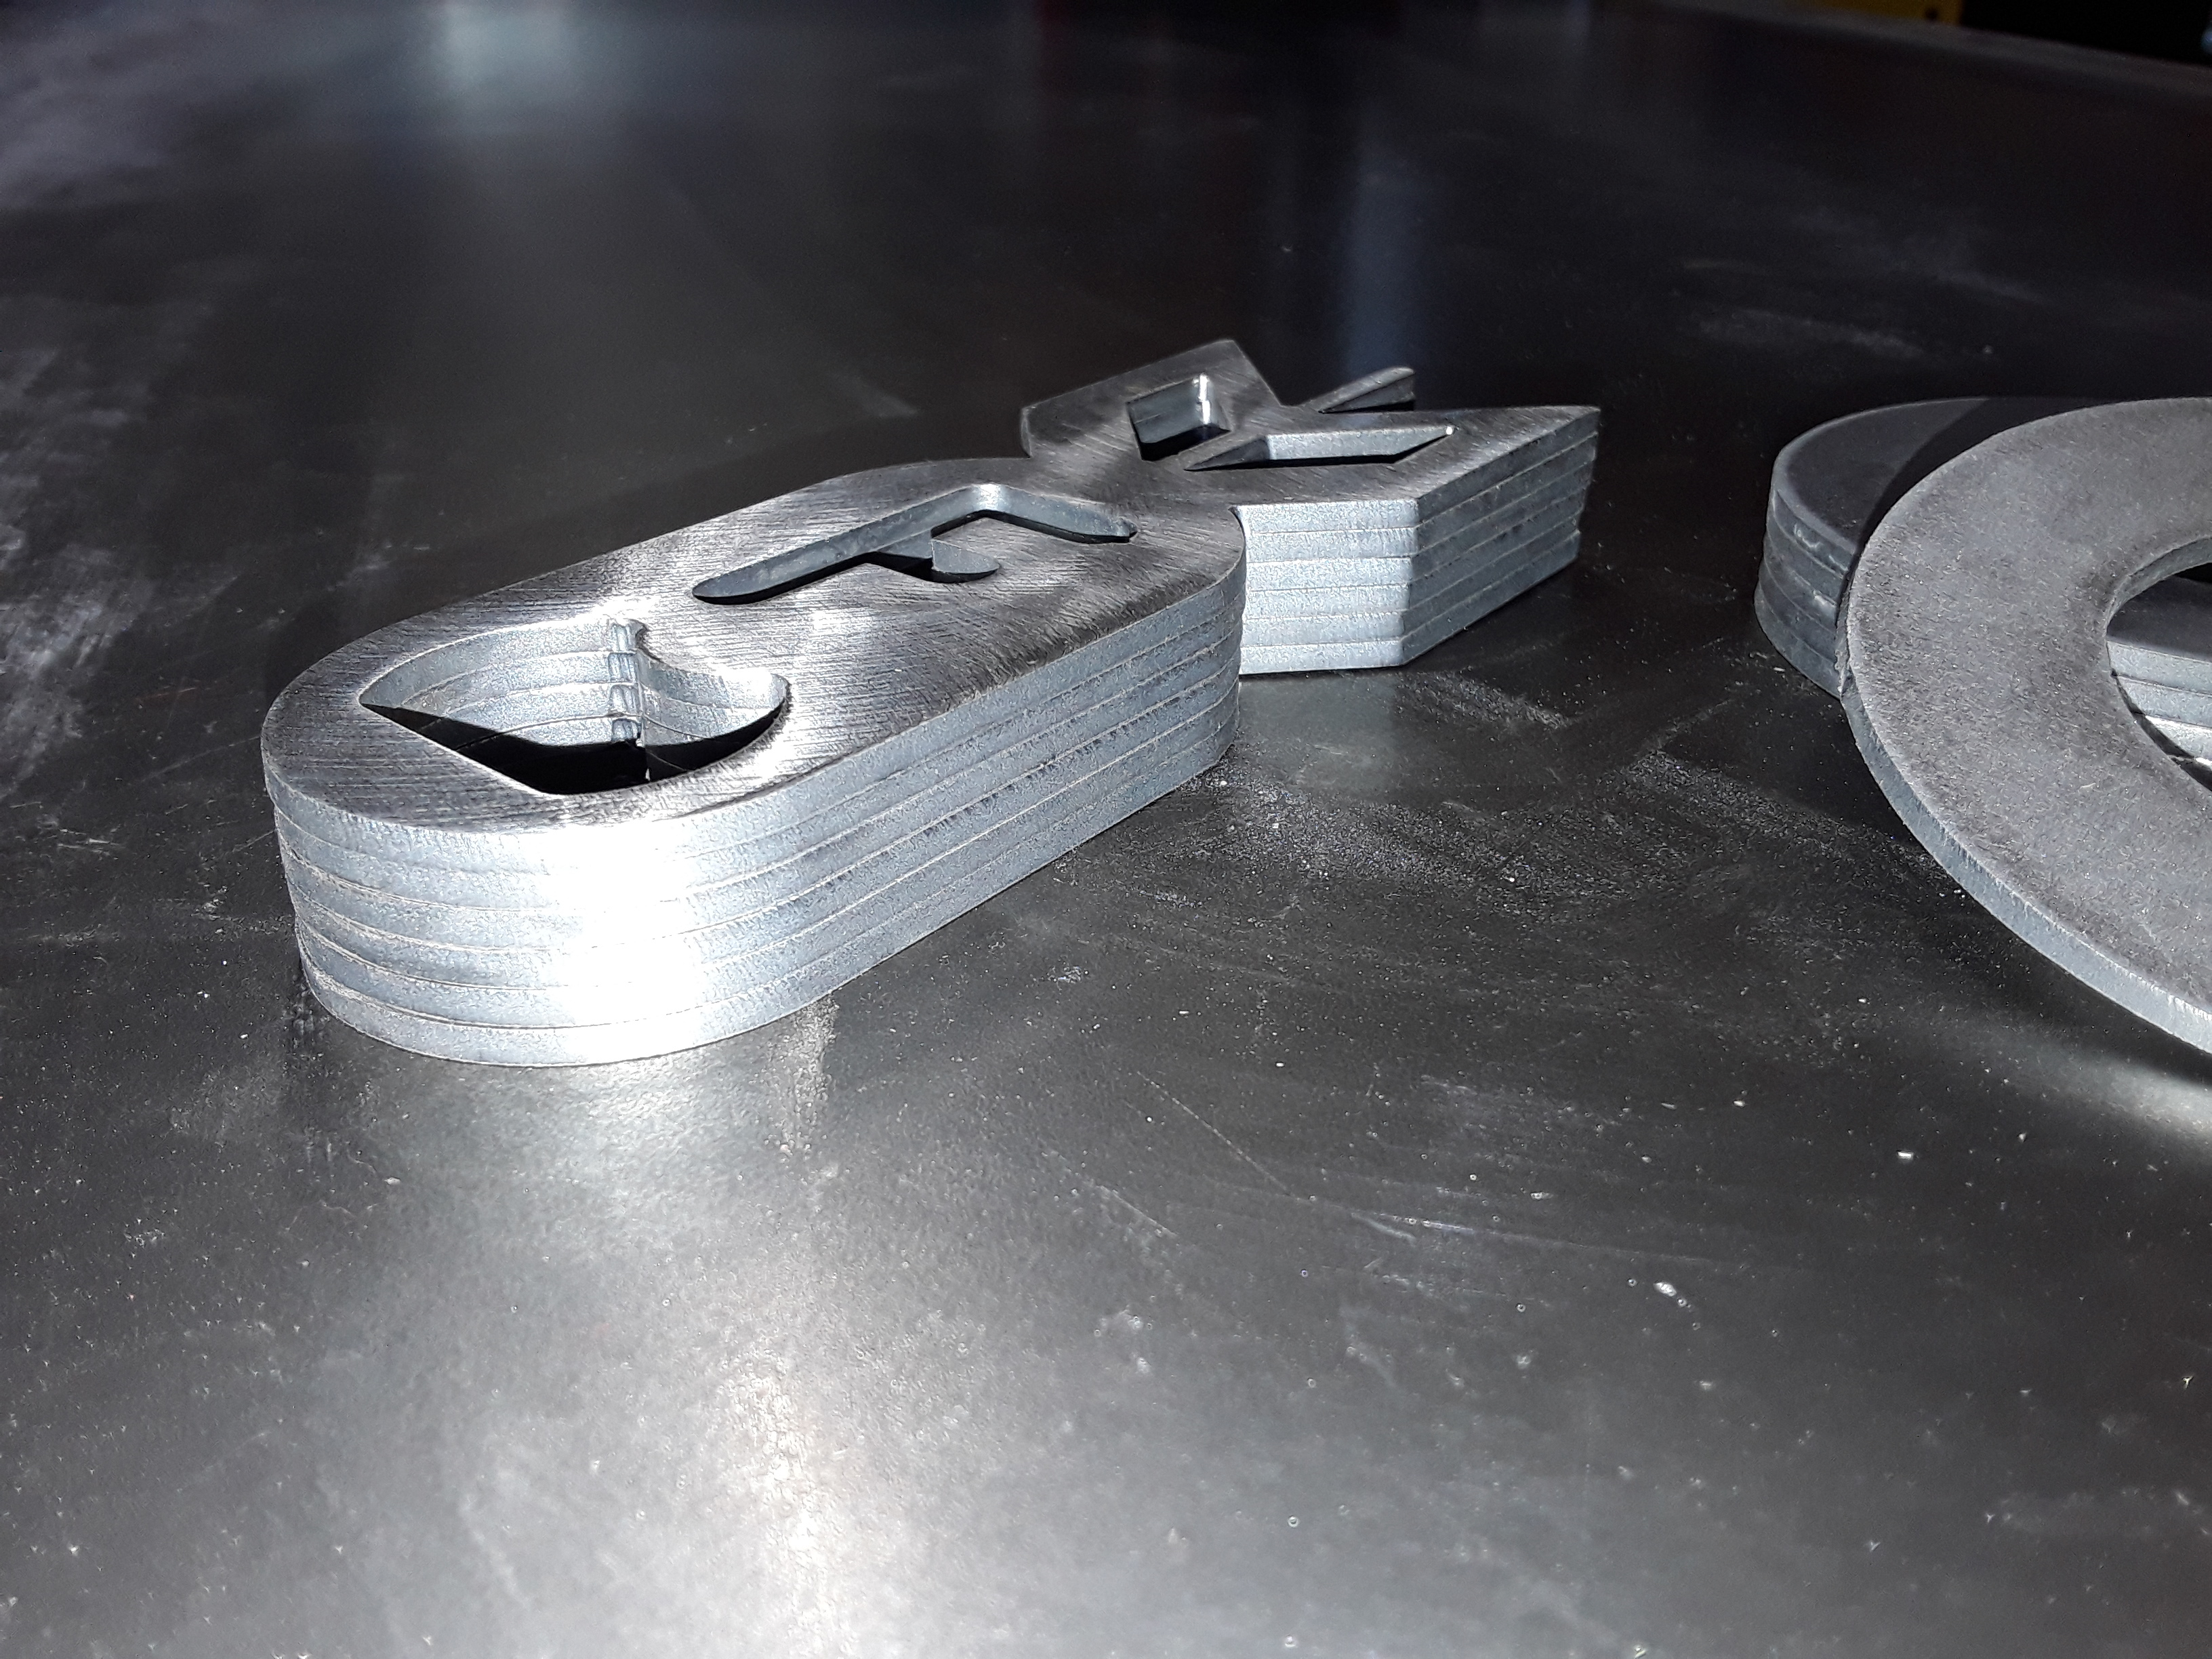
Did I say I love this machine?
4 Likes
Good job on the guard 
I plan to do my 1st precision parts tomorrow everything so far has been artsy.
Did you have to mess with kerf width alot to get those results?
1 Like
No GT
The Kerf .059 was default when I opened the tool editor. I was surprised for it to be that accurate. It did vary 1-2 thousandths, here and there, but crap man… I can work with that.![]() There is a very minor taper, equal on all sides, telling me my torch was a little too high. Been trying to dial in my 12g tool in sheetcam, and pressure. Cranked the internal regulator up to 125psi, then control with my external regulator. Cut these @ 75psi, 32 A, 70ipm, .09 PD, .060 CH, .06 PH. .059 kerf
There is a very minor taper, equal on all sides, telling me my torch was a little too high. Been trying to dial in my 12g tool in sheetcam, and pressure. Cranked the internal regulator up to 125psi, then control with my external regulator. Cut these @ 75psi, 32 A, 70ipm, .09 PD, .060 CH, .06 PH. .059 kerf
2 Likes
so…I will hijack your thread…if its okay.
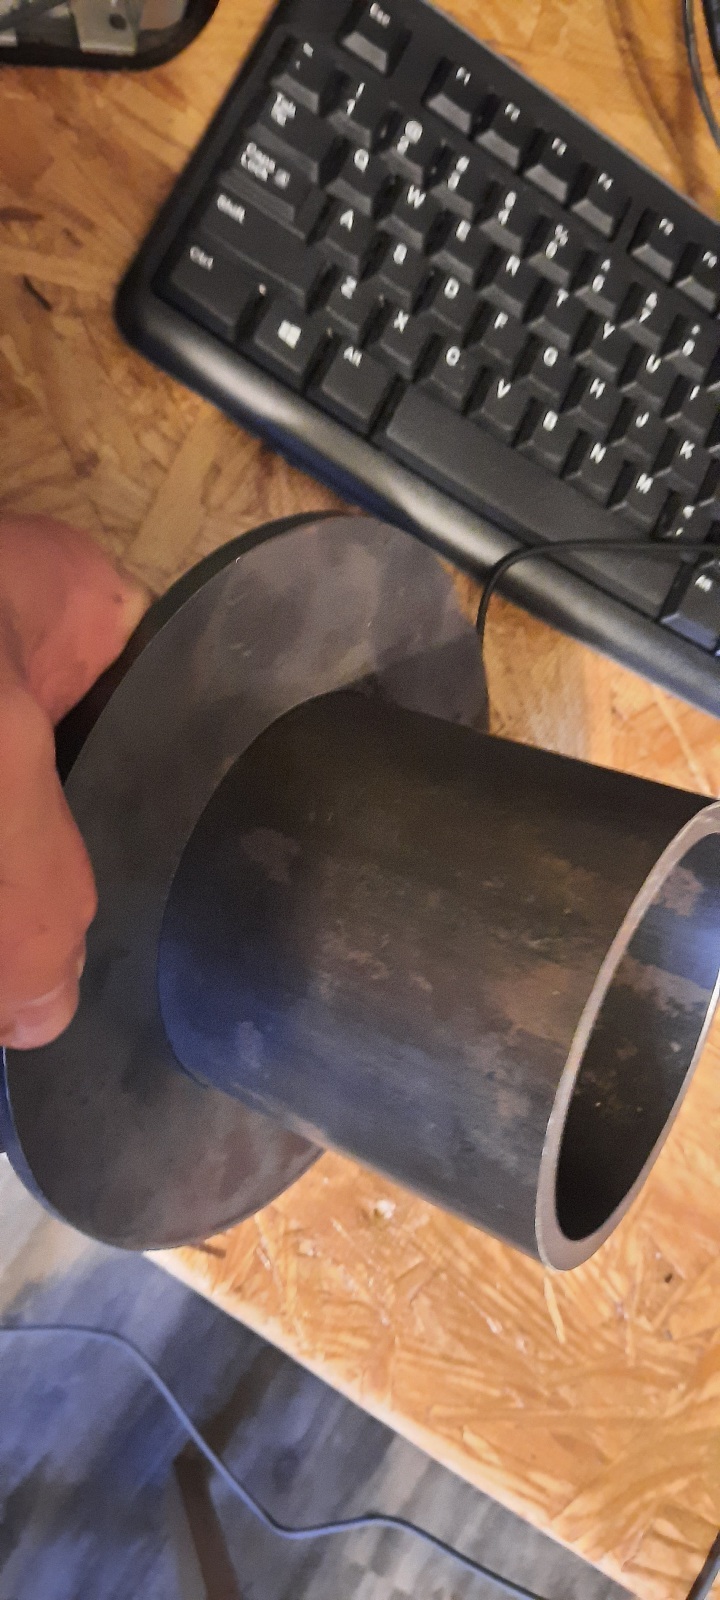
Programed a 3.900 ID hole to fit a pc pf dom tube. I measured tube, added .015 and went for it!
1/4 inch steel
Razorweld @45 amps, 35 Ipm, . 375 lead in, .5 pierce delay.
Holy carp!
The little bit of taper made a perfect fit. I used .059 kerf (stock) like you…alot better than I expected.
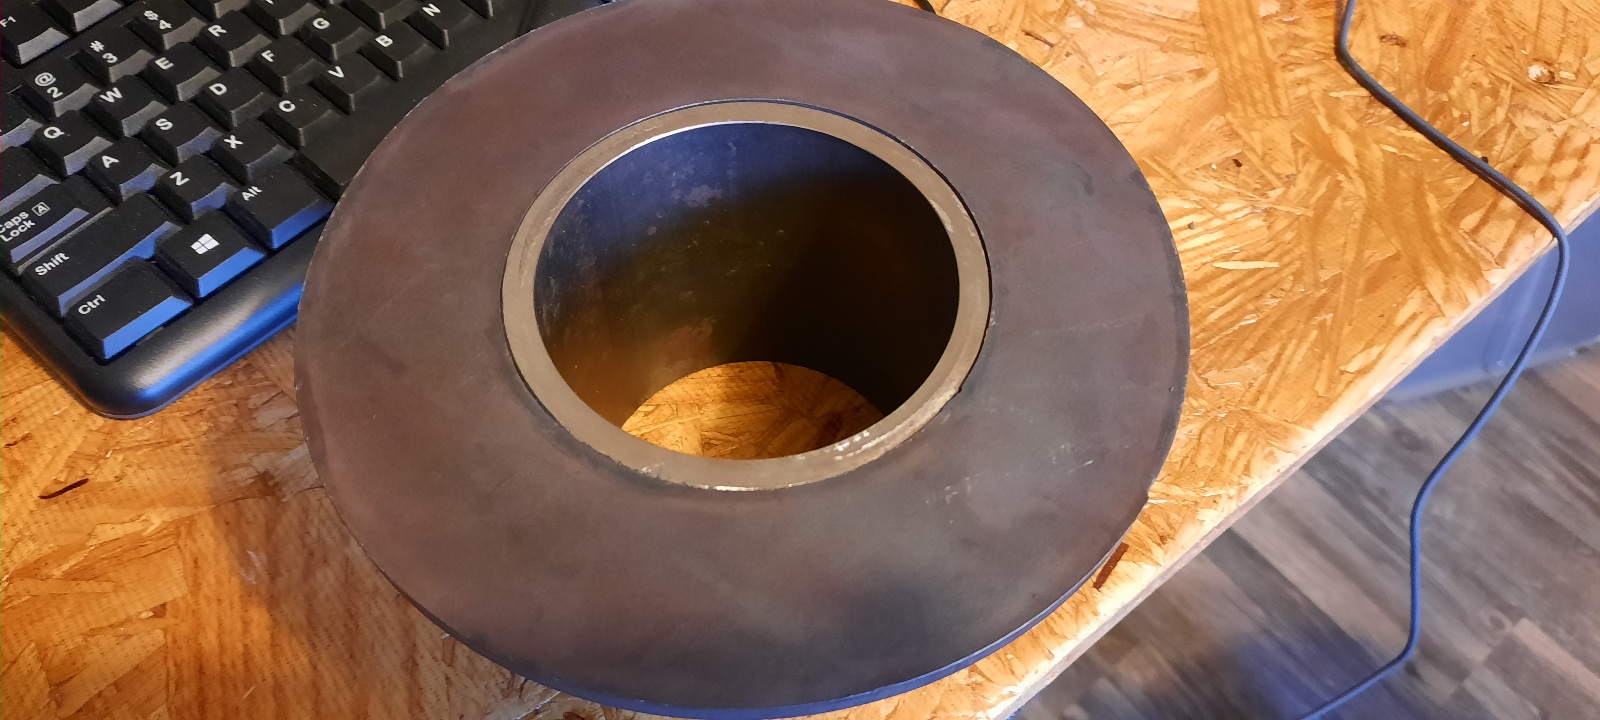
This is cnc mill area…
5 Likes
Looks awesome! Nice fit!
Getting some software time in now, before burning steel… learn and learn huh?
Lookin good! I like the guards.
1 Like
You guys could add them as an option and ship flat with the frame, maybe 14guage, with instruction on bending in a door frame…![]()
1 Like
mama might get pissed 
I actually bent mine by handengrunt. A method used by old iron workers…lol
2 Likes
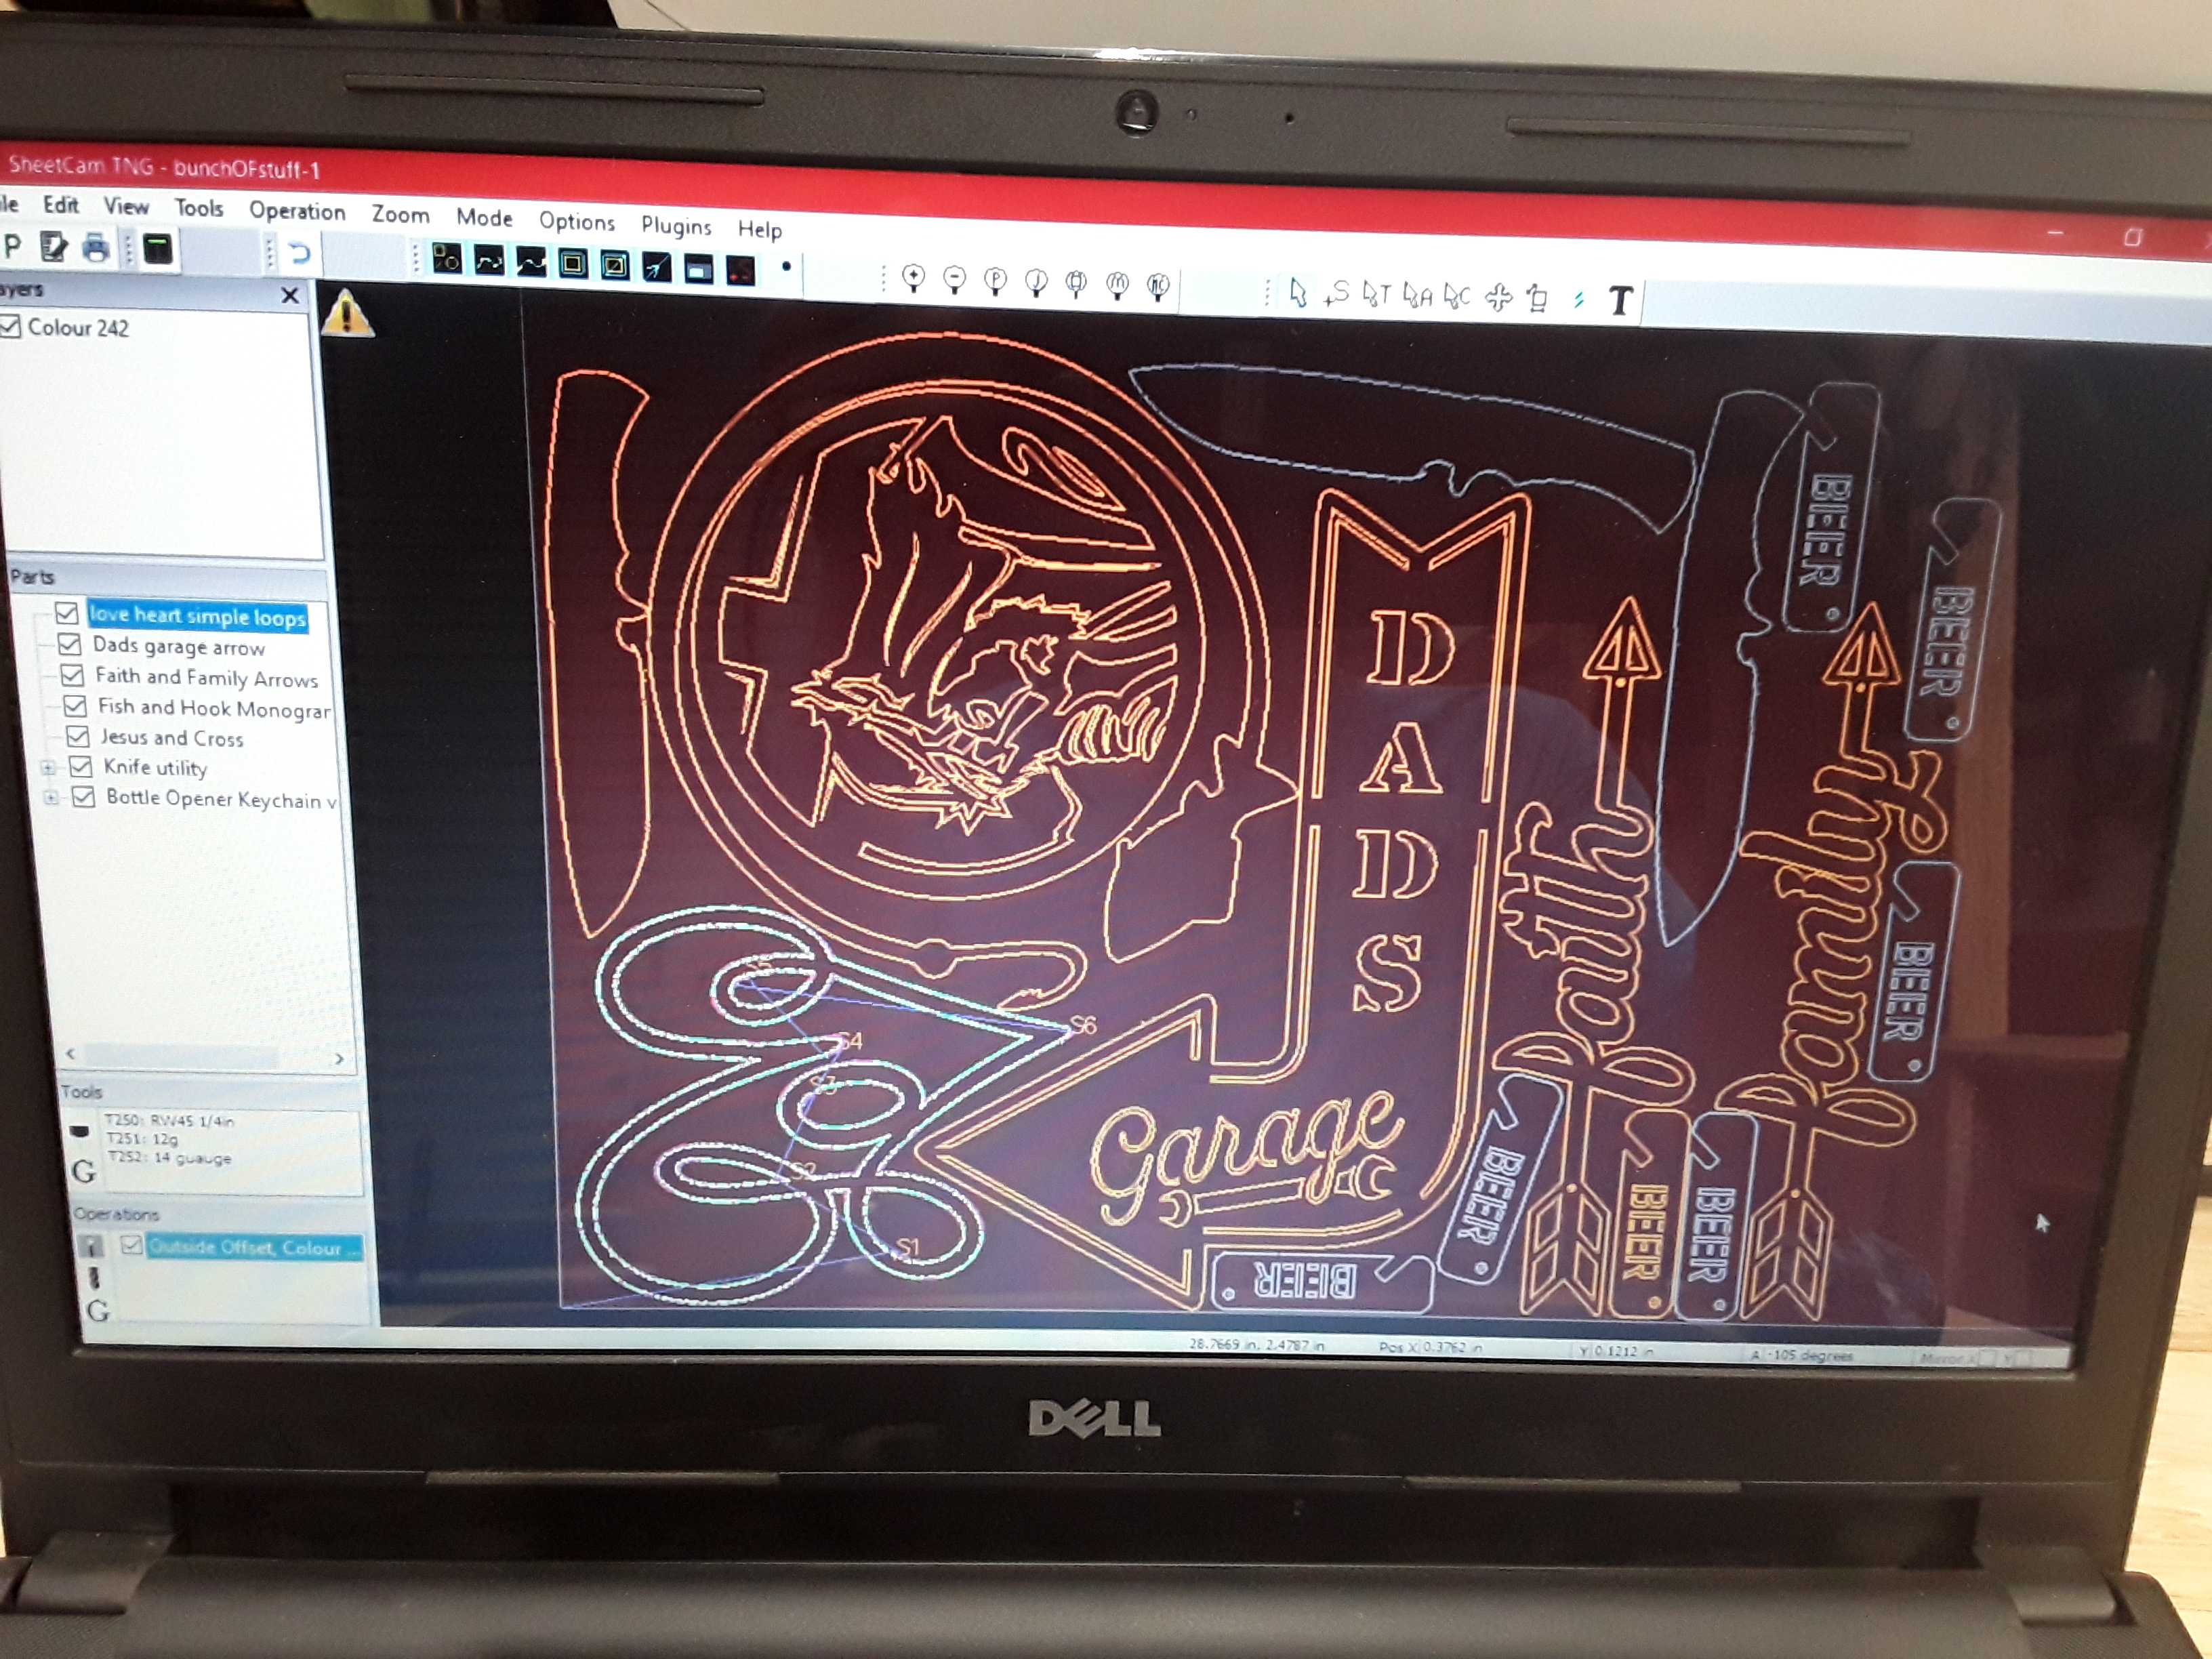
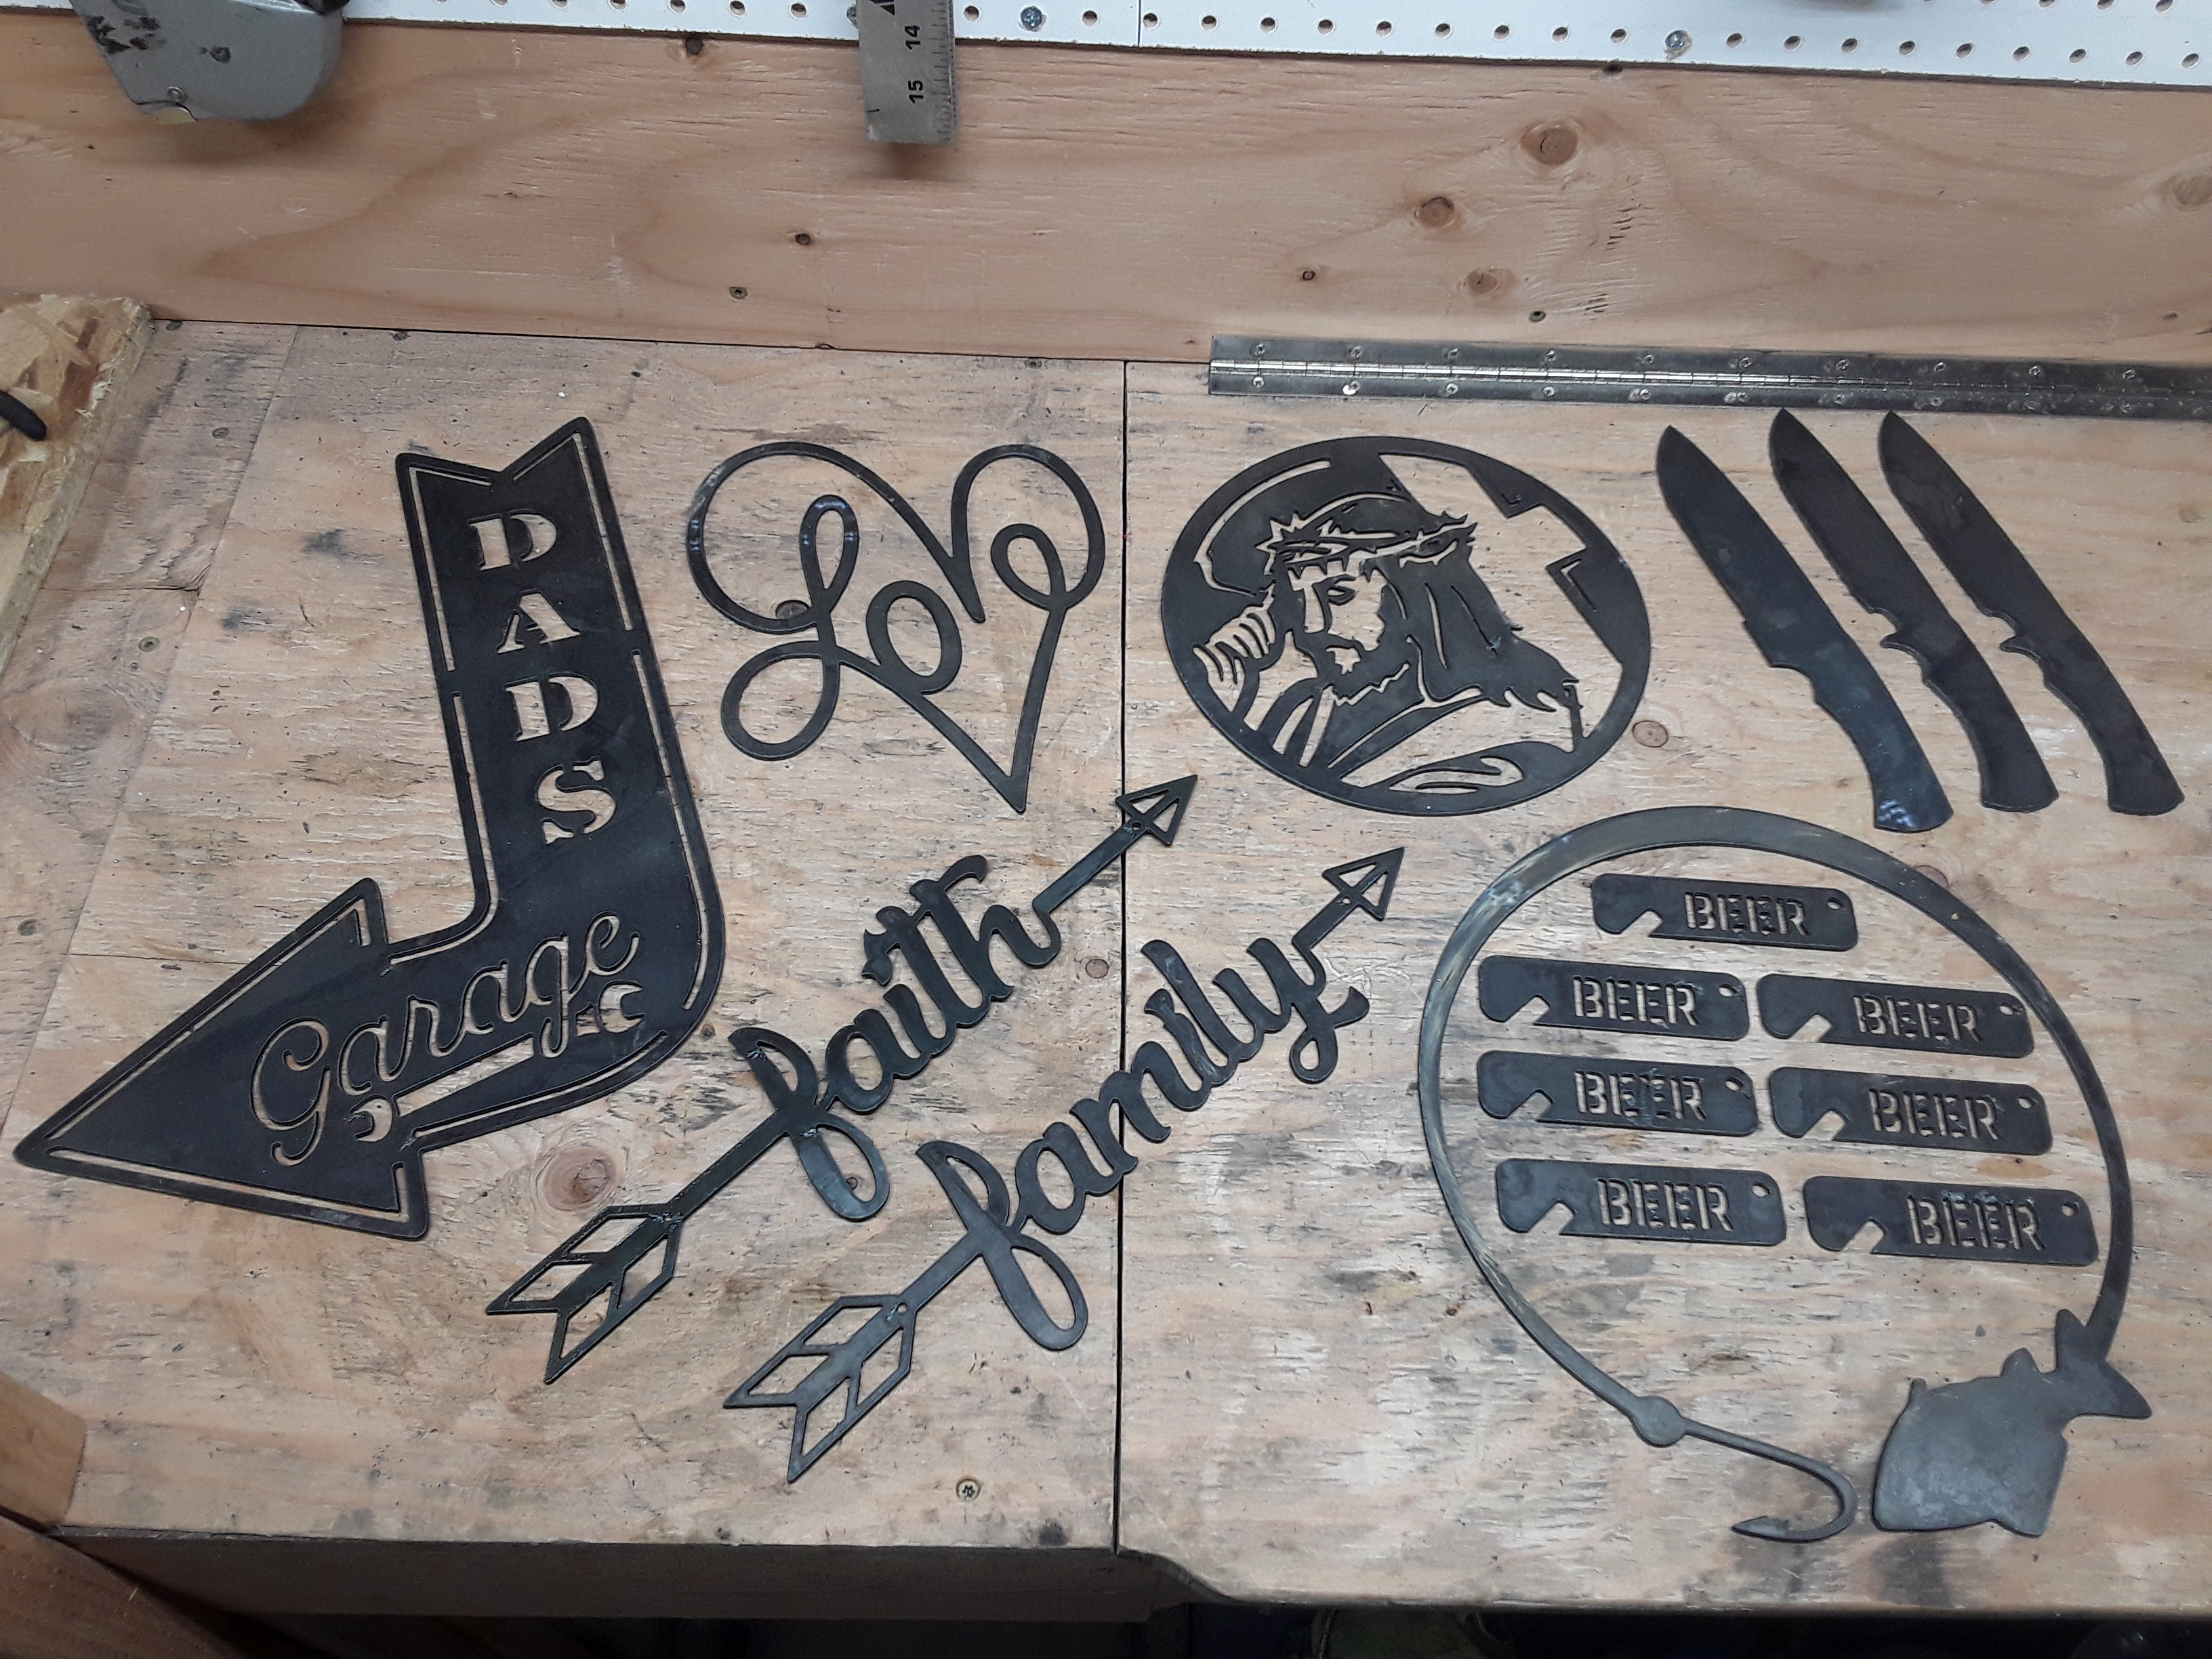
Decided to try some more 14 guage tonight. Love sheetcam more and more. Had one part booger, but made a new one. Most parts were 1-20 scaled down so as to save some material. A few lead-ins didnt fit well but worked ok. The knife blank had a million nodes giving the machine a seizure, but it made it through and one was too close to another path and dropped out before finishing. Some parts where rougher than others. The beer openers were while I was playing with Live THC settings, and vary a lot. Still have some figuring out to do, but some of these might go up for sale. Need to buy a sheet of 16 guage…lol
2 Likes