I have a hard time believing the z motor could move the Gantry tube not saying it didn’t. Have you made sure the tube bolts are not loose. I am just trying to think of anything possible not claiming incompetents. Racking my brain is all.
I could do that for sure will be in the morning before I will be around my laptop that has all that on it. Can’t be the issue because of the tap file.
The TAP file like you and someone else said, should tell us a lot.
Hoping a Langmuir mod/tech/someone sees this and chimes in like “oh yeah, not common but it happens, here”
What if the part that rides up and down the lead screw is stripped or bad? I say this because when I pulled the motor to replace the coupler, I noticed it was plastic.
Hmm pretty sure thinking my z nut is metal. Possible though maybe even loose where it attaches. Something is definitely moving or not moving where it should. Even binding because it was never able to achieve the written voltage. That could have been a time issue if short cuts but unlikely.
Have you checked or changed any of the THC settings. Speeds percentages and such. Just thinking.
Motion is fluid up and down, whether its on the initial start of the cut (and I’ll intentionally zero my Z axis up high during this troubleshooting) or manually jogging.
Fully fluid.
As for messing with THC settings, no never.
In fact, in this trouble shooting I had never disabled Smart Voltage until just today for the first time ever.
I wouldn’t know how to change Z axis speeds unless you’re referring to the Firecontrol ones and nope; I even clicked DEFAULT on the smart voltage side after entering 110 or 115 didn’t work to ensure all was back to normal.
Question, if it cuts…cycles as required, but simply holds the wrong voltage, isn’t that stating that it is doing its job just maybe under the wrong “rules” ?
Just like the TAP file, it sets incorrectly at .02
If it was binding, the cut height would not be consistent.
Just a theory.
It’s like telling a robot to cut grass taller than 3" high, but it cuts the flowers too because I forgot to input ignore flowers
The thing is I am wondering if you wrote in 110 and only achieved 93. That isn’t or shouldn’t be in the default percentage. Was fire control still trying to correct it?
So I am still thinking mechanical I for sure could be wrong. See it is only getting to .020 smart voltage measures voltage and maintains it. It assumes it is programmed cut height it doesn’t and can’t know different.
I don’t see it being a voltage issue because it can’t get there with voltage not a factor. I am stuck on something is binding or too loose. With that said it could be in the z motor. Wonder if it is sticking?
Was going to say with a dial indicator you could make sure the motor moves the z the correct amount. Possible firecontol tells it to move x amount and it not moving that much thinking it did.
I like you’re thinking hence me asking and supplying info when I can, but let’s think about it -
Why am I consistently getting .02" cut height on the TAP file, consistently. I have my entire feeler gauge set taken apart and tried running different gauges.
Only achieved .025" during ACTUAL cutting height when I got 93.7v with the new coupler in place; consistently achieved the same voltage and cut height.
If it helps to add, the stepper motor shaft was turned by hand plenty and it didn’t catch or bind. This was when I had to take it apart and when I was affixing the coupler on it and the lead screw.
With the other think about questions. It is consistent but wrong a kinda good thing . Do you know anyone with a indicator? They are inexpensive at harbor freight. Not great ones . You could set it up and see if fire control moves it the correct amount. It is even a possibility it could be the motor or control box if not. The way they work firecontrol knows how much power for how long to move a certain amount. This still has me asking why it isn’t making enough correction with written voltage…
Something has to be moving too much or not moving enough for this to happen. Which make me think mechanical.
Puzzling for sure.
It is late here I have to get back up in a few hours I will see what I can do as far as a cut file for you. I will be pondering.
again, check for “play” anything loose bolts bearings on the z axis anything that can move.
you don’t have a indicator not scientific but lower z down on a .060 tho shim. set fire control to move in 1/16 increments and move up and see if 1/8 or 3/16 will fit or some combo.
here is a few more suggestions to think about
Remount the torch at a different height to make sure the travel was not hanging up.
Check the plug connects on the z axis motor.
Check the ihs wires are sliding nice when the z in moving . maybe they are hanging up ?
it should show the z being ask to move on firecontrol’s screen during the cut.
check the z axis coronates on the top right on firecontrol and see if you gained or lost steps it should show a incorrect number compared to reality. which can be done using a indicator or shims.
Thank you for the files, but glad you asked about moving it.
The Z axis already moves in tiny increments, as I set a measured height of .06" with my feeler gauges and in small increments lowered my torch to that height.
I considered just pulling off al my THC stuff cause this sucks but yes it moves as needed as I already did this.
Torch was mounted and remounted multiple ways; has lots of travel and no hang up.
I do a full sweep from corner to corner before “fully mounting” it the same exact way as I did when I first got the table. It’s why I took a picture of the table in its entirety. There is no tension build up with the cables.
All I can think of is running those files you provided so thanks for that, but all movements you suggested have already been done.
I’ll describe again what I checked; the two sort of barrel looking connectors for Z axis are fully seated. Even the watertight plastic sleeve is intact.
The little round terminal at the rear is still bolted in place.
The two contact plates (the video and picture I posted above) are still intact, and are clean, as well as the spring.
Everything is in place and has been in place.
I hope the files tell me something else but probably not since the TAP file didn’t.
I may just have to start checking voltages from the control box at this point later today.
Is your cut height correct with THC disabled/Turned off when cutting? If it is correct then you can rule out mechanical and will know that THC is the problem.
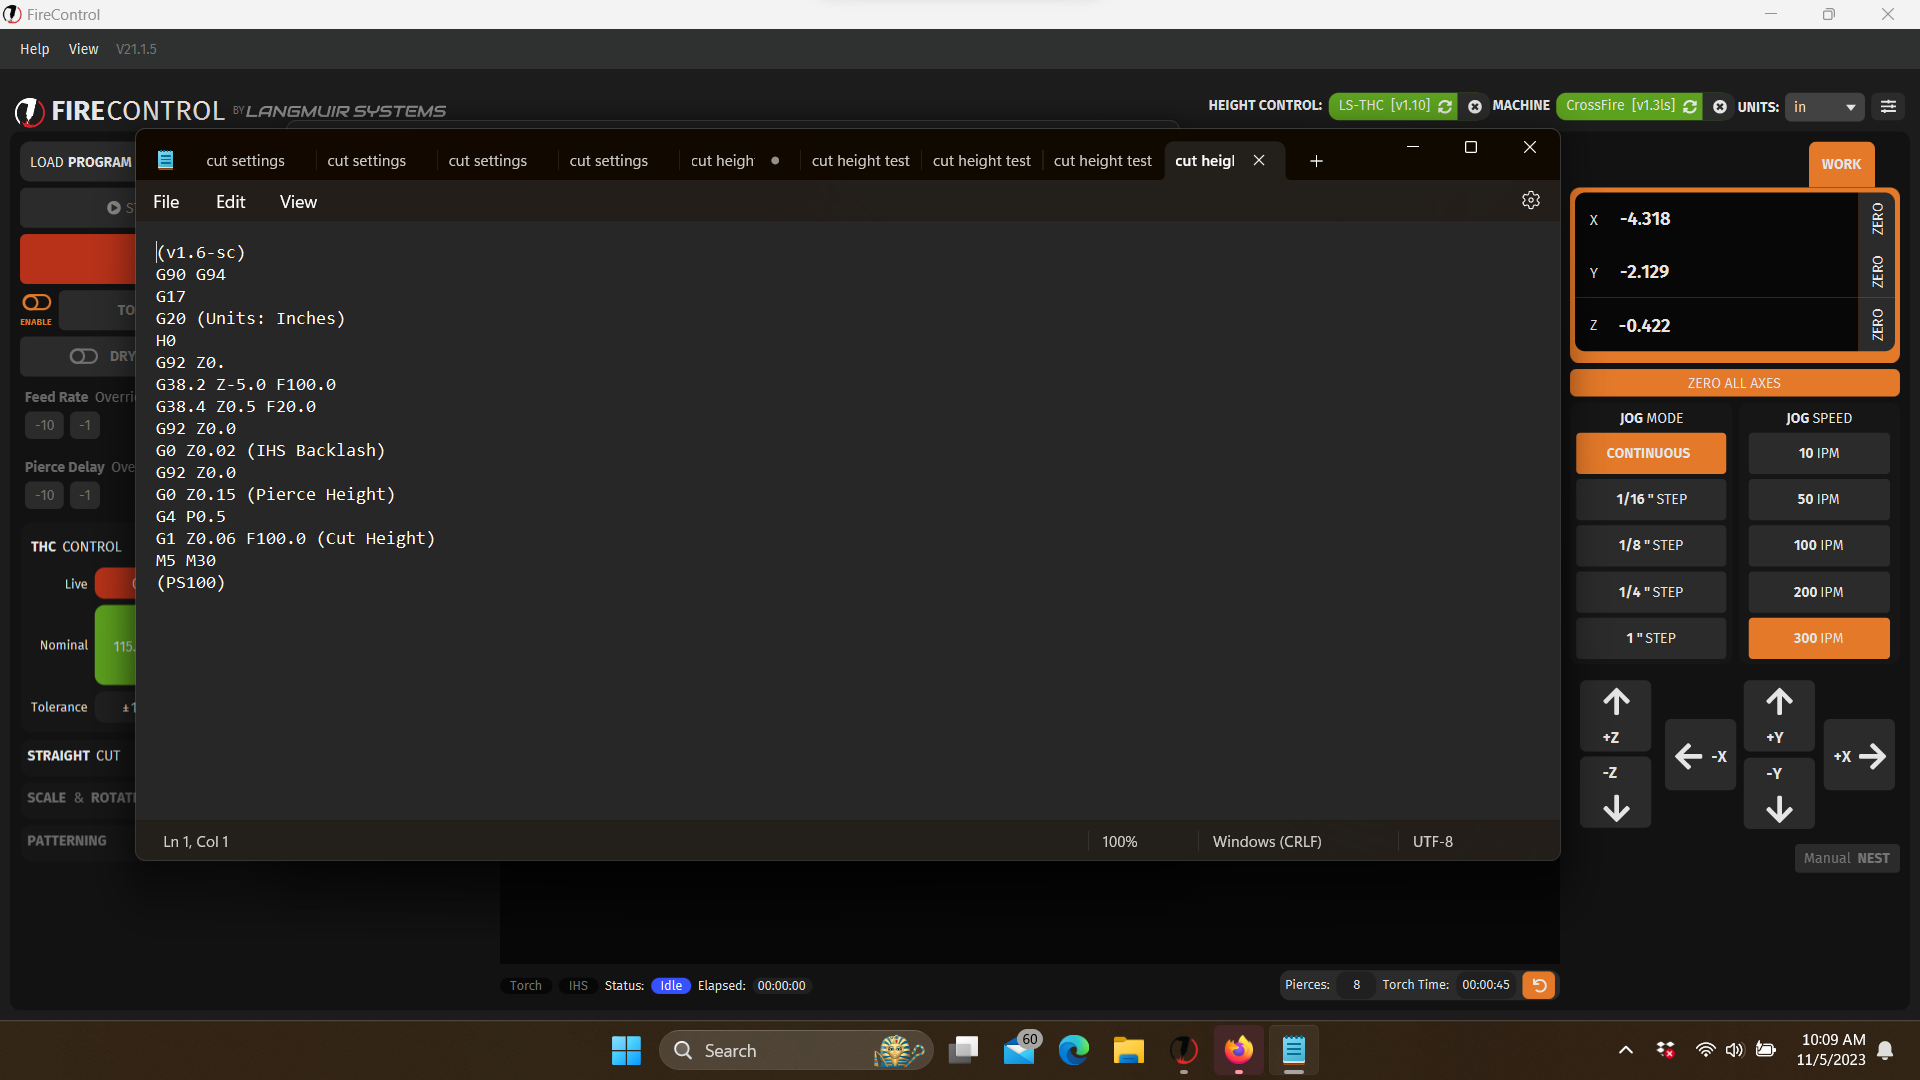
Phil linked a TAP file (normally used for Mach 3).
It can be used for Firecontrol as it simply lacks activation points and will not cause the torch to fire, but cycles through all other movements as normal.
The “cut” height achieved during the run of this file still results in a physical height of .02"
I altered the G code via notepad to say…0.10" and saved the file. It was originally saved with a cut height of .06"
Reloaded it on Firecontrol, and ran it again only to receive the same .02" cut height.
So it is simply setting the incorrect height during IHS even on the TAP file.
Sorry I missed that part. Watching your video, the torch touches material comes up torch fires and starts cutting, It does not appear to have a pierce height , something looks to be missing in your program settings for tap or post process the way it appears in video??
The torch will touch material lift to pierce height torch fires pierces then set cut height when working proper.
I just recorded two videos for you of the dry run, from a different angle.
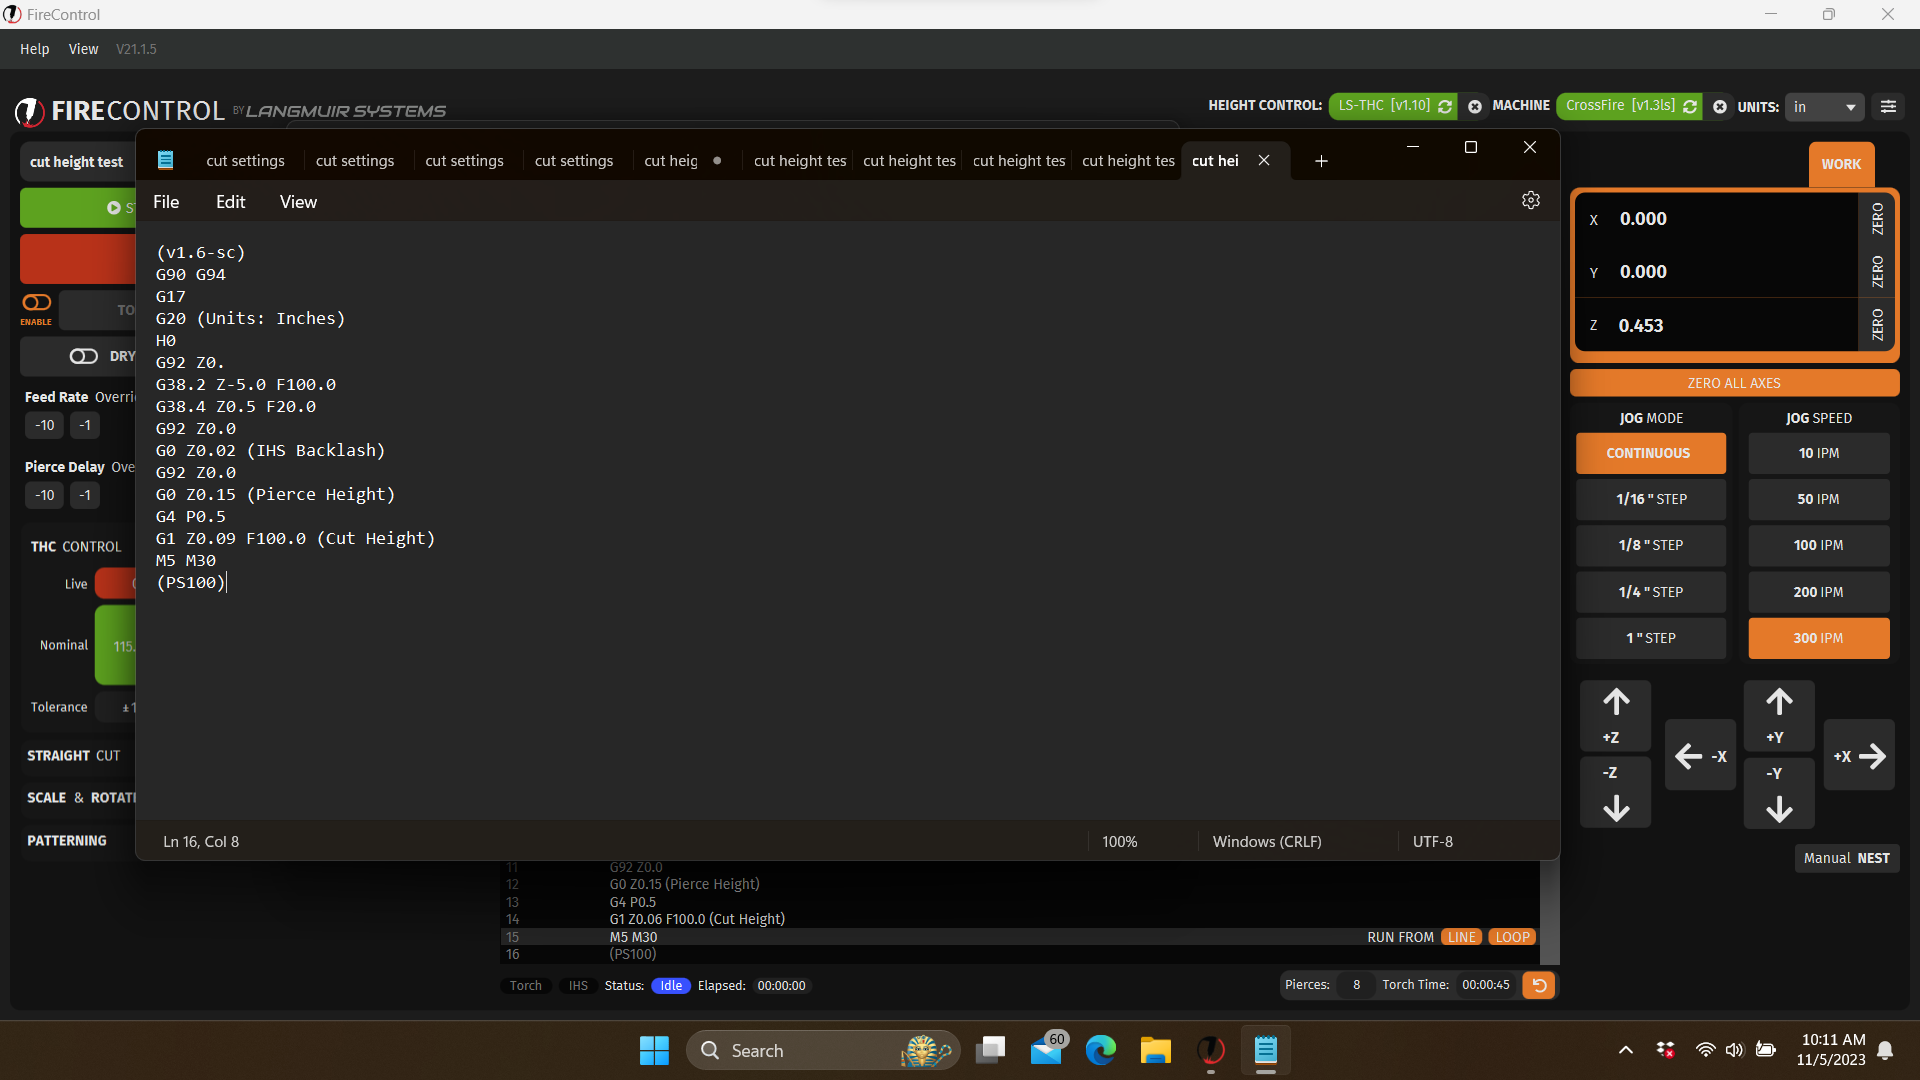
I haven’t uploaded them yet but I will shortly, however I did take a screenshot of the file with .06" height and .09" height (with videos of the test runs done multiple times with a Z axis zero’d at different heights).
Here’s the G code for the above video, but again for how I ran it now -
I recorded two individual runs, one with the file at .06" height and one with the file at .09" but I’m only uploading one (mainly cause of time) but also because both runs resulted in the same exact height of .02" regardless of the G code.