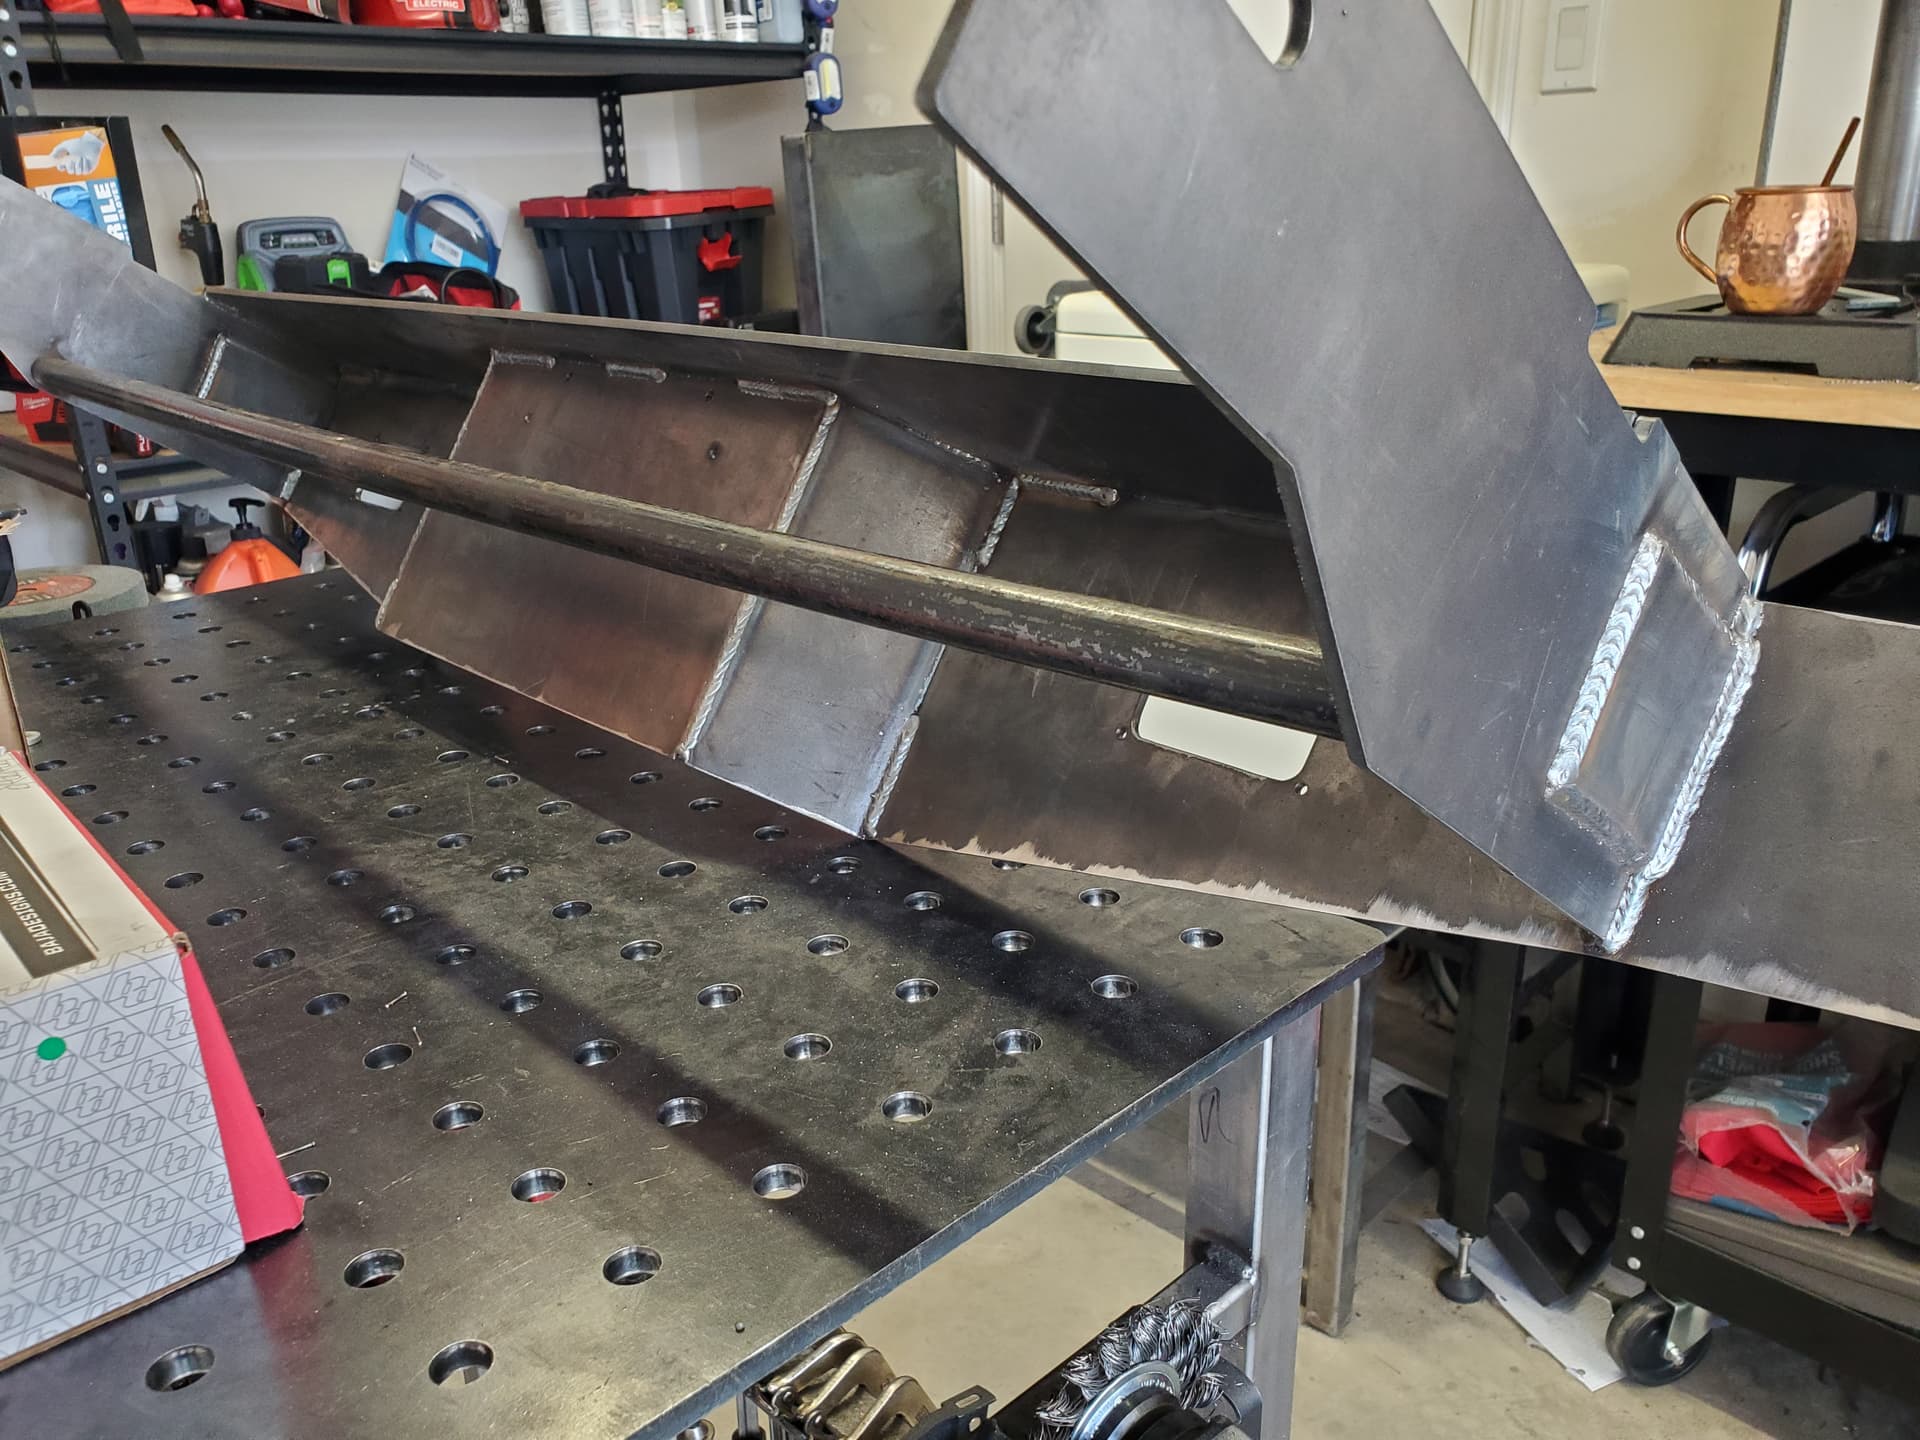
Hey now, his welds are getting slightly better ![]()
Thanks! Could be better but some ran cold so I had to take a break cause I was pushing duty cycle
I had finished shortly after I posted
11 Likes
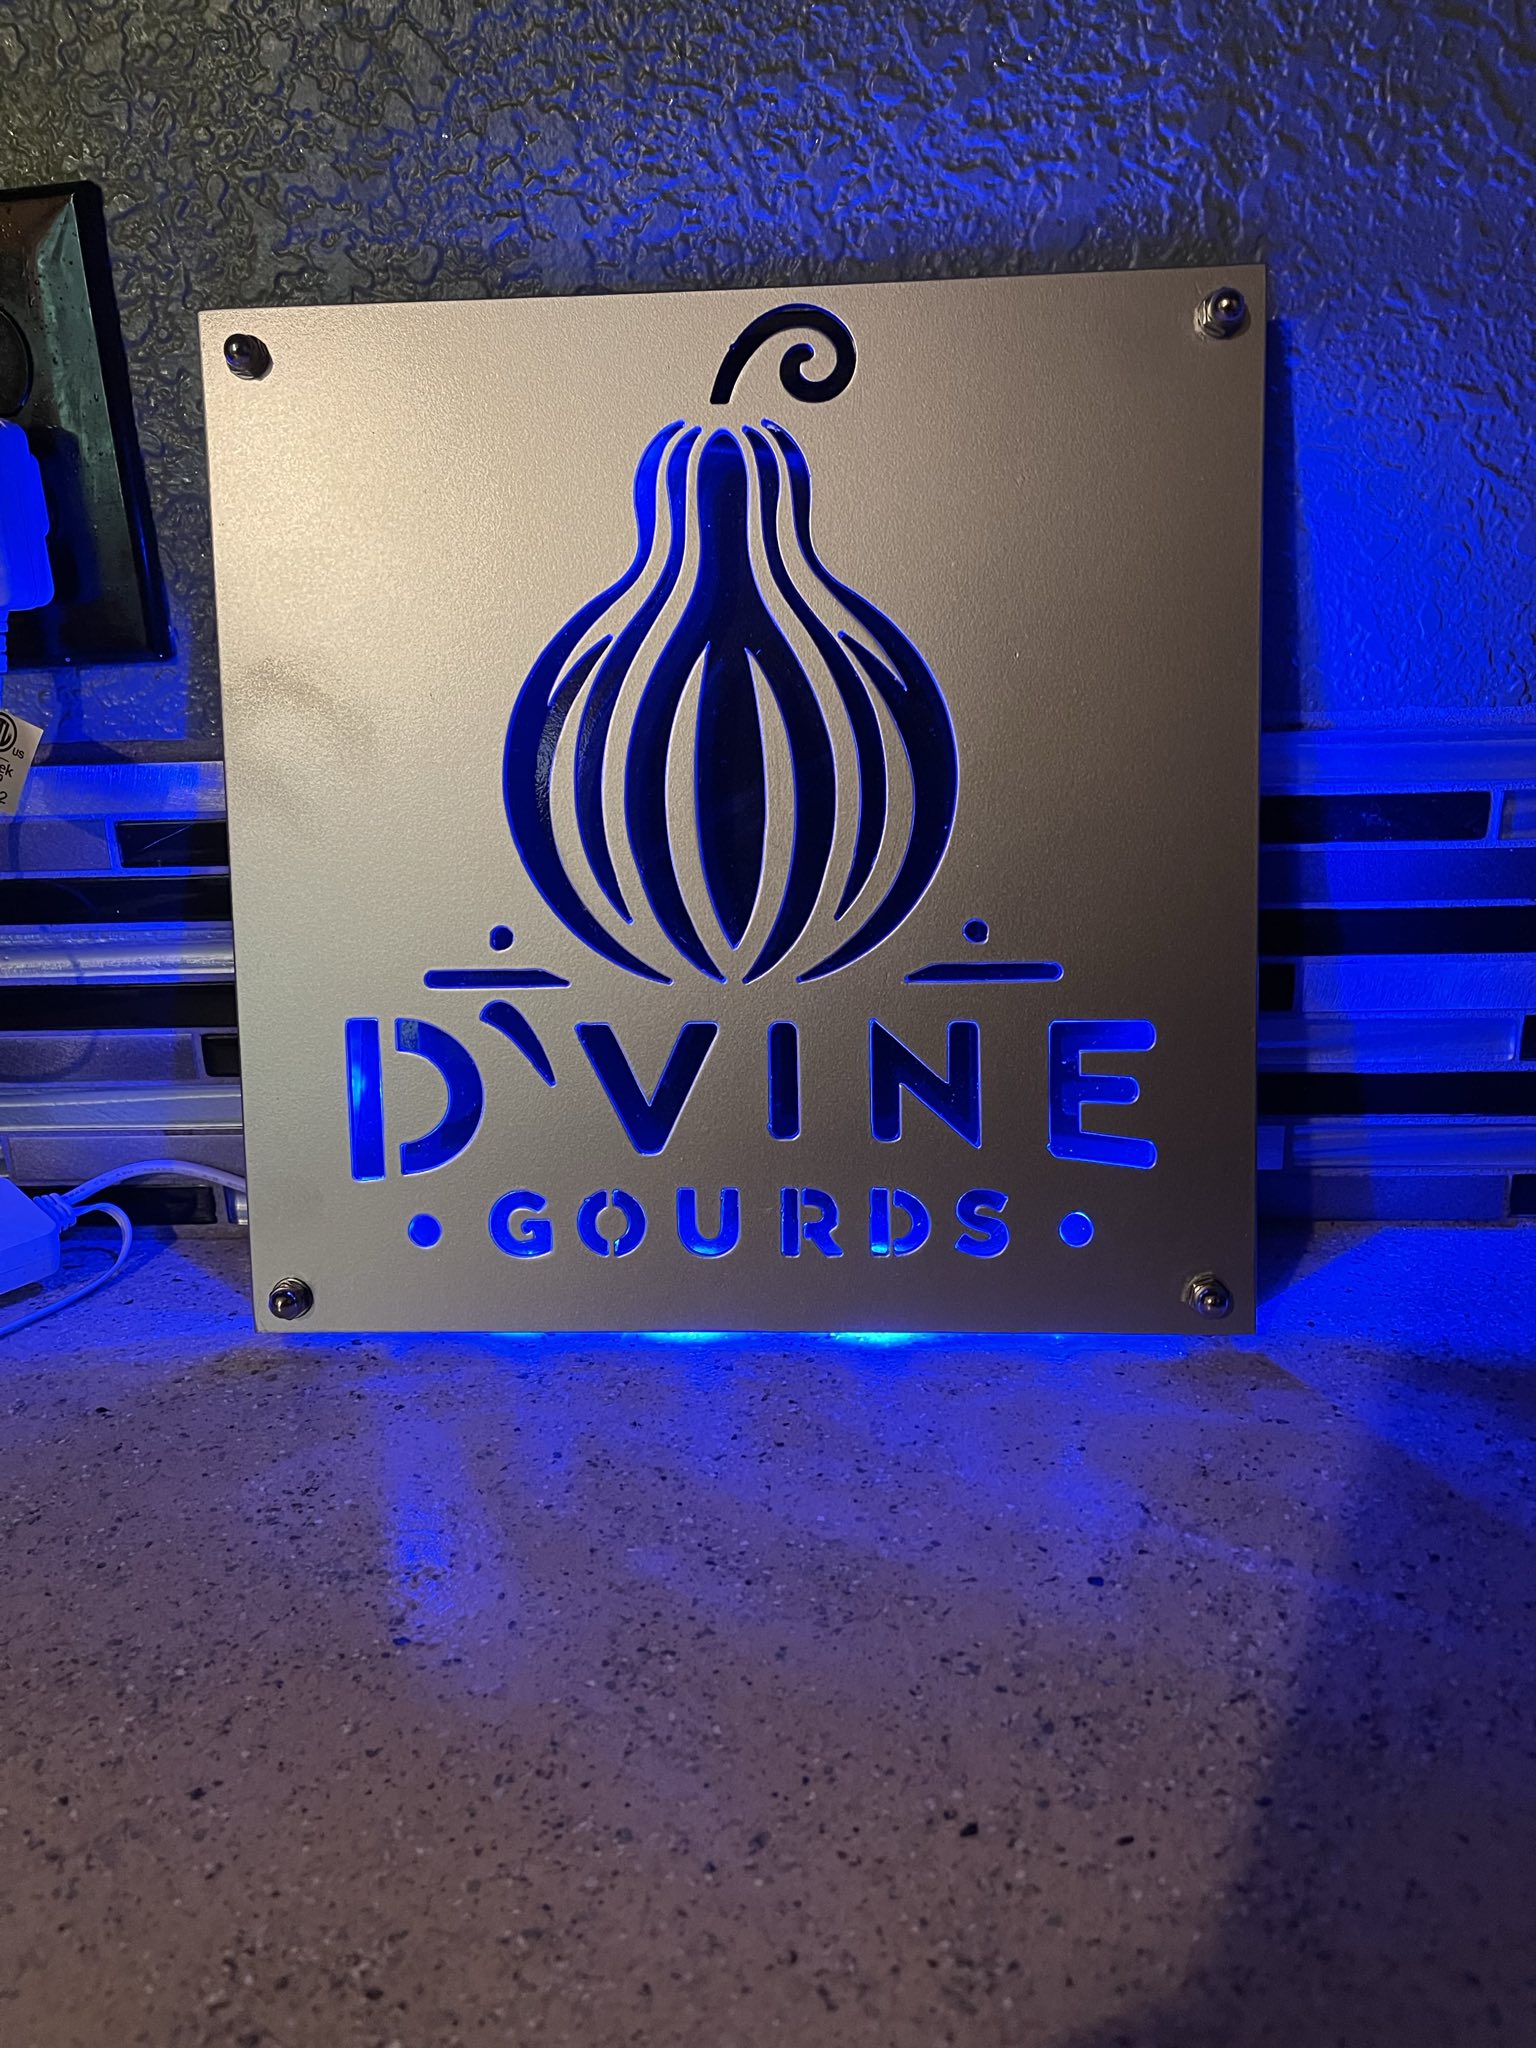
Made a simple 2 layer sign for my mom’s birthday. She has a little gourd carving business.
I actually used Fusion 360’s Project Salvador AI to draw the design. It was kind of fun. Took a bit of re-work on the drawing to make it right. The AI tool is mediocre but fun.
15 Likes
Bartmaster taugth him everthing he knows about welding! ![]()
1 Like
Clearly I’m only a hobbyist ![]()
1 Like
You are a master at this!!! Beautiful job.
You know I gotta ask: Now when do you start building the rest of the truck? ![]()
Ha thanks!
Not my truck though, and he lives just under an hour away so I don’t really get any time with it for anything.
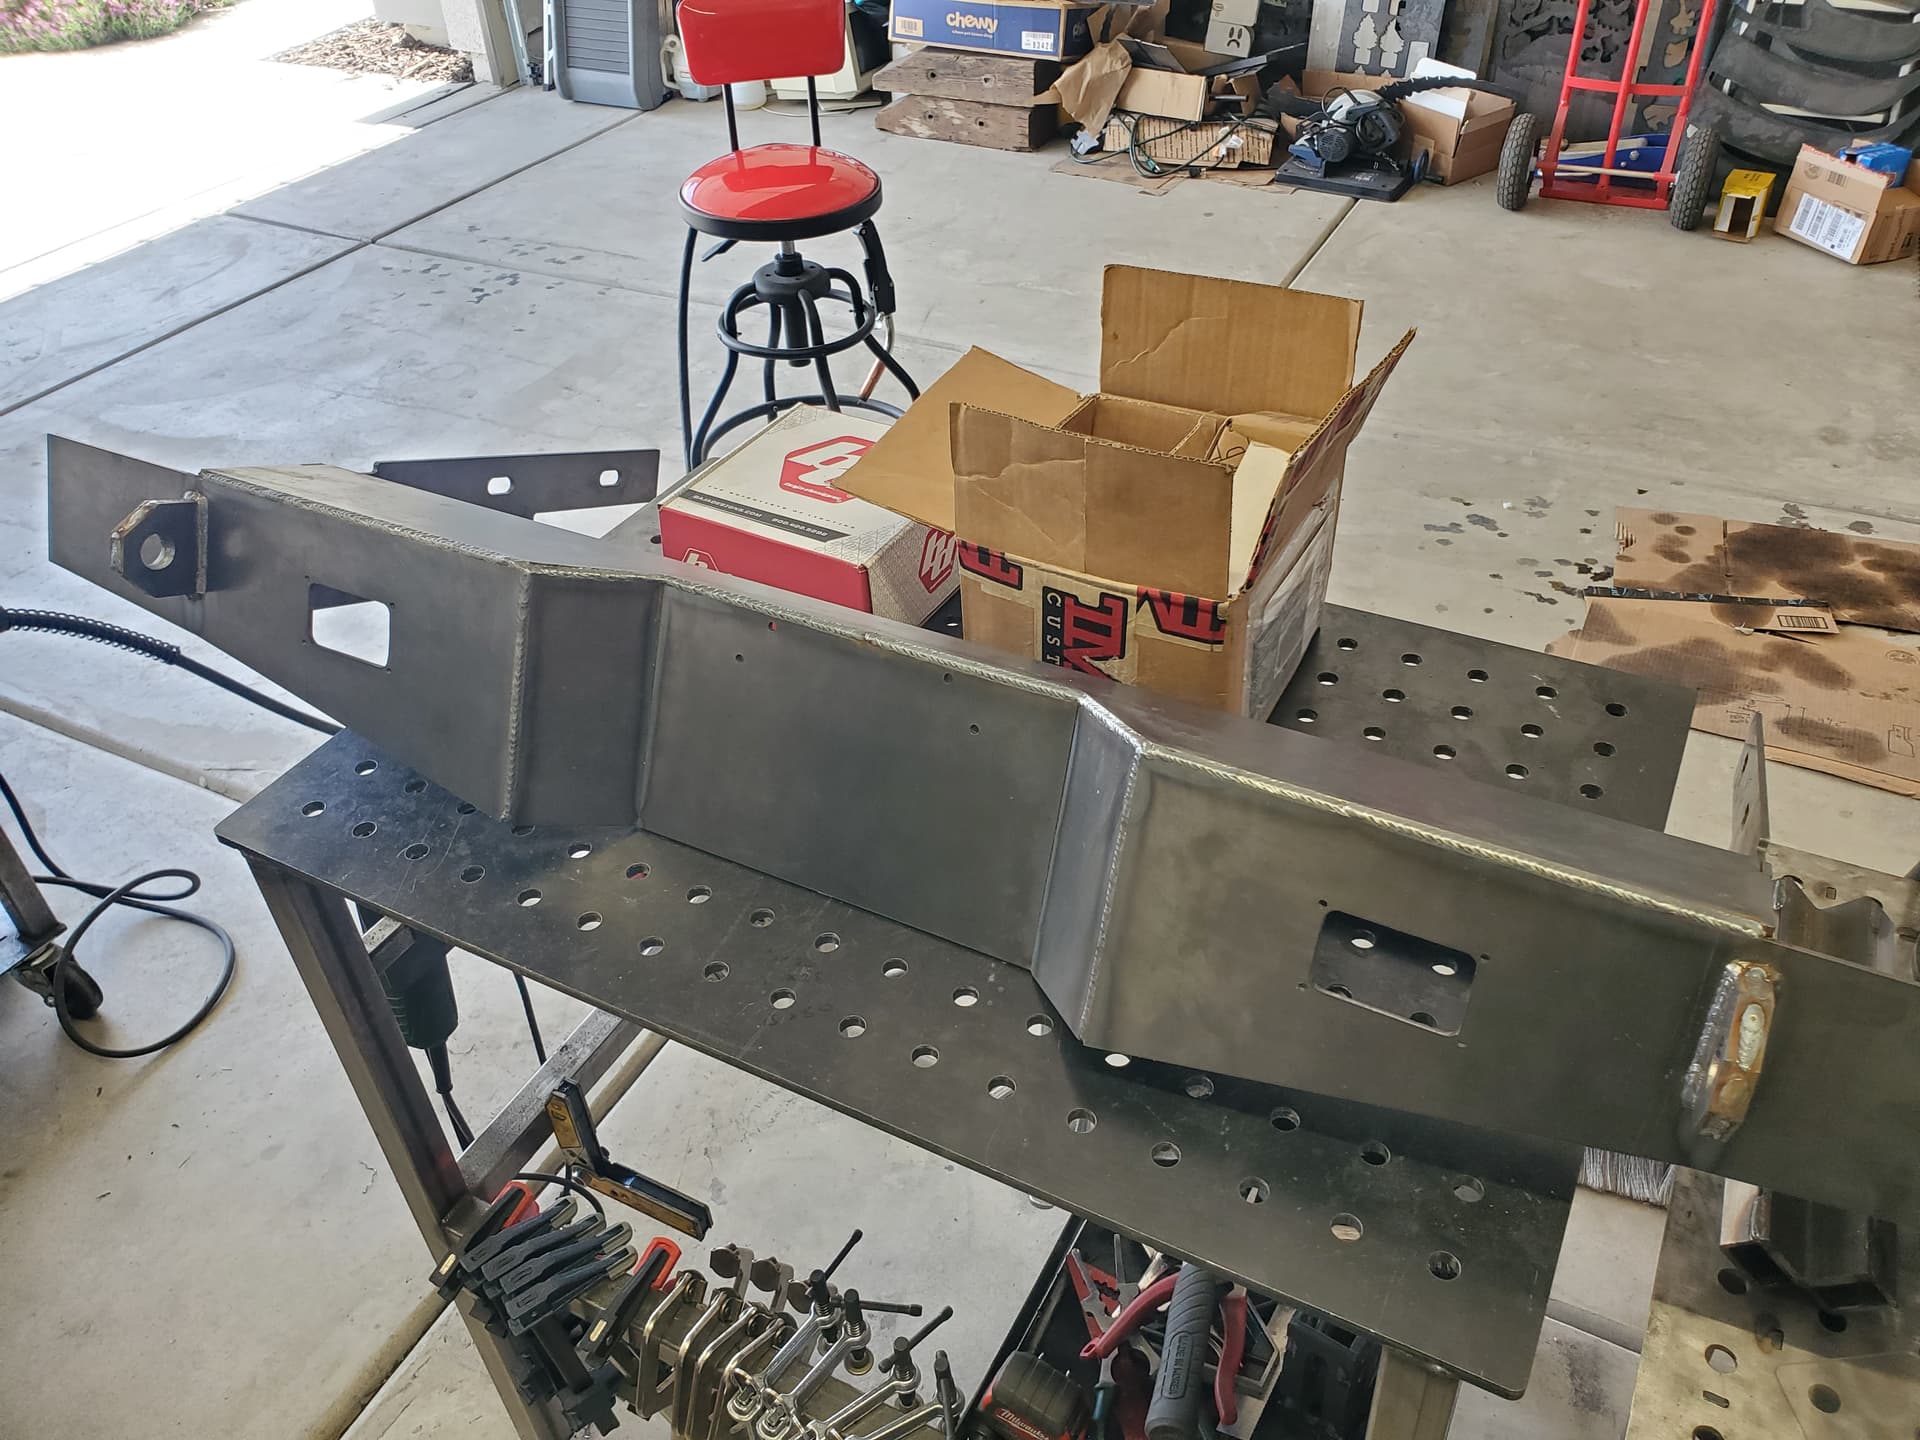
Request was a custom bumper, with better departure angle than stock, recovery points, cut outs for lighting, and a rear swingout.
Next time I get to see the truck I’ll be able to cut out the existing placeholder pipe, replace it with DOM, weld on the bottom mount to the frame rails, work on designing the wings, work on designing the bottom plate protection, create the swingout for a full size spare, and…that’s it.
3 Likes
Edit: sorry @not_neil_armstrong not sure why it tagged you…
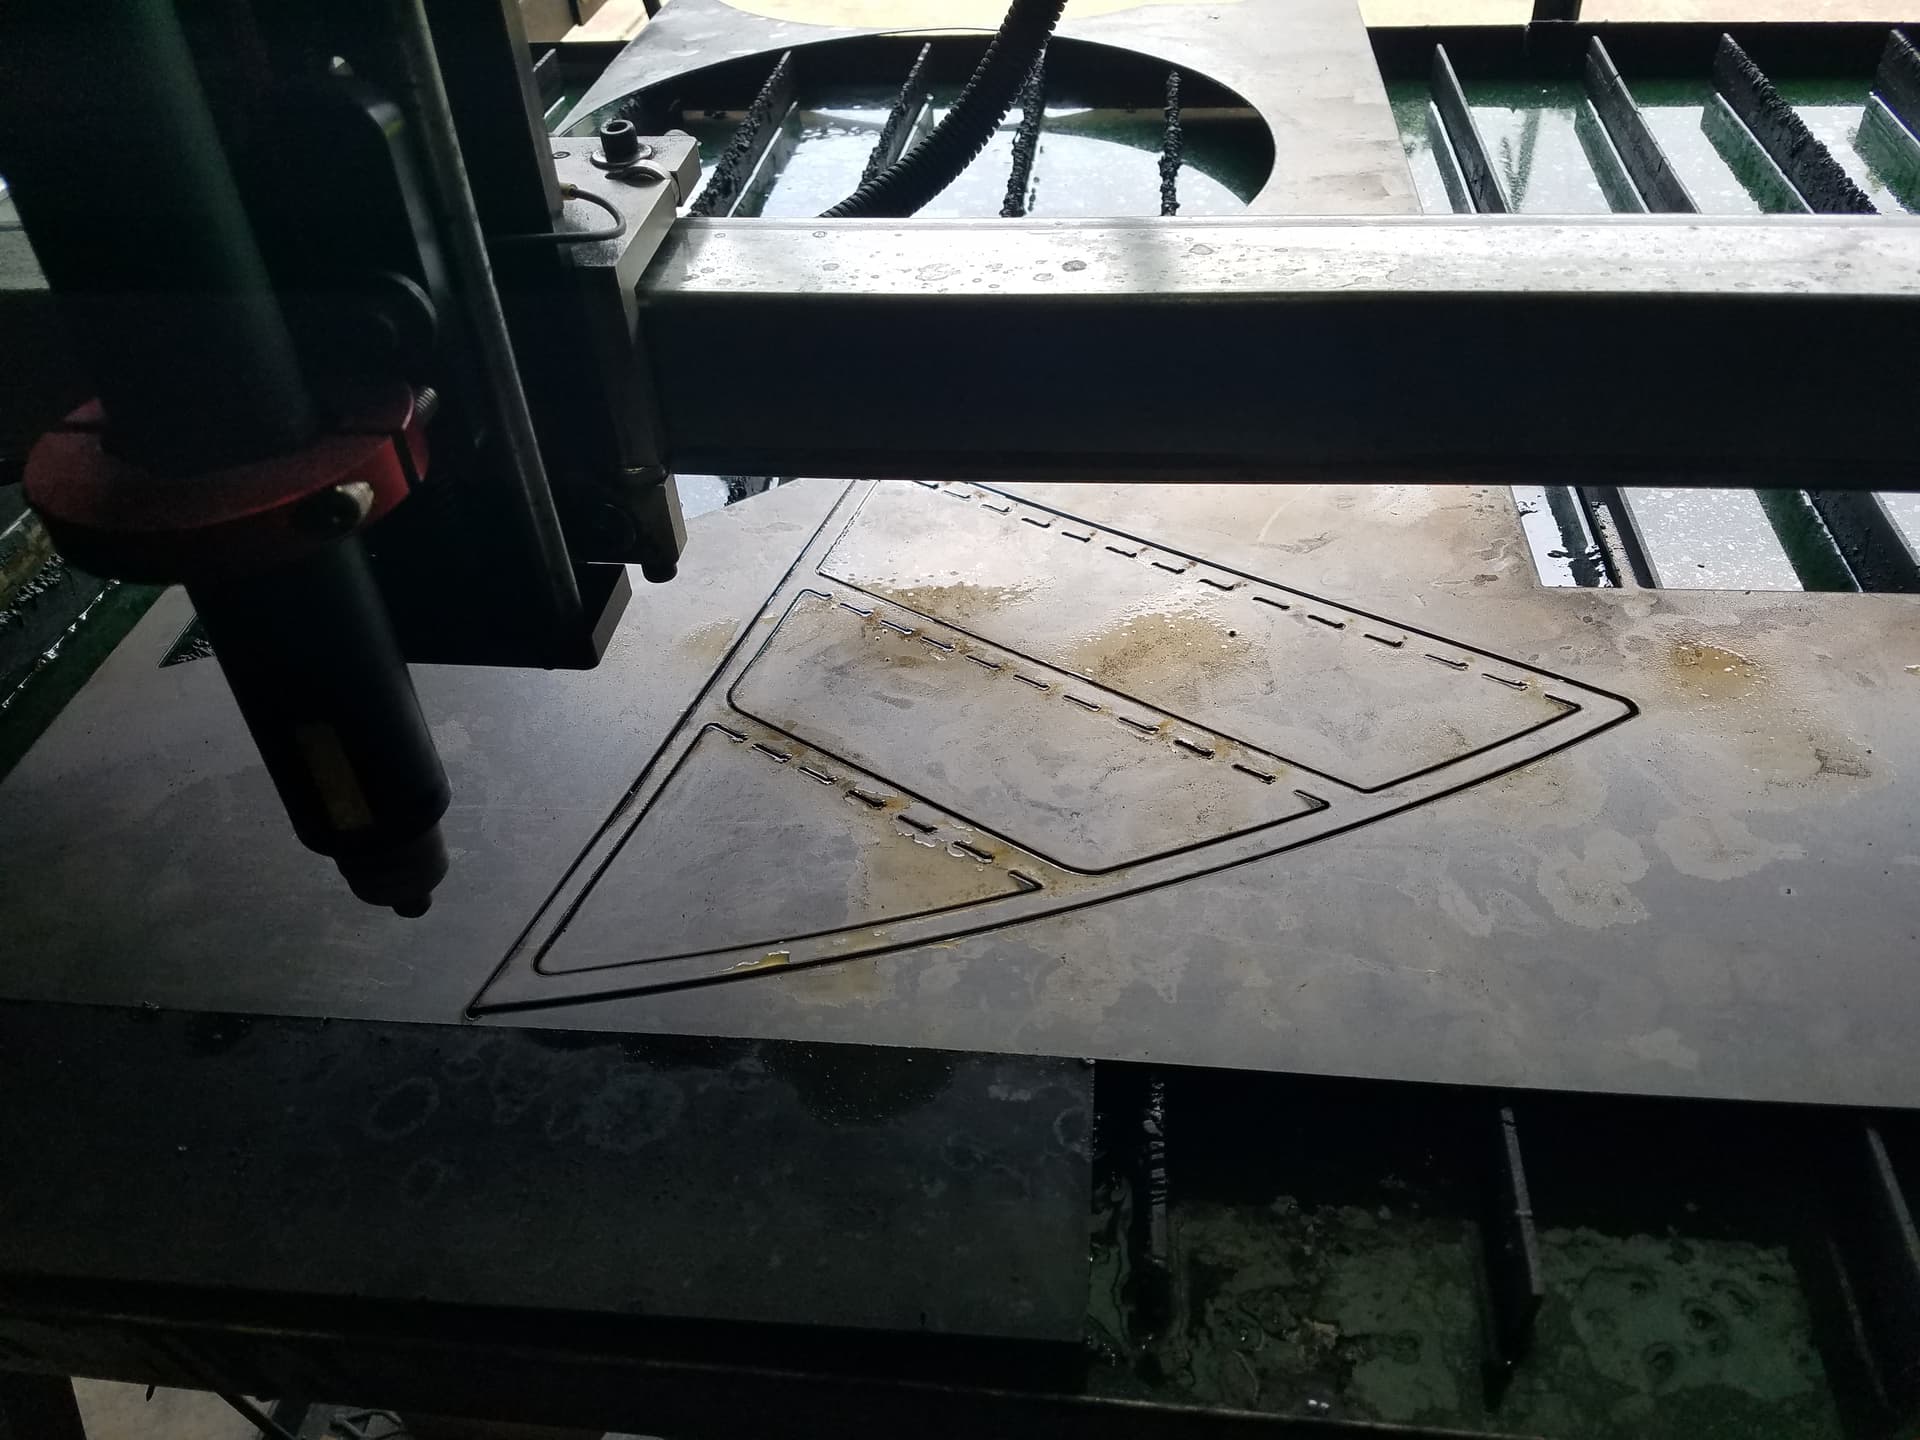
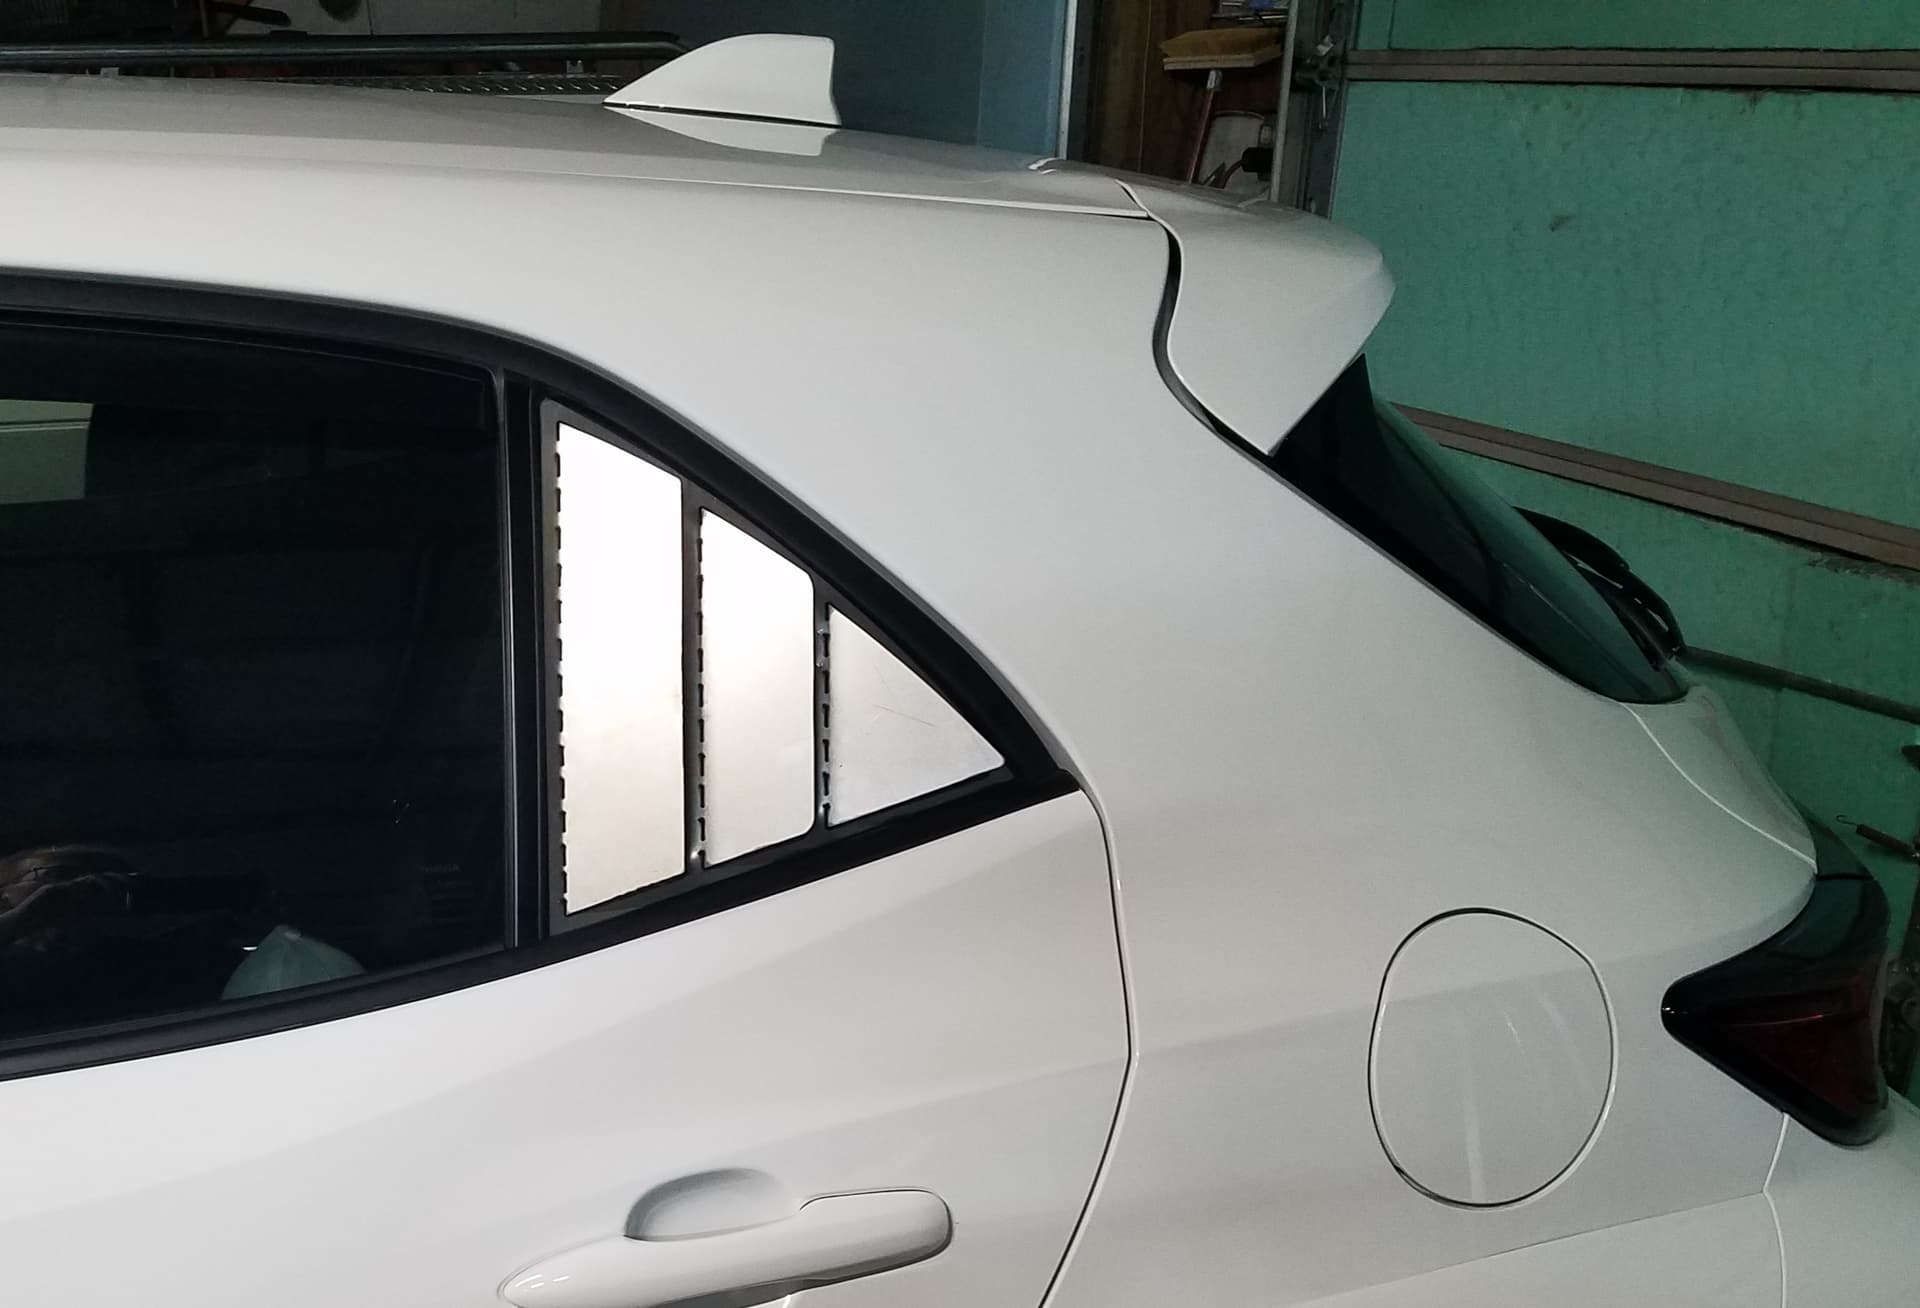
I threw together a small, 18 gauge window vent for my Toyota. Really trying to find a plastic version, but I made this to show on website and ask if anybody knew where I could buy such a thing.
Got laughed at by the under 30 crowd about how “70’s” should stay in the 70’s. ![]()
4 Likes
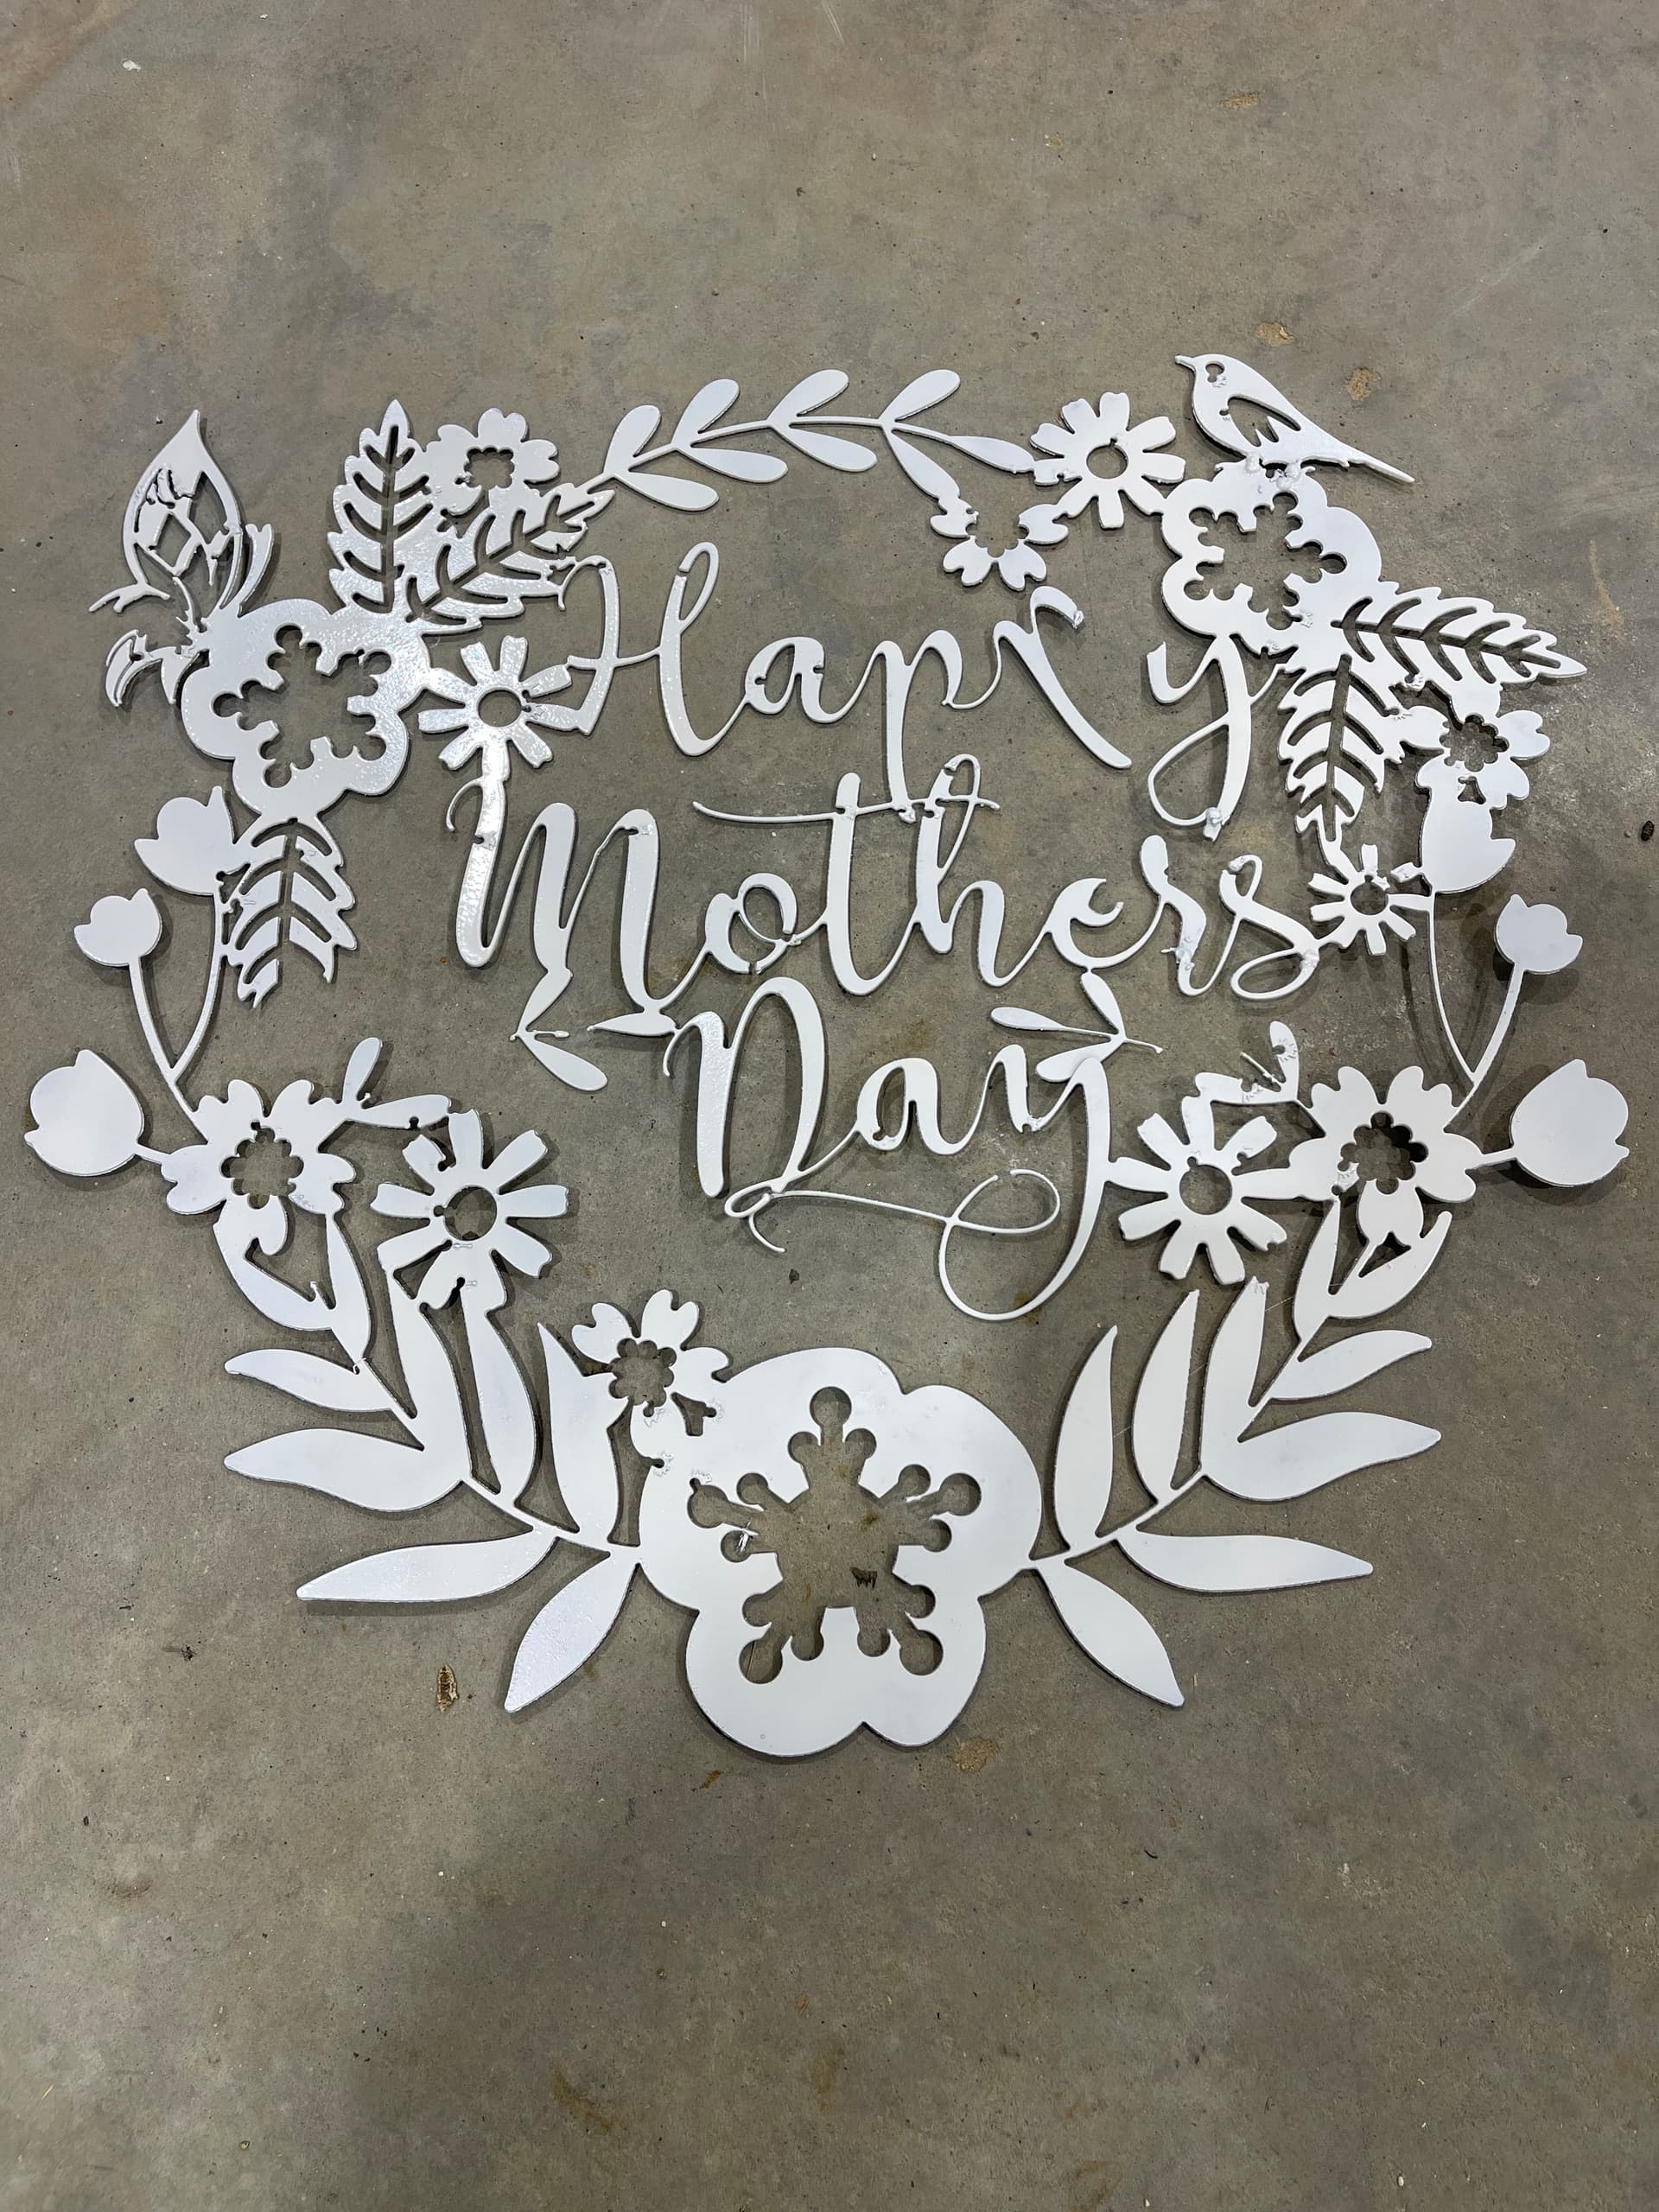
This was the first thing I created. I found the file online.
- There are a couple of MIG tack welds on the bird; I am not selling this.
CNC’ing is amazing. I should have gotten one a long time ago.
11 Likes
Great design!
If you’re using Fusion, make sure to do a simulation (if you’re unsure) of your cut.
Seems your lead-in is in the opposite side for many of those cuts. The red arrow depicts the direction your cut will travel - to cut an inside shape out you cut counter clockwise, and to cut an outside shape out you cut clockwise.
As good as that looks, I’d be willing to make another one as to not lose all that detail!
3 Likes
Thank you, @Kwikfab
Where would I specify lead in direction? I was not aware that depending on where the cut will be, the direction of the cut should change (or matter at all).
There are a few lost details, as I cut it on 18 ga; I likely should have grabbed the 16 ga.
The cut direction is depicted by a red arrow that appears when you choose your paths in your profile creation.
You can carefully hover over the red arrow, click it, and it will turn the opposite direction.
I don’t like to “extrude” objects as I’ve shared with many on the FB group that extruding hides overlapping lines, but with a 3D item, Fusion will automatically set the correct lead in side and cut direction for inside objects and out.
1 Like
I know its fun. Little projects like this are great to learn the process. Even though your lead-ins and cuts are on the wrong side, the design can tolerate it. No one will probably notice except people with a CNC plasma table. ps. bend the second P back into place.
3 Likes
Have the crossfire Pro for coming on 2 years now. My first sign


Also my first time cutting aluminum. That stuff is messy.
8 Likes
Here’s my latest that im proud of
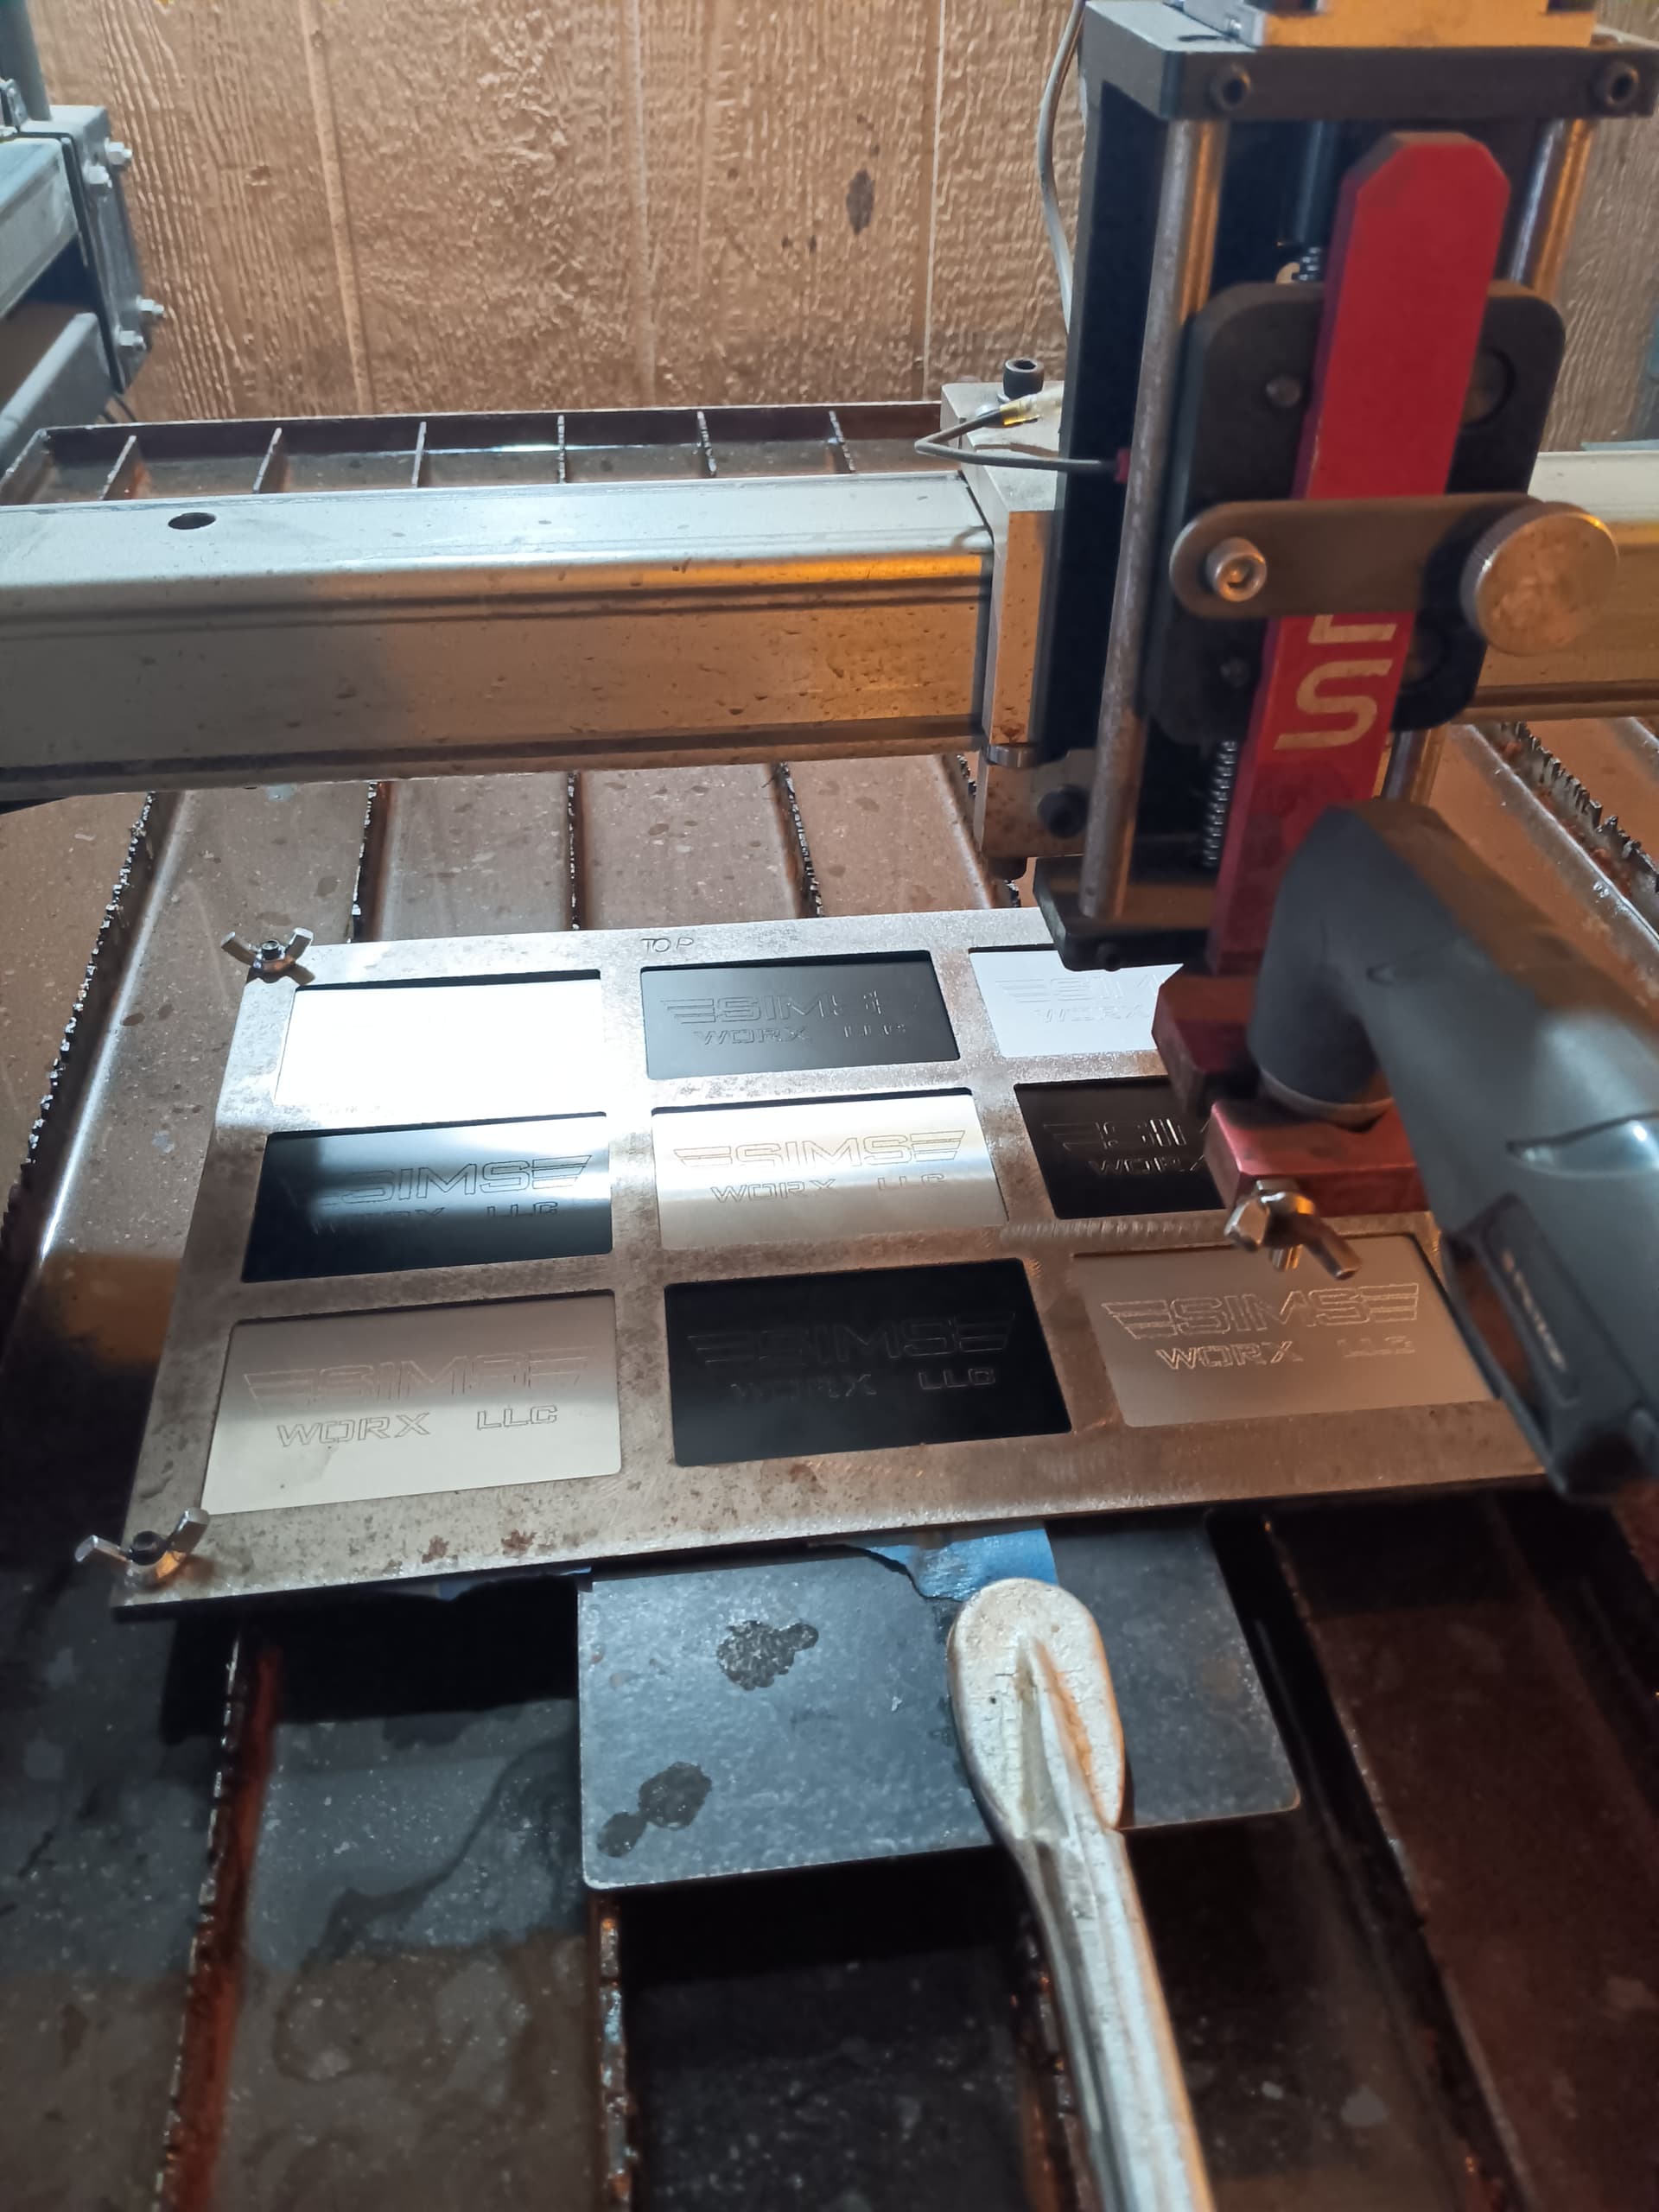
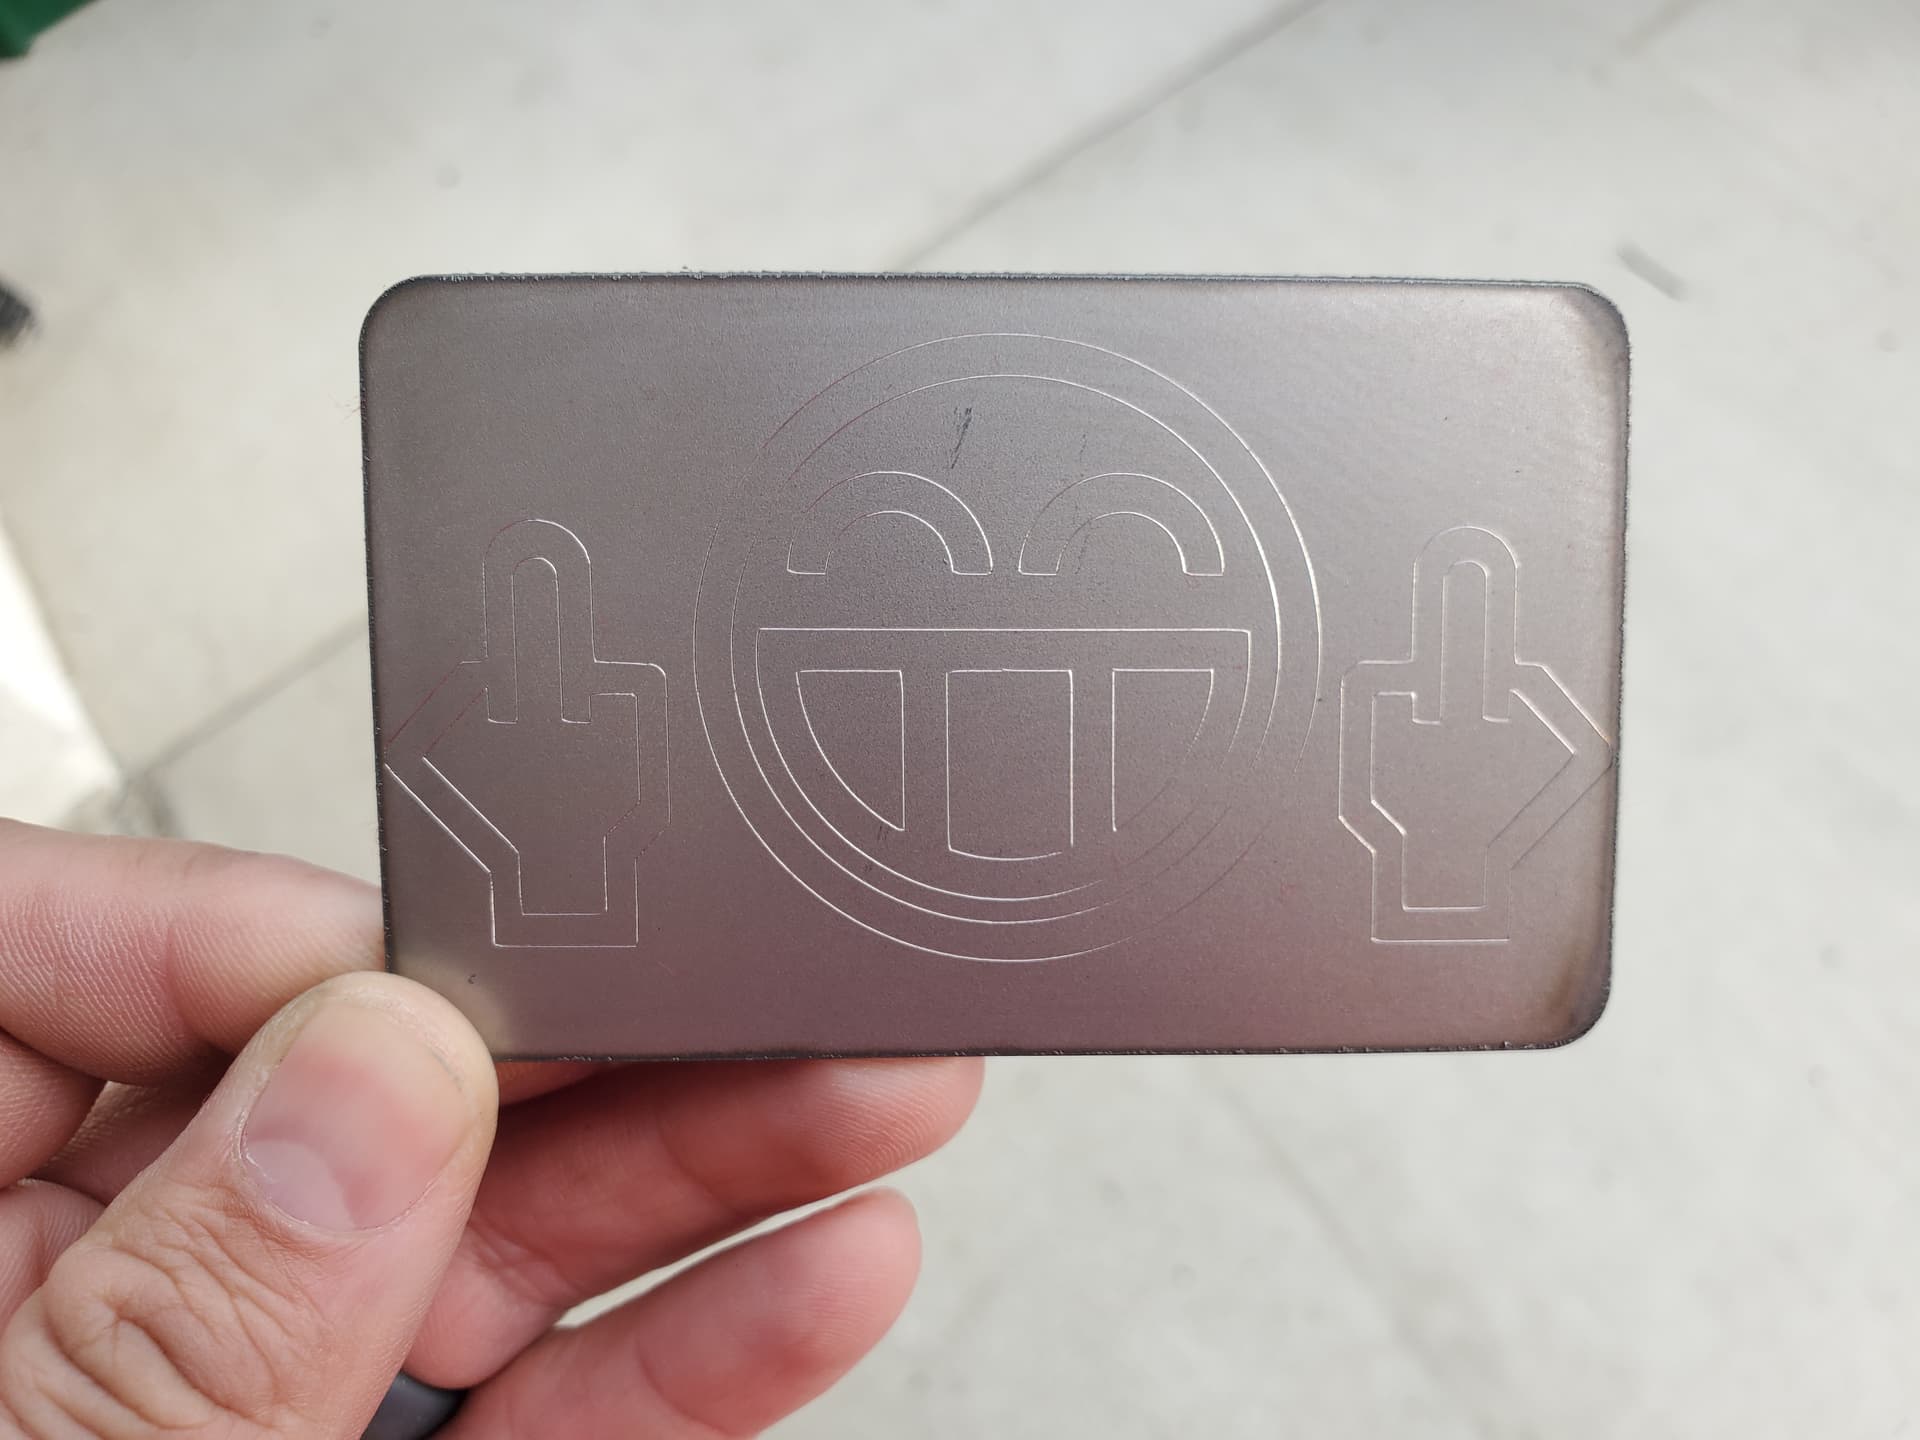
Business cards with Easy Scriber. Nice! Fixture allows for the backs to be engraved as well.
8 Likes
Did you etch that with a plasma or a different tool?
EasyScriper. Approximately. 015 diamond tip scribe. Replaces consumables (electrode, nozzle, swirl ring, shield) and allows for effective engraving. Aluminum works best, mild steel requires double passes to get good results.
4 Likes
If I thought I could get aluminum to turn out that nice, I’d be cutting some right now!
Could you PM me a link to that stuff please?