i install from the back of the back plate. this leaves the flange on the the side closest to the wall. then i install the the screws through the face. I have many different finishes and types of heads on the screws and use what i feel compliments the piece. When painting i love assembling with this method so there is no issue of weldments screwing up the paint.
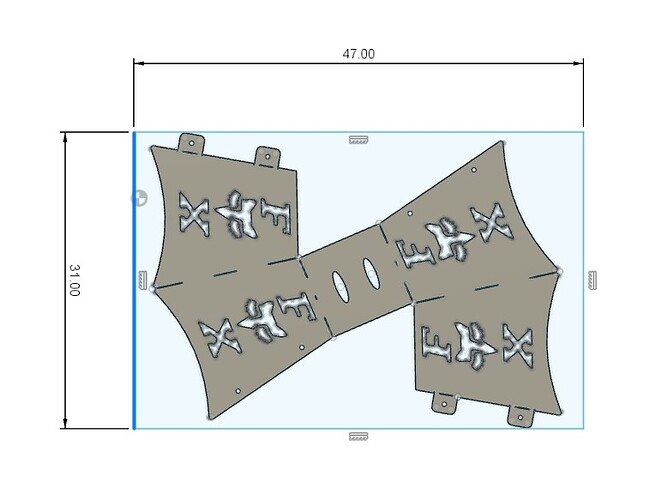
Took me sometime this morning but I got my issues resolved designing this in 3D. All thanks to @TinWhisperer yesterday for helping.
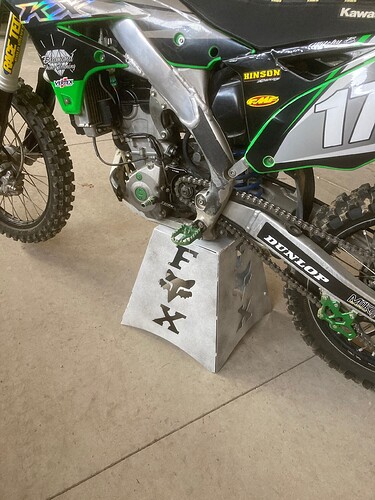
This will be coming to fileshare soon for others to enjoy! I designed in 16ga which is plenty strong for a dirt bike. I cut it earlier and just had to add the second tab. I’m painting it now.
Thanks man, I’ll definitely do that for the one I keep for myself!
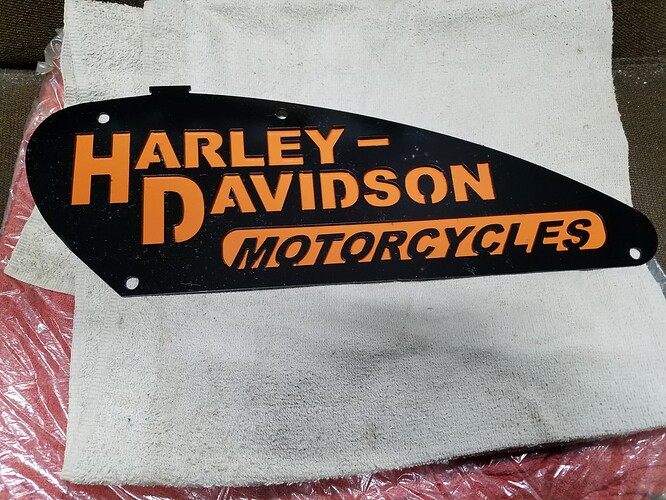
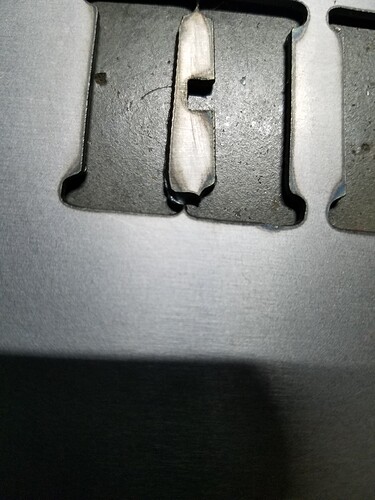
Out of the five I cut so far, only one had issues. For some reason the second “C” in motorcycles had a big blob on the sign side and also had several spots that didn’t cut through. I was able to salvage it.
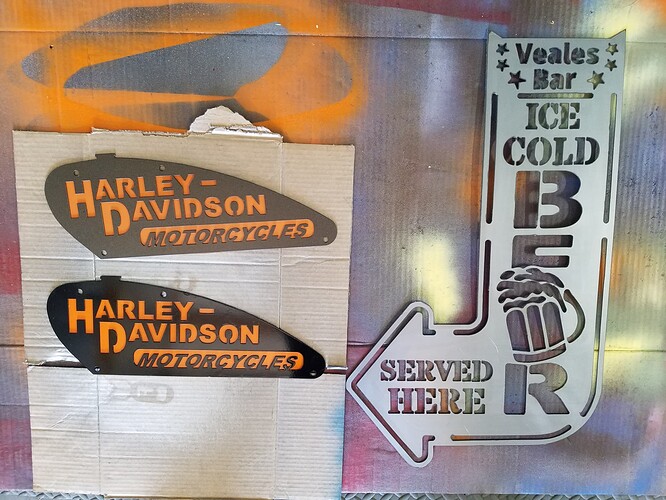
I’m doing ghetto 3D on these ones for the craft show. I gotta recoat the black tomorrow. Bunch of dust on it.
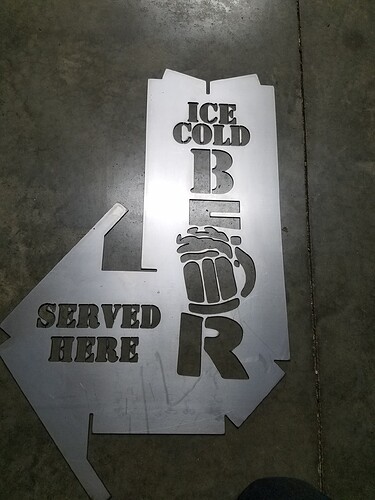
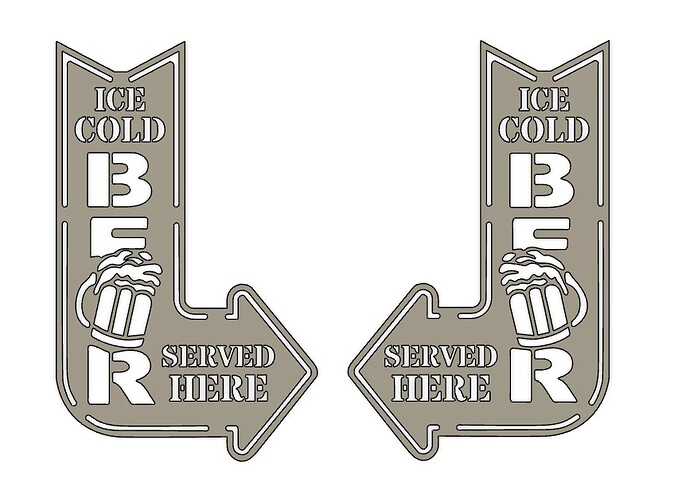
I have a friend retiring in 6 weeks. He and his wife are major beer drinkers. I started one of the “Cold Beer Served Here” signs today. Got the easy part done!
Used 18 gauge because I don’t have a metal brake. Went okay but the connectors on some of the letters are so thin they are very frail. One already broke loose while I was wiping down the sign,
I would make some changes but the 3D file version was .nc.
Cold beer signs .f3d (4.1 MB)
@Wsidr1 I don’t have the one your after but do have these if you want them. Much better letters on this copy. you could contour the letters a little if you concerned with spacing. I never cut these signs but got them somewhere in the past. i would just add 1.5" standoff and some cheap $10 LED lights to back. No bending needed
Just added the dirt bike stand if anyone is needing one. Got lots of help from the great @TinWhisperer
Dirt bike stand 15" tall for adult bike | FireShare | Langmuir Systems
Thanks for the file. I looked at it in F360. Those letters are definitely a better design.
Do you mean leave the sides open? Would you not try to close in the light?
How do you face the LEDs?
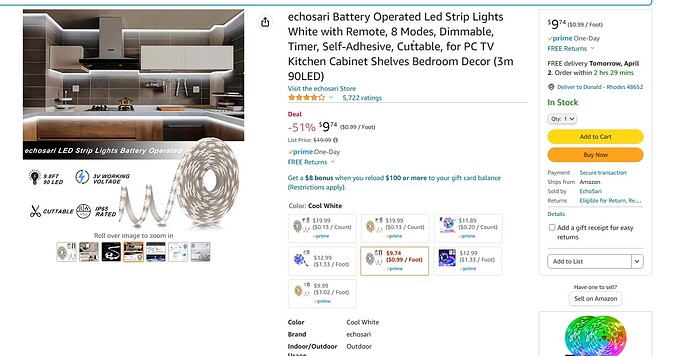
@Wsidr1 These cheap battery LED that stick on the back of the signs are the best. I have did a few lighted signs just to play around and i love this ones. they comein many colors and for this sign the 9ft long one should be ok. If you question if 9ft will be long enough you can always cut this down to size.
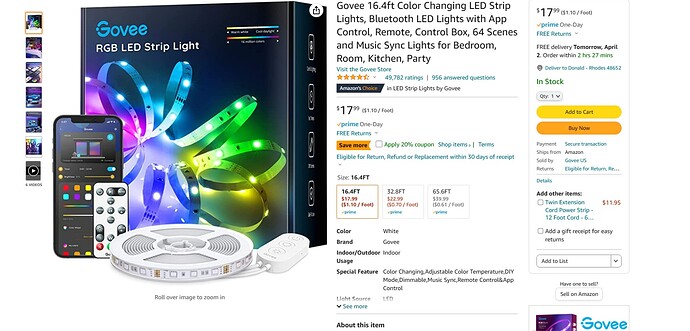
I did these lights for cousins Bar sign and it was amazing but you have to plug them in the wall. if you could find some cheap groove lights that beat to the music and also be on a battery you would be set. I personally would stay away from the plug in the wall ones because no way to hide the cord. I did the plug in the wall because cousin is an electrician and can just add the plug where he wants it.
I would stay away from the bending of these signs unless you’re really good at it and have a bender with fingers.
Thanks for the advice. I checked the circumference of the sign. 9’ would be plenty.
I am adding their name across the top and a few other touches before I try to cut it. I think tomorrow afternoon I should have time to give it a try. ![]()
@DonP I cut out one of the beer signs for my friend today. I’m satisfied with it. But, quite a few of the letters didn’t quite cut all the way out and there were some of the lines that were wavy but should have been straight . If you decide to cut one, you may want to clean it up a bit. I was able to get it good though.
I am going to cut a backer plate with holes and use glued on bolts like I did on the Harley signs. Those bolts are really cheap and it’s easy to set them up that way.
I also painted two of the Harley tanks you designed.
Are you using something like JB Weld, gorilla glue or something else?
Your signs look great!
I’ve been using a pea sized dab of two part epoxy. I rough up both surfaces. I’ll get a few pics when I do this one.
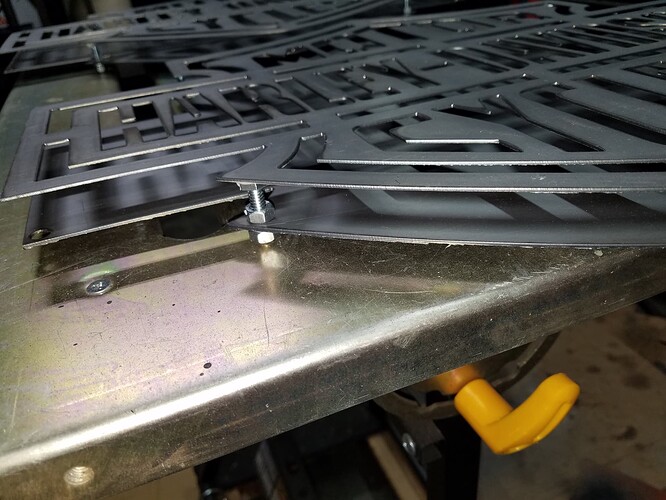
I like the bolt approach because it allows me to adjust the gap between the face and the backing plate. I noticed there is a sweet spot on the depth: too much and you get shadows; too little and it loses the affect.
I apply the glue/bolt and then assemble it so as to ensure they are glued in the right spot.
This is how they are adjustable. Just move the jam nut.
nice…this is exactly how i do it with my threaded stud welder. same concept and seems to be the best for layering. What are you doing for hanging on wall?
So far I have been using J hooks.
Here is how I make my backing plate and locate the holes. Just make a copy of the perimeter, add a few construction lines for vertical positioning, then pick area where the bolts will be most effective and least visible.
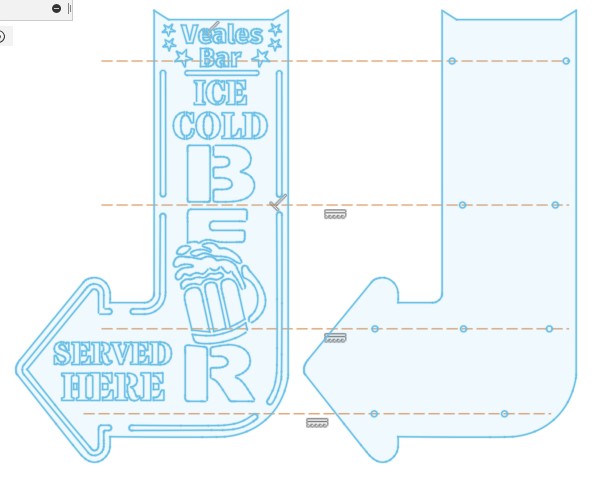
i make the holes on the original design copy and paste it next to it. then remove all things on my backer except the holes and remove the holes on the face of the sign. no measuring or line making.
BTW @DonP I falsely accused the file of having some issues since a lot of my letters didn’t fully cut/drop out. I looked this morning. I think it must have been my settings. Drawing looks well made.
always watch and look at the generator. It happens…no worries
one thing i always check in generator is…
tail (lead-in) on the outside of inner circle. i did this when i started and never forget it…lol
You have been busy and your stuff is looking great!
I am trying to learn “project” command. I would imagine this would be a good application: pick the outer border and holes. That would give the backer plate. Then delete holes from the front. I like both processes that you guys are doing.
Thanks for sharing.
