F - It before… | FireShare | Langmuir Systems
You could size it down a little but this one is pretty funny.
F - It before… | FireShare | Langmuir Systems
You could size it down a little but this one is pretty funny.
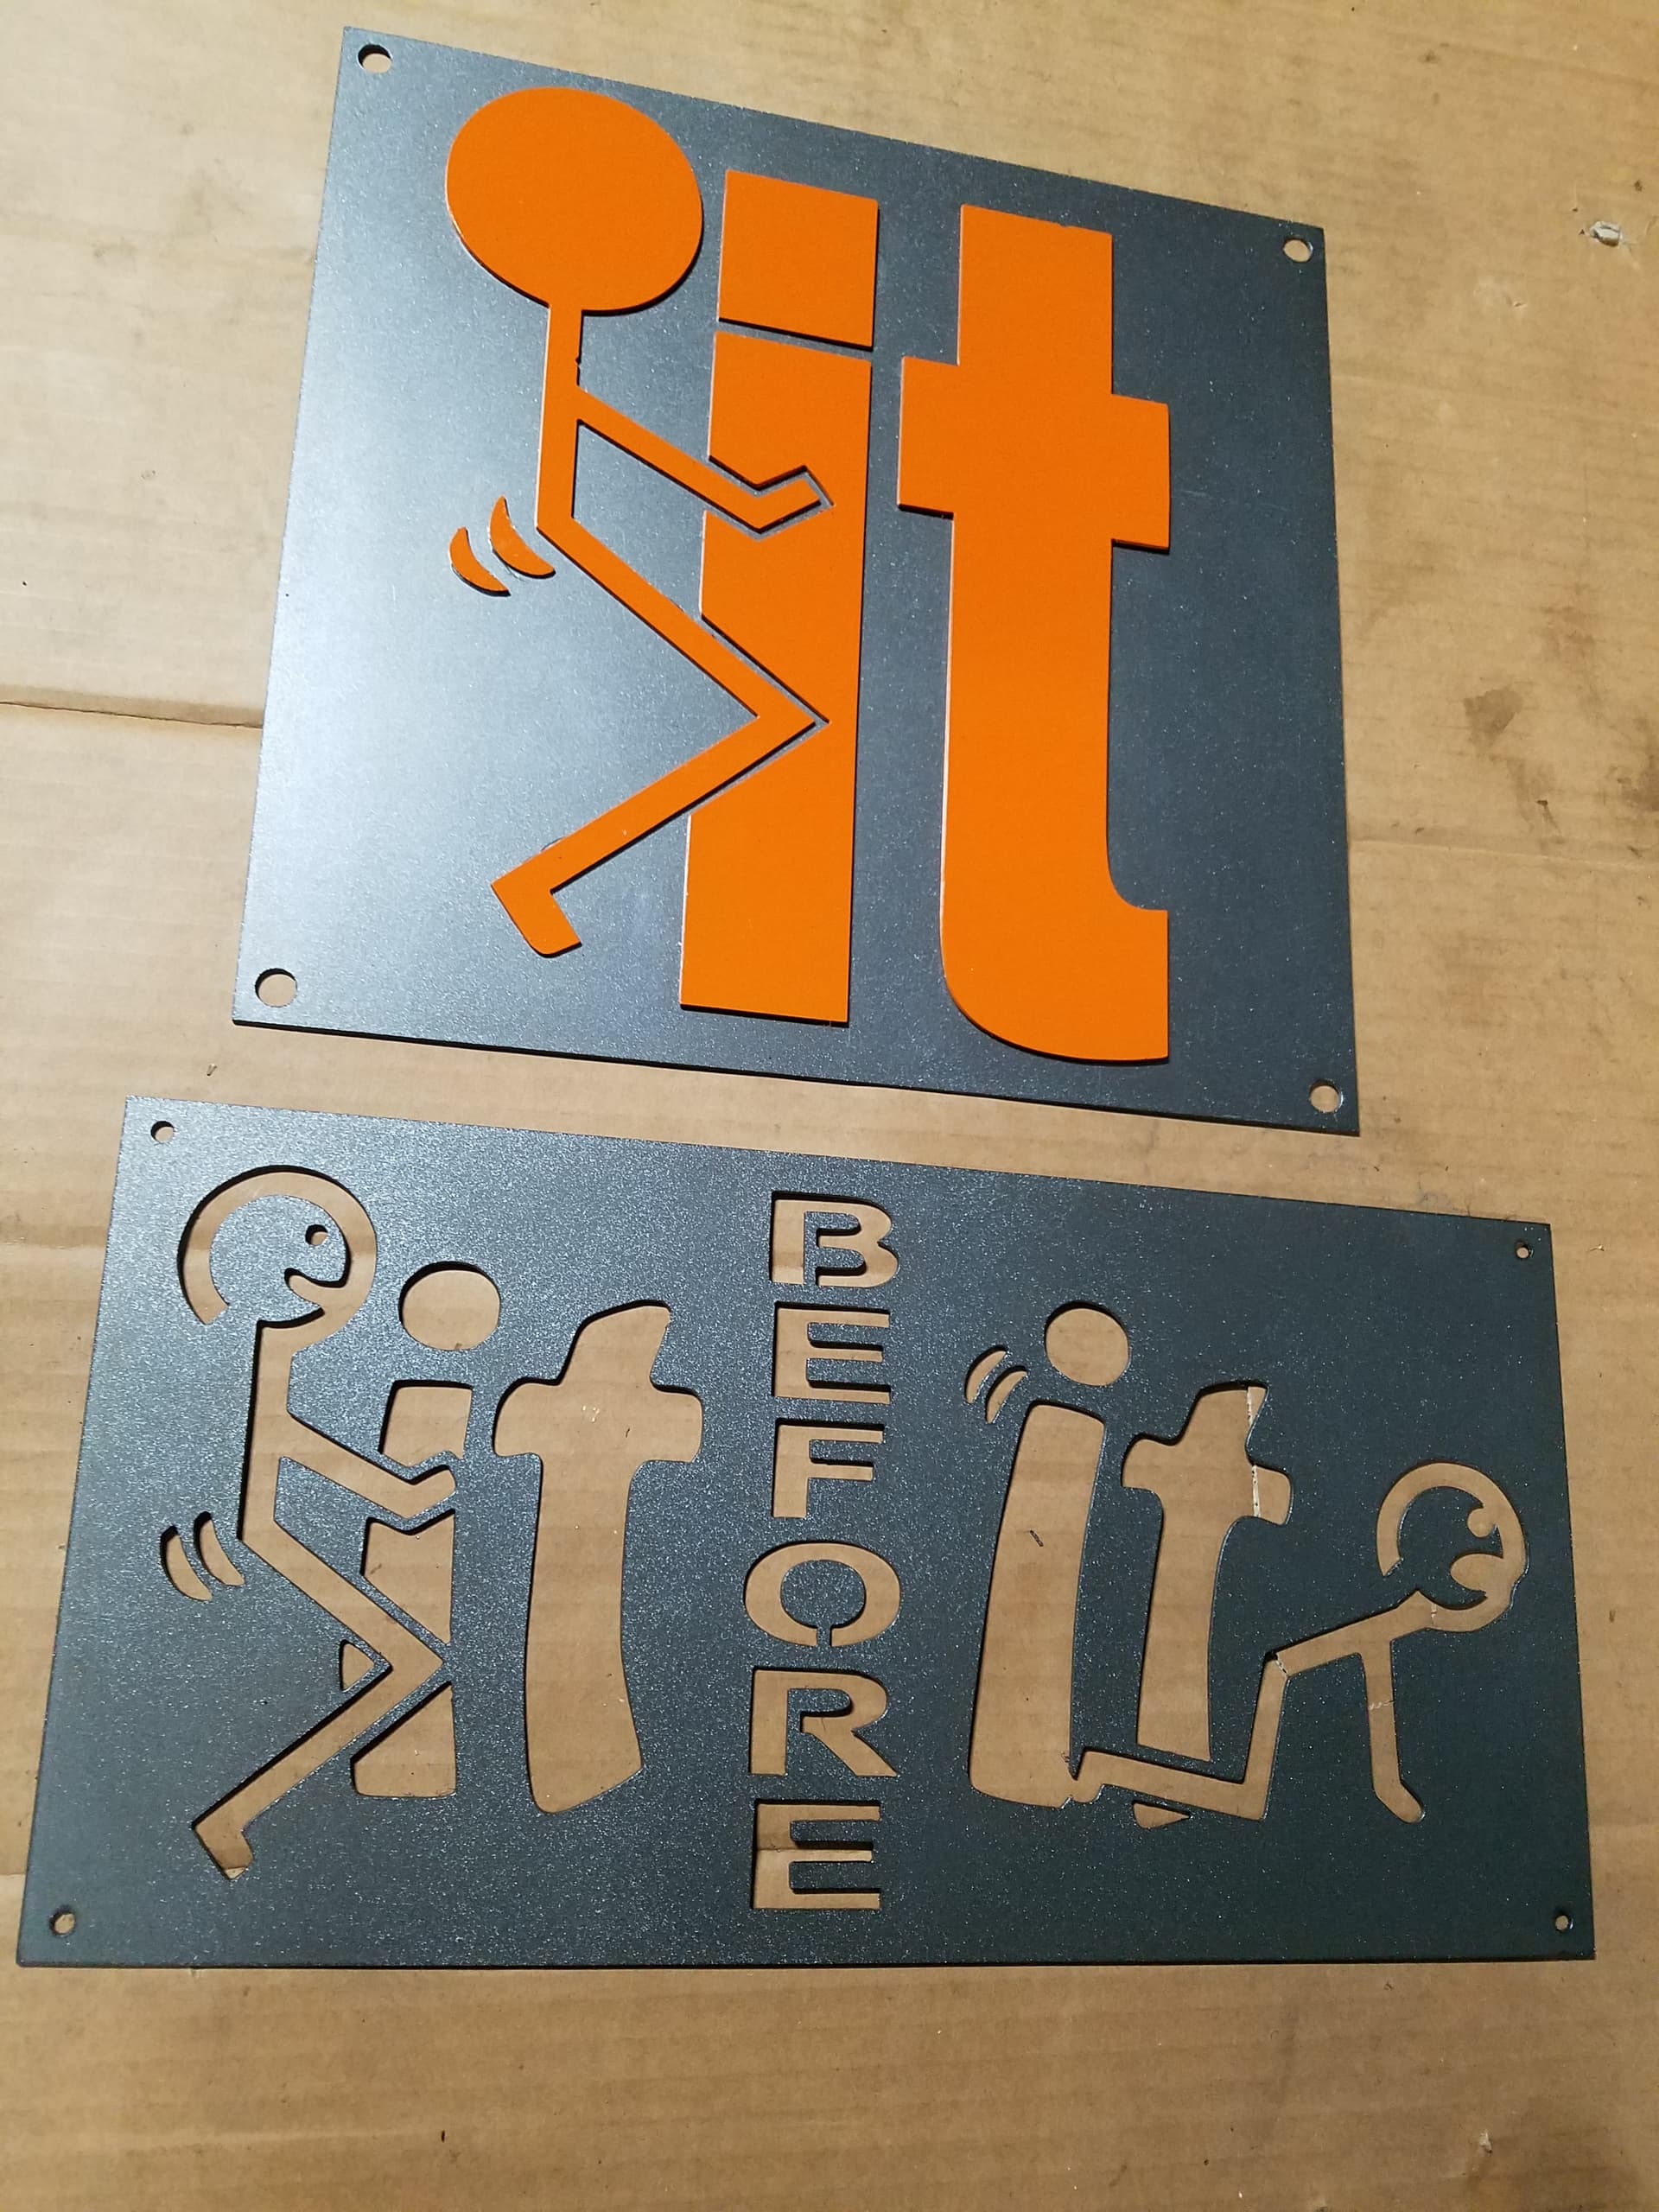
I cut these Saturday and been painting them over the last 48 hours. FireShare file that I made a few small changes to, but it would have cut fine as the originator posted.
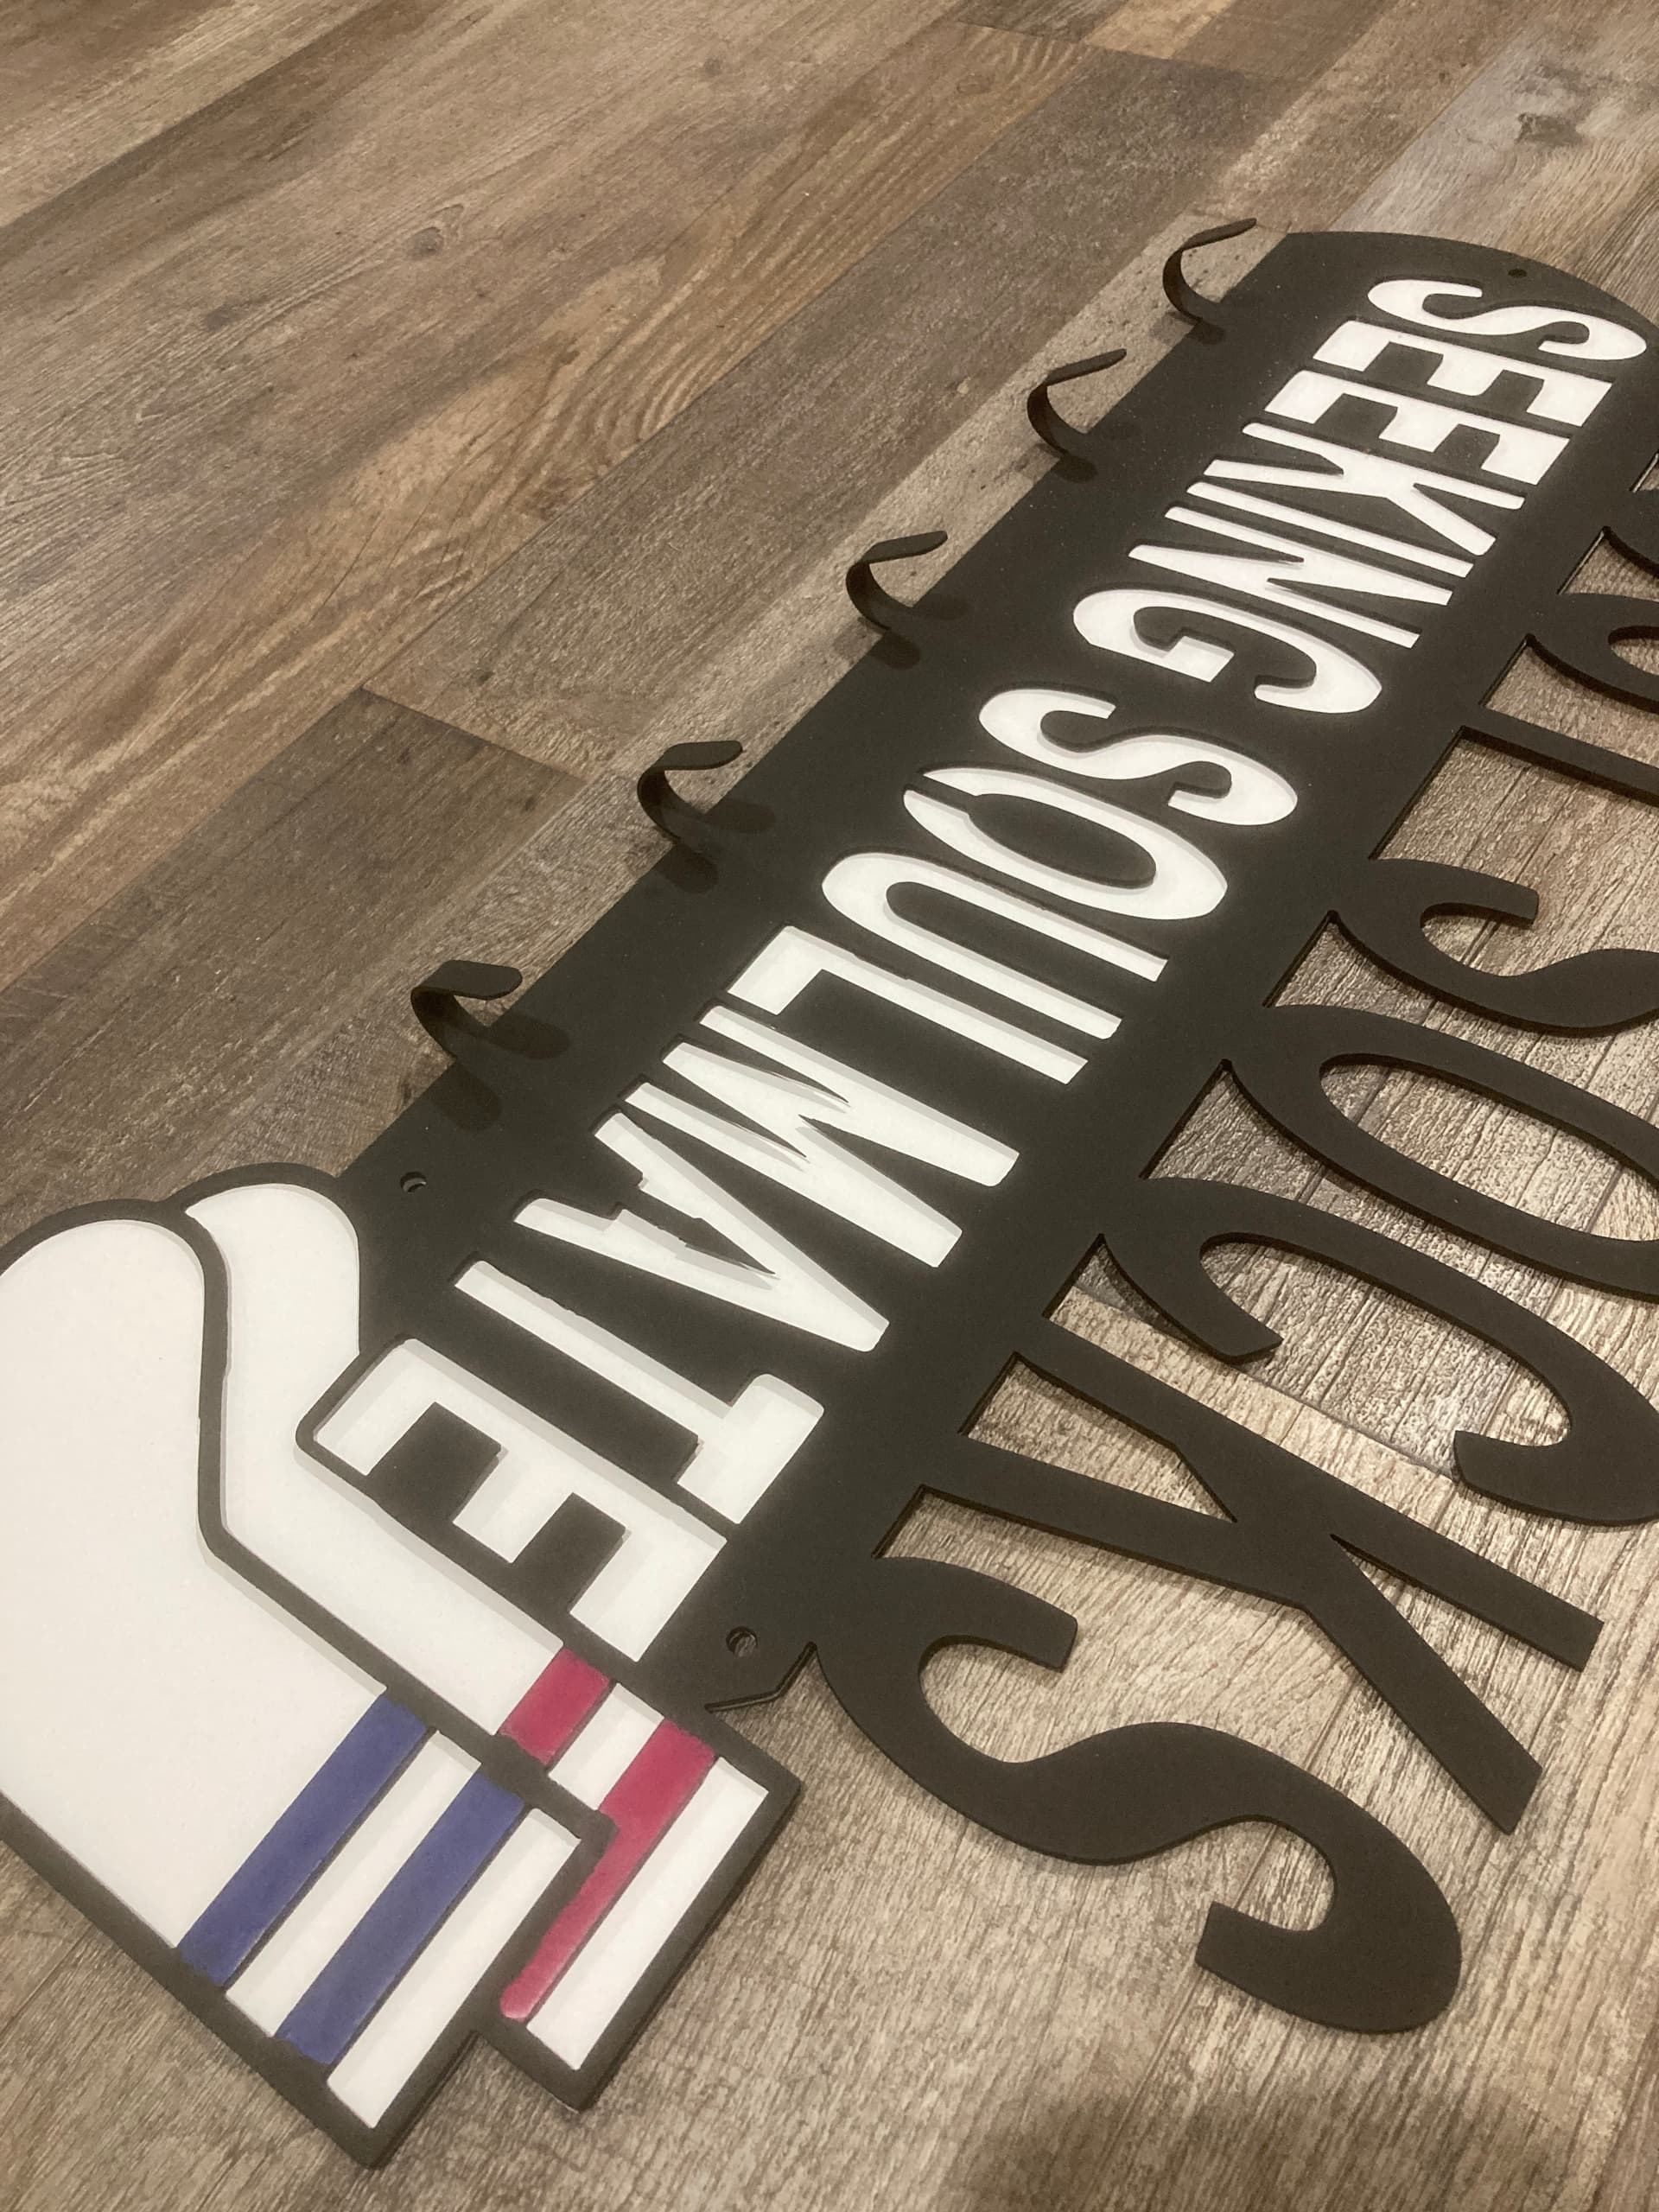
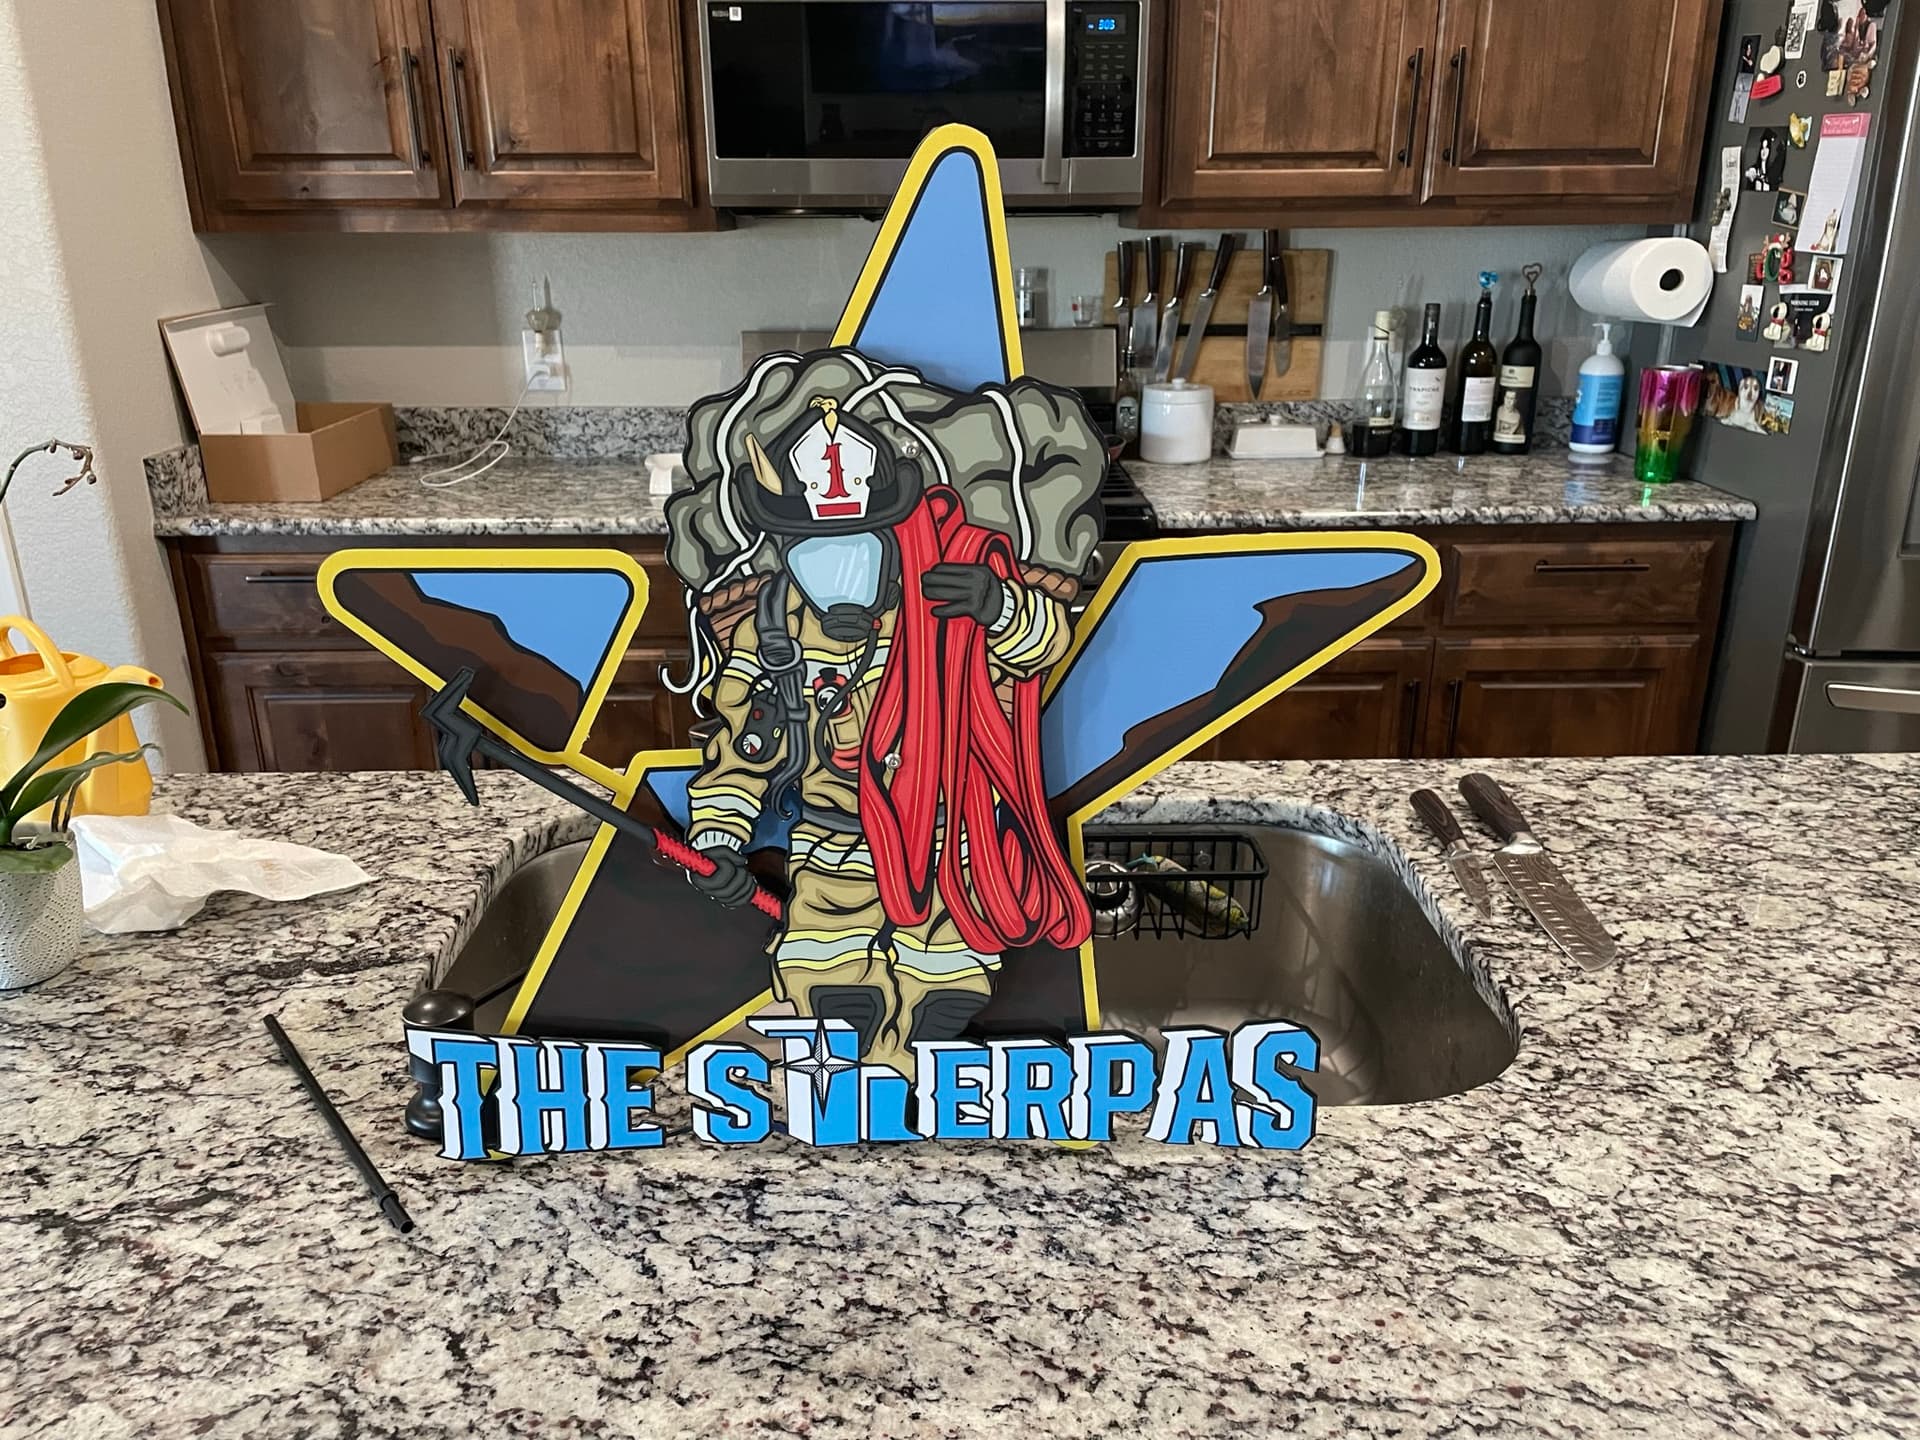
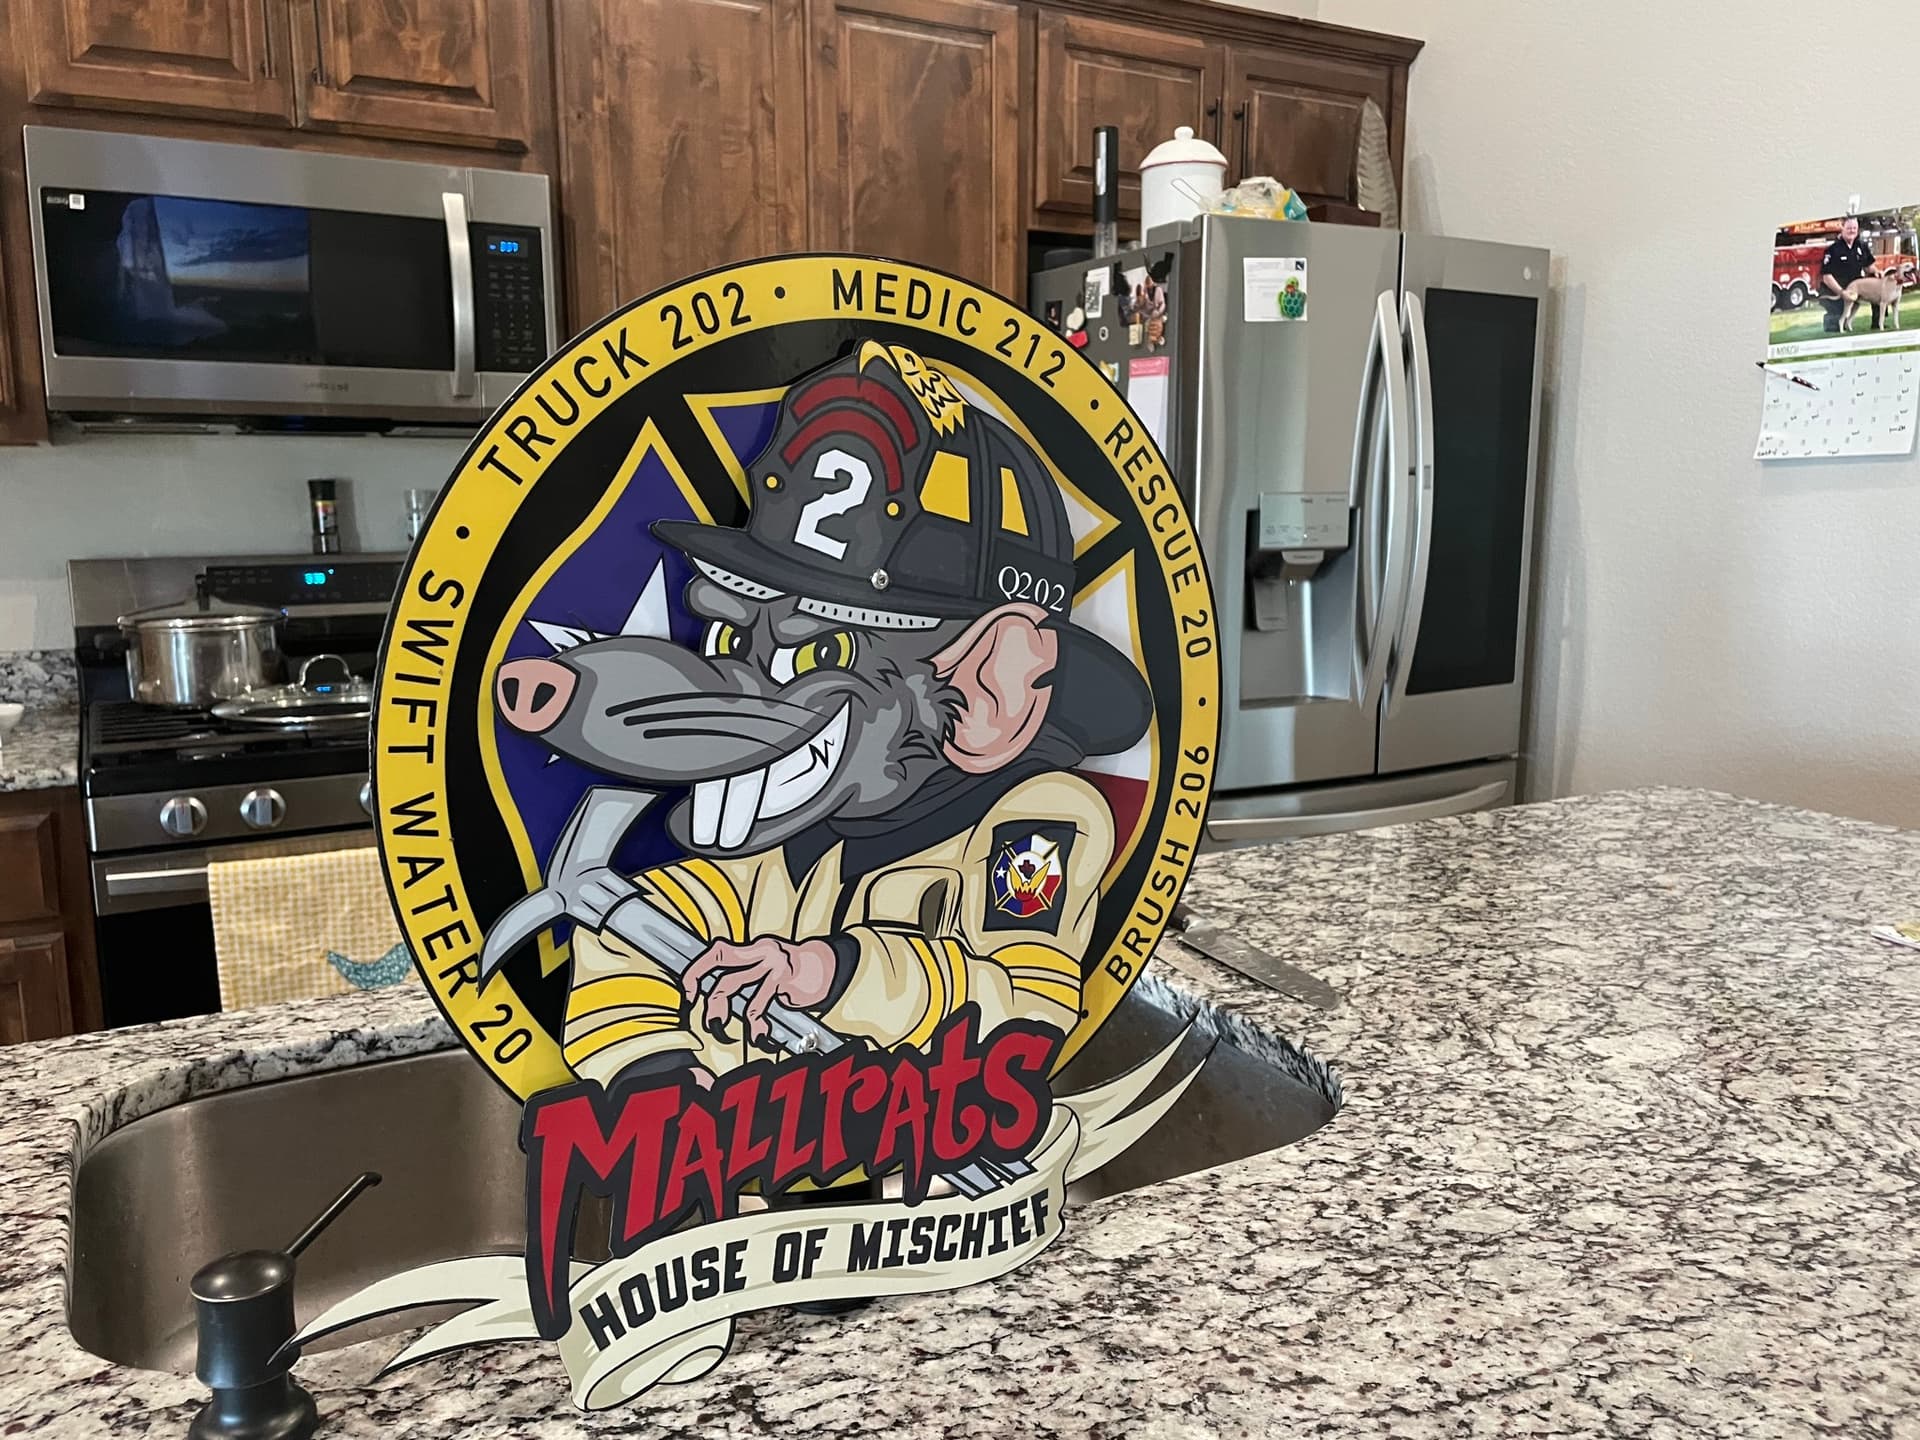
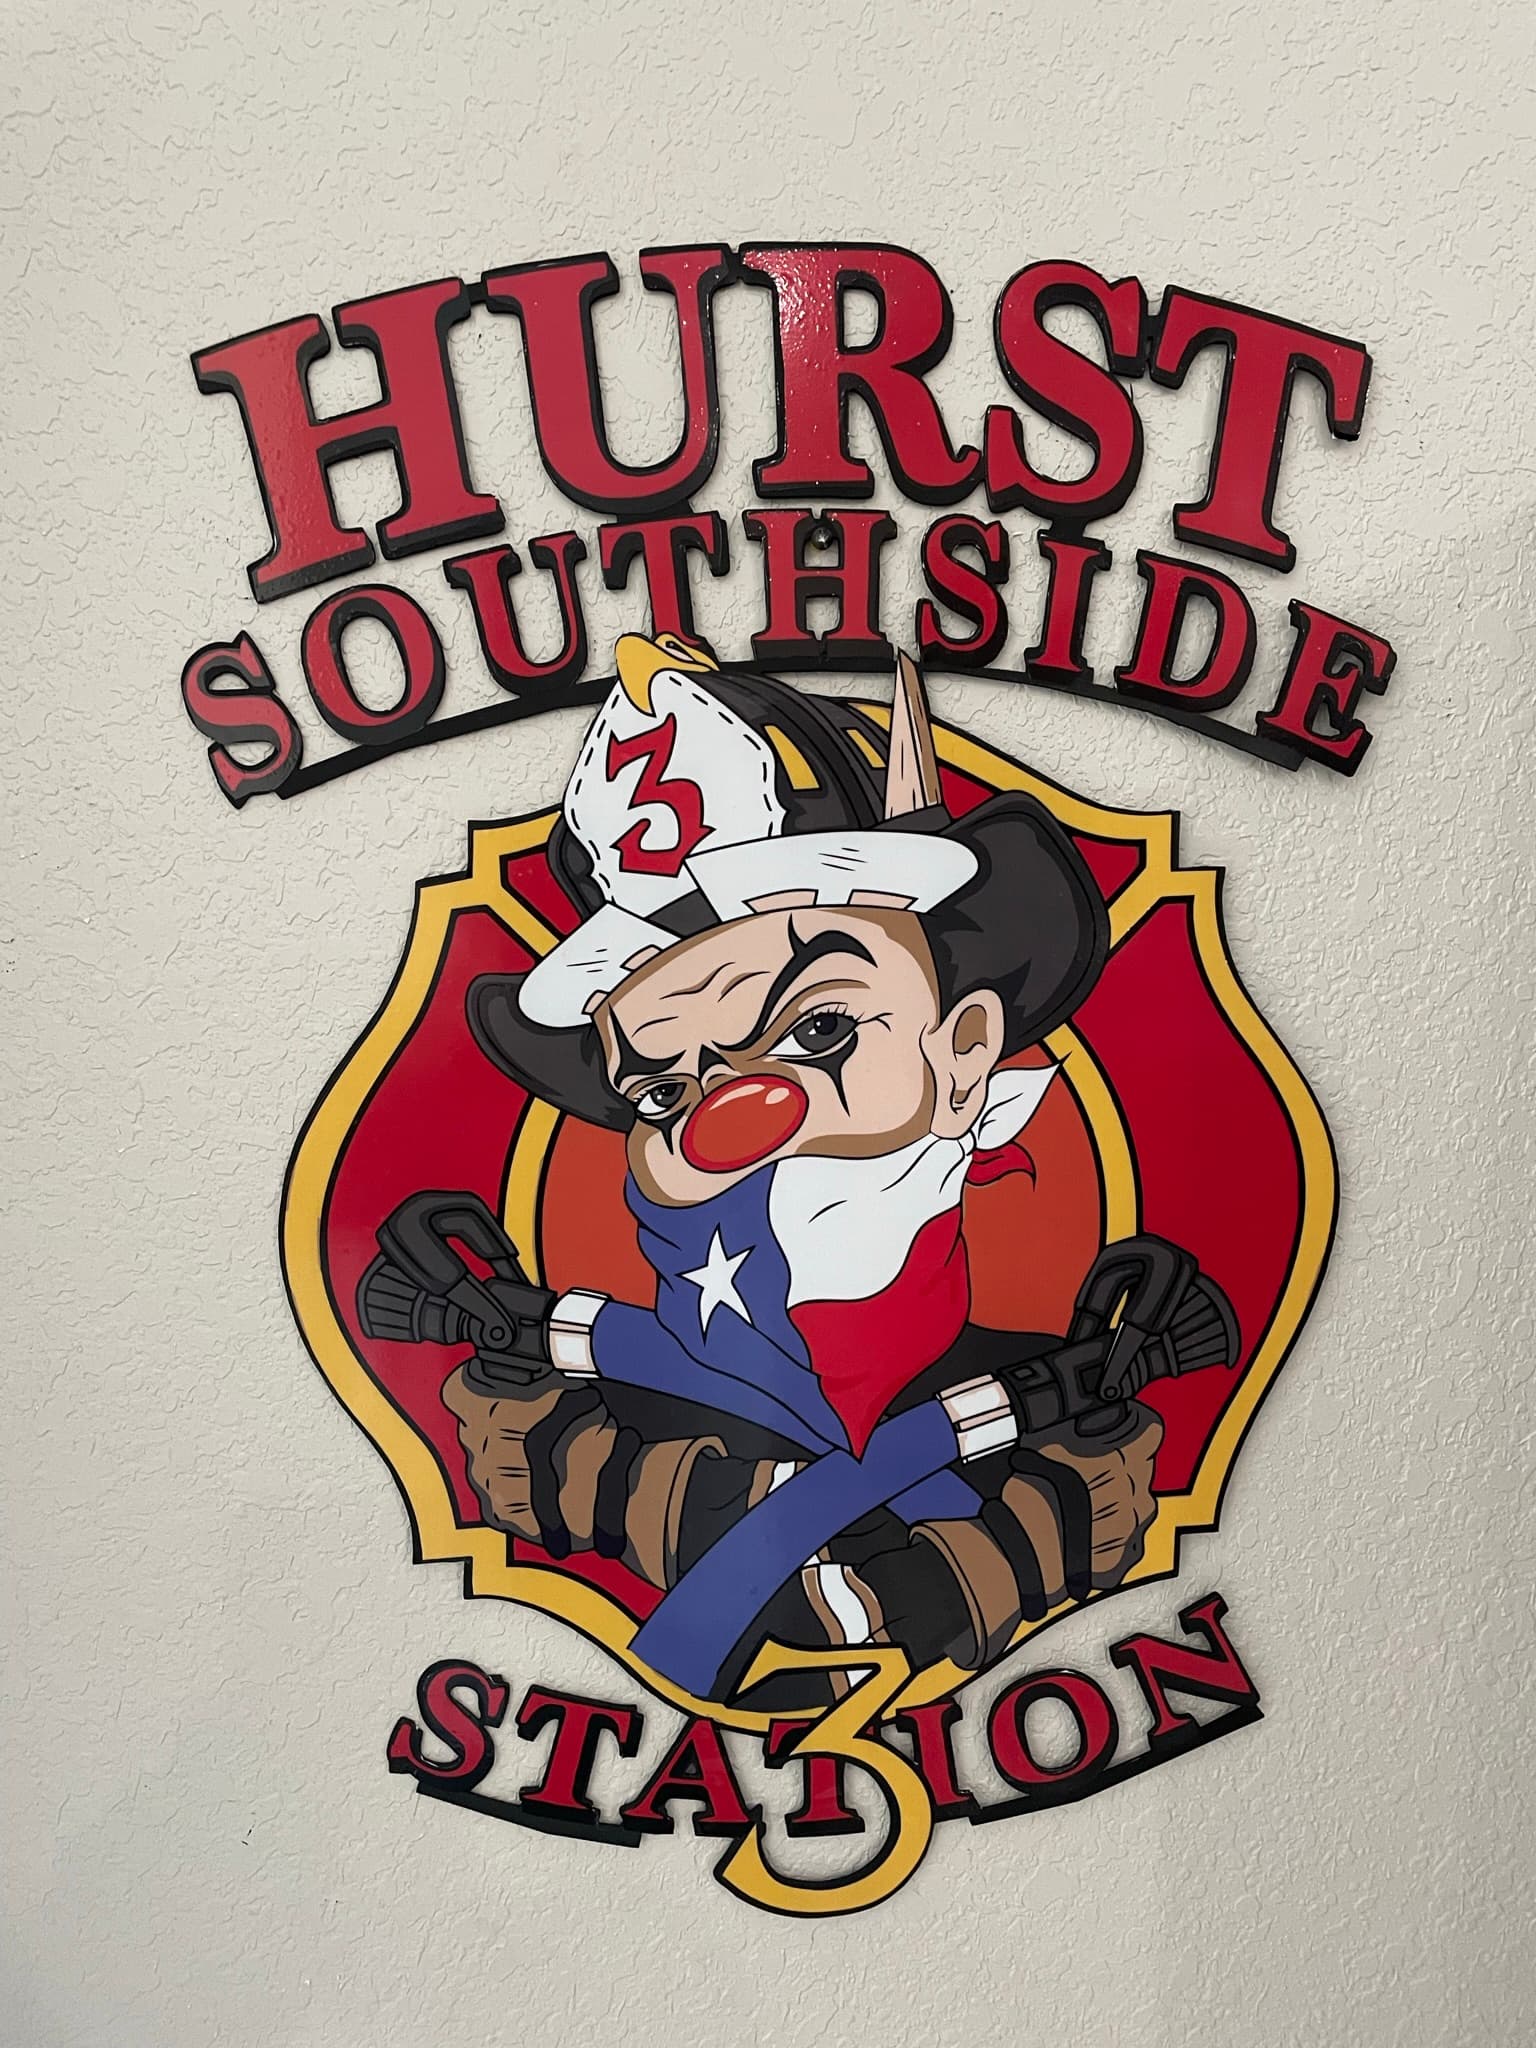
I was approached by the Hurst Fire Department to create some metal signs with their substation logos on them. The artwork was crazy!! Watch the video on the link in red and let me know what you guys think! Hurst Texas Firefighter signs
Beautiful!
Until I watched the video, I thought you painted those!
I have a few questions.
What do you use for standoffs between the layers?
Was it hard to get the vinyl the exact size to fit the steel? For example, did the kerf width vs file dimensions cause issues with the vinyl being over or under sized in areas?
Are these indoor signs or will the vinyl withstand being outdoors?
I like all three, but that last one is my favorite.
Thanks for the questions and comments. I will try to answer all the questions. I’m on phone ap and can’t read ur questions and respond at same time. I use rivnuts installed backwards for standoffs. For aligning the vinyl I hand cut these. These were the first I did. I cut the vinyl on the face of the sign. I prepainted the metal the same color as my sign border. That way the vinyl edge doesn’t have to be perfect. For future I will make the svg for the metal cut out 1/8 bigger than vinyl cut. And do 3/16 border around vinyl printed in the sign base color. I will then have them cut the vinyl sign midway thru that outer line of the vinyl. Should eliminate all hand trimming. These are indoor signs but according the the printshop they would stand up outside just fine.
Those look amazing. You should do a similar hybrid sign concept for that huge hotel in your town. My family and I drove through there a couple weeks ago taking the kids to see their grandparents near Harlingen. We had to look up the history of it as I had never heard of it.
All very good advice. Thanks for the follow up. I have a rivnut tool. When you get a chance, could you show a pic of how you are using them? I’d like to give it a try sometime.
And again, amazing work. Easy to see why the Fire Depts were thrilled with the end product.
Think of how you normally use rivnuts then just put them in from the other side
![]() Yeah, I get that. I was just wondering if the bolt install is from the back, meaning rivnut flange on the sign face, or am I missing something in his concept.
Yeah, I get that. I was just wondering if the bolt install is from the back, meaning rivnut flange on the sign face, or am I missing something in his concept.
Like this?
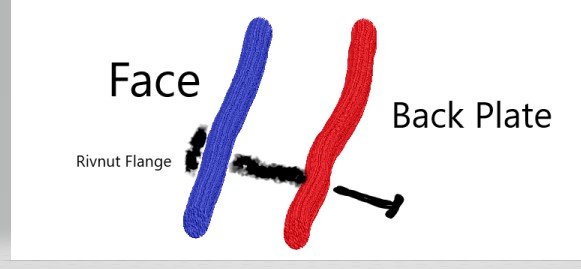
I think what he’s doing is installing the rivnuts on the back plate from the back so they’re sticking out towards the face, then using screws through the front plate. In his second Pic if you zoom in on the rat you can see some screw heads.
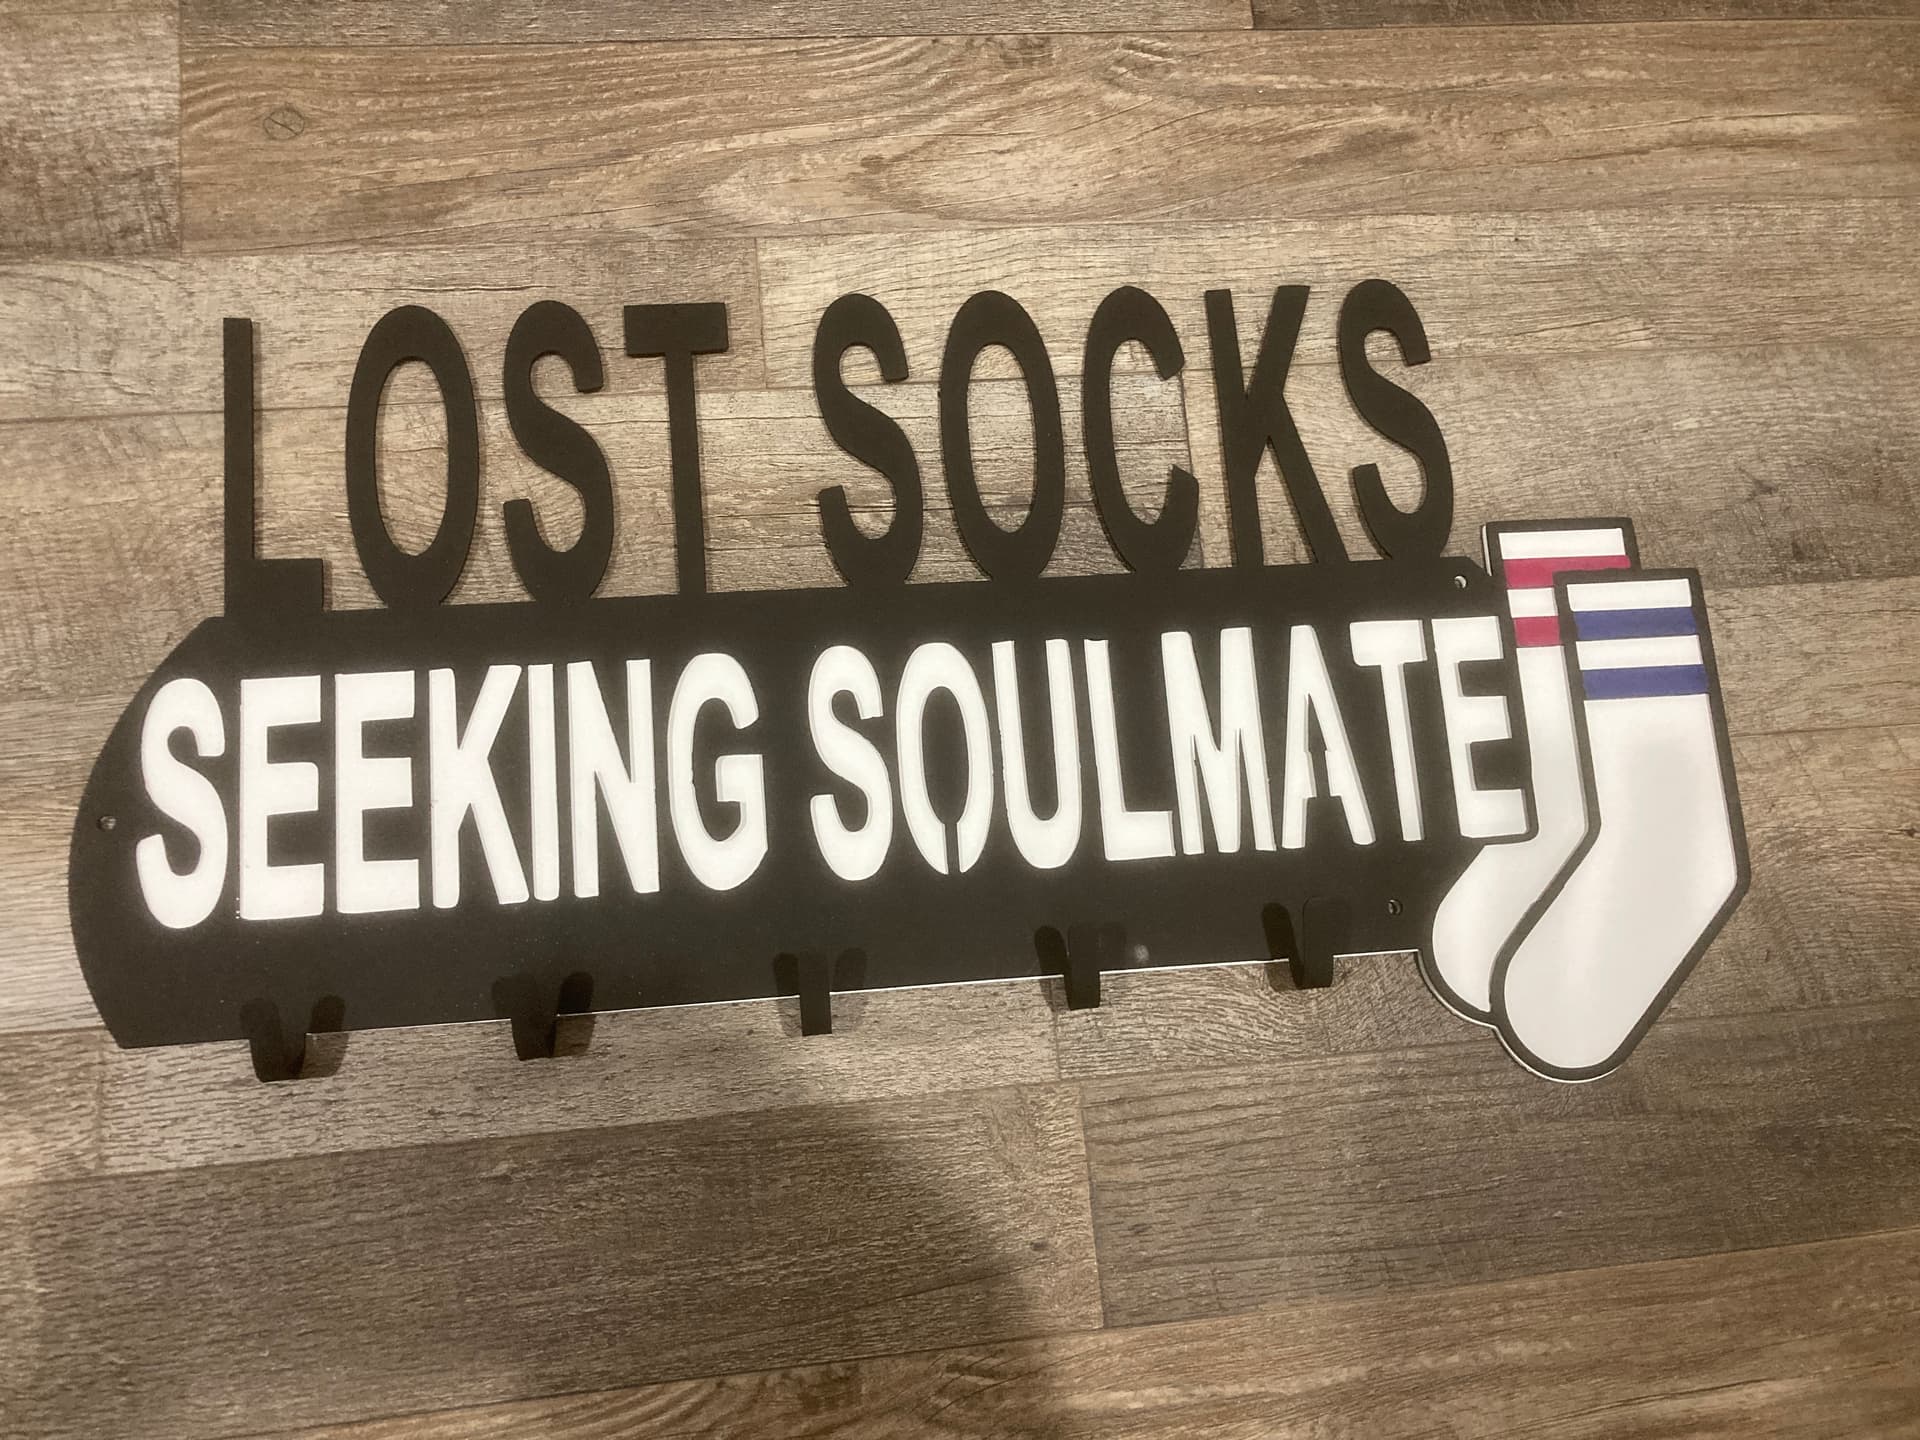
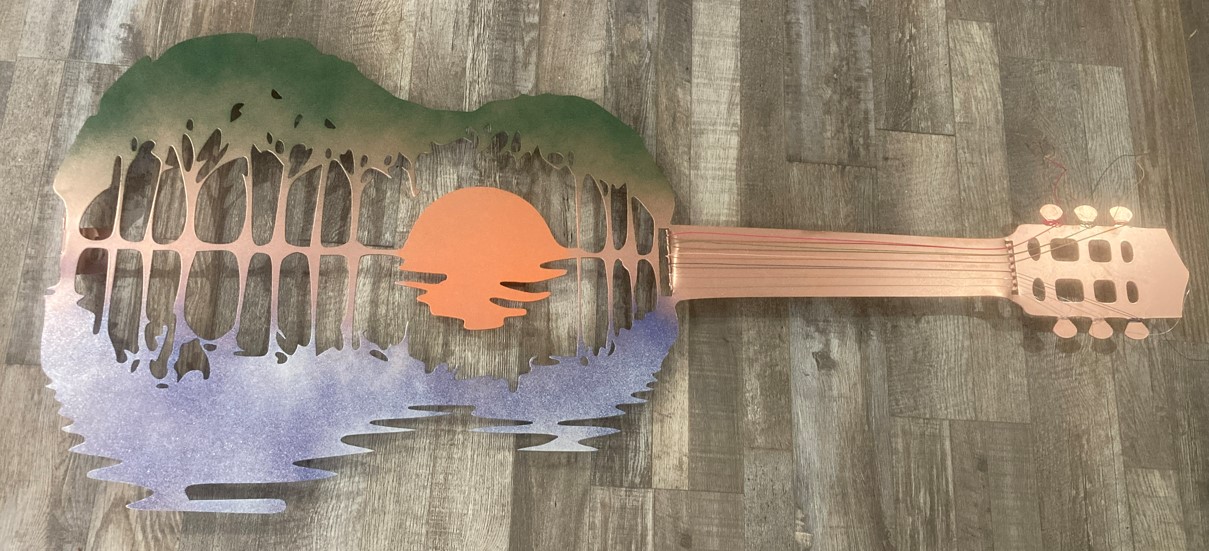
Made this for a buddy’s office at work. I messed up on the string holes but fixed it good enough for his wall. I did fix all the little issue and going to cut me another and add lights for my house. I’m rattle can artist not professional painter…lol
Yeah, I didn’t see the bolt heads the first time I looked at the pics.
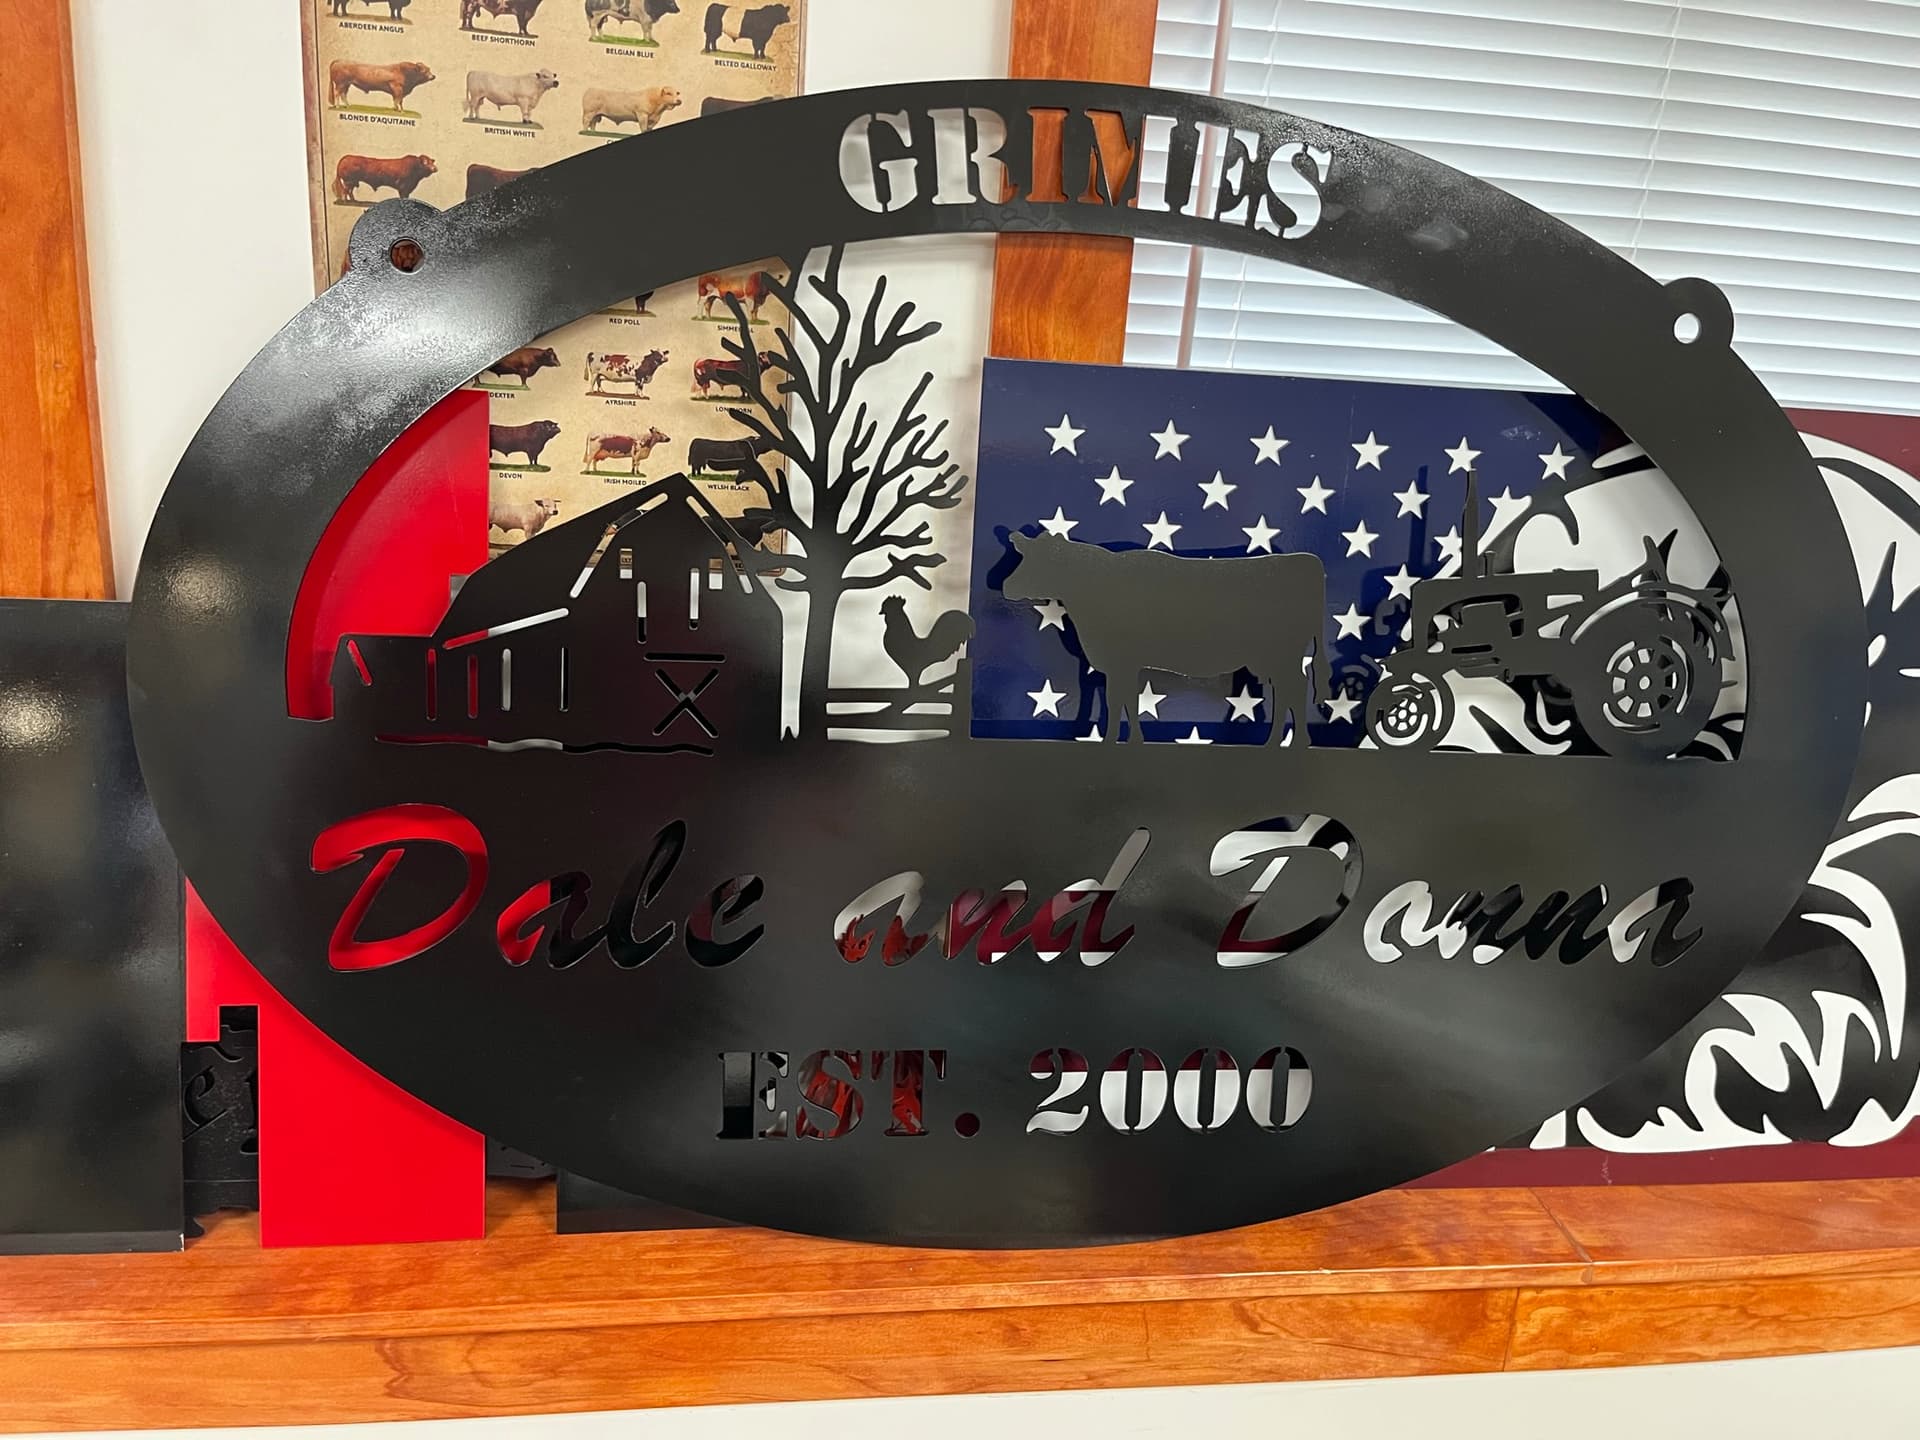
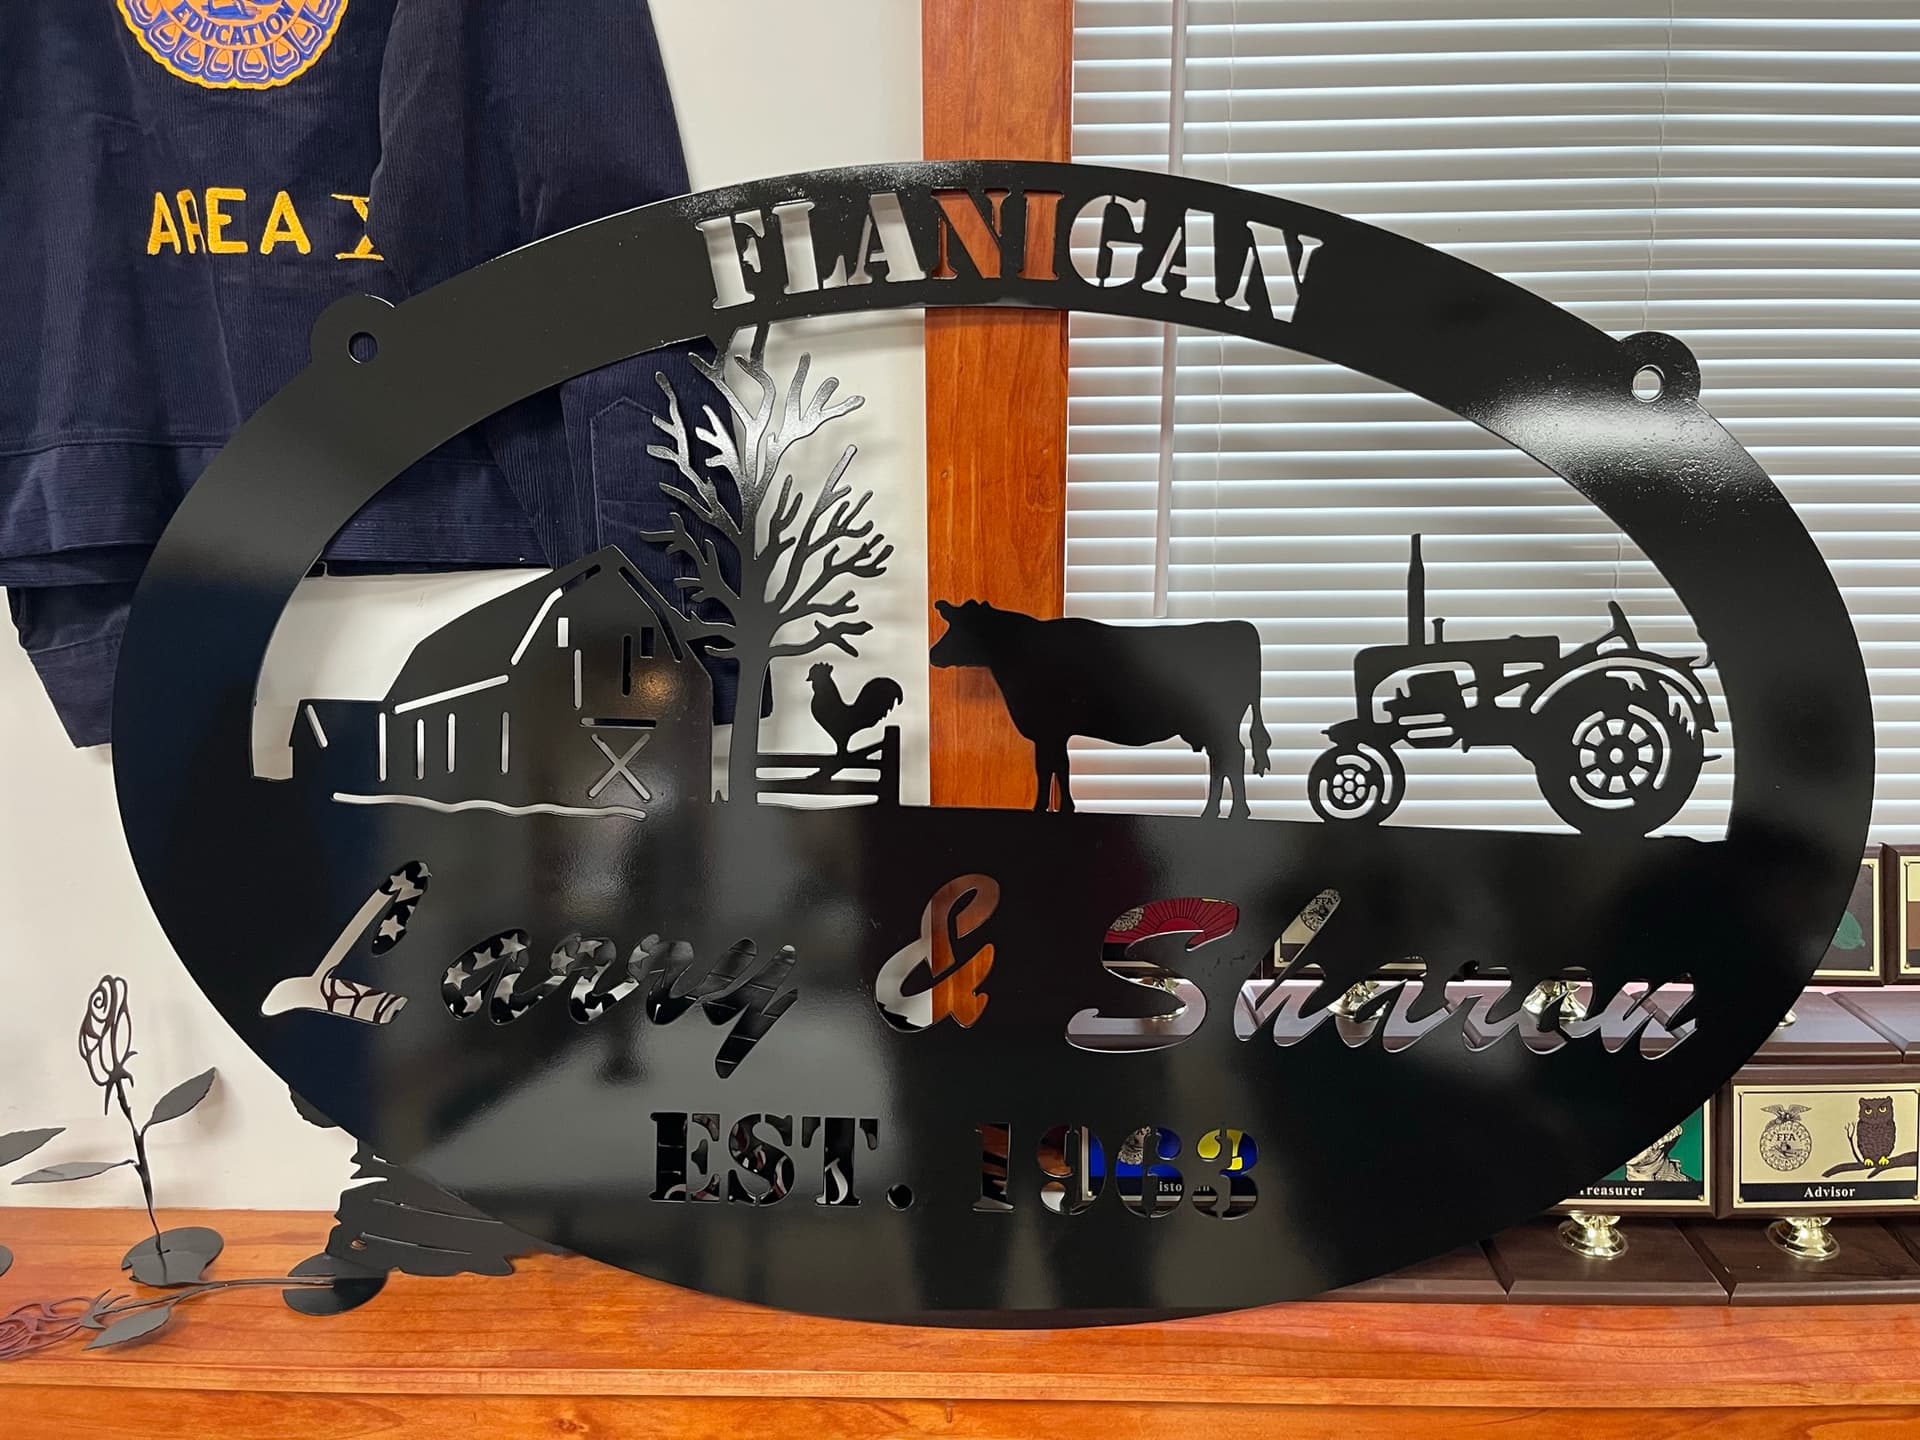
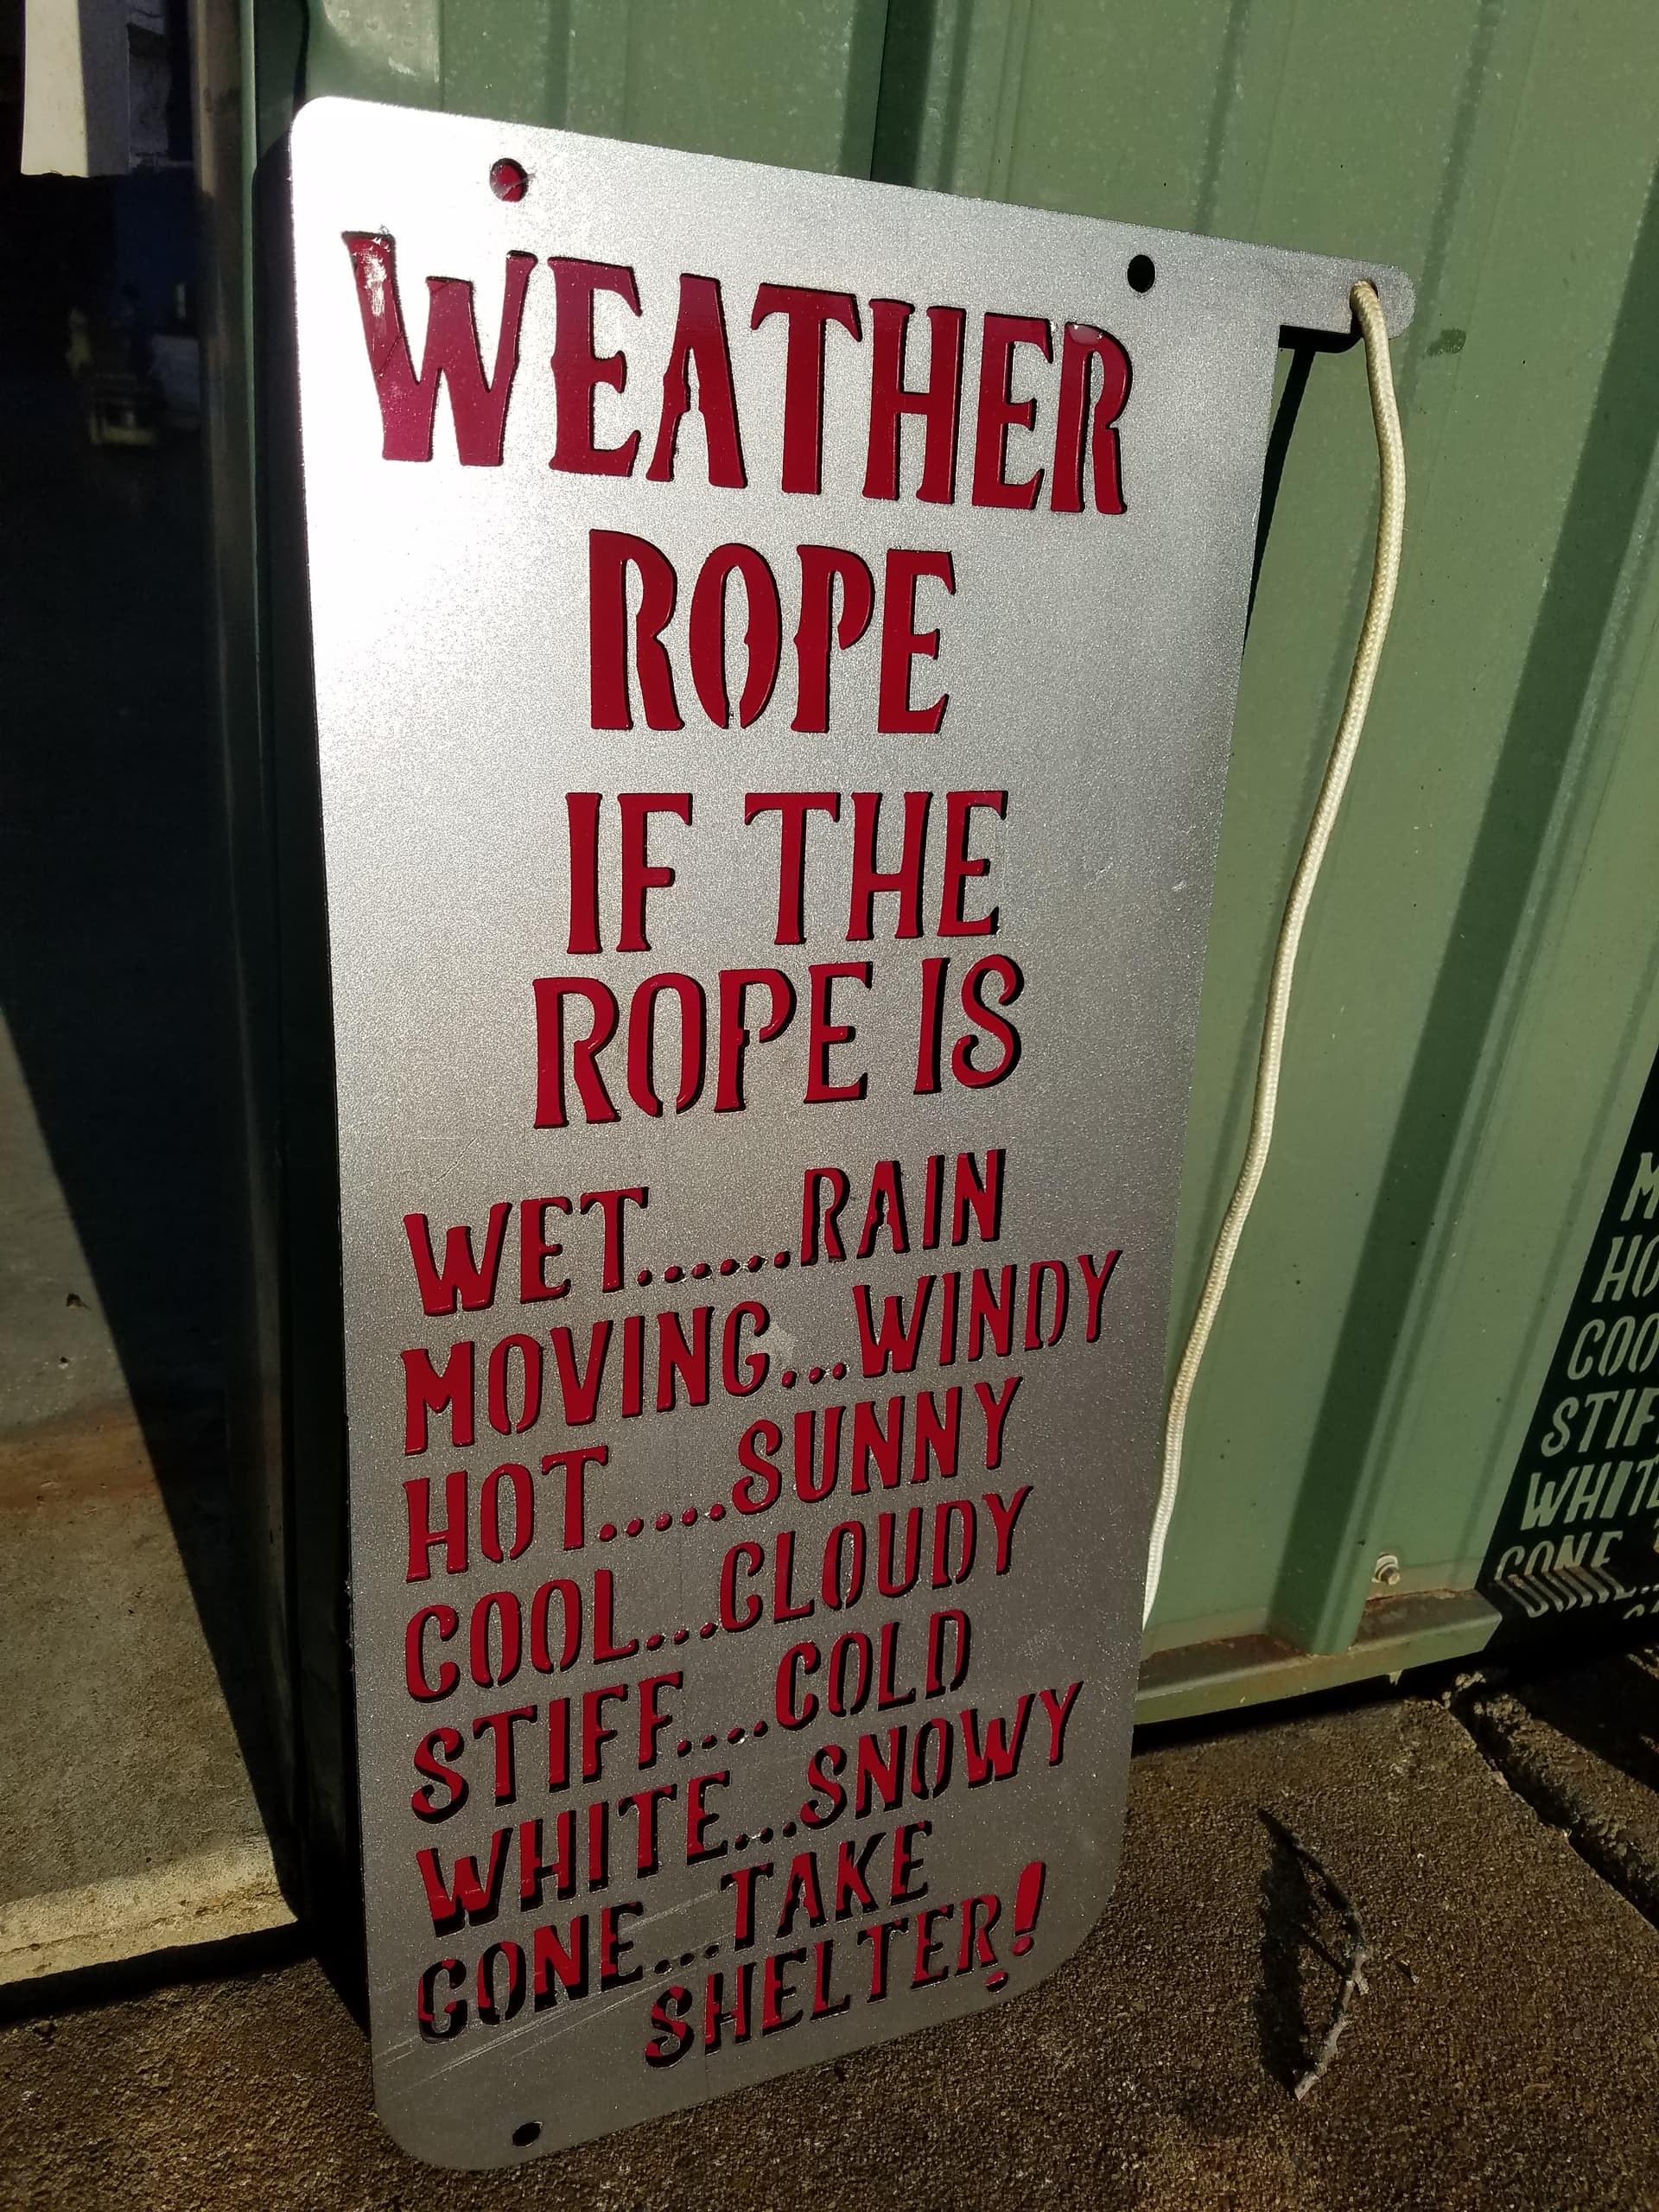
Made three of these today for upcoming craft fair. FireShare file. Made almost no changes to it. Kudos to original poster.
Because if all the text close together, I got a little warpage on 18 gauge. Probably it I had set the cut order in F360 it could have been prevent. Nothing a little post cut bending couldn’t fix. Backed it with some 24 gauge I had laying around from a duct project.
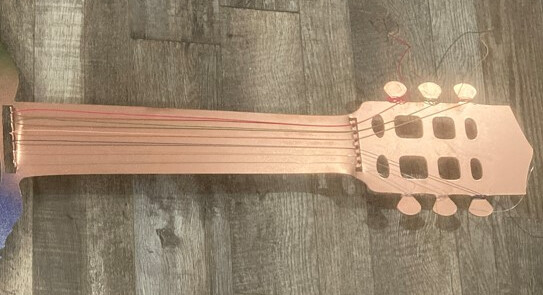
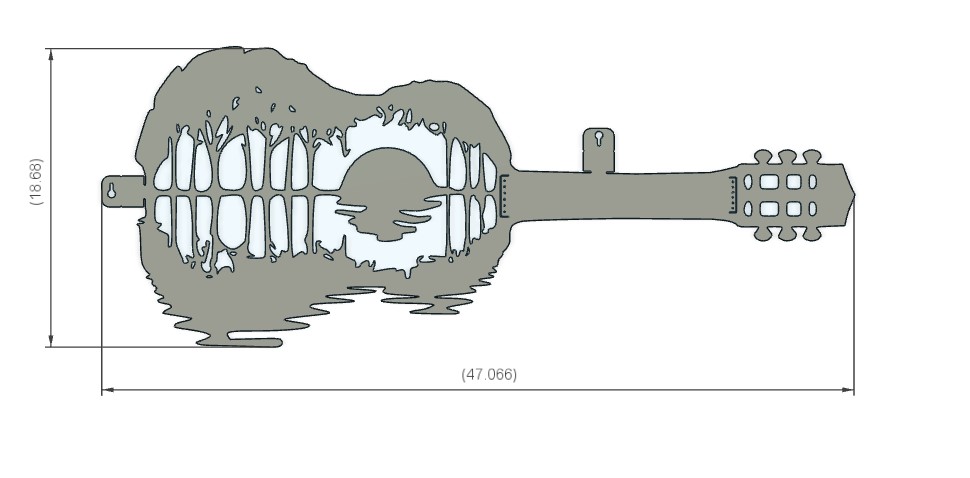
I pulled this design because i believe I need to do something different on the neck of the guitar. Maybe its just the paint that makes it stand out. I could just continue the sunset imagine like most of the designs on the market but was trying to add the strings. Any ideas?
You could cut slits to represent the frets and then add a black or bronze backing plate to give some contrast on the neck…
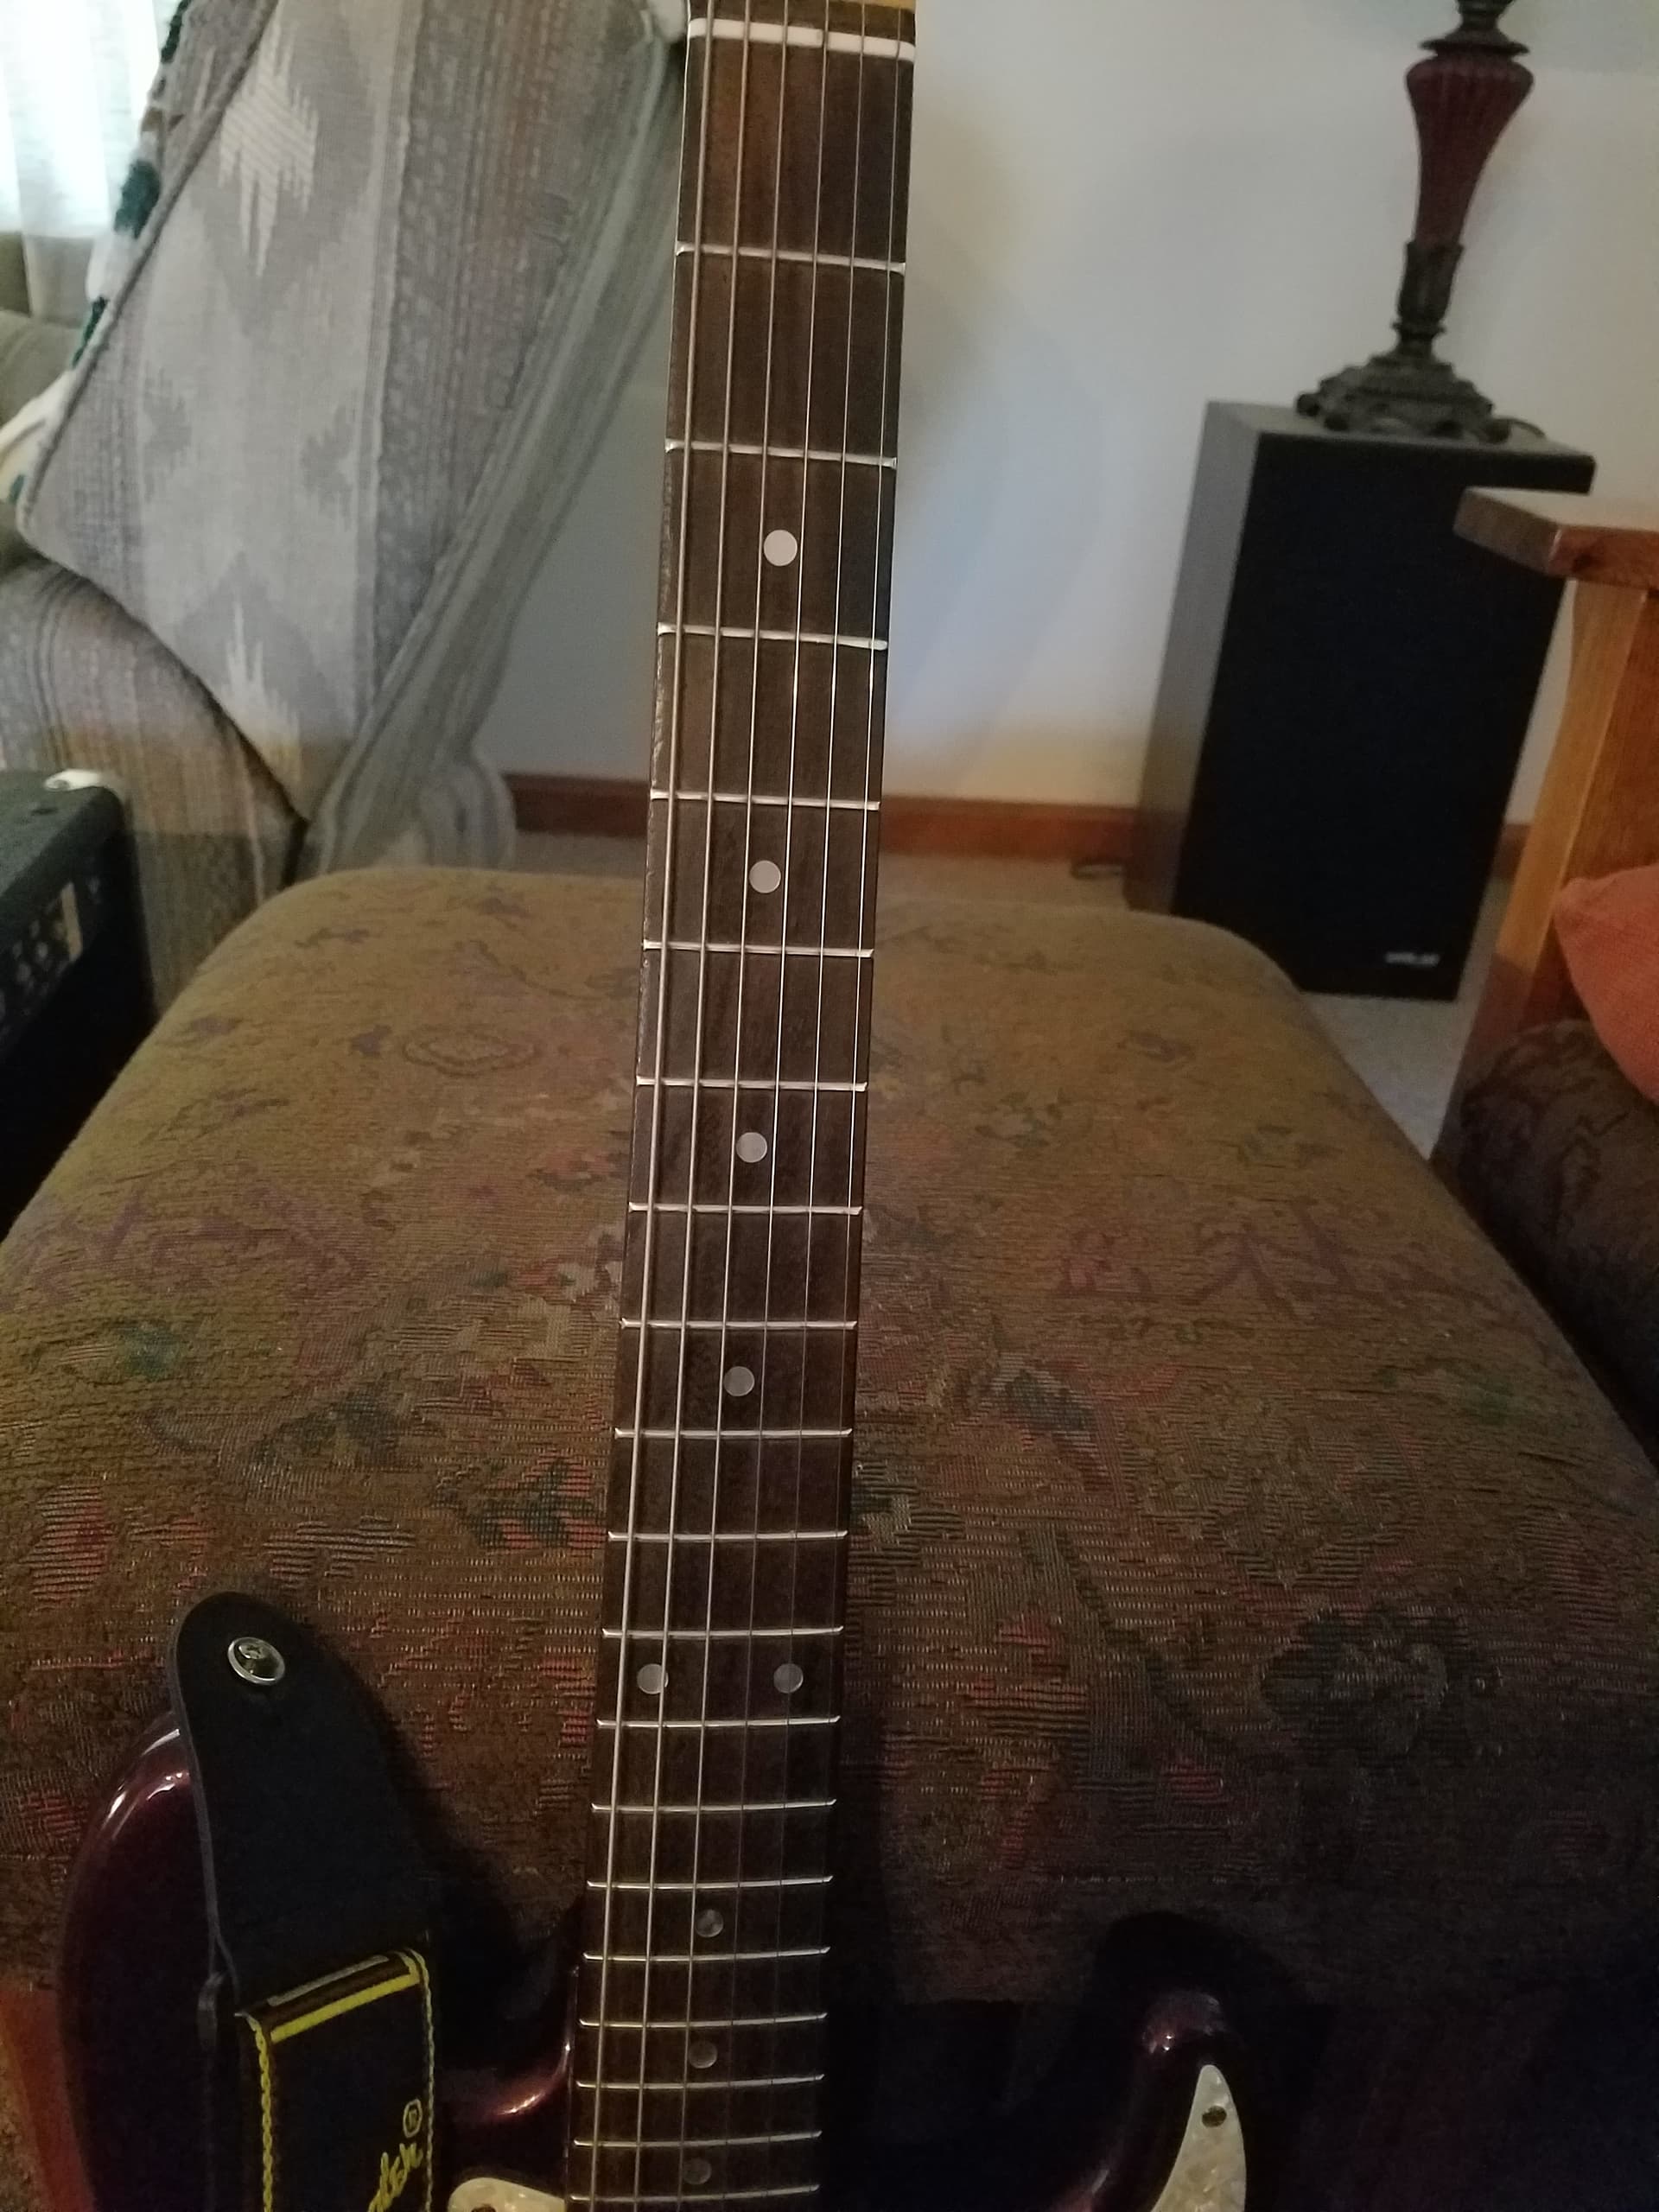
Also you could cut out and back the dots on the neck, Here is a pic of the neck of my Stratocaster (replica).
You could create tuning pegs with rivnuts. Drill a hole in each machine screws and actually turn a few turns of string around the machine screw.
@DonP can’t reply right now.
He has OCD: “Obsessive Cutting Disorder”, so he’s probably in the garage with plasma flowing.