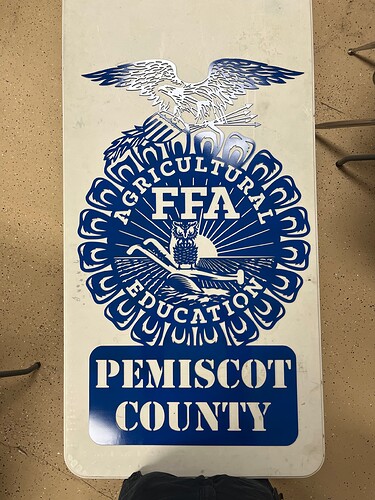
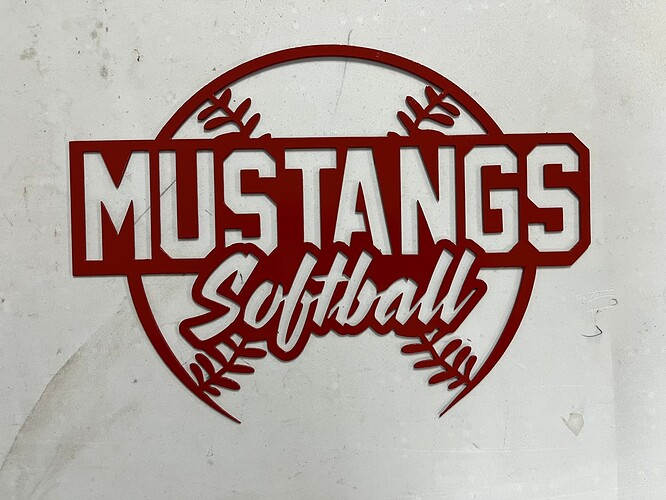
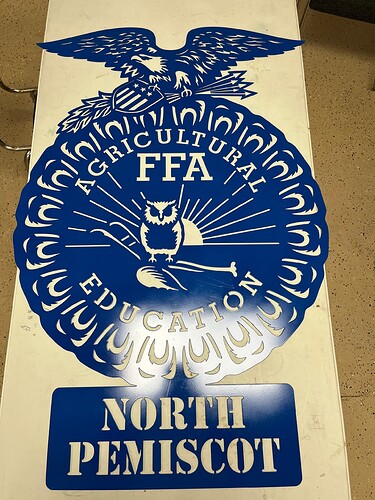
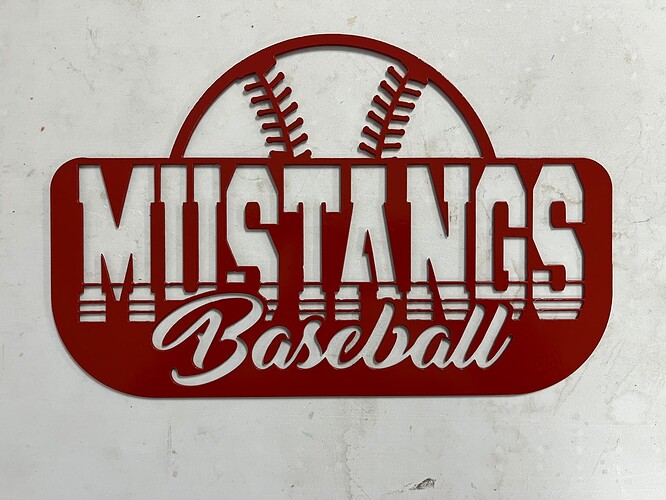
added to posting before someone gets coffee on computer…lol
Uploading: IMG_2480.JPG…
I added to fileshare if others want to add own lettering for BBQ season. I made the design for rivets so others can do the layering if they want.
Here in Chattanooga we have a Don’s Meat Shop. Old Don would pay big money for that sign. Looks great
Man, you’re killin me!
A woman literally just left my house after giving me advice about what to make for her to try and sell at some upcoming craft shows. She told me “stuff that’s a little risqué, not vulgar but on edge, it sells like crazy”. I said "you mean for example like those little stick figure guy humping the word “IT”? She said “exactly!”. I thought she was gonna advise me to start cutting garden gnomes ![]() .
.
Nice…I hope you make some money.
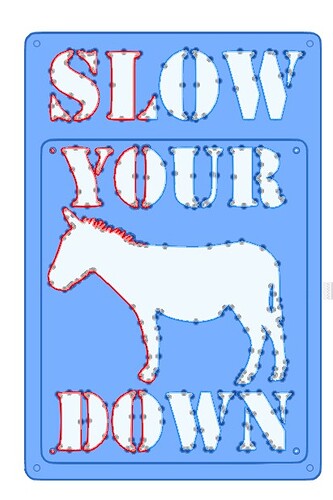
@Wsidr1 here is one i just made up. I run fine cut tip so make sure you can cut these small letters or resize how you want. I made it so you can rivet it together and paint different colors. Holes are 0.15"
Slow down sign.dxf (3.0 MB)
Thanks a million for the offer. I’ll let you know.
I have a few ideas. I never thought much about selling, but she lives two houses away and is offering to take the stuff and sell it. Can’t beat that! I’ve known her for 40 years, so I am mainly doing it to help her with her craft sales. It’s her side hustle.
Everything I’ve designed and cut so far has been because I had someone in mind to give it to. I have to get out of that mode and think about market appeal. ![]()
ok…I’ve been working in fusion for few months now and can make things up pretty fast these days. i don’t sell i just do for fun. Good luck
Deleted for no good reason.
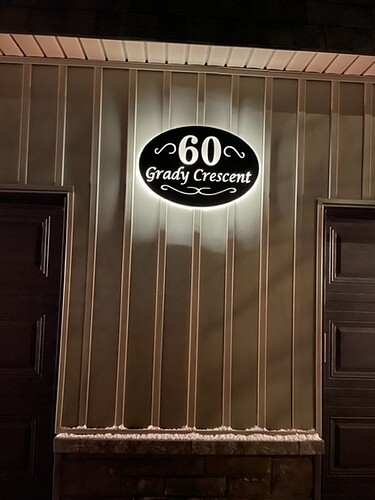
24" across
2" edge band around the outside with a 1.5" stiffener across the horizontal
9 feet of 60LED/Meter on a dimmer…this is 39% bright
white plexi behind the cuts to add white for the day and diffuse at night
So you glued in the numbers and letter areas that would drop out to plexiglass?
yup…used a 2 sided 3M tape…powerful stuff
I make a lot of signs for myself and have made a few lighted ones but never used this trick. Going to add to my bag of tricks. Thanks @toolboy
That’s very clean! Have any closer pics of it?
I will try some shots tomorrow…
These look fantastic. How do you plan on hanging them? 3M tape?
Very nice. Looking forward to the additional pics of how you made the back side.
Also, for the 2" edge band, did you design the border in with relief cuts then bend the flaps up, or just add some other material for border? I have been thinking about adding bendable flaps to fold up and wondered how to cut the areas where the adjacent flaps would meet each other. It would need to have a triangle cut so when they are folded up they don’t overlap each other.
I tried to take some more shots but in order to get them I would have to take down the sign…to cold and to much work right now.
but as for the process…
- I cut the front plat with all details
- then cut a nice 2" strip for the outside
- clamped down the front panel and proceeded to weld one end of the band and slowly wrap the strip around the sign spot tacking every 2" as I worked my way around the sign.
- once the band was done I tacked the stiffener across the middle
- welded everything up and soaked it in vinegar for 24hrs and cleaned it up.
- painted the back inside all white, then taped the back of the letters and sprayed the color on the front.
- installed the white plexi and installed the lights…
done.
I noticed on your second FFA sign you took out a lot of the small details, why did you make that choice?

