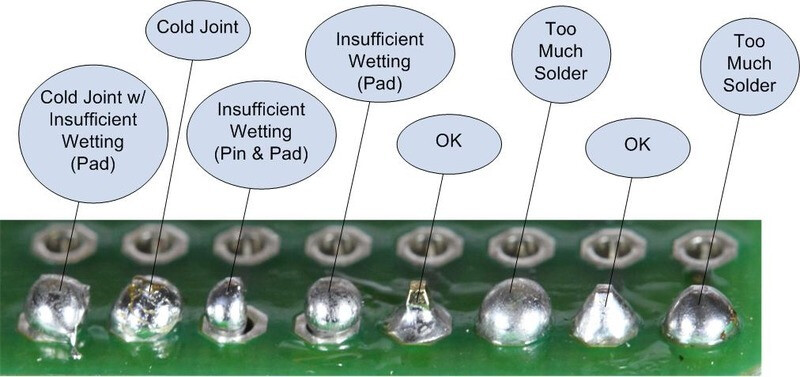
I can make my soldering look like all but two of these images. Guess which two ![]()
3 Likes
The right temp and flux goes a long way ![]()
1 Like
The train has left the station…
1 Like
Ok, so, I already posted about this over in the 3D printing thread, but technically I made the actual part on my Crossfire Pro, so I’m gonna post about it here, with PizzazZ!
But first, a story…
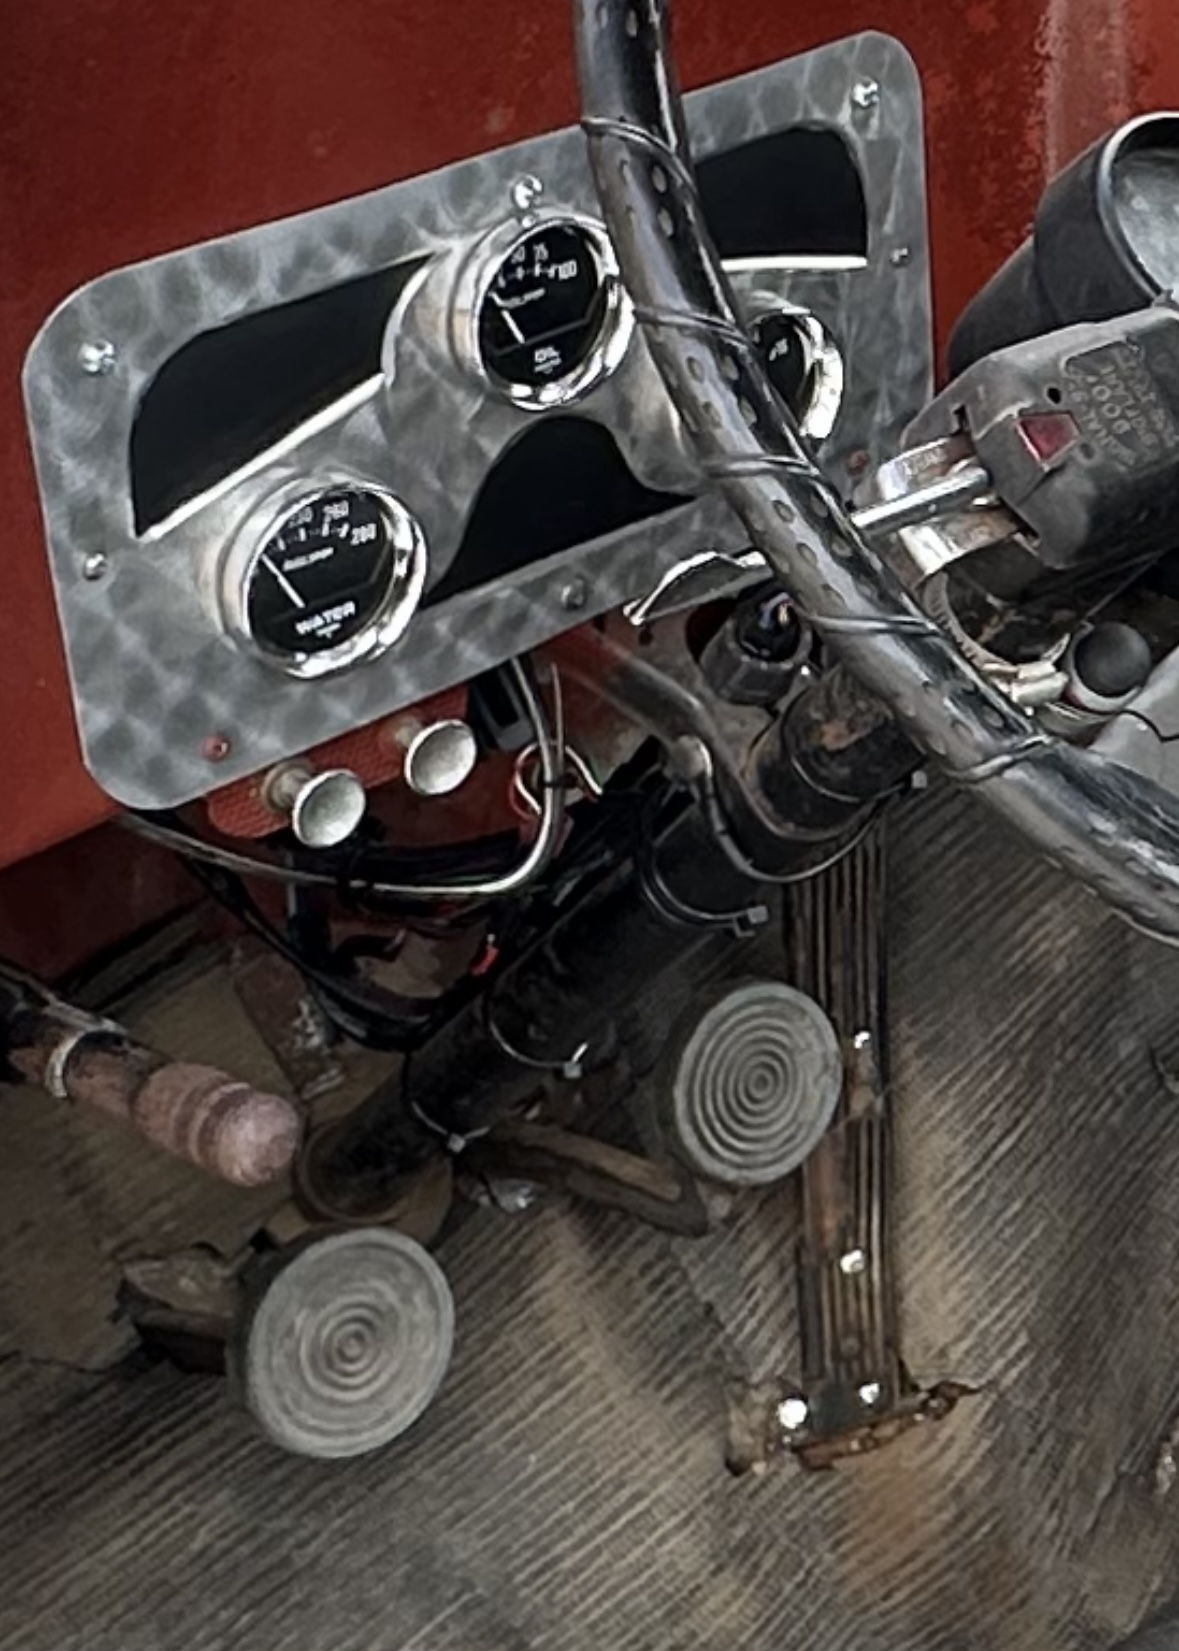
So, I’ve got this old Willys Pickup truck that I did a mechanical “resto” on last Spring. And on the day I realized it was close enough to actually drive it THAT DAY, I rigged up a throttle pedal real quick that ended up staying on the truck for hundreds of miles, and was always a source of embarrassment.
So, fast forward to just before Christmas, and I’m starting to swap the carb for one of these modern EFI conversions. And there’s no way my hokey throttle pedal is gonna fly…
So first I designed in Fusion 360 a proper throttle pedal. And then I 3D printed myself a prototype. And despite my best measuring. I went through about 3 iterations of the design before I landed on a pedal that really fit the truck. And I only wasted a couple bucks. Man I love 3D printing!
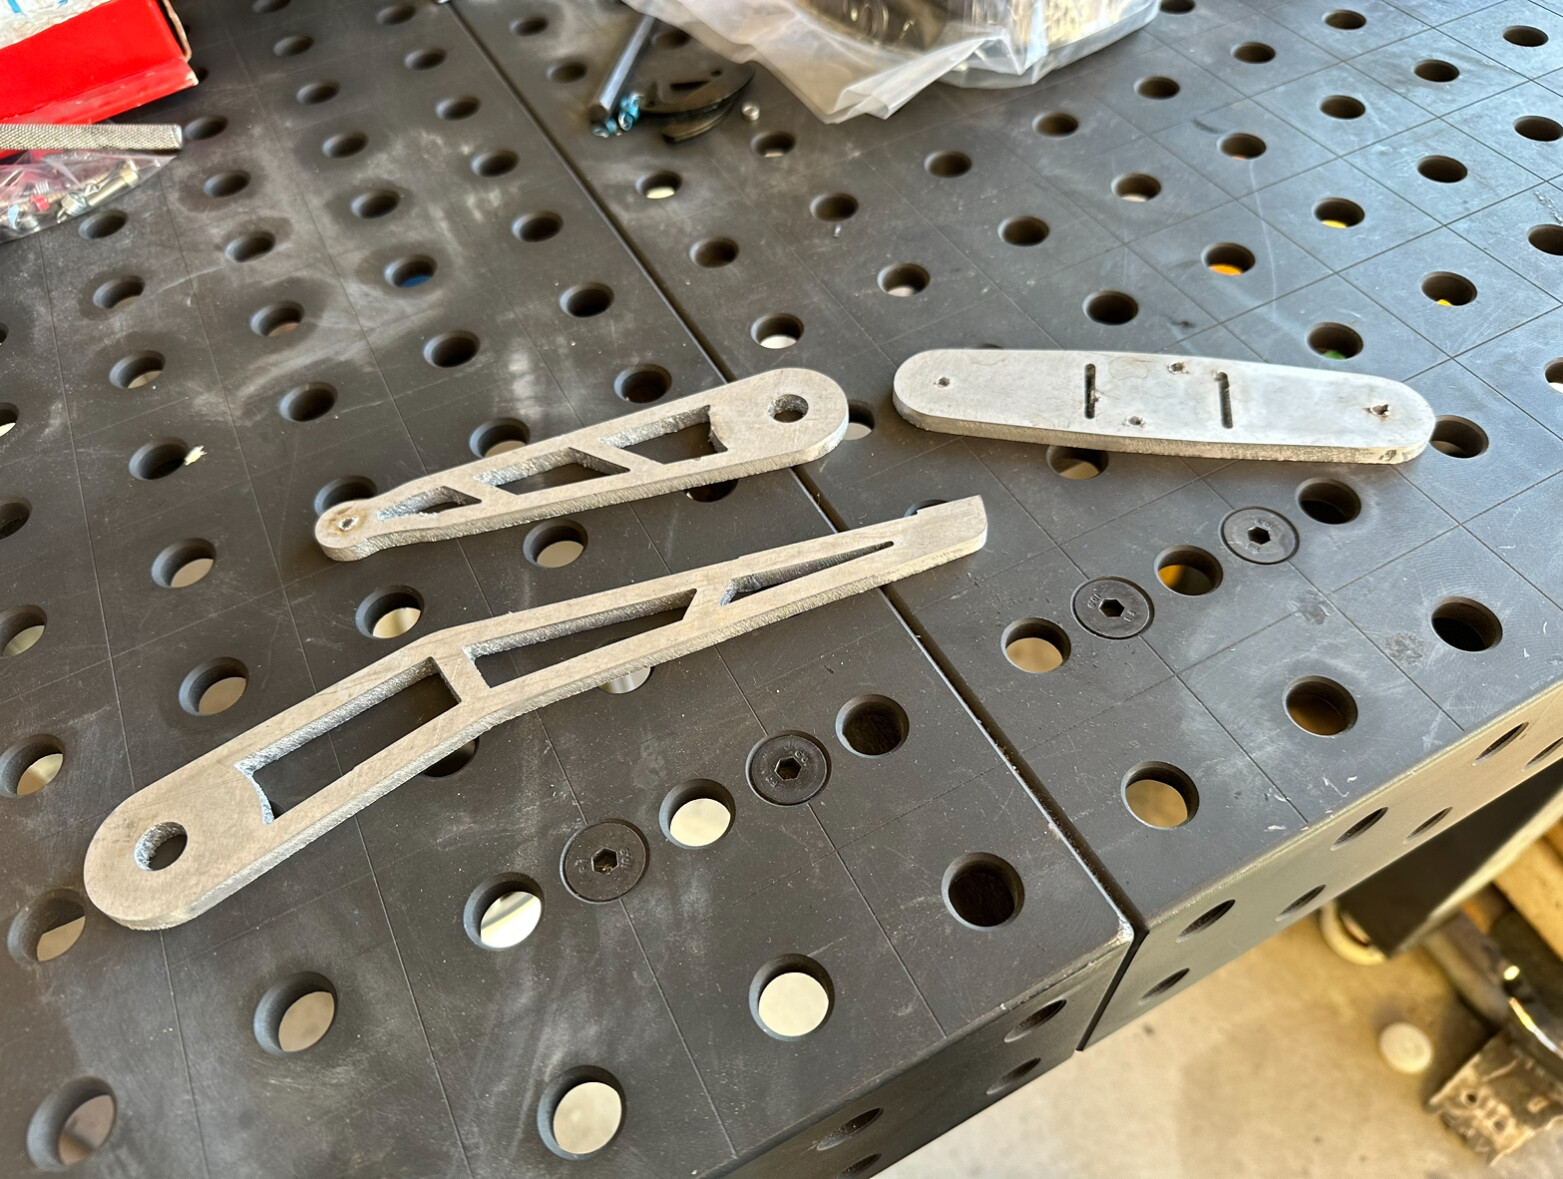
So, this is the first time I’ve gone from 3D printed prototype to CNC cut part, but Fusion 360 makes the process seamless. These pieces are cut out of 1/4” mystery aluminum alloy. They came out “alright”, cut with compressed air.
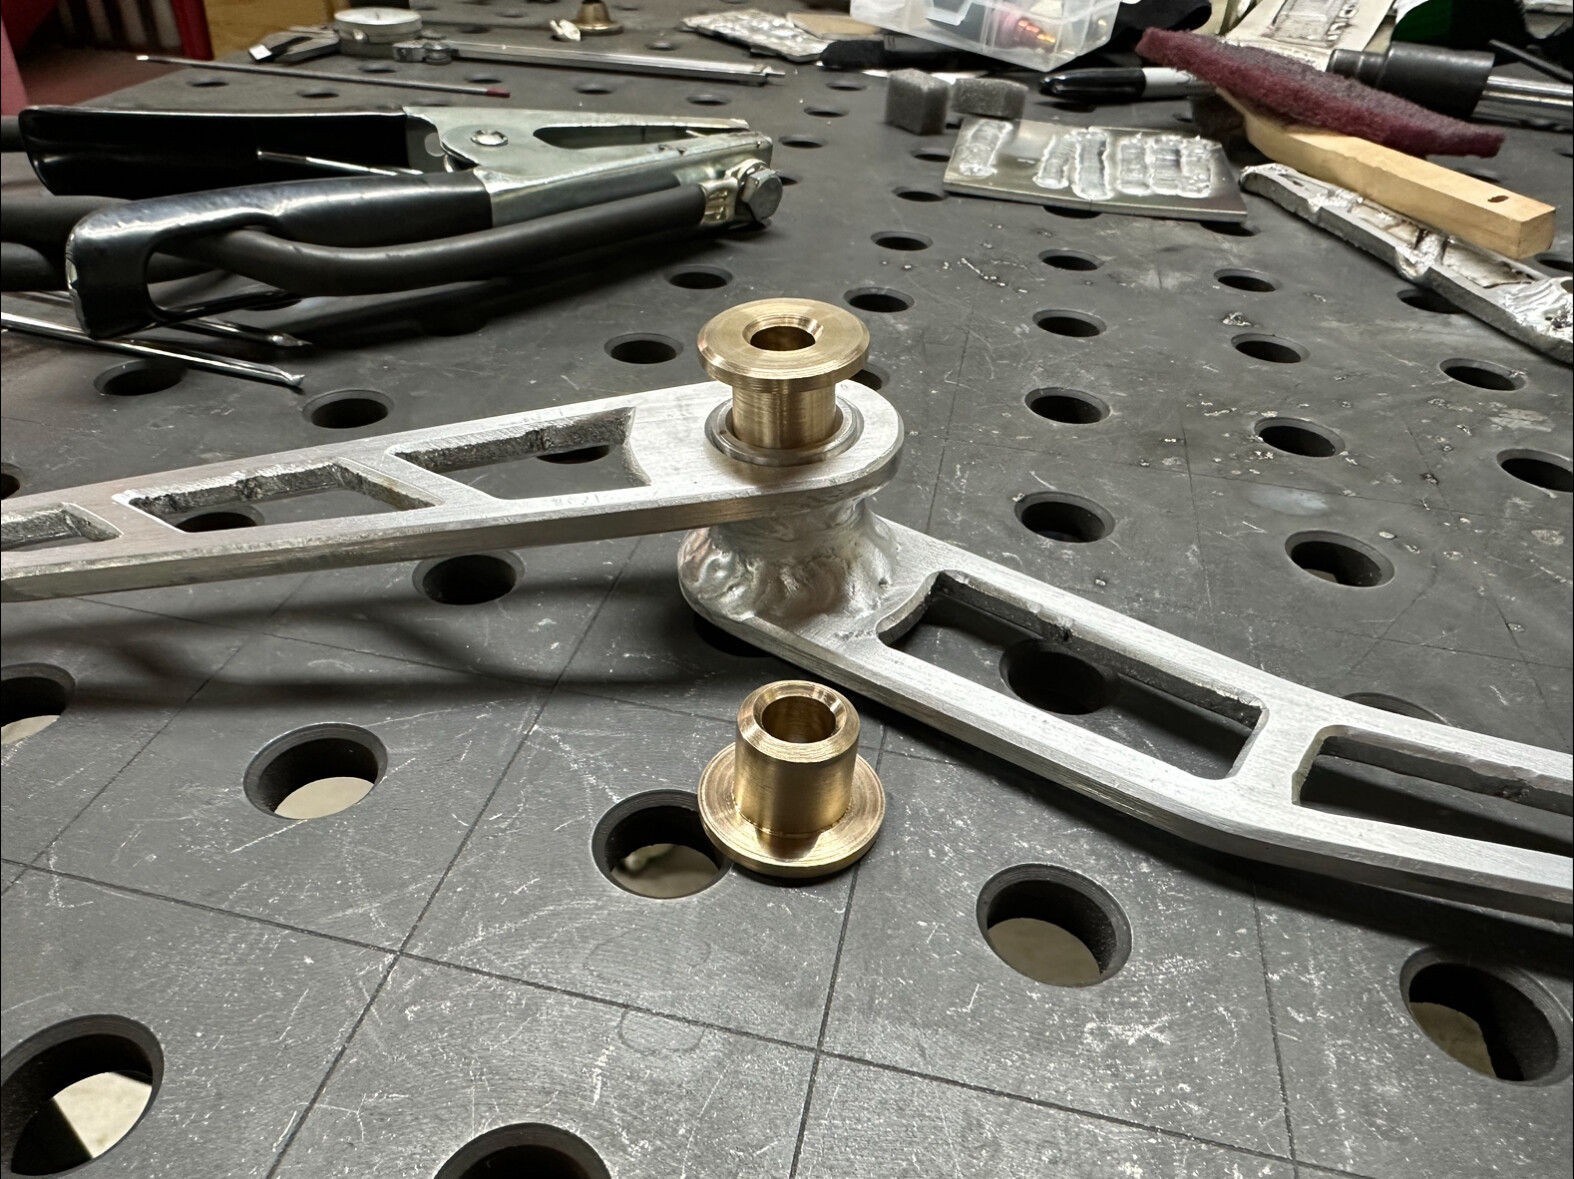
After cutting out the flat pieces, I had to turn the barrel, and a couple of oilite bronze bushings for the assembly to pivot on on my lathe.
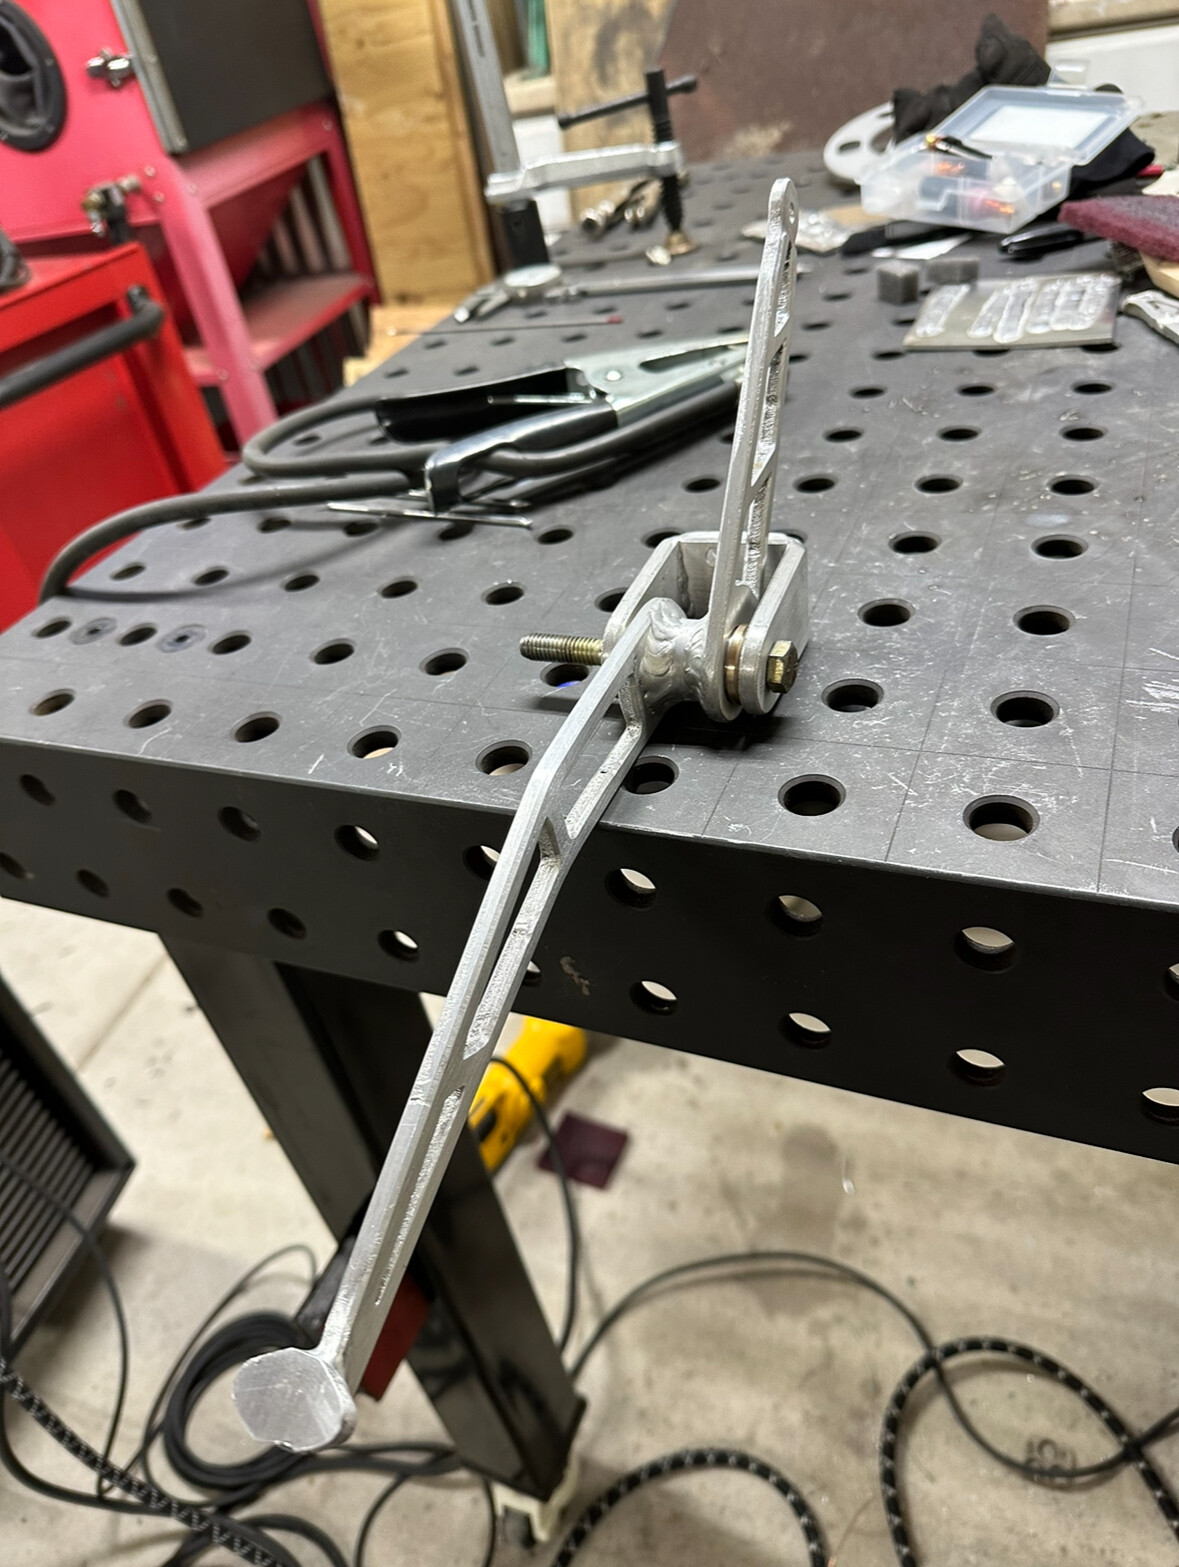
And then I “glued” them together and assembled the pivot bracket.
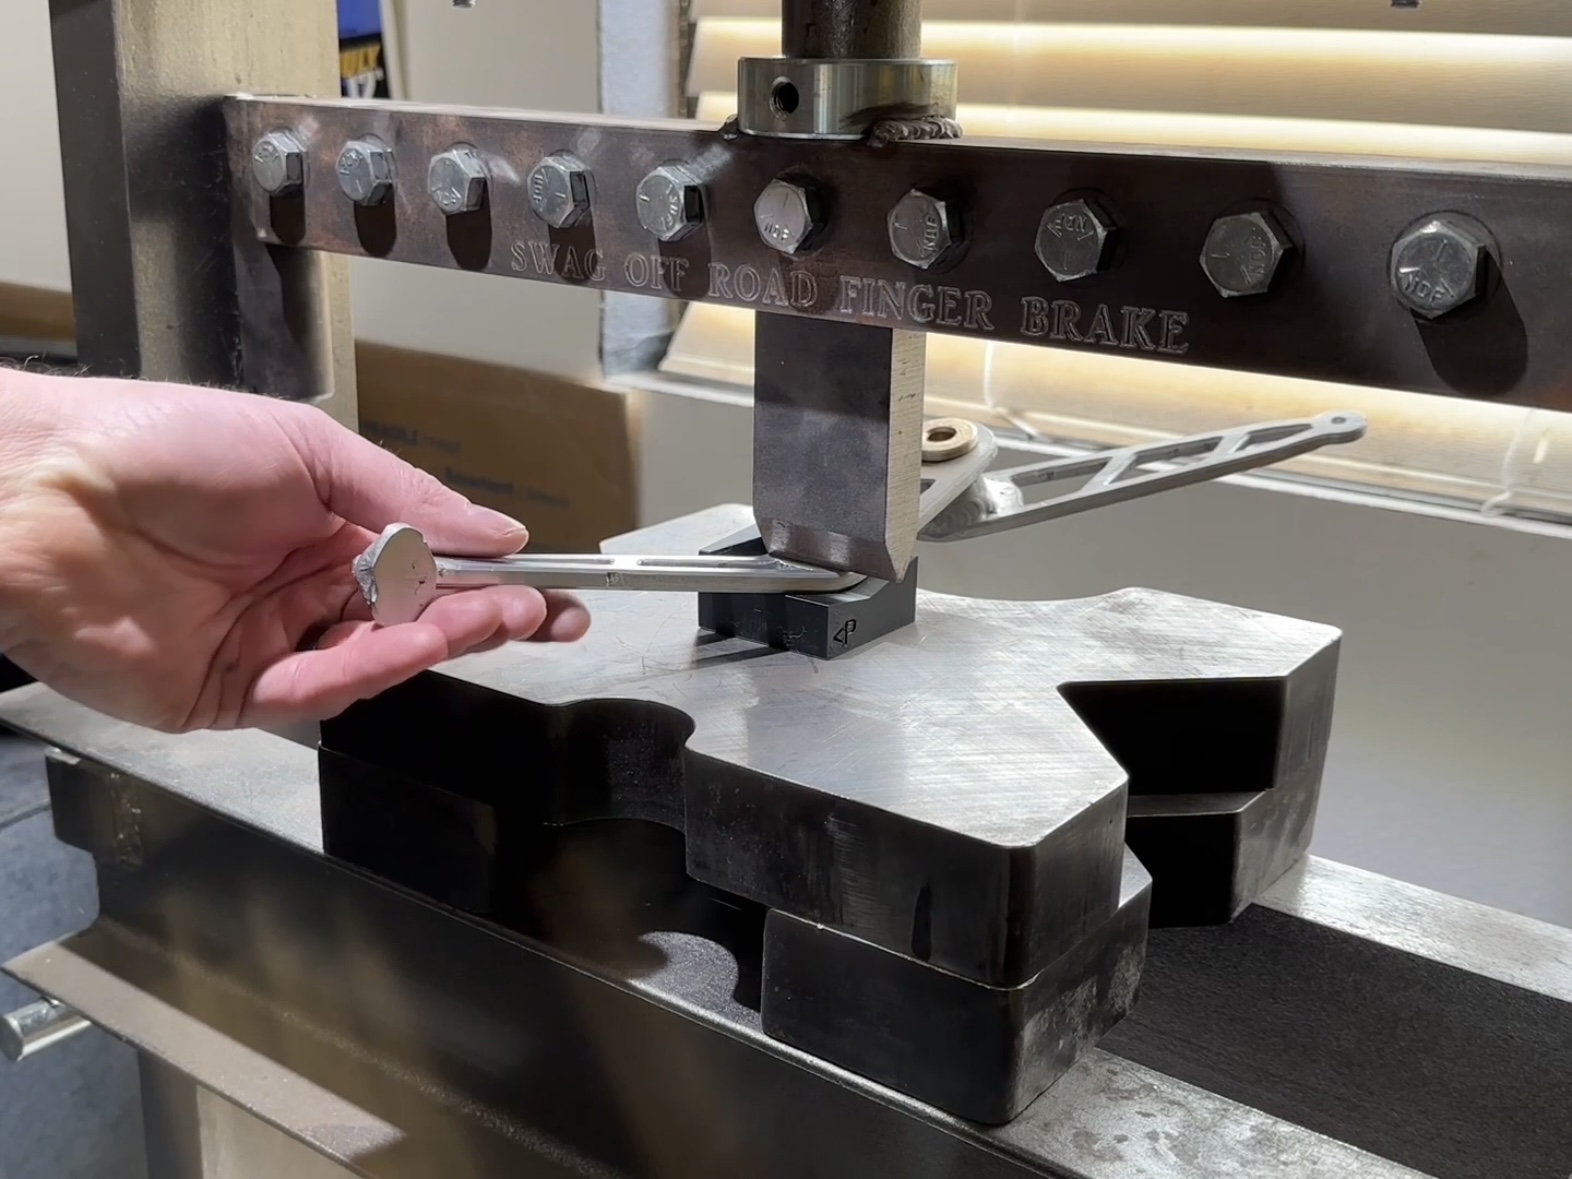
Back into fusion it was a piece of cake to model a 3D printed bottom die that registered along the side of the pedal to put the bend in the exact same spot as my prototype.
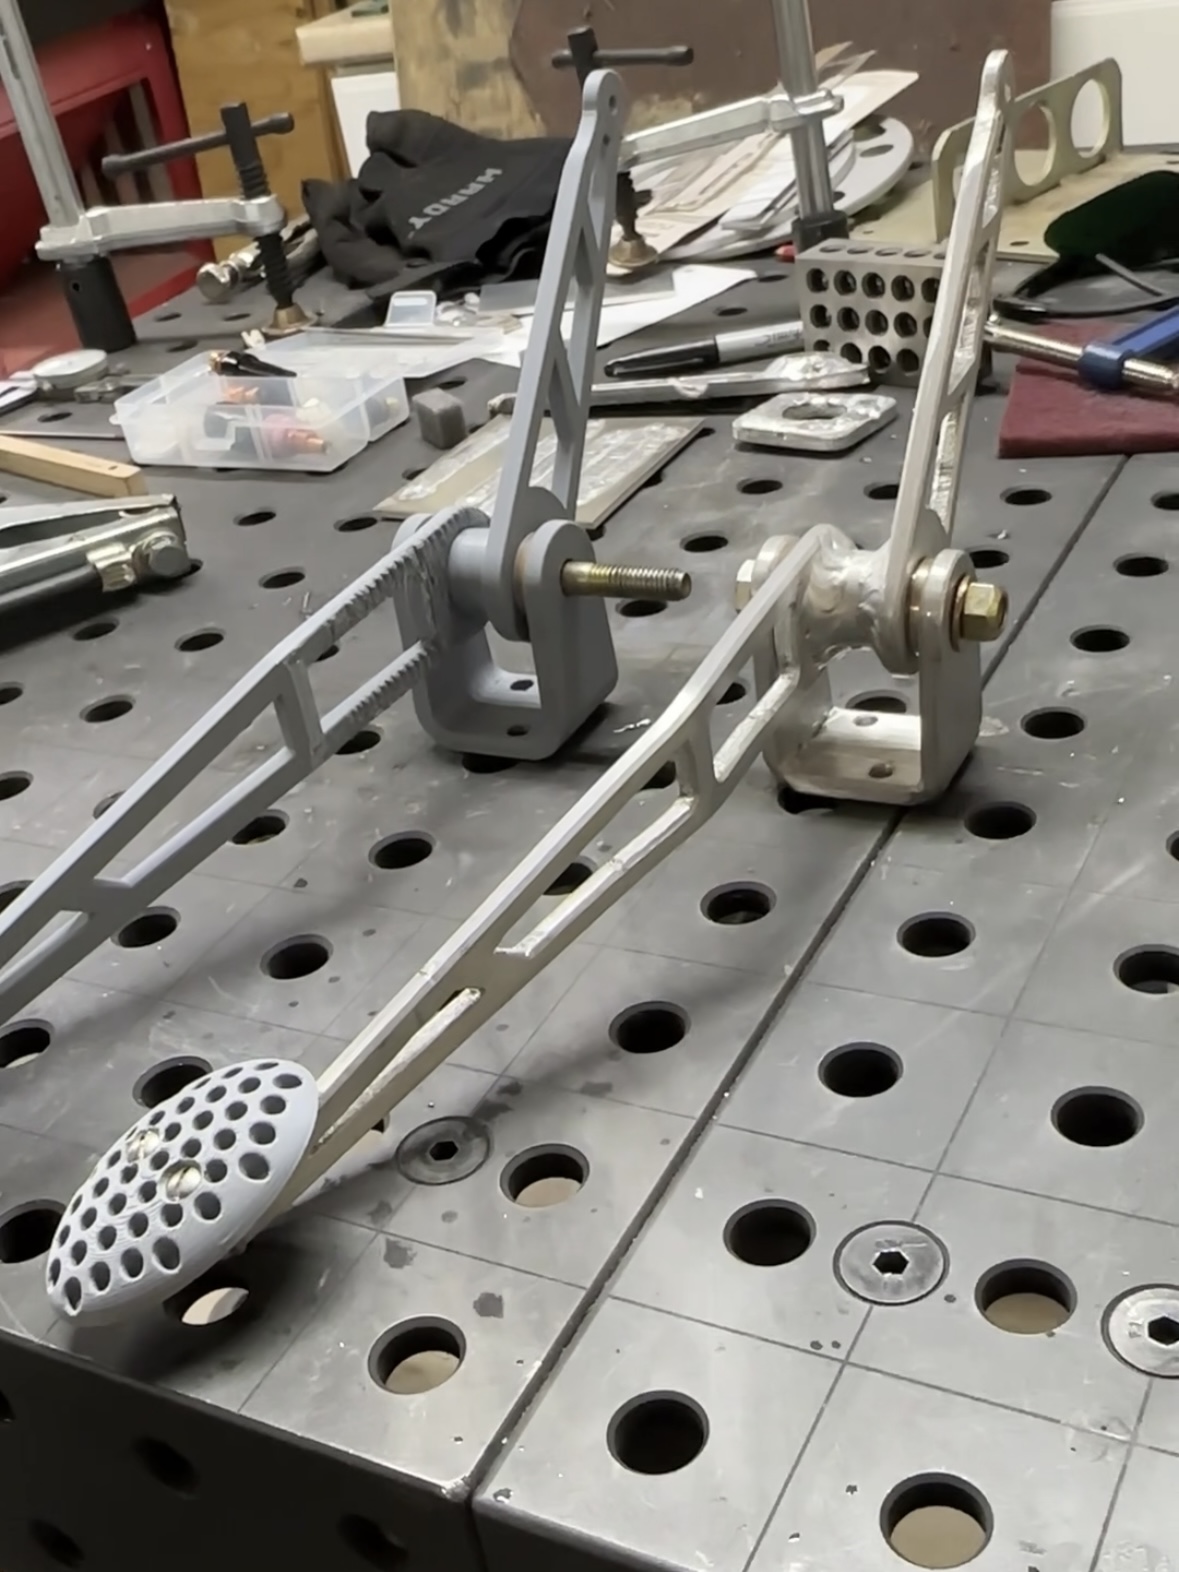
And here the finished part is side by side with the final iteration of my prototype.
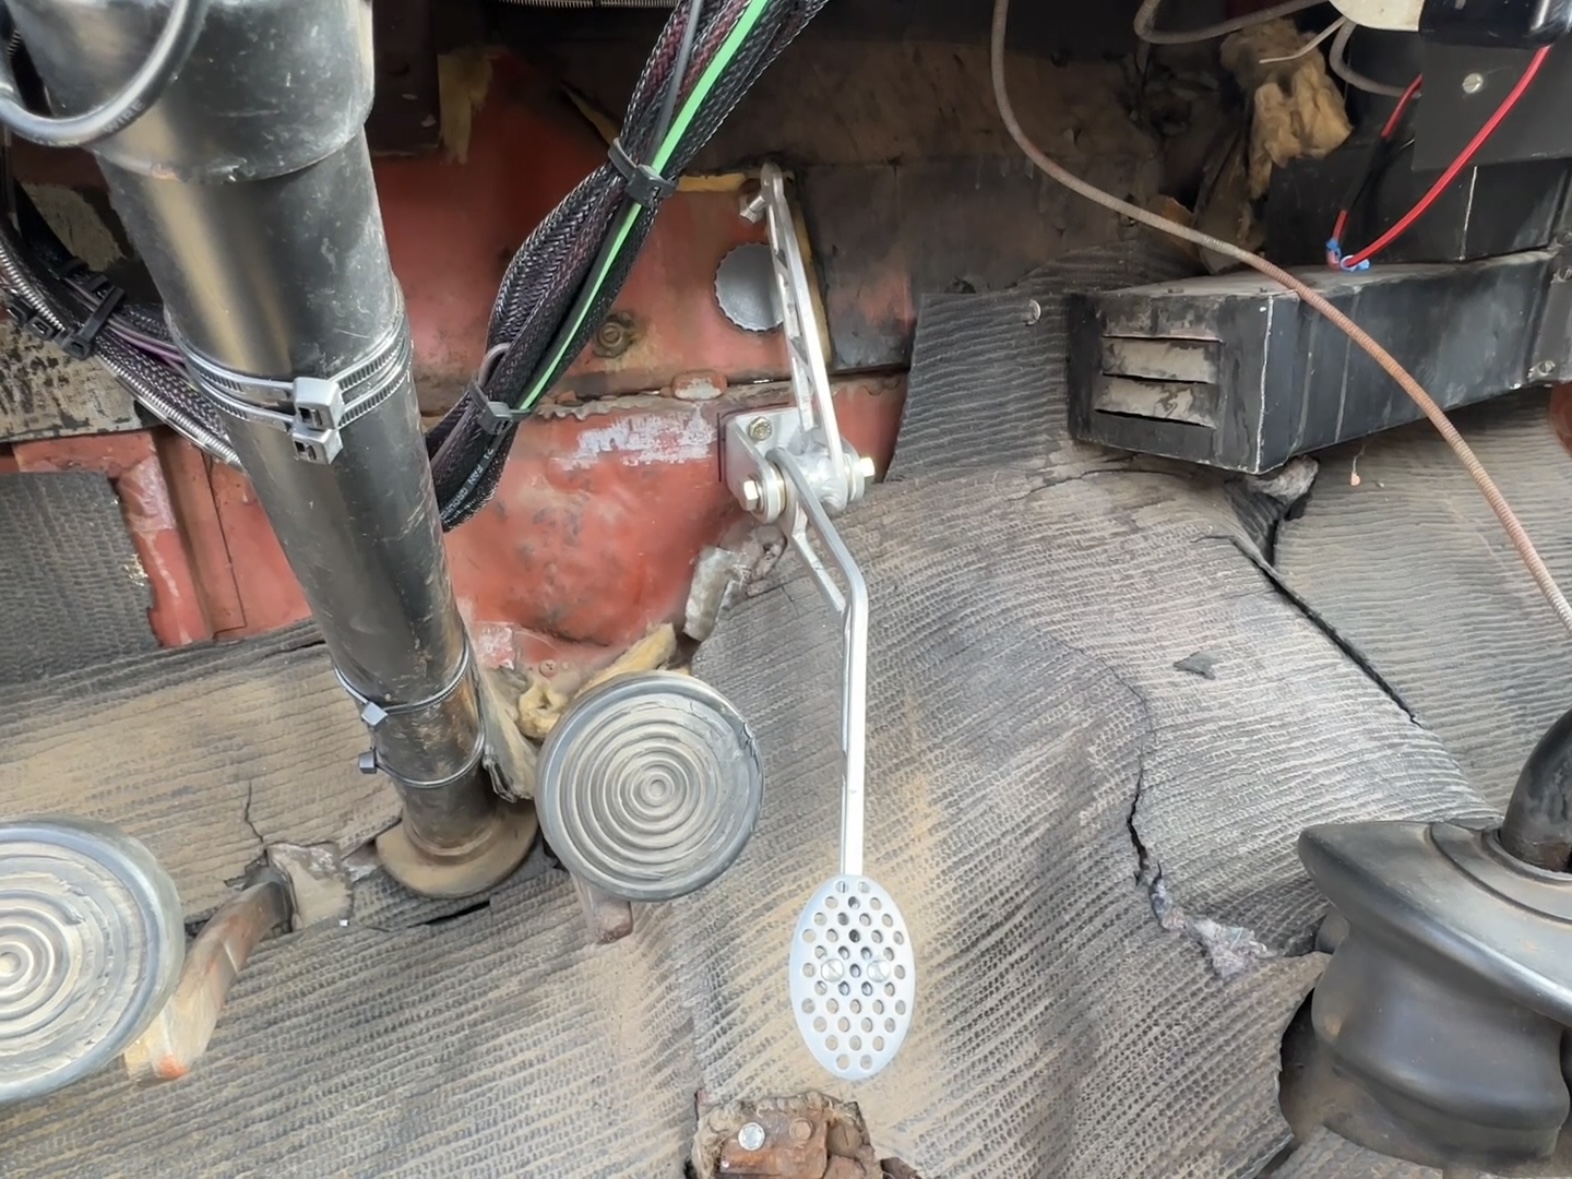
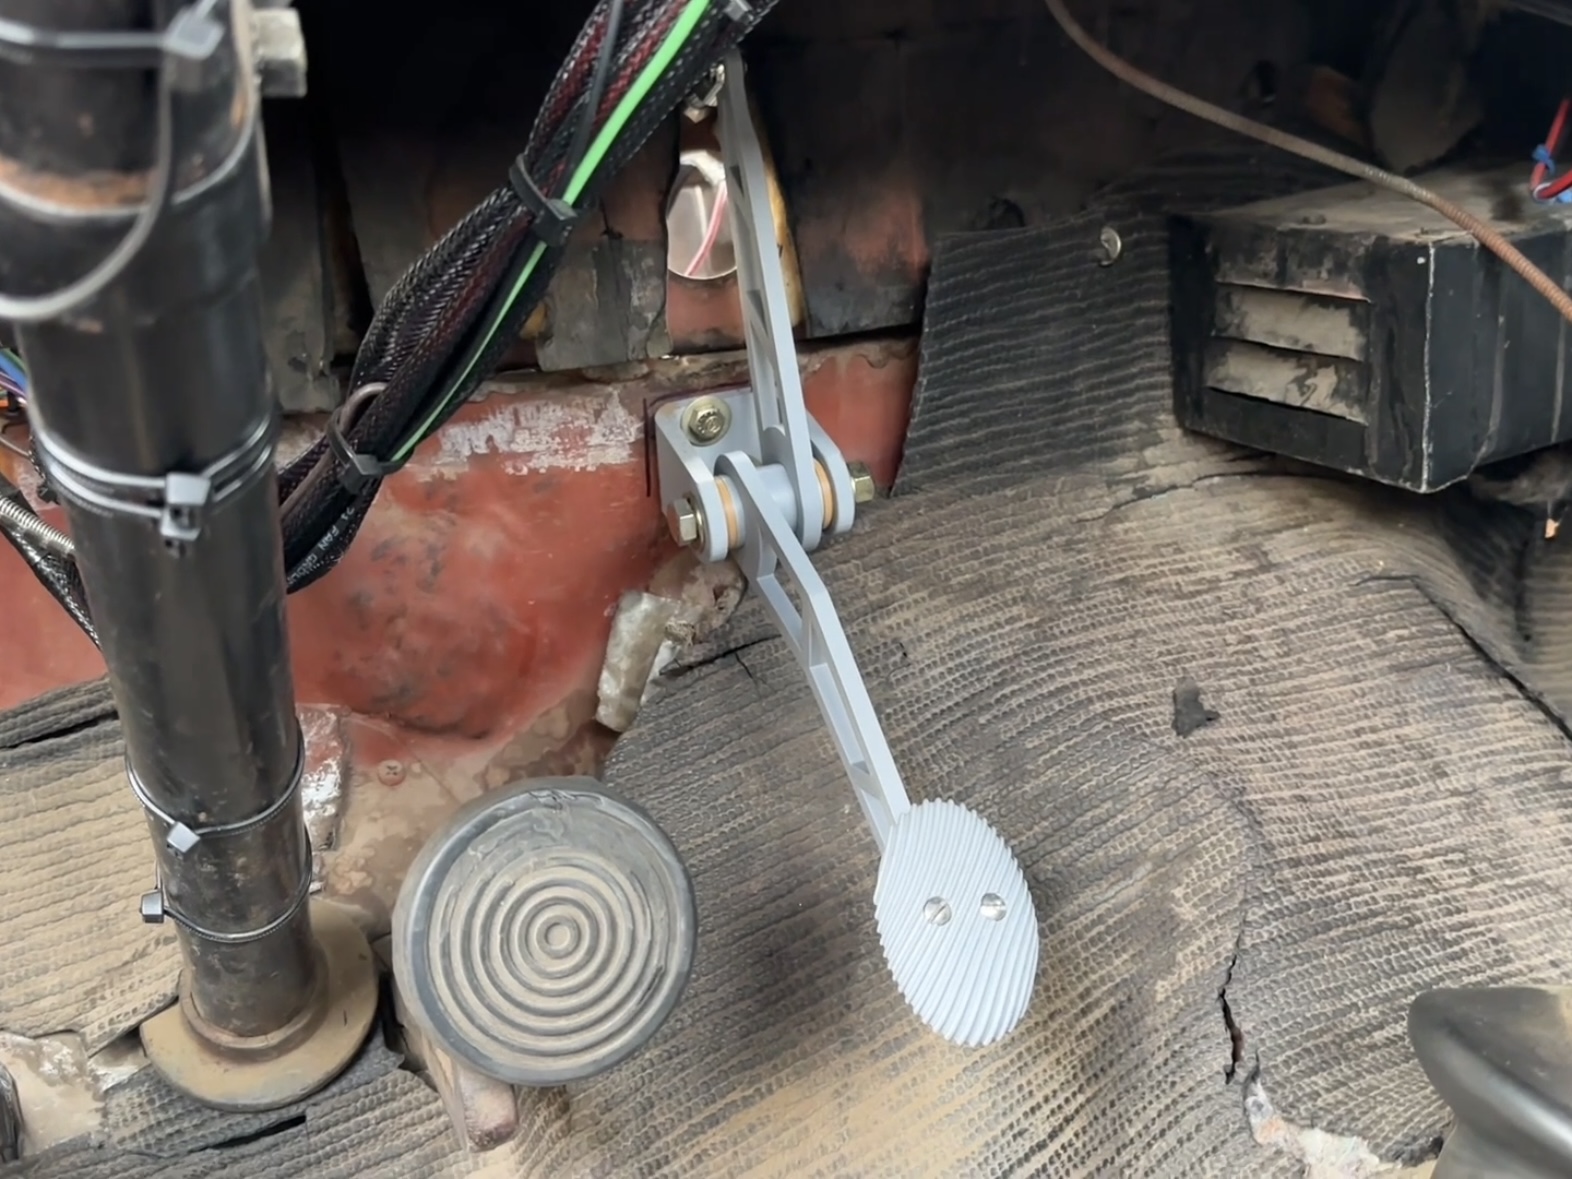
And here the throttle is installed in the Willys. What an improvement! And it was easy to hook up via a universal cable to the throttle body on the new EFI system.
Now, I do still intend to go back and sand cast a pedal pad. And pads to match for the existing brake and clutch pedals. But those are projects for other forums.
Anyway, I hope those of you who didn’t see this on the other thread enjoyed the journey. And sorry I’m so dang wordy! ![]()
12 Likes
Love this work. Thanks for the post.
1 Like

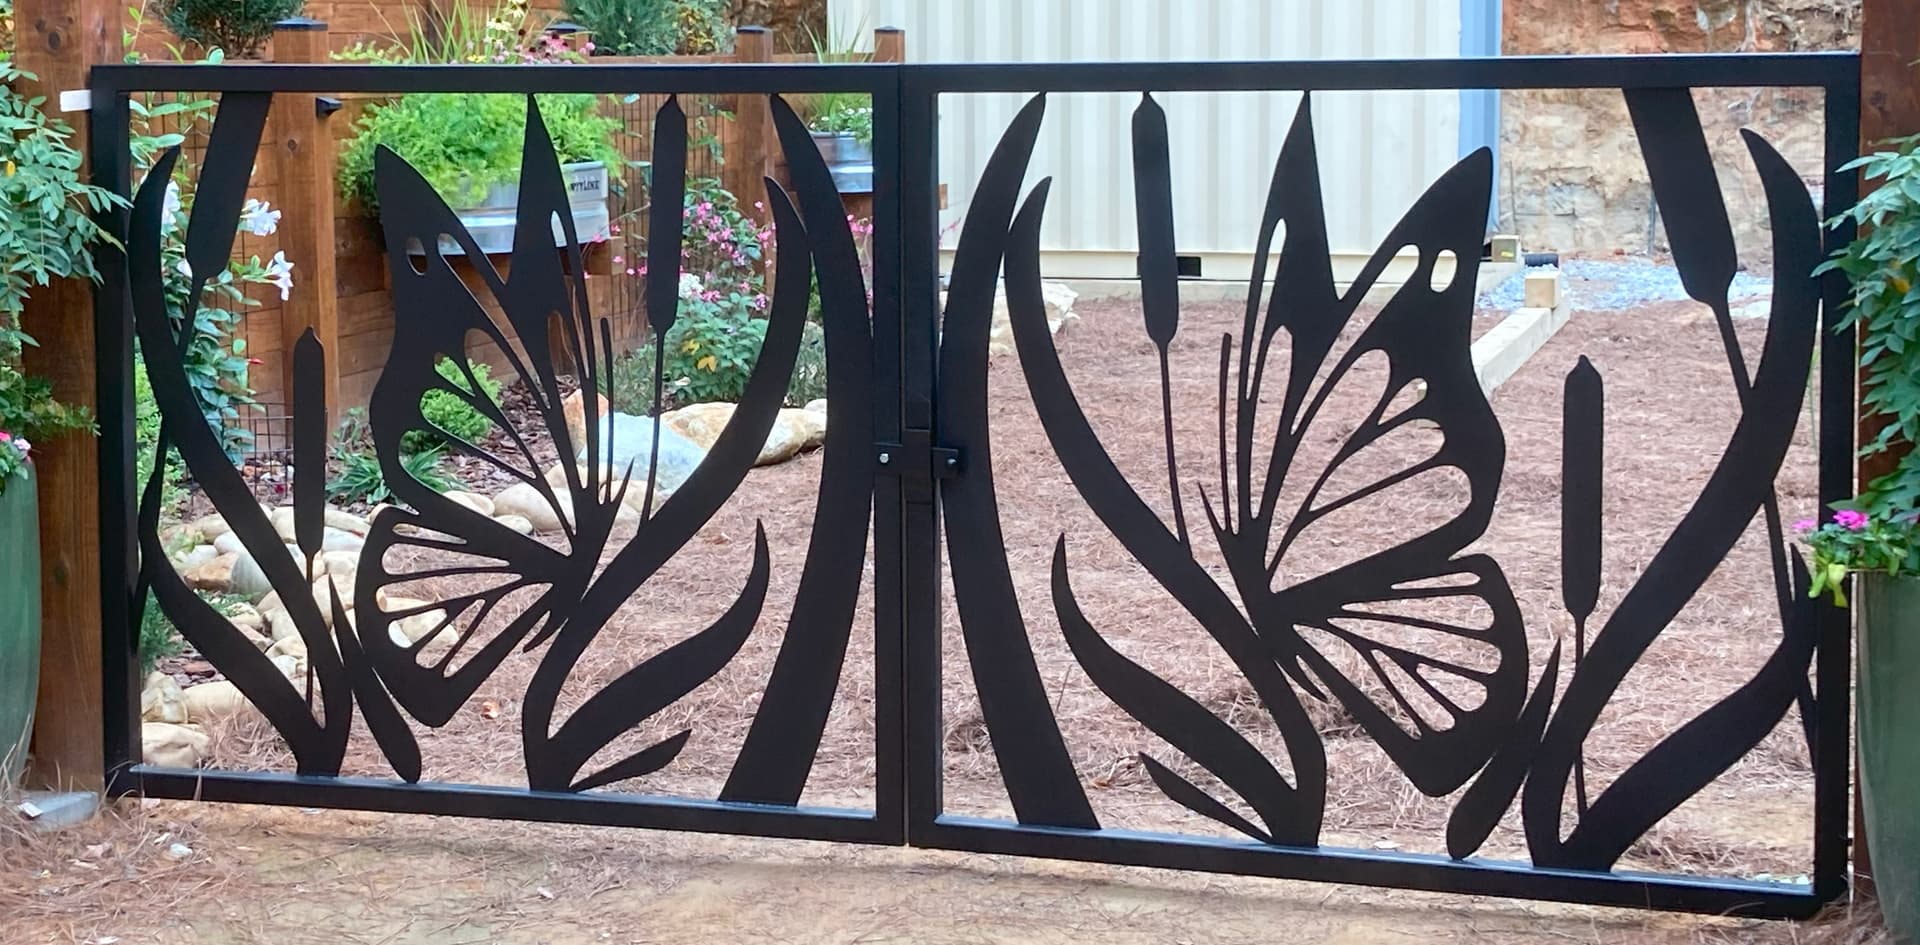

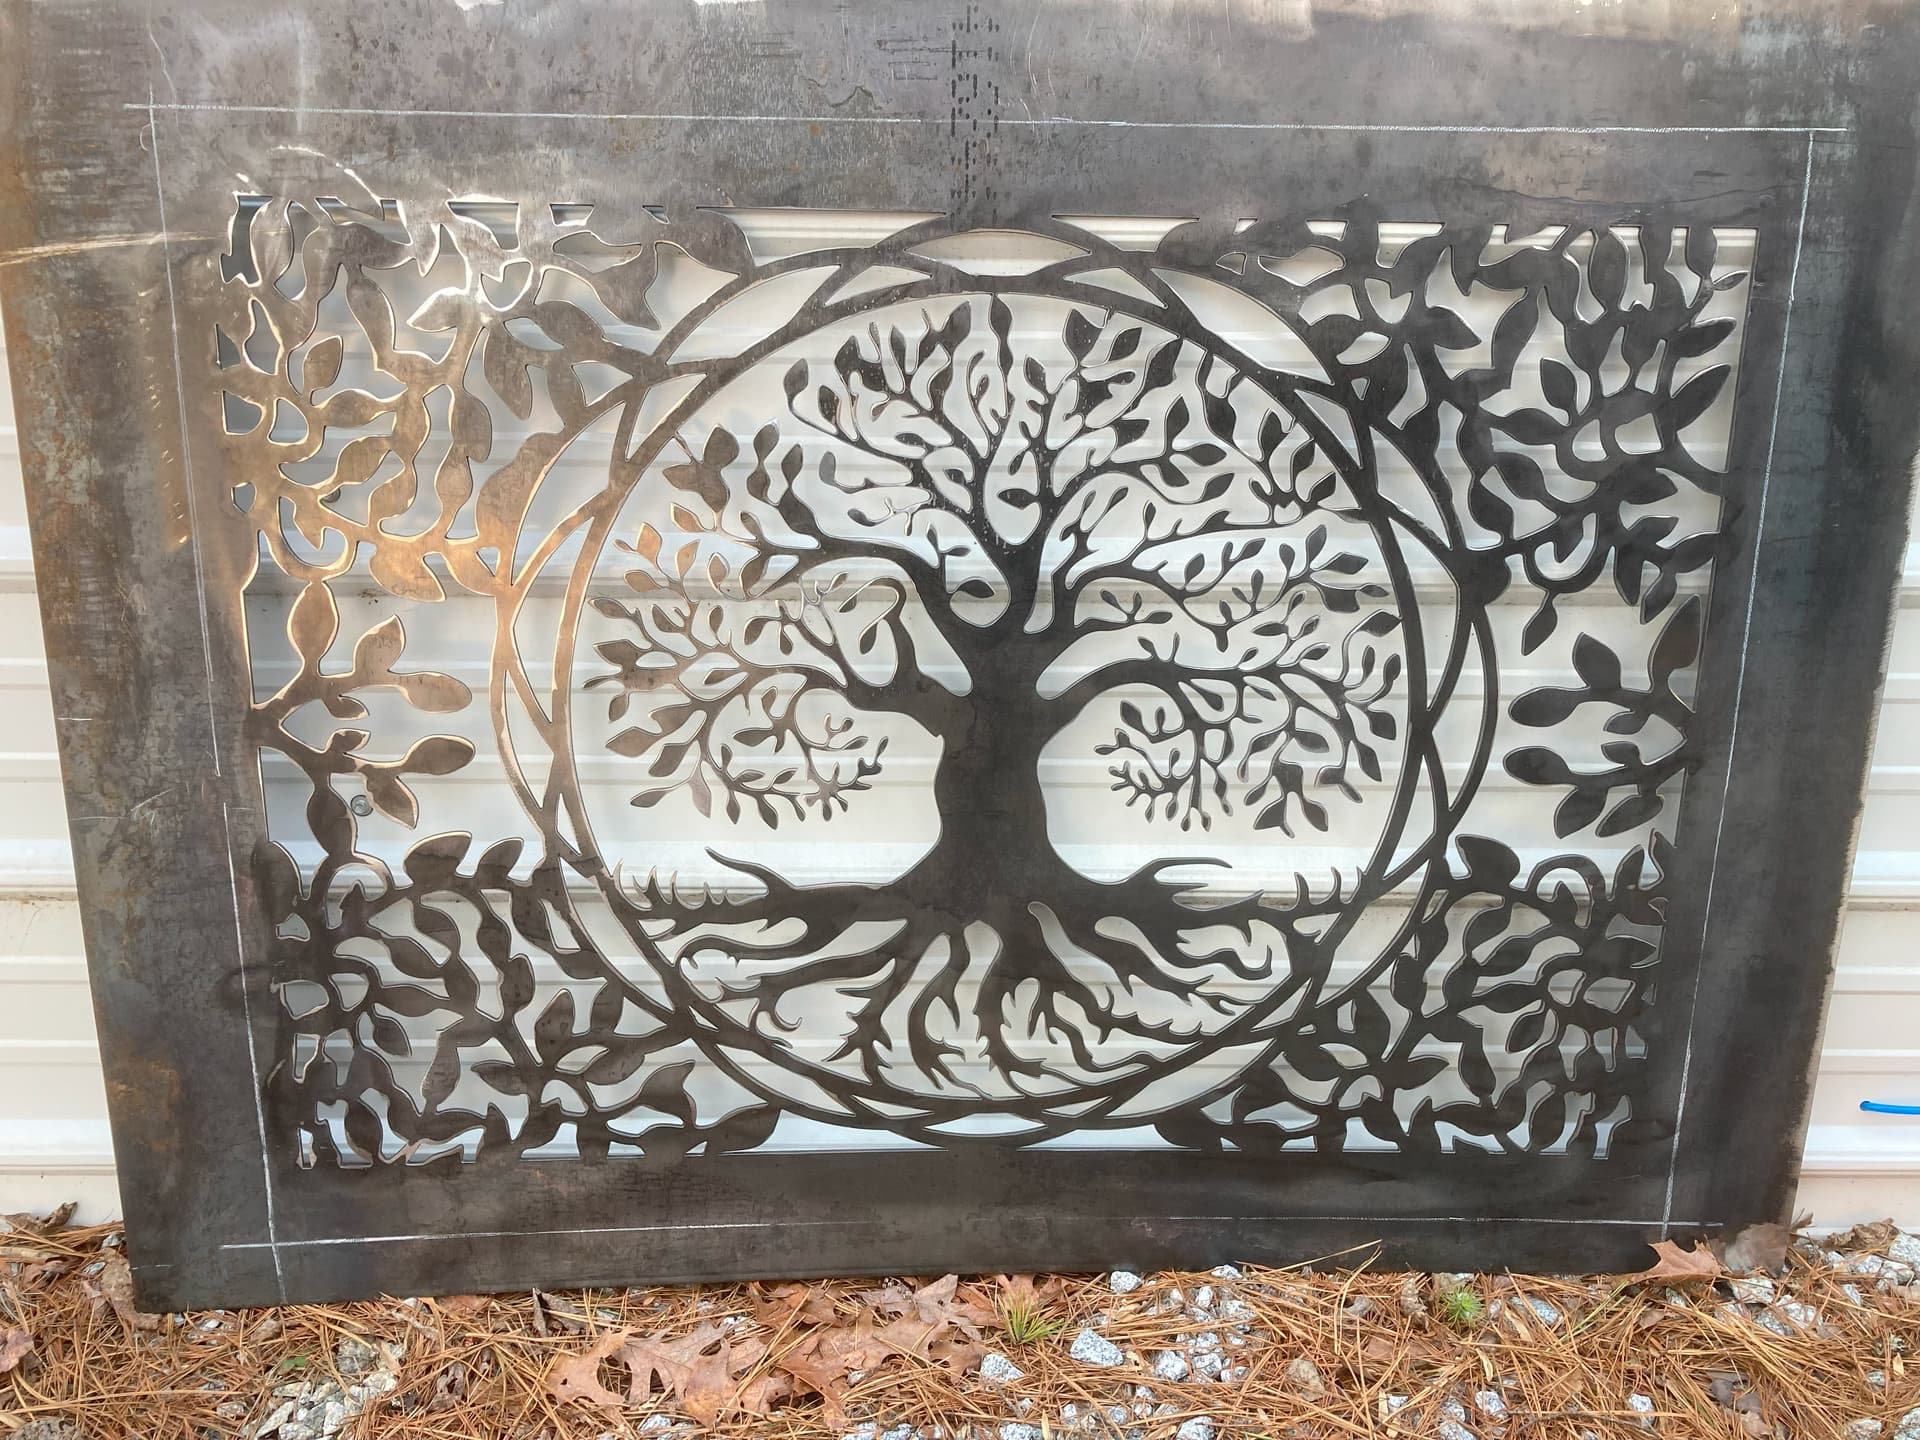
Member in the FB group shared this with me, so I cut one out for myself.
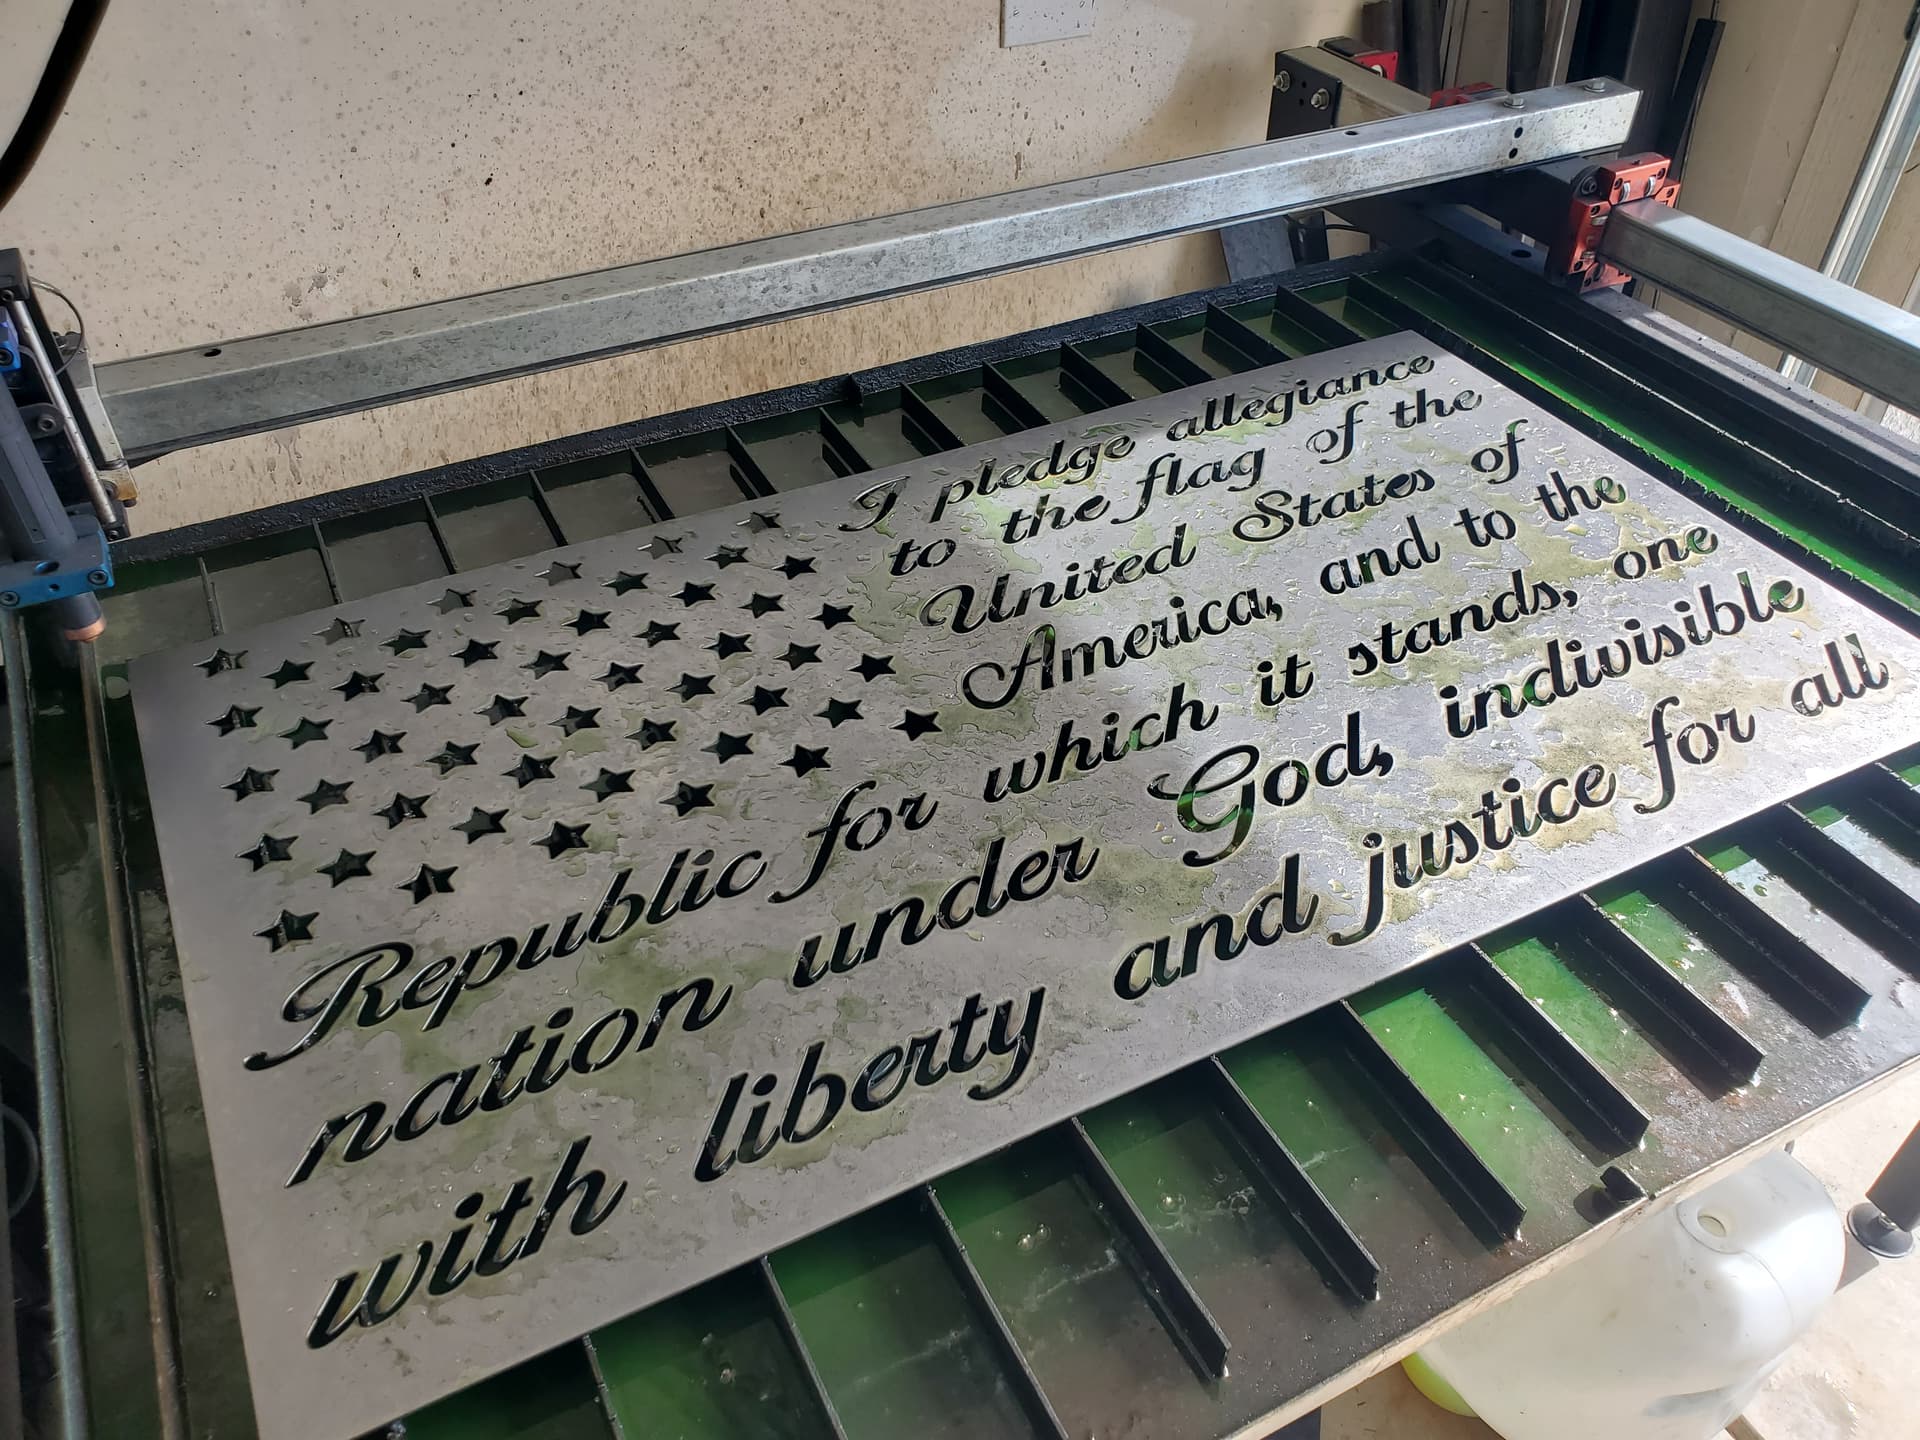
A shame I opted to be lazy and not redraw the bridges; had 3 letter e’s fall out since I scaled down the design to be smaller than provided.
14 Likes
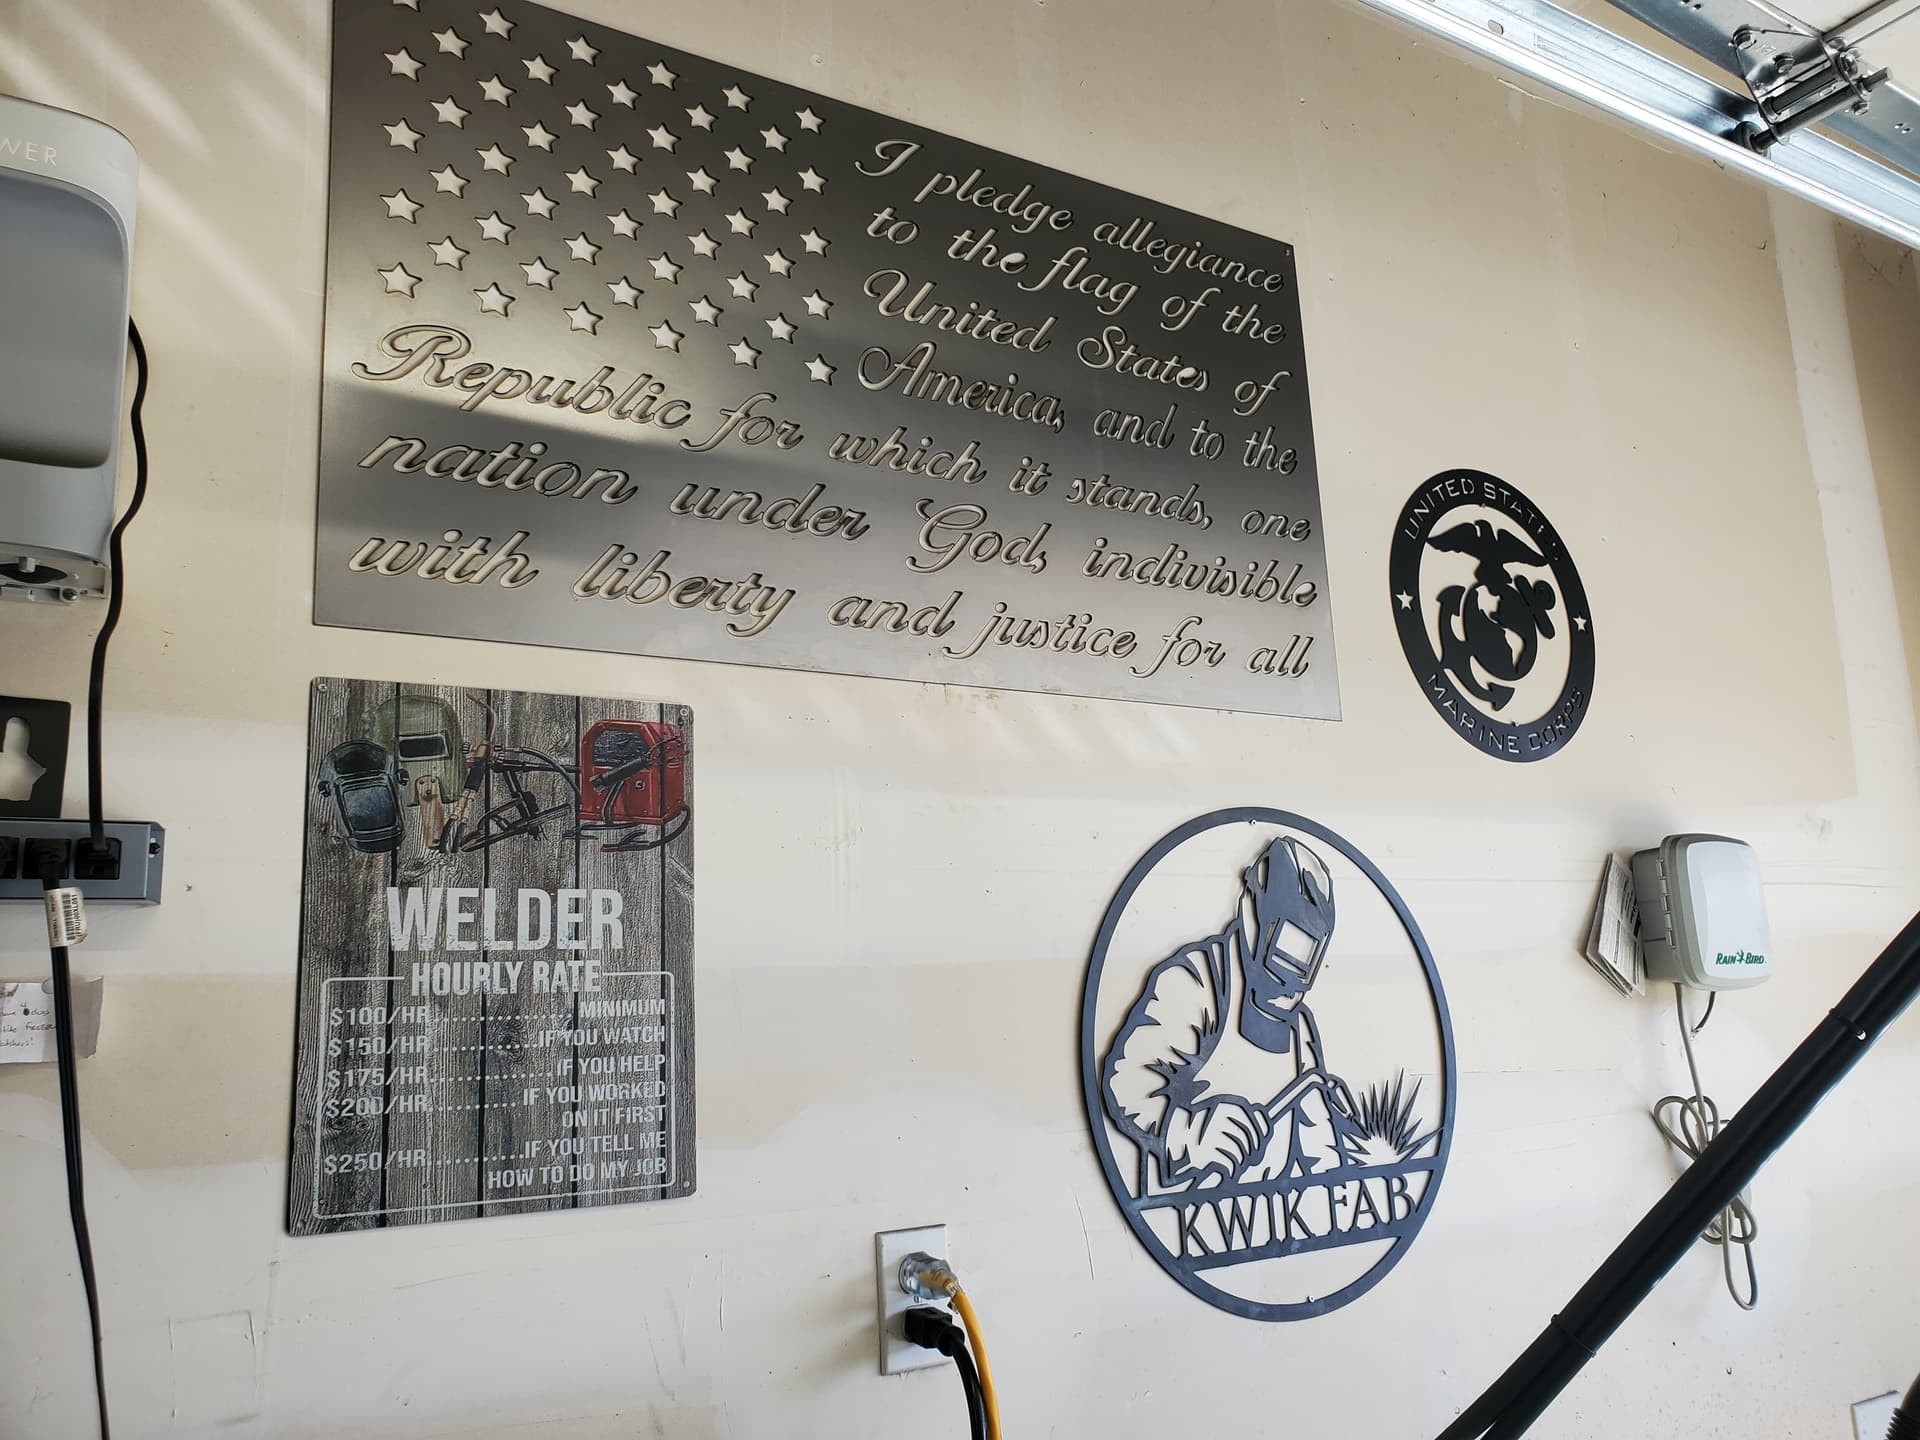
A well respected flag! Good job!
6 Likes
For a guy who doesn’t do signs, you are doing a lot of signs.
![]()
3 Likes
Well I did say I didn’t do any of the drawing ![]()
I definitely would’ve made the bridges larger though.
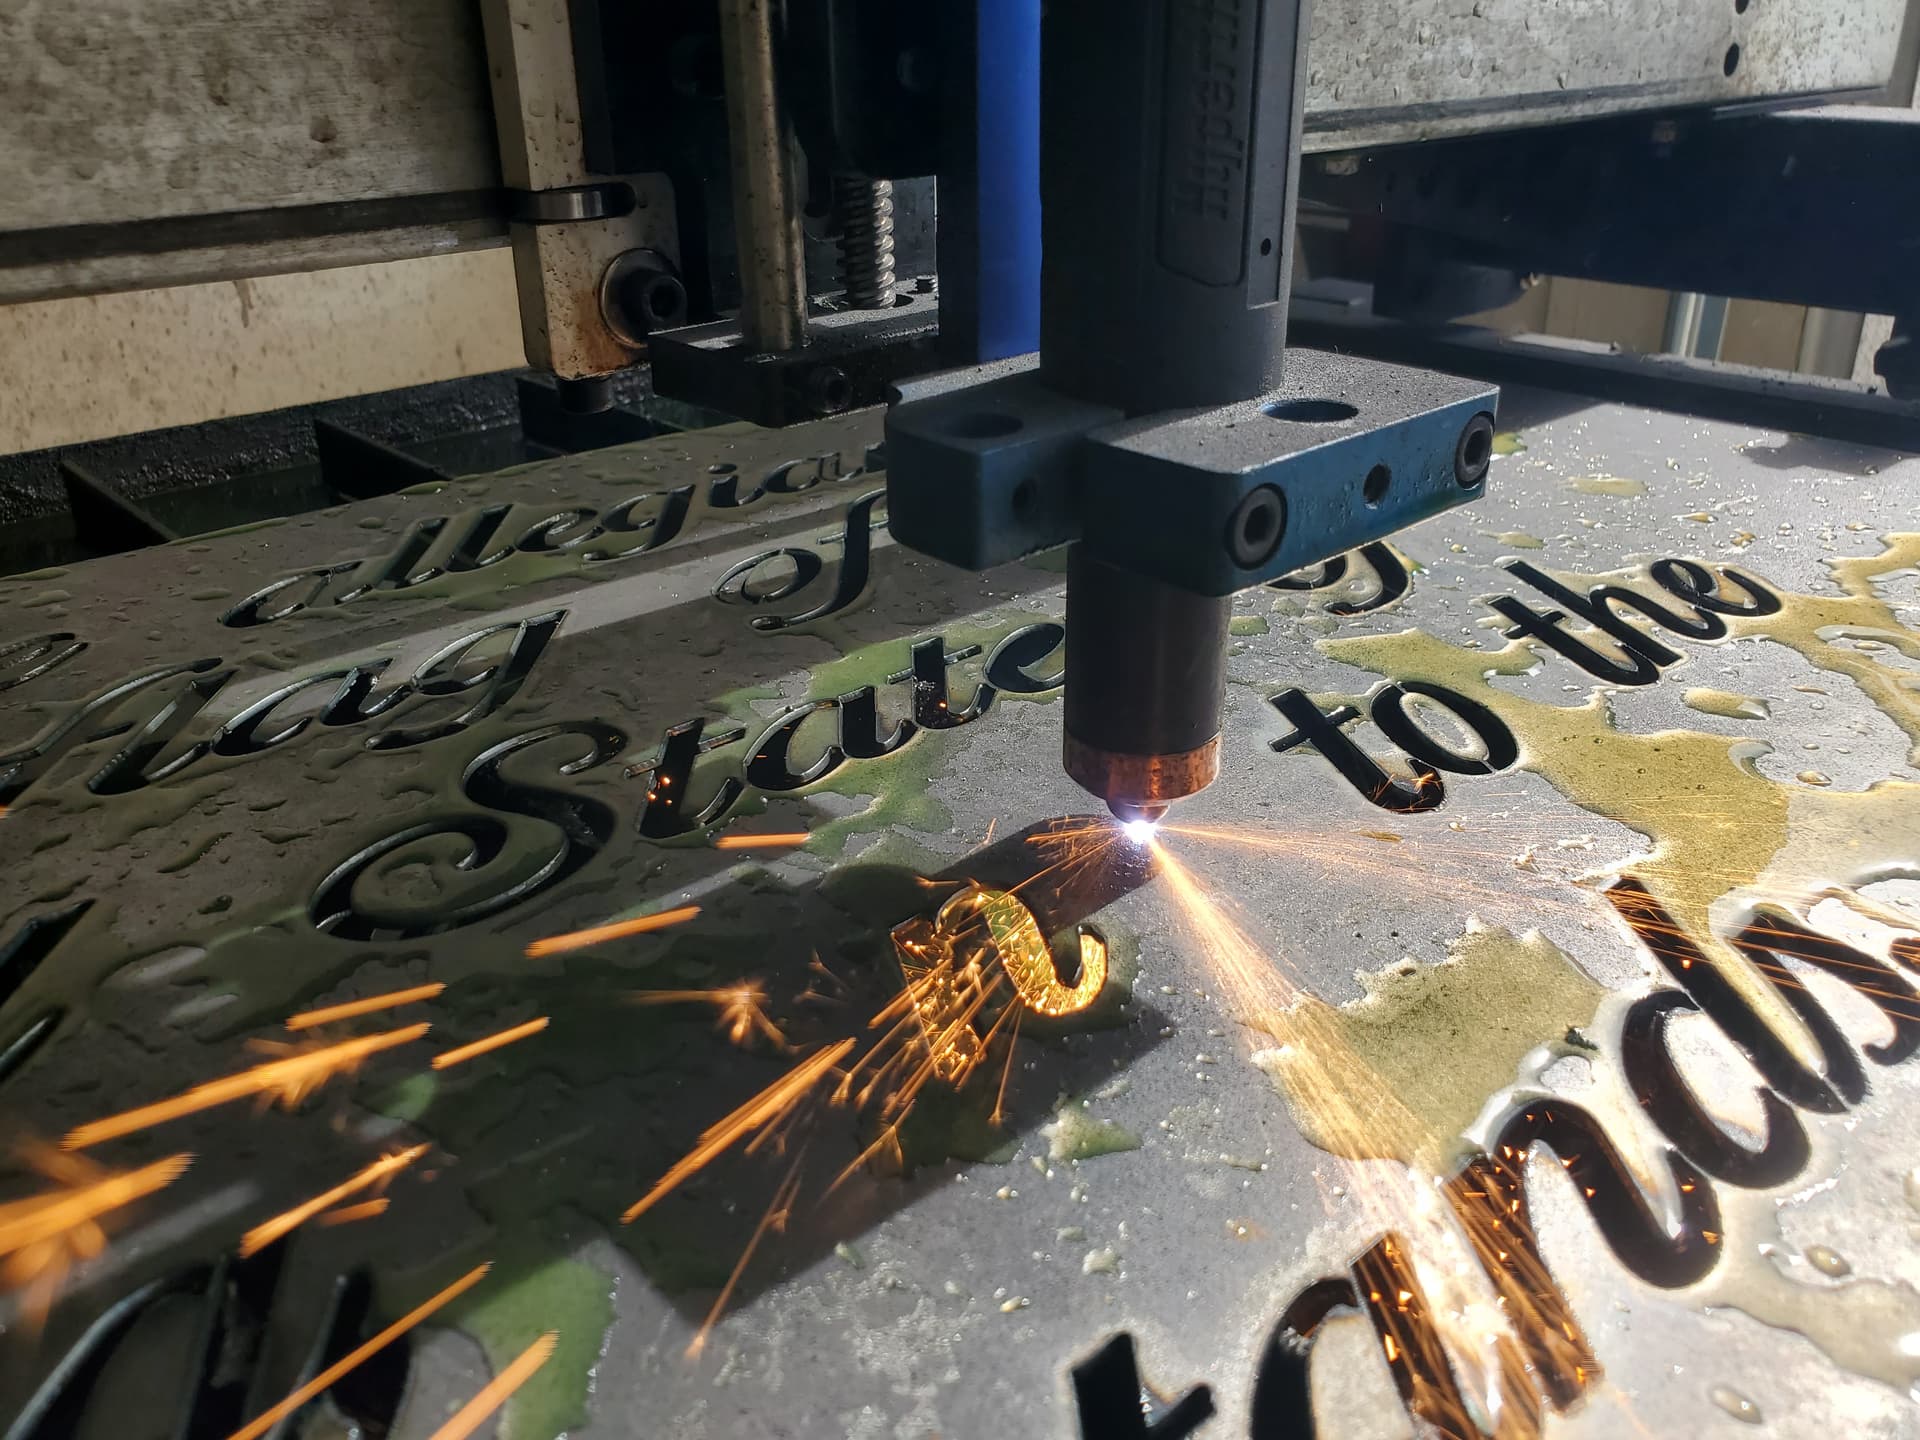
Total of 253 pierces and almost 30mins of runtime.
![]()
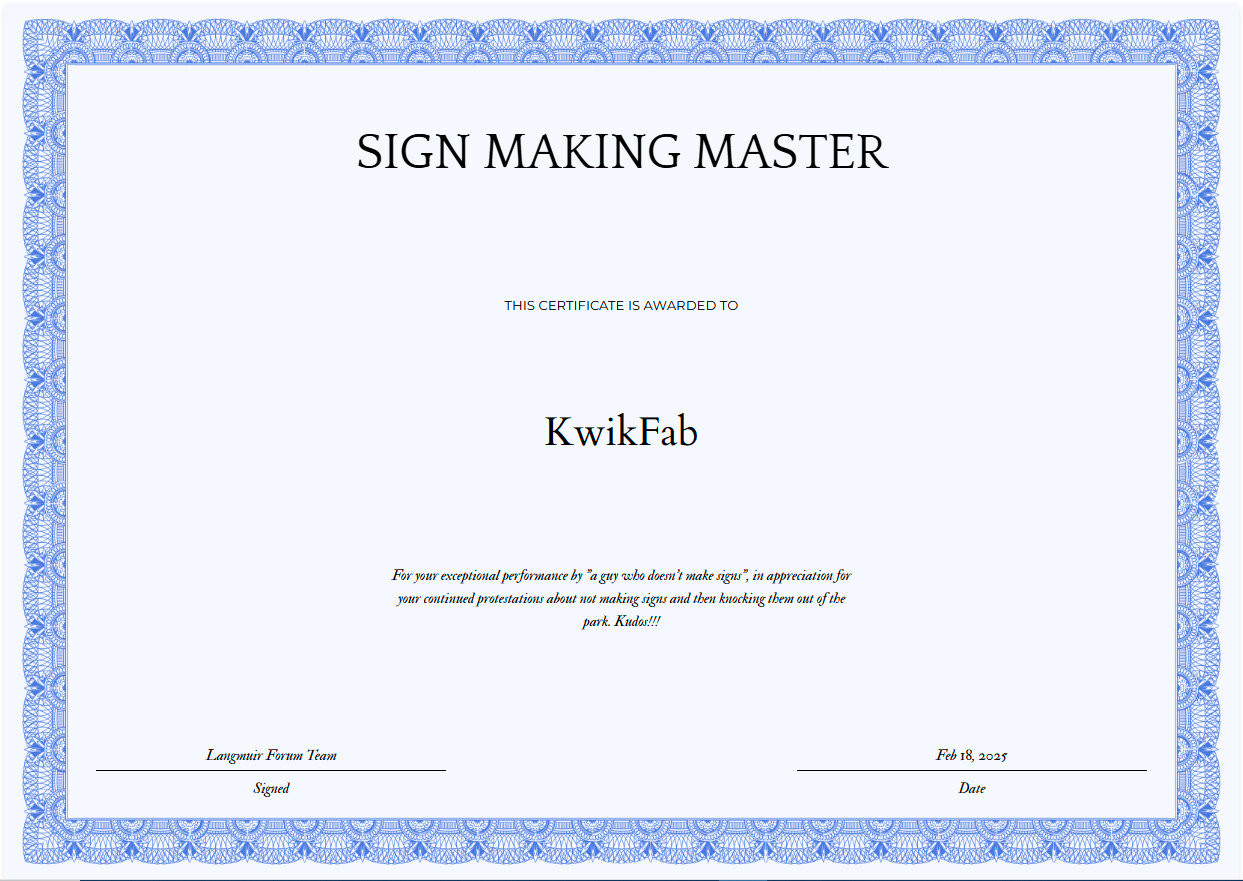
Now I just need some JB weld so I can post up that certificate on the wall
4 Likes
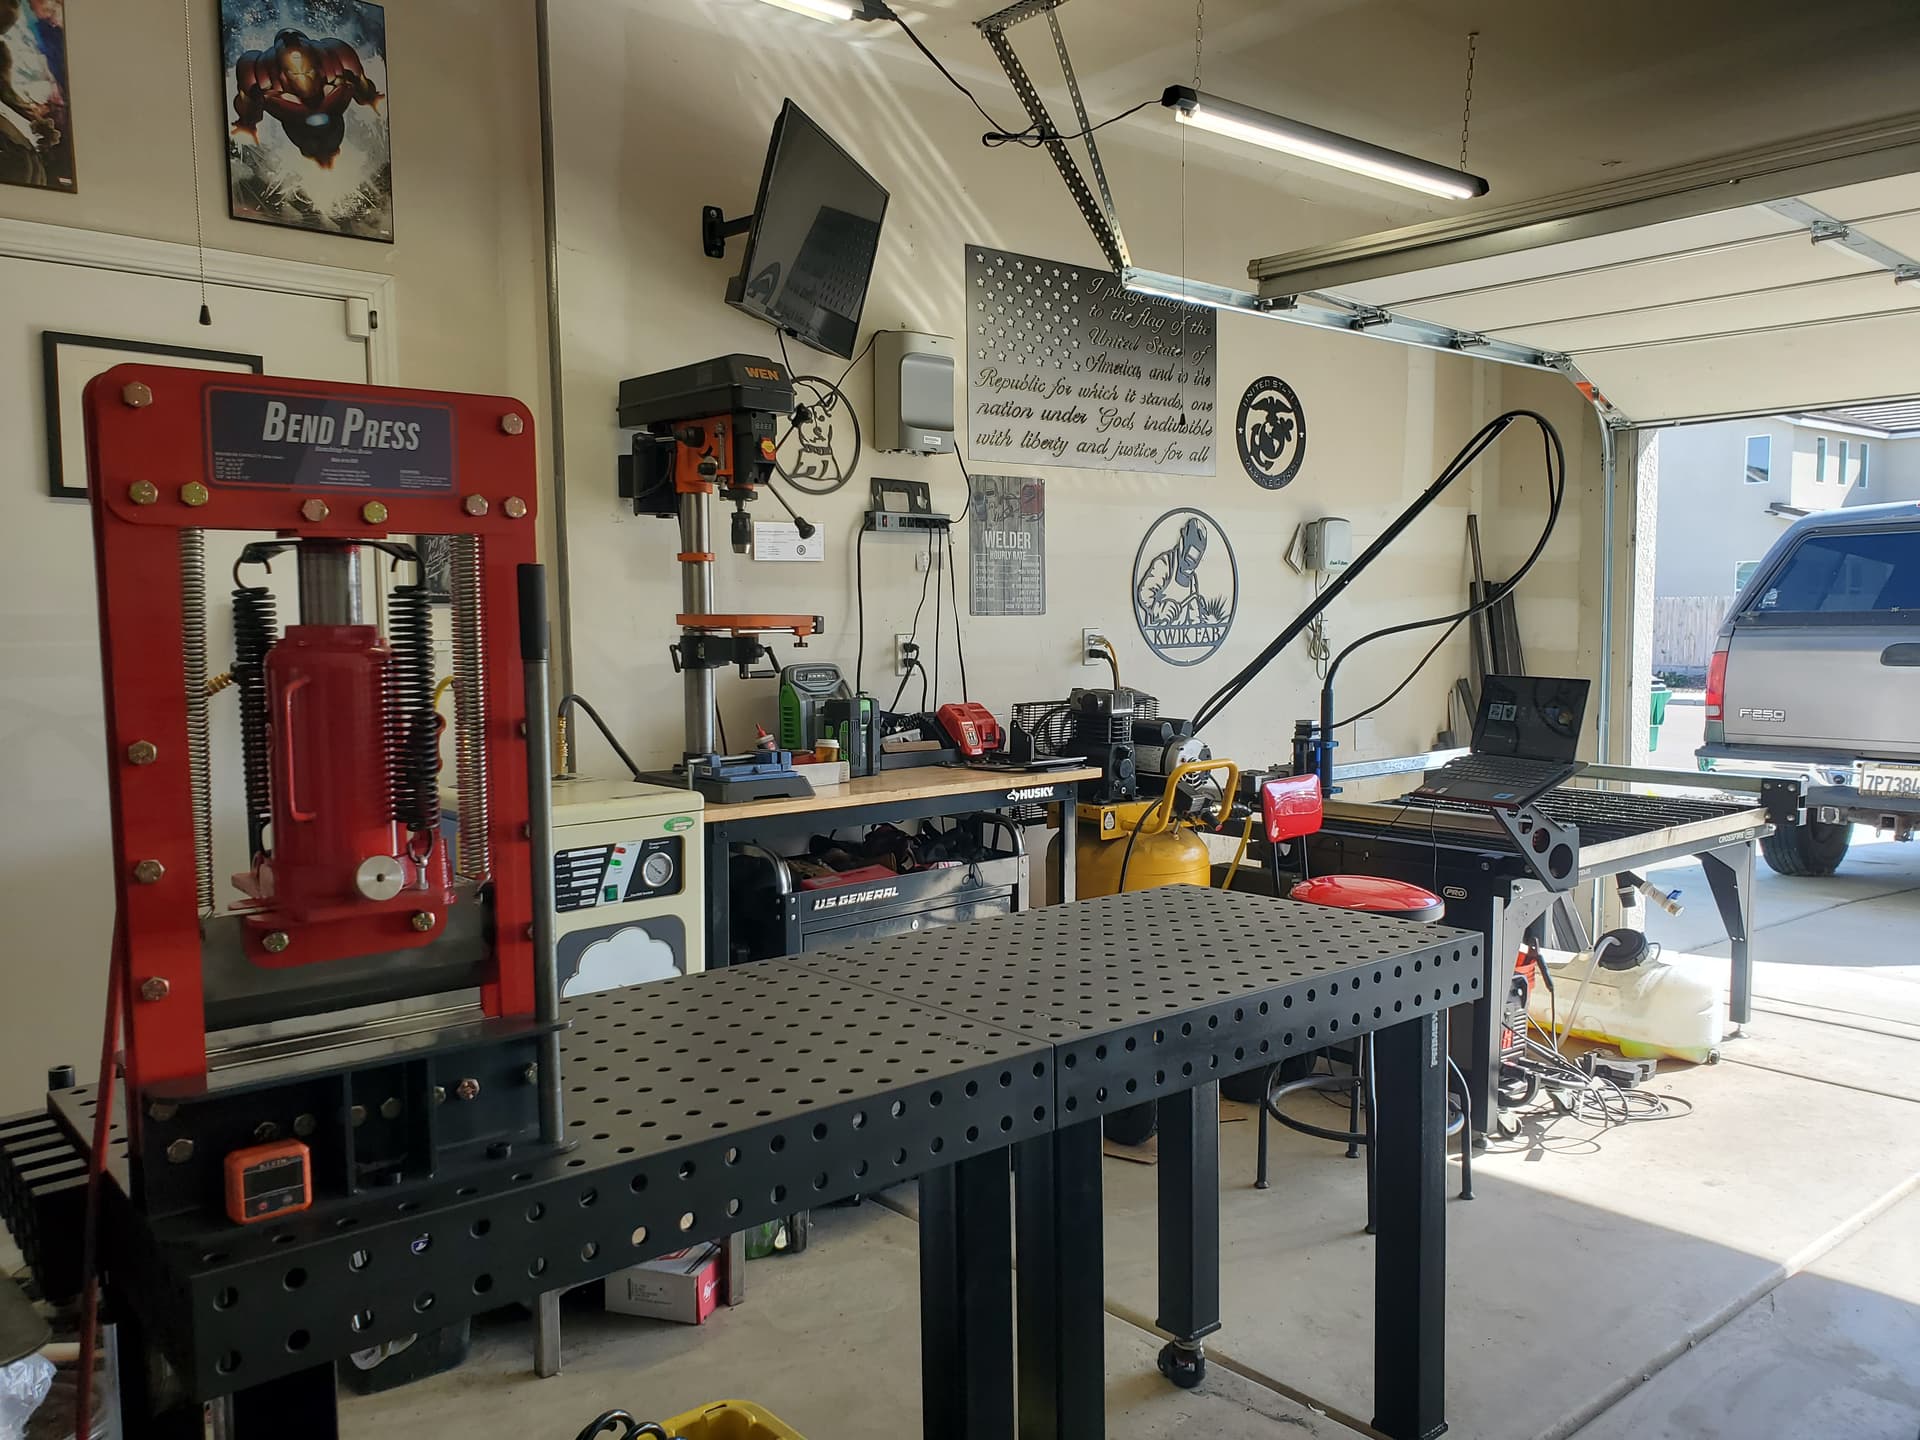
Dang you’ve been busy
1 Like
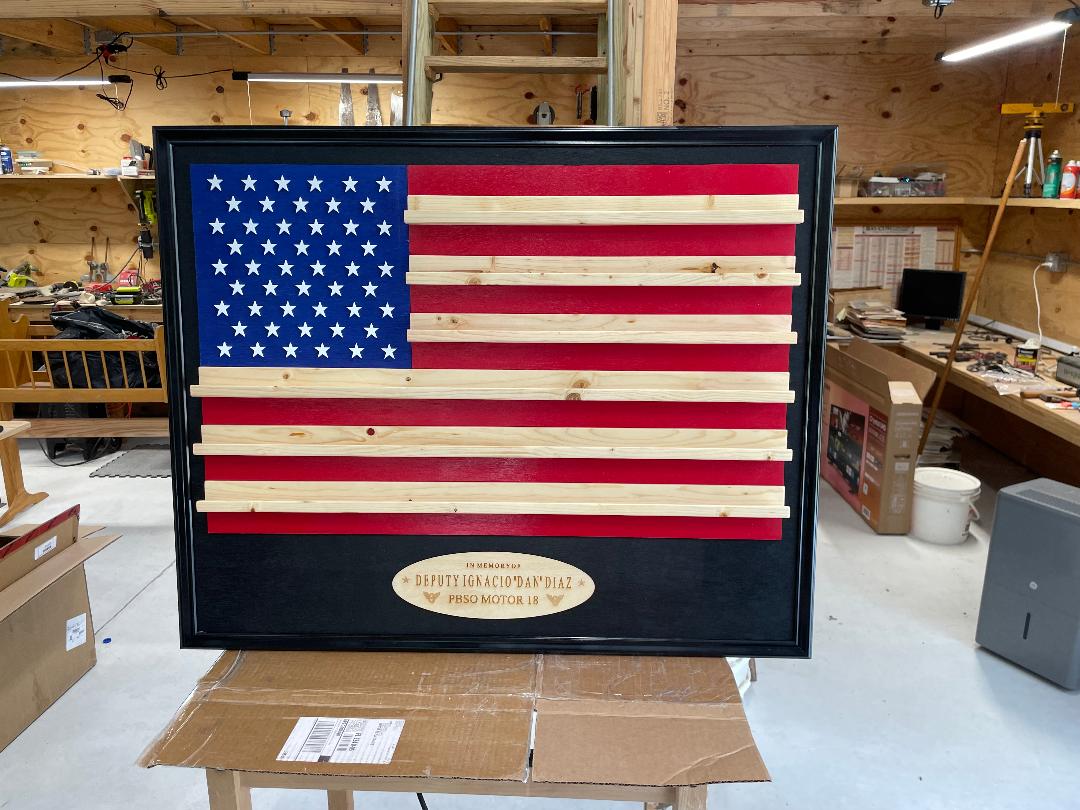
Been playing around learning the machine. I did the Challenge Flag for my neighbor. She was married to one of our recent fallen officers.
6 Likes
Don’t feel bad. I invented the humpback weld
You should get a Langmuir Forum Vest. We could award patches for each ‘specialty’ that your show mastery of.
I have no doubt that you will pass the JB Weld event but I am not so sure that you have put in the time to master “grinding”. Your welds look too good!
2 Likes
Tools are made to be worn out!
1 Like
Need that “welder” sign but for an engineer that cuts, welds, solders, etc. Sorry, “can you” is not my name…
1 Like
Damn good idea!
2 Likes
So we’re all doing the Langmuir Vest thing? ![]()
1 Like