Thanks Don got them!
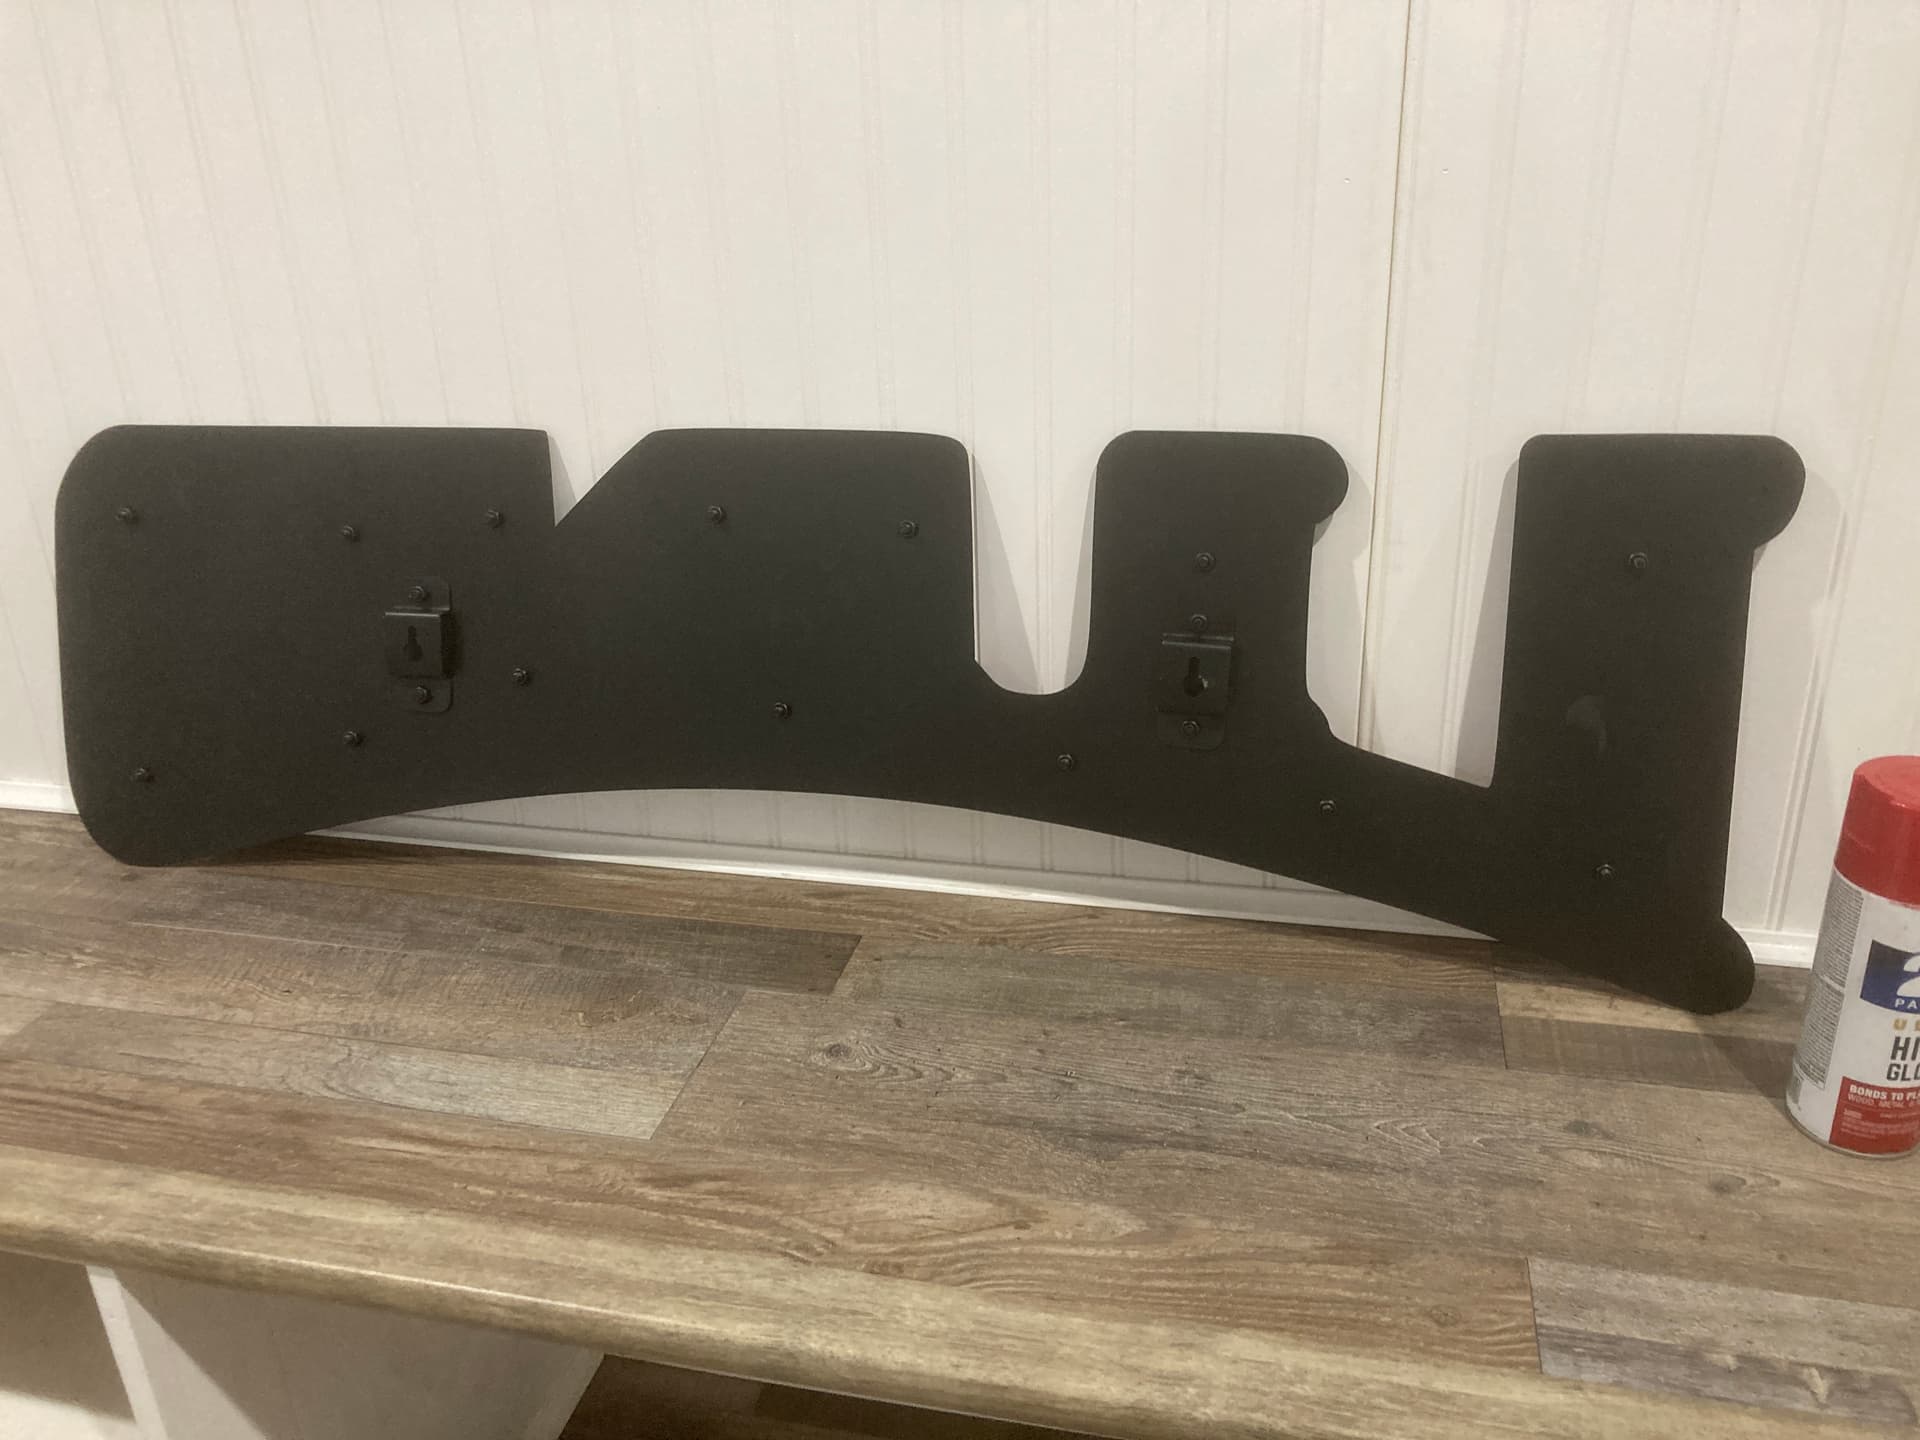
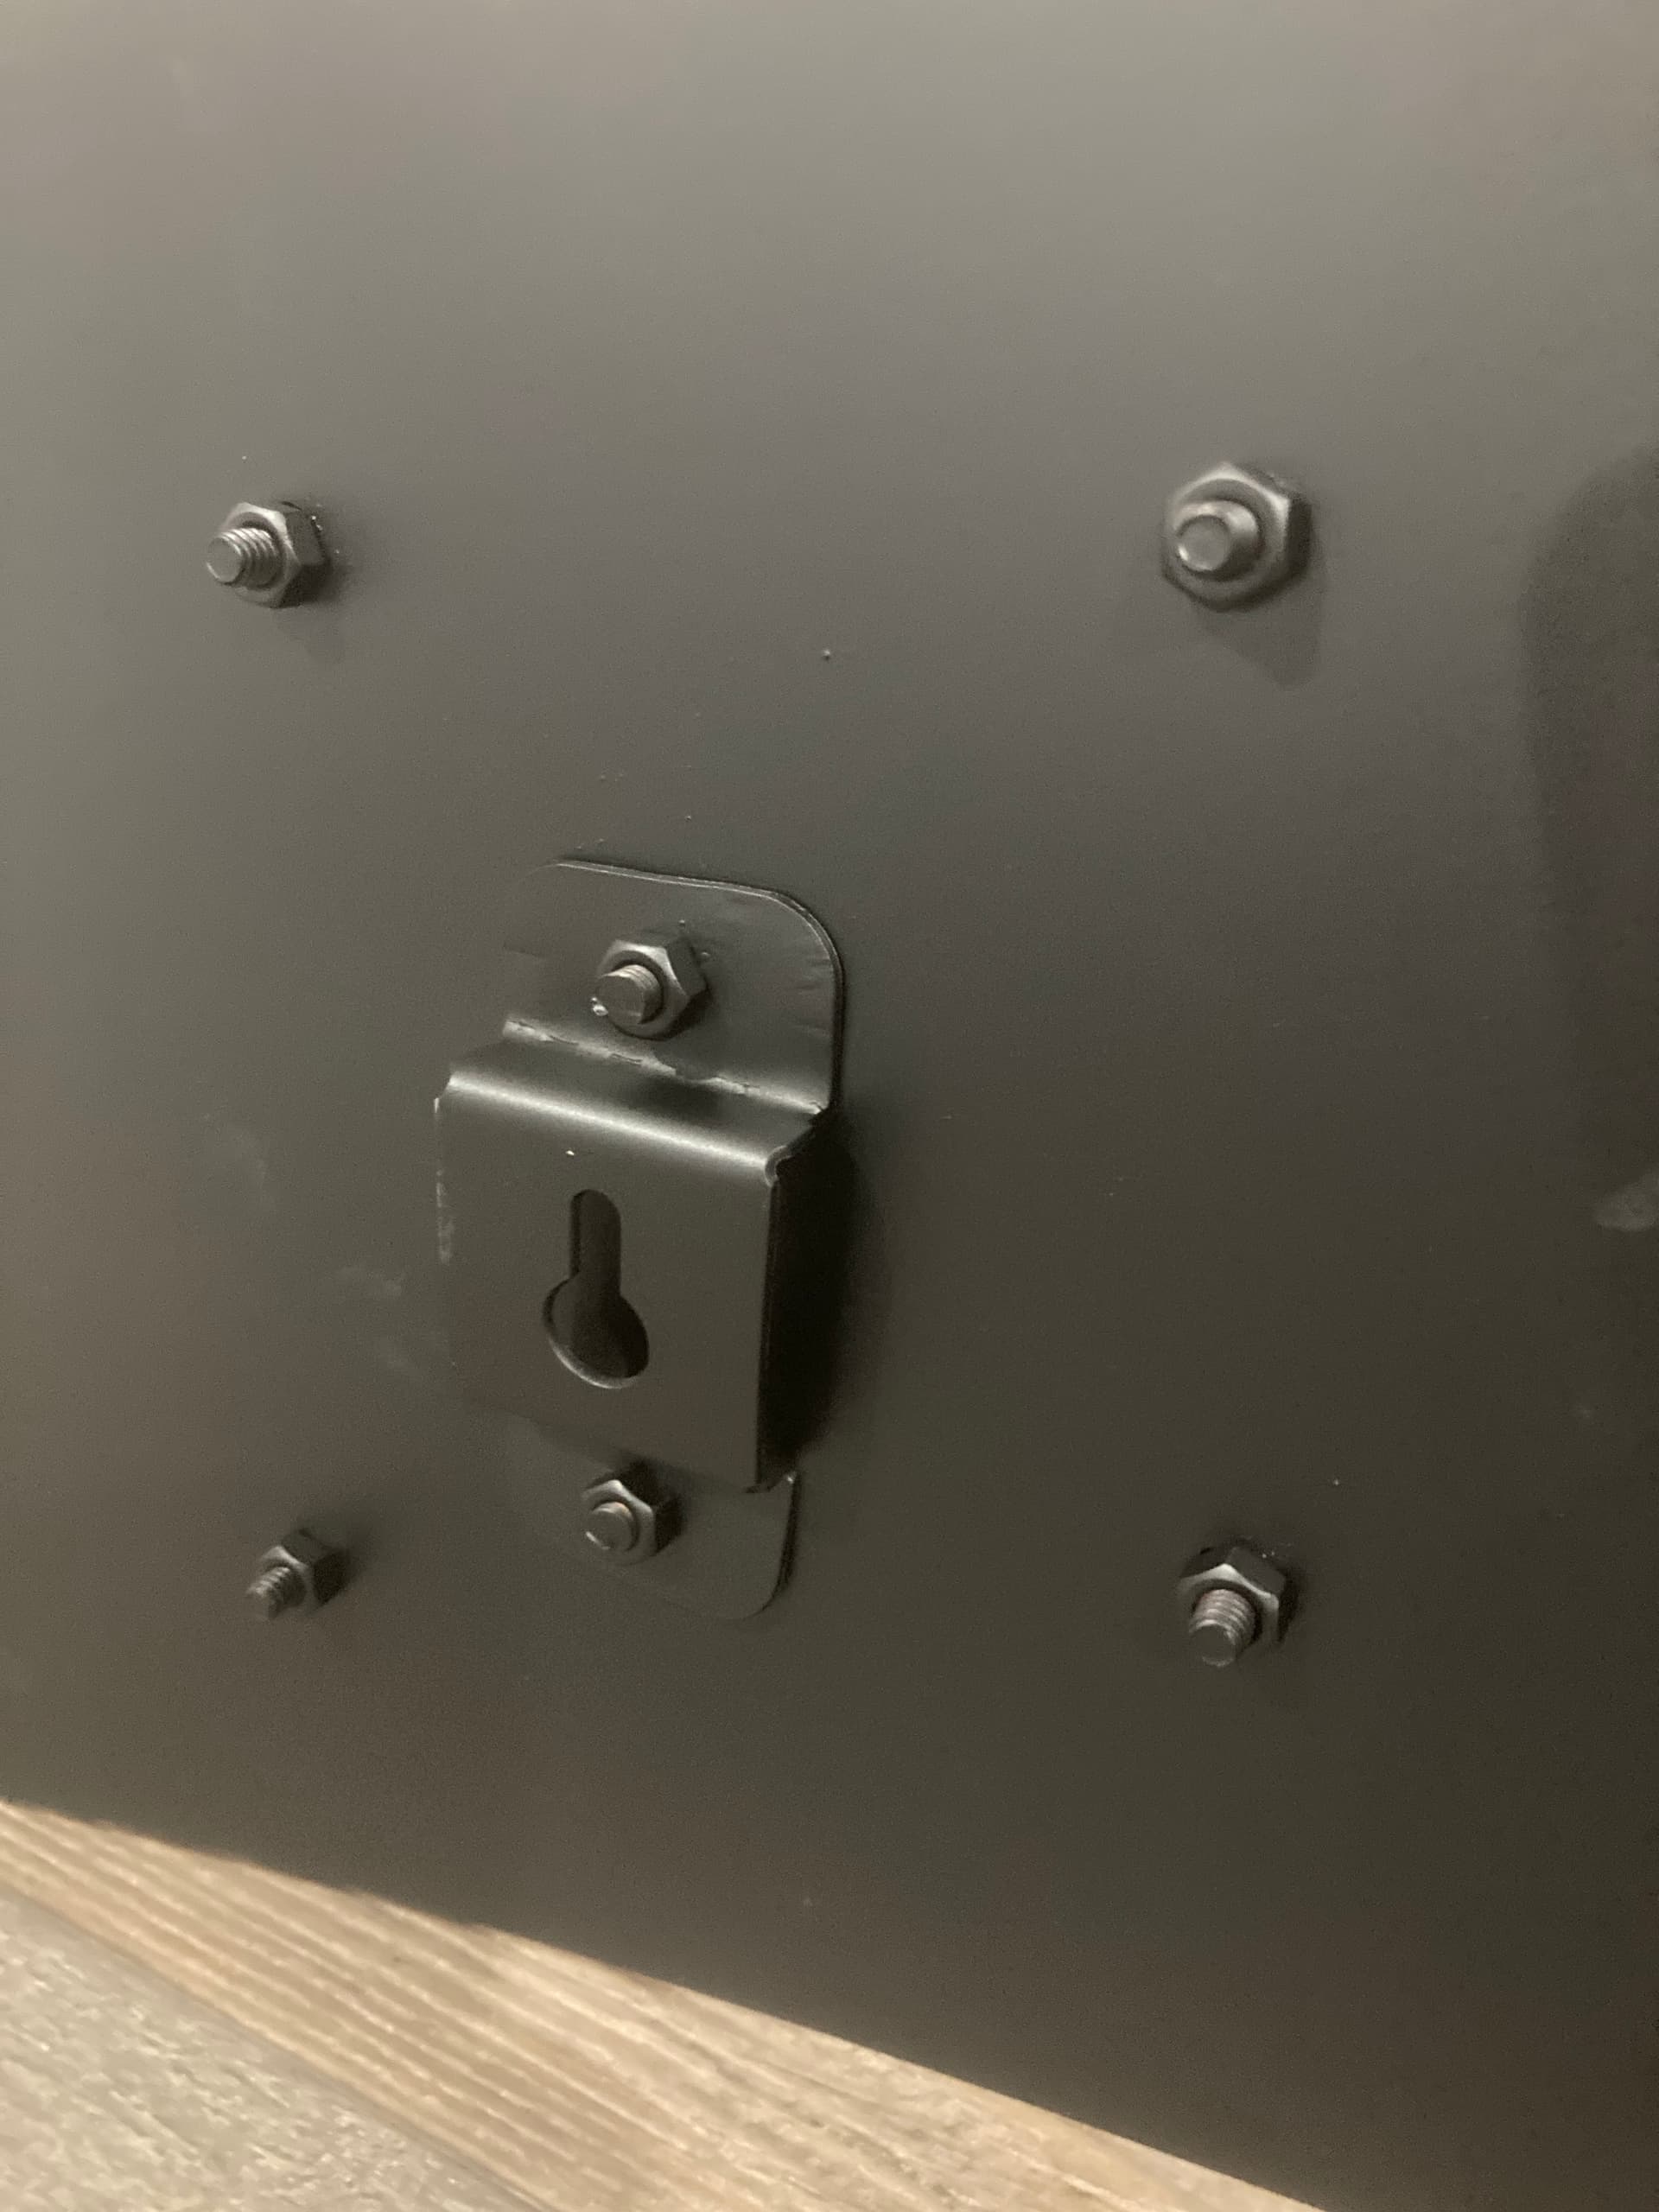
If anyone has questions how i did take a few pictures making this sign if other want to get into layered signs. i bolt them together so i can separate and paint them. I only started about 6-8 months ago and have all kinds of yard art. Fun hobby
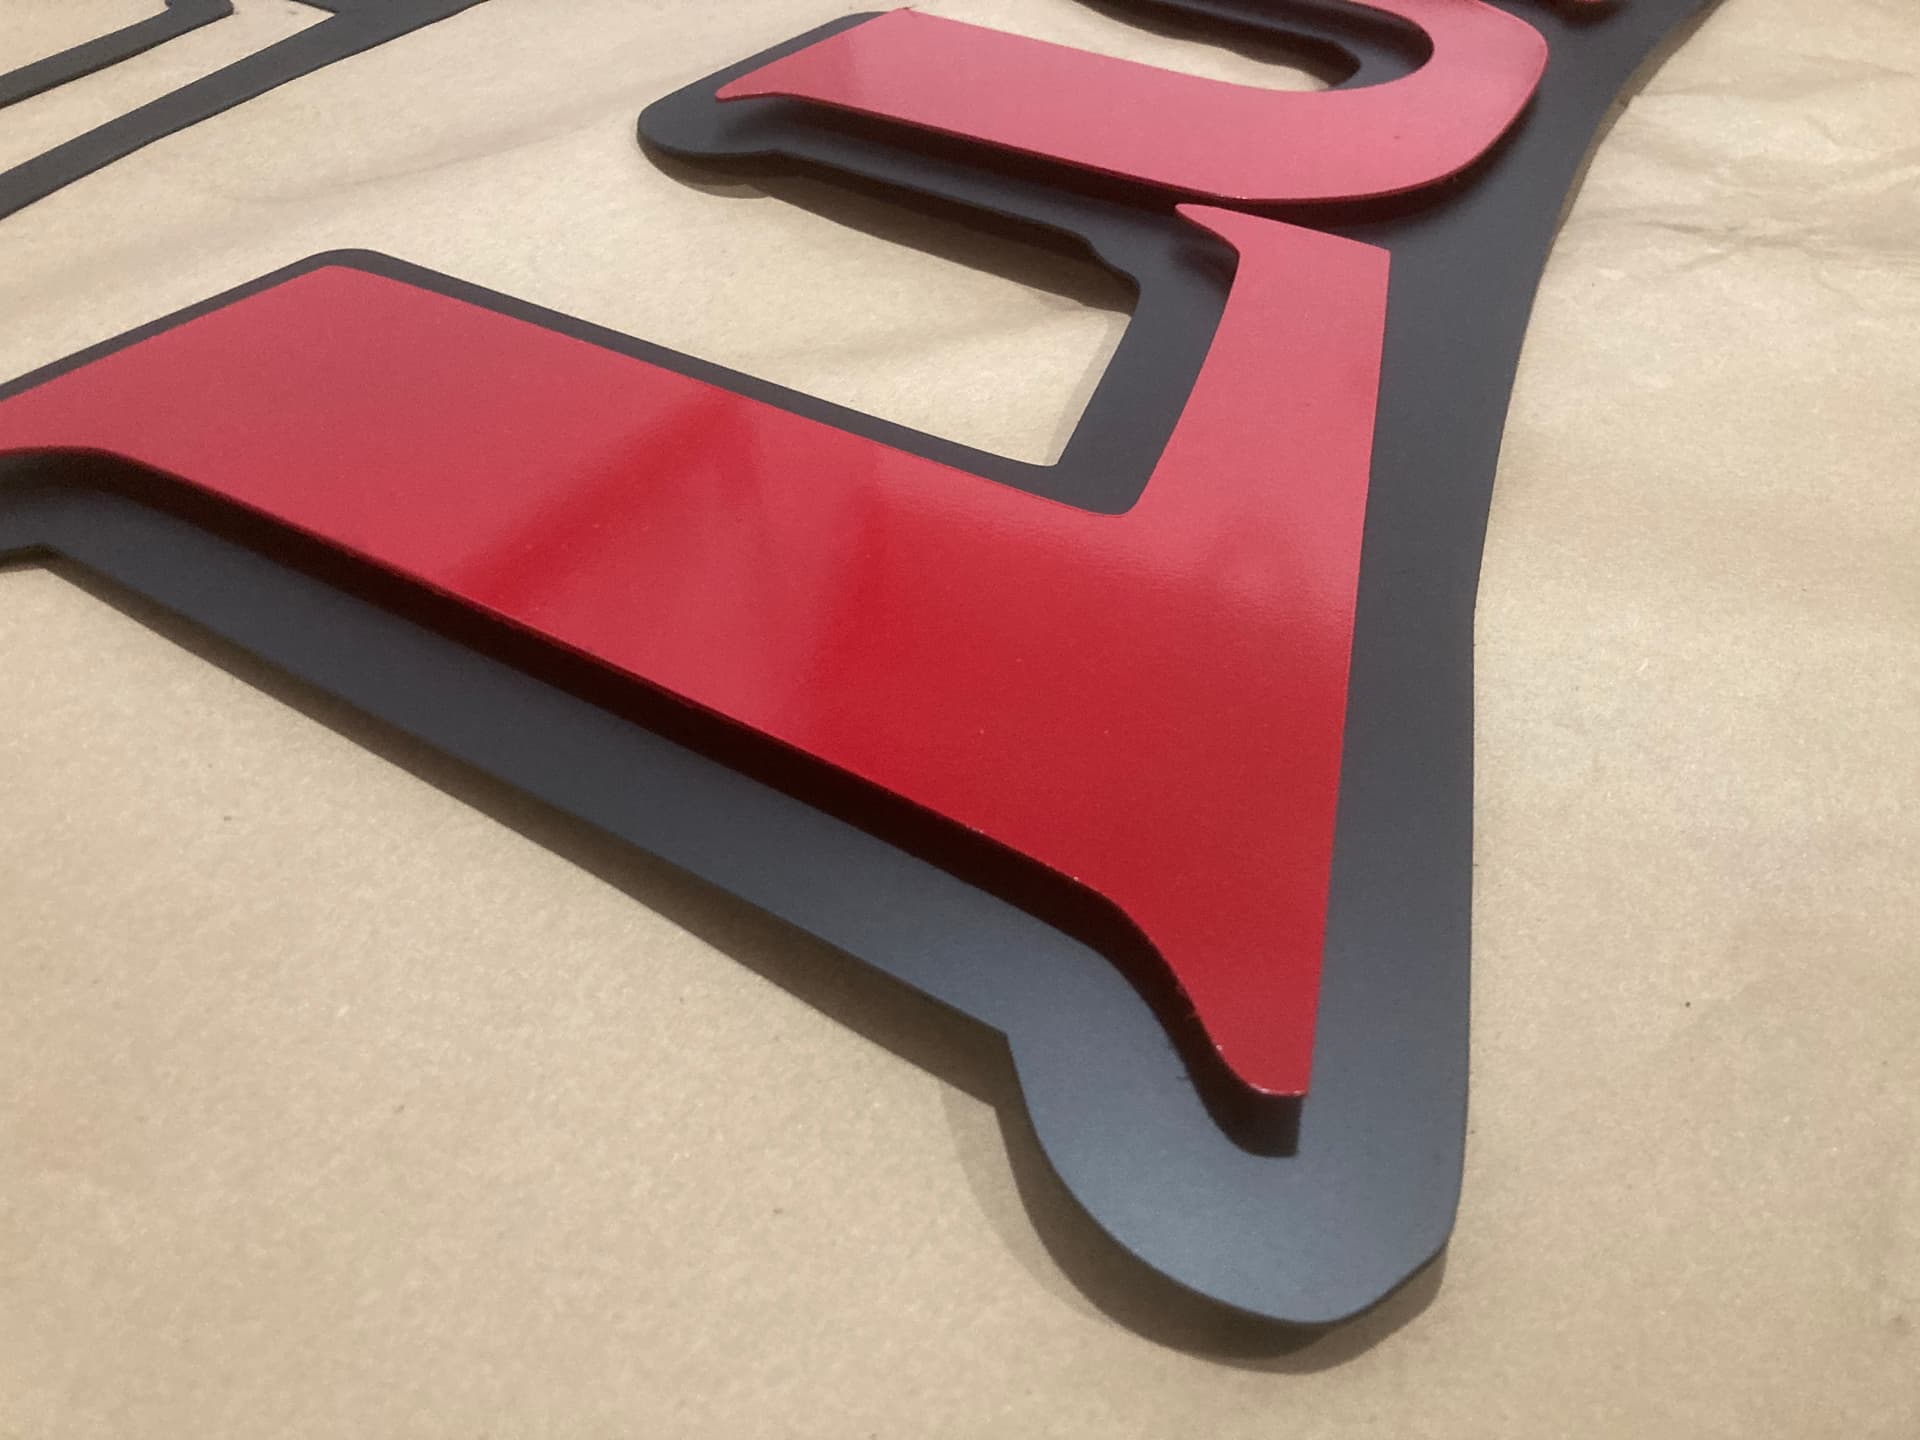
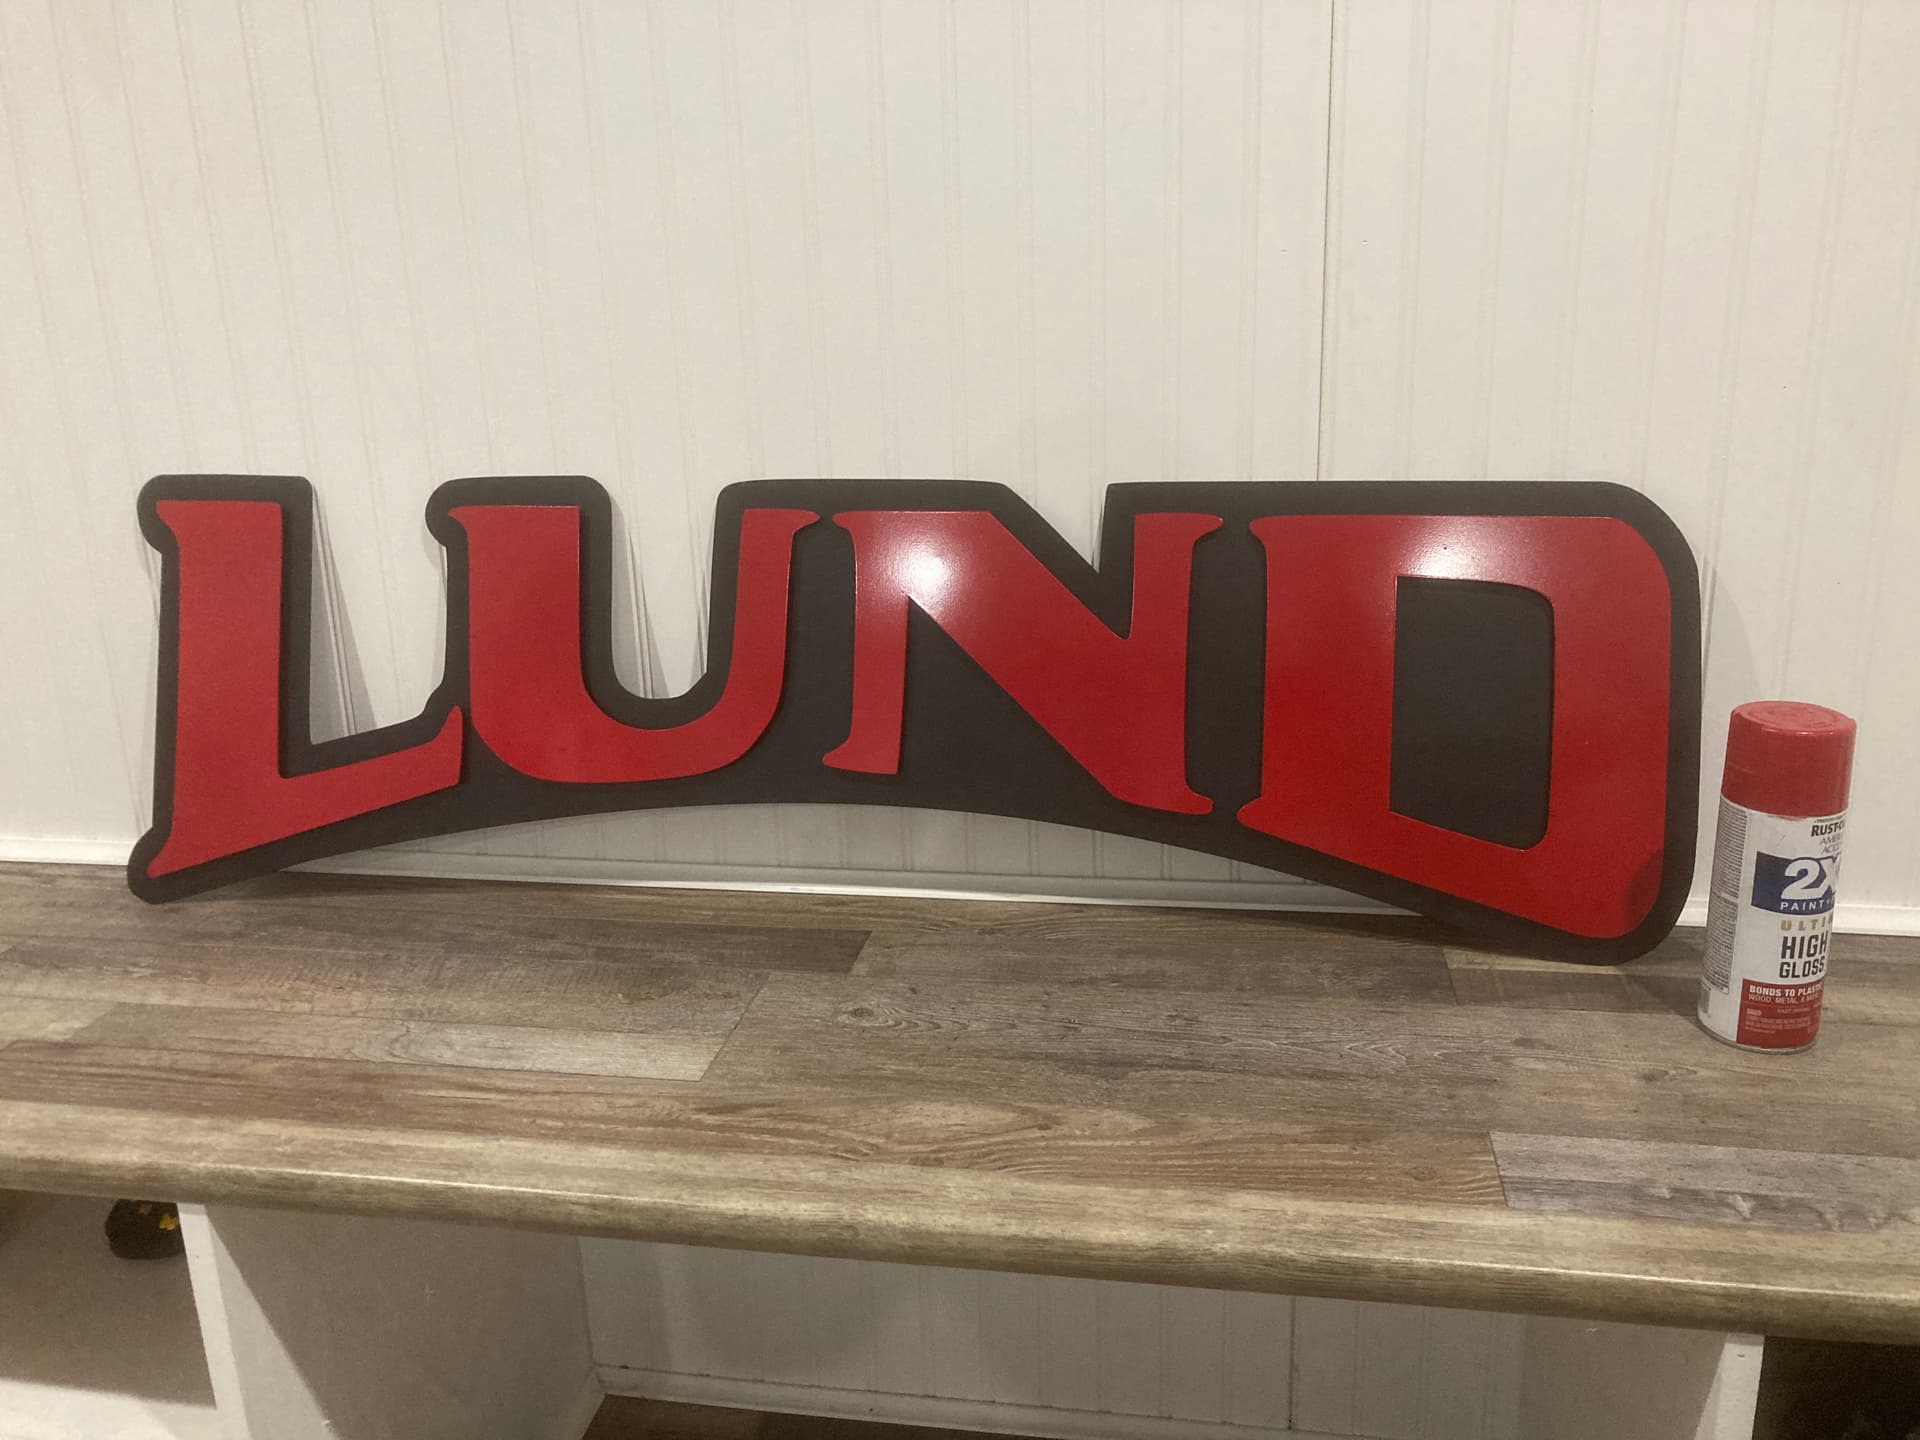
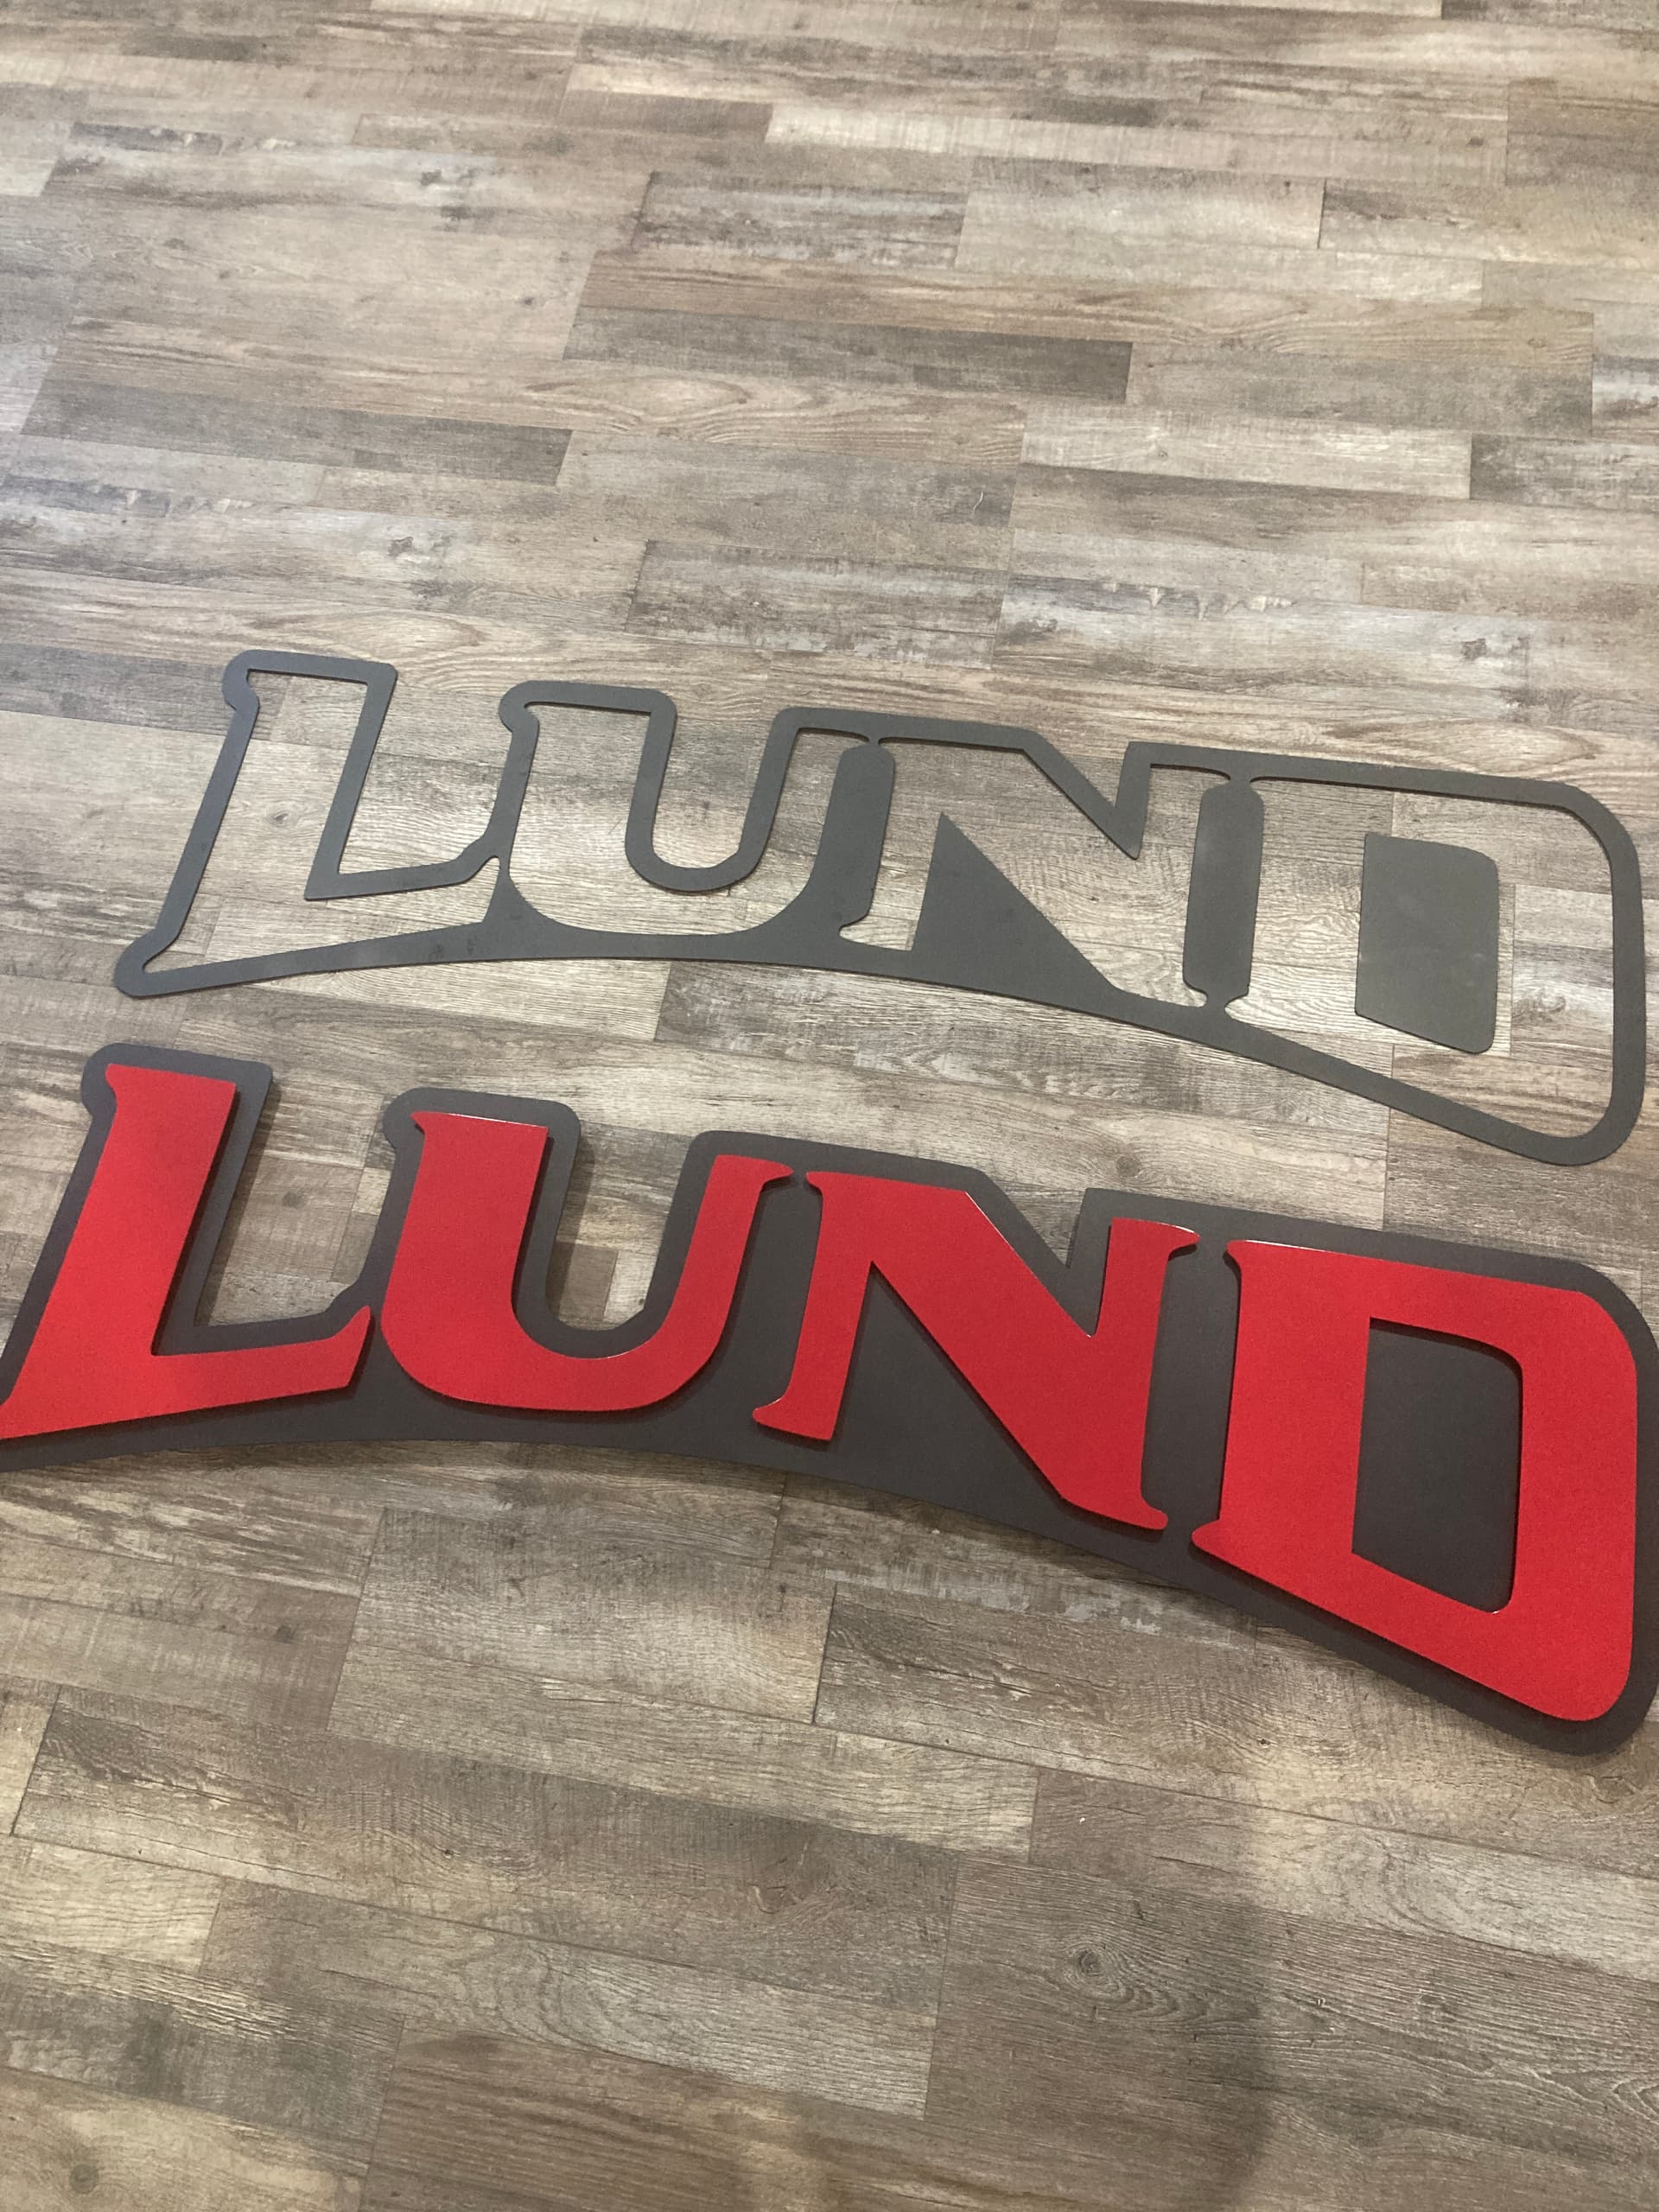
LUND sign is done for my pole barn. Best boat in Michigan for walleye fishing!
9 Likes
Today thanks to DonP I learned about scaling in Fusion 360. also found the top button to extrude is much friendlier than the second one down, Also learned (Again ) how important to have the + cable connected while cutting…and a new one for me, turn on the dang compressor. This led to me learning how to start a cut in firecontrol from where it failed. I swear I’m gonna make a list on the wall above my table listing all of the things to do before starting. Thanks for all the help guys, It’s been a long hard day but the beer is cold…
3 Likes
I had plans of a checklist, by the time I got around to it most things I had been forgetting to begin with were now second nature. Lol
i just started 6 months ago and no one to help me. The main thing is to keep on cutting and trying new things. Many people think it’s easy but starting is tough. I just recently started helping people and always learning new tricks myself.
1 Like
Just finished my layered pole barn signs I started this morning. Cleaned the water table so back to designing for few days. I would love to see more of people layered signs or 3D yard art and might give me some ideas for other stuff to make around my house.
12 Likes
Really nice stuff!
Don, I’d be interested in hearing about your process using the stud gun… I’ve thought about this a few times but, I’ve gone the route of making several layers on the drawing with “drill points” that align in each layer… Then, drilling, tapping, welding(mig) studs, grinding, painting, and assembling… this helps 100% in aligning the letters at the assembly stage…
How does the stud gun method get that accurracy so things dont get out of alignment?
Always looking for new ideas here!! Example below…


7 Likes
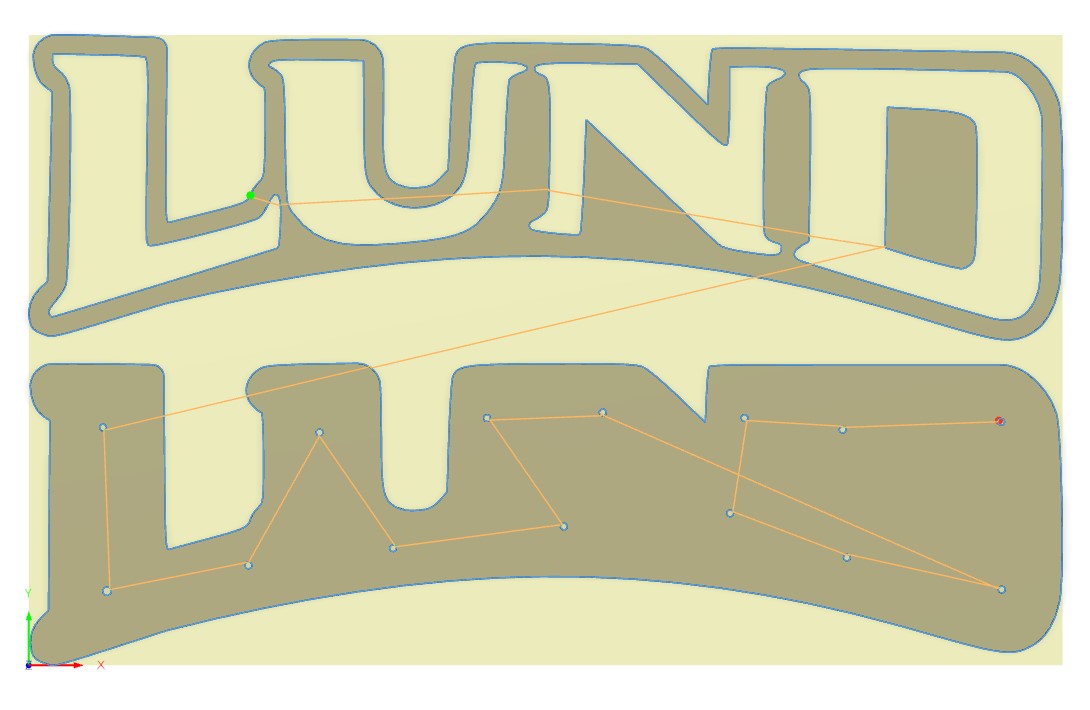


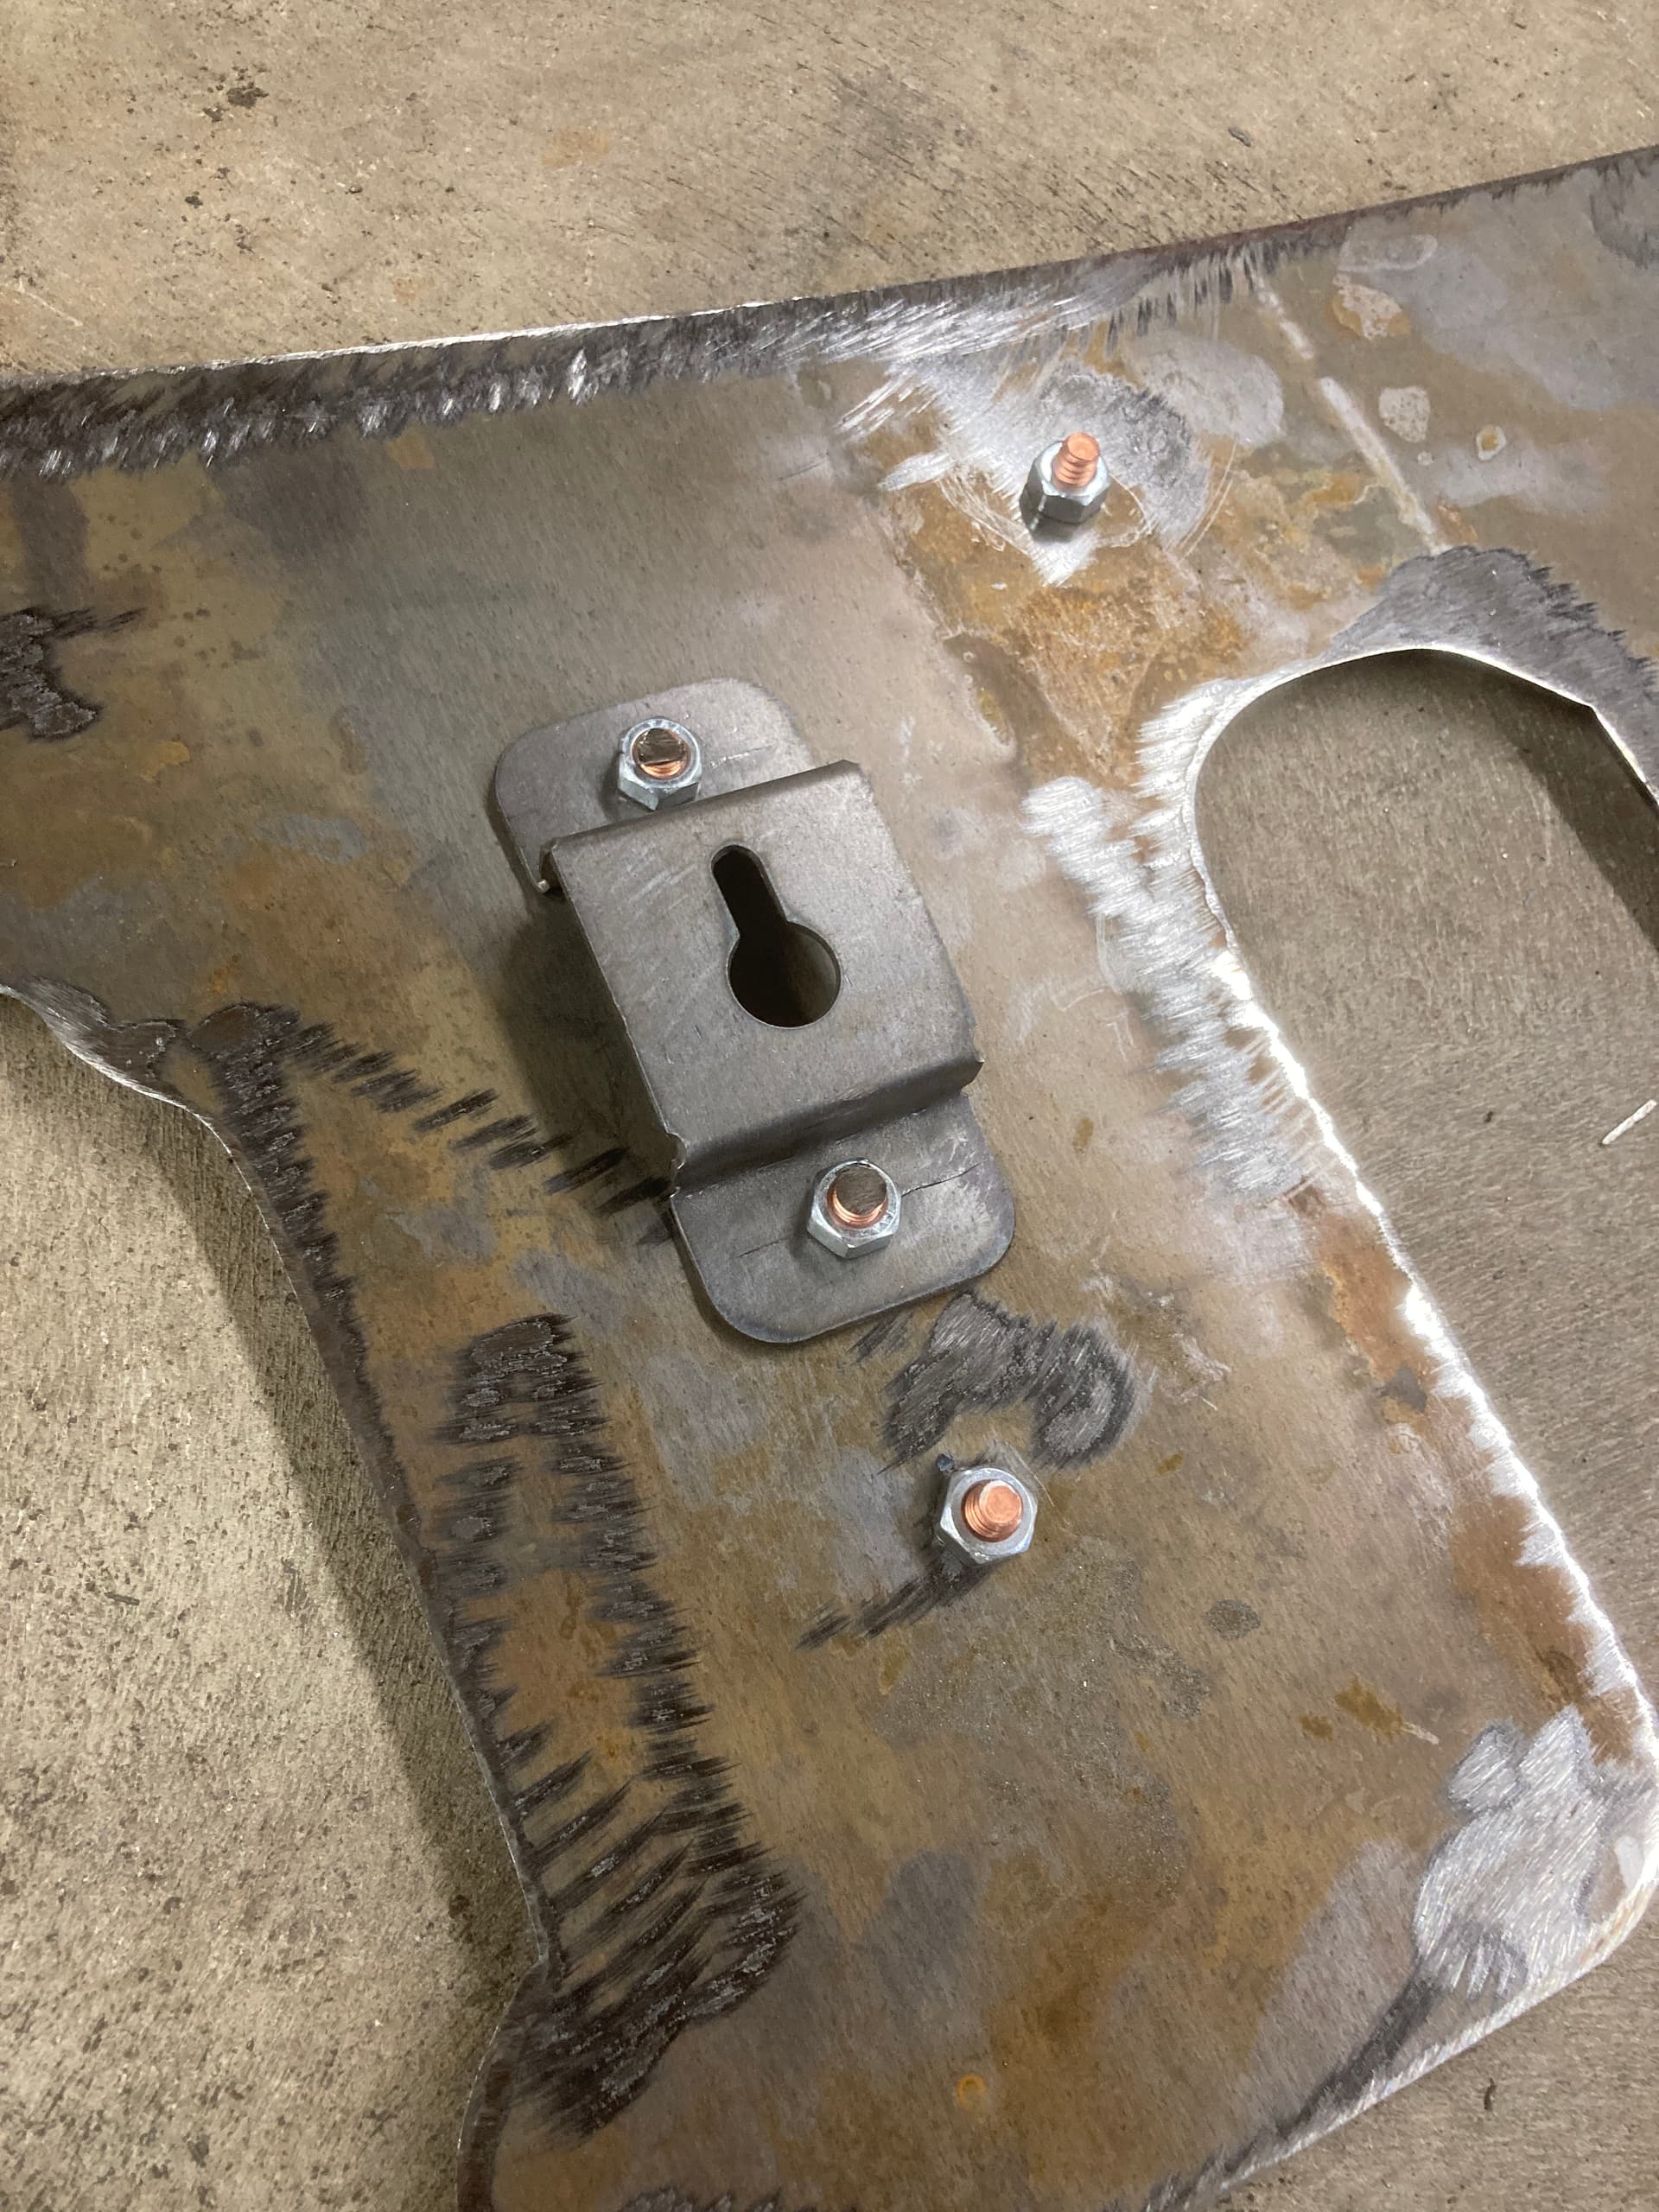
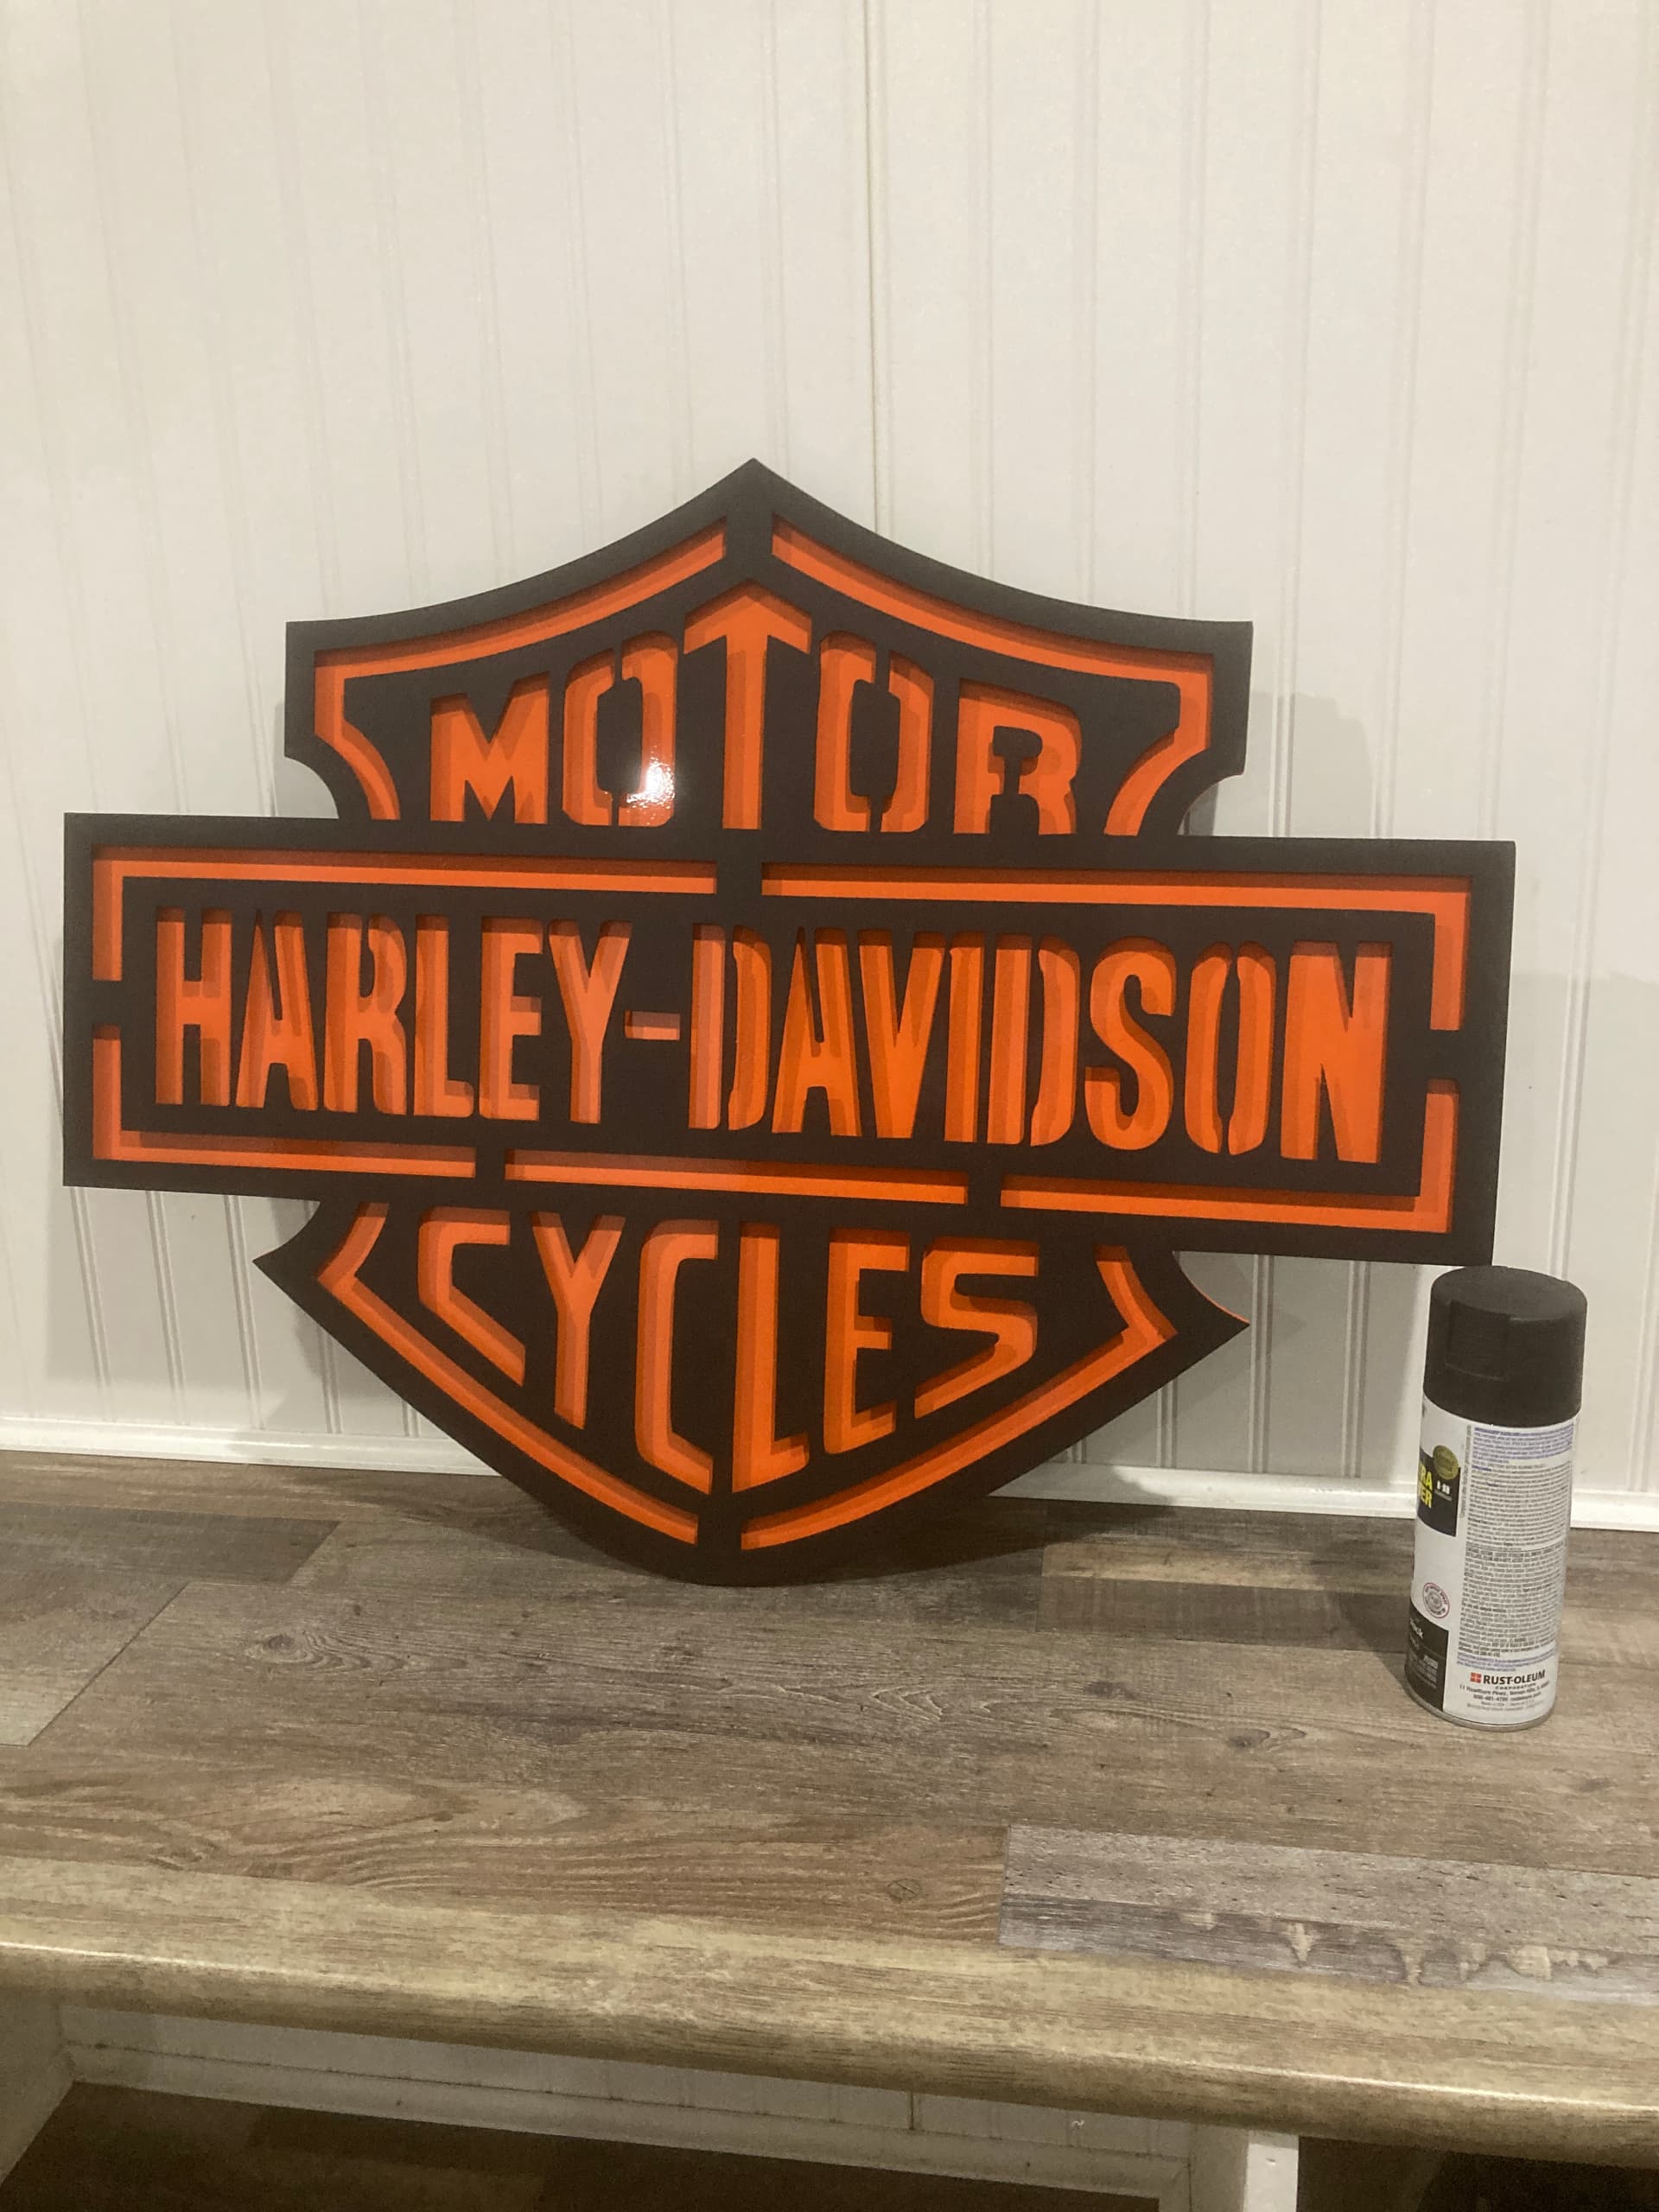
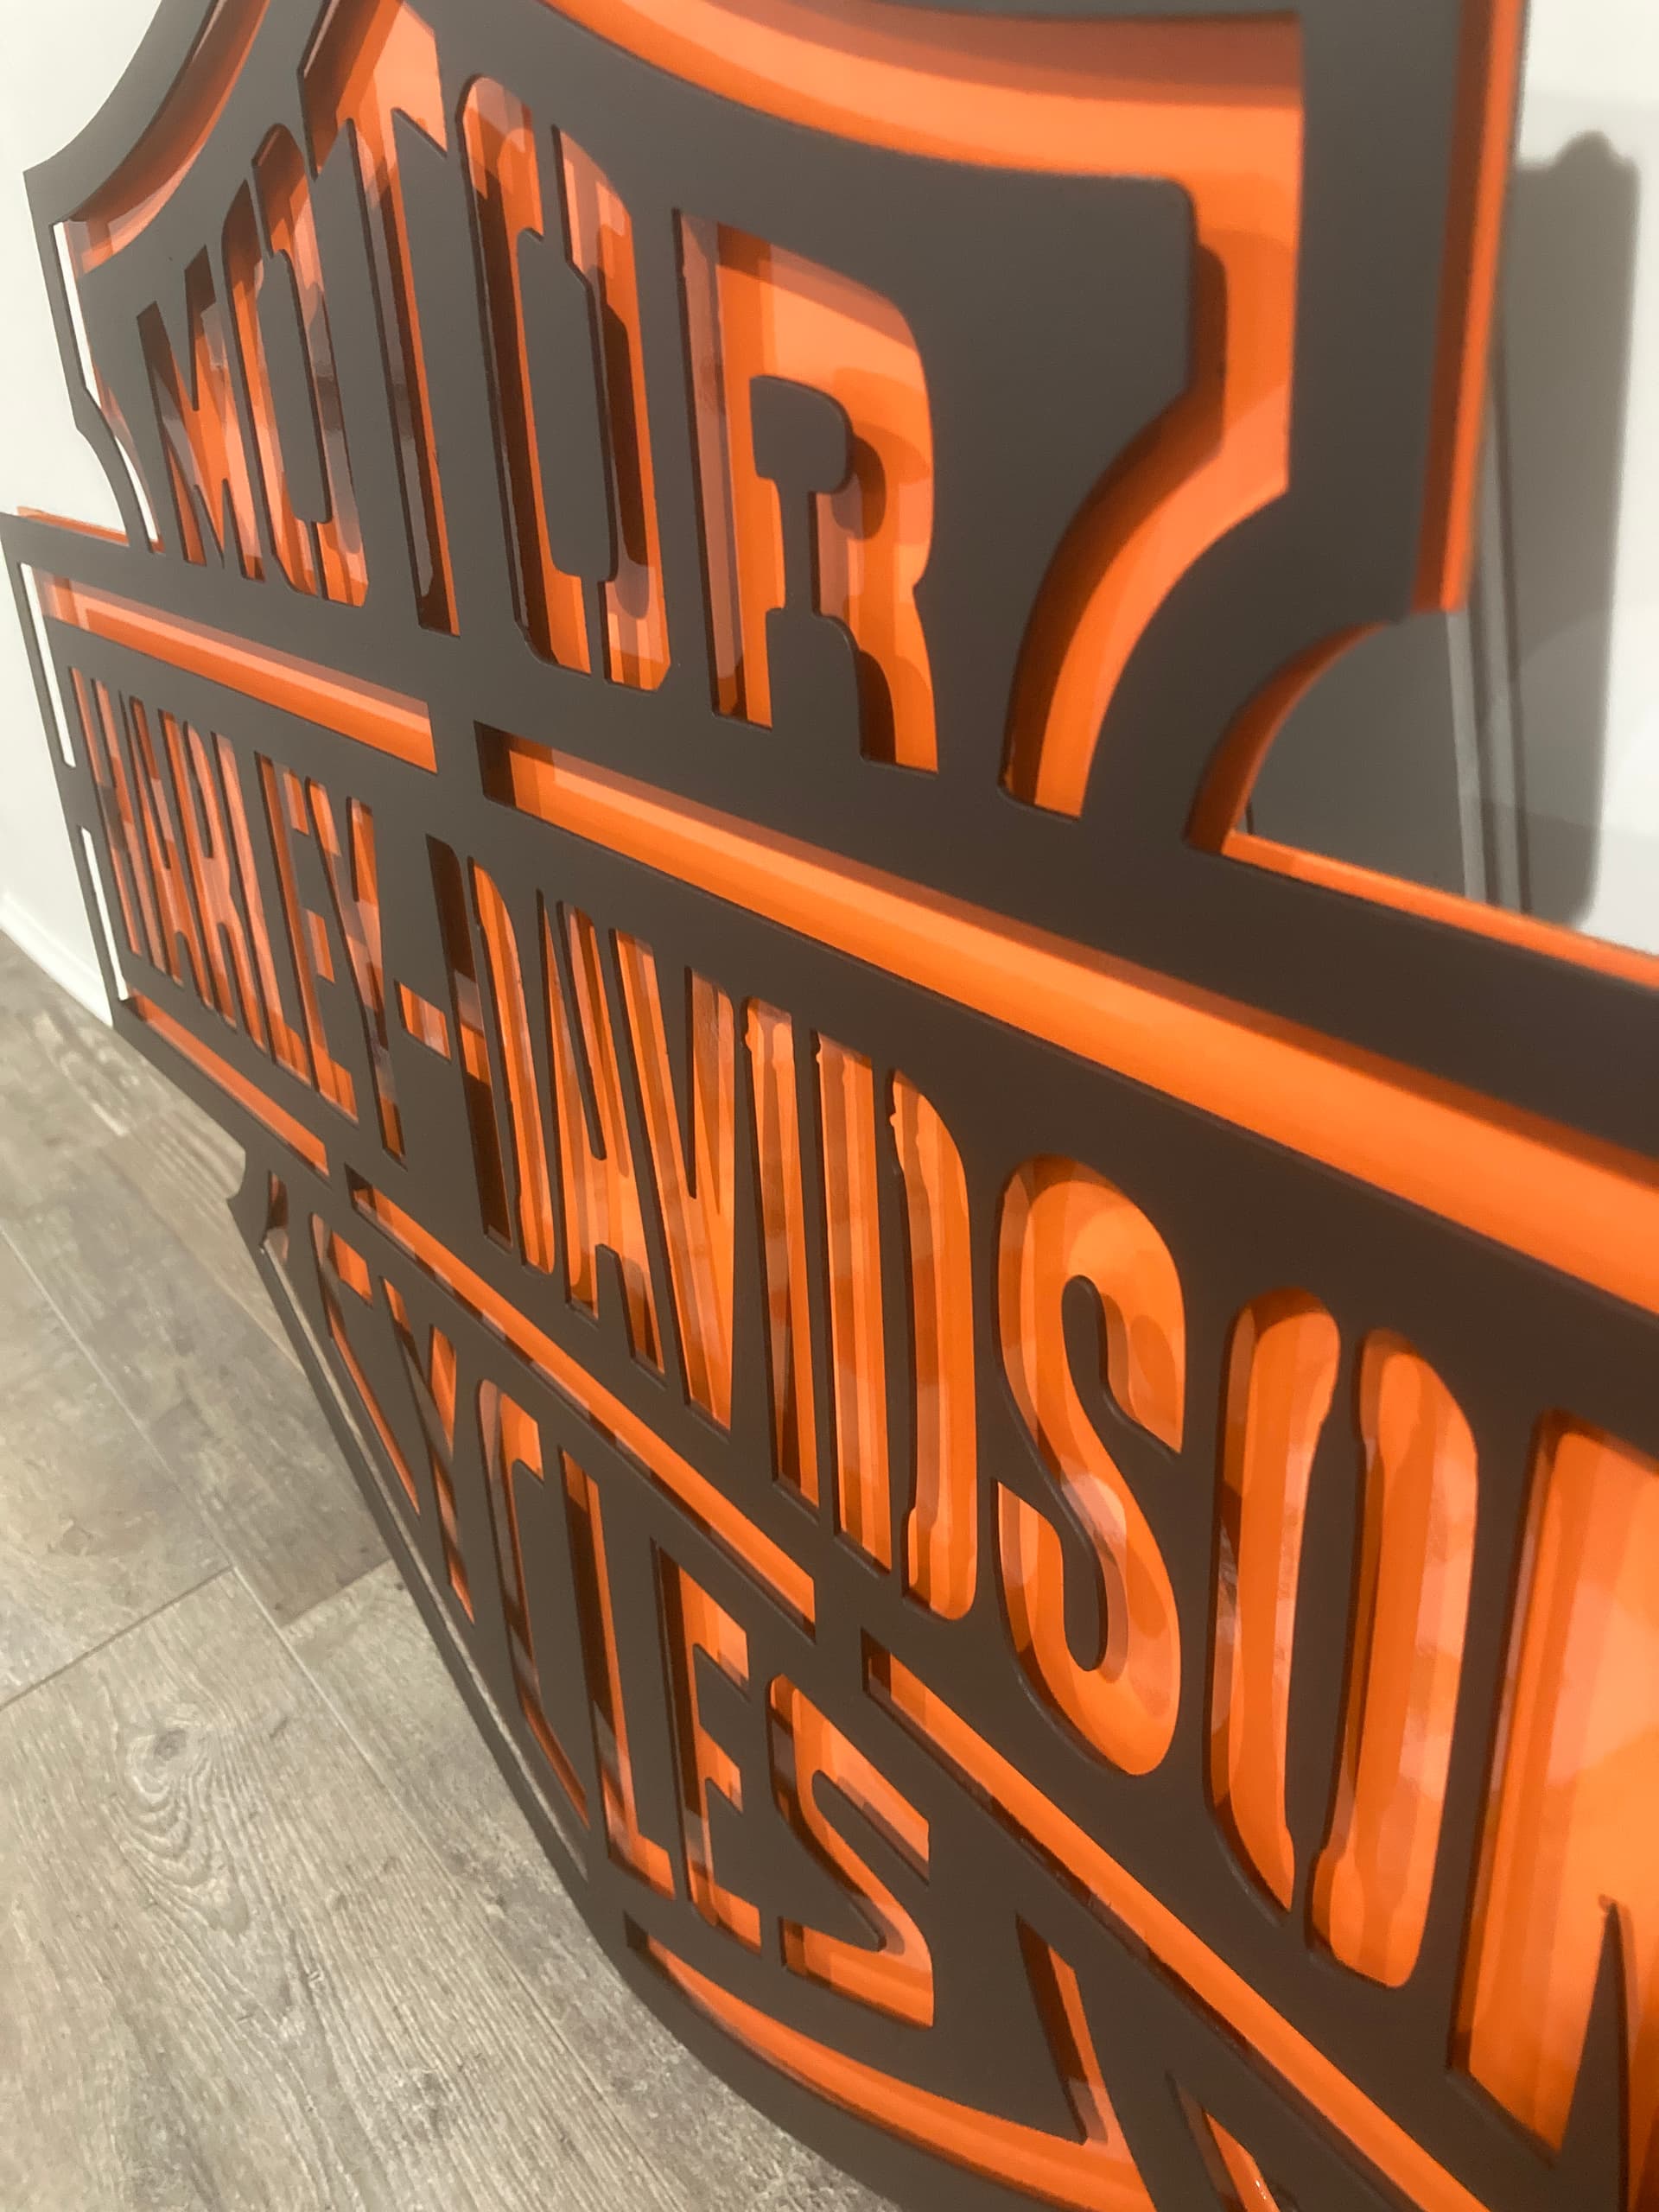
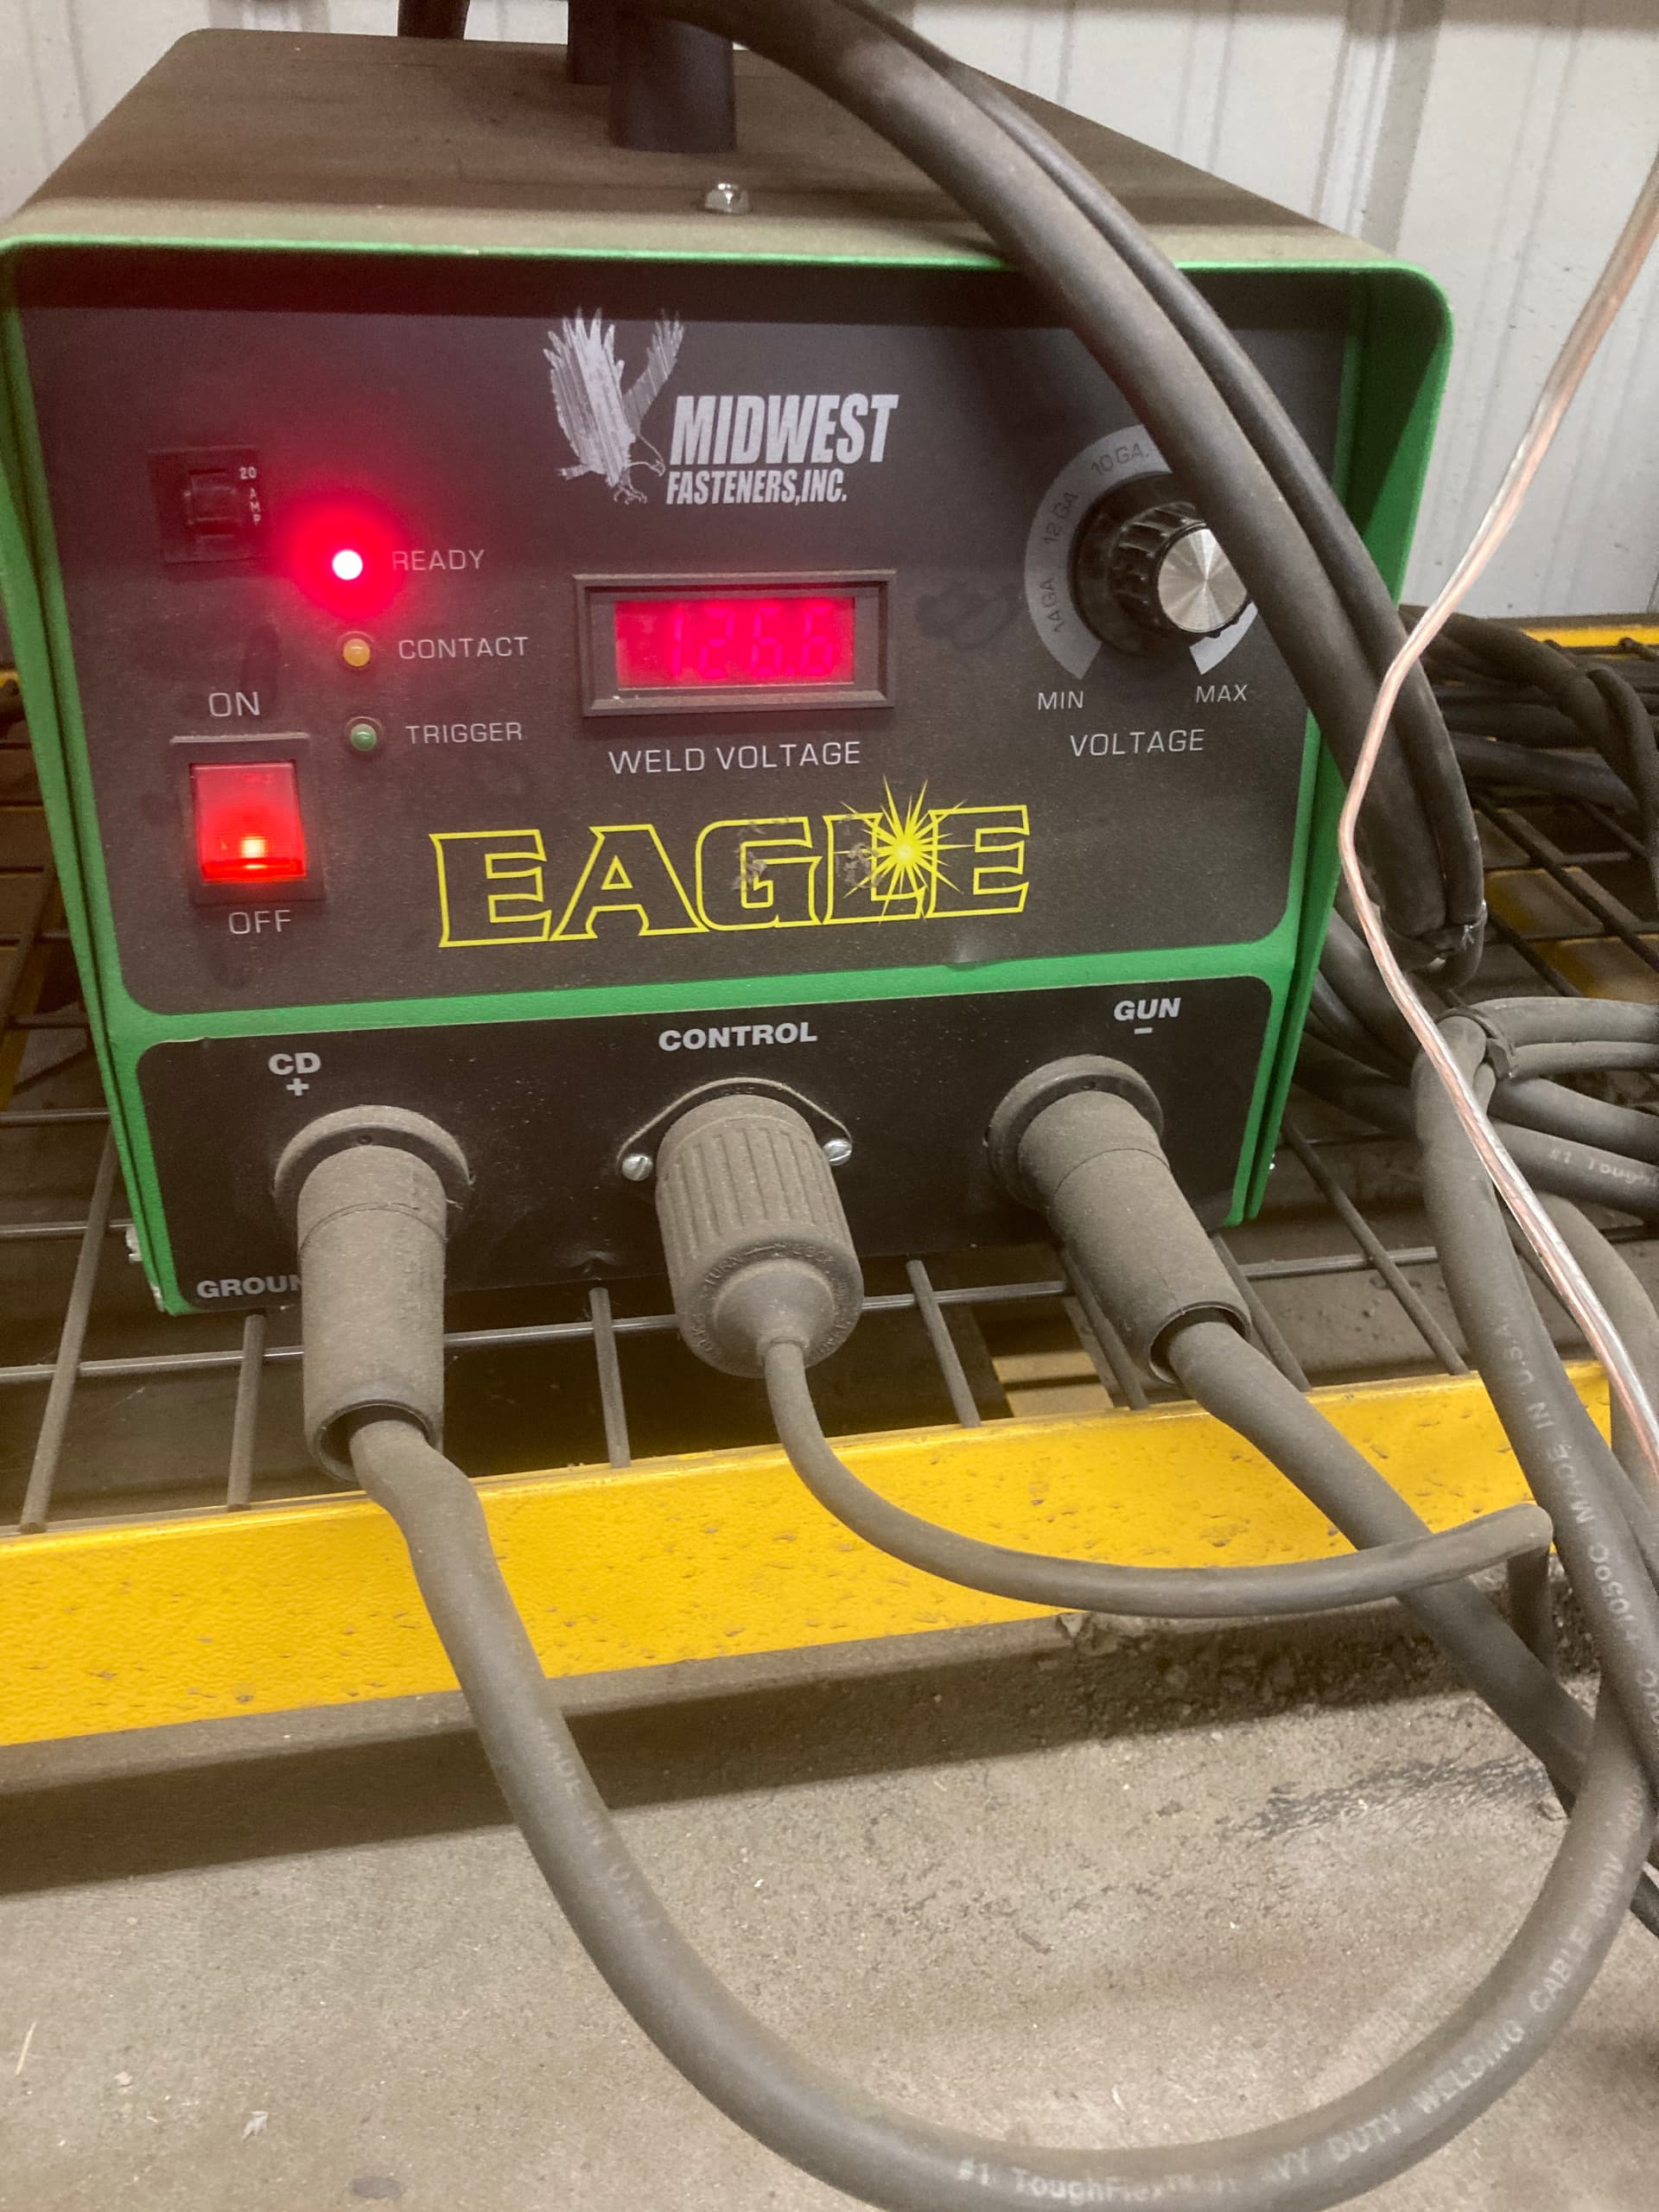
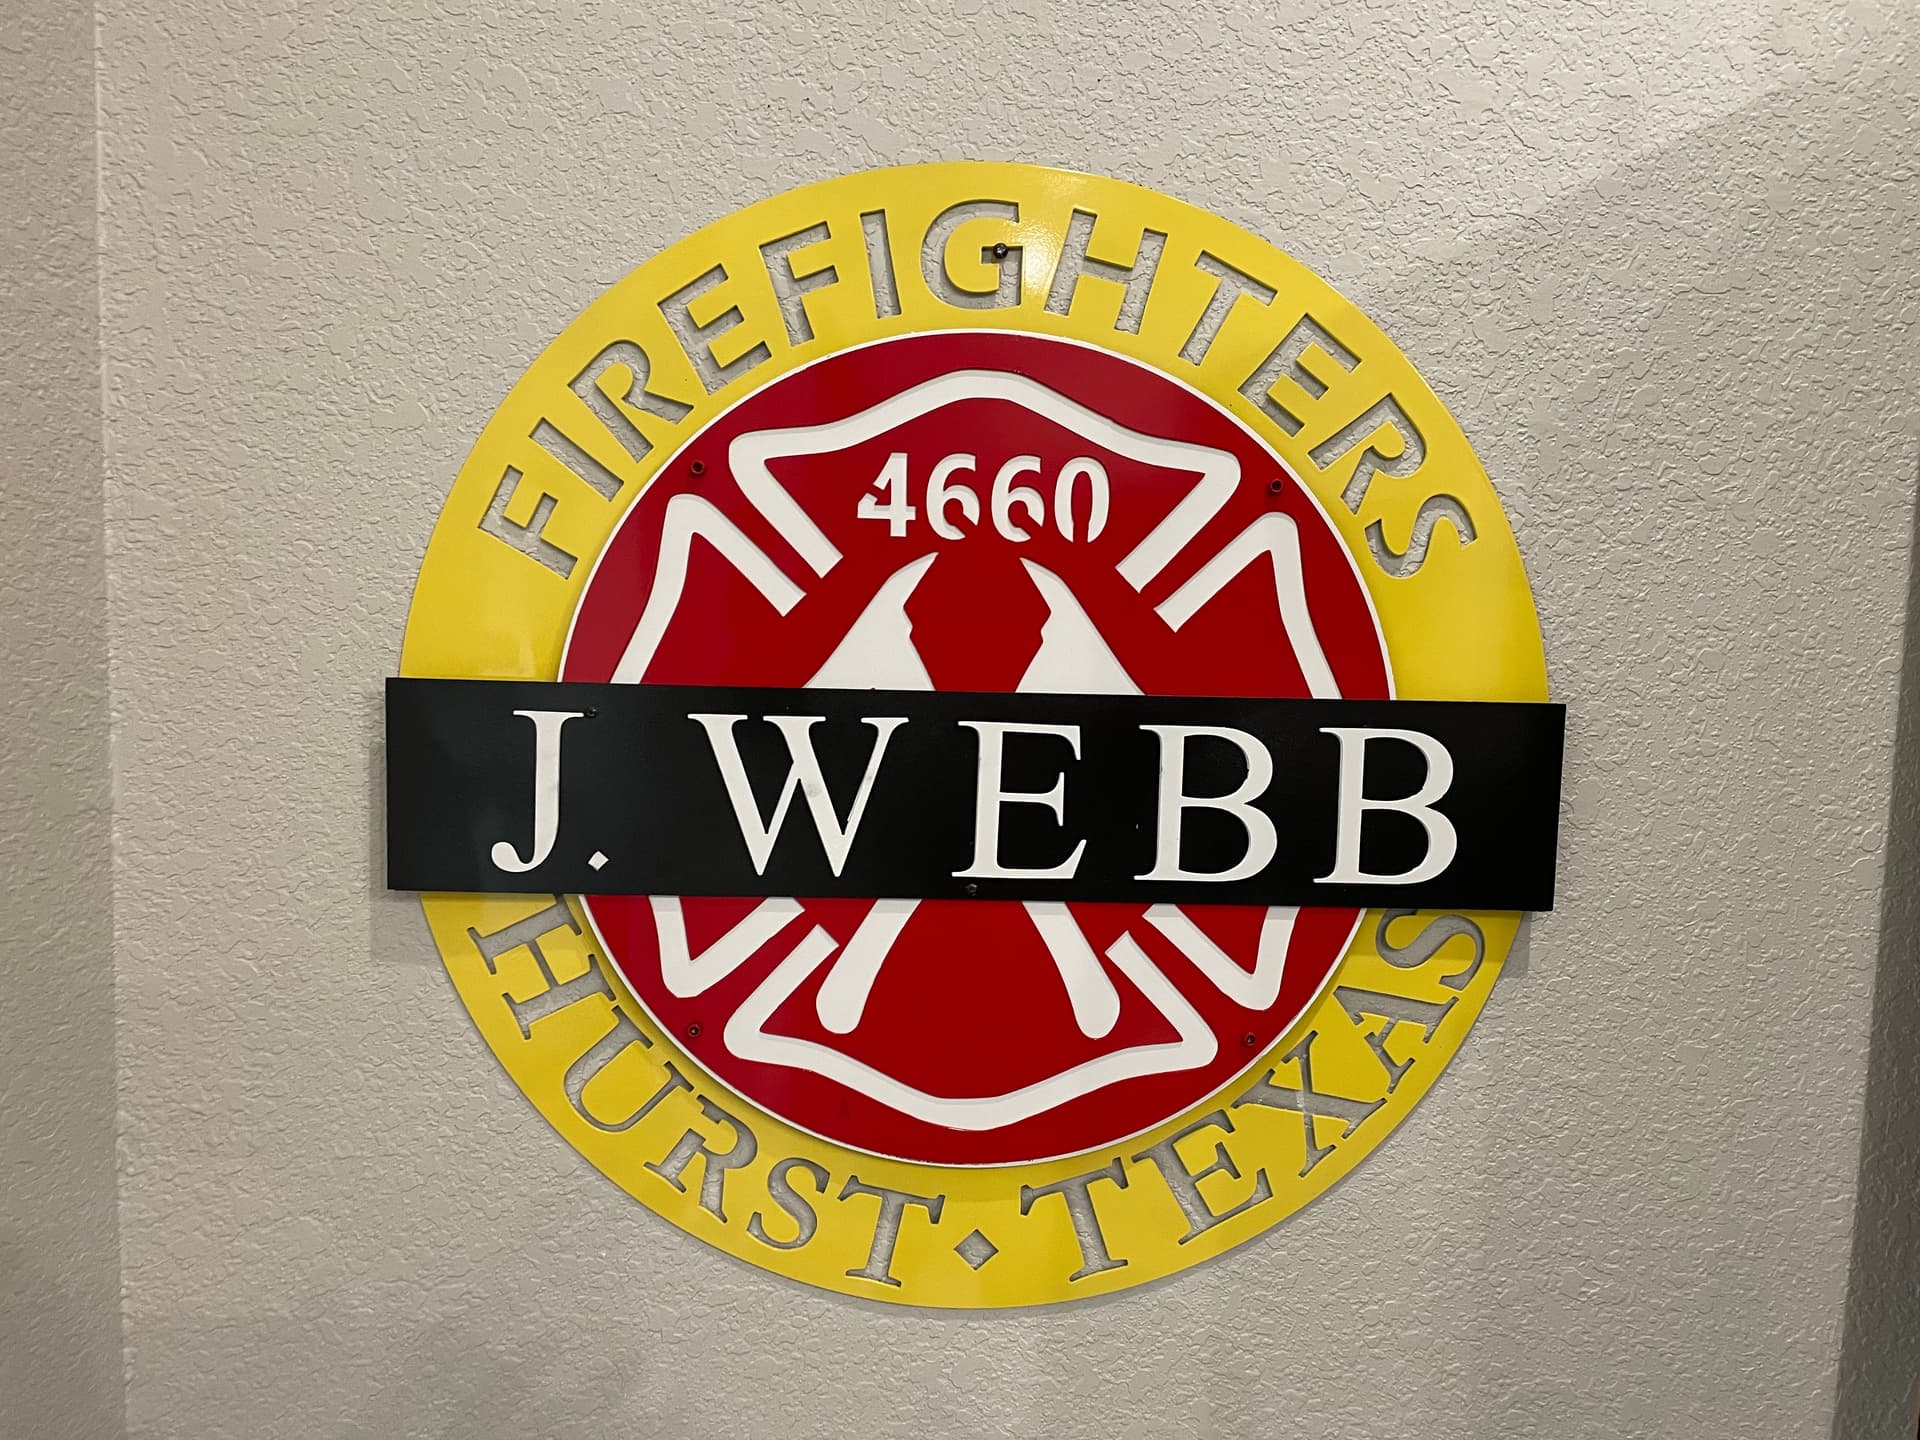
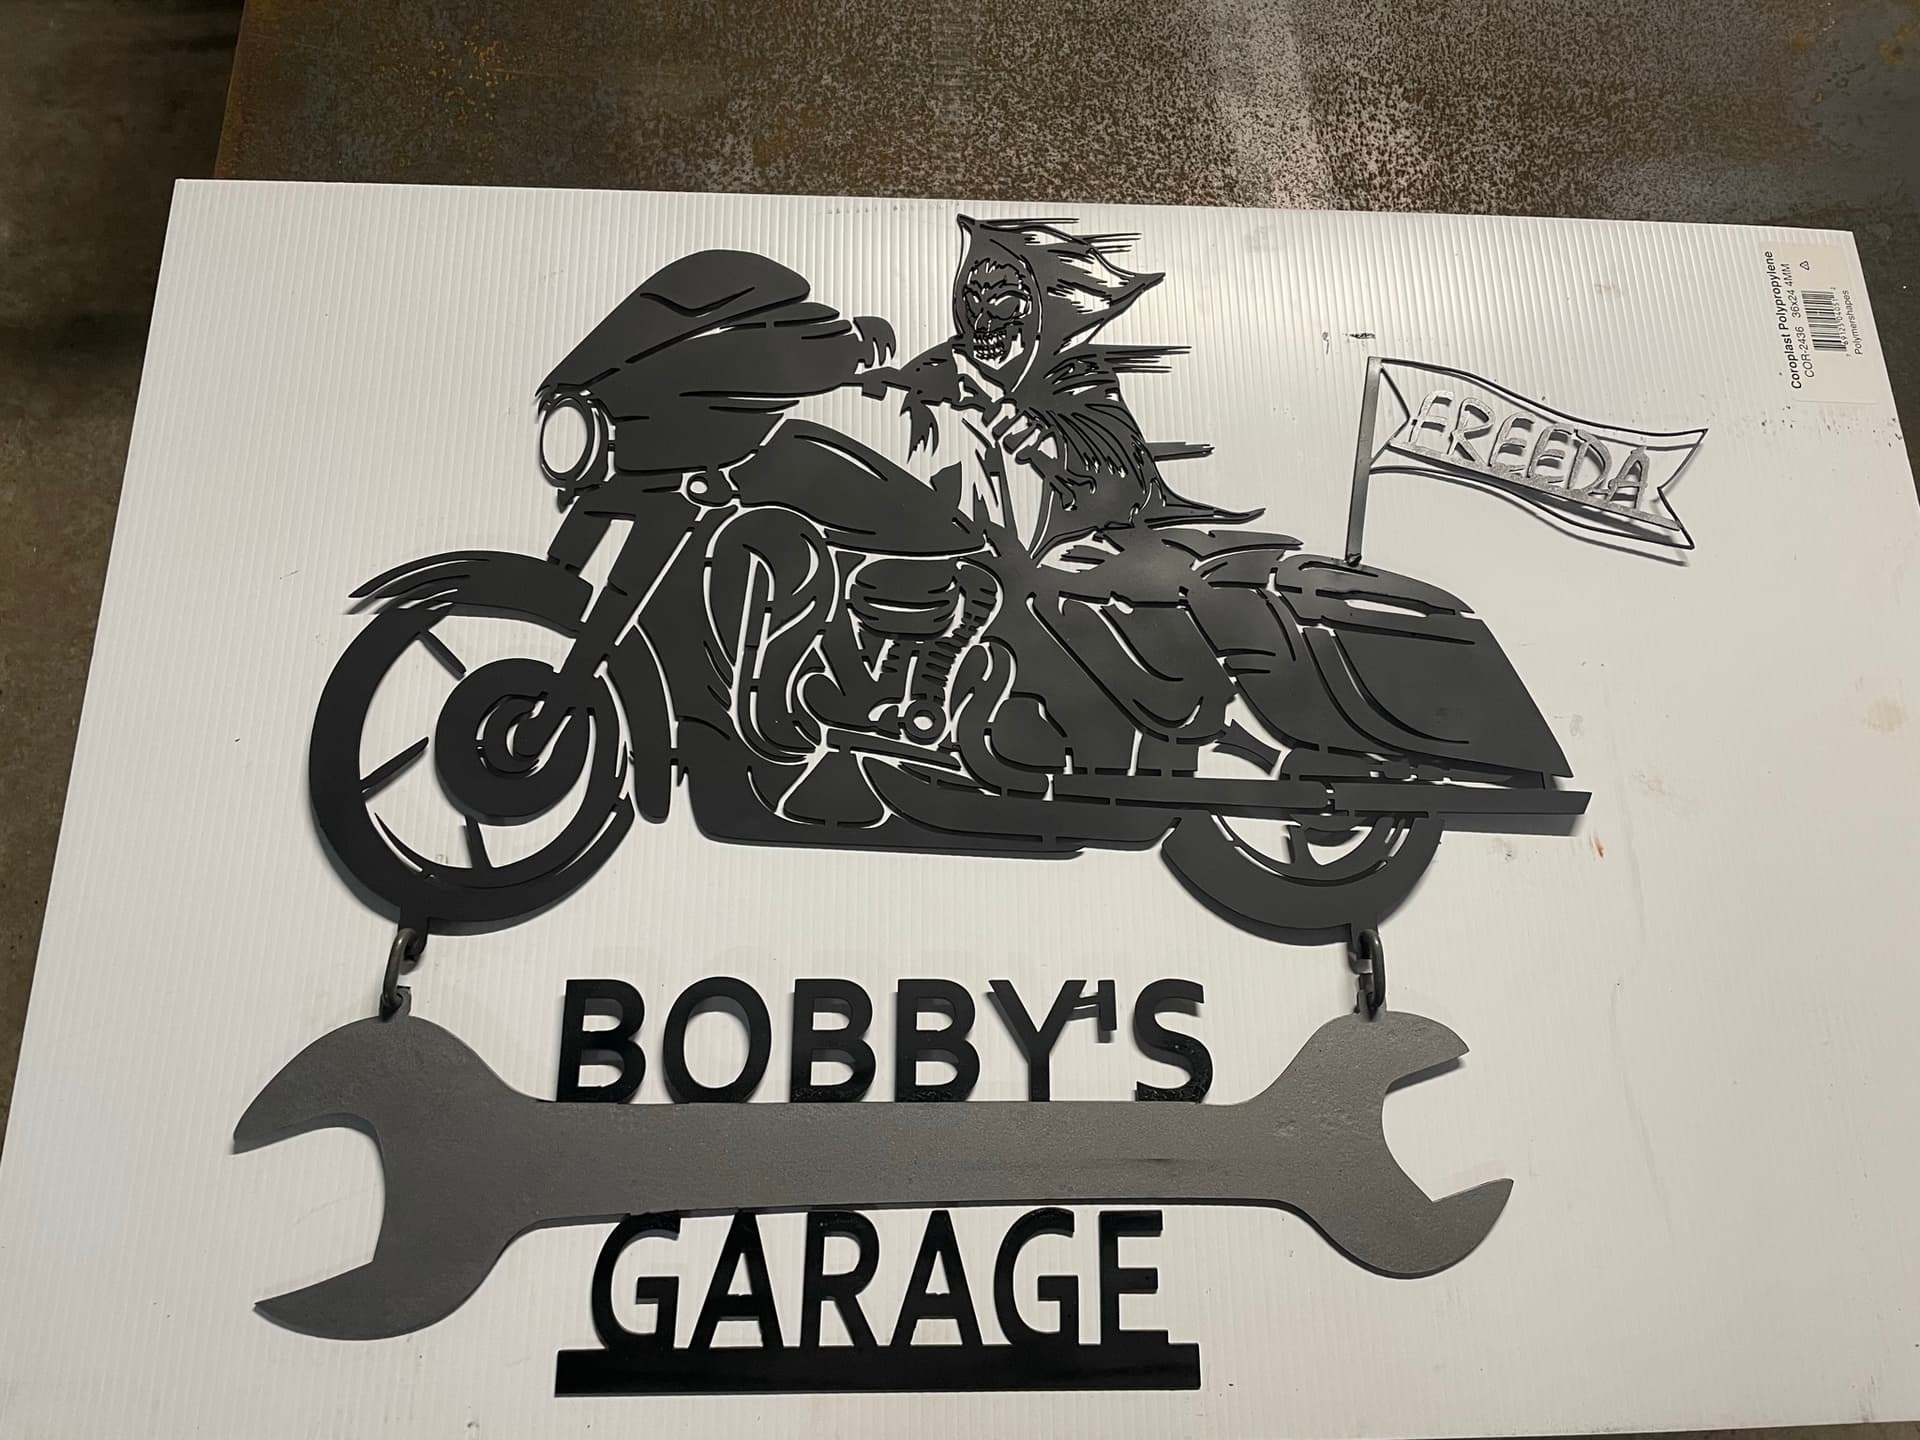
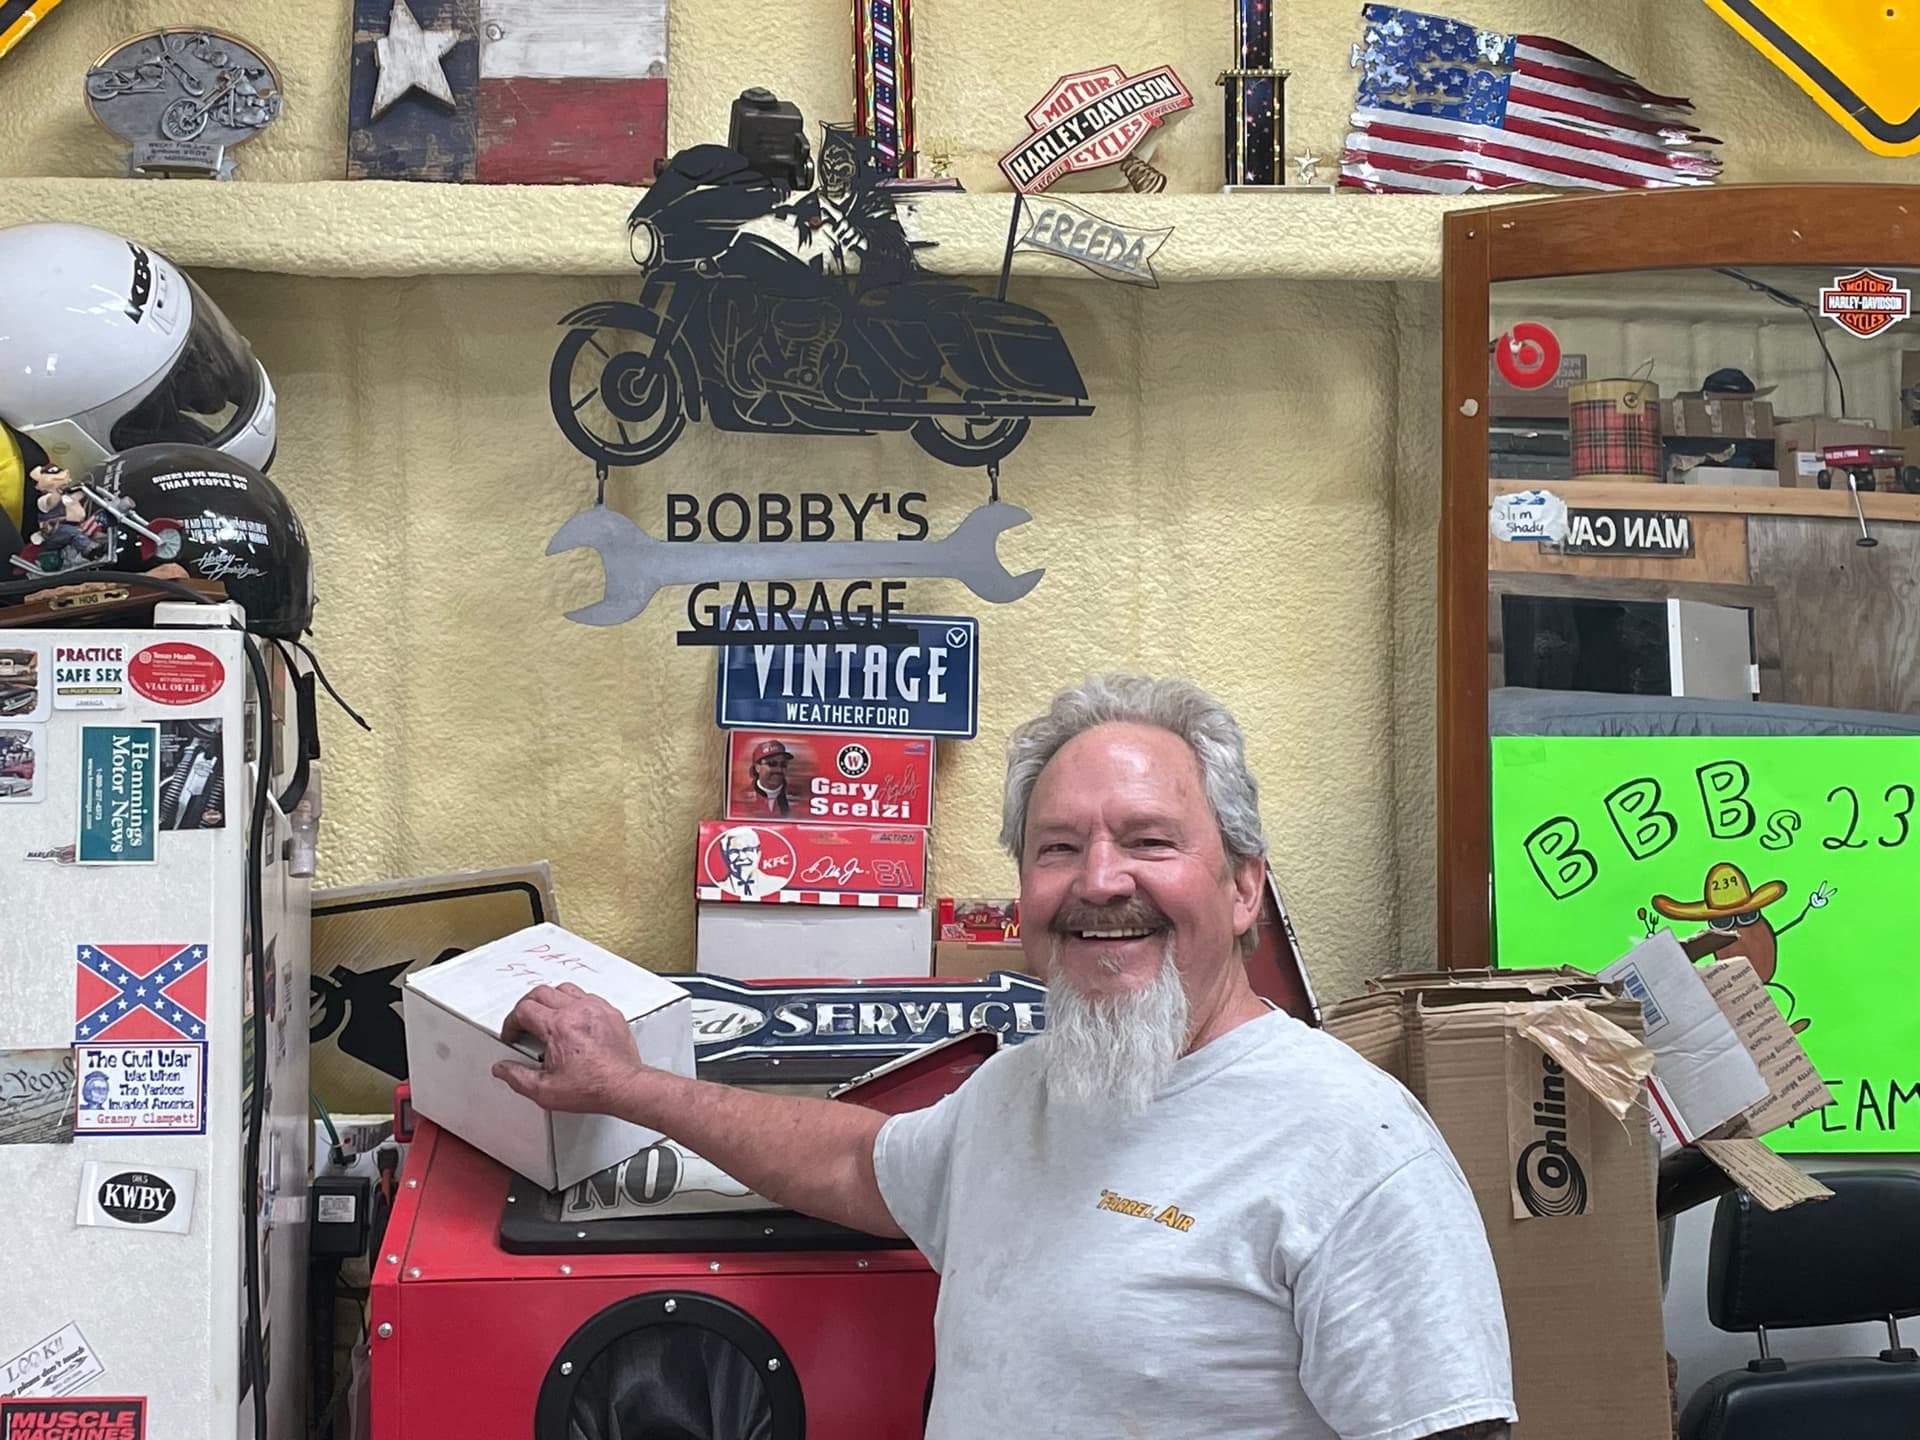
That’s great question. When you design the sign you add all your hole locations on backer and cut the outside edge exactly the same as your backer. this way all you do is lay your front cutout with all the letters or pieces so there perfect. no messing your trying to make it straight. it does cost you a little extra metal sometime but trying to get things lined up is tough. Most of the time fronts and backs meet up like the Harley sign. I use stud welder because it don’t leave marks on the front of the sign. It’s awesome but crazy expensive for hobbyist. Maybe for a business it would be no problem but i found myself a used one for reasonable amount. Let me know if you have any other questions. Happy to help
5 Likes
So, do you weld your studs to the letters through the holes in your pre-drilled backer then?
And YES!!! the stud welder would save TONS of time!!
Yes…I have the holes sizing dialed in so i don’t even need to mark the holes and remove the backer. Just shoot them through the cut holes into pieces you plan on fixing to sign. Keep making cool stuff
2 Likes
A funny video i watched a few months ago said when you have more money than time you buy a stud welder.
2 Likes
Awesome!!! That clears it up for me… Guess what I’m shopping for now?!?
Thanks for the insight Don!!
1 Like
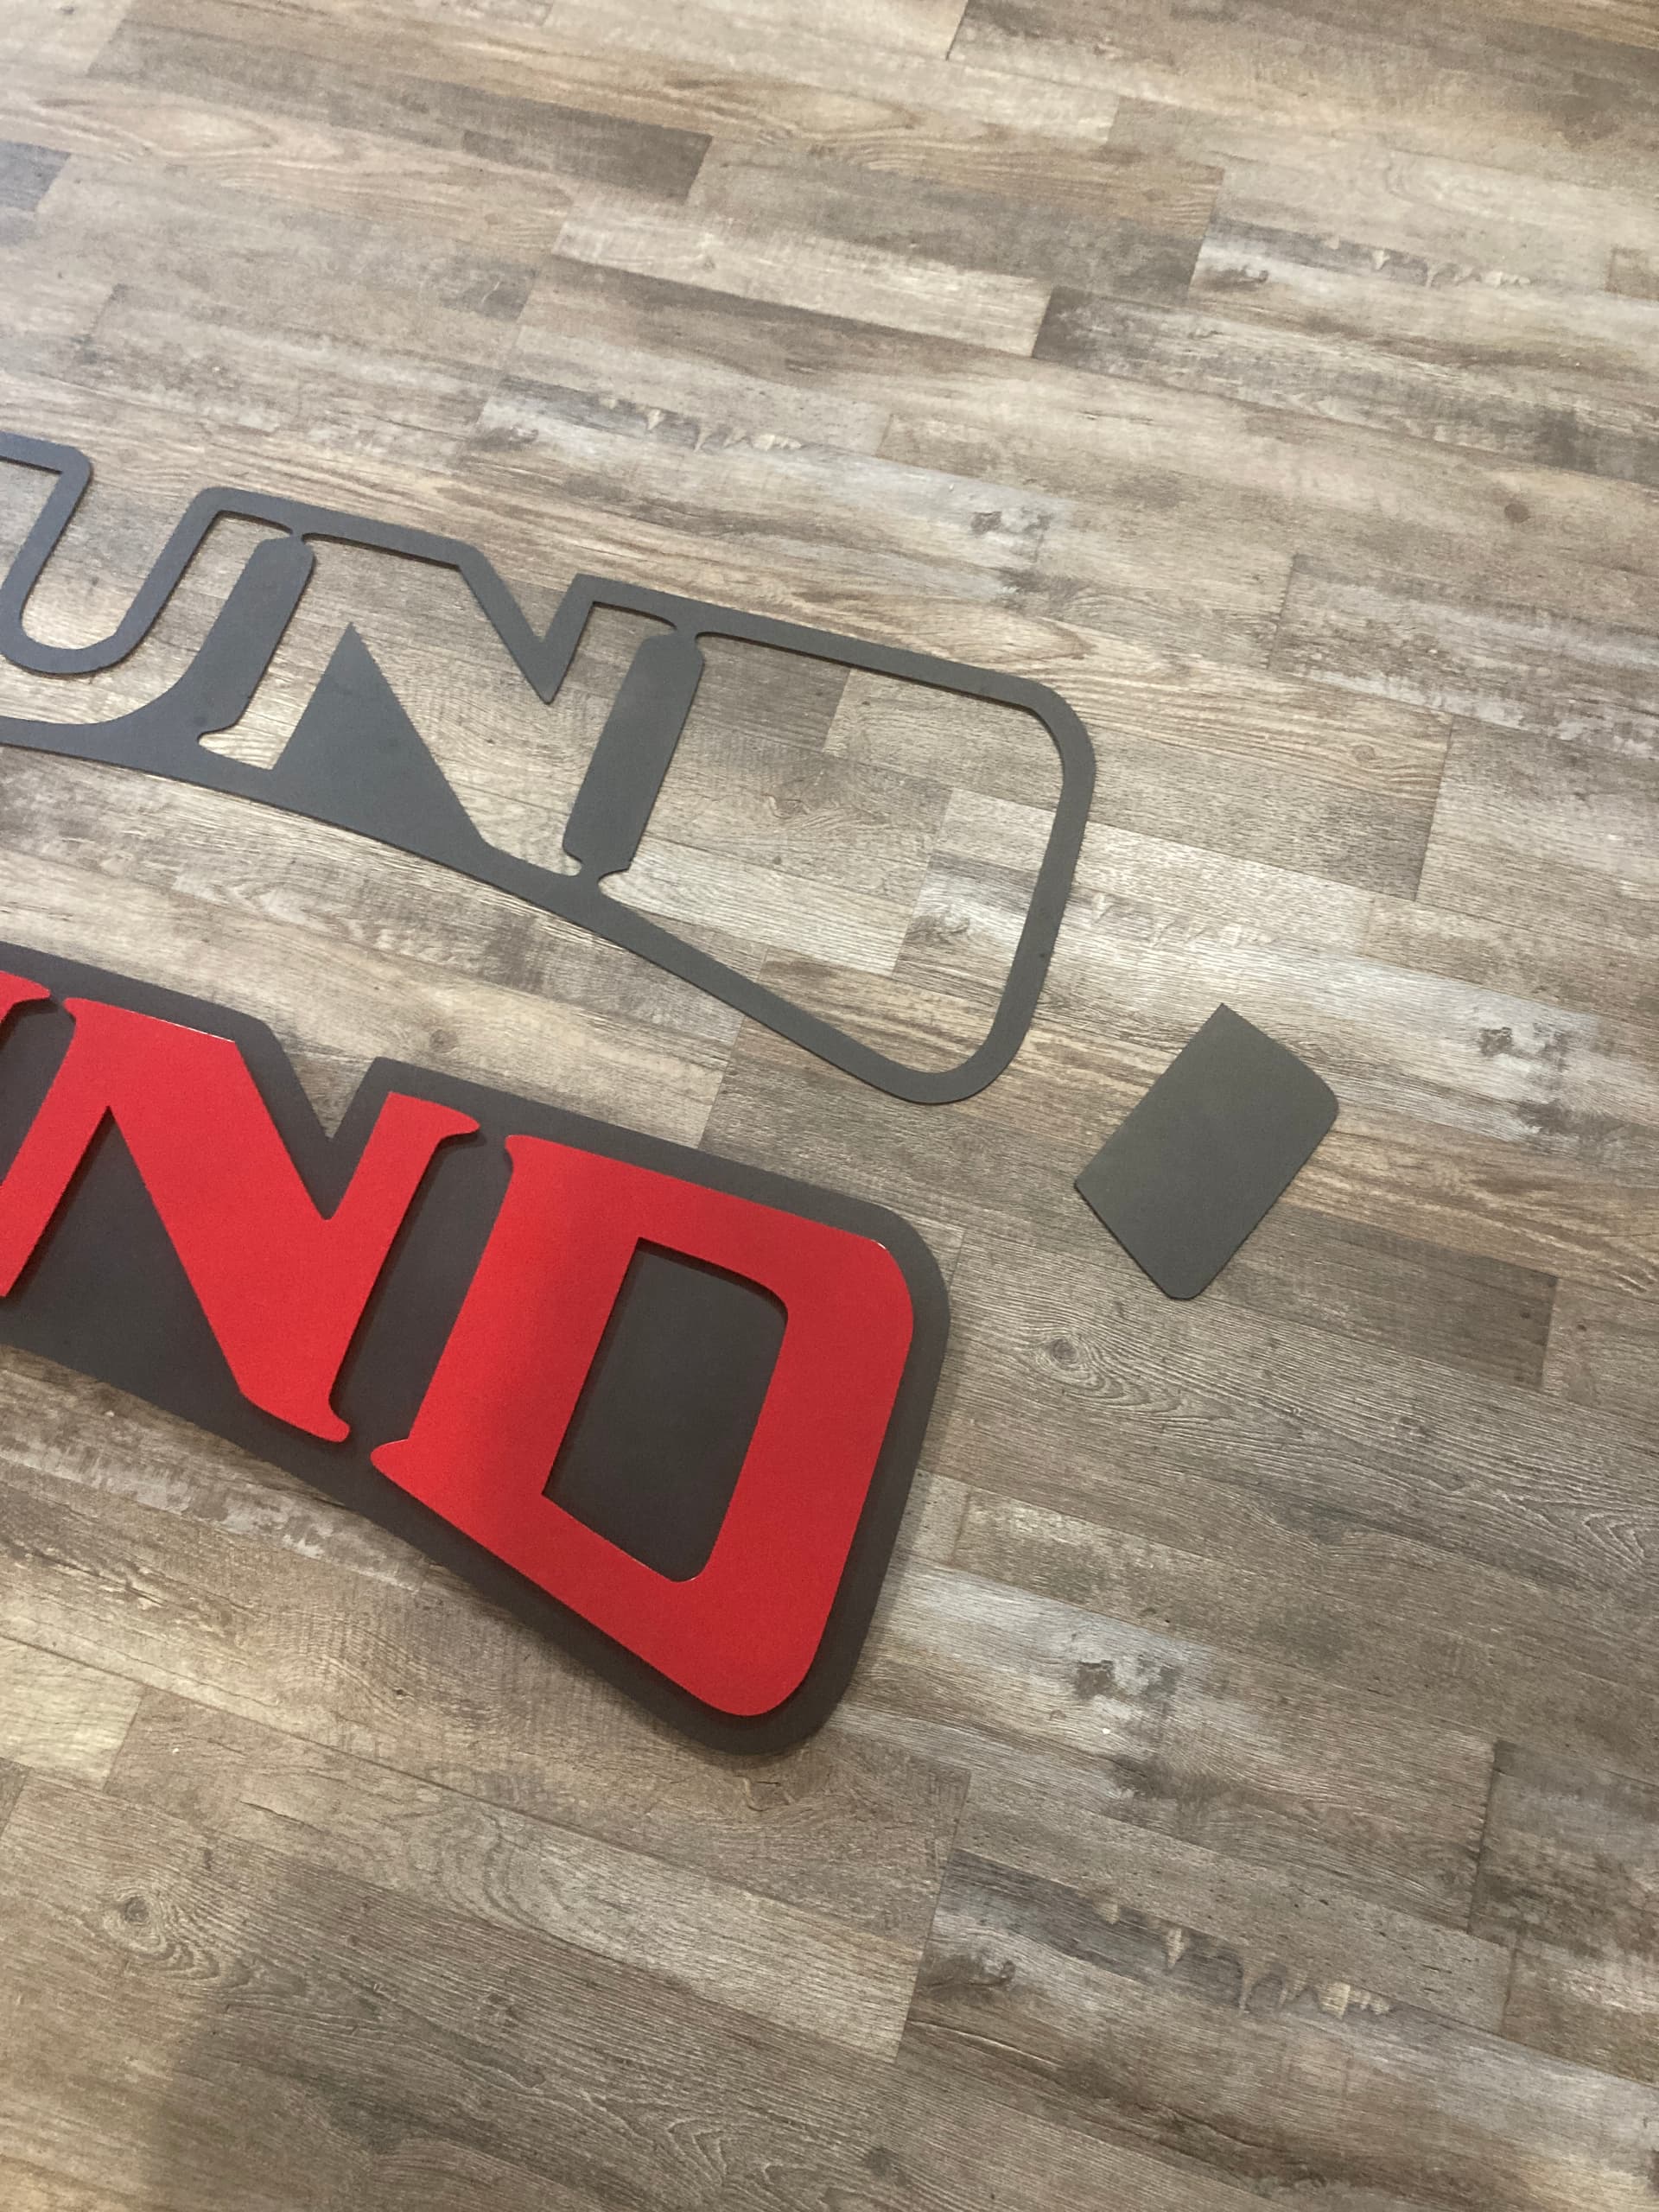
The template for spacing letters isn’t always waste. We plan on using double sided tape and sticking on the way also. The cutouts like the center of the “D” do drop out but same thing with sticking to wall in correct position.
For people not wanting to spend the money for stud welder you can do layered signs with strong adhesive but lose the appearance off it standing away from backer and ability to remove later. i do want they call gorilla welding very strong but ugly. So when i started to tack bolts to the back i would mess up the face of my signs. i do hope this helps
5 Likes
I have been using rivnuts on some of my multilayer signs, i install the rivnuts backwards on the back layer and they provide a connection point and set stand off distance. I make peck marks in my designs then drill to appropriate sizes. Another method I have used before incorporating the peck marks was to lay the layers on top of each other and simply drill pilot holes. Again this insured perfect alignment. Amazon has tons of screwhead types so you can pick the ones that work well with the feel of your design. You can also weld the rivnuts on and use them as hidden connections as well. The awesome aspect from my experience is no welding on mostly finished signs that are multi colored risking damaging finishes. And if paint does get screwed up it’s super easy to disassemble and repair then bolt back together.
6 Likes
As a former Harley owner I endorse this message!
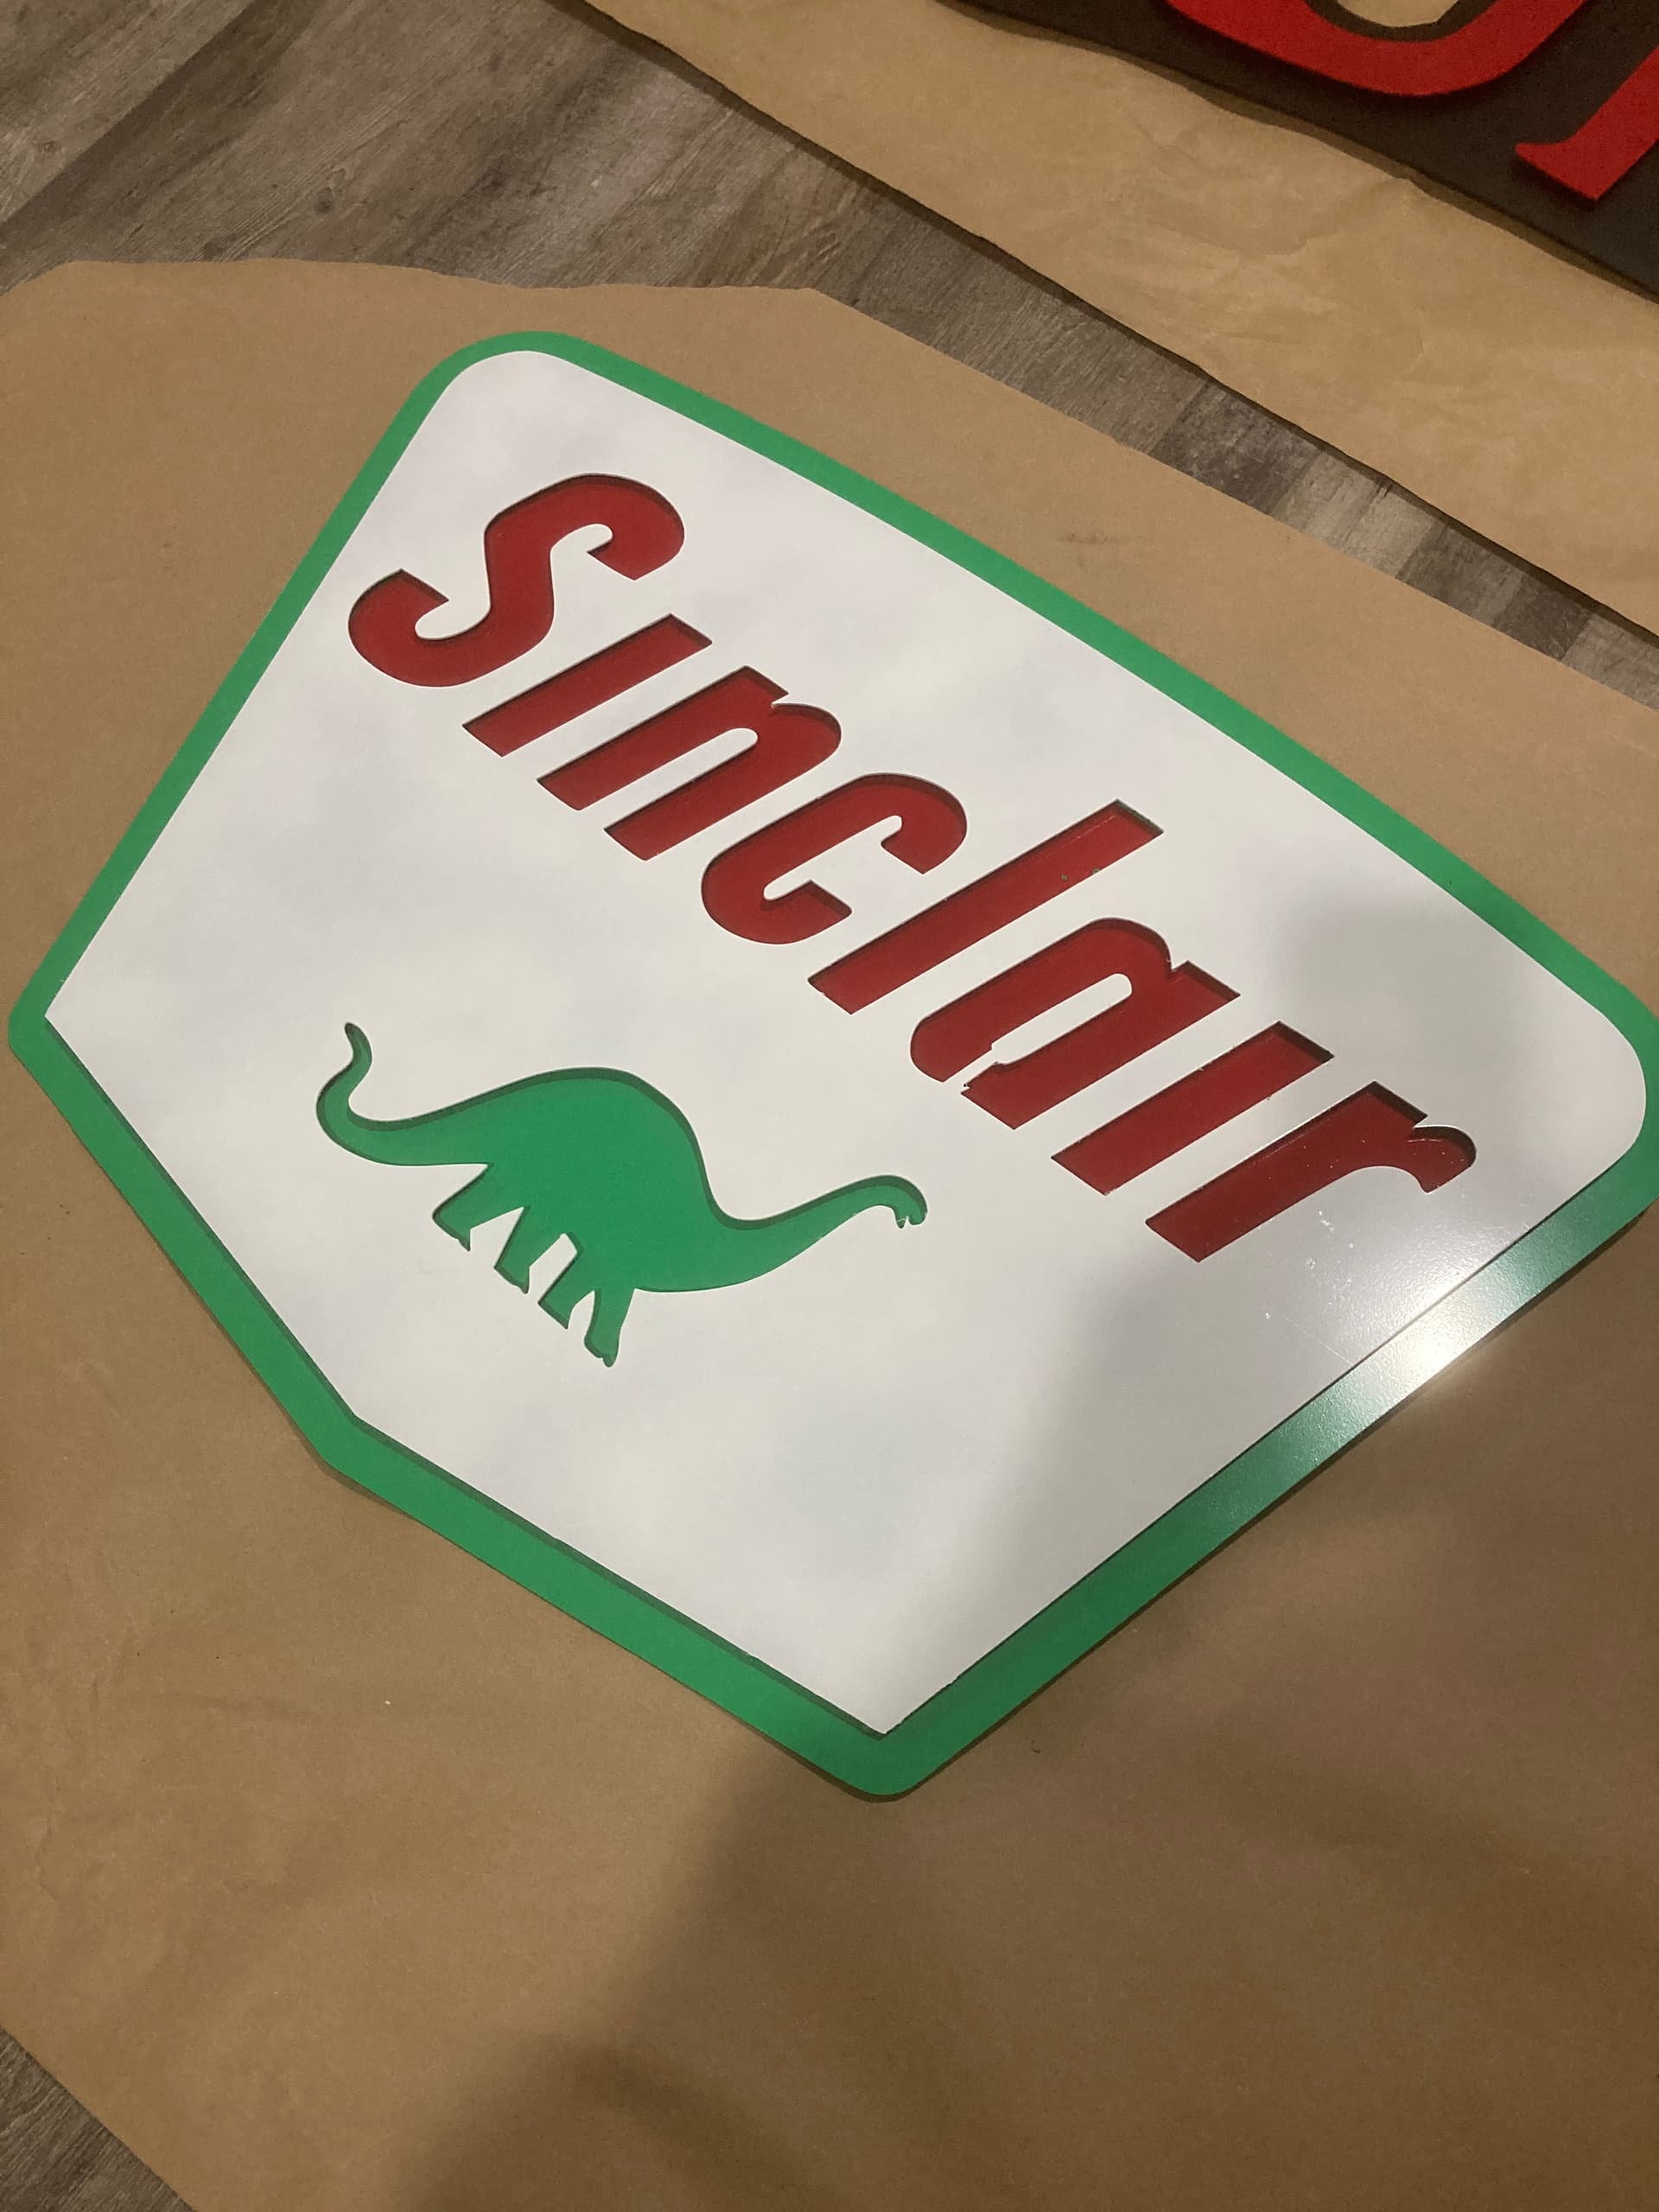
Man, two very nice signs. That dino is so iconic.
2 Likes
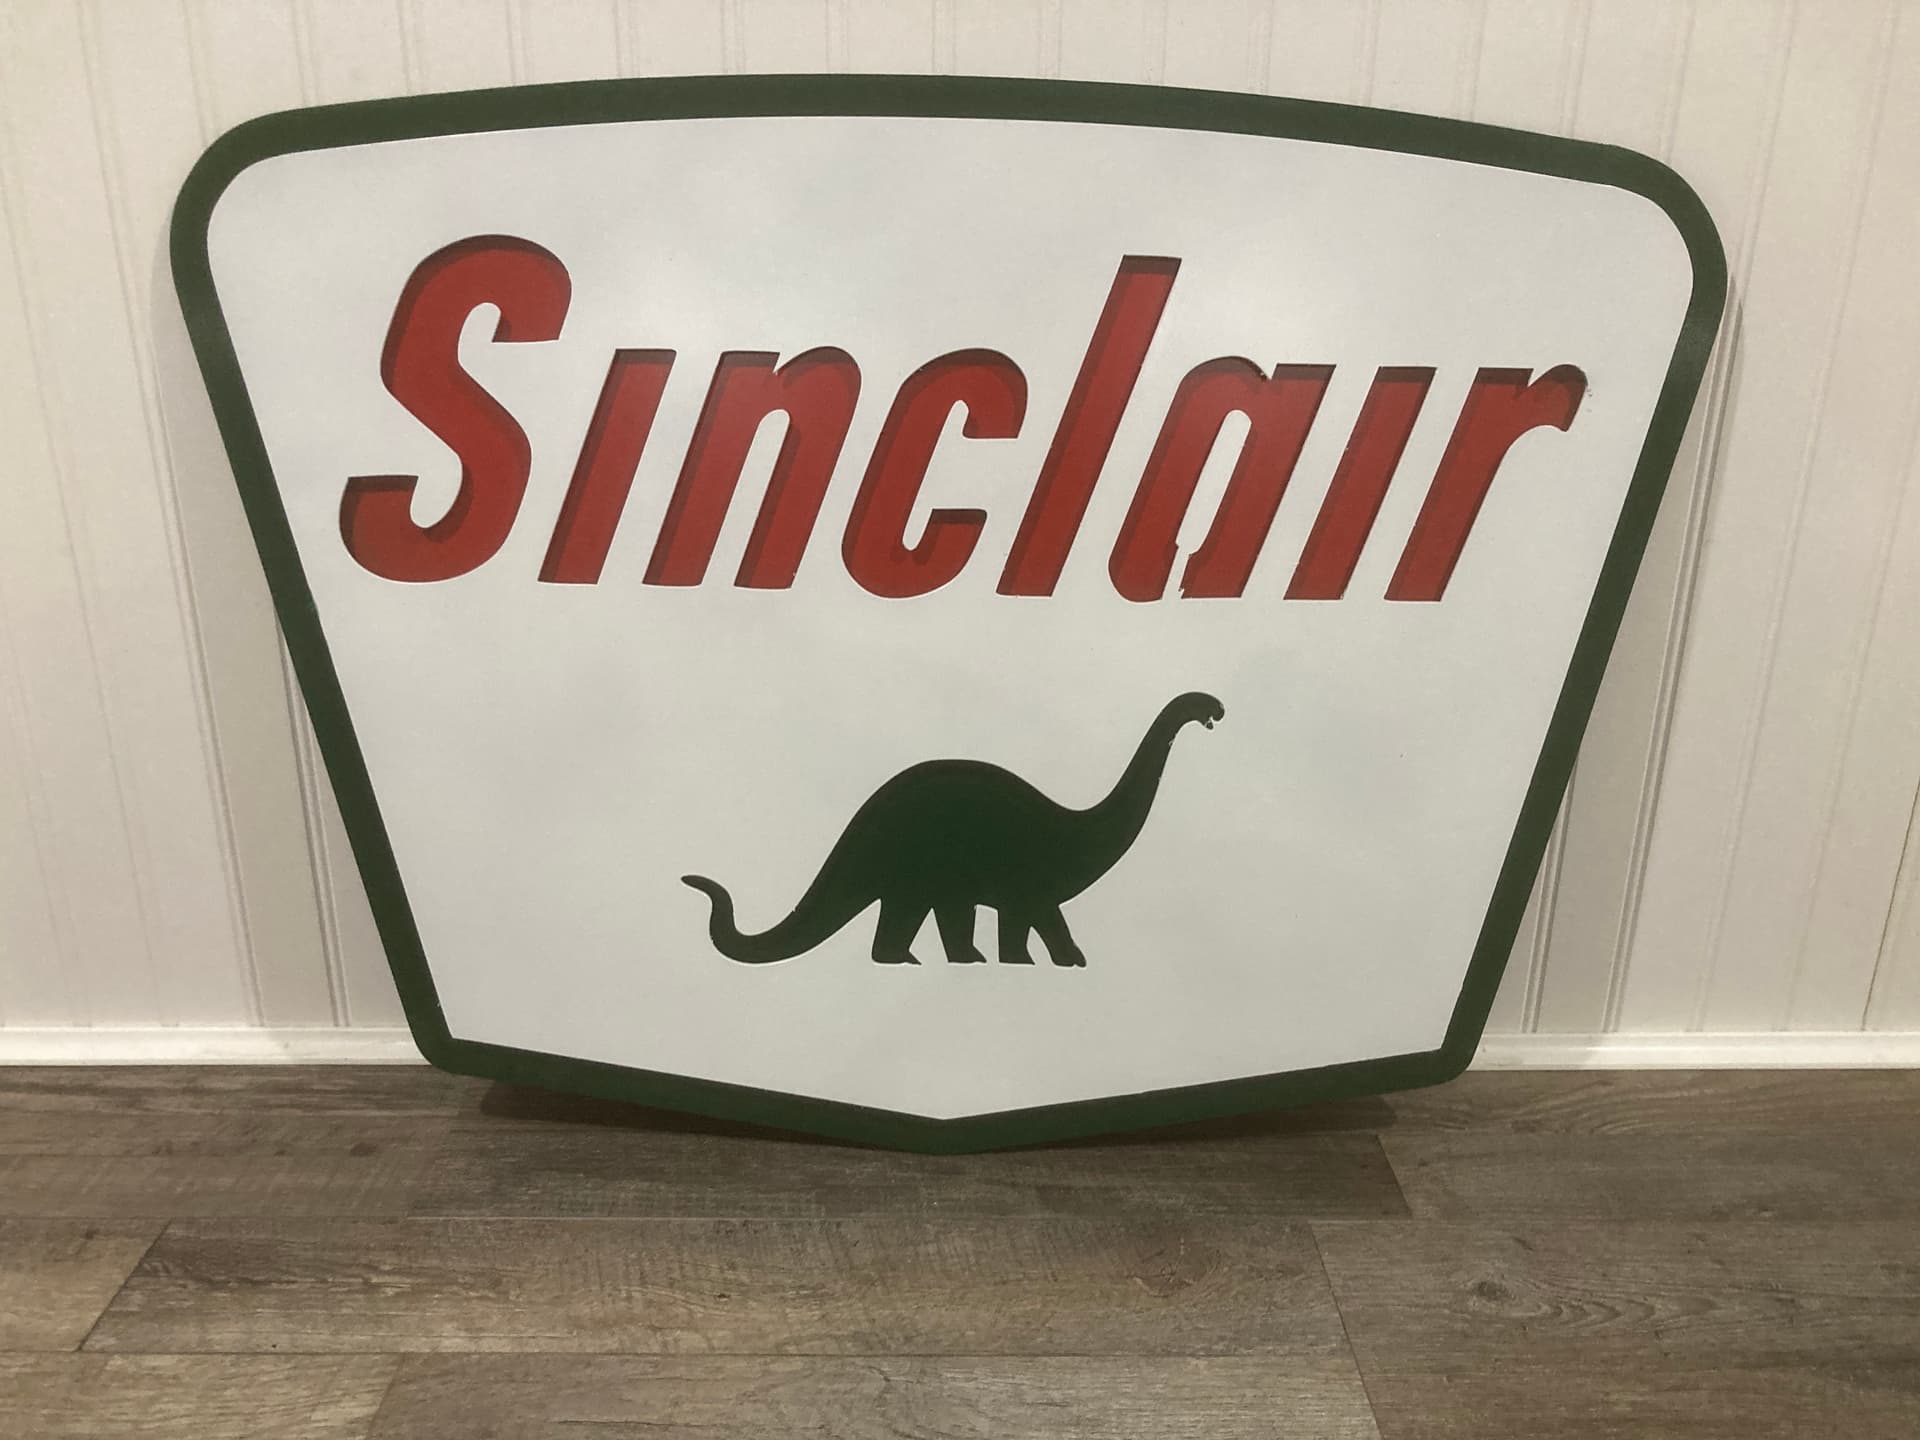
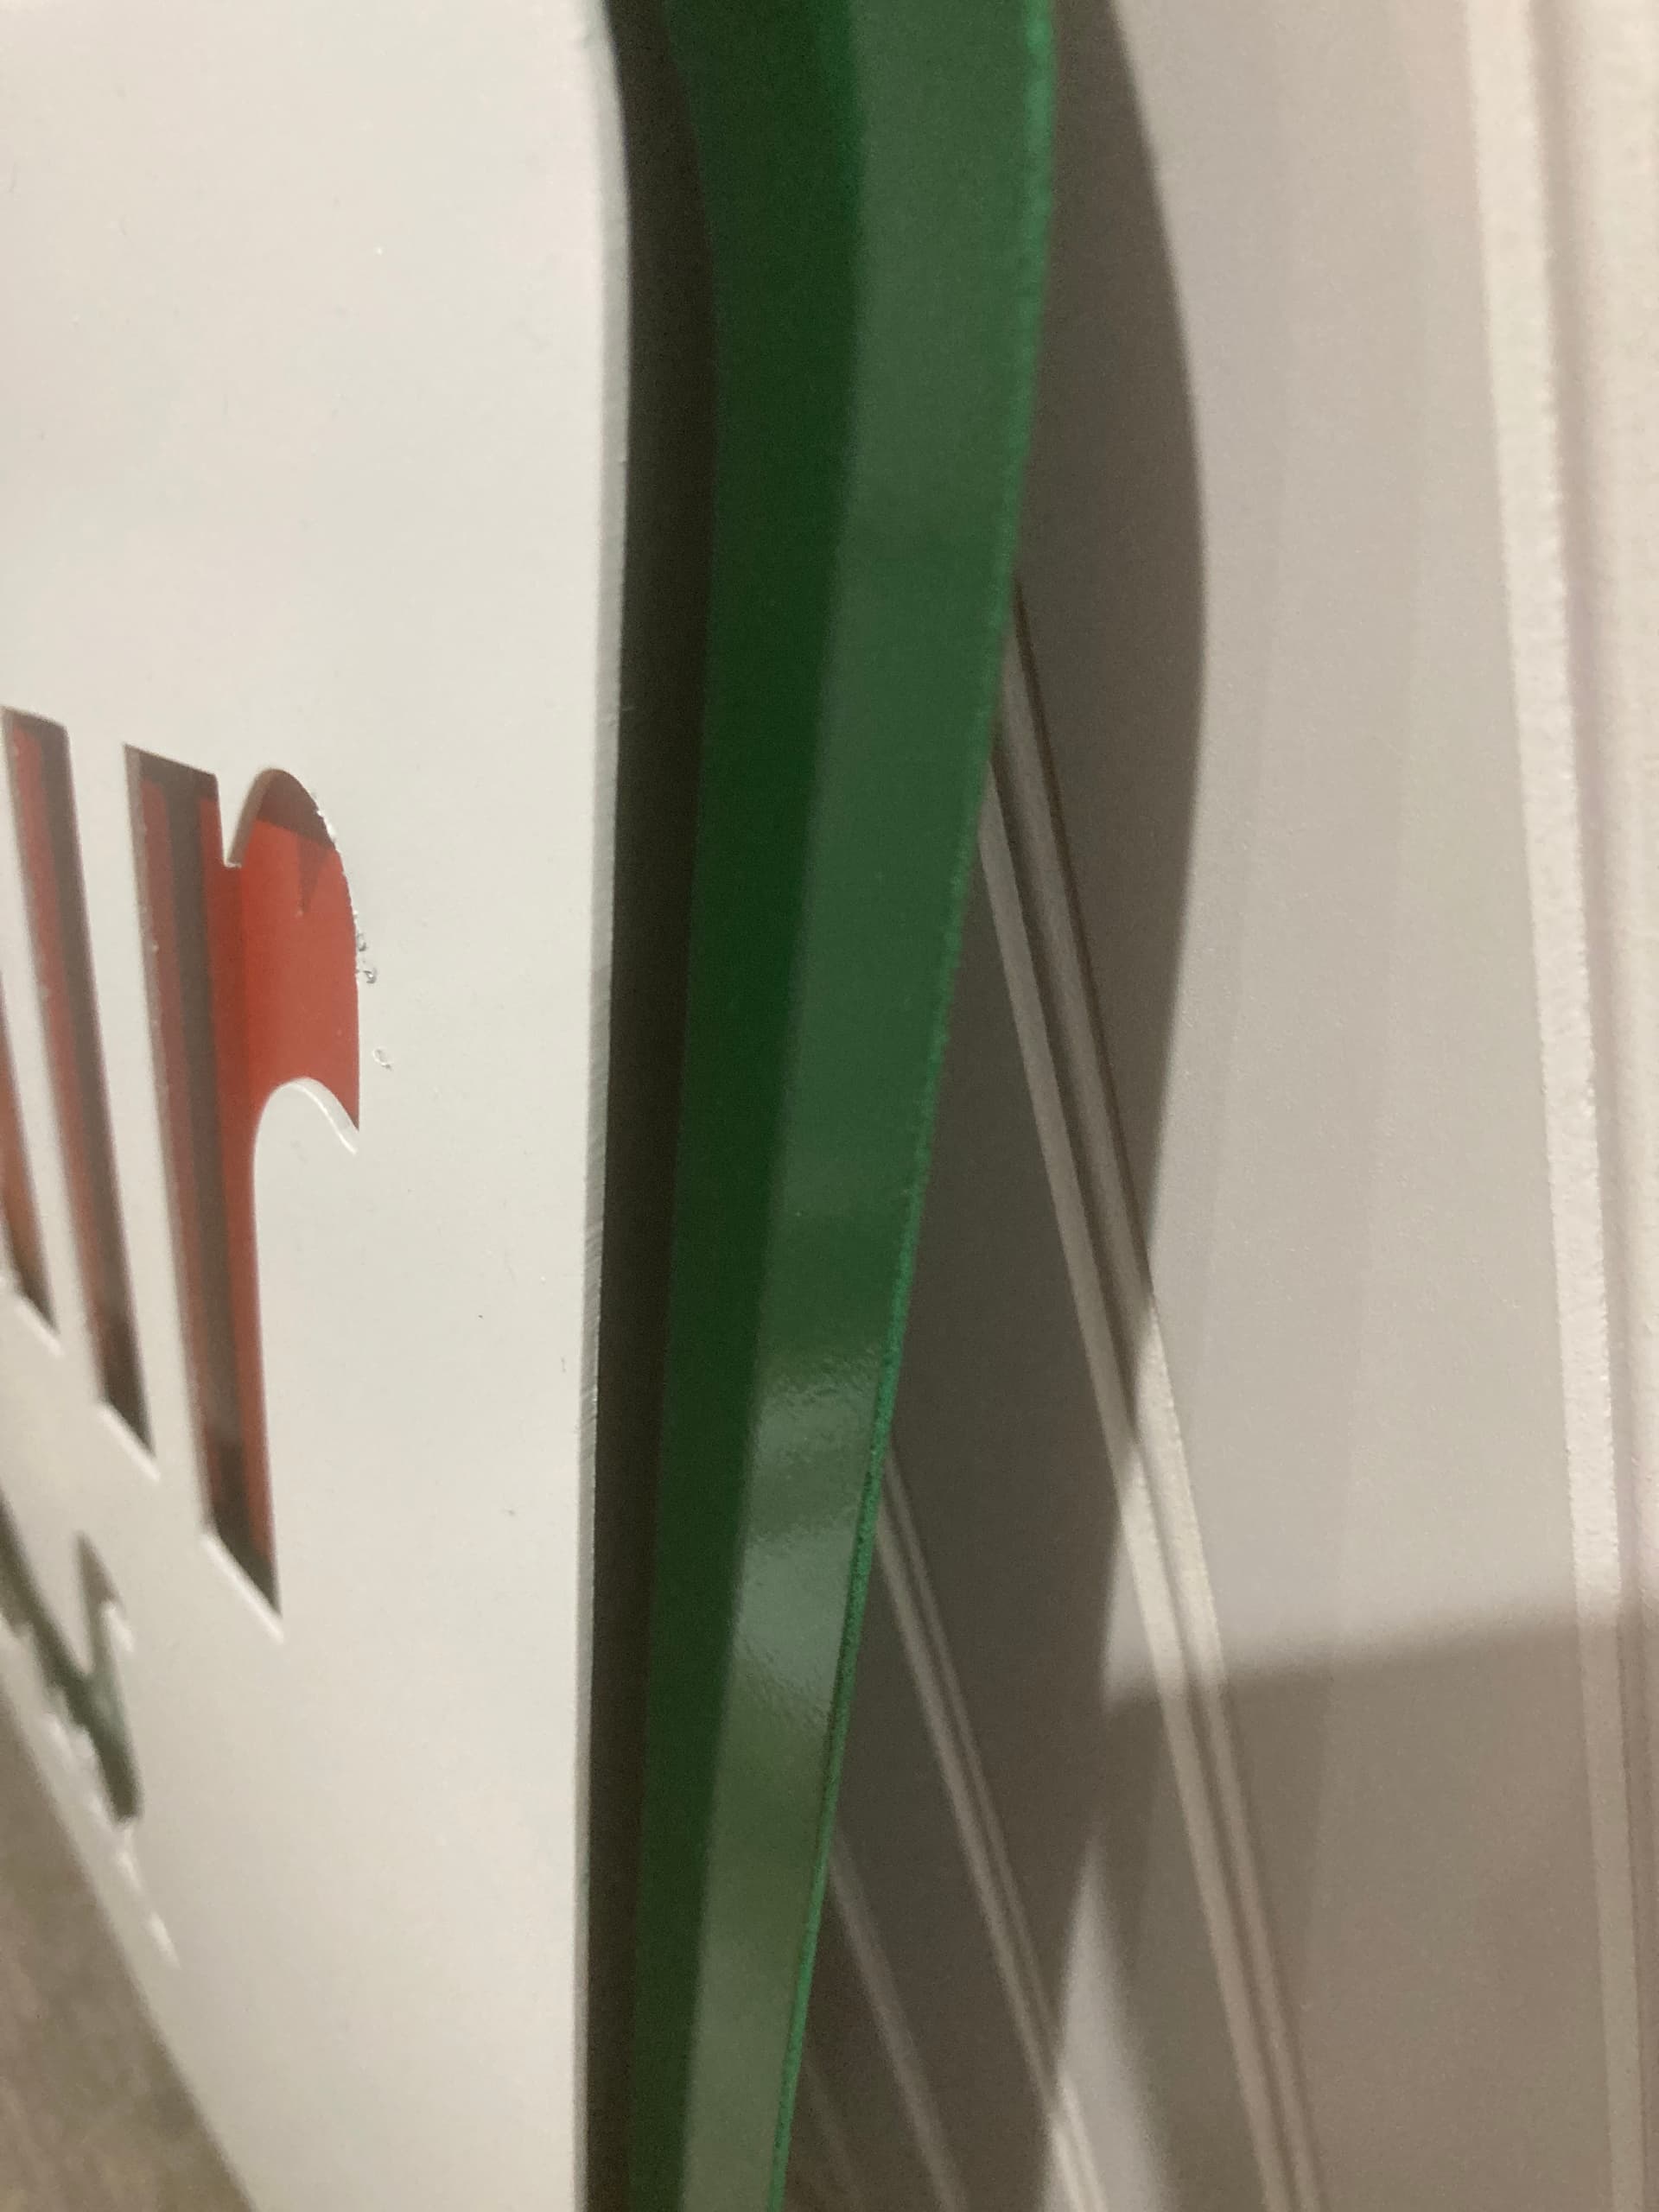
Thanks…I did go back and darkened the green. These will be going up on my pole barn soon for my enjoyment. Working on International harvester soon.
5 Likes
Did you draw those yourself ? and if so how did you come up with, font, logo, and dimensions?
hand drawn in fusion.
I would never use a feature like trace bitmap in inkscape.
2 Likes
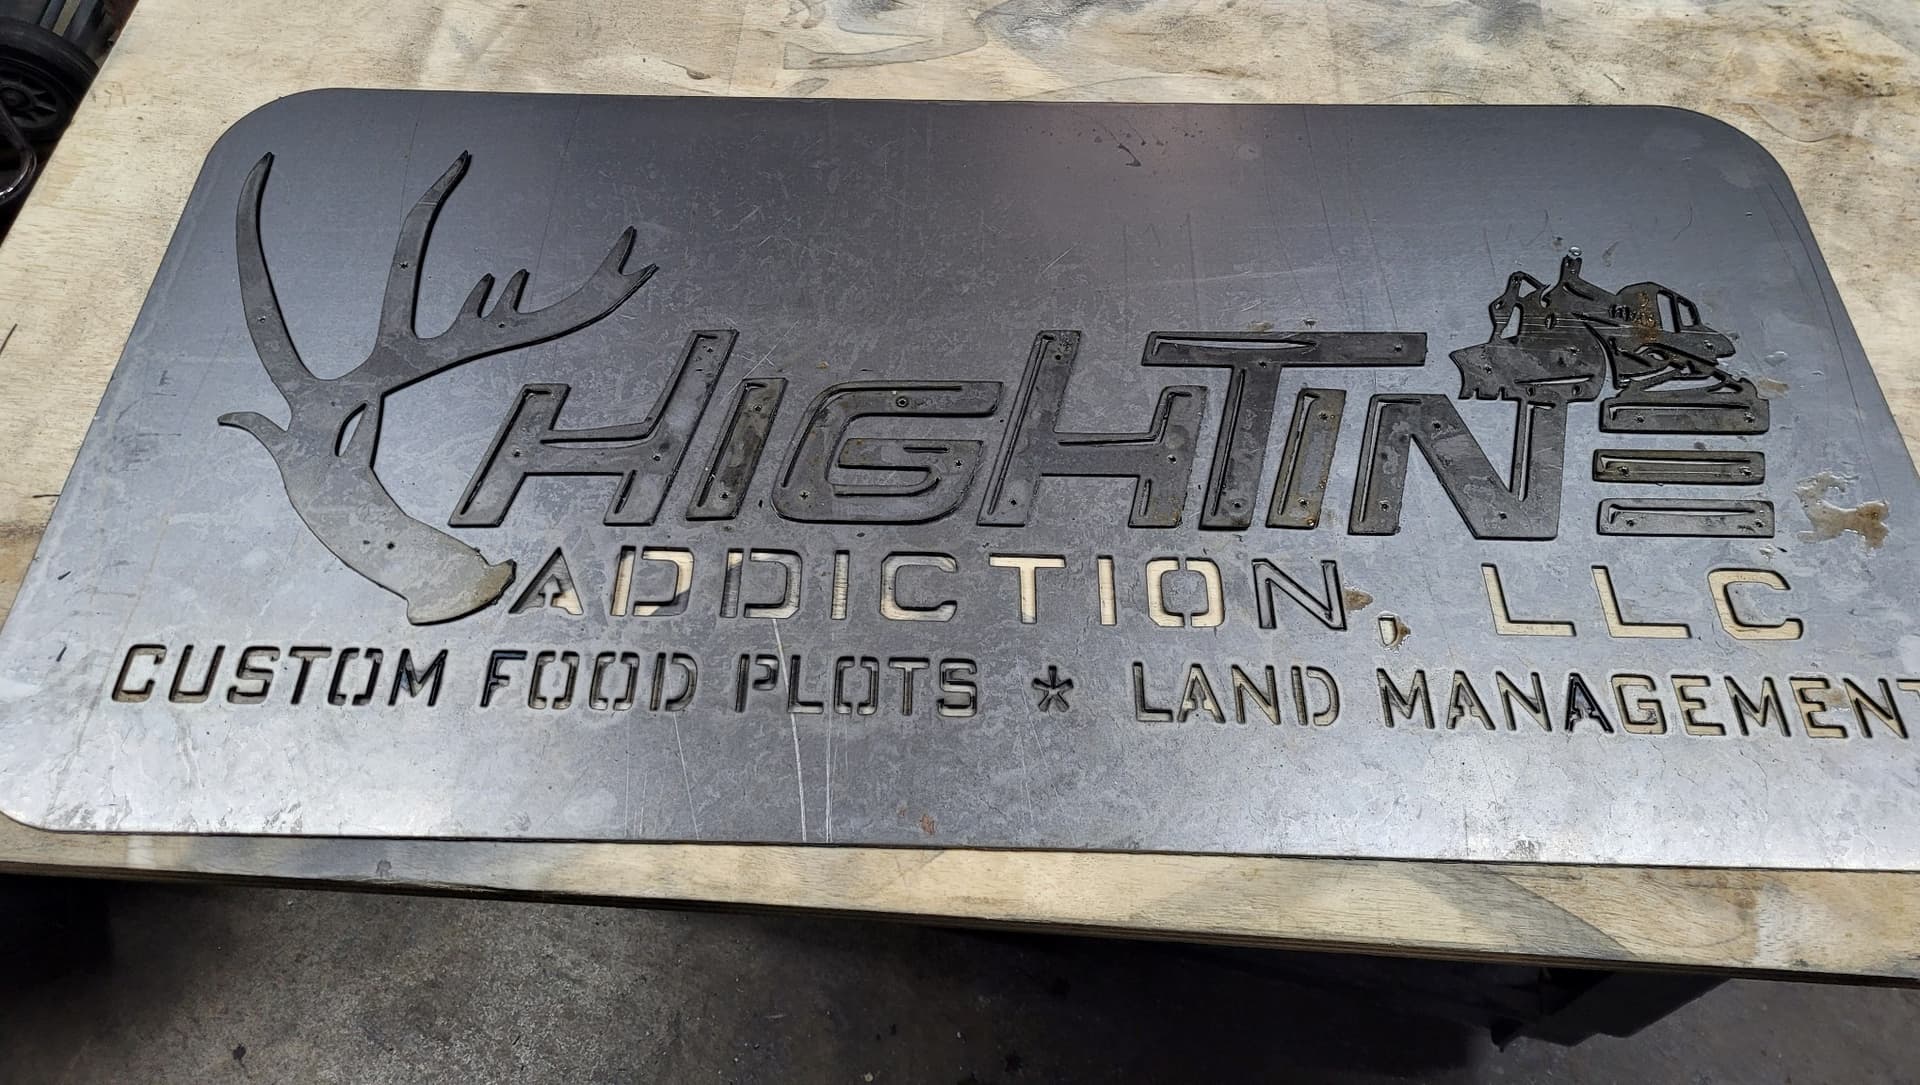
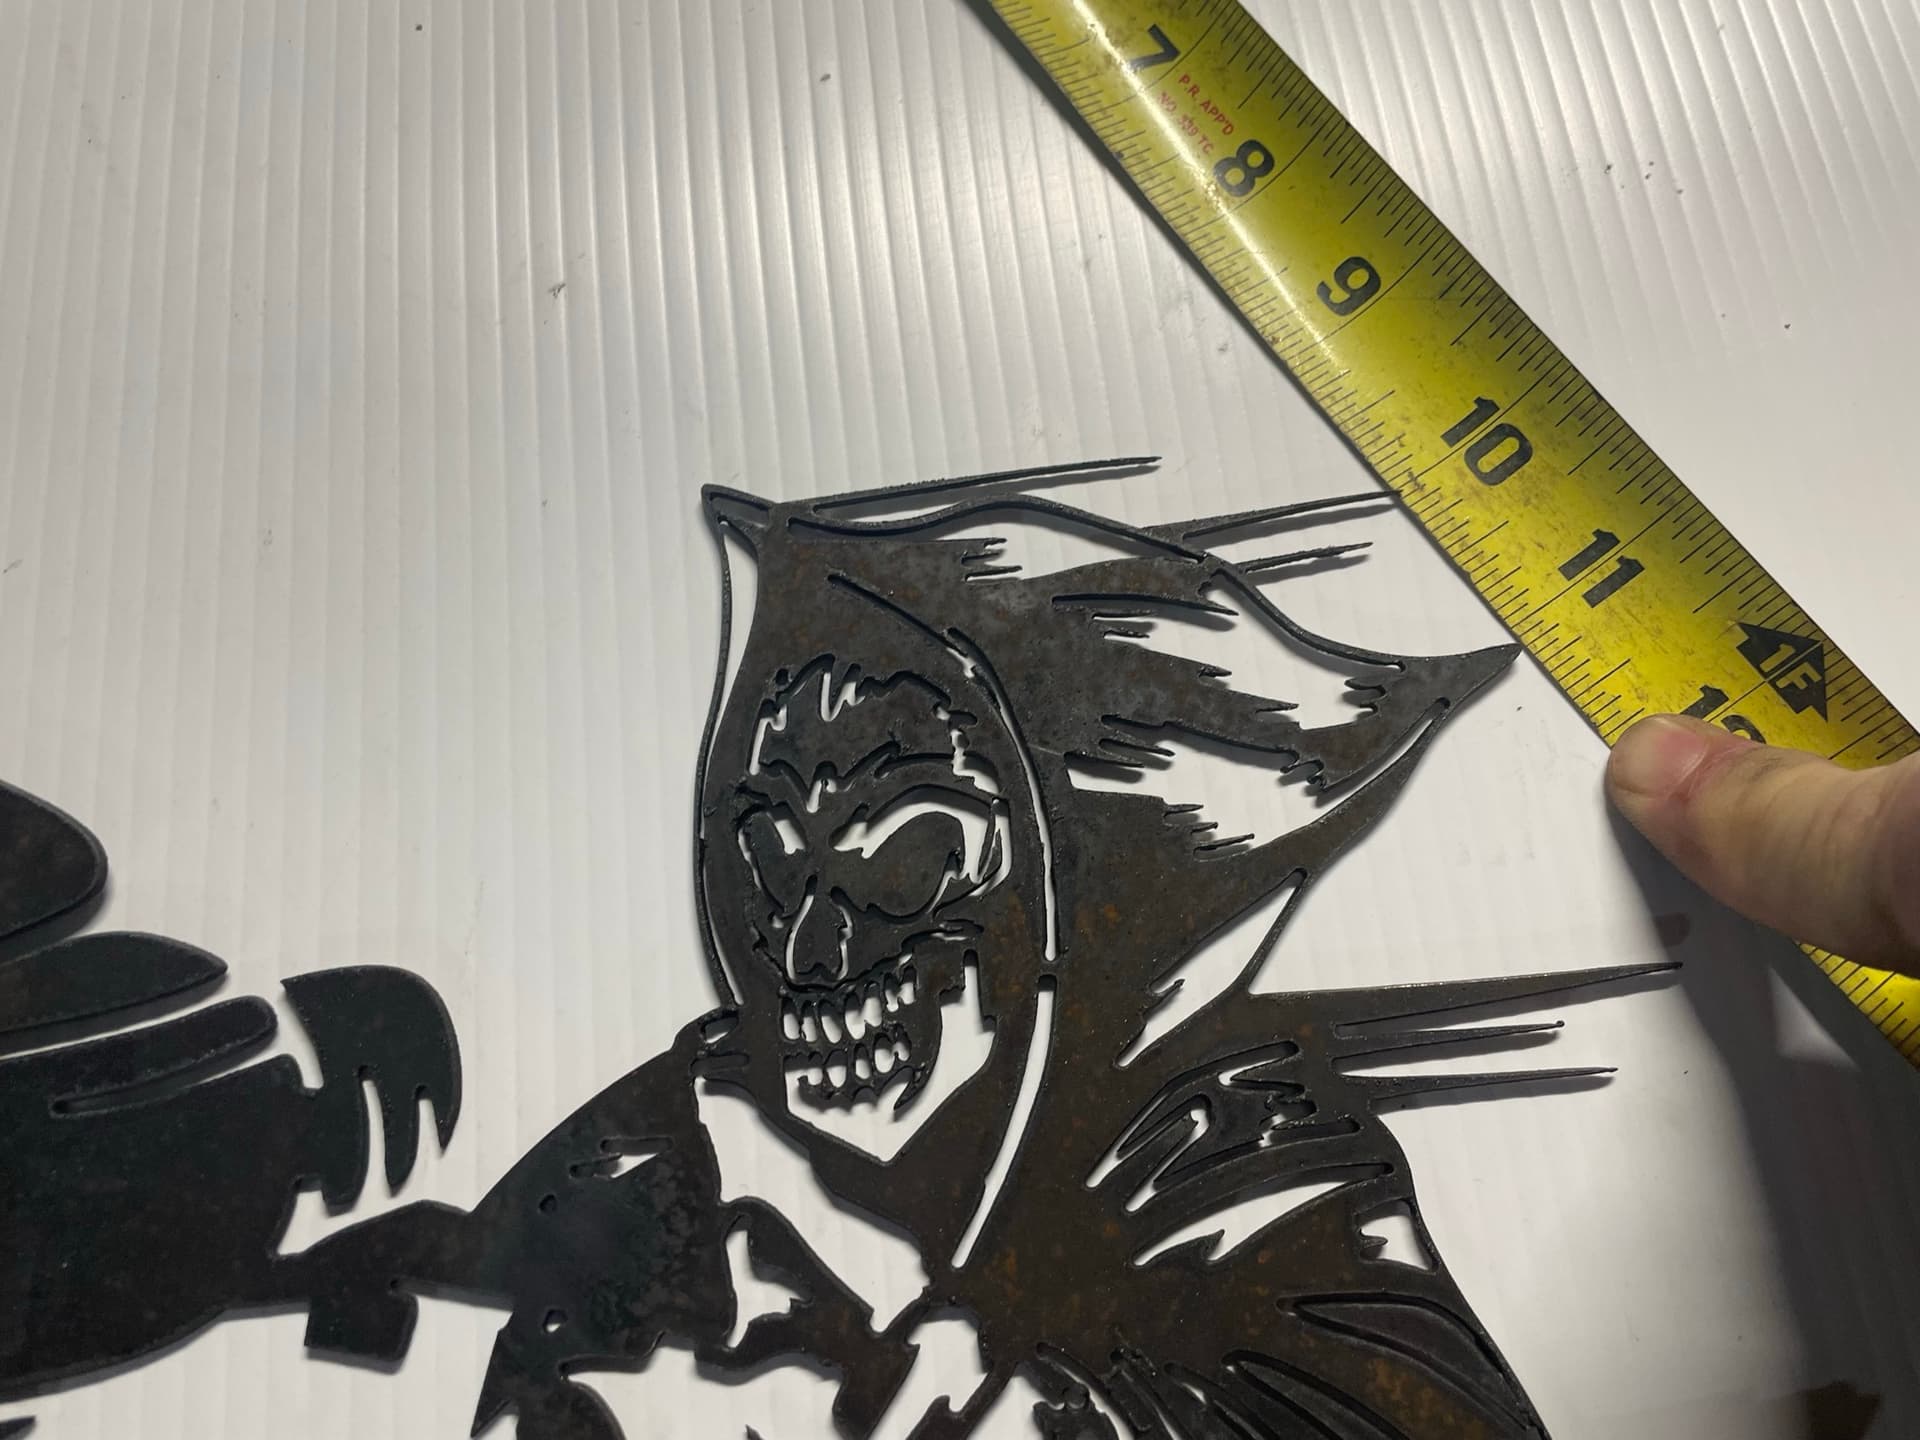
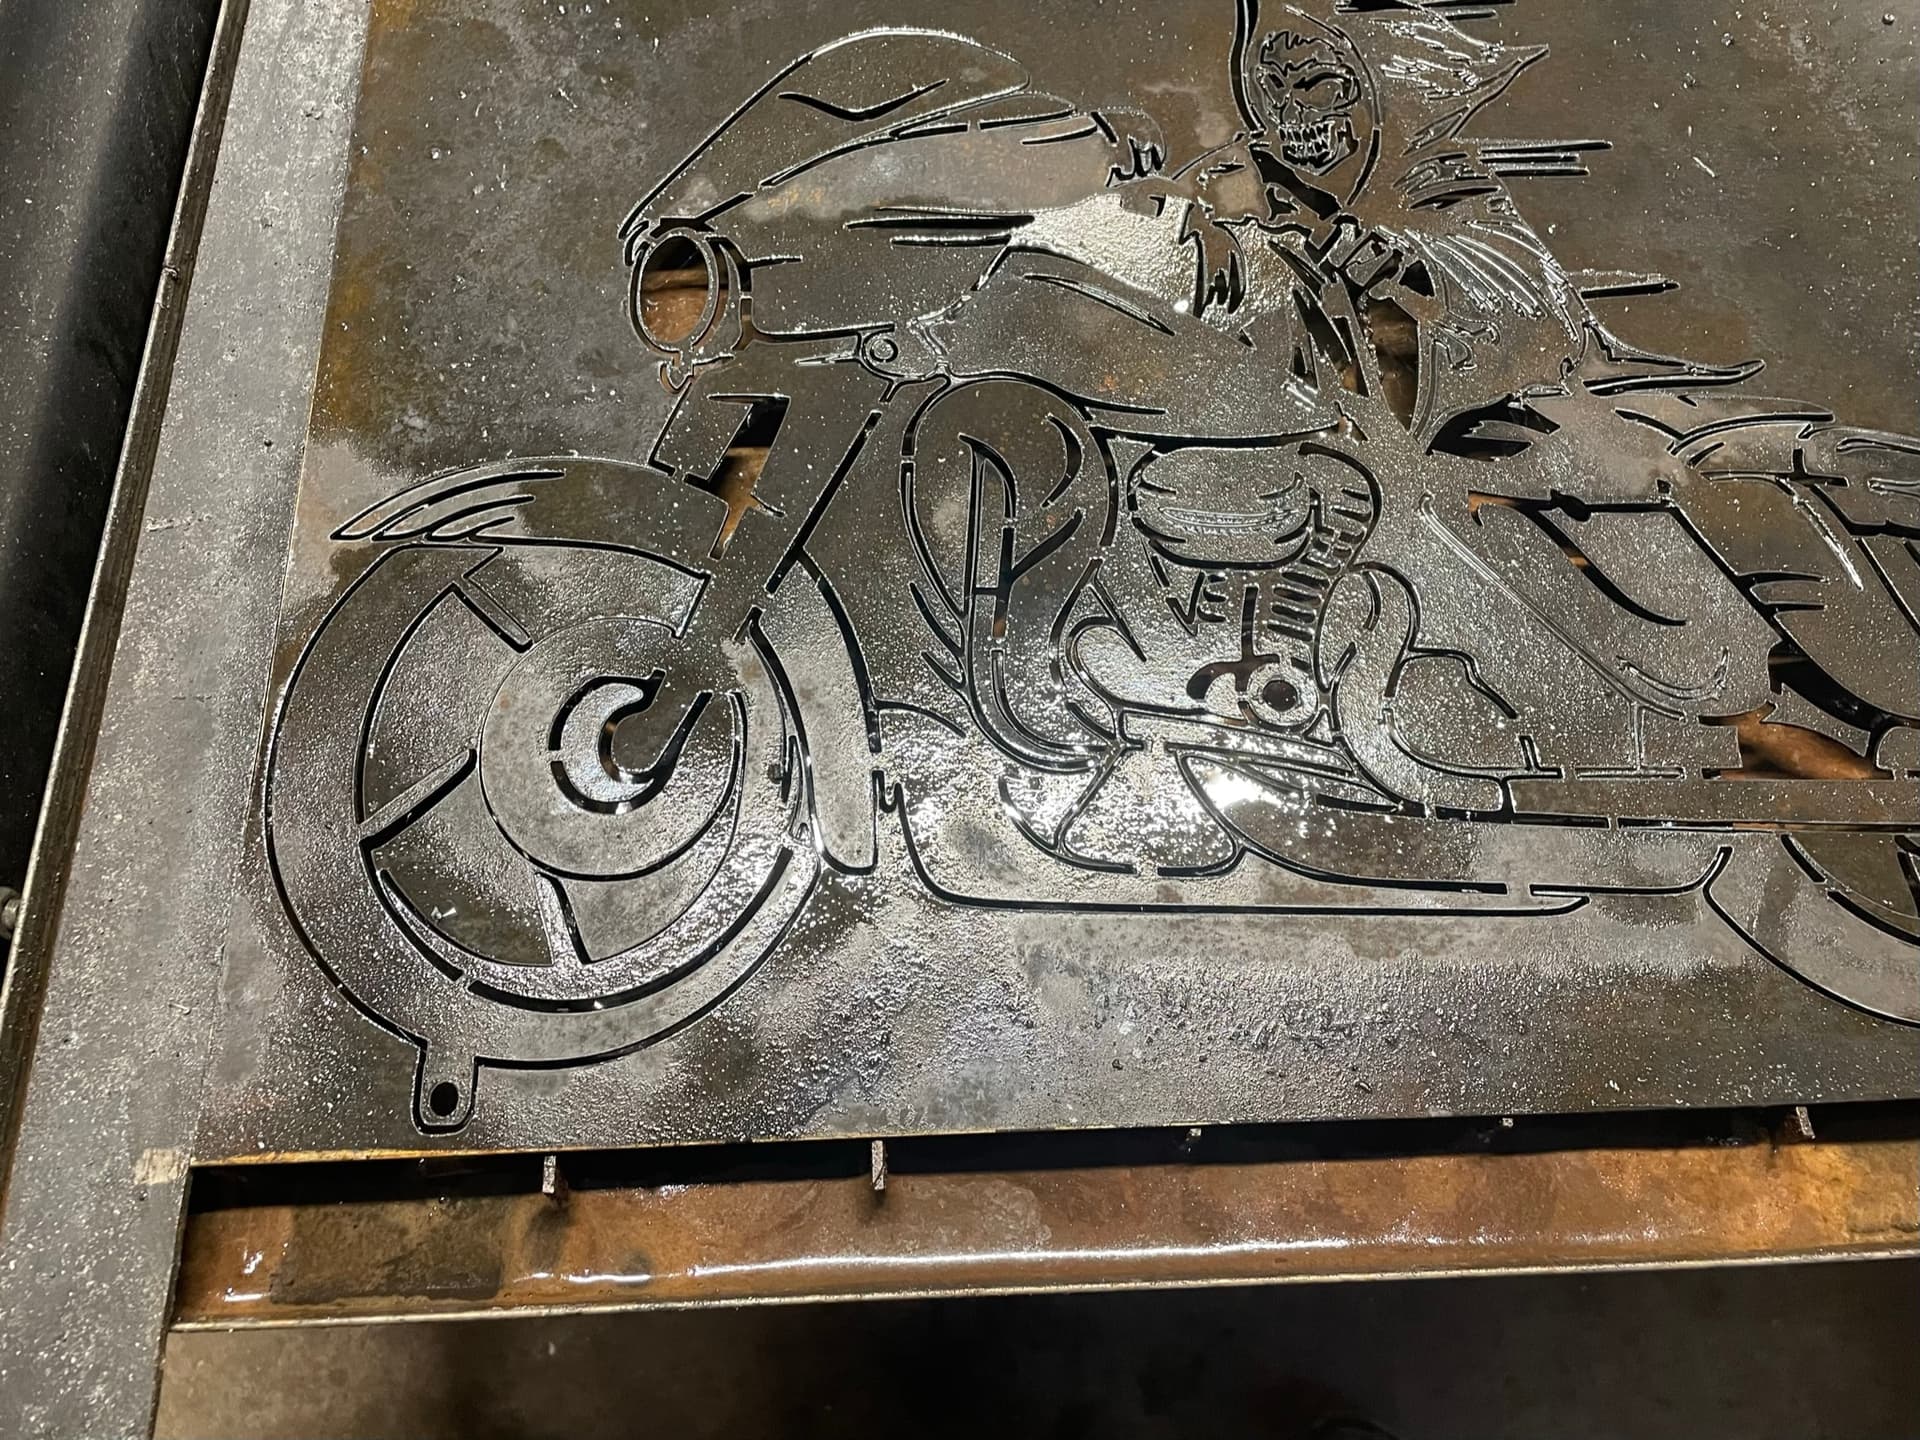
Here is what I did yesterday on my crossfire pro…does it still count since it was yesterday??? LOL.
16g hotrolled.
everlast 52i with machine torch
There is a cool quick little video of it too. little 26 second cool video of the piece.

9 Likes