You will be glad you got the 16. I ordered the 13 first go around and found it was not big enough. Had to go with the 16 gal like you have now and it is perfect.
2 Likes
yea the 16 gives you that little extra capacity in case you need it.
1 Like
I found the 16 gallon tank seems to have more capacity than I need… so far. But I haven’t used the table a ton (yet) so maybe I’ll discover that I need more capacity at some point(?). The 16 gal tank just fits standing up, and when I drain my table there is a lot of air left in the tank compared to water/solution.
1 Like
I decided to try the 16 - I’m going to put my pickup a bit off of the bottom, so the sludge can settle down there and not get recirculated back into the table (in theory) so the extra volume will help in that scenario, I think…
1 Like
I ended up going with a motorized ball valve, thank you!
1 Like
From your pics, it looks like you can also recirculate without actually filling the table too? pump goes right back into tank.
I can fill/drain (recirculate) the water-table with the pump or I can just recirculate the fluid into the tank bypassing the water-table completely. With all the different valves I used I have a lot of different control over the fluid management.
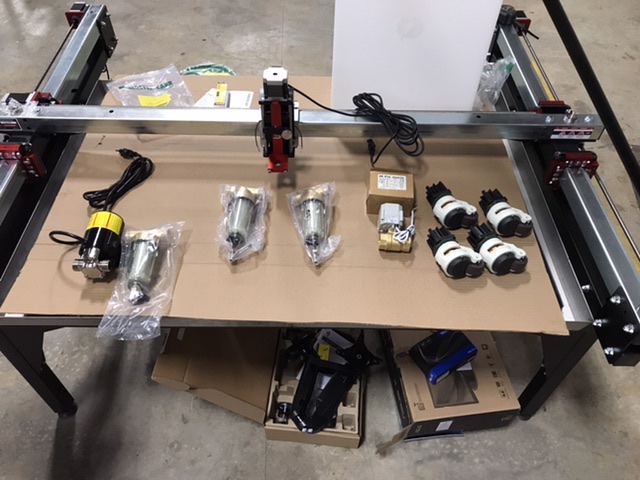
Well, some of my stuff has started to arrive (funny how this table has become its own project)
1 Like
Wow, it looks so clean…that wont last long. LOL  Having a blast with ours.
1 Like
You fellas putting all the effort into coolant management system are going to find out in short order how nasty the coolant gets. Regular cleaning is the key and whatever you do don’t give into the temptation of firing the torch without coolant in the tray! I made the comment previously that enclosed coolant tanks were not the best choice and I still think open top tanks are the way to go.
1 Like
I’m hoping to let the sludge settle in the bottom of my enclosed tank and keep the pickup a bit higher so it pulls cleaner fluid. When the tank gets too nasty, I’ll replace it (they’re under $40)
2 Likes
I agree and am very pleased with my choice of the salvage drum and use of old air hose o drain lines. Draining the table slowly lets almost all the junk settle out before it gets to the drum. Very easy to vacuum the table the next day. I’ve only had to empty sludge from the drum once and it was a 30 second job.
I use the same salvage drum and love it. Just remove the top and hose out the slush.
1 Like
I have a strong magnet in the bottom, so we’ll see how much that collects. Unfortunately I also cut aluminum a lot so… maybe just buying peace of mind 
1 Like
Be careful with cutting aluminum and having a closed tank. The aluminum particles will make explosive hydrogen gas.
whoa! thanks
There are some pretty elaborate drain setups in this thread. Although I am envious, I decided to go the simple route for now as a compromise in efforts to get up and cutting finally (received my pro table mid batch 2… yikes) Anyway, here are a few pictures of the simplest and fastest drain setup i could come up with - black iron pipe and a hose bib… I also threw in a few pics of my table airline setup. Again, simple, but effective. Lets see if I get these pics posted correctly…
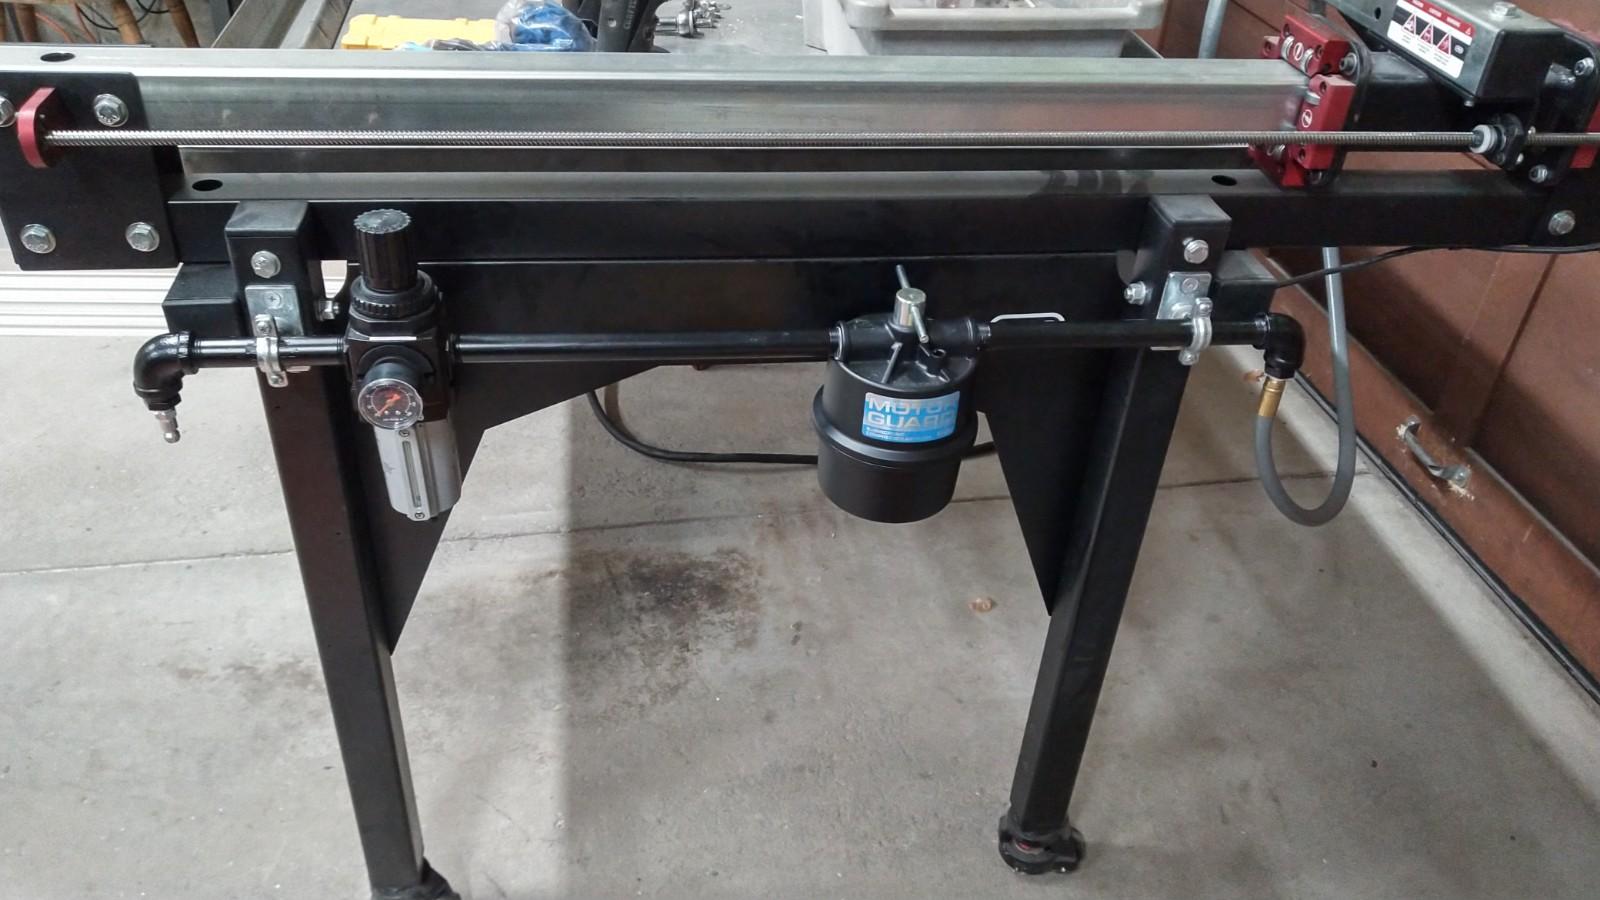


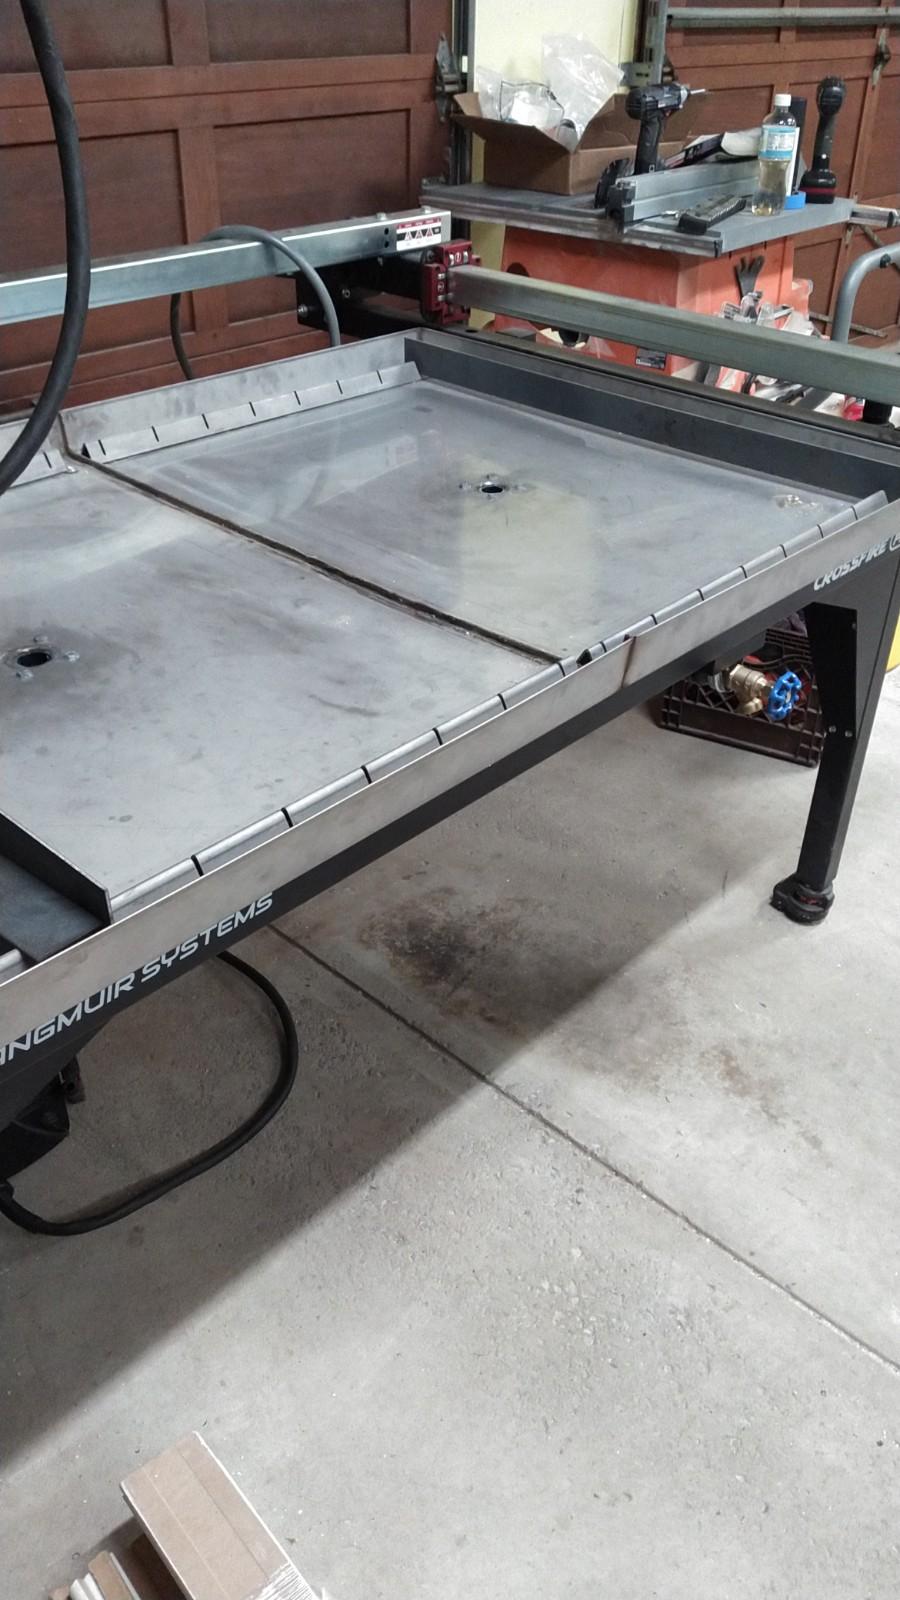
6 Likes
My drains are pvc but identical. Works well. I use a short hose and drain into 5 gallon buckets.
What fitting did you use to replace the drain plug? I have a pex tool and this looks simple to do on my first table.
Hey Mike.
On my setup I changed out the supplied 1/4 plug with a 1/4 nipple. Then necked it up with a 1/4 -1/2 bushing. Then a 1/2 to Pex adapter. Everything is in the same plumbing isle.
It has plugged up after a lot of cutting. (I don’t use any filtering device.) It cleans out easy with a small magnetic pickup tool. Slide it down from the top and pull out the slag bb’s.