I’ve been wondering that as well - my fluid got completely fouled after a few hours. Some sort of strainer / filter system - but I’m thinking it needs to be a magnet like in a hydraulic system / transmission to catch metal shavings.
I’ve had good luck with my Eagle 1654 “Salvage Drum” from Amazon. All the junk settles out between uses and fluid is clear by the time I’m ready to refill table. I just use a bucket for that, as I’m already an accomplished canoe bailer. Takes a minute or two, but you could obviously use a pump instead.

I have some small rare earth magnets around my drains and a piece of green Scotchbrite pad on top of the drains - it fits under the gap between the bottom of the slats and the water tray and filters out most of the dreck. Easy to vacuum it when everything dries.
3 Likes
Open top makes more sense. Magnets don’t do anything for aluminum, a lot of stainless or other non-ferrous. Not to mention the scum that floats on top of the coolant.
I was thinking even a tote would do it but what the heck I am now $6500 into this venture so may as well buy a stout open top tank for it. Did you build a shelf under your table and if so does the drum fit?
2 Likes
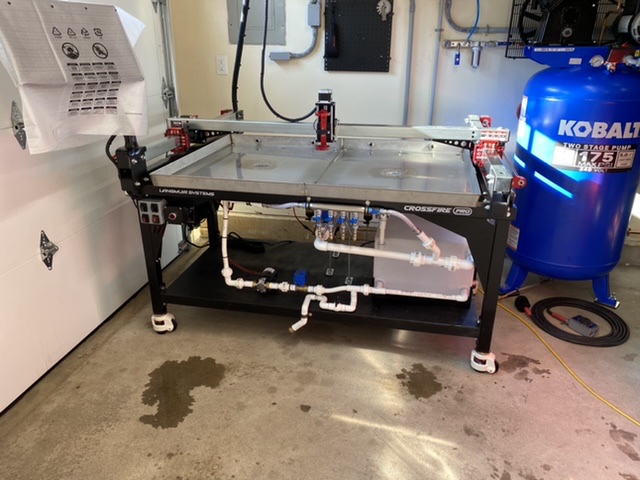
Mjpotts the tank is on the floor and clears the long sides of table by 8 1/4” (open) to 8 1/2” (sealed ). Note my table is elevated 4 1/4 inches on machine casters. Drum does not clear the narrow ends of table due to interference from gussets. My drain lines are 36” inch hose whips with 1/4 npt swivel ends. One end of each hose goes to a stock drain and the other into a 1/4 ball valve. I chose that route because I had the hose and fittings and the flexible lines can deal with whatever obstructions I end up storing under the table. They can also be routed outside the table footprint if I decide to keep the drum somewhere else to save shop space.
True. That’s why I use both the magnets and the scotch pads. Too fine a filter though and it takes forever to drain (or for the pump to fill if you add a filter in the pump line). My pump intake is about 1" above the bottom of the tank so I don’t get crud in the pump - it settles to the bottom of the tank. I’ve also got a drain valve on the bottom so I can drain all but the last inch - then I tilt the tank to empty the last of the cruddy water as I use the hose to put more in to wash it out.
The Crossfire/XL was much easier - Just 2 HD 5gal buckets that I’d dump in the tray. The black stuff would settle in the bottom and I could still get 80% of the clear water poured back in before I’d need to dump the residue & water.
1 Like
My system is working great. My filter is a few layers. Top layer is some stainless screen, second layer is fiberglass air filter filiment, third layer is magnetic sheet (the self adhesive kind). Everything is cut to fit into my sump area. I put a kitty litter bucket inside my tank and drilled some holes in it and lined it with the air filter filiment. That way if there is sediment in my water it’s trapped in the bucket and the water weaps through the holes in the bucket. The water is stained when I pump it backup but you can see through it.
2 Likes
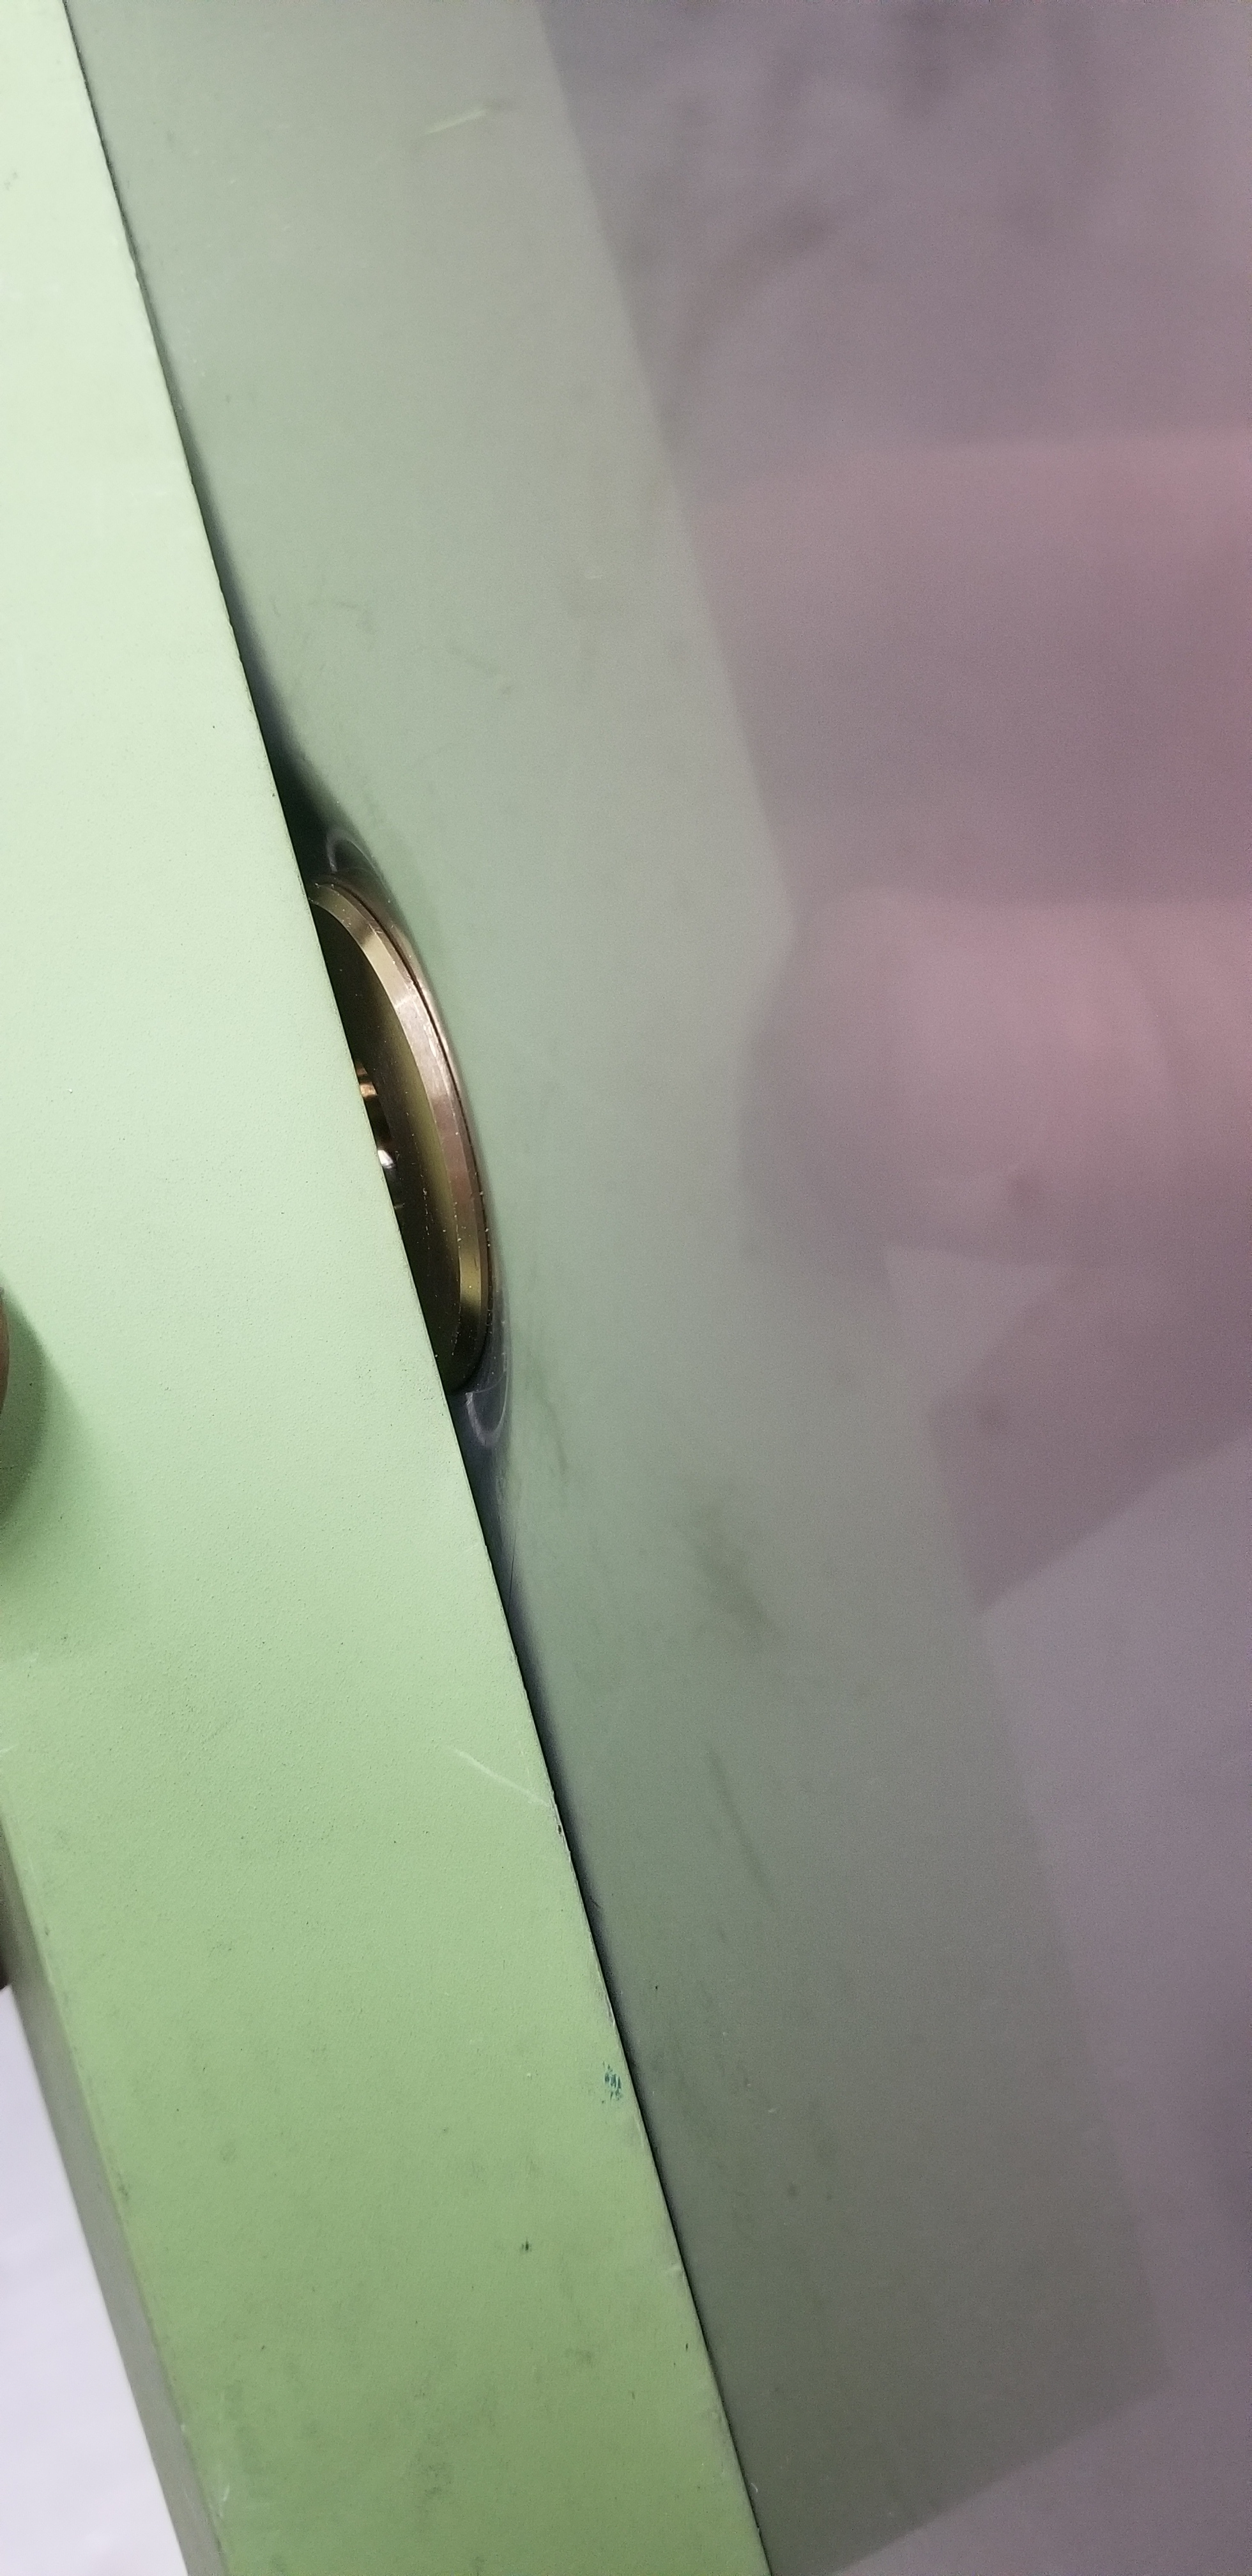
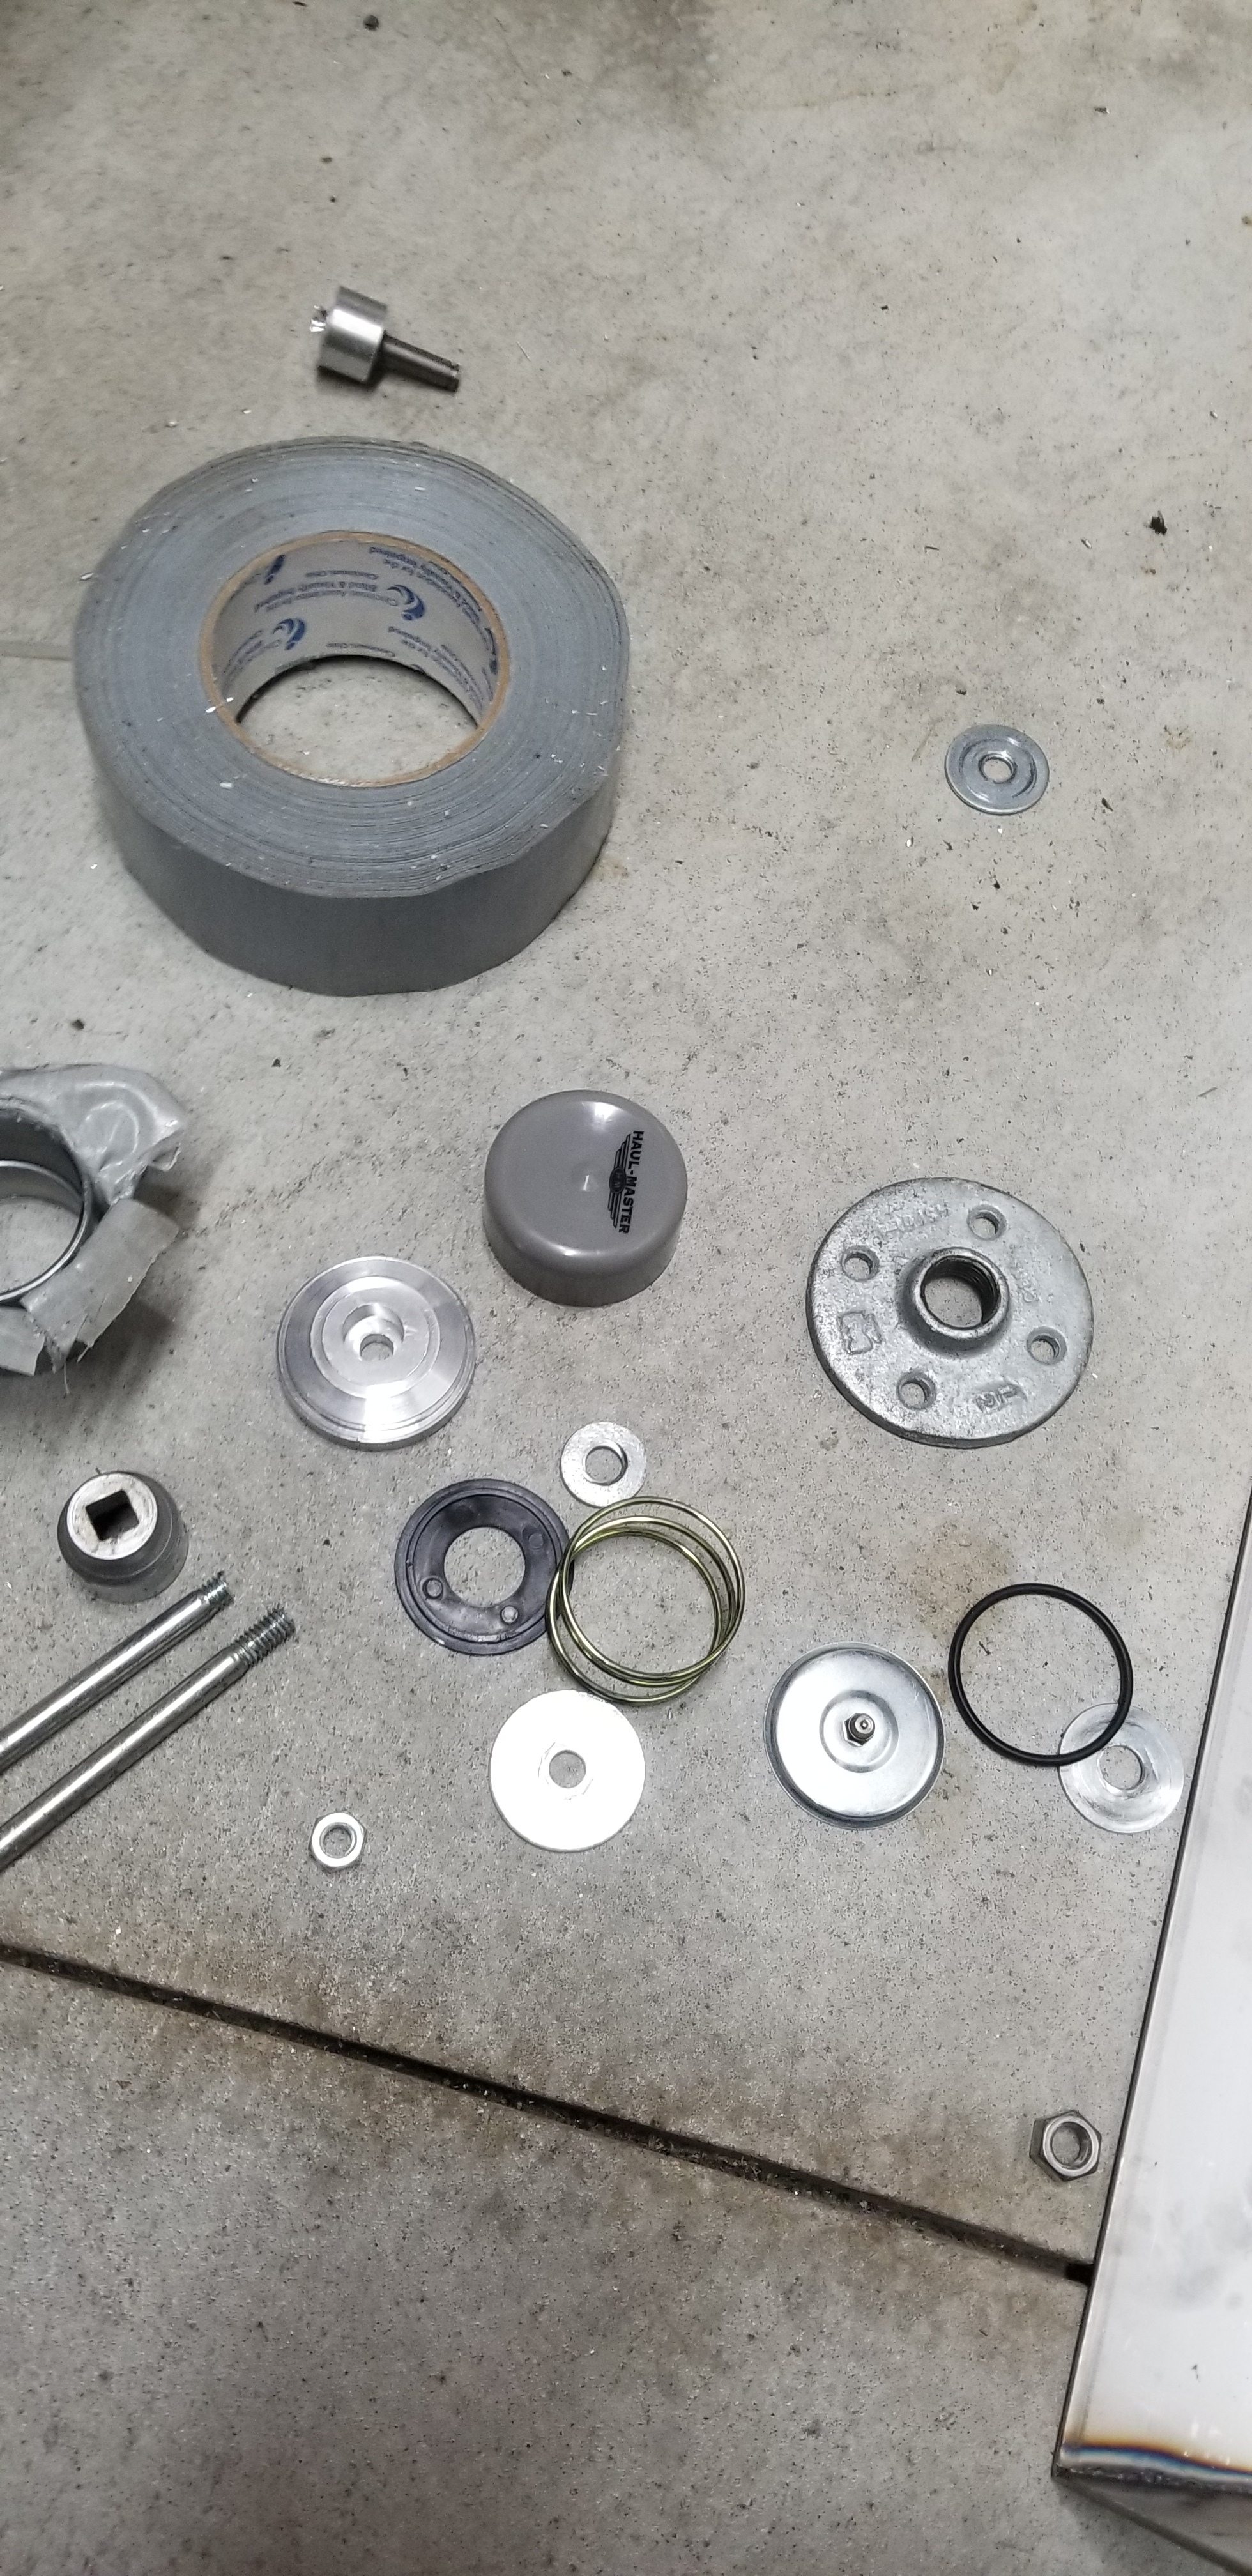

This is my 10 piece dimple die I made from scraps I had laying around my garage. The ring is from bearing buddies from HF. The process was ugle but the results turned out better than expected. I won’t be using the table much so speed isn’t an issue.
What kind of pump are you using for draining and filling?
It’s gravity drain and a Flowtec FPDF360AC pump for the fill.
1 Like
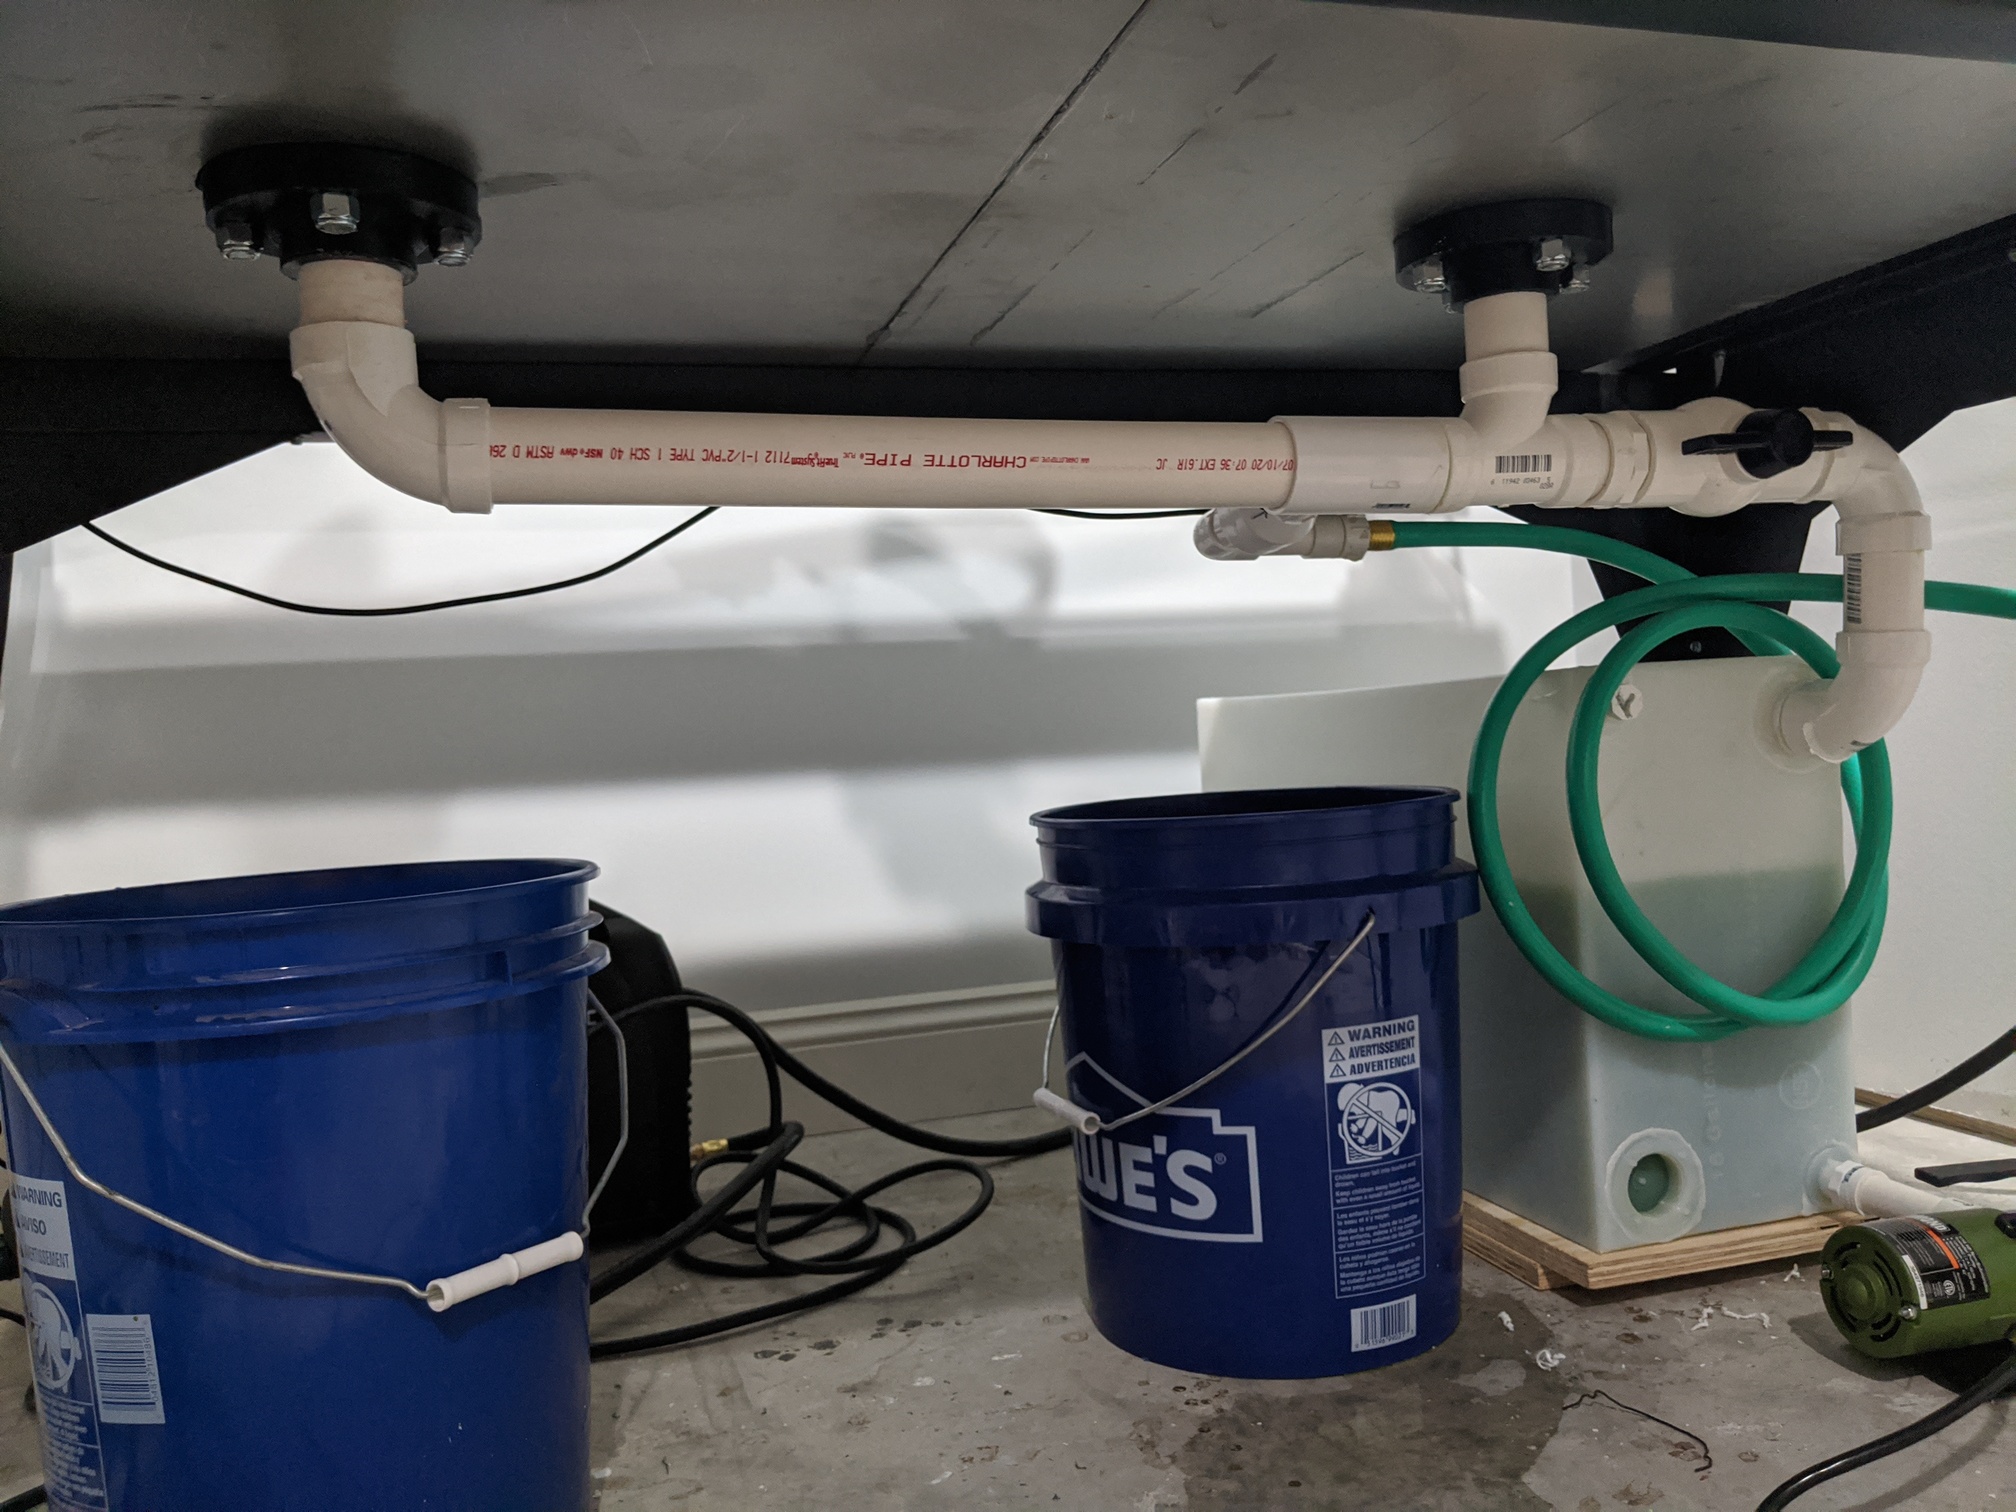
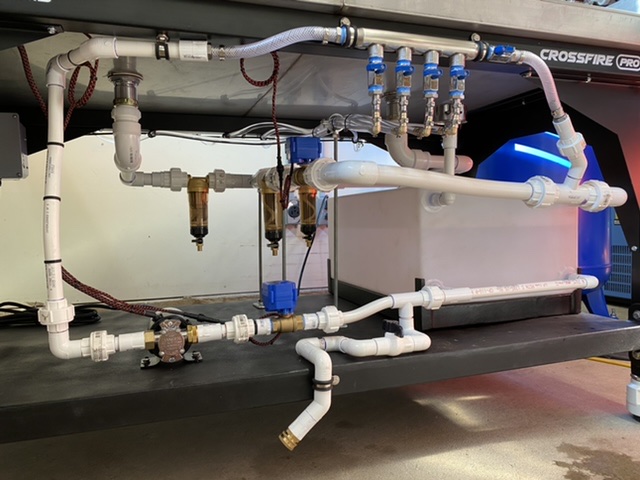
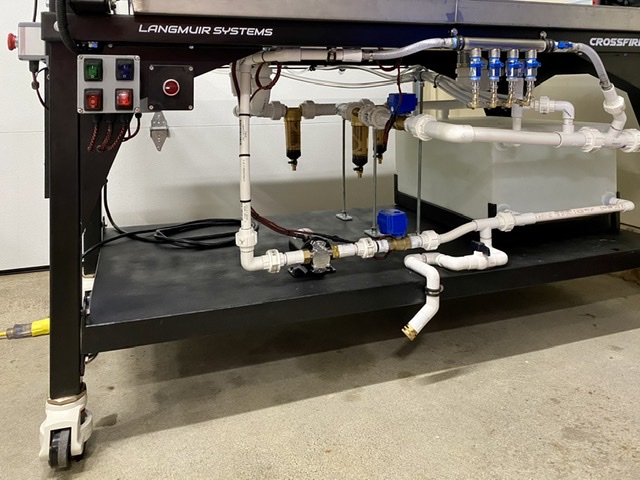
Got my water table and tank plumbing done! For those using an electric pump, a PVC check valve is a much nicer option than a manual valve, and at my HW store was the same price. Still have the buckets staged from leak testing, but so far everything is holding.
This had a little bit of DIY flair as I 3D printed my own version of the Van Stone flanges, then laser cut a neoprene gasket (you could also cut this by hand). Following the lead of some others, I took the same model for the gasket and made a toolpath for the plasma. The 1/2" bolt holes were easily cut in the table using the table itself!
2 Likes
Here’s the DXF, the origin is in the middle, so just jog your torch centered over the existing hole to replicate. I didn’t widen the center holes on mine, so this only has the bolt holes.
Van Stone Flange.DXF (21.7 KB)
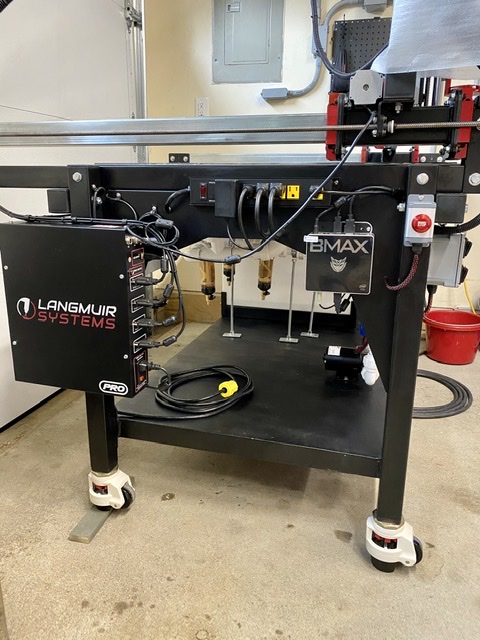
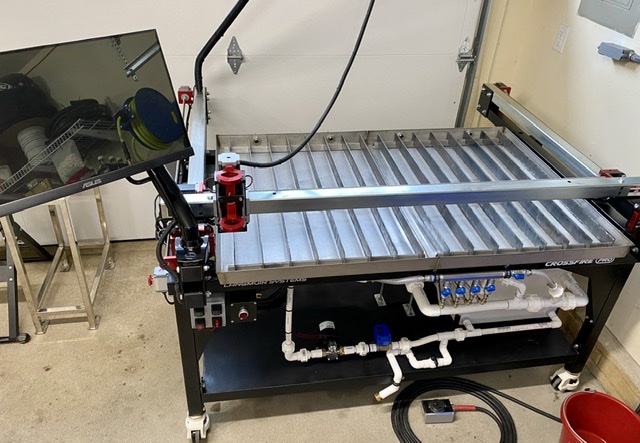
I finally got the electrical and plumbing modifications done! I’ll share a video of it all in action soon! I’ve added a lower shelf, onboard small computer, 21” touchscreen monitor mounted, an E-Stop and a control panel for the plumbing system (valves, pump, etc.). The water-table has been modified, fully welded as well as a recirculating liquid feature too. Let me know your thoughts.
@langmuir-mike @langmuir-daniel
 !
!
3 Likes
what kind of water pump are you using?
the HF pump i got makes a fuck ton of noise and already ruined one impeller with only a handful of uses.
@KSiegel
The pump I’m using makes a ton of noise too (only negative I can mention) but works perfectly. I’ve been running it at 100% for hours without any issue. Just make sure it never runs dry as that will destroy the pump impeller. I’ve got it hooked up to 1/2” inlet and outlet leading to a distribution system and bypass valve too.
That actually looks identical to the harborfreight unit, including the accessories. The black color is nice though 
thats basically the same pump i have, the one HAWKFABSHOP has looks different.
i dont know, maybe it the same thing
Honestly not sure. Either way it works great other then being a bit noisy! I’m using it to run my fill and recirculation system without any issues.