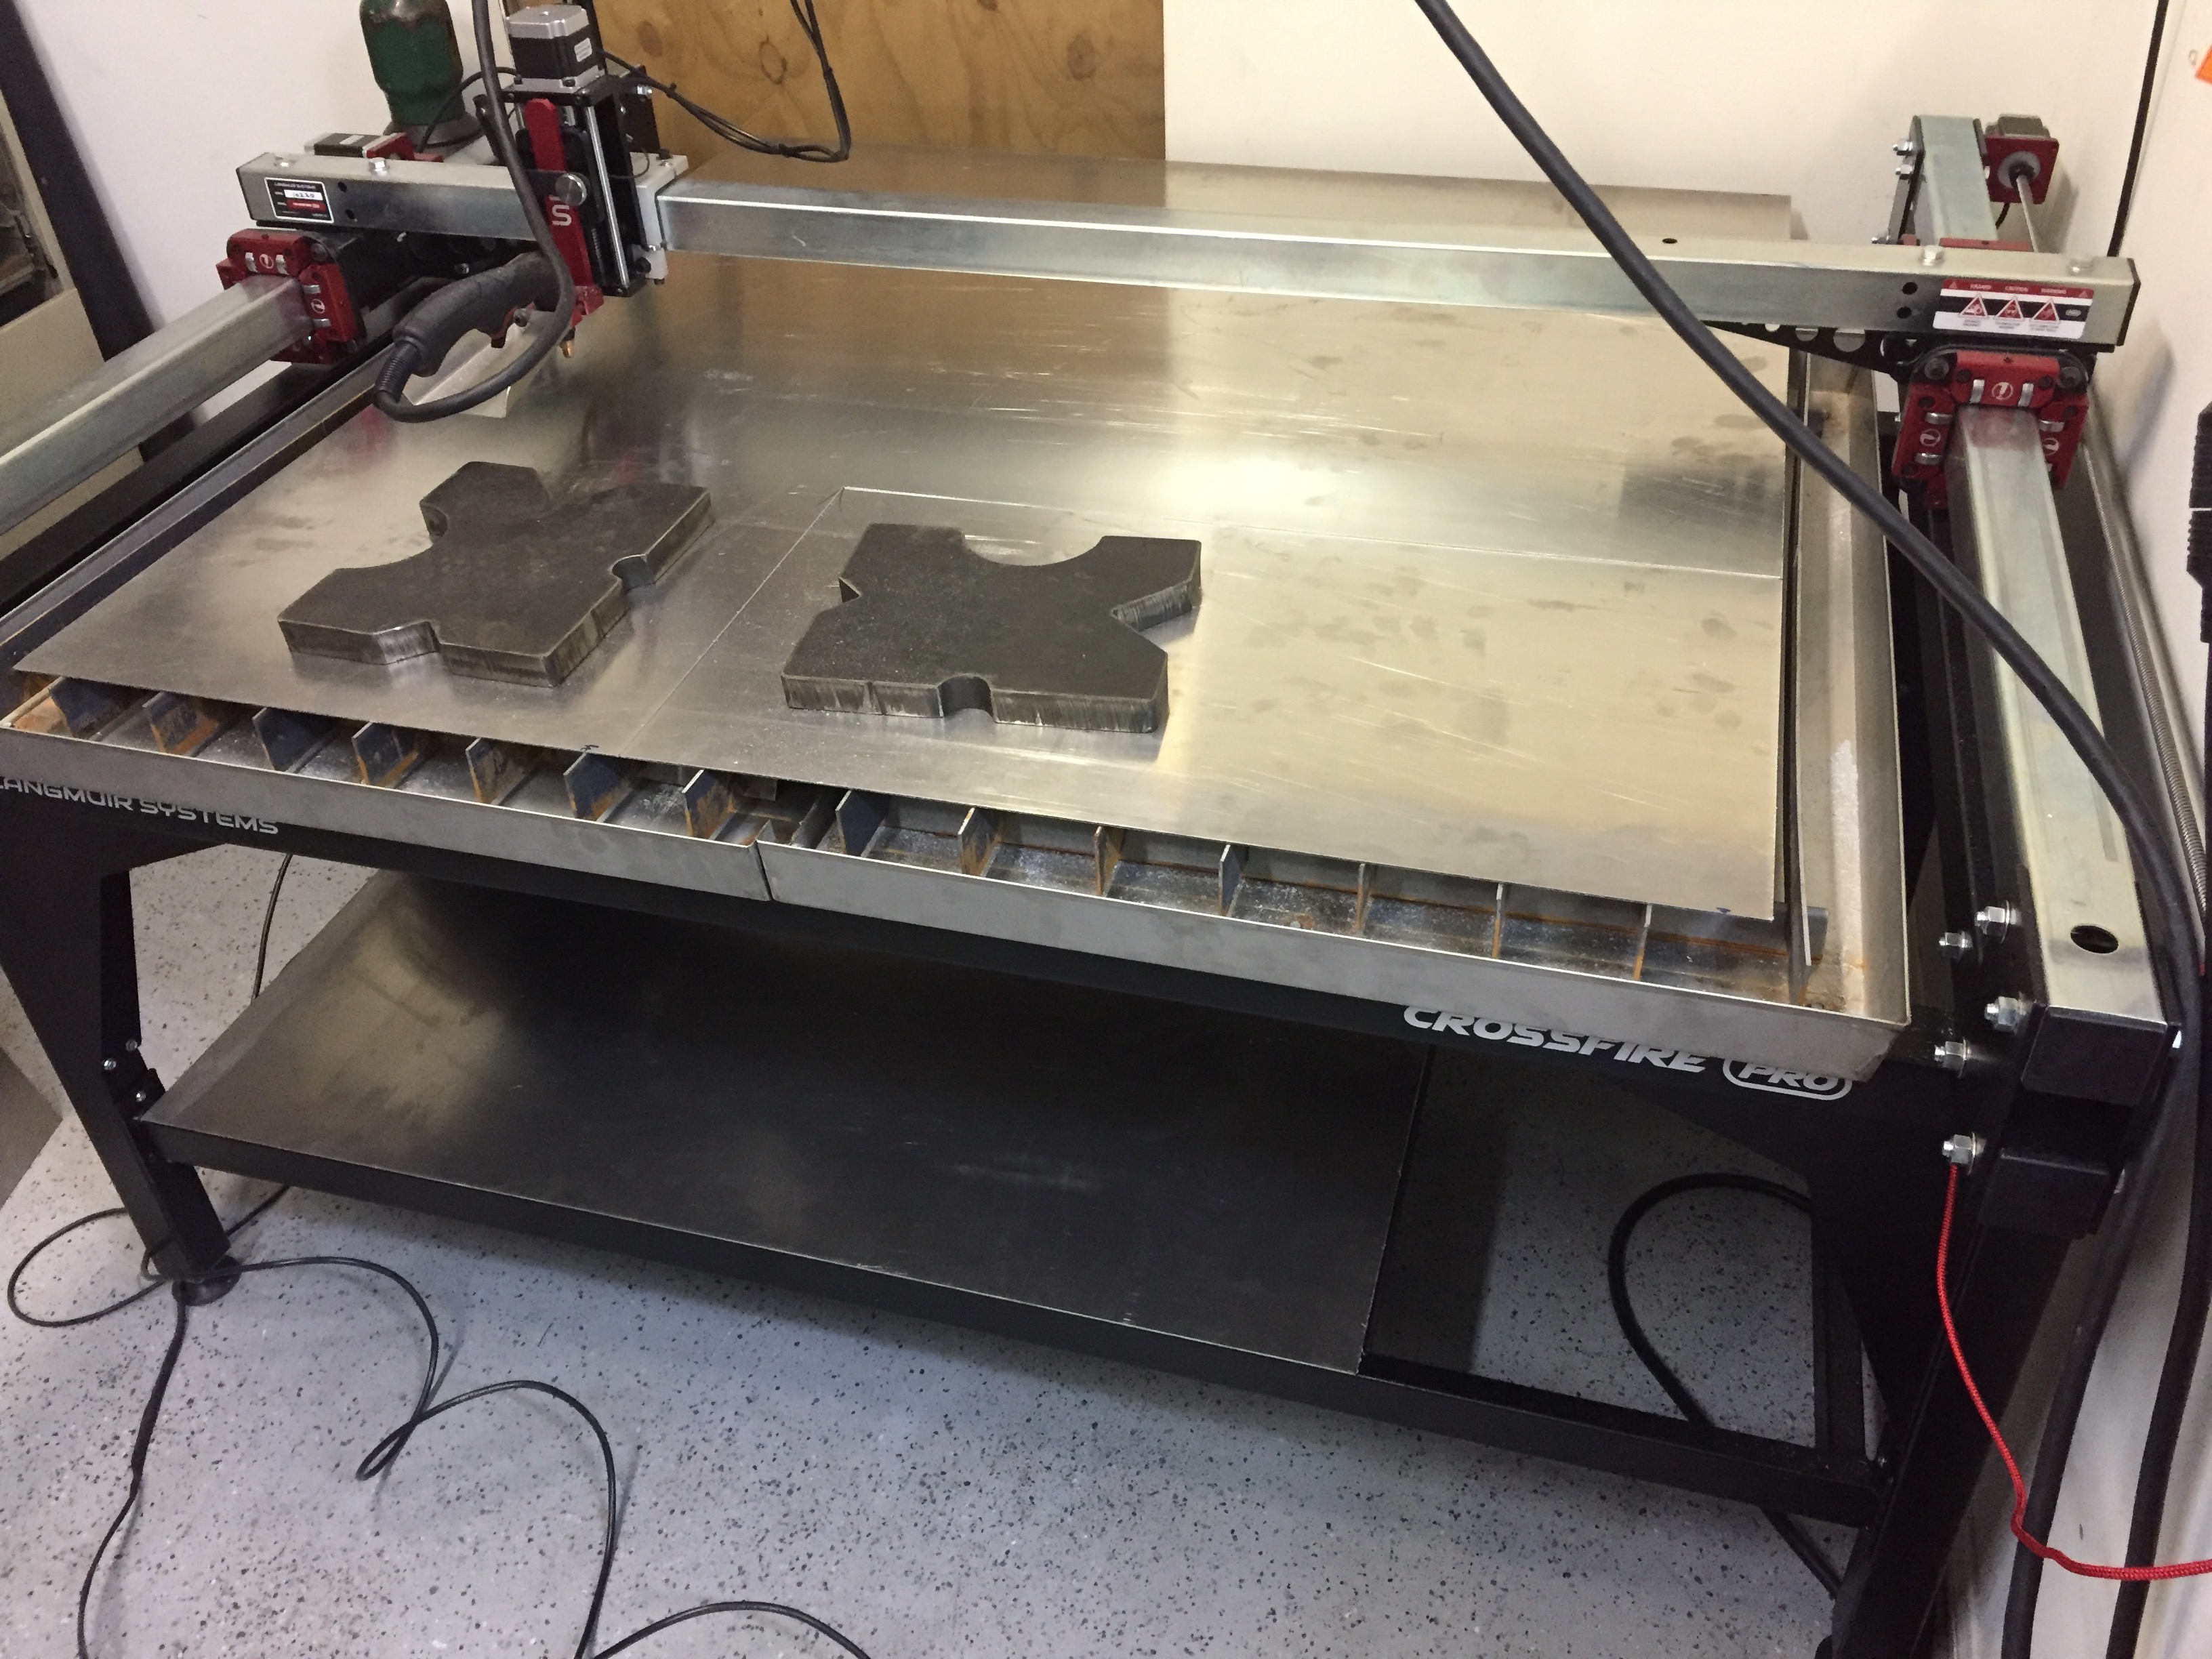
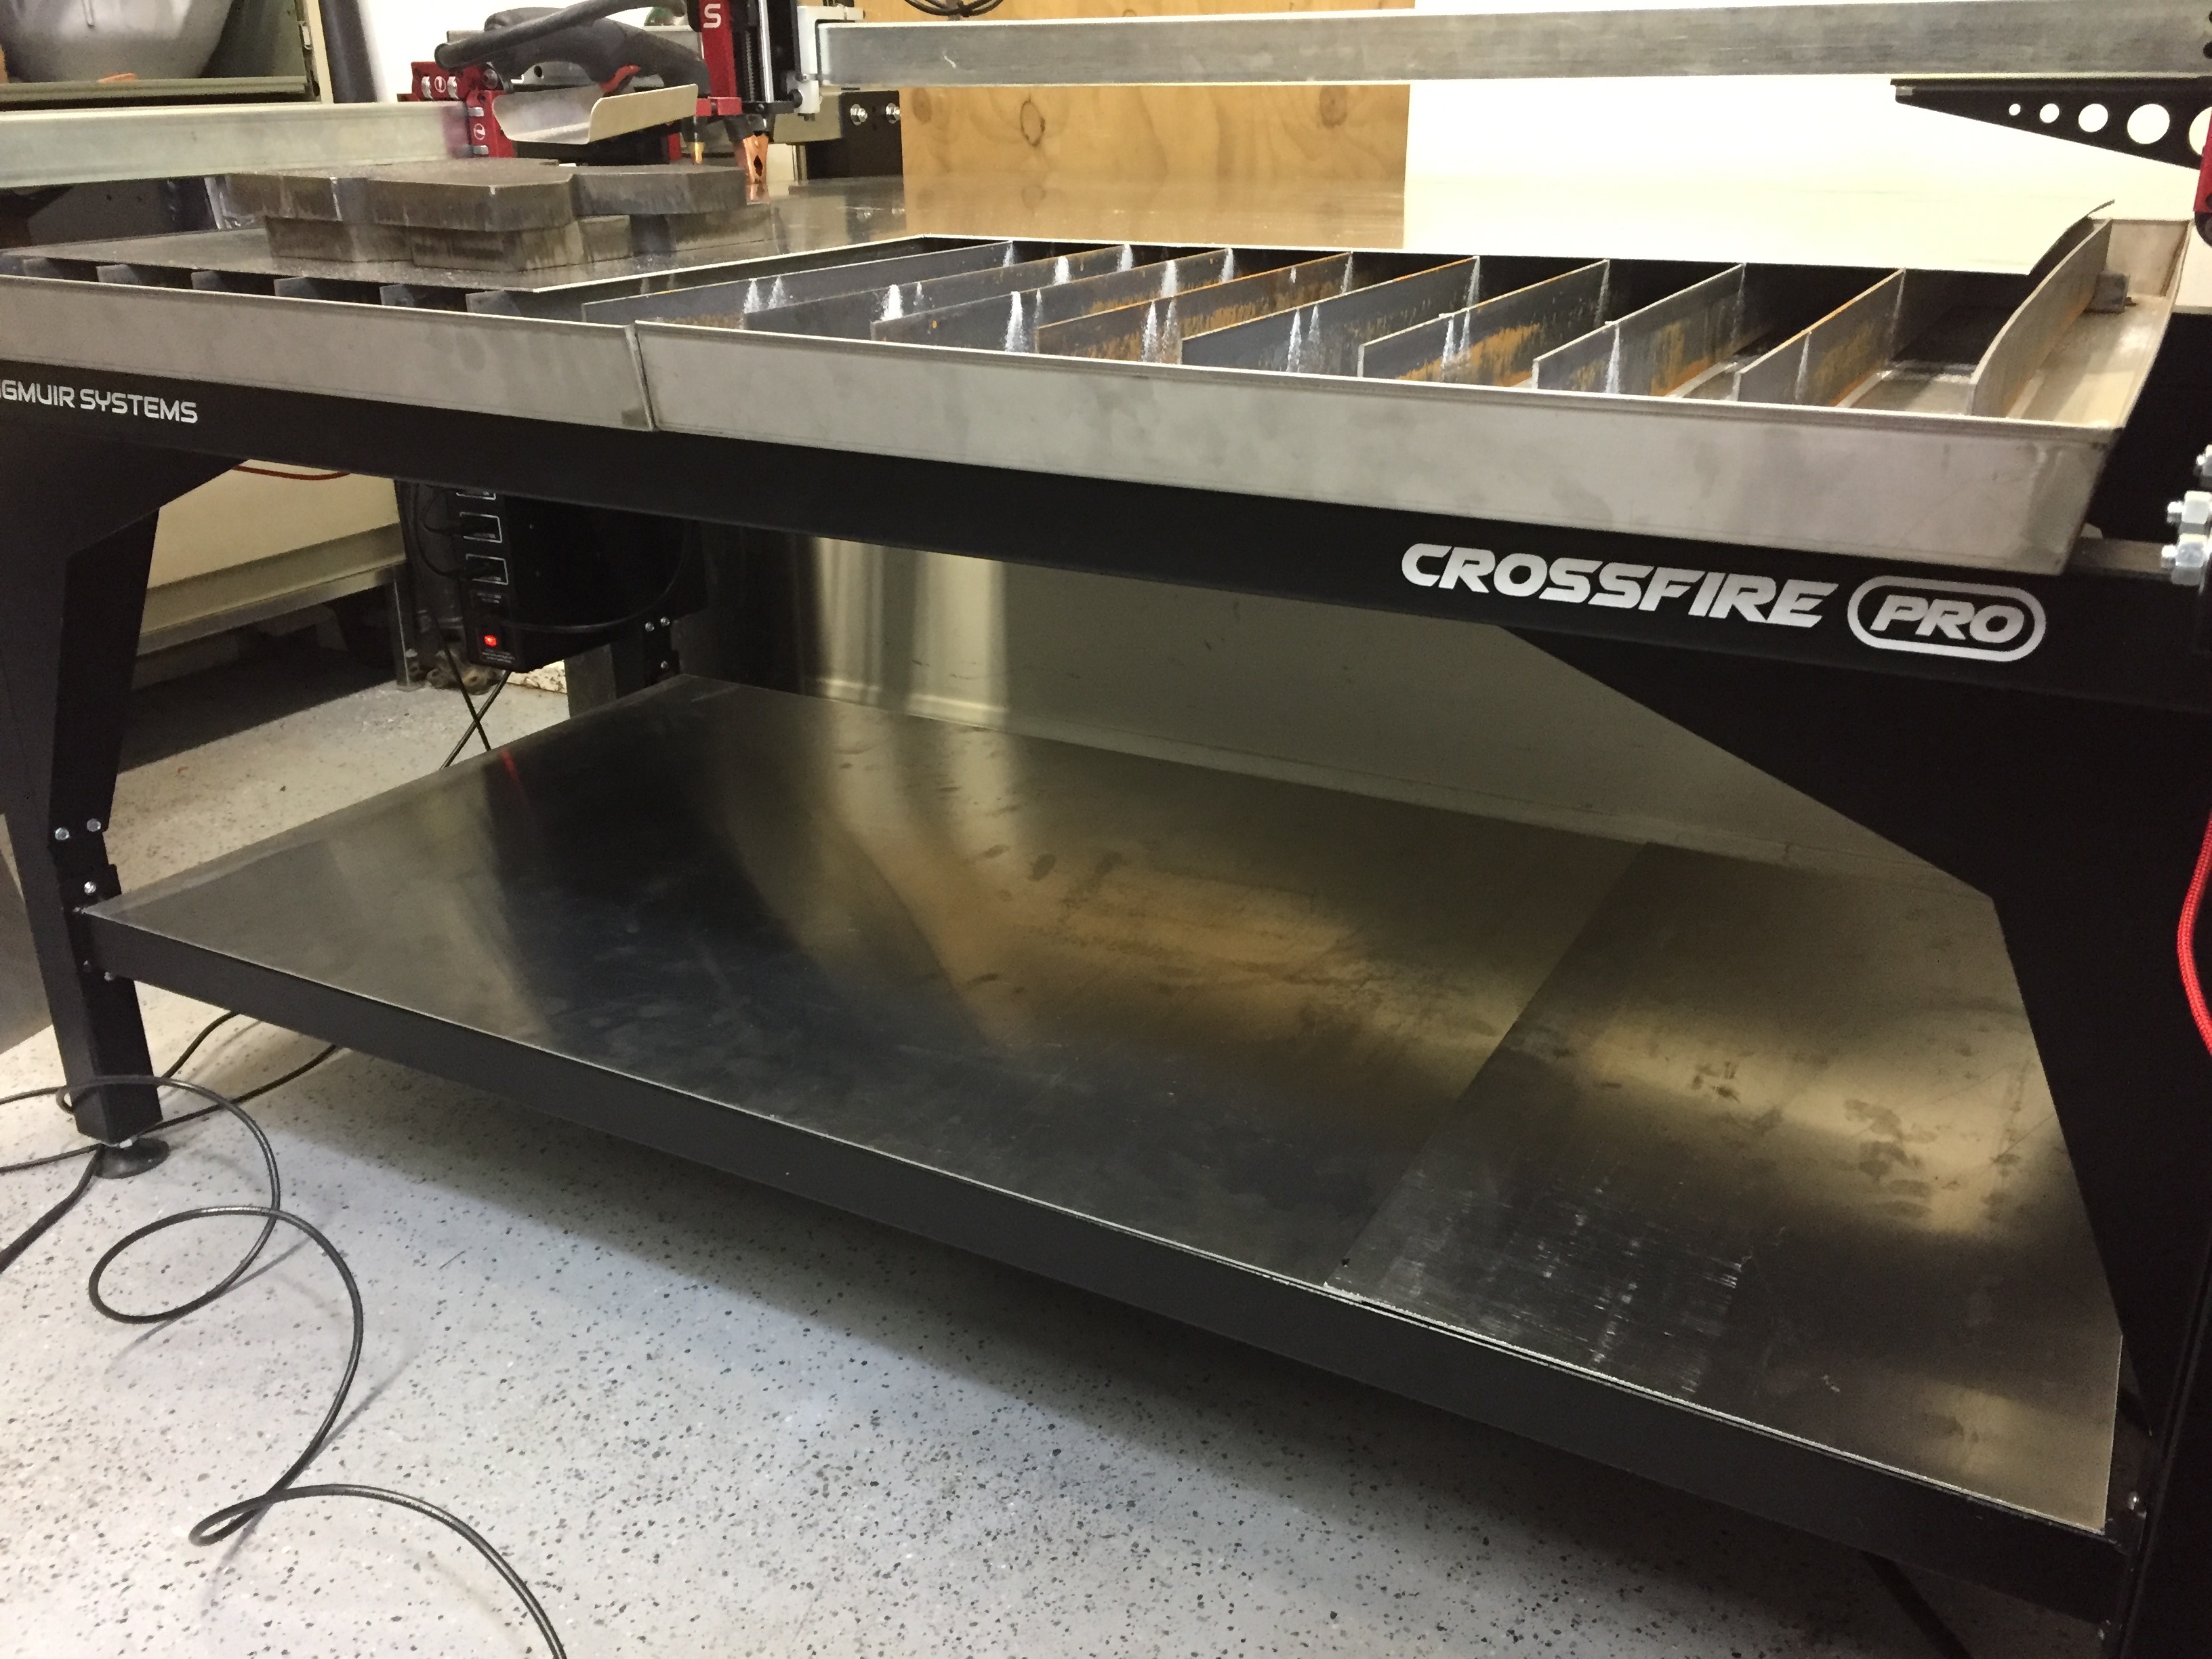
now with the frame mounted, I used the FireControl straight cut feature to skin the lower shelf.
now just waiting on the RV water tank and water strainer to arrive so I can plumb up the rest of the table and make water transfers easy.
8 Likes
Why did you build a shelf? you don’t have casters to move it, so you lost space under it…right 
because the shelf is going to hold the 21 gallon water tank and pump.
instead of just resting it on the floor, where shit will accumulate.
3 Likes
Okay, makes sense, mine would have 25lb dust rabbits under it to cleanup
1 Like
Can someone take a couple measurements for me? I know they will be rough depending on feet sticking out
What is ht from floor to bottom of table, for sliding stuff under it?
What is ht from floor to top of the slats?
Looking to make a “Lift kit” for both sides to get comfortable ht and also see what would be available under it for center storage
Thanks
26" to the underside crossbar. 30 1/2 " to the top of the slats depending on the feet adjustment.
1 Like
Awesome thanks!
(Extra)
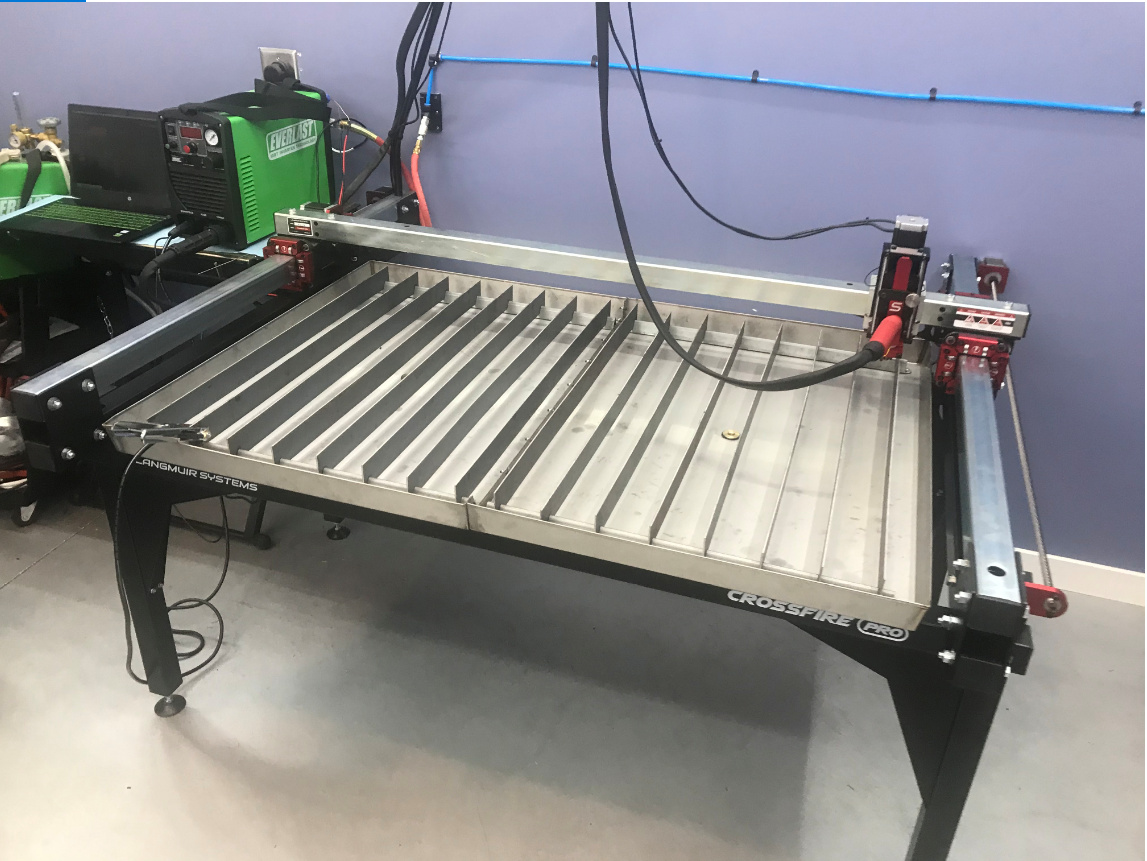
Here is a quick shot of my setup
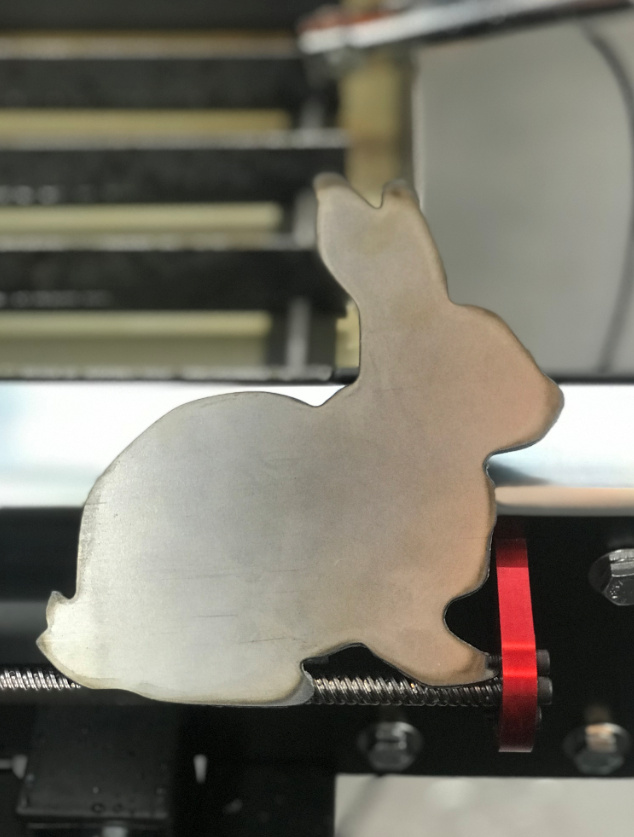
and a few shots of my first cuts:
Easter bunny for the wife
AR bottle opener for me

5 Likes
Anyone looking to build a shelf under the table. Here is what I ended up ordering from metal depot,
- 16g sheet 31 1/4 in. x 29 in. (± 1/16 in.) x2
- 2x2 16g 4 ft. 10 1/2 in. (± 1/16 in.) x2
- 2x2 16g 2 ft. 1 in. (± 1/16 in.) x5
Im sure I paid a little more buying from metal depot but it was nice not having to deal with cutting anything. Their cuts were close enough to make it work.
2 Likes
No pics but I have the frame and X and Y rails on. Its a start.
Same here, water table next,will start on it in the morning 
That’s almost where I am. I have to pre-load the right side gantry bearings. I have the left side done but am sleeping on it - I’m not sure if I tightened them too much so it moves fairly easily by hand but not necessarily “easily” at least not like before I did the pre-load.
I dimpled the water trays already and have the fittings for a ball drain system ready for it. The top of the brass drain fittings are just lower than the tray bottom. It’ll drain 100%. I’m going to take off tomorrow afternoon and be able to work on it then.
nice designs. it seems like your amperage is a bit too high for those cuts. or you can speed up the travel.
Which would you recommend, lower voltage and keep the current IPM, or keep voltage and increase IMP? I am currently at 42Amp and 120 IMP. Material is 18 ga.
it all depends on what your machine likes.
usually lowering the amperage is better since increasing IPM is, in theory, harder on your machine during direction changes.
if you look at the heat signature at the bottom of the rifle magazine and the grip, you can see how the heat is abundant. where as on straights, like on the barrel its not as significant.
you dont need to do huge jumps in adjustments. usually 5-10% can have major and beneficial improvements.
working with my LSPRO over the past week, ive had major differences in DROS and cut quality just by adjusting the IPM by 10% or adjusting the amperage by the same amount.
DROS is usually from a slow IPM.
didnt see your specs first time i read it.
at 18G(or .050"). id run 100ipm at 20 amps.
refer to your plasma cutters spec sheet for more accurate numbers.
what you can do is run FireControls straight cut feature for 3" runs.
adjust your IPM for each cut. then adjust you amperage. dont adjust two on the same cut though.
mess around with it and see what your machine likes.
1 Like
Thanks for the info and suggestions. I will run some test cuts today and tune things in.
As frustrating as it is t wait for this machine and see people building and using theirs, it has given the rest of us some great ideas for table modifications, for water management and shelf ideas.
I want to say thanks for all the people who have posted their pictures.
thank you…
4 Likes
got some more work done on my tables shelf.
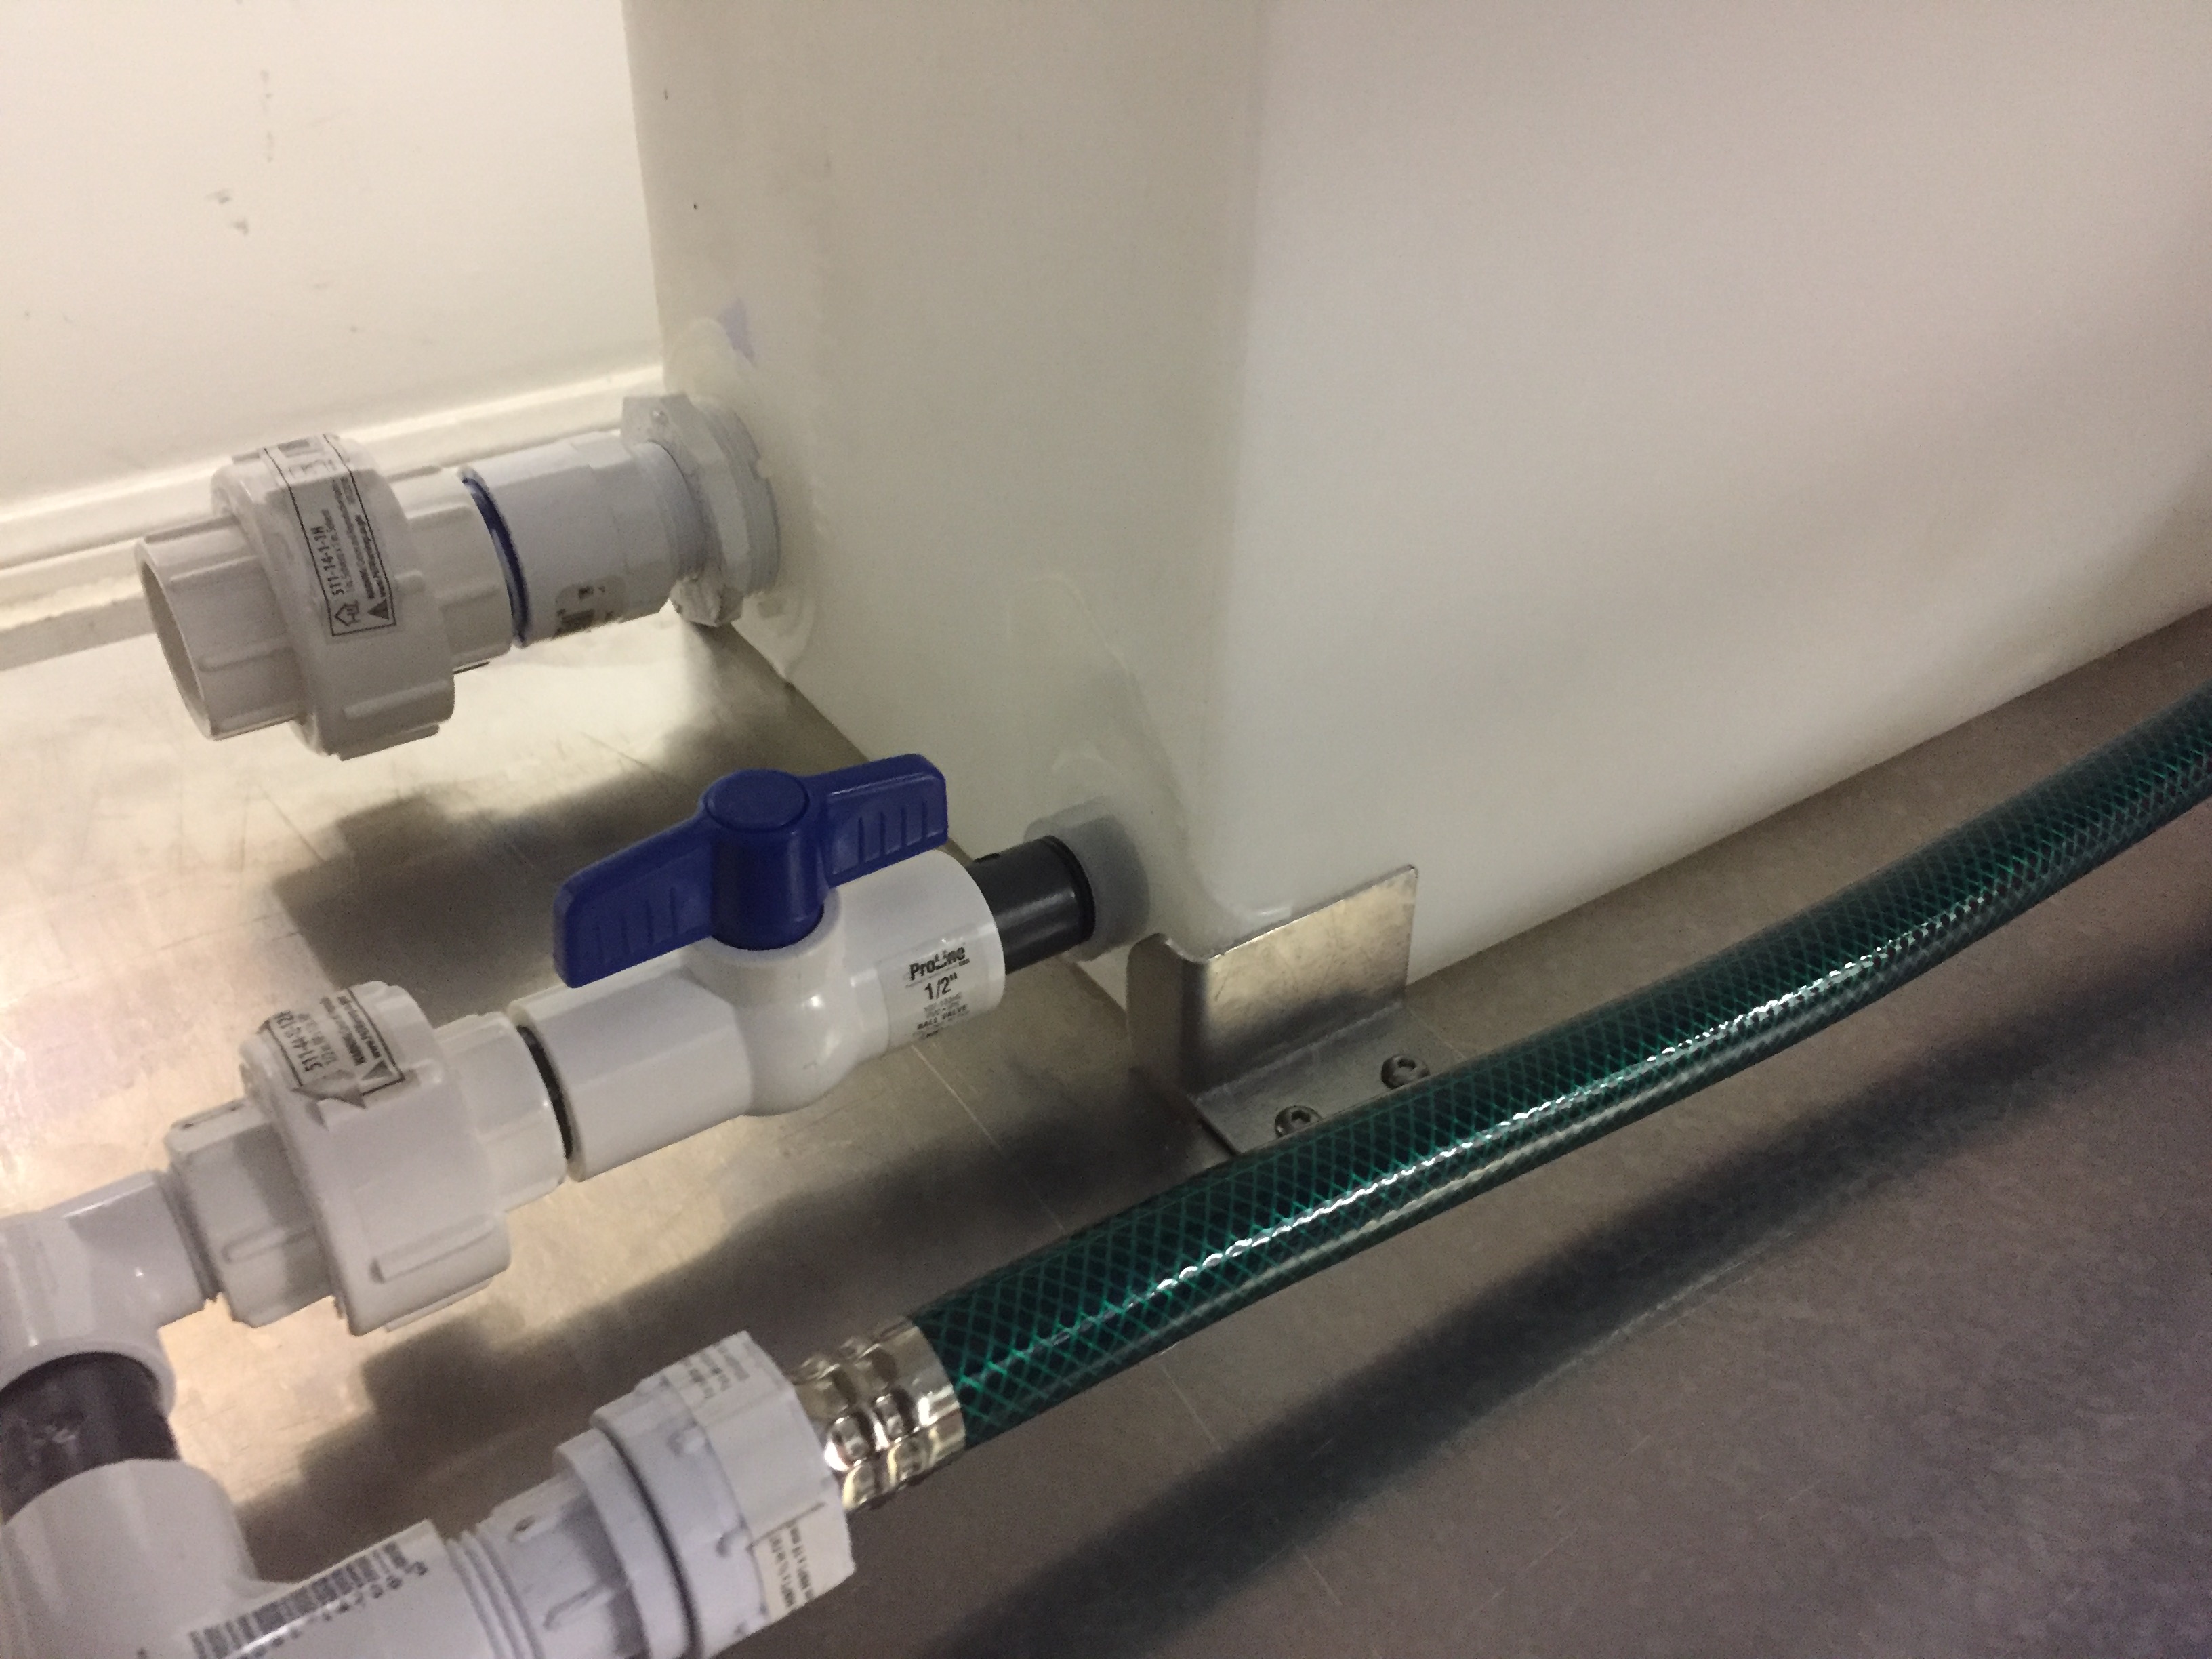
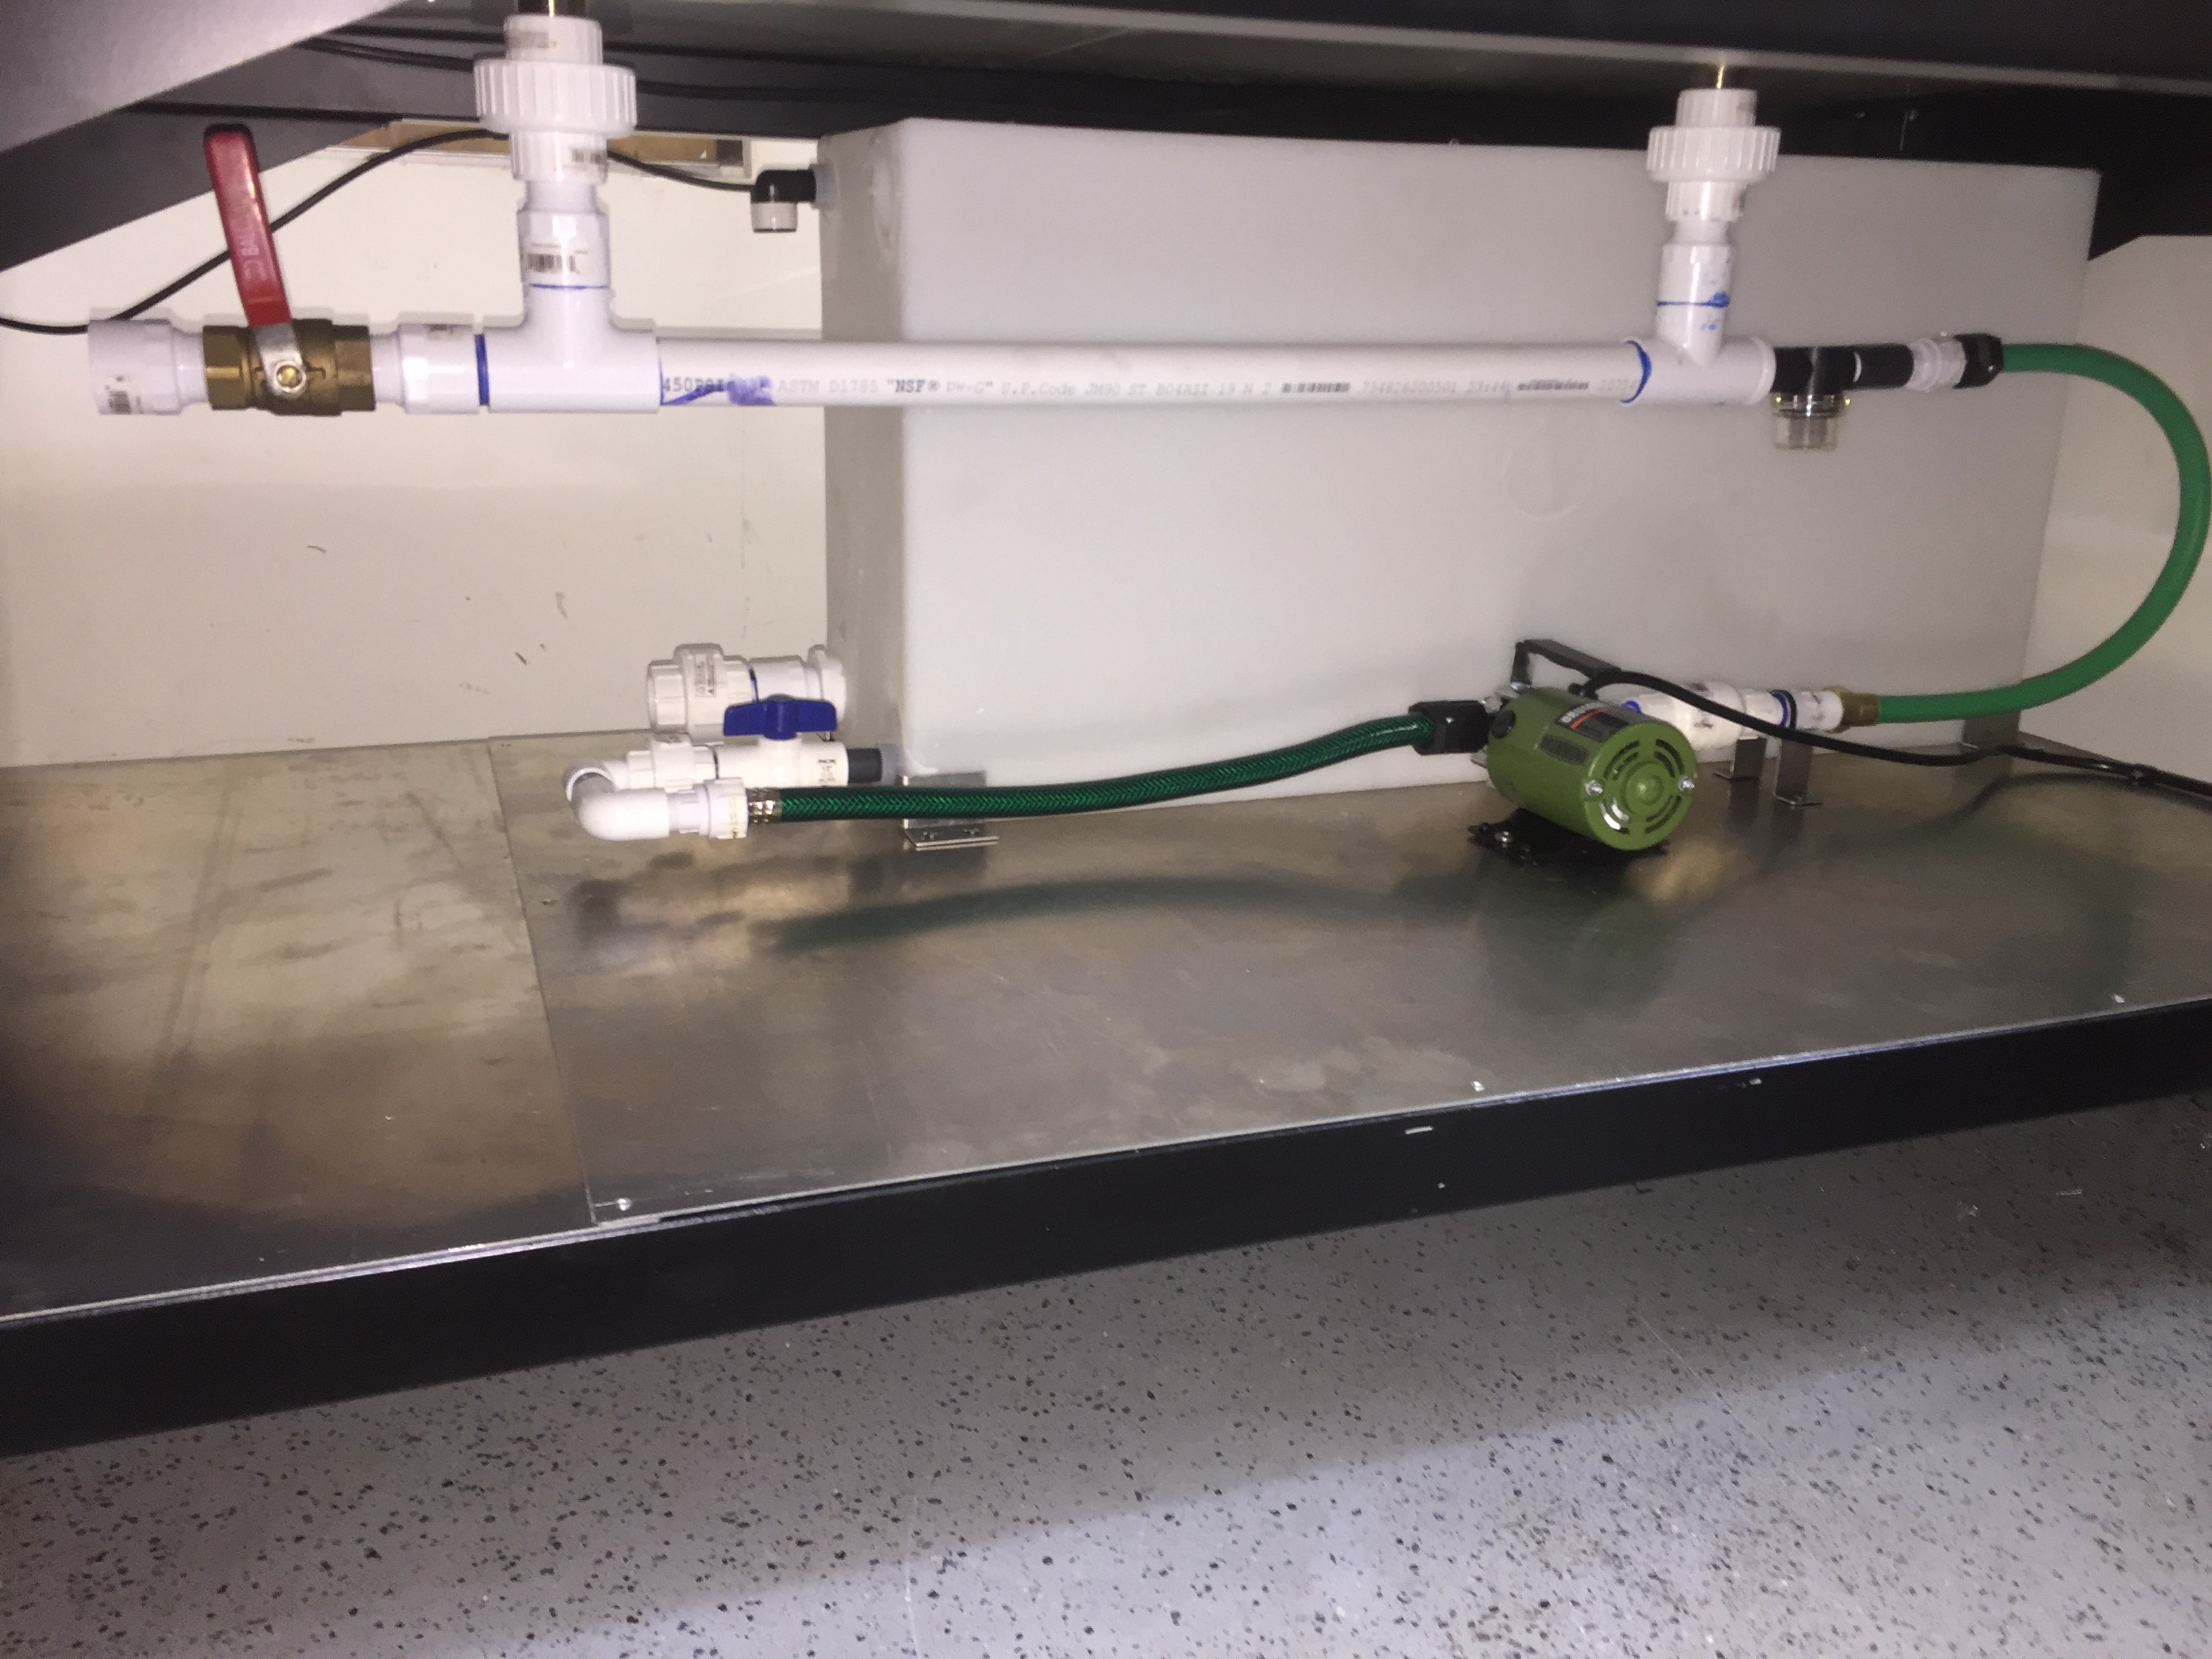
Tank arrived and started plumbing. Strainer is still on wait.
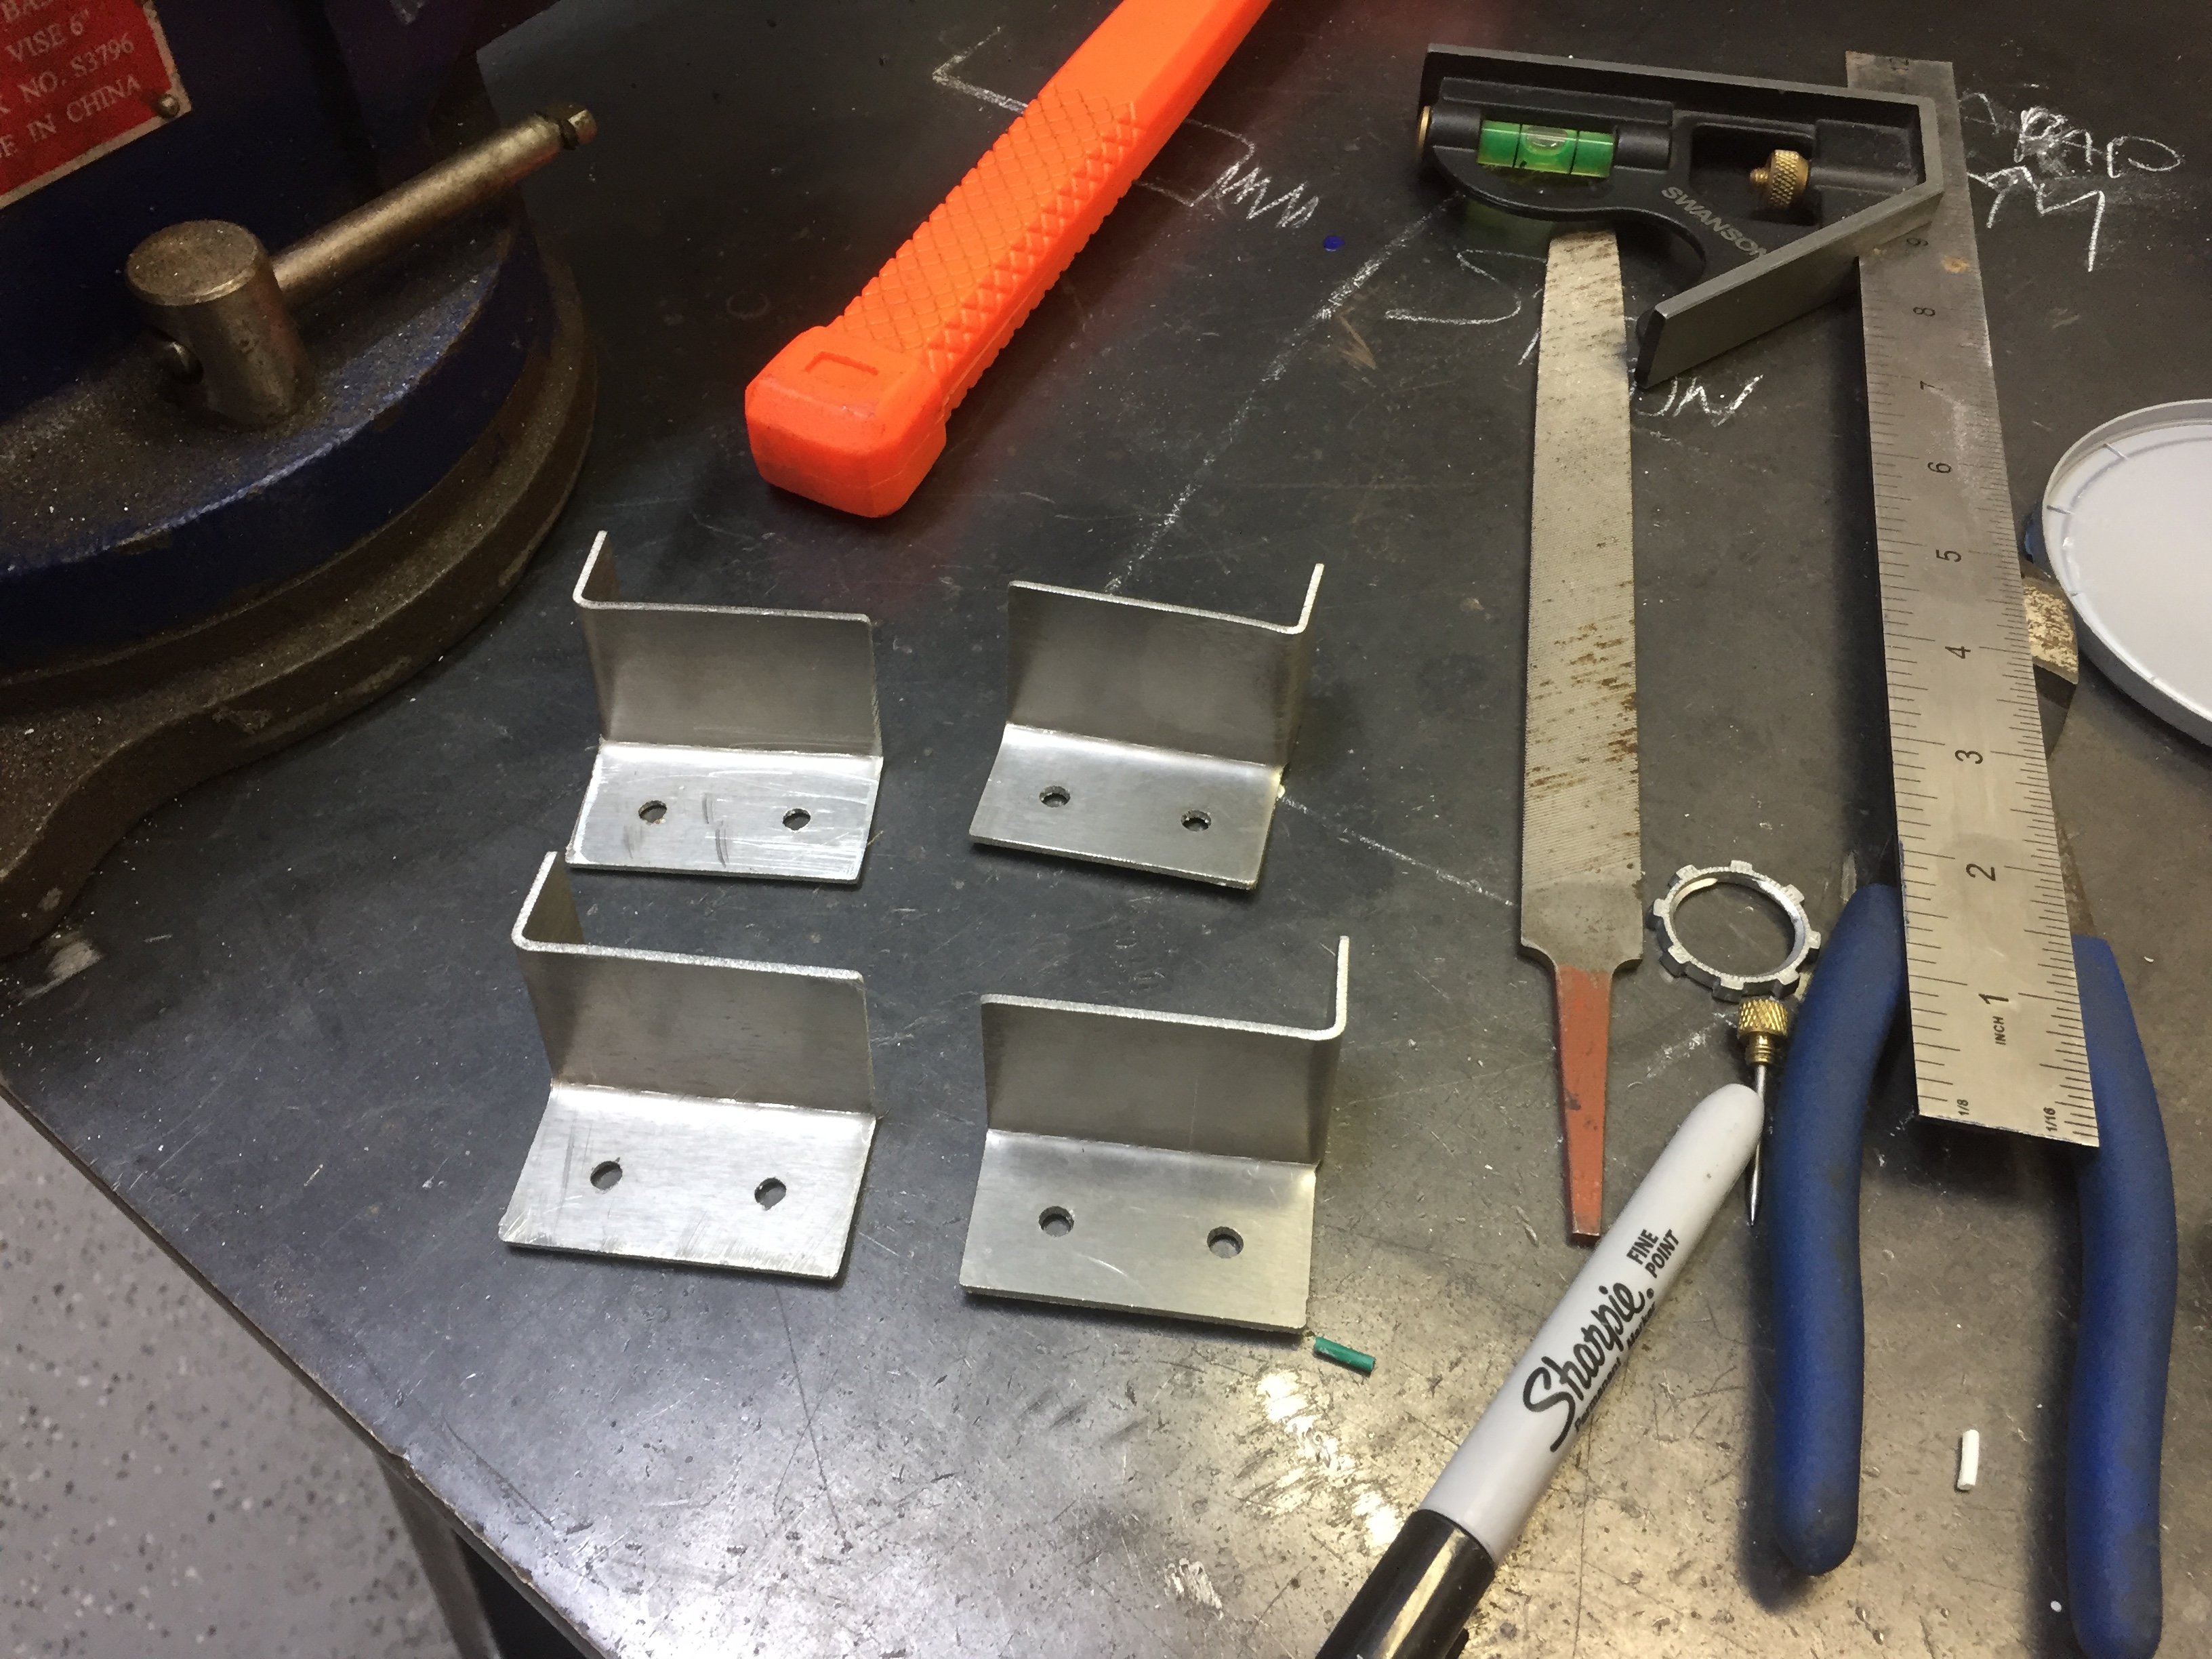
Made 4 brackets to hold the tank so it doesn’t move.
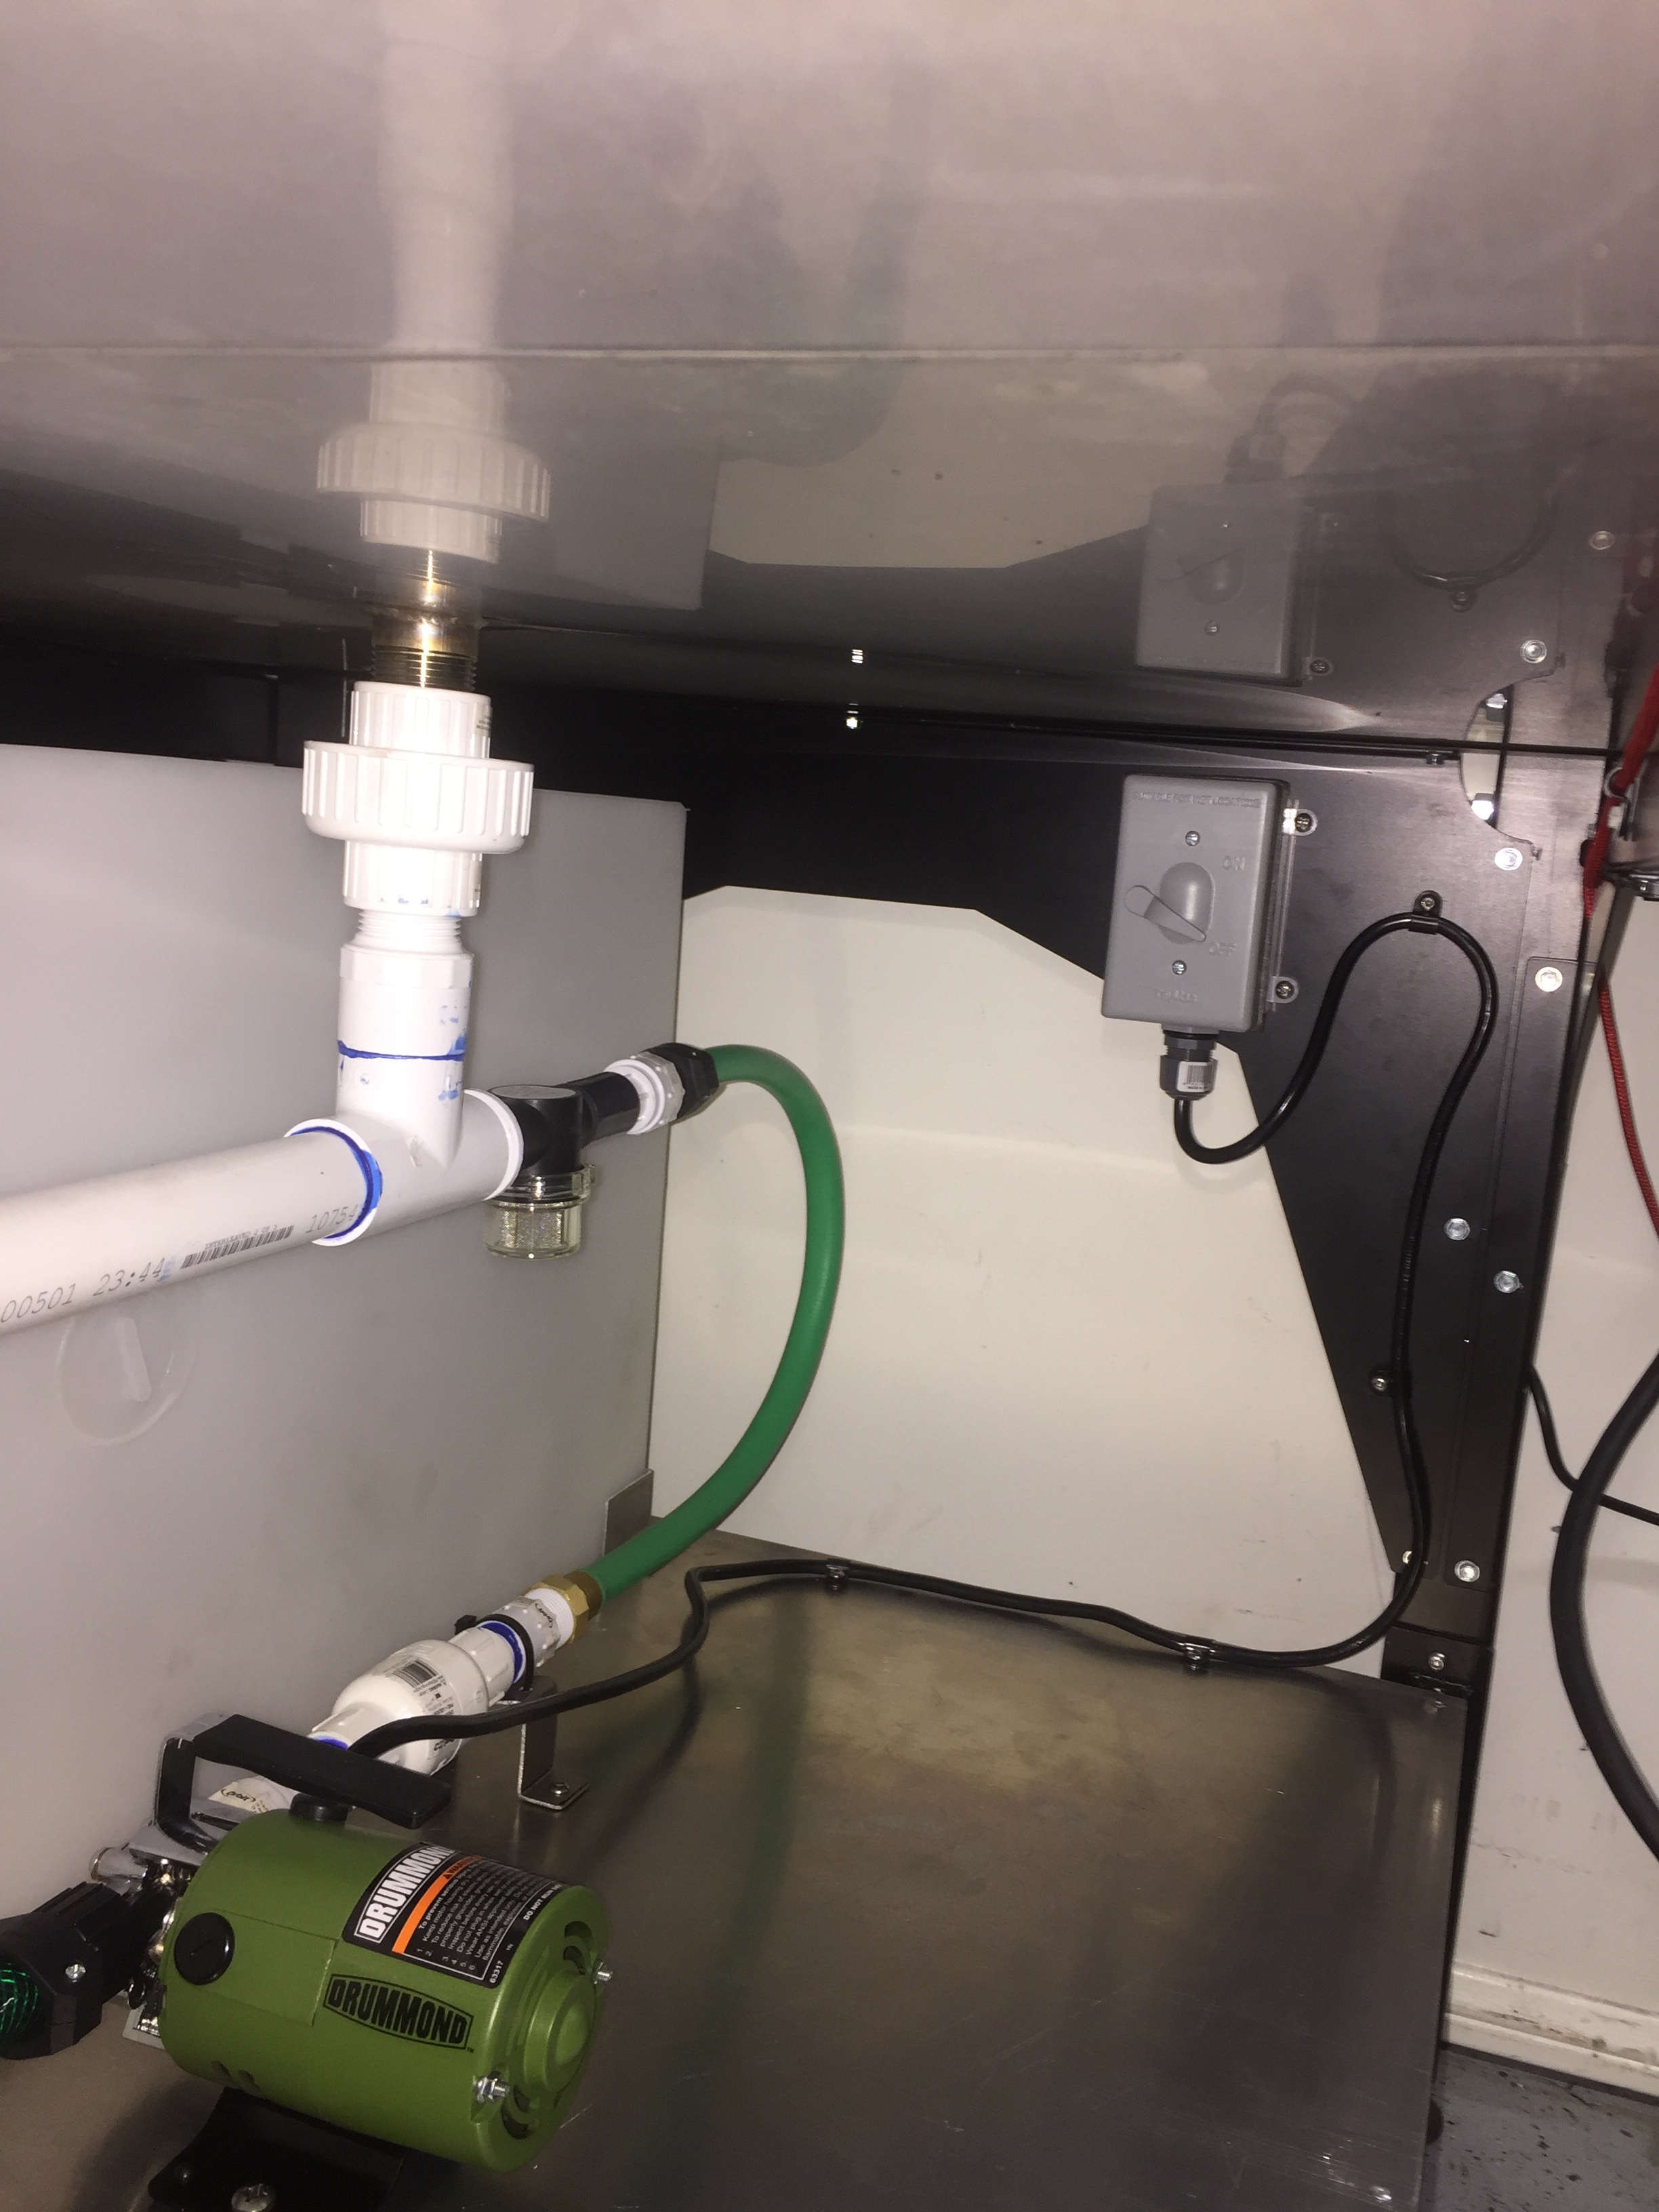
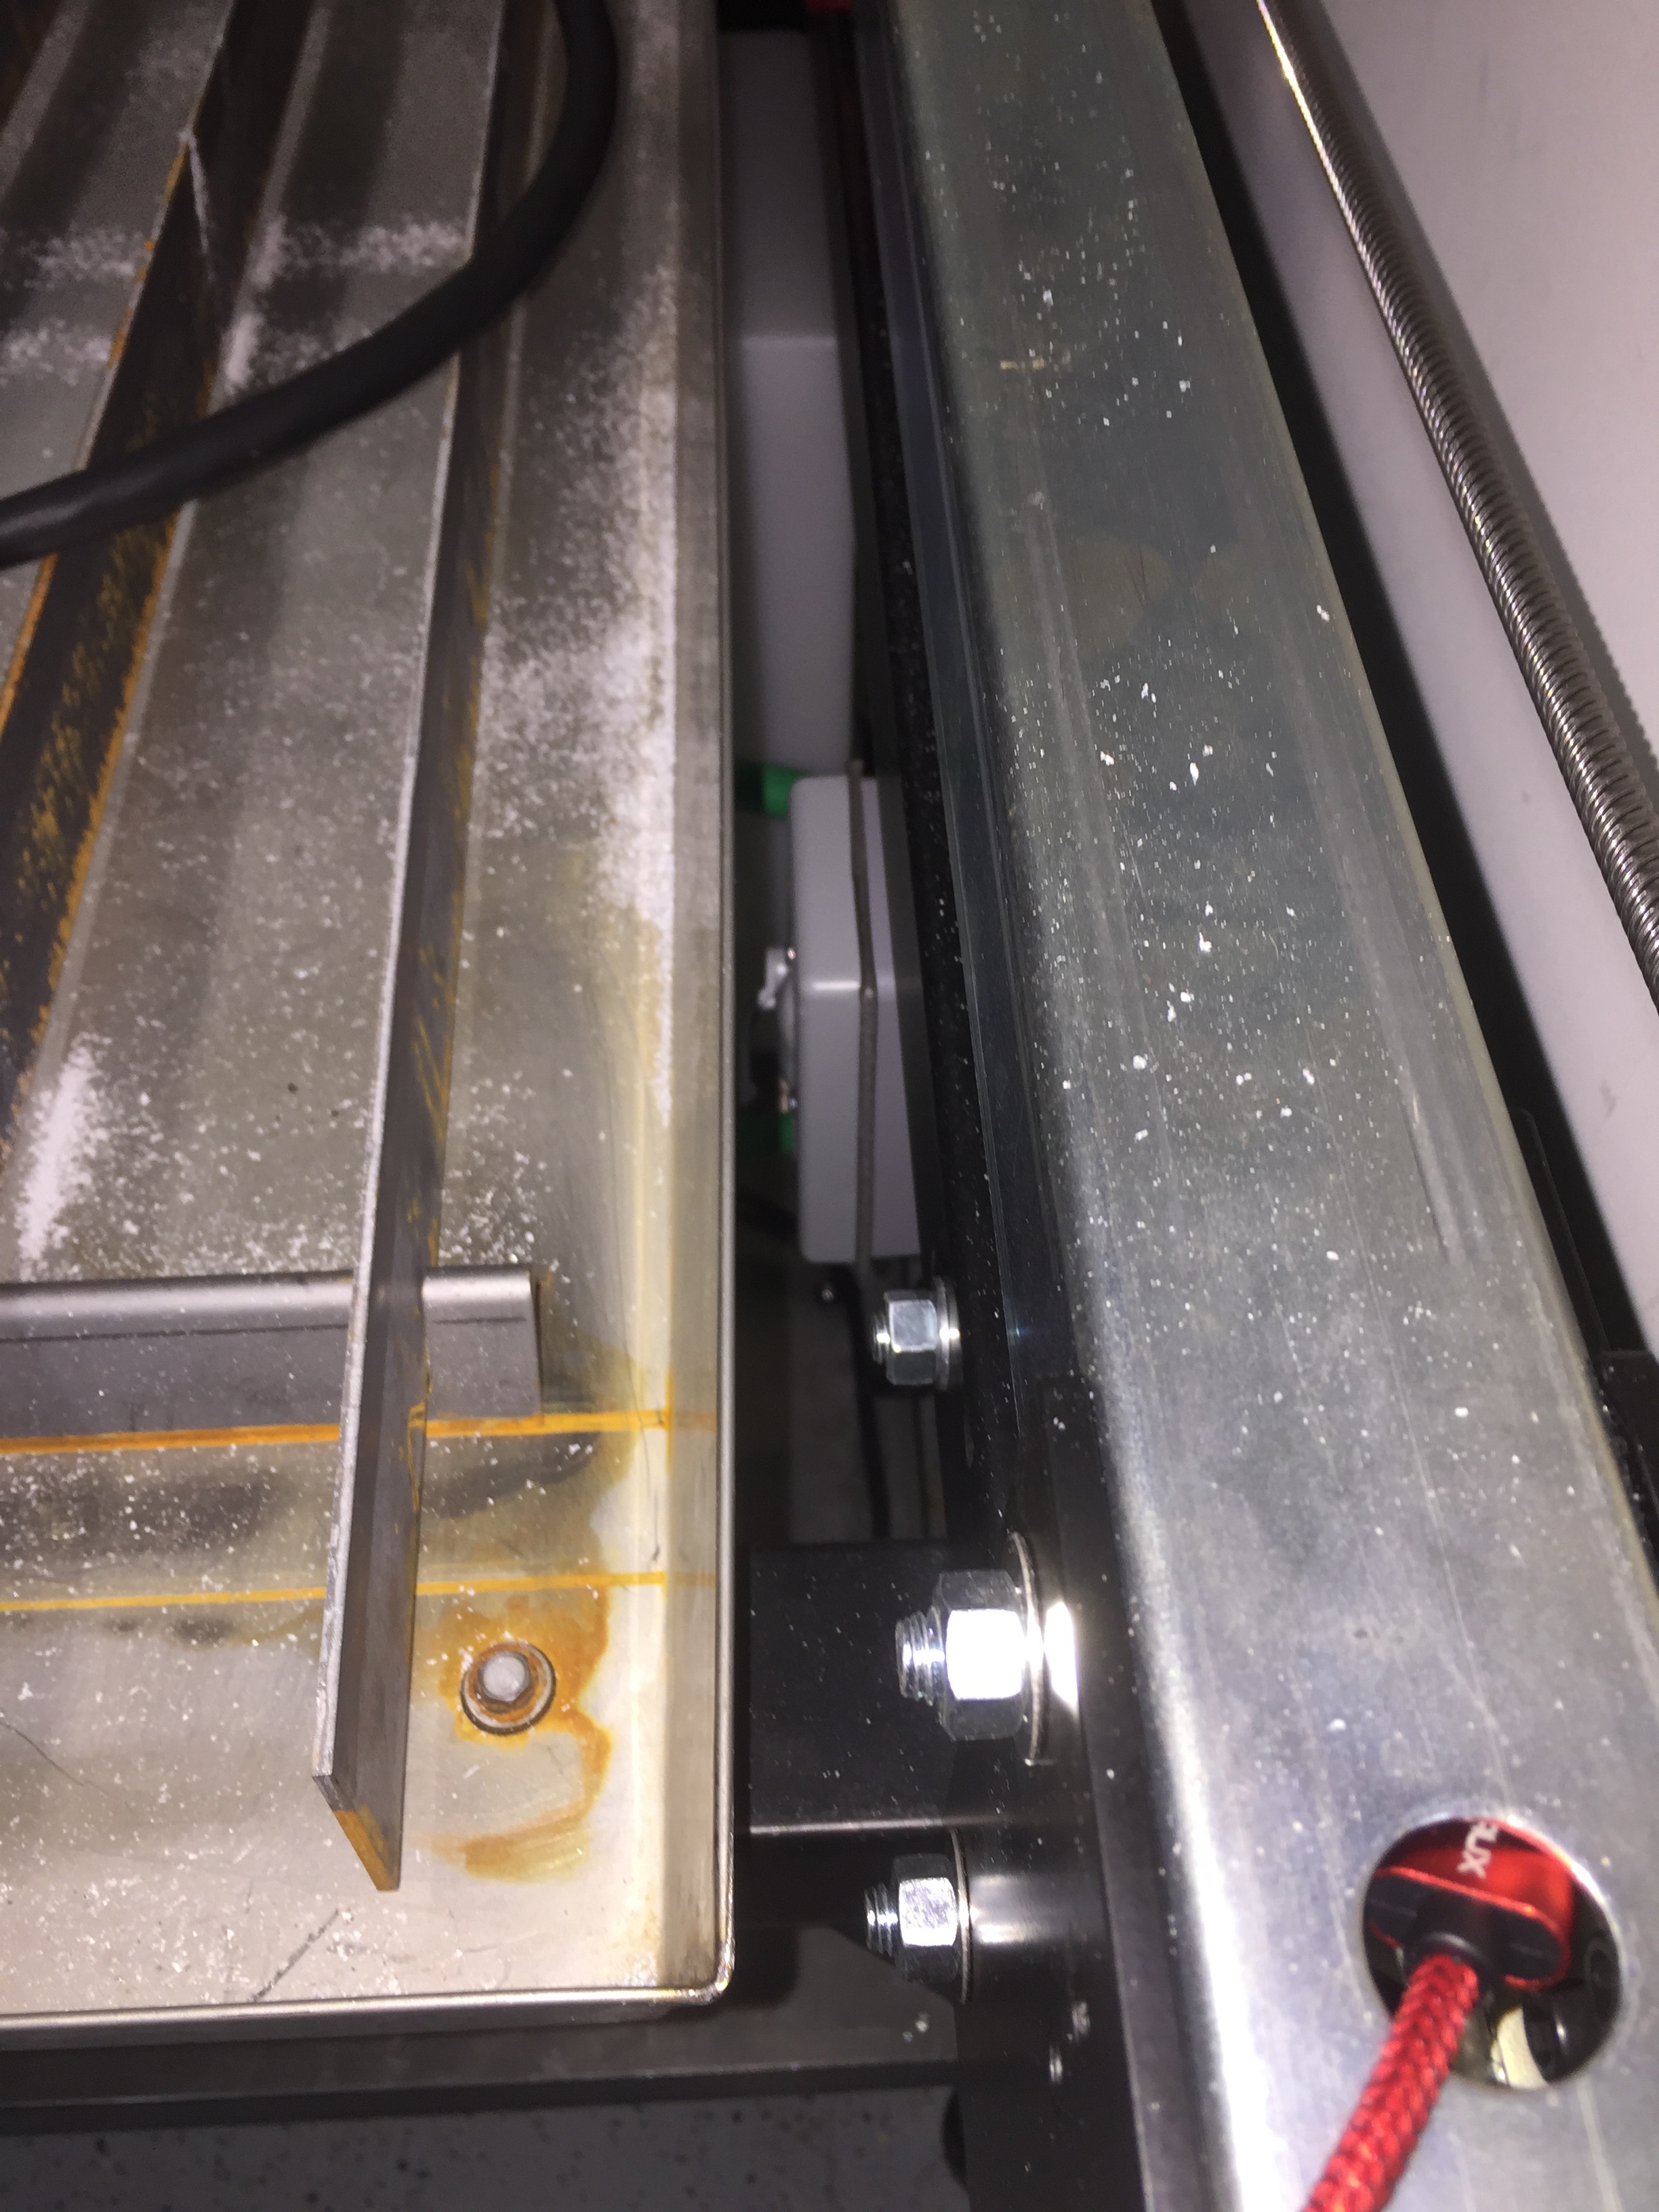
Also wired up the HF pump to a switch, and ran the switch box to the inside of the frame, and away from curious hands of my 19month old child.
All wire clamps and mounts are fixed with 10-24 rivnuts and SS hardware. Pump is fixed with 1/4-20 rivnuts. Both the main drain and return line has strainers and also a check valve on the return line just after the pump.
8 Likes
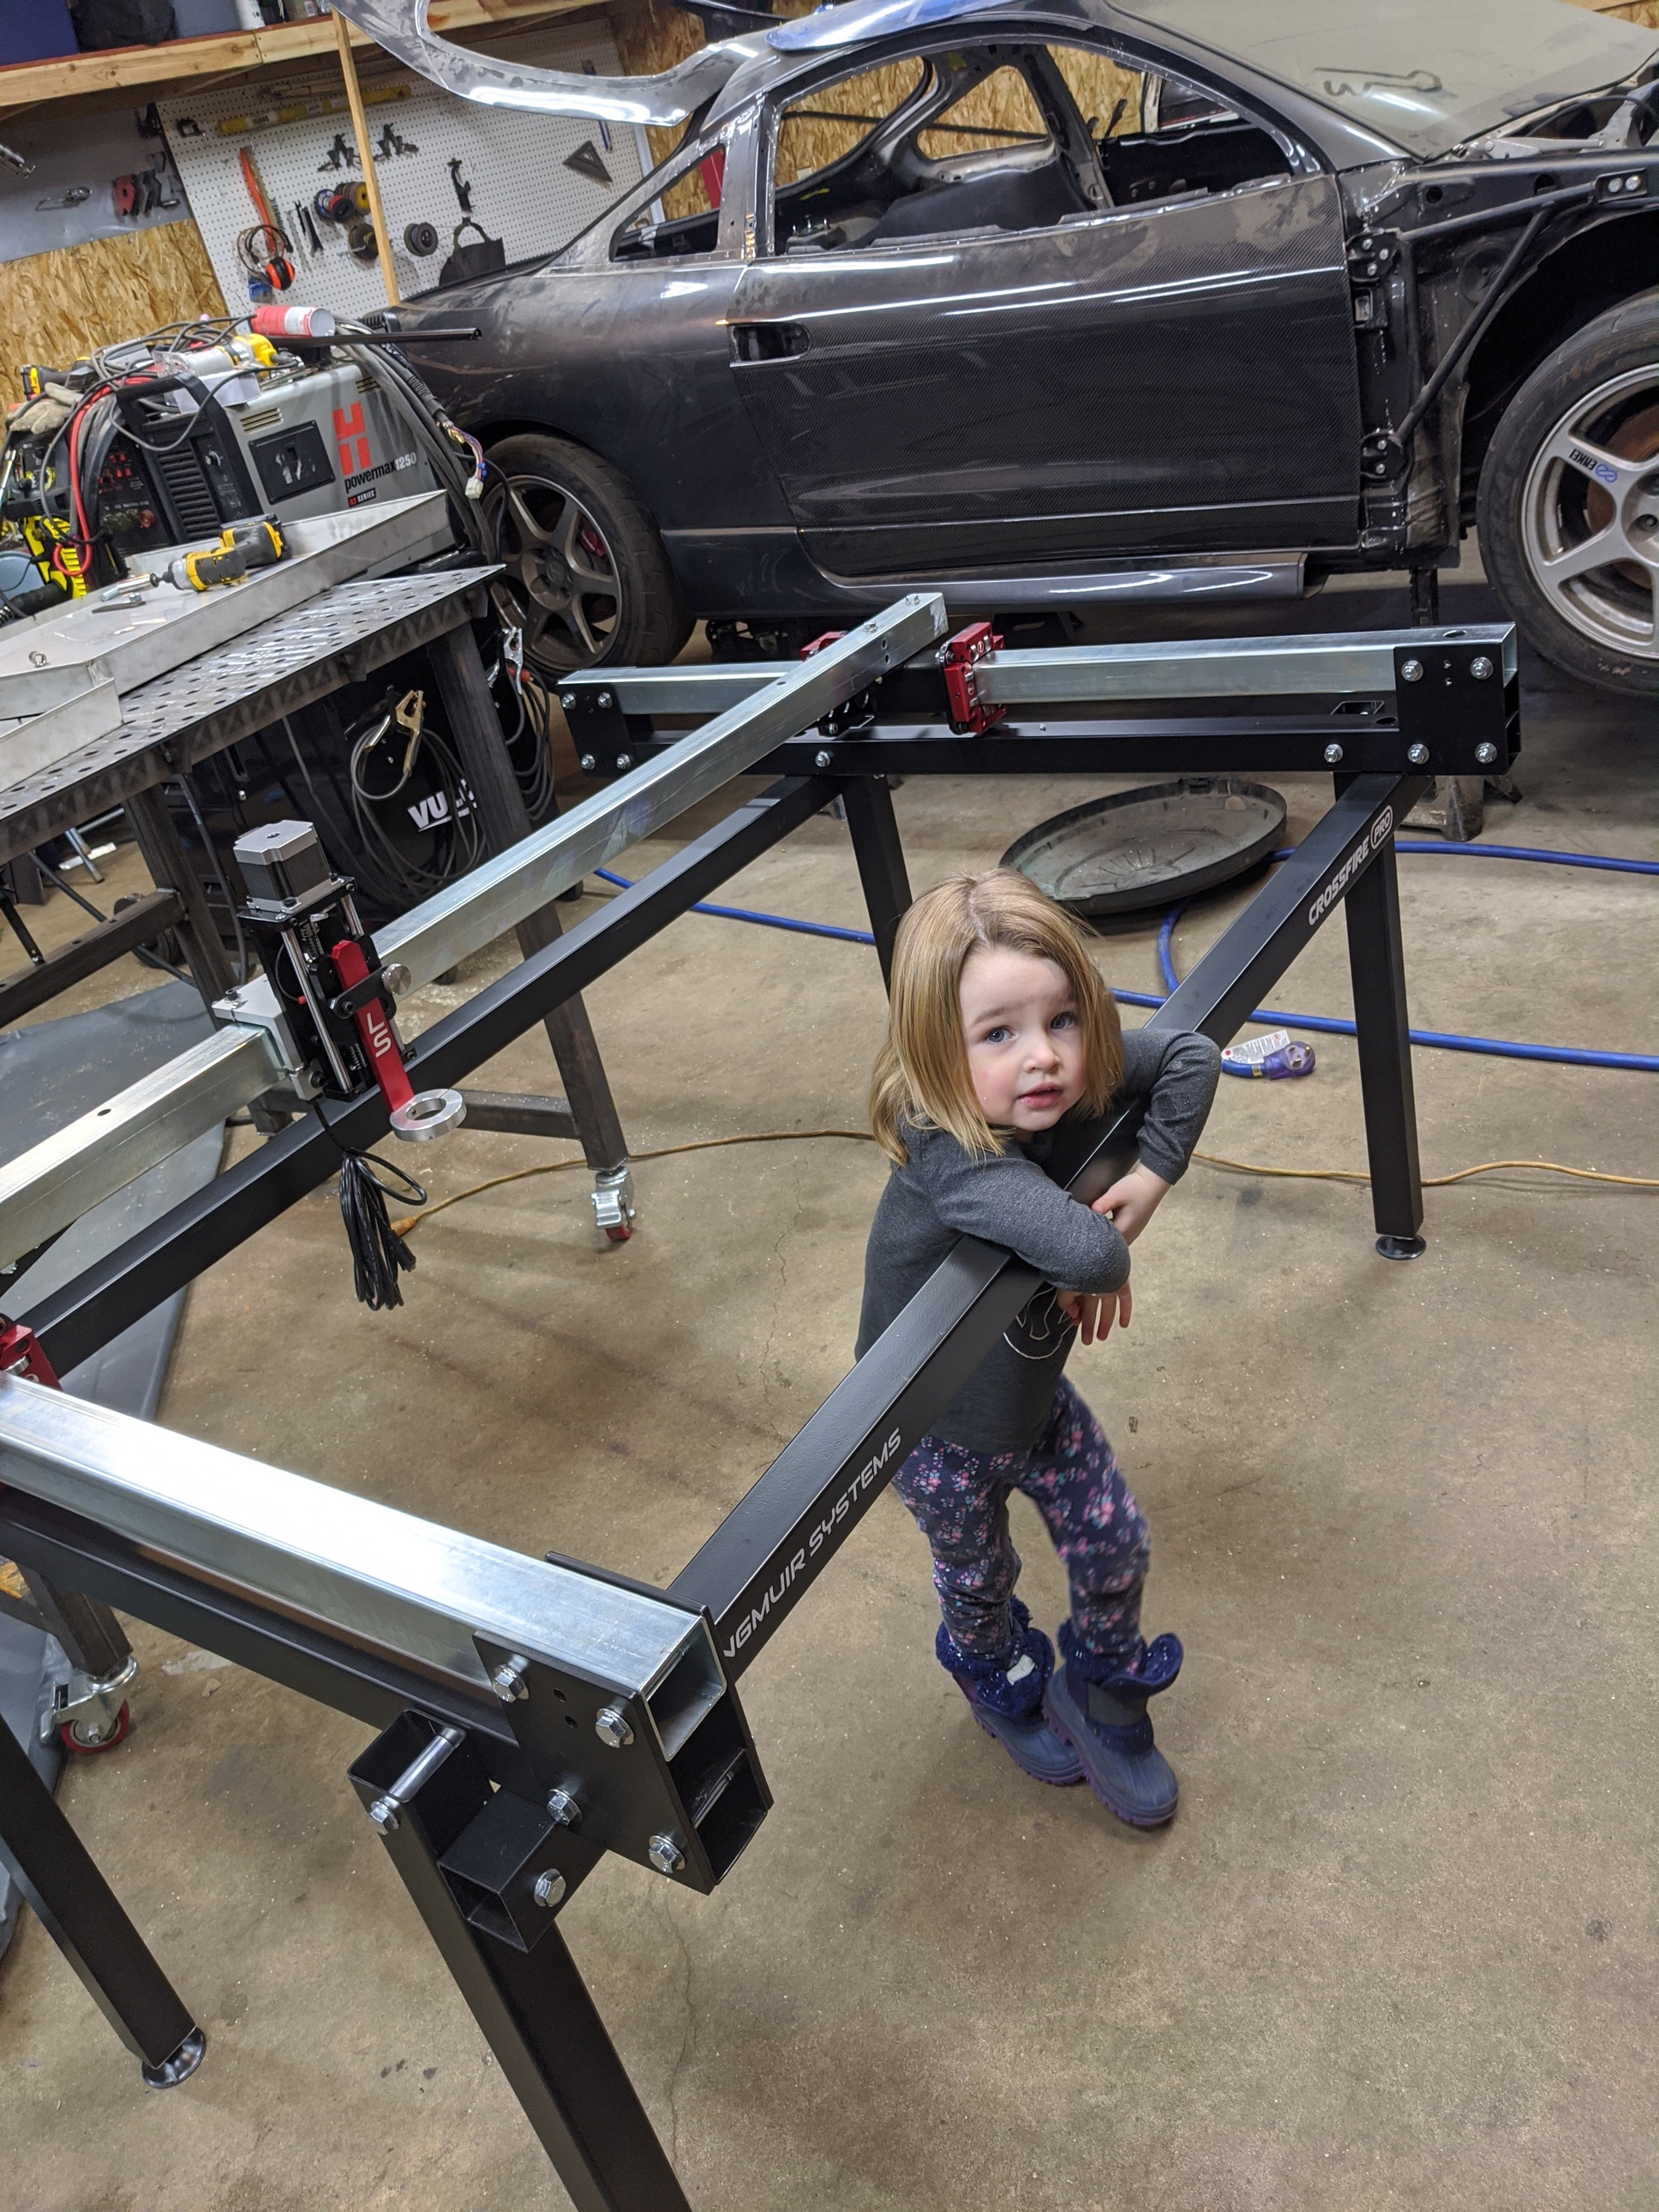
Well with the help of my mini me…I got the table all buttoned up last night. Still gotta tidy up my wiring and make my water drain setup…but I should be cutting soon.
I hadn’t looked closely at my Hypertherm PM1250 and had just assumed it would have divided arc voltage at the cpc connector…but apparently the was only if you bought a certain version. Still very easy to wire up the THC since Hypertherm has 2 spade terminals on the circuit board to tap into RAW voltage.
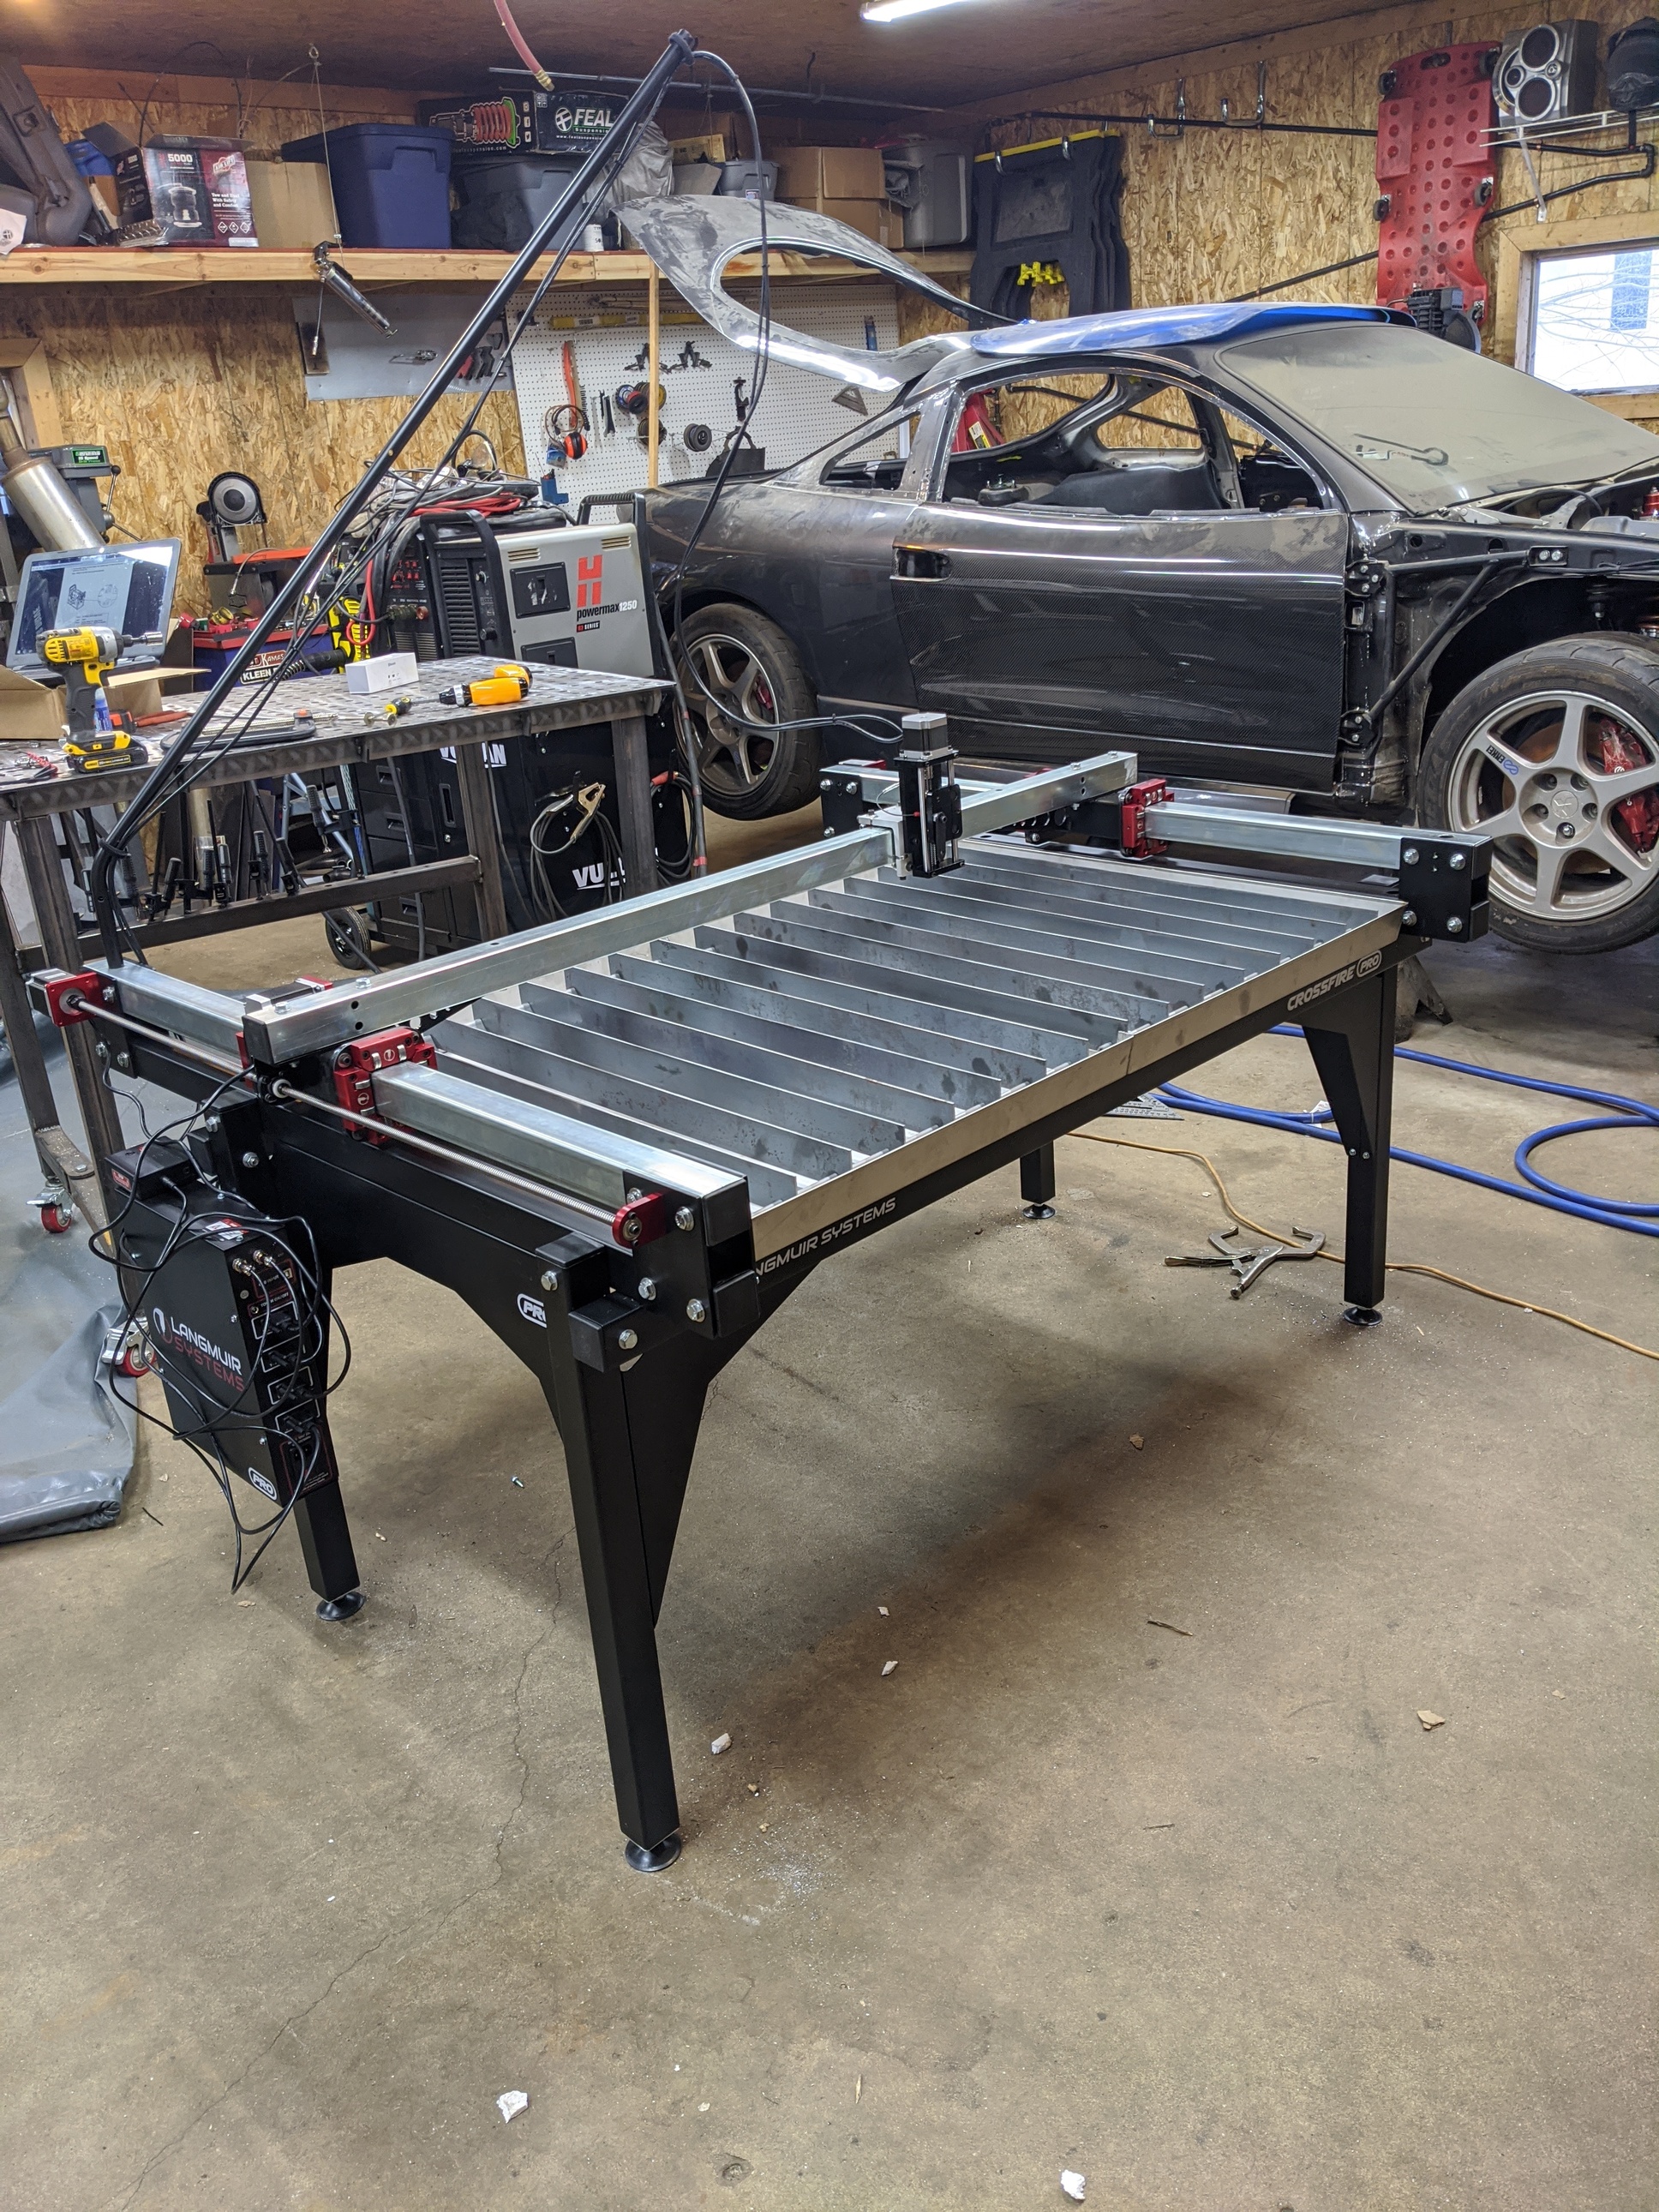
Big thumbs up to Langmuir on almost every aspect of this thing so far. Everything was packaged great with no damage. The instructions were very good and any confusion I had was from either impatiently skipping steps or not reading carefully enough. Adding the corner guesets was big win…this thing feels solid as a rock and won’t be moving at all even on detailed work with high cut speeds. Can’t wait to get an opportunity to get to cutting!
9 Likes