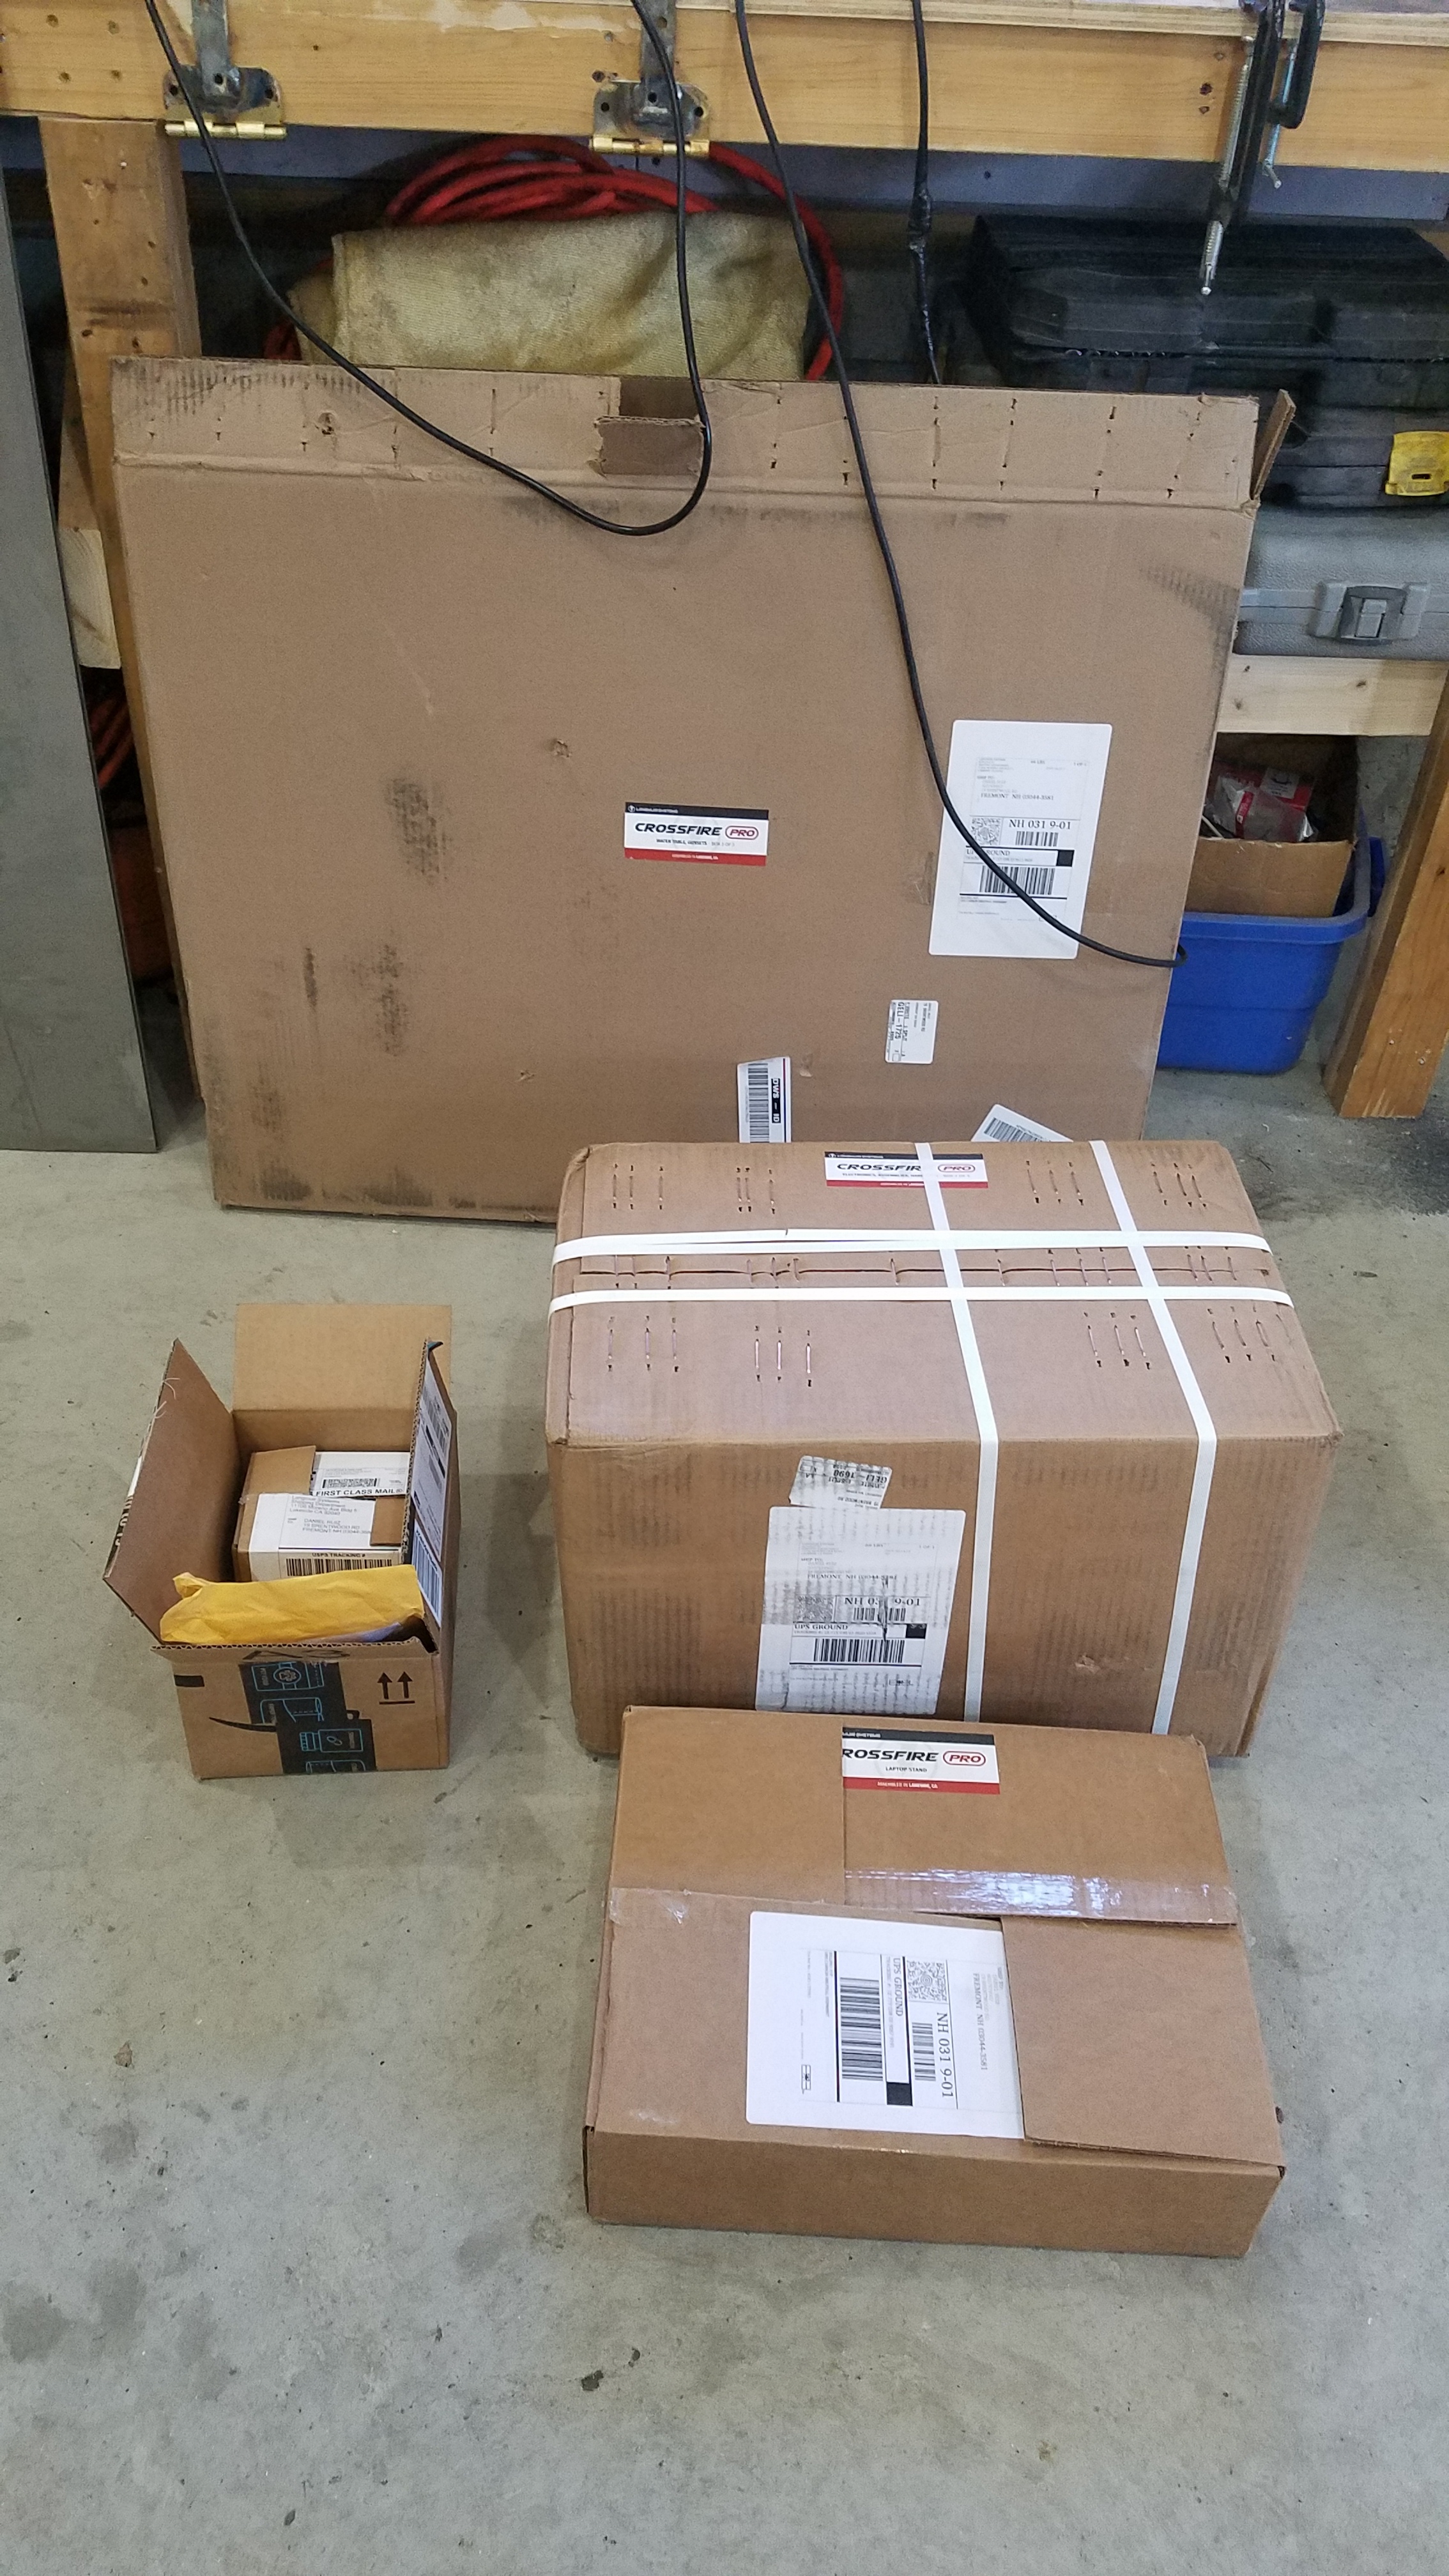
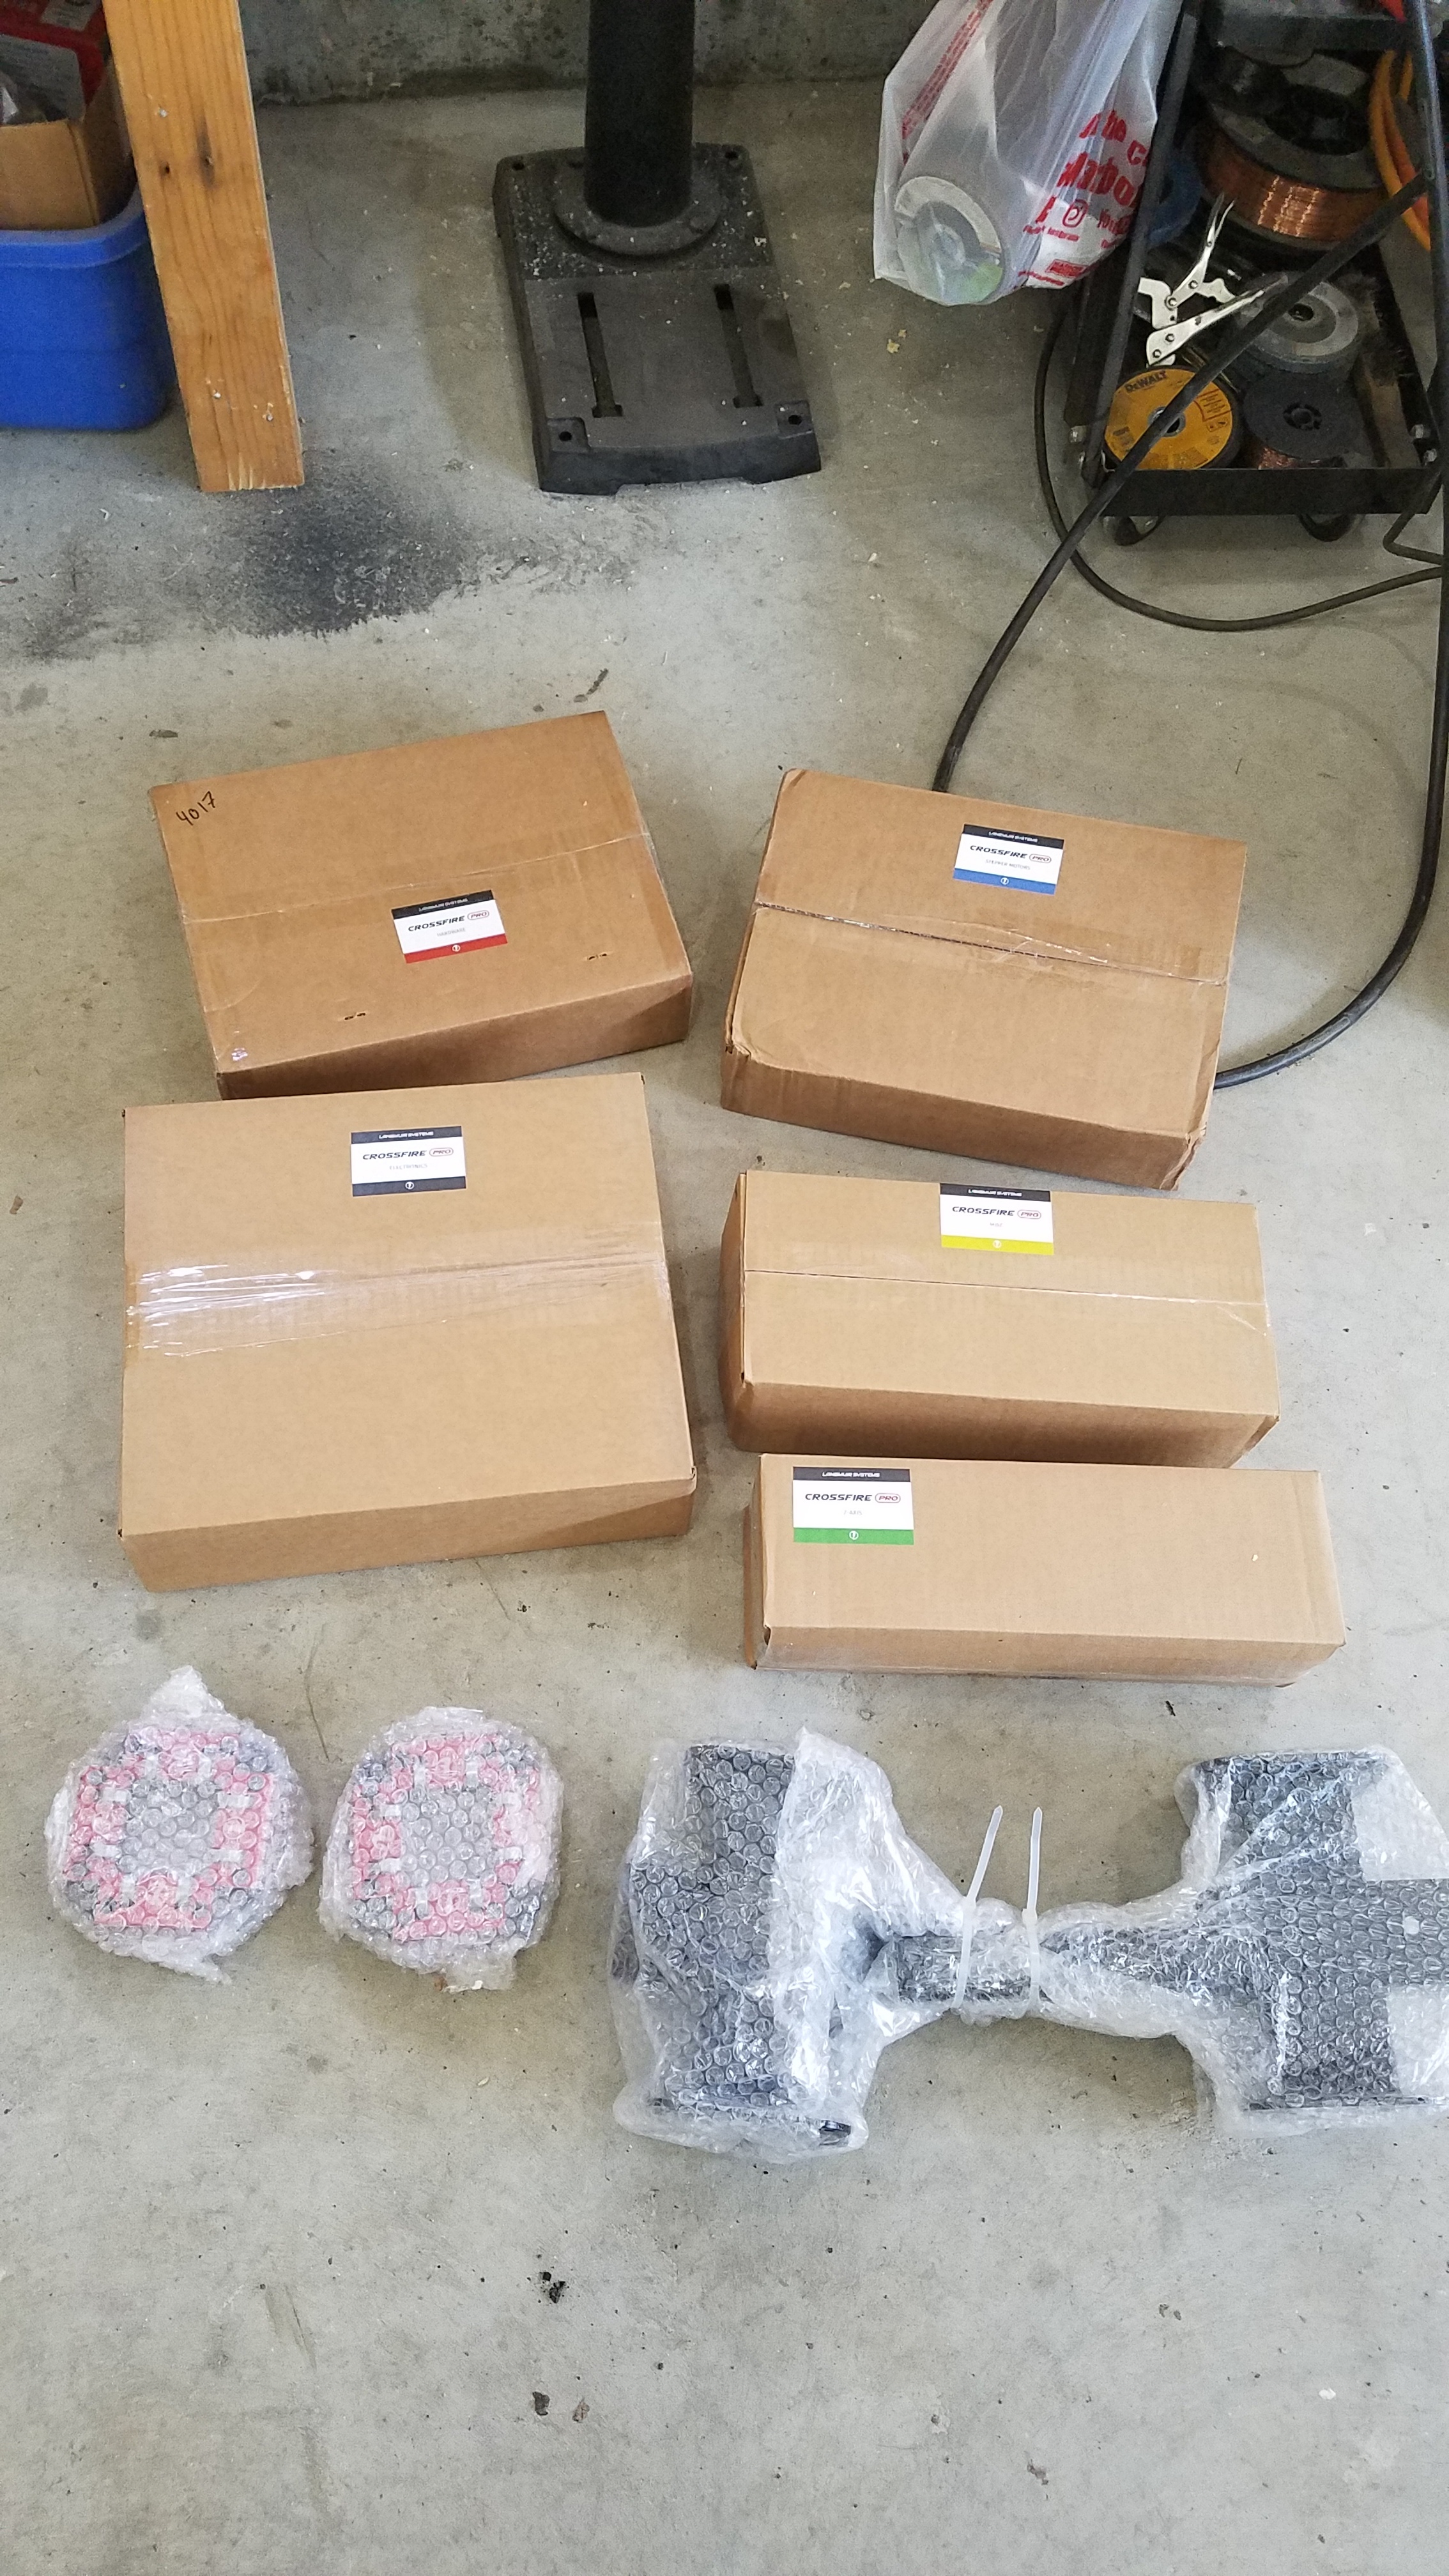
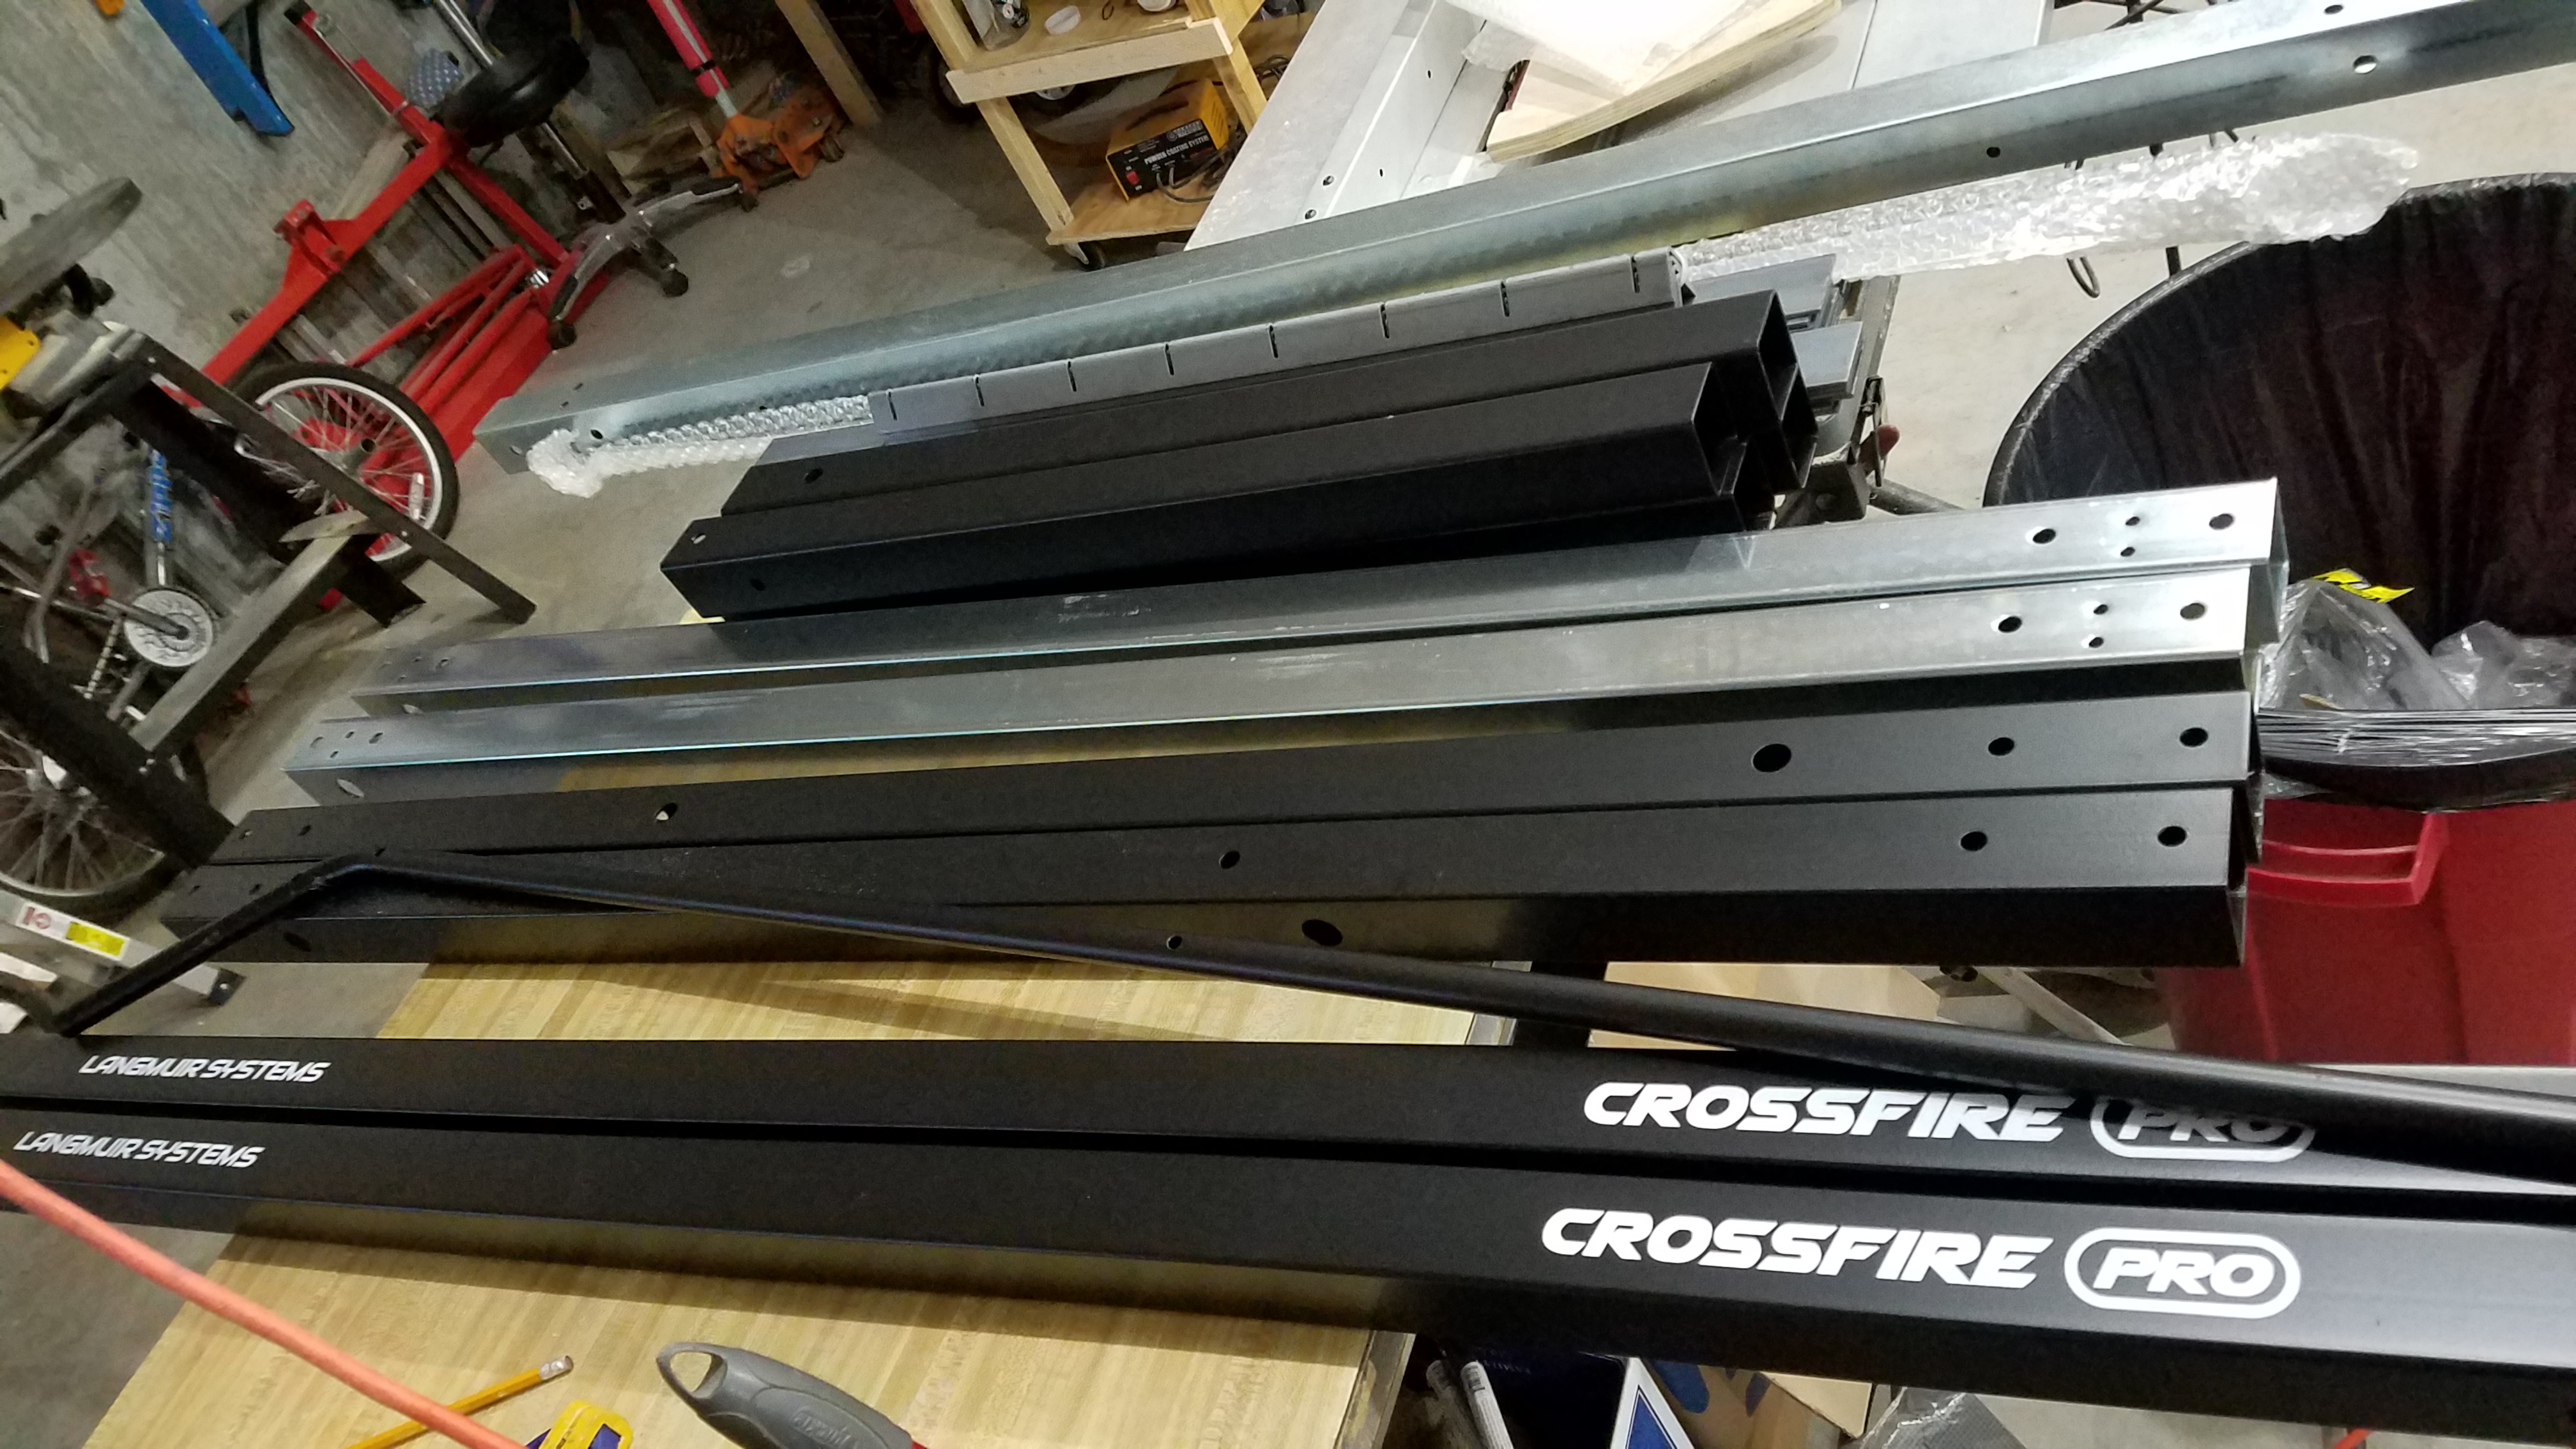
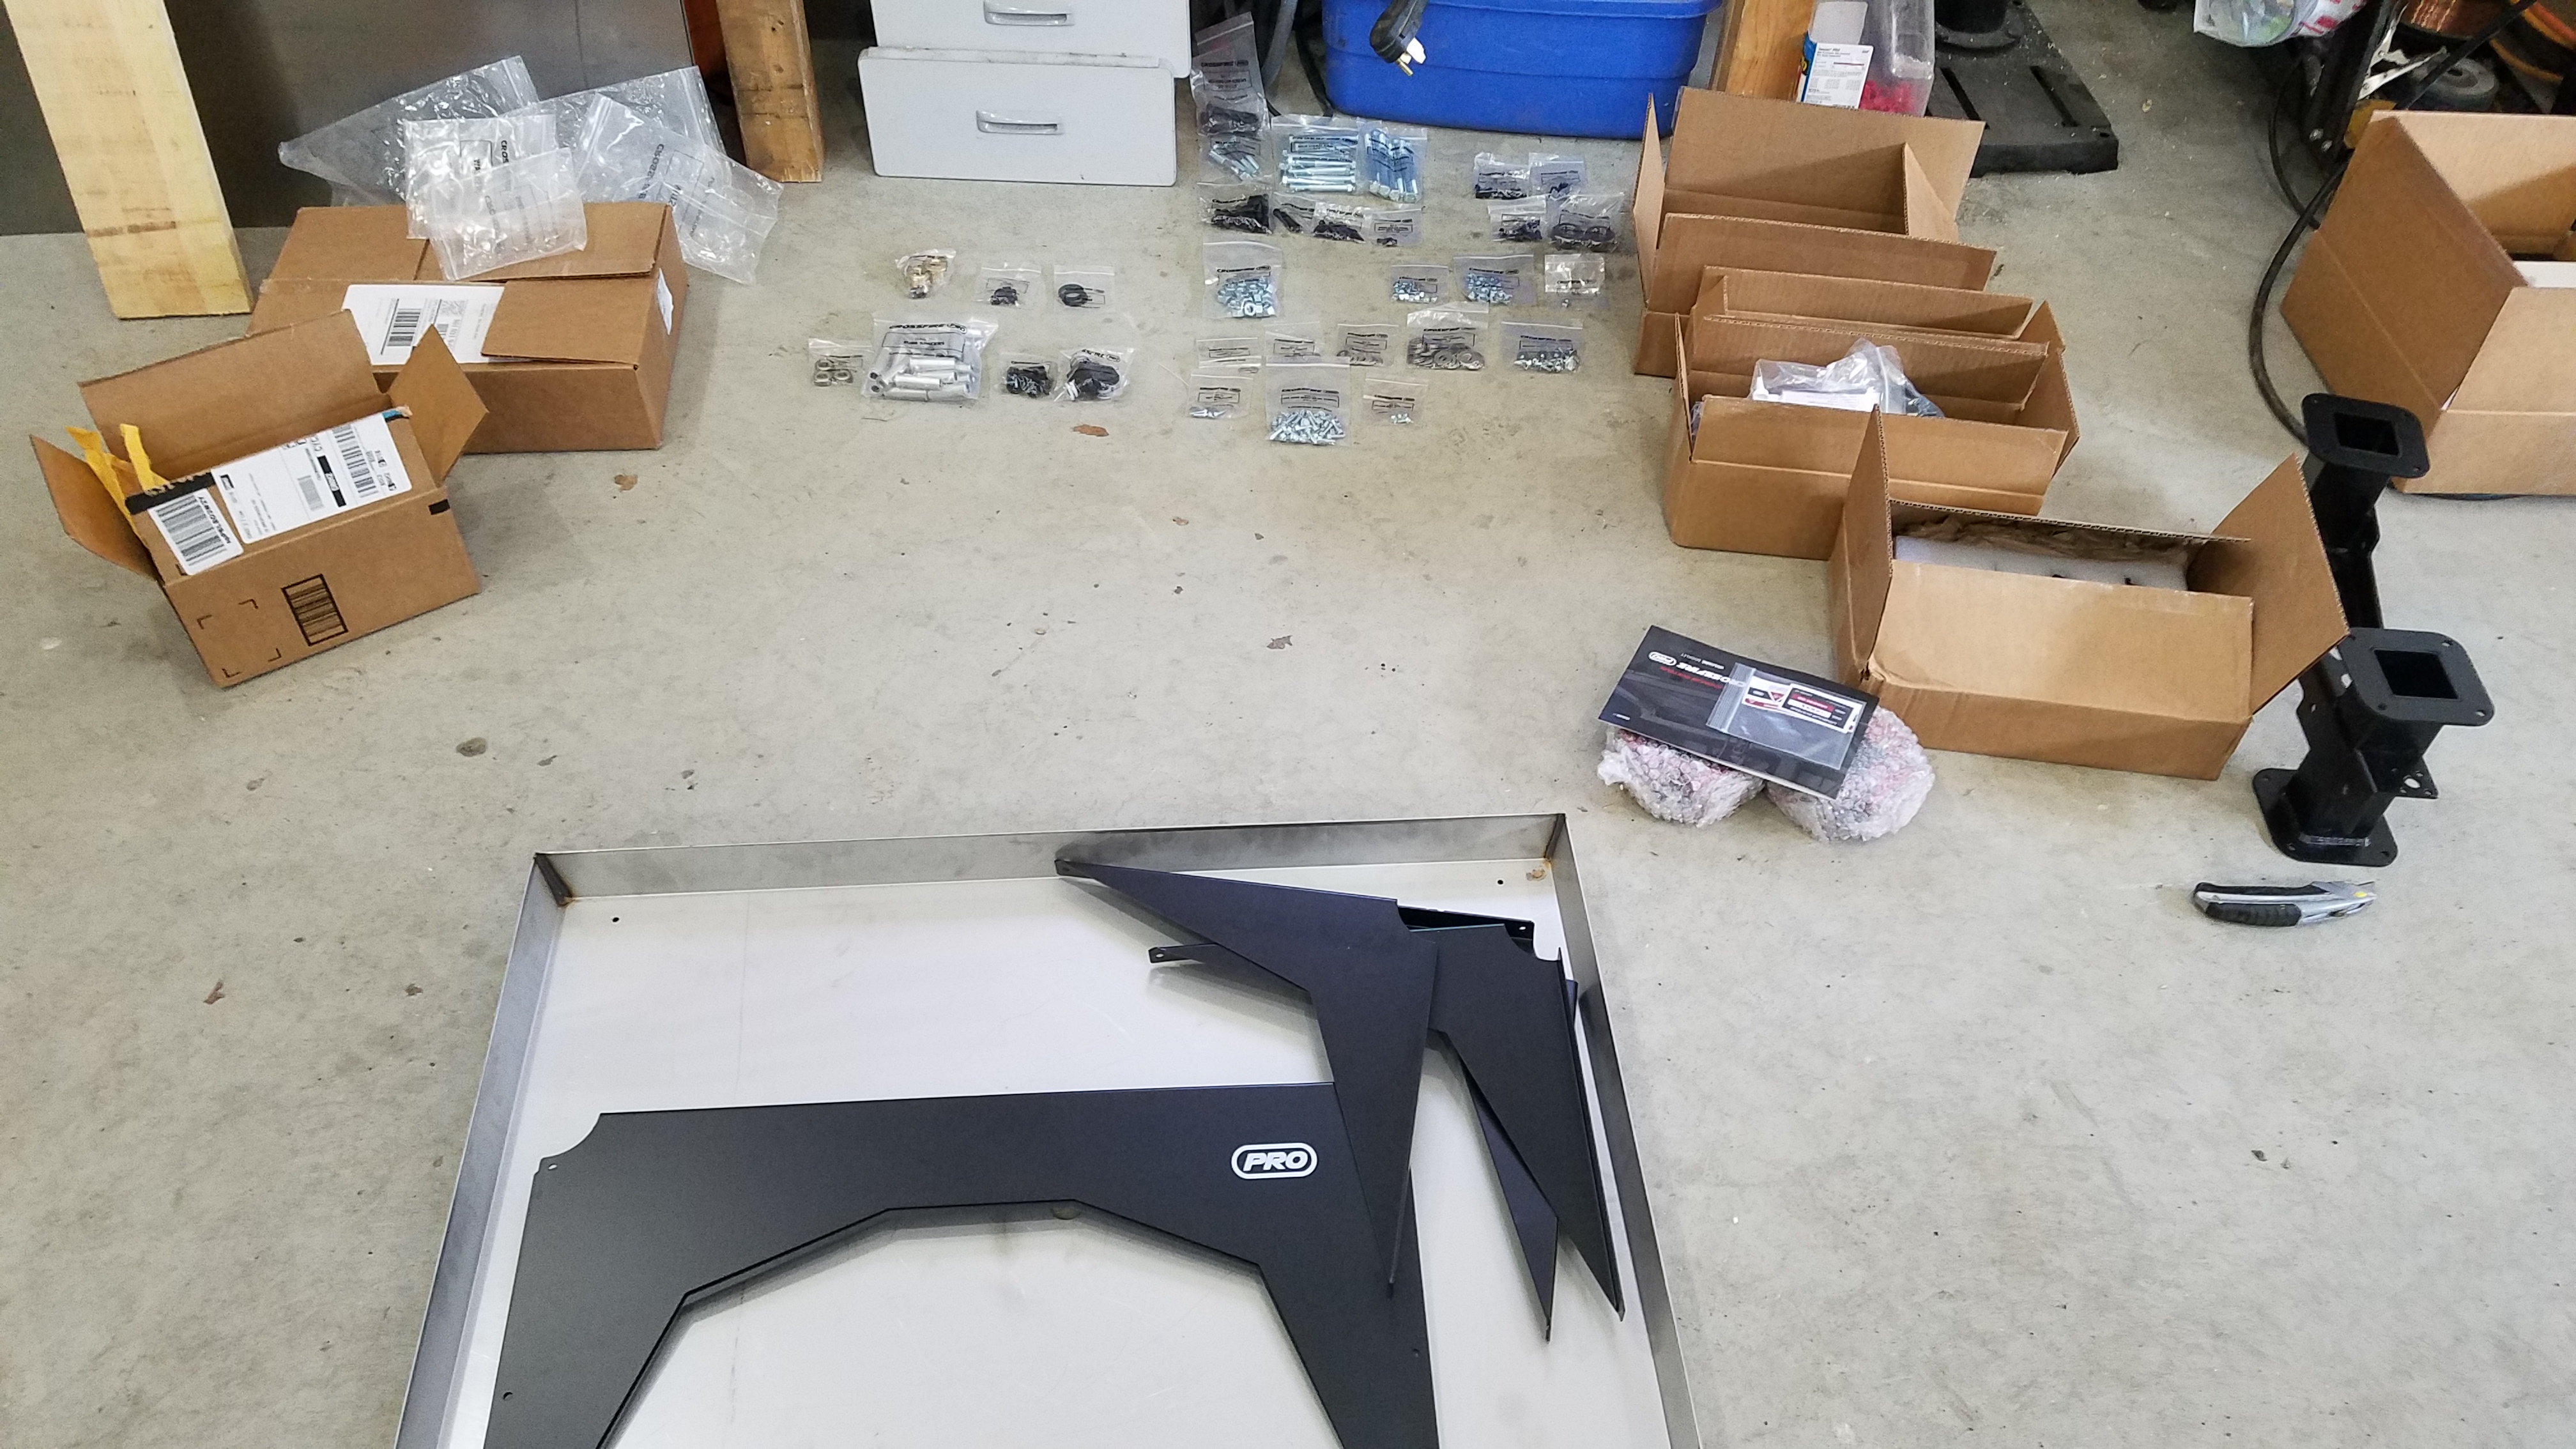
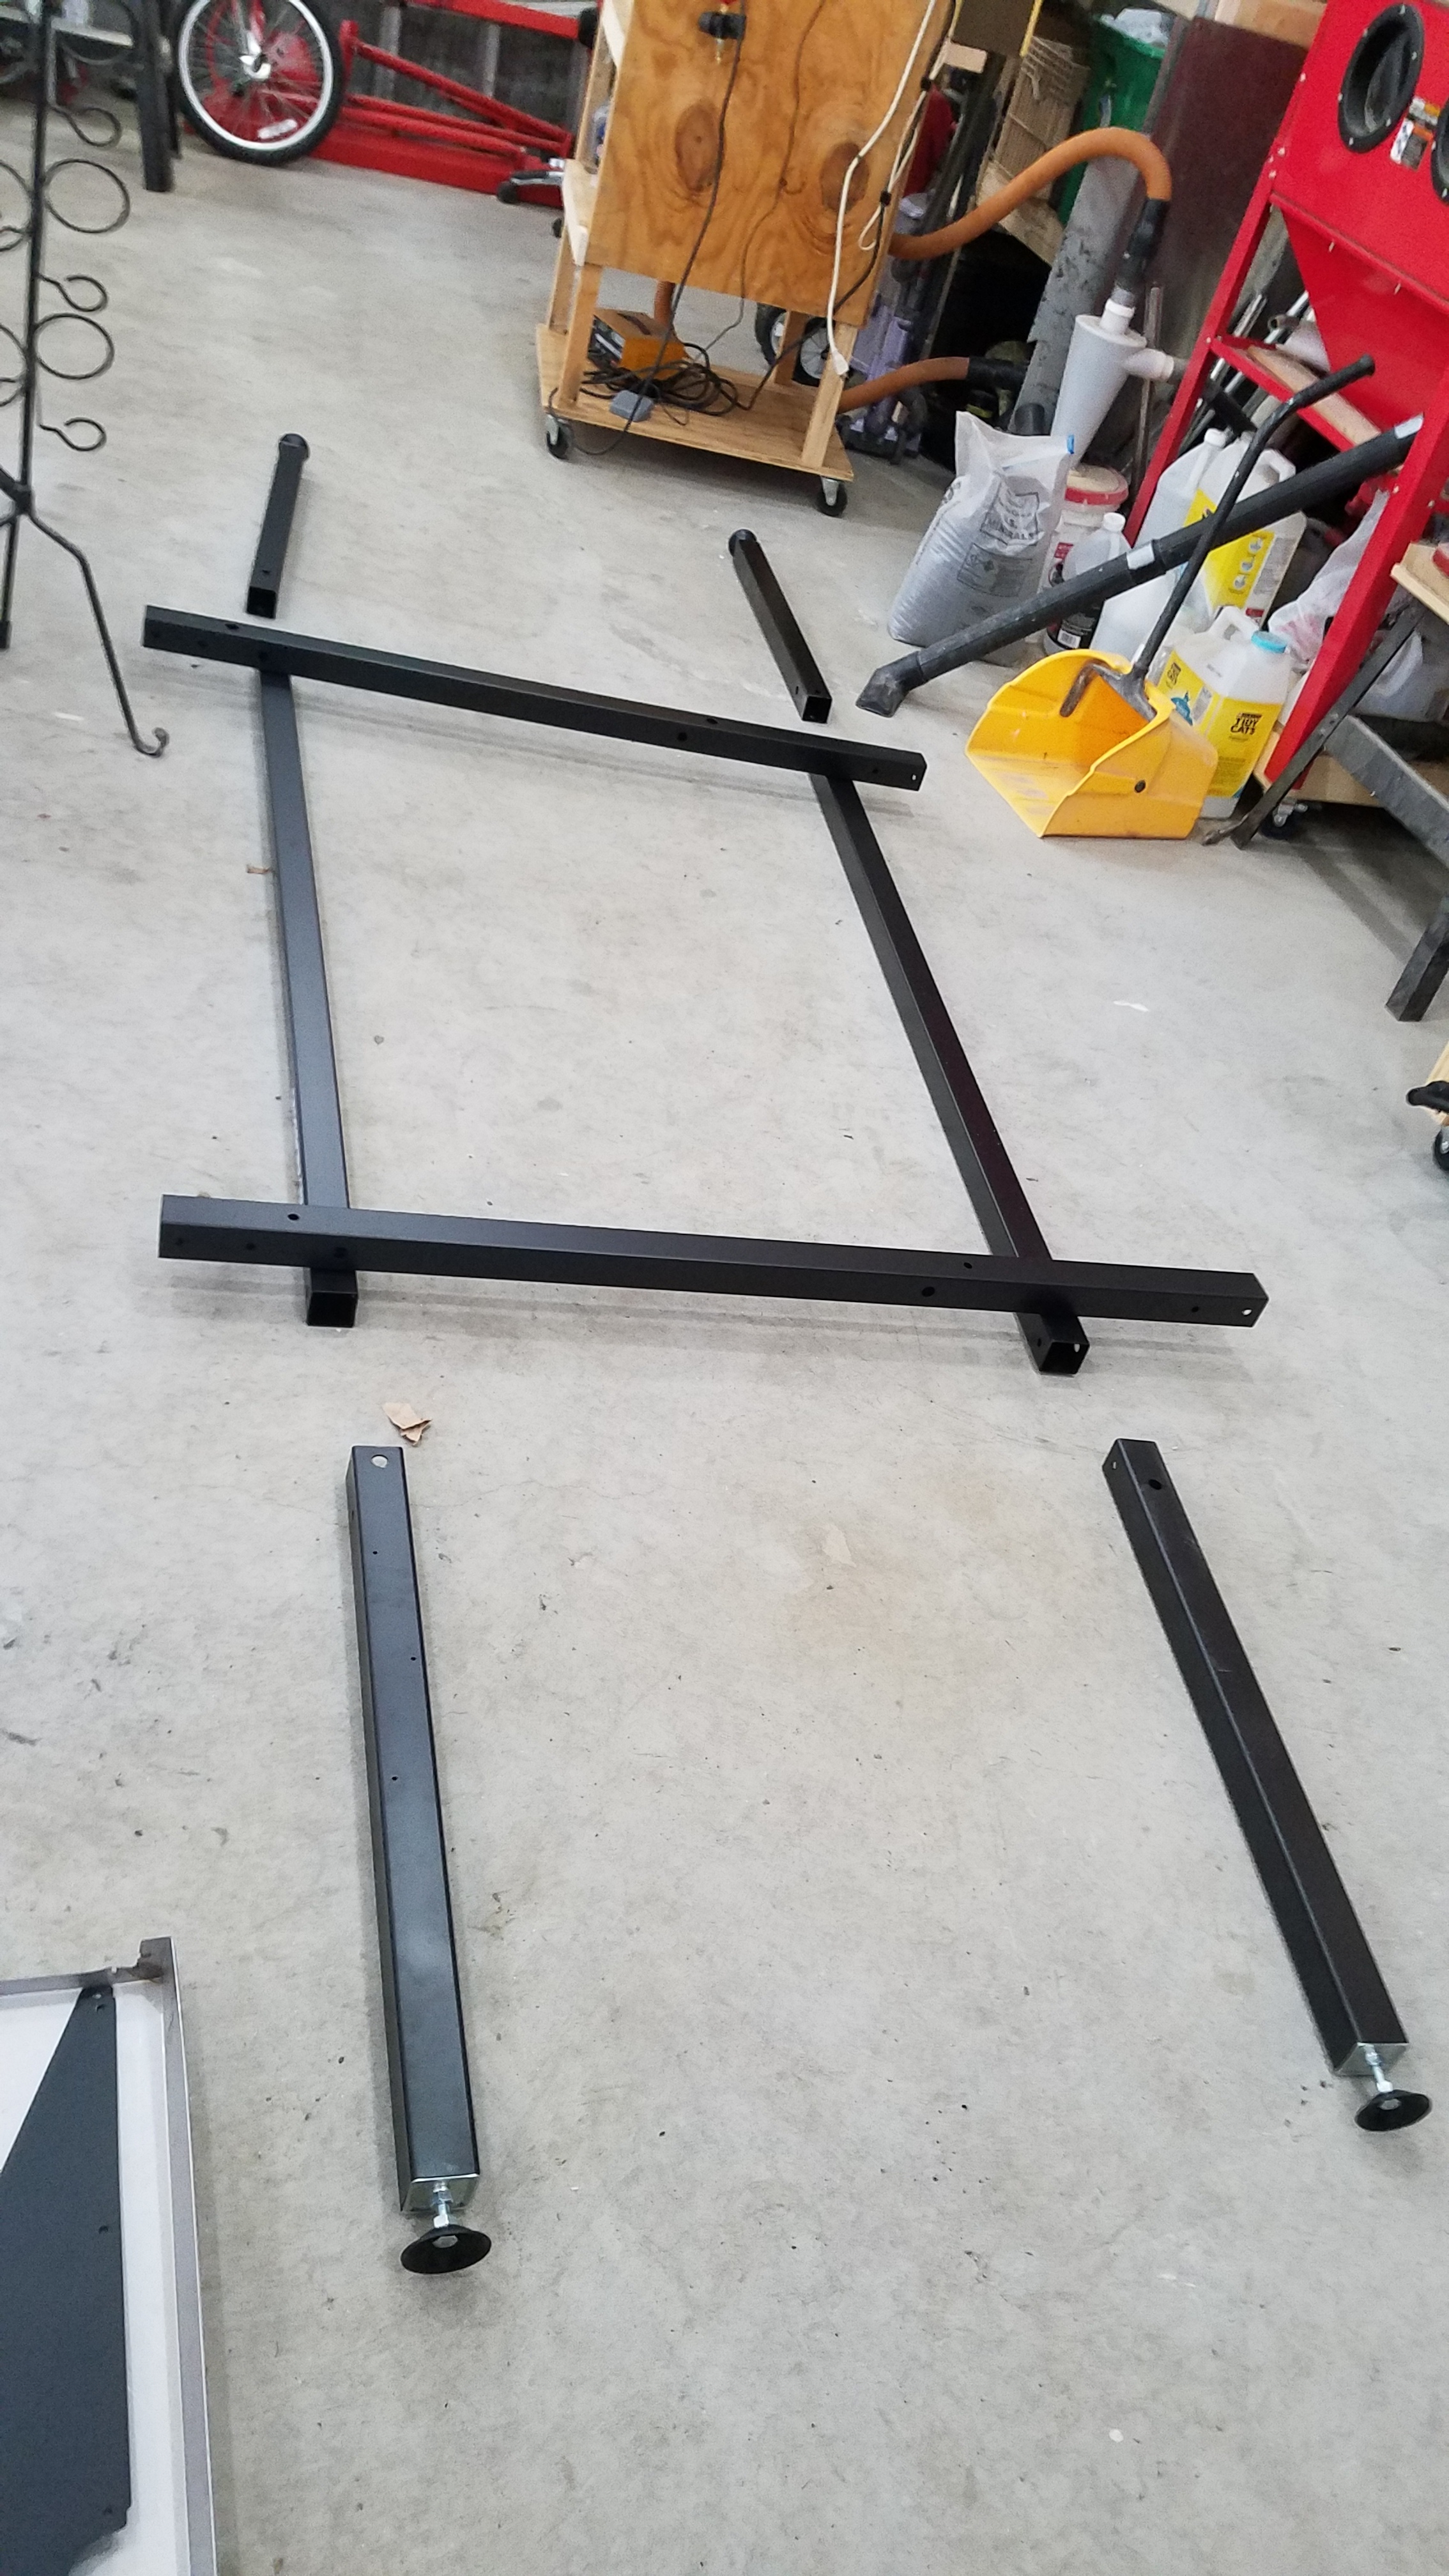
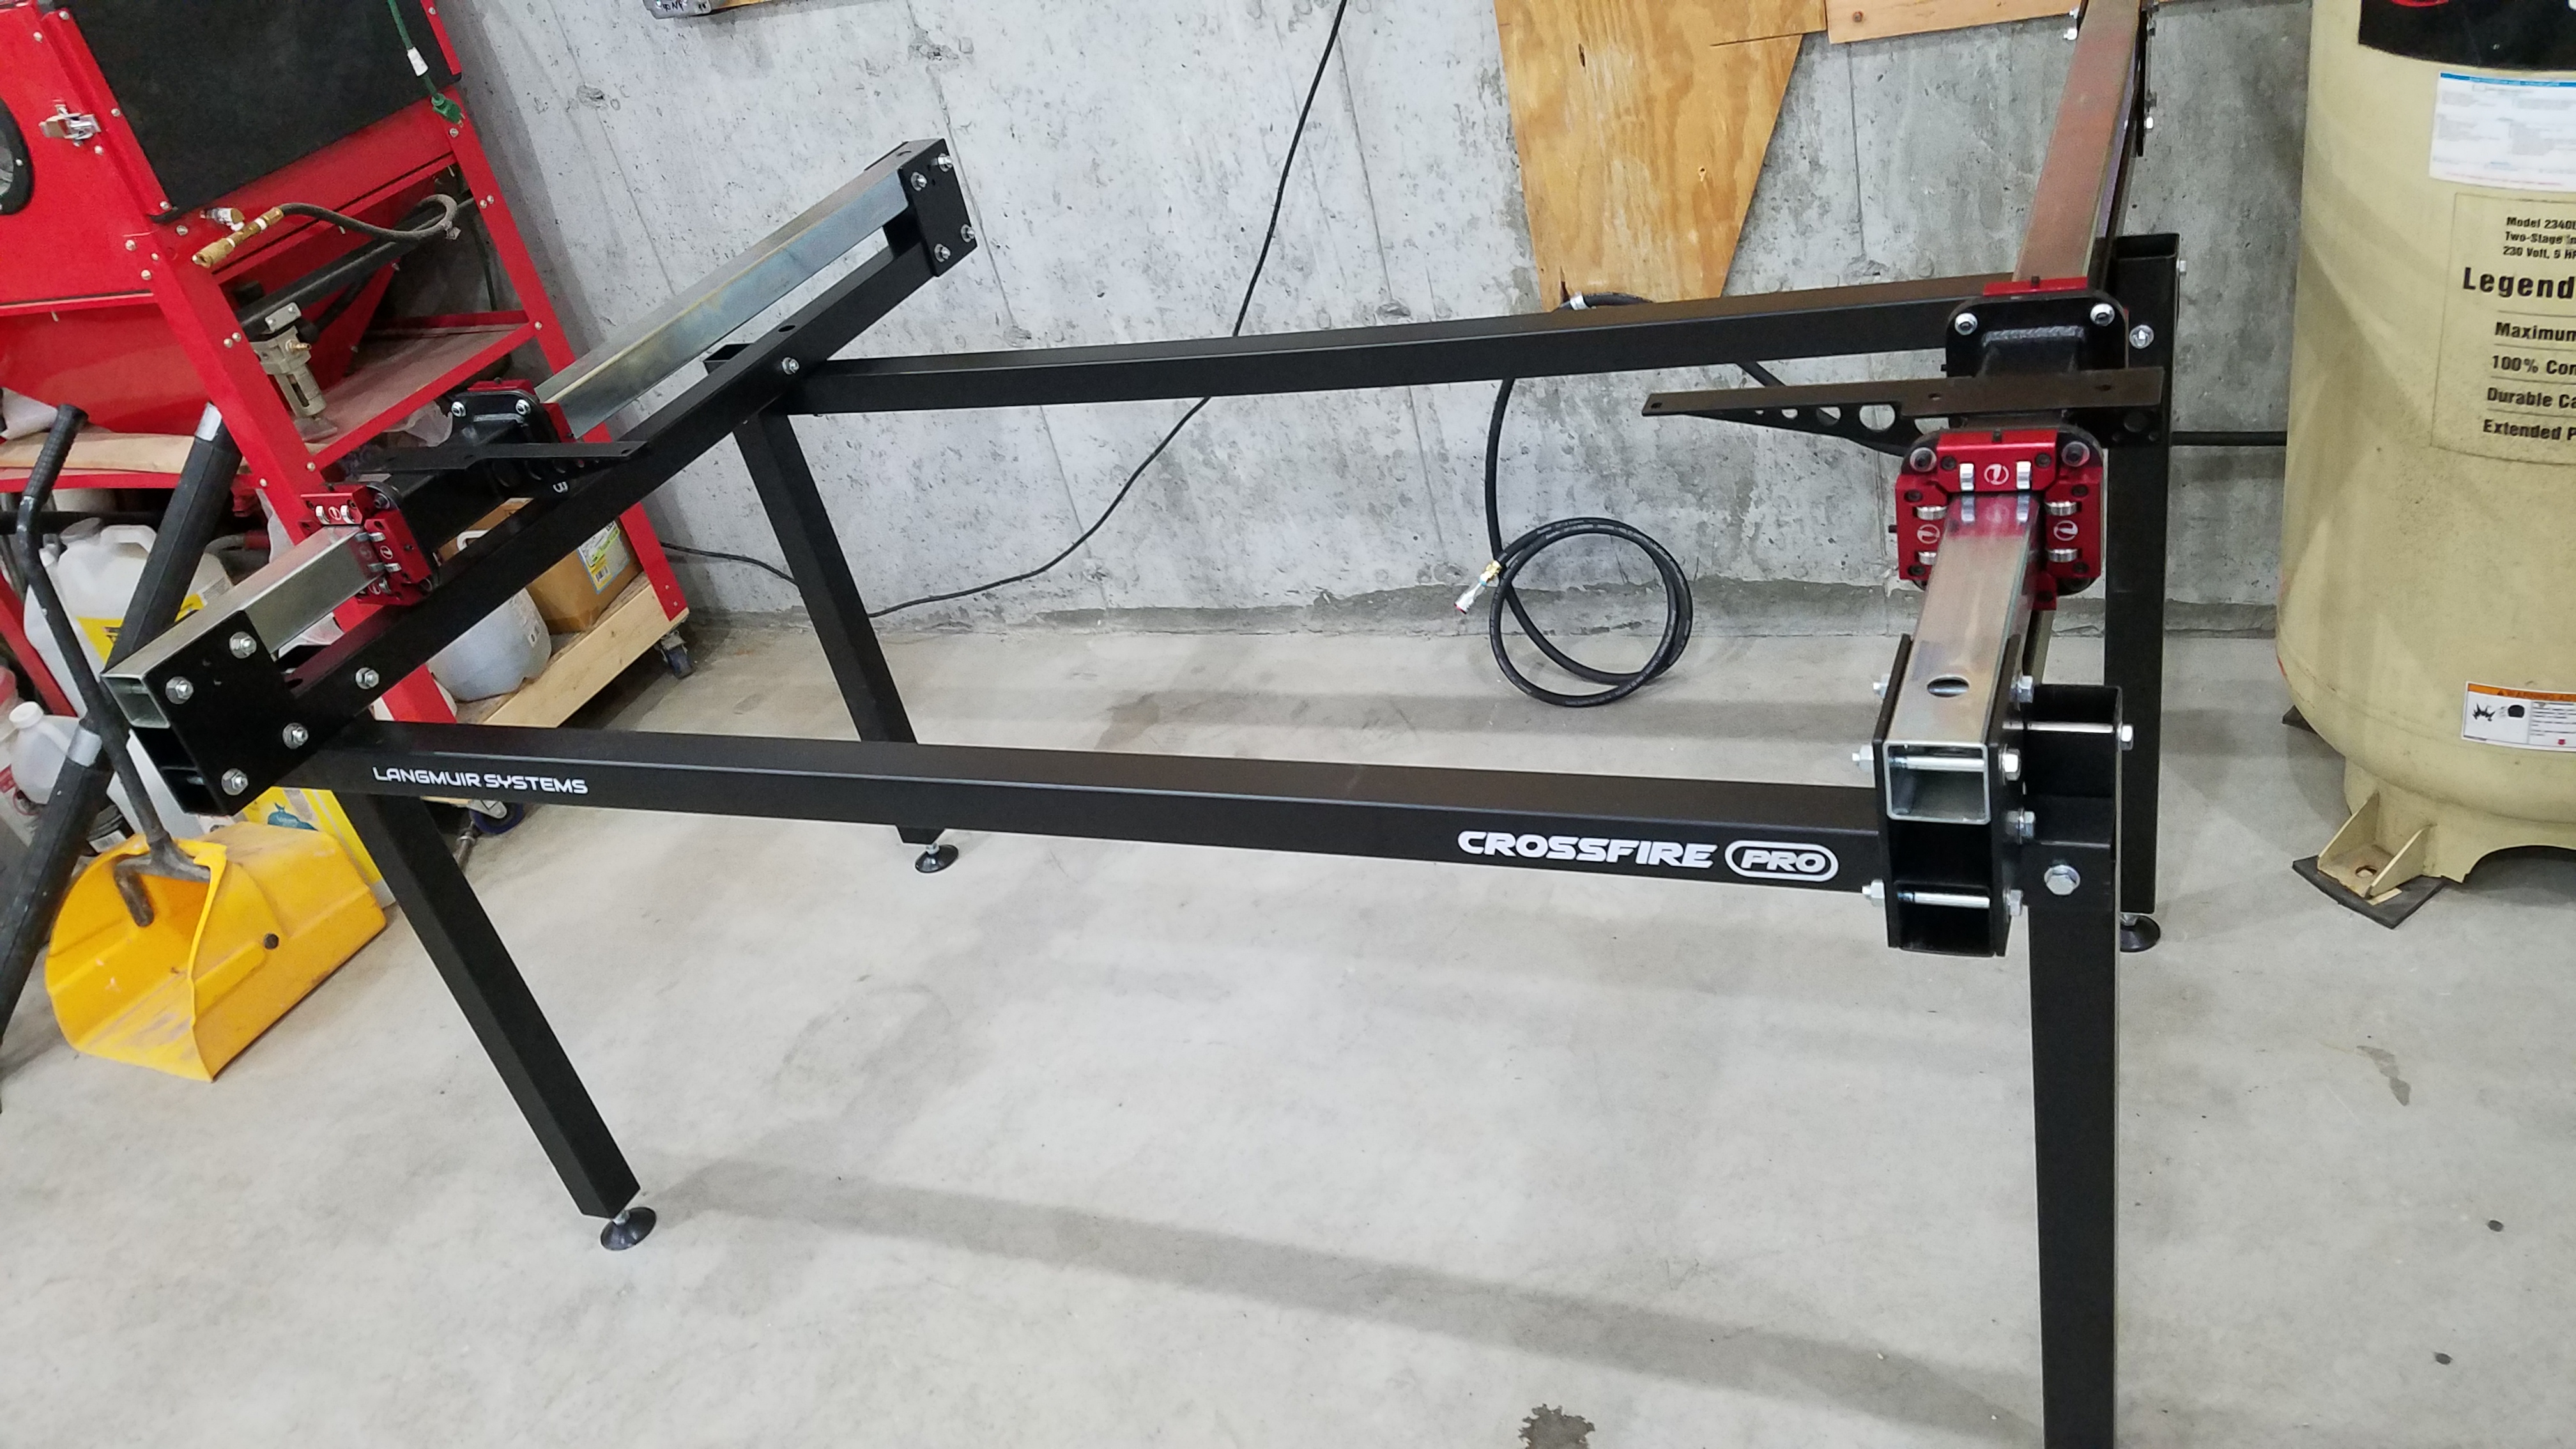
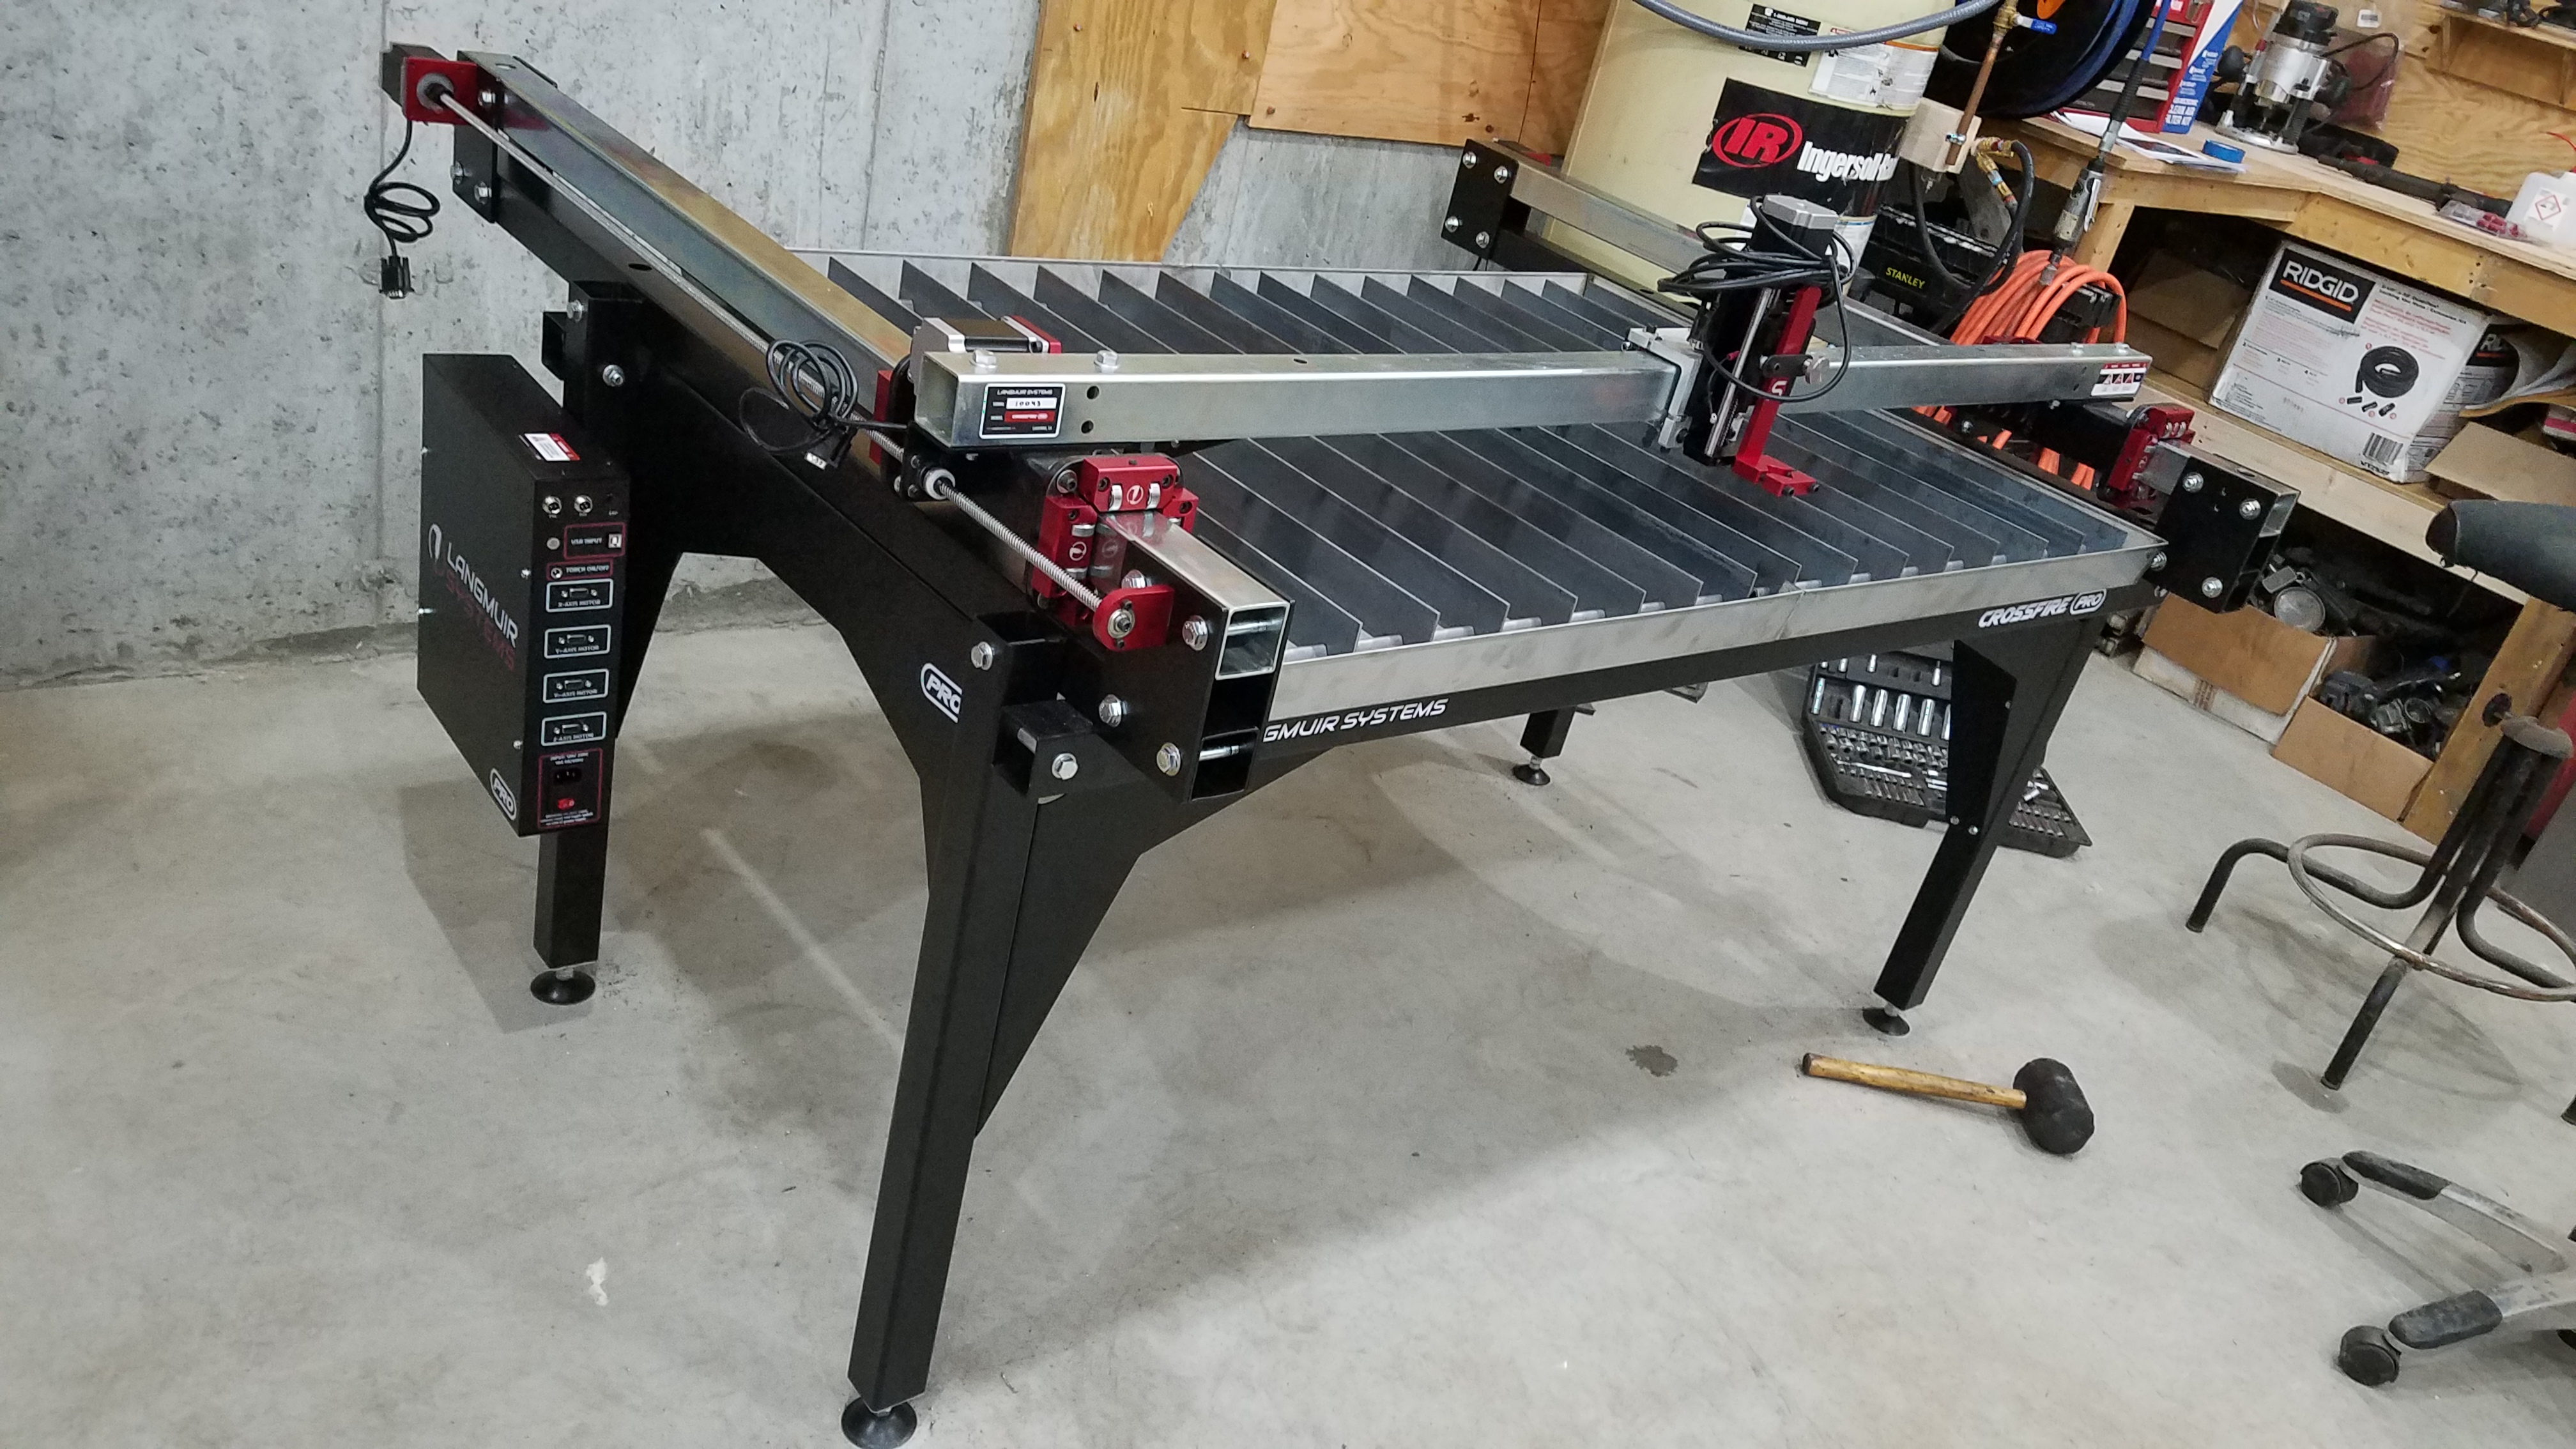
Figured we can post our build photos on one spot
5 Likes
Looks great- have the instructions made sense so far? Let us know if anything requires clarification.
1 Like
Keep us updated! Really exciting to see one come together!
1 Like
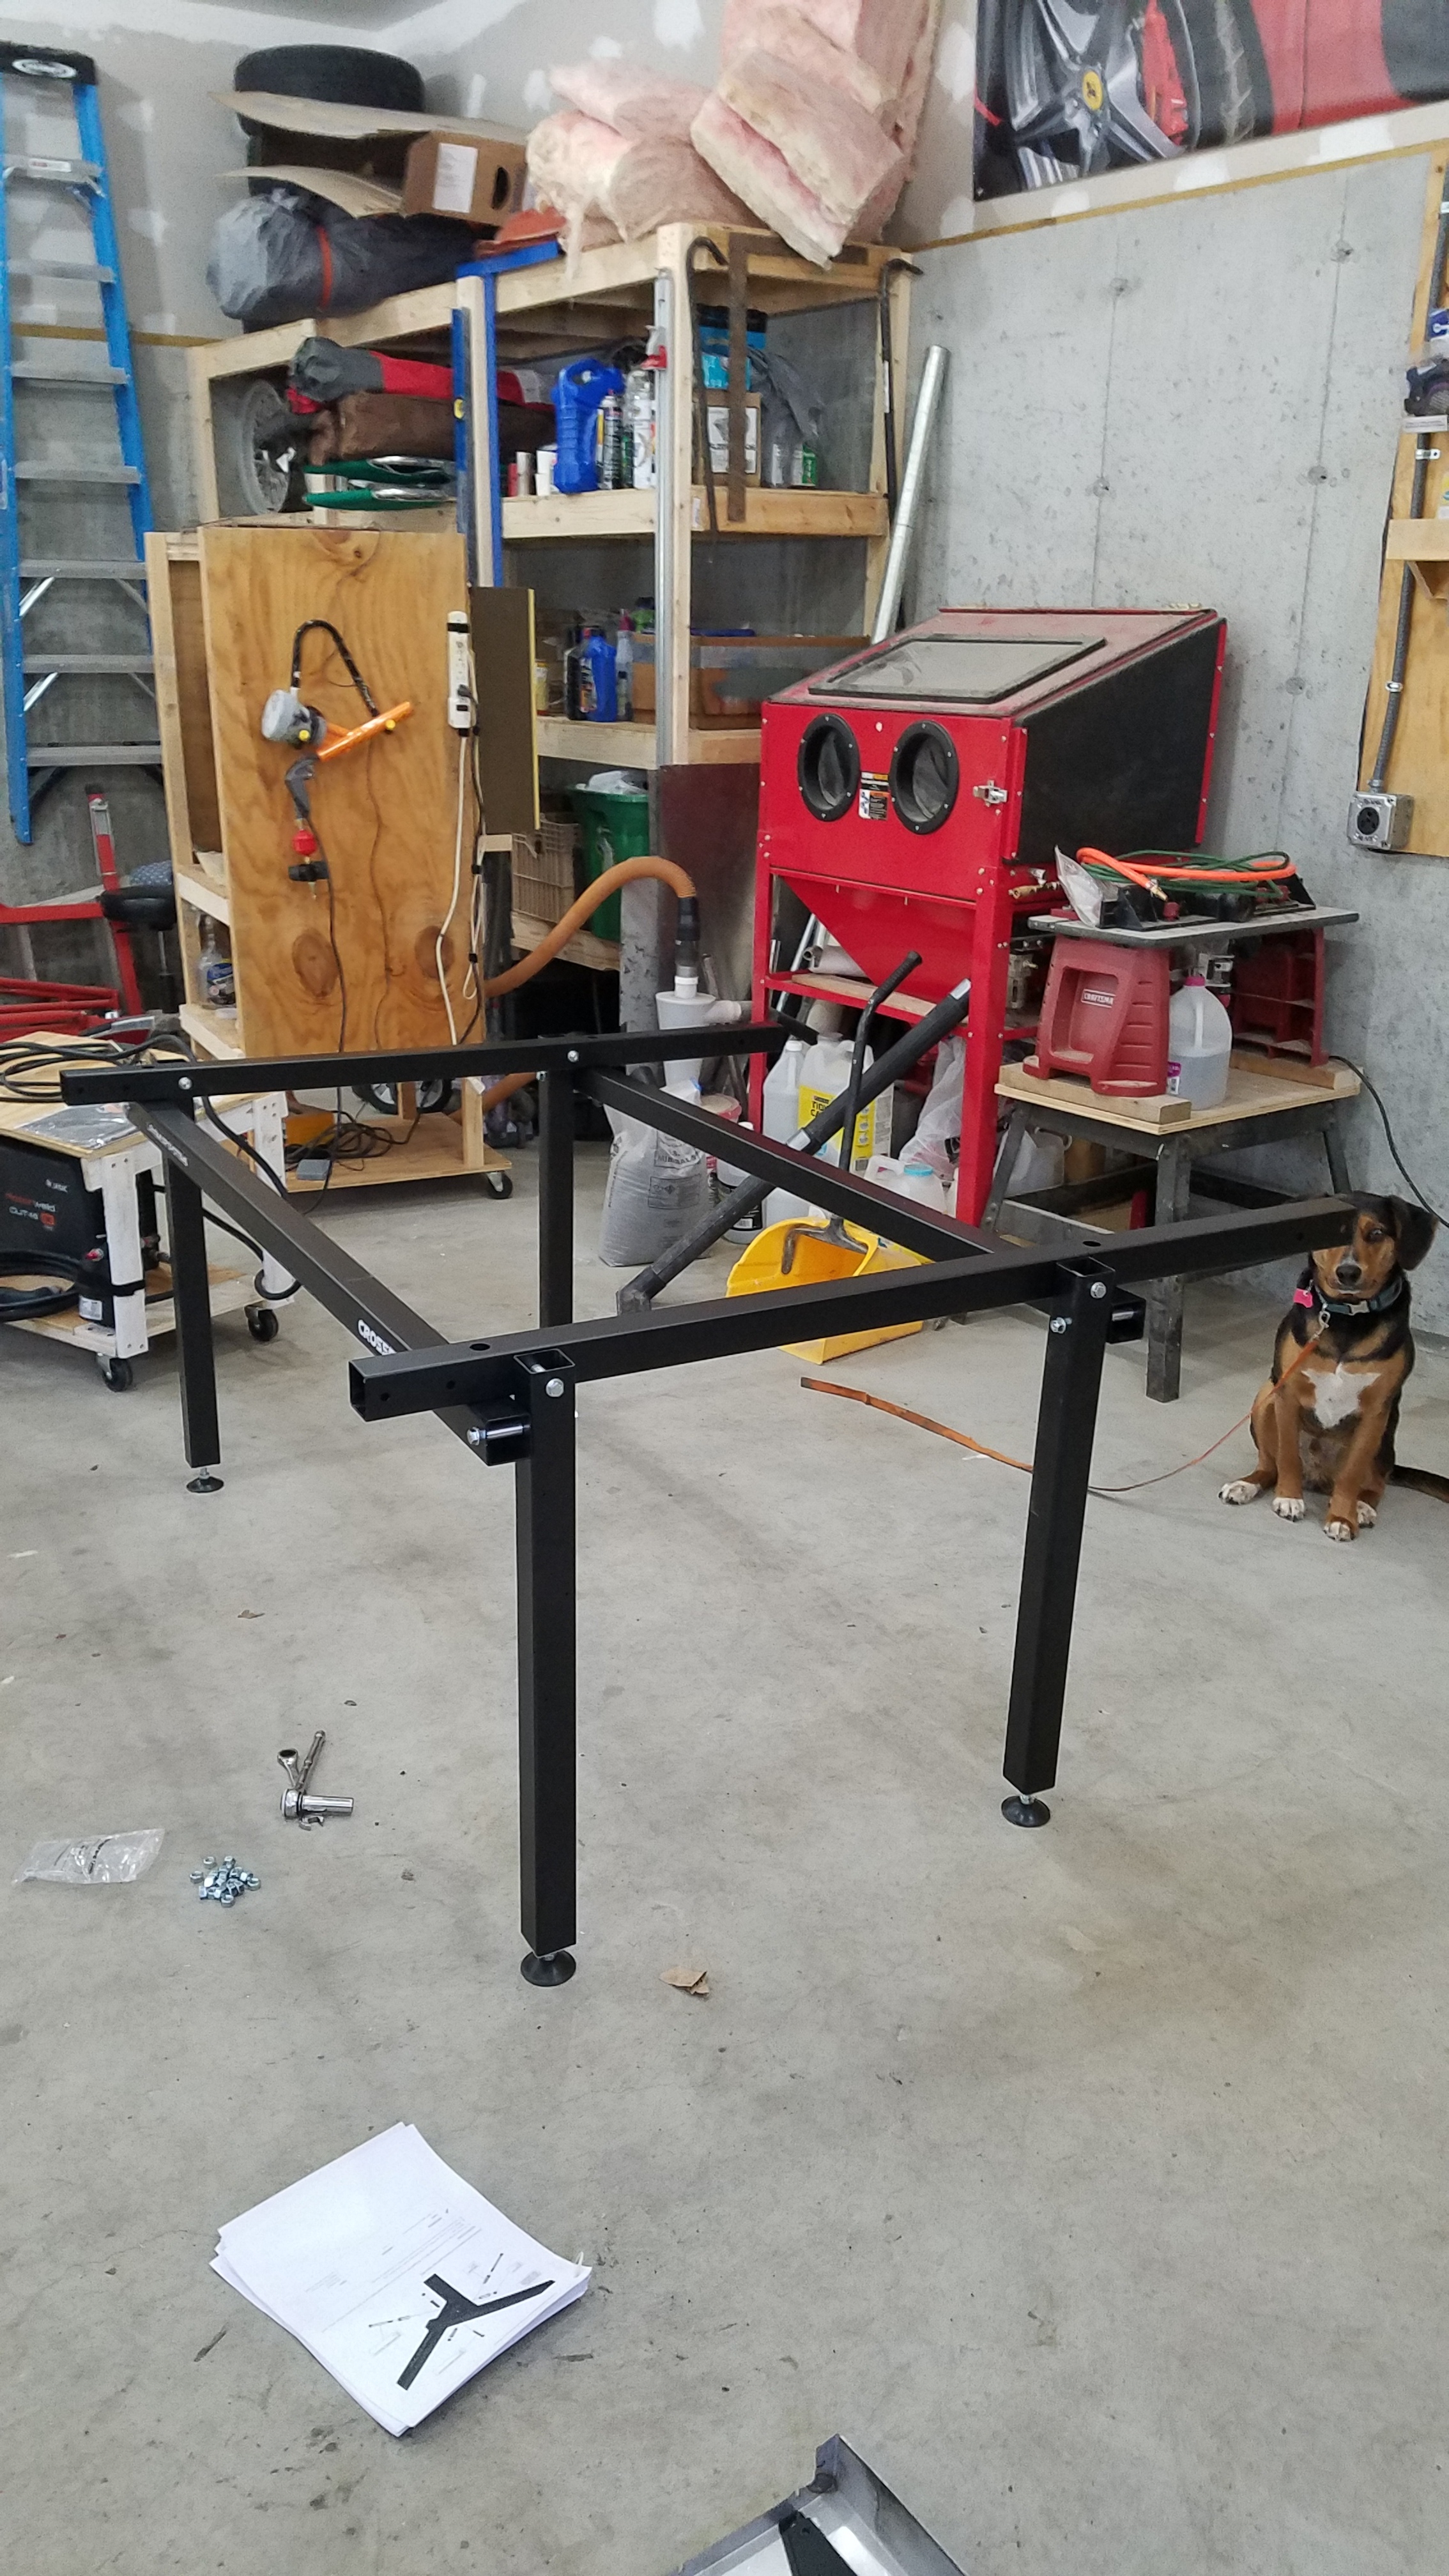
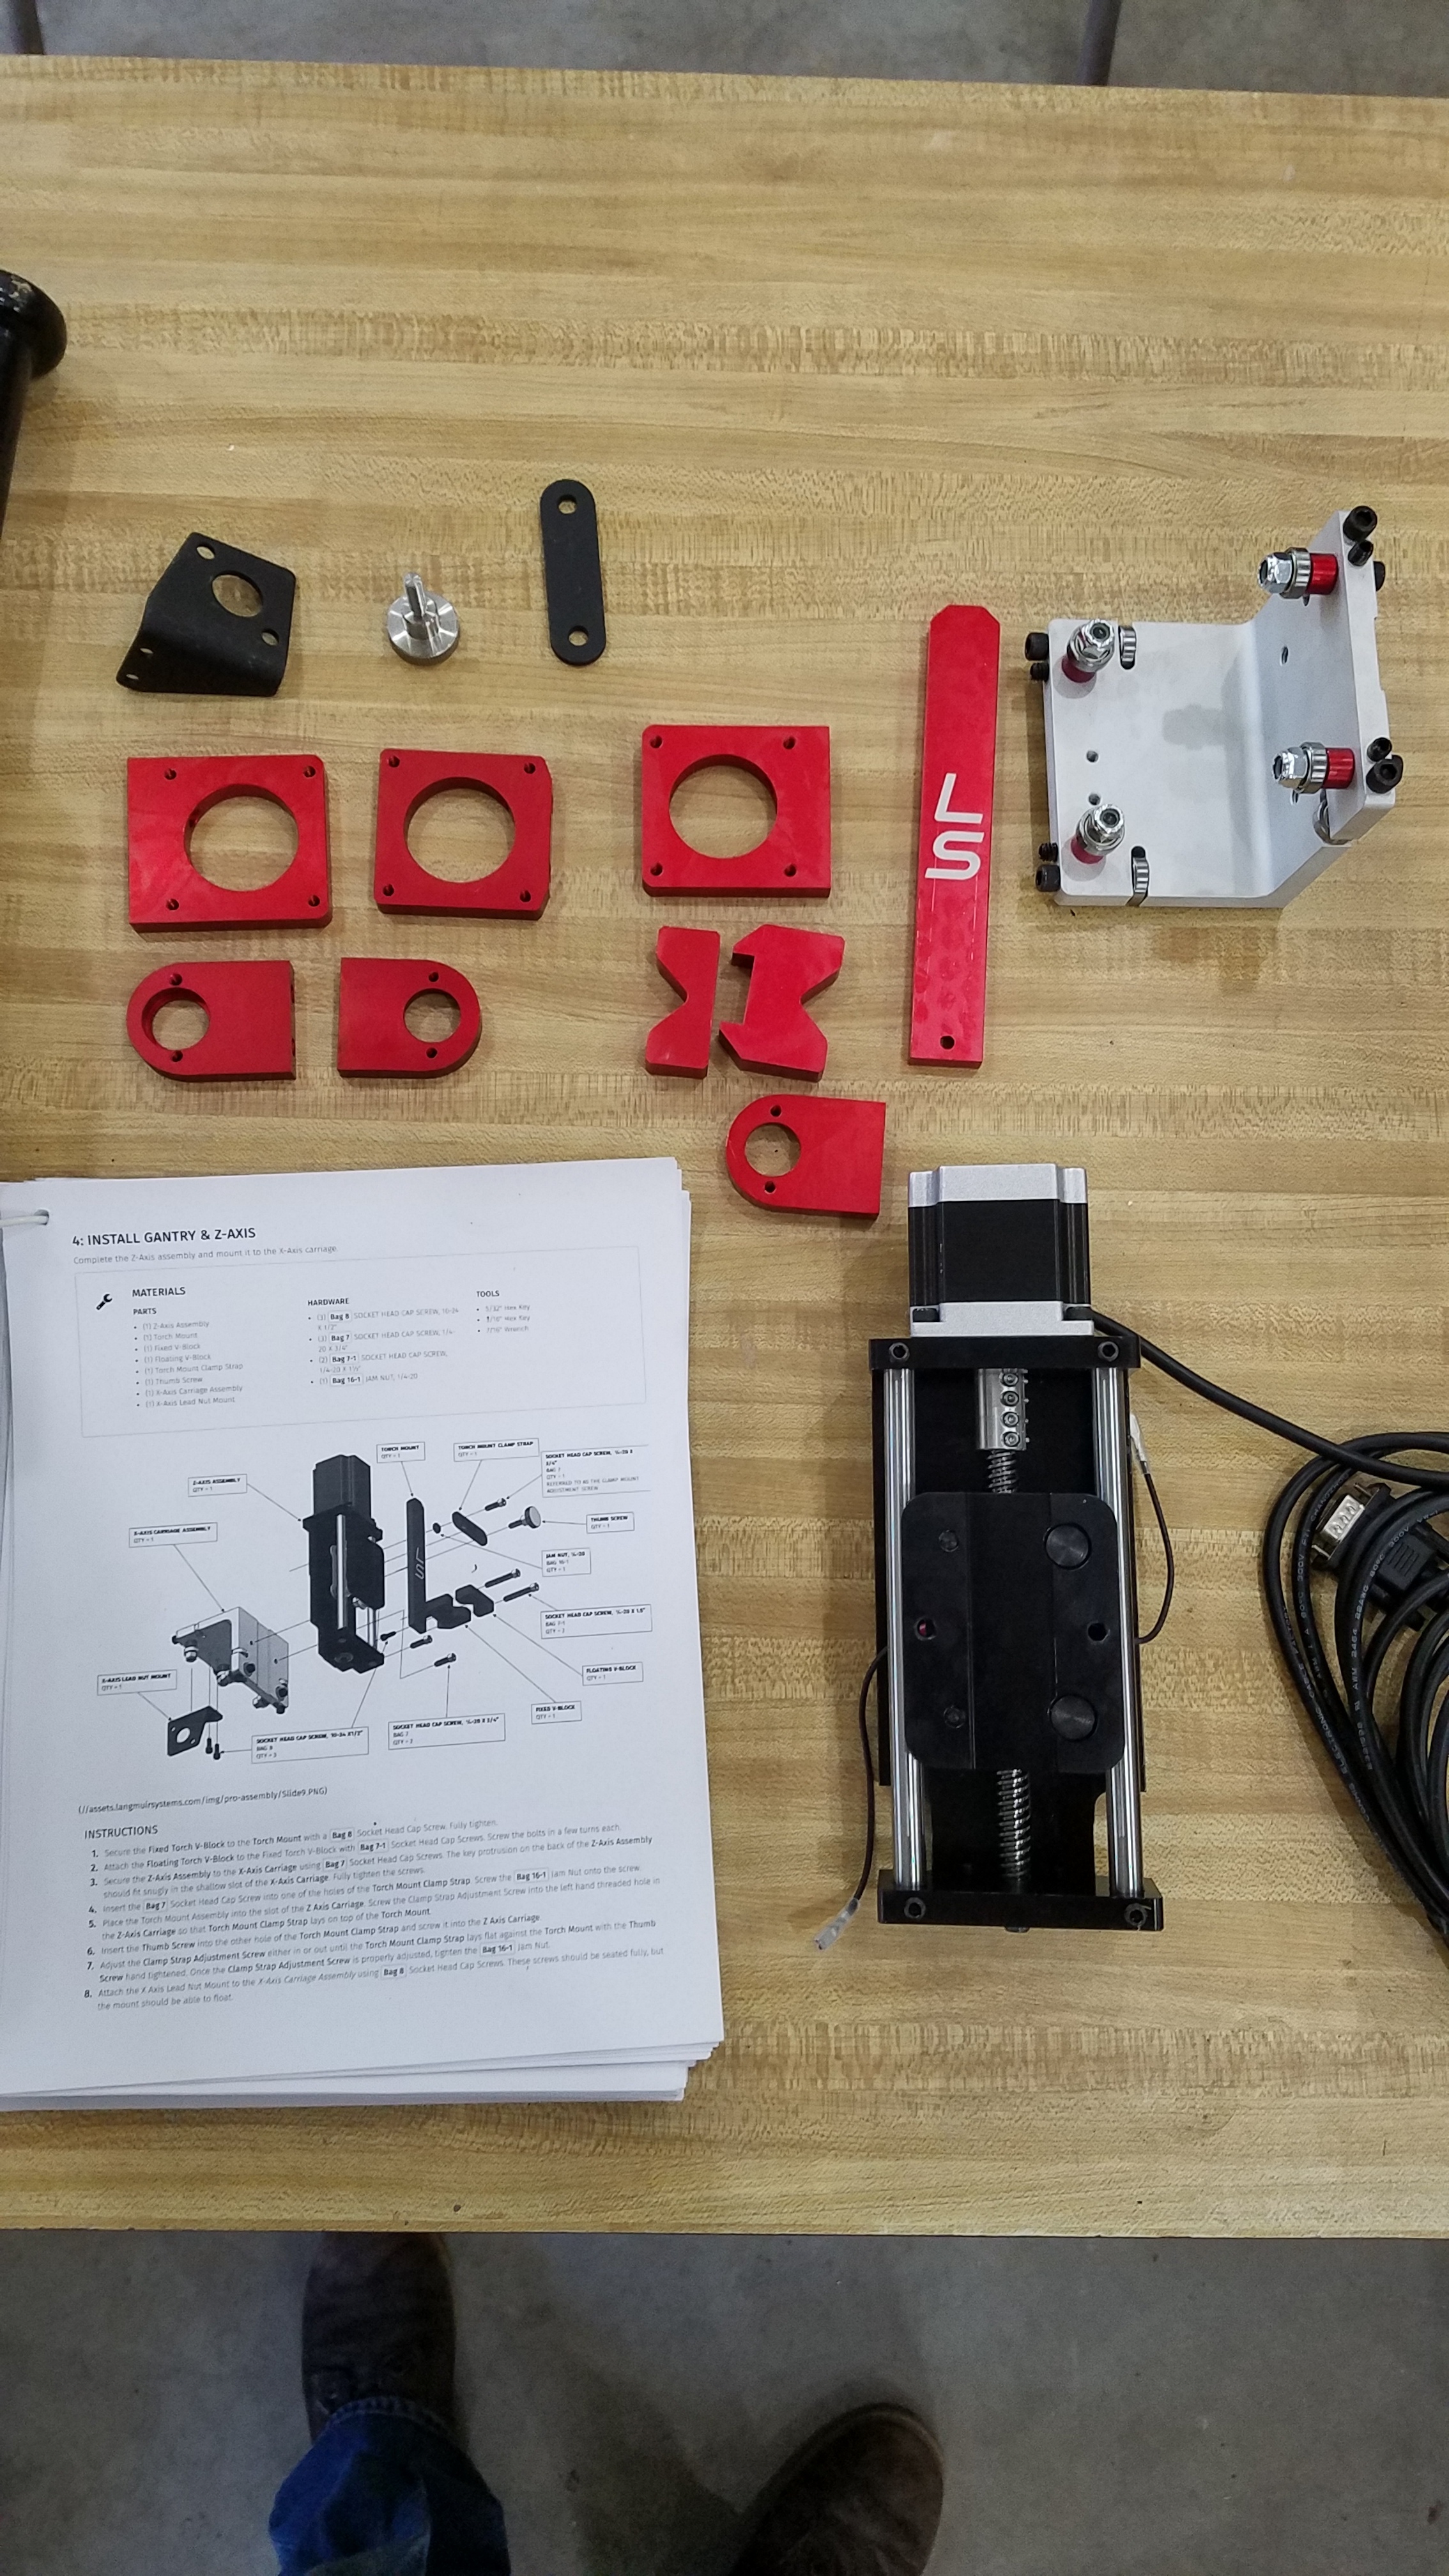
So far the instructions are great. I did notice however when I printed them there are a few images that didnt print. It seems to be the blue info boxes. Specifically the one I noticed so far is the placement of the serial number and safety stickers. So I have the manual on my phone as well while building. Quick late lunch break and Ill be back out there
1 Like
Ok perfect- we’re looking into the print issue right now.
2 Likes
Very nice, wish I had a table like that.
1 Like
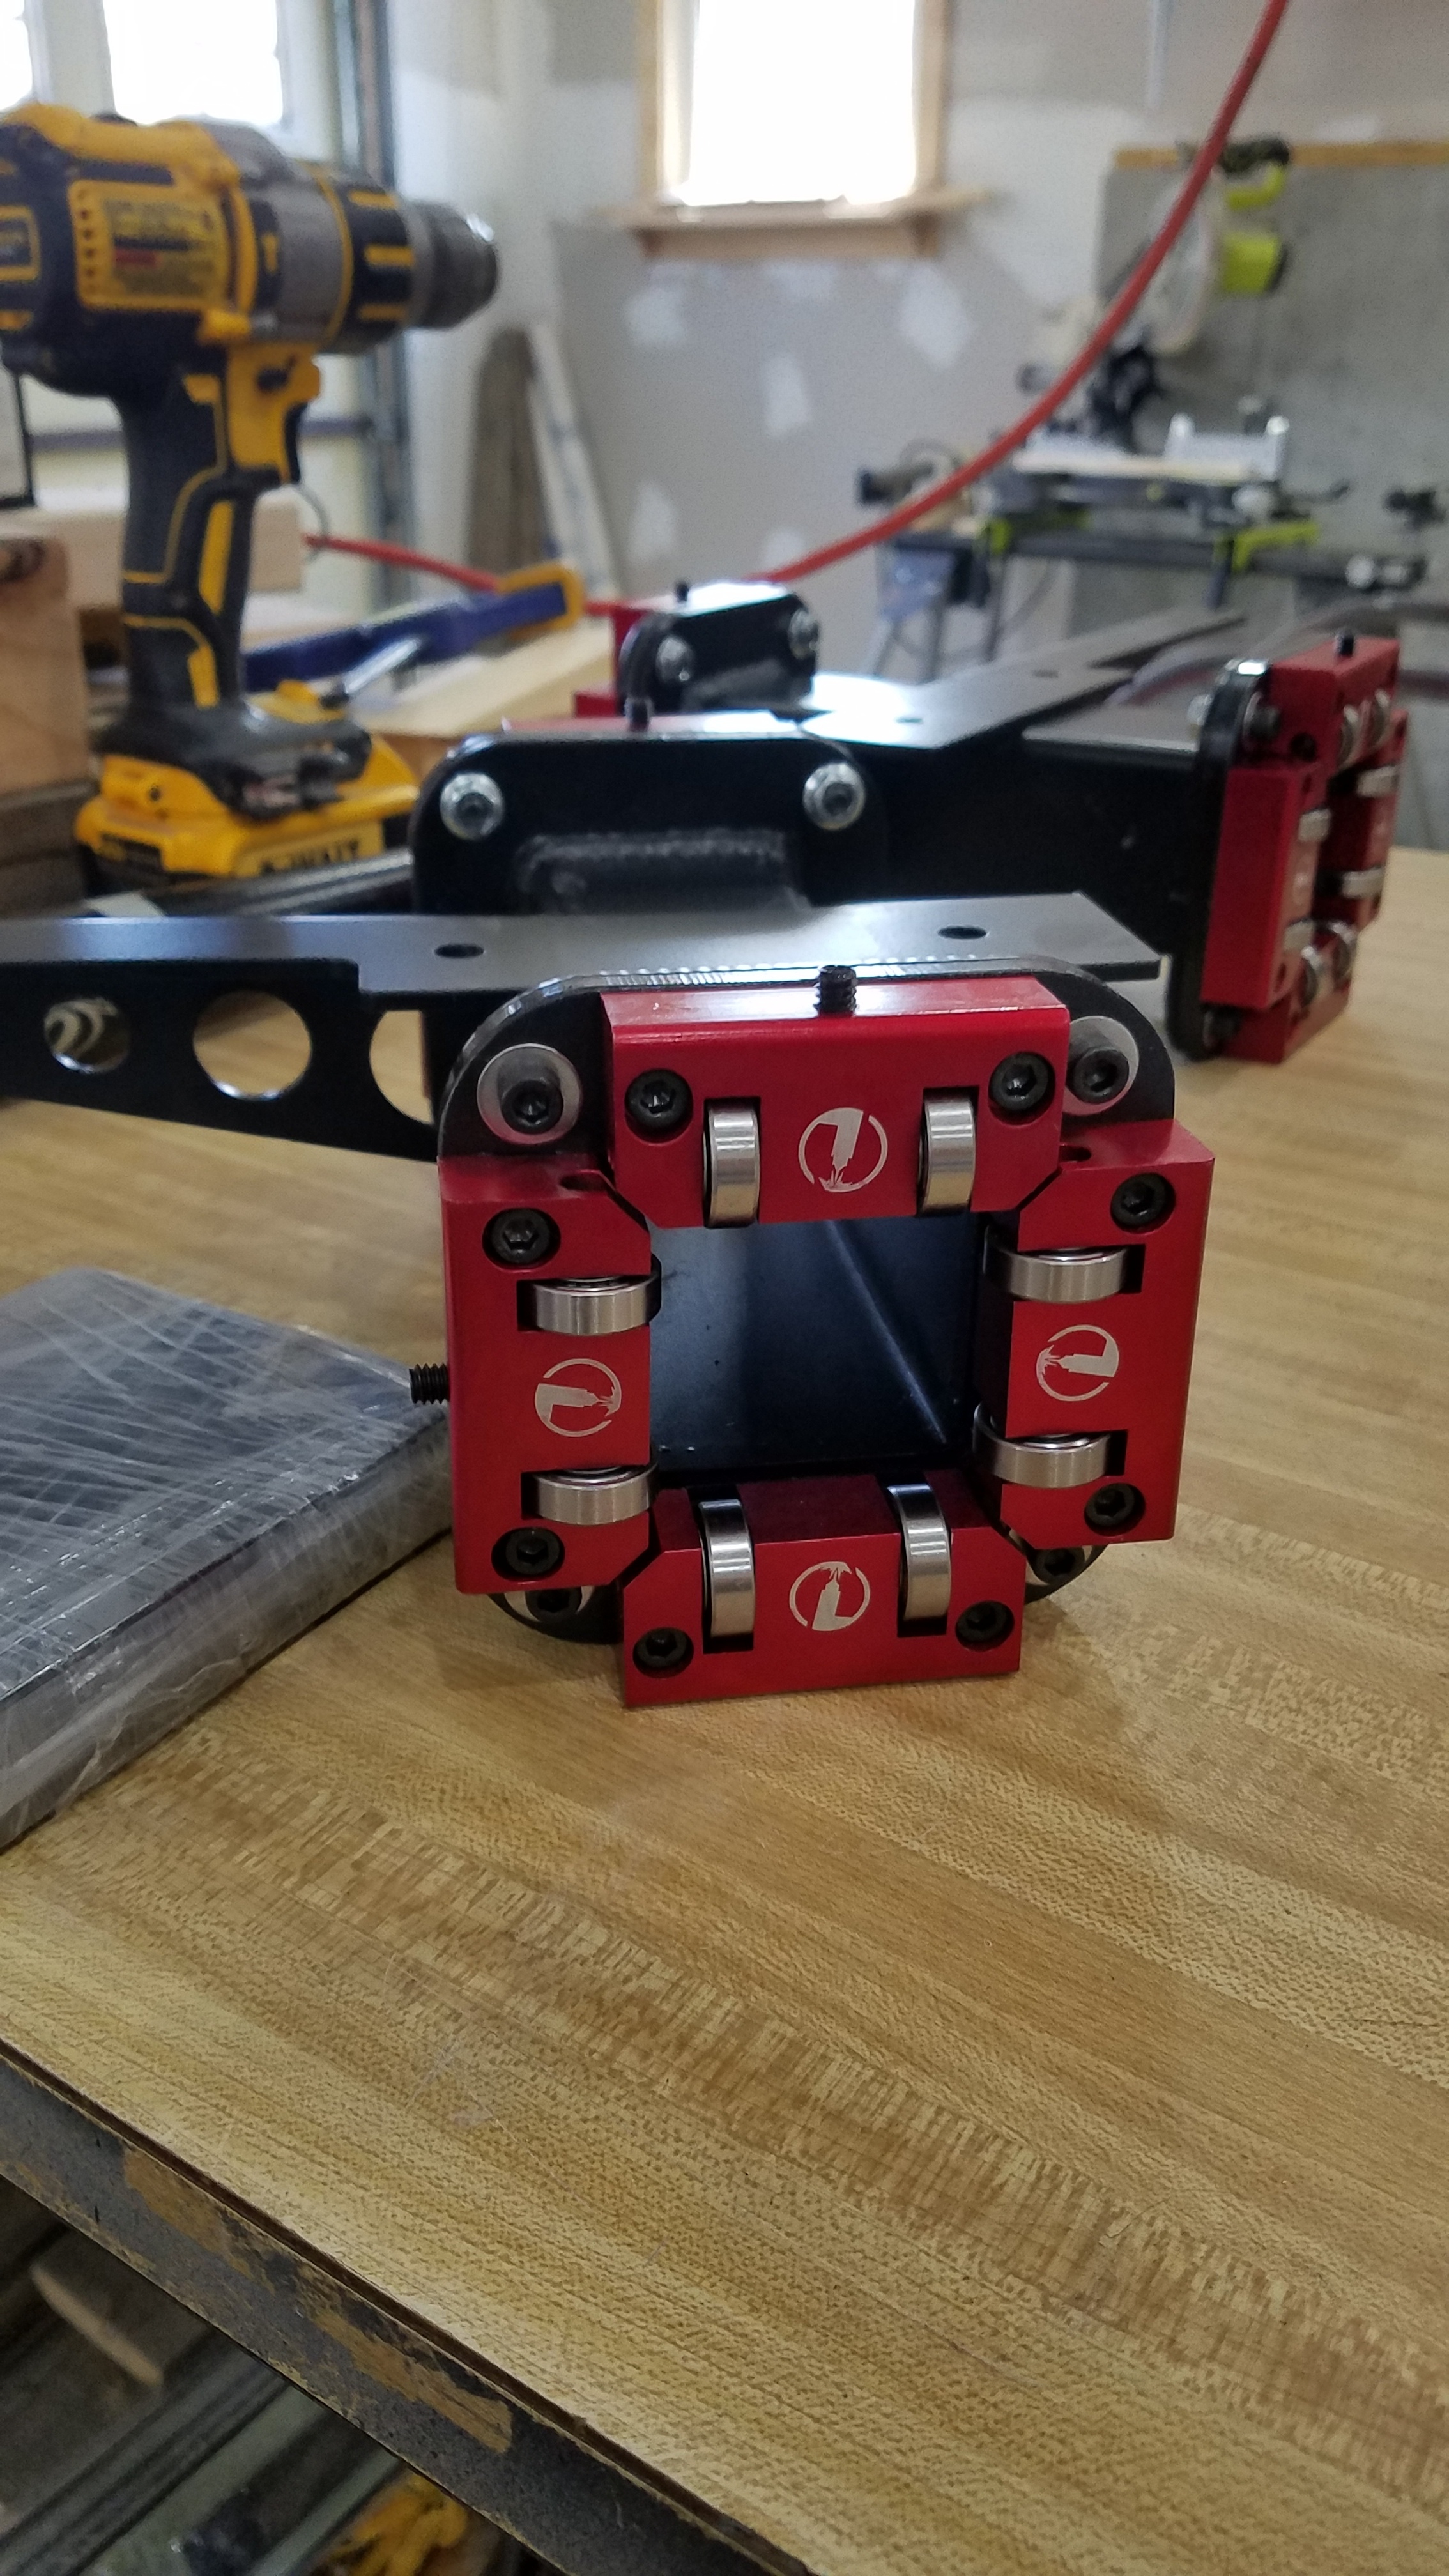
Looks excellent- you’ll be cutting in no time.
1 Like
how long did it take you?
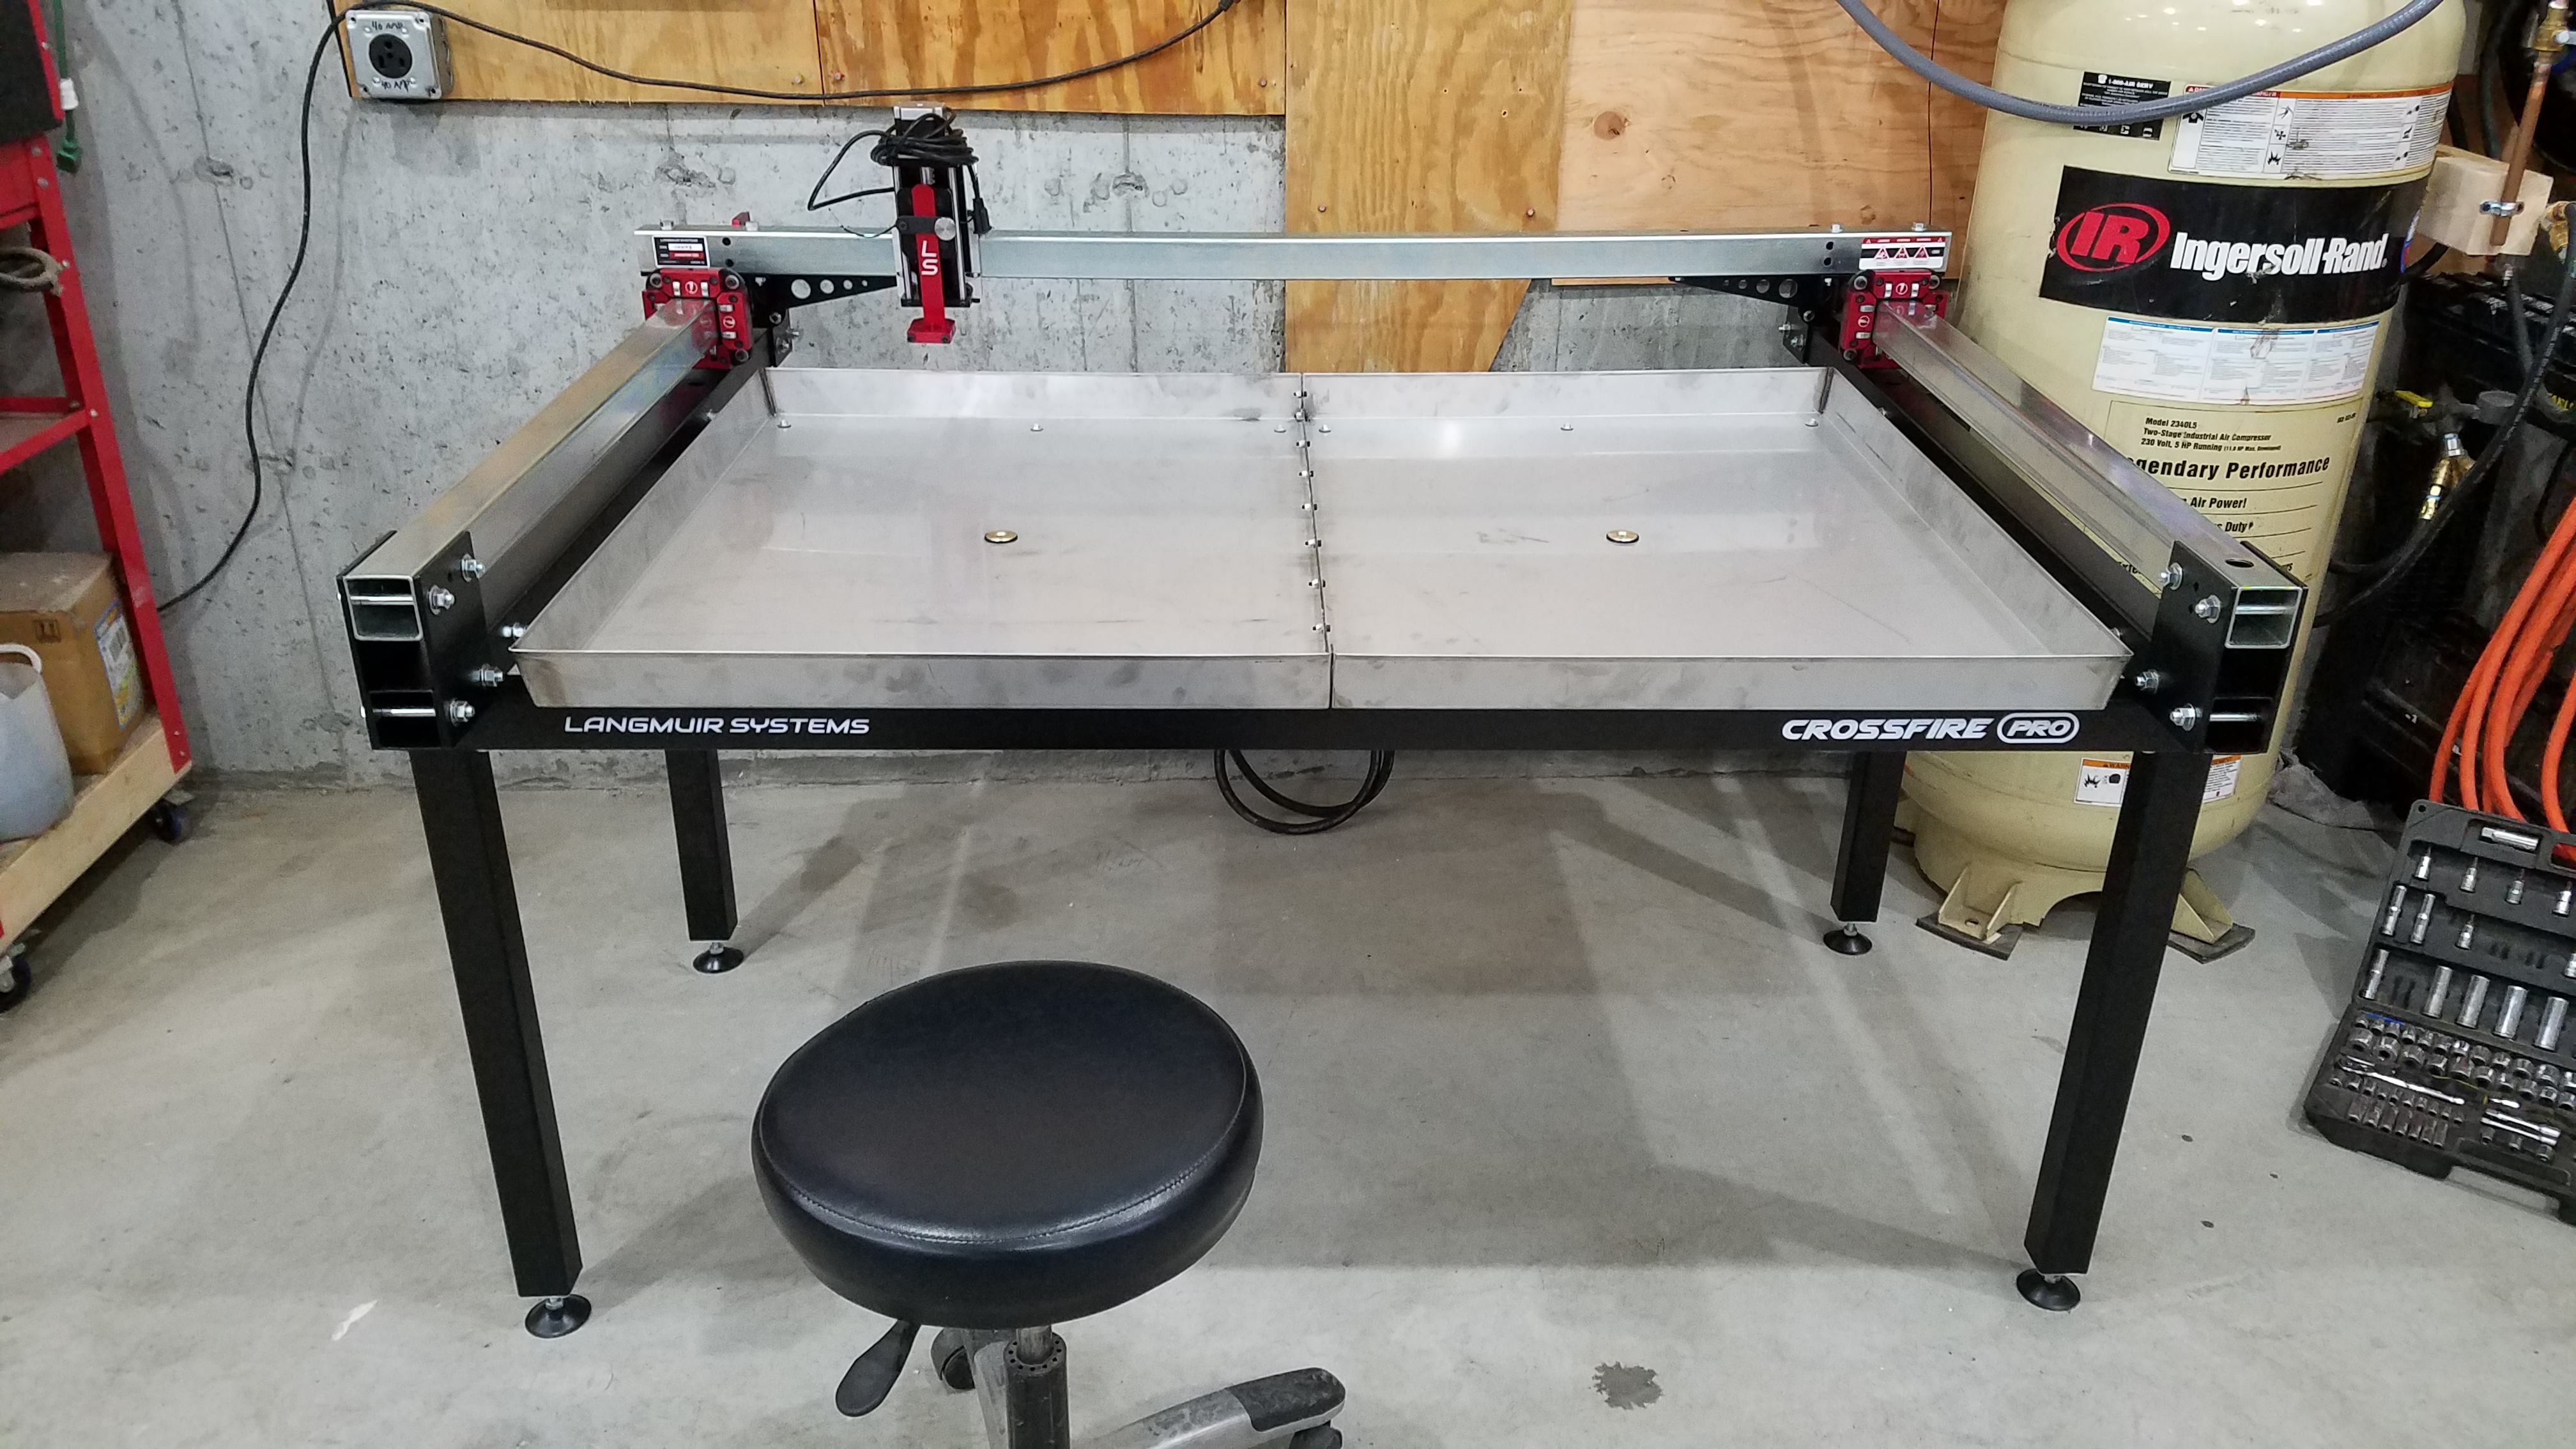
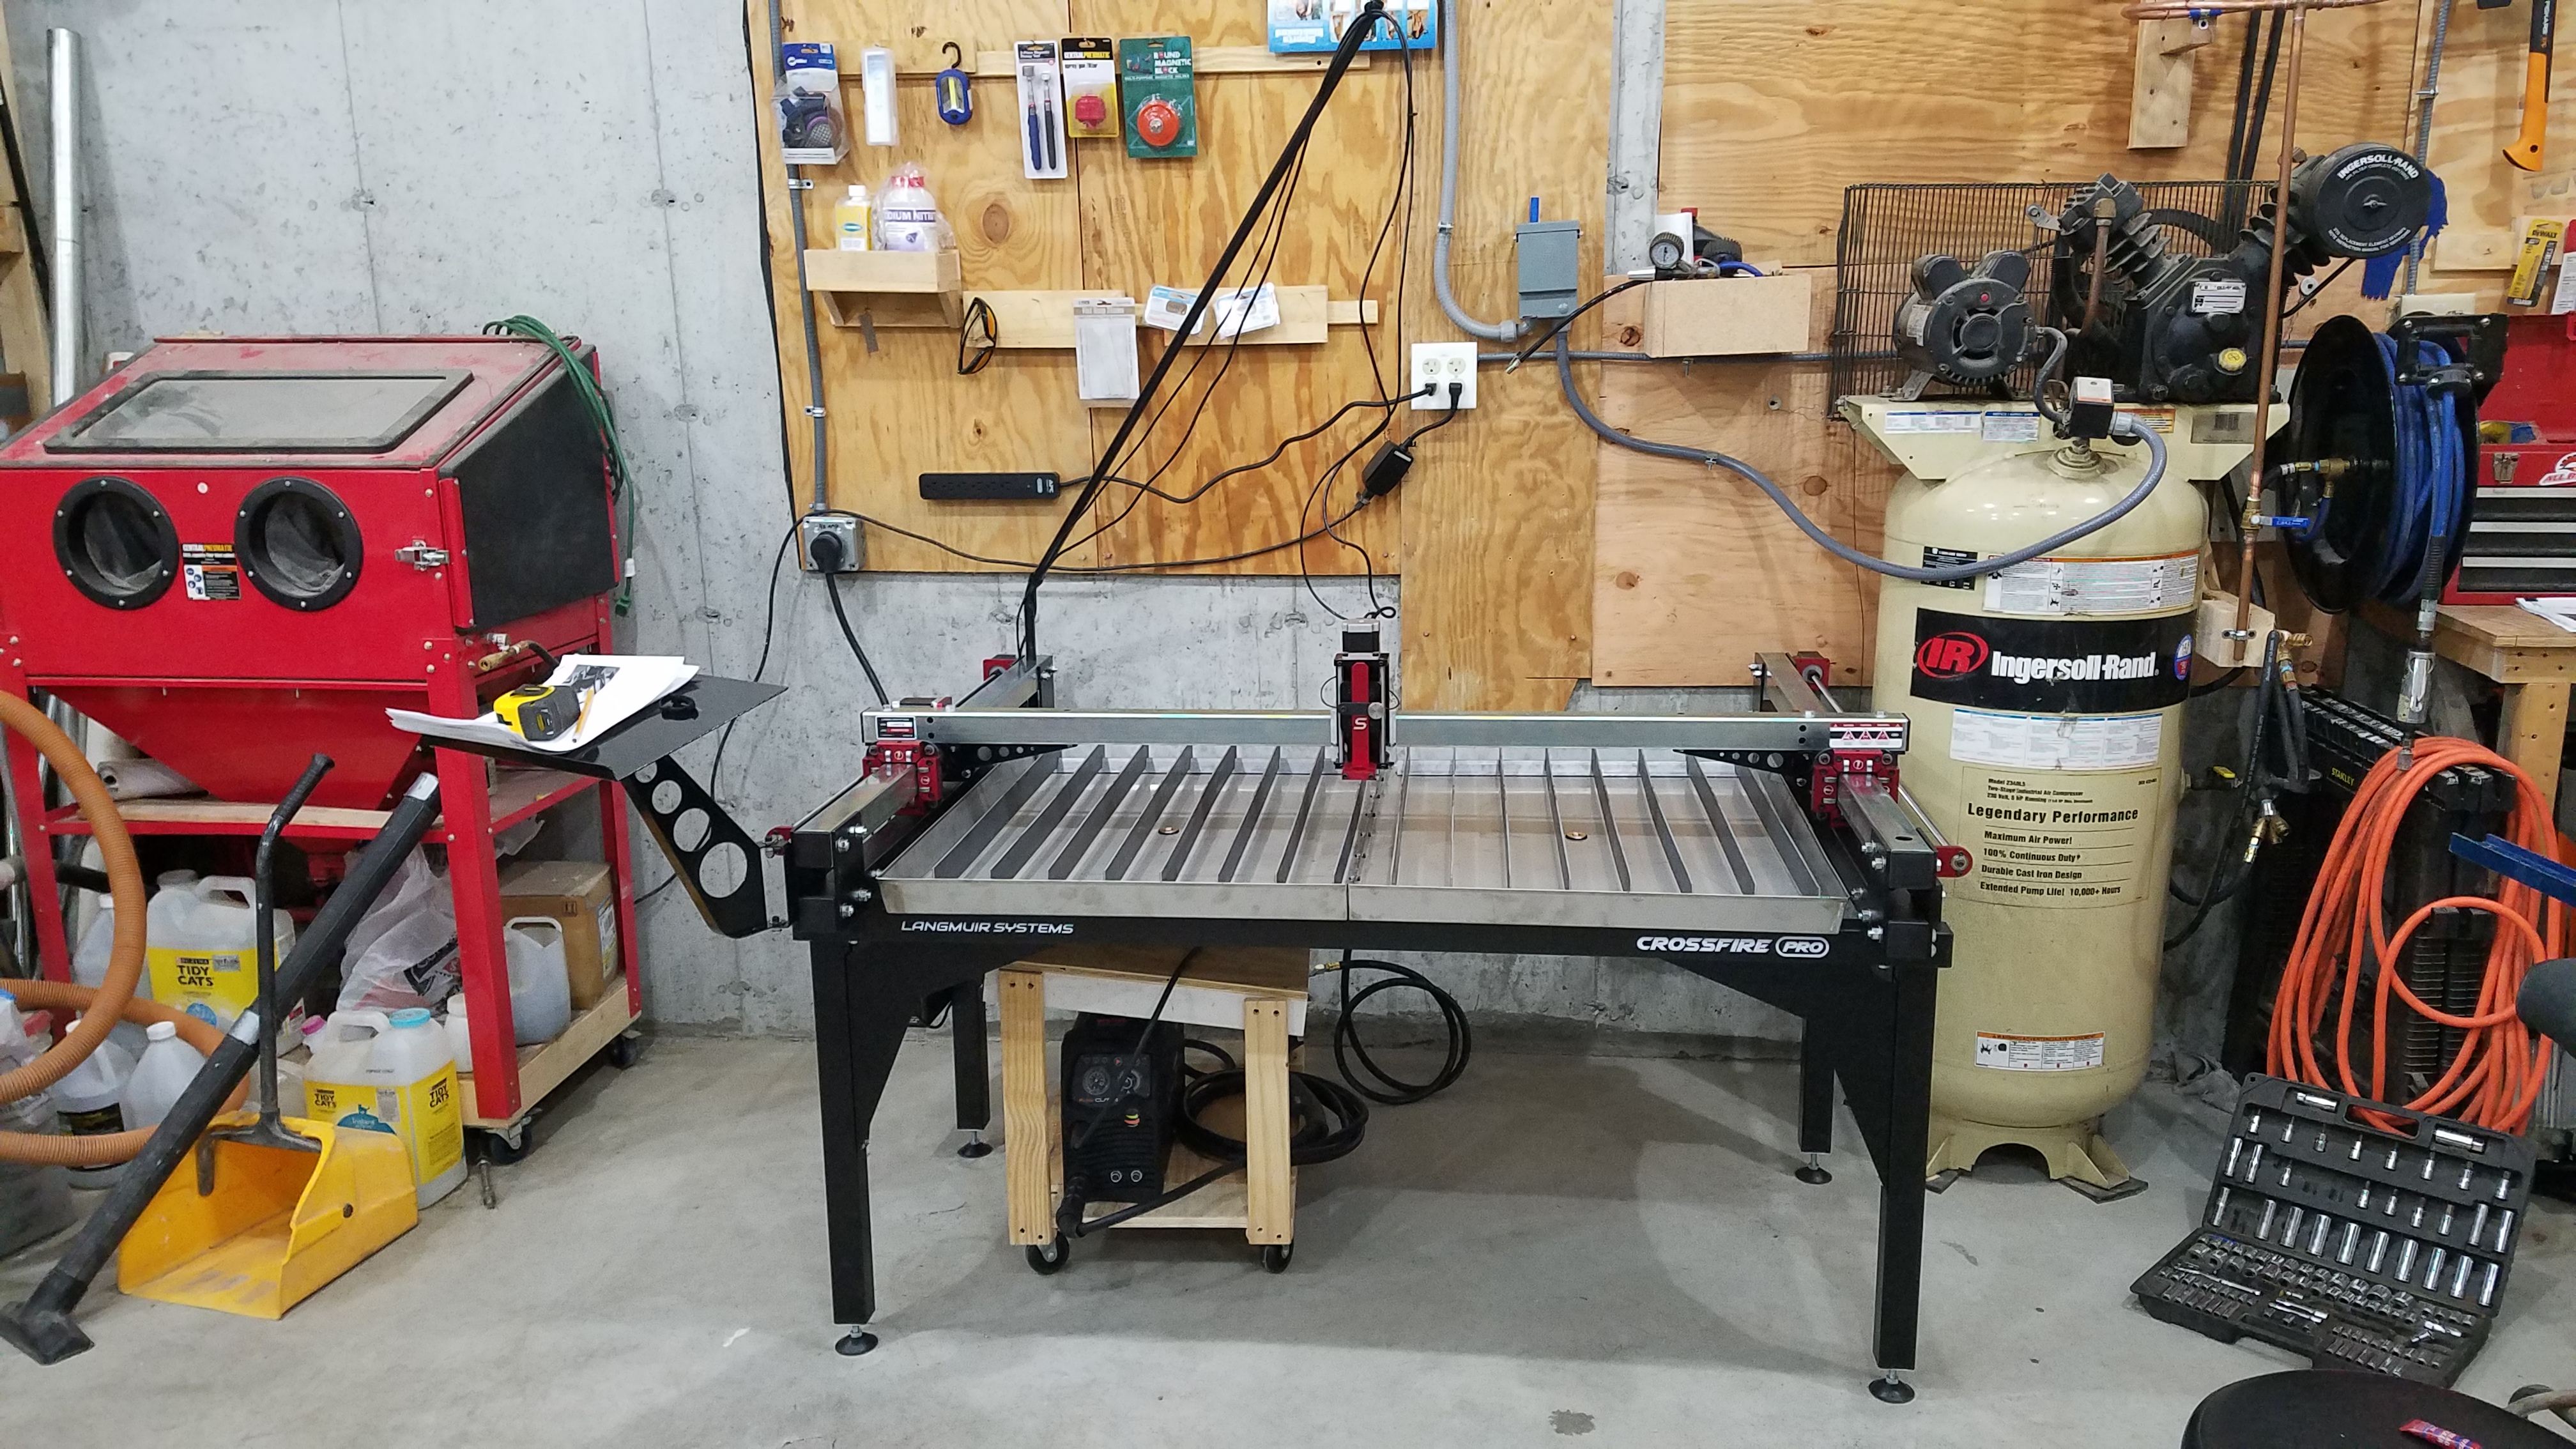
Started around 11am just stopped at 8:30pm. I still have to hook up the THC and run the axis and adjust them. Should be up and running tomorrow
6 Likes
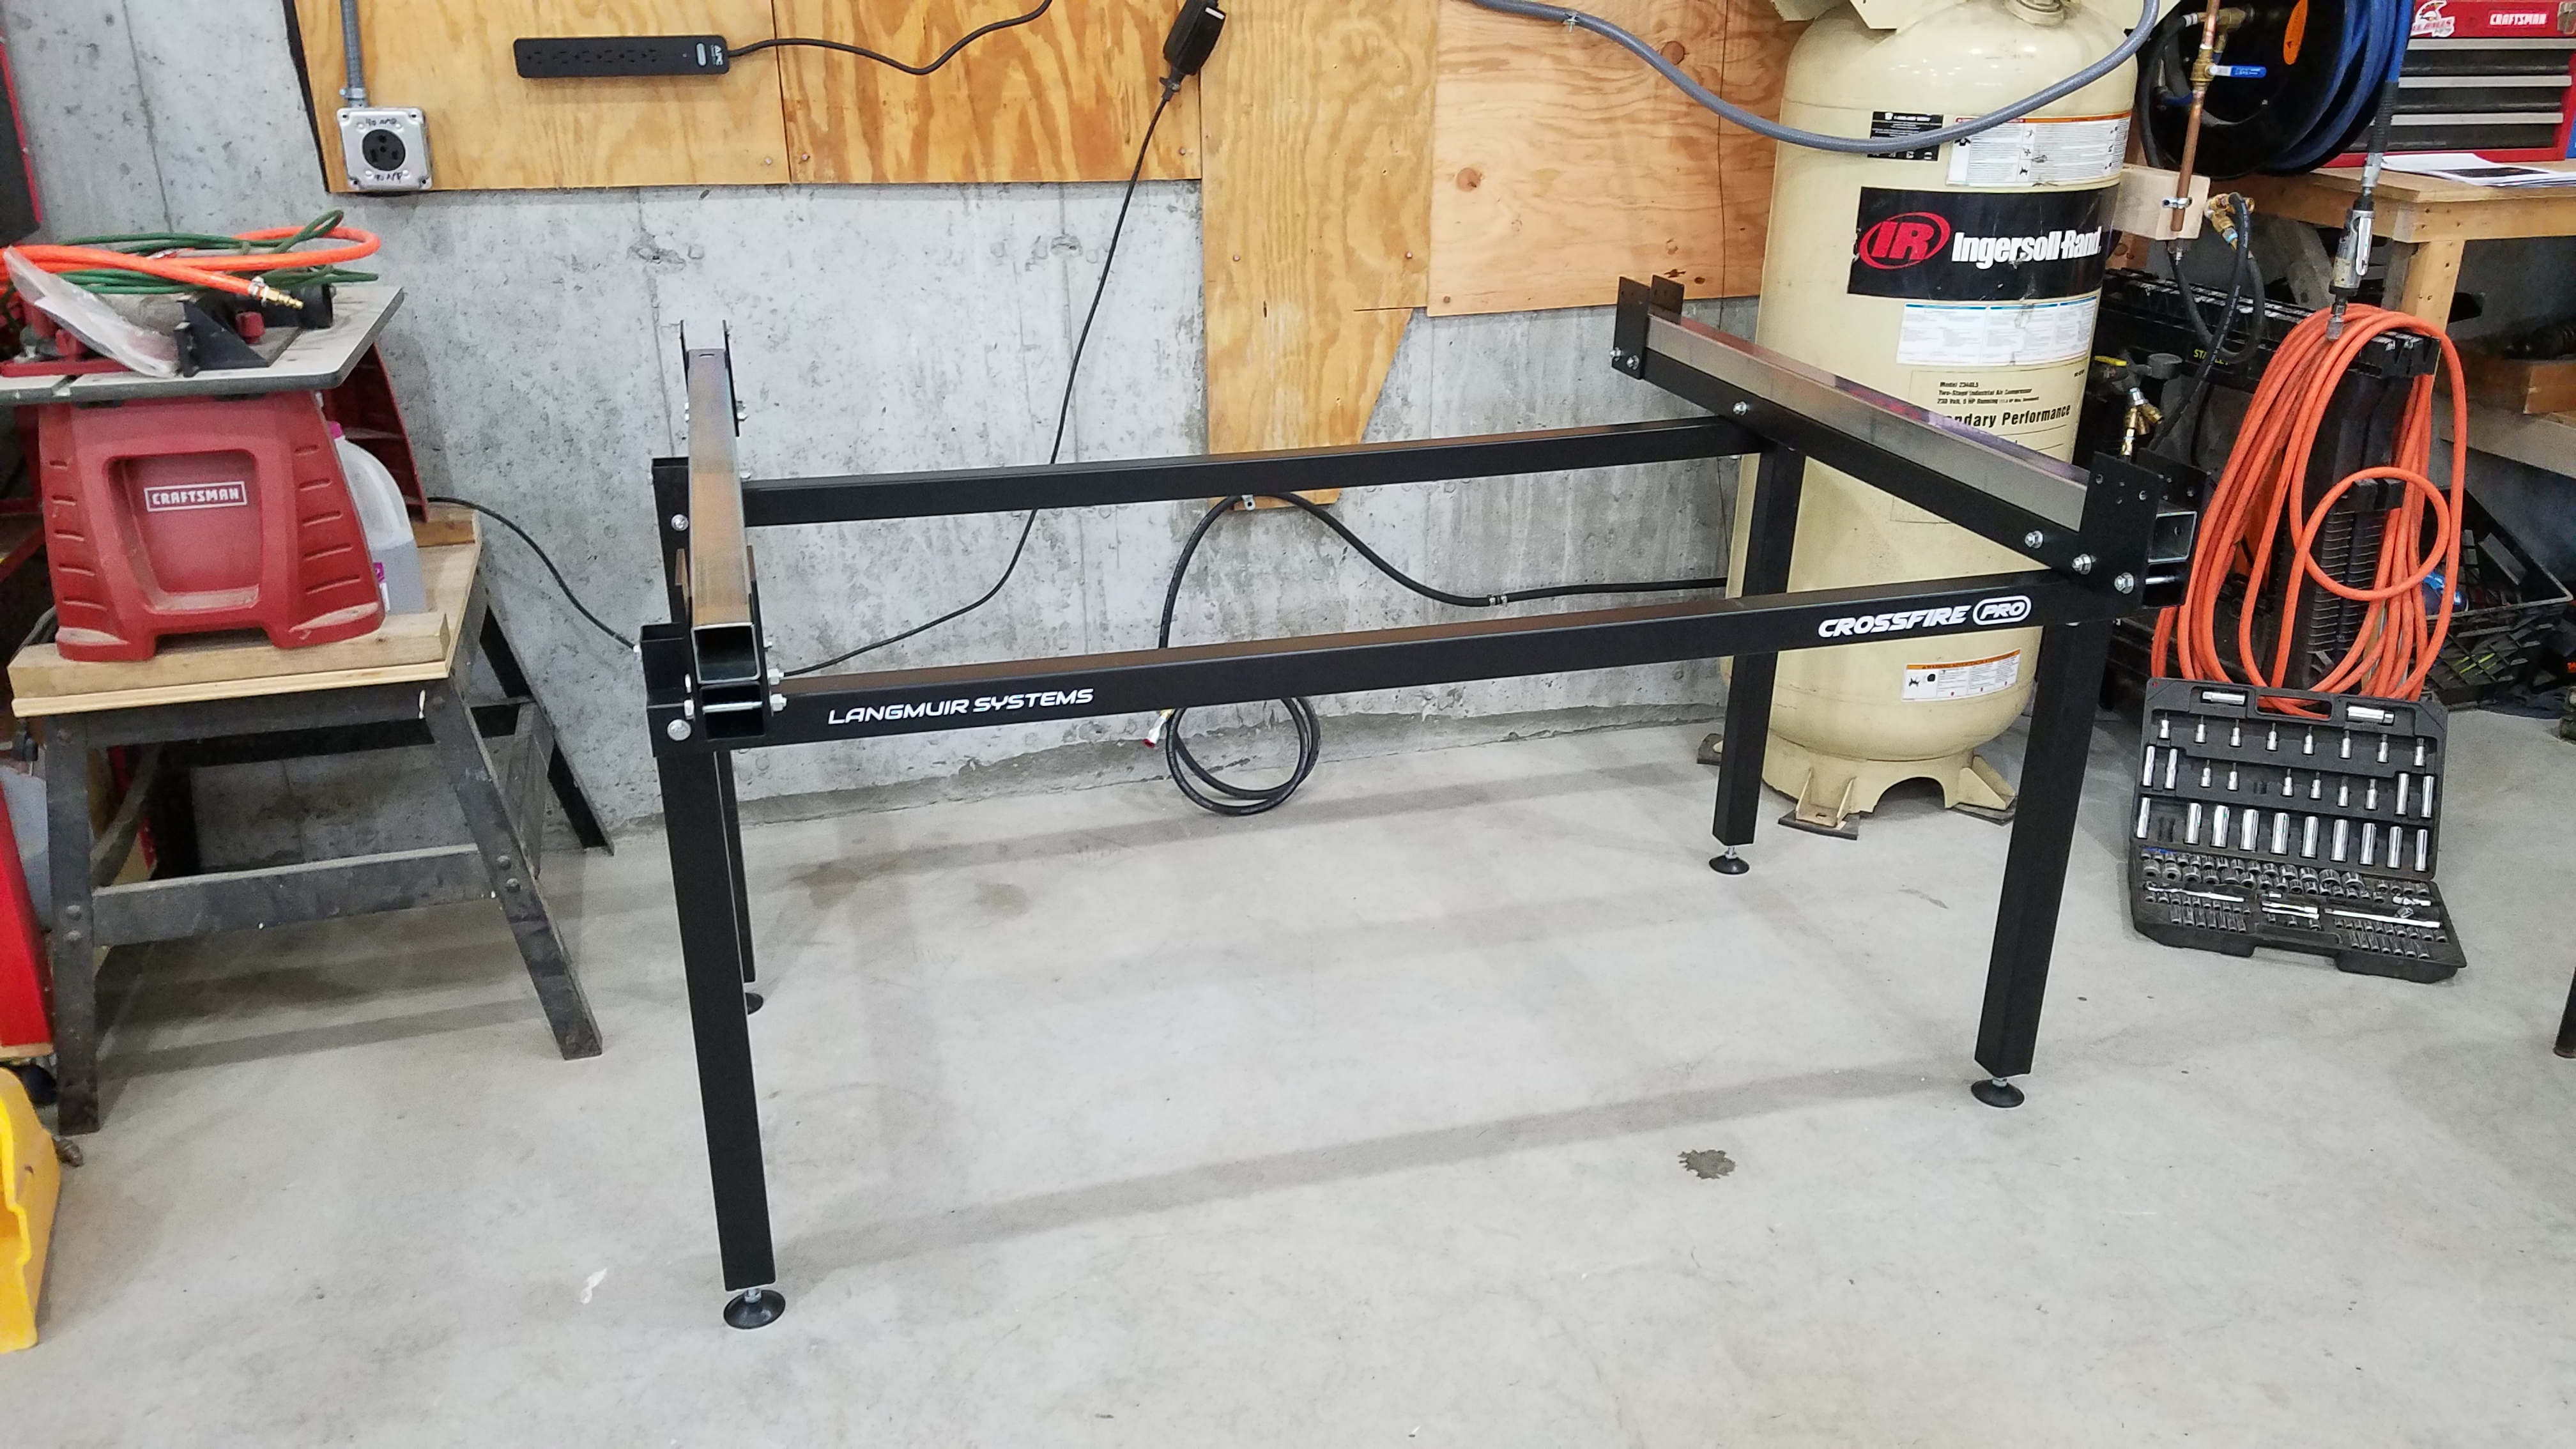
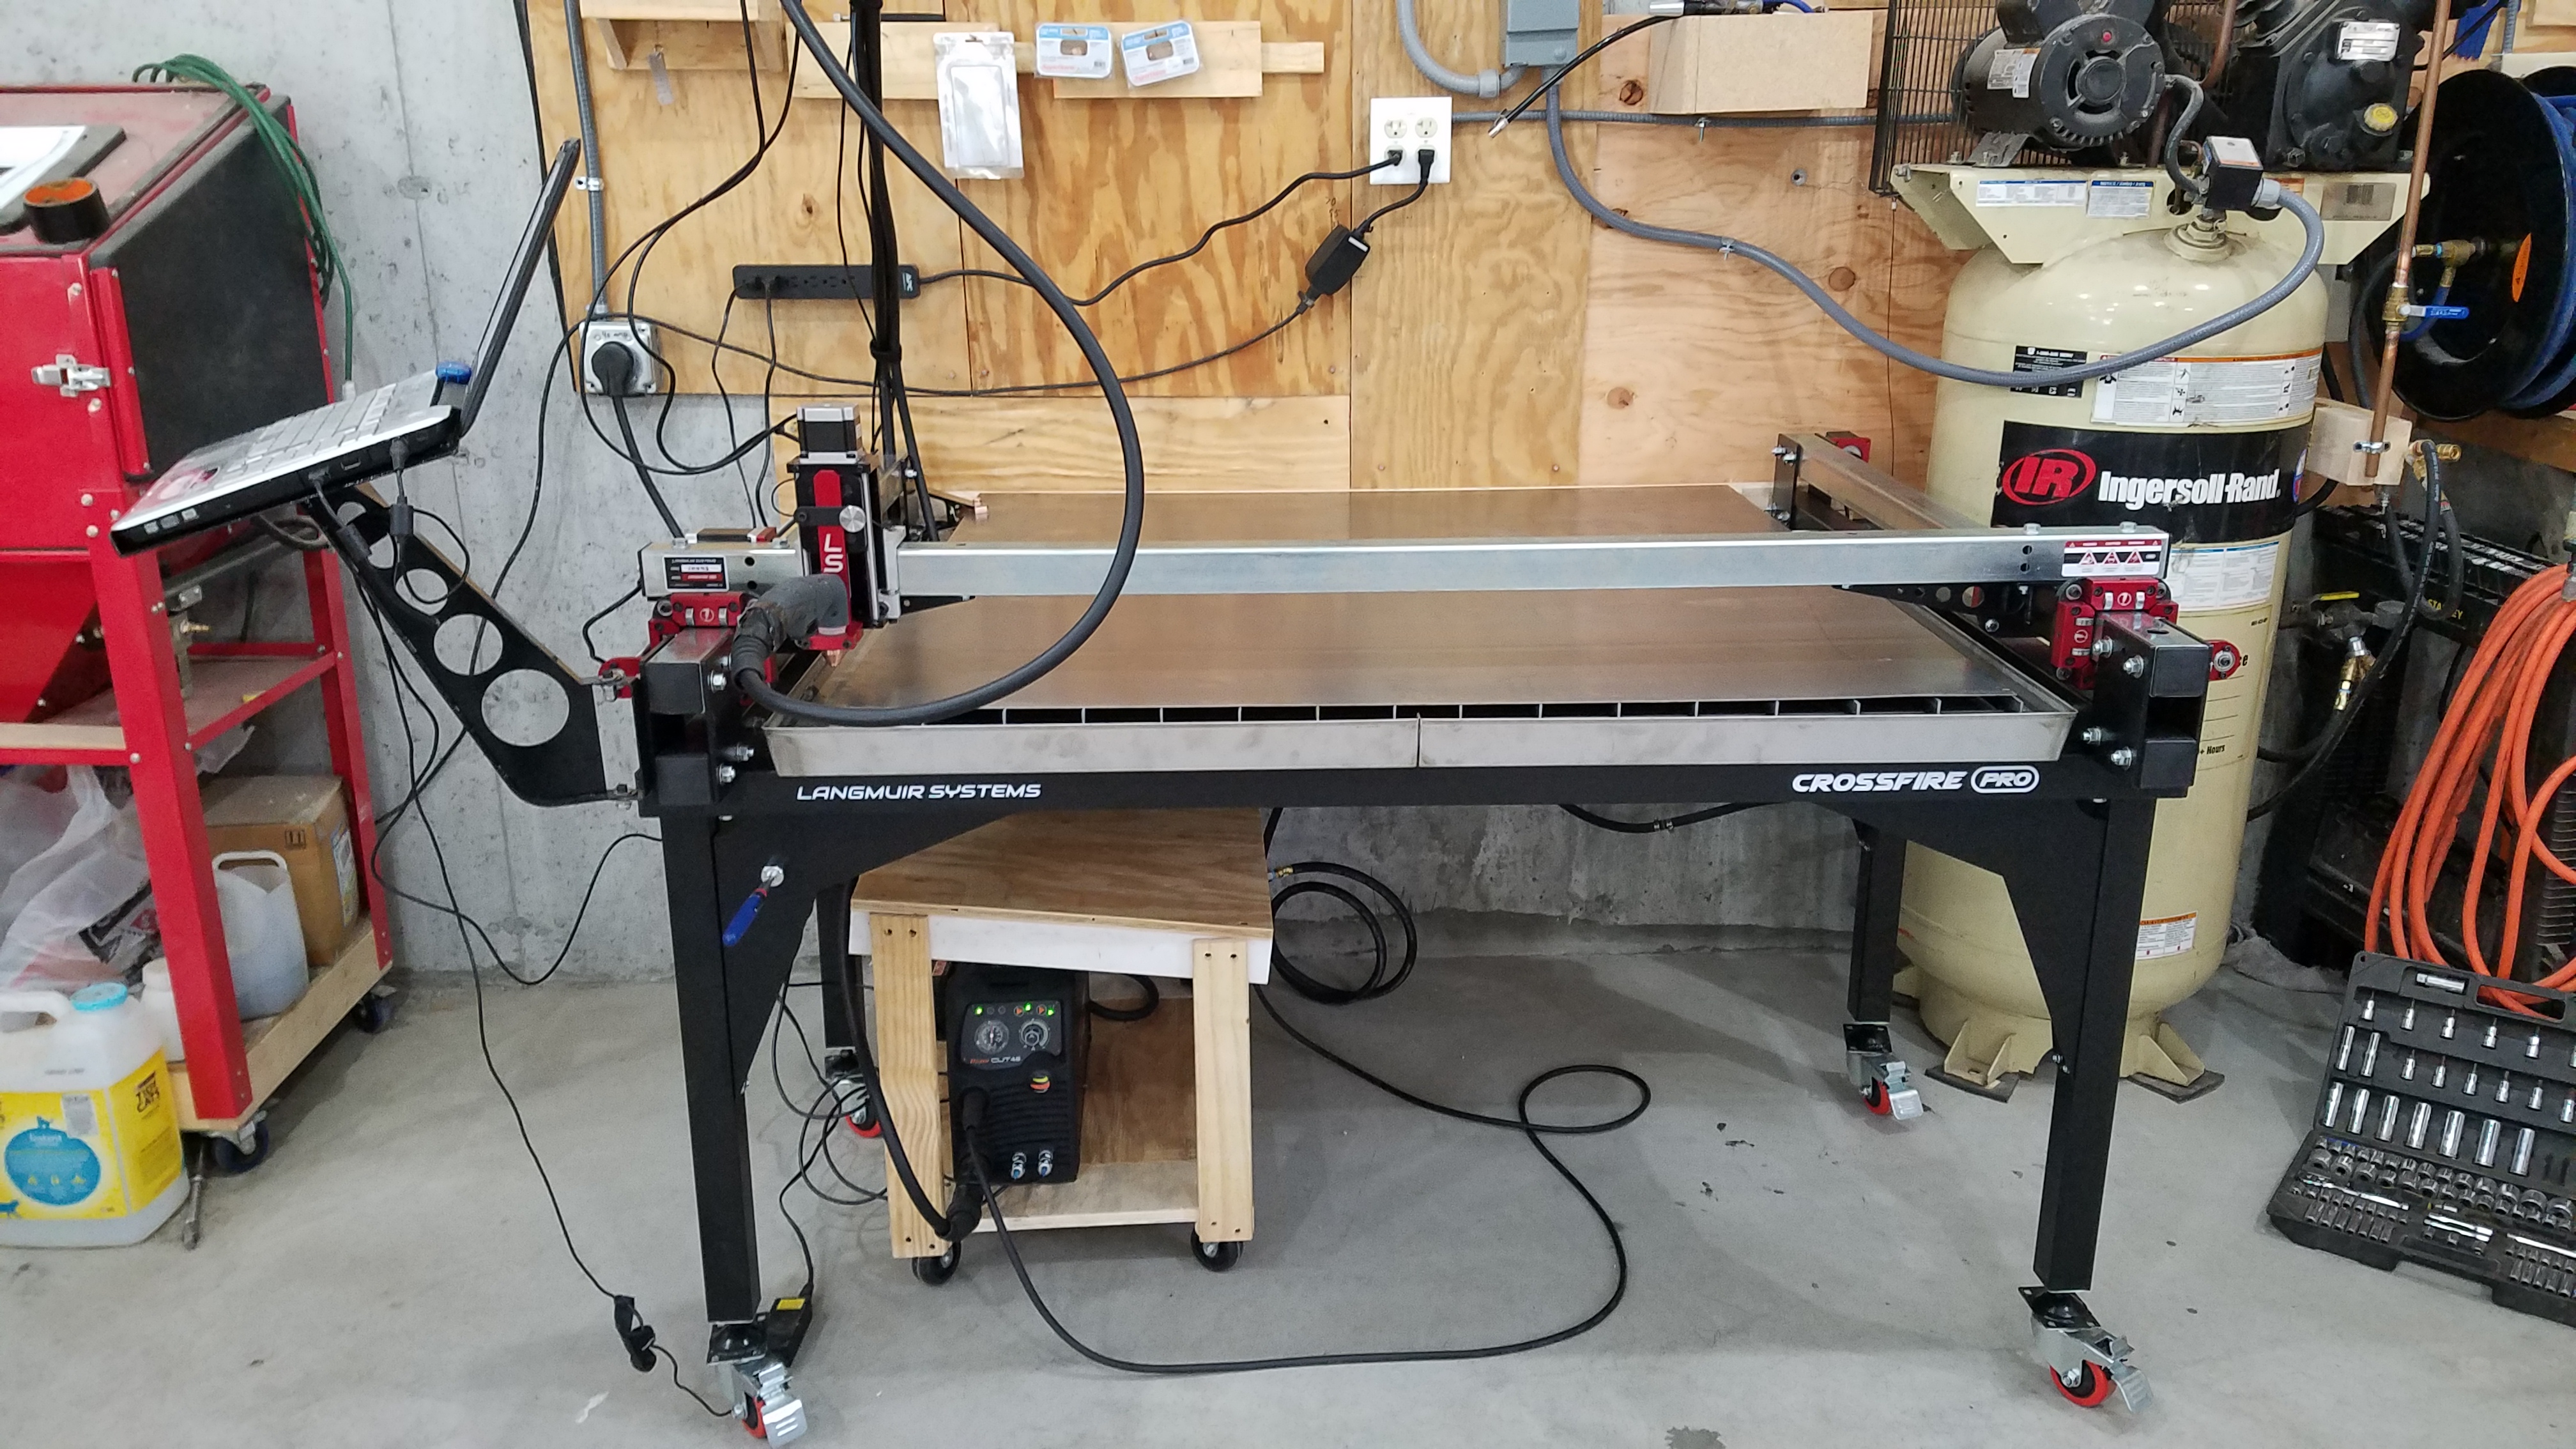
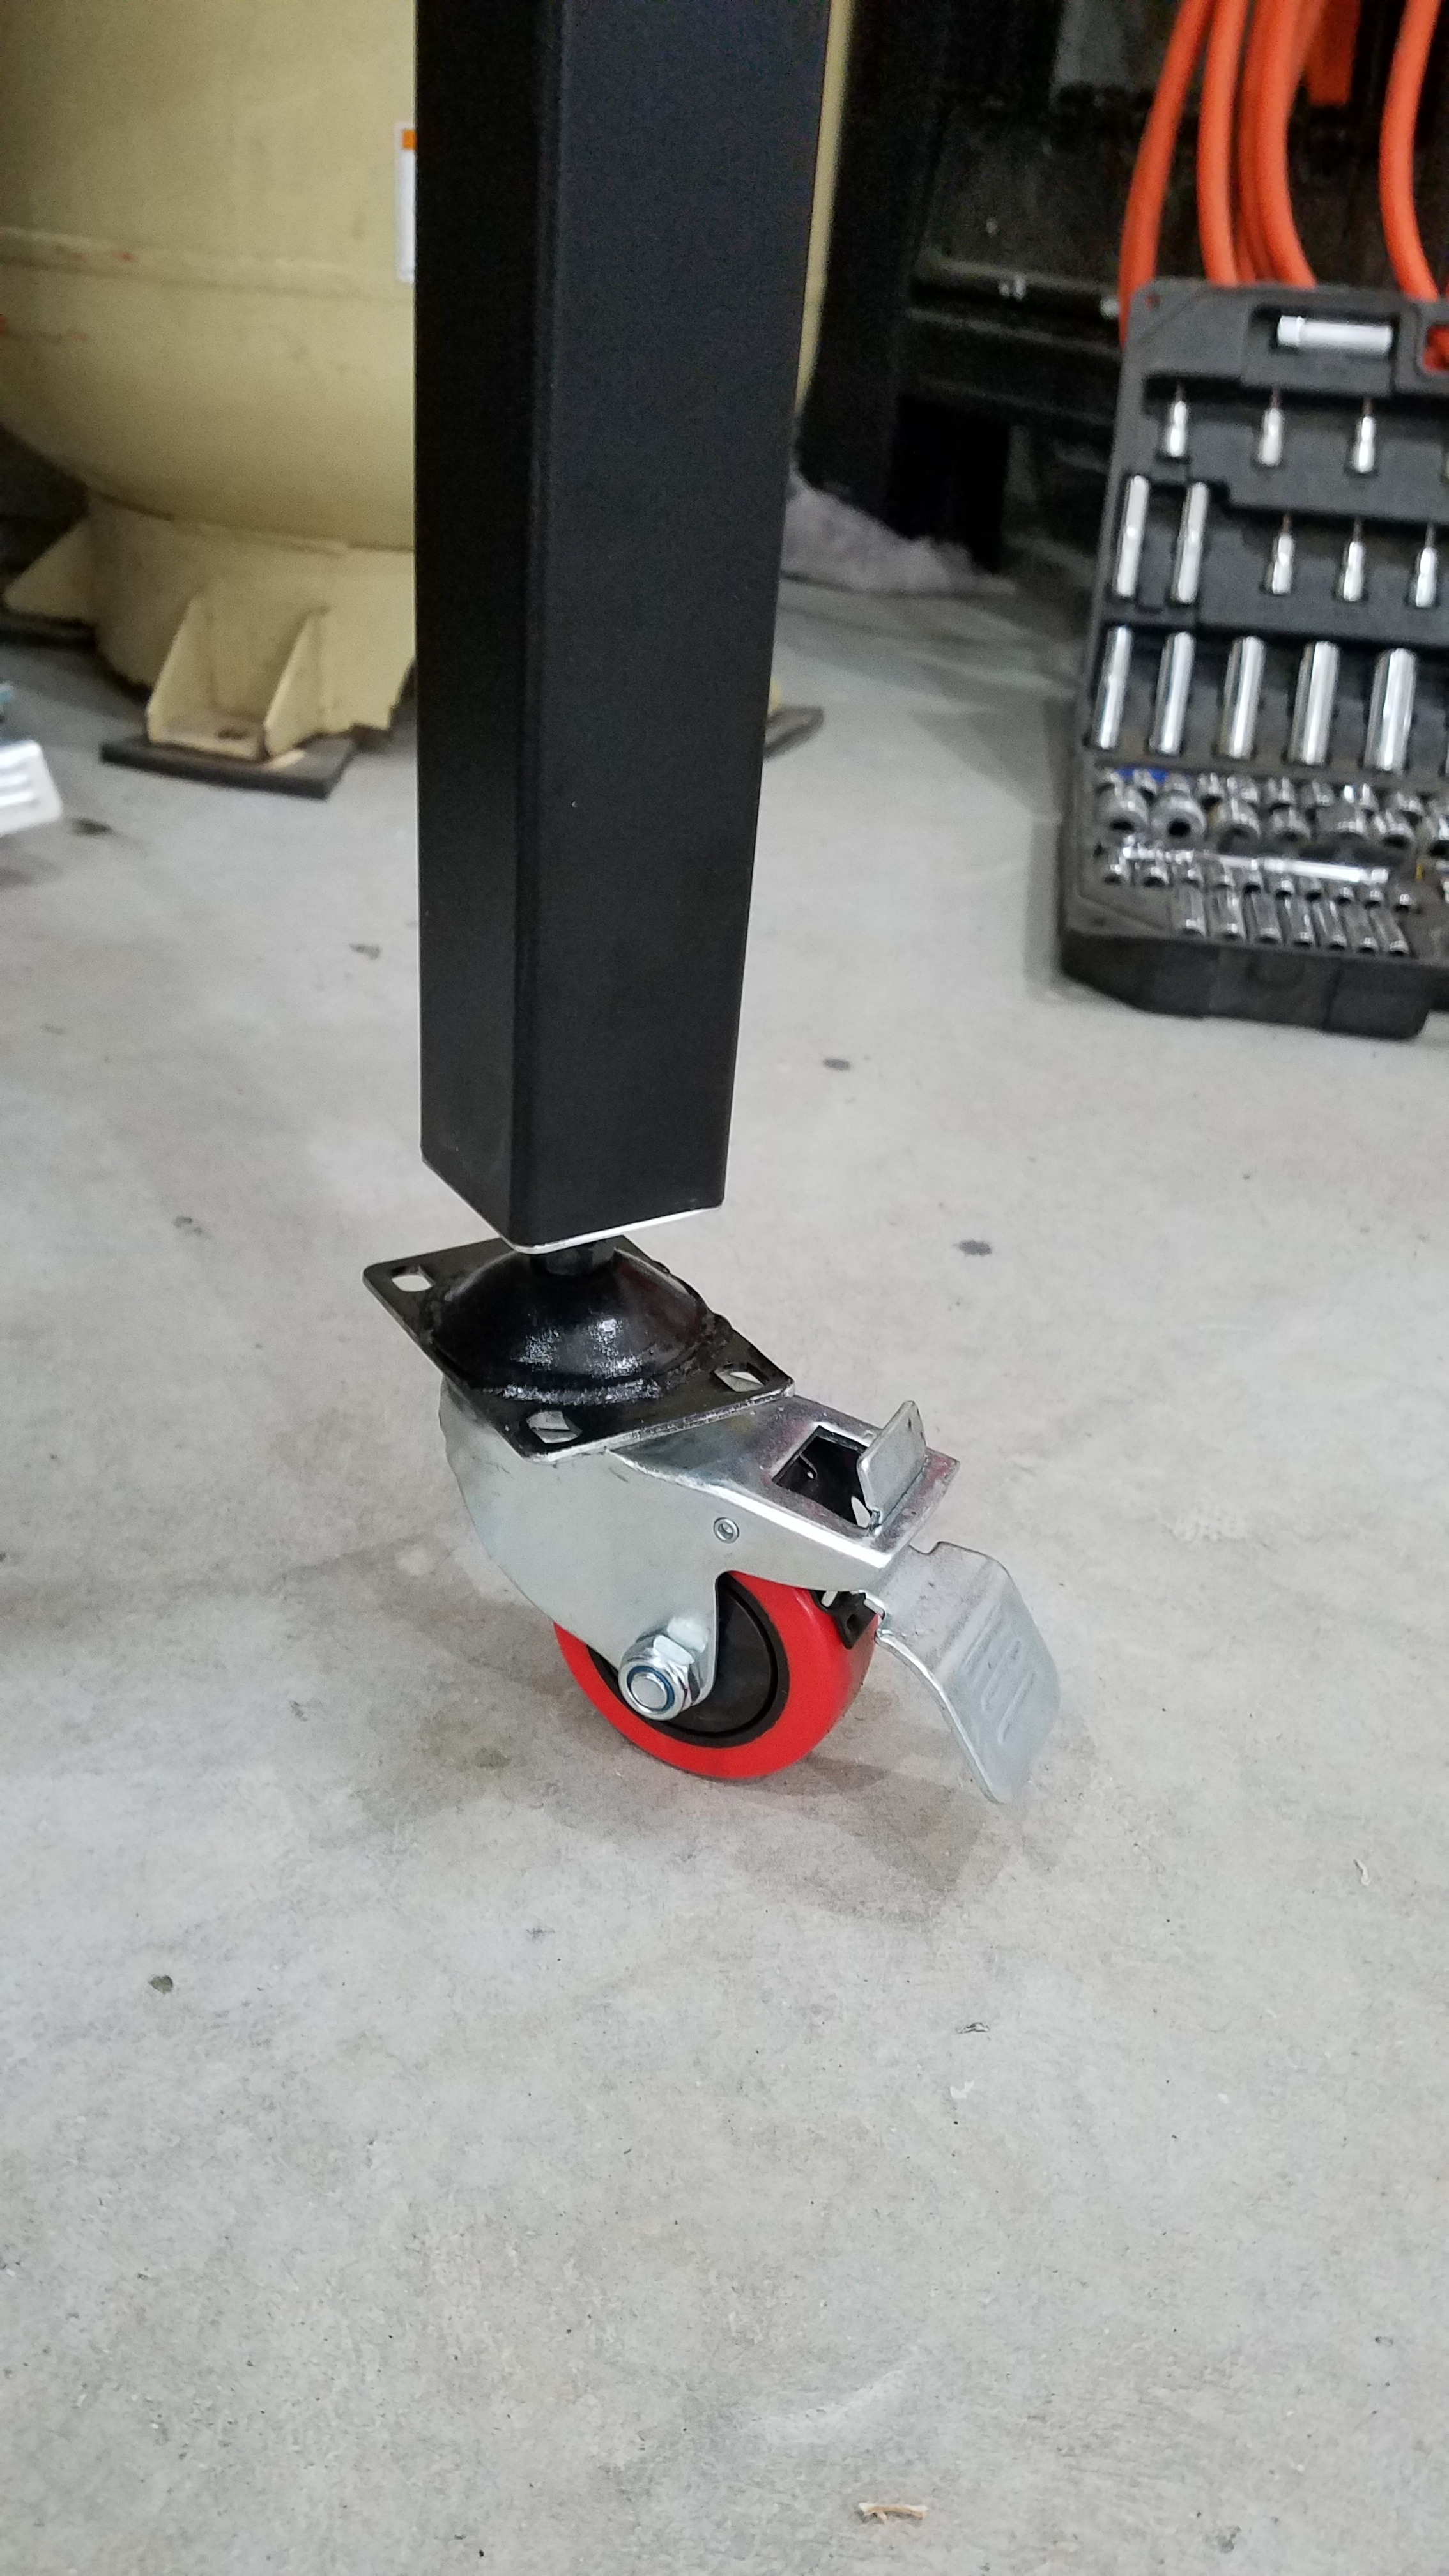
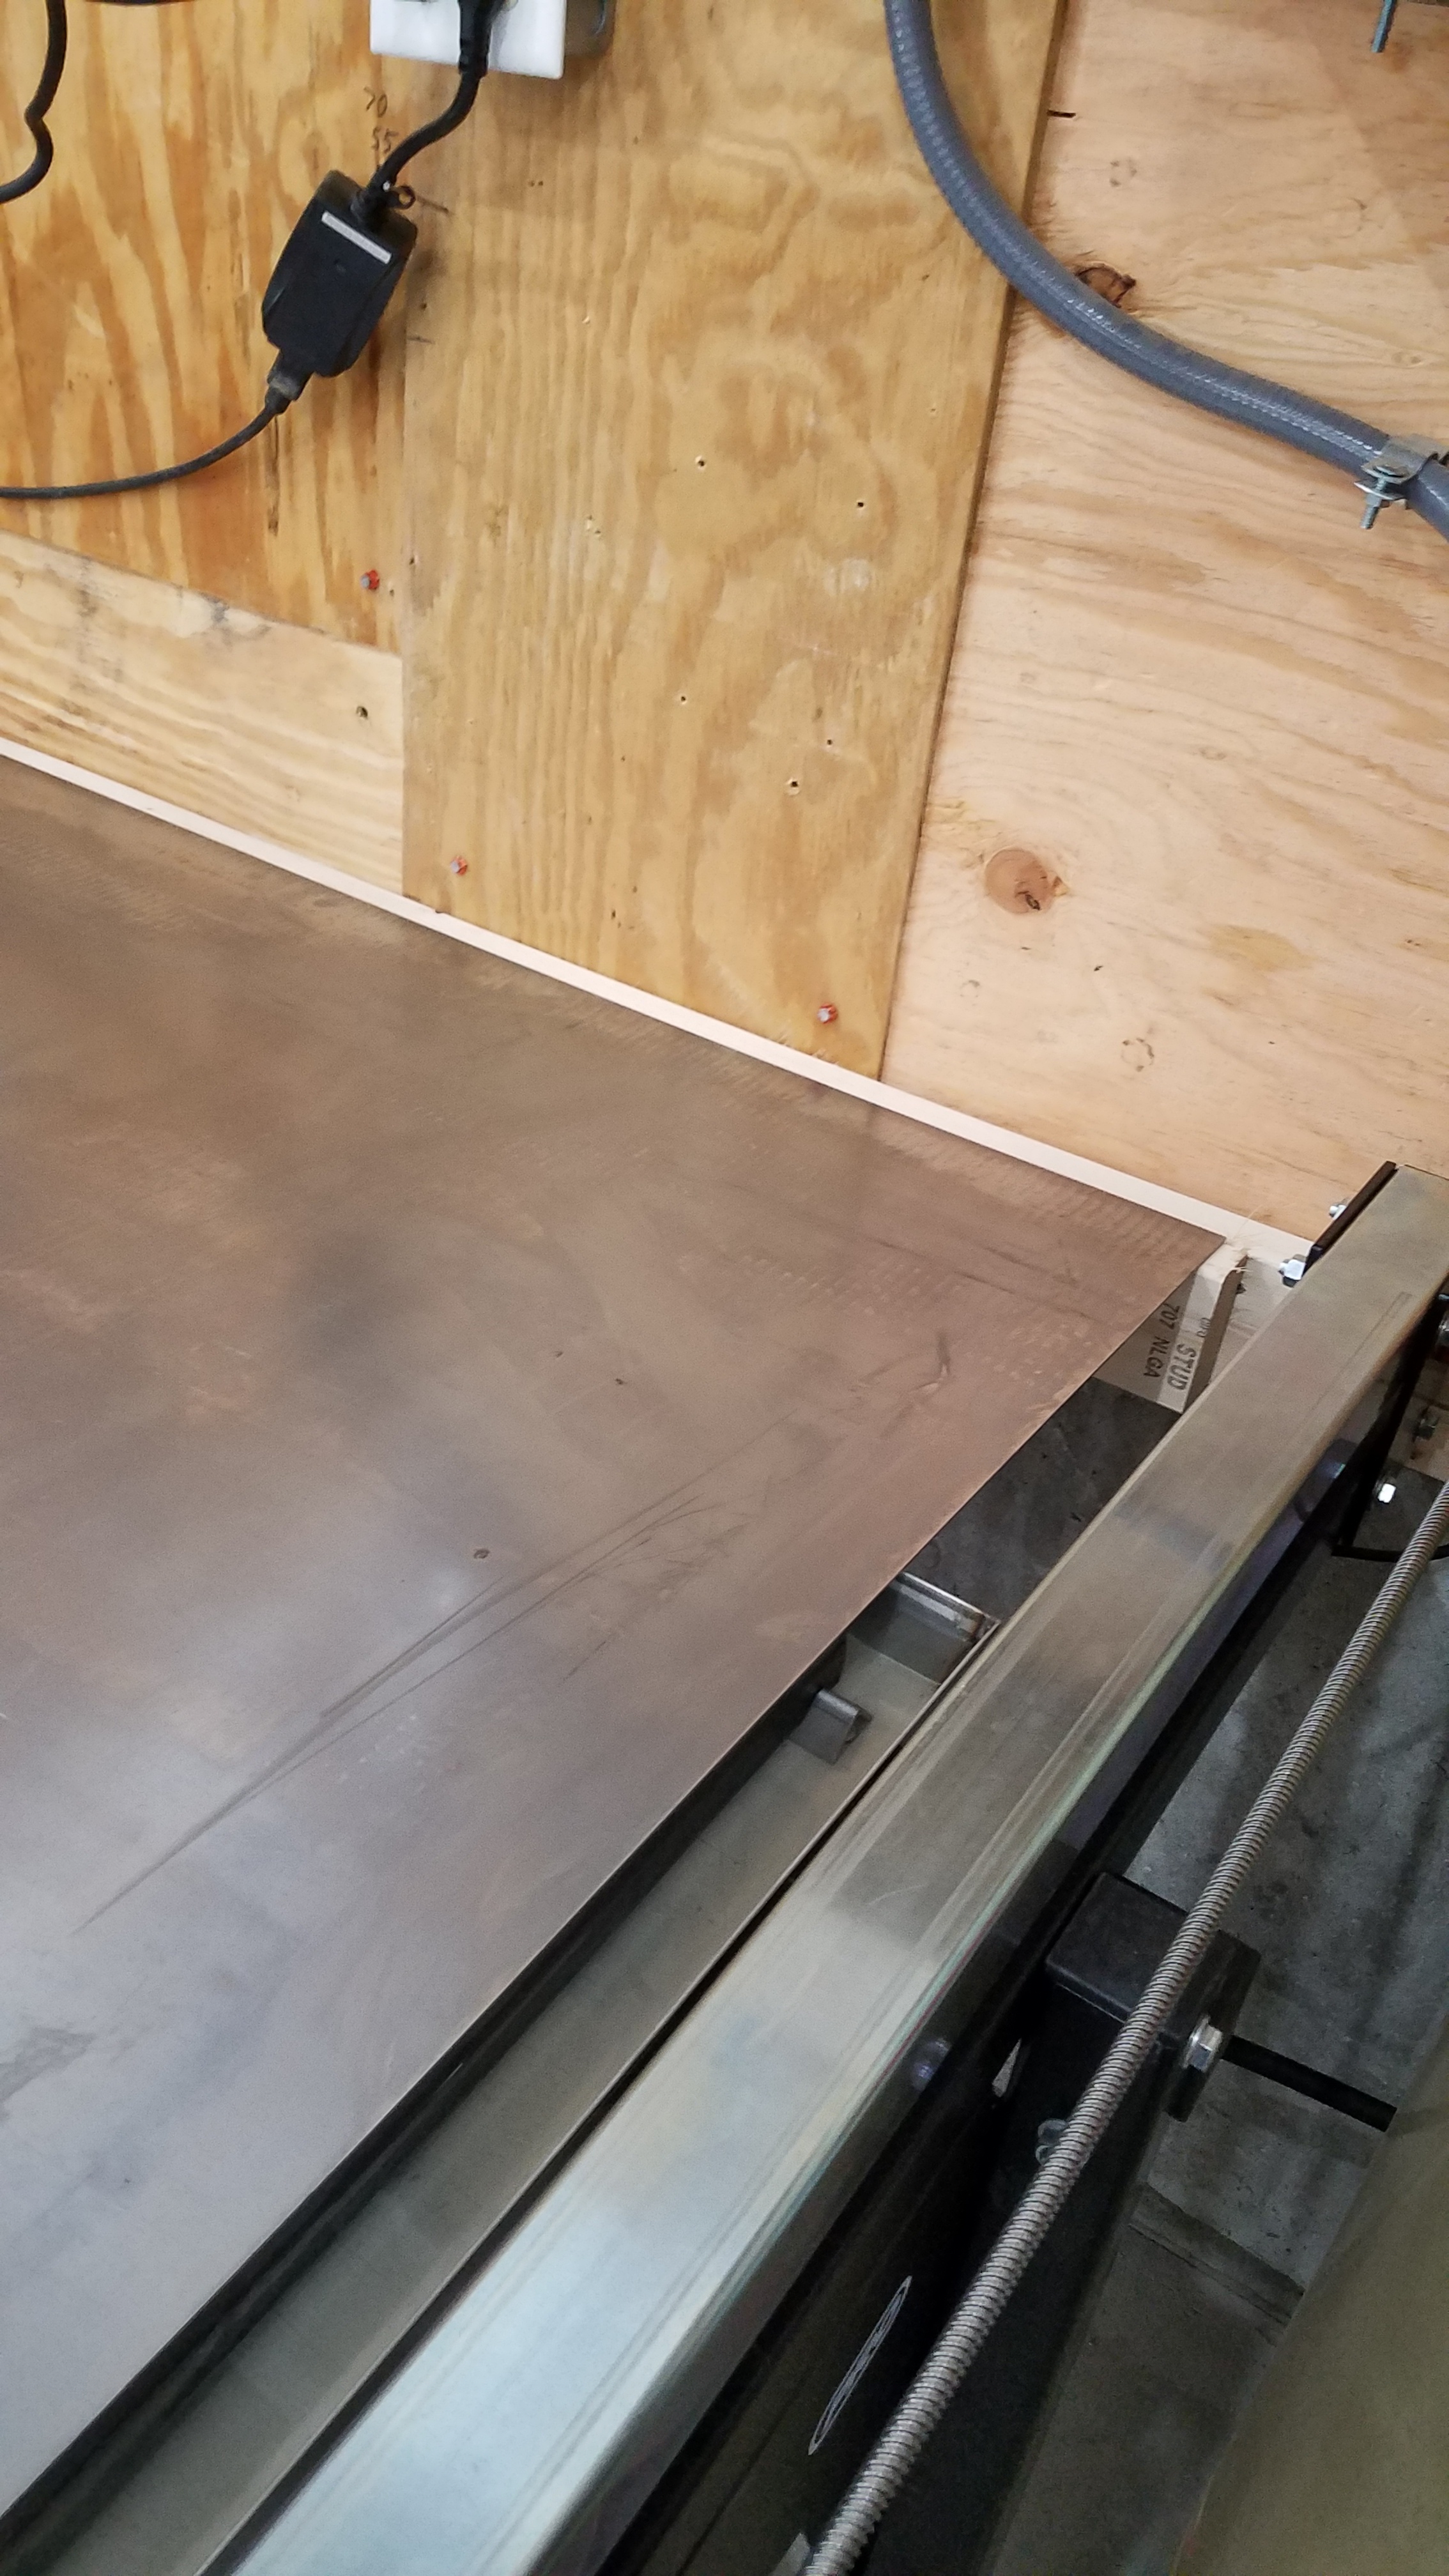
Finally together. Had some issues with having to manually load drivers. Langmuir was great and right on top of helping me out. Just trying to figure out some software issues now so i can start cutting. I added casters to help move the table around when need be. I welded them to the metal feet. Everything worked great except for the clips that go into the bottom of the legs. They are bending and do not like the casters. Will have to work for now until i figure out a better option. I also added a shelf on the wall behind the table. My supplier cuts my sheets in half so im using 4x4 sheets. It holds it perfectly
1 Like
I can see why the leg inserts don’t like what you’ve done. You have added ~4" of bending moment to the bottom of the adjustable leg, for a mount that wasn’t designed for bending. Magnified by the offset wheels.
Others have ordered casters like these
https://www.amazon.com/gp/product/B07ZYLVXHG/ref=ppx_od_dt_b_asin_title_s00?ie=UTF8&psc=1
and welded them directly to the legs. The bonus is that when stationary the force is straight down, vs your setup. The drawback is the time needed to raise lower each pad when you want to move, vs your setup.
Can’t speak to the durability but they should be better.
Alternative, cut a 3/16" or 1/4" 3x3 square, drill hole in center and tap to same thread (or weld a nut on the back) as used on the inserts and weld to bottom of leg (after removing inserts). Then use what you have.
1 Like
read my mind. I want to make plates and weld a nut, should be alot sturdier. Wheels are only 3" and offset about an 1.5". The inserts for the legs are not sturdy, thin metal, and bend very easily
Here is what I came up with. Time will tell how good they work.
The stud on them are a tad smaller than 1/2.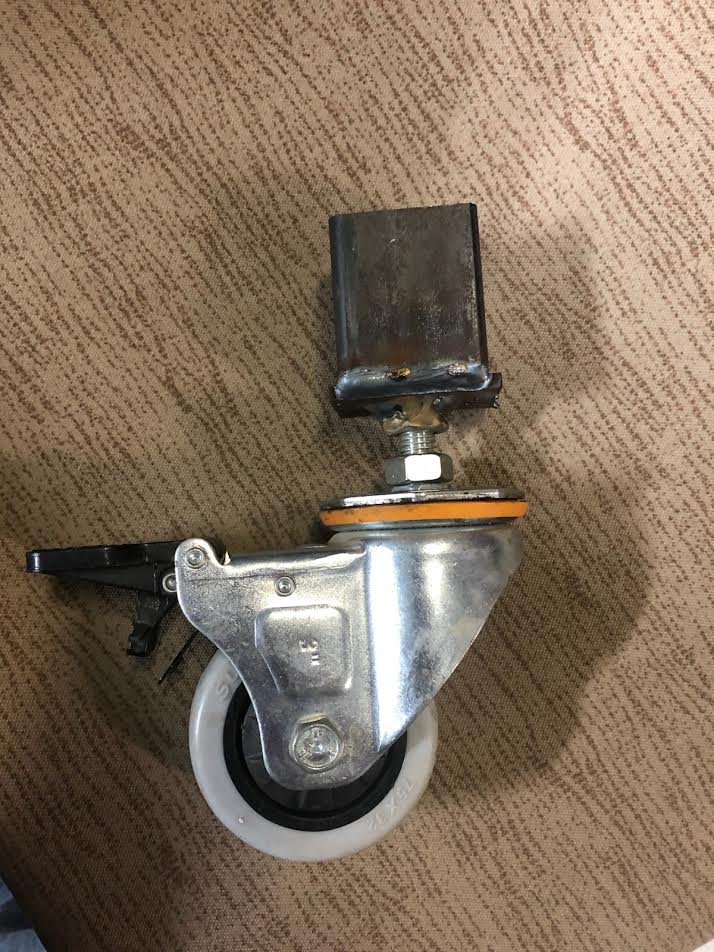
2 Likes
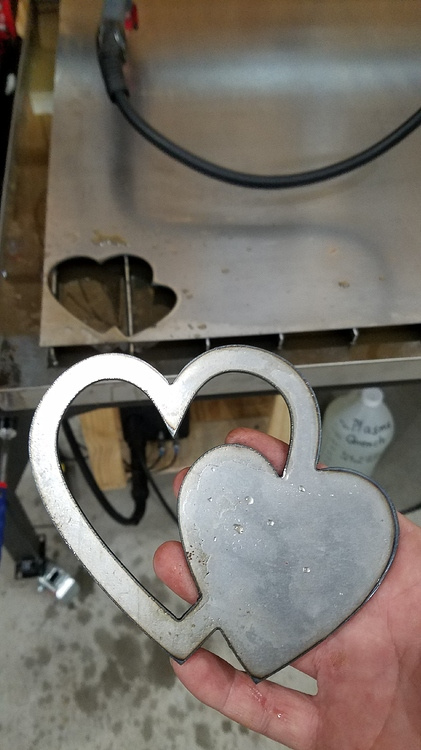
Few problems with old windows 7 PCs working with Firecontrol. I installed Firecontrol on my design computer and BAM! We’re in business. Clean cuts with minimal dross. Not bad for a rookie
9 Likes
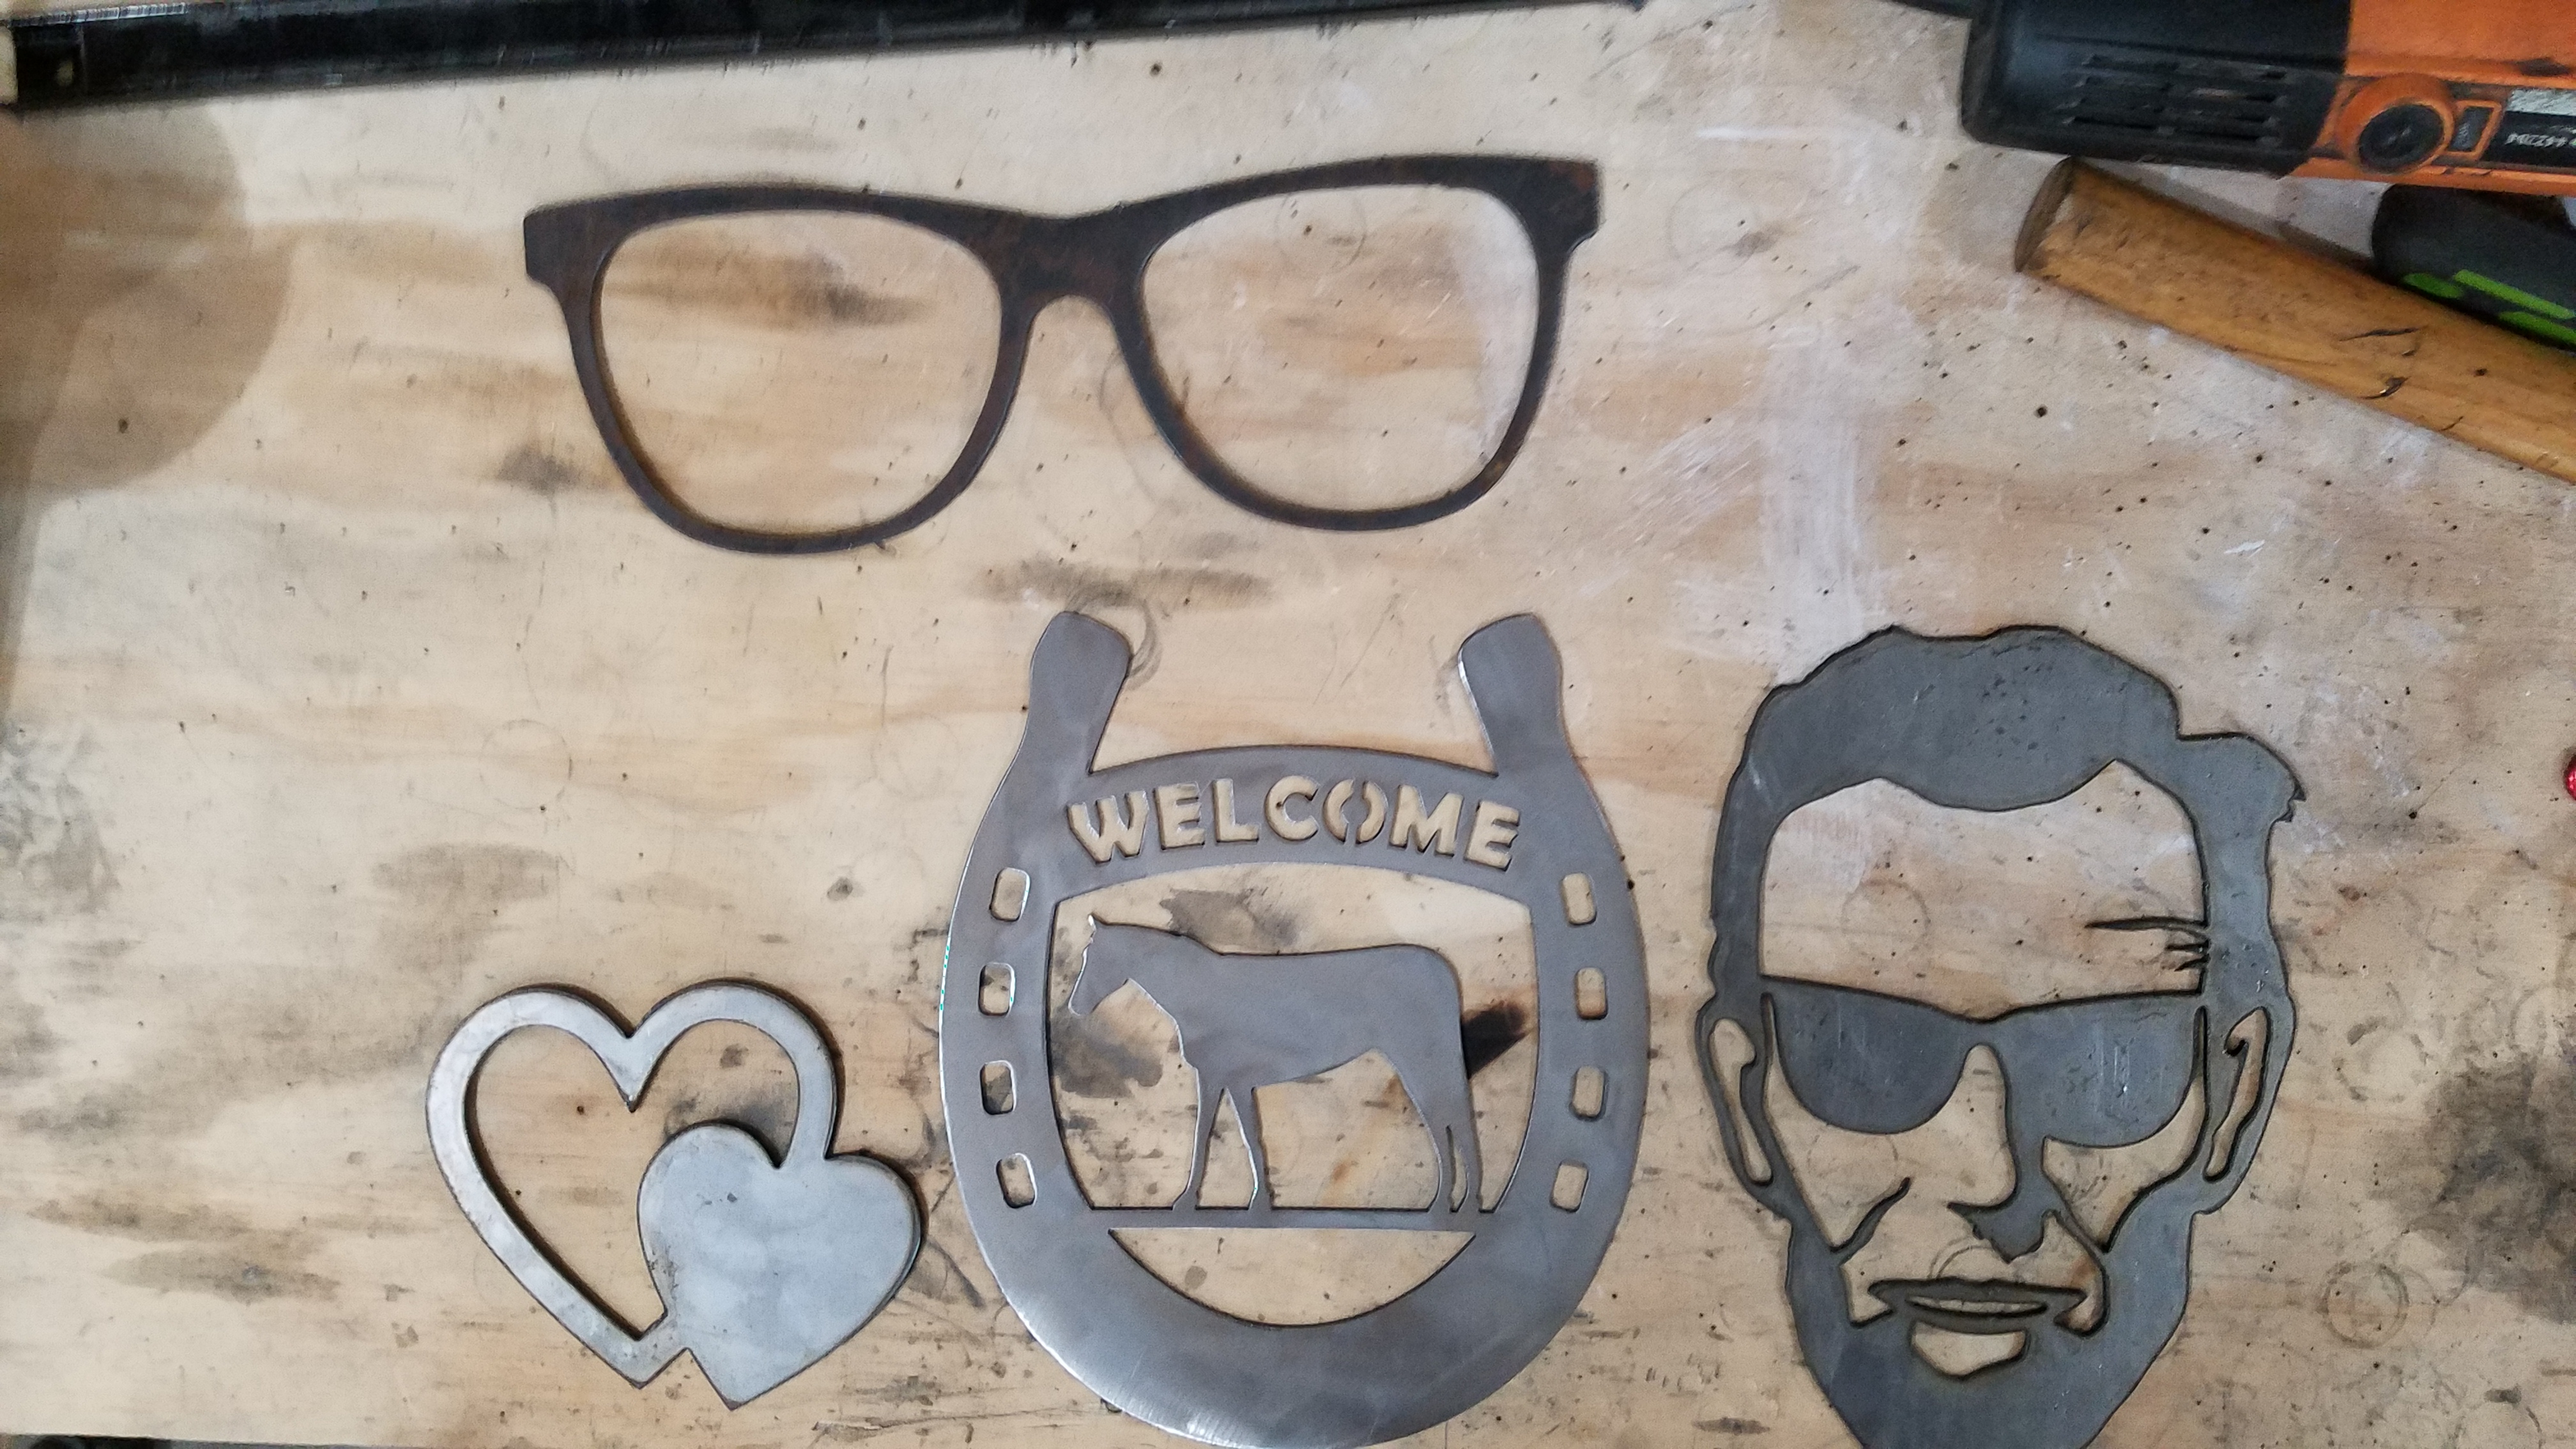
Had very little time to mess around today. I cut a few more pieces out with great beginner results. I had a pretty major tip up on one cut. The piece was awkwardly shaped and I just couldn’t get it with the magnet. I went to pause the program but it was too late. The Z axis went down for IHS and the shield hit the top of the tip up. So the Torch was about 1" over the sheet when it fired again. Firecontrol paused the program and popped up a caution. I pulled the piece out. Firecontrol recommended I start the program from the last loop. I did and it picked right up from the last cut. I was blown away. This is my first plasma but this just seems like a huge time saver. My 8 year old son was watching and he was even impressed.
5 Likes
Received box 2 yesterday and wasted no time on assembling. Should have it all completed by today. The packaging and instructions have been top notch and easy to understand.
2 Likes