I’m I missing something here or do I have two LH carriages?
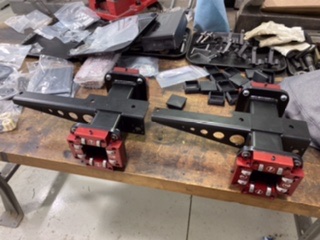
I’m I missing something here or do I have two LH carriages?
Nope- we messed up. Can you send an email to support so we can ship you out a new one?
Email sent. Thanks Daniel!!!
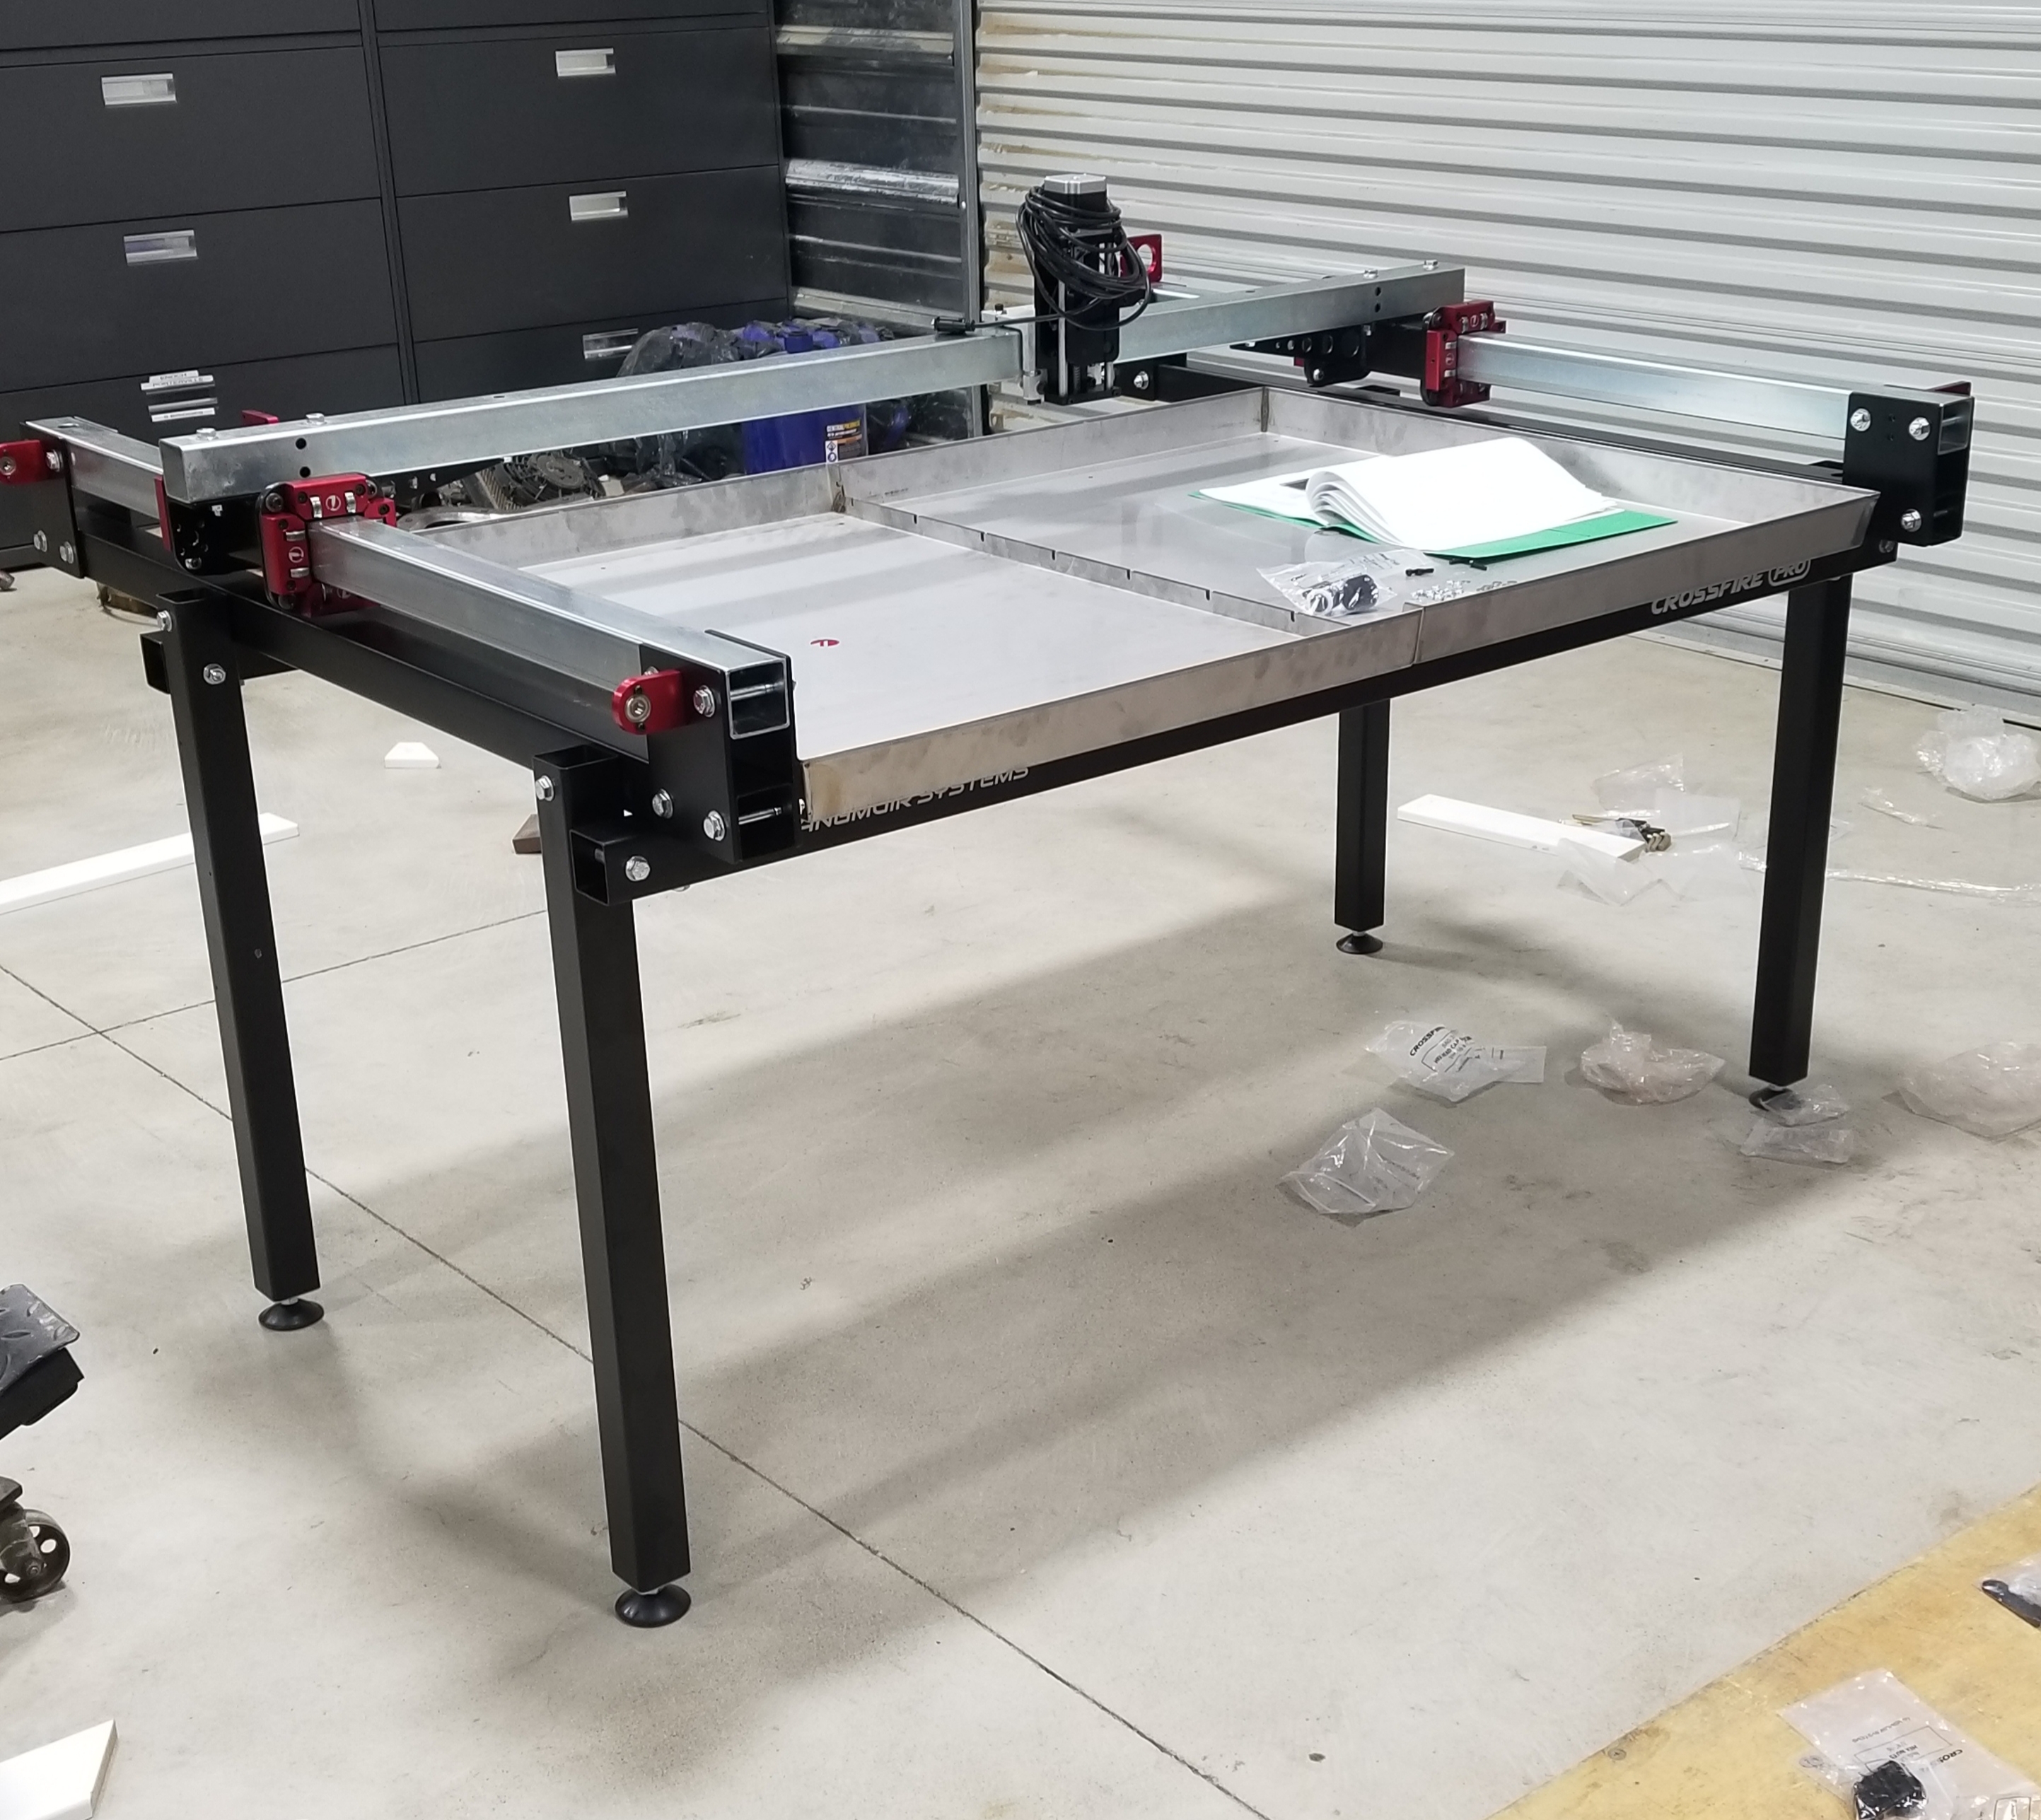
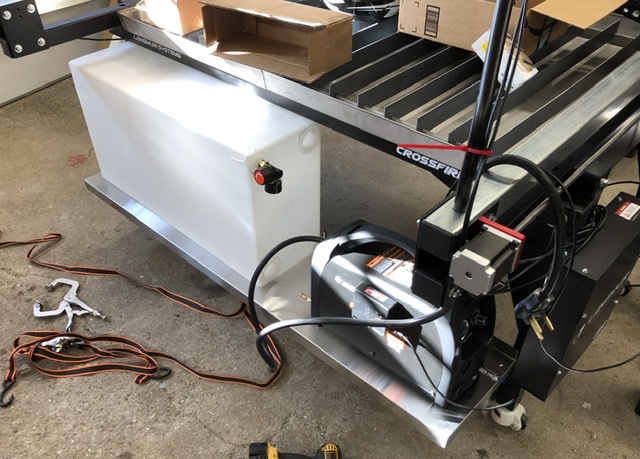
After a little bit of futzing I was able to mount this 60x12 SS shelf to keep my whole setup mobile. I’ll add a couple straps around the water reservoir and boom. Regency 18 Gauge Stainless Steel 12" x 60" Solid Wall Shelf
Nice use of the space since the rails extend back that far.
Do you think it will be ‘tippy’ once you have the tank full of water?
I don’t think so, because the weight will be some close the the feet the tank is only 10” wide. But we’ll see. I also plan on installing a shelf for material underneath.
Do you think welding the inserts to the legs would be enough? I bought 10mm stud wheels and it’s still a little wobbly
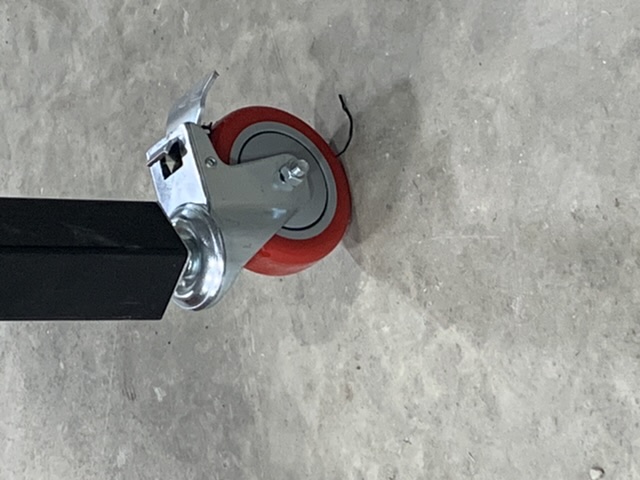
I also noticed that 1 wire holder clip was missing. It hangs right on the screw if you don’t do something. A longer screw and a clip would do it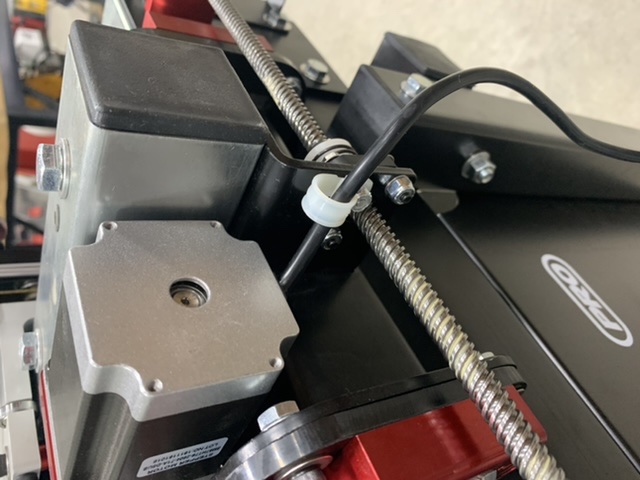
I was going to weld mine. I got similar casters with no thread and welded them to the feet. The inserts are very thin and weak so I am not going to weld the inserts to the legs. The inside bends around. Im going to get better inserts and I think it will solve the issue
Hi LS,
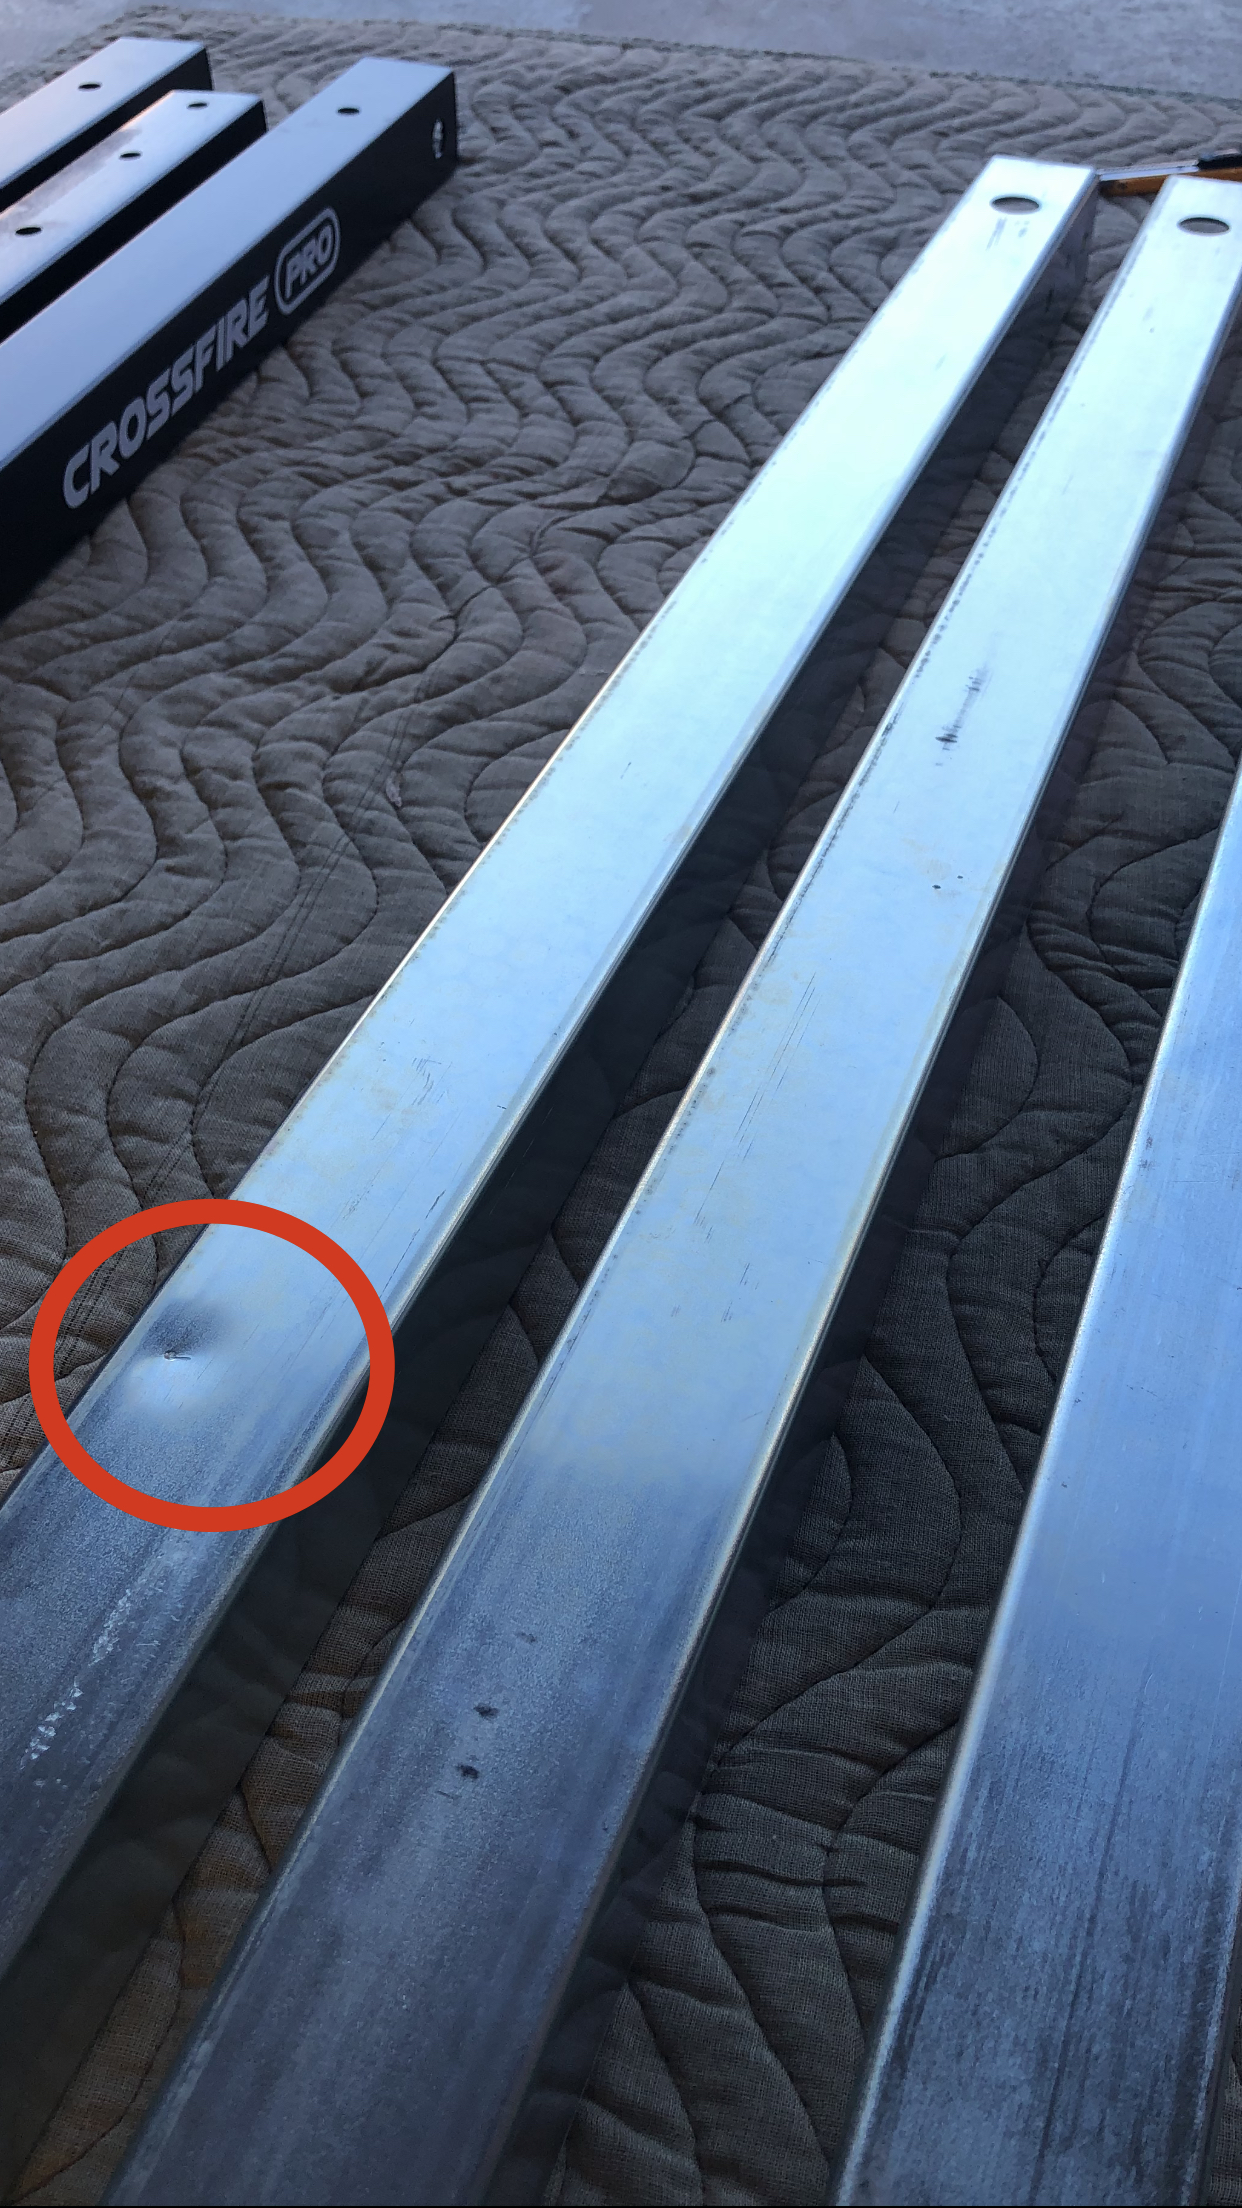
Is this ding in my rail likely to be a problem? If it is, I’d like to get it swapped out before I have to take too much apart to replace it.
Thanks, Dan H
Why didn’t you mount it inside the frame instead of outside?
I world replace if it was mine
Today’s progress, couple head scratching moments but nothing some rereading the instructions didnt solve. Question for you guys, how " free" are you setting up the Y carriage. Got mine very parallel, and have all 32 bearings rolling across the whole y travel. It moves fairly easily with one hand but does not travel " freely " by my definition. As soon as I stop applying pressure it stops moving. What have you guys done?
I wanted easy access to these items. The space behind the machine is dead, so it made sense to use it. Finally, this leaves the area under the machine open to add a material shelf.
Time will tell if it was a good idea🤞
@langmuir-daniel Mine were the same way. Just gotta Roll the tube. I followed the instructions to a T and still was surprised with the same deal. Just had to roll the tube 180 degrees. Not end-for-end. ROLL !!
You can actually see it in the picture. The small holes are closer to the bottom of the tube. The’re off center.
mine wont just fly across the beam. Gotta push it but with very little effort
Spot on. You can see it if you look closely at the picture or line up the plates with the tubes. They don’t line up one way but will the other way. Not sure why they weren’t centered so it wouldn’t matter but if you leave the bigger margin at the top it all works.
Good question- the reason that they aren’t centered on the tube is so that the bolt pattern on the motor mount and the lead screw bearing mount can be centered.