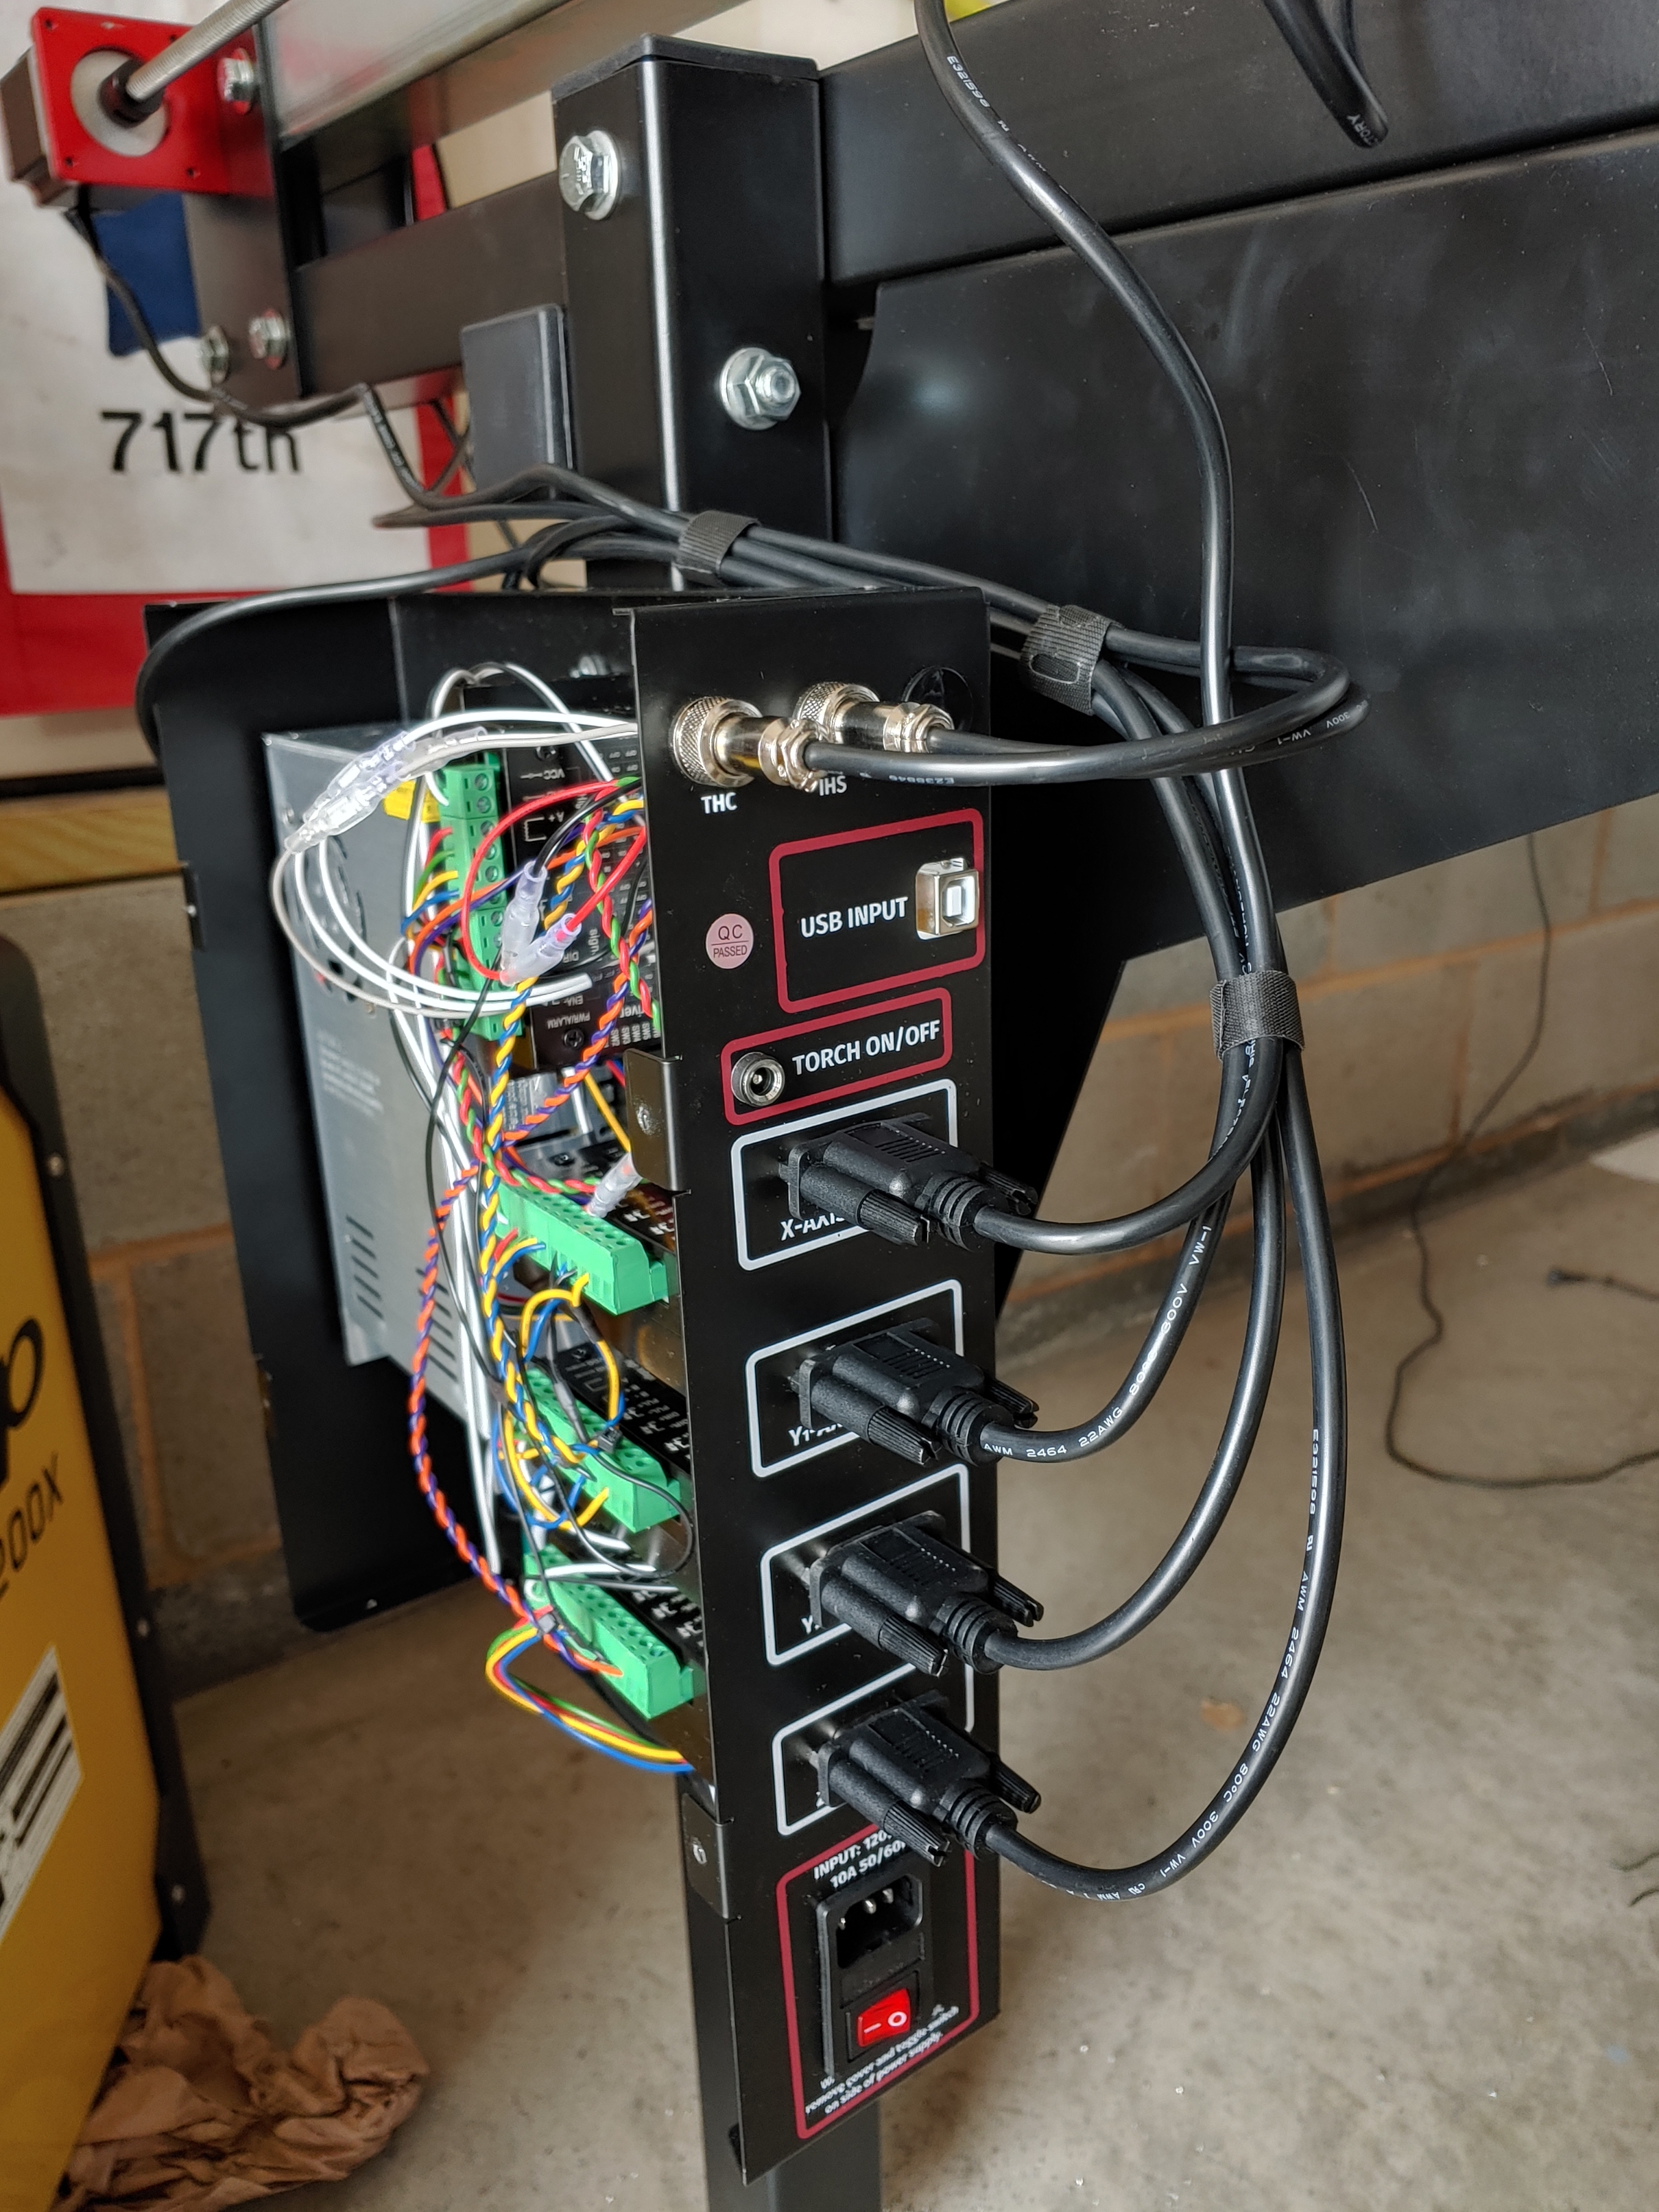
I figured I would share my cable management coming from the box, I have ran this setup since begining of March with no issues at all in case your were thinking I would get interference while cutting. I kept the power cable and USB separate from this to minimize the possibility of interference. I do plan and finding some cable combs in the near future to help as well.
3 Likes
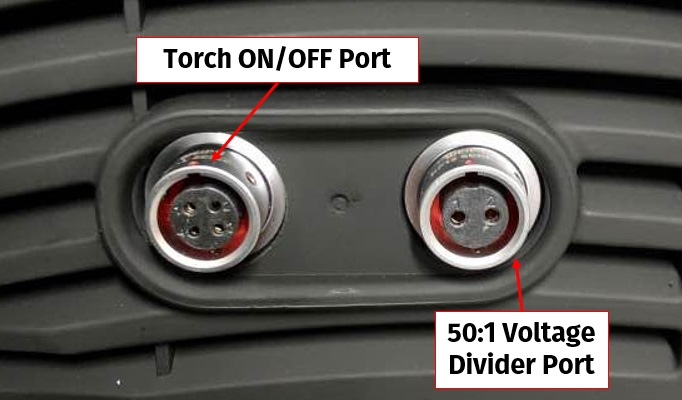
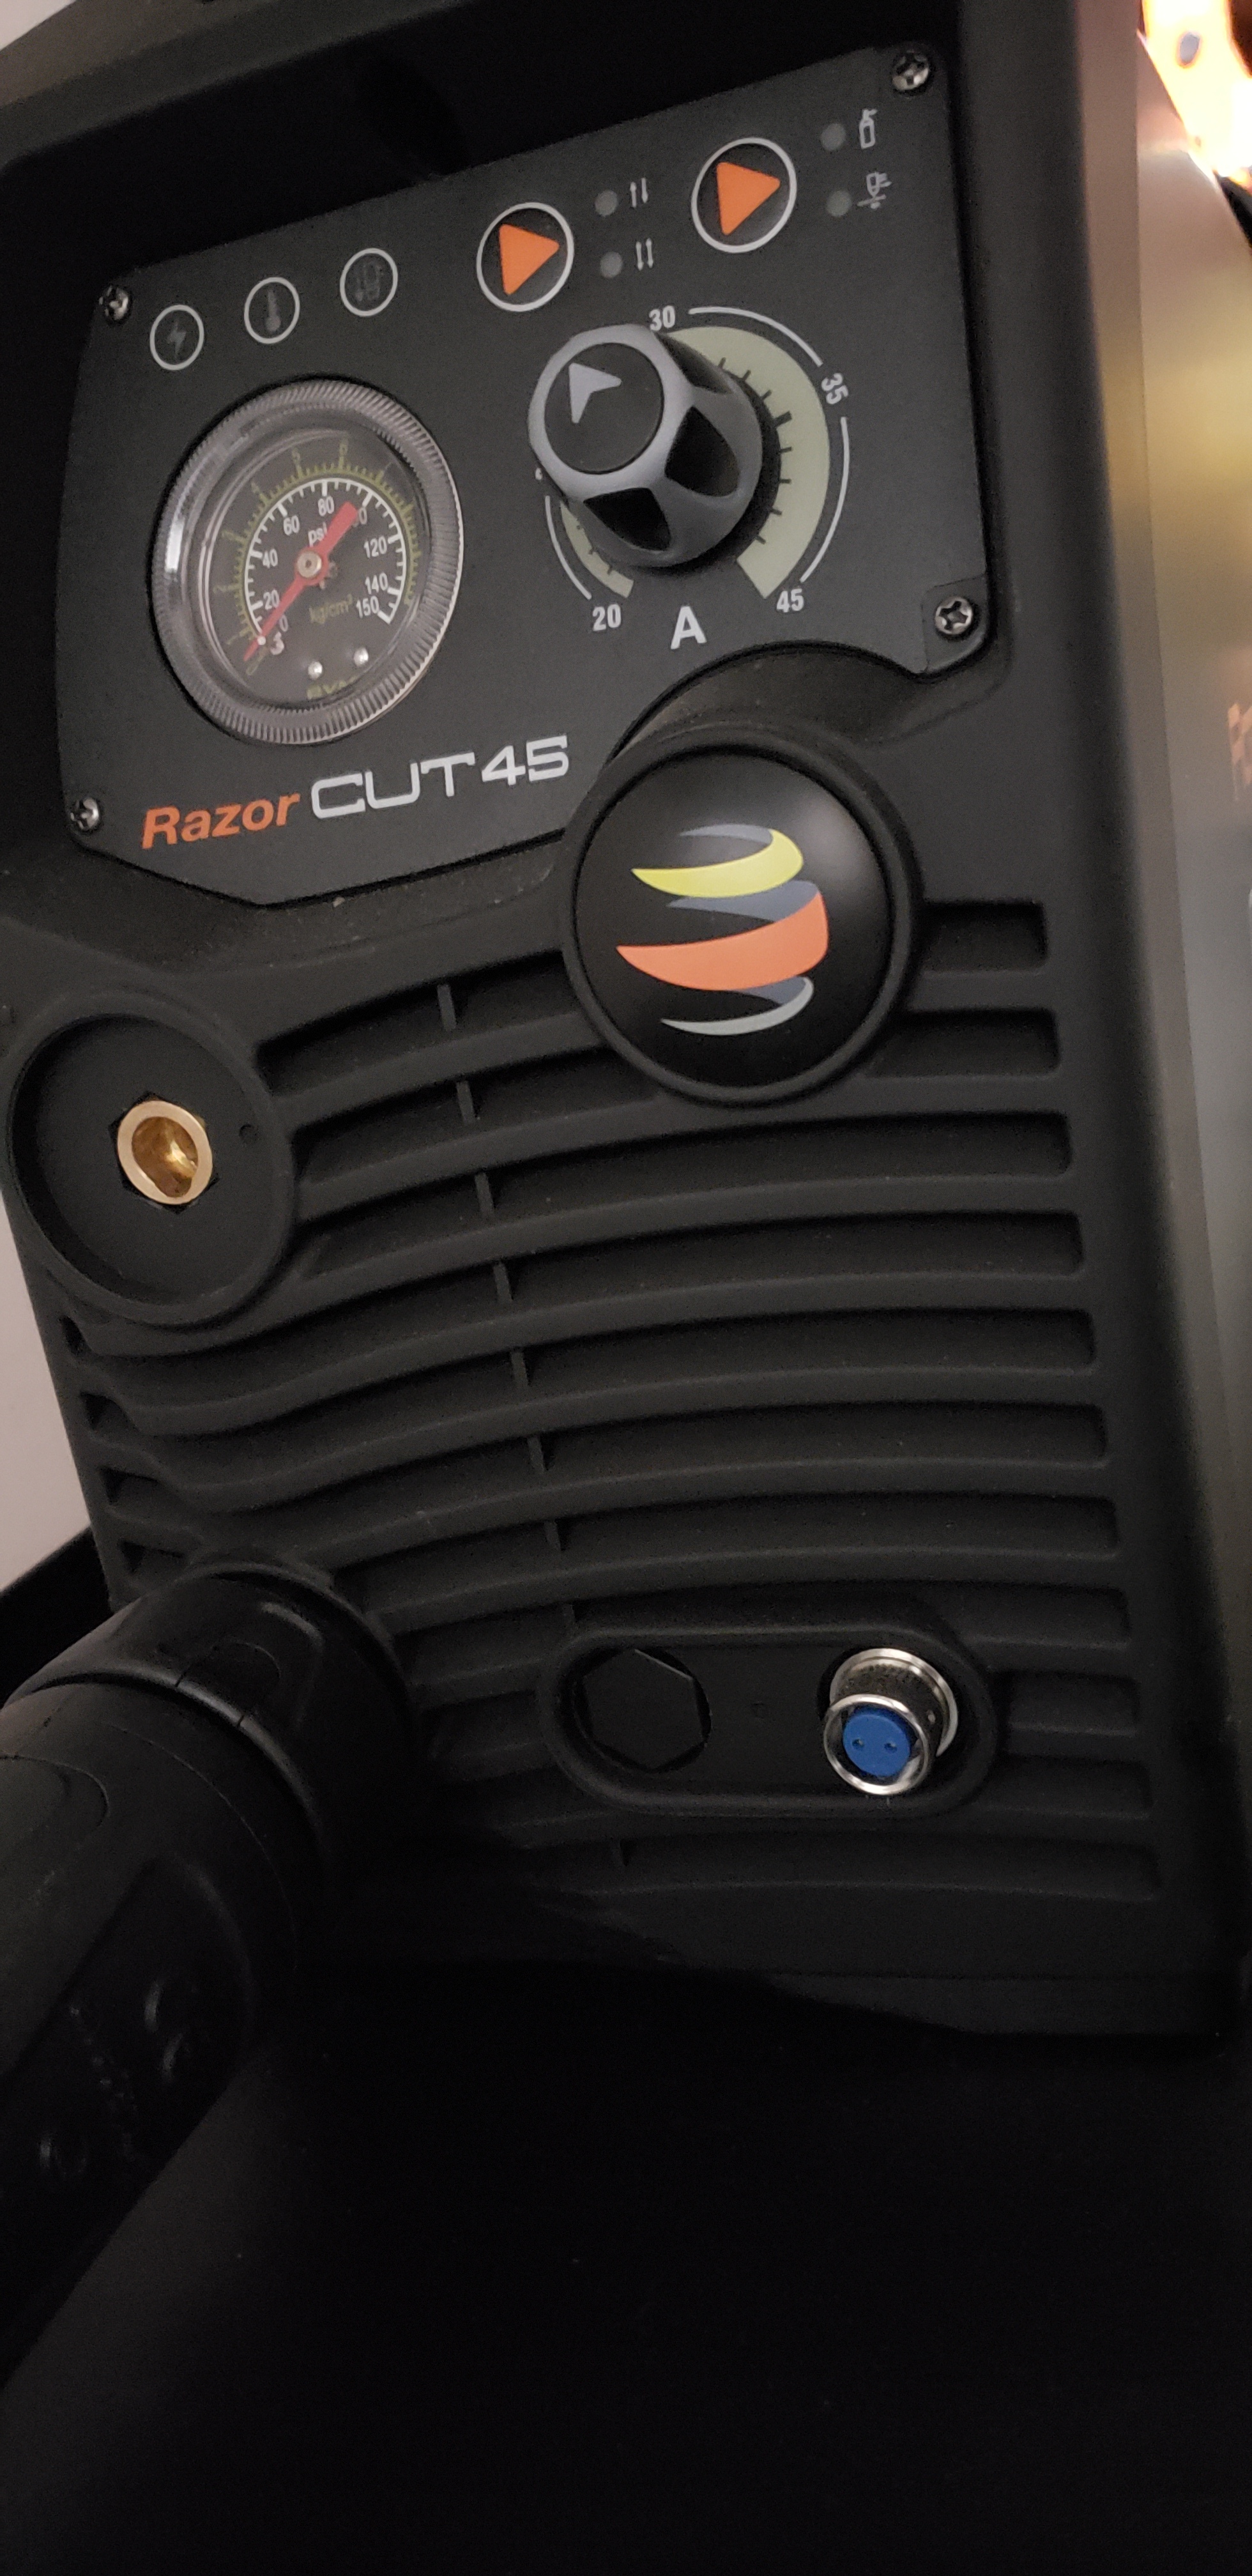
So I bought the Razorcut 45 with my table under the assumption that everything would be plug and play like the instructions show (picture 1), however my Razorcut does not have the torch firing plug. Was this a mistake on Langmuir’s part where I was sent the wrong plasma cutter (picture 2) , or did I just waste the money buying an additional plasma cutter and still have to pay someone to wire this, or can I just use the picture in the forum above to try to wire it?
You’re missing a plug.
1 Like
looks like a mistake. contact them im sure theyll take care of ya
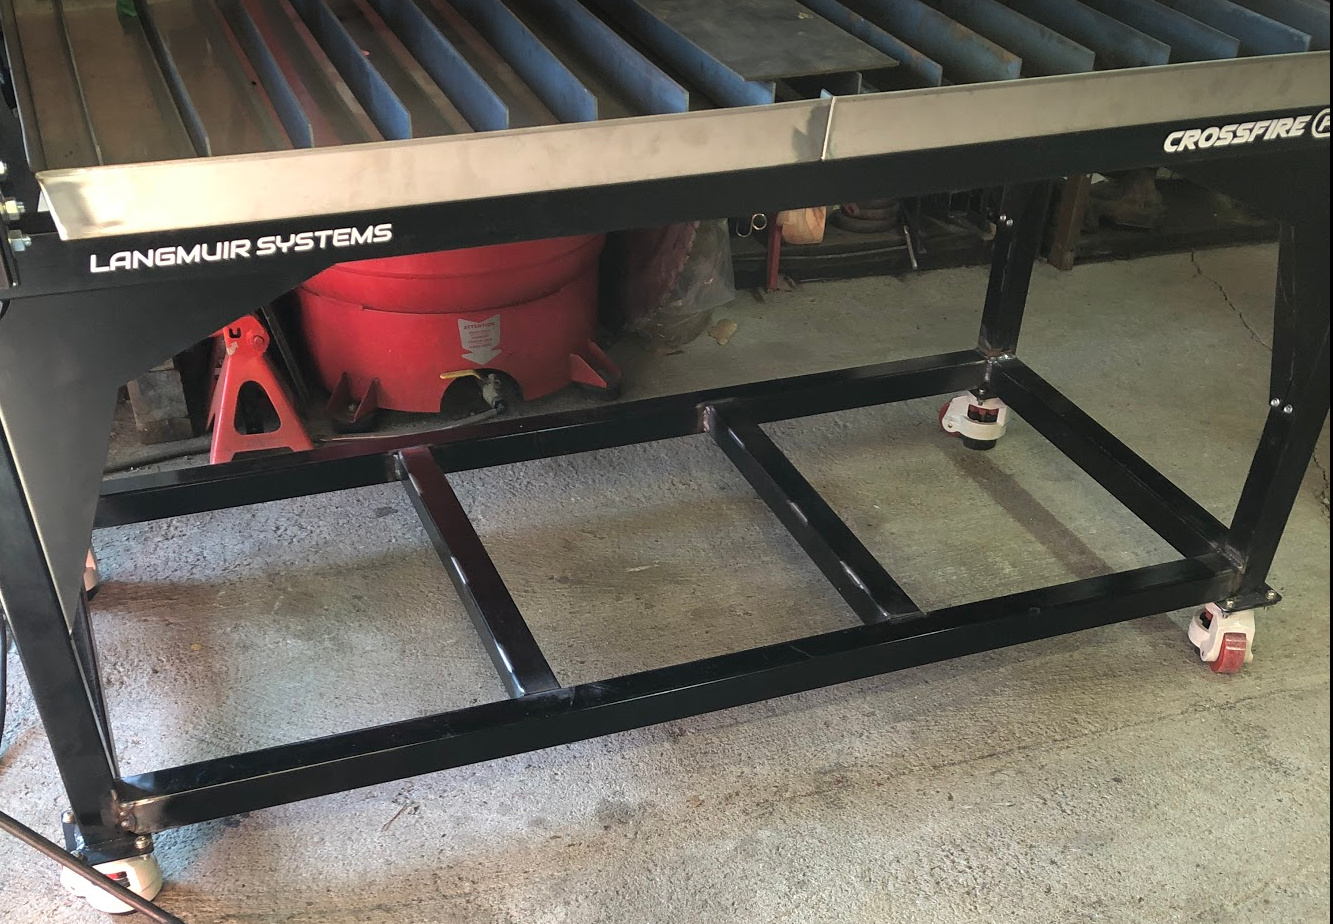
For those who have added a bottom shelf to their tables, what size tubing are you using?
I have a bunch of square 1 inch 16 gauge laying around. The 2 inch I can get quickly is 1/8 wall which seems a tad thick for a bottom shelf.
What size and thickness are the pro’s legs?
2x2x0.100. I used the same for my bottom shelf and welded it in with a sheet of 14 gauge (what I had) on top. Getting the sheet in there was a little awkward, scratched paint on the legs. Doing it again, I would probably cut the sheet in two. I ended up just painting the legs again since I had the paint out to do the shelf. 1" 16 gauge may be a bit thin if you want to store a water tank on it… but to be honest I’m not sure.
10 Likes
whats the over all height of the table from the floor to the top of the torch cable tube?
I have the same wheels as Greg does and my table from floor to top of cable supports is 81"
2 Likes
Someone sometime ago in one of these threads made a comment about the moment stress on a stem type caster. Totally agree! The flange casters do a better job of transferring these forces.
I have the same shelf build as Greg…the same wheels…and I haveclose to 22 gallons of water in a storage container on the shelf…and I can roll the table with one hand
2 Likes
Well that will be fun. The room where I need to put this is only 80 in floor to ceiling due to overhead ducting. I assume the stock leveling feet are shorter?
stock feet are lower…hopefully your floor is level.
if your ceiling height is so low you might want to eliminate the cable support pole…and just install some hooks and springs from the ceiling to hold the cables up…might work better
They are. But, the tube height isn’t magic. You might want to just trim off an inch or two of the vertical section with a tubing cutter or metal cut-off wheel. Then you can keep your wheels and still fit with the ceiling height.
Thanks - yes that’s probably what I’ll need to do.
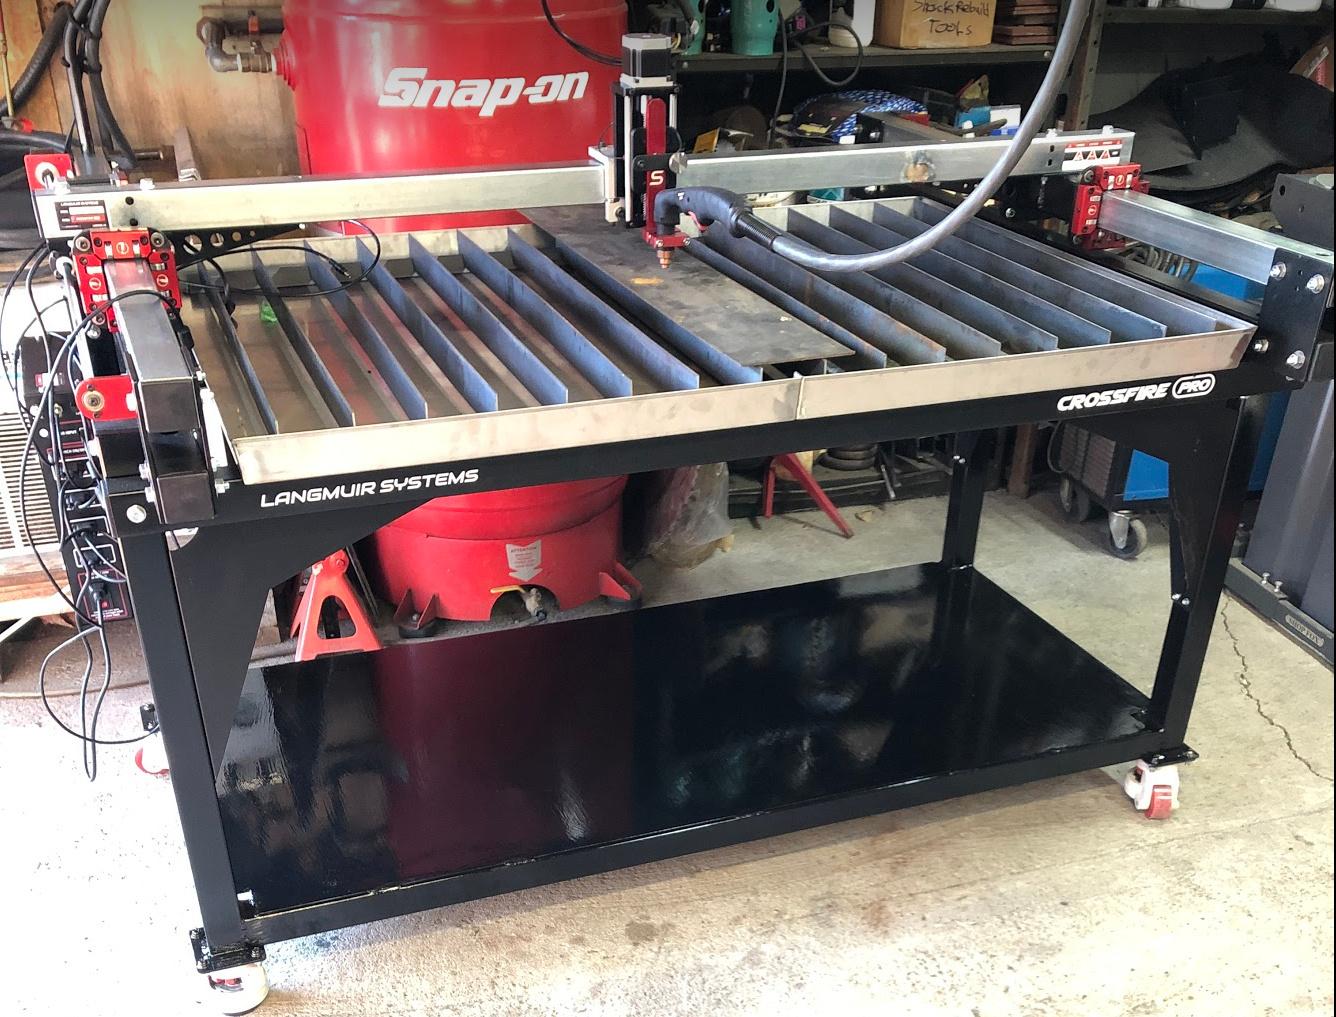
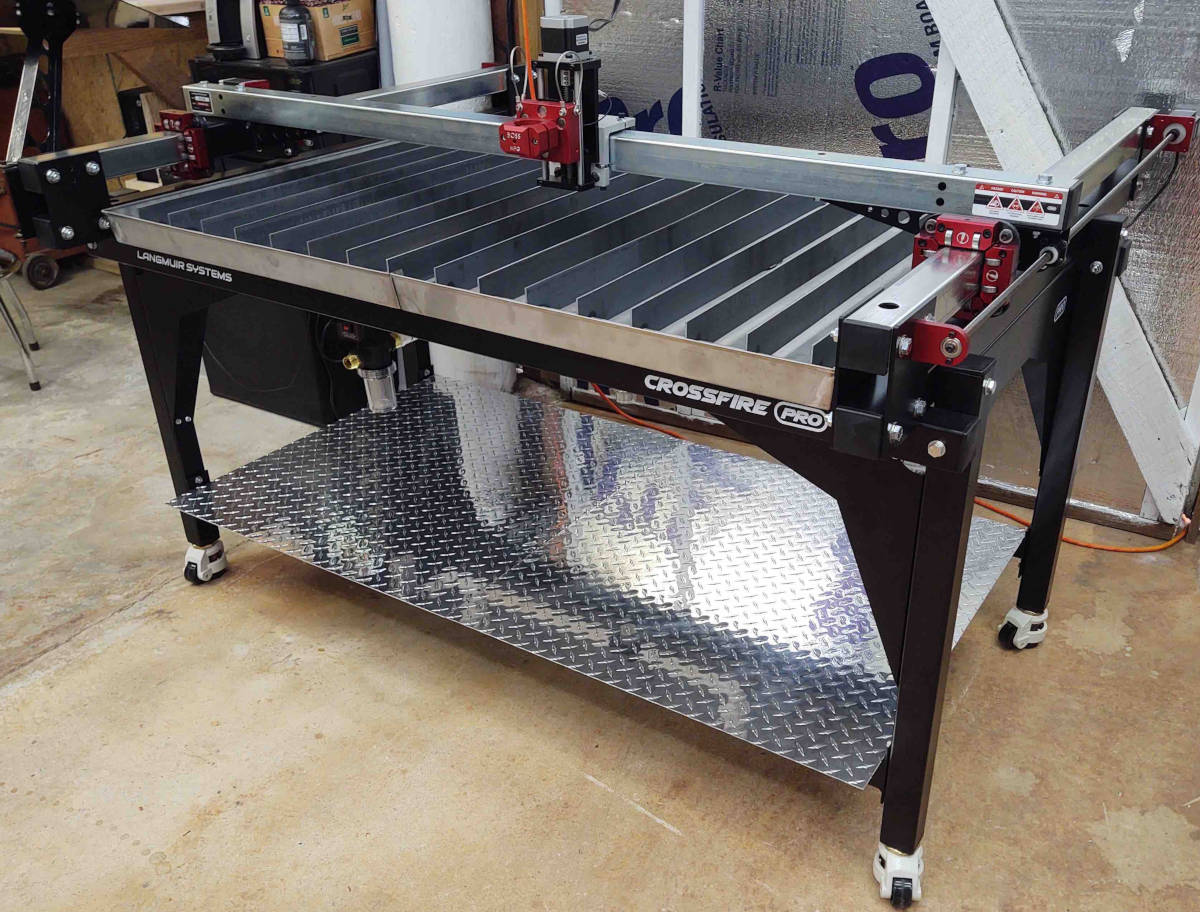
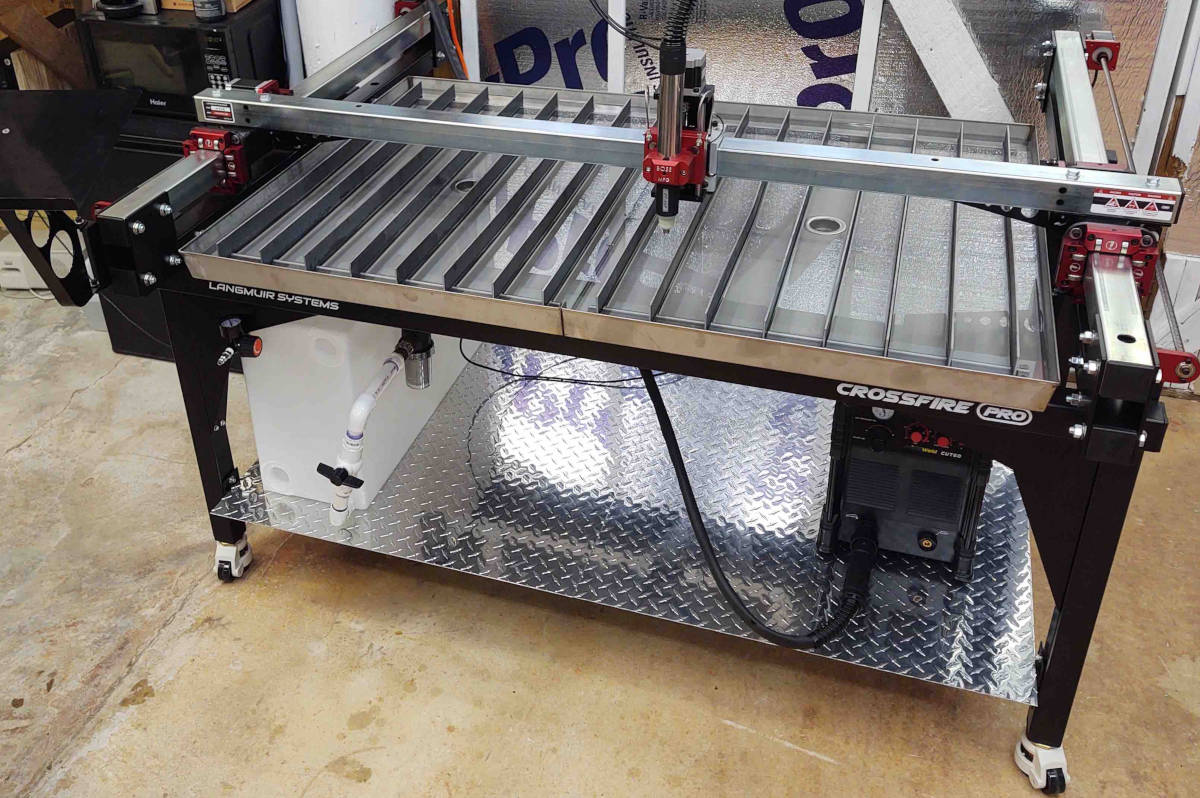
Finally got my box 1 delivered Wednesday, so was able to finally put this puppy together. Finished welding and painting my bottom shelf yesterday. Got it mounted today.
Then installed the shelf panels. In the near future I plan on bending the front shelf edge downward 90º to create a smooth front edge.
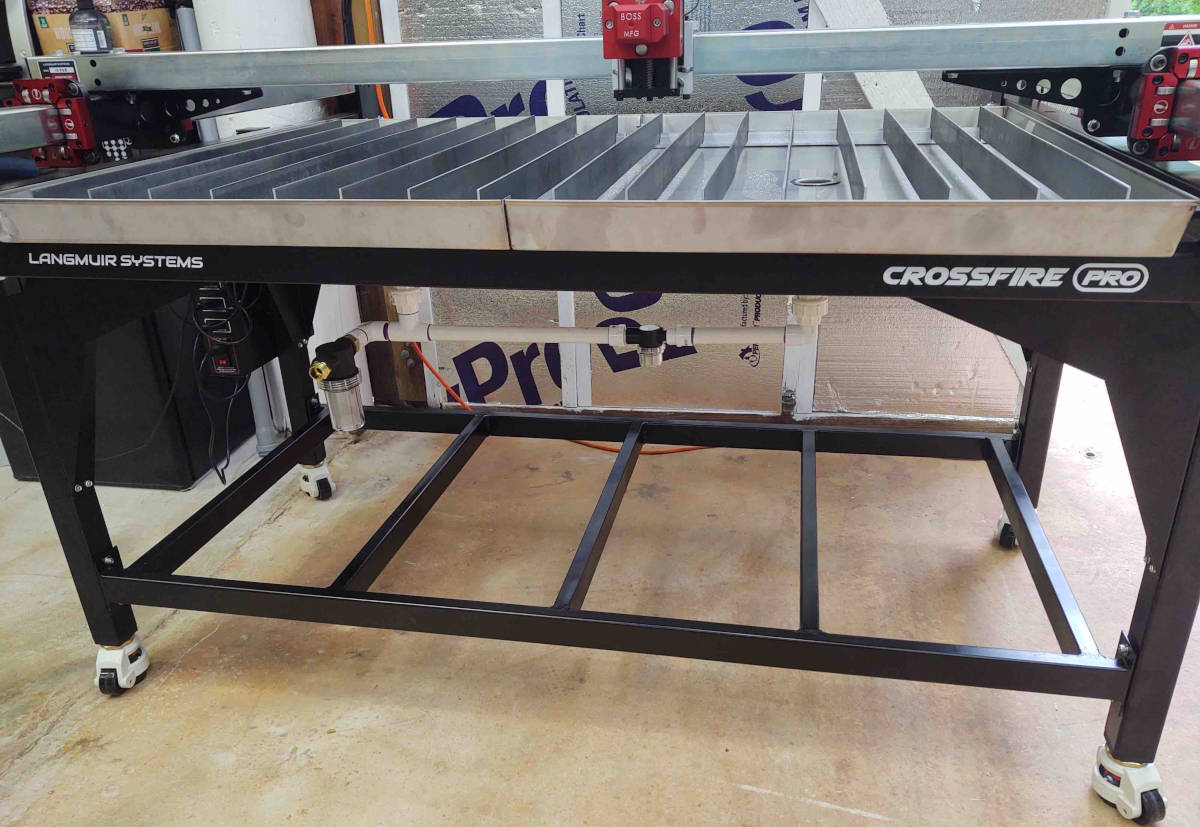
With the shelf in place I was able to finish plumbing the water reservoir. And test fit my PrimeWeld Cut 60 rig.
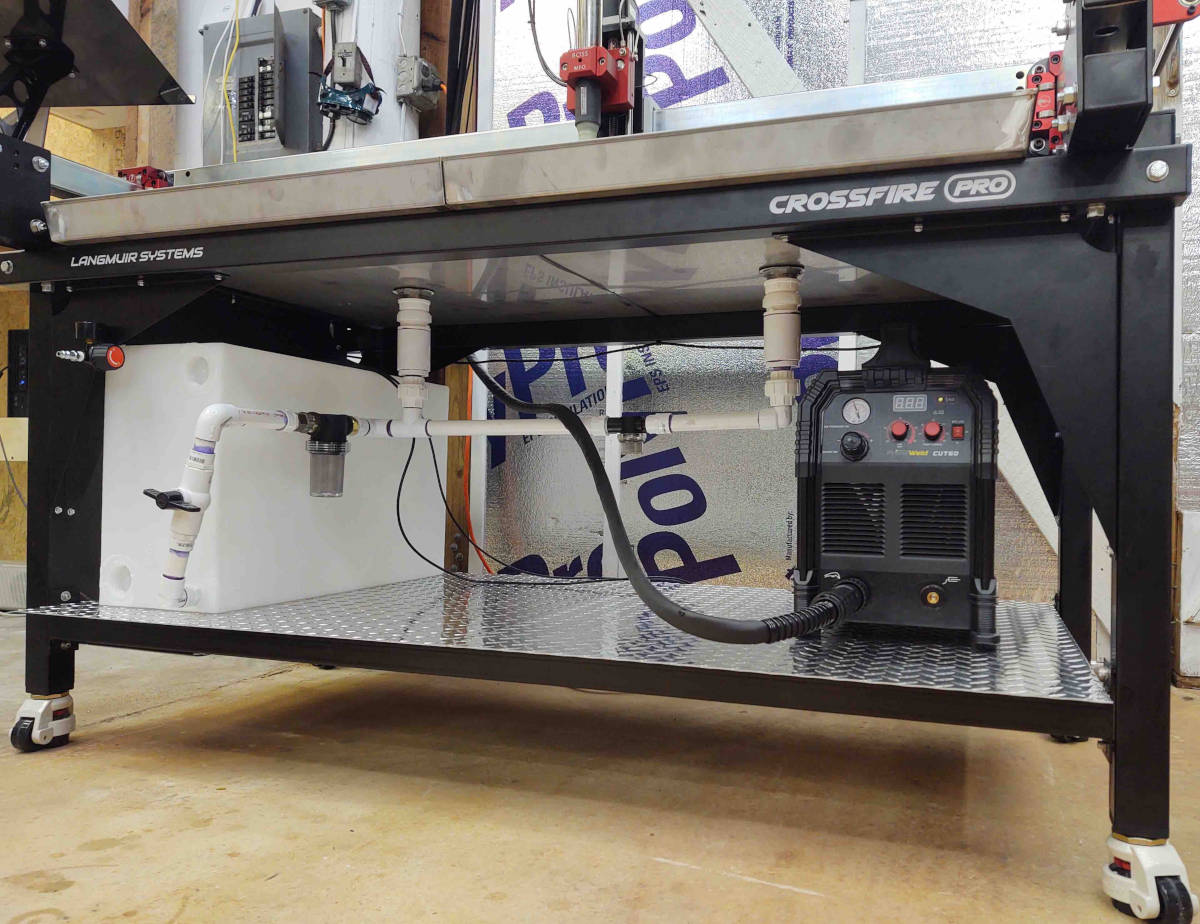
I then filled the water table to check for leaks. I had one at the drain which was eliminated by torquing the drain nut just a hair tighter. I also have a slow dripping leak at the junction with the first drain filter, which I’m thinking won’t be too difficult to fix. After a few hours the table was leak free… we’ll see how she holds up after actual use.
Loving this table so far. Tomorrow I’ll run the test program and hopefully get something cut!
5 Likes
Back to the subject of water table management…I bought one of these.
I wanted something that I could easily clean if the drained water left stuff on the bottom. For now, plumbing is stock, so I just slide drum over from one drain to the next. The clamp and gasket keep it watertight when I’m finished. I plan to make a drum dolly for it so that I can wheel it out of the way when the table is in dry dock.
3 Likes
Airdog, your set up looks great! I found out too late that our cutter (PW Cut 60) is noisy, so you might consider a way to move it farther from the table electronics while cutting or add some extra ferrite chokes. Mine worked fine for my “beginner’s luck” session (about 3-4 feet from electronics), but promptly caused the dreaded software-and-torch-freeze-while-firing-at-the-table-bottom problem the second time I tried to cut something. I‘ve had to move it as far as possible given the torch lead. BTW If that issue does happen, mine stopped firing immediately when I unplugged the USB from the computer. A lot easier than going after the rear mounted switch in the heat of that moment.
Jemejia, thanks for the gouge. I’ll order some more ferrite chokes just to be safe. Having read the accounts of cutter noise I tried to mitigate it as best possible by placing the cutter way over to the right and away from the electronics box (I’ll now put as far as physically possible, at the very right edge of the lower shelf).
Huge thanks for the USB cable unplug trick! Very handy piece of info to have if freezing occurs.
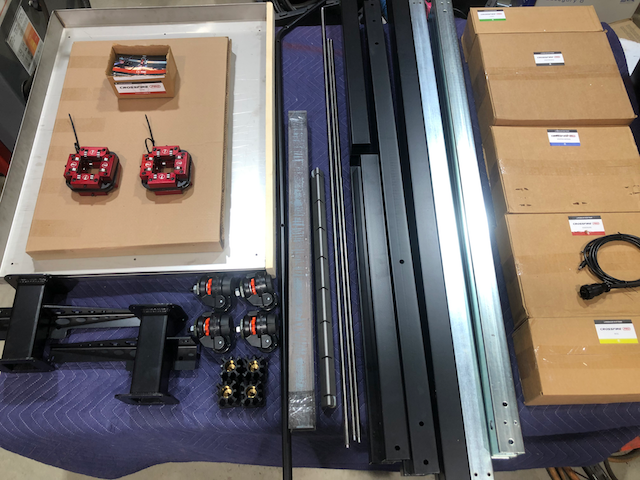
I finally got the last box in Saturday and had to open everything up just to see what I was facing in the assembly process. I appreciate everyone posting their pics, it has given me some great ideas to incorporate into my table.
4 Likes
I had every box emptied and the parts bags lined up in order on my garage floor so I could easily find everything. Put the bag back in order after removing whichever bits I needed.
I did find one (might have been two) bag(s) that were referred to by number in the instructions but did not have a number printed on it. I think it might have been in the THC box. It was near the end of the assembly.
1 Like