what size tubing did you use for the shelf? considering using wood since i’m not a welder, although i bought a flux core wleder years ago to practice with. guess better late than never.
If i figured out how to use a cnc machine from knowing nothing, i guess learning how to weld won’t be that hard… haha
I used 1" wide x 2" high, 0.080" on front and back long tubes and 0.060" for the short middle tubes. I copied an order that another forum member listed (sorry, don’t remember his name) but changed from the 2x2" tubes he had listed on his BOM.
Yeah, I used my MIG welder that I haven’t touched in 10 years, so the welds are pretty sloppy, but good enough & strong enough to keep the shelf together!
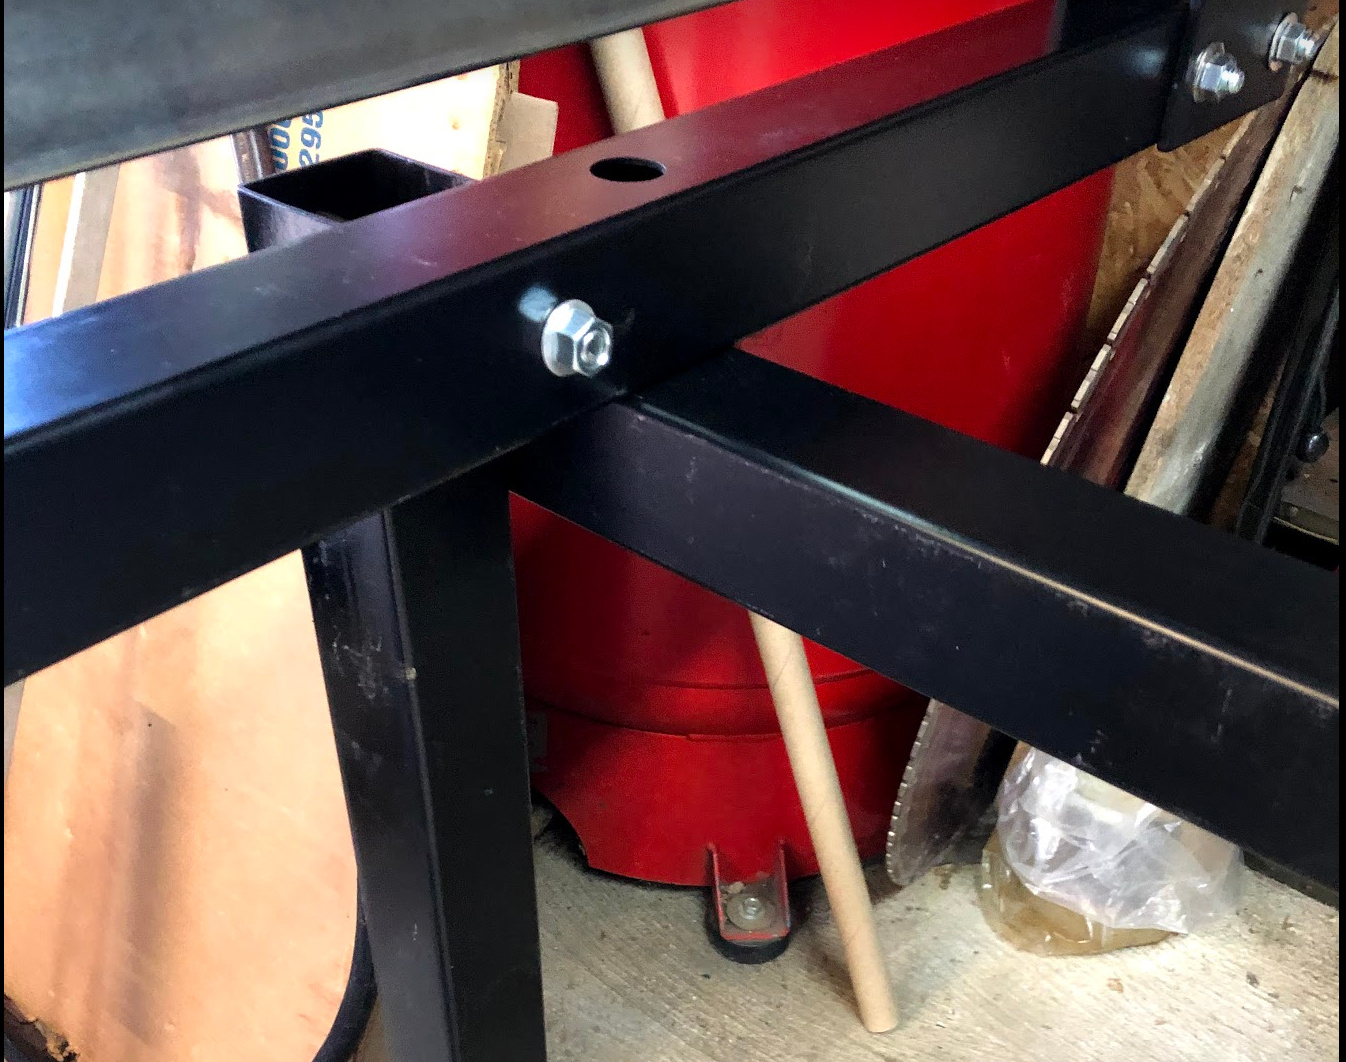
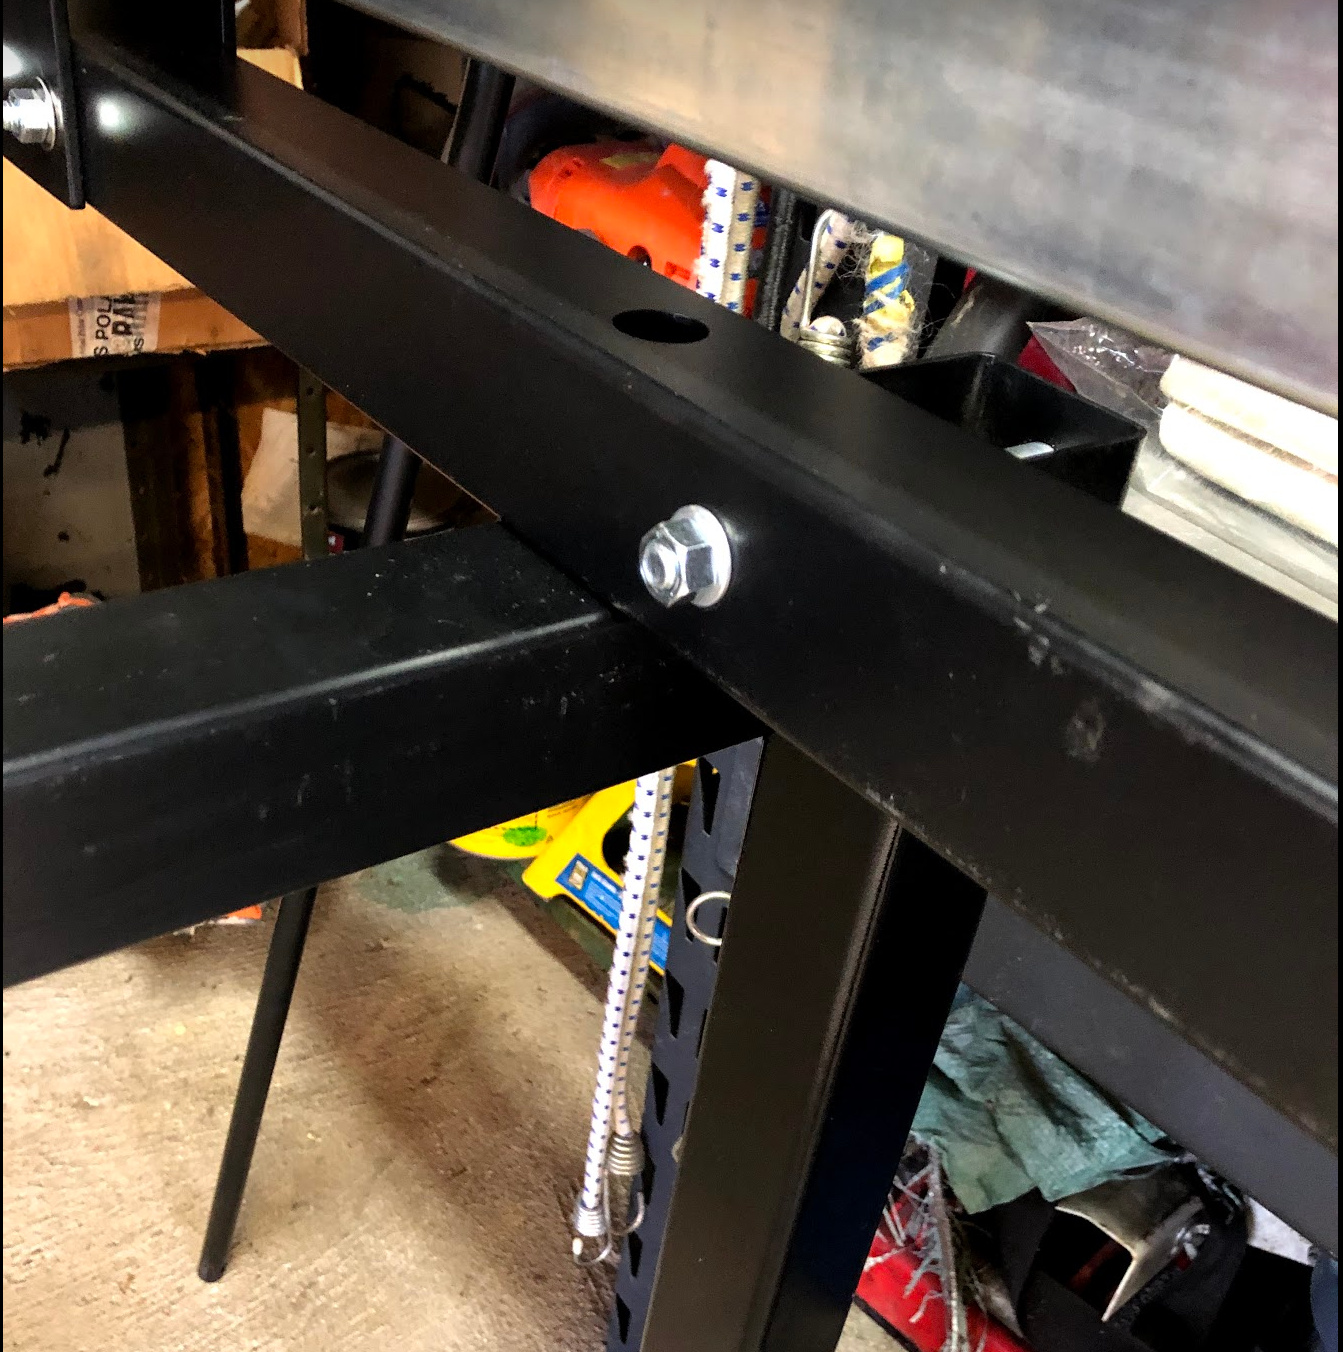
I think One of my tubes was printed on the wrong side. The only was to have the large holes facing out was to have the writing on one tube facing in. Am I the only one? Am I missing something?
I don’t mind, I don’t think it’s an issue for assembly, everything has gone together perfect. I’m just hoping I didn’t mess something up somehow. But I can’t see any other way for it to have gone together
Jemejia, thanks again for your advice on the PW Cut 60. On my first cuts I was getting “Arc Voltage Lost” (or something like that) errors and the cut wouldn’t complete. The torch would stop and thankfully turn off as well.
I was able to work through the issue by raising the THC voltage sampling to 200 (from default 50) as per LS recommendations for the Cut 60. Got a few more inches of cut out of that, but still not a complete cut. The magic pill was simply one more wrap (3 vs 2) in the ferrite choke provided in Box 2 by LS. I was then able to complete a full part cut.
Subsequently, per your recommendation I had ordered more ferrite chokes and added another one with 2 wraps of the USB cord through. I dropped the TCH voltage sampling down to 180 and have been getting complete part cuts every since.
Last thing. Being a noob, on one cut I forgot to zero my axis and crashed the torch into a slat. Luckily I have a break-away torch mount, but that left my torch laying lengthways on the metal plate with plasma cone a-blazing. Within seconds ripped out the USB cable from the side of my laptop, and Voila! shut 'er off. So thanks a ton for that USB cable quick-disconnect tip. I would have been scrambling for at least another 5-10 seconds I’m sure without that trick in my back pocket.
I have the same setup…two pieces of advice
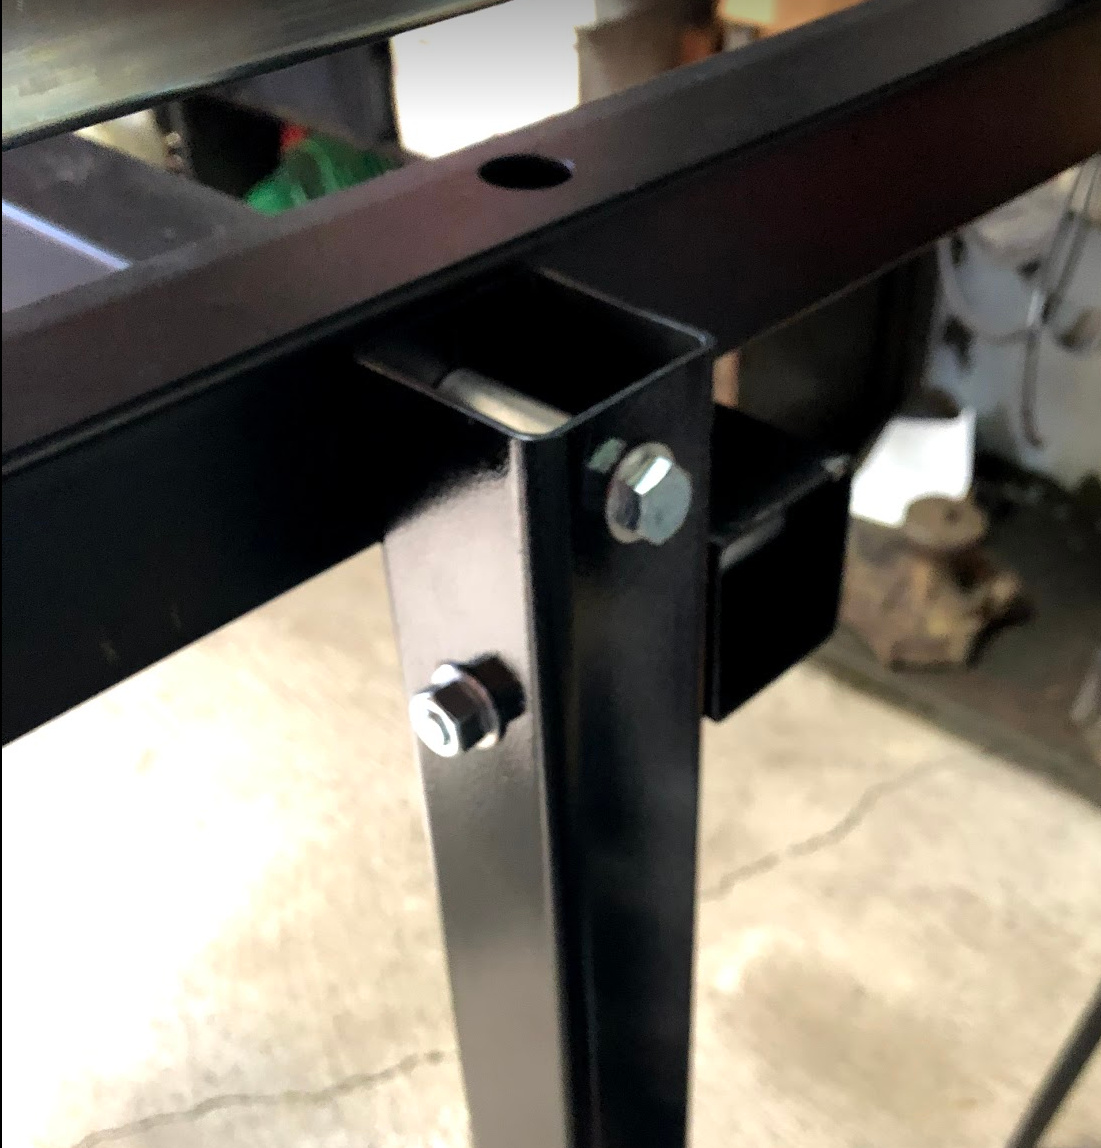
Put a set screw through the steel table leg to hold the insert or the wheel and insert fall out if you lift the table . And this is annoying if you are alone and trying to put them back in.
Next in the file share of the website is a wrench already drawn that fits the wheels to tighten them.
I finally got my table put together today. Then I pulled a real dumbass move. I wanted to make sure the plasma cutter was going to work and everything was good. I did a manual torch run without water in it and I blew a hole right through my water table. I feel like a complete dipshit. Oh well it was a learning experience. I took a small piece of metal and just siliconed it over the whole. Hopefully it still holds water.
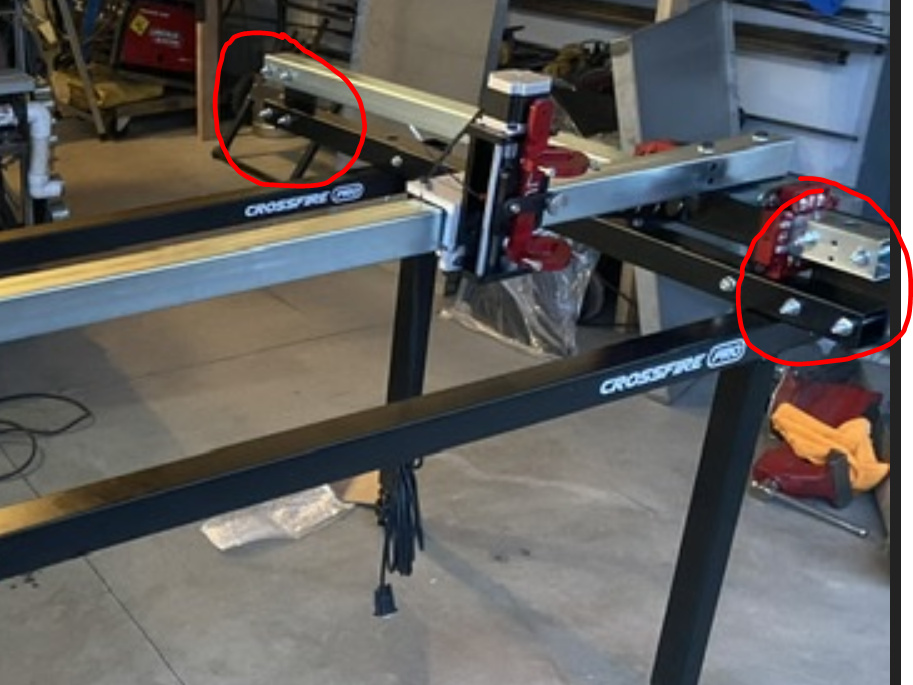
The aluminum spacer should be on the outsides of the tubes with a smaller holes inward for the tubes to fully seat against each other, which will make it more stable. The spacer (if left on the inside) will keep the tubes separated, leaving a gap. Might also cause leg hole mis-alignments.
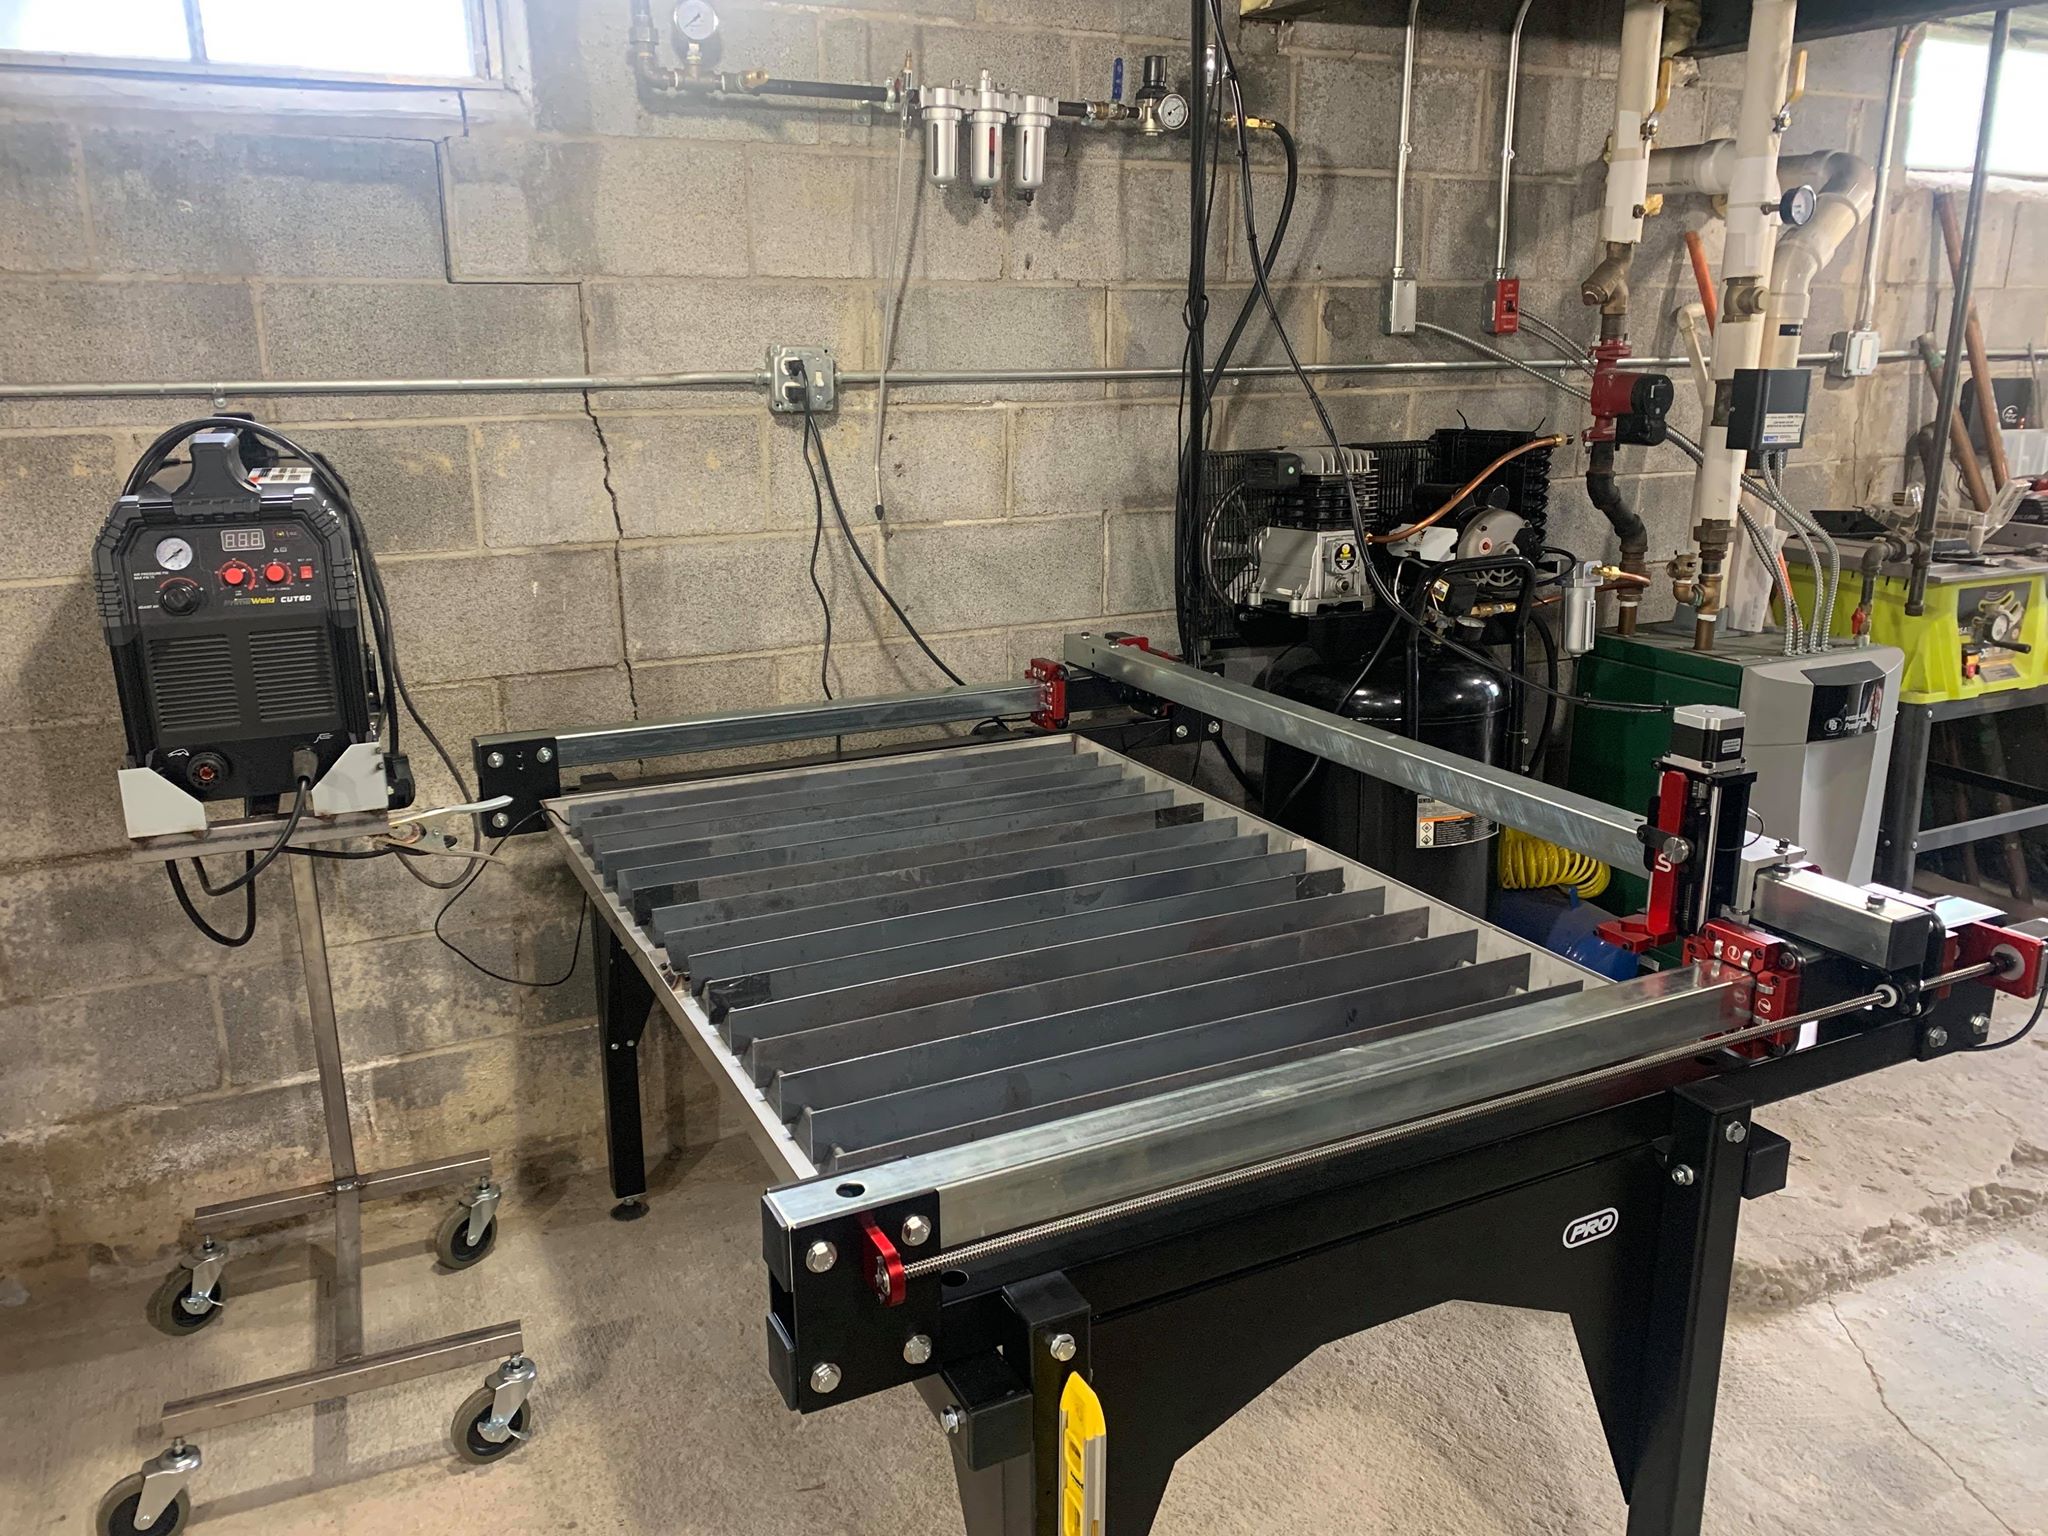
I received my Batch 1 table earlier this year, but was waiting to sell my CrossFire XL before setting it up. I’m finally ready to make first fire tonight!

 I took a small piece of metal and just siliconed it over the whole. Hopefully it still holds water.