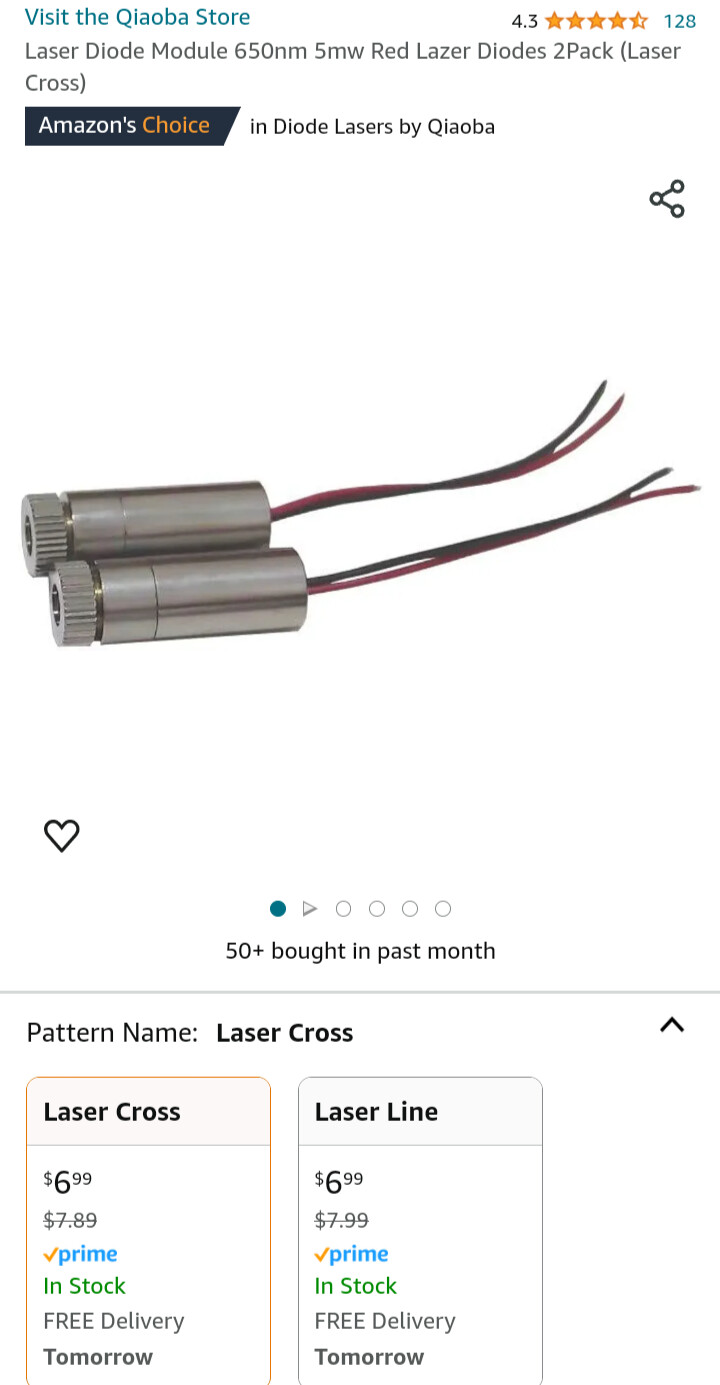
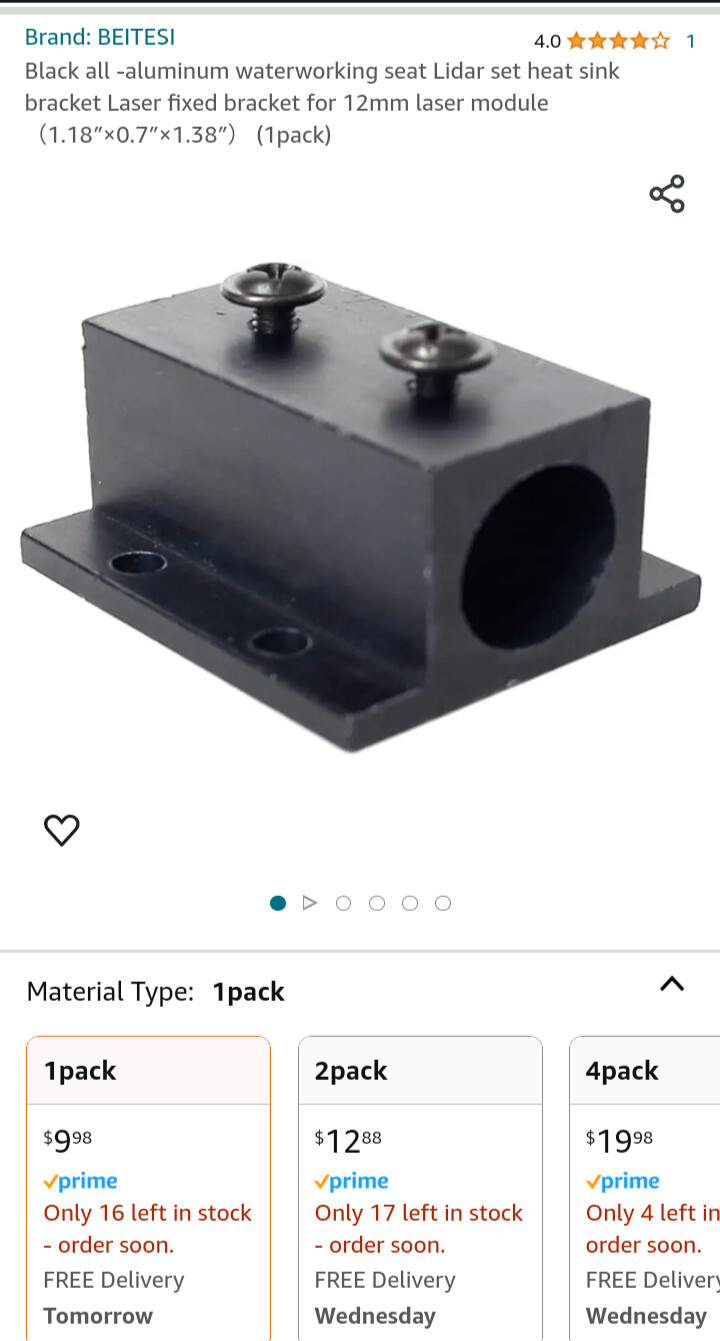
I know this is probably been covered a thousand times but here’s my take on it just in case somebody can get something useful out of it. Total cost is $6.99 for two of the laser pointers (so I have a spare) and $9.99 for the little aluminum mount. Both were purchased off of Amazon and I will take a screenshot and post it as well
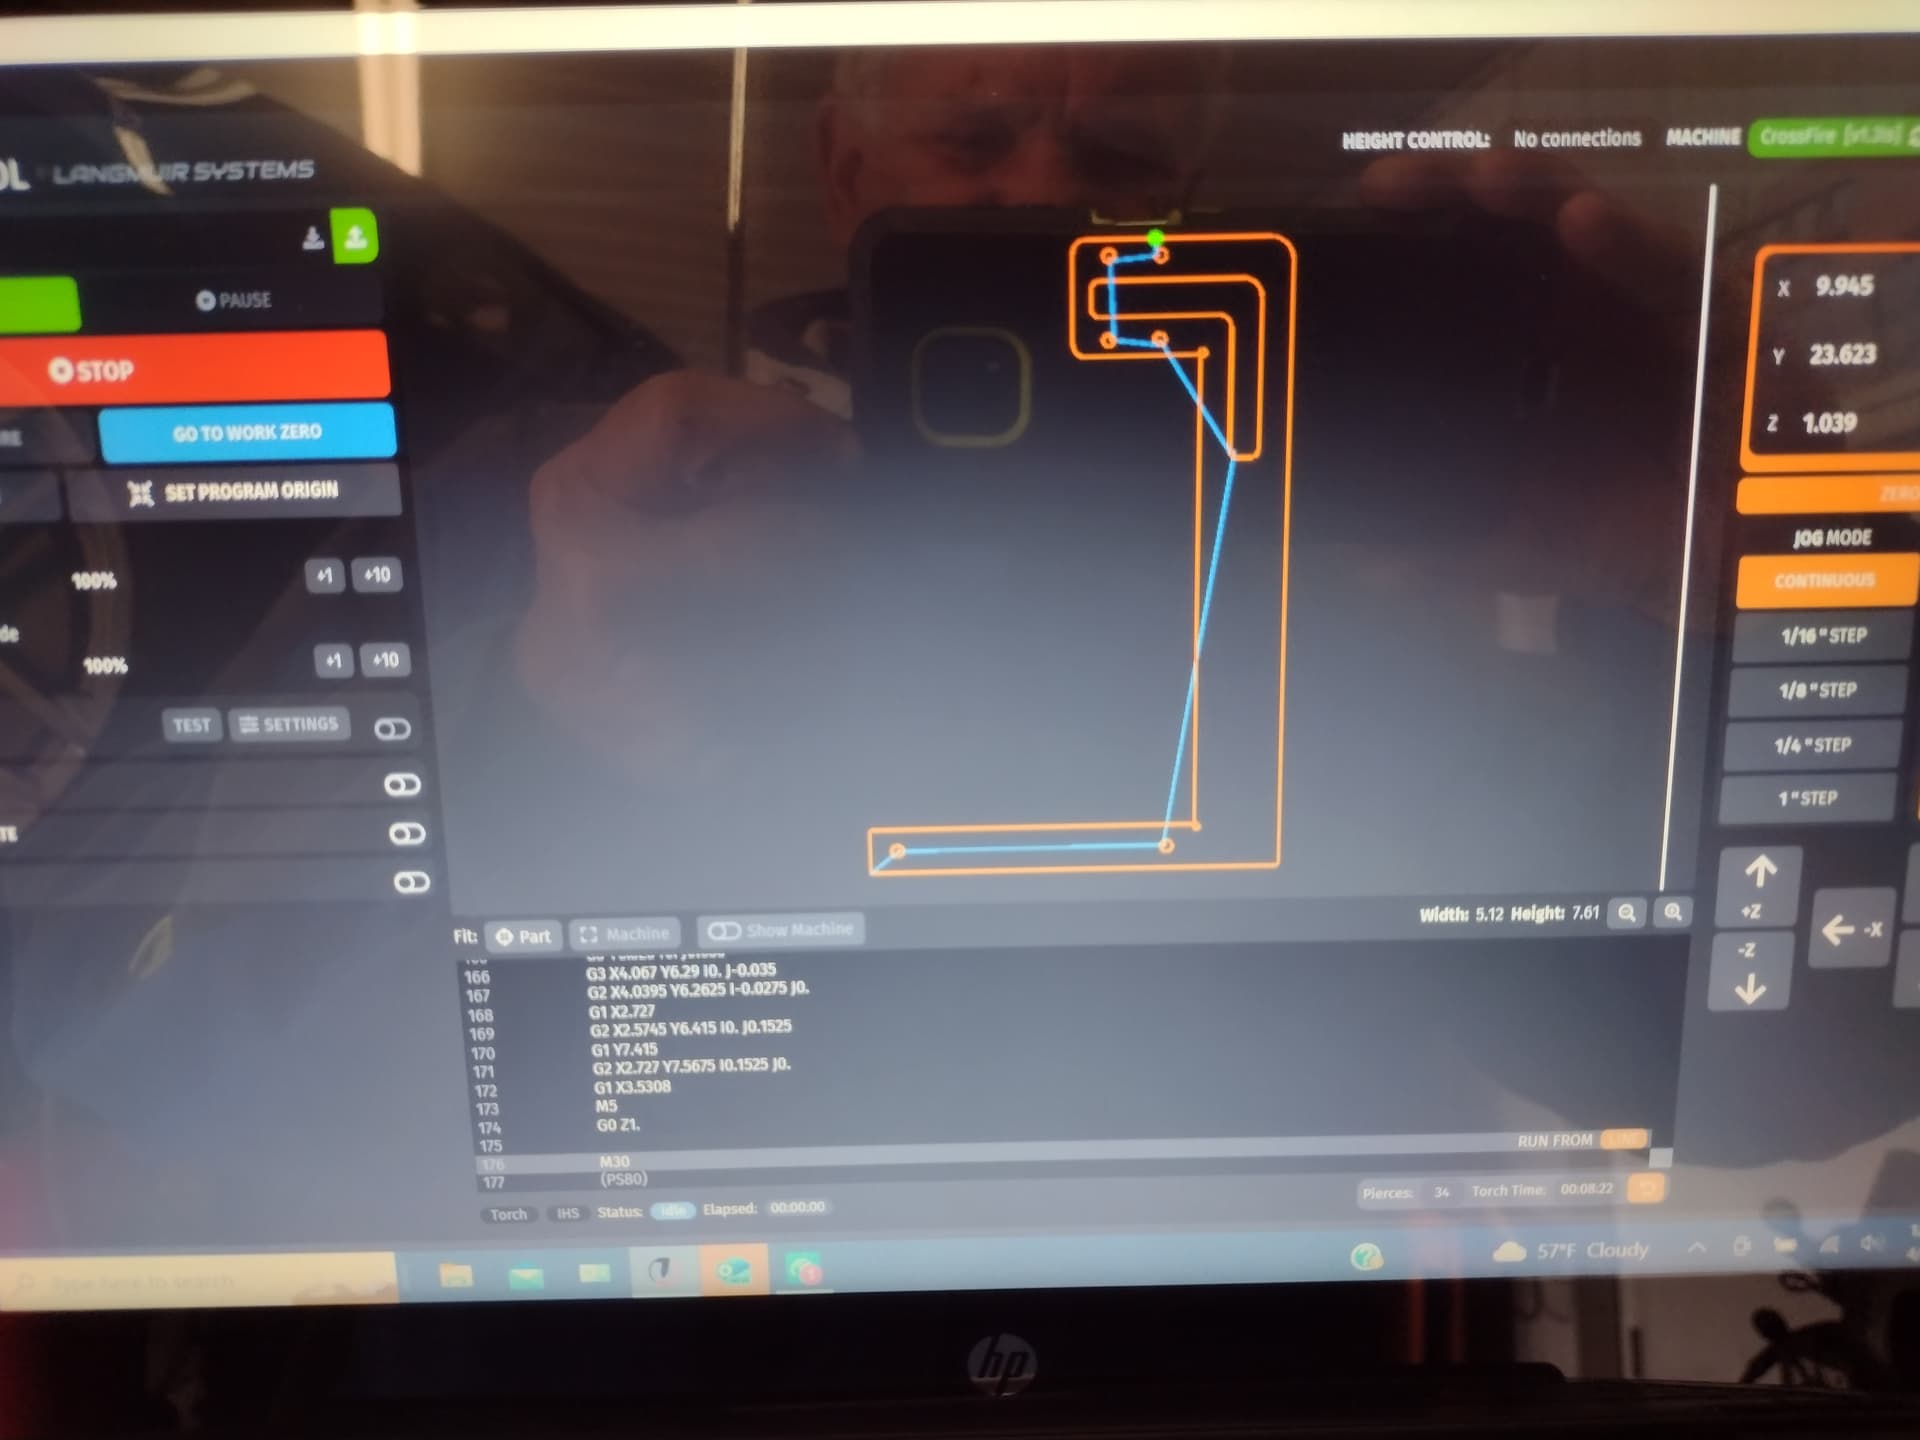
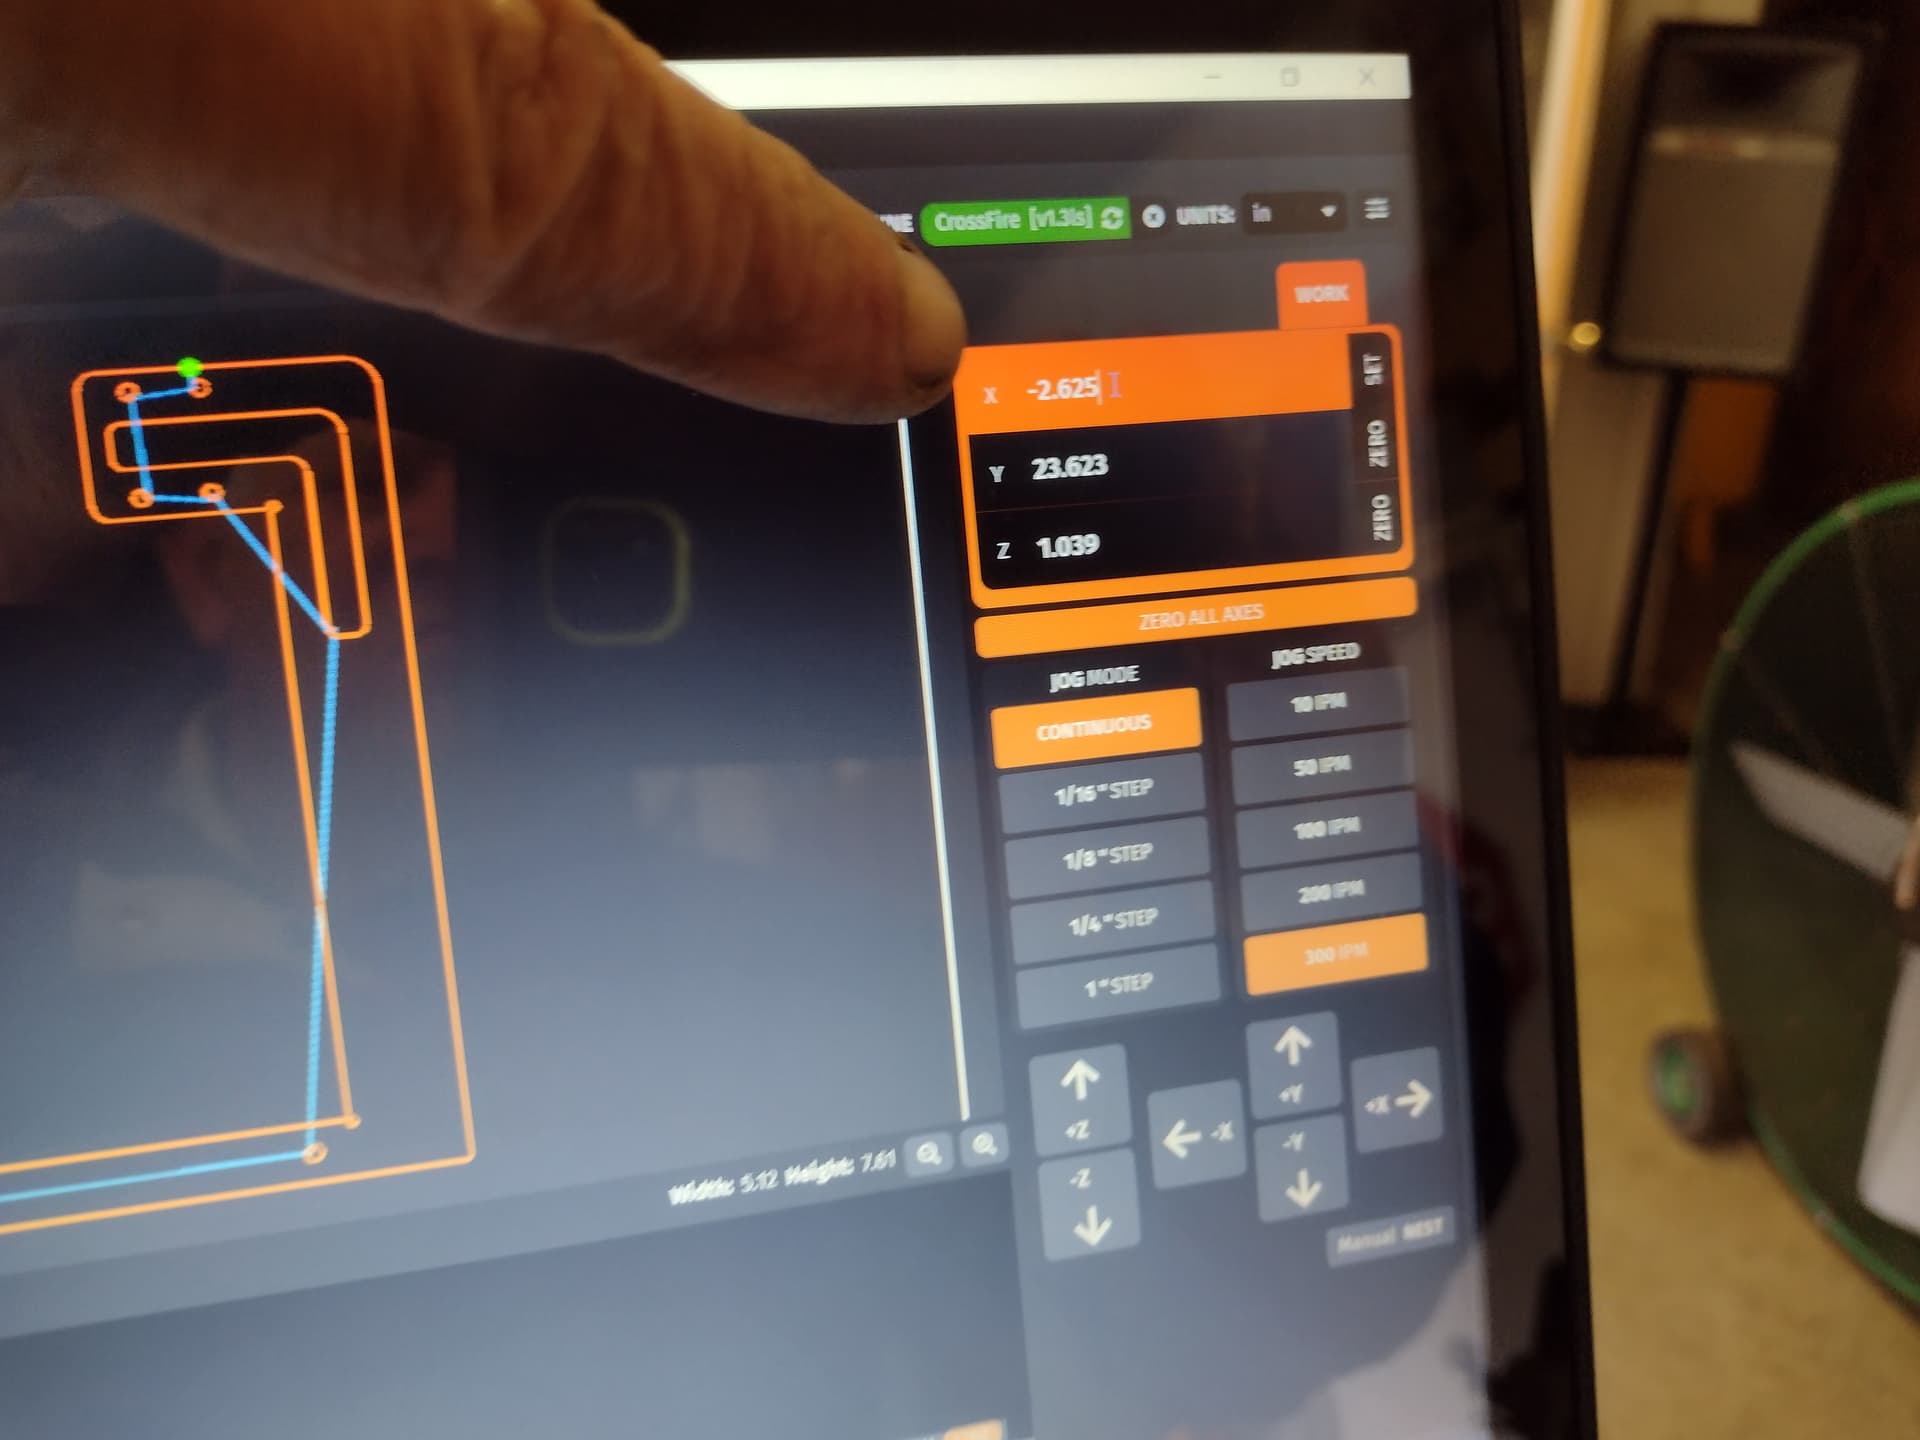
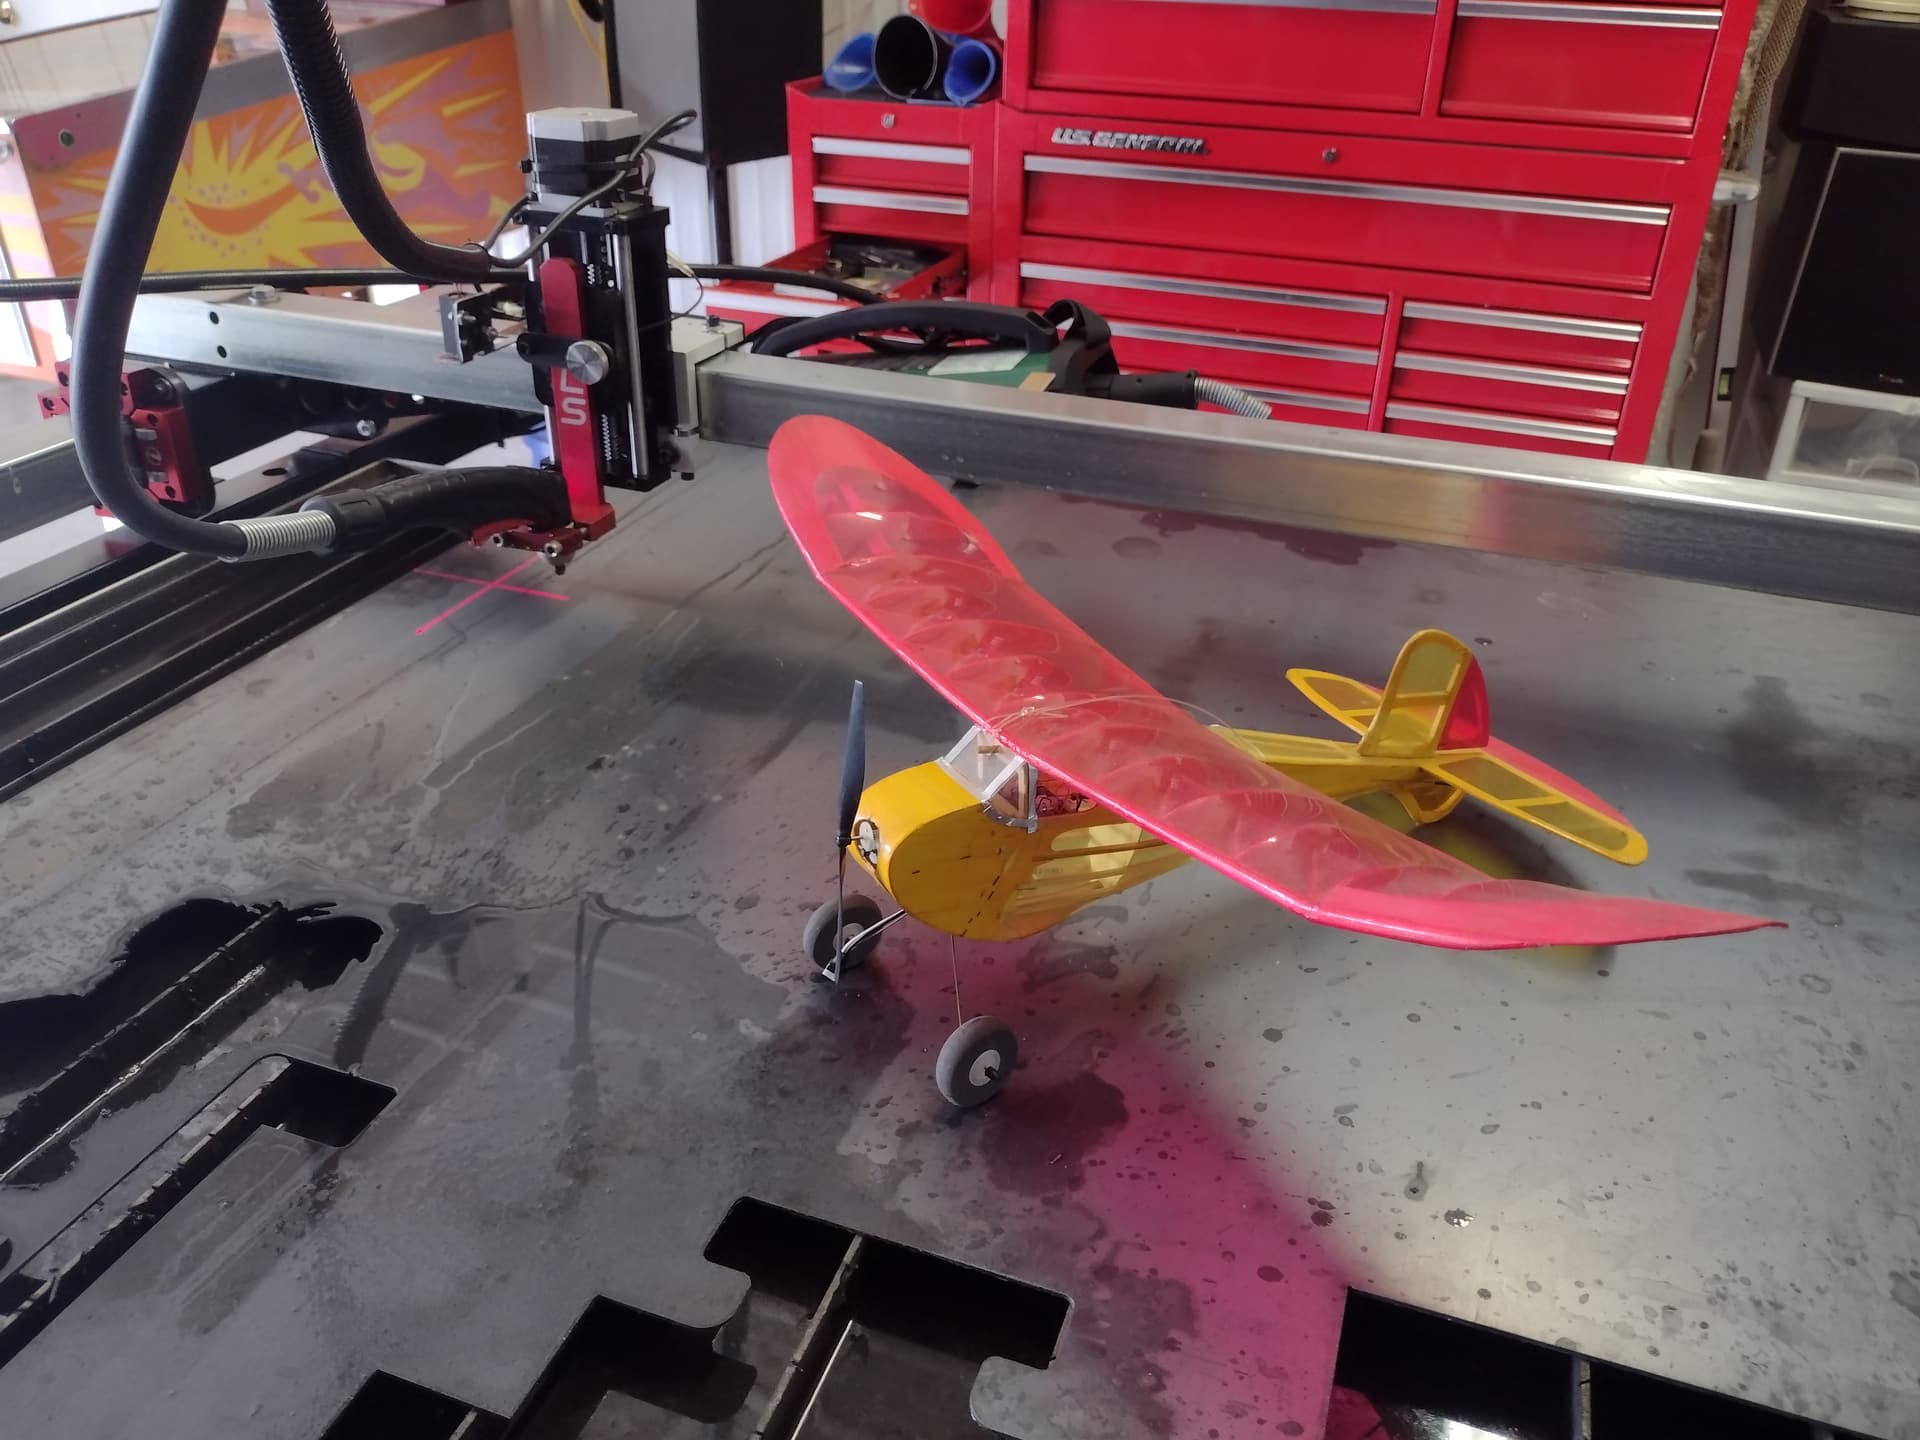
I think there is something novel about the solution… I don’t know if everyone knows this, but you not only can zero the x-register in the upper right hand corner of the fire control display, but you can also tap the existing number there and type in the value you would like the torch to be recognized at. In my case, I mounted the Amazon crosshair laser pointer using a little drawing I made in Fusion 360. Let me know if anyone would like the drawing. It mounts to the existing 6 mm screws on the back side that act as the axles for the roller bearings. No holes need drilled in the existing machine it mounts using all existing holes.
My mount shoots across hair approximately 2.625 in to the Plus direction in X. So after you get the laser mounted and powered up, you just tap the X register value and type in -2.625
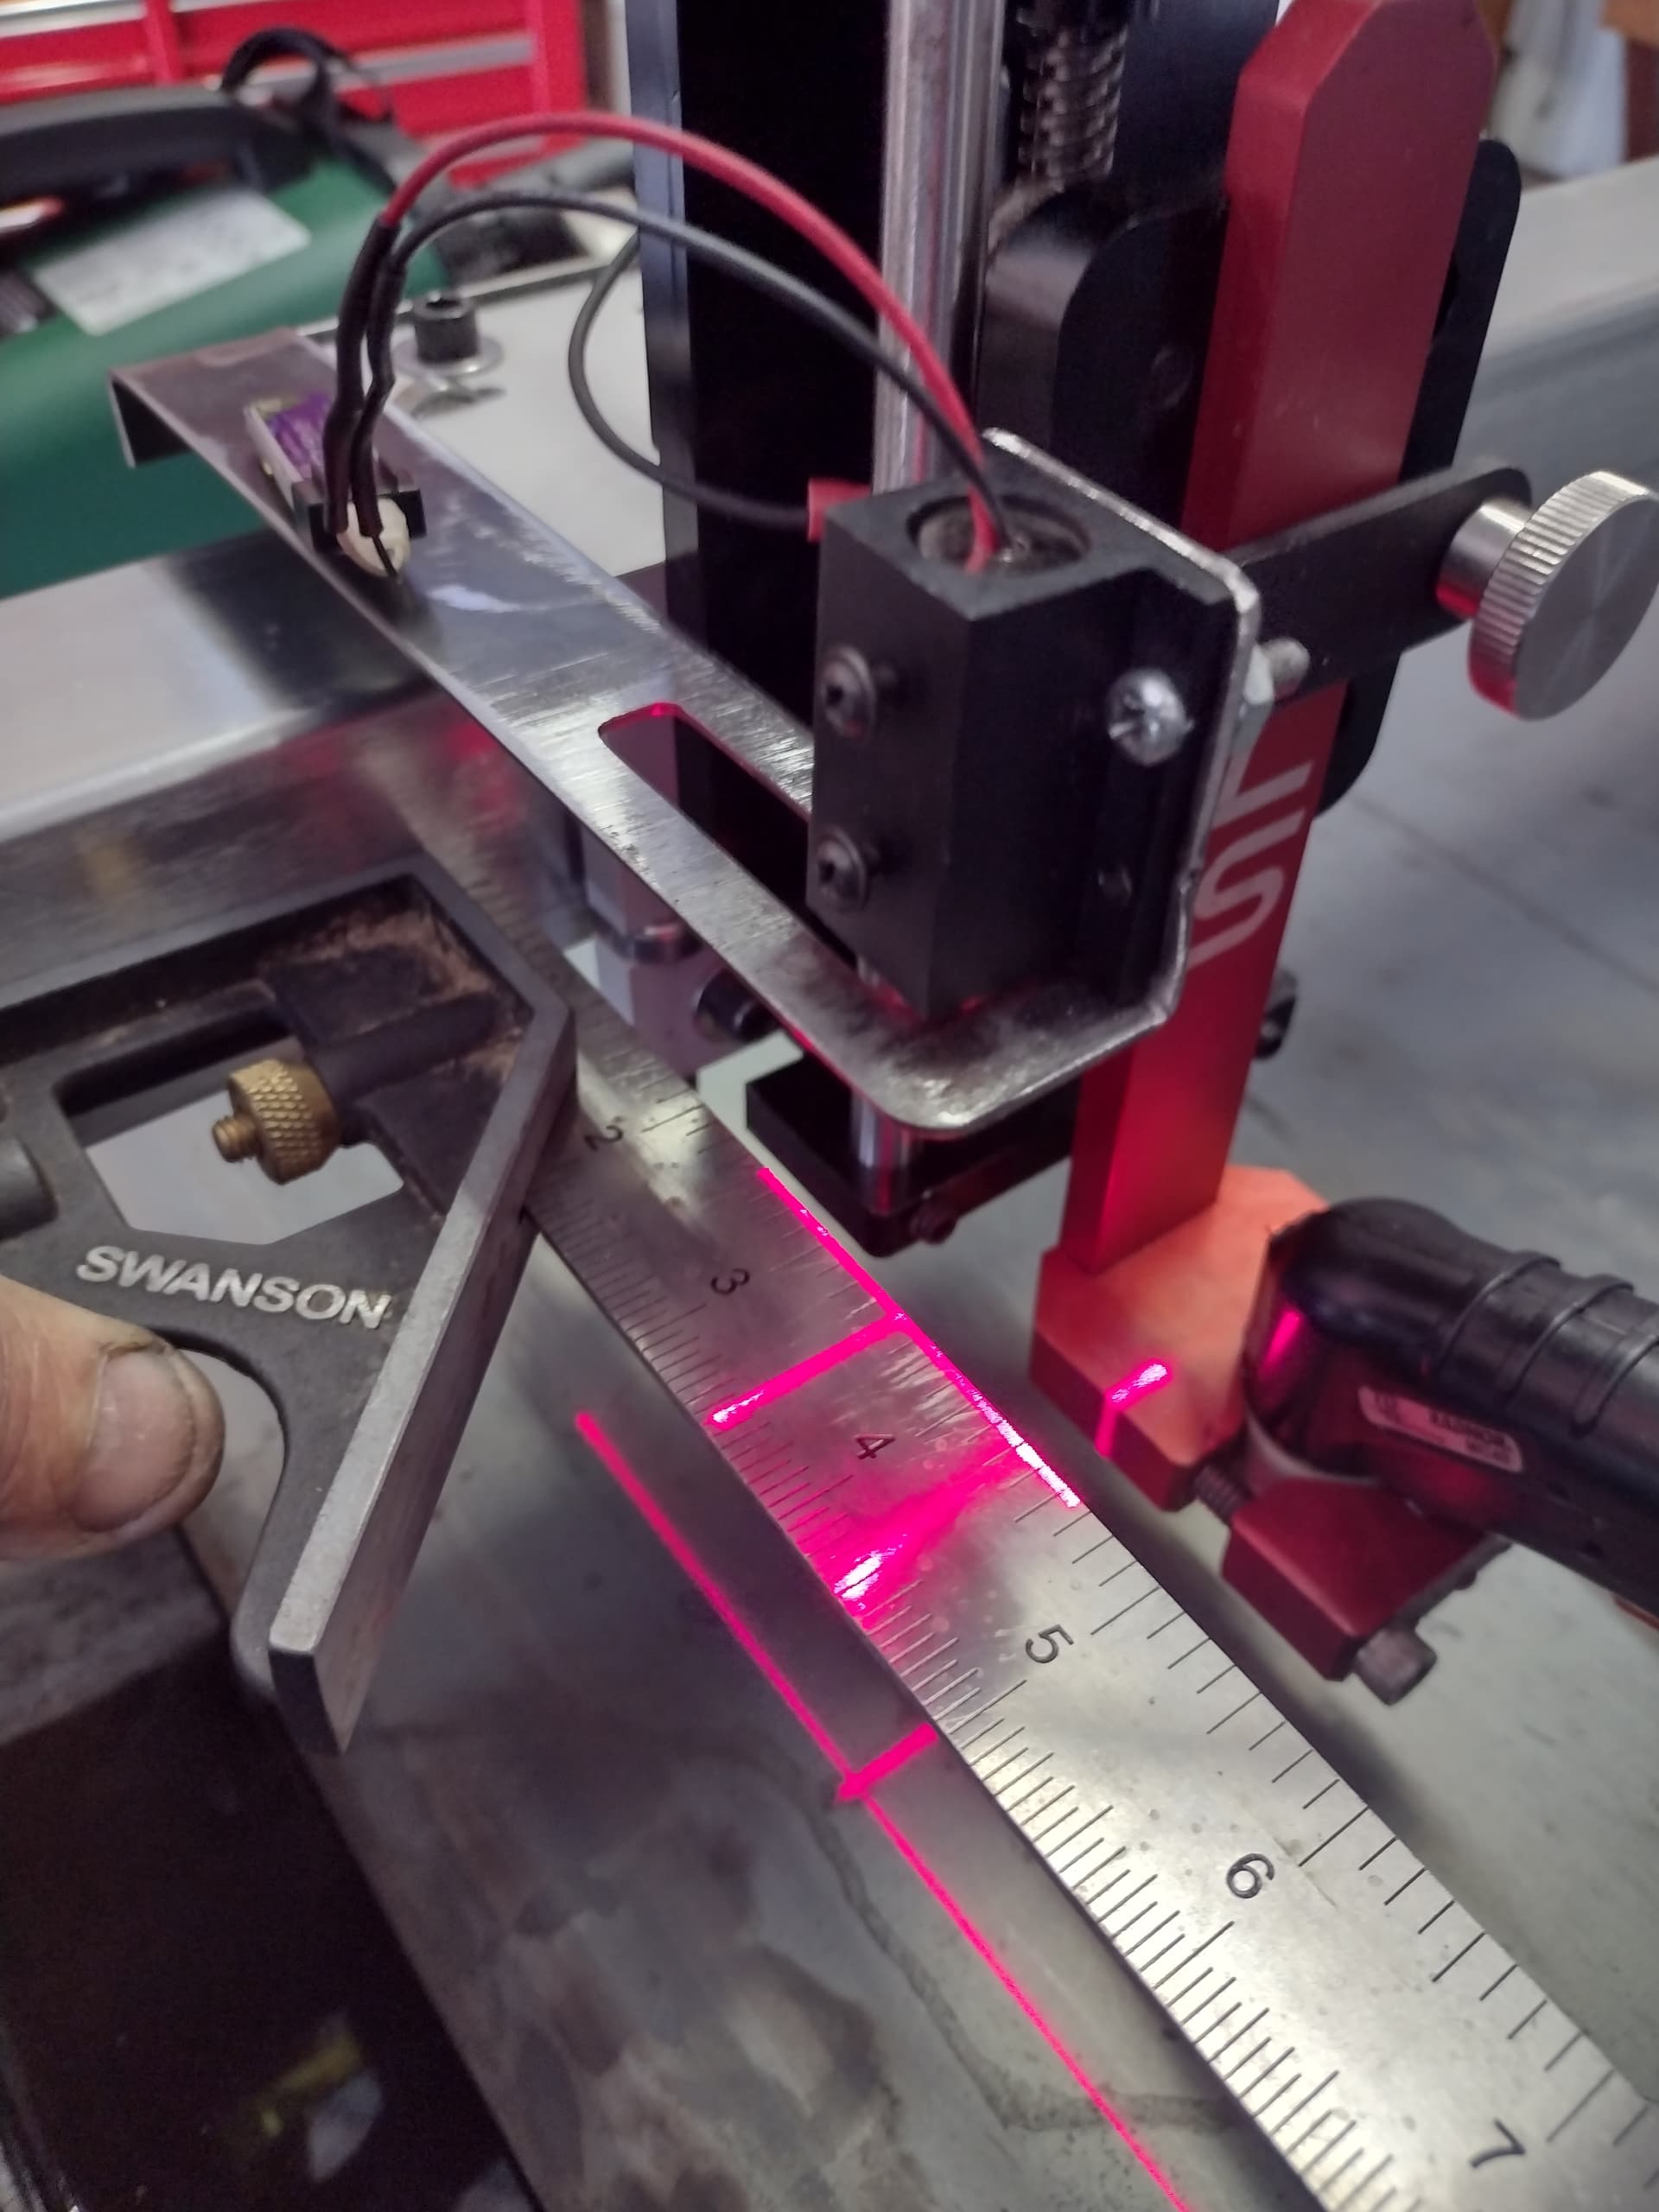
The square it up I used a adjustable square and rotated the crosshair until it’s vertical line was even with my t-square and then lock the laser down with the two little set screws
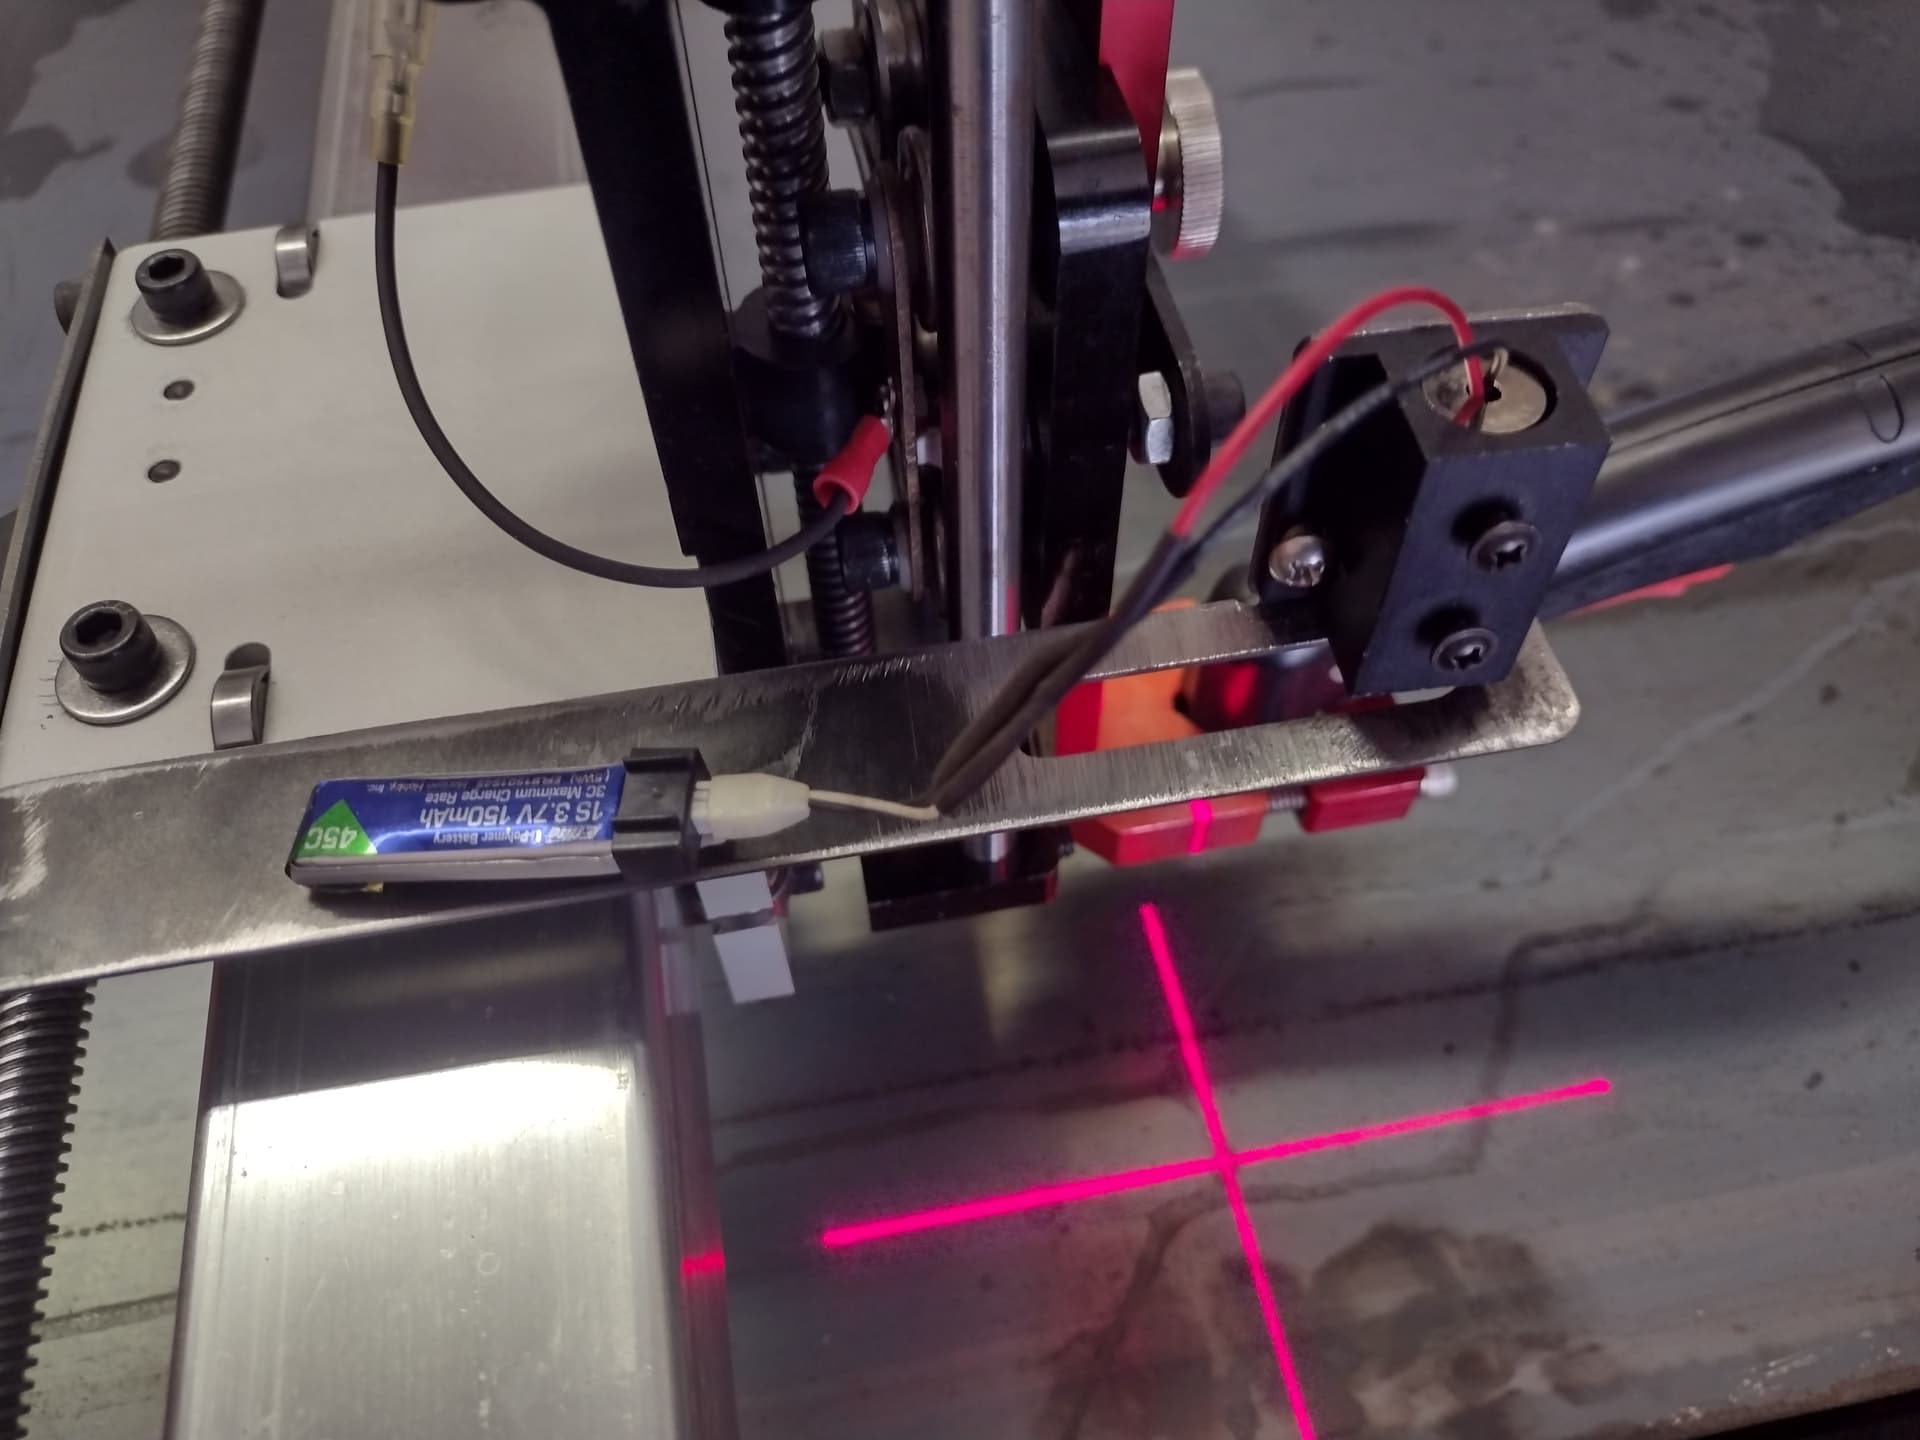
The laser crosshair pointer that I bought off of Amazon took a 3 volt power supply so to make a long story short I fly the small RC planes which take 150 milliamp 3.7 LiPo battery. I had a spare female connector that I wired to the two wires on the power input of the laser pointer, and now I can plug this battery in and out to power up the laser when I need it. I’m not sure how long the laser will illuminate off of a fully charged battery but you can get these batteries at any RC hobby shop or simply wire two double A’s together for 3 volts and I think that would do it as well you can even add a power switch. It would be nice if the fire control operating system and control box would give us some programmable inputs and output so we could turn the laser pointer off and on via the fire control app. If anybody from langmuir is watching, would this be a possibility?
Anyway it’s super simple and a lot of people assume you have to line up the laser crosshair or lines on the center of your plasma nozzle but not necessarily… You can always just tap the X register and fill in whatever you would like it to be…
Hope this helps and let me know if you have any questions
Looks a lot better than what I tried for 6 months and then ripped off the table. I had those adjustable flimsy metal ball and sheet metal brackets. They were shook out of alignment after the first cut.
I do like what Richard is working on. A bit more expensive but very concise by design:
Interesting that both of your topics dropped on the same day and @Sticks has a solution as well that he revealed a day or two ago.
This gives credence to the fact that this continues to be a topic that has not been fleshed out to complete satisfaction.
Bravo to all of you and thank you for trying to make this plasma system the most user friendly and accurate that it can be.
Thanks jim, I’m going to work towards being able to activate the laser with a digital output via the fire control user interface… On the big AKs systems that I programmed in the past we could just tie into an output and power the crosshair with that output and I’m sure that we can probably do the same thing here just have to get a hold of the wiring diagram from the langmuir guys and see if they’ll put a button on the user interface screen that we can use… I’ll keep you posted… Don’t really like to have to remember to flipping on off switch anywhere I’d rather it just come on via the touch panel when I need it… Also thought about milling a torch mountain on the Bridgeport but I actually want the crosshair laser up out of the direct vicinity of the torch cup and nozzle… Way too dirty down there close to the water LOL
That is exactly right. I found that I would switch them on and two weeks later see that they were on anytime the table was powered. I was using a cell phone USB charger plug so no worries of battery drain.
Yep, I’m still on that little rechargeable battery from the RC airplane and it’s holding up pretty well after a few hours of use still going strong. It has a small USB charger module that seems to charge it up in about 15 minutes if I’m flying the plane.
One thing I might add is that being able to stand off and up out of the way, the crosshair style single unit allows you to align the vertical and horizontal which is a little quicker in allowing the sheet to be aligned to true x and true y direction. I hate it when the sheet is skewed on the table and if I’m cutting close to the edge of the sheet it runs off the edge of the material if I’m not square LOL
We have all been there. Even in the middle of the sheet you don’t want some odd angle to line up to. Once, I cut out a 22 inch circular plague out of the middle of the sheet because I forgot to “Go To Work Zero” before hitting START. It took me months to cut various shapes out of the remainder of that piece of metal. I actually got pretty good use of the metal but it was lots of positioning and repositioning to align things around that round hole! Those are the lessons that stick with you the longest.