Wanted to make a thread for tips & tricks people discover for the MR-1 build or any mods they think improve the MR-1’s capability.
Here’s my first addition:
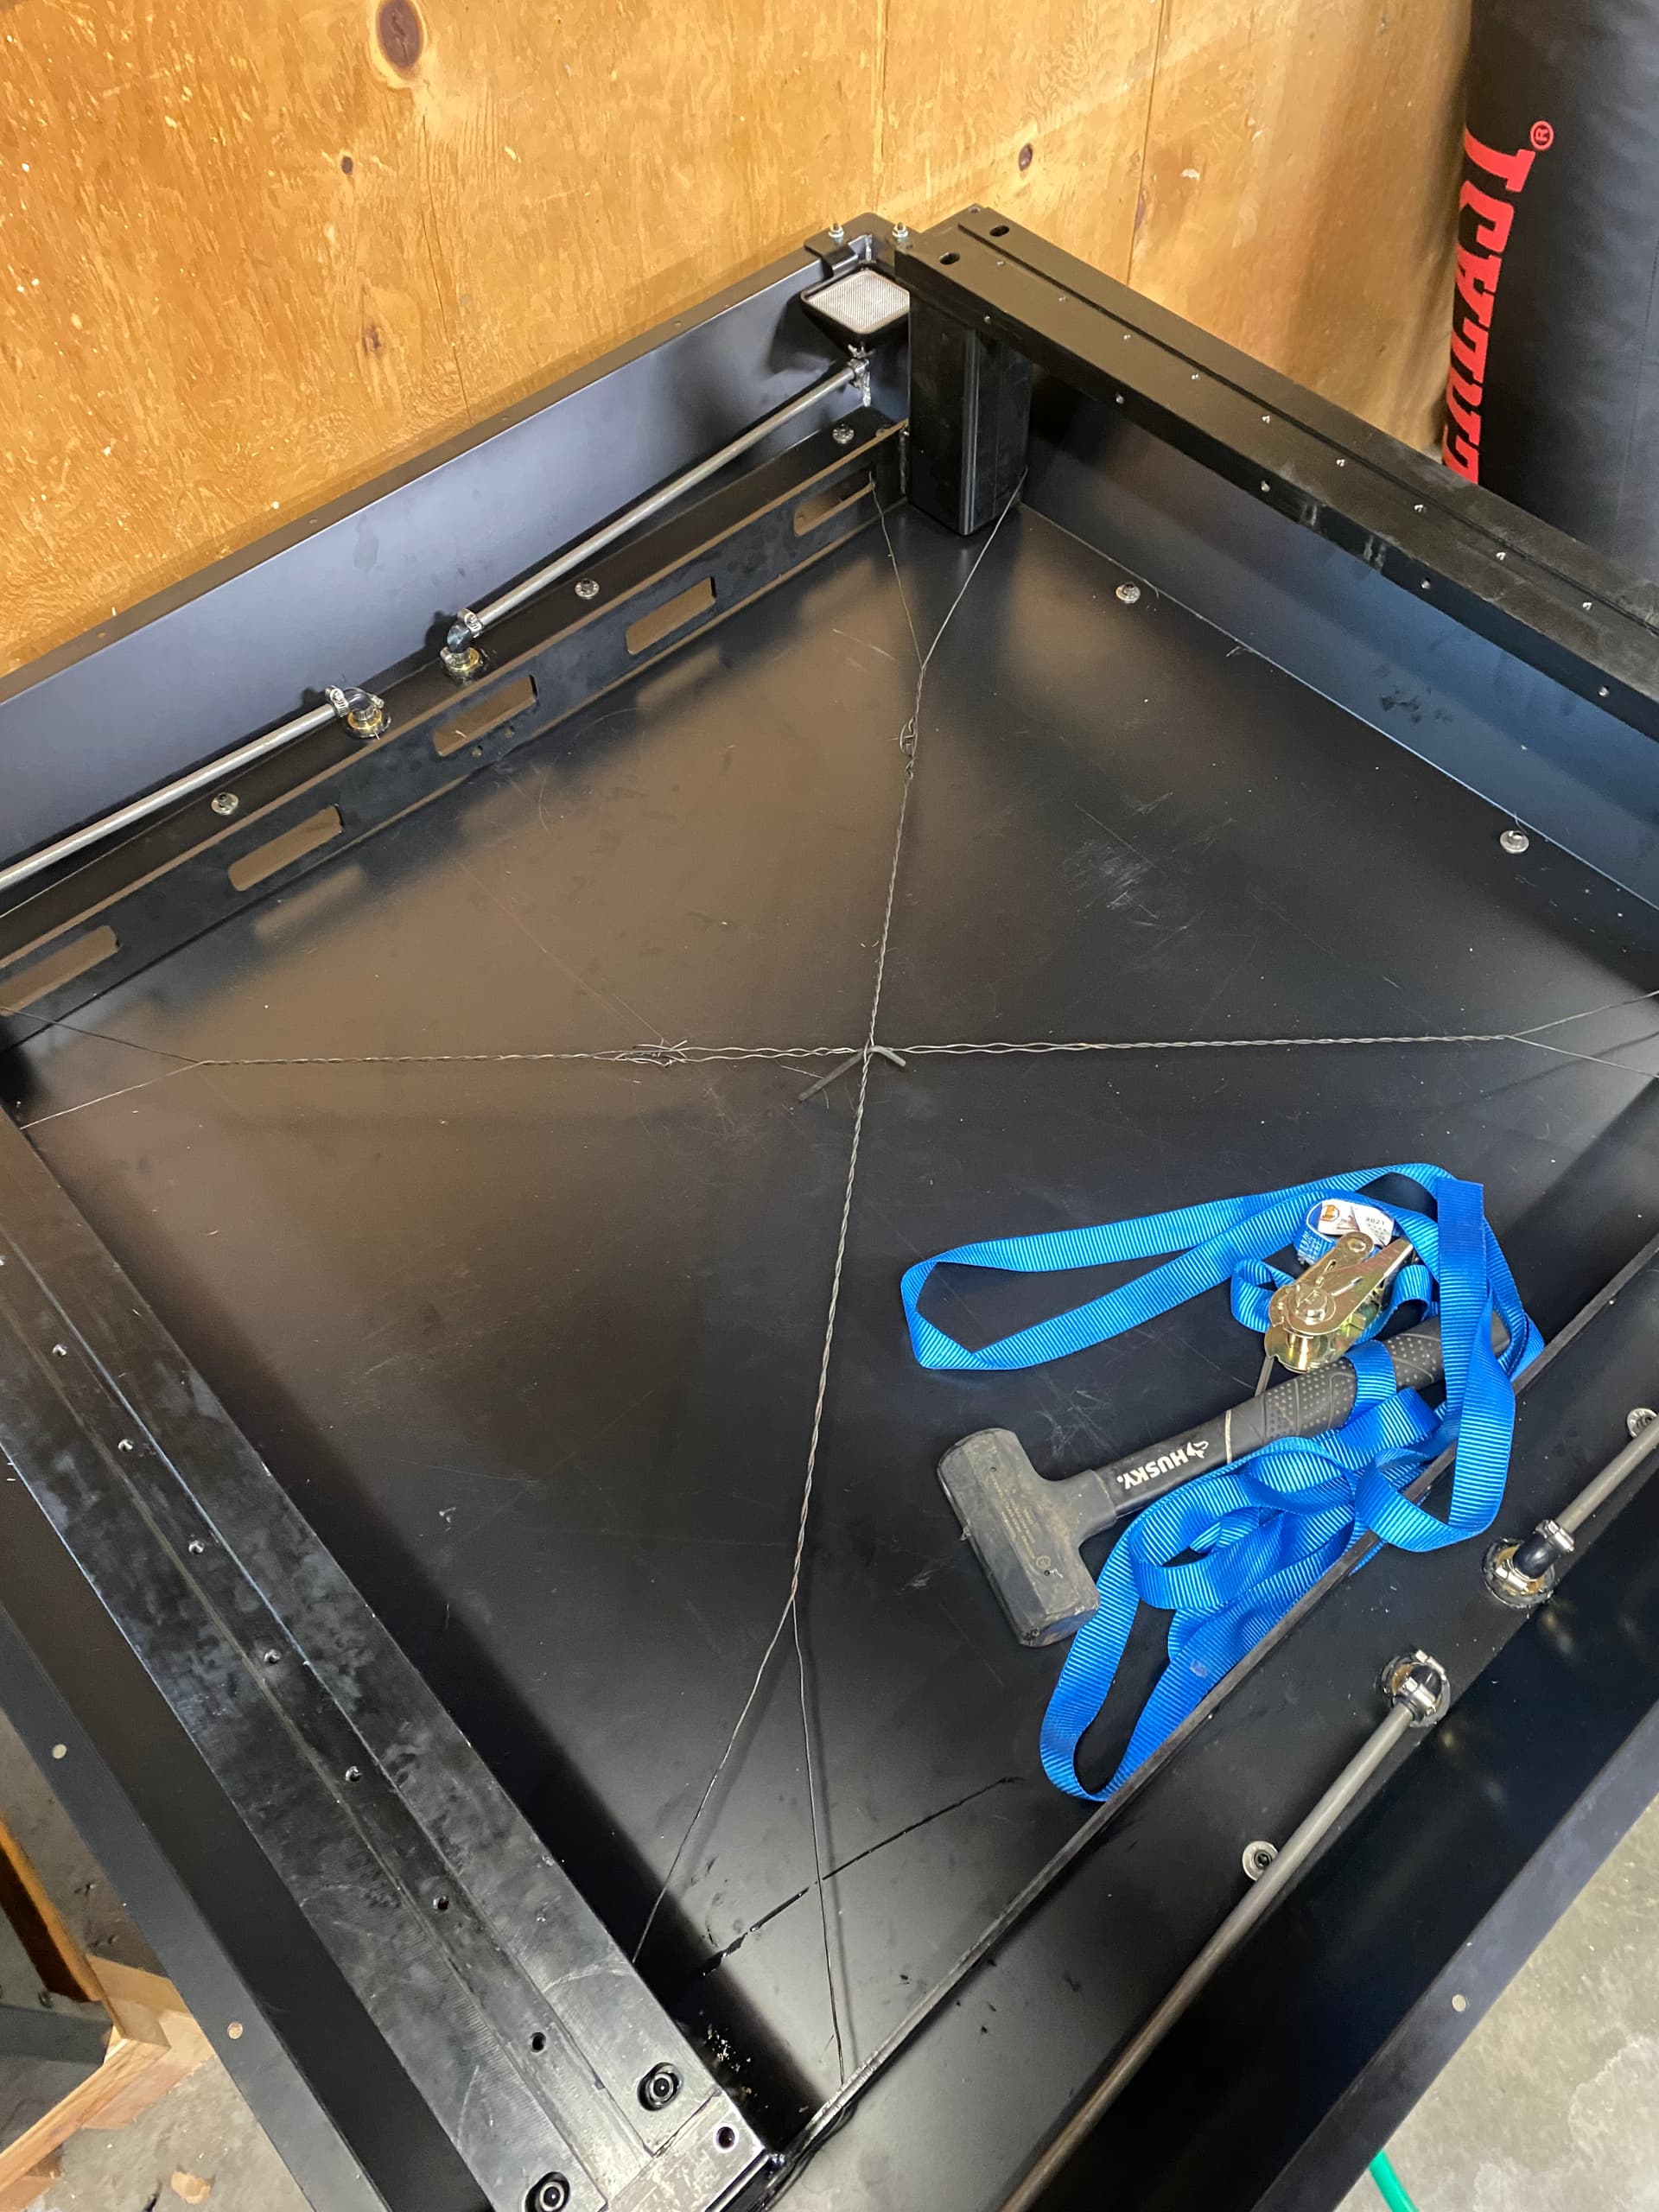
When dialing in the Y-axis ways they want you to eliminate any parallelograming. In other words, each diagonals should measure the same. I found this very difficult to achieve. I think it’s because they are welded.
I dialed in perfect measurements on the diagonals by using tie-wire and a hex key to basically winch opposing corners together by twisting. This was very effective. If you keep the wire down low it wont effect any other aspect of the build and you can just pour concrete over it.
220v Electrical plug… 3-pronged vs 4-pronged.
I’ve run into this problem. I already had my shop wired up for 220v for another machine. The outlet that I used is of the 4-pronged round/locking variety. I see now that the MR-1 comes with a 3-pronged style plug. I’ve searched online and have found some adapters. My question is this. It’s my understanding that the 3-pronge plug only has two hot wires and a neutral. Is the neutral grounded/attached to the control box? The 4-pronged has two hot, a neutral, and a ground wire. Should I disconnect the neutral from the control box and then attach the ground wire in order to be safe? How will this affect the electronics?
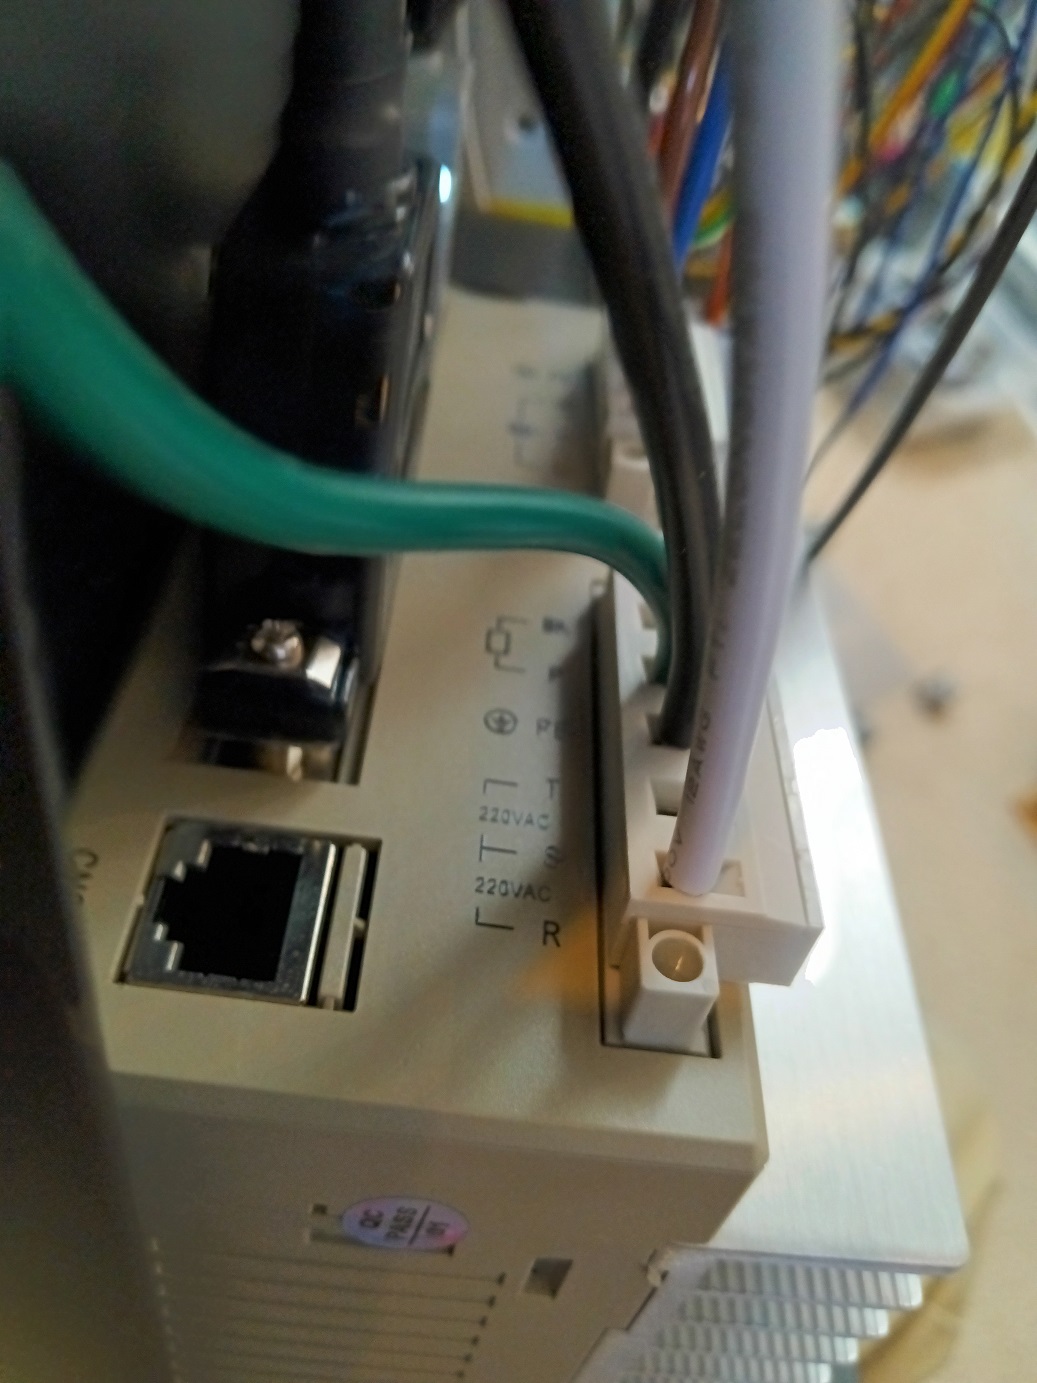
220V doesn’t use neutral, the neutral in the 4 prong plugs are for dryers, ovens etc. that have mixed 110 and 220. In the photo, white and black are hot (L1 & L2), the green is ground.
My hole shop is wirerd for 4 prong twist lock. I can hook any of my 30 amp machines up . I put 4 prong plugs on my 3 prong machines. You just dont have a common.
What you have there is
Terminal R - Hot Leg - White Wire
Terminal S -neutral - not wired
Terminal T - Hot Leg - Black Wire
Terminal ? - Ground - Green Wire
Wire your plug (looks like a NEMA L14-20) as Hot/Hot/Ground and drop the neutral wire.
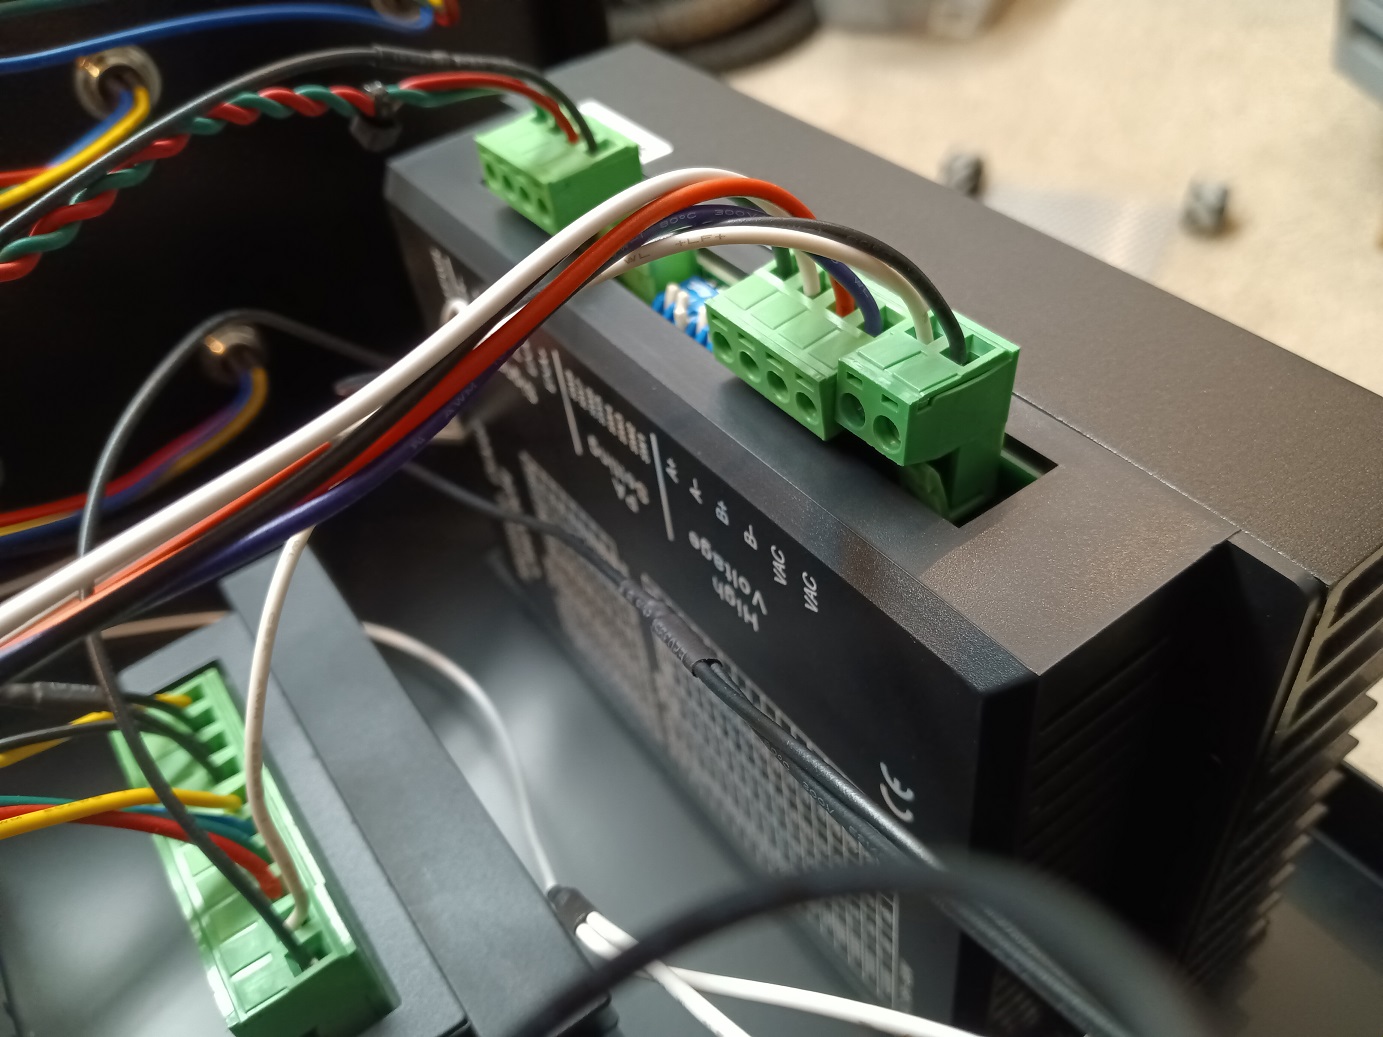
Well, it turns out that having the questions about the plug and such was a blessing. Once I opened the control box case to have a look at the power connections and you good folks in the forum steered me in the right direction, I proceeded to install the Z-axis upgrade. While following the directions and installing the drive I noticed a difference between the green connectors on the new driver versus the same driver already installed for the spindle. Well it turns out that one of the green connectors wasn’t installed properly (wasn’t fully seated and was misaligned) from the factory. I’m so glad that this was uncovered now instead of later while trying to fire up the machine. Pretty simple fix, but could have been a much bigger headache.
Glad you were able to fix this. Just a heads up that’s the X-axis stepper driver in the picture. I assume the one you swapped out for the high powered Z-axis upgrade was the one diagonal to this driver, Correct? Just making sure you’re good to go!
Yes Sir, correct. I swapped out the other smaller driver. Now I have a question. Since I now have a spare driver. Is there already room on the main board to support a 4th axis? Maybe for a rotary table?
Any idea of the estimated cost / specs / product availability of the 4th axis Langmuir is working on? I’d love to pull the trigger on that before the big box shows up at my house for the machine itself. Maybe it could be shipped in the same crate.
FALK_MFG … I would think if the post are welded to the sheet metal pan would the addition of the weight of concrete add to the post as to not be coplanar to each other. Just a thought.
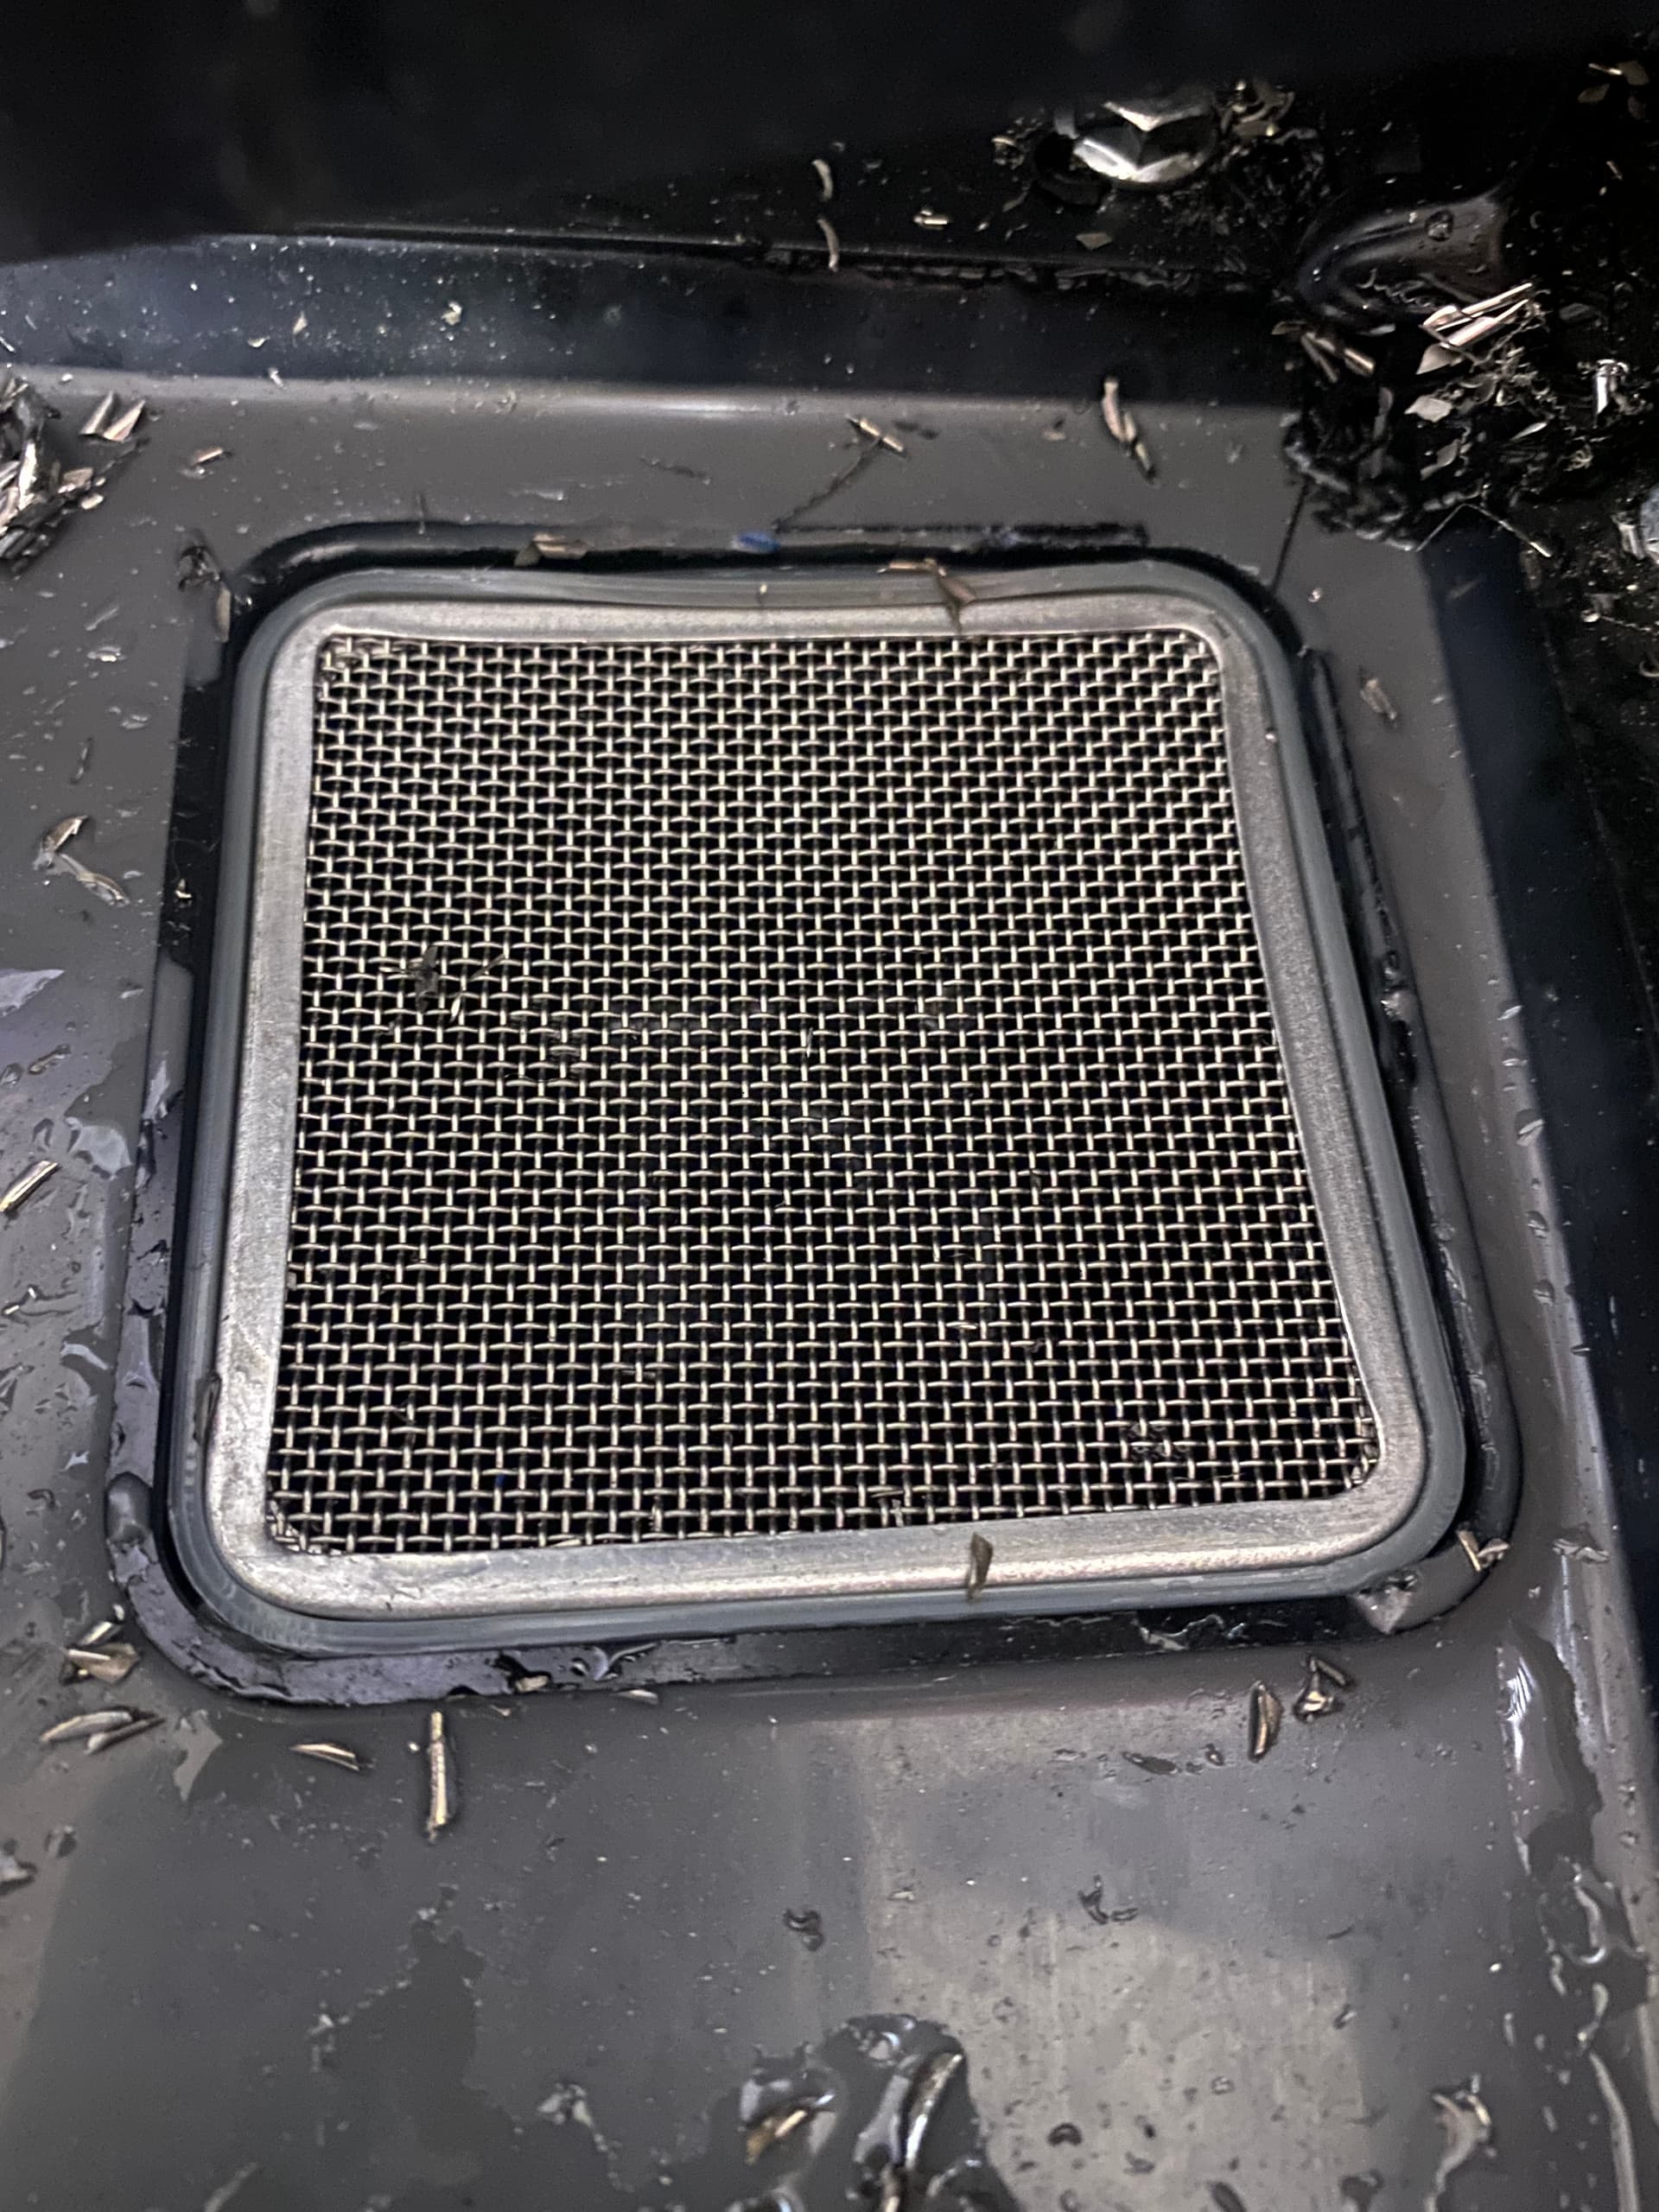
Here is another mod: Drain seals printed in a low durometer filament (TPU). Image is V1, I made a V2 that was crap. Attached is V3. make sure to print in TPU.
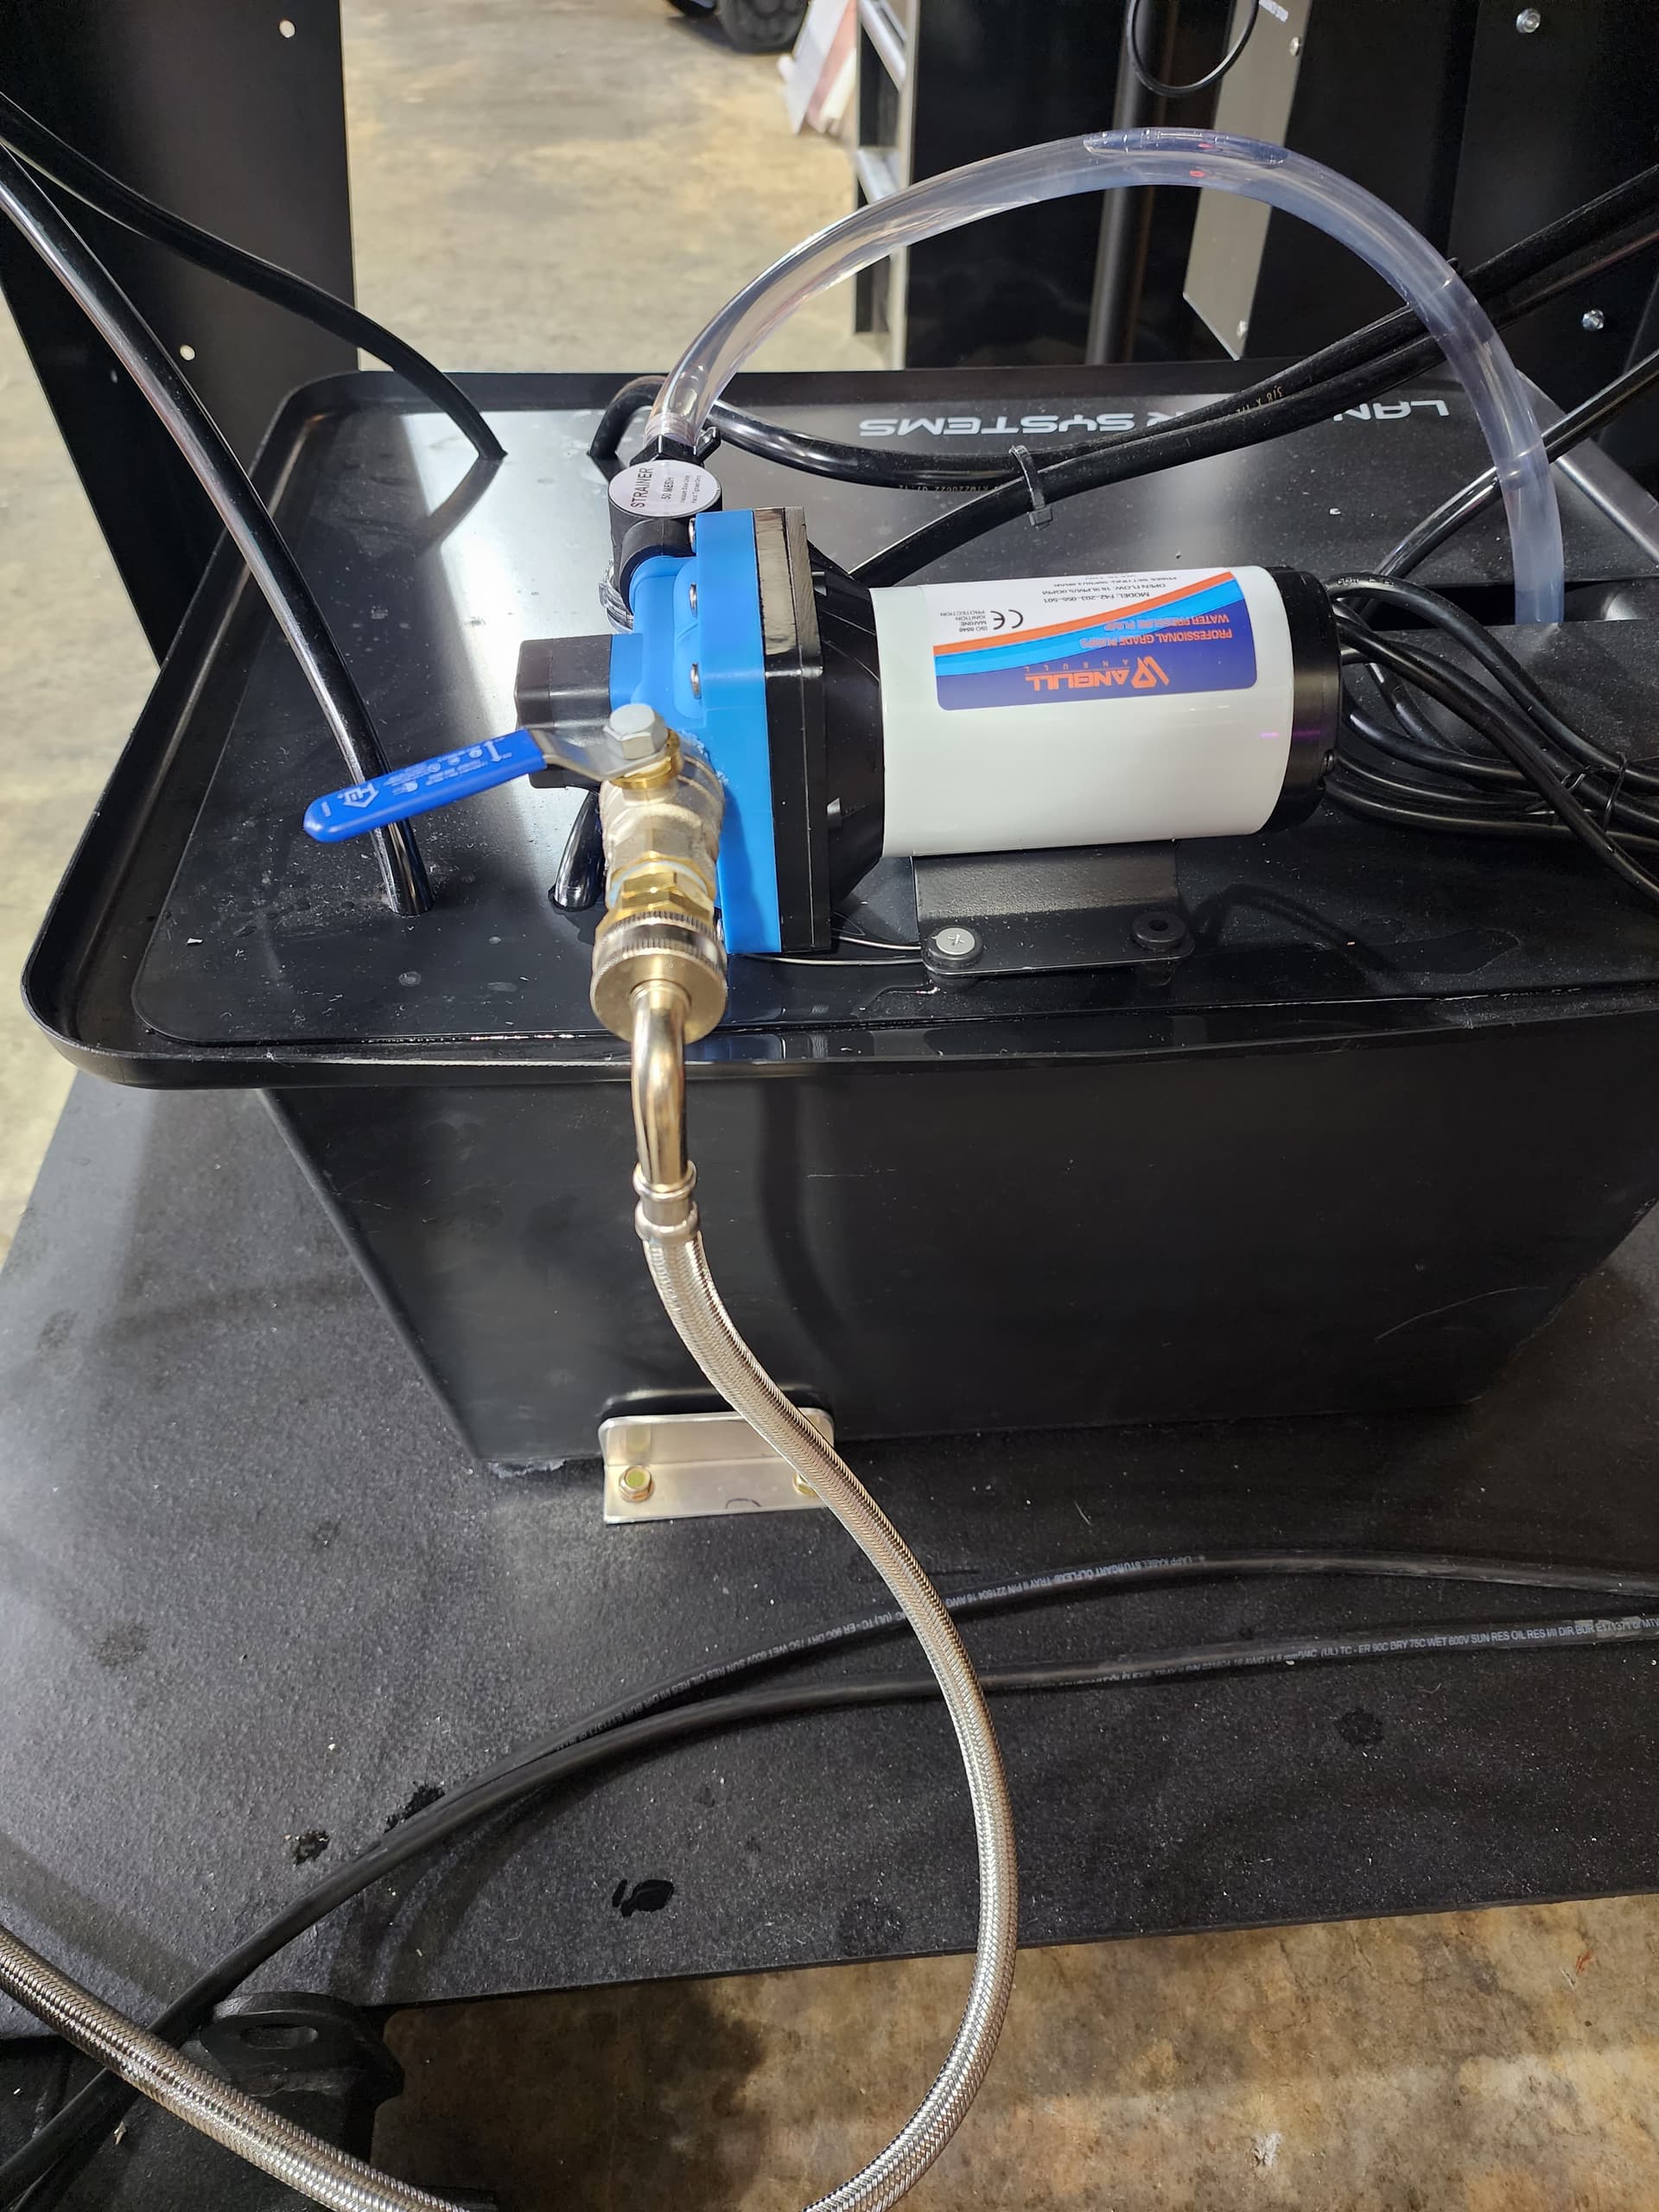
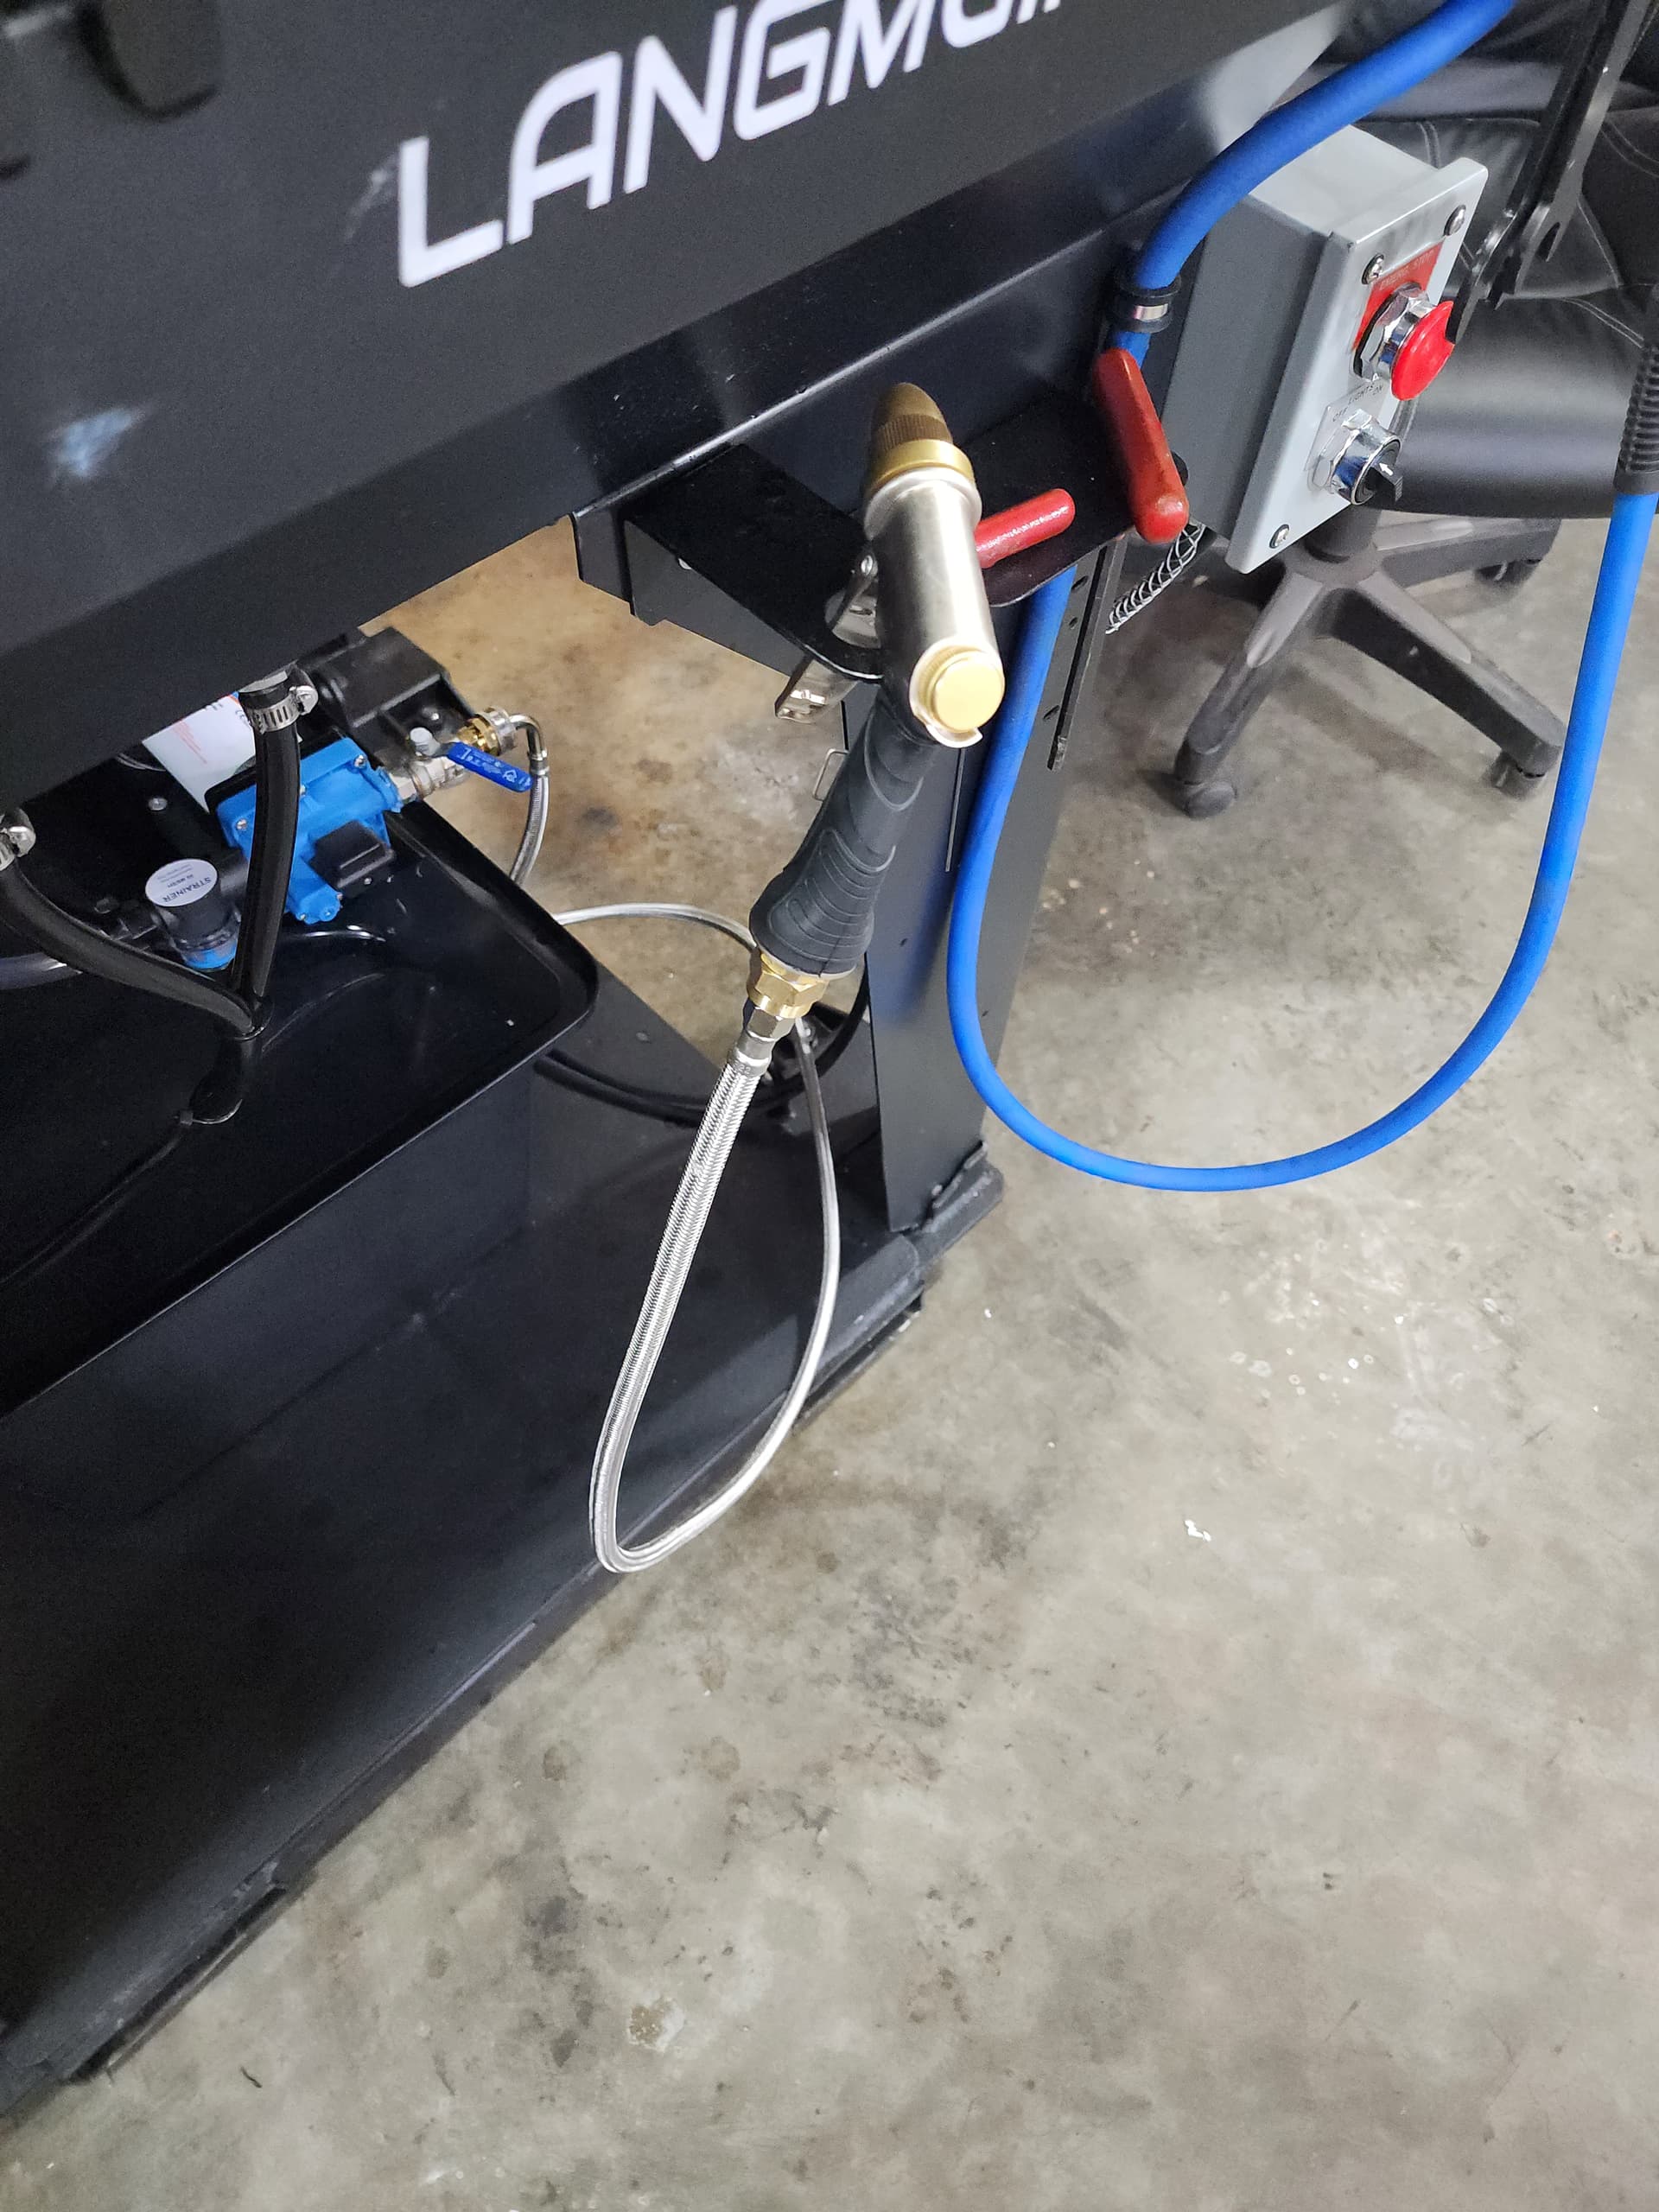
Got my hose sprayer hooked up like yours. Used a 45 psi 120v marine fresh water pump.
Small gate valve restricts flow to a manageable flow. Pressure switch keeps it off until you use it.
wow! @Bigdaddy2166. that’s over kill. I used a Y 3/8 fitting and teed off the sump pump the flood coolant comes with. provides plenty of pressure to wash off the back of the cabinet.
I worked in a production shop years ago. One of the machines we had the owner fix a garden hose to spray the cabinet with. When you turned on the coolant you better have the sprayer nozzle open or the hose would bust. Then the old mop bucket.
What is the advantage of a washdown hose instead of just an airgun to spray away chips? I understand it in a large VMC to washdown chips off walls but I guess I just assumed it’s not going to be needed for a small machine like this? Thoughts?