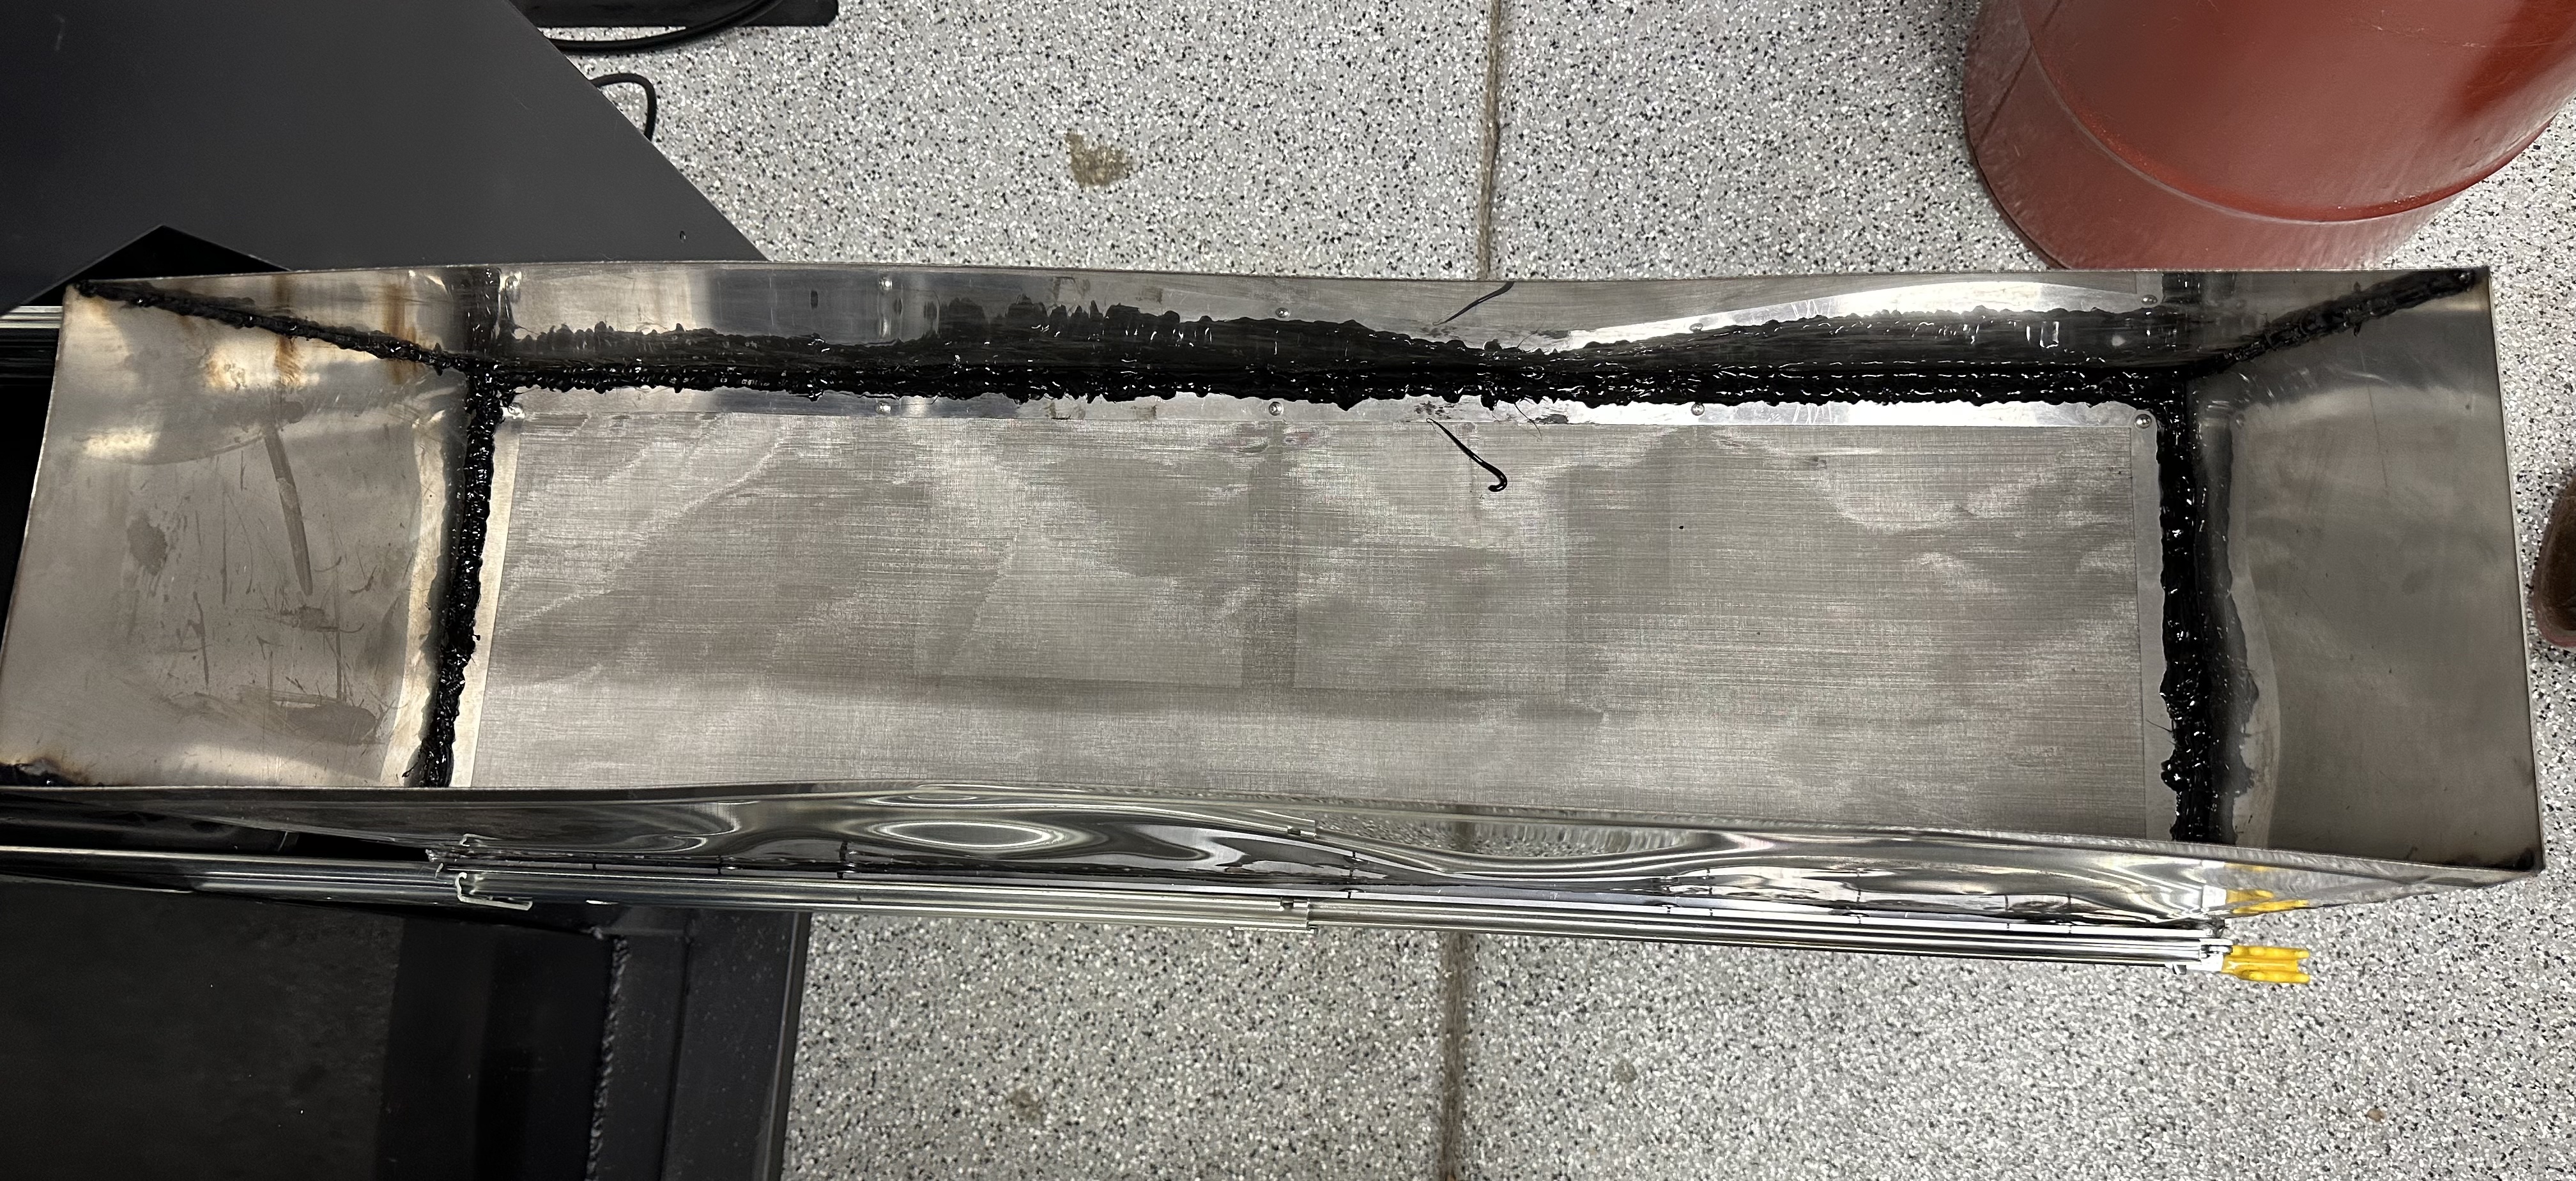
Complete the chip tray. Has a 80 mesh over a 200 mesh filter, that is clamped down and siliconed in. Can be pulled out for easy clean out. Also have a fabric type mesh that is designed for the tormach mill. They are disposable.
The more I take all the drain and chip catching I kind of wish I never installed the corner drains. Think it would be easier to clean with out them. Partial think of filling them in In the future. Will see how it goes once I actually start using it.
One other thing I am thinking of adding is spray nozzles along each side to help direct and wash the chips down the linear shower drains.
1 Like
AE95. I stole your drains idea - and I’m gonna steal your chip tray idea too. It’s brilliant. I filled up the entire tote of chips yesterday and boy was that a mess to try and get out from underneath.
The other modification I have found that I am going to need to invent or copy - and I seen it mentioned in another thread this morning already - an air blast system.
I was cutting 5”x12”x1/2” 304 ss “wrenches” yesterday and found a couple things. 1 being I should’ve installed the high powered X axis from the beginning but means how I mainly cut stainless - I waited to “see the difference”. Bad idea. I’m actually ordering 2 more drivers for the Y tomorrow. The next issue being chips not being able to evacuate a deep slot with coolant alone. I had to continually put a manual blast of air to the contouring slot or it would eat my endmill (it was an expensive day of learning for me).
2 Likes
Thanks and glade my idea are inspiring other to take it to even greater levels!
Here is the link for the mesh filter
TIMESETL 304 Stainless Steel Woven Wire 80 Mesh - 12"X 40" Filter Screen Sheet Filtration Cloth https://a.co/d/iYFdT2r
Have both 80 over a 200 sheet.
This is the tormach fabric filter mesh I have on order.
1 Like
So finally making parts from my machine. First I very impressed with the machines capabilities. Still have much honing to do on my cam programming skills with fusion.
Few things that will need to be changed or added soon. 1st the corner drains will be getting filled in with epoxy in the near future. With the two large drains they do nothing and make it difficult when cleaning out. Would rather it be smooth to squeegee off. Seconds is to add some shielding on the Y rails to the bottom of the x carriage so that chips do not build up on top. Next which is in progress is adding a second pump with several nozzle along the y rails to help push the chips down the linear drains. Last is the doors, need to figure out something the left door when open it drips coolant on the touch screen and then the touch screen does not work tell I clean it off. Have a few different ideas.
Another idea to maybe add to my pull out chip tray is this scoop out tray mod for the tormach! Tormach Chip Bin Cleanout Kit
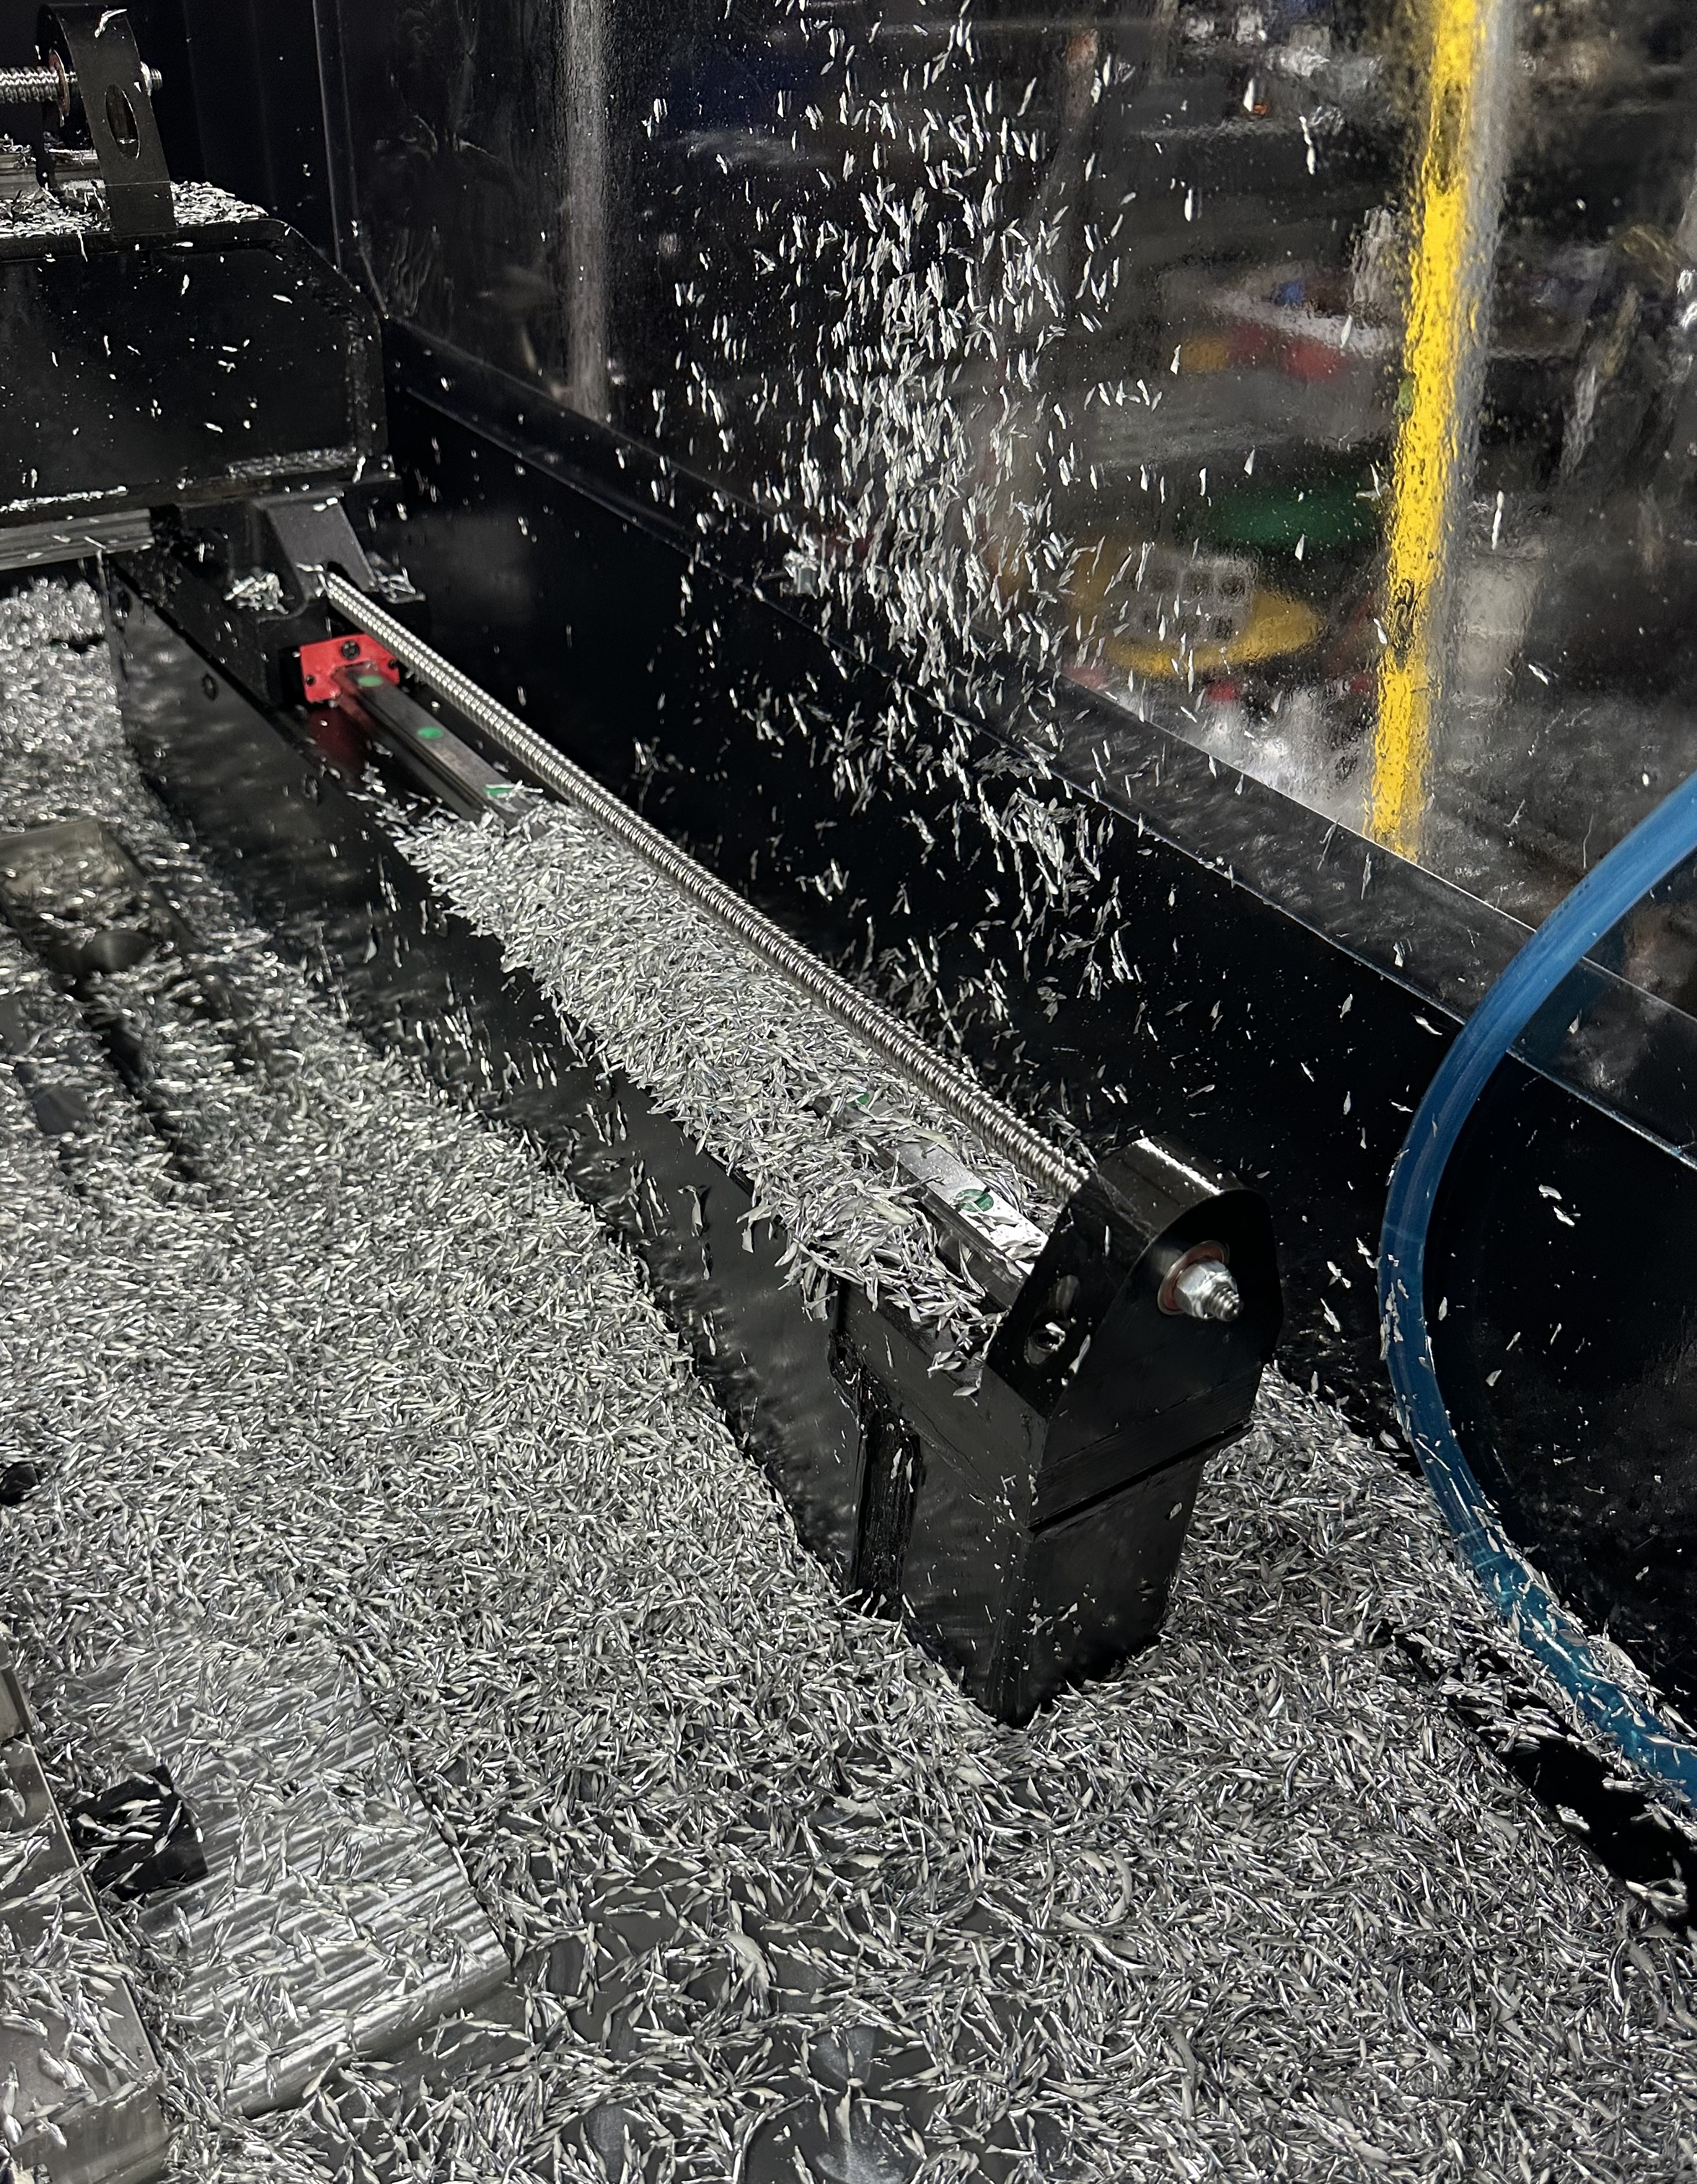
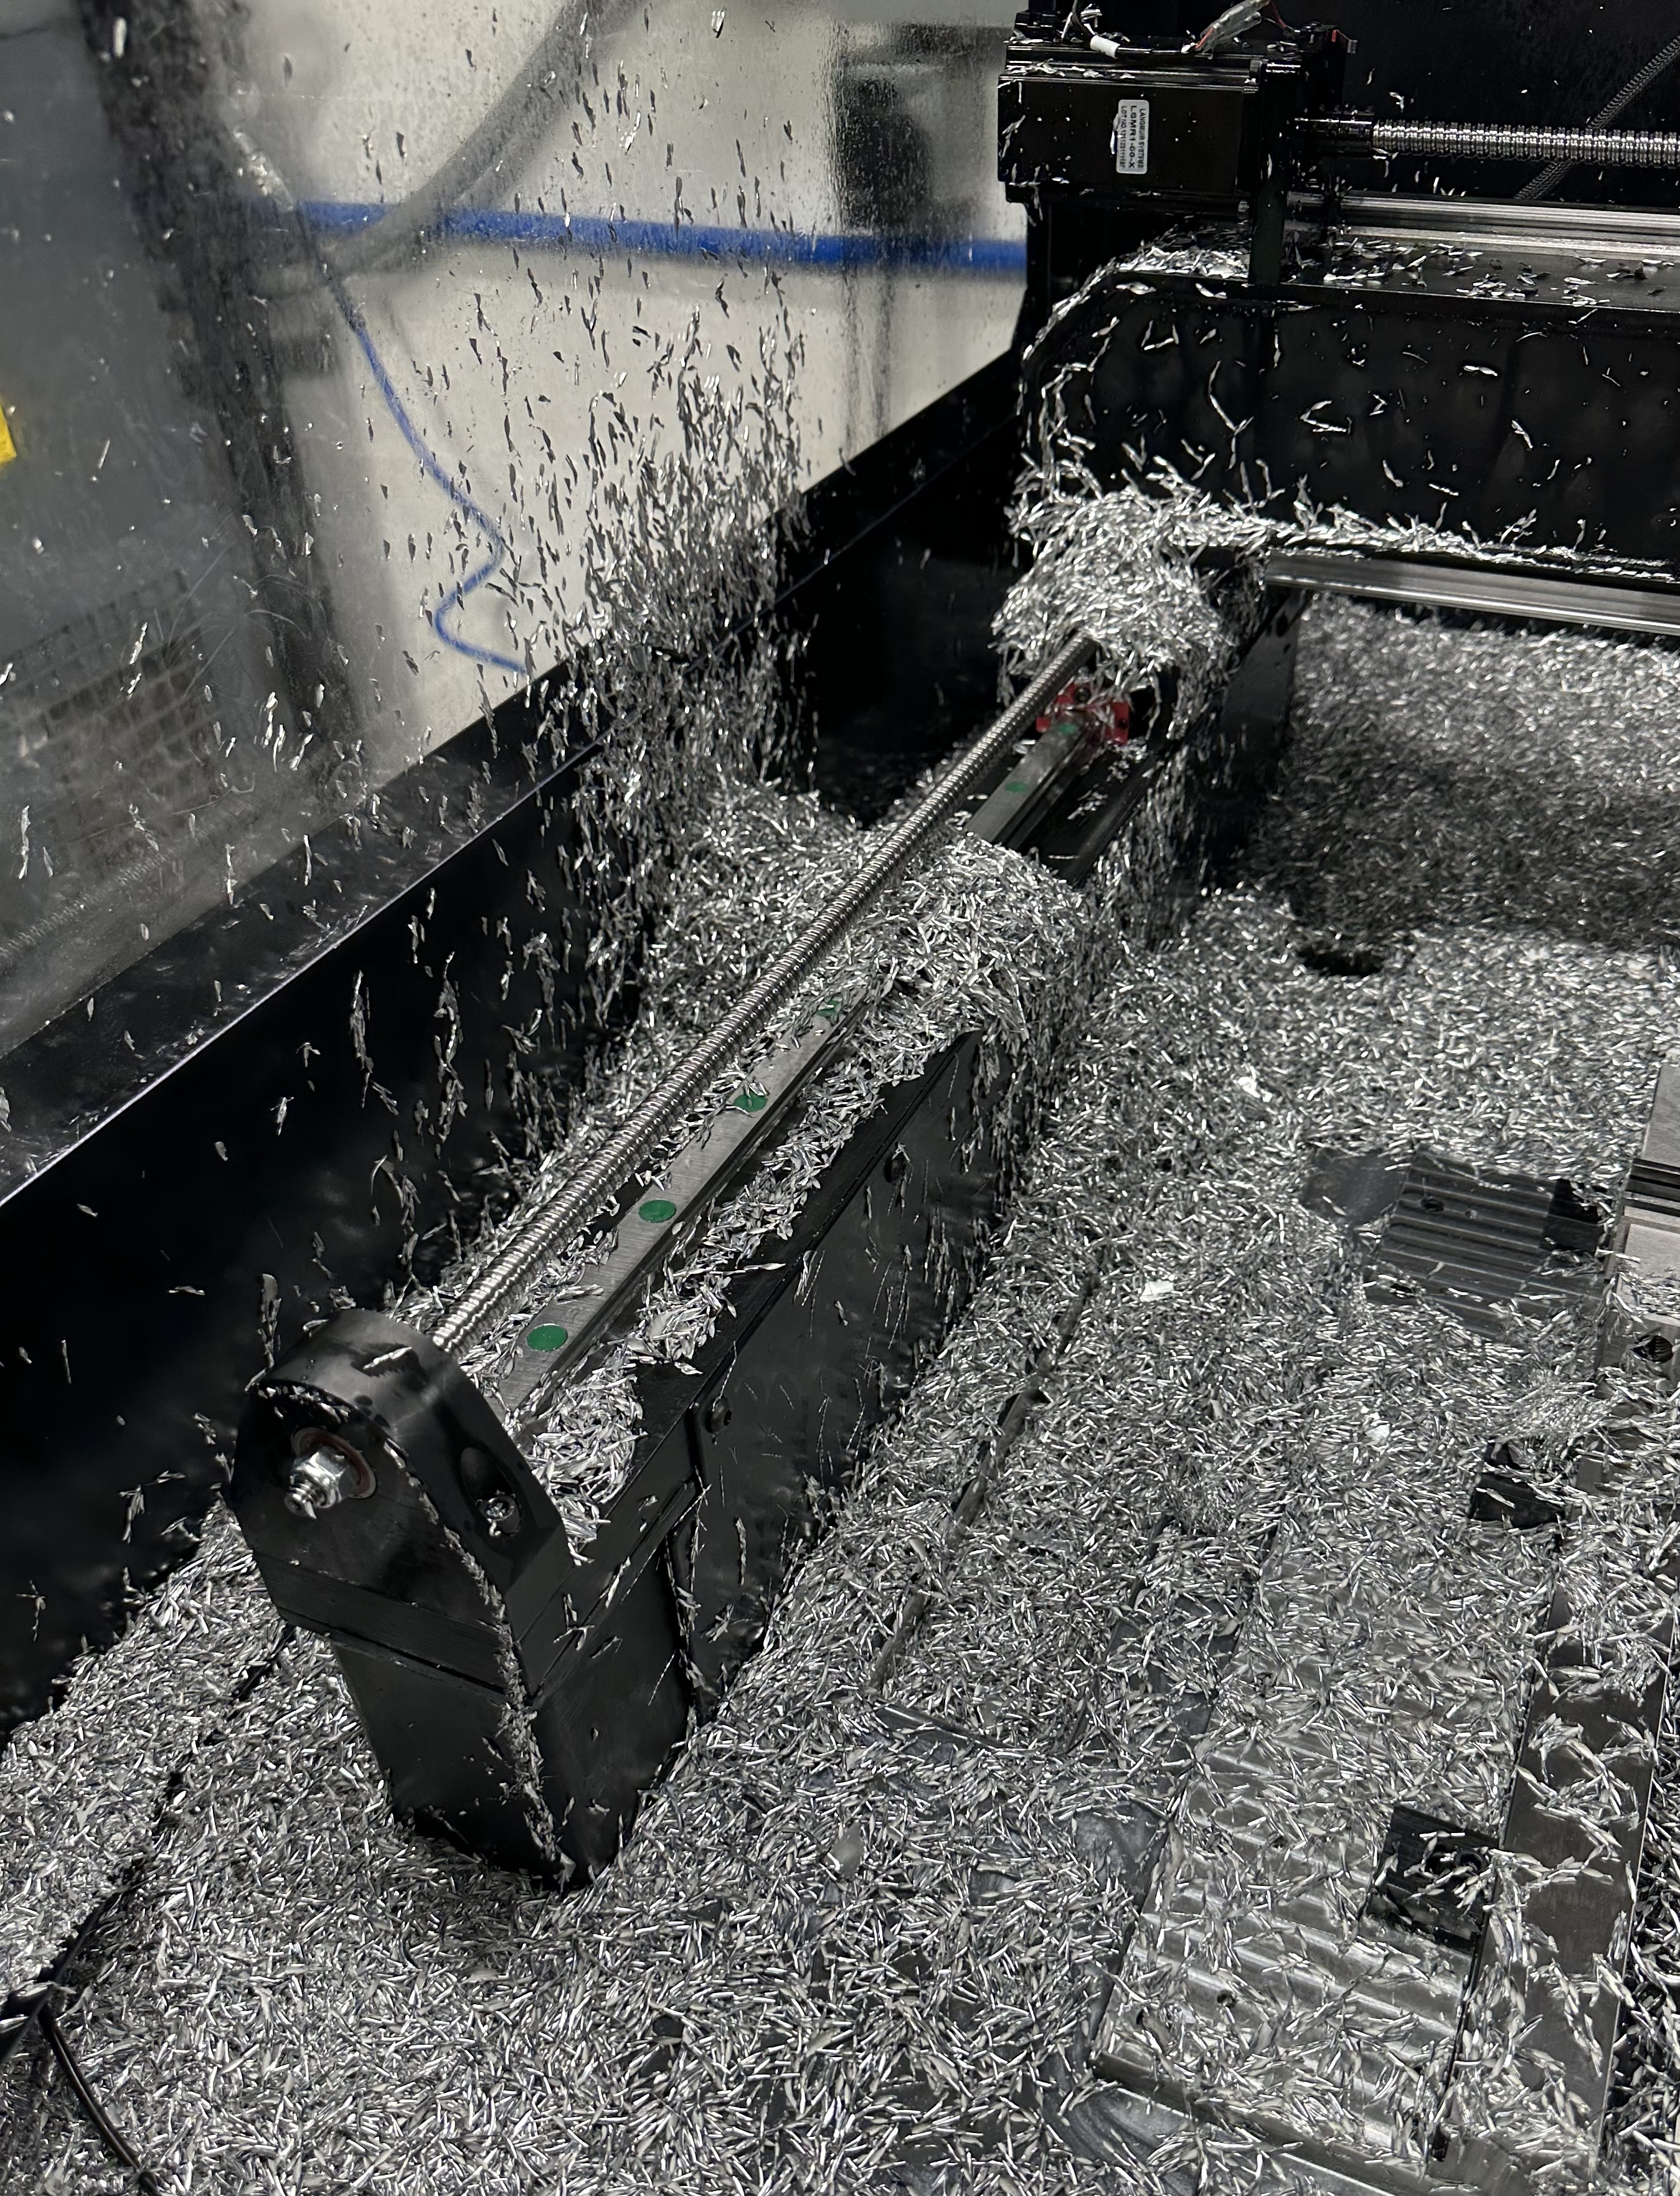
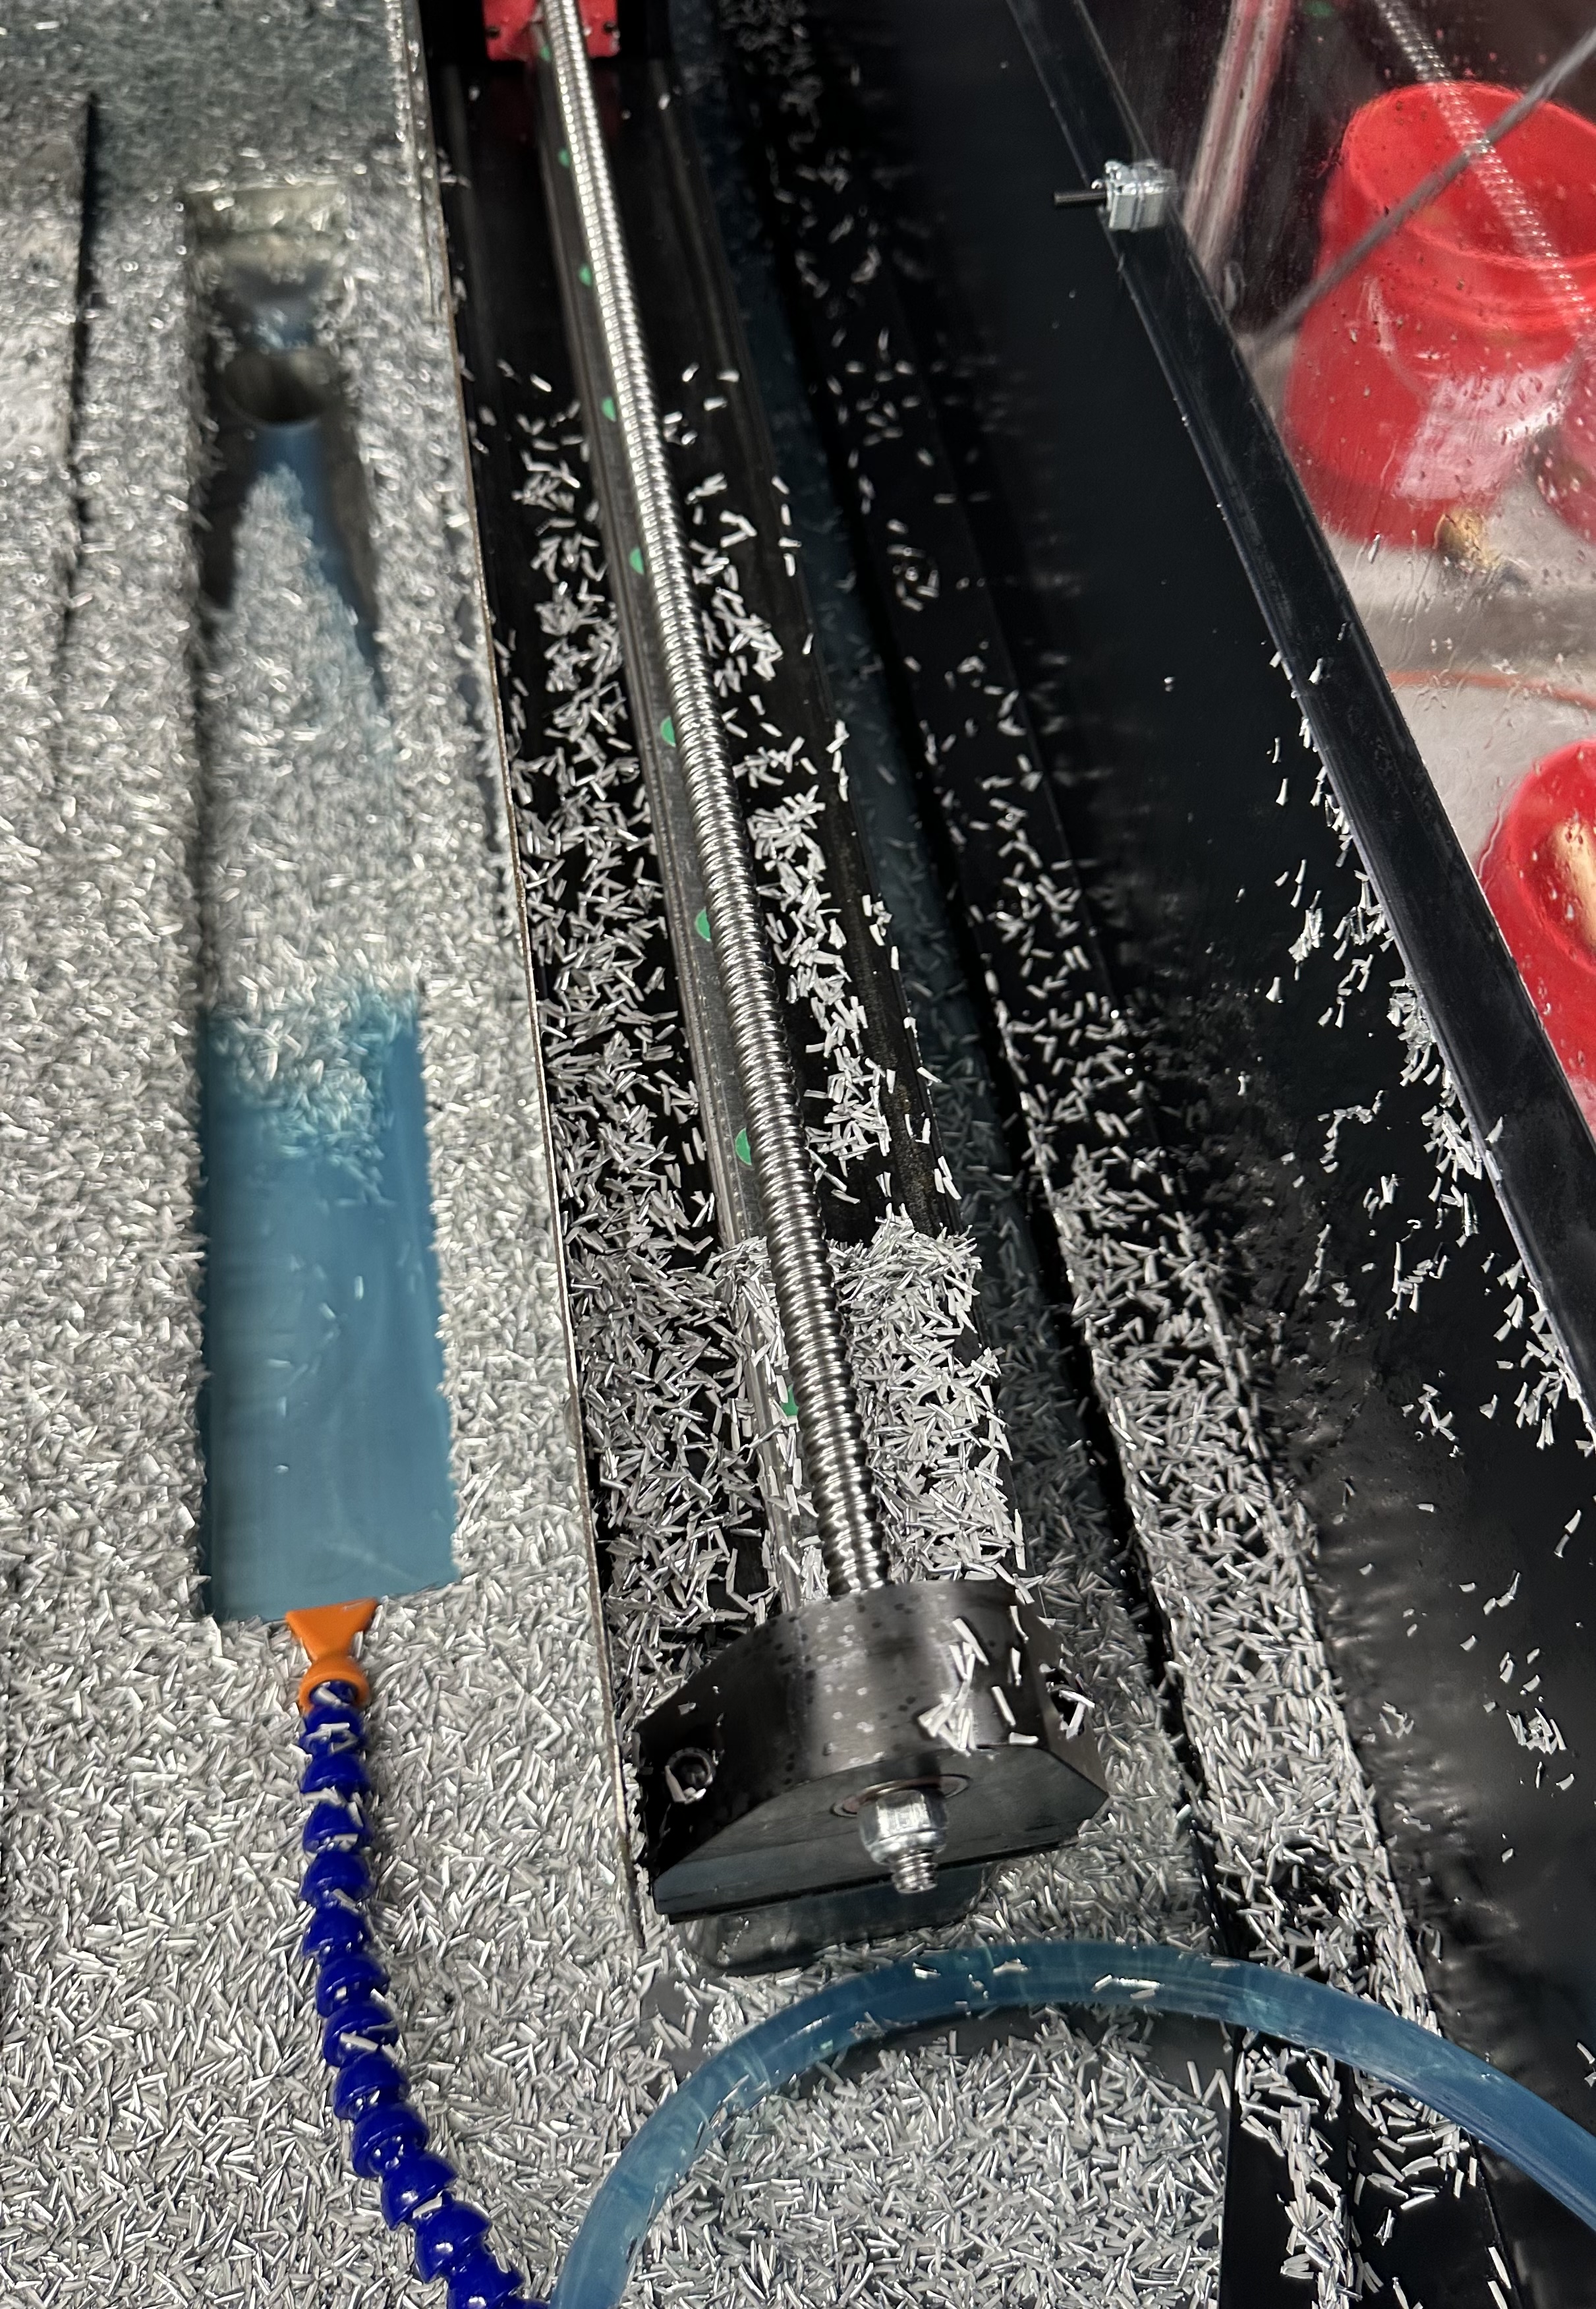
So after running the MR-1 for a week of continual use it can hog out some chips but they just all build up on the Y rails
1 Like
Decide to try making some side skirts for the y rails along with some fairing attached to the X axis beam!
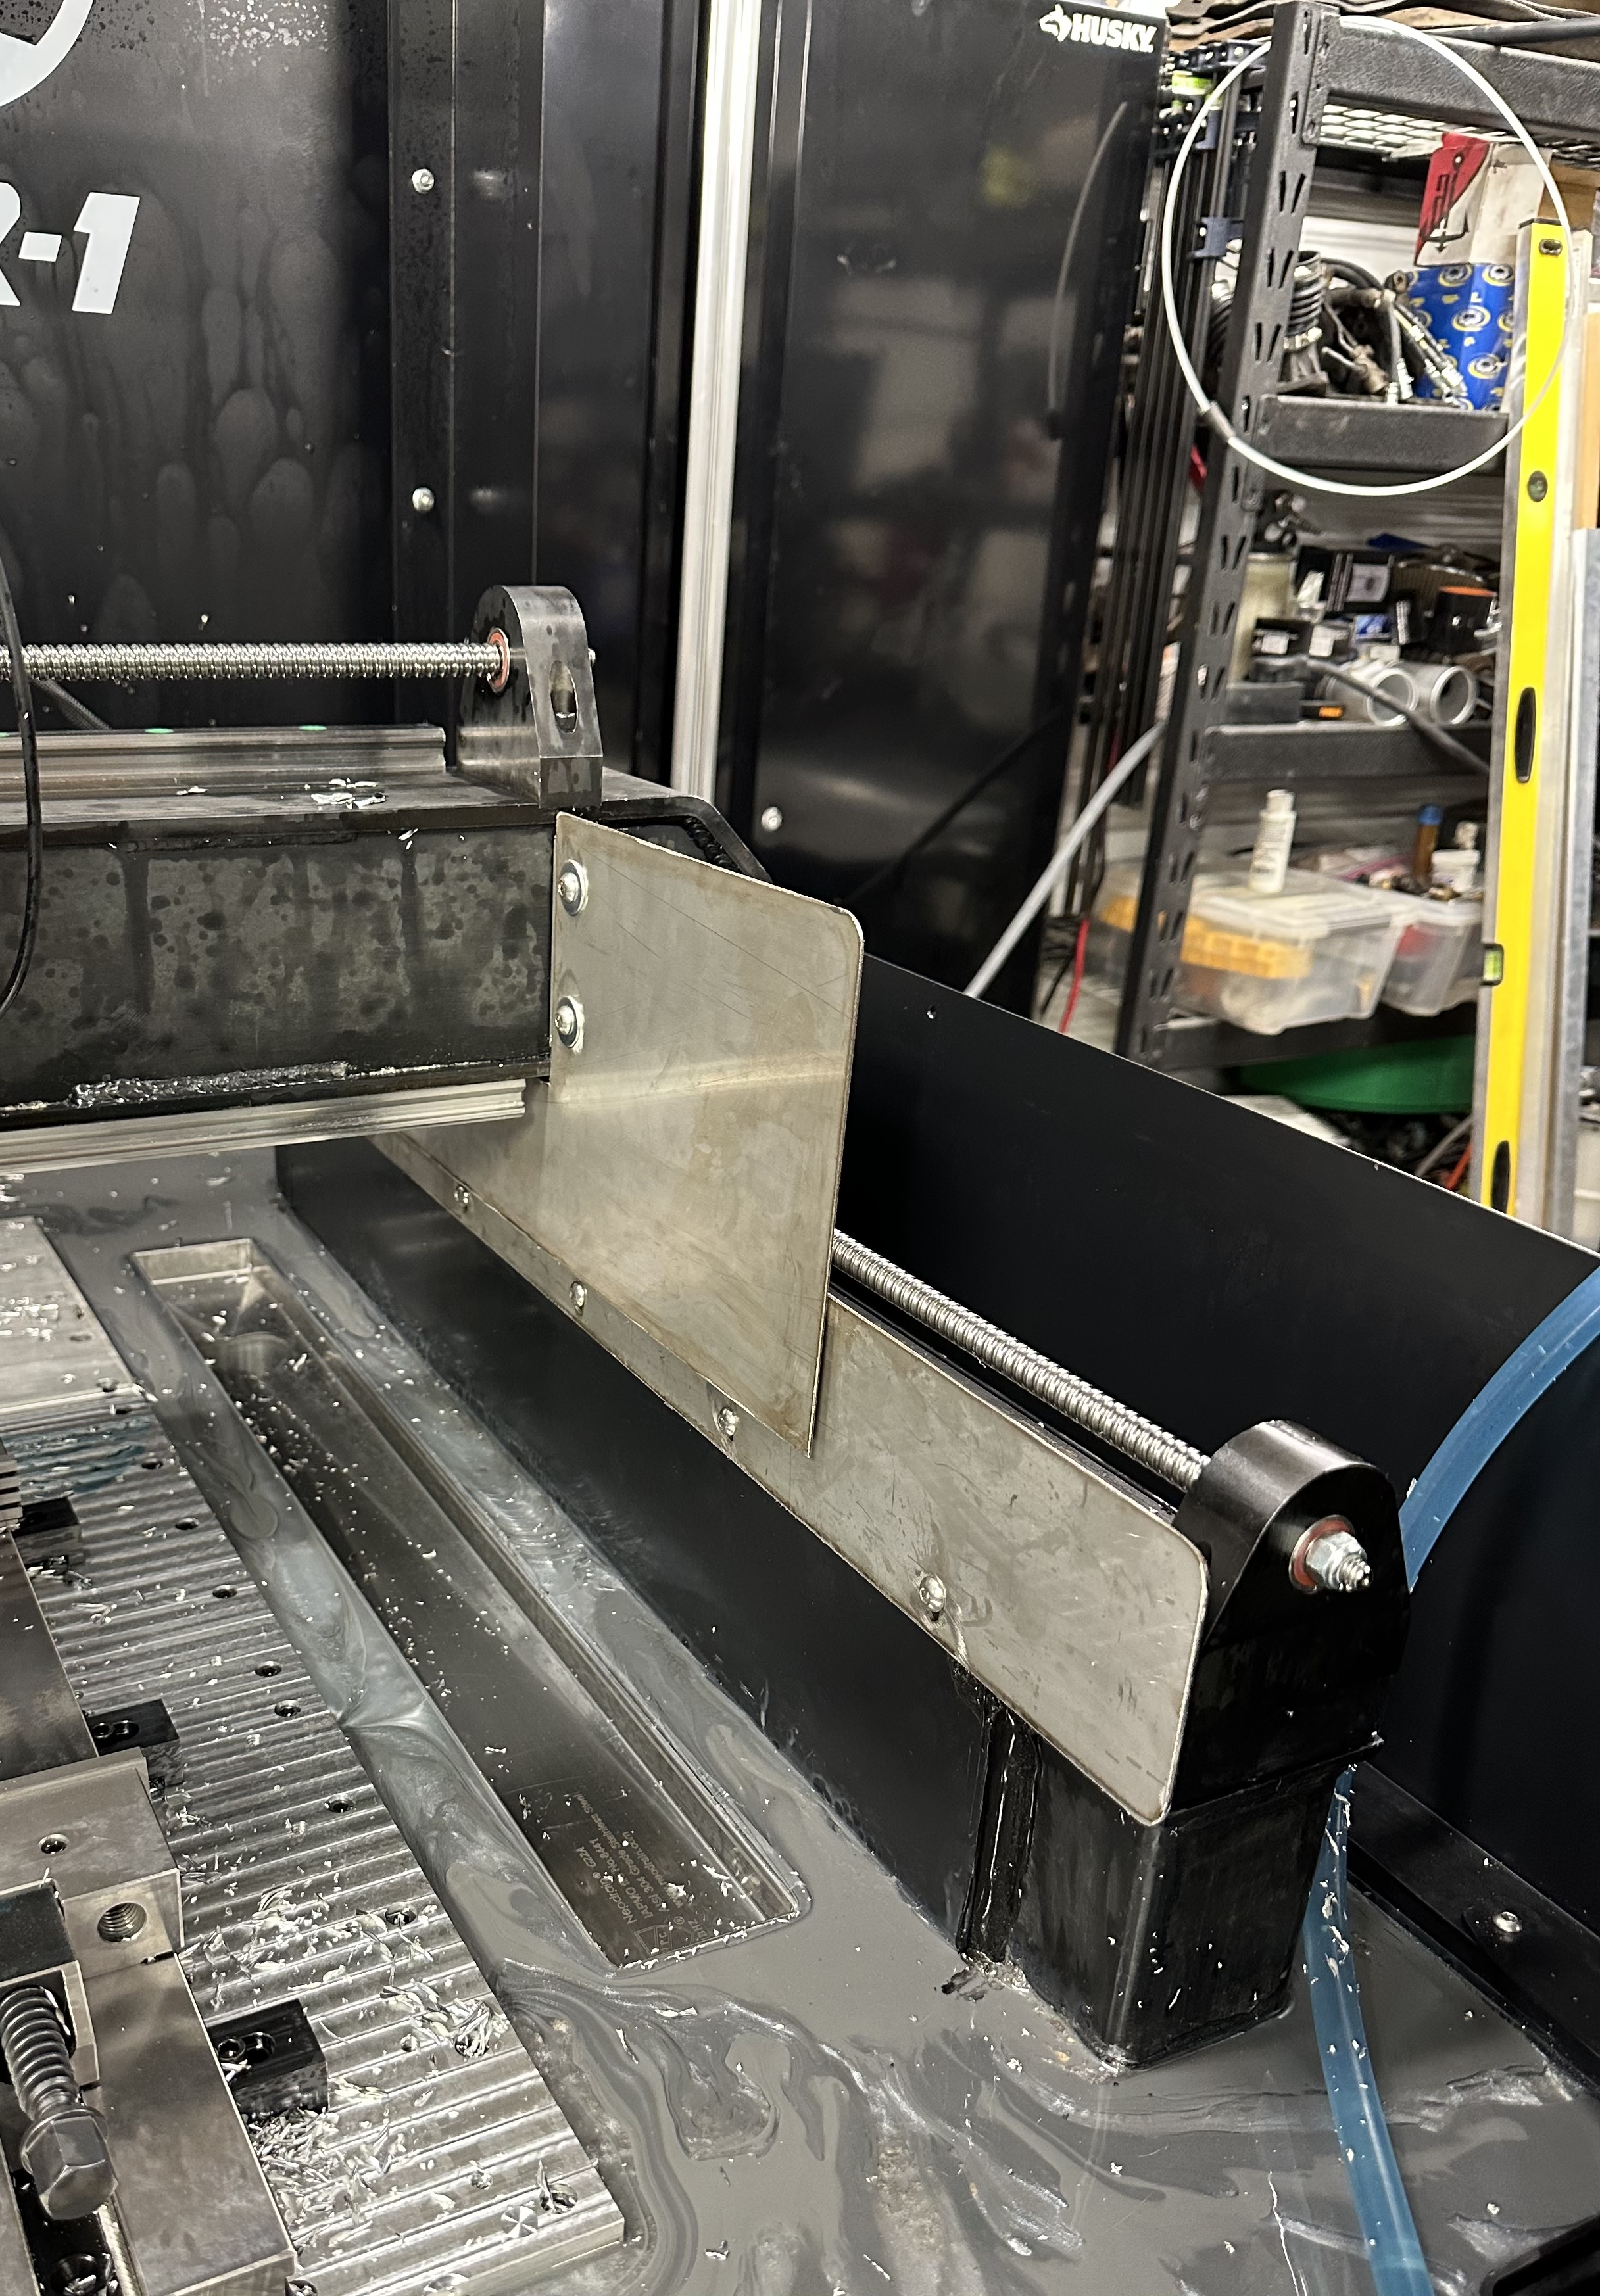
3 Likes

Was a massive improvement but think the front of the X beams fairing need to be longer both in front and out the back. I also add coolant nozzles on the X beam that help clean the chips off the fairing and skirts along with two nozzles spraying down the drains. Would say about 70% of the chips went down into the chip tray. The right side nozzle were only partial open in the photo.
1 Like
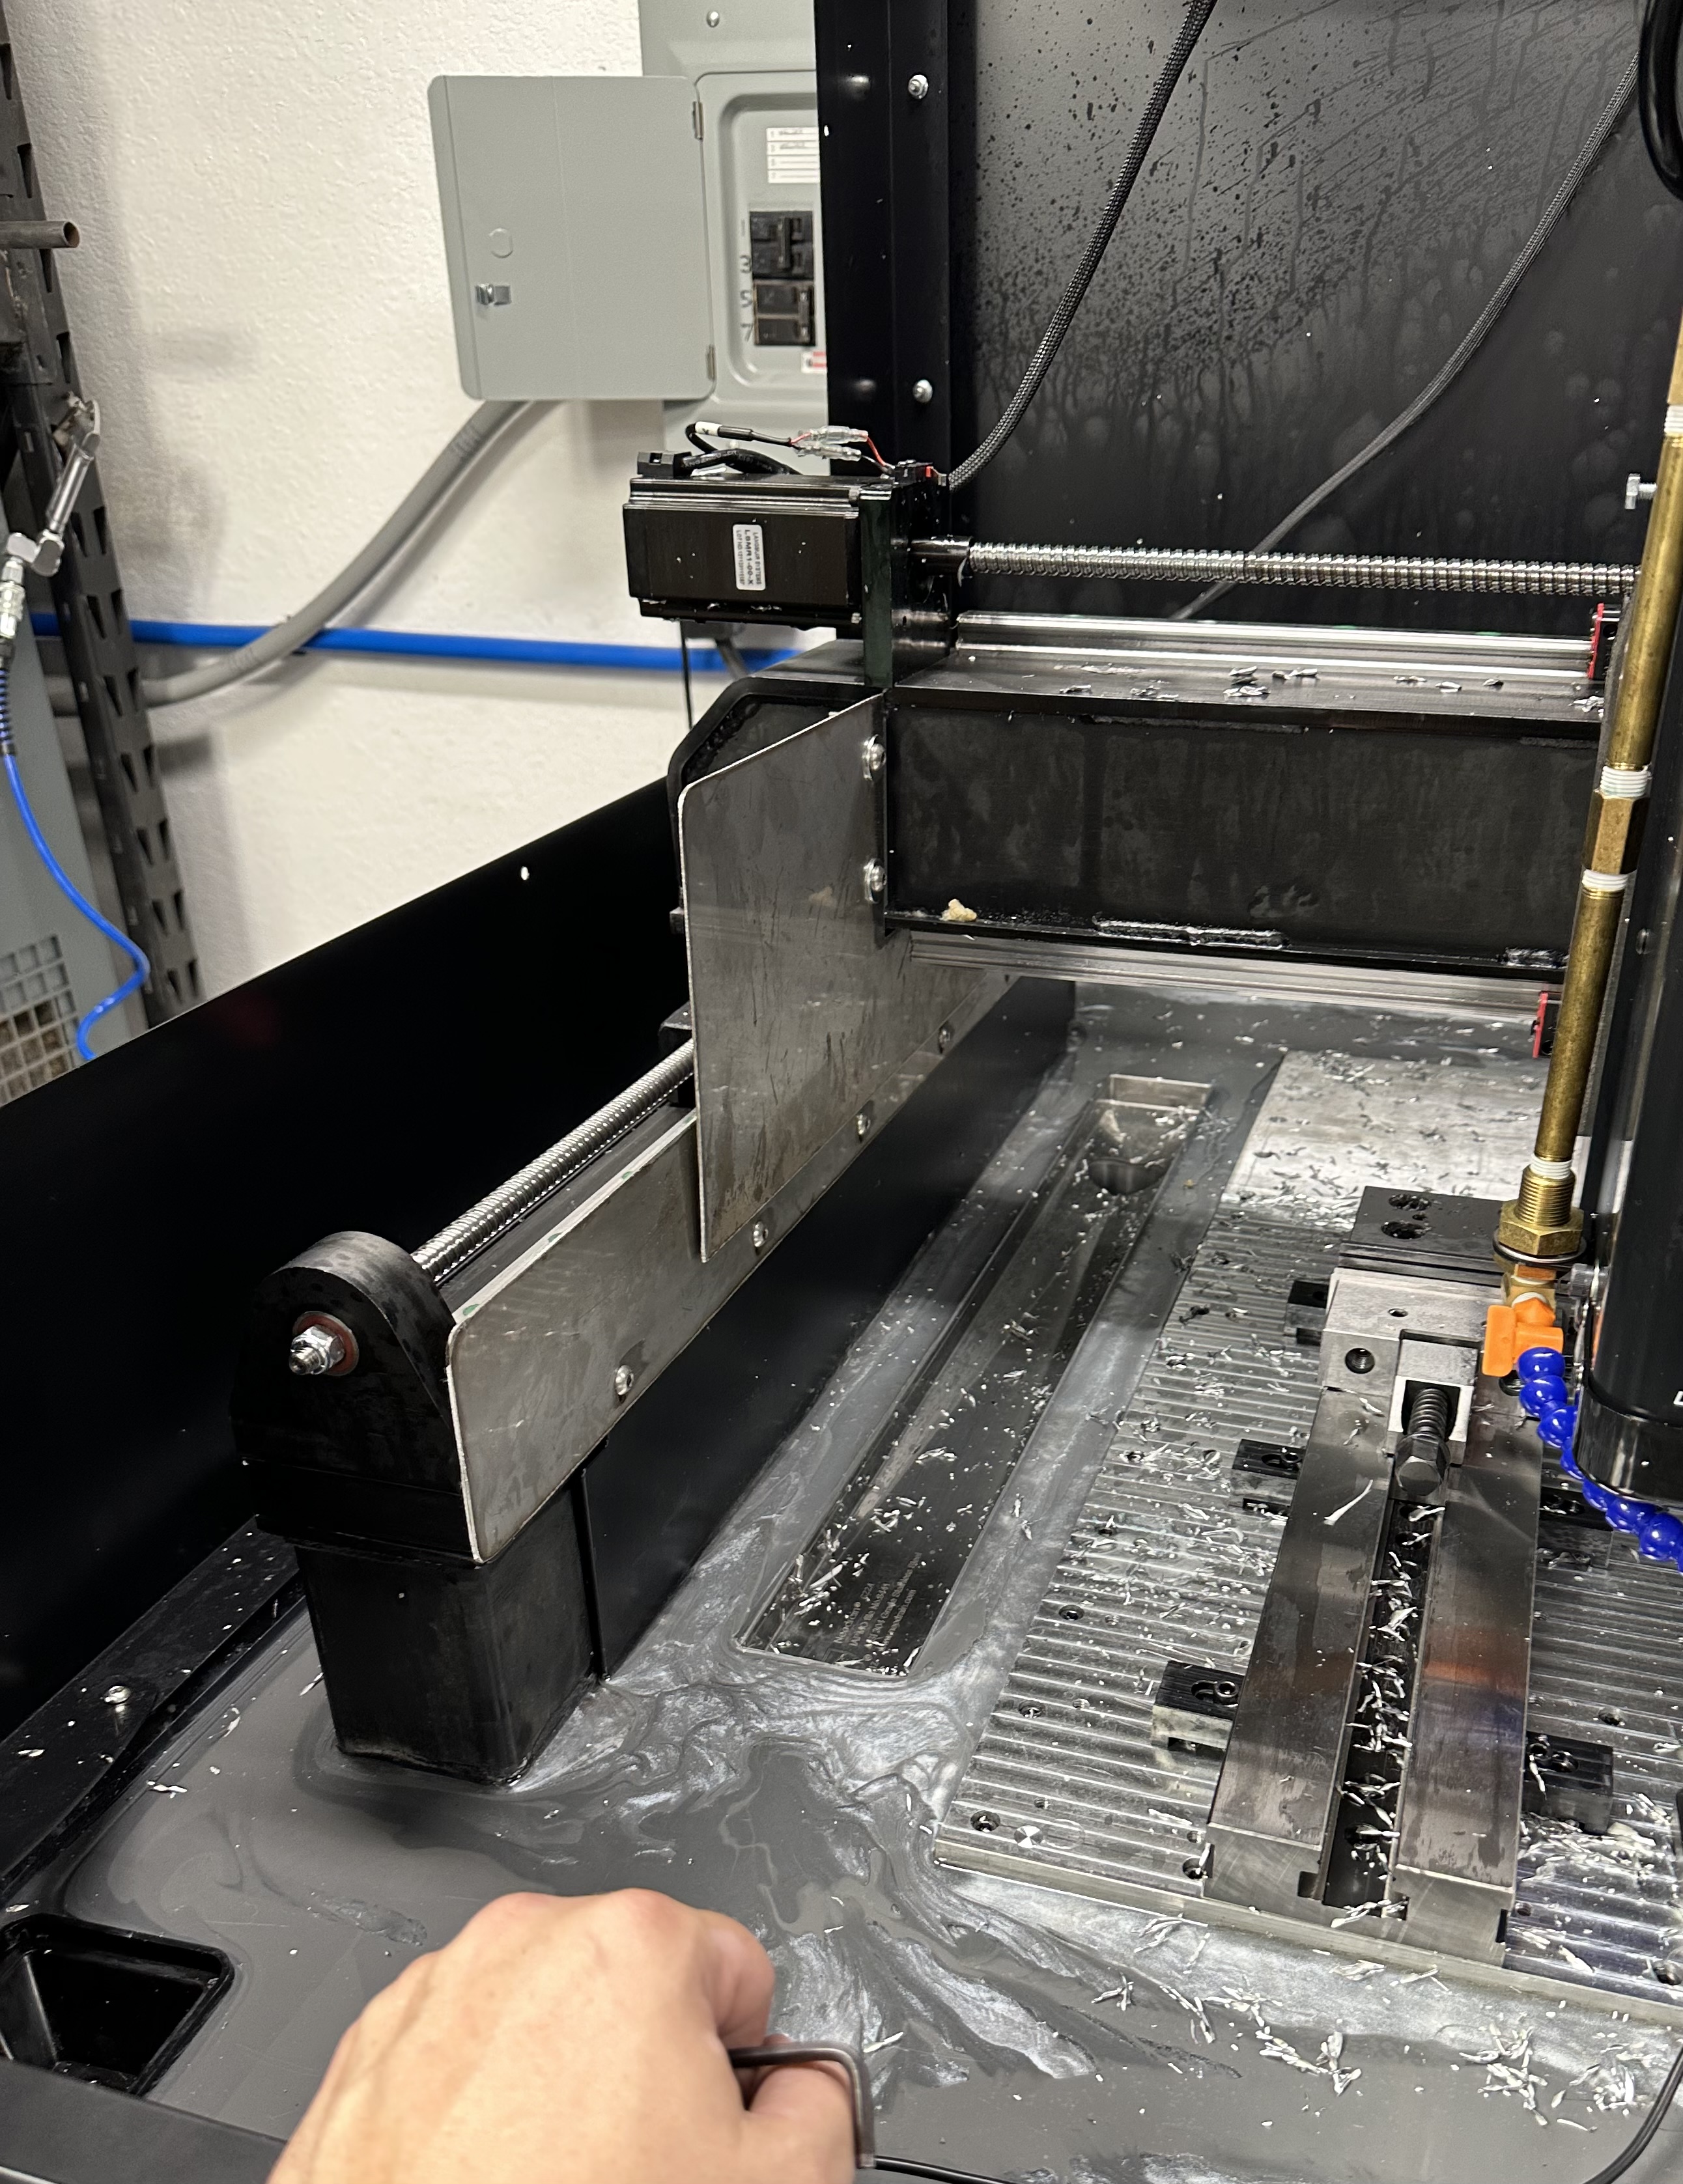
Did the mill cover mod, did not think it would really be a big difference, I was wrong and really think Langmuir should start having the covers made trimmed up.
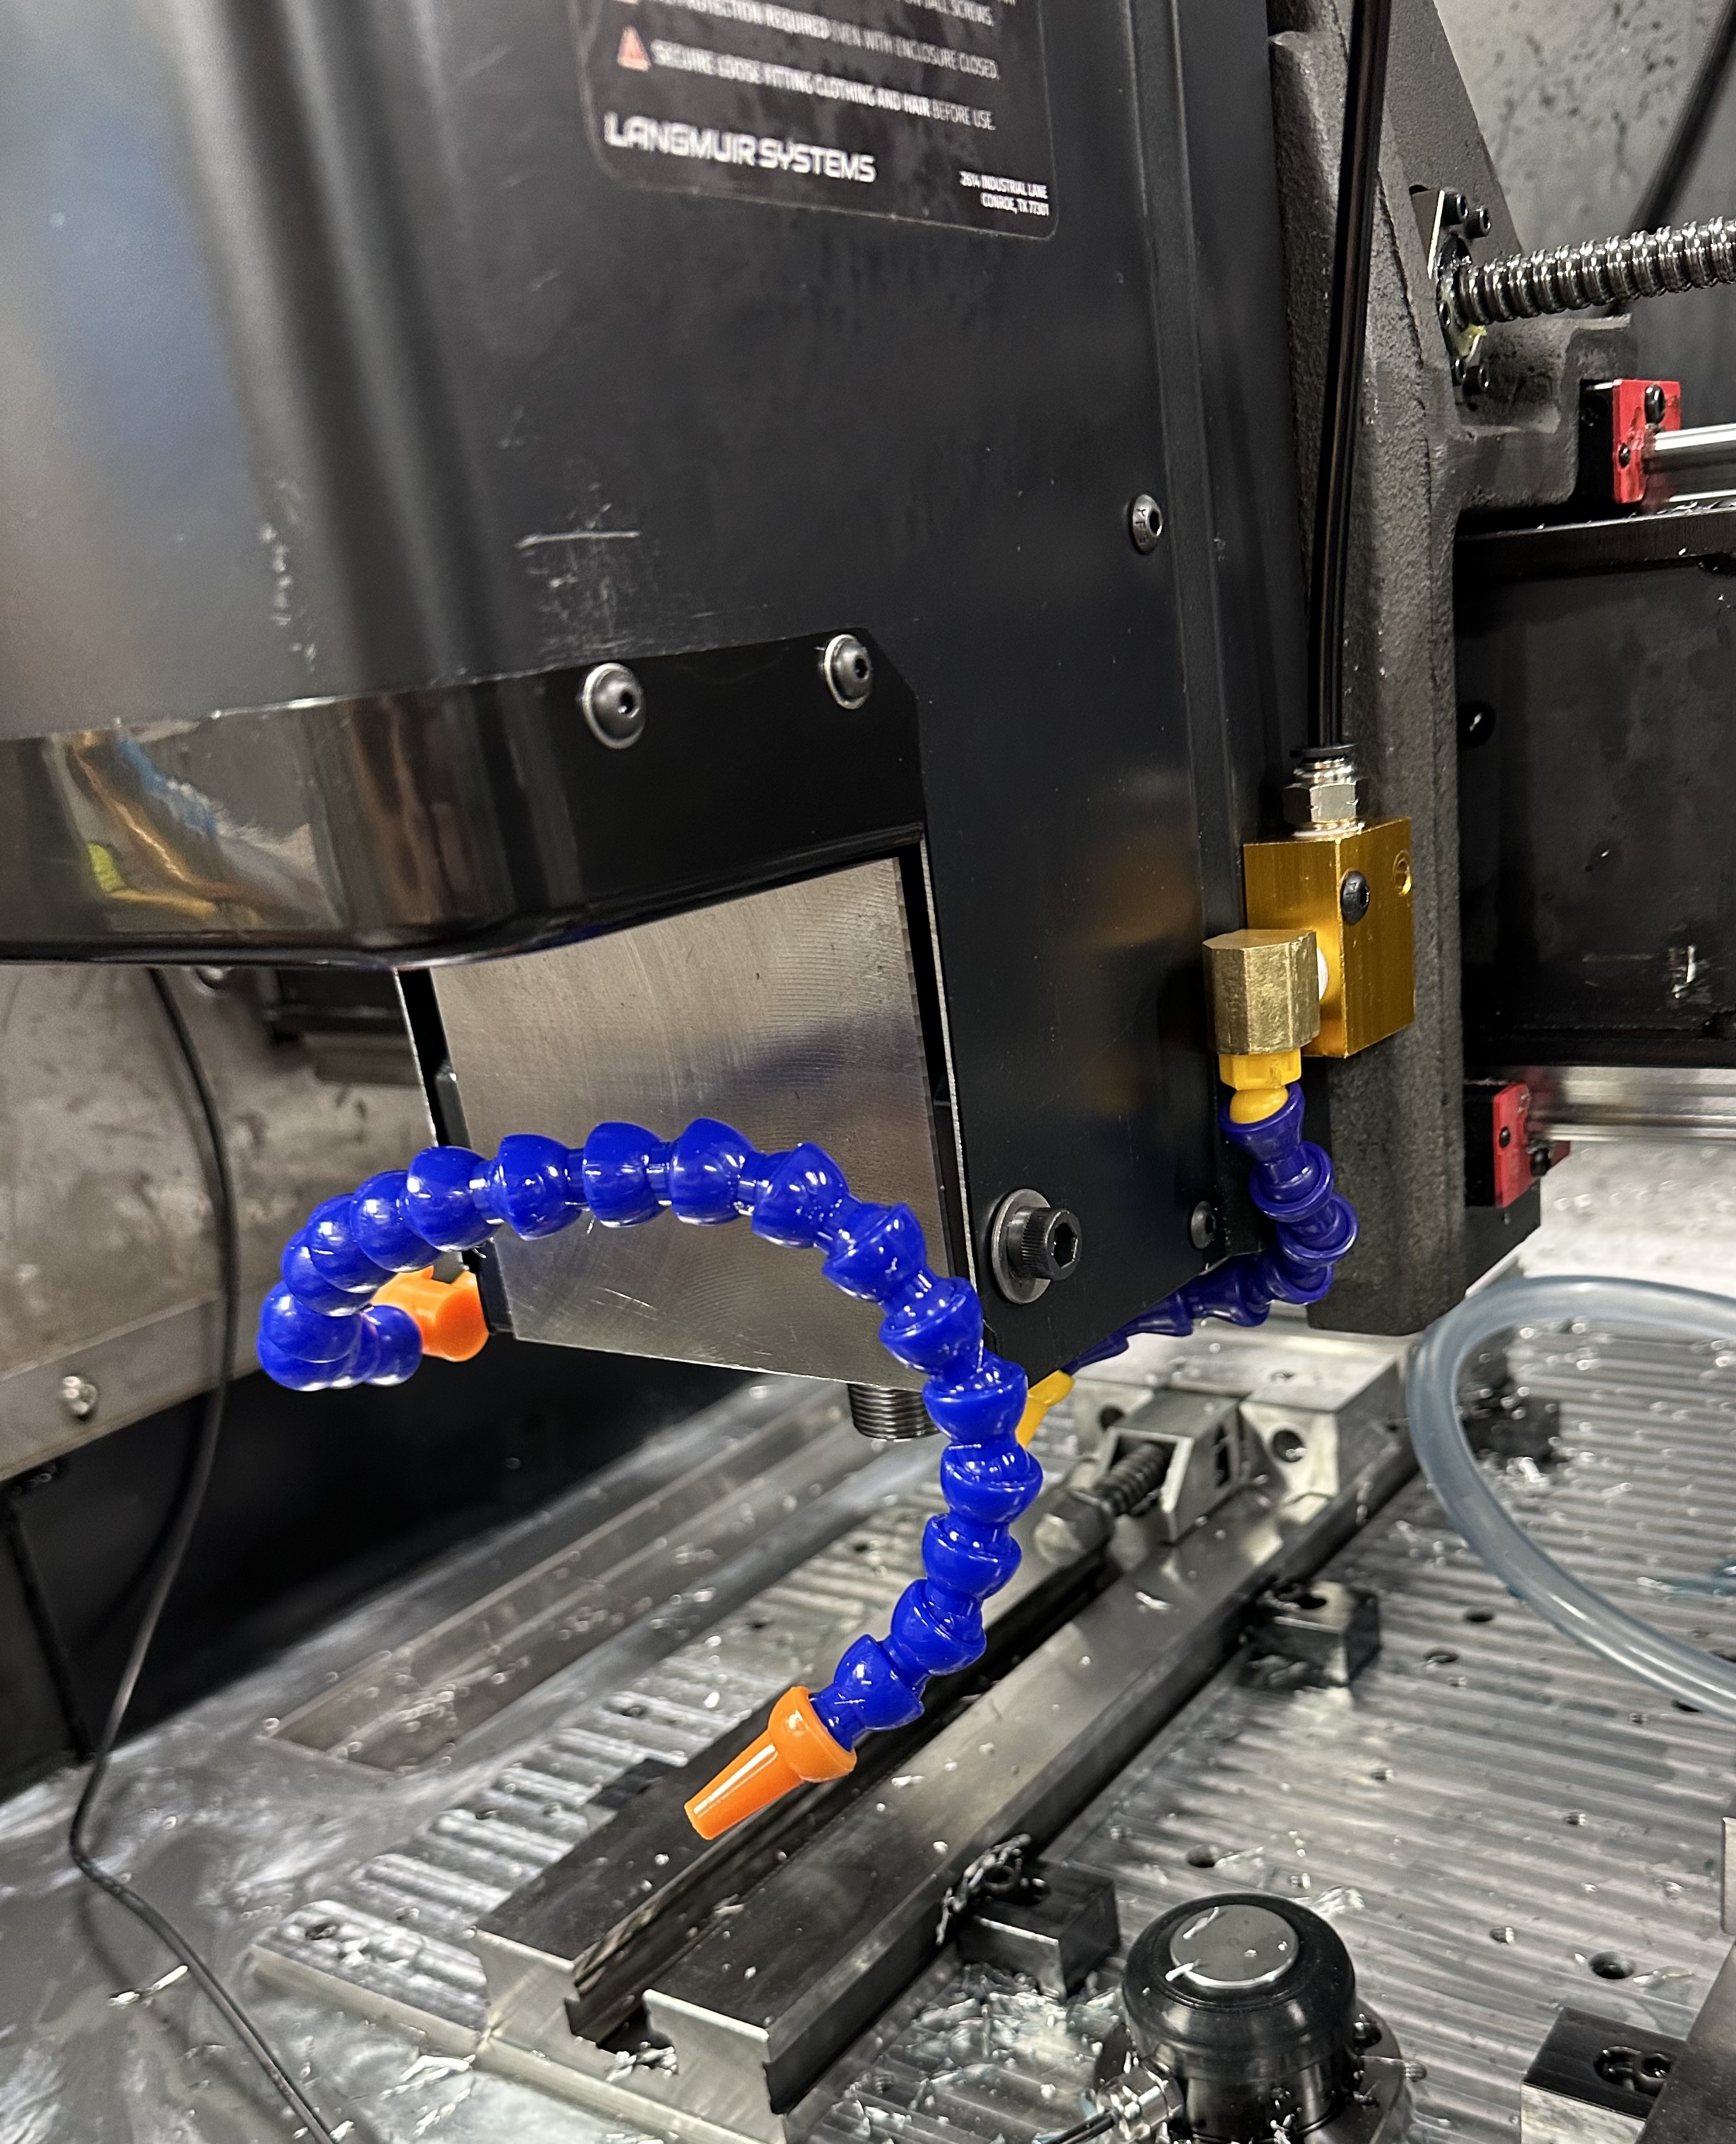
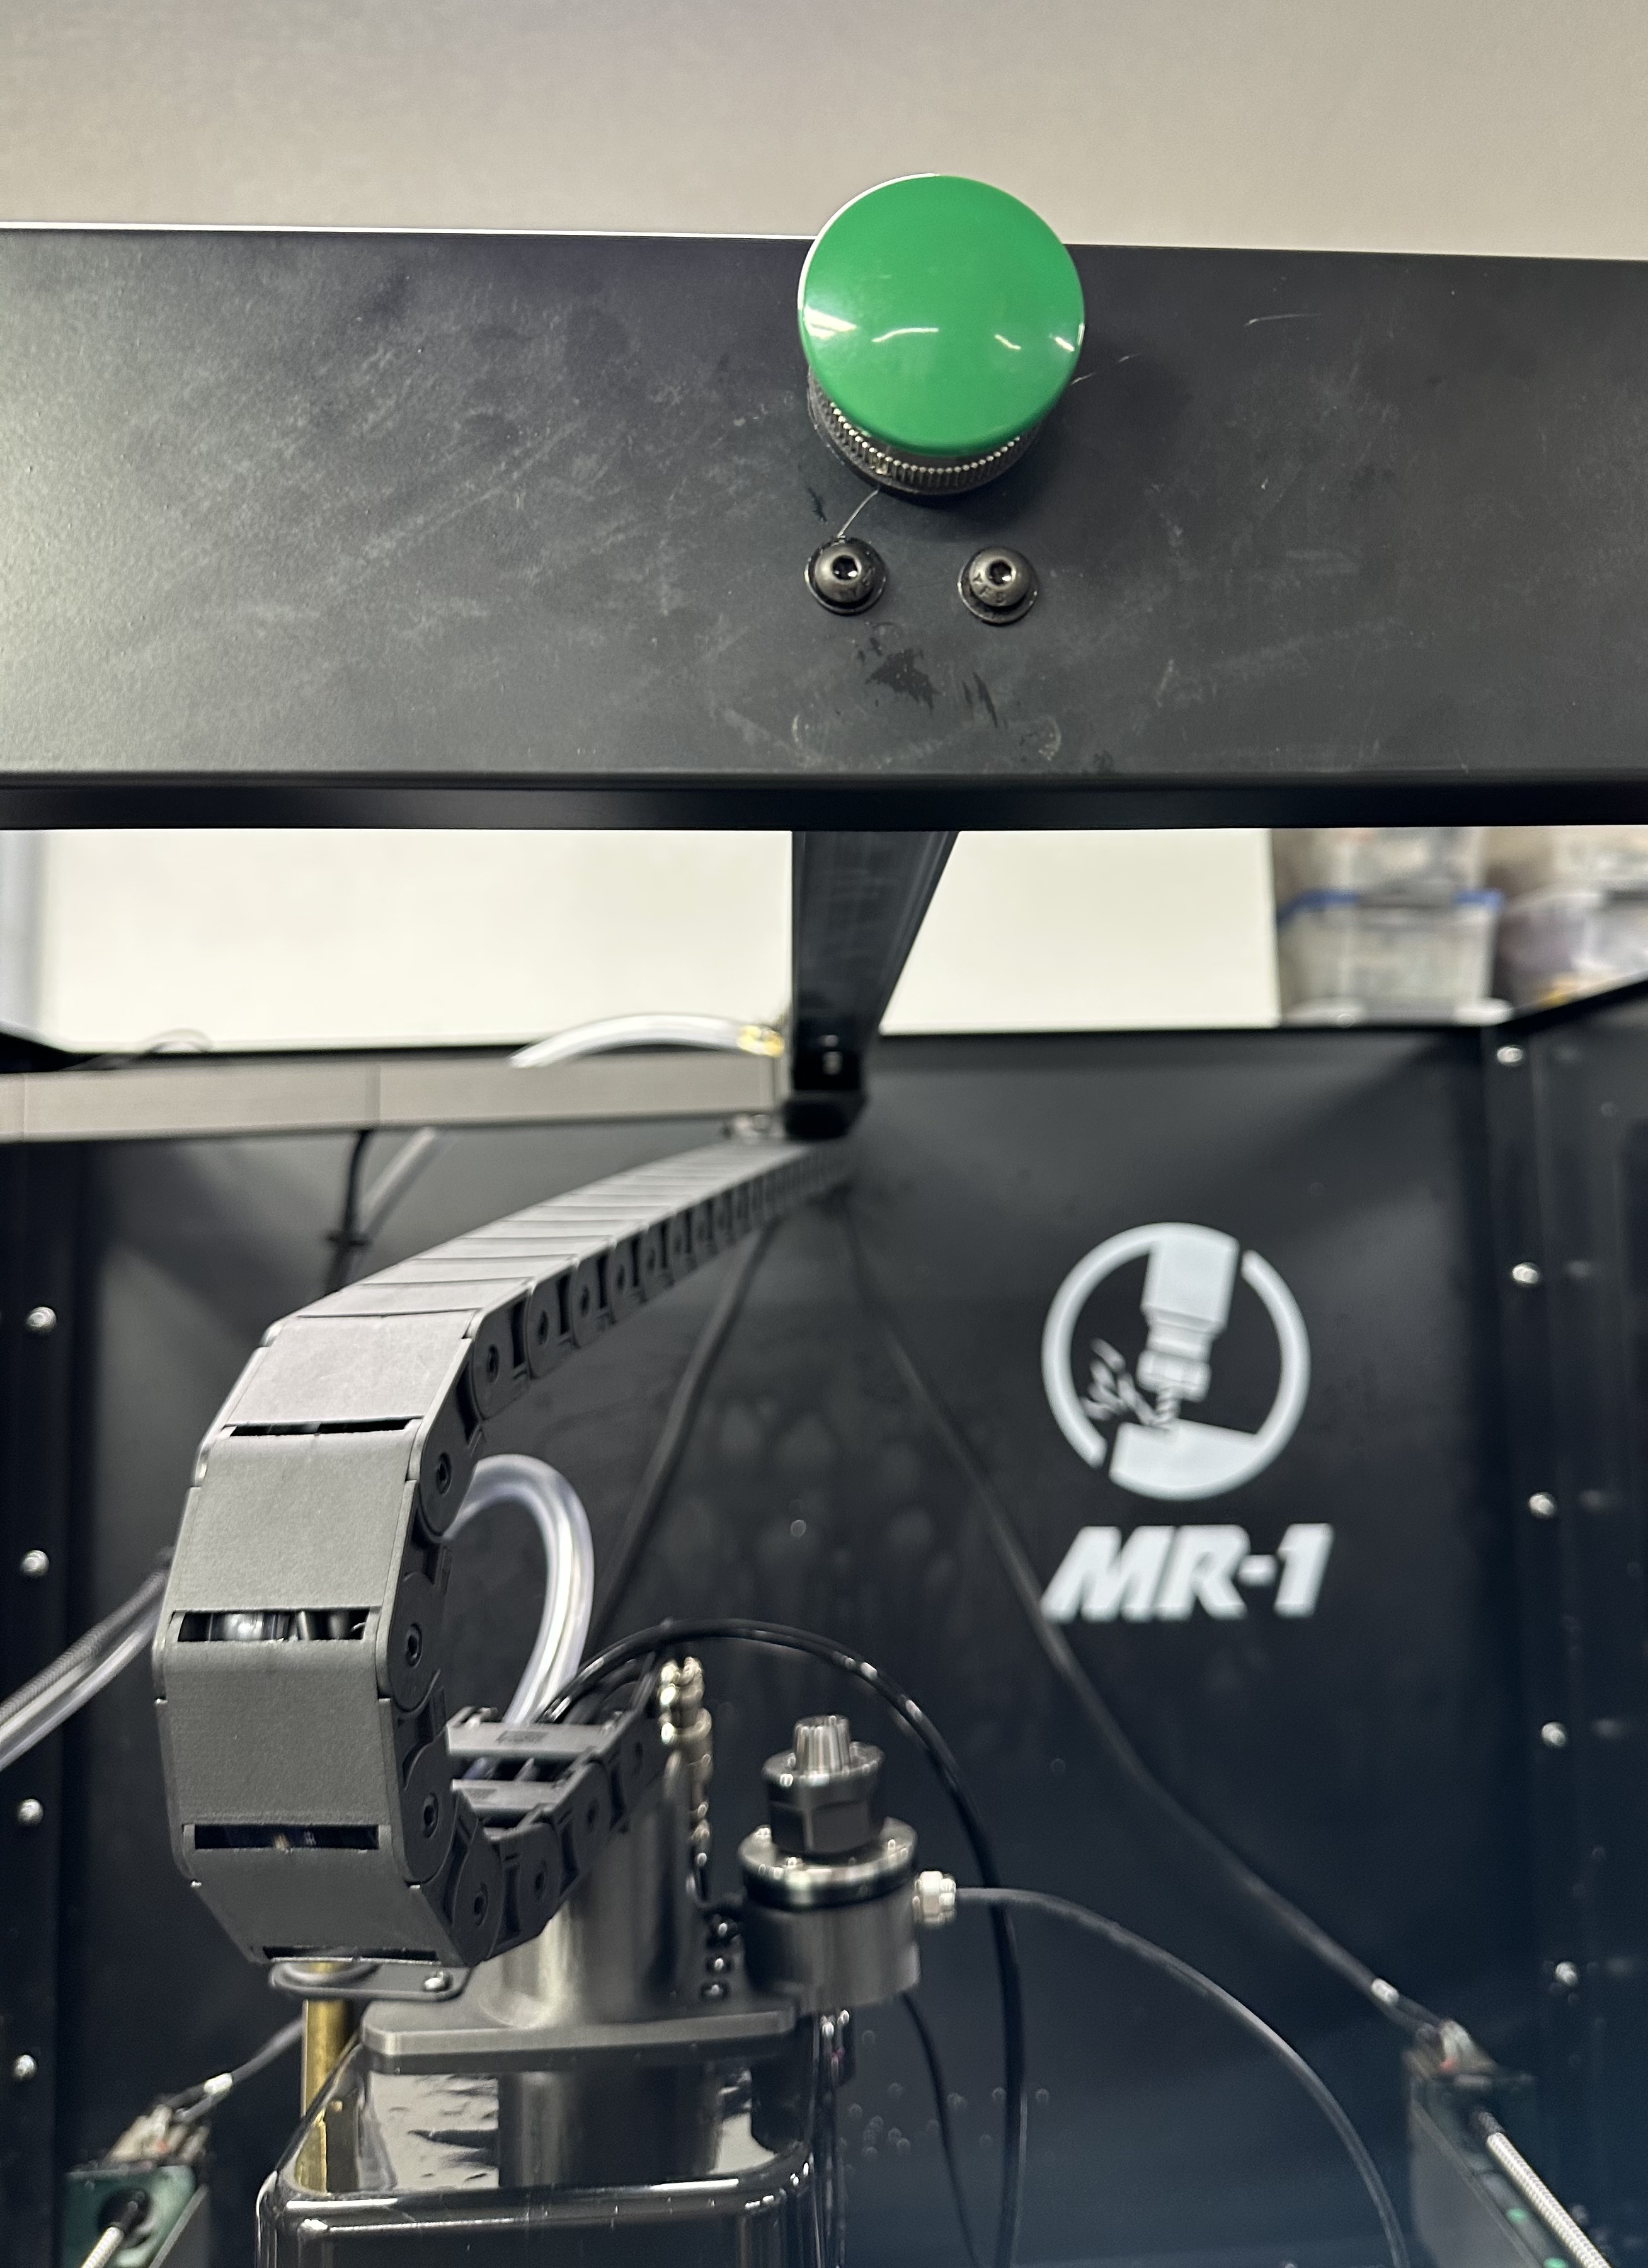
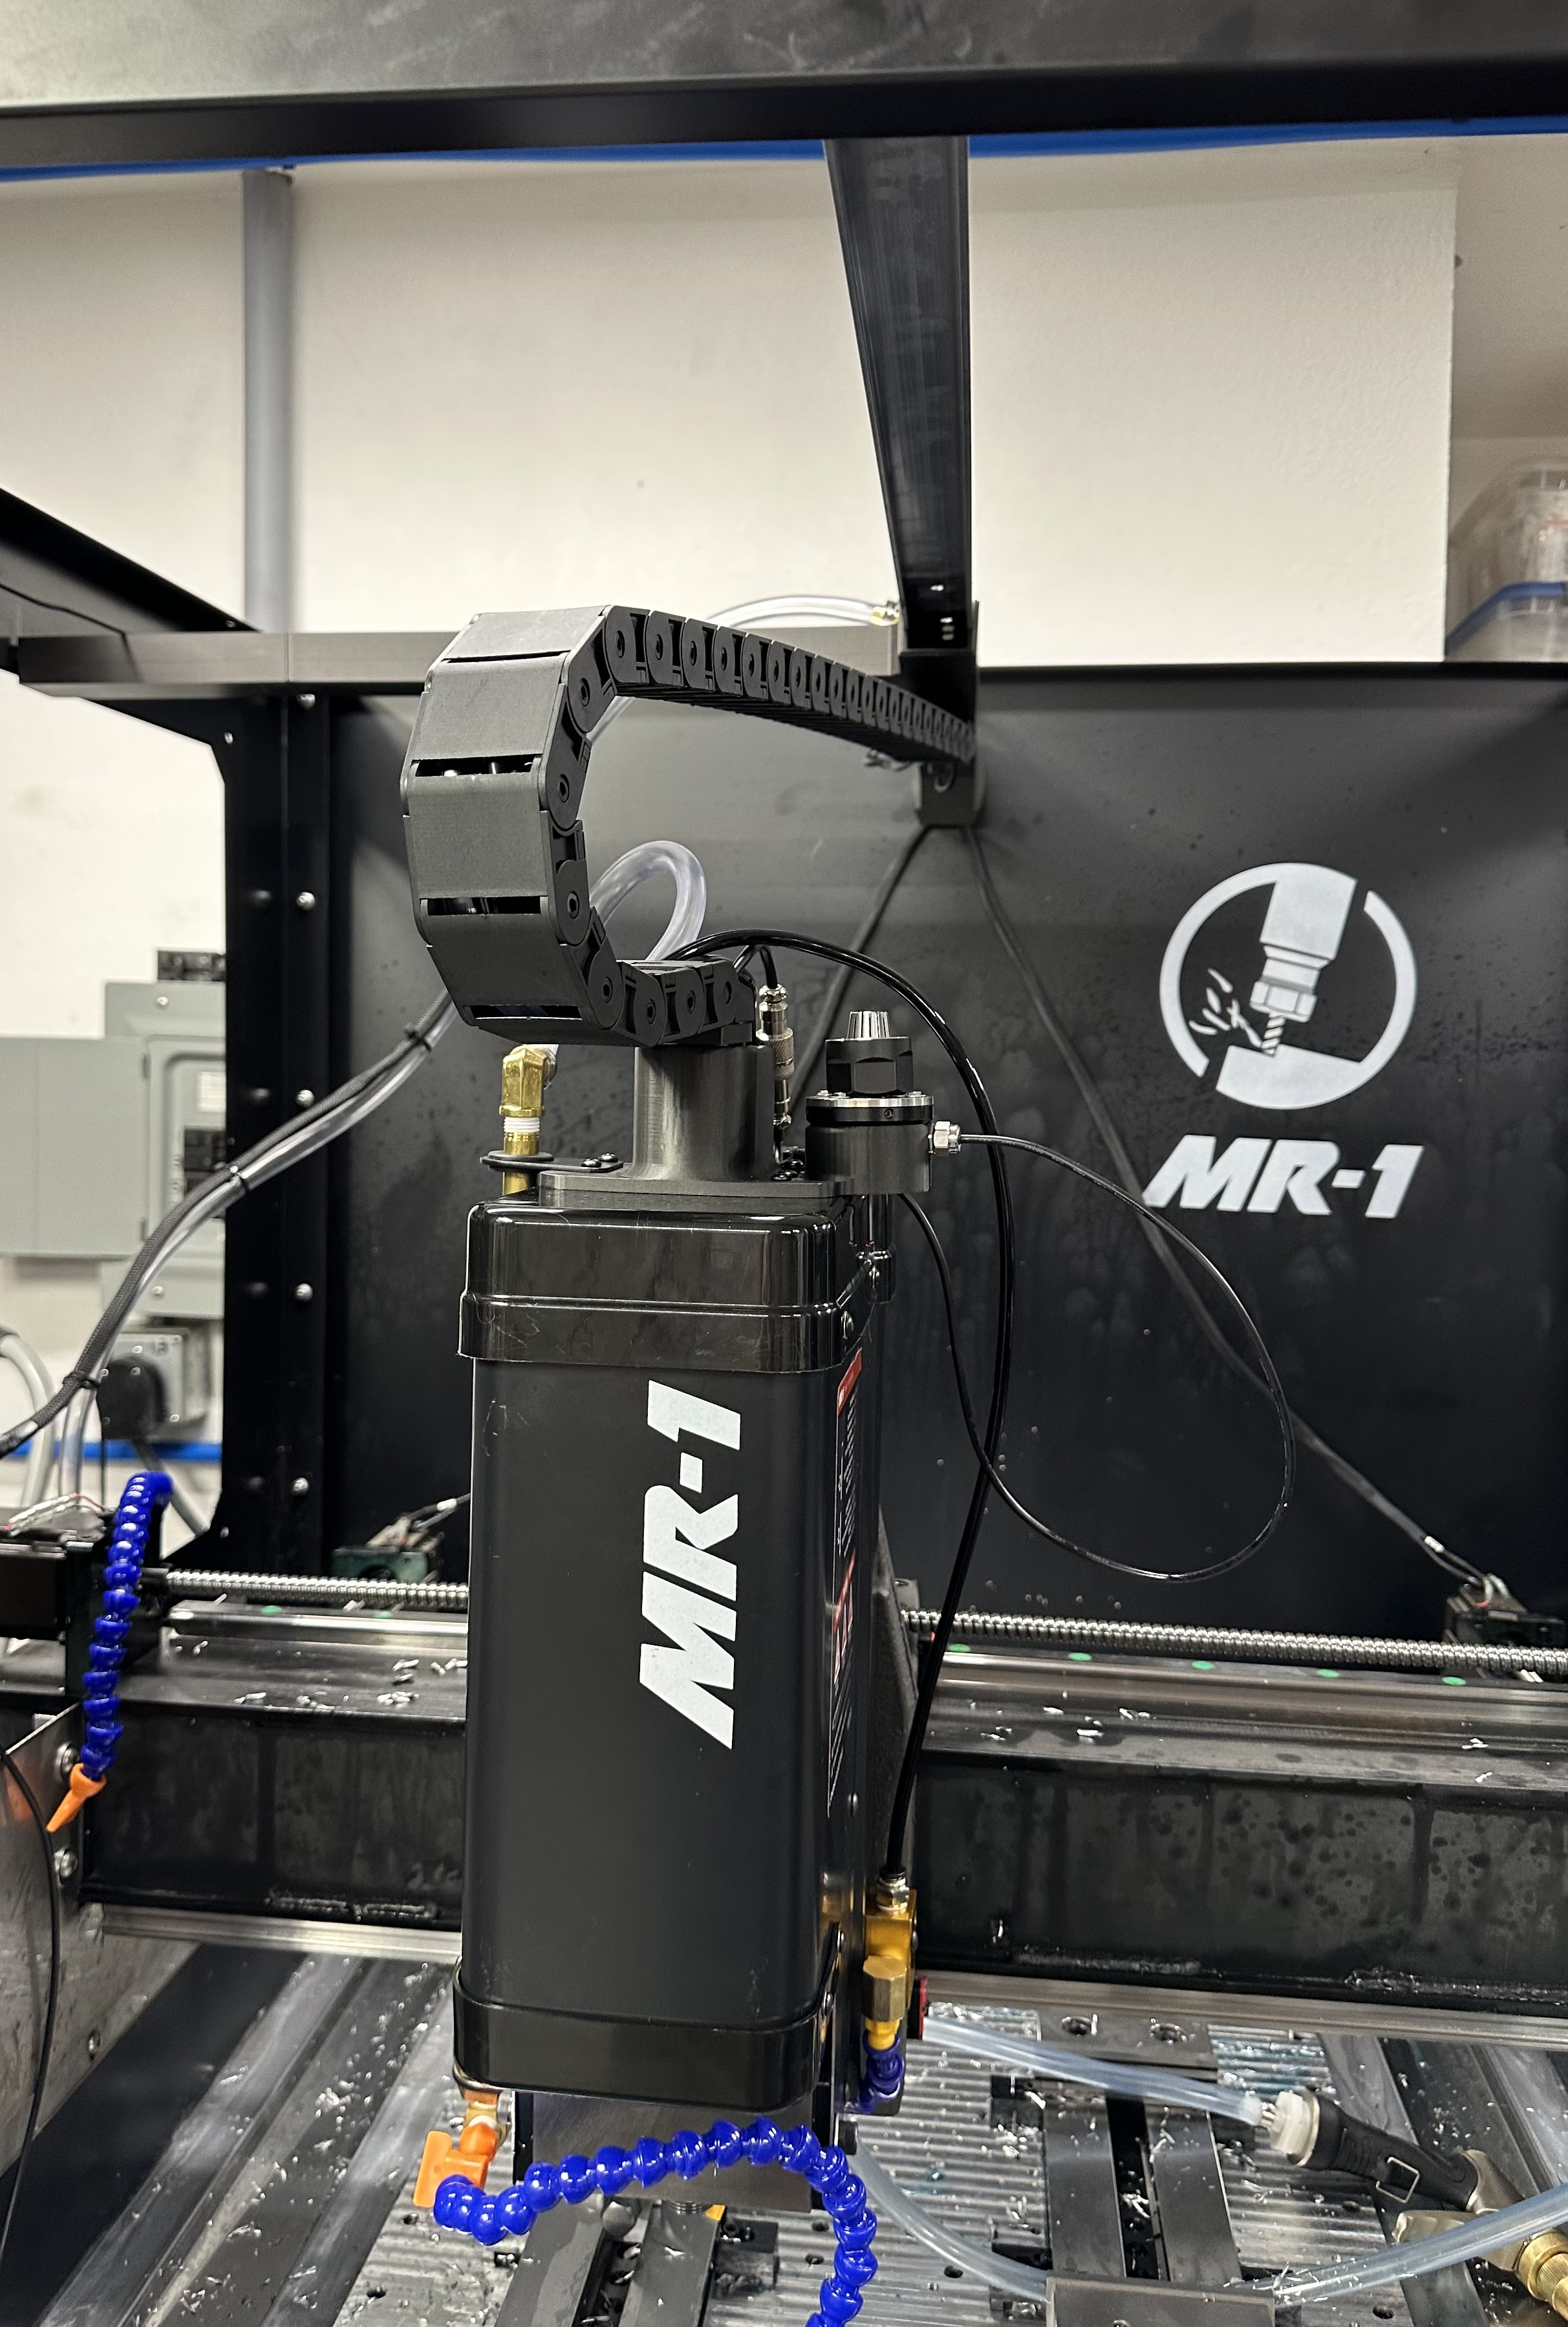
I also added an air nozzle that I can manual activate with a green button on the outside to help clean out pockets. Last I added a cable drag chain setup that has bearing inside the 3d printer parts to allow full movement of the mill head but keep the cable and hose all above the mill head.
2 Likes
Also ground down and epoxy filled the corner drains in. Not really need with my setup and where just making it hard to clean up! Easy to just squeegee from the corners out.
2 Likes

Sometime the simple solution is the best. Been trying to figure out how to stop the dripping when opening the doors. Was in the shower when the simple solution hit me. Shower curtain! Got a clear shower curtain trimmed it down to fit the MR-1 and enjoyed no dripping from the door today while running the machine.
3 Likes
Last I added a cable drag chain setup that has bearing inside the 3d printer parts to allow full movement of the mill head but keep the cable and hose all above the mill head.
That drag chain looks like an awesome mod. I was wondering if you could post a view from a side angle of how the drag chain is attaching to the top cross-beam you added?
Also, would you be willing to share the model for the 3D print that attaches the drag chain to the spindle cover?
I can send you the stl or Solidworks file if you would like? Send me a pm with email.
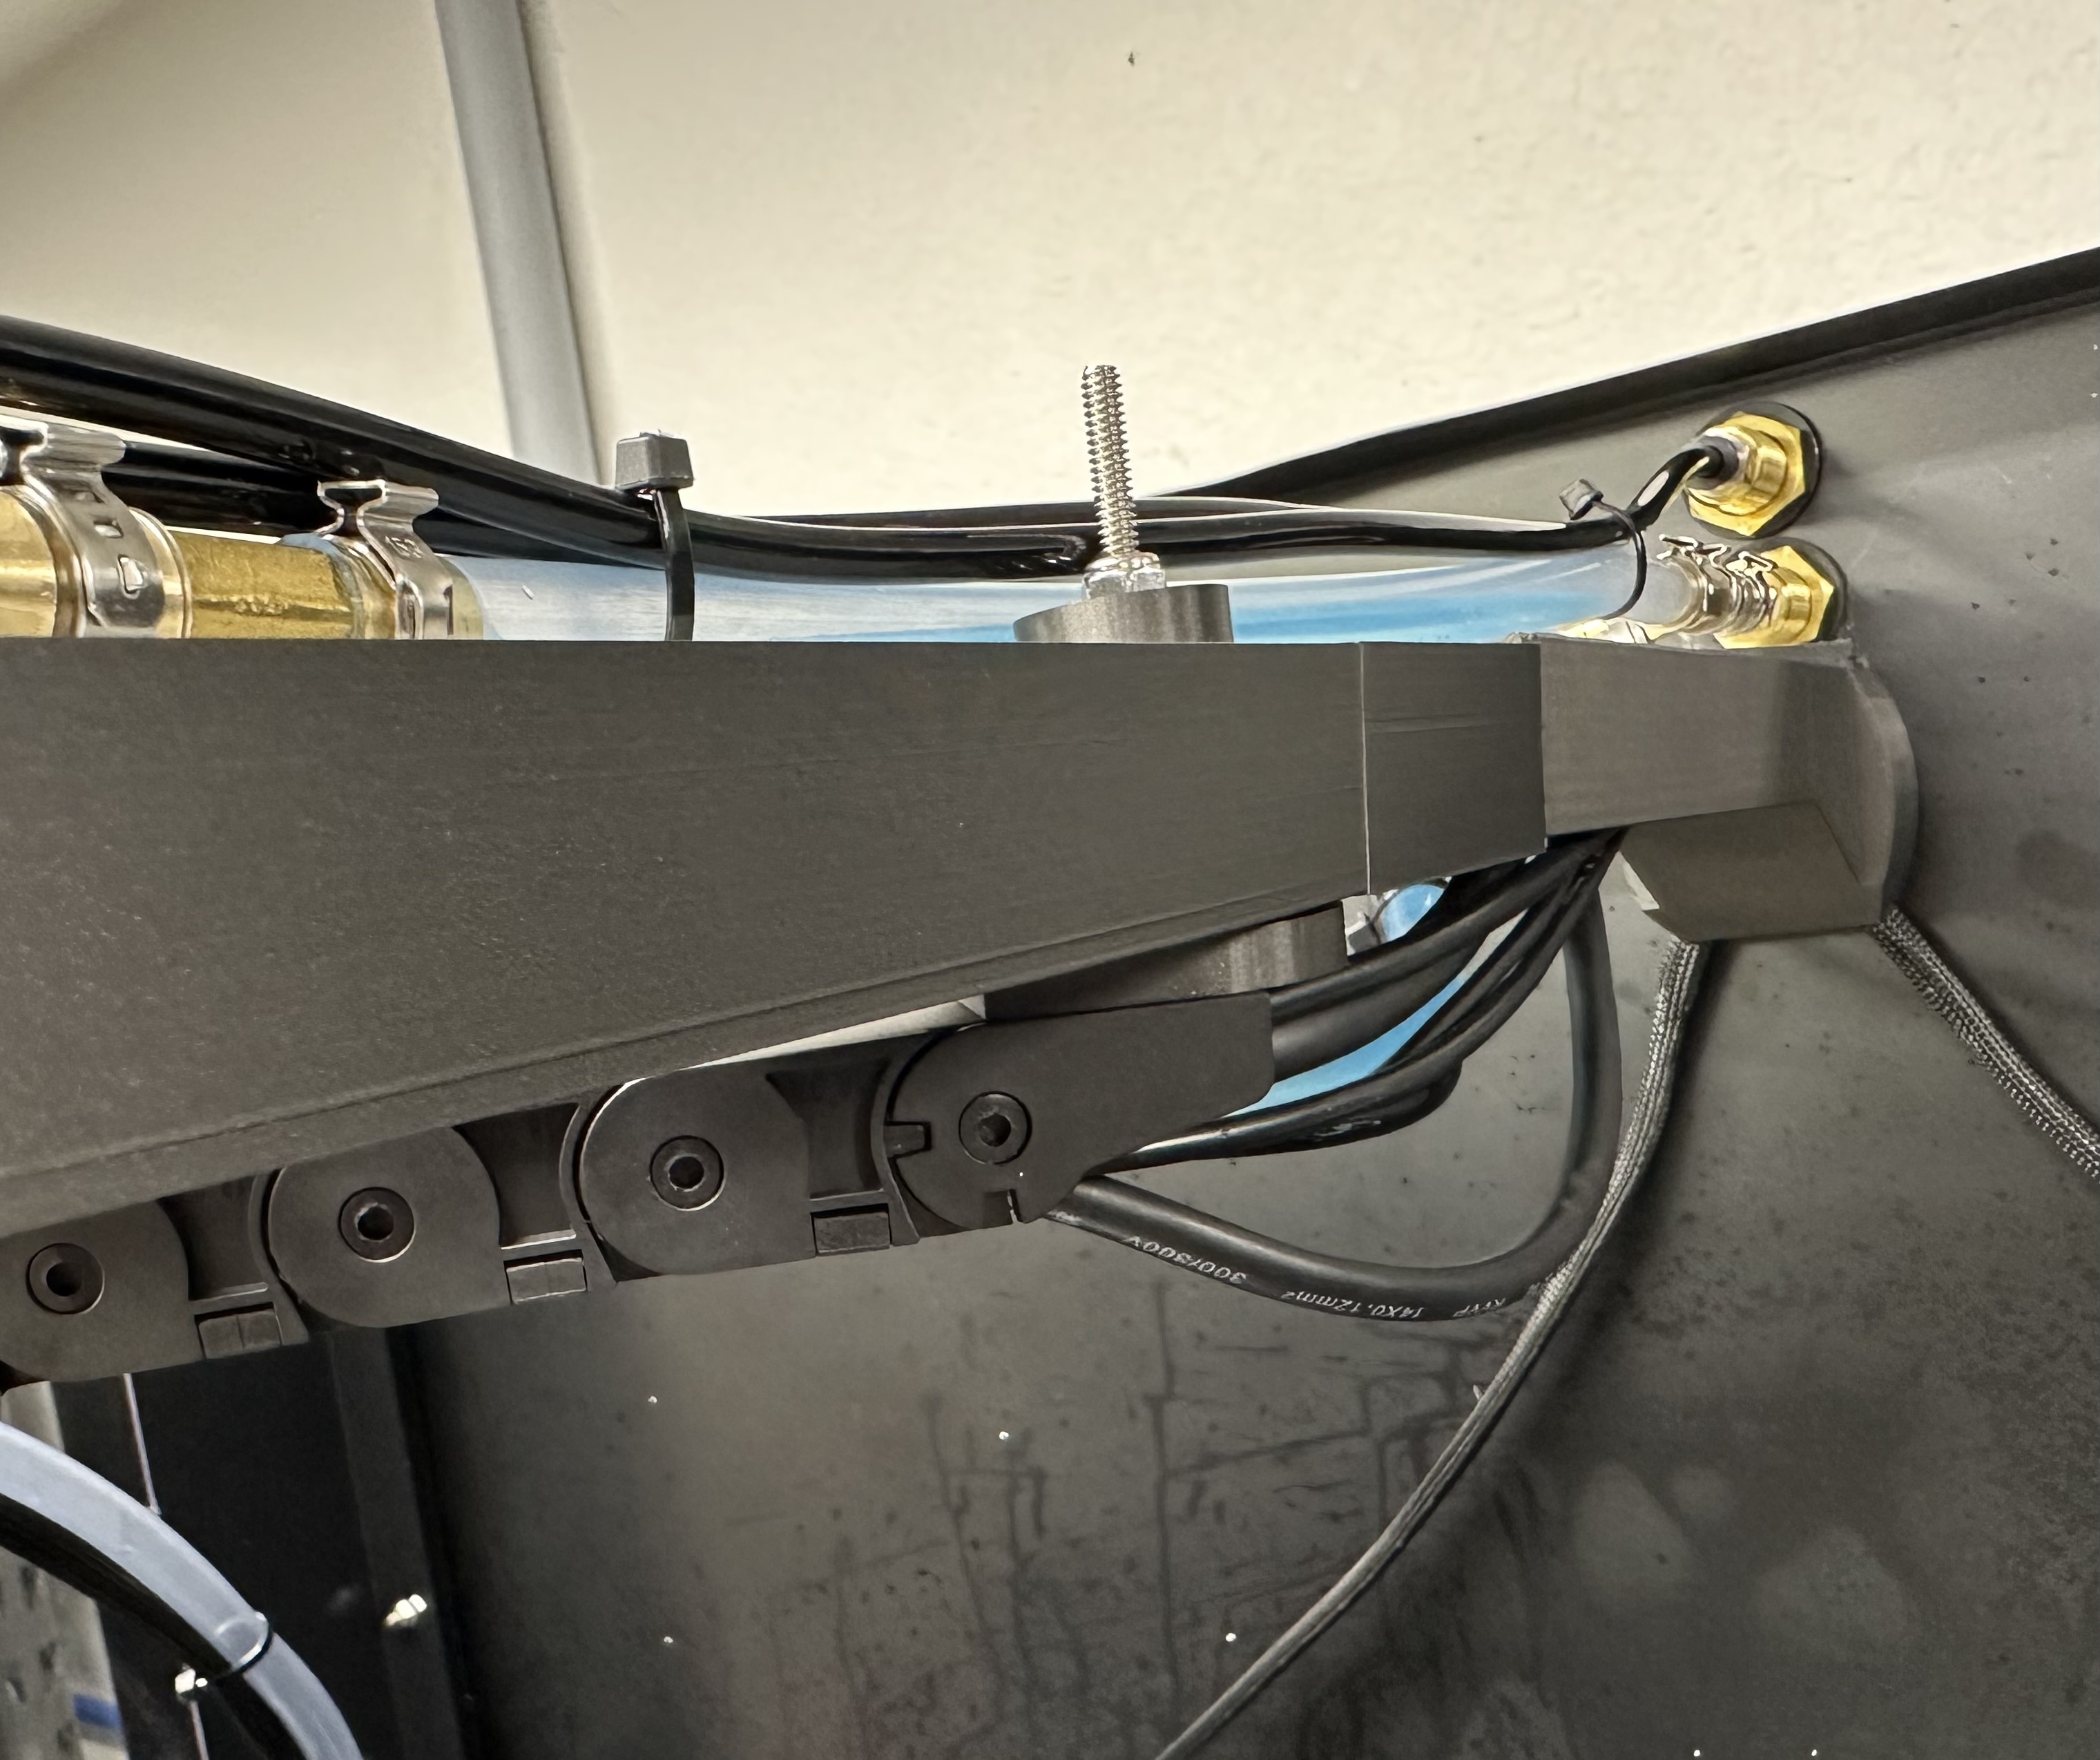
Not sure if that is the picture you’re asking for? Hard to really see what is going inside but there is a bearing inside the bottom cover and then one on top of the aluminum cable track. It is the sandwiched between with the bolt.
I got the idea from this 3d printer that the guy made a bearing mount so the cable chain could spin side ways. https://youtu.be/qnOci3cJapQ skip to 11:50 to see the bearing mount. This could work and keep the wiring up high.
2 Likes
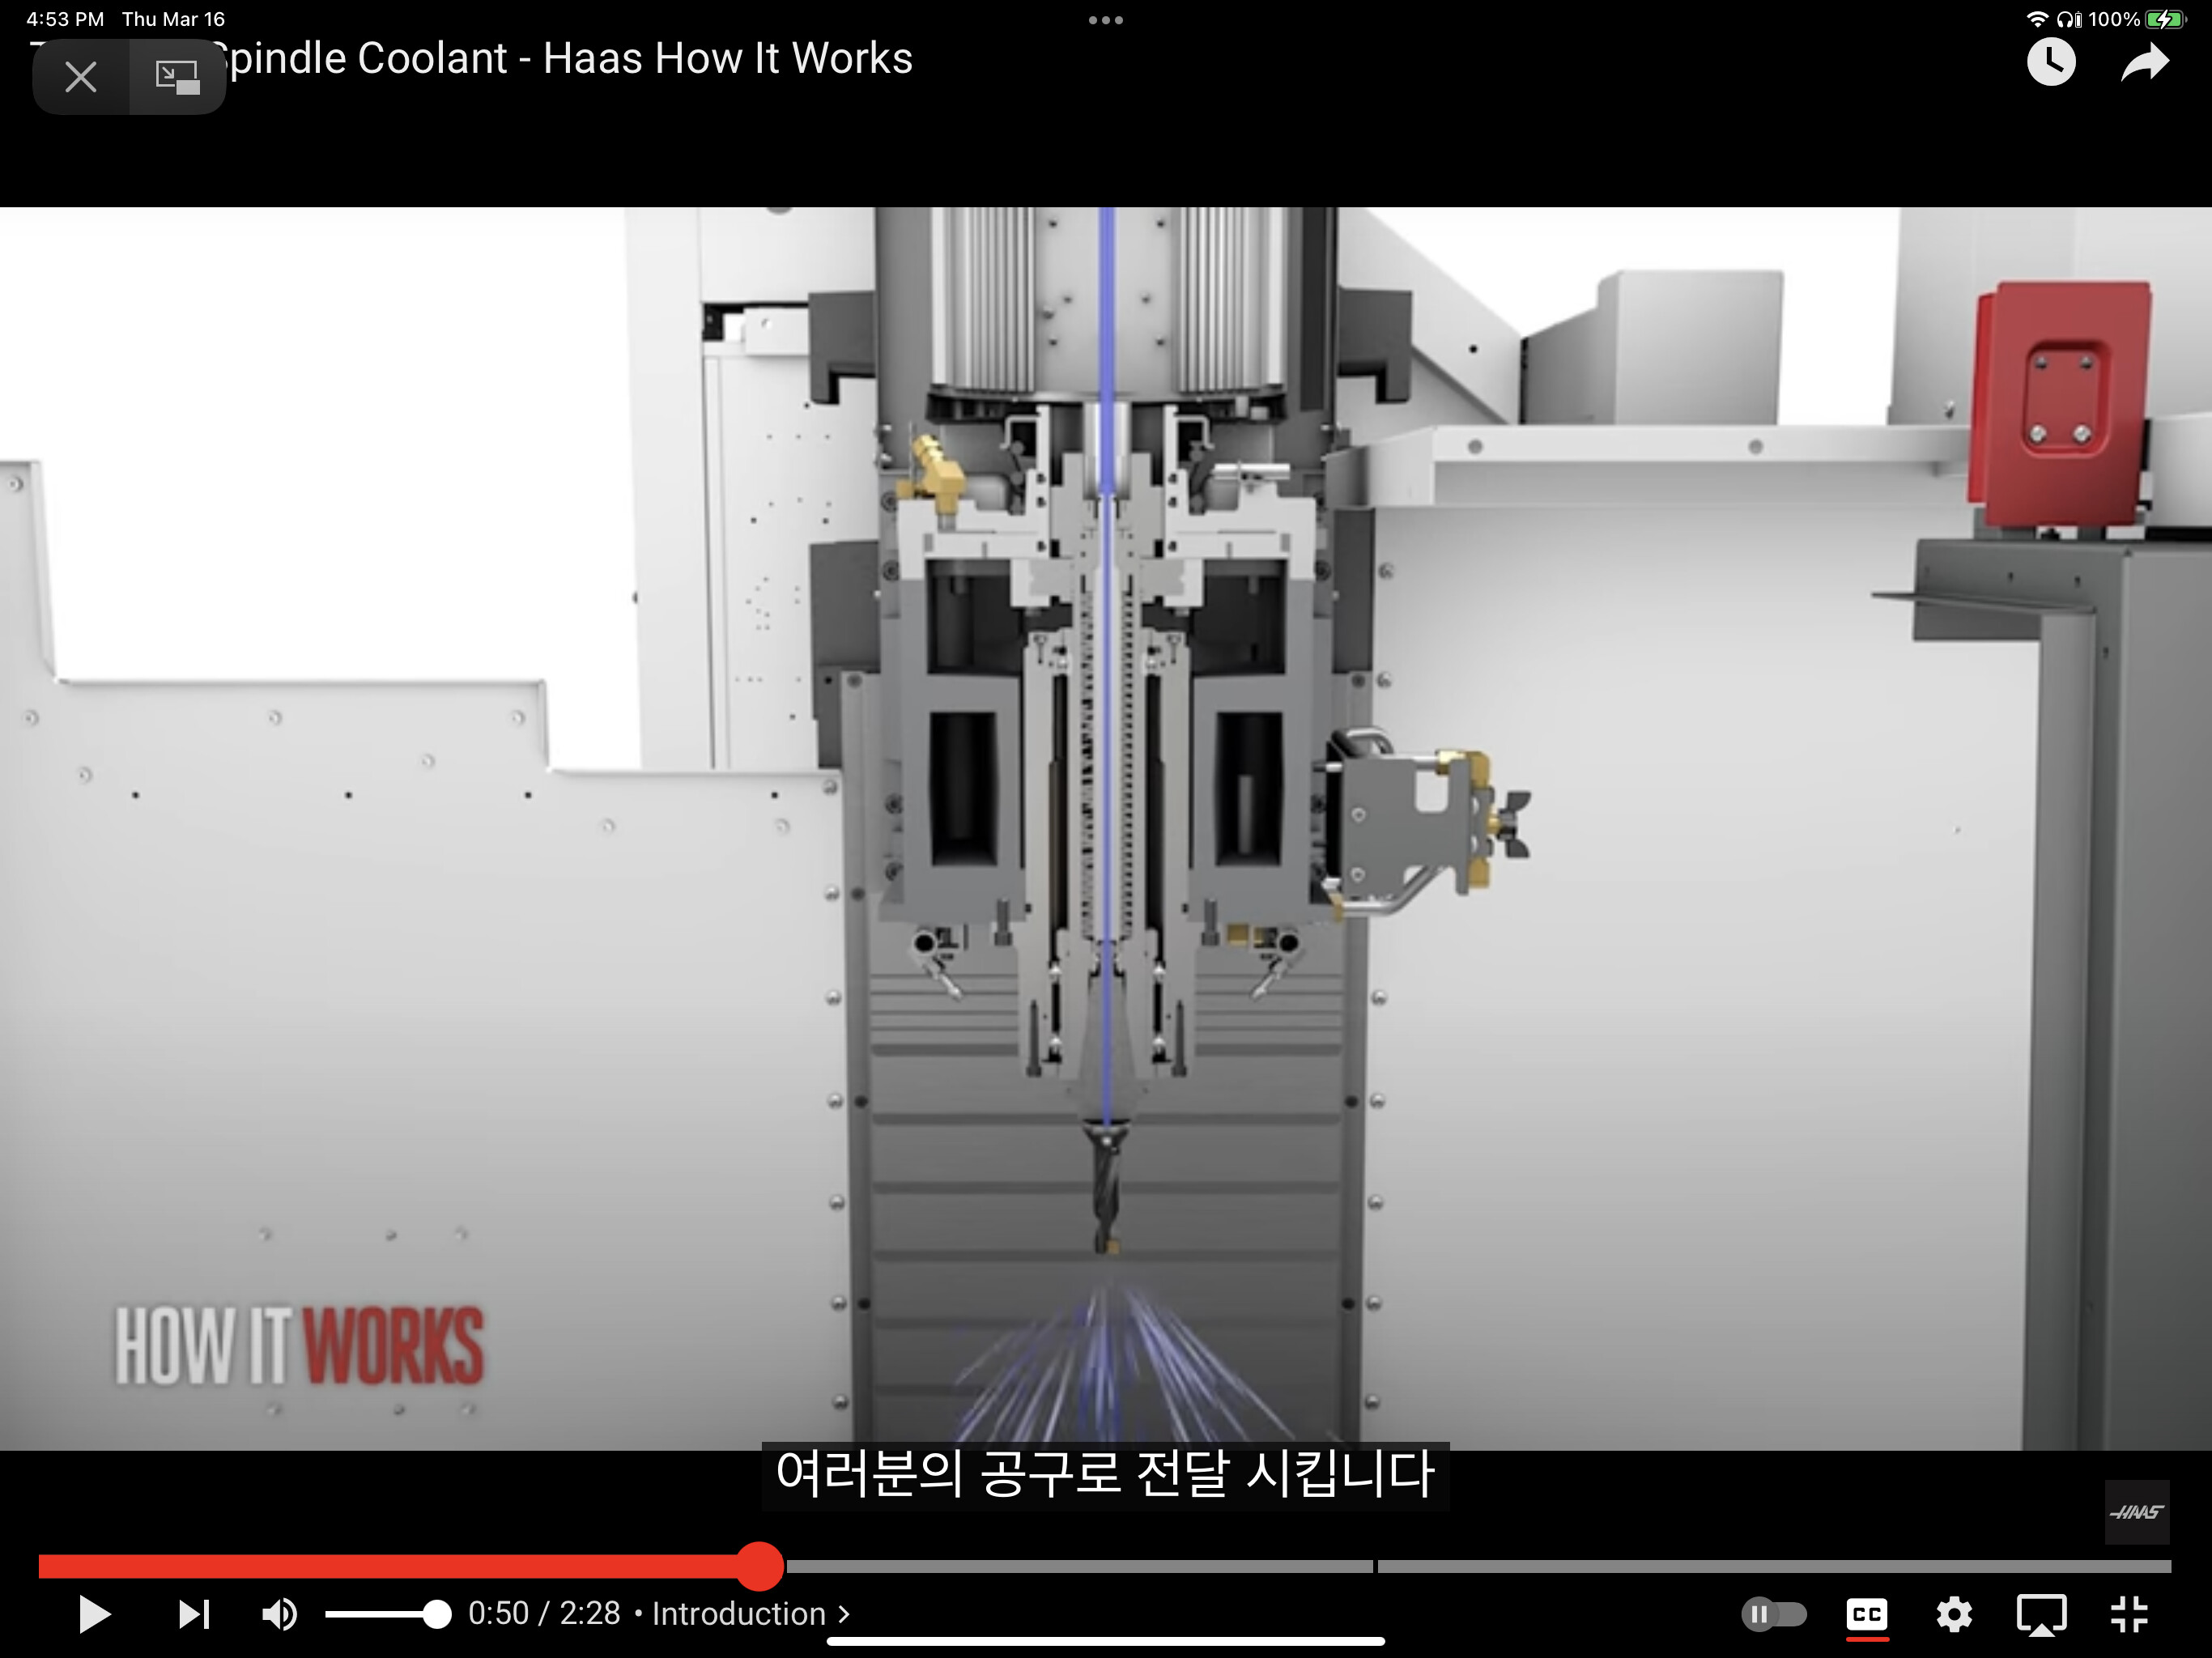
I have had similar issues with recutting chips in deep pockets in aluminum. It makes it really obvious why through spindle coolant is a thing. Changing to end mills with chip breakers helped enormously. I am thinking about adding a second coolant pump. I already purchase from langmuir a second coolant kit to add a nozzle on the opposite side of the spindle from the original. Using a dedicated pump for each side might improve chip evacuation. The ultimate fix is probably a higher pressure pump and increasing the OD of the coolant hoses. However, I didn’t want to spend money on an expensive pump until I’ve figured out a real filtration system. The fine aluminum dust from finish cuts seems unlikely to be good for a pump and is so fine, it is definitely recirculating in my machine.
I believe these pumps are like a semi trash pump system so any chips should be perfectly fine, I think you can increase the nozzle size as well without loosing pressure, pump is necked down quite a bit. Two of the stock nozzles would probably flow double if you have the right size fittings at the pump.
Bilge pumps are high volume, low pressure in the 30-50psi range. With a 1/8” coolant nozzle I doubt it’s using 10% of the pump’s capacity. In fact, if it weren’t using a bypass line you’d probably wear it out prematurely. I have a 1/2HP bilge pump that warns to use 3/4” hose minimum. That size hose flows 4X that of a MR-1 3/8” coolant line.
Couldn’t hurt to try it but I think peck drilling would work better. I looked into flow through coolant systems a while ago and found they use 10-20 times more pump pressure.

1 Like
Before you buy a second pump I would recommend increasing the line size from the pump up to the nozzle. That will change the flow rate immensely.
I had to throttle mine back down with a valve as it flowed more than the drains. McMaster and Amazon part numbers for my system in my thread.
1 Like
Awesome build! What is the black plumbing hardware you used to attach the metal shower drain to the pvc pipe? I know that you cant just glue those together, and am struggling to find something similar to what i see in your pictures. Thanks to anyone who can help!
I just spent sometime at the hardware store tell I was able to make something that worked. I wish I had remember to make a list of the parts. However if I did it again I would have just design something and 3d printed it.

3 Likes
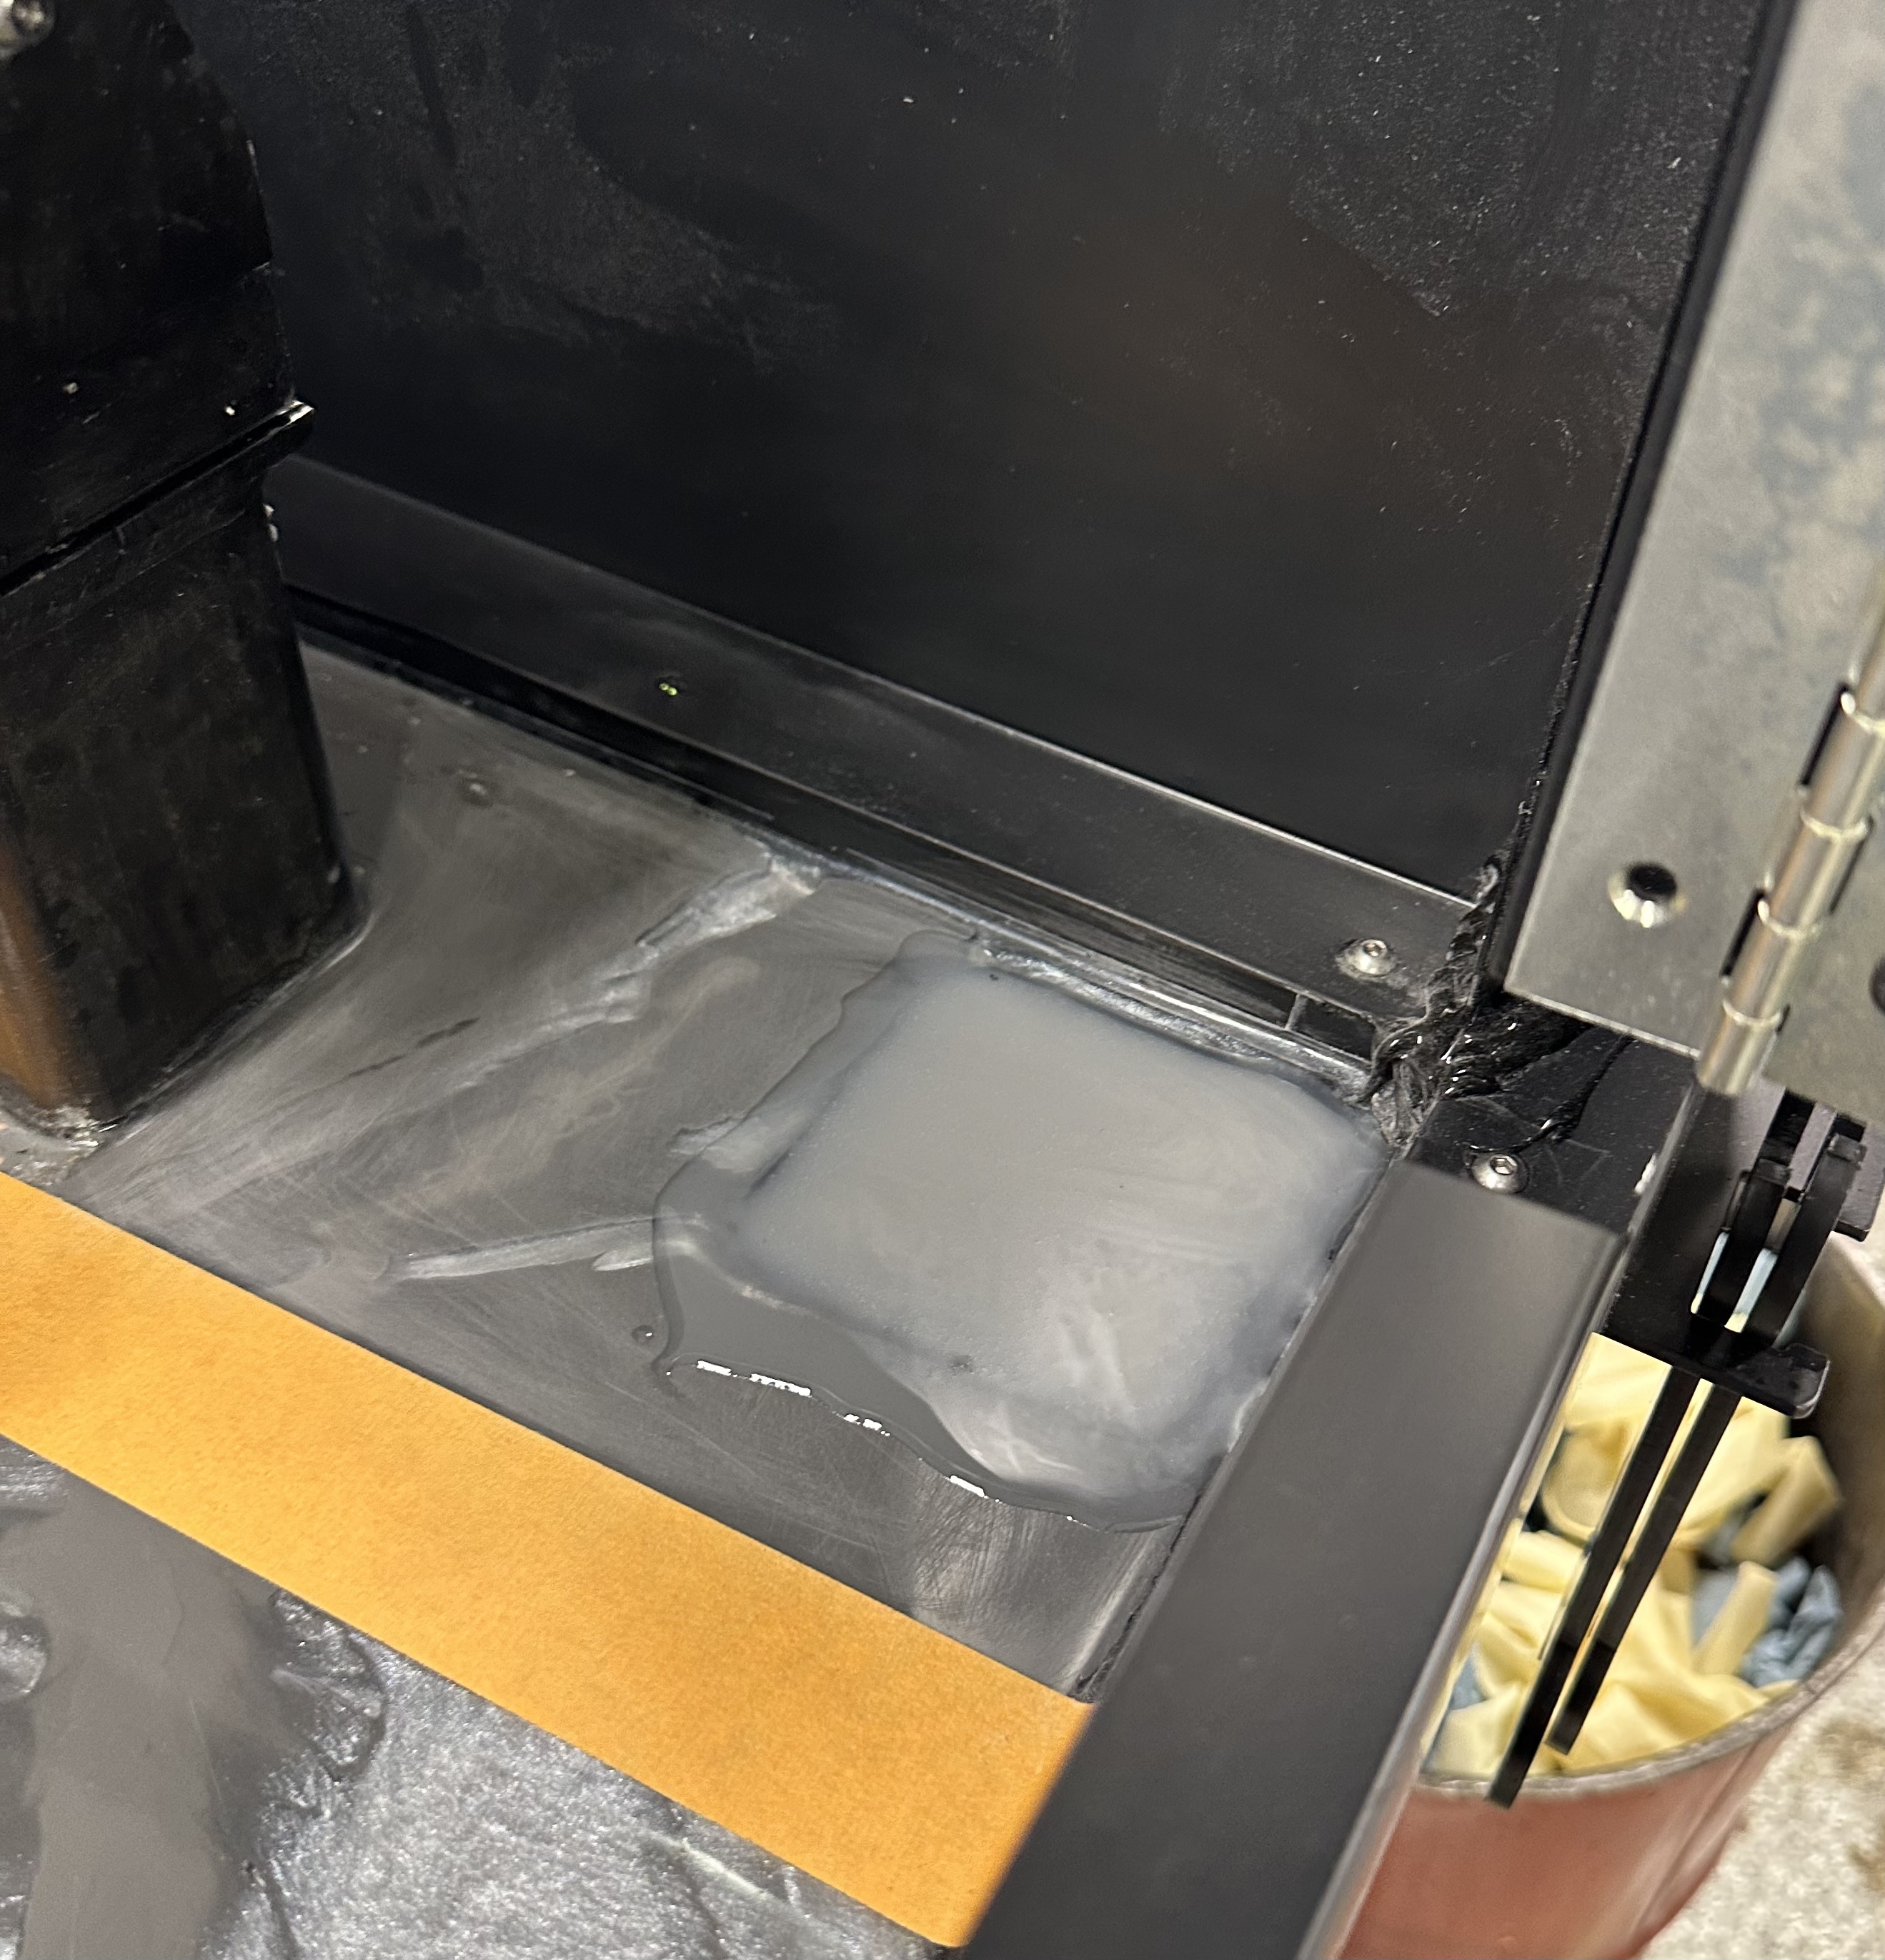
After a year of weekly use I had to prep my machine to move. This included draining the coolant tank. Was glade to see how little made it through my pull out filter tank!
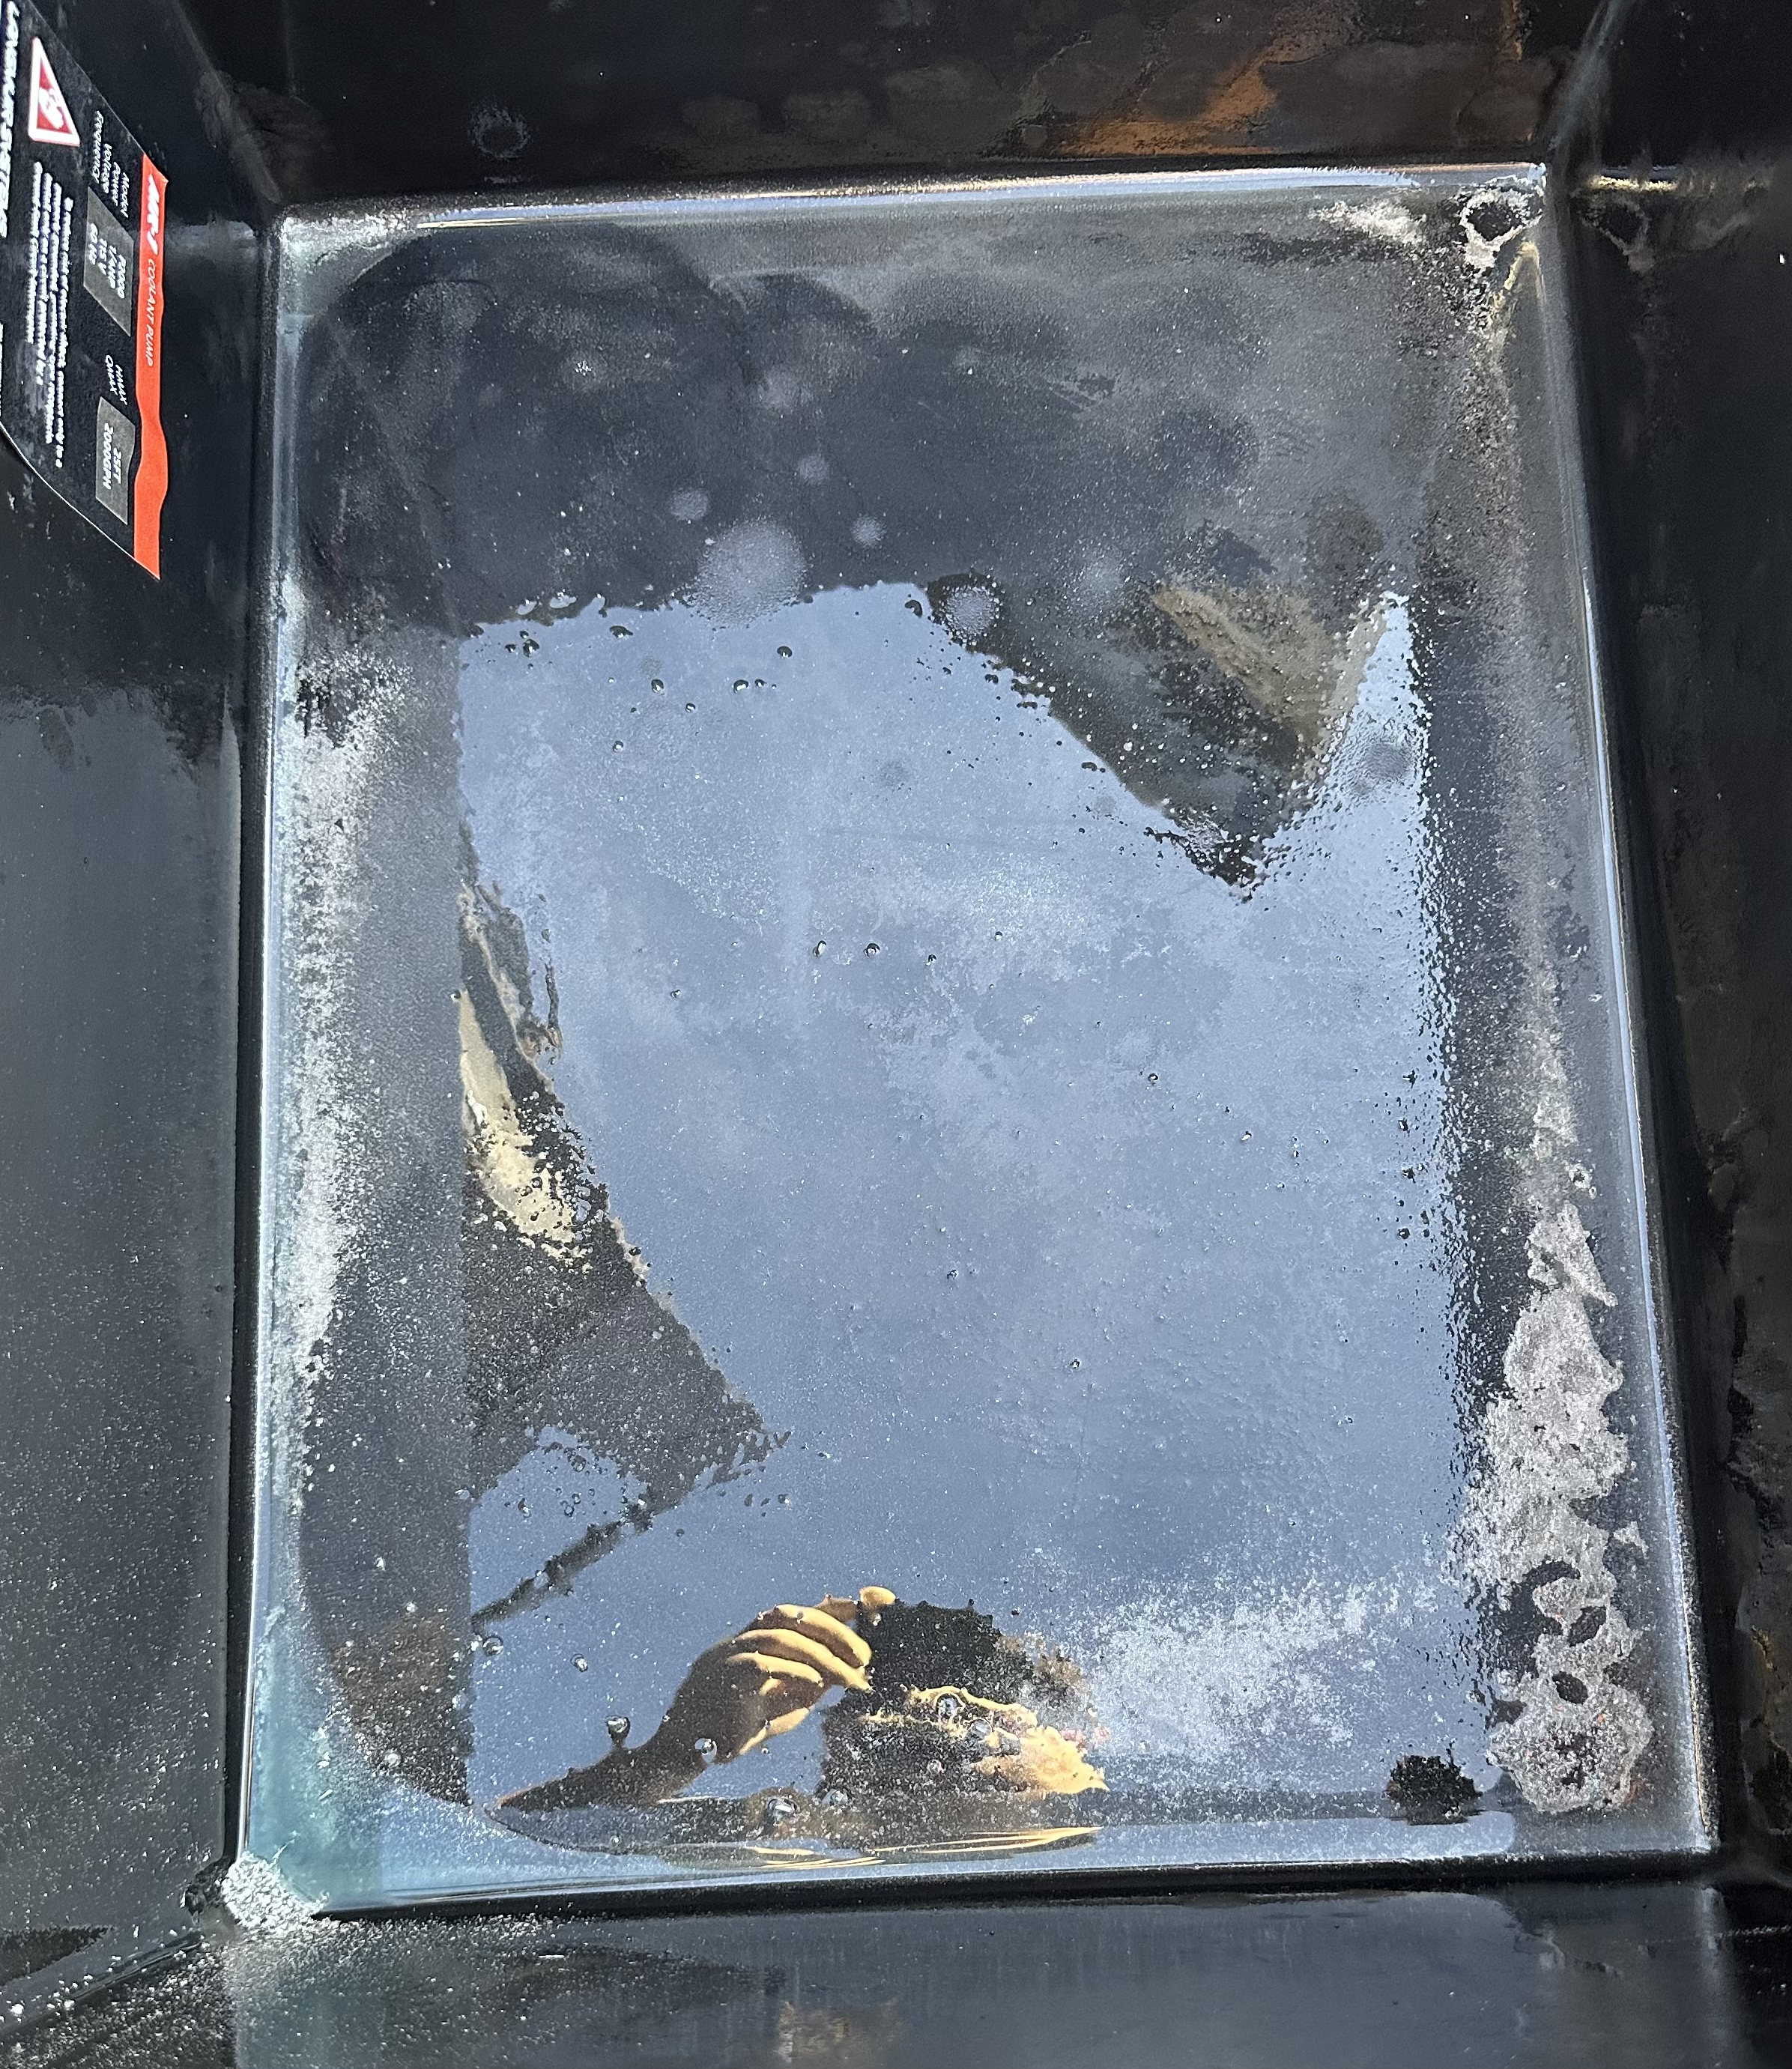
3 Likes
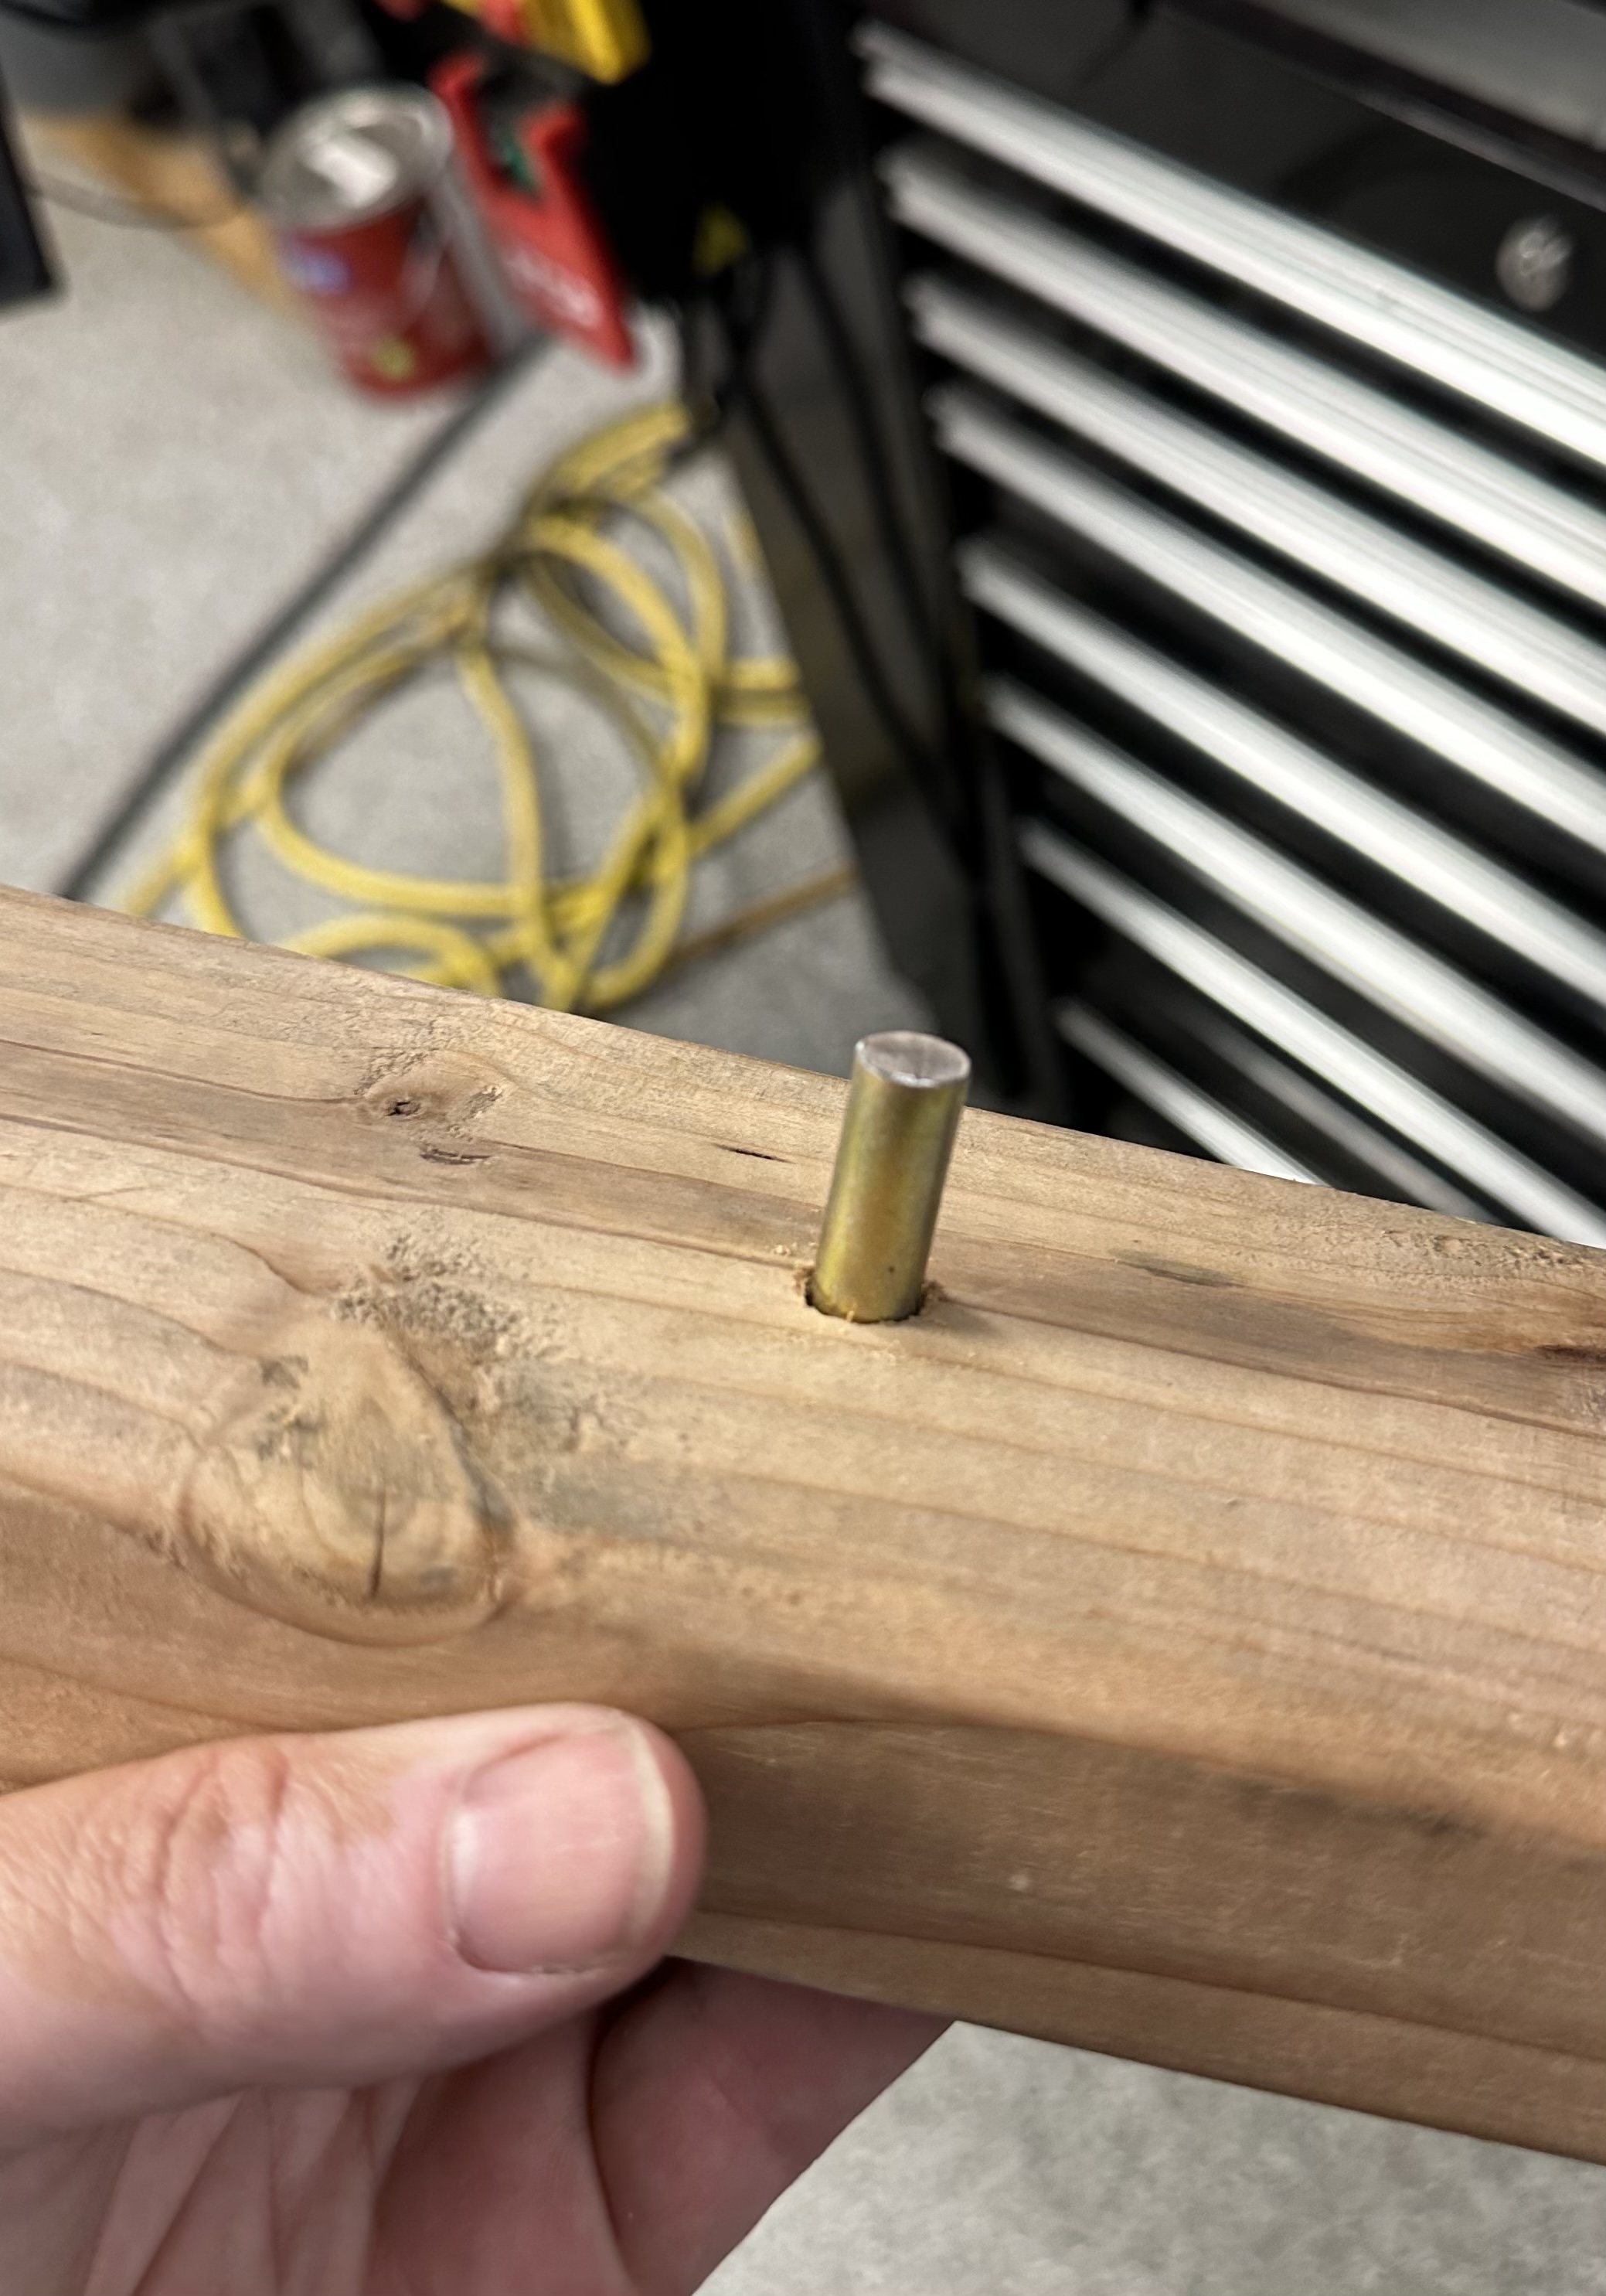
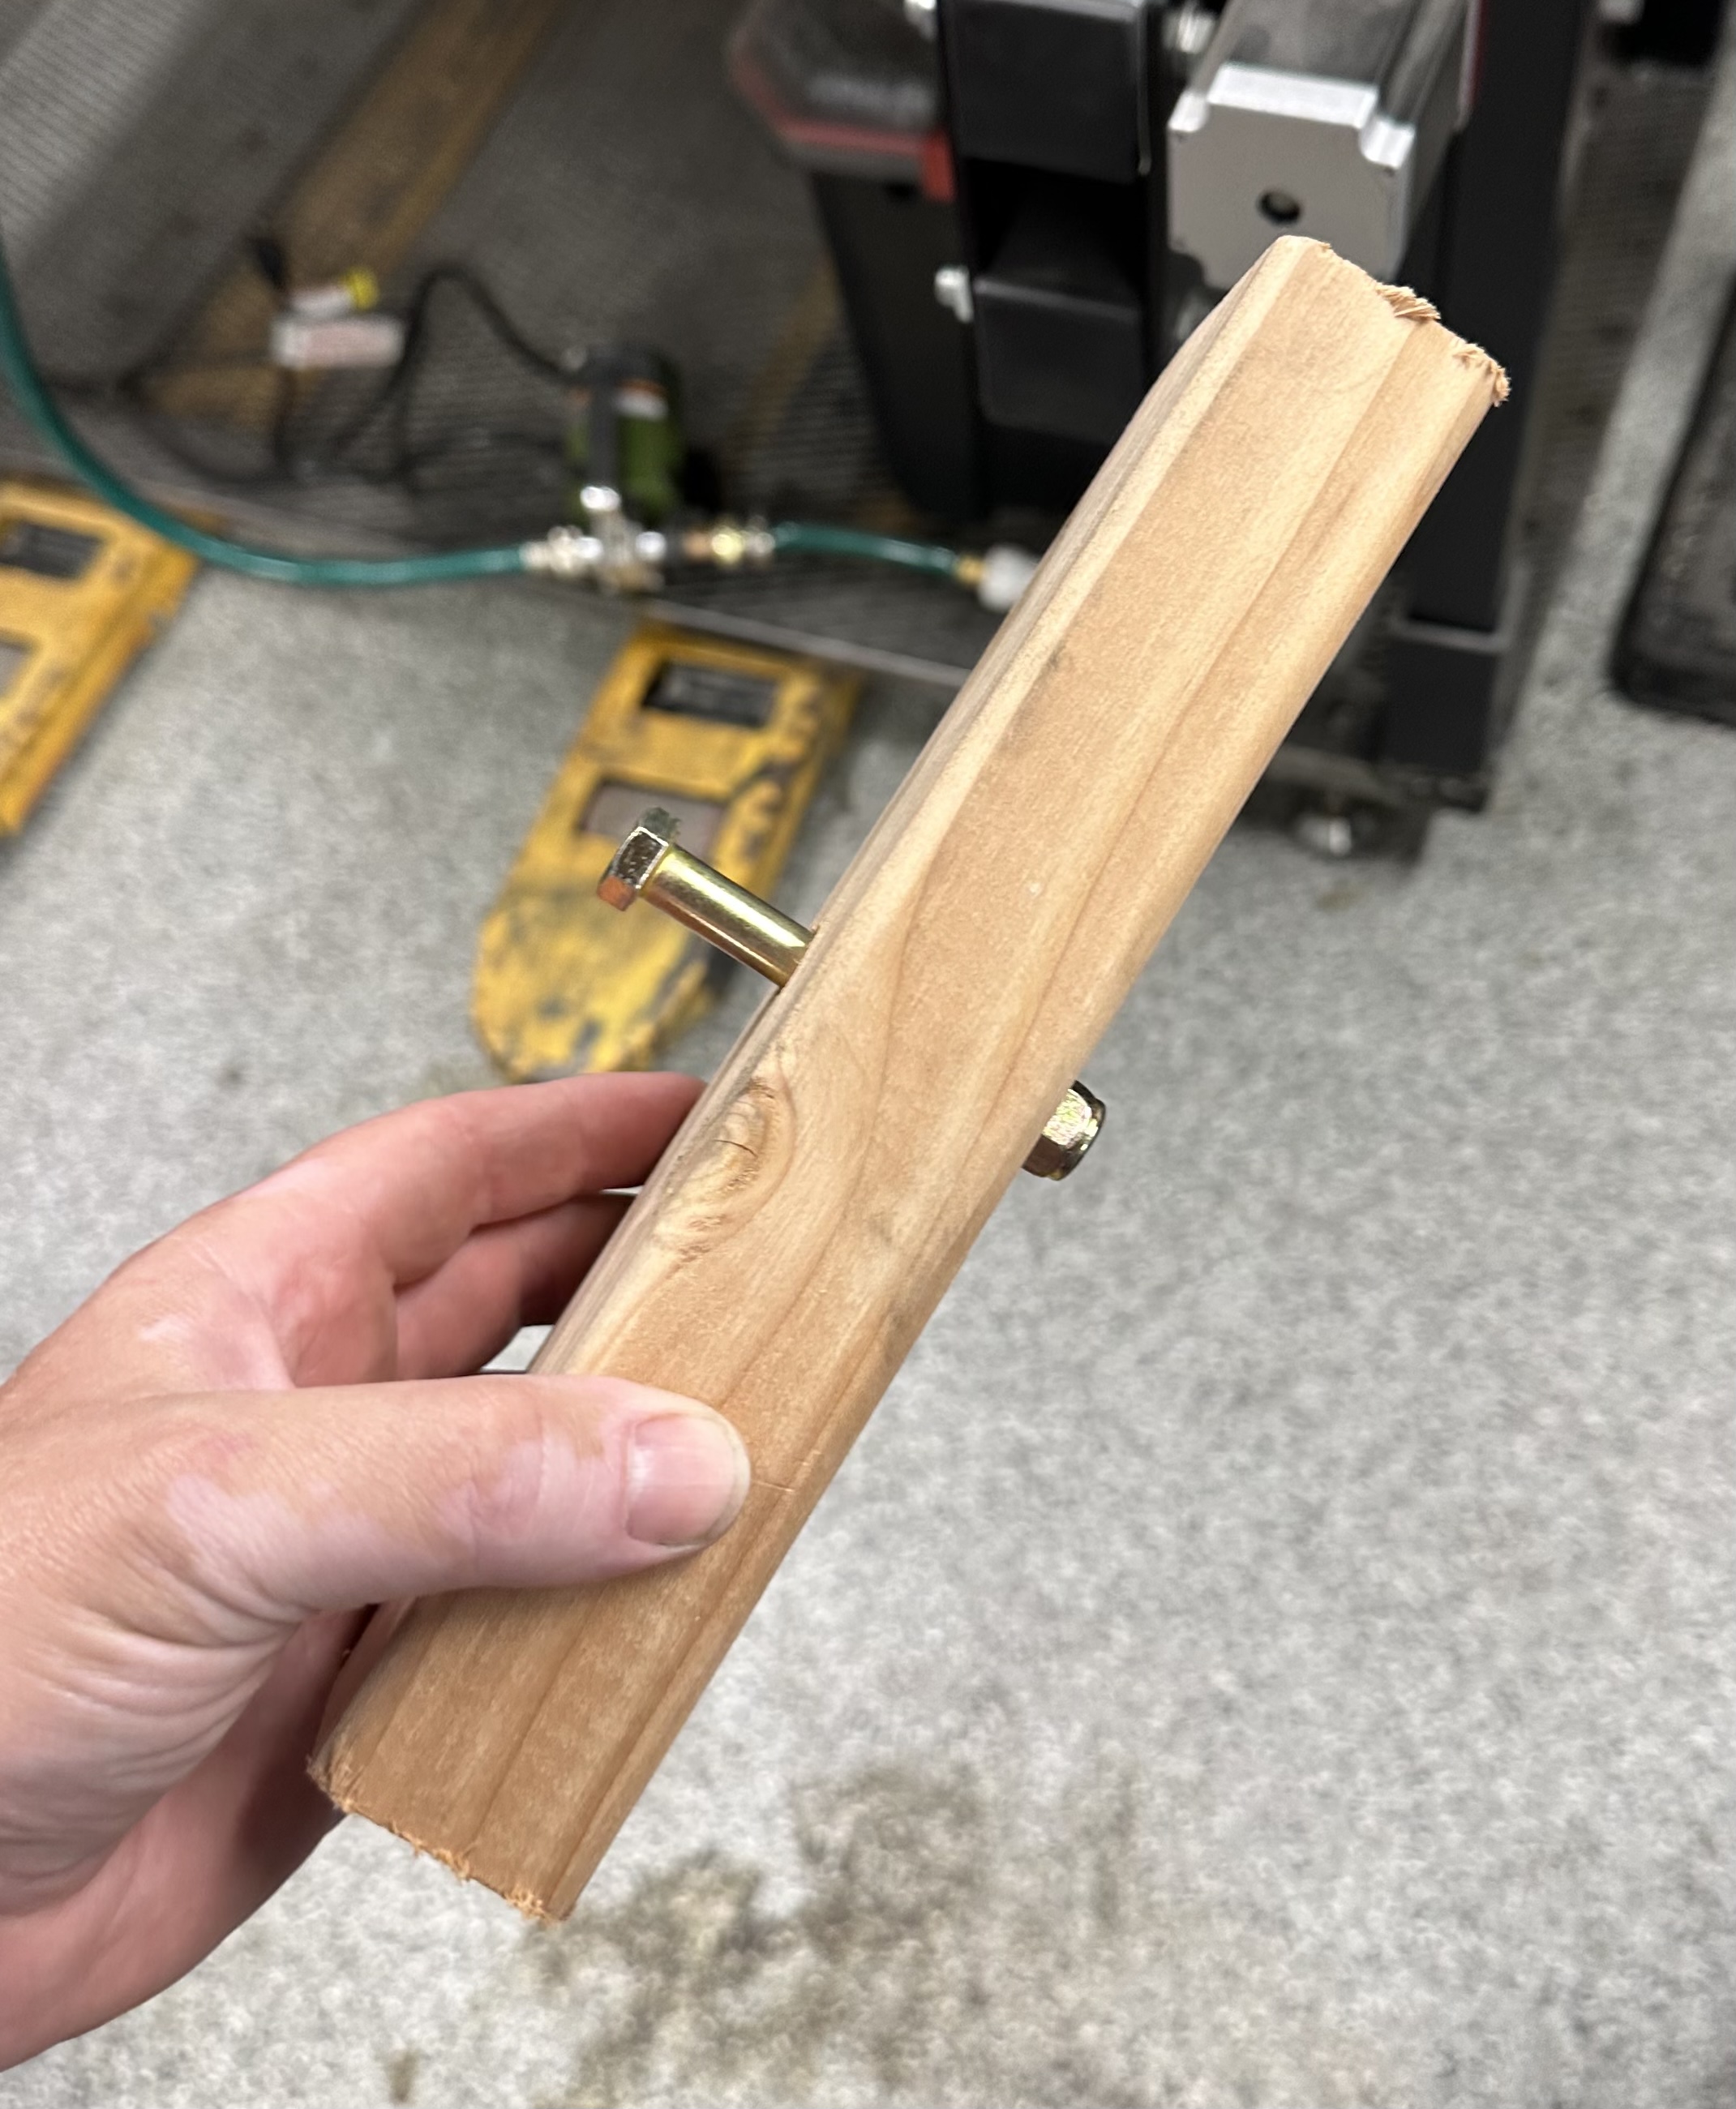
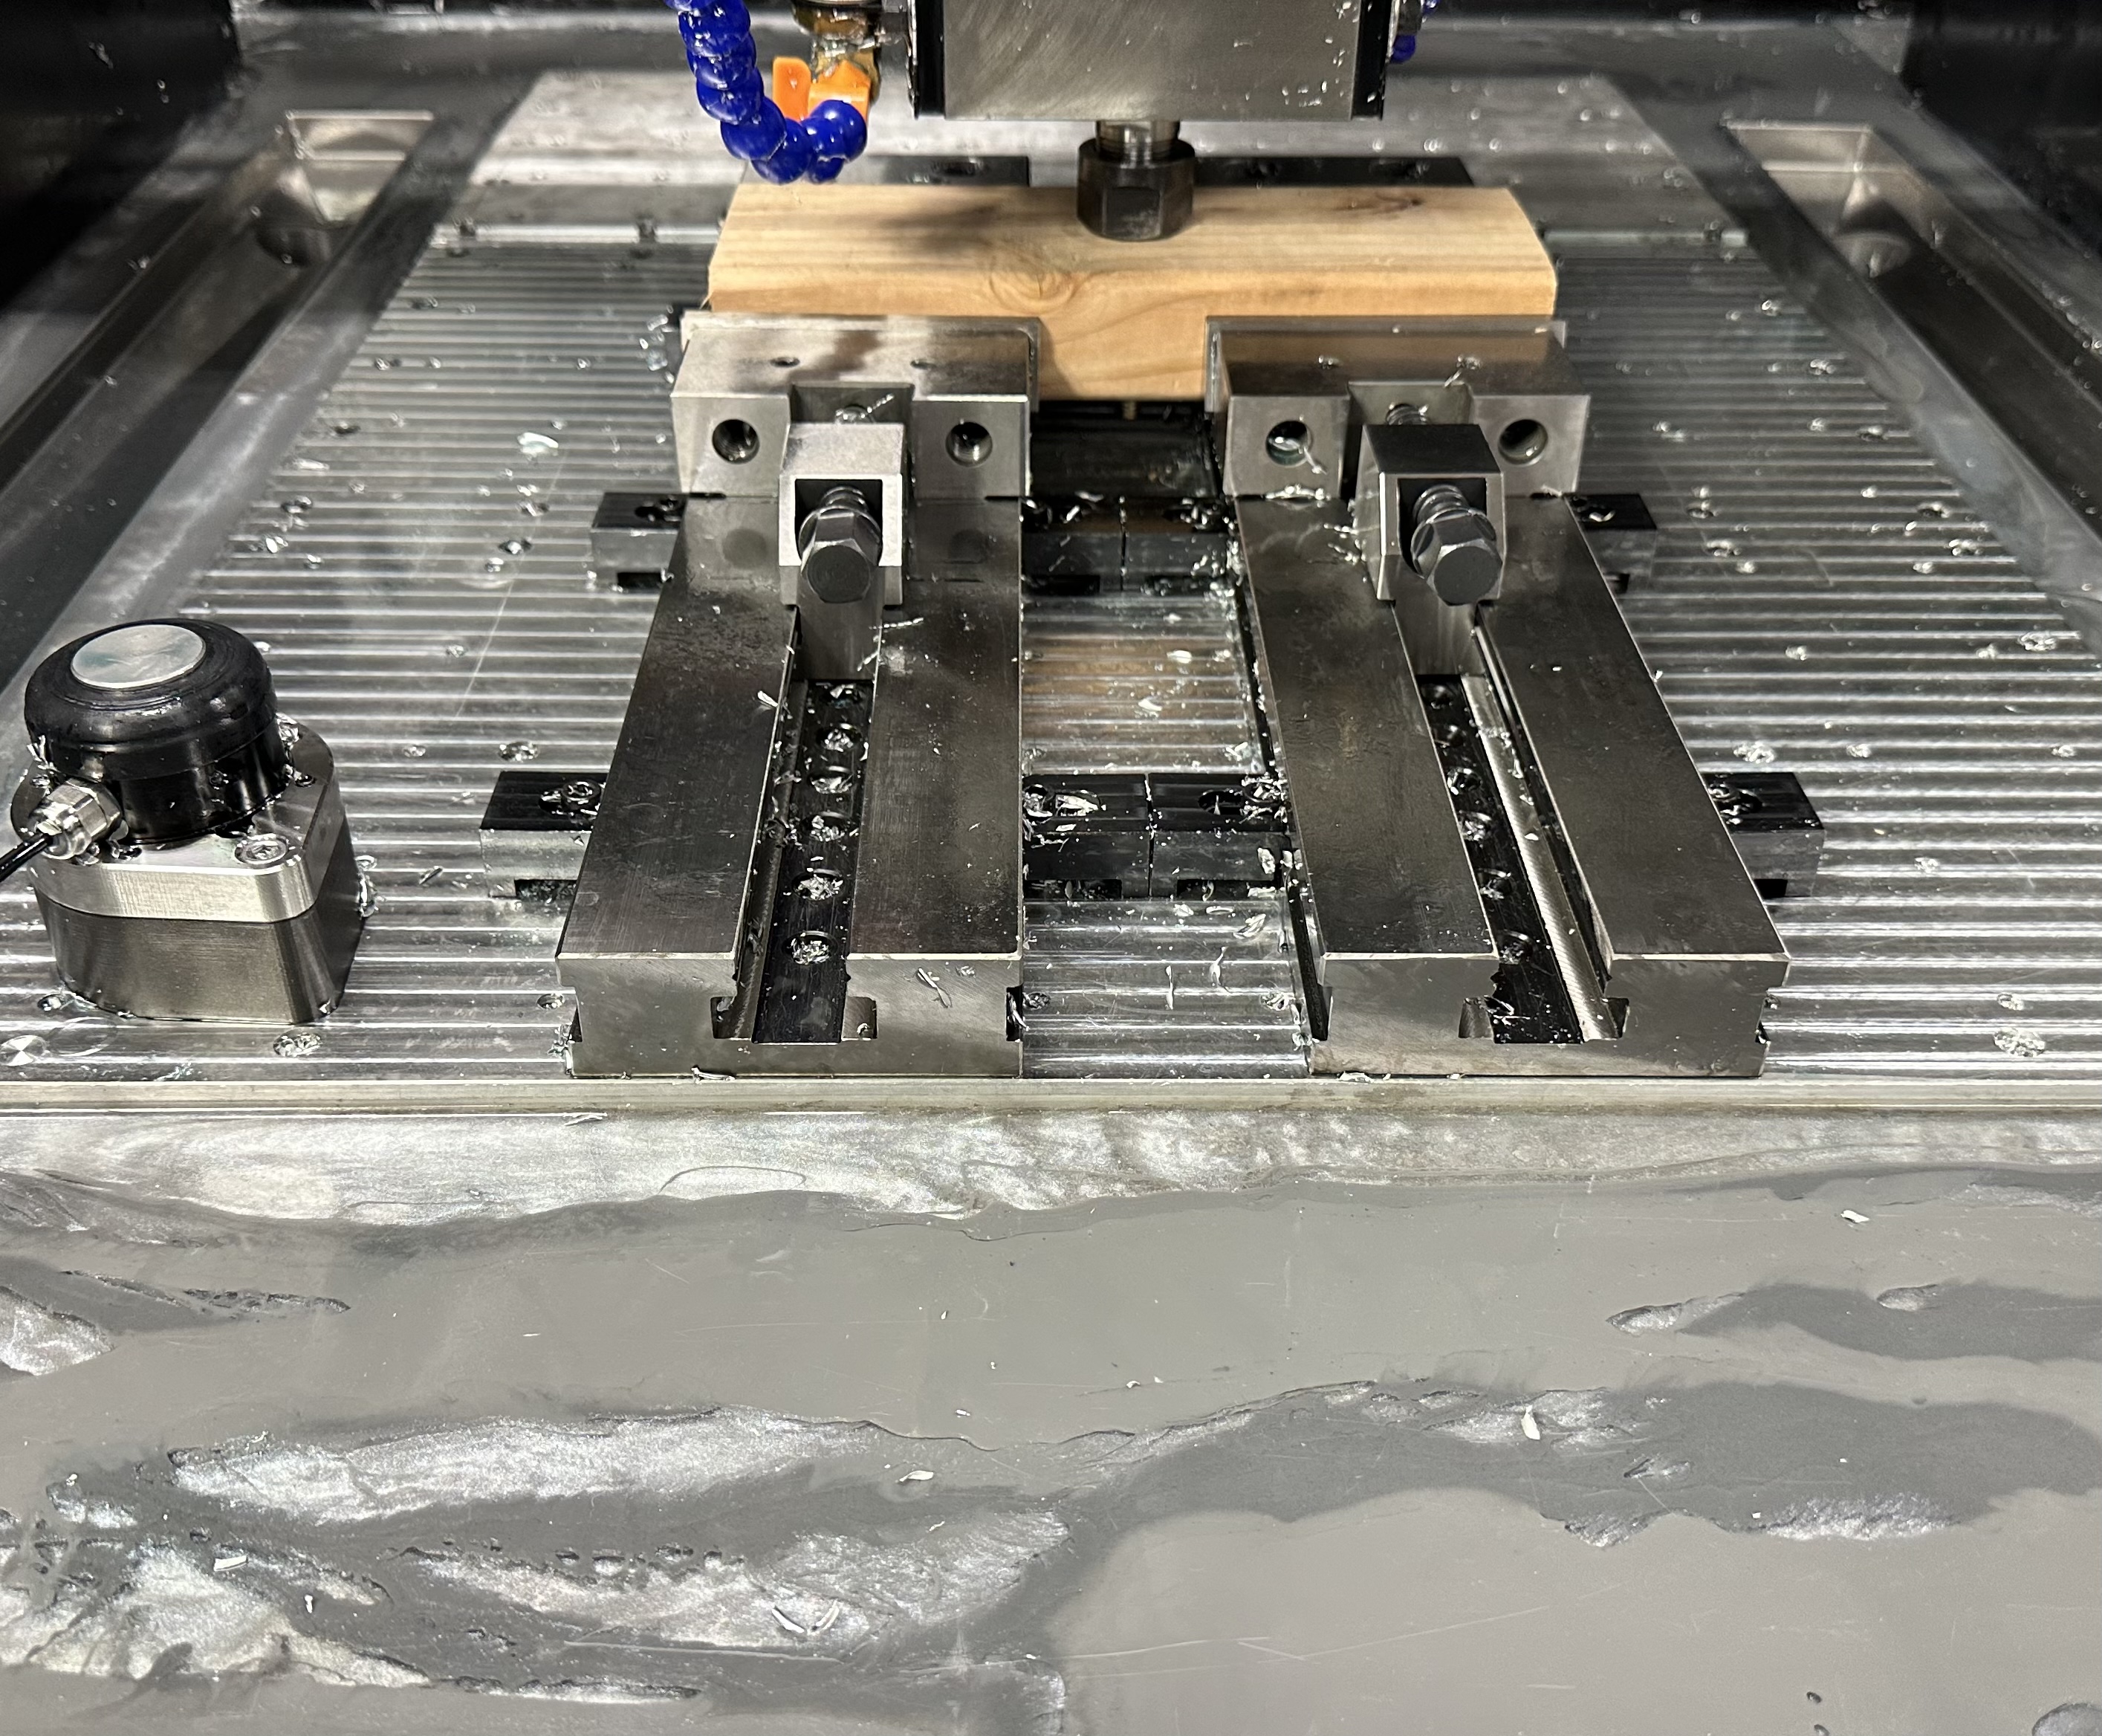

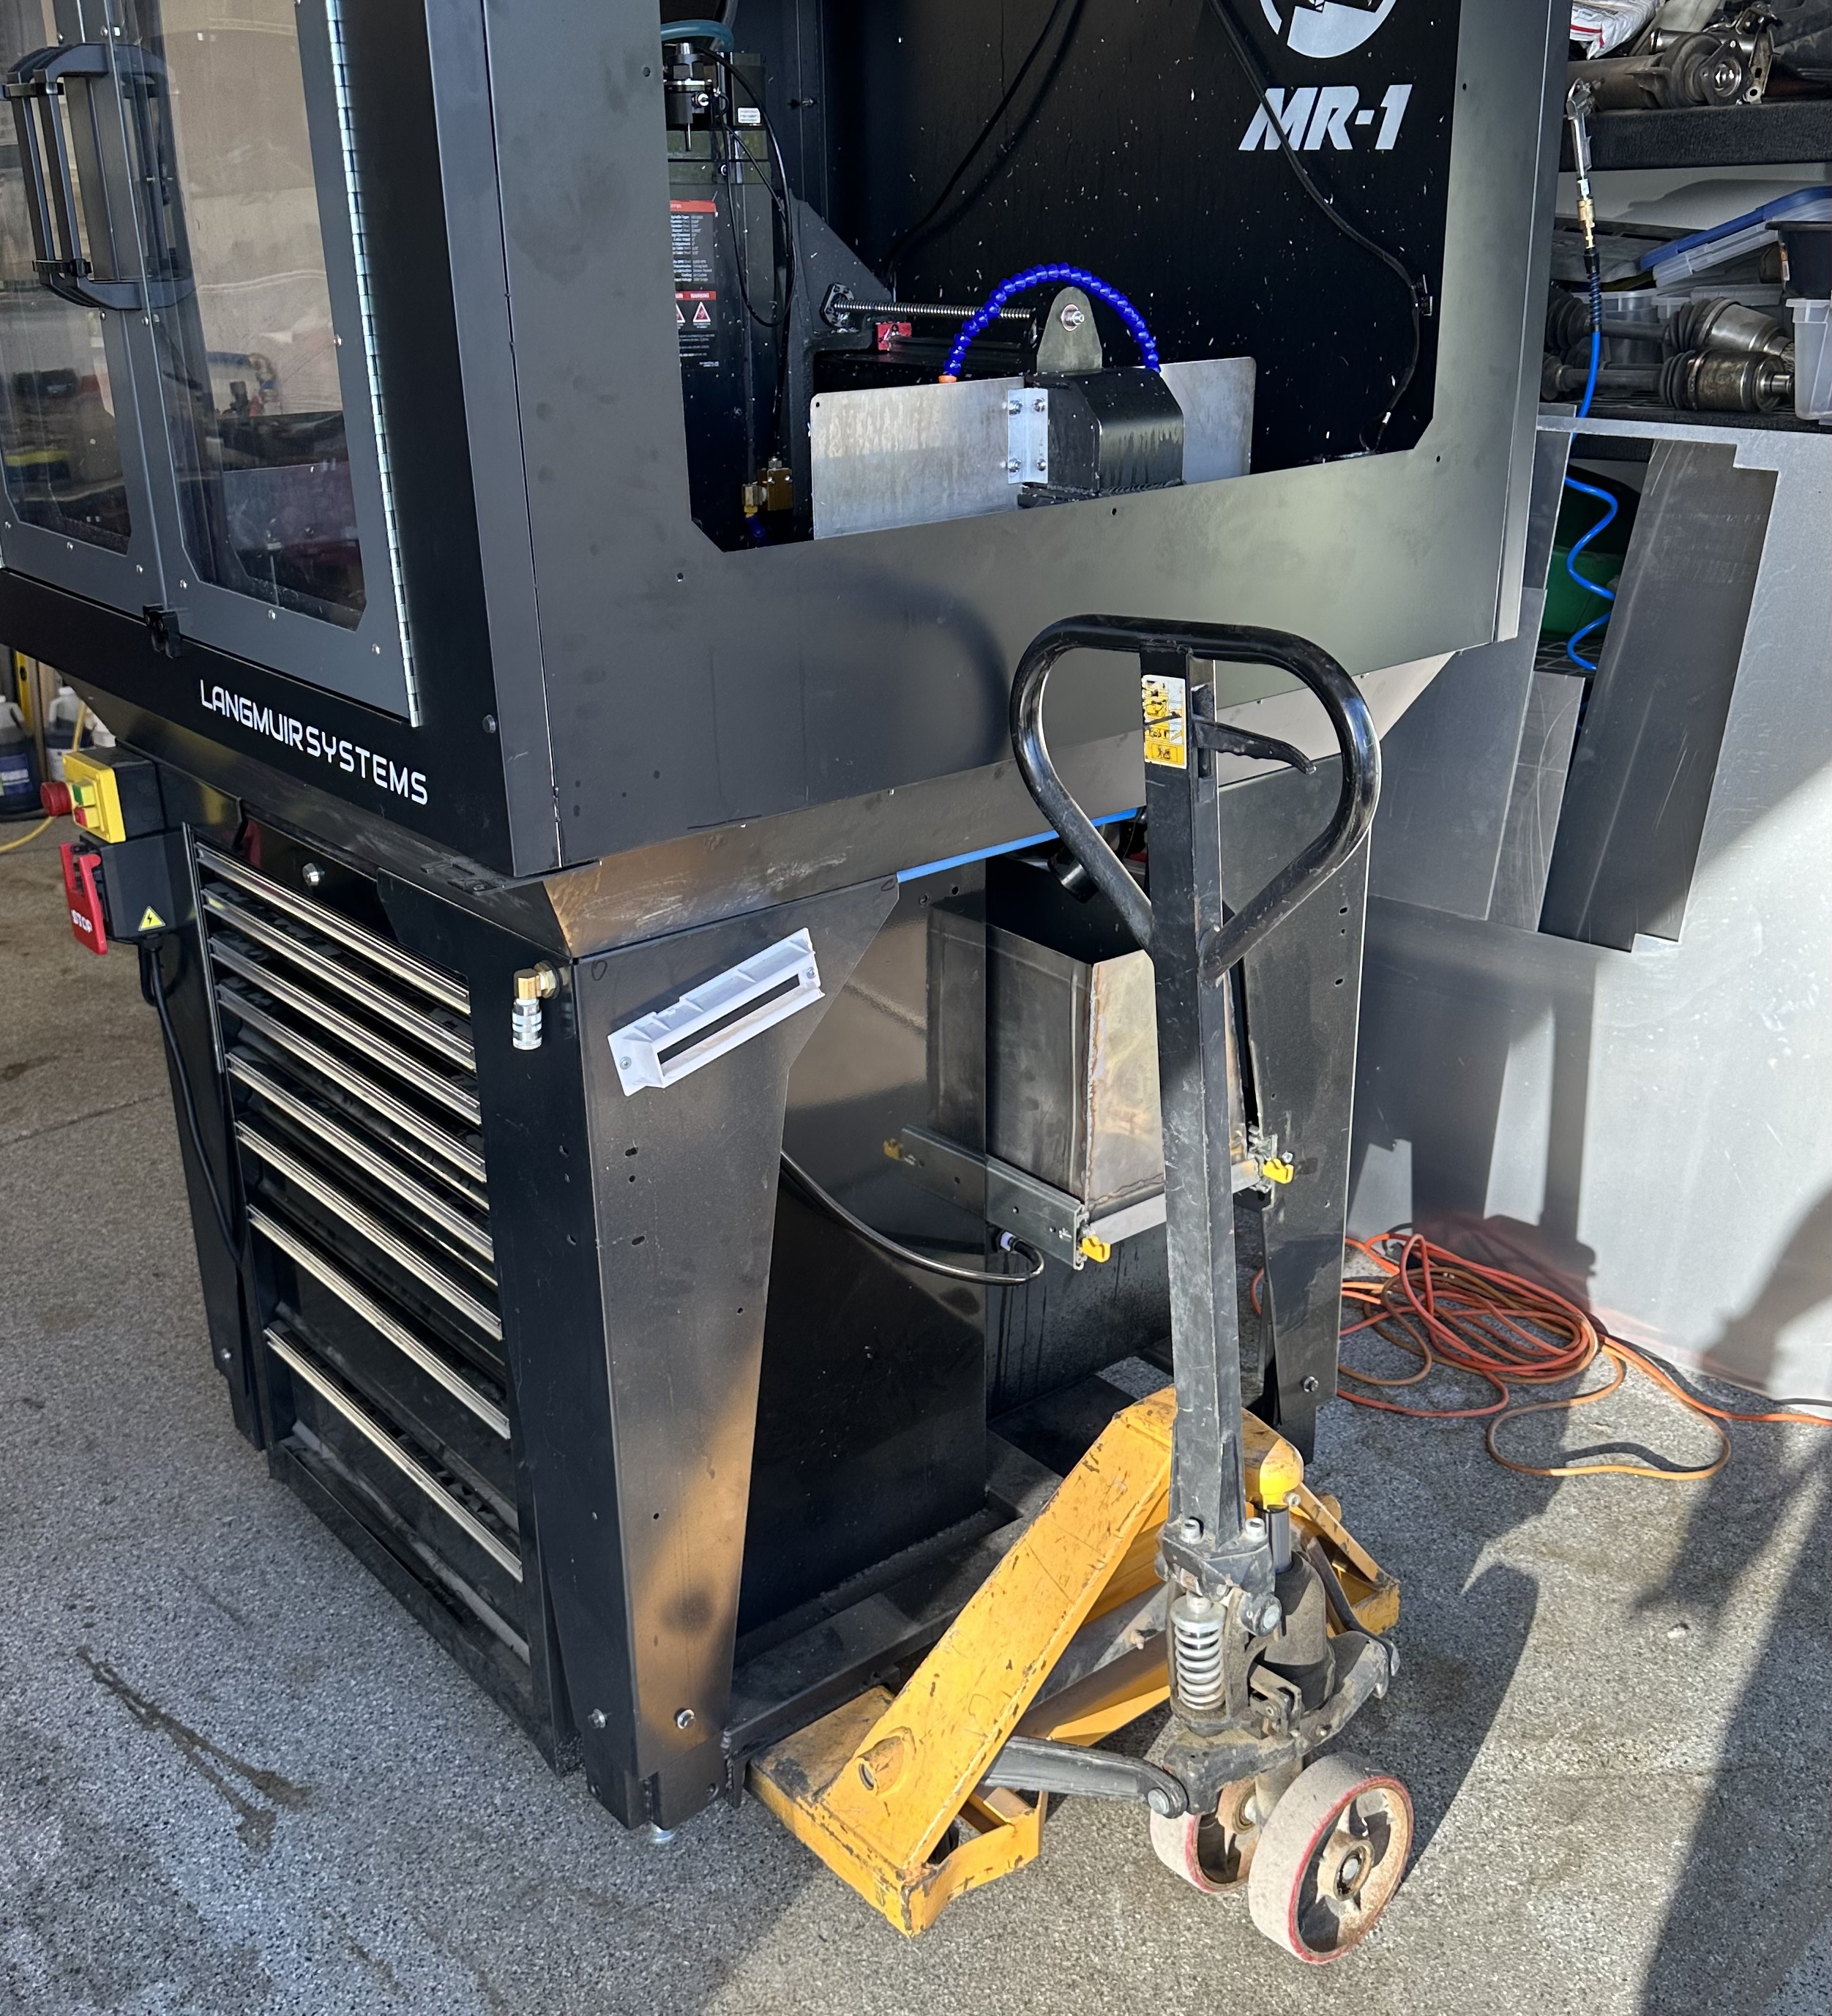
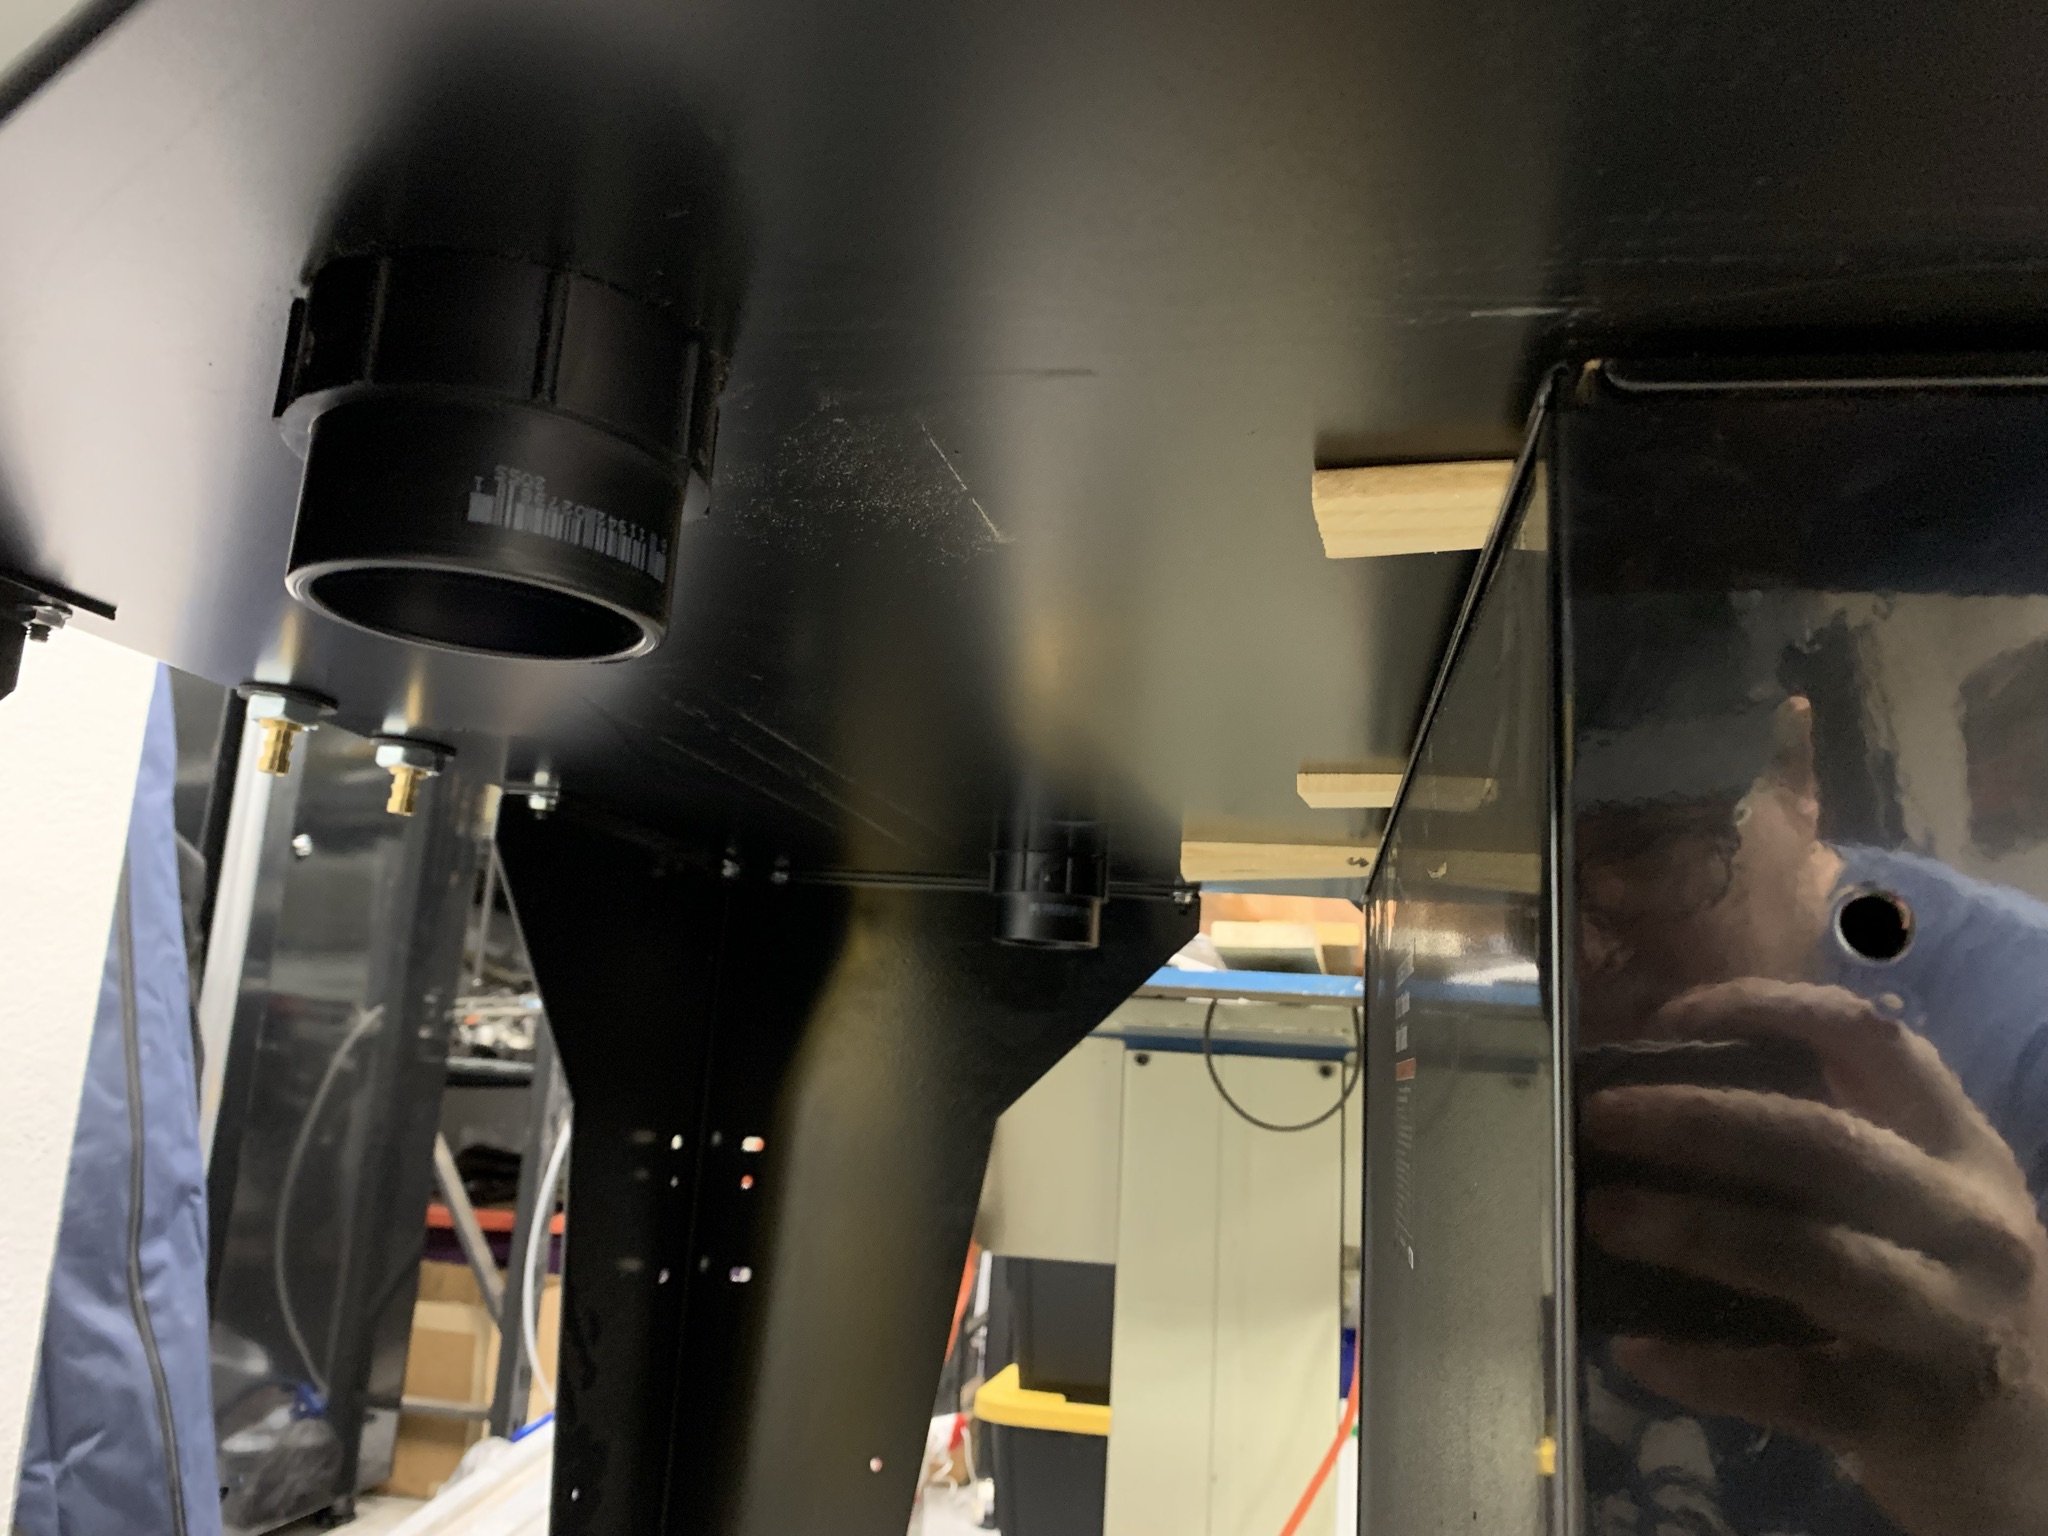
I knew when I built my MR-1 that I would be move in the near future. The time has come so I need to prep the machine. I got a 3/8 bolt, removed the head and ran it through a piece of wood. Clamp d the shaft into the collet so it tight against the wood then clamped the wood into the 2 vises. That held the gantry secure for the 5 hour trip to storage. Also my skid design worked great. Used the pallet jack to pull the mill out of the garage and then the forklift to lifted onto the car trailer. Will be a few month in storage before it gets moved back into the new shop and put back to work.
3 Likes