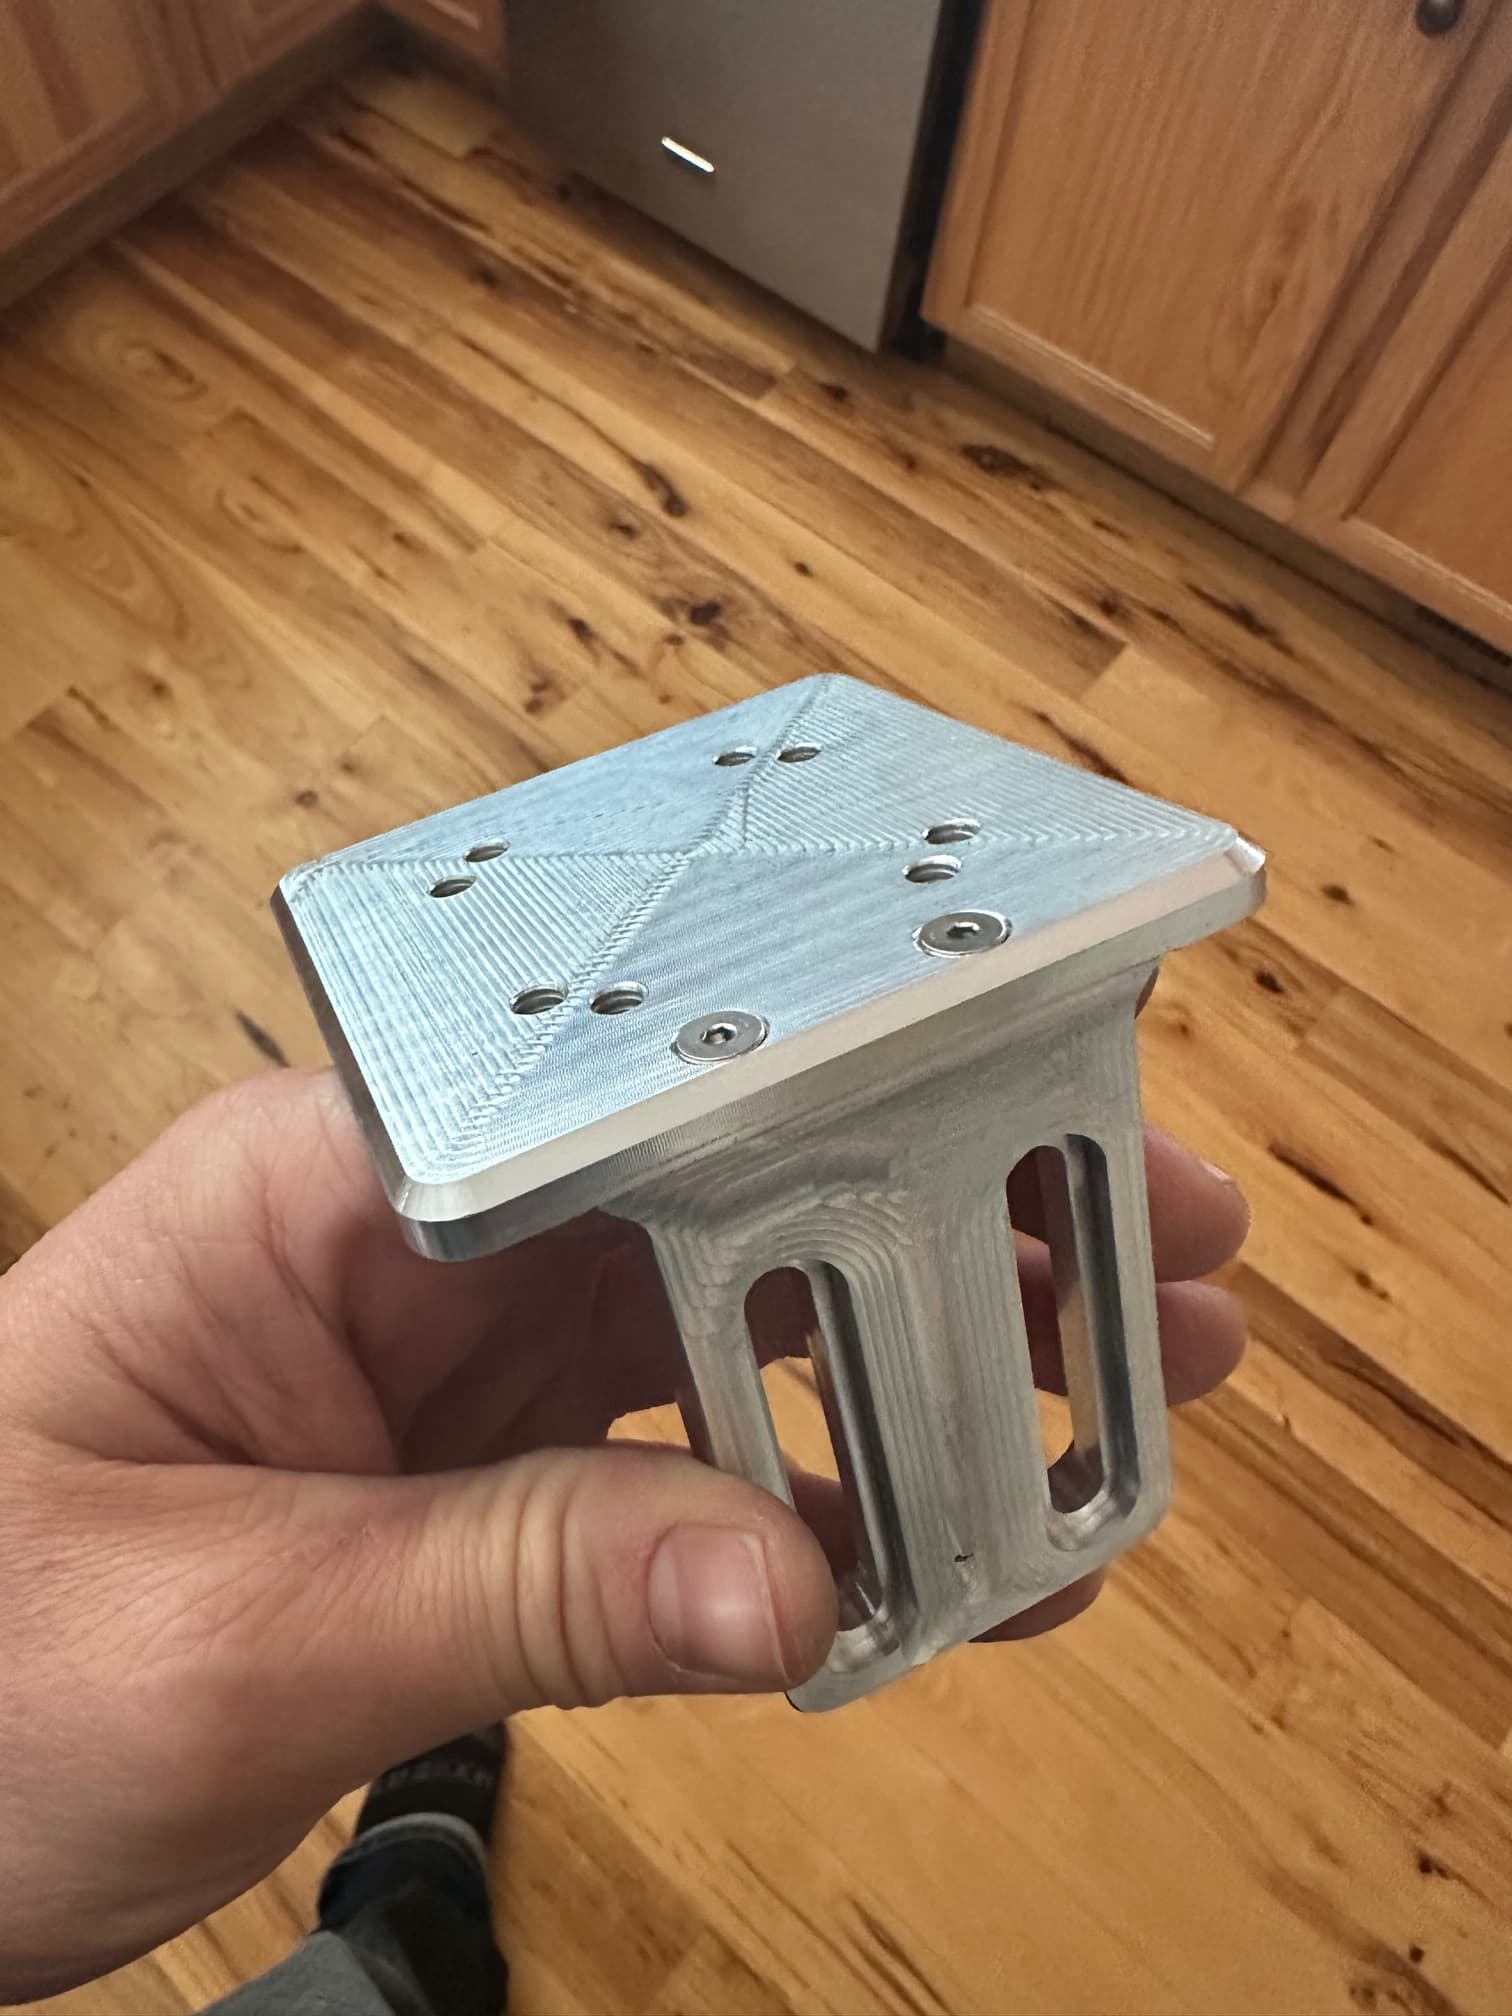
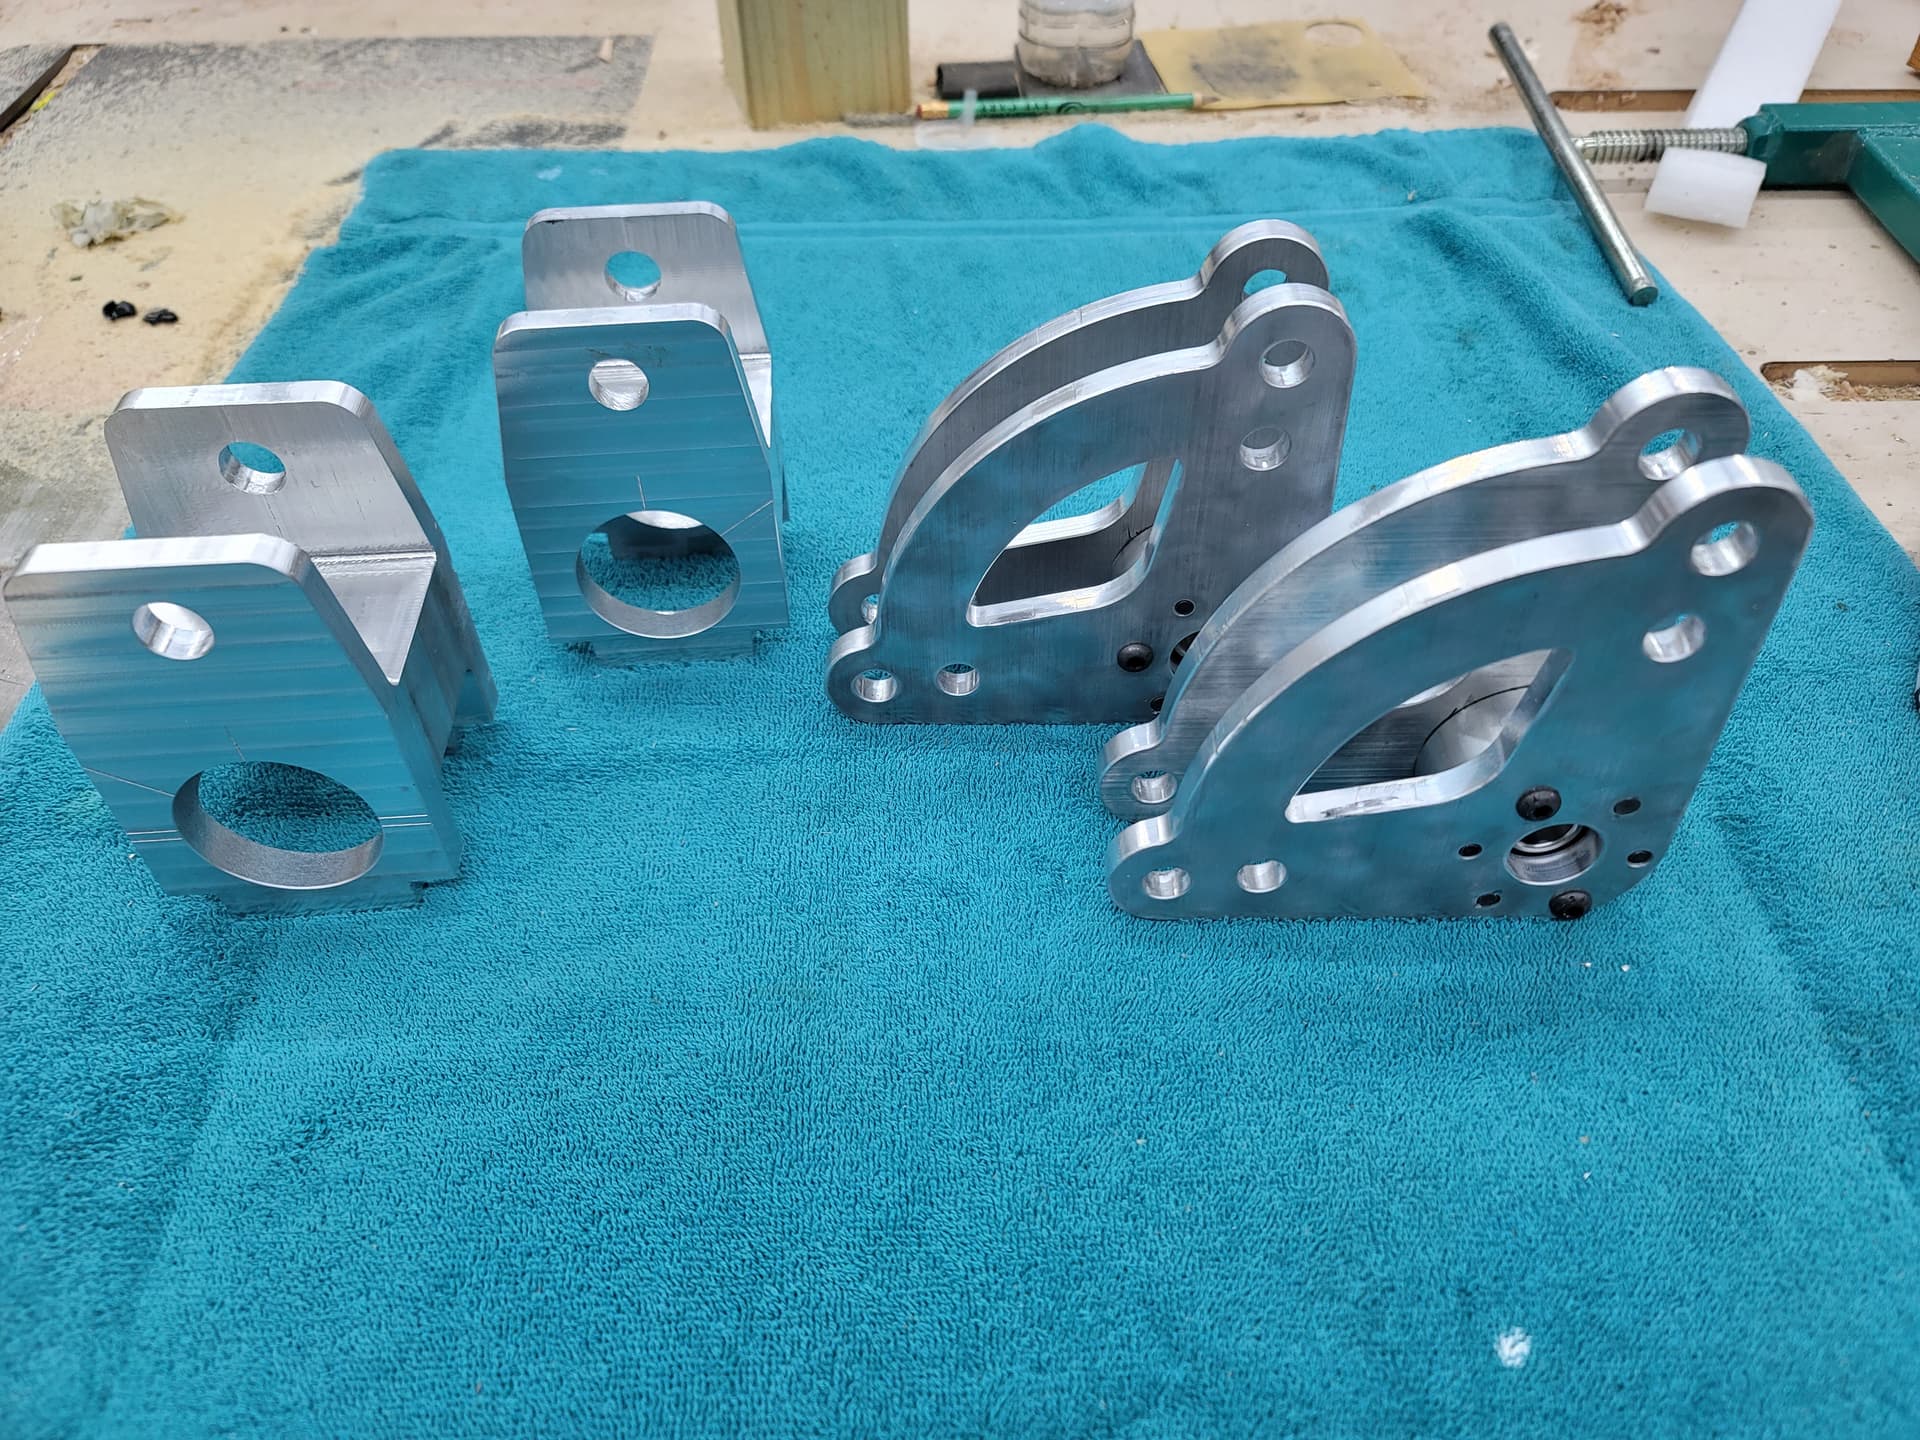
e-bike battery mount. The back was cut concave to match the curve of the downtube. The pockets are just to save some weight. The valley at the top is for a clamp since the water bottle bosses on this frame are very low and didn’t support the top of the battery.
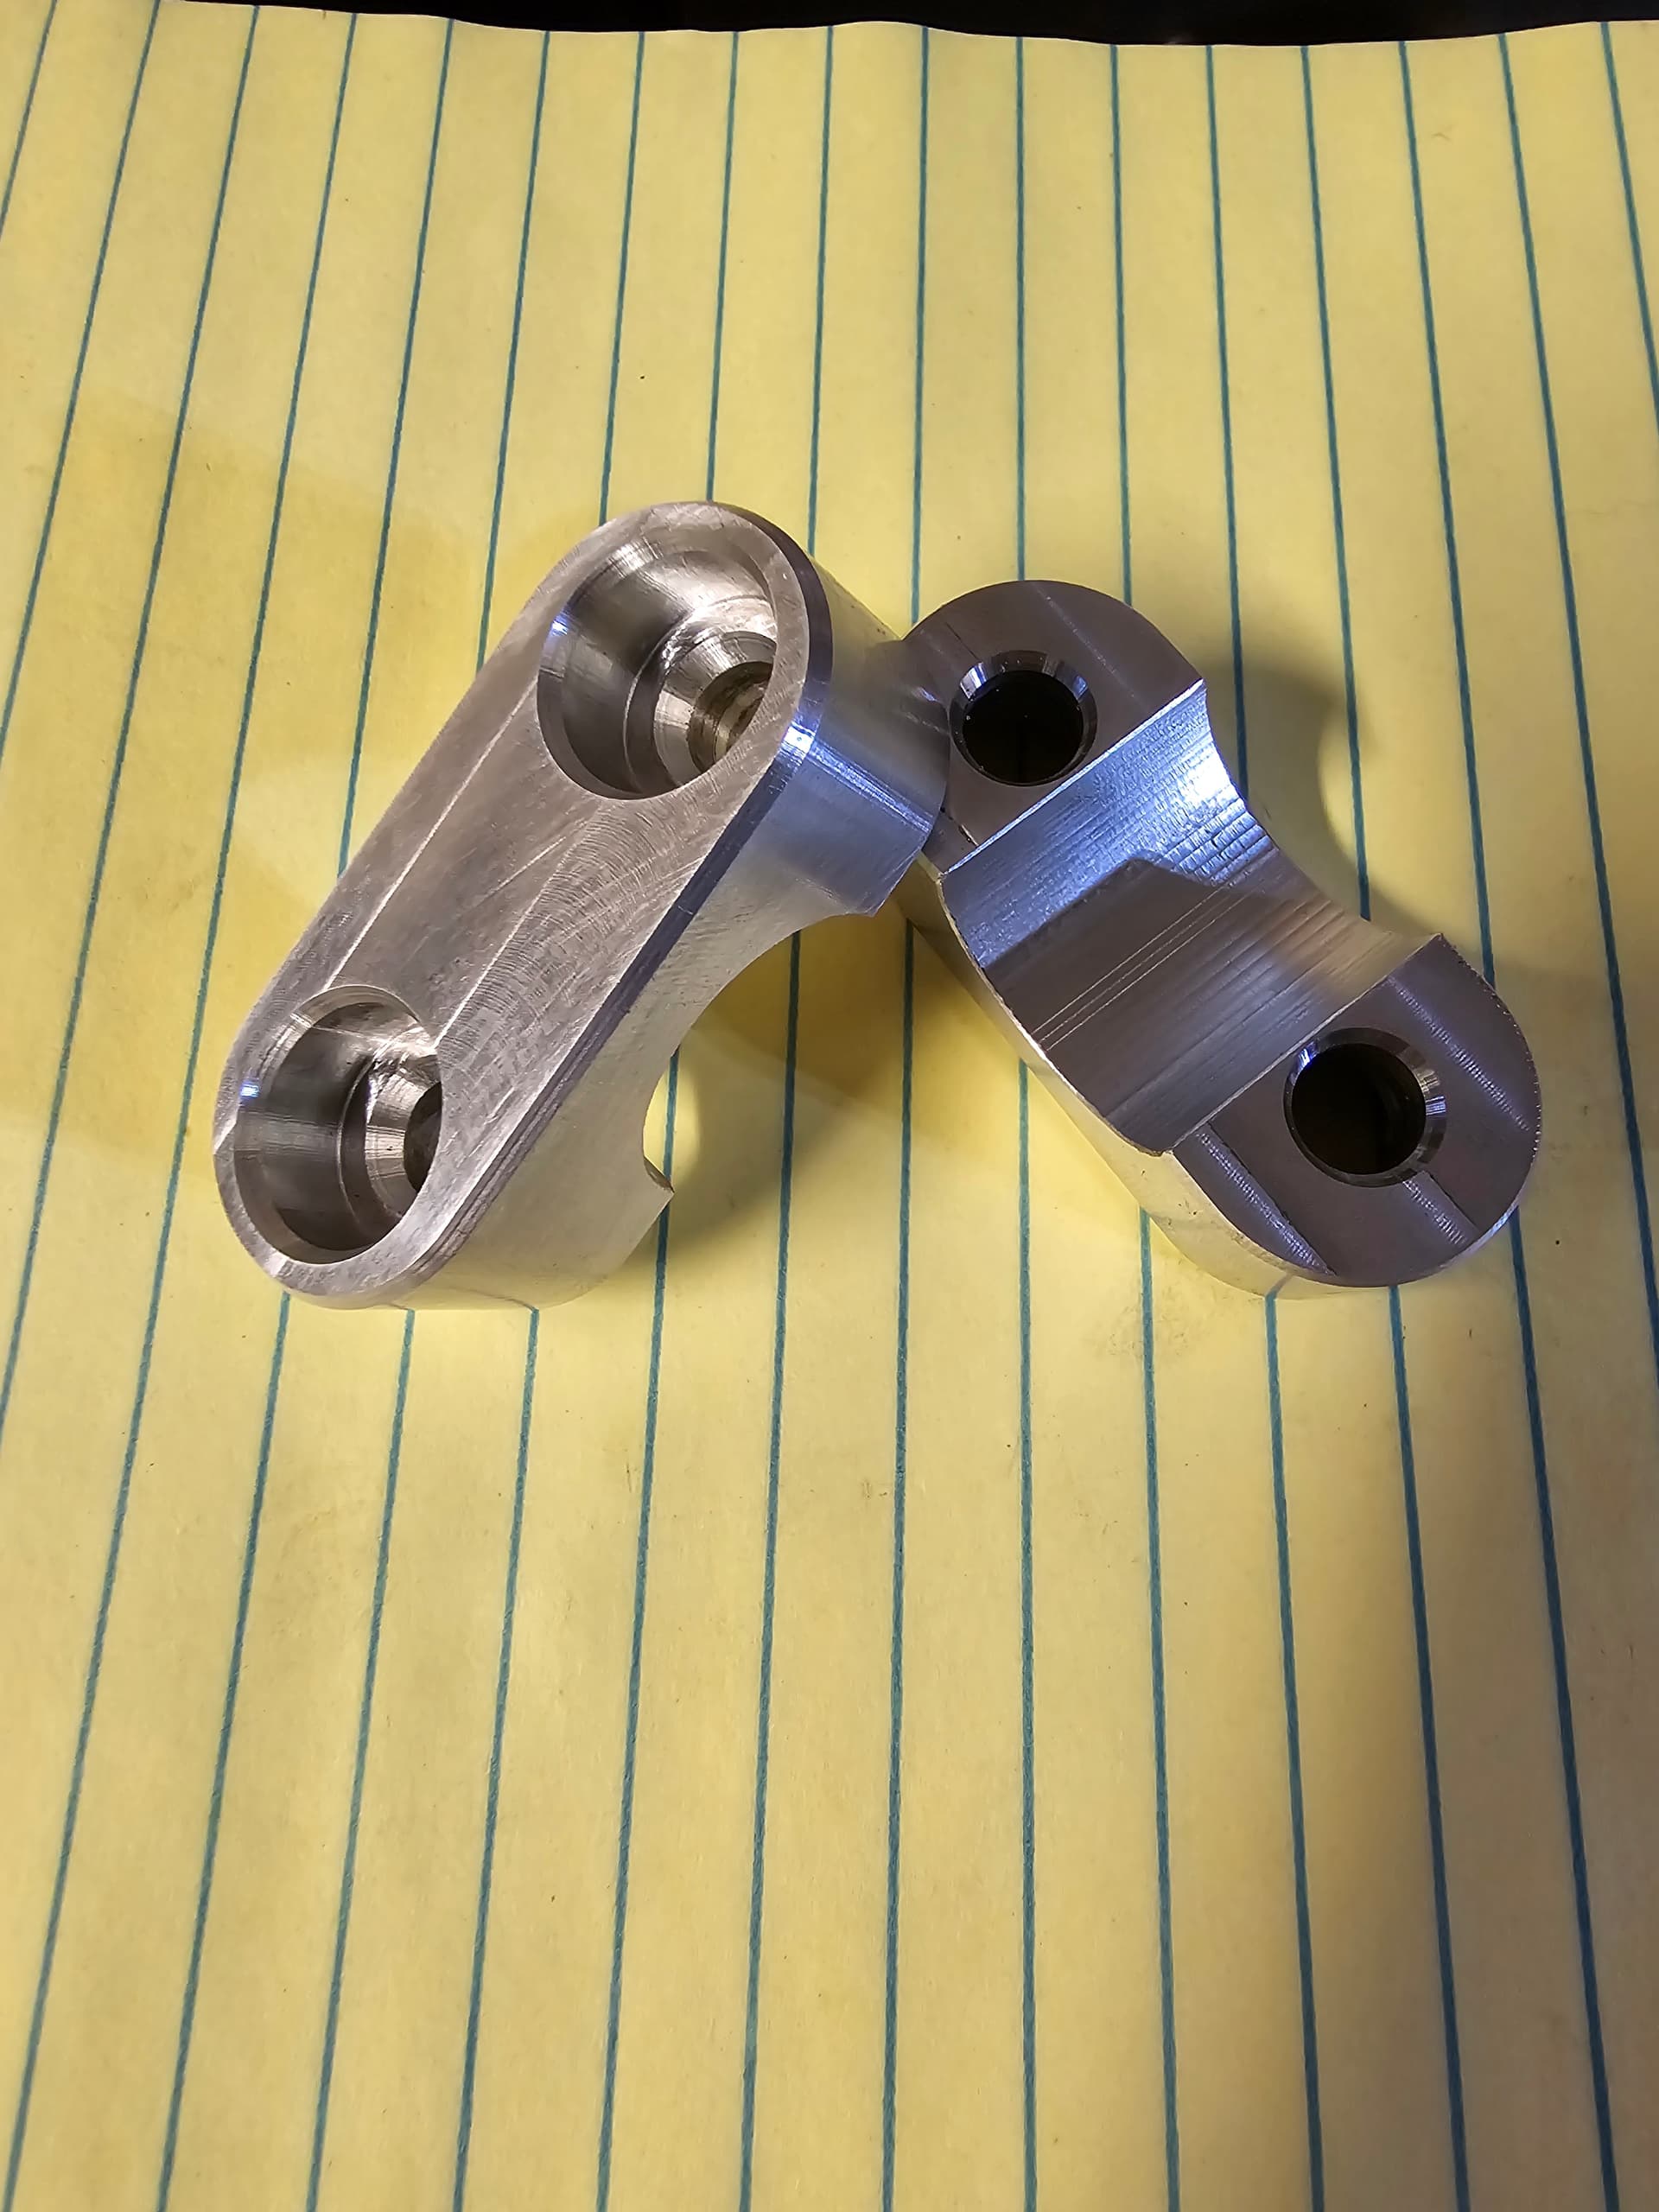
This is my first part I have been hired to make up for someone else! It is two pieces that index together, and I started to play with finishing passes to try and make things a bit nicer looking.
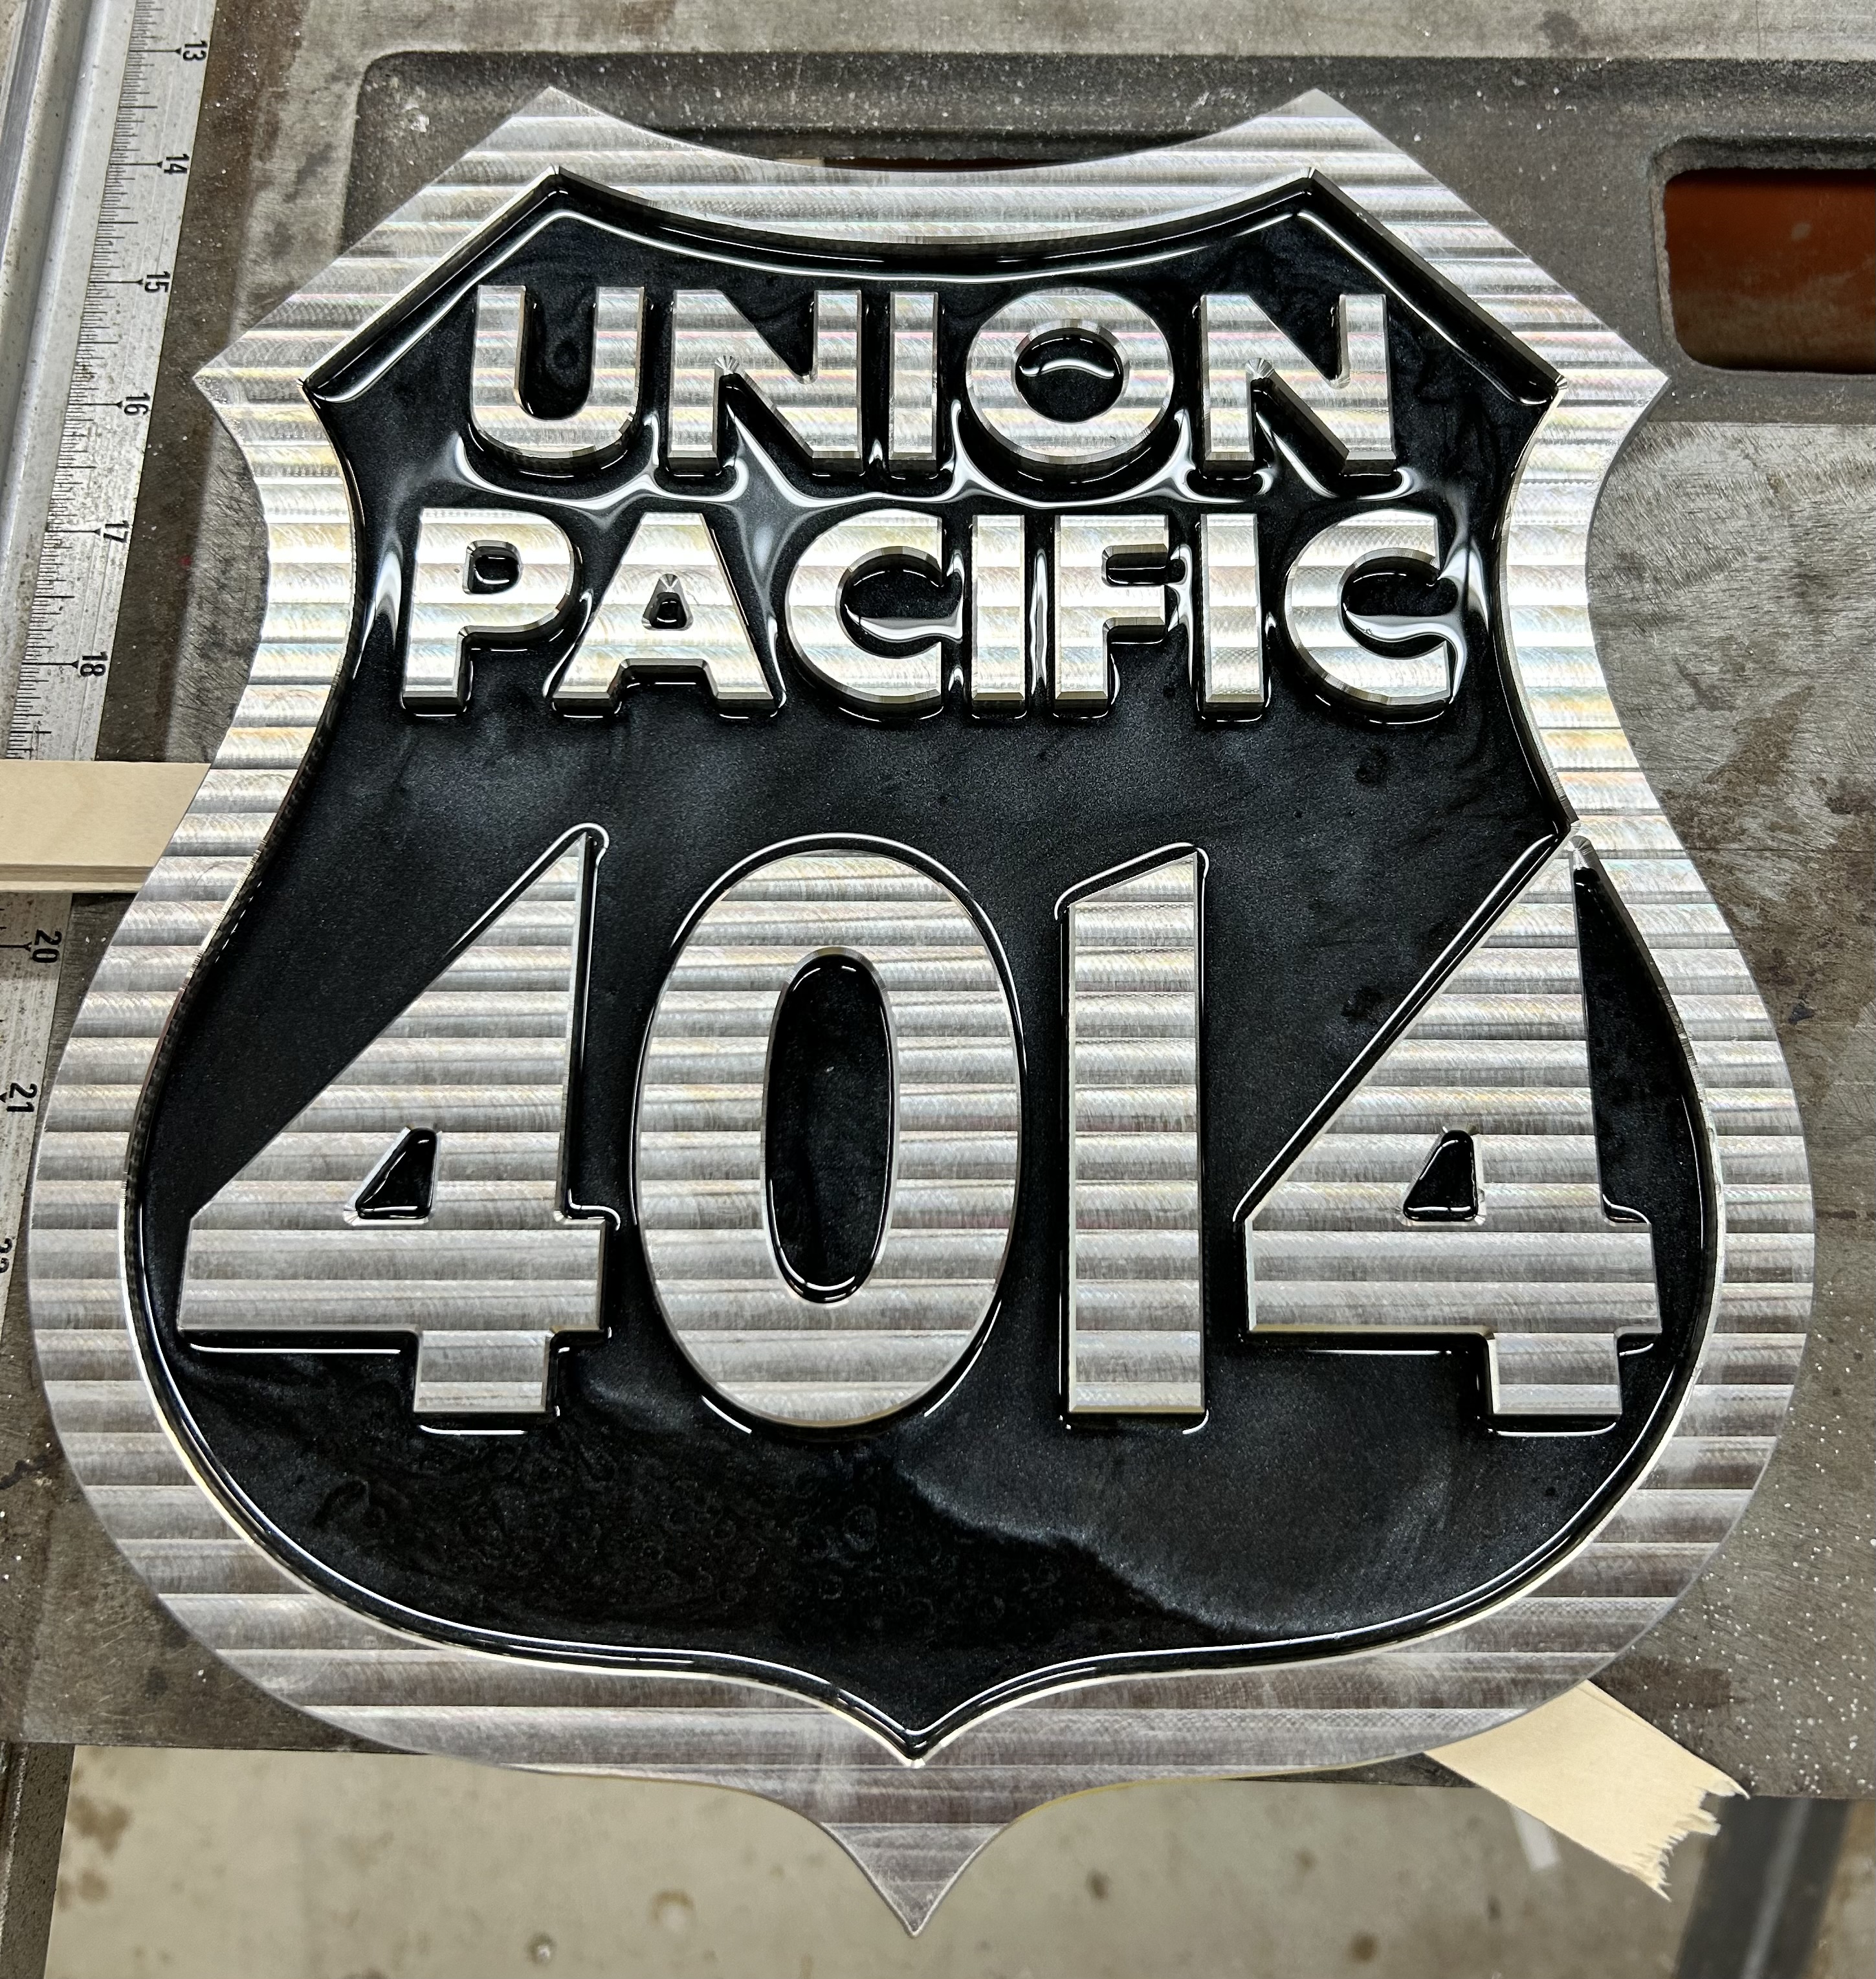
Made my first functional part. Pretty simple, but it came out ok.
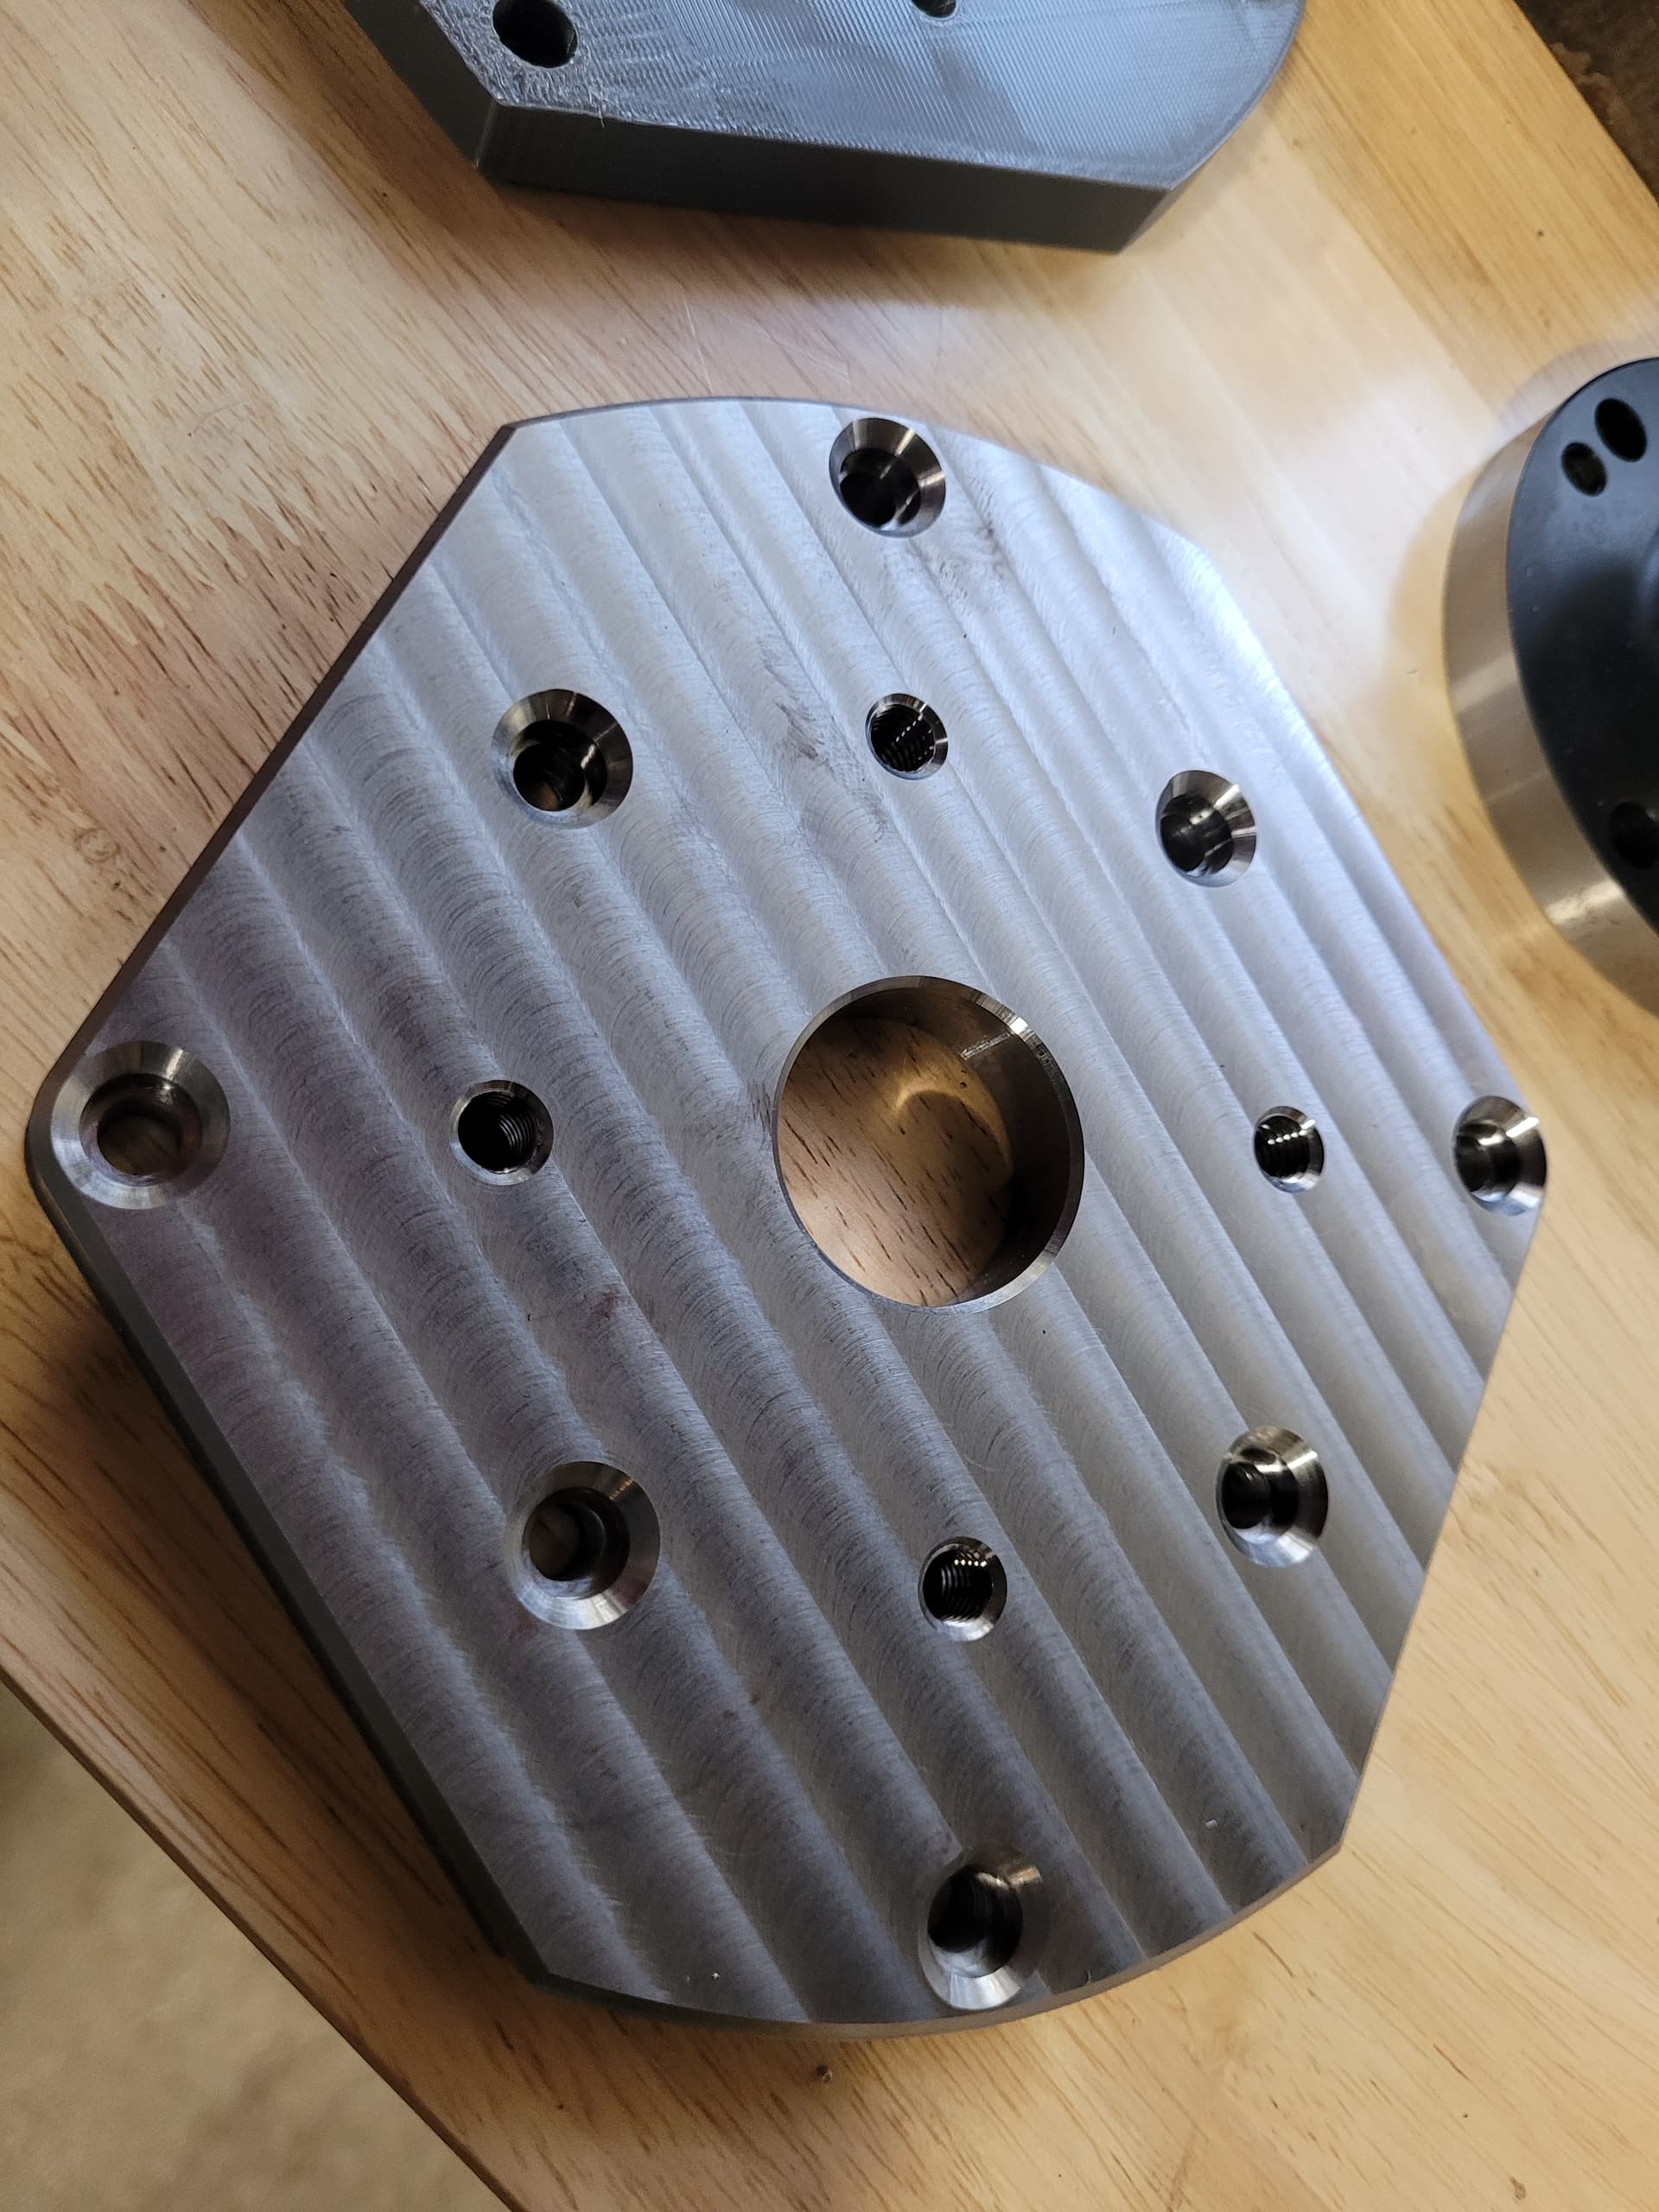
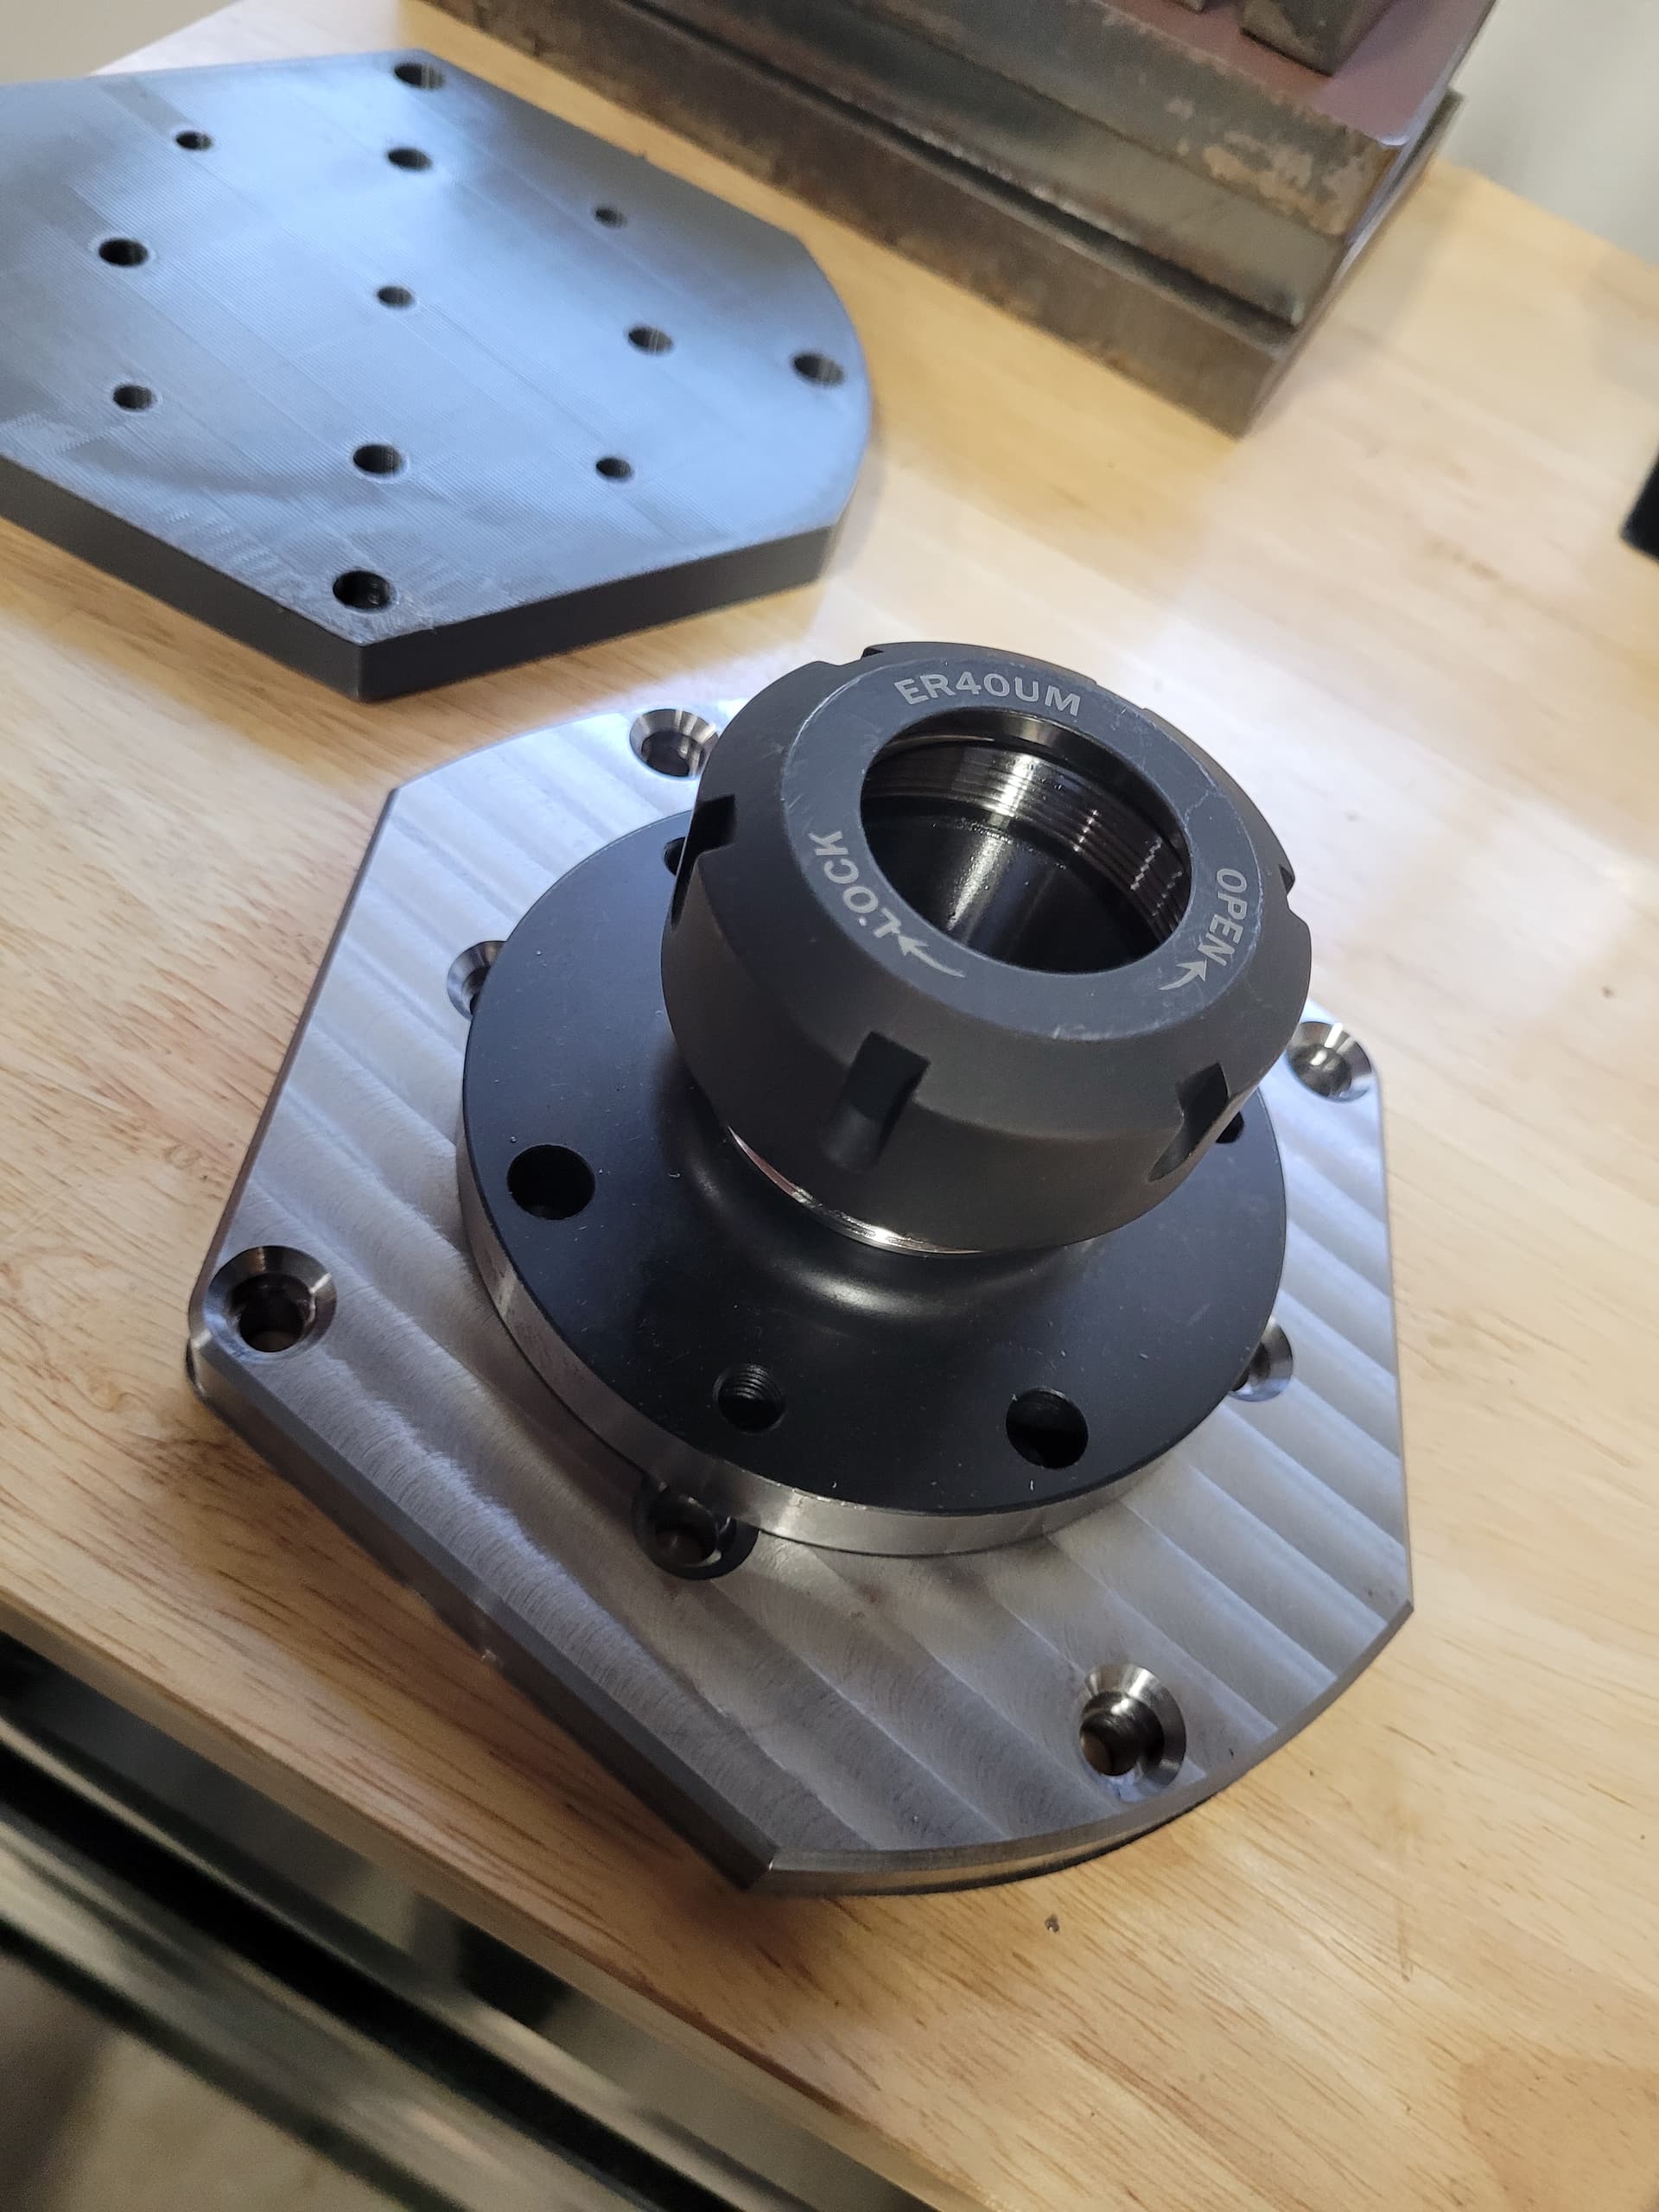
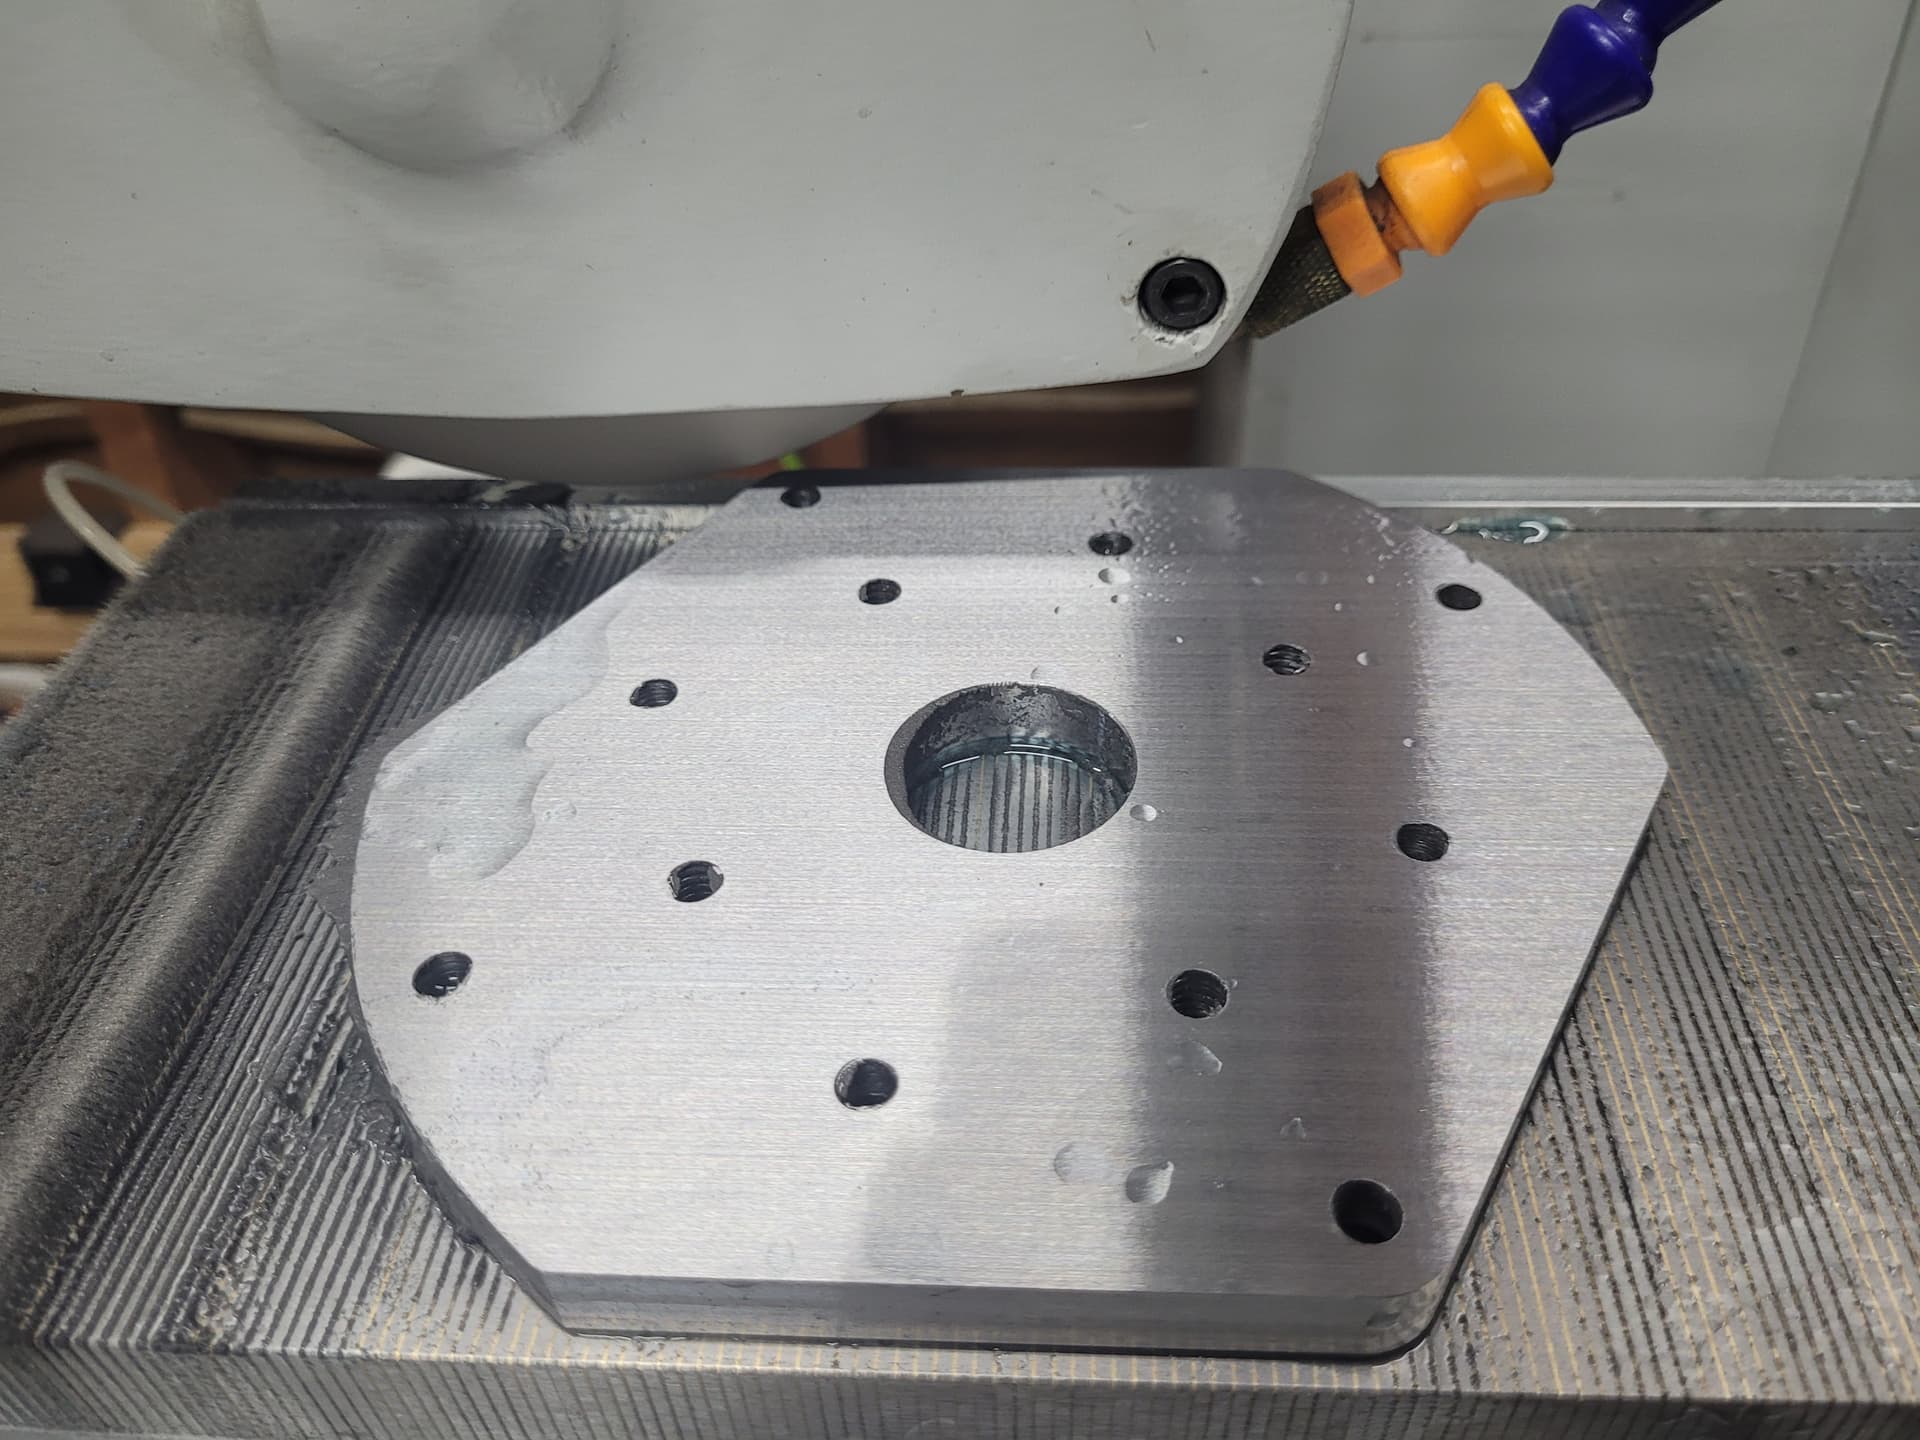
Its a fixture plate for the cheap ER40 chucks you can find all over Ebay and Amazon. I intend on making alot of small parts (and alot of odd size nuts) so this is the best way to do it. After I pulled it out of the MR1, i ground the bottom. Im still considering grinding the topside but I havent decided.
Pay no attention to the giant chamfers, I was experimenting with Fusion settings and got a little carried away.
Finished up the small run of customer parts! Was really fun getting things dialed in on the first one then just hitting run and going back to my 9-5 job at my desk. Zero broken tools or scrapped parts which is a serious victory for me.
Cool. Getting the angled flange at the bottom of those vertical ones must have been a fun puzzle. My easy solutions all involve a 4th axis that I presume you don’t have.
Those look solid. One quick finishing trick – if you take some tubing of the appropriate size and wrap it in a thin piece of emory cloth and give it a few strokes it will knock the high points down where you interpolated the concave shape.
My first project on the MR-1 was tubing blocks in larger sizes (1.25in up to 1.5in). I ended up boring out the circle from the side with it as a single piece of material, then cutting it in half on the bandsaw and coming back to do additional ops from the top and bottom. There are a lot of ways to do this, but boring the hole gave me a better finish and was faster since 3D finishing ops take a while due to all of the light cuts.
The tool marks were from a ¼ ball mill using a parallel tool path. They actually aren’t as prominent as the camera or even the naked eye makes them out to be. Plus I don’t mind because they should actually help give them a little “bite” into the bar to keep it from spinning. Otherwise that is a great tip, I’ll have to try and remember that one.
I actually never thought of doing them from the side as a pair like that. Sounds like a good idea if I had a bunch to make. Really just wanted some 3d surfacing practice more than anything
Milled from 12x12 so it’s about 11 ish tall and 10.5ish wide.
0.030 chamfers. I don’t have a tool setter (yet) so depth isn’t exact but for this project it didn’t need to be.
I wonder how long it would have taken if you used a 1/4" for the large clearance areas and then the 1/8" for the final passes the qtr inch couldn’t reach.
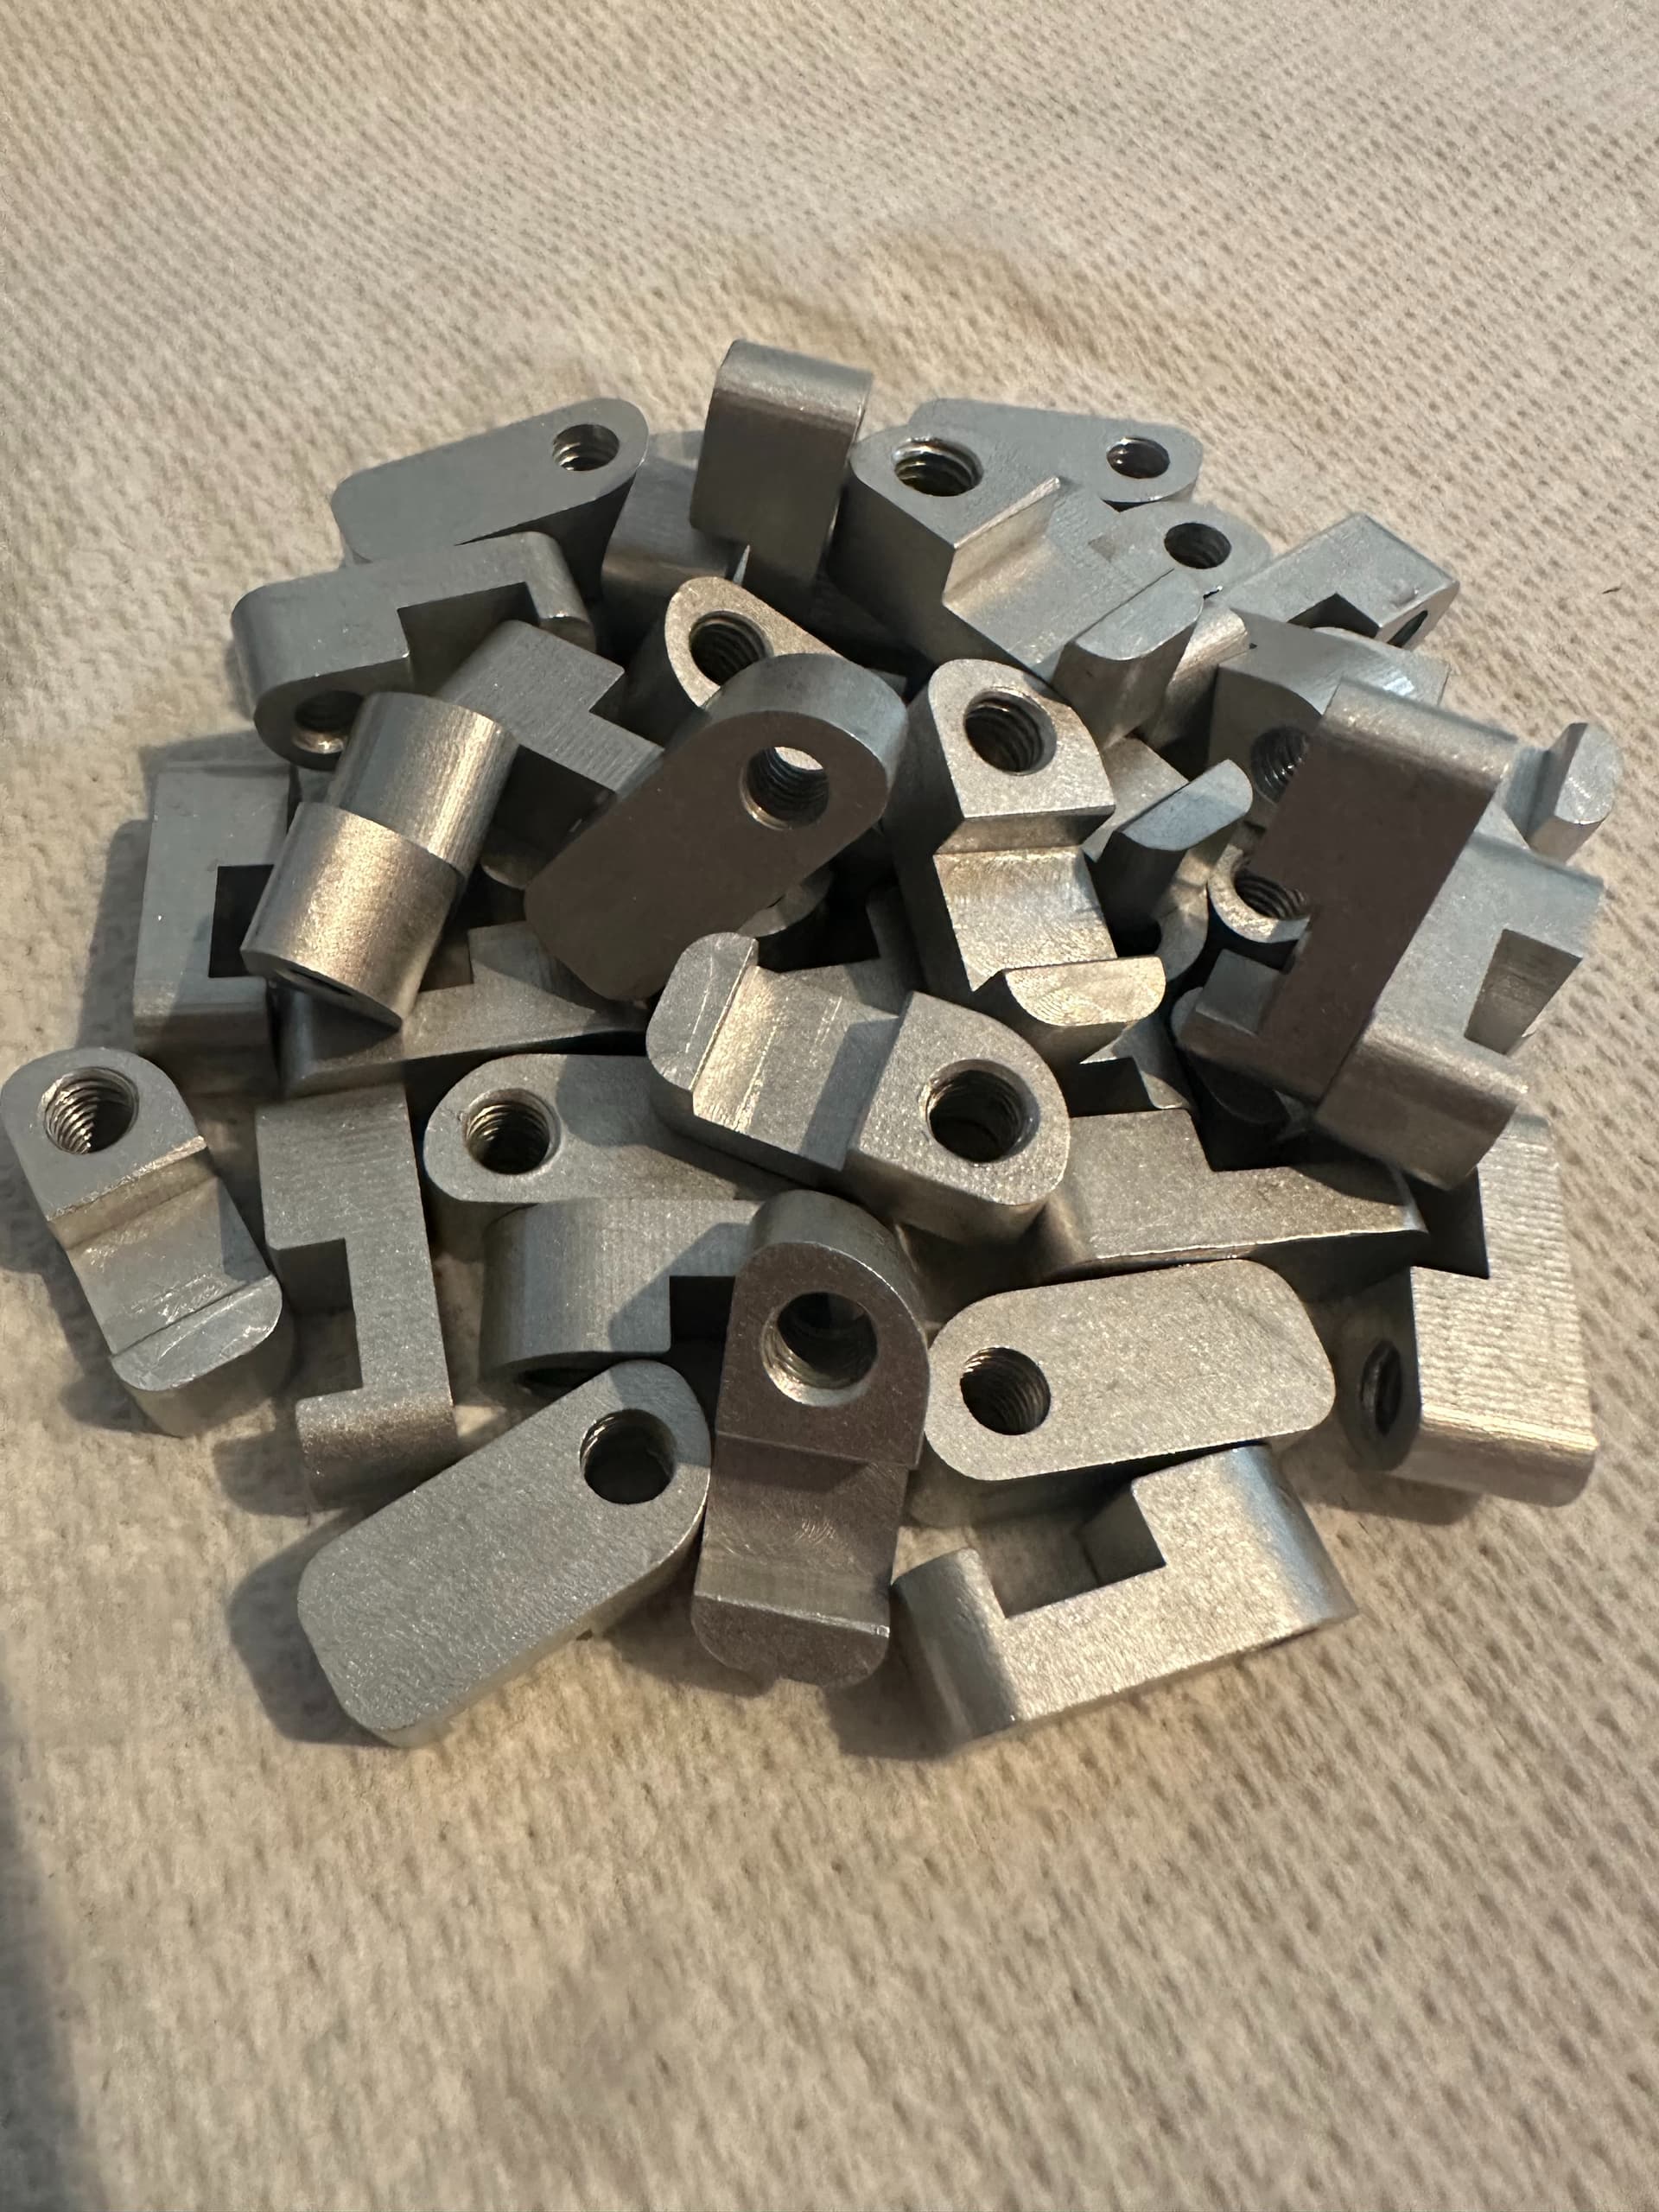
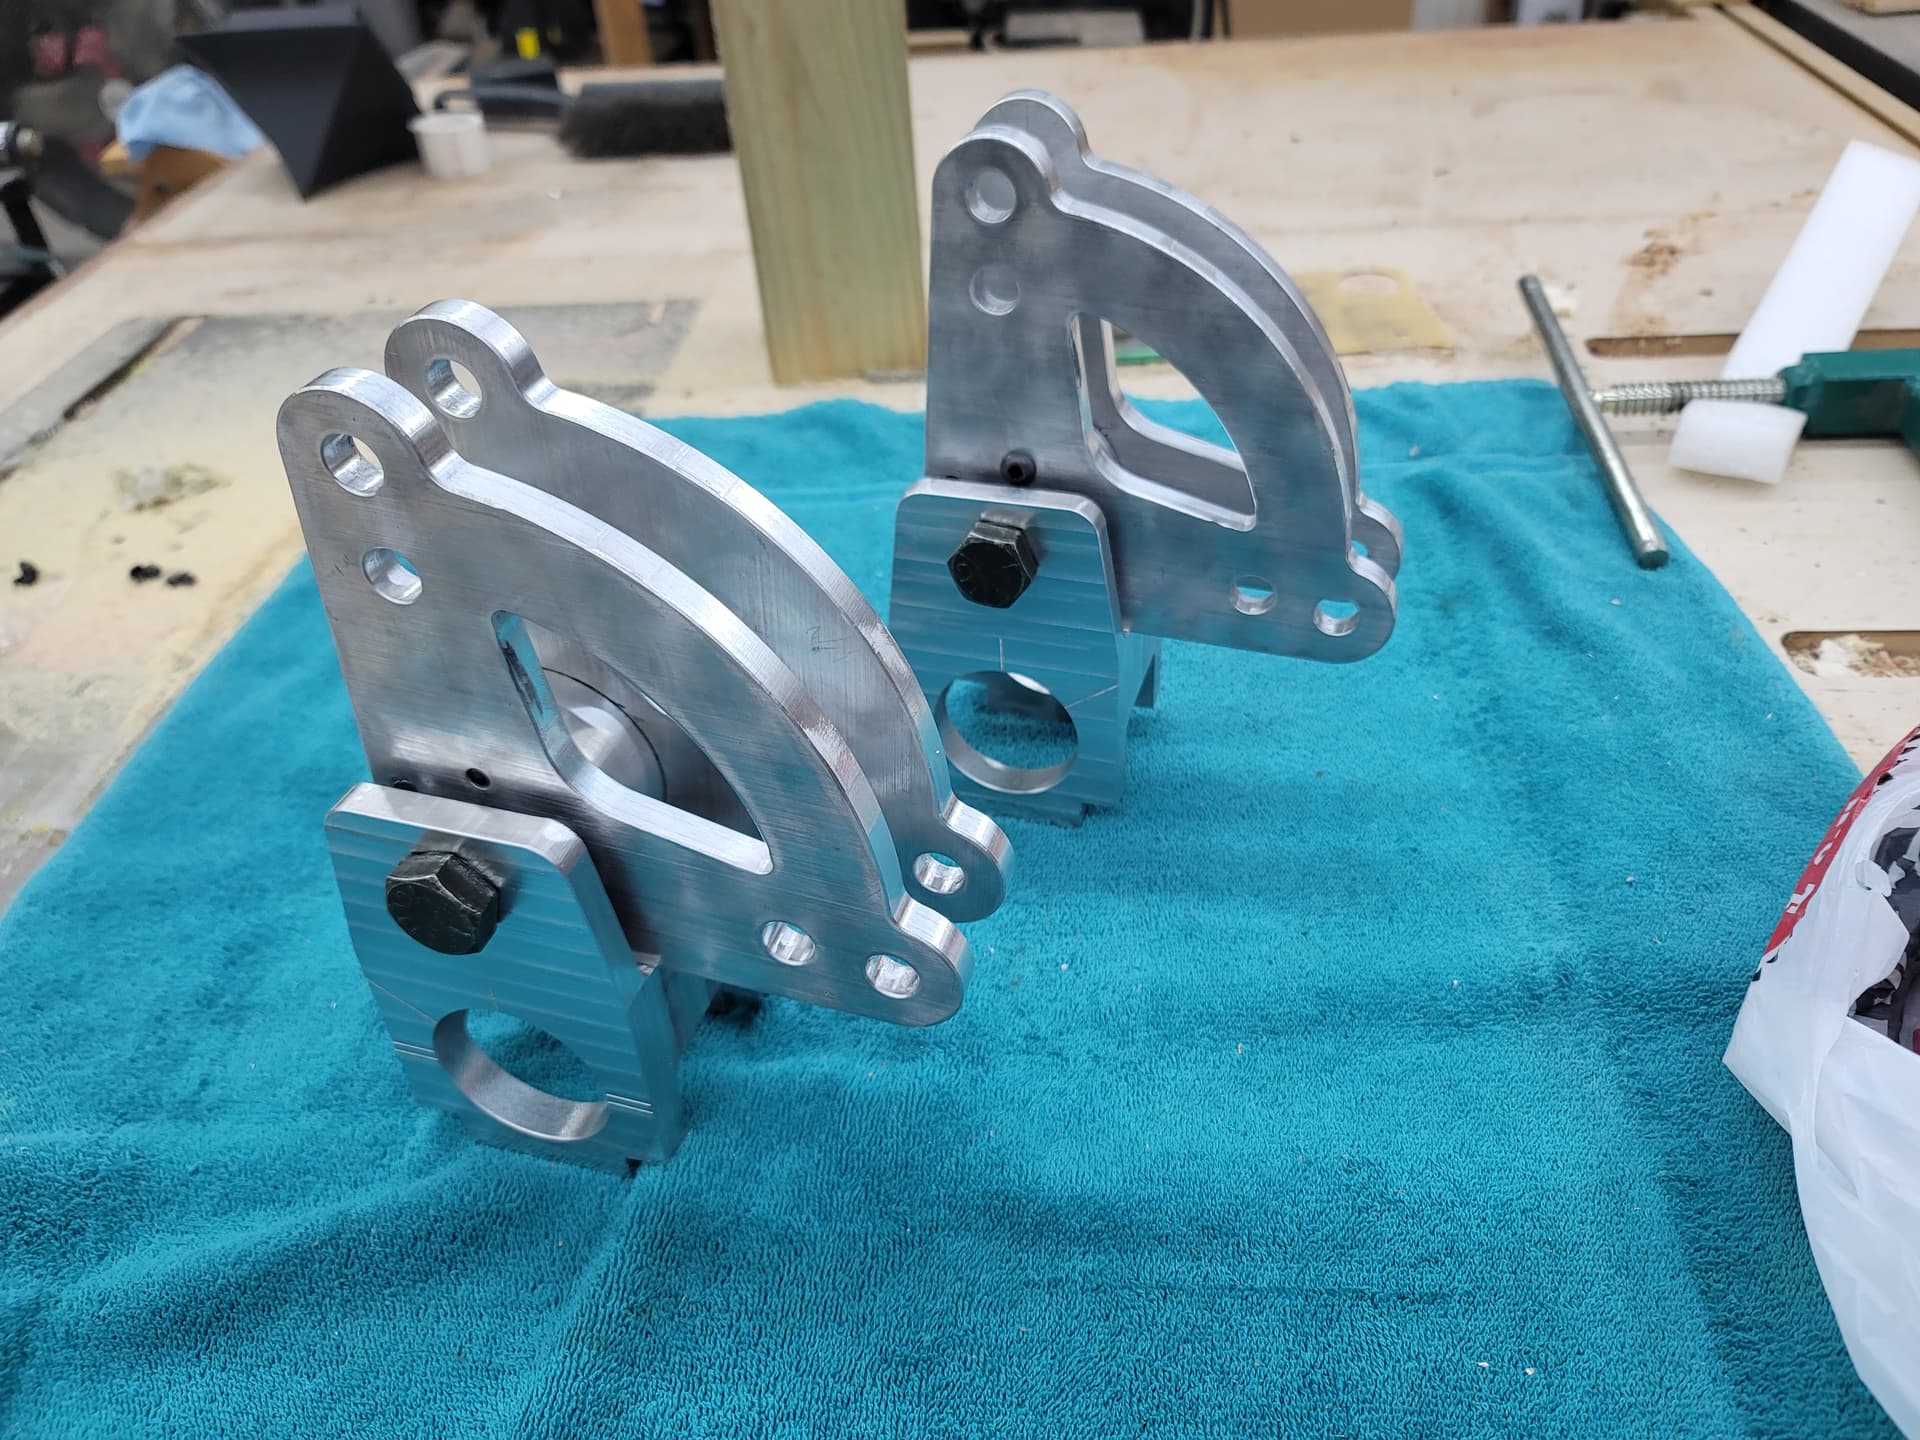
Bell cranks for cantilever rear suspension. Not quite finished still needs some holes drilled and bottom of perch cut loose so it can clamp on the frame tube.
Frist time Ive managed to run the mill and it just work. Ive made a few small things on the mill, but had problems left and right. This one just ran and worked which was nice. I hope that that continues.
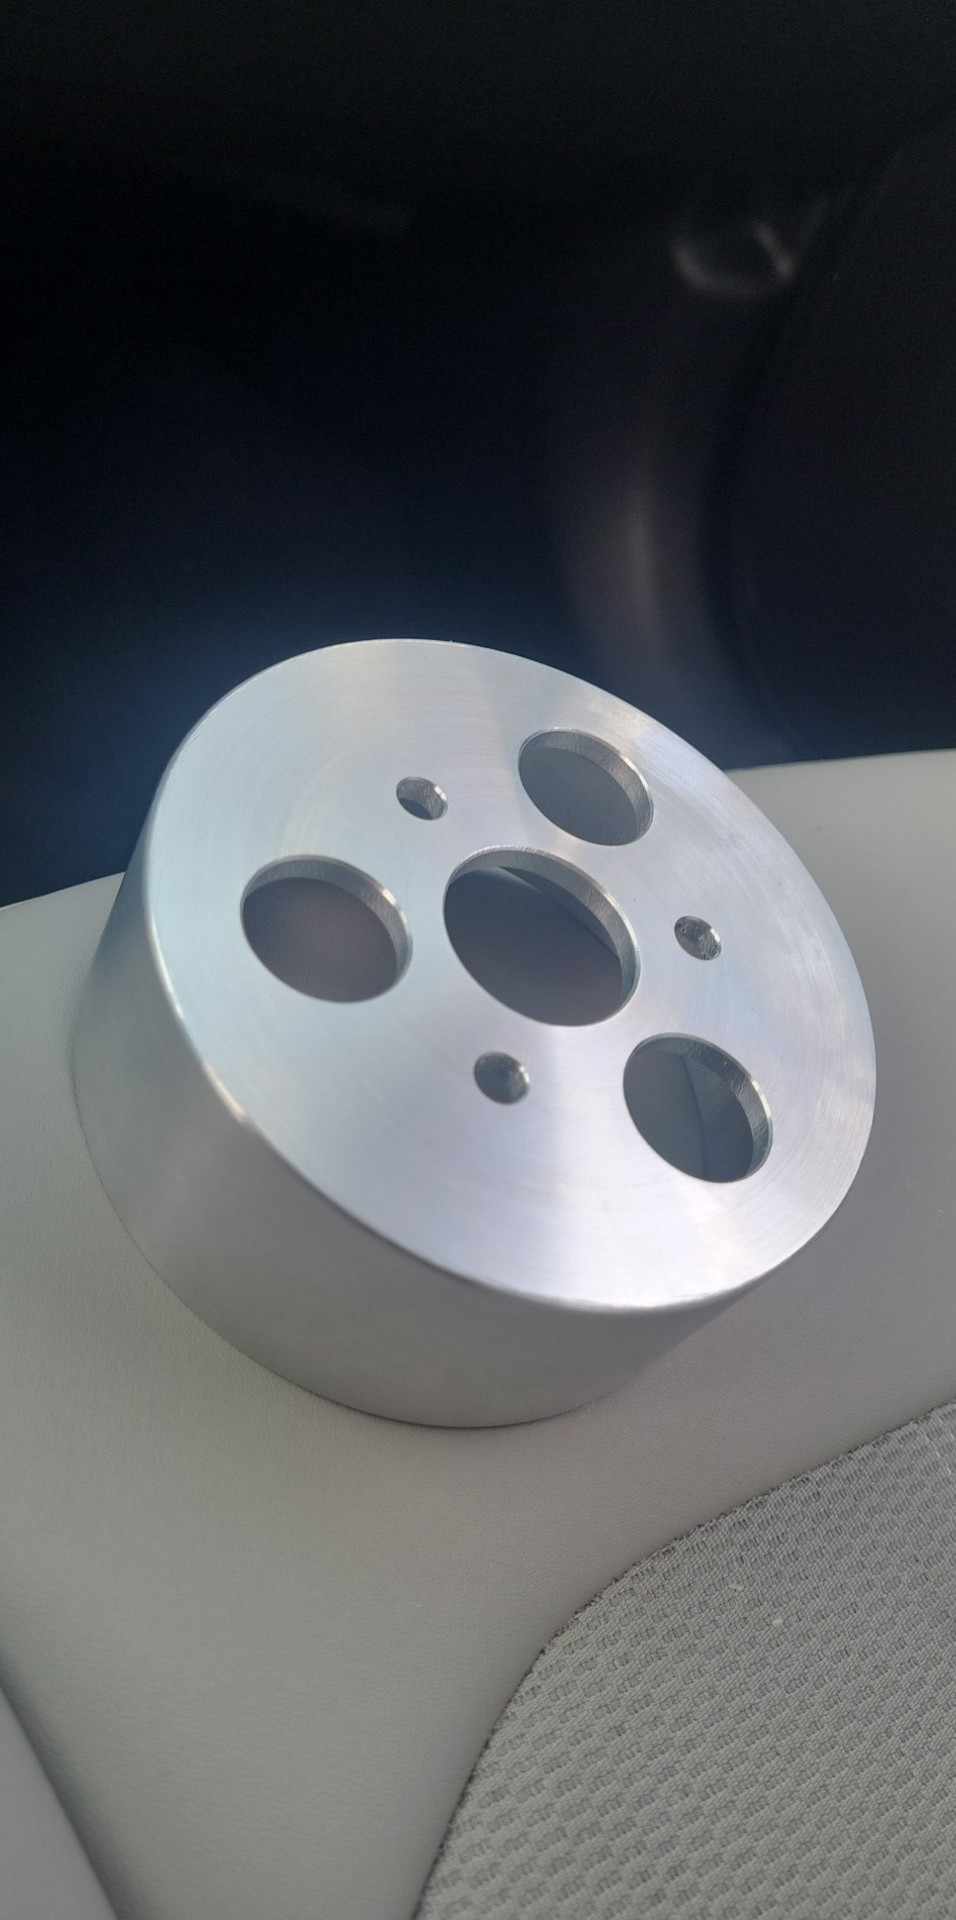
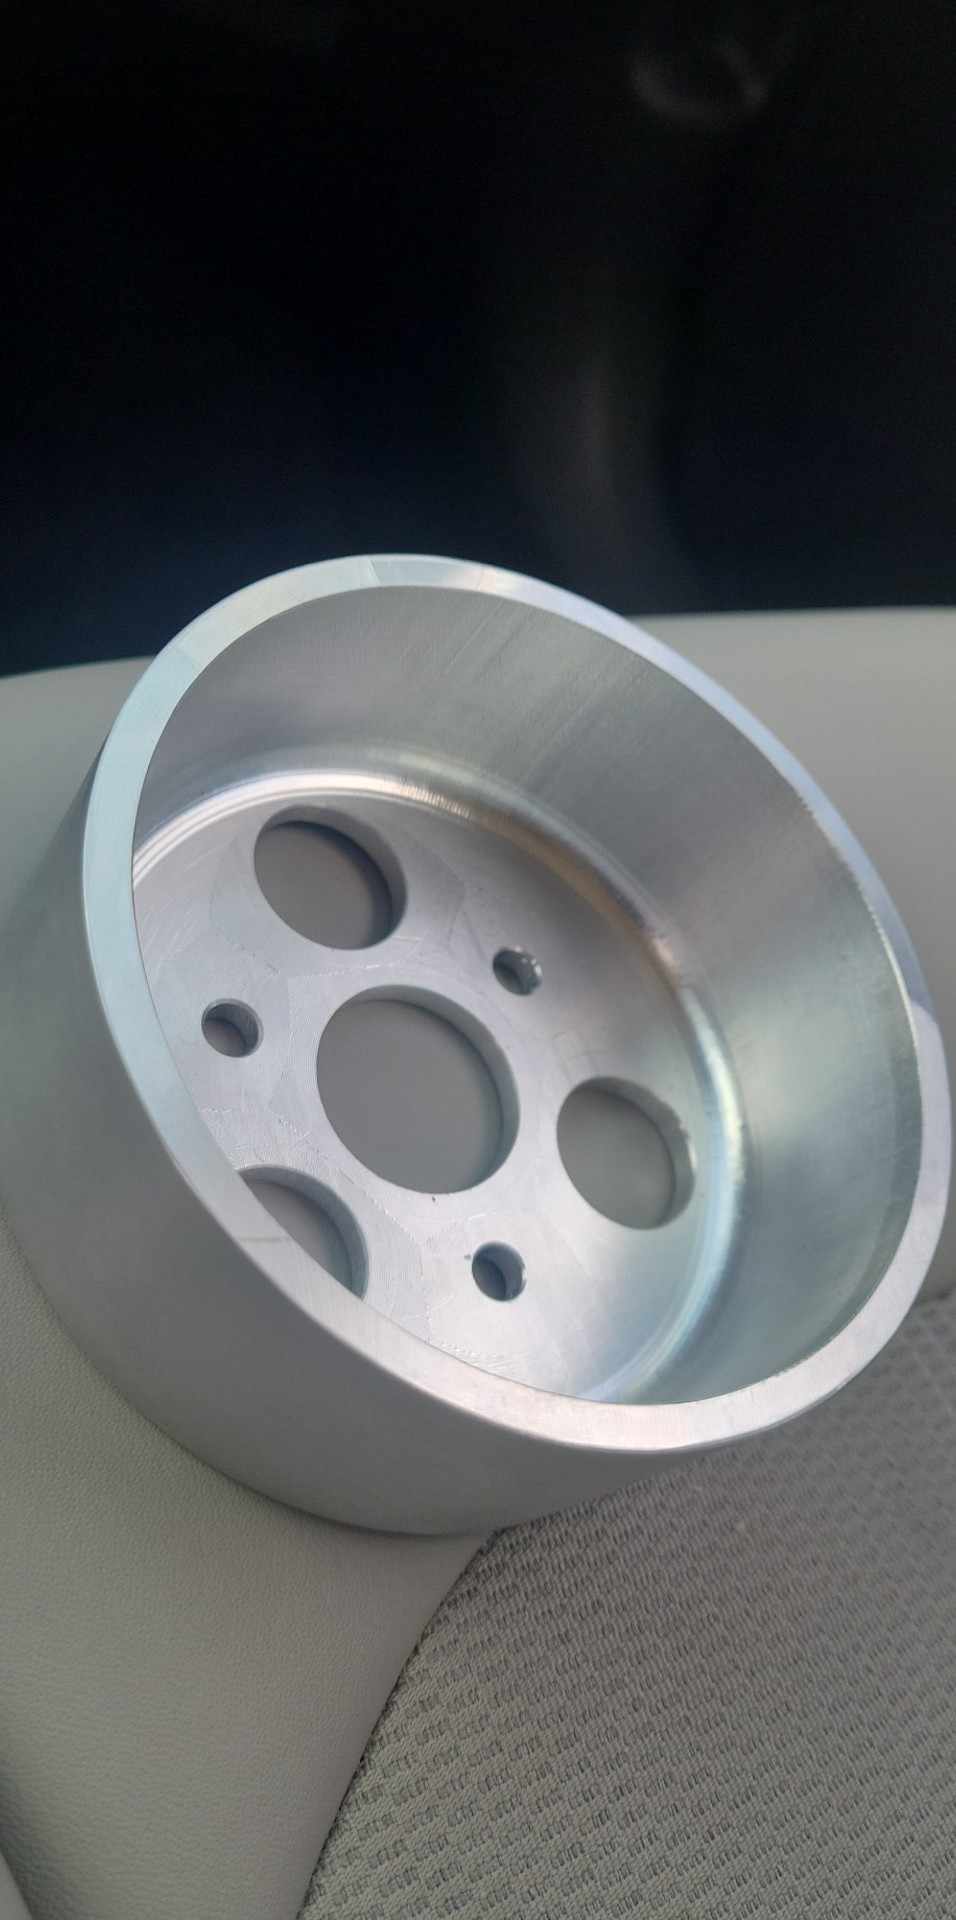
Biggest thing Ive made so far, custom size water pump pulley for a k series.