TeeKay or any of your guys who are just starting with the MR1. I suggest you sign up for these online classes from NYC CNC. They are $99 each, and you can proceed as fast as you need. One is for Milling CAD, and the other is for programming projects with Fusion. I know it is expensive, but it will pay for itself if it saves you a hunk of aluminum or six or seven $50 end mills.
Start with simple project tests like Drilling, Boring, Clearing, etc.
If you take this course from beginning to end, you will be well on your way.
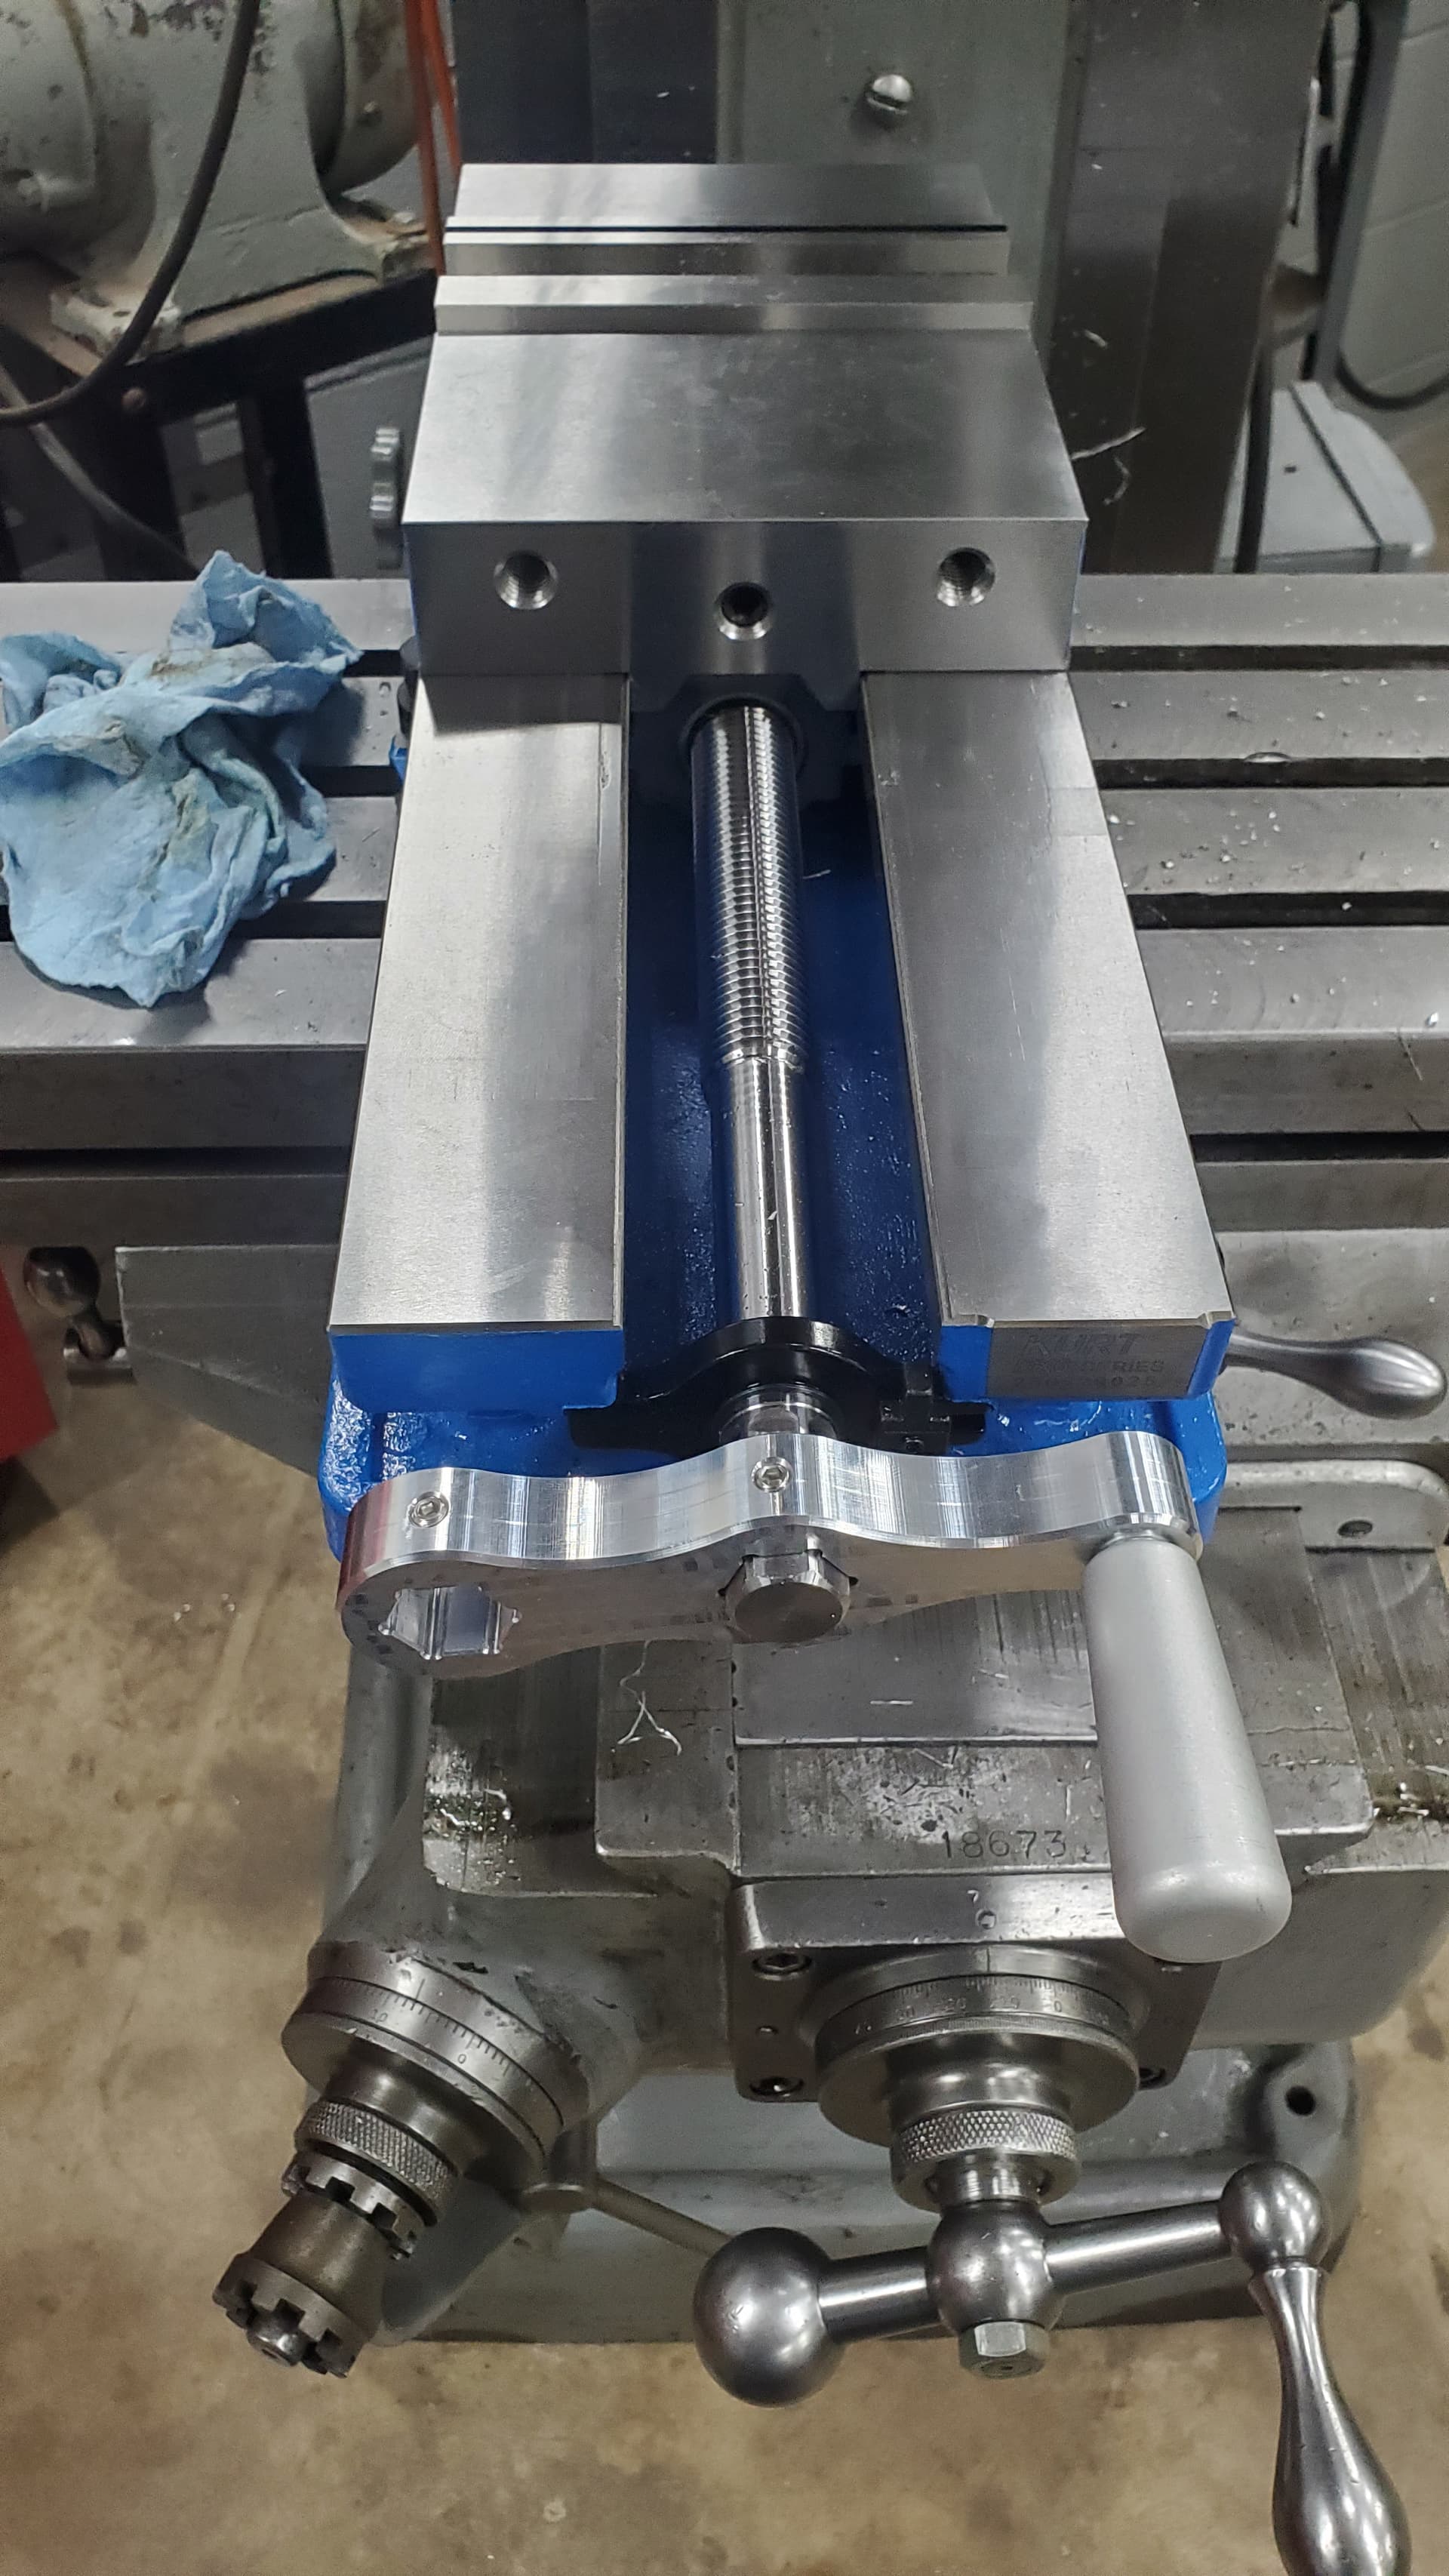
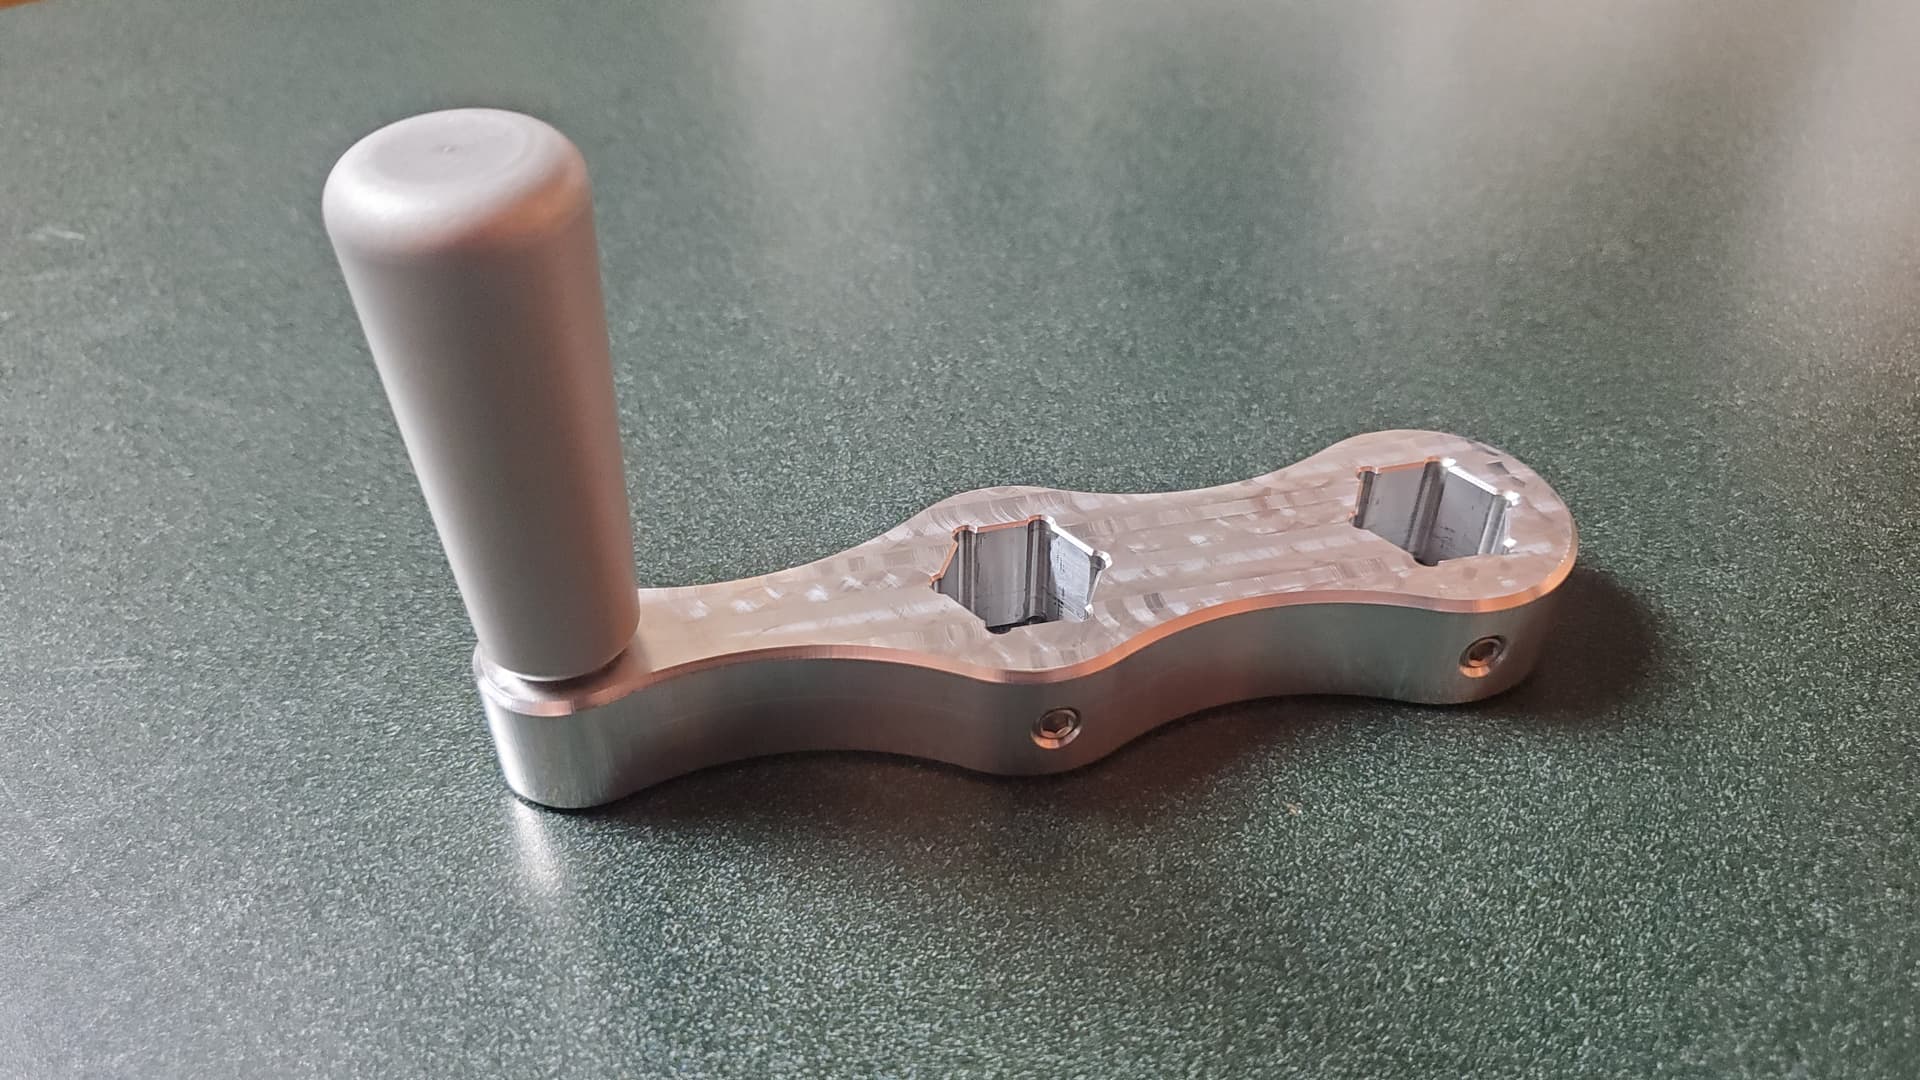
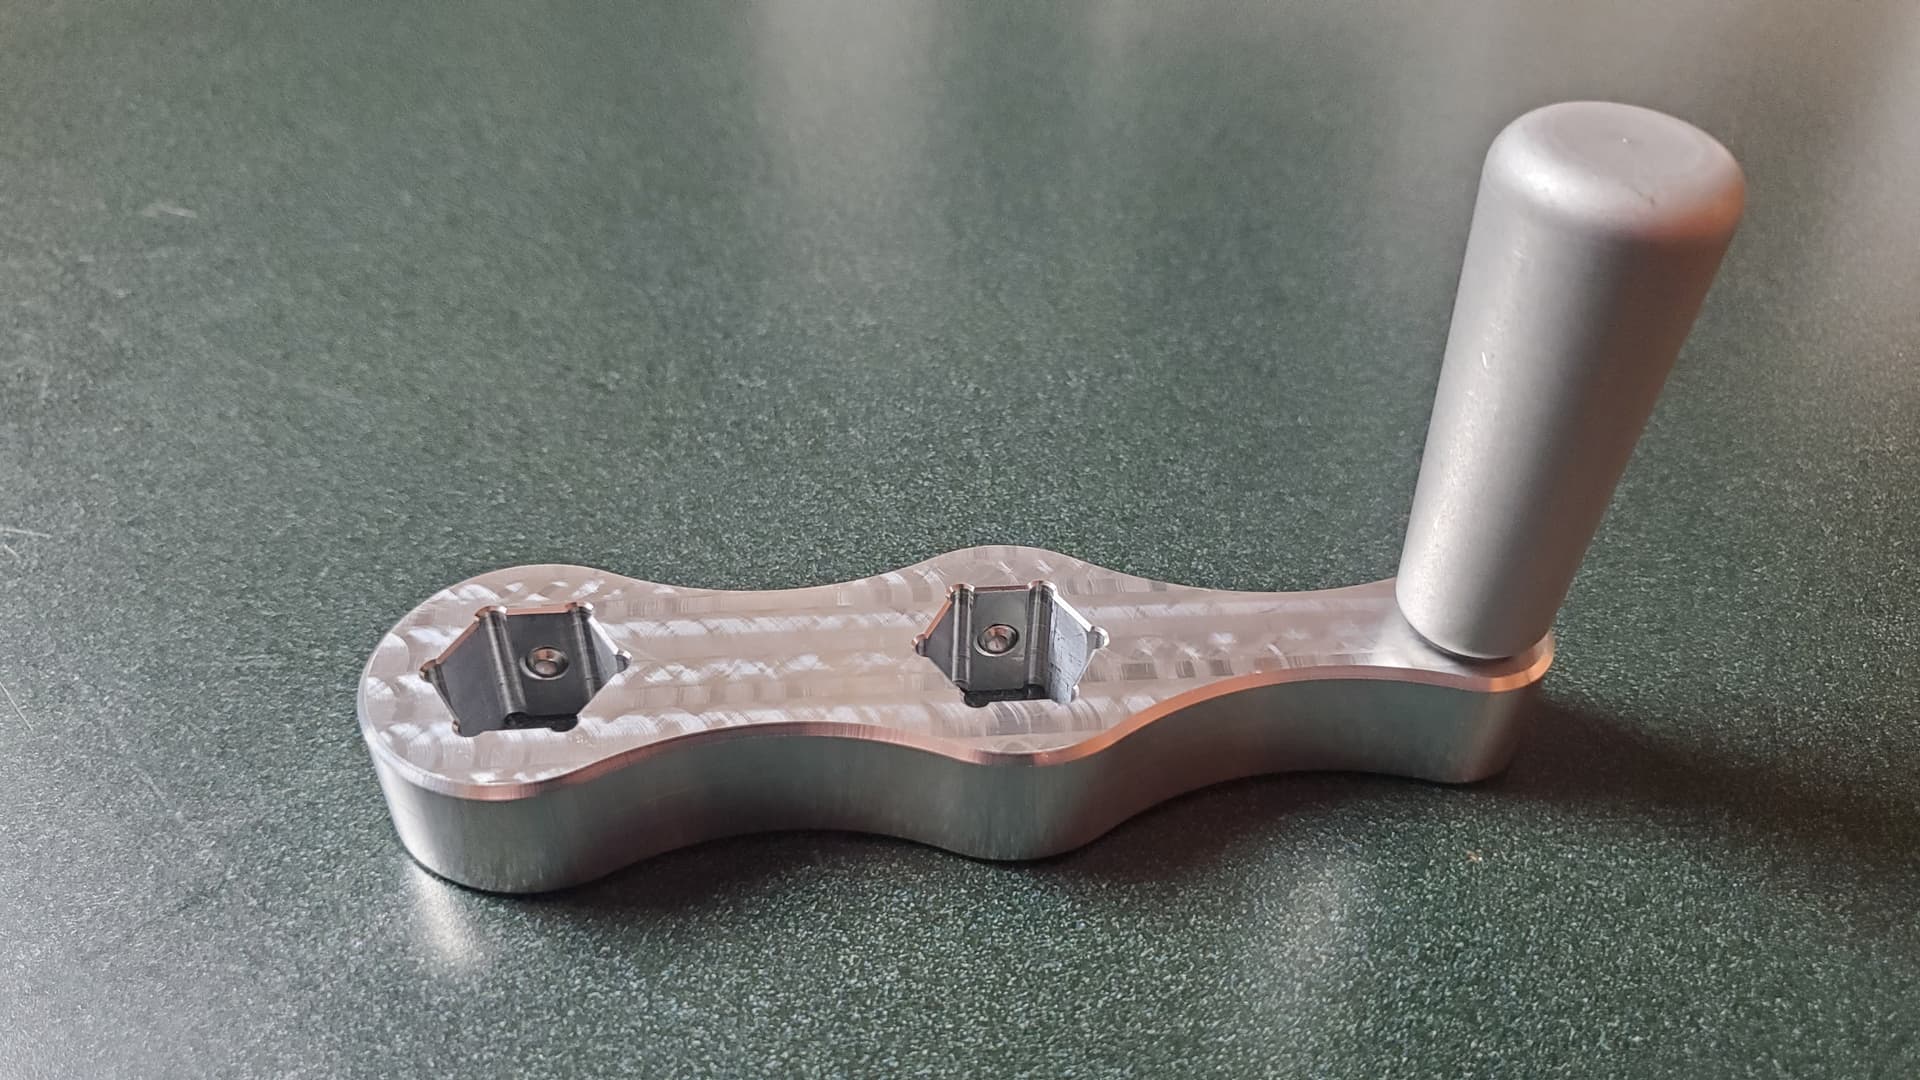
I’d have to look at my setup, don’t remember off hand. I know I made it from aluminum and pretty sure I used a 3/8 flat end mill for everything but the holes and that was a 1/4 drill.
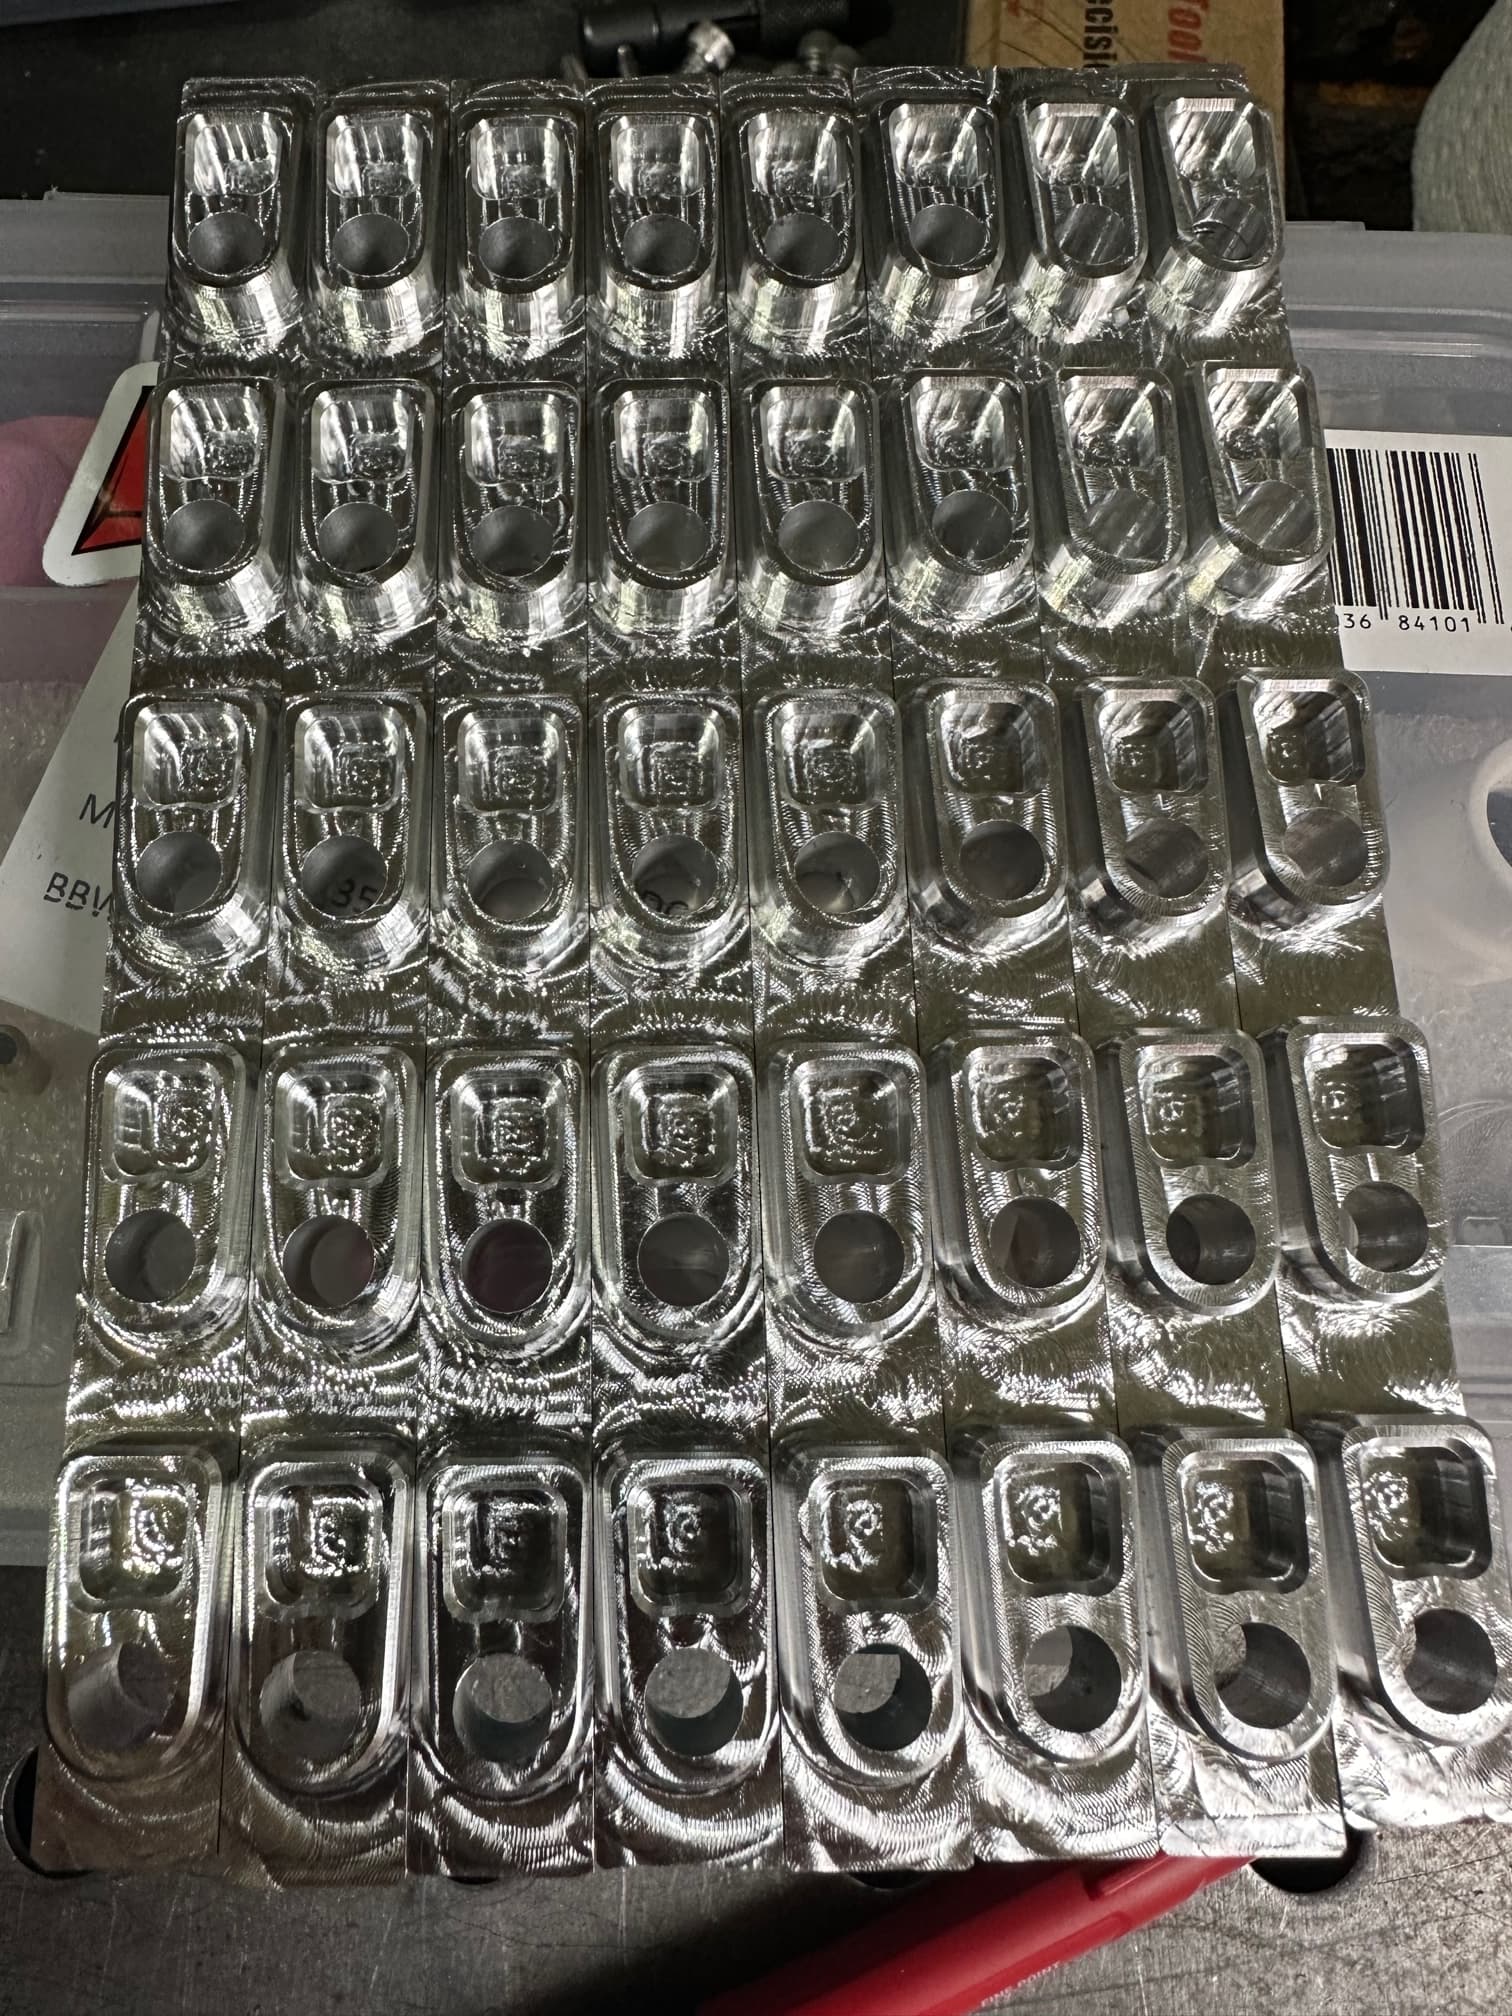
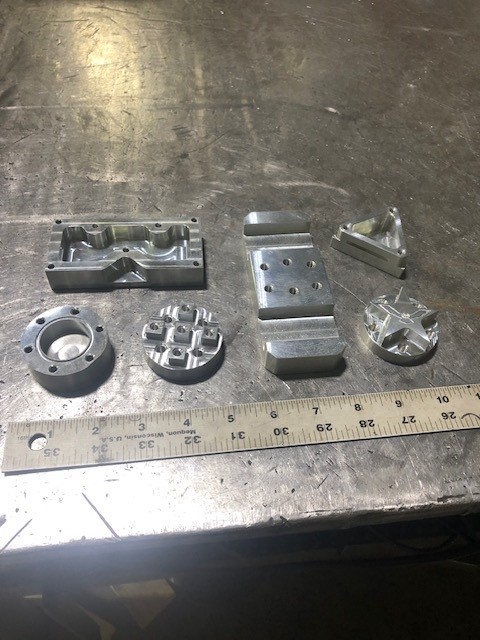
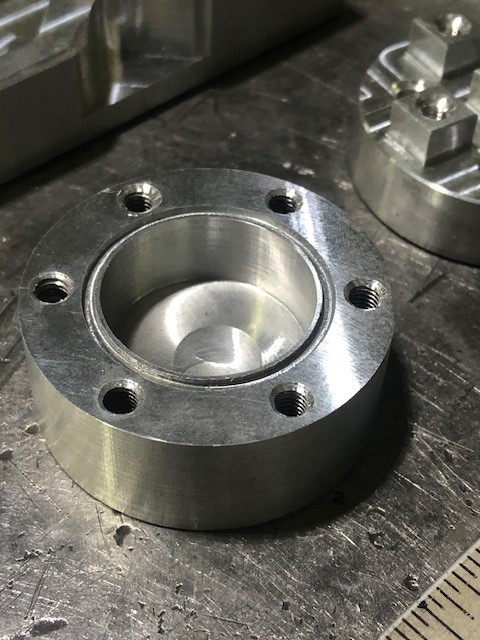
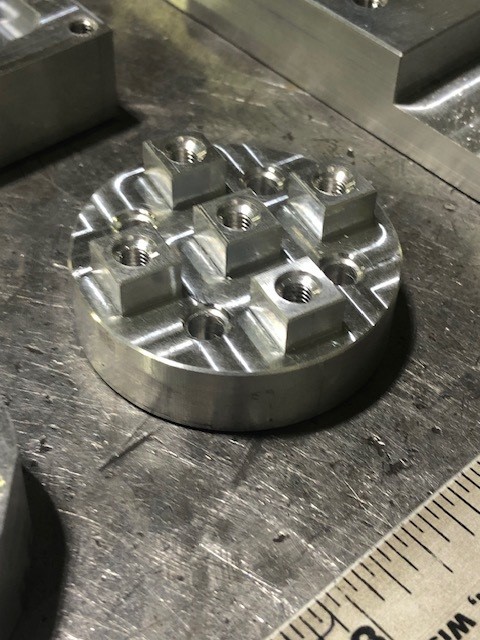
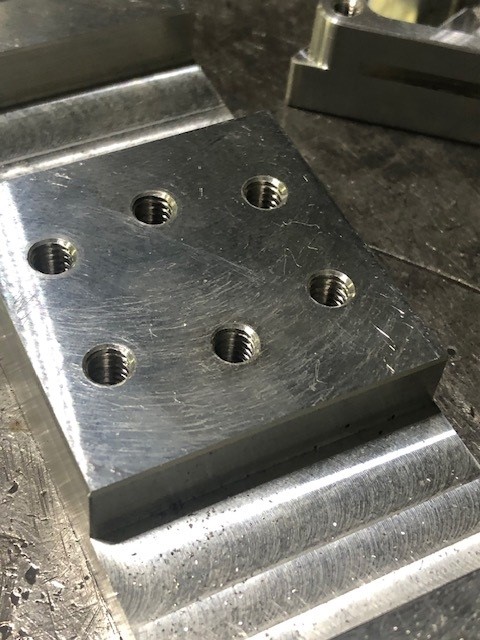
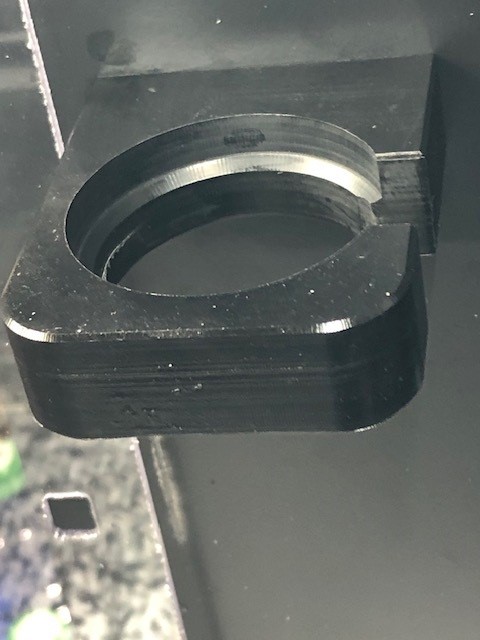
After seen all the cool things being made I’m embarassed to show my little attempts but at my age (71) with no CNC machining background im happy to make it to the toilet!!! I’ve followed Titans of CNC training course (they have CAM examples for Tormach that I modify for the MR-1) and to date have fabricated the following pics. The only “real” thing I designed and cut is the delrin probe holder. I bought extra spindle nuts and keep one with the 3/8" collet with the probe in the holder.
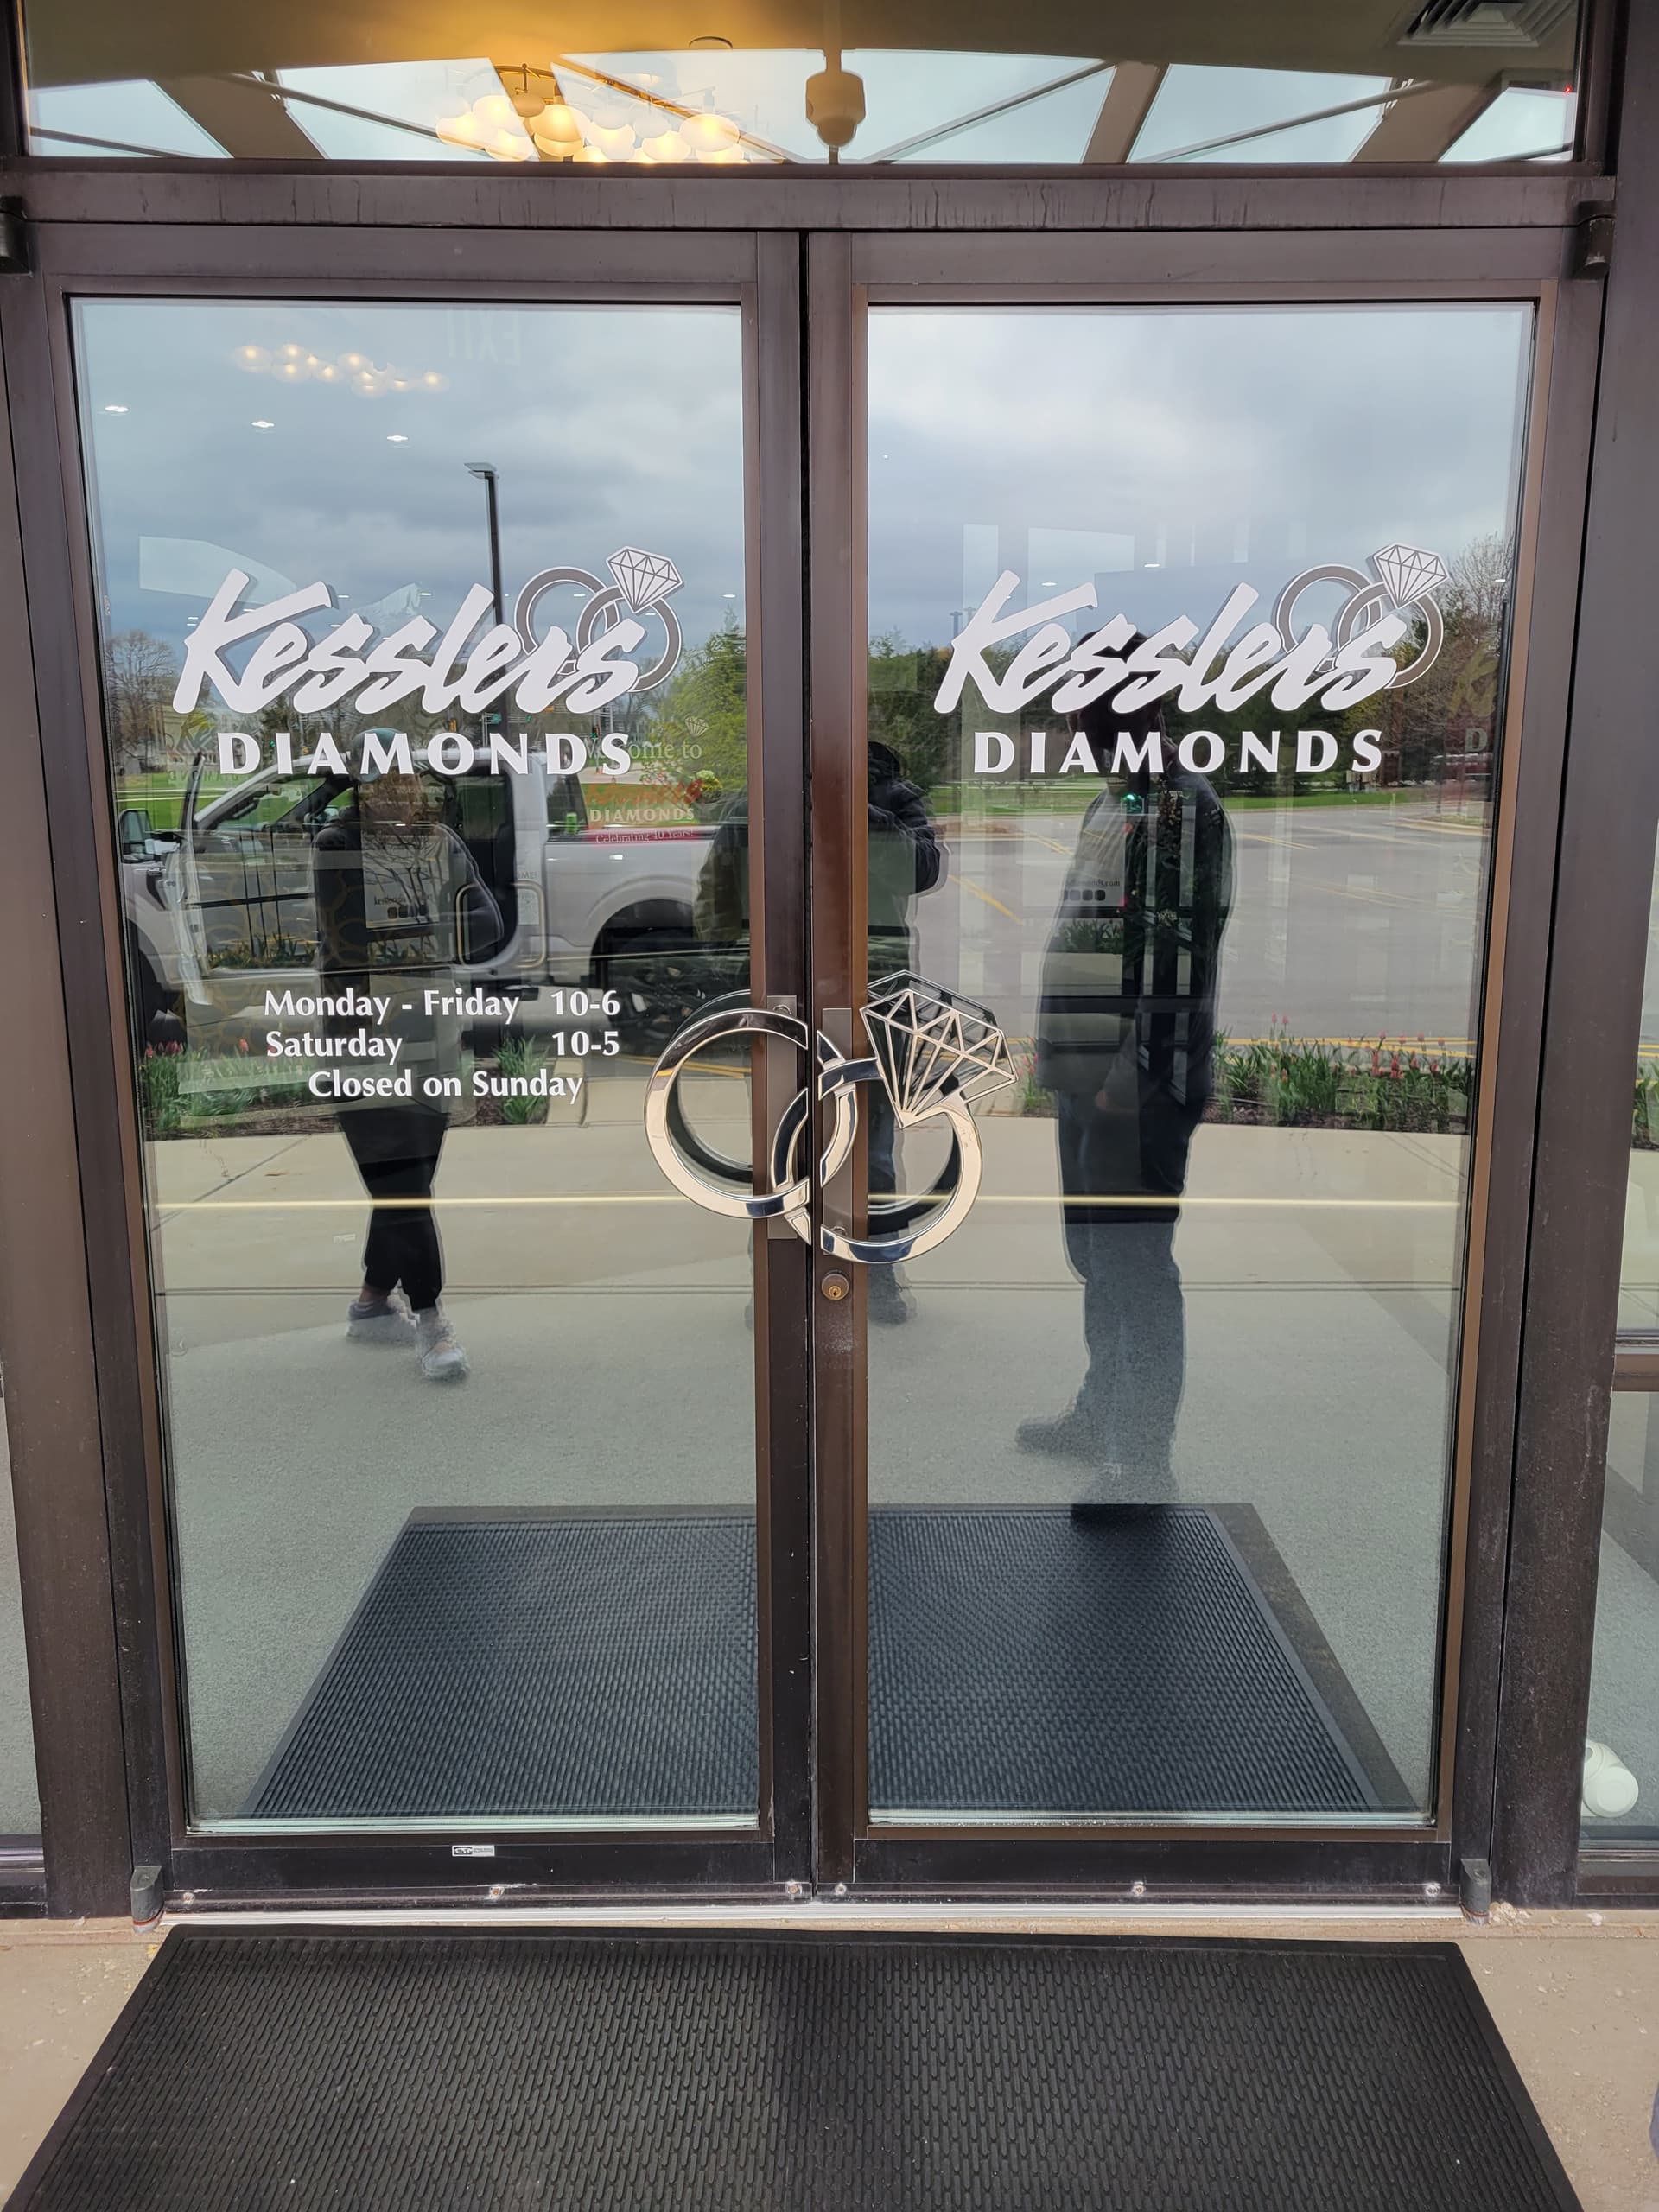
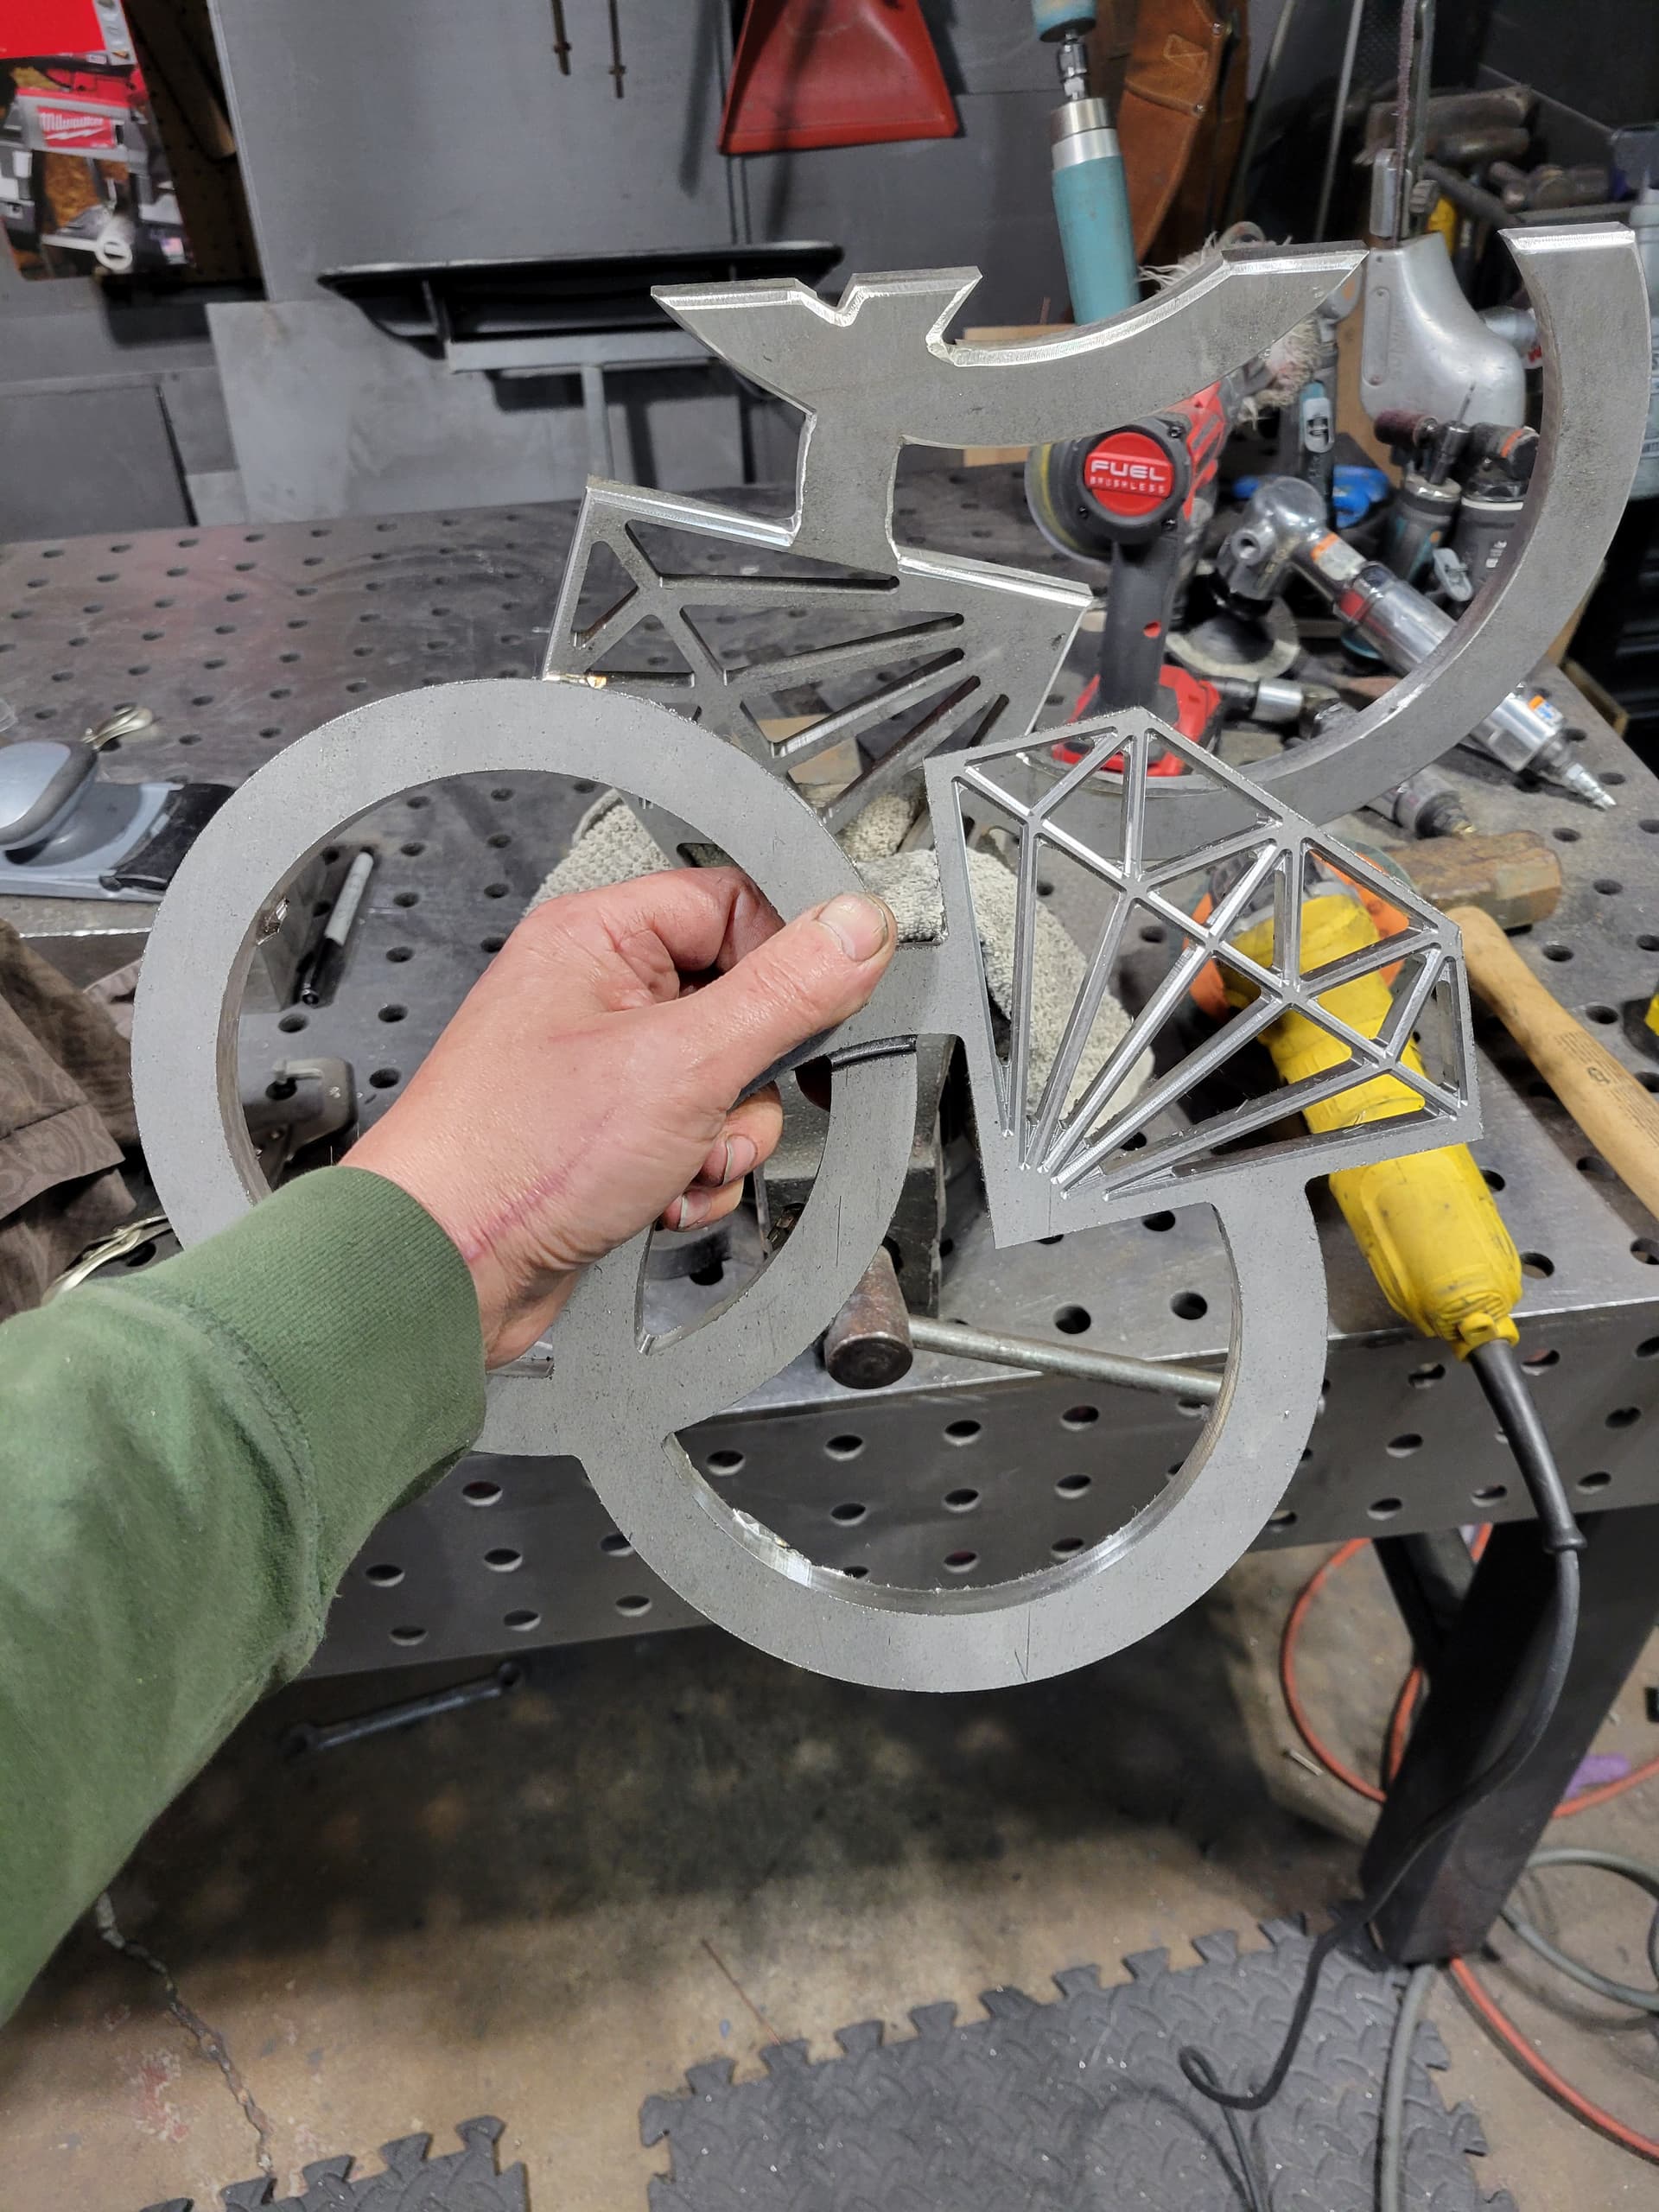
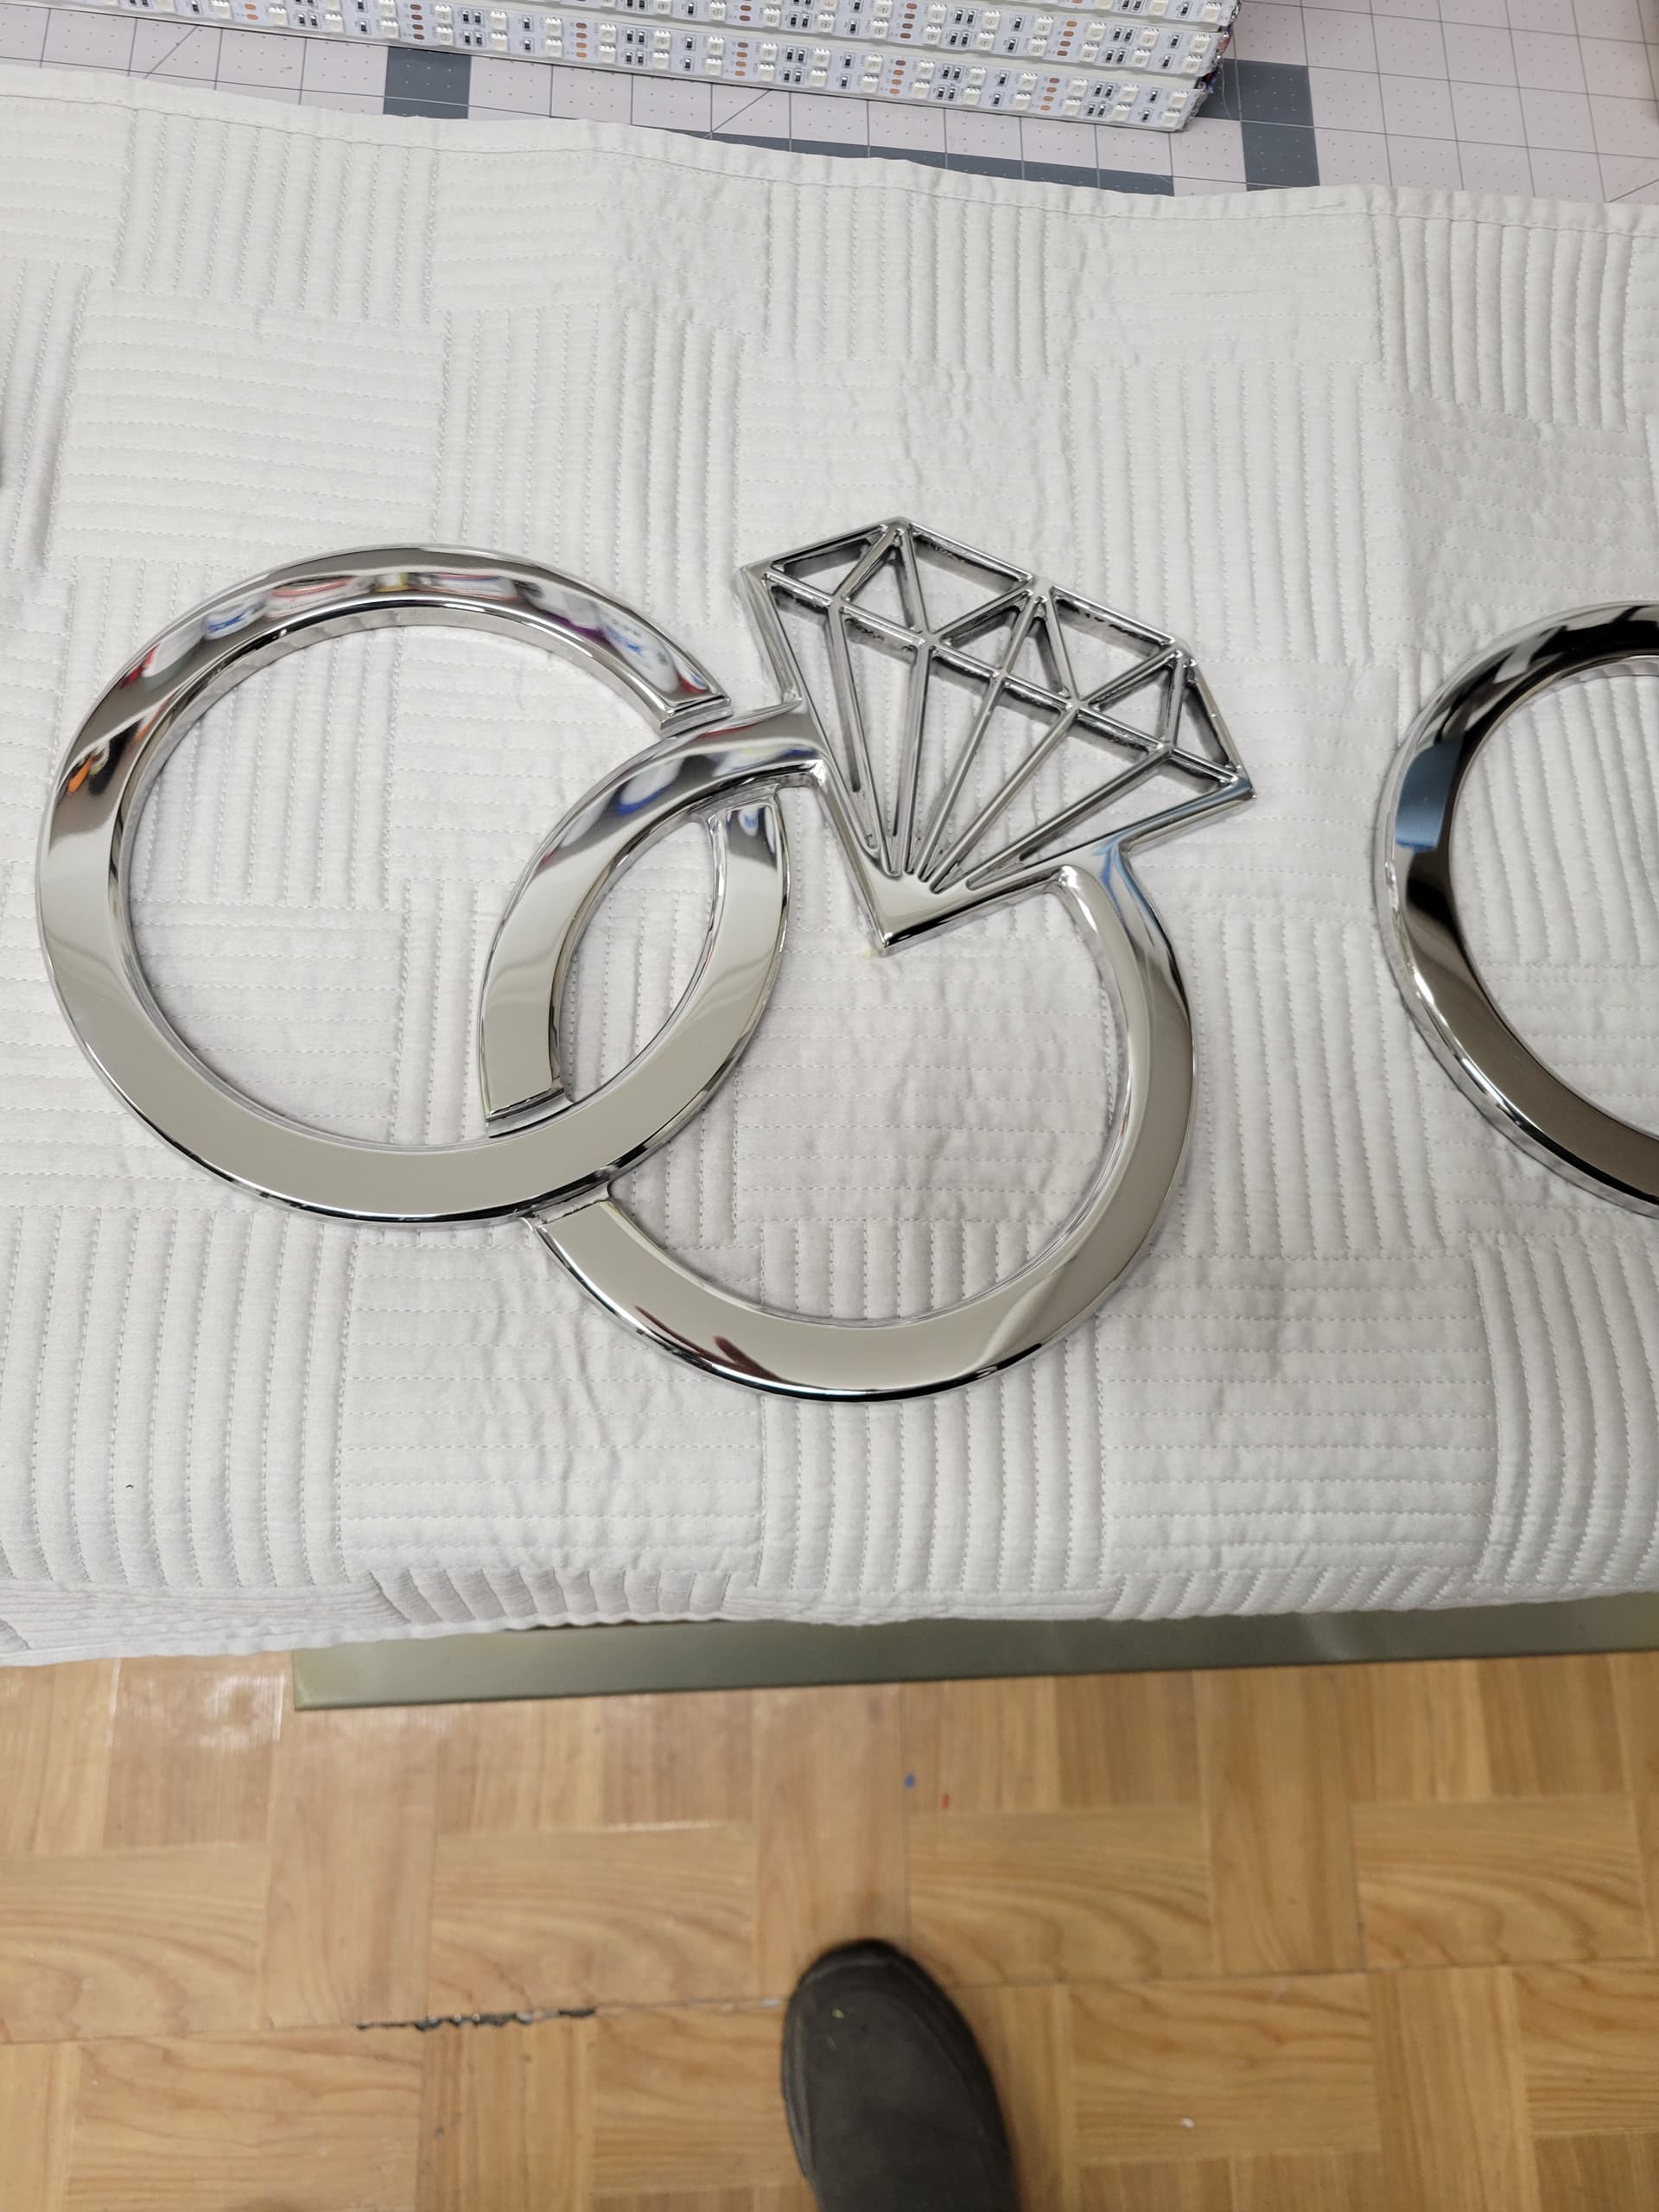
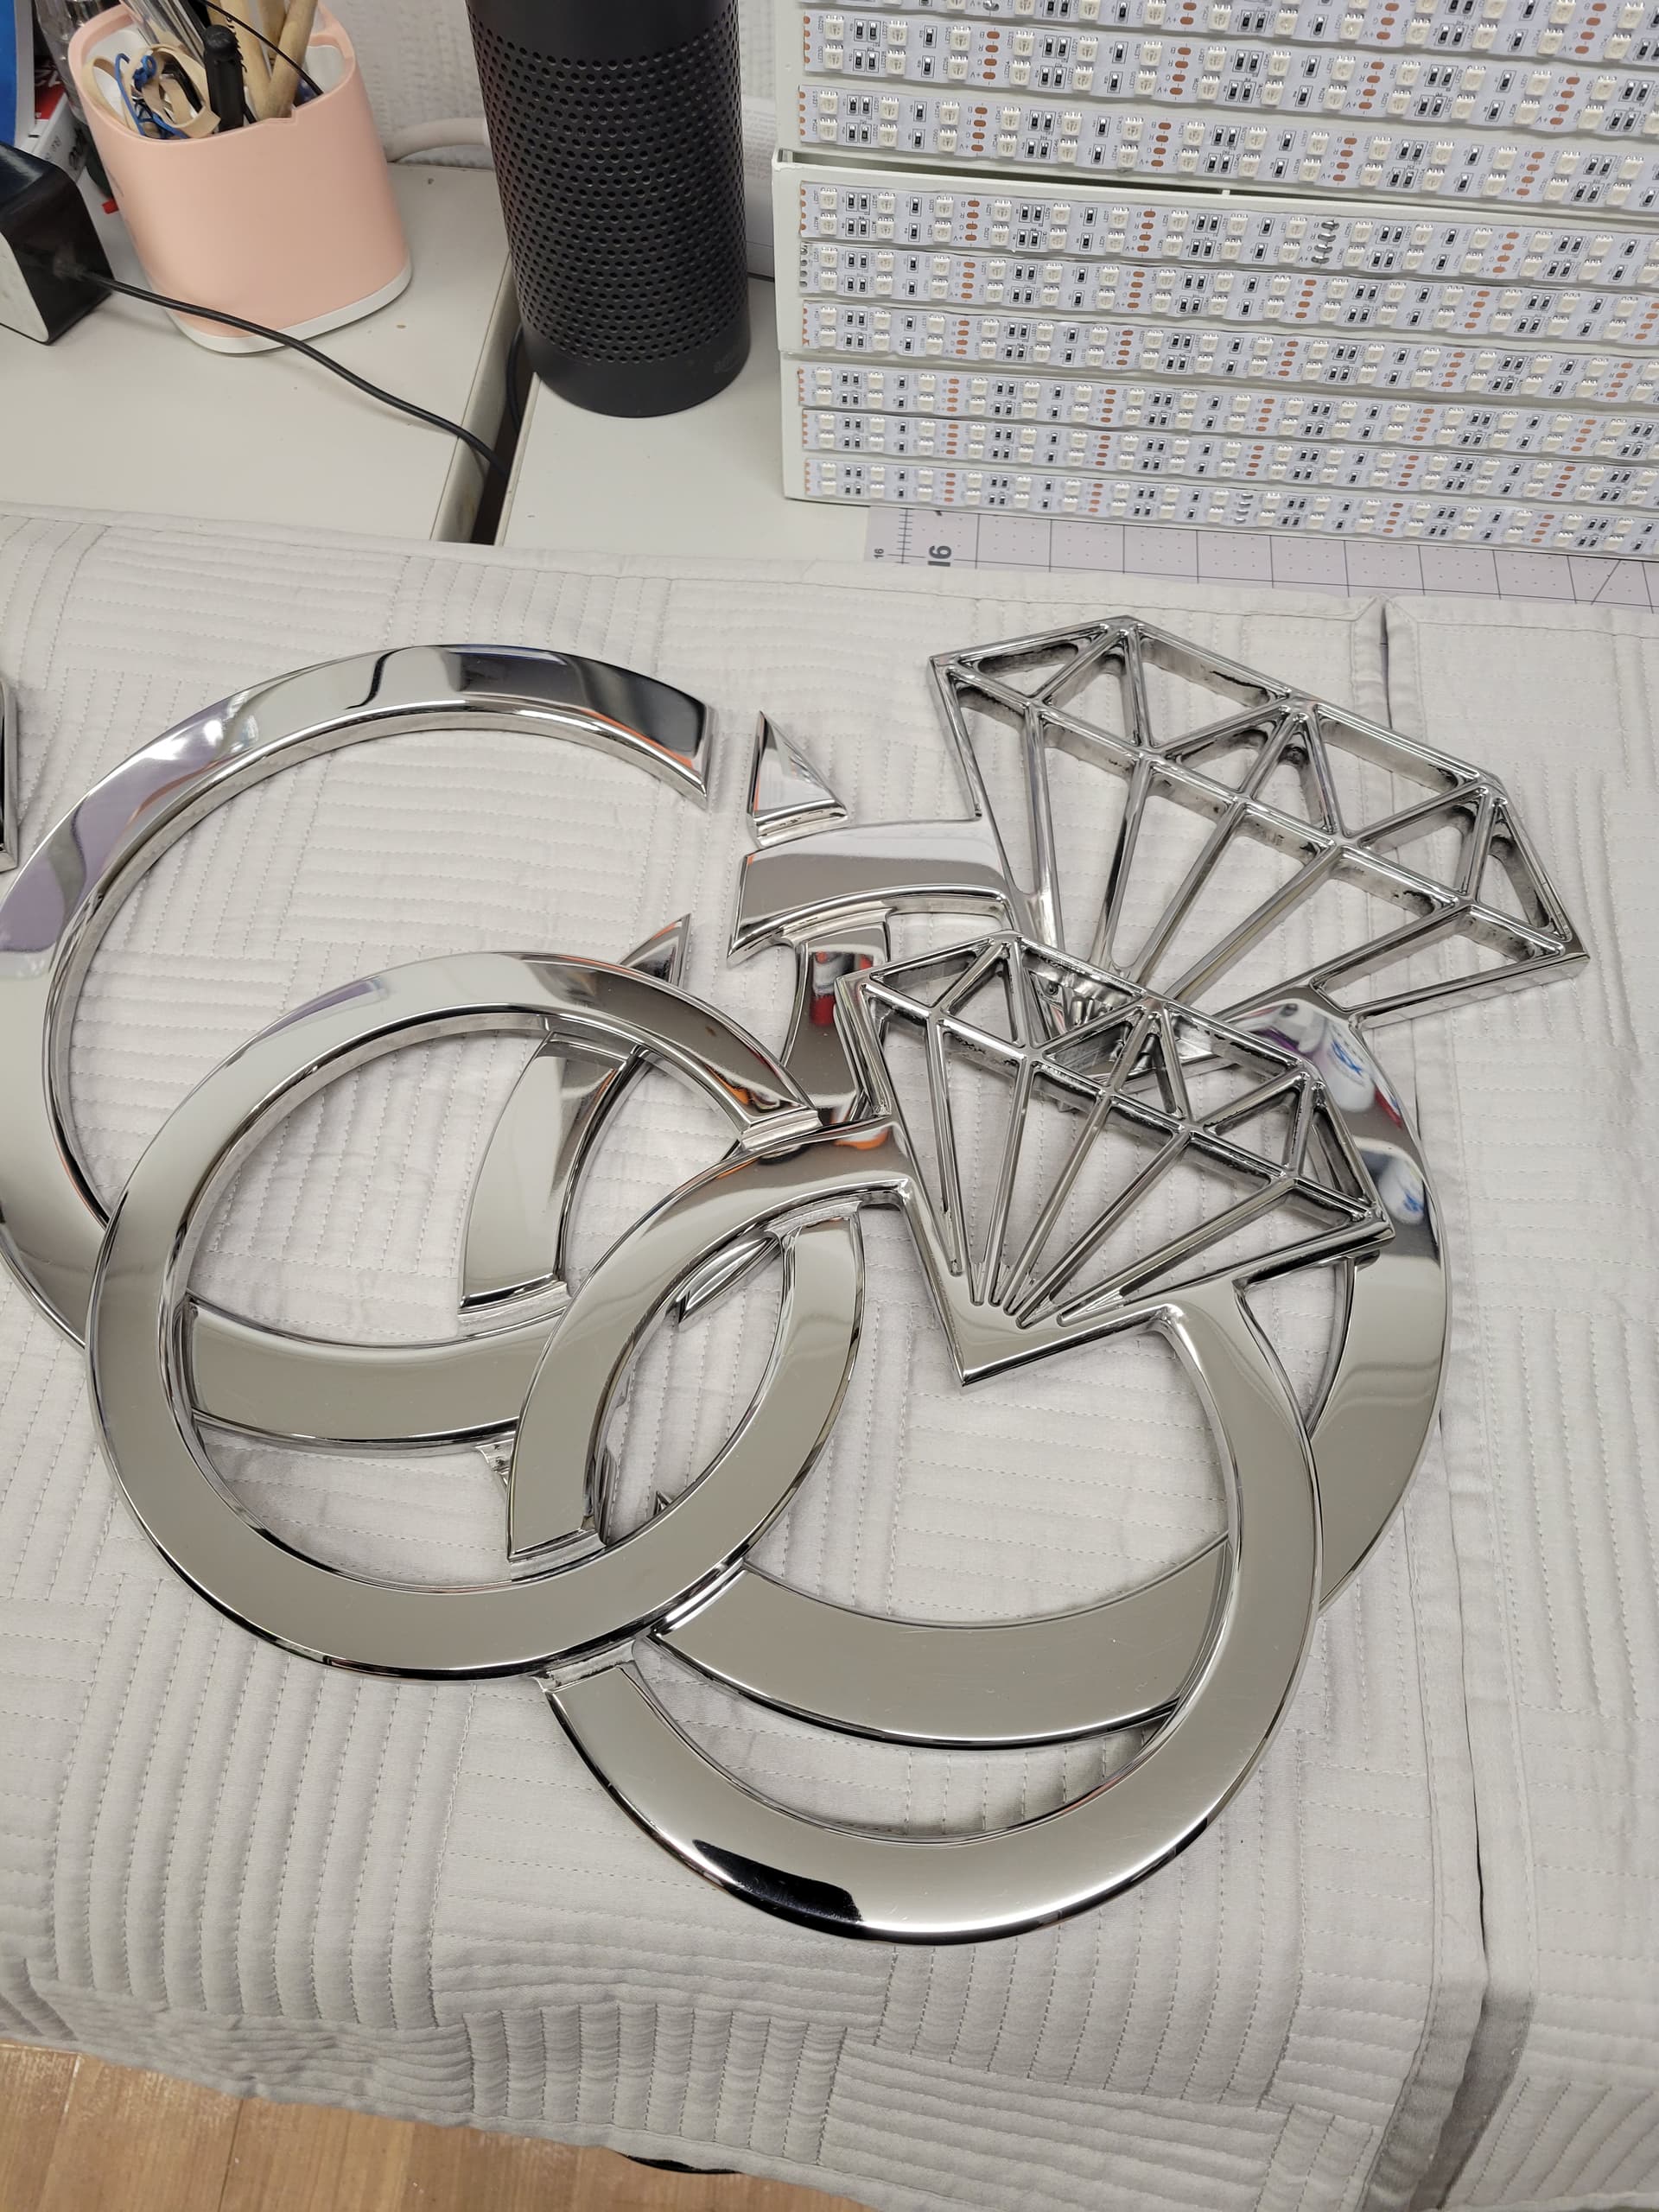
Wrapped up the milling and polishing of some custom door pulls. Last time I built a set I plasma cut them out of ¼" stainless and welded the layers together. This time I used solid ½" 304ss and it was way less work by hand. Still need to weld on the standoffs and the backers plates. But definitely happy to be over the polish stage. The installed picture was the welded version.
Thank you! Yes I’m set up OK with polish stuff. Just tried stuff from a company called Renegade Polishing Products and I’m pretty happy with them. It’s more elbow grease than anything. The design was an established one from the client. As of now I’m probably 200 hours in and I’ll probably have another 60 to 80 hours into it. I On the first set it was only one set and it took 130 hours and I did the install.
Years ago I worked next to a small shop, that all they did was buffing. I think mostly aluminum and at the end of the day those guys would come to go home and man did they get dirty. That black mixture of aluminum and whatever polishing compound they used was nasty stuff.