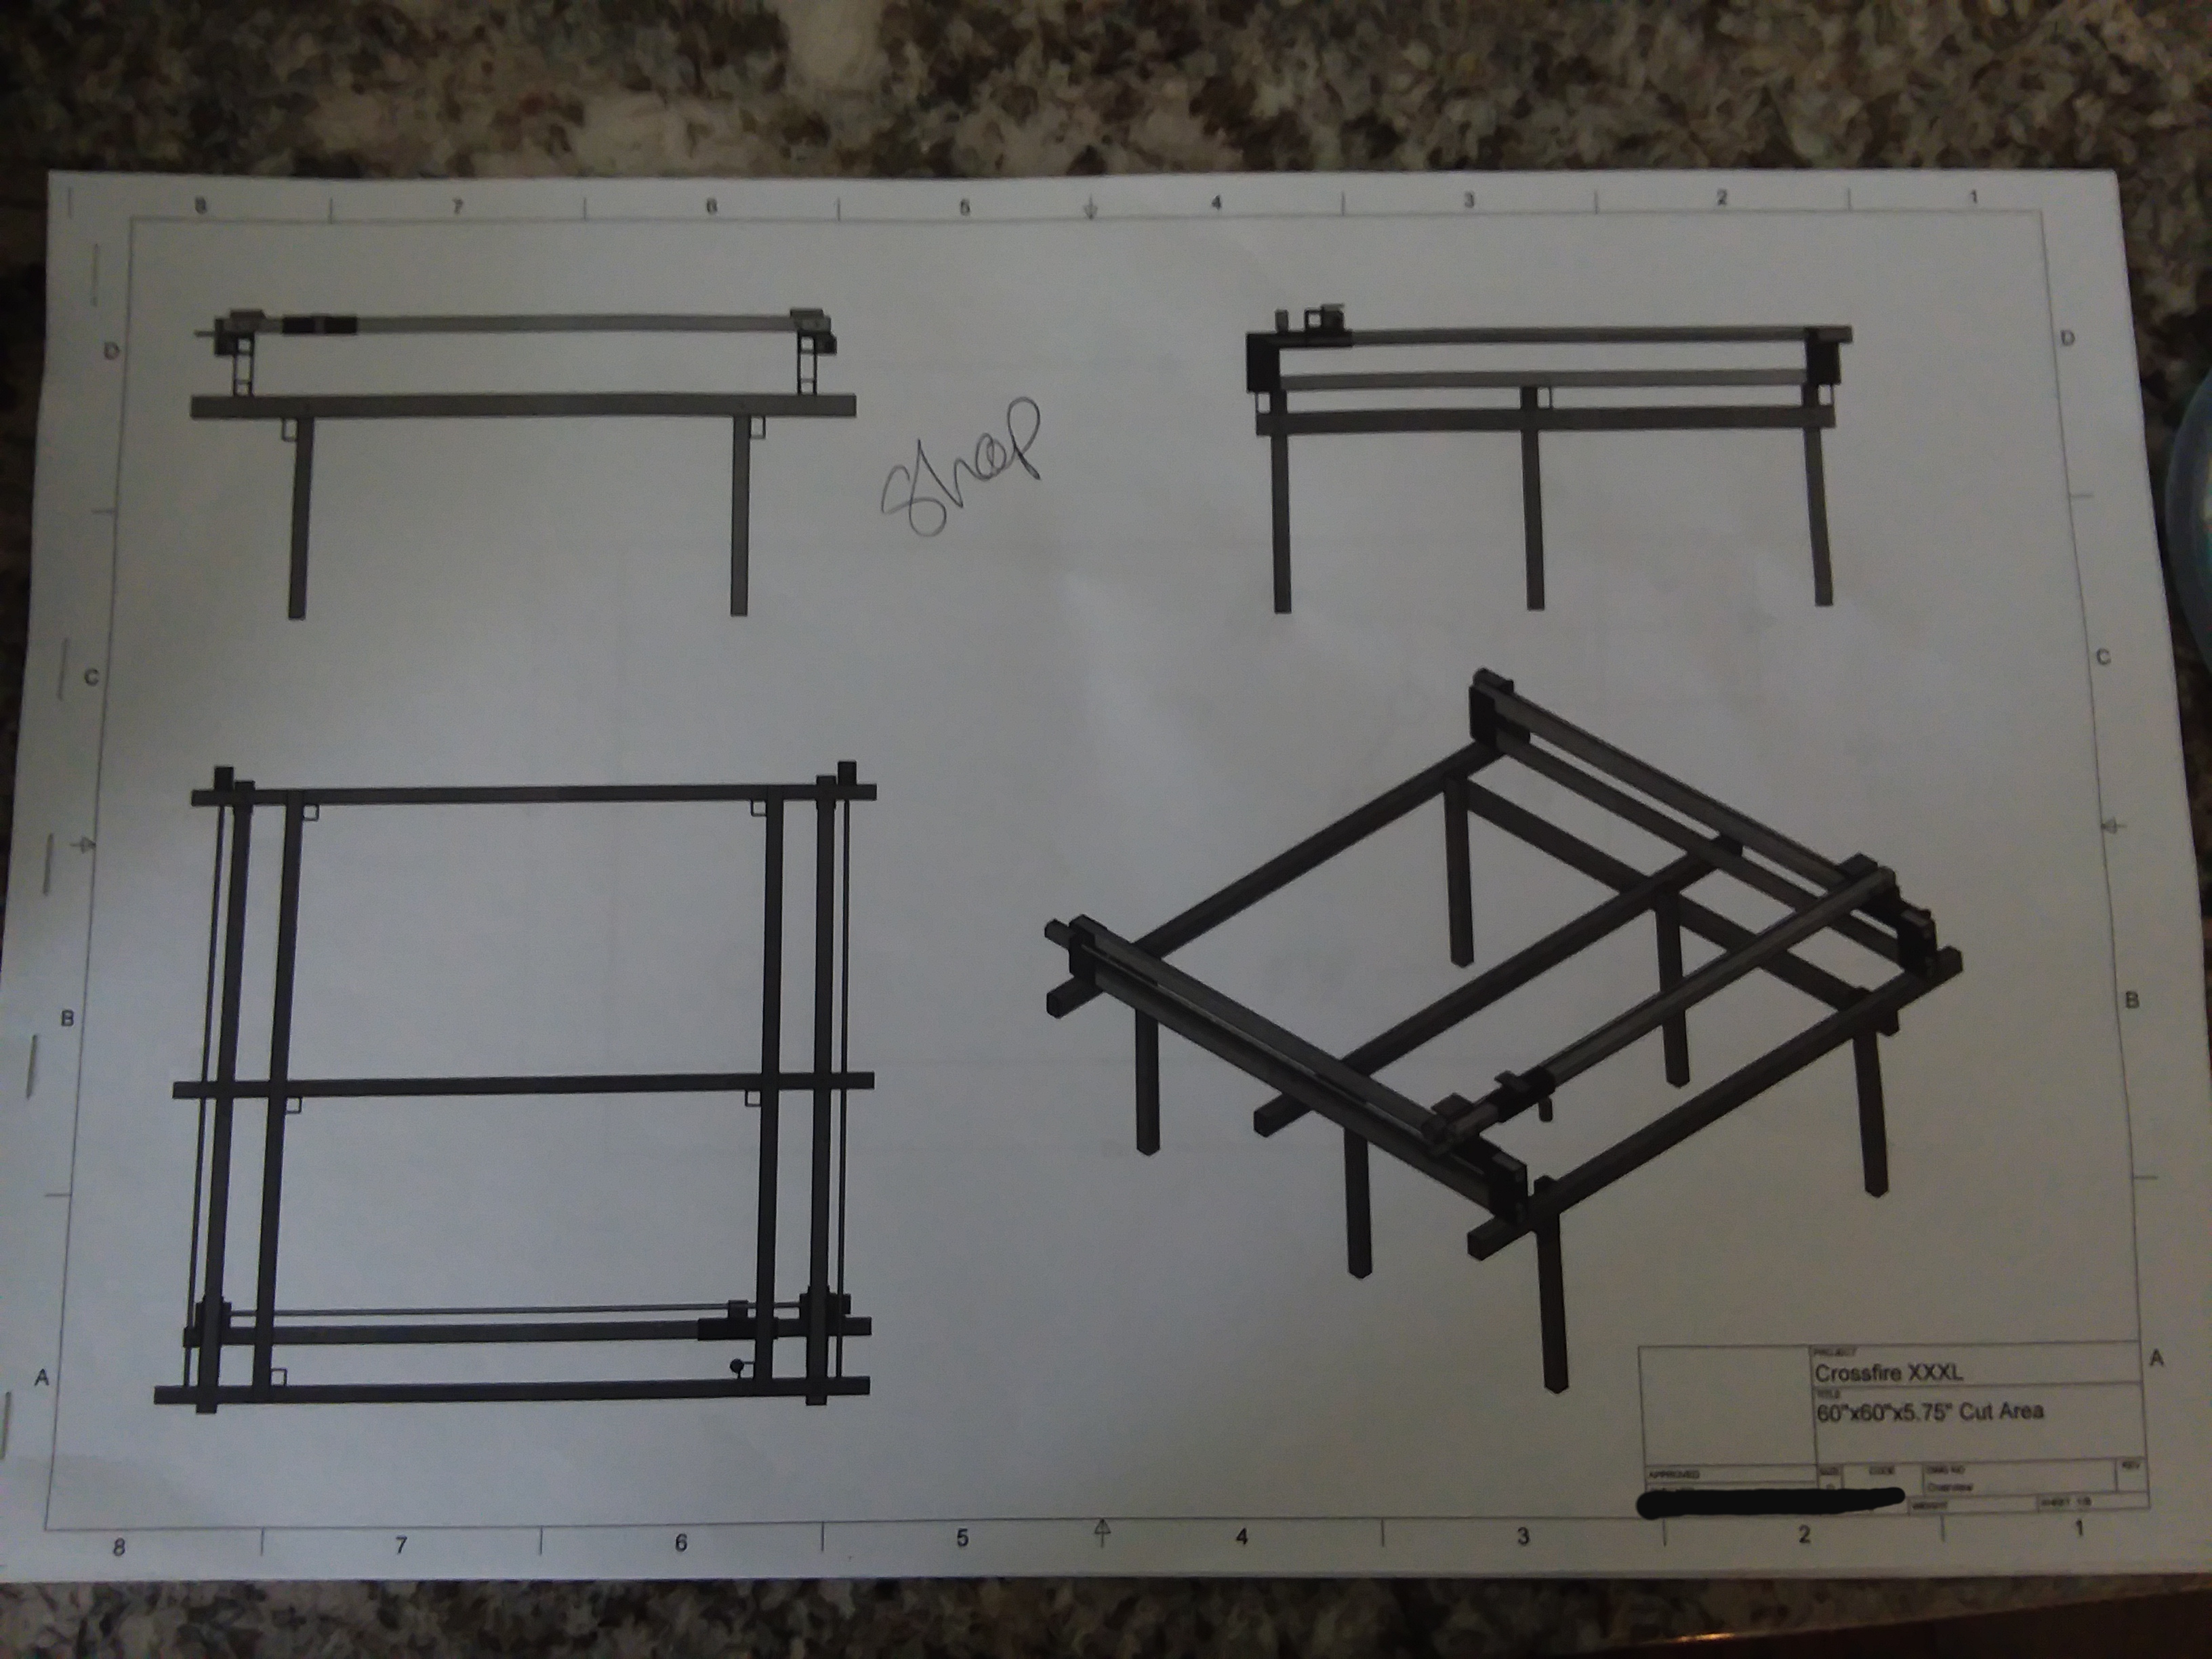
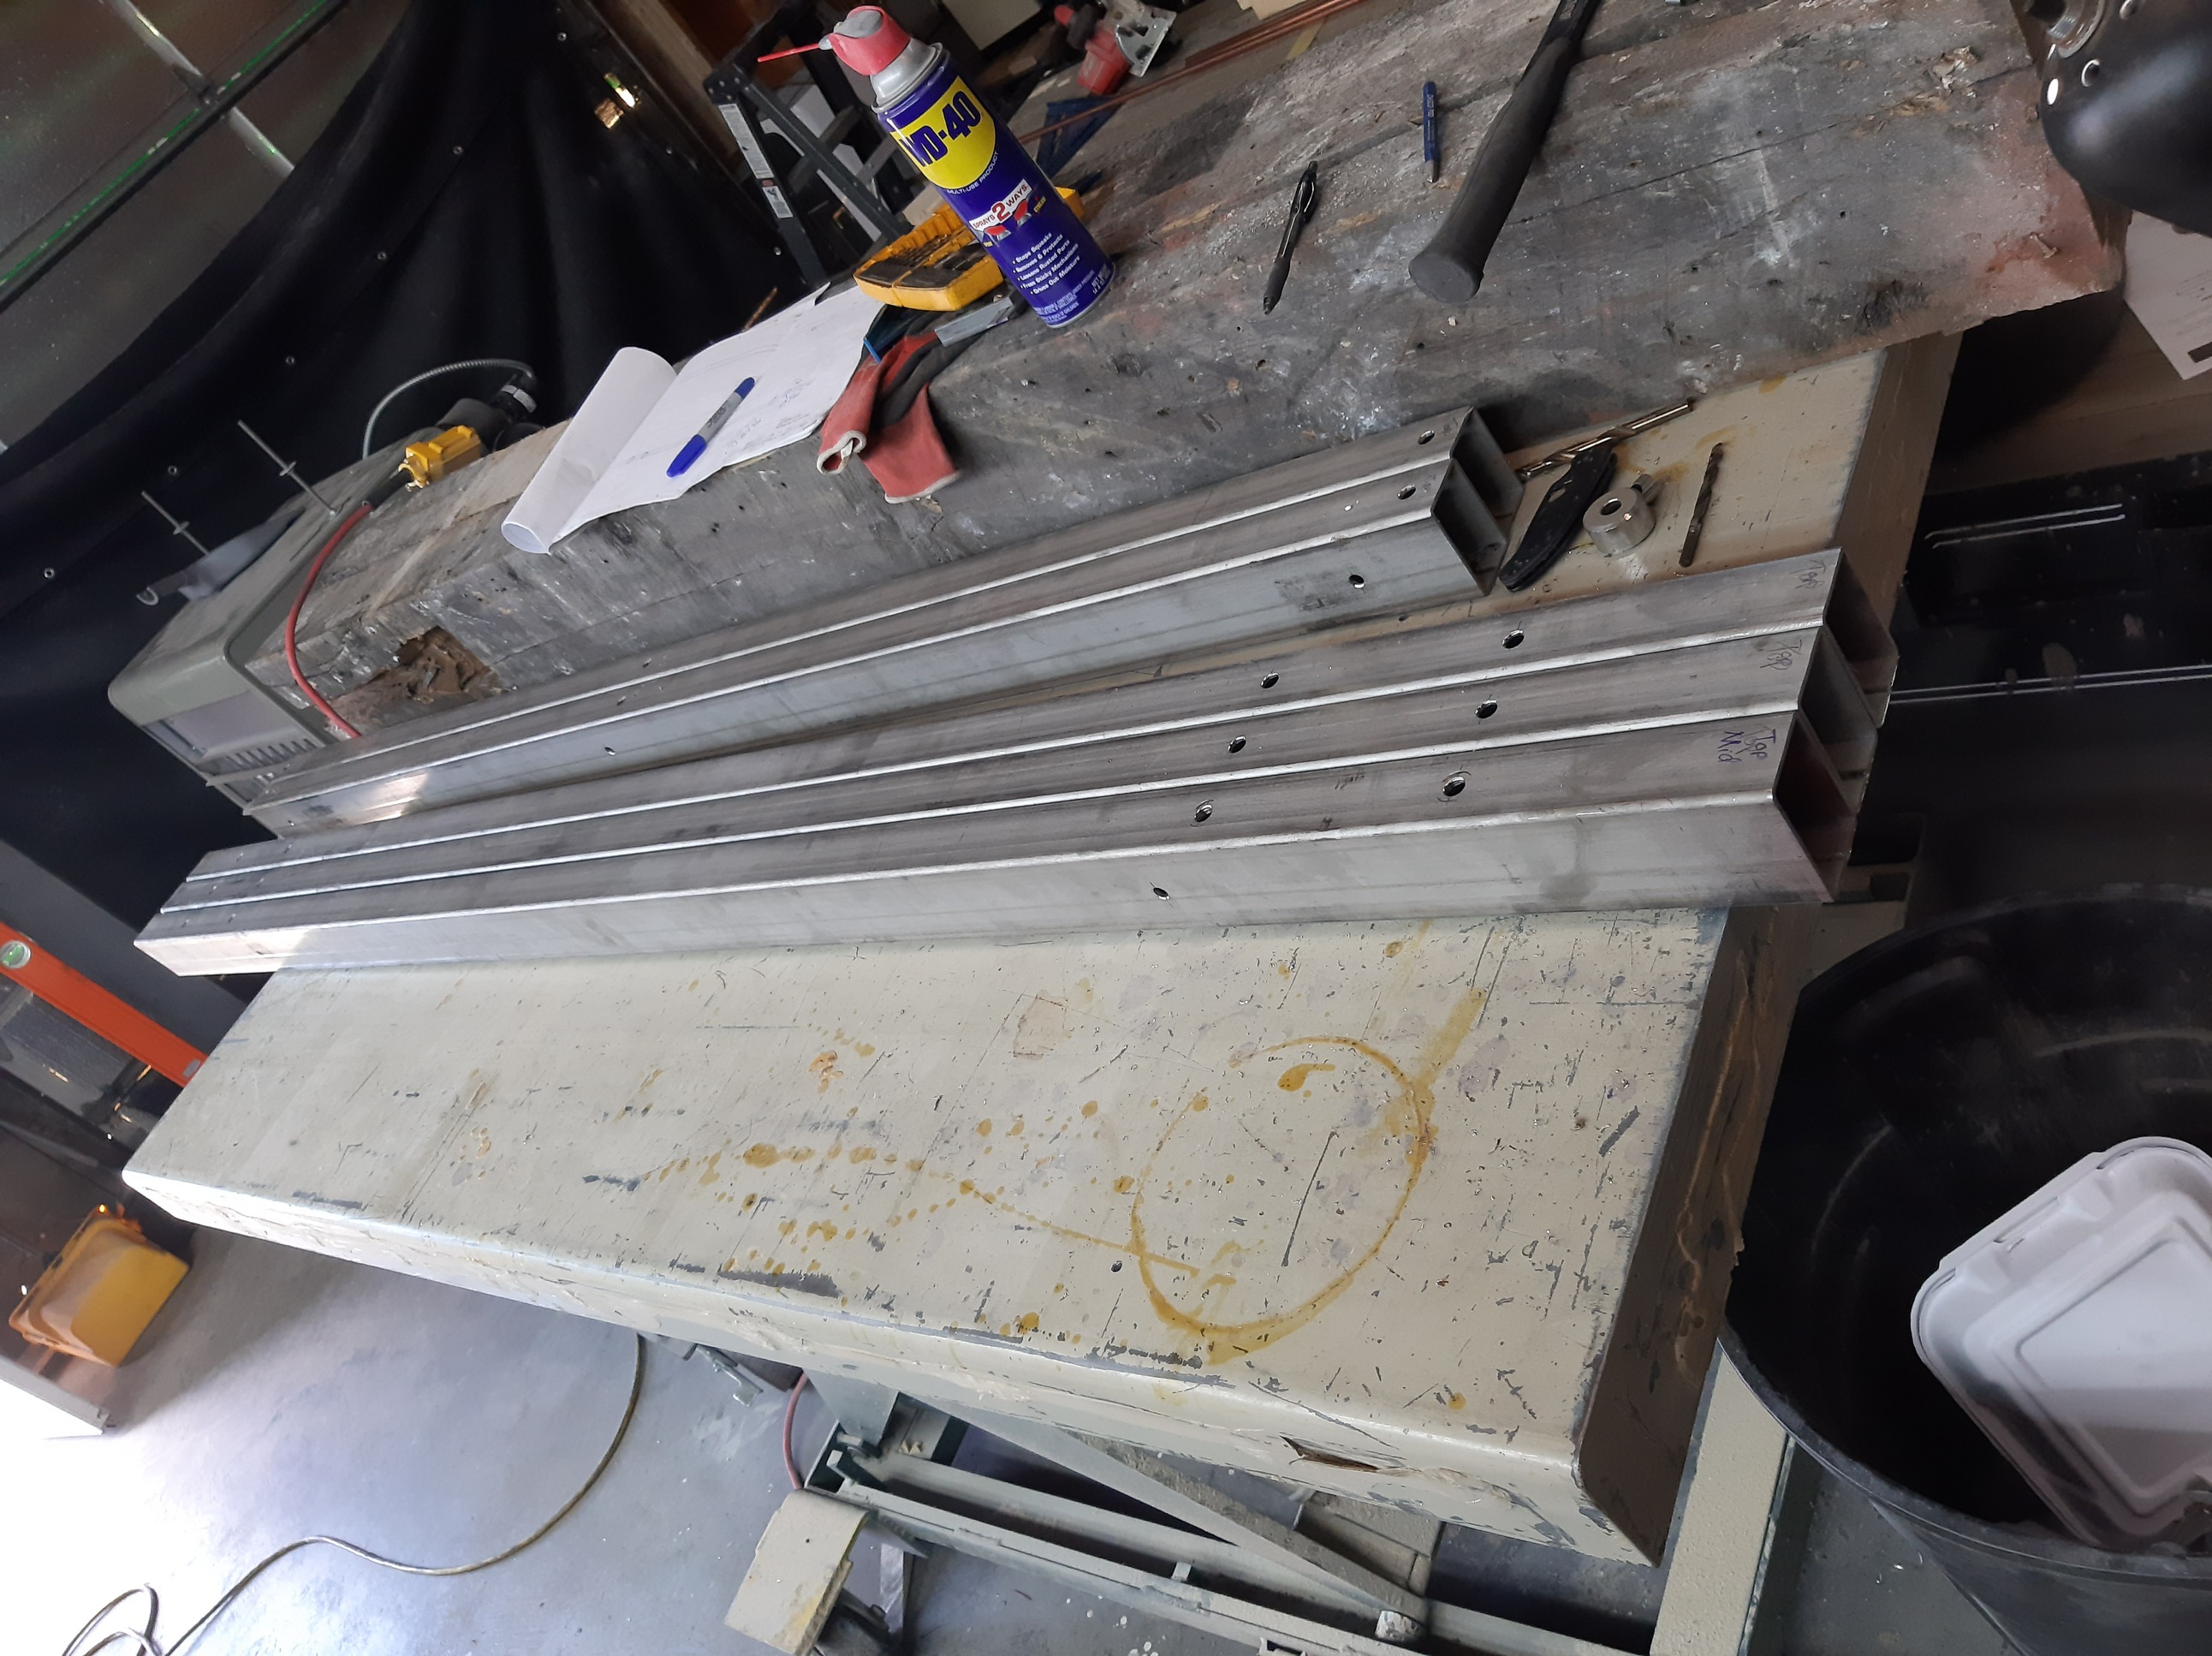
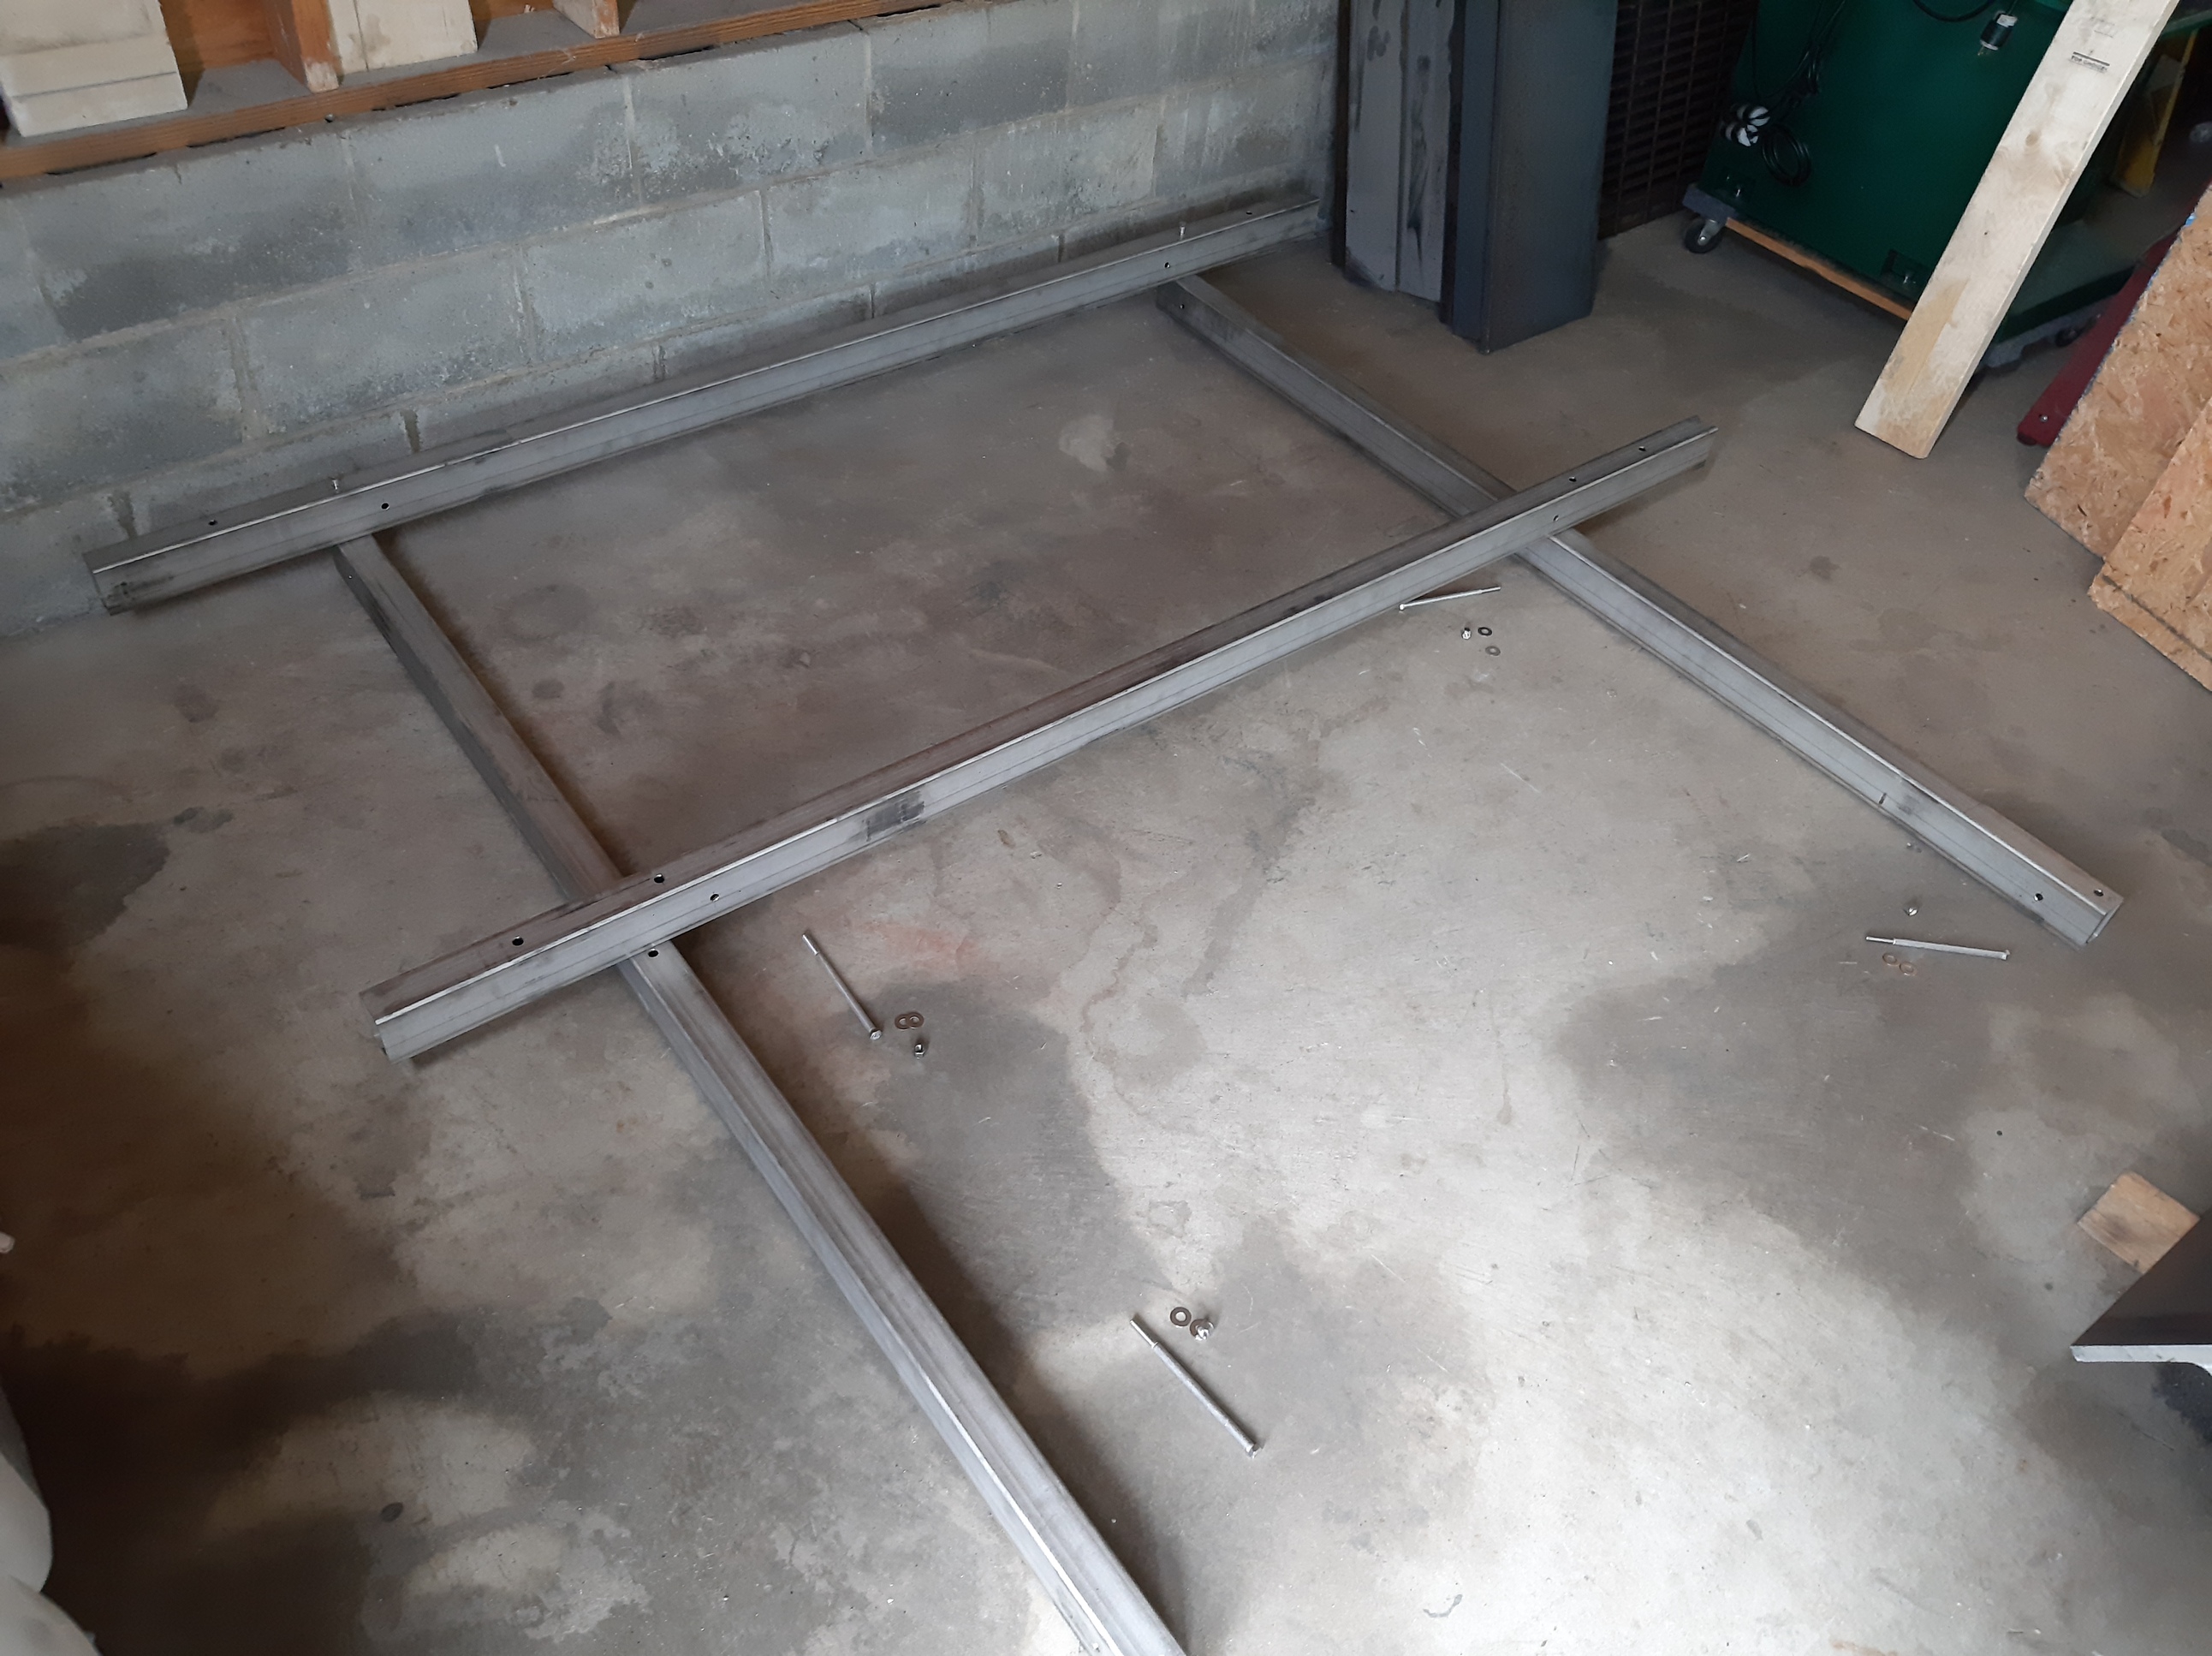
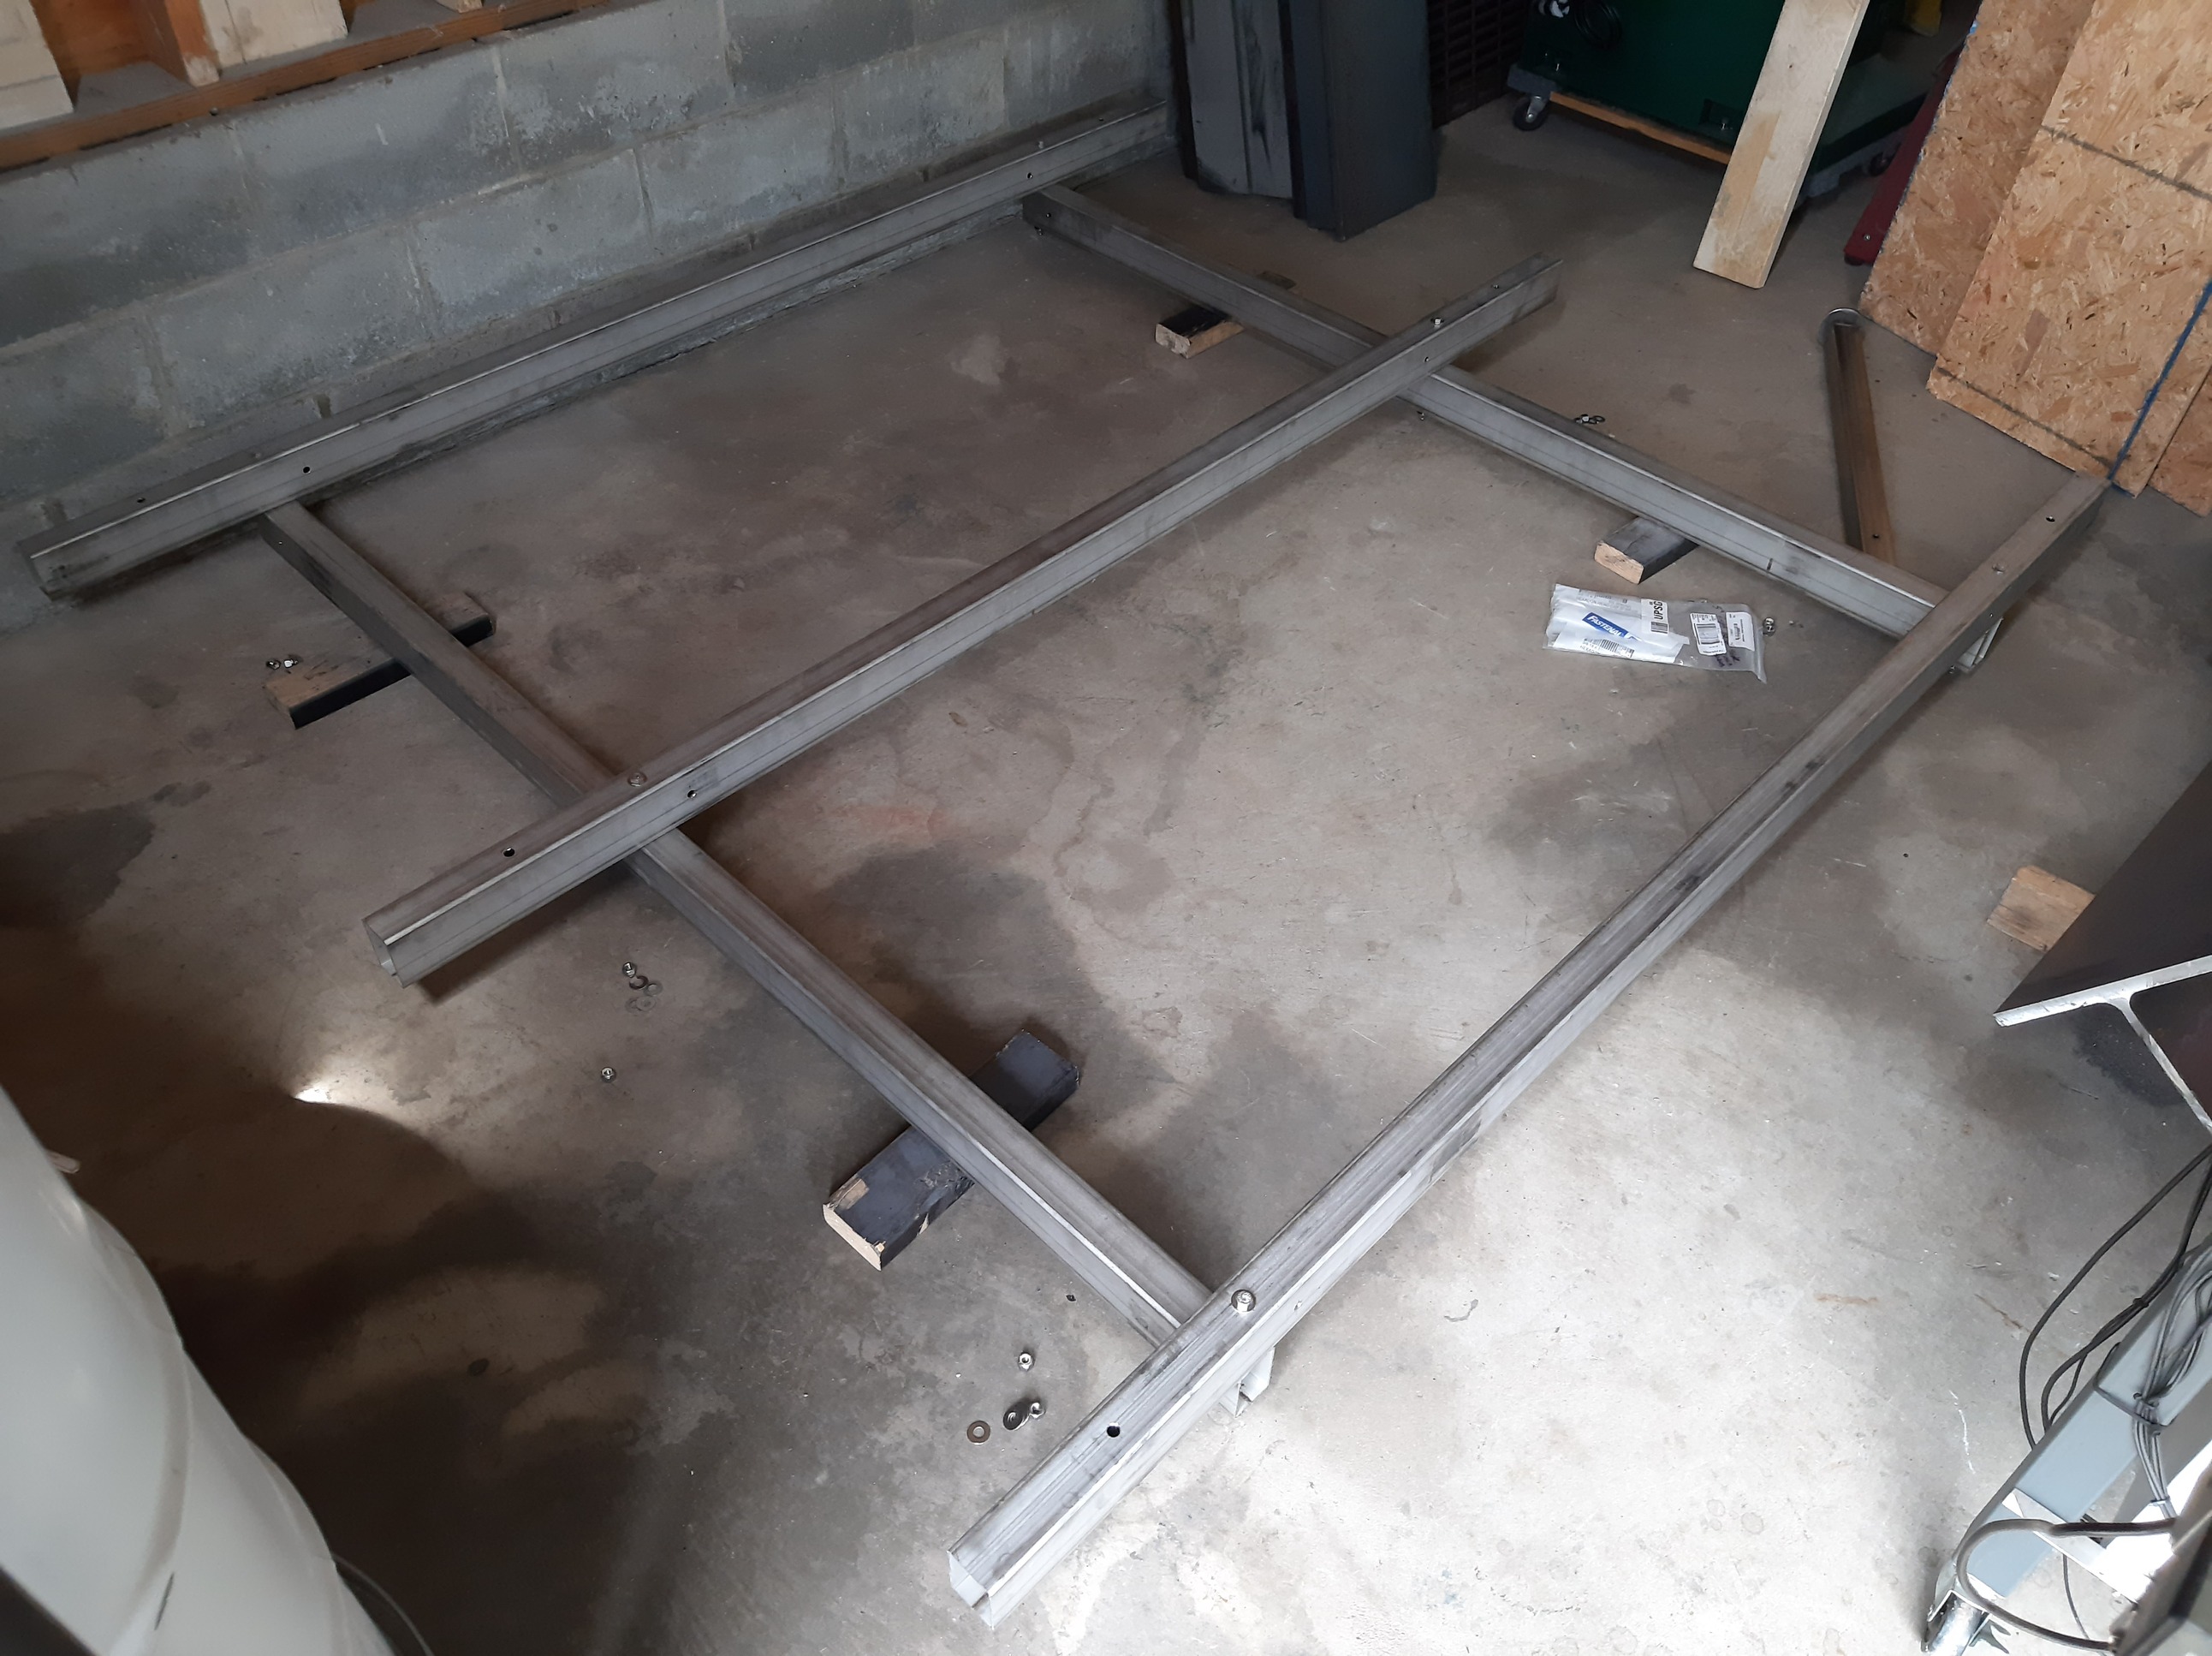
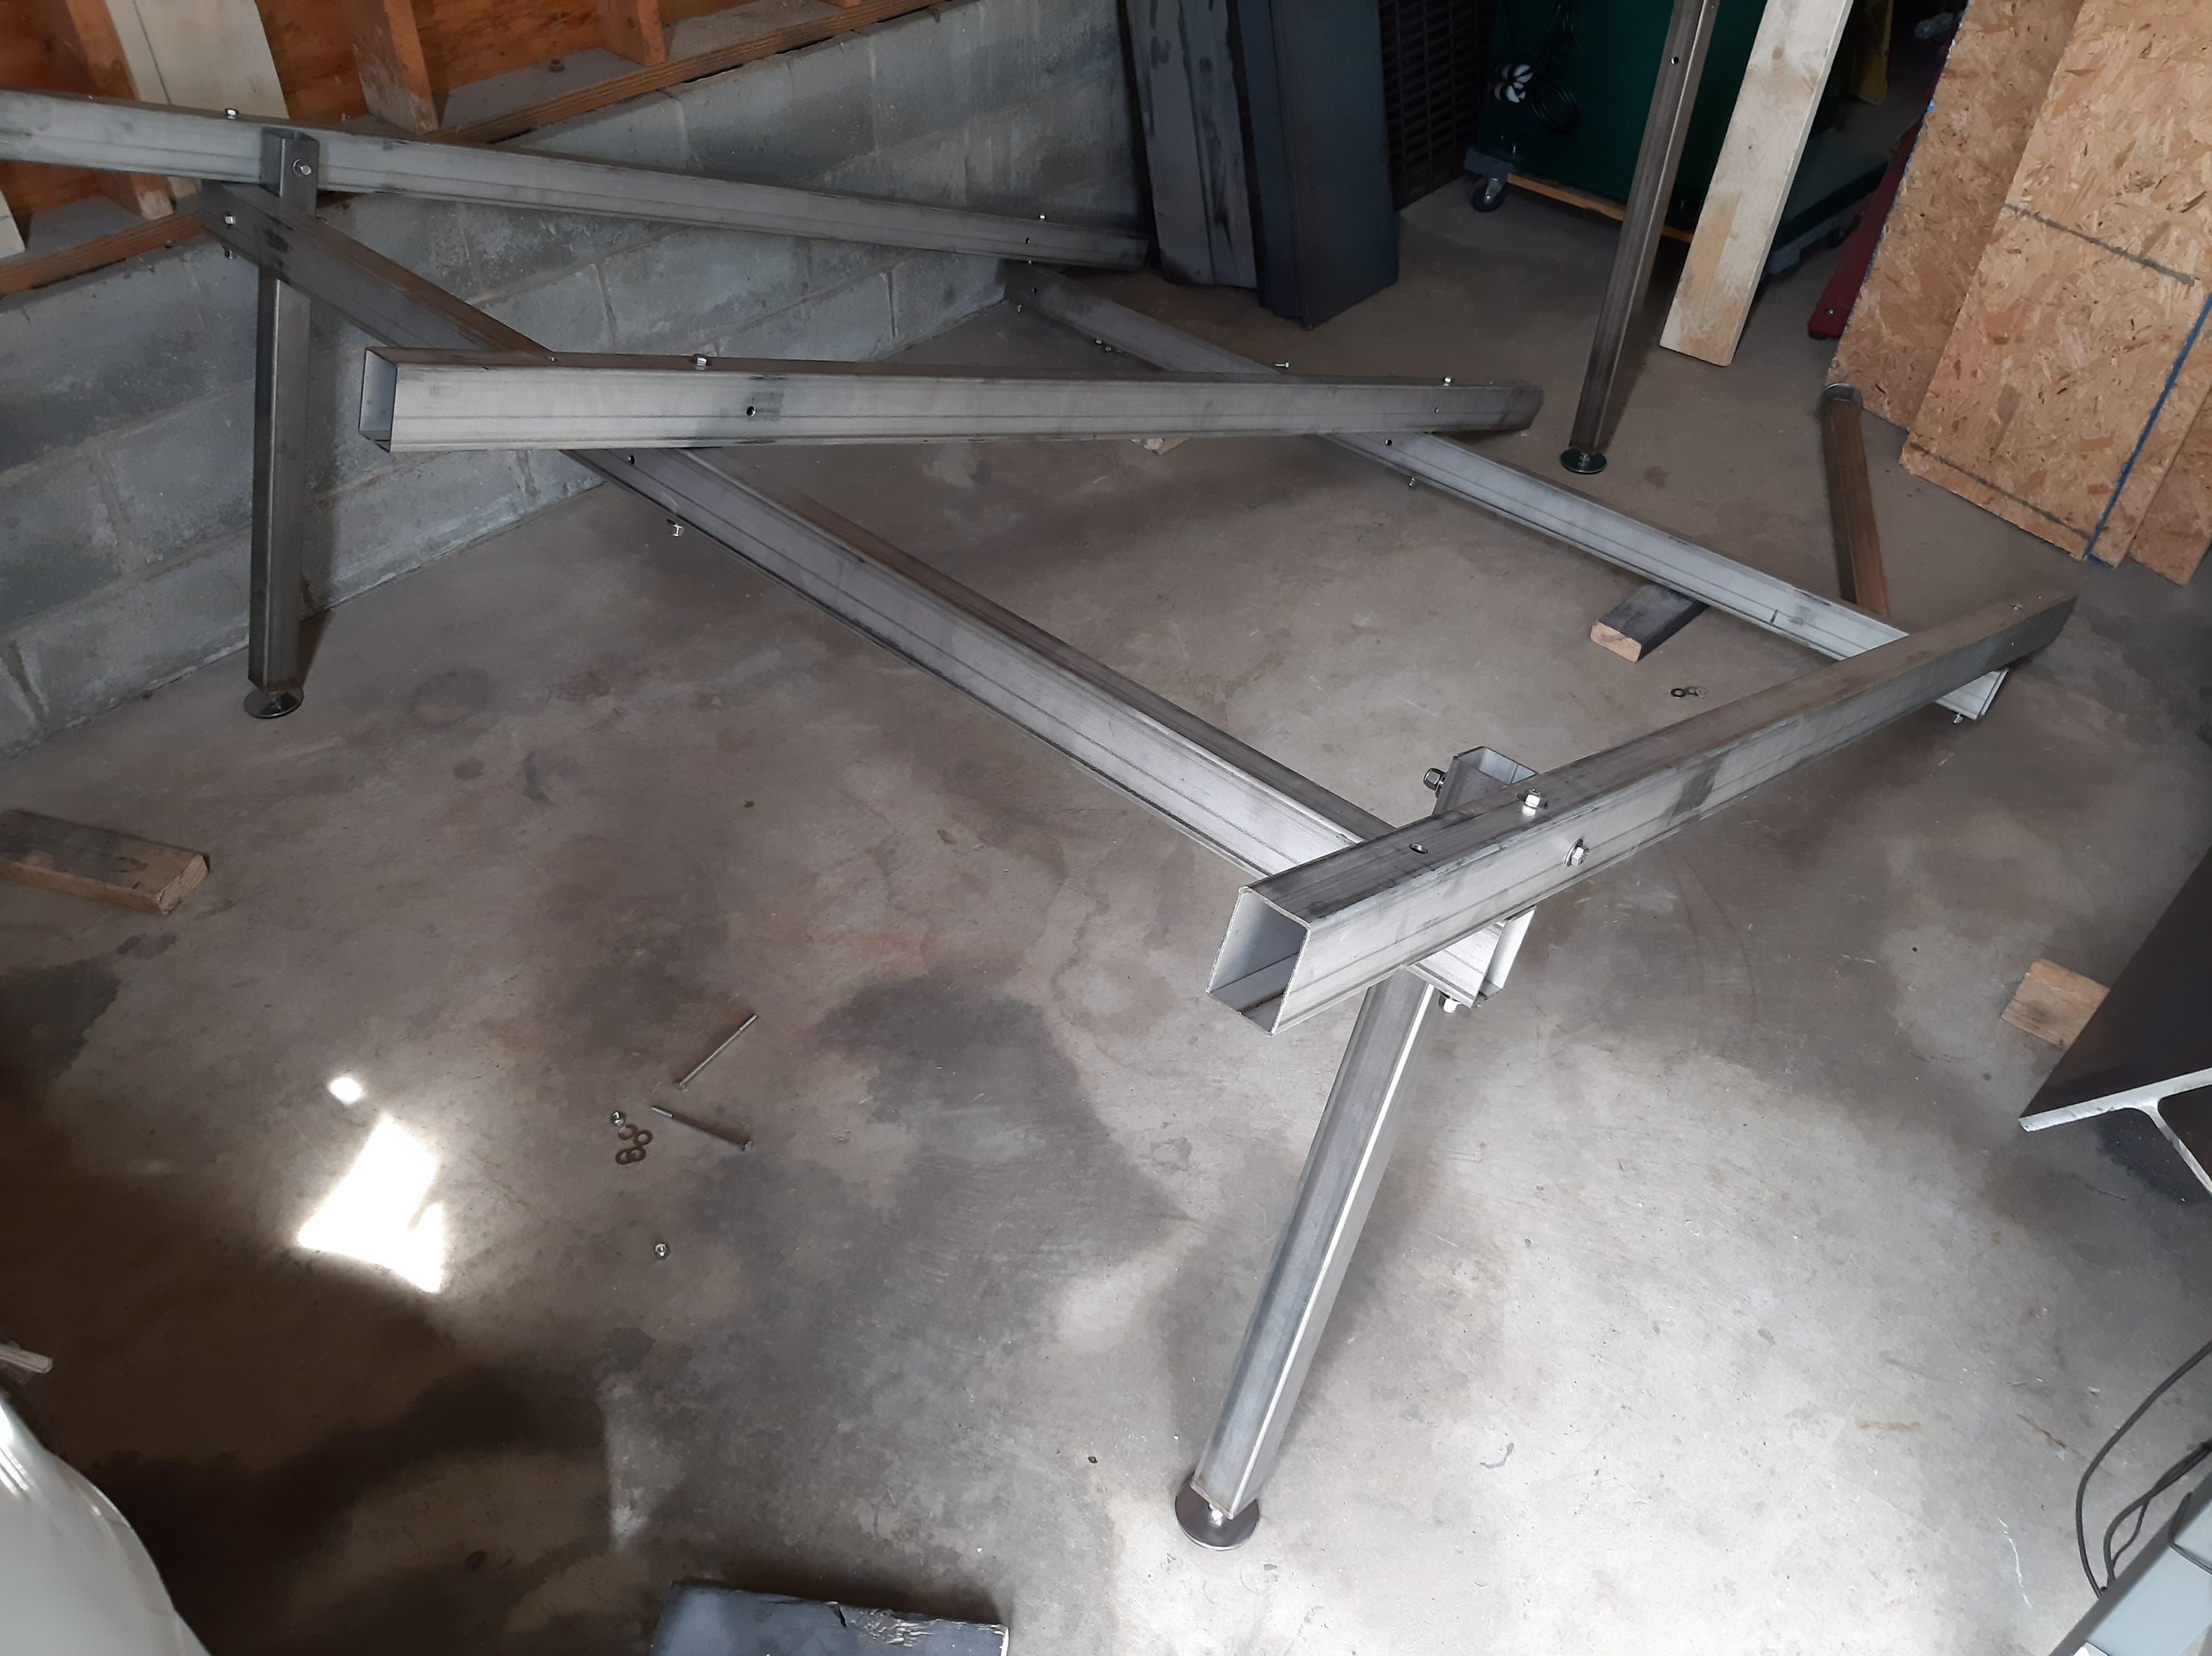
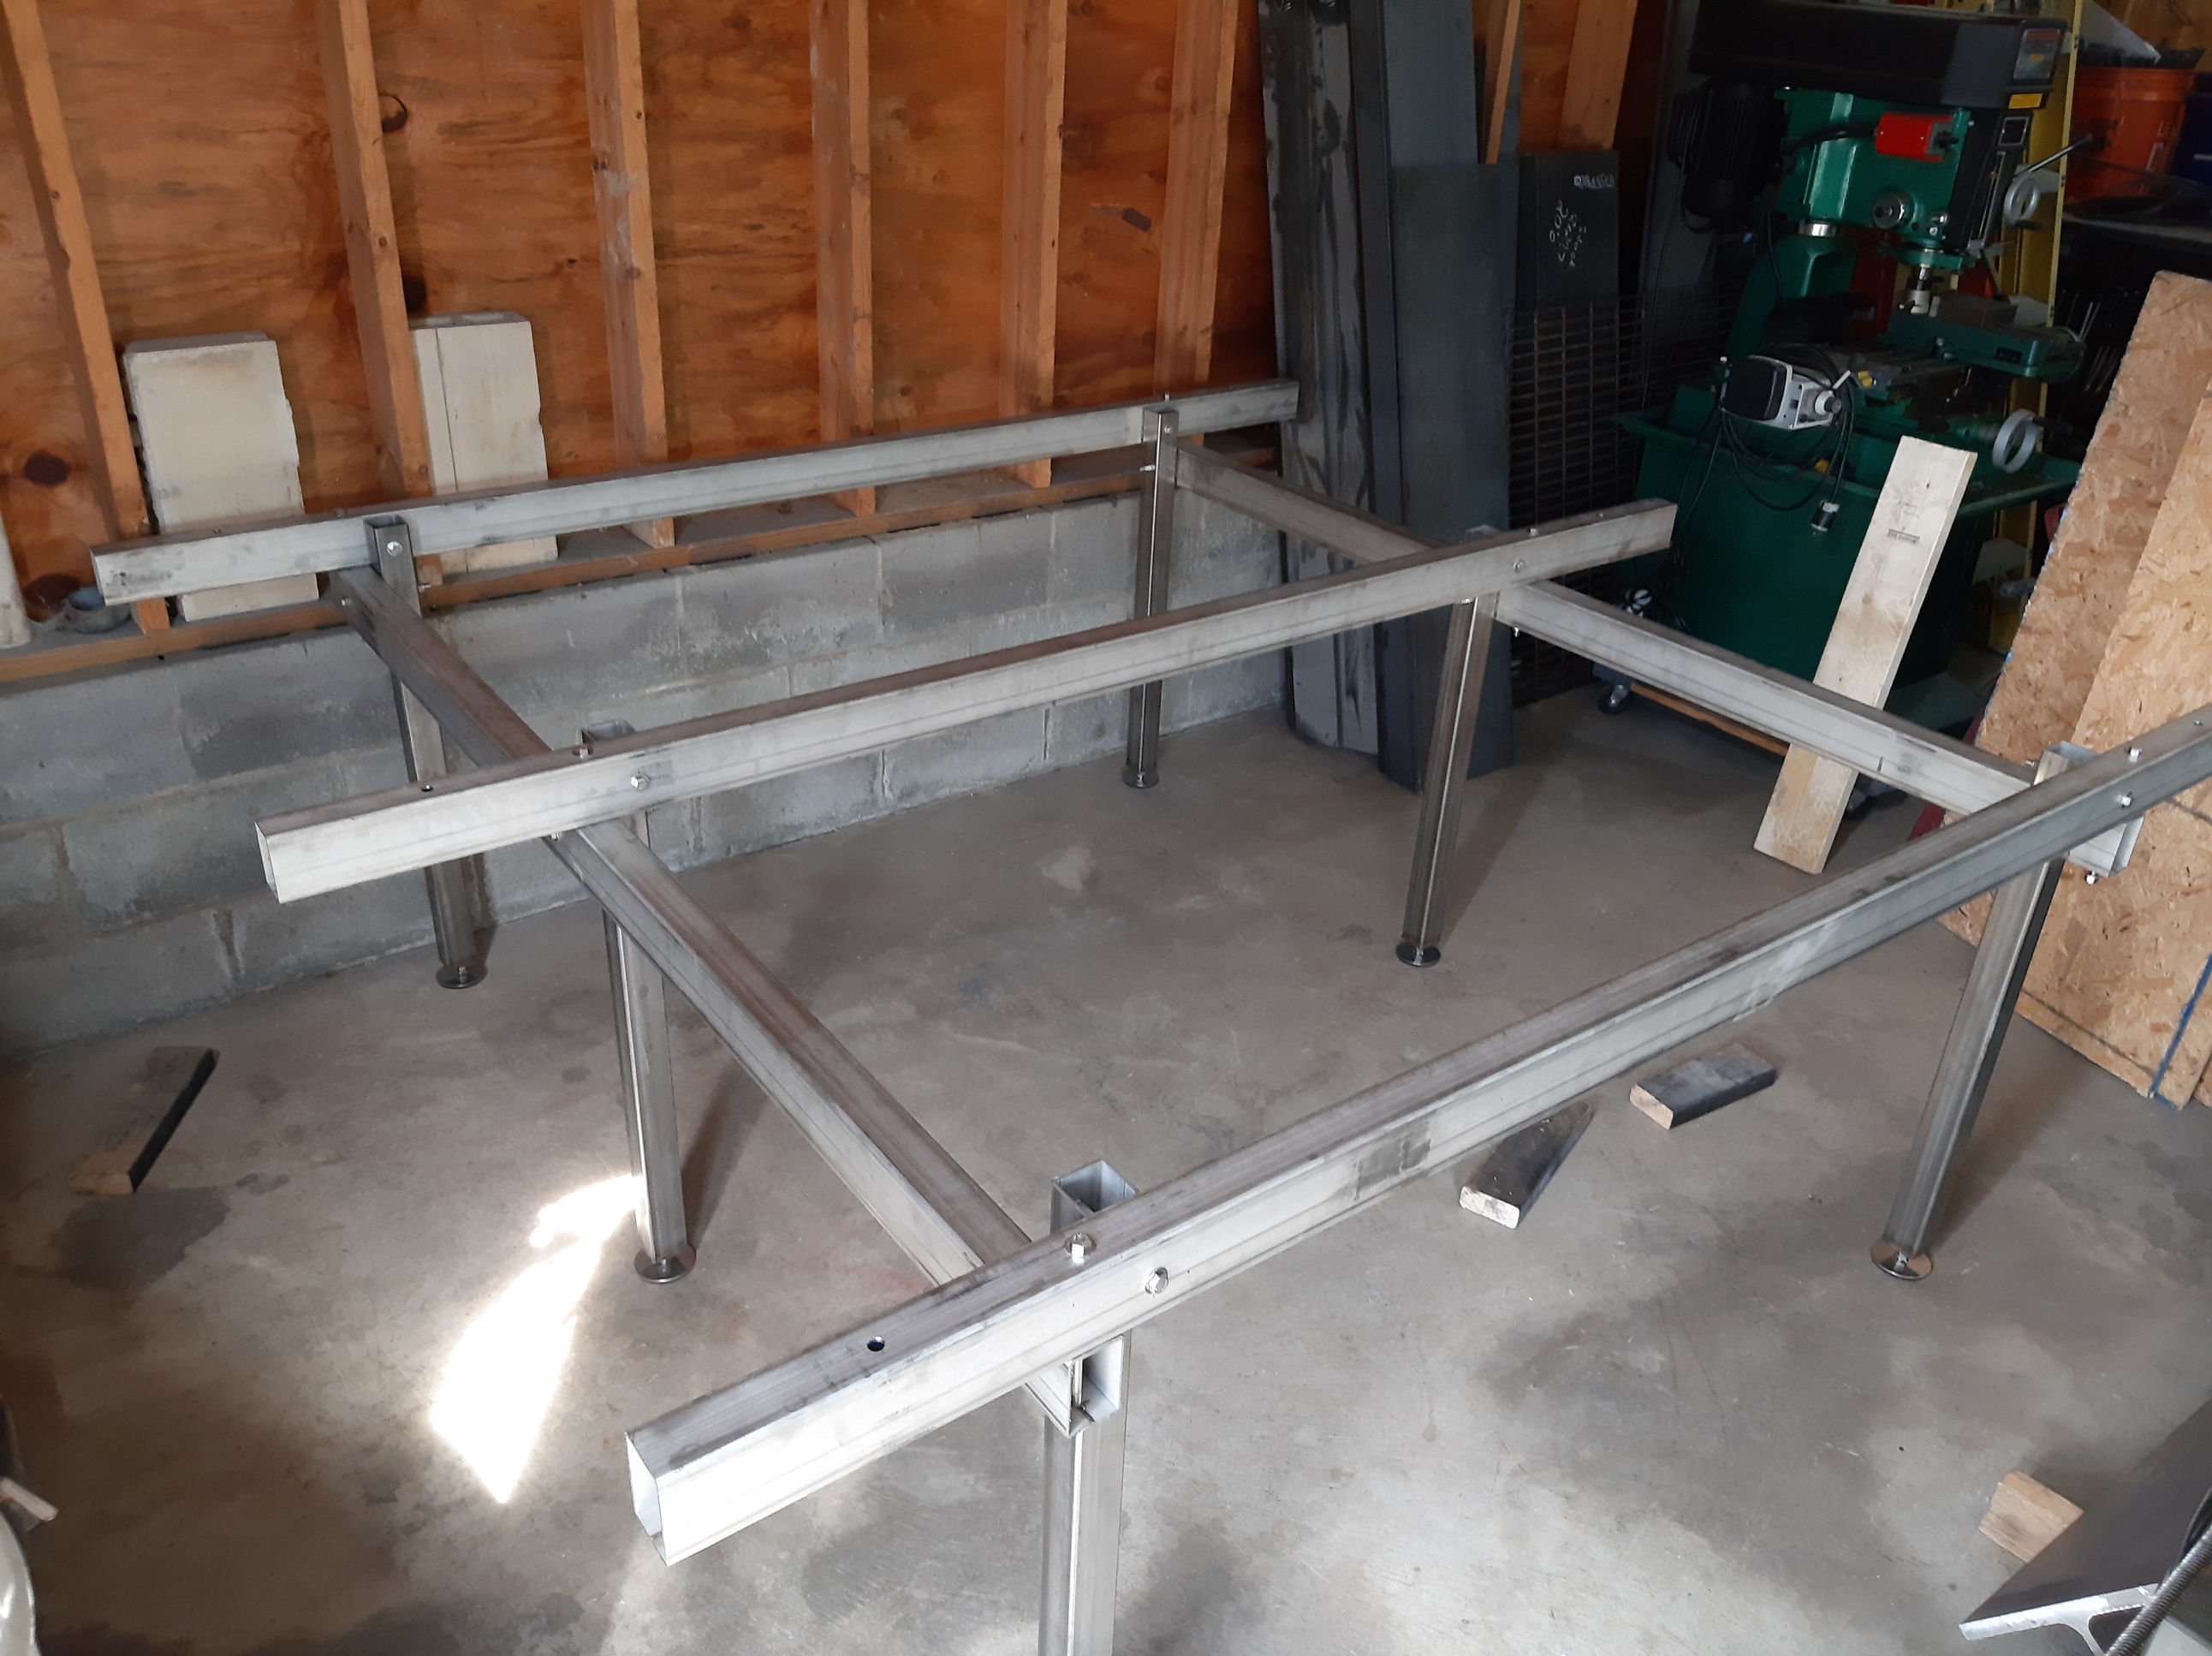
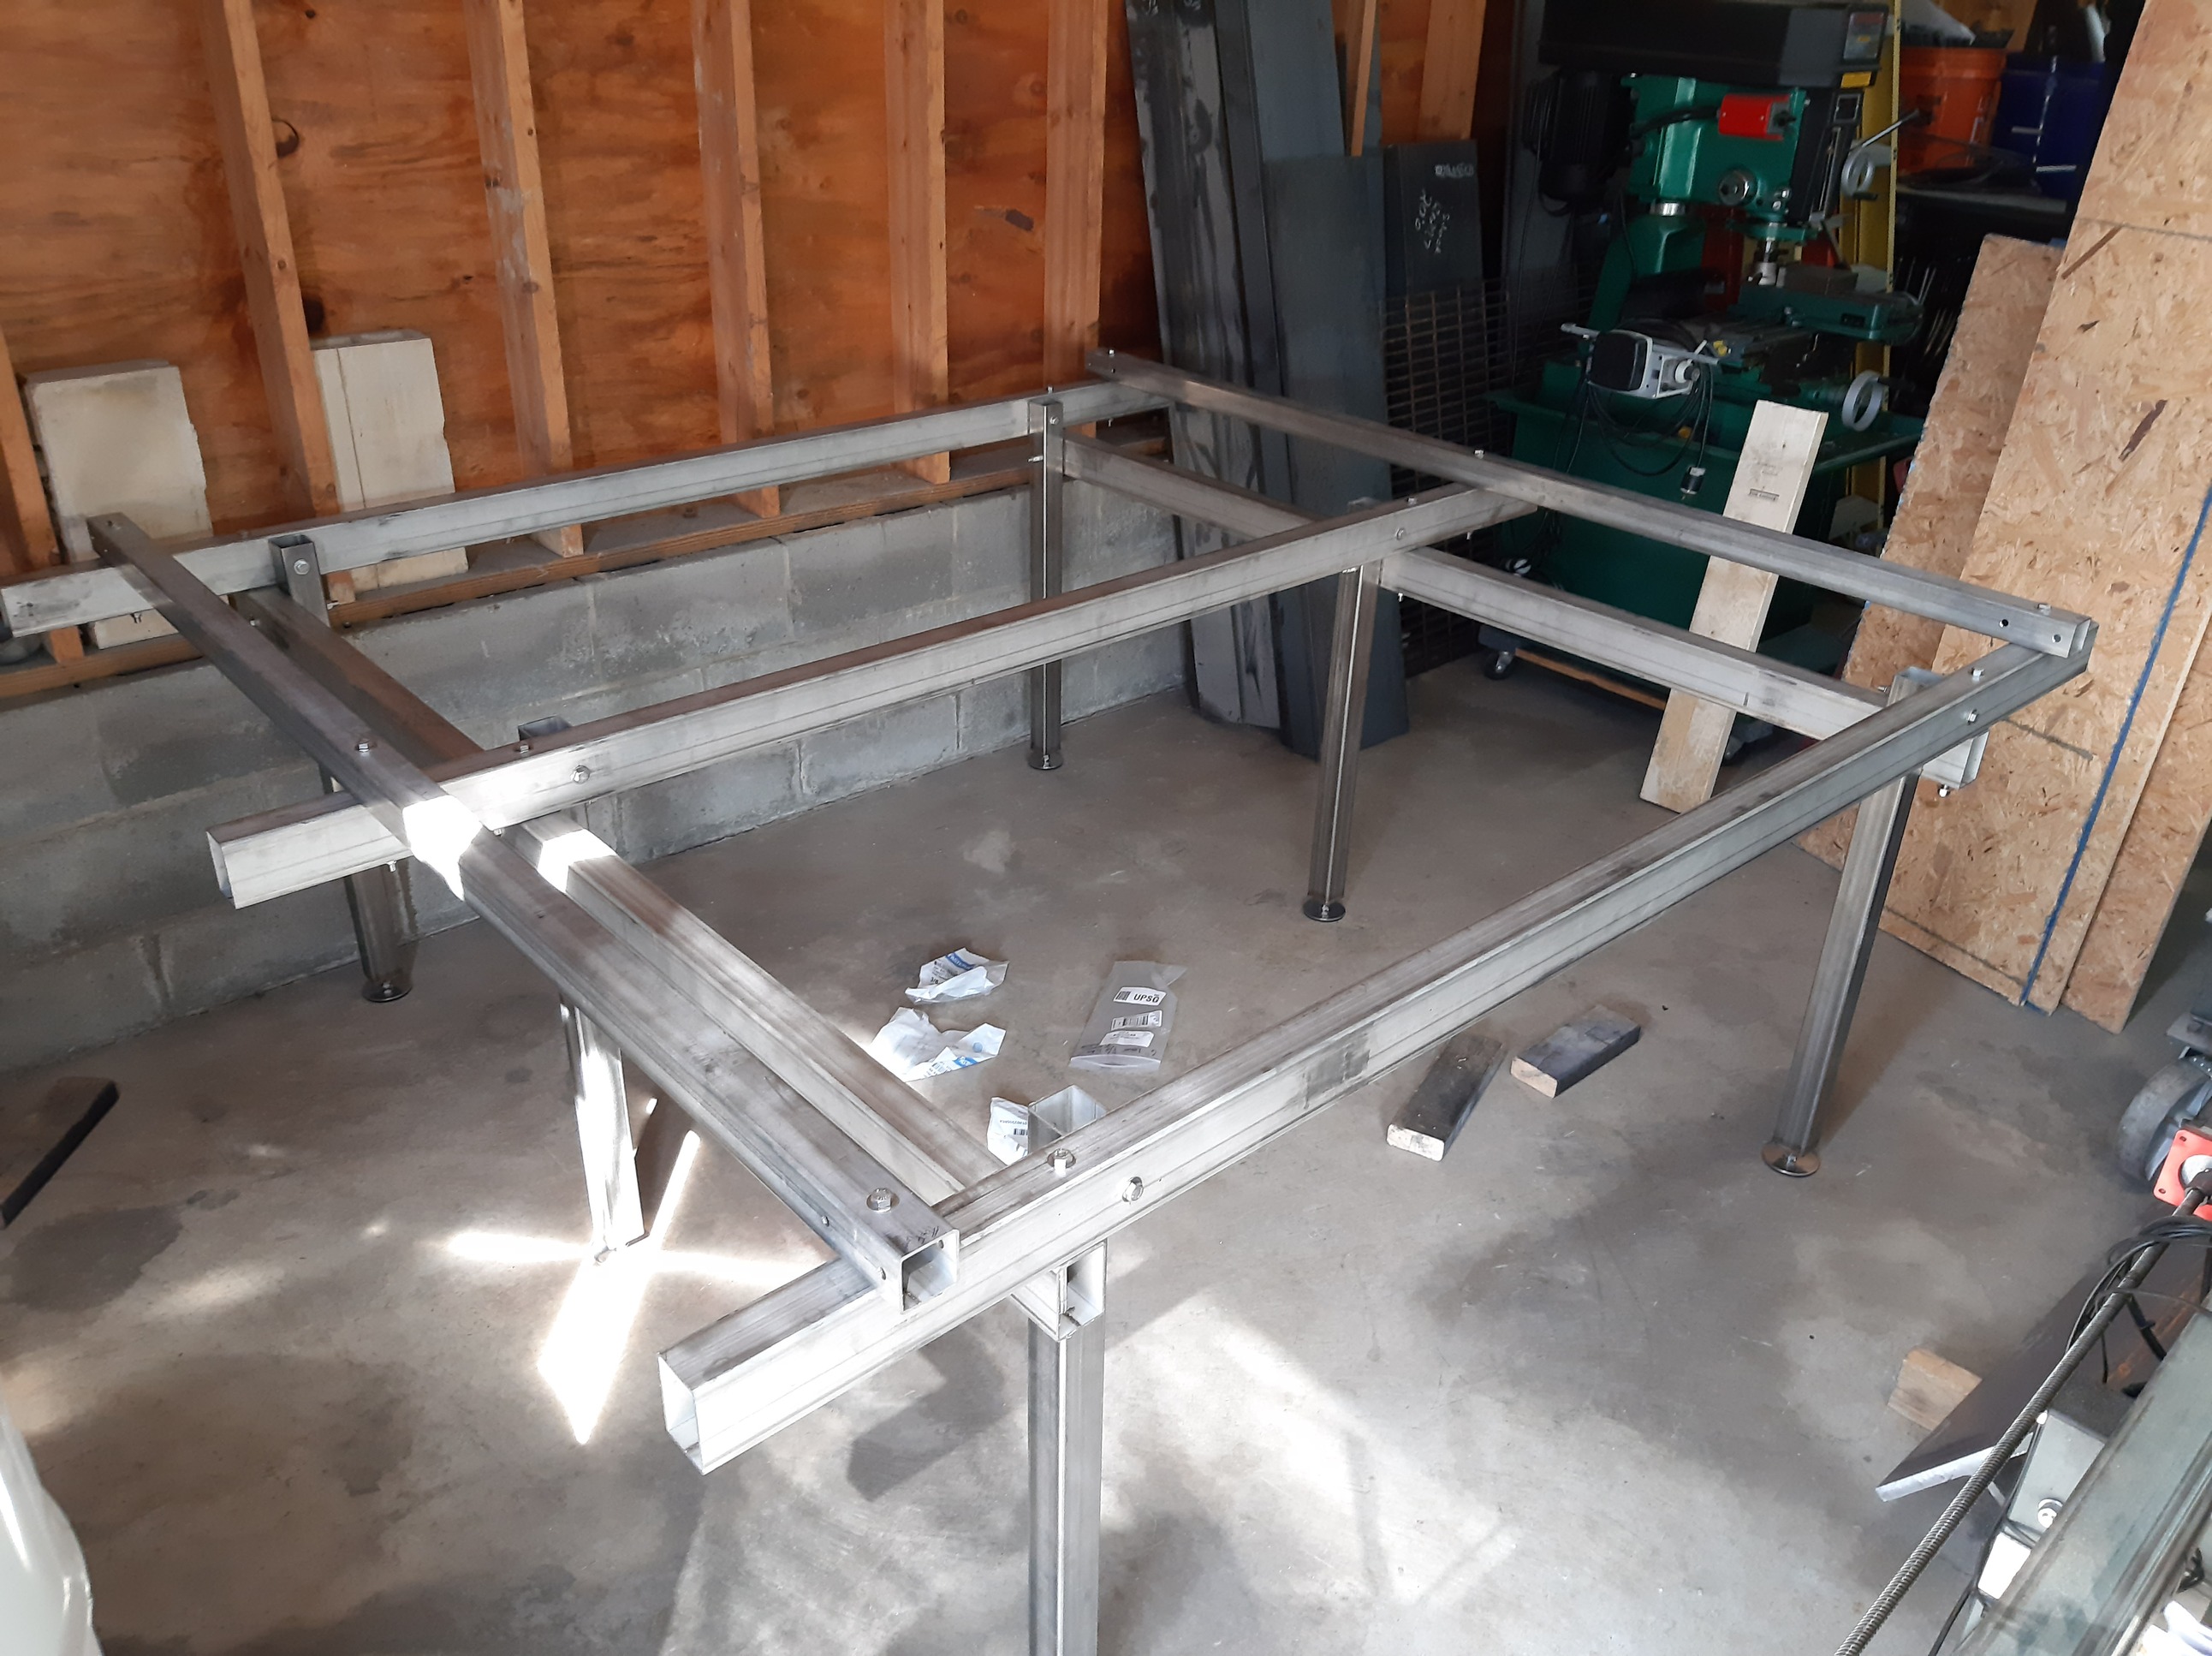
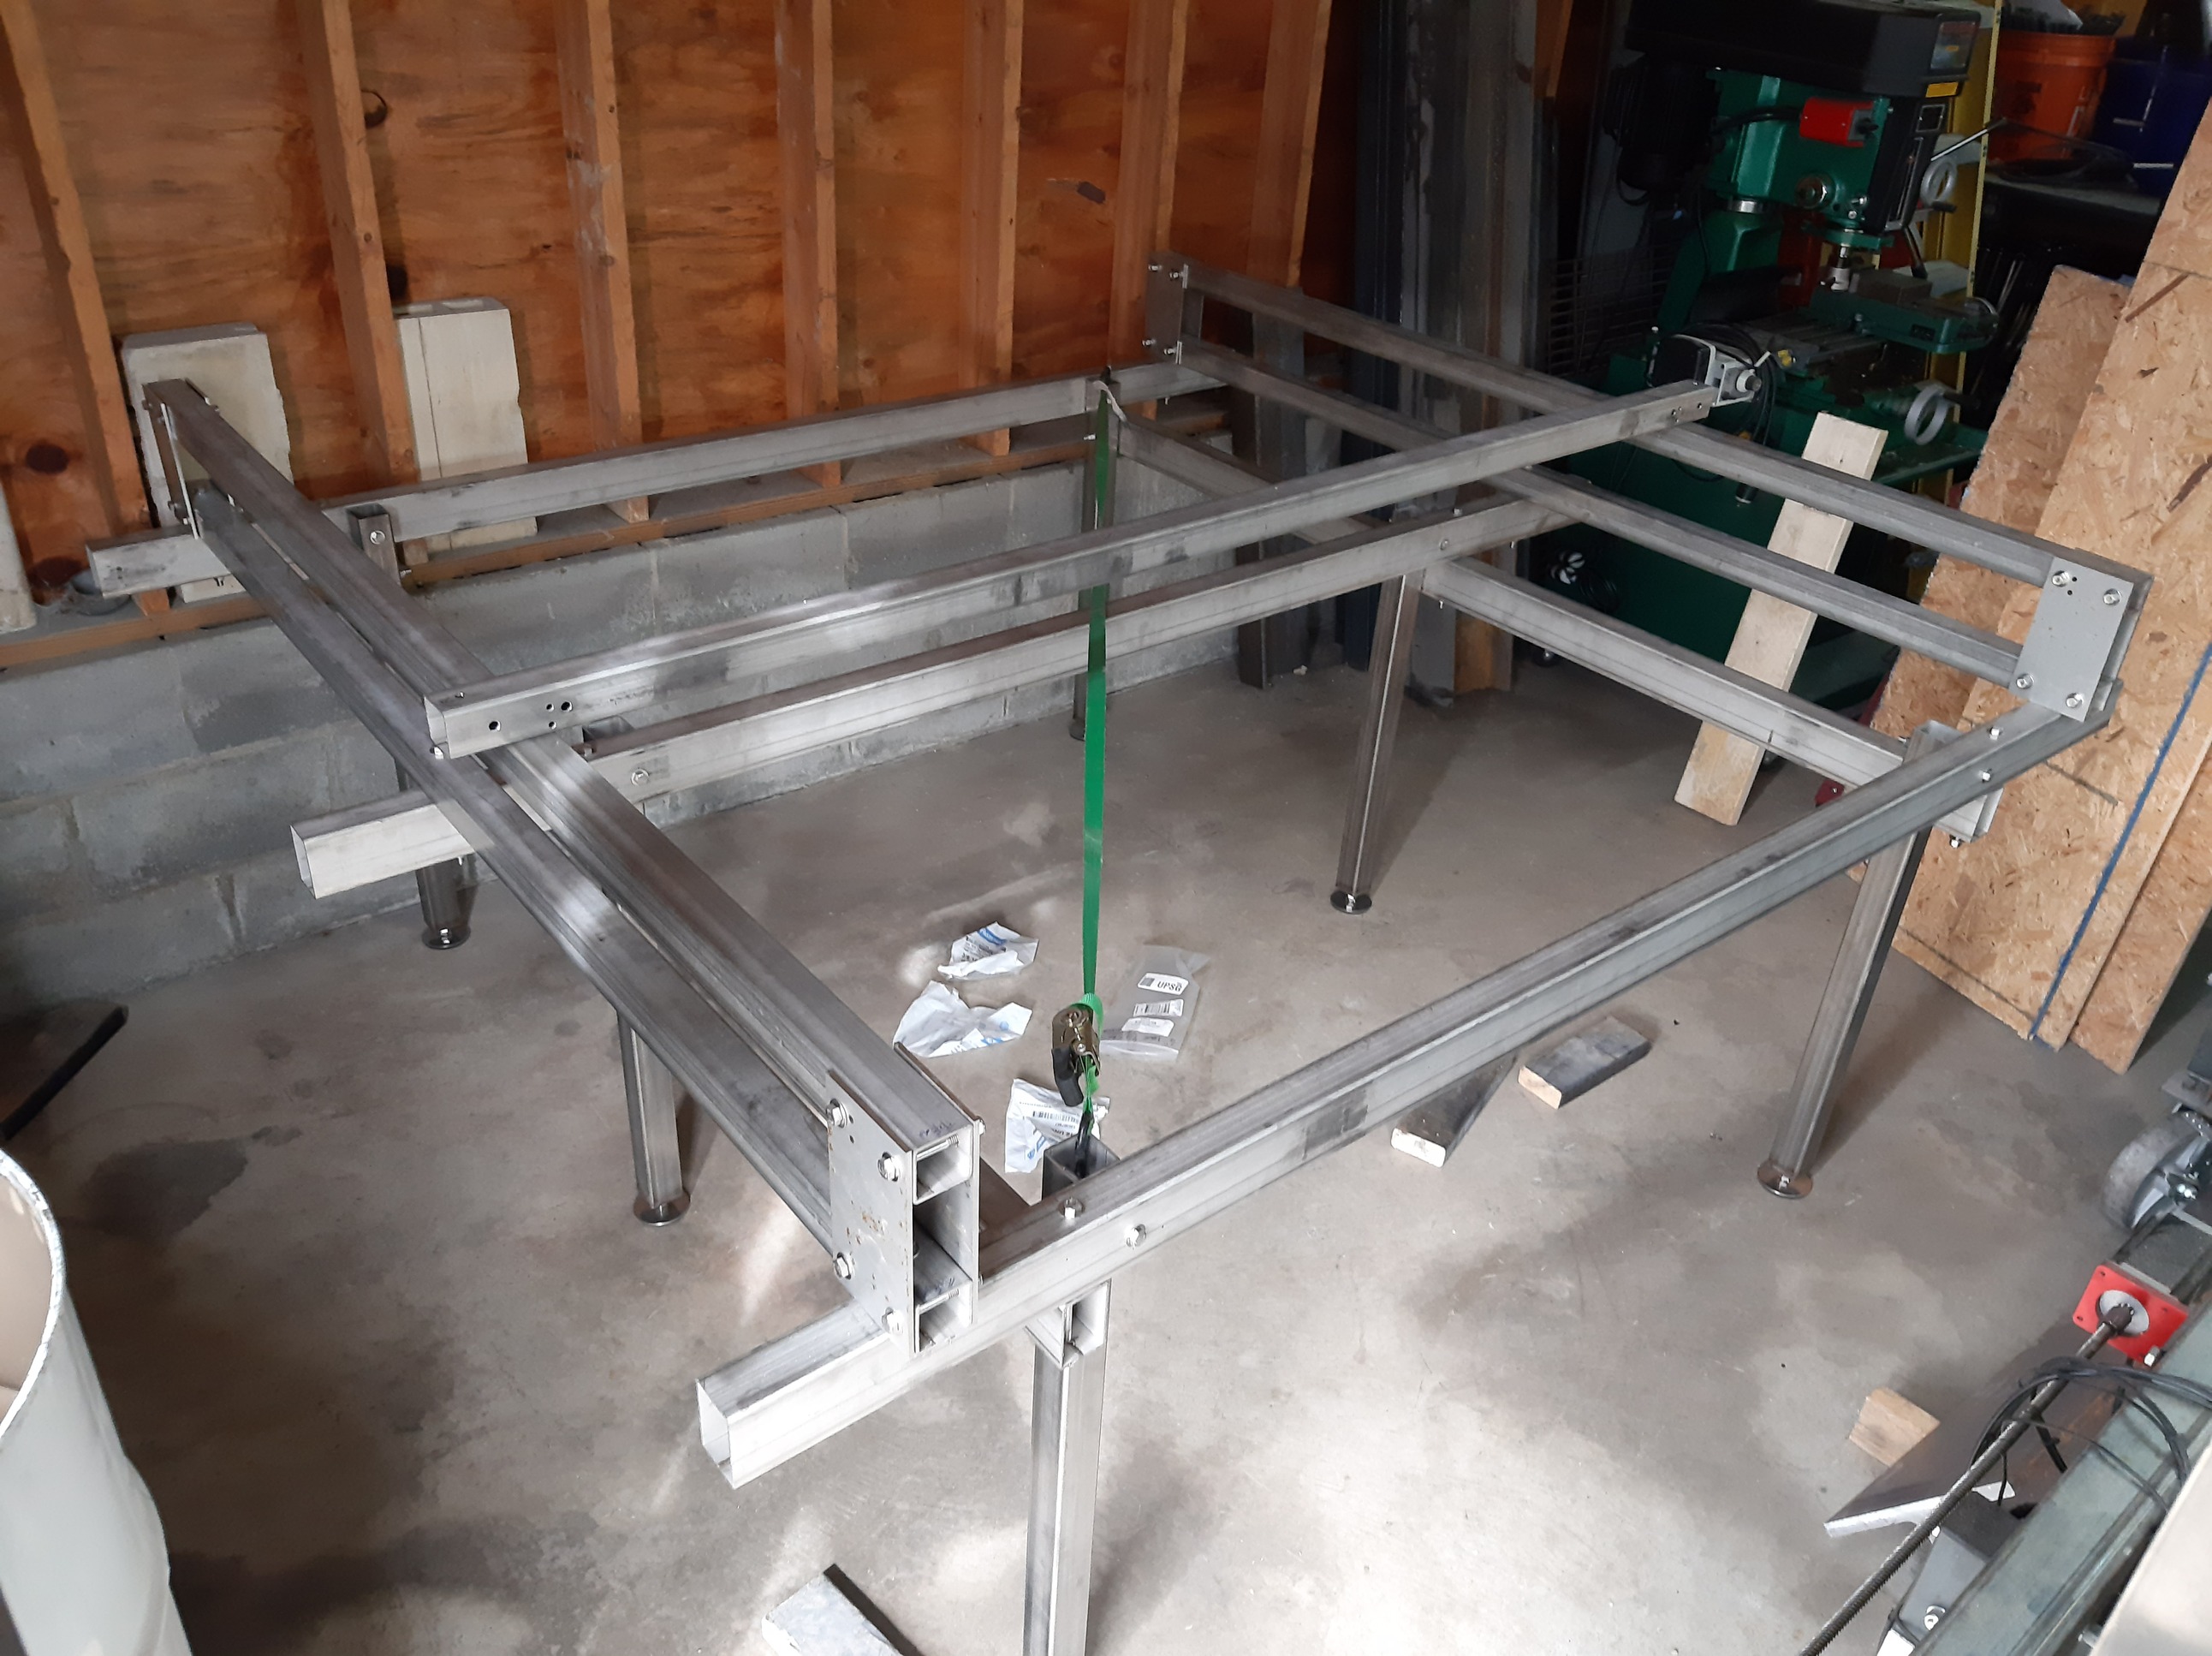
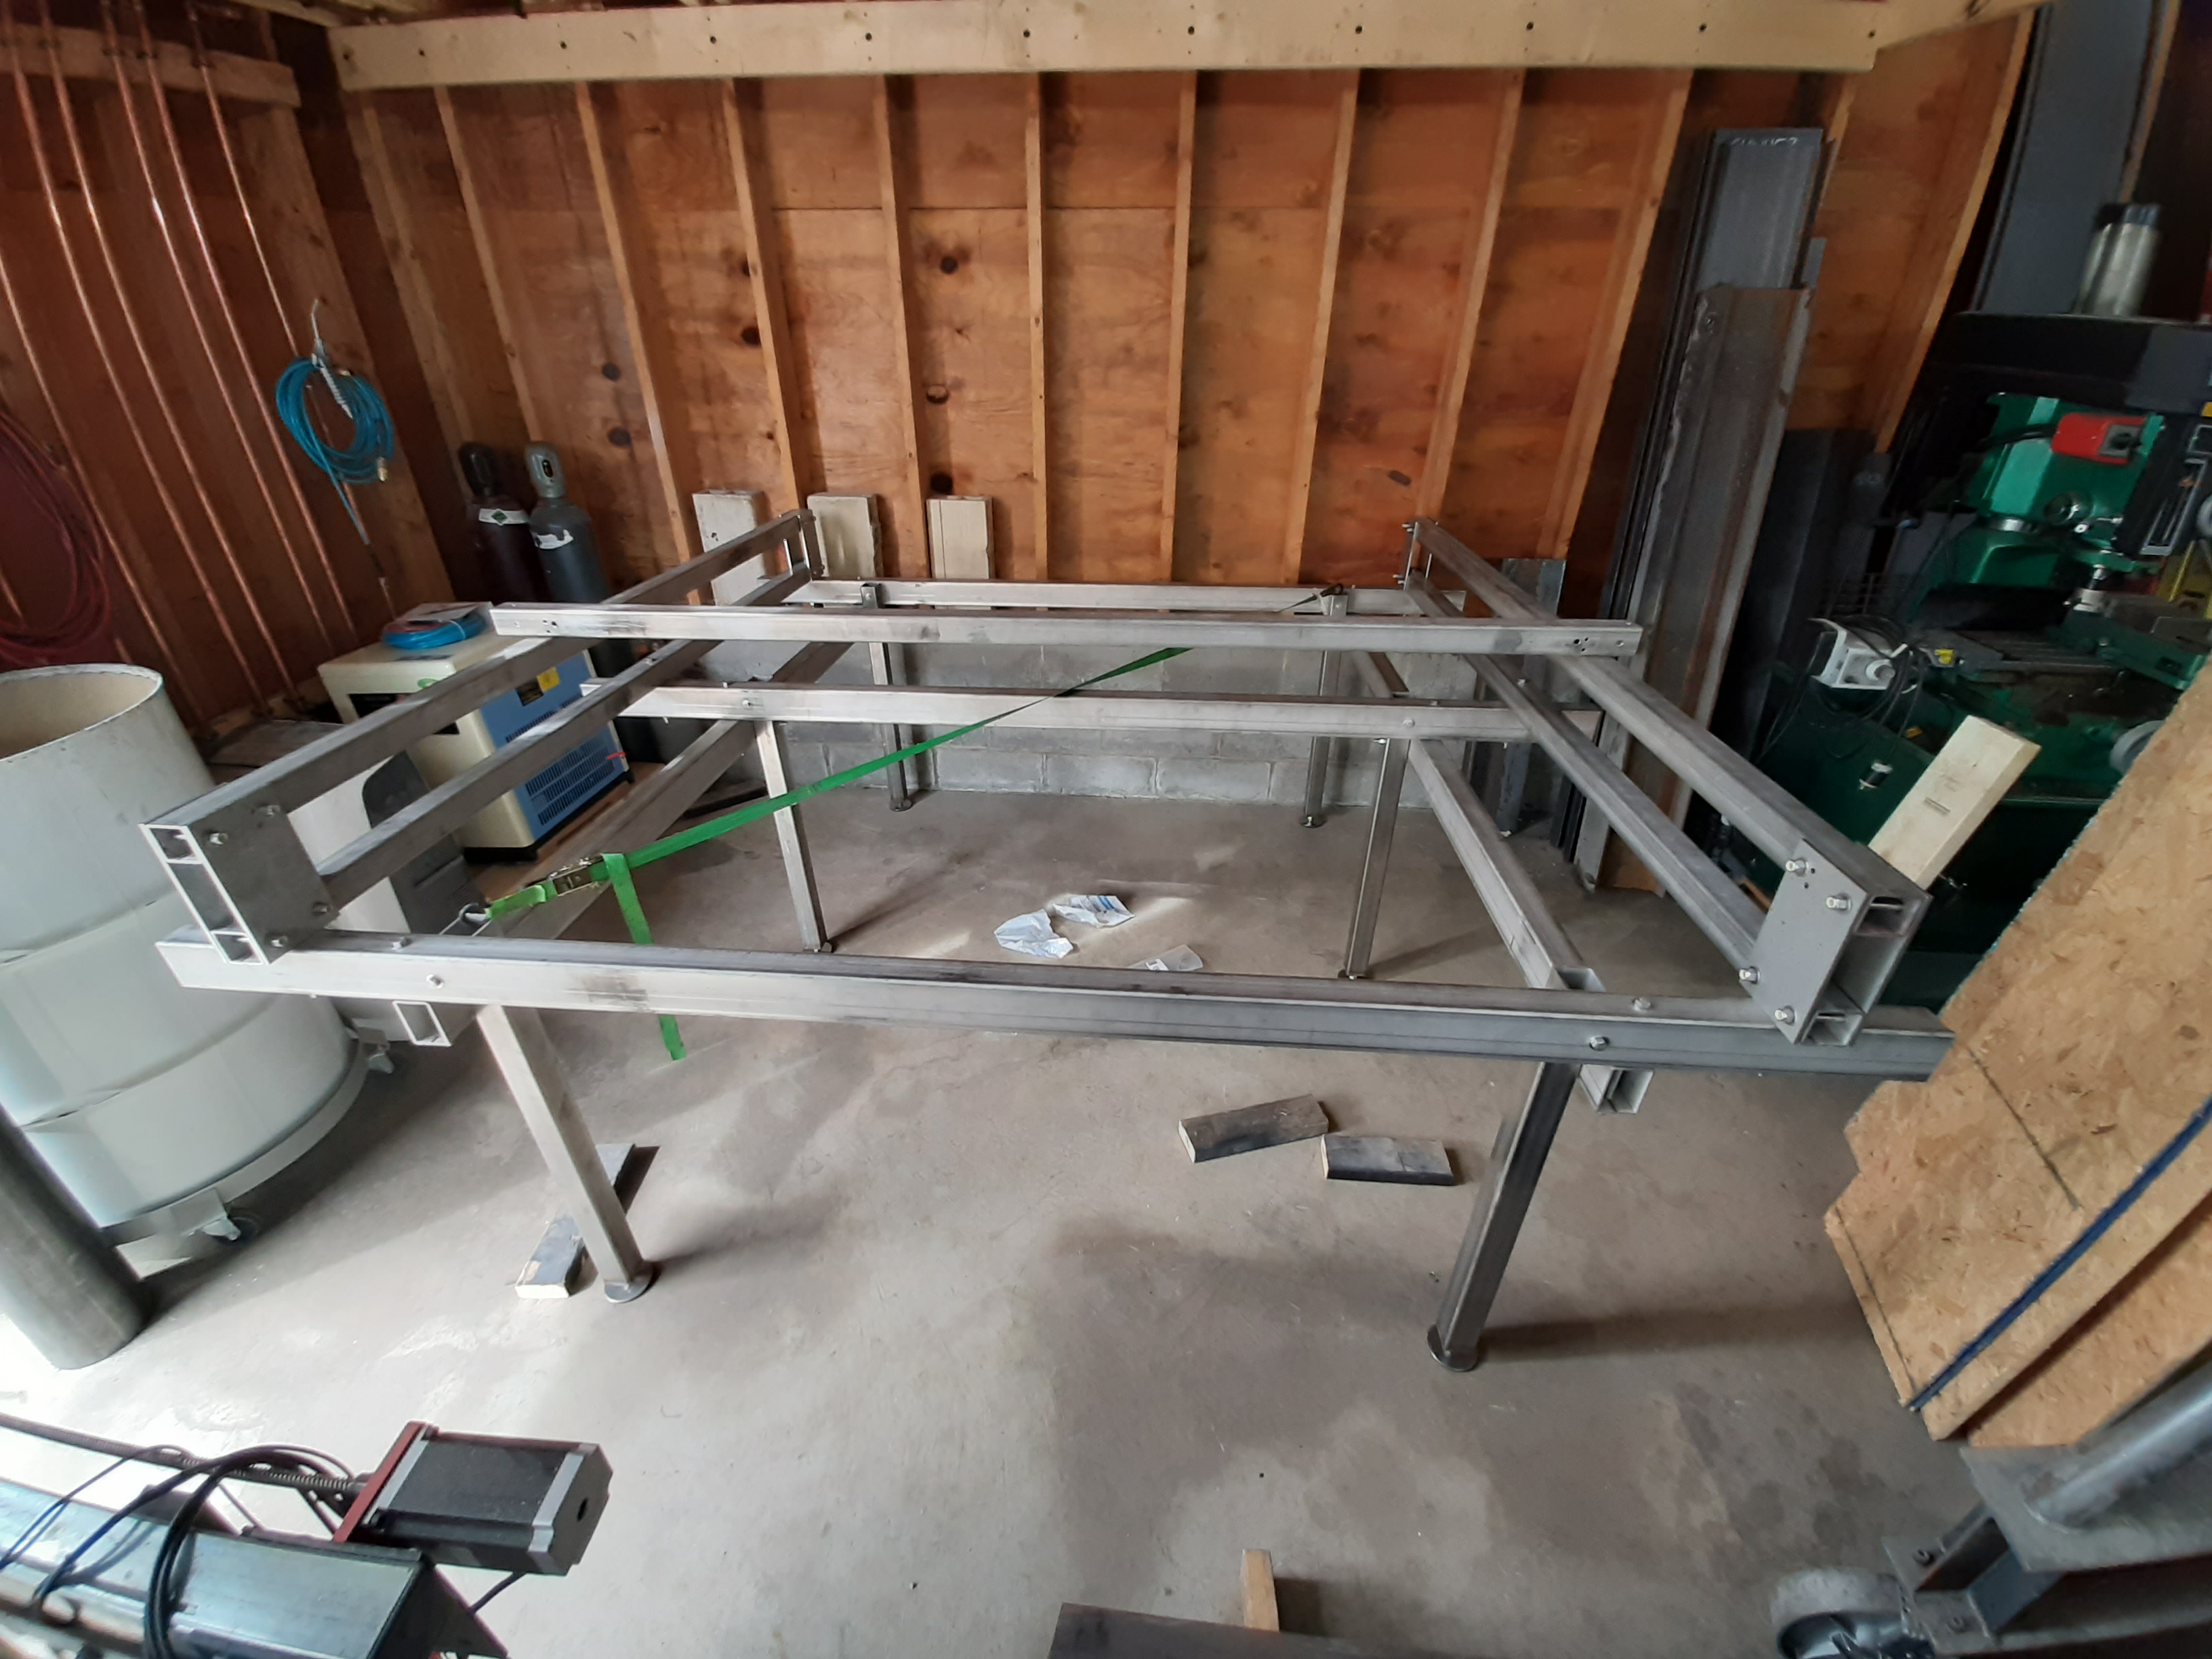
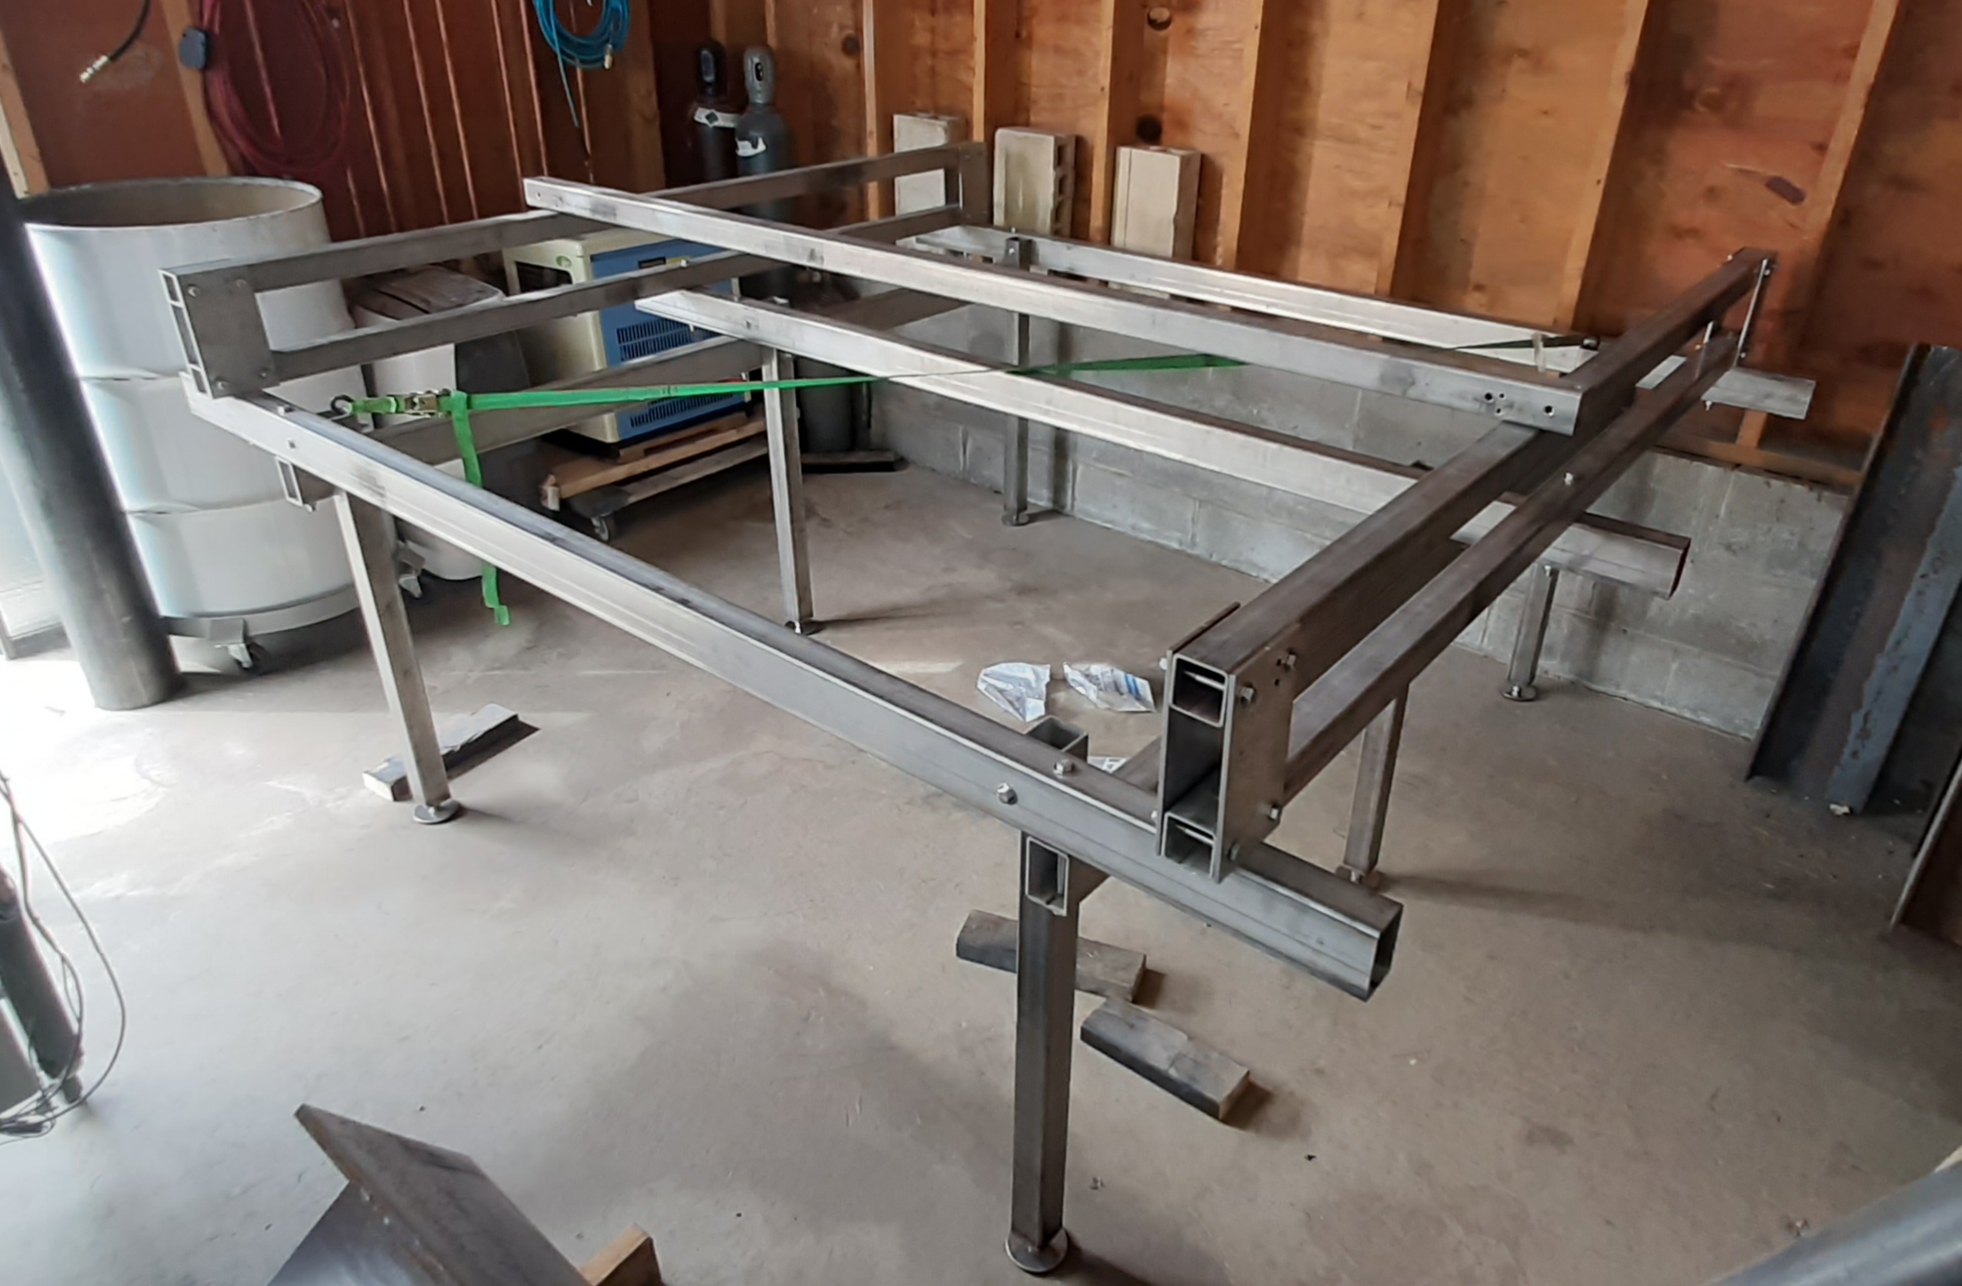
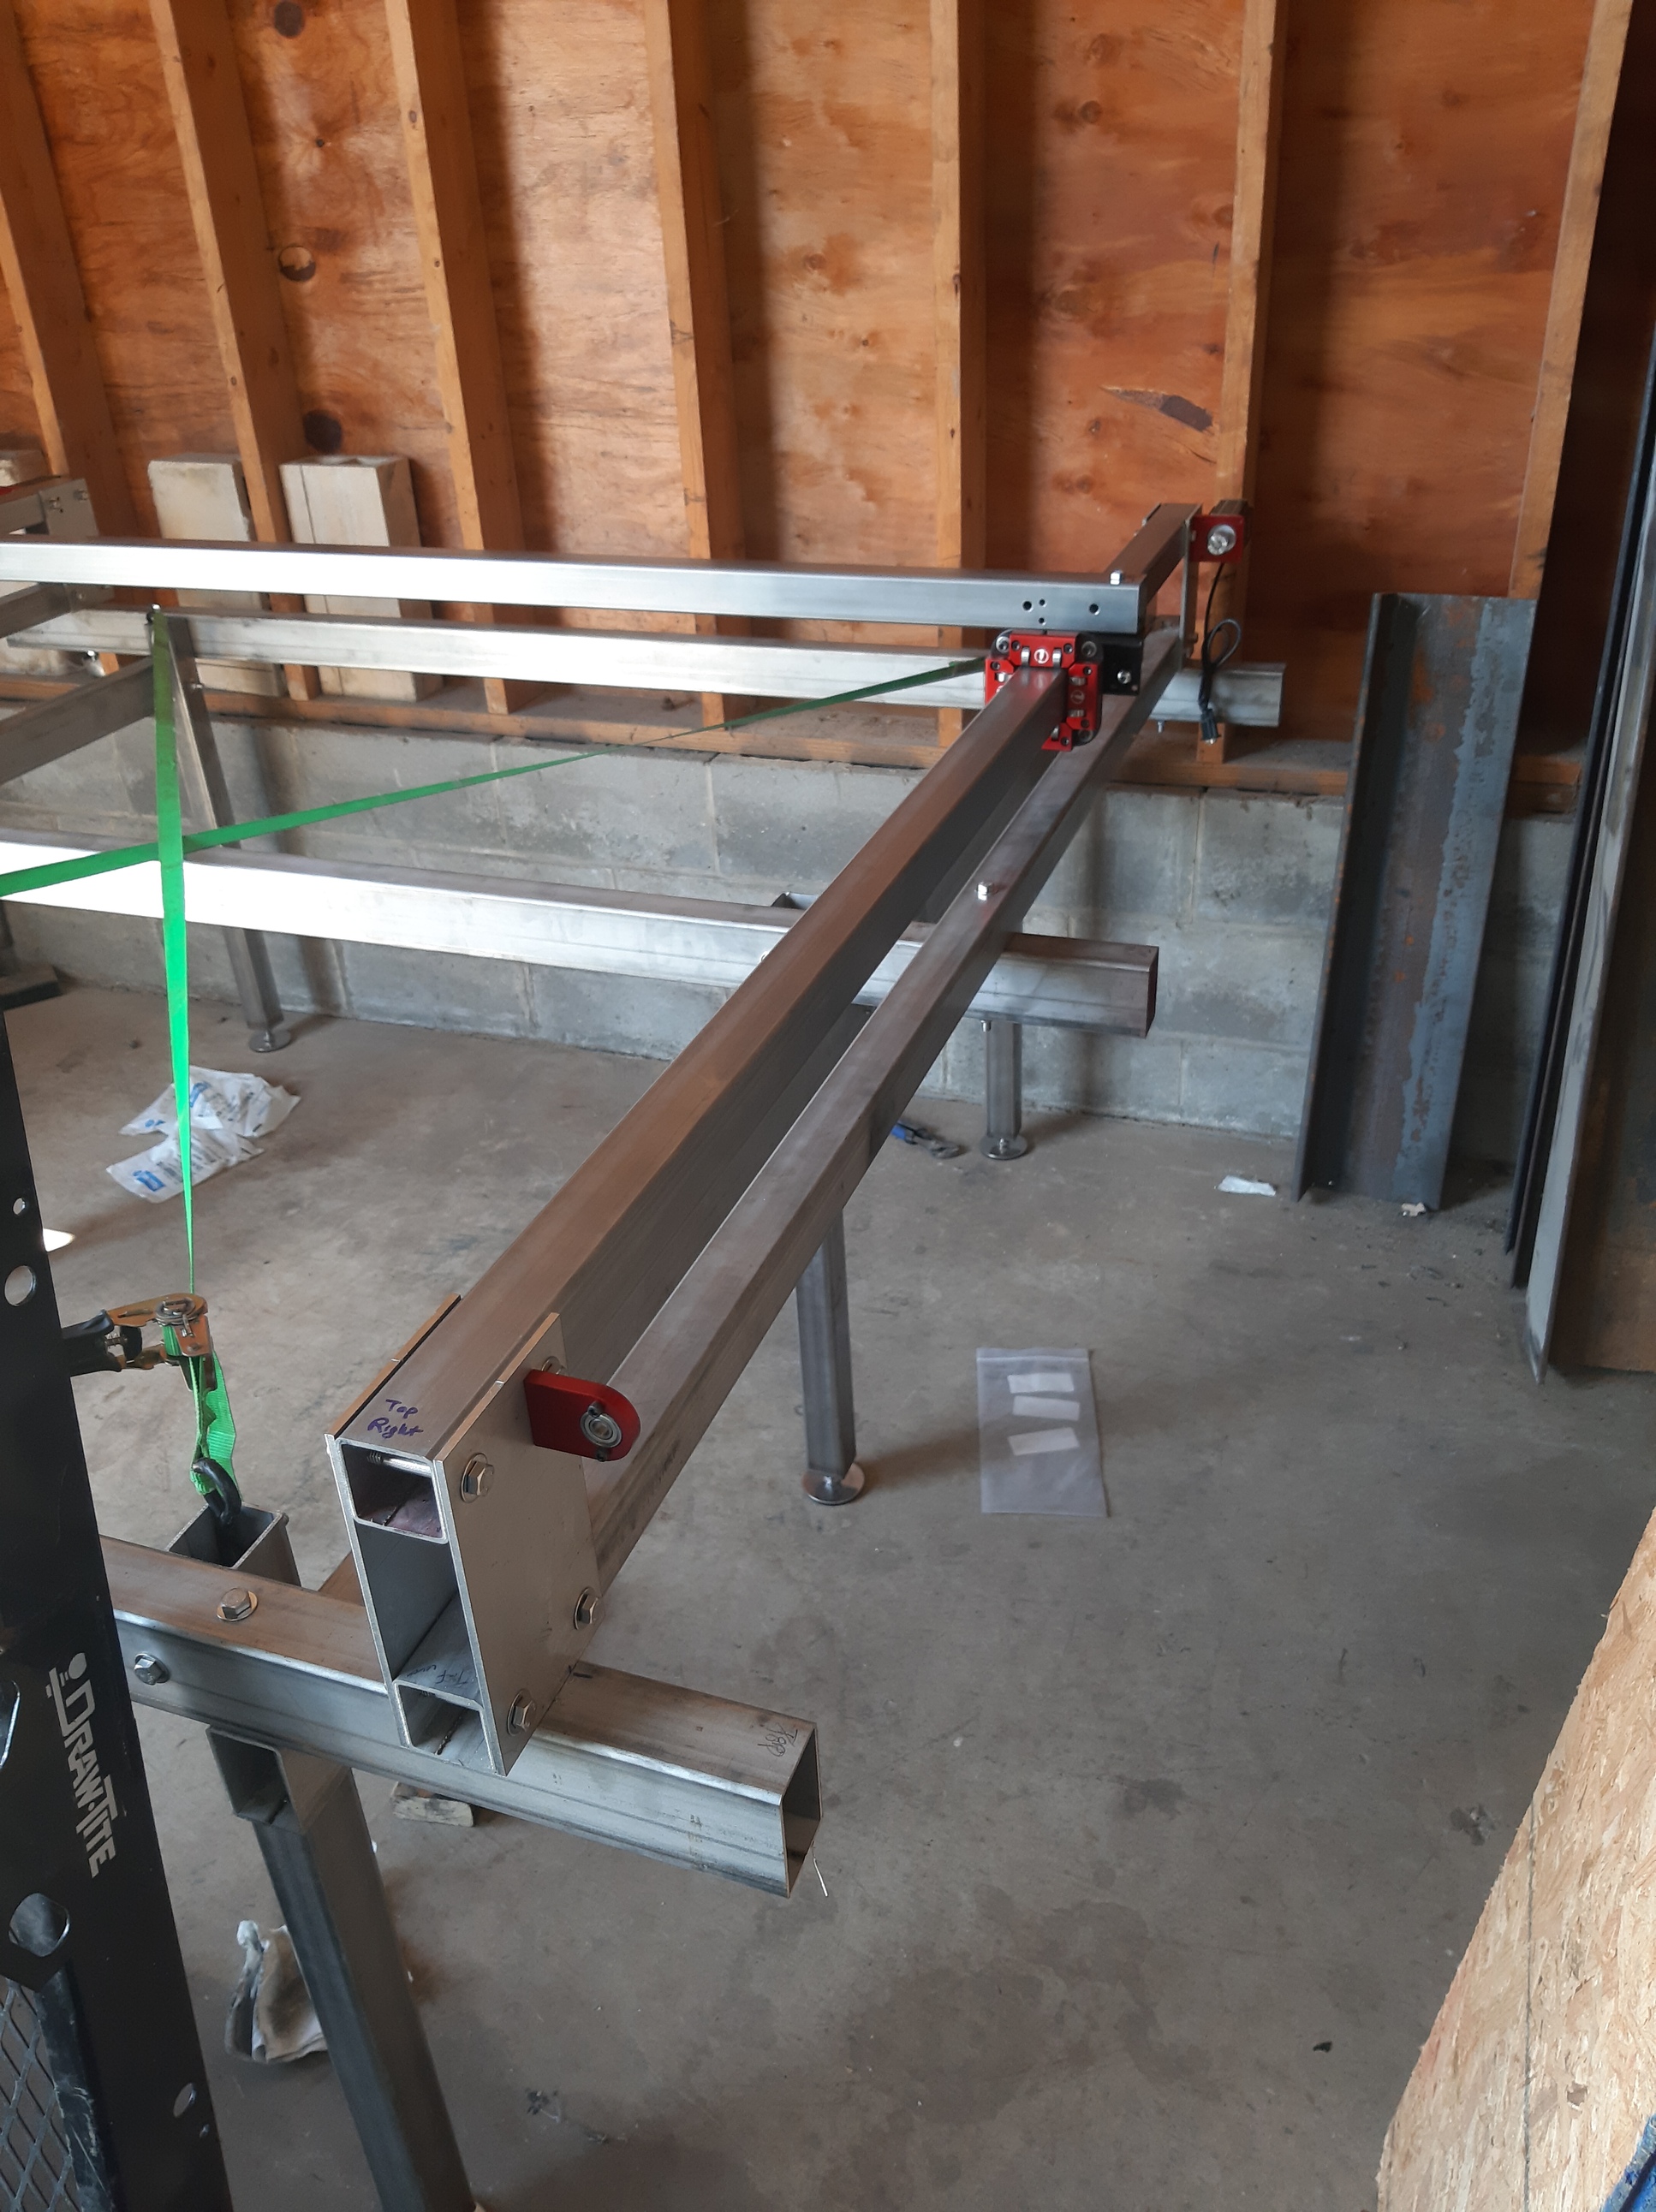
Well since @langmuirsystems introduced the pro table, which looks absolutely awesome, here is what I have been working on. Its basically the same concept as the pro but the cut area is 60x60 and all the tubes and plates are stainless. I decided to build it in true langmuir fashion as a bolt together table and uses a lot of parts from the original crossfire table. I should have it completes in the next few weeks as time allows. I was hoping to complete the table and post the build but looks like the pro table is a smaller version with all the same parts. I don’t see why you couldn’t make a 5x5 table with the parts from the pro table.
I thought about bumping the XL up. The cantilever bearing design posted last week or so was tickling the back of my head. But having it turnkey makes it much more certain I’ll get it done. Otherwise it ends up on the stack of to-do projects that never seems to shrink.
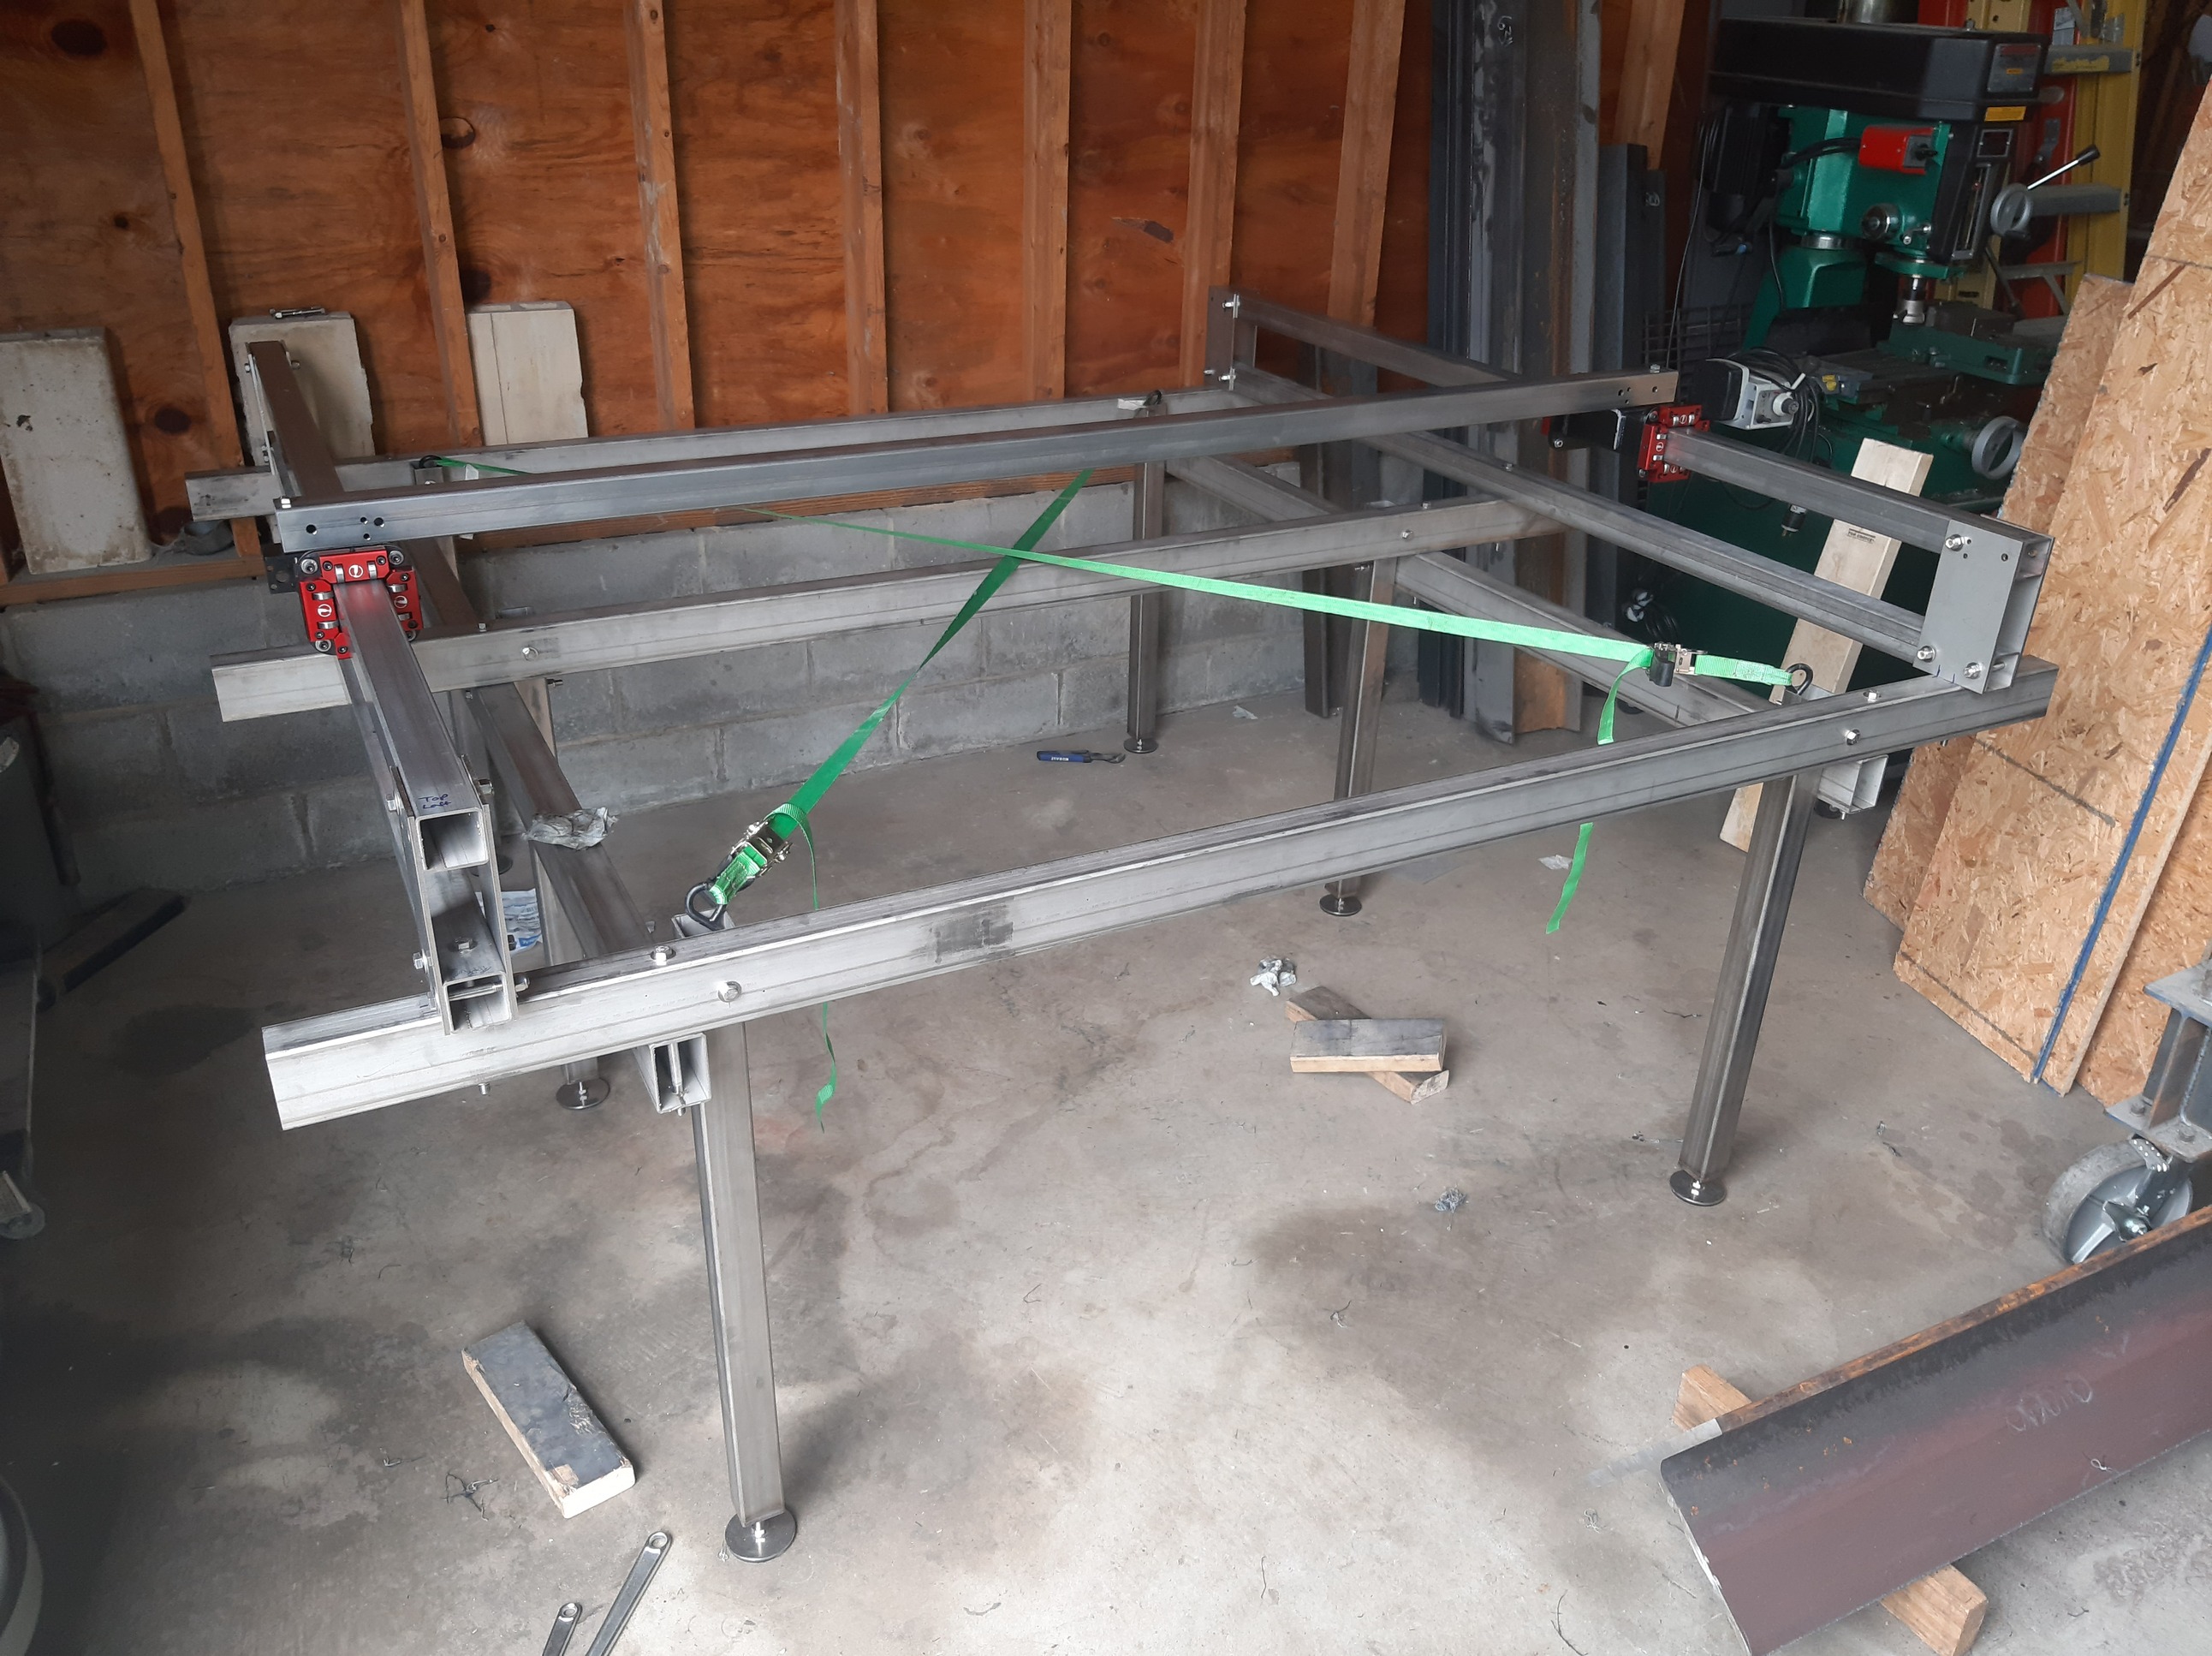
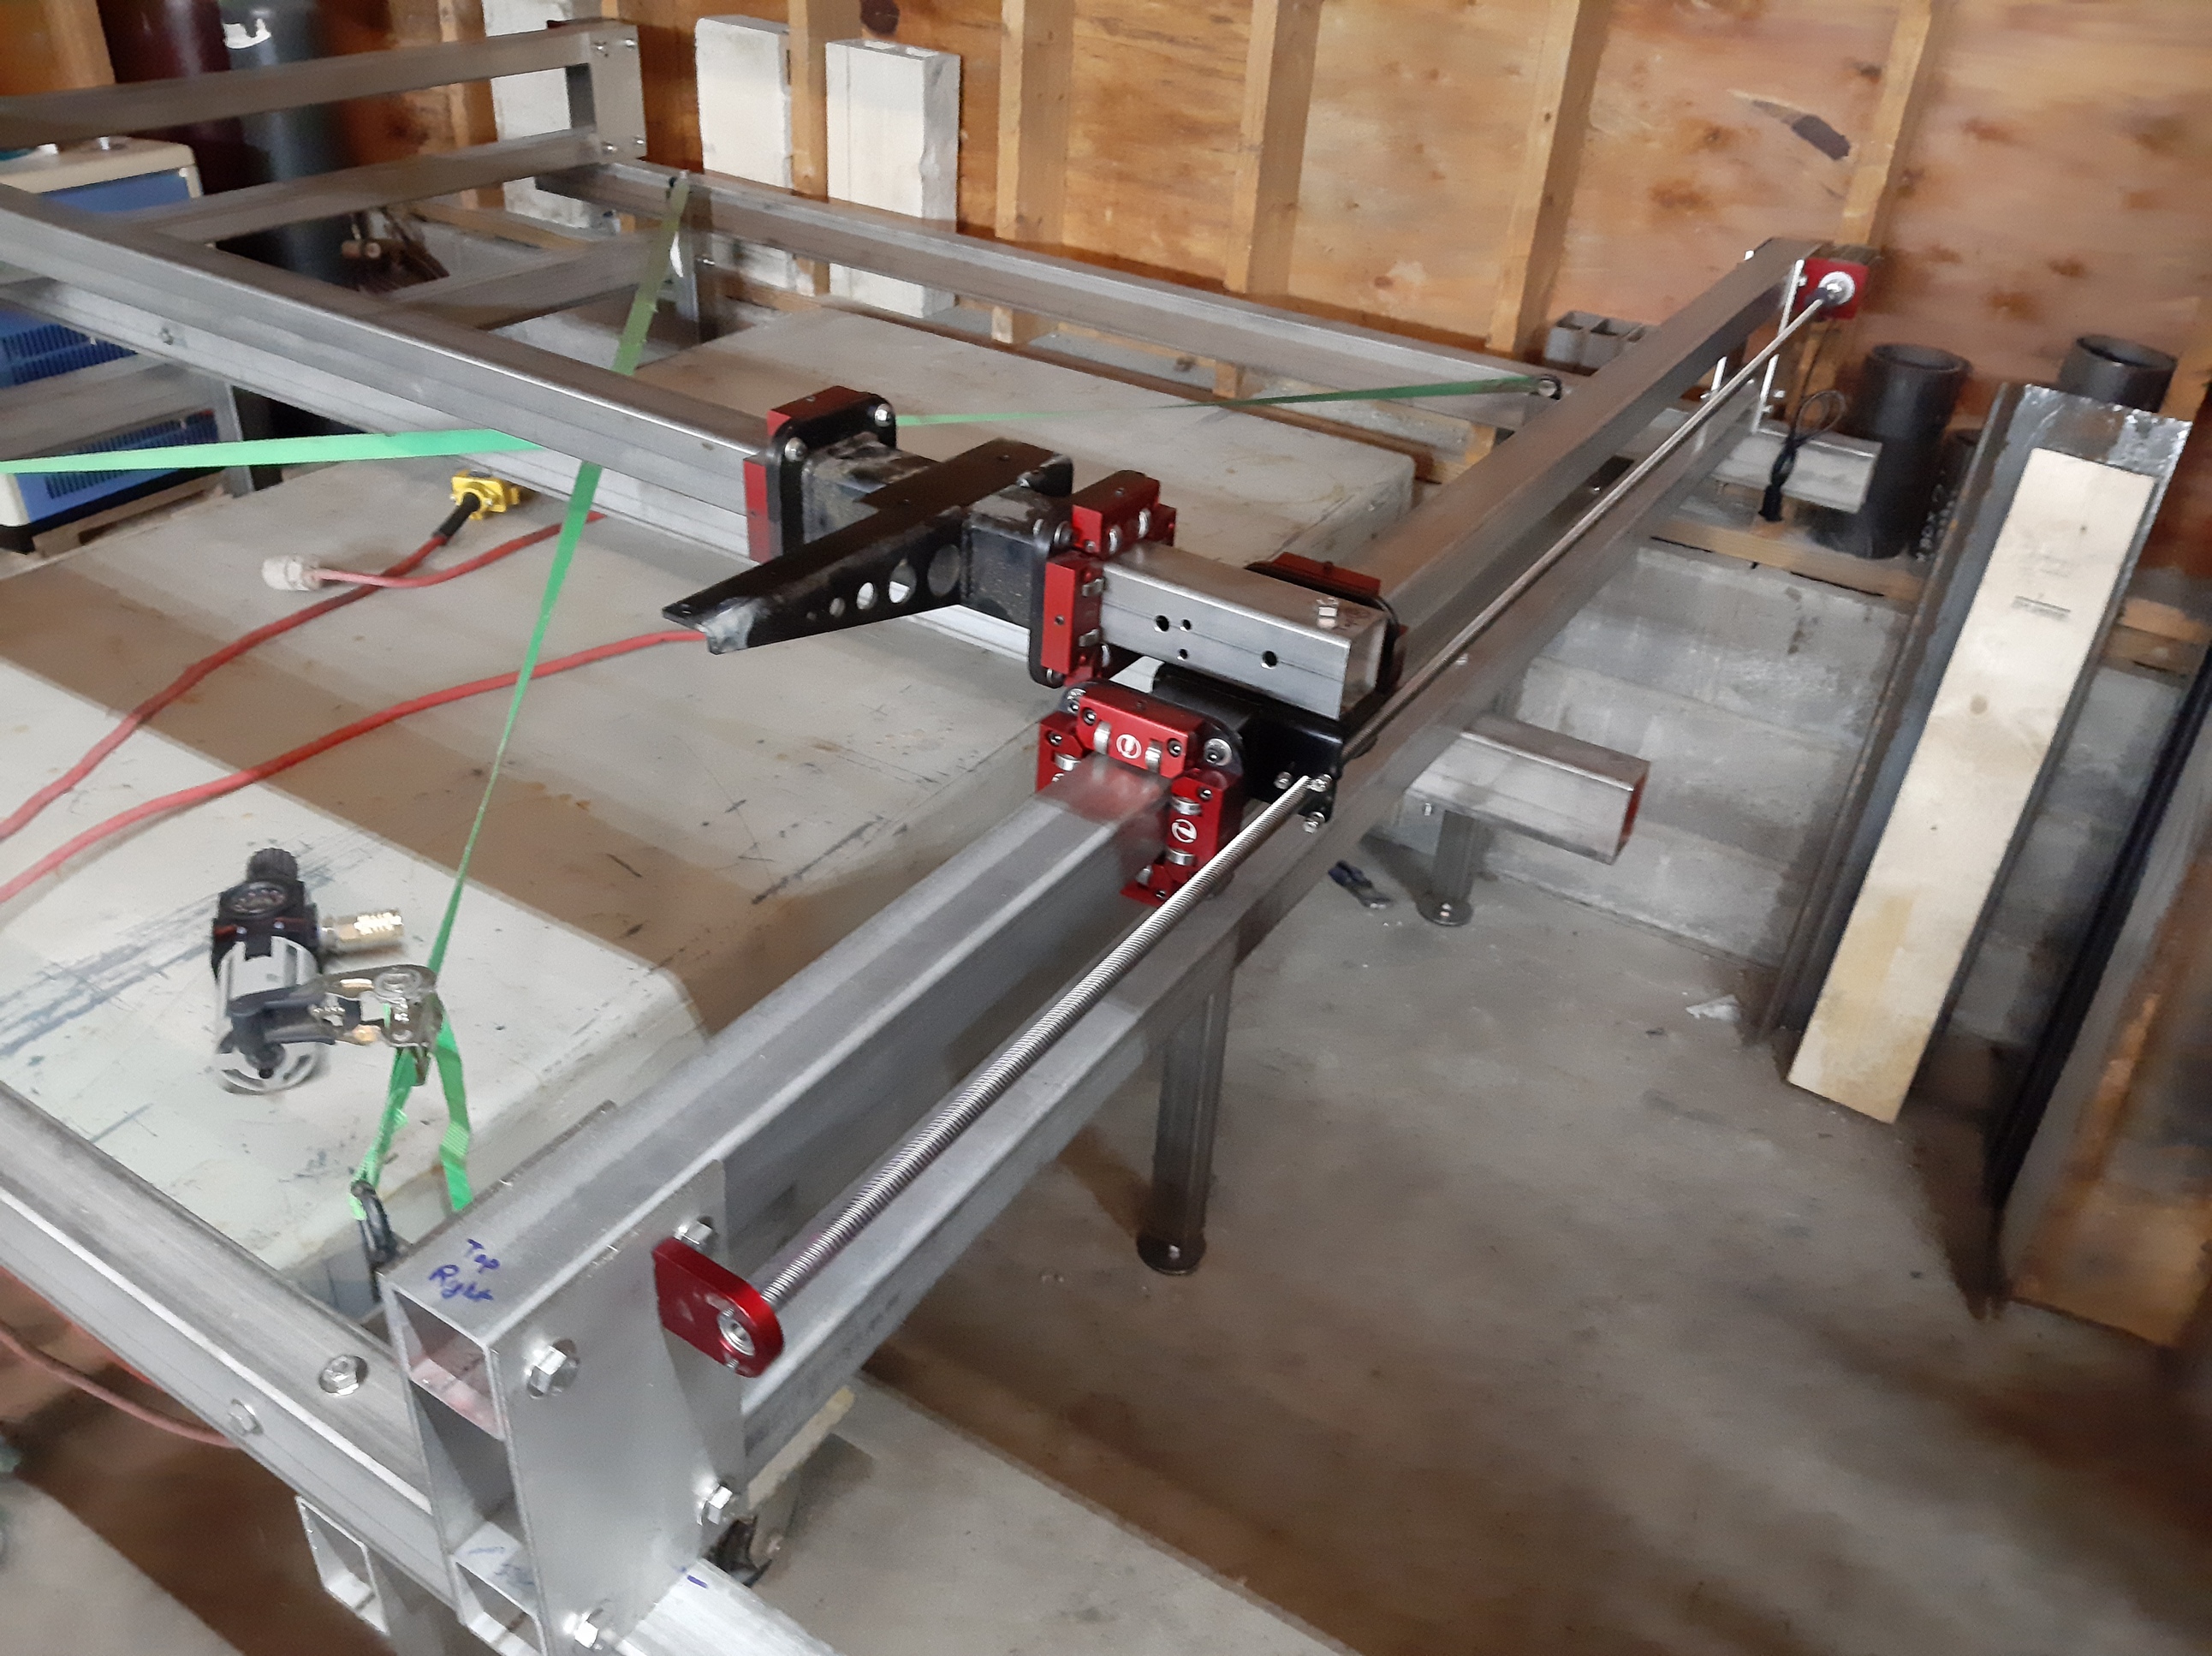
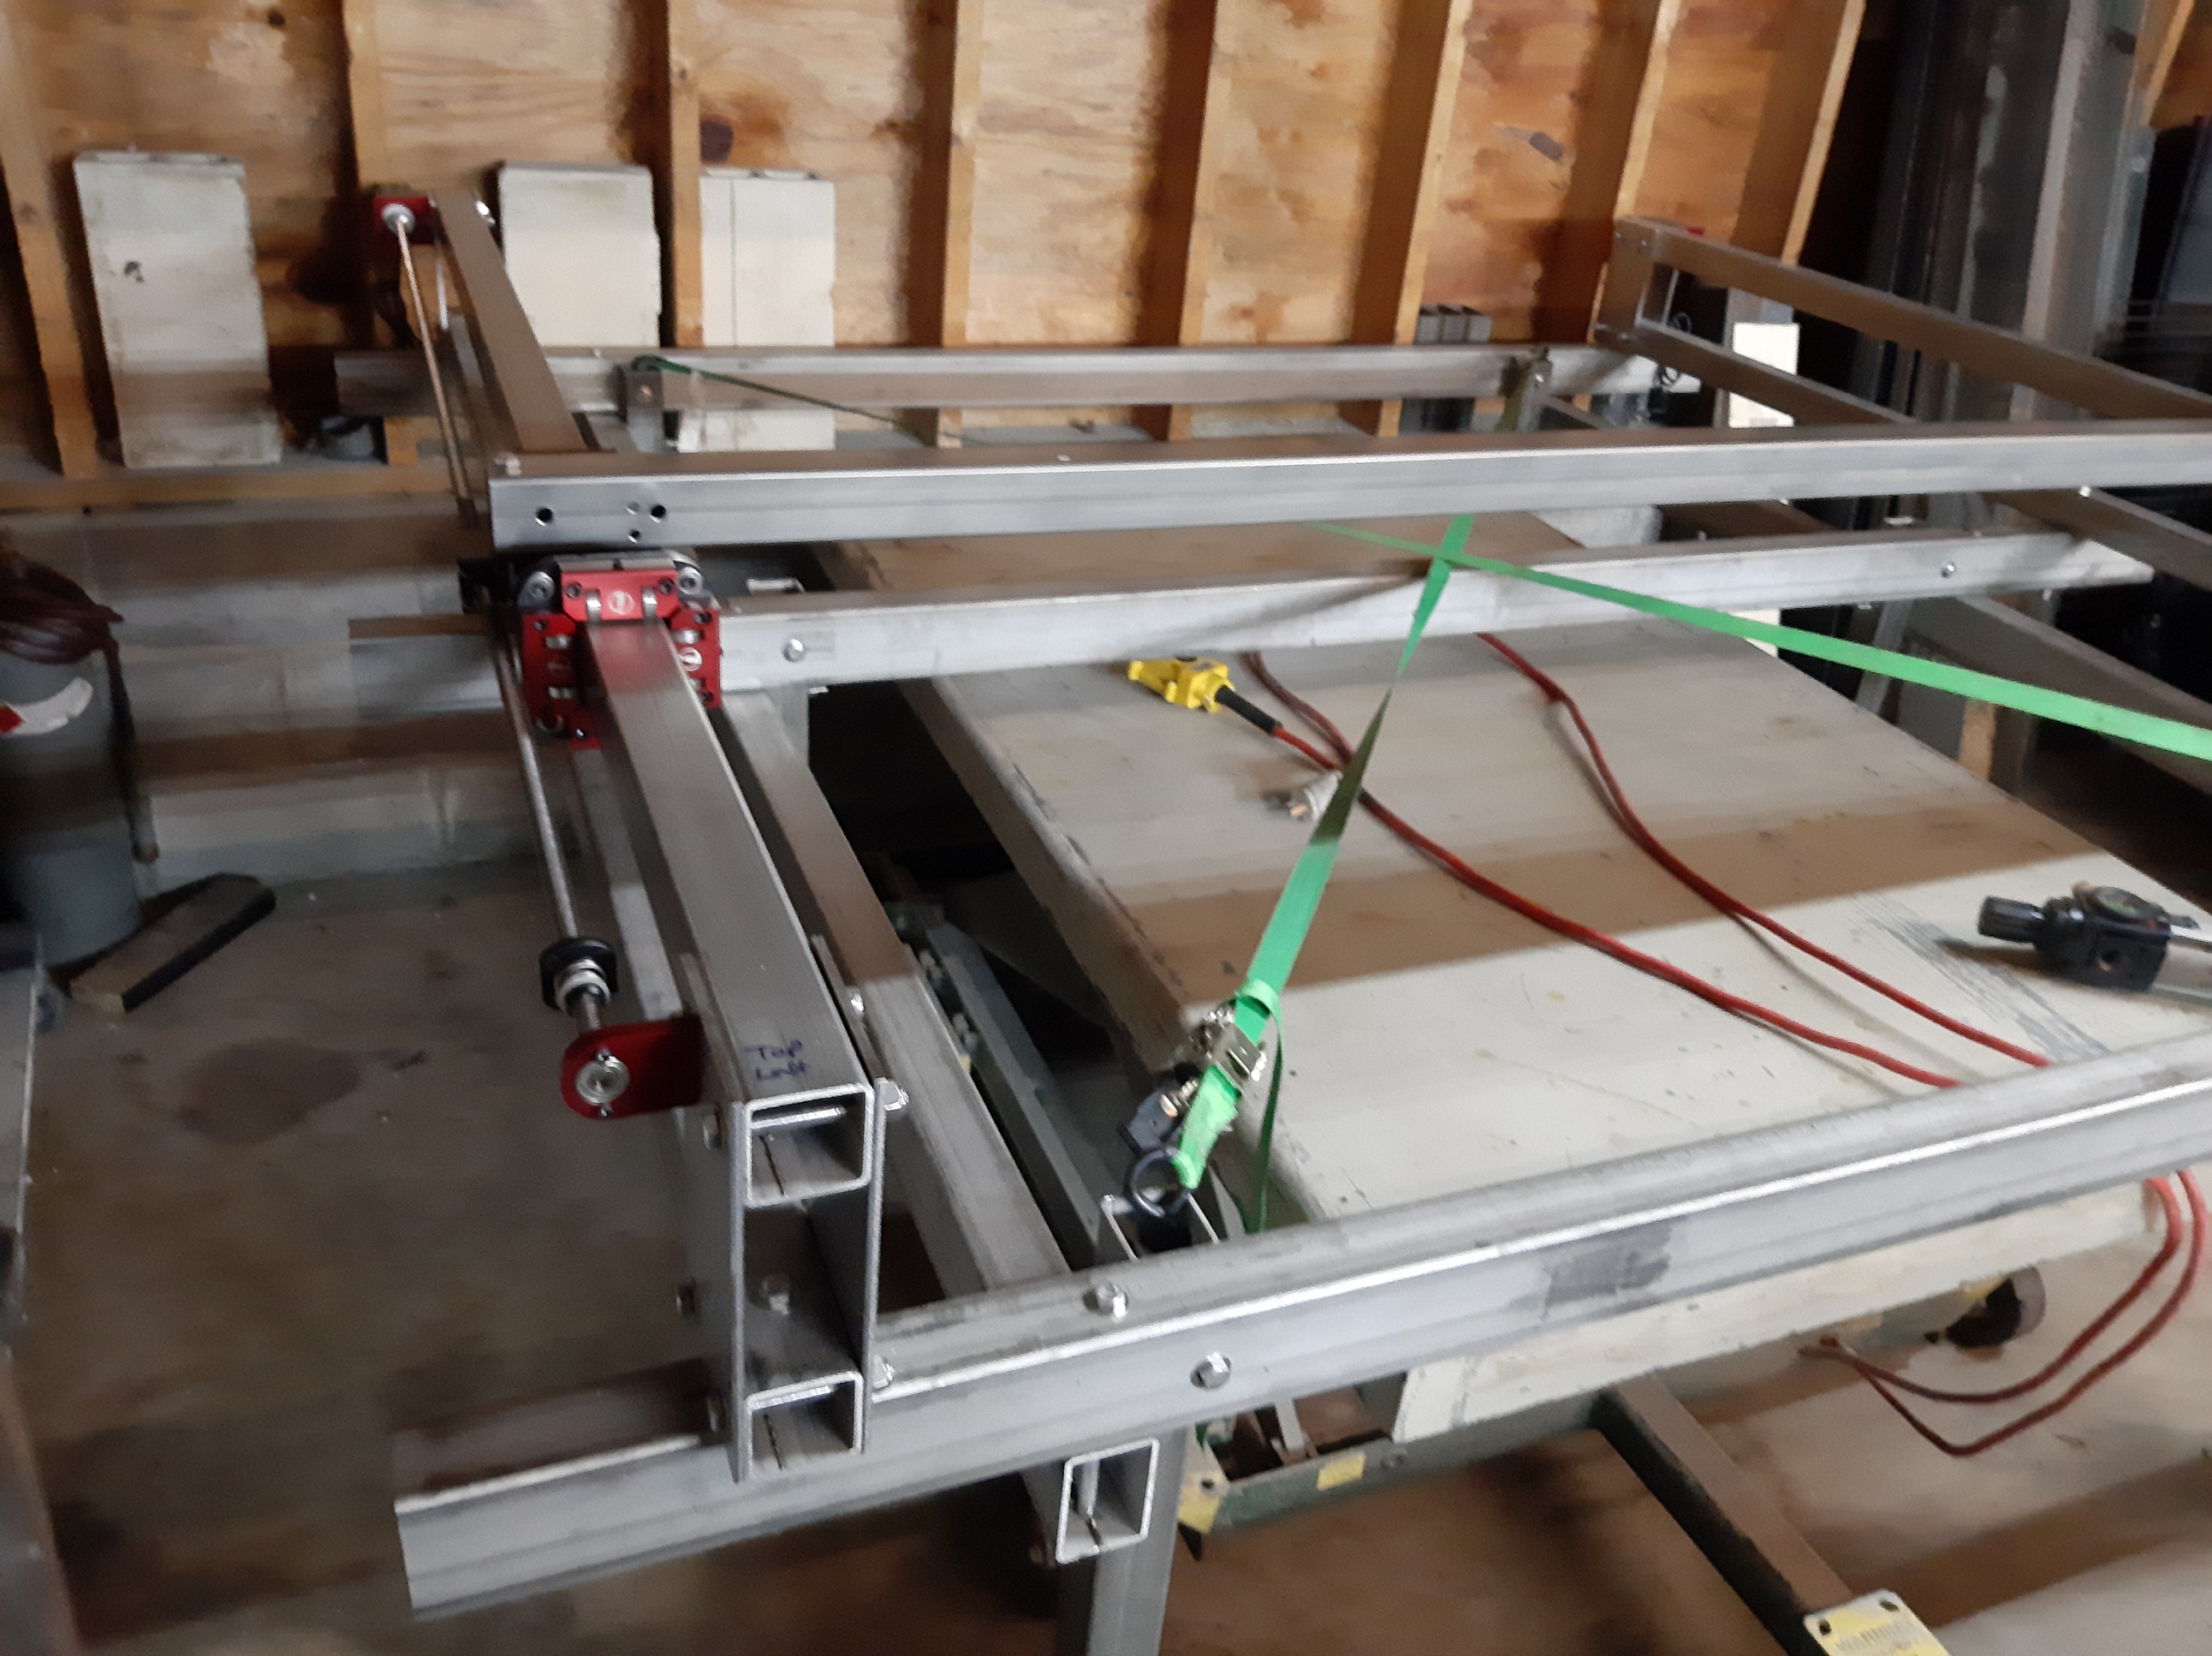
Haha! I know. I had to move the motor mounts and bearing blocks in to get the full 60" cutting dimensions. It’s actually 60.5 in X and 60.25 in.
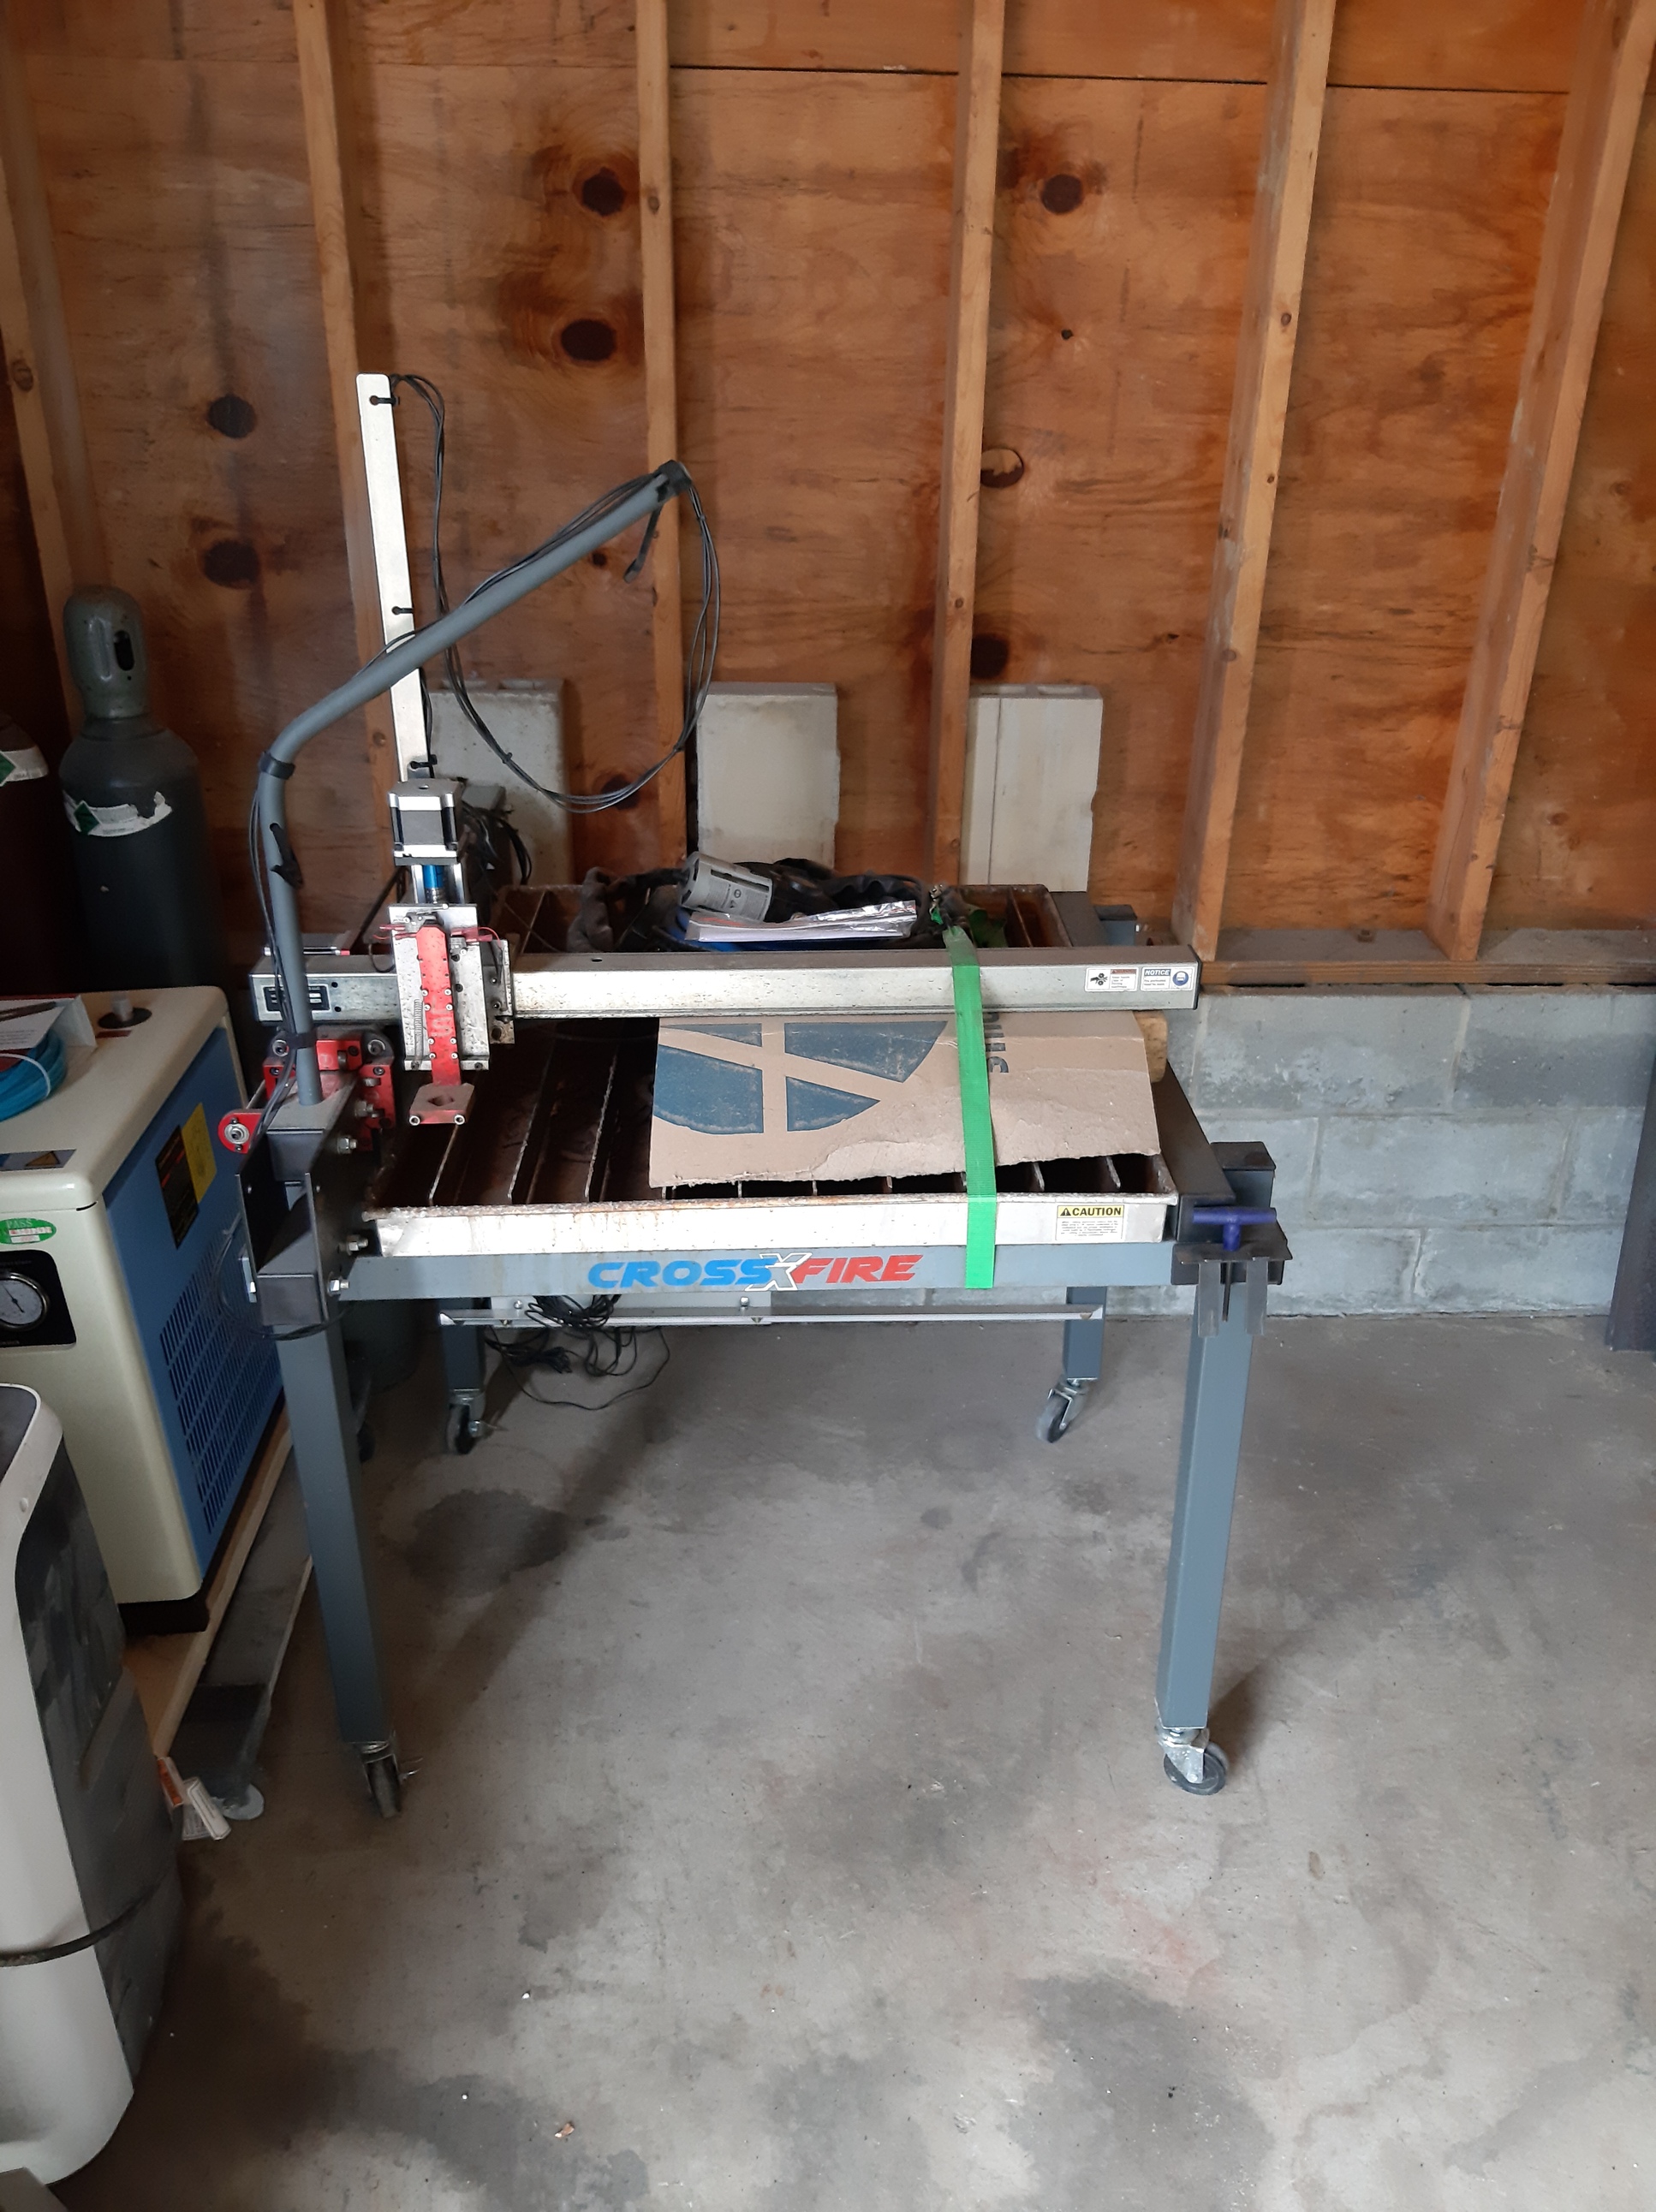
I actually bought 2 carriage assemblies and extra parts for the original table a few months back thinking I would just change out the entire assembly if something went wrong. But they have just been collecting dust and figured why not use them.
If I hadn’t already bought everything and started fabricating parts I would just buy the pro table.
You do realize, of course, that this will need clam shell doors to insert material for cutting and a Flux Capacitor to power it. On the other hand, when you bring it back to the 18th Century, they’ll love it! (or burn you at the stake!).
Do they seem pretty heavy duty? My new table is about 1000lbs with water, I need to put some levelers on 6 legs. I’ve seen legs rated at 6000lbs that I woudn’t trust with 600lbs lol
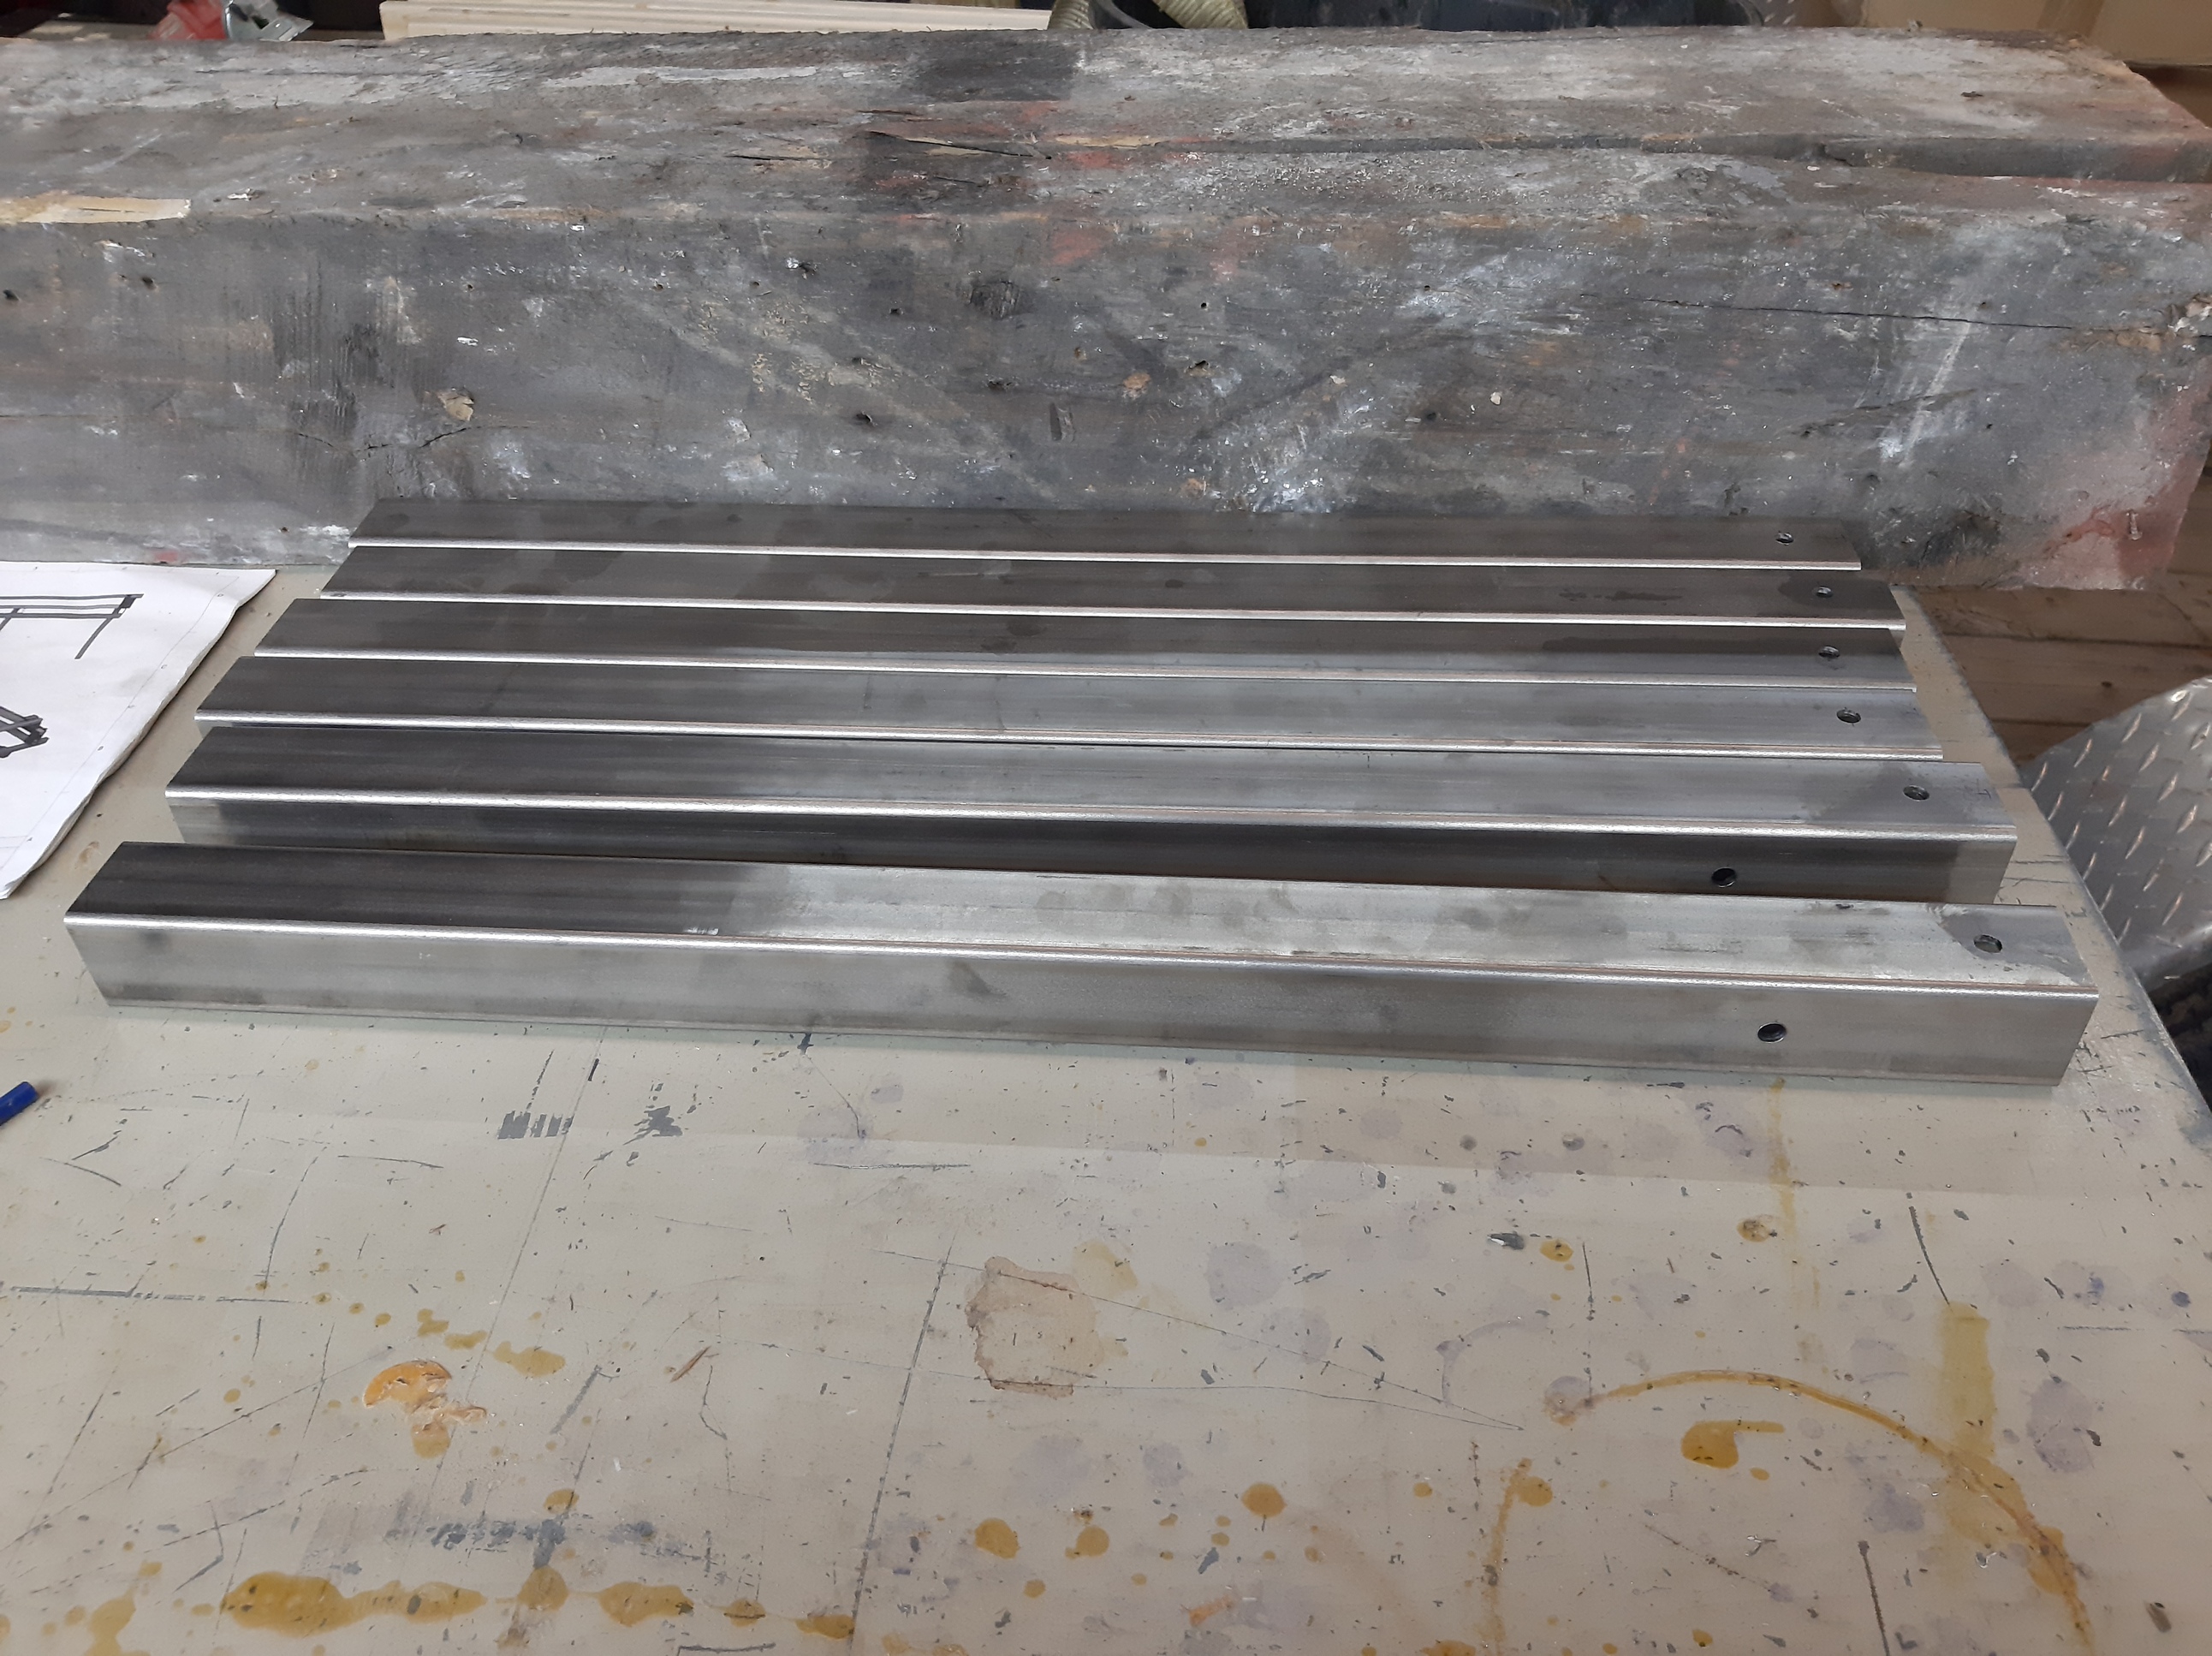
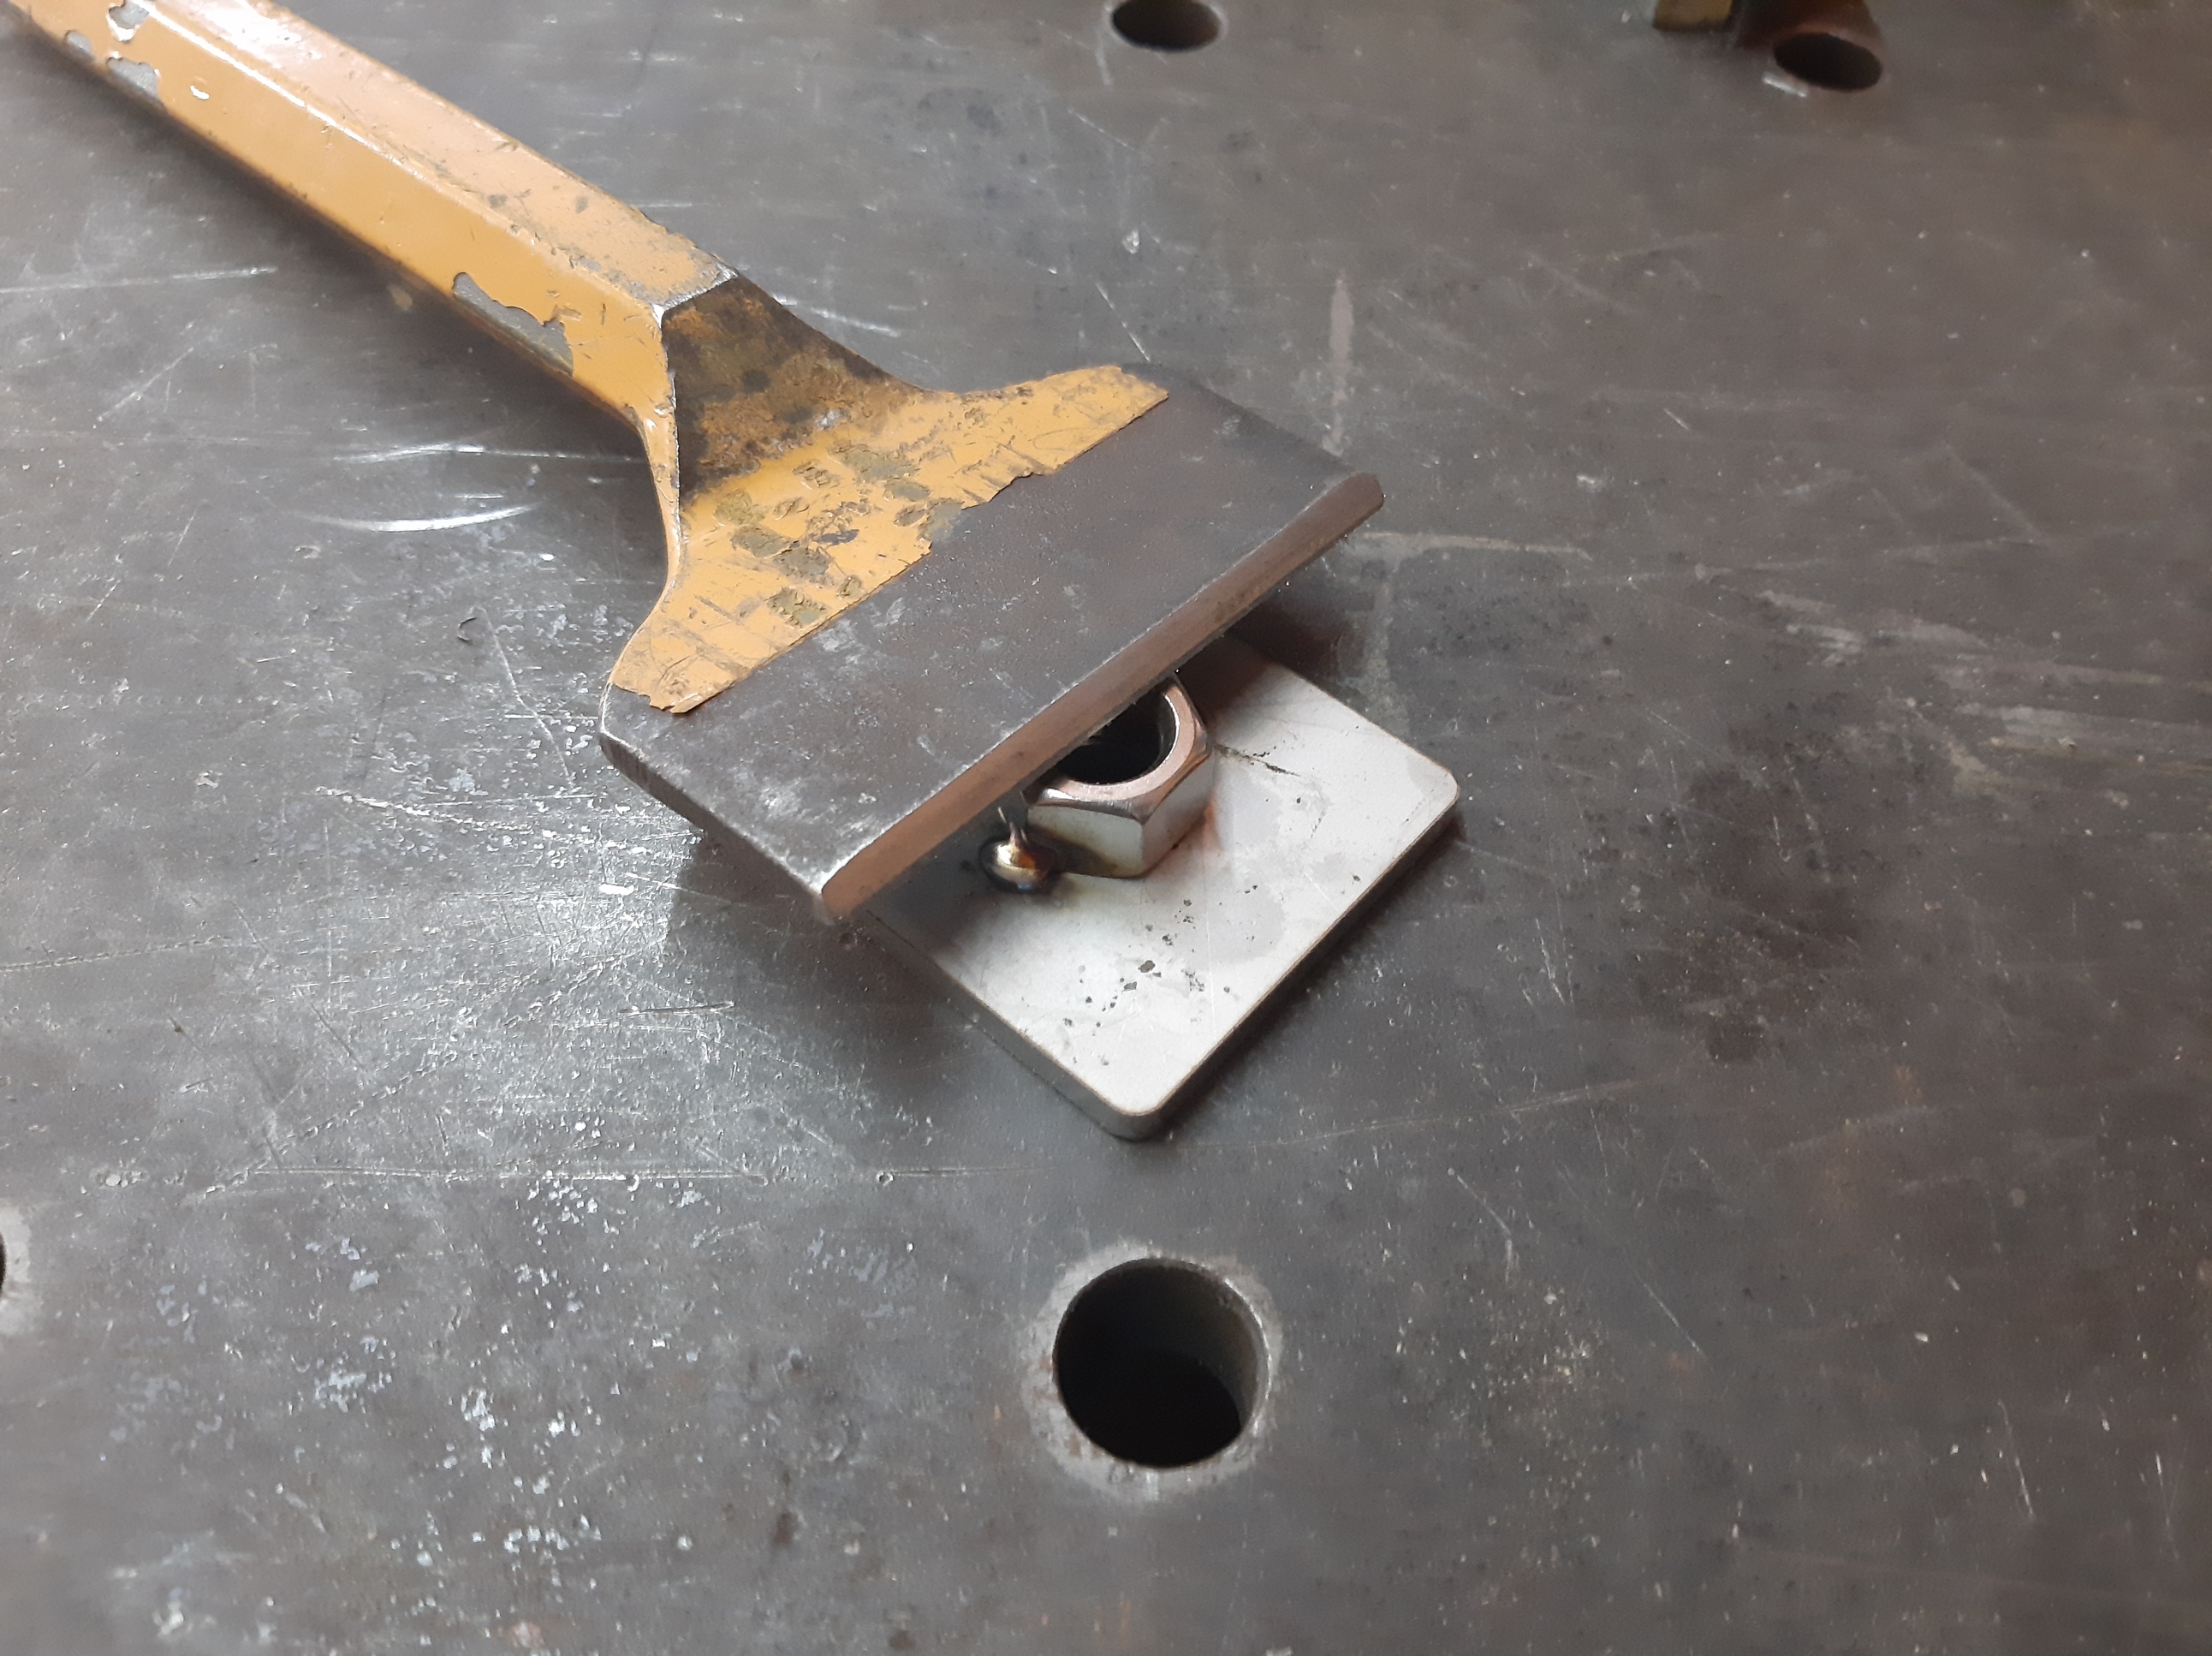
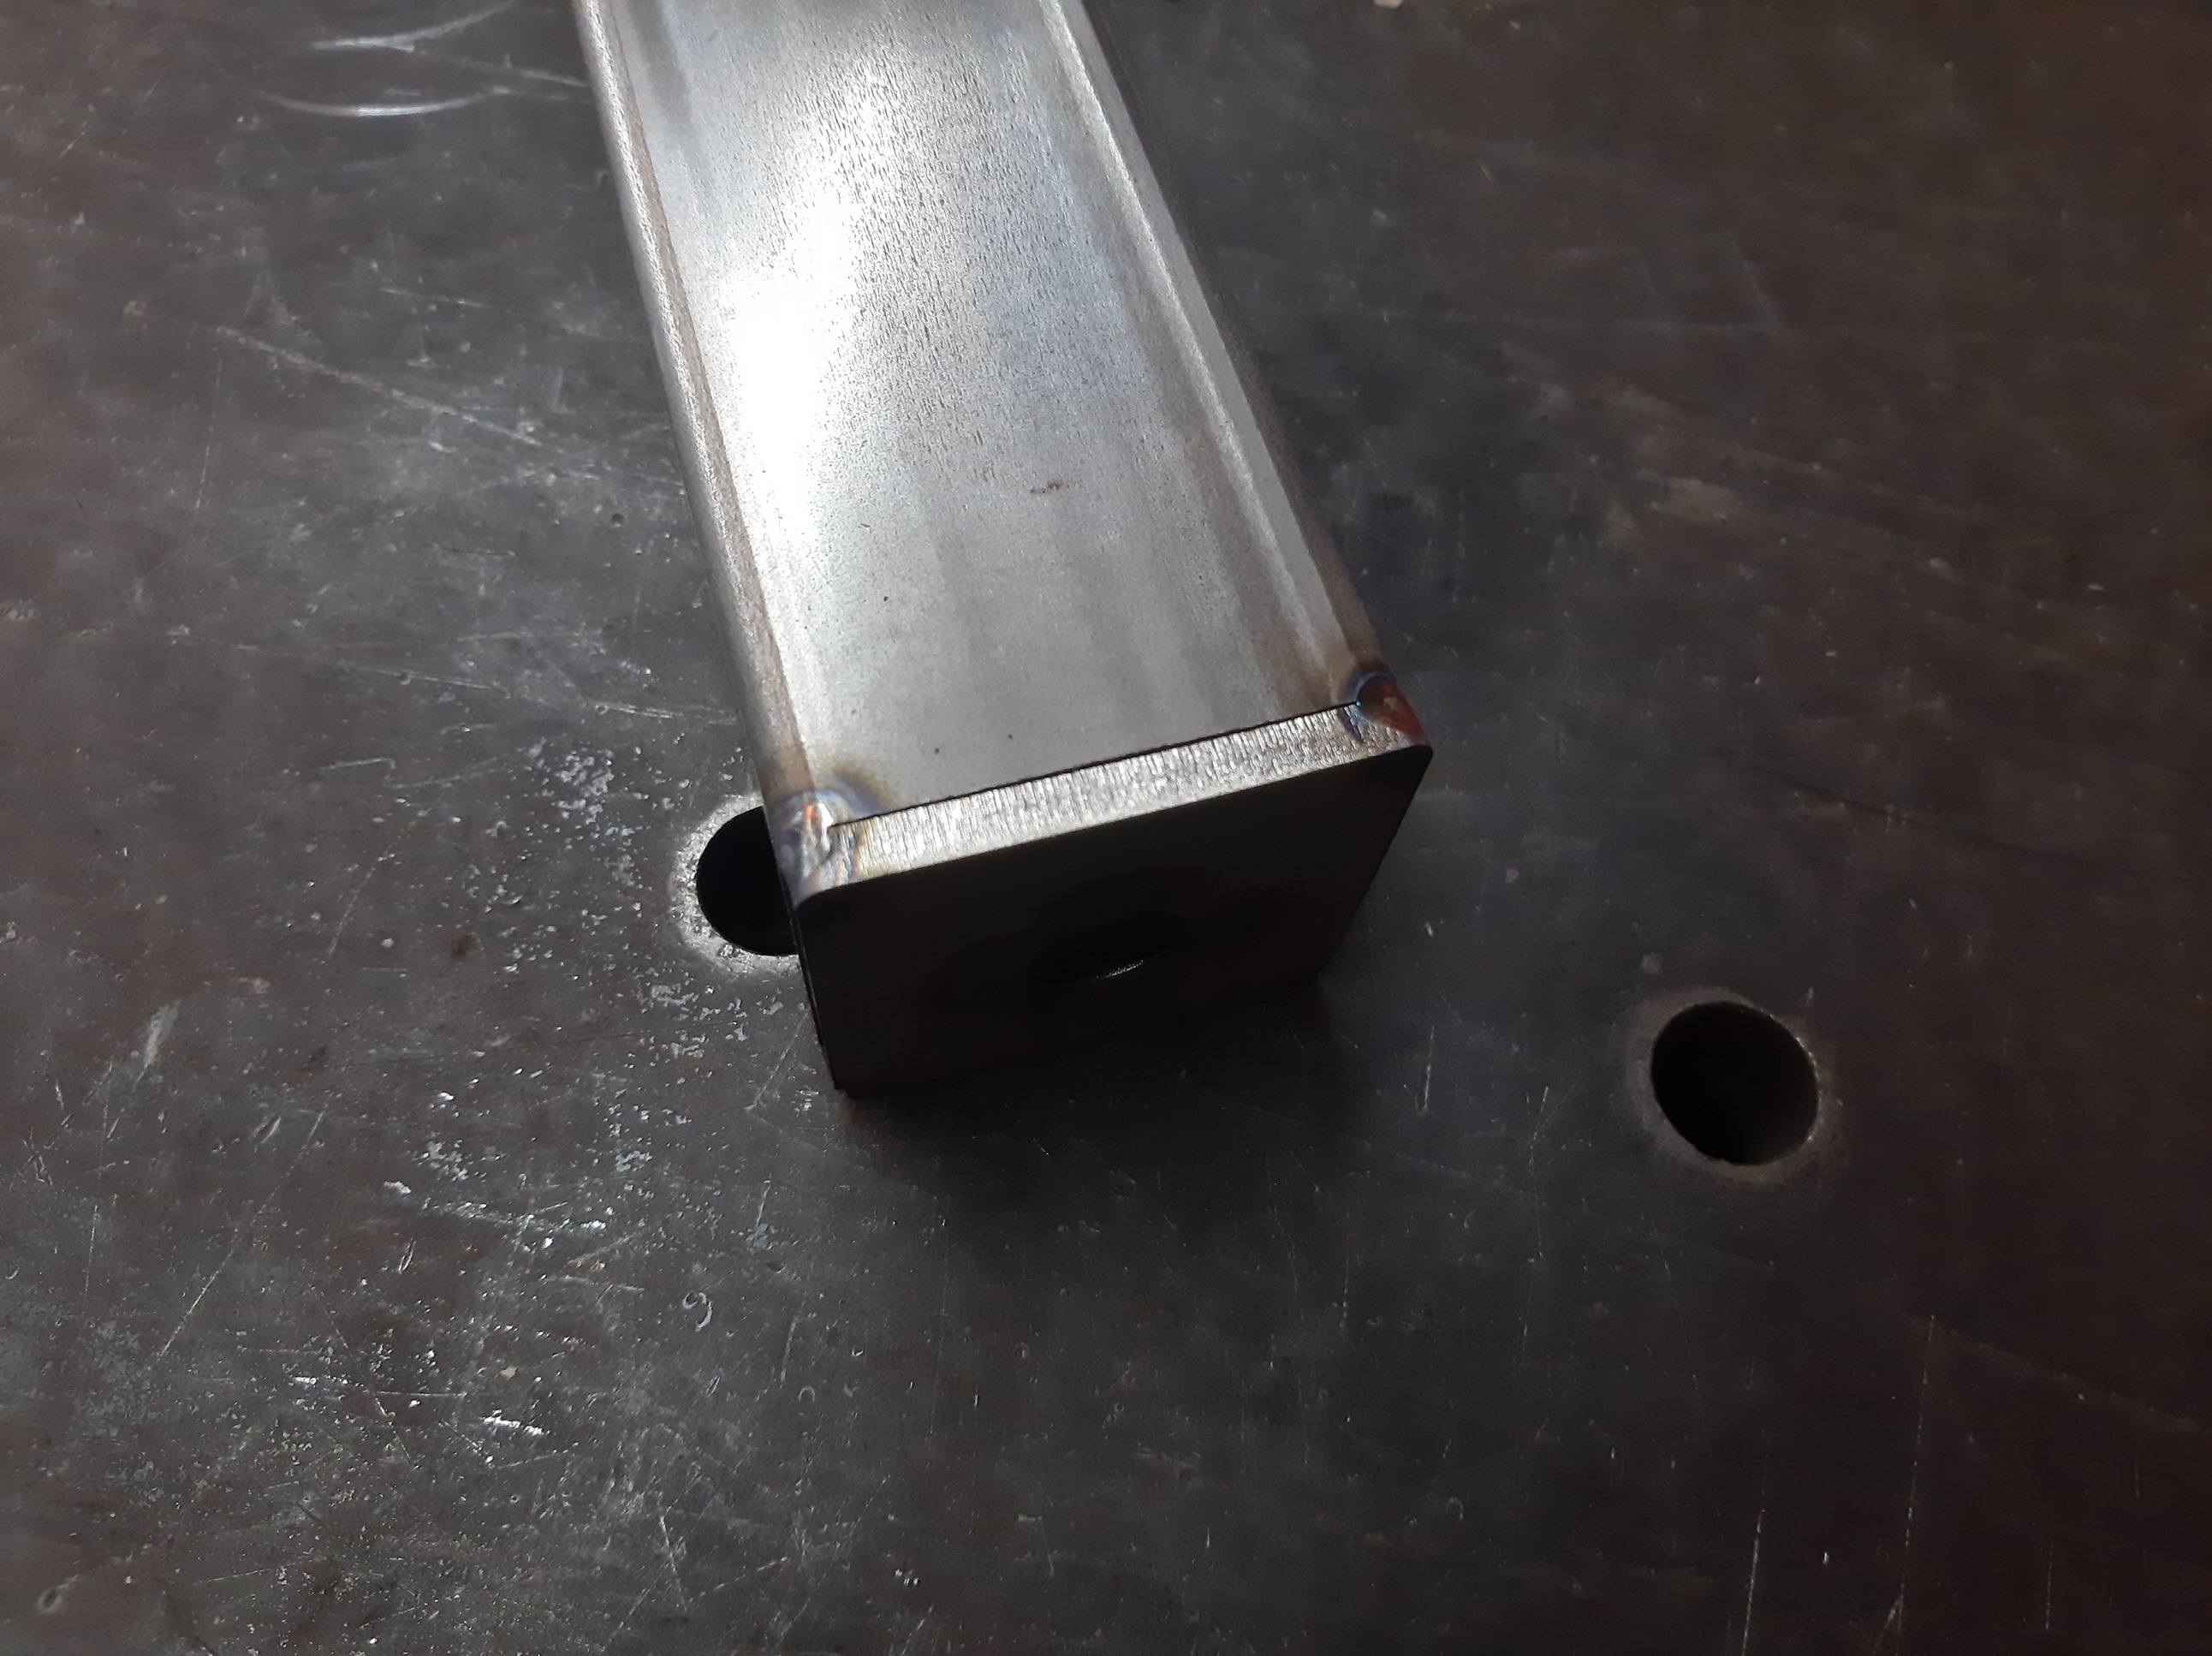
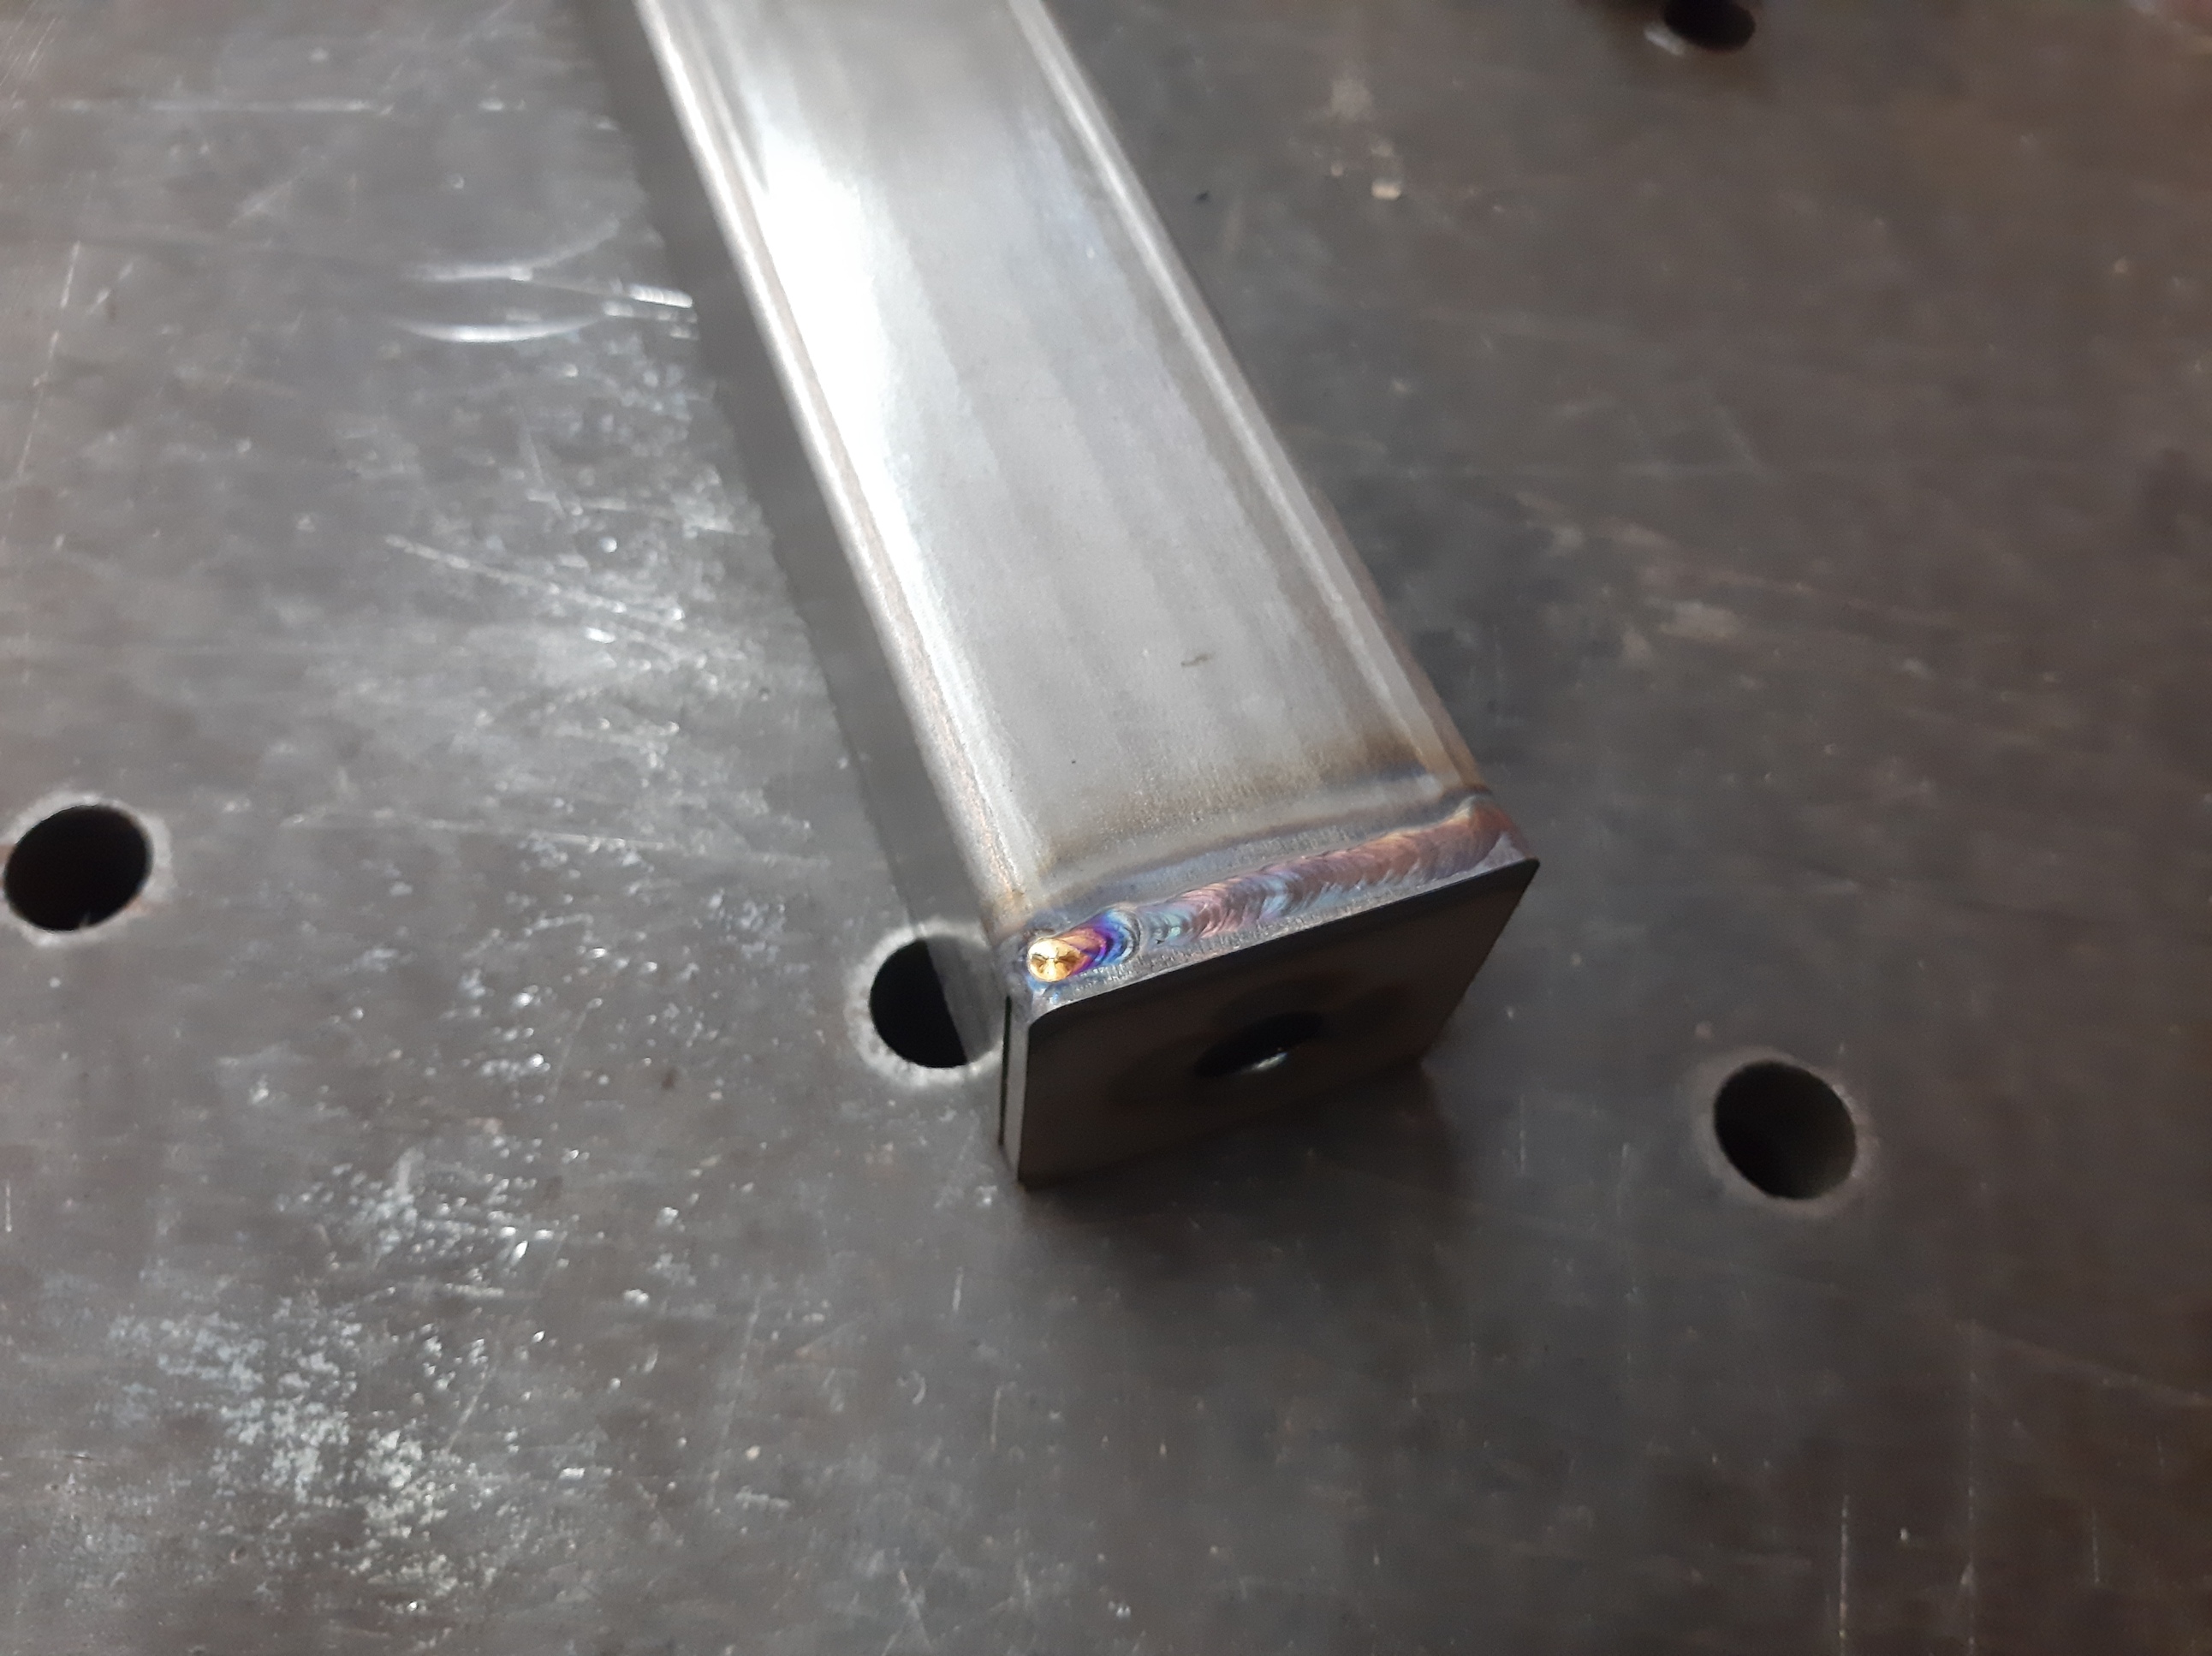
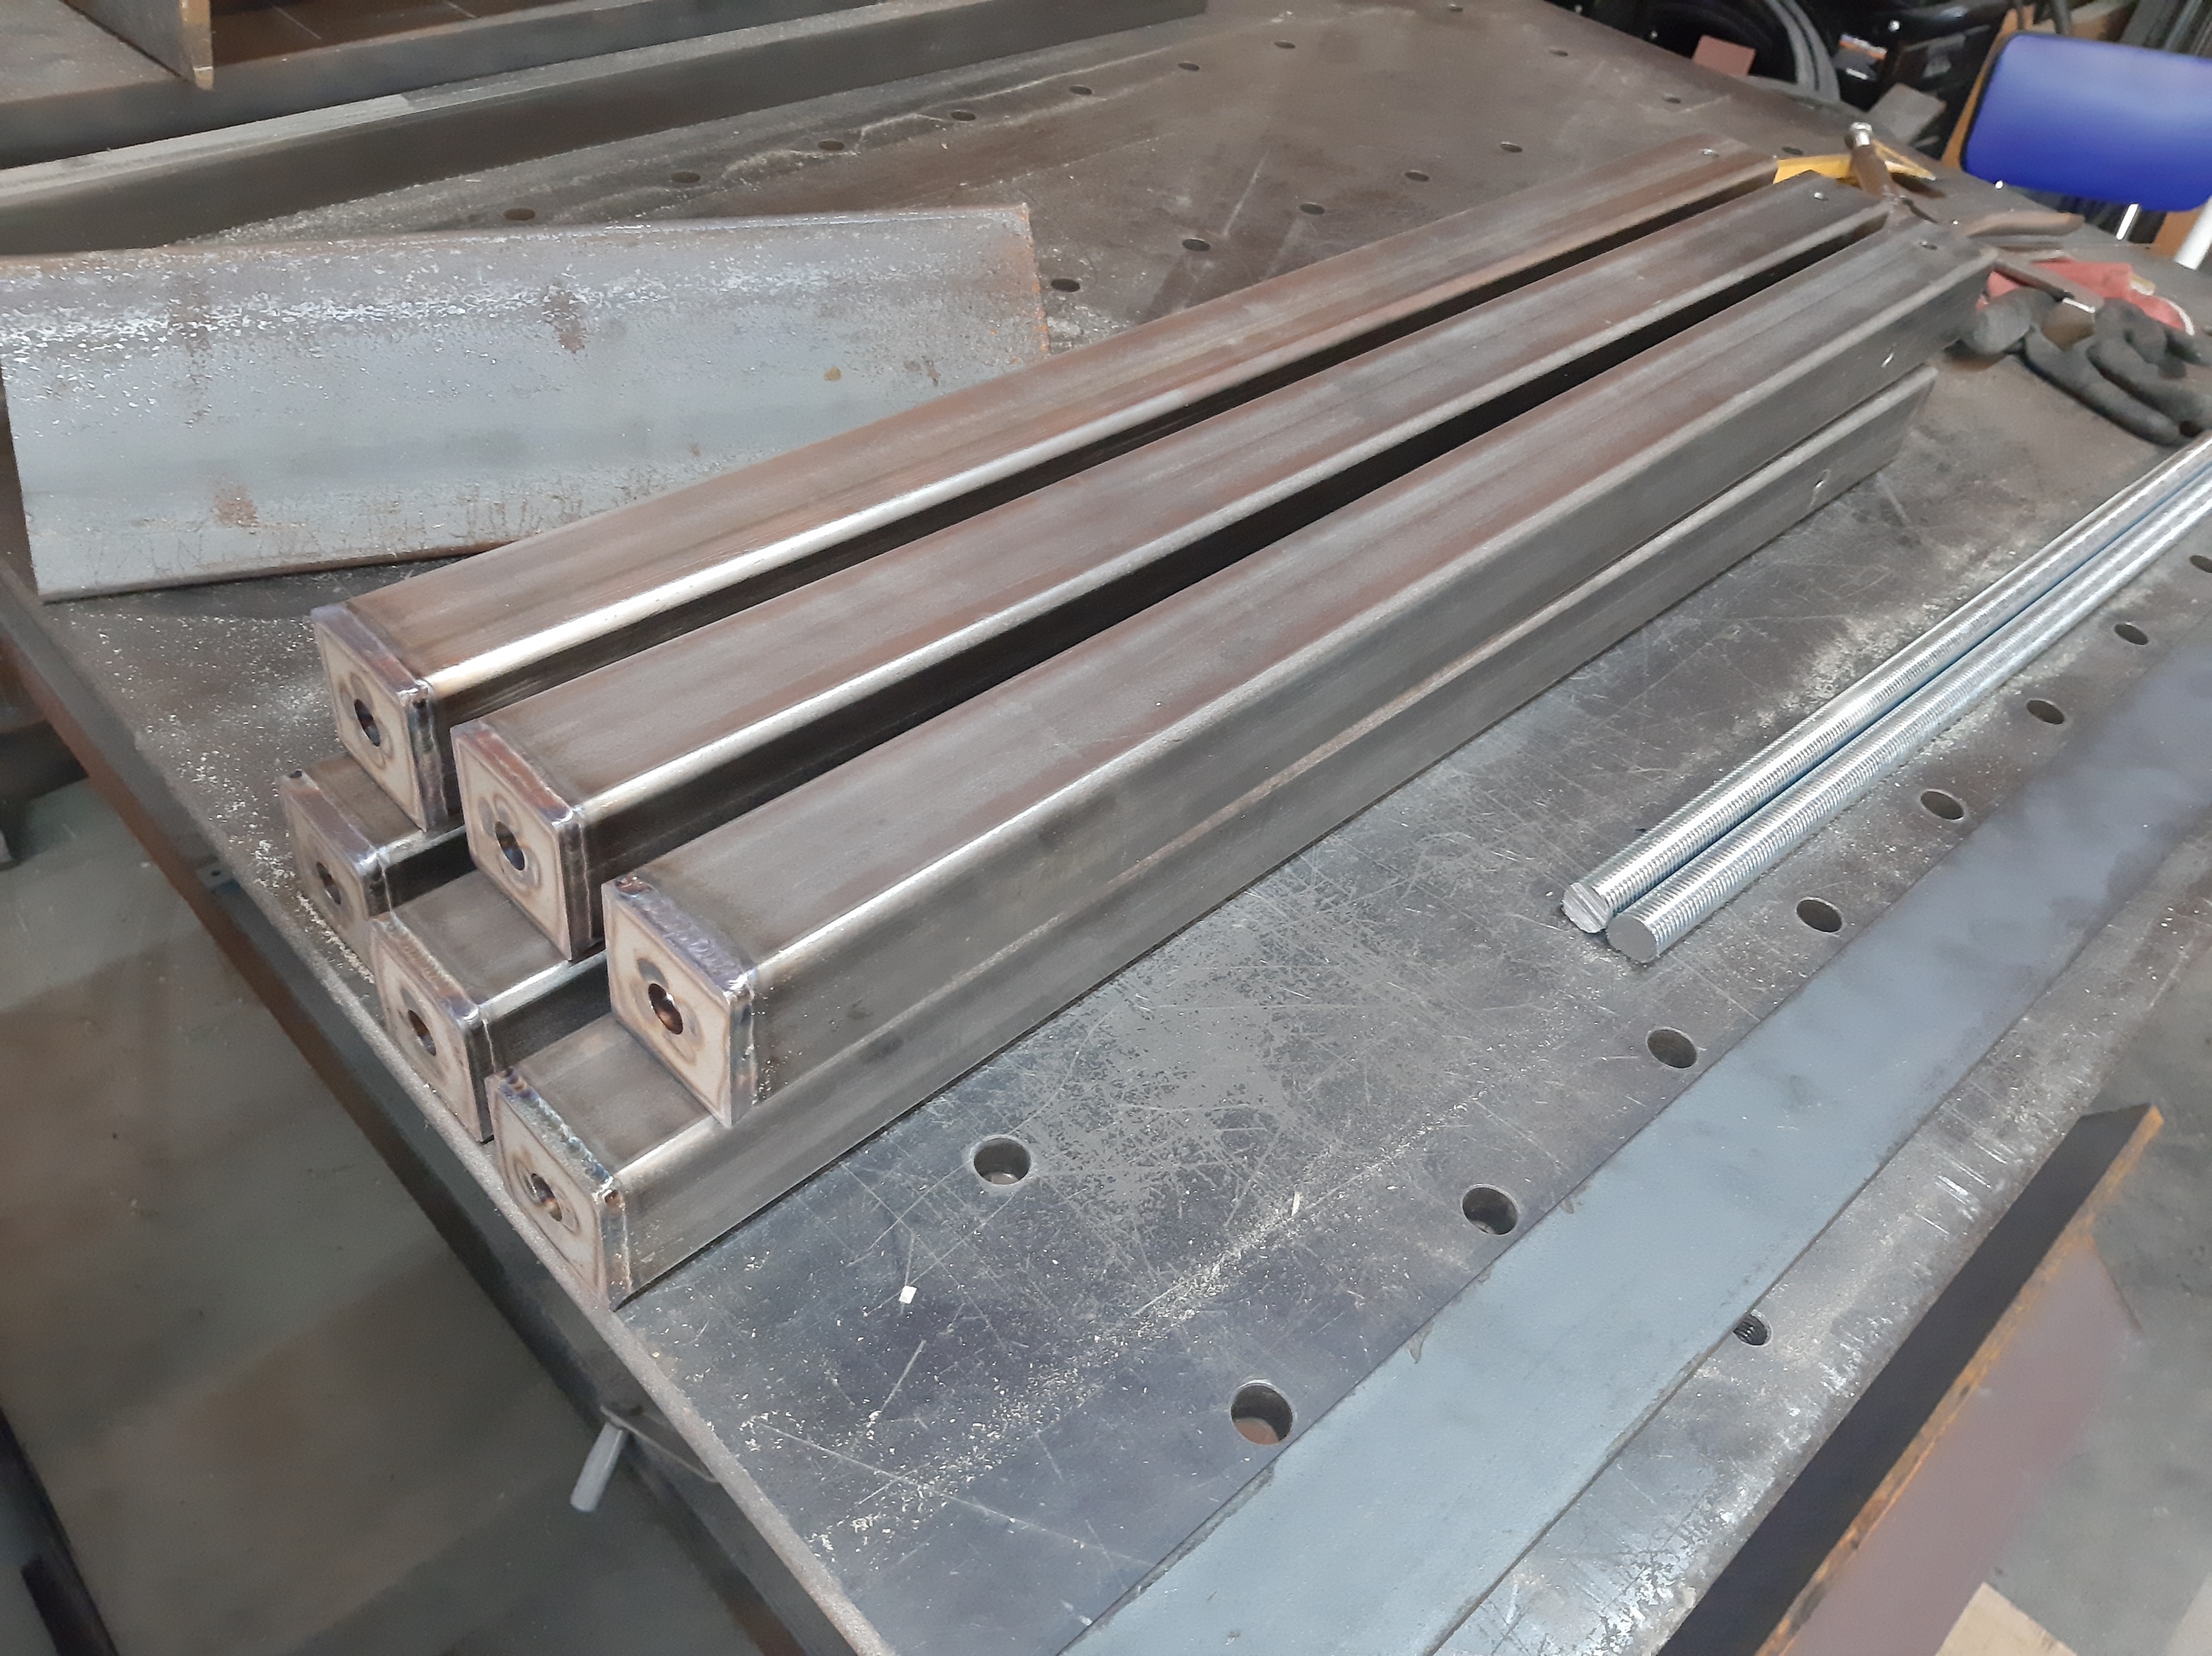
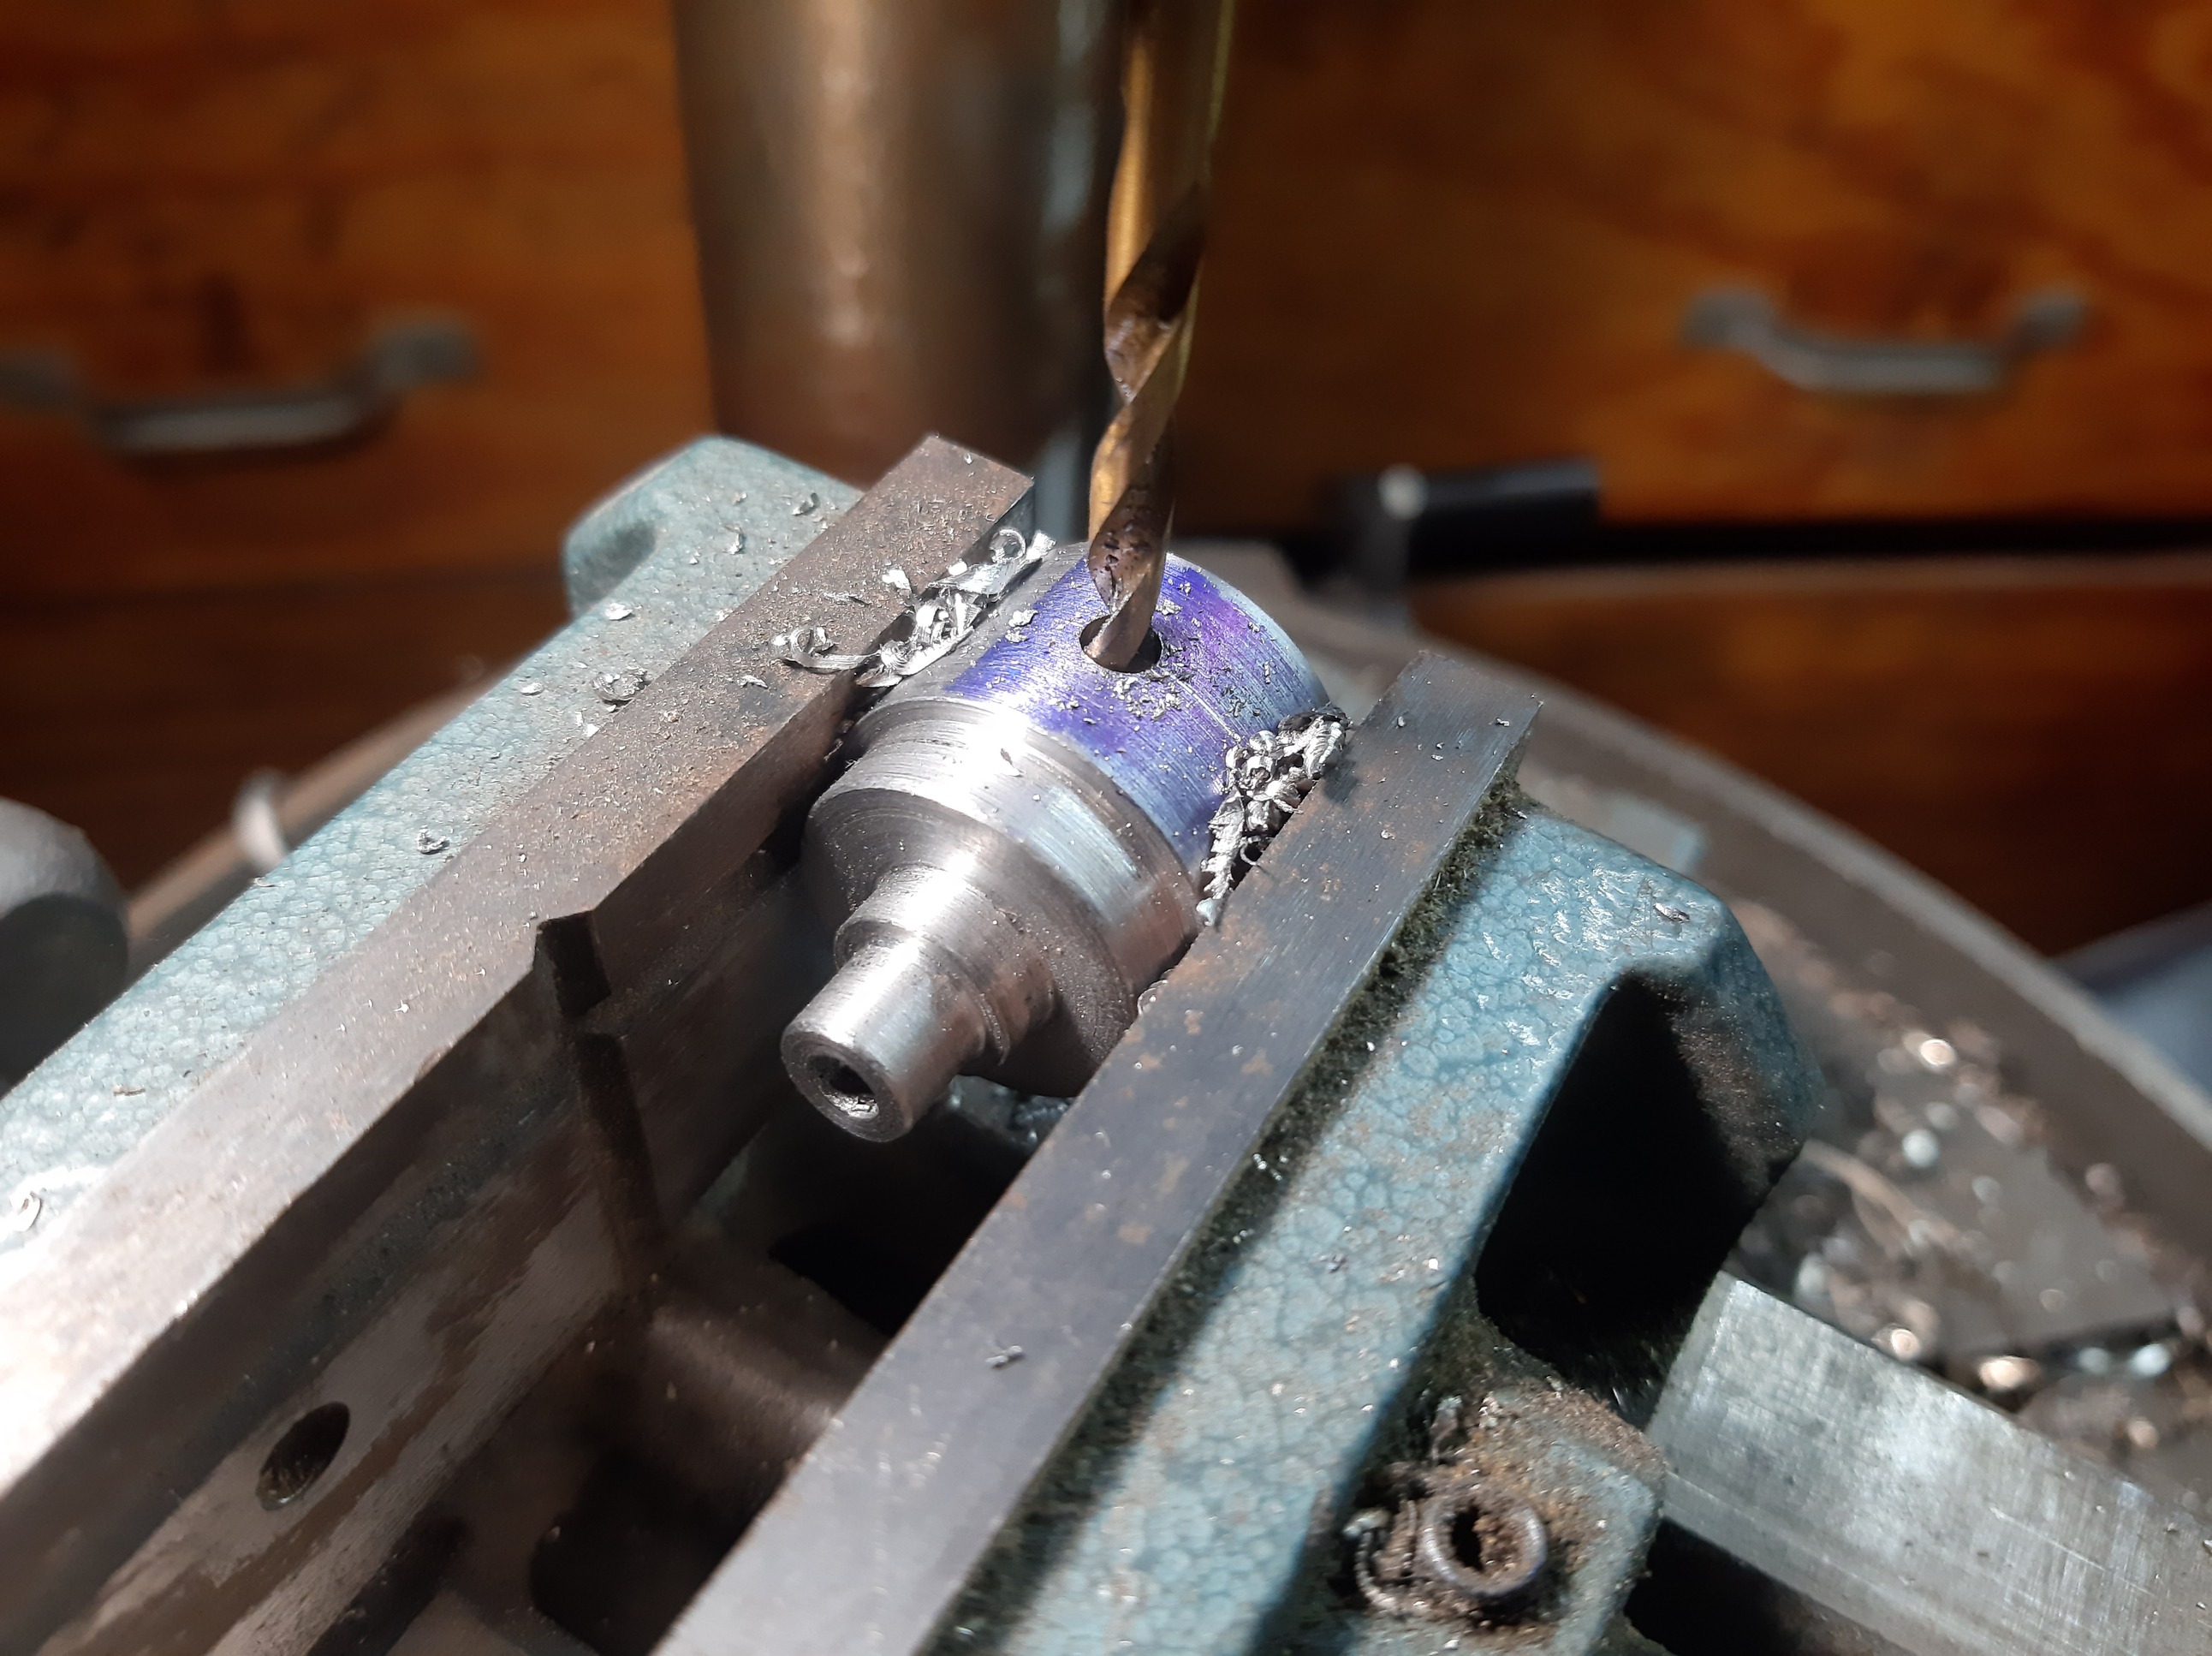
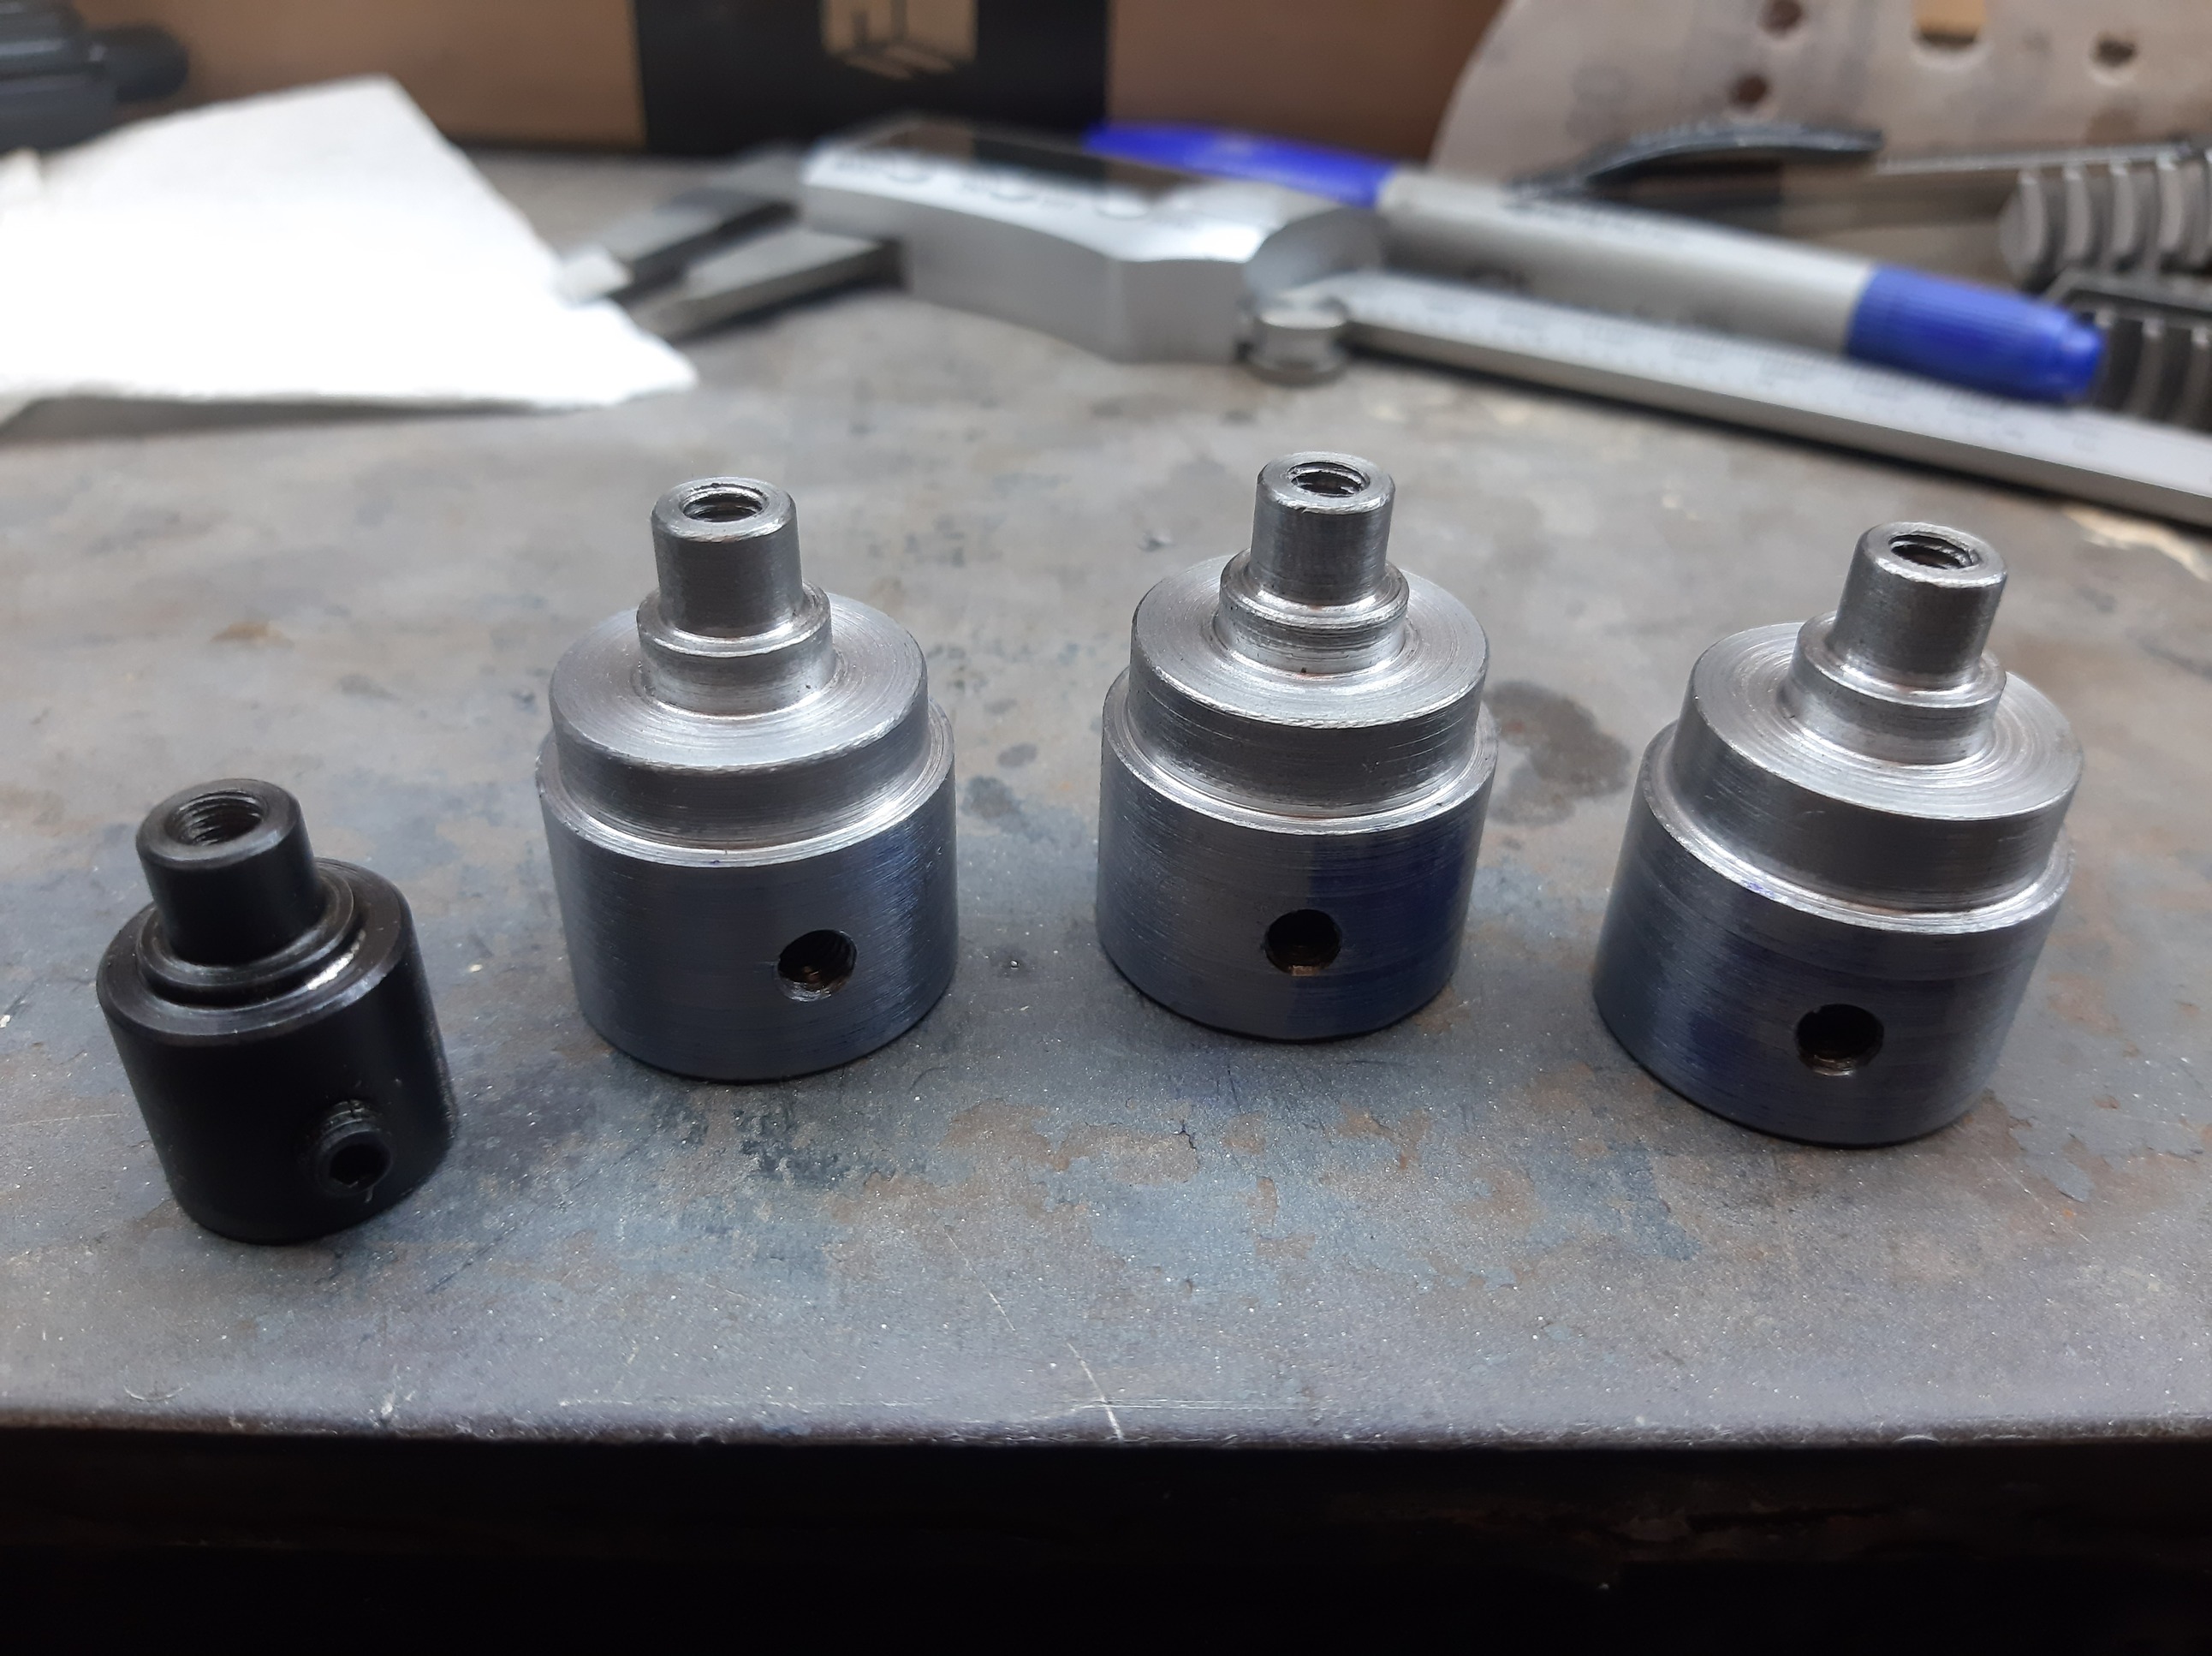
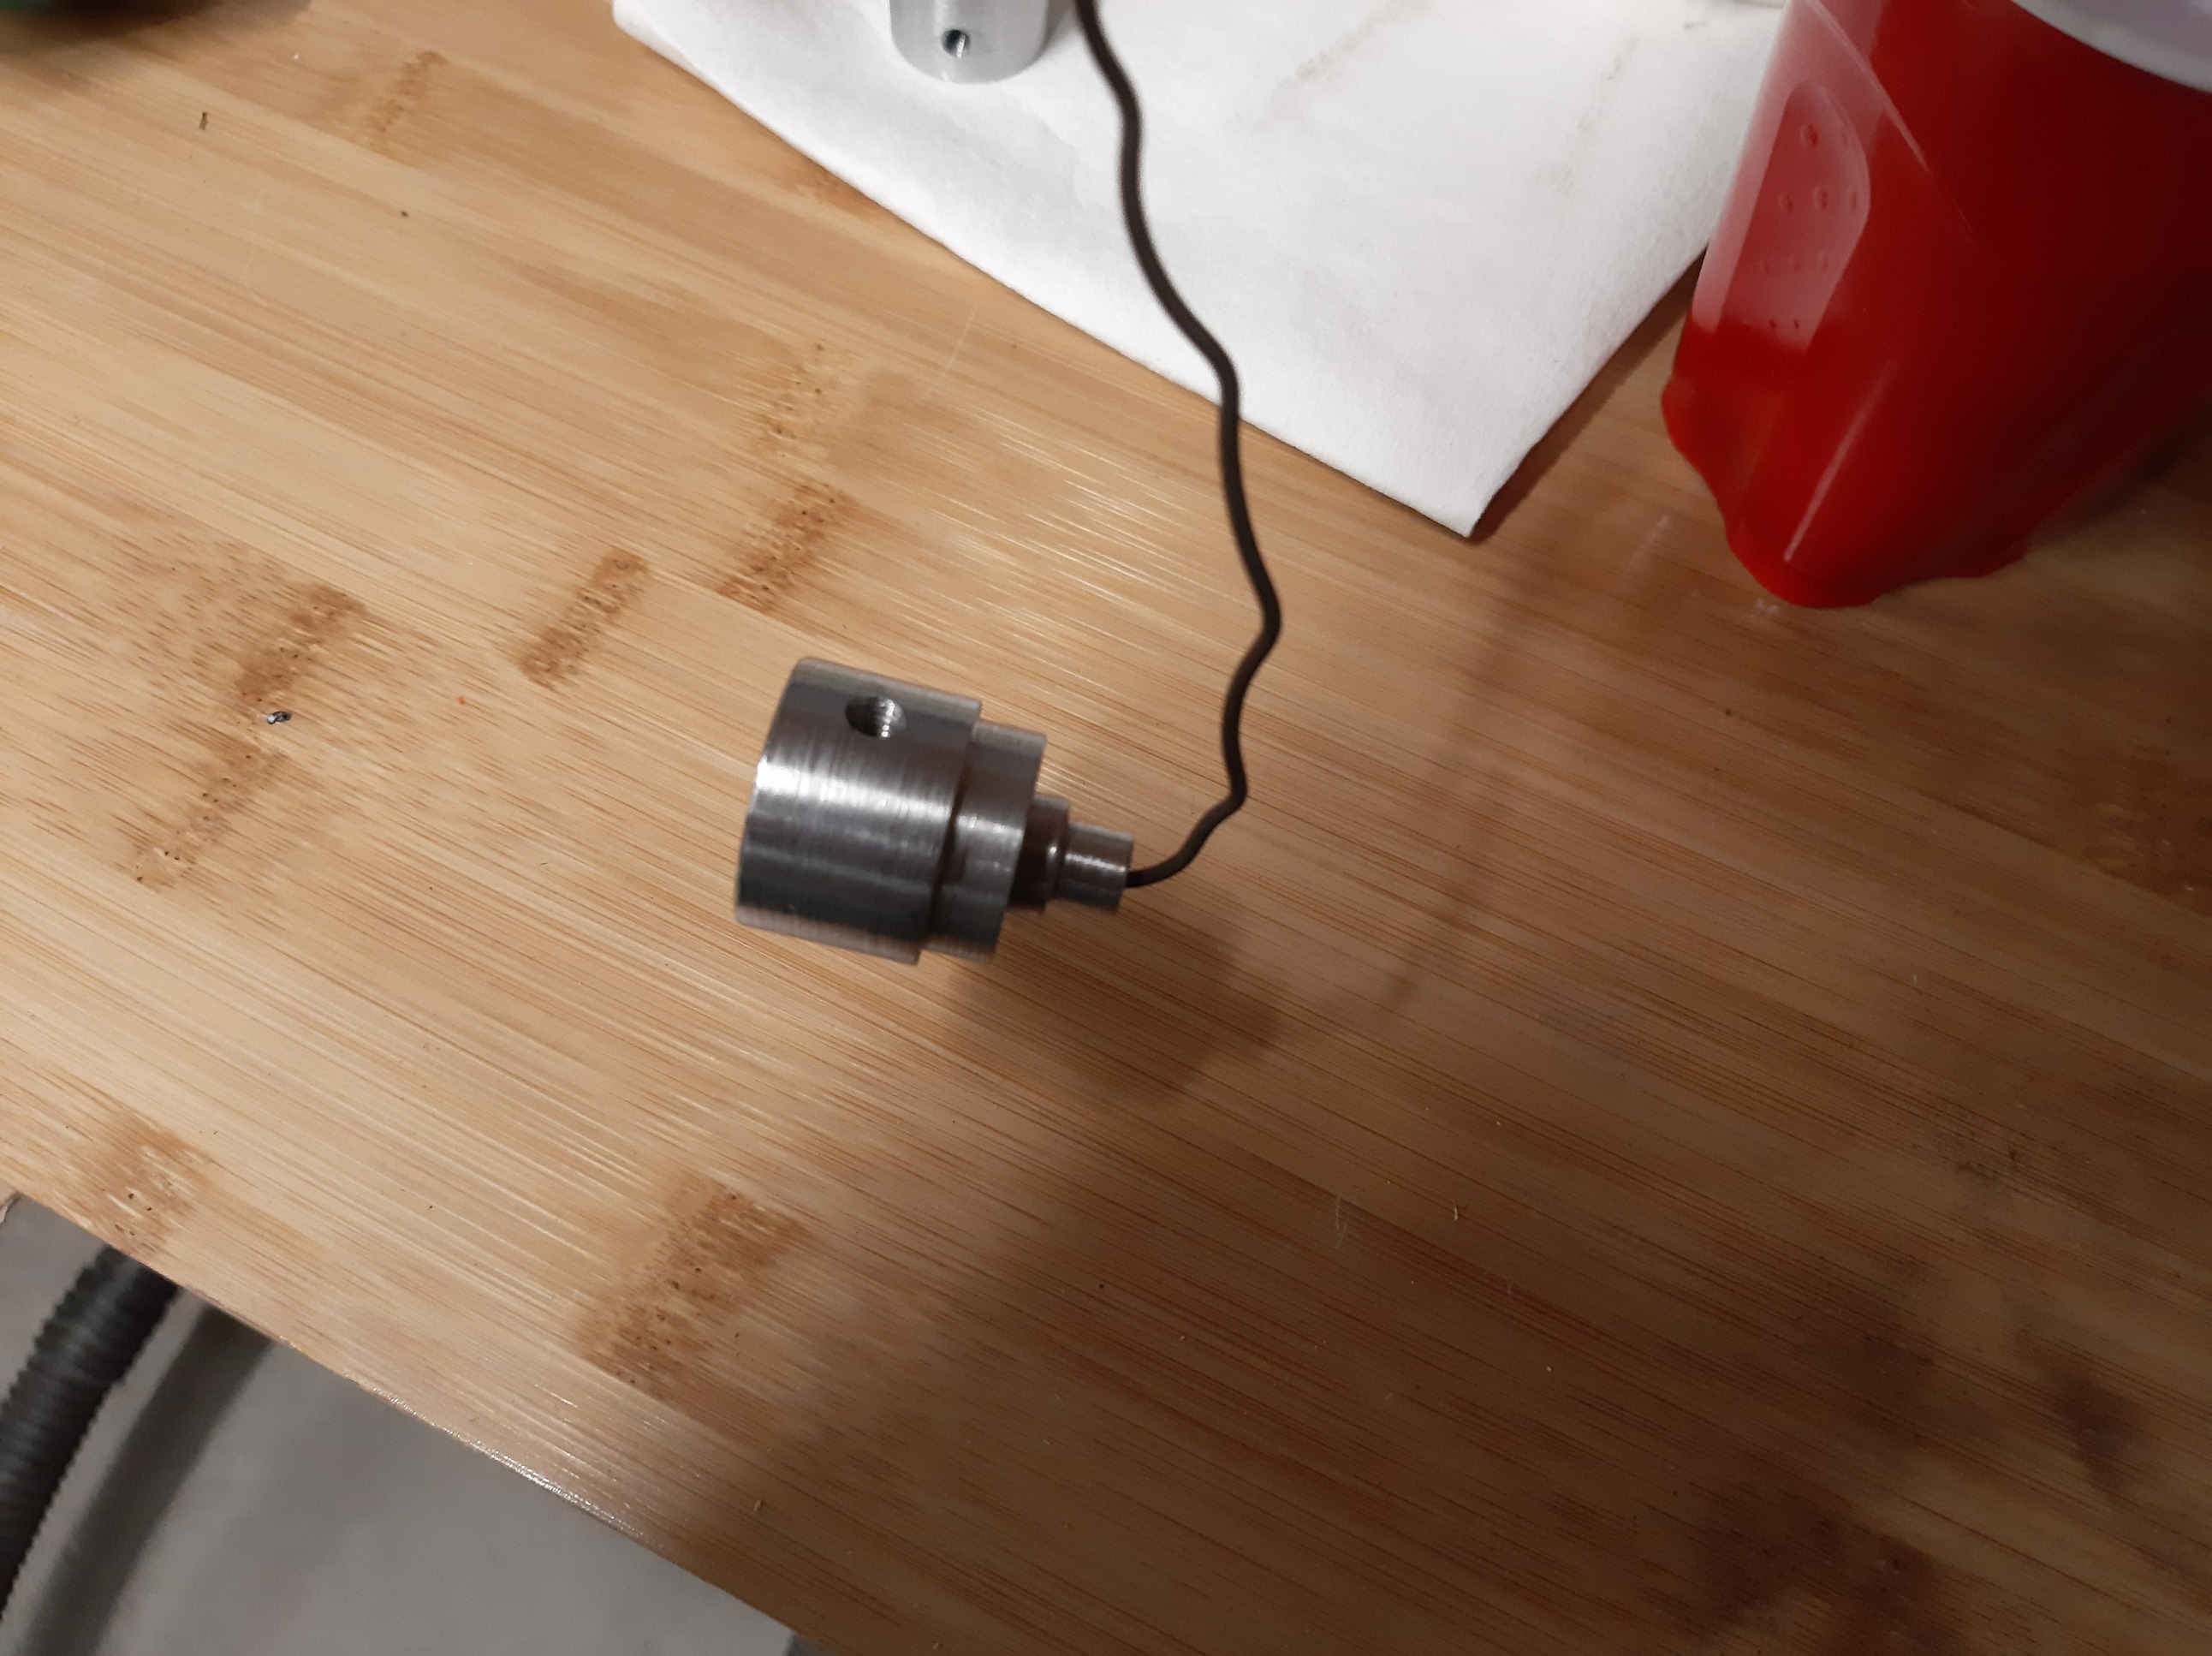
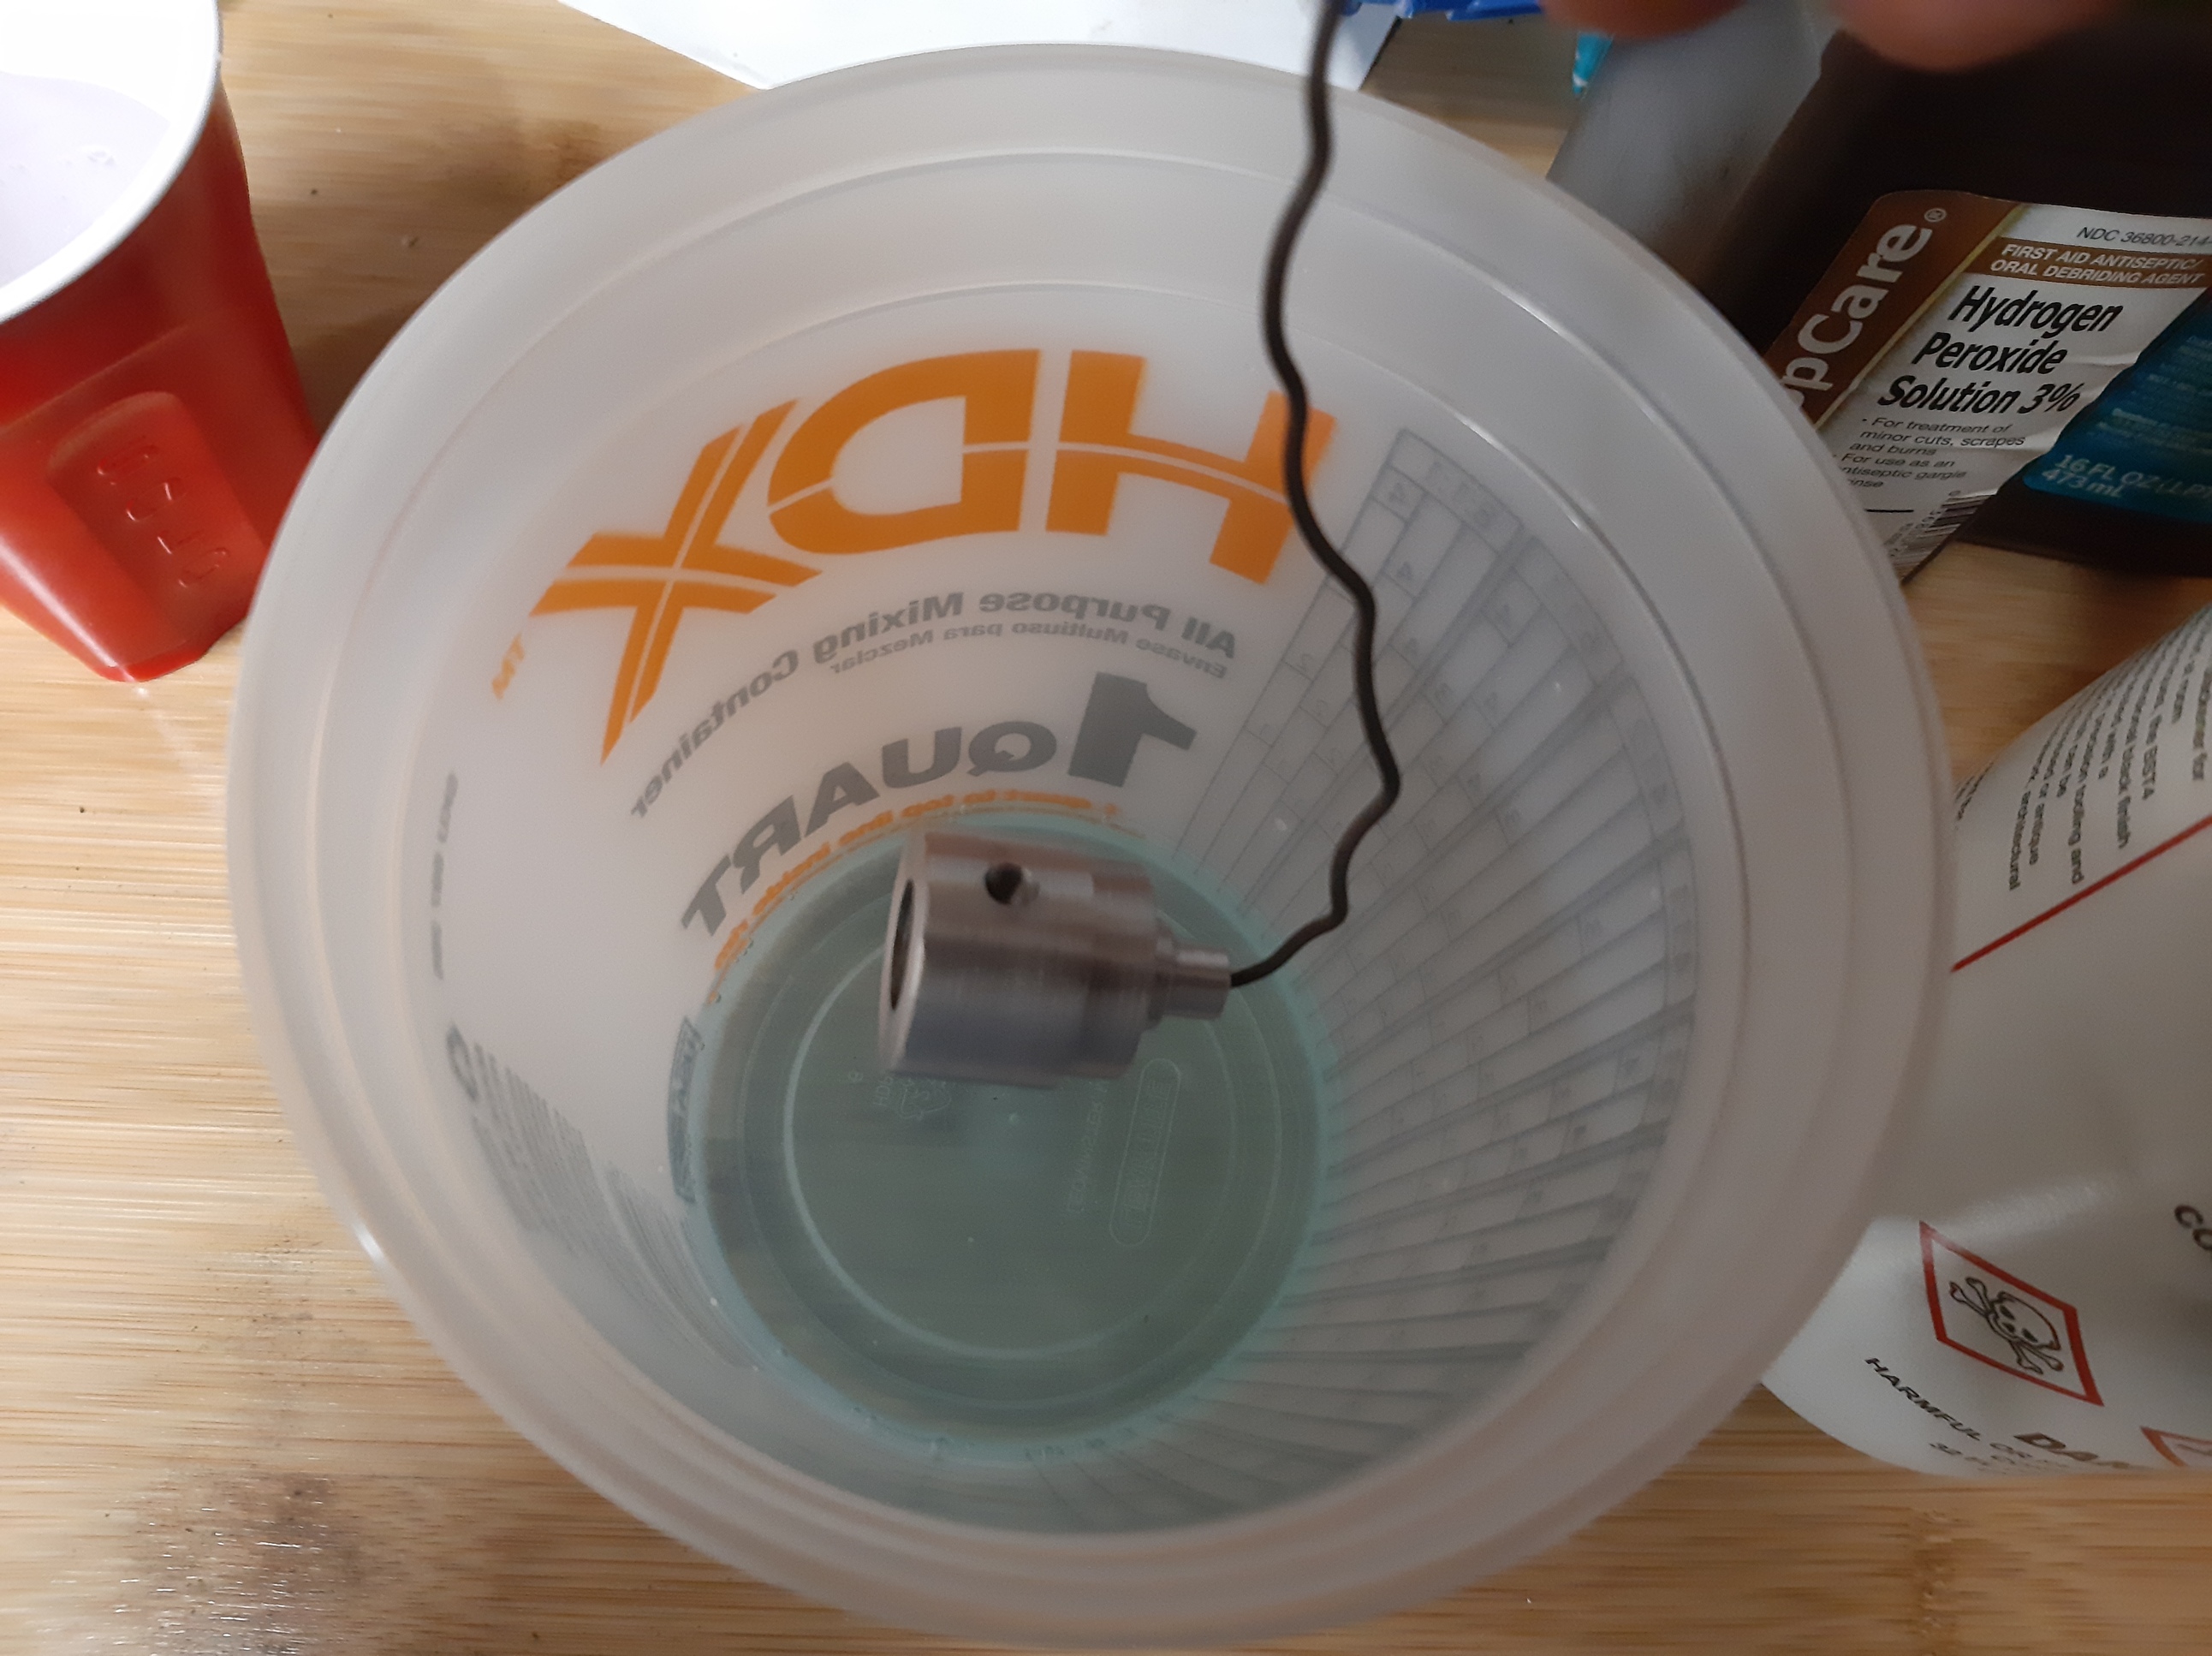
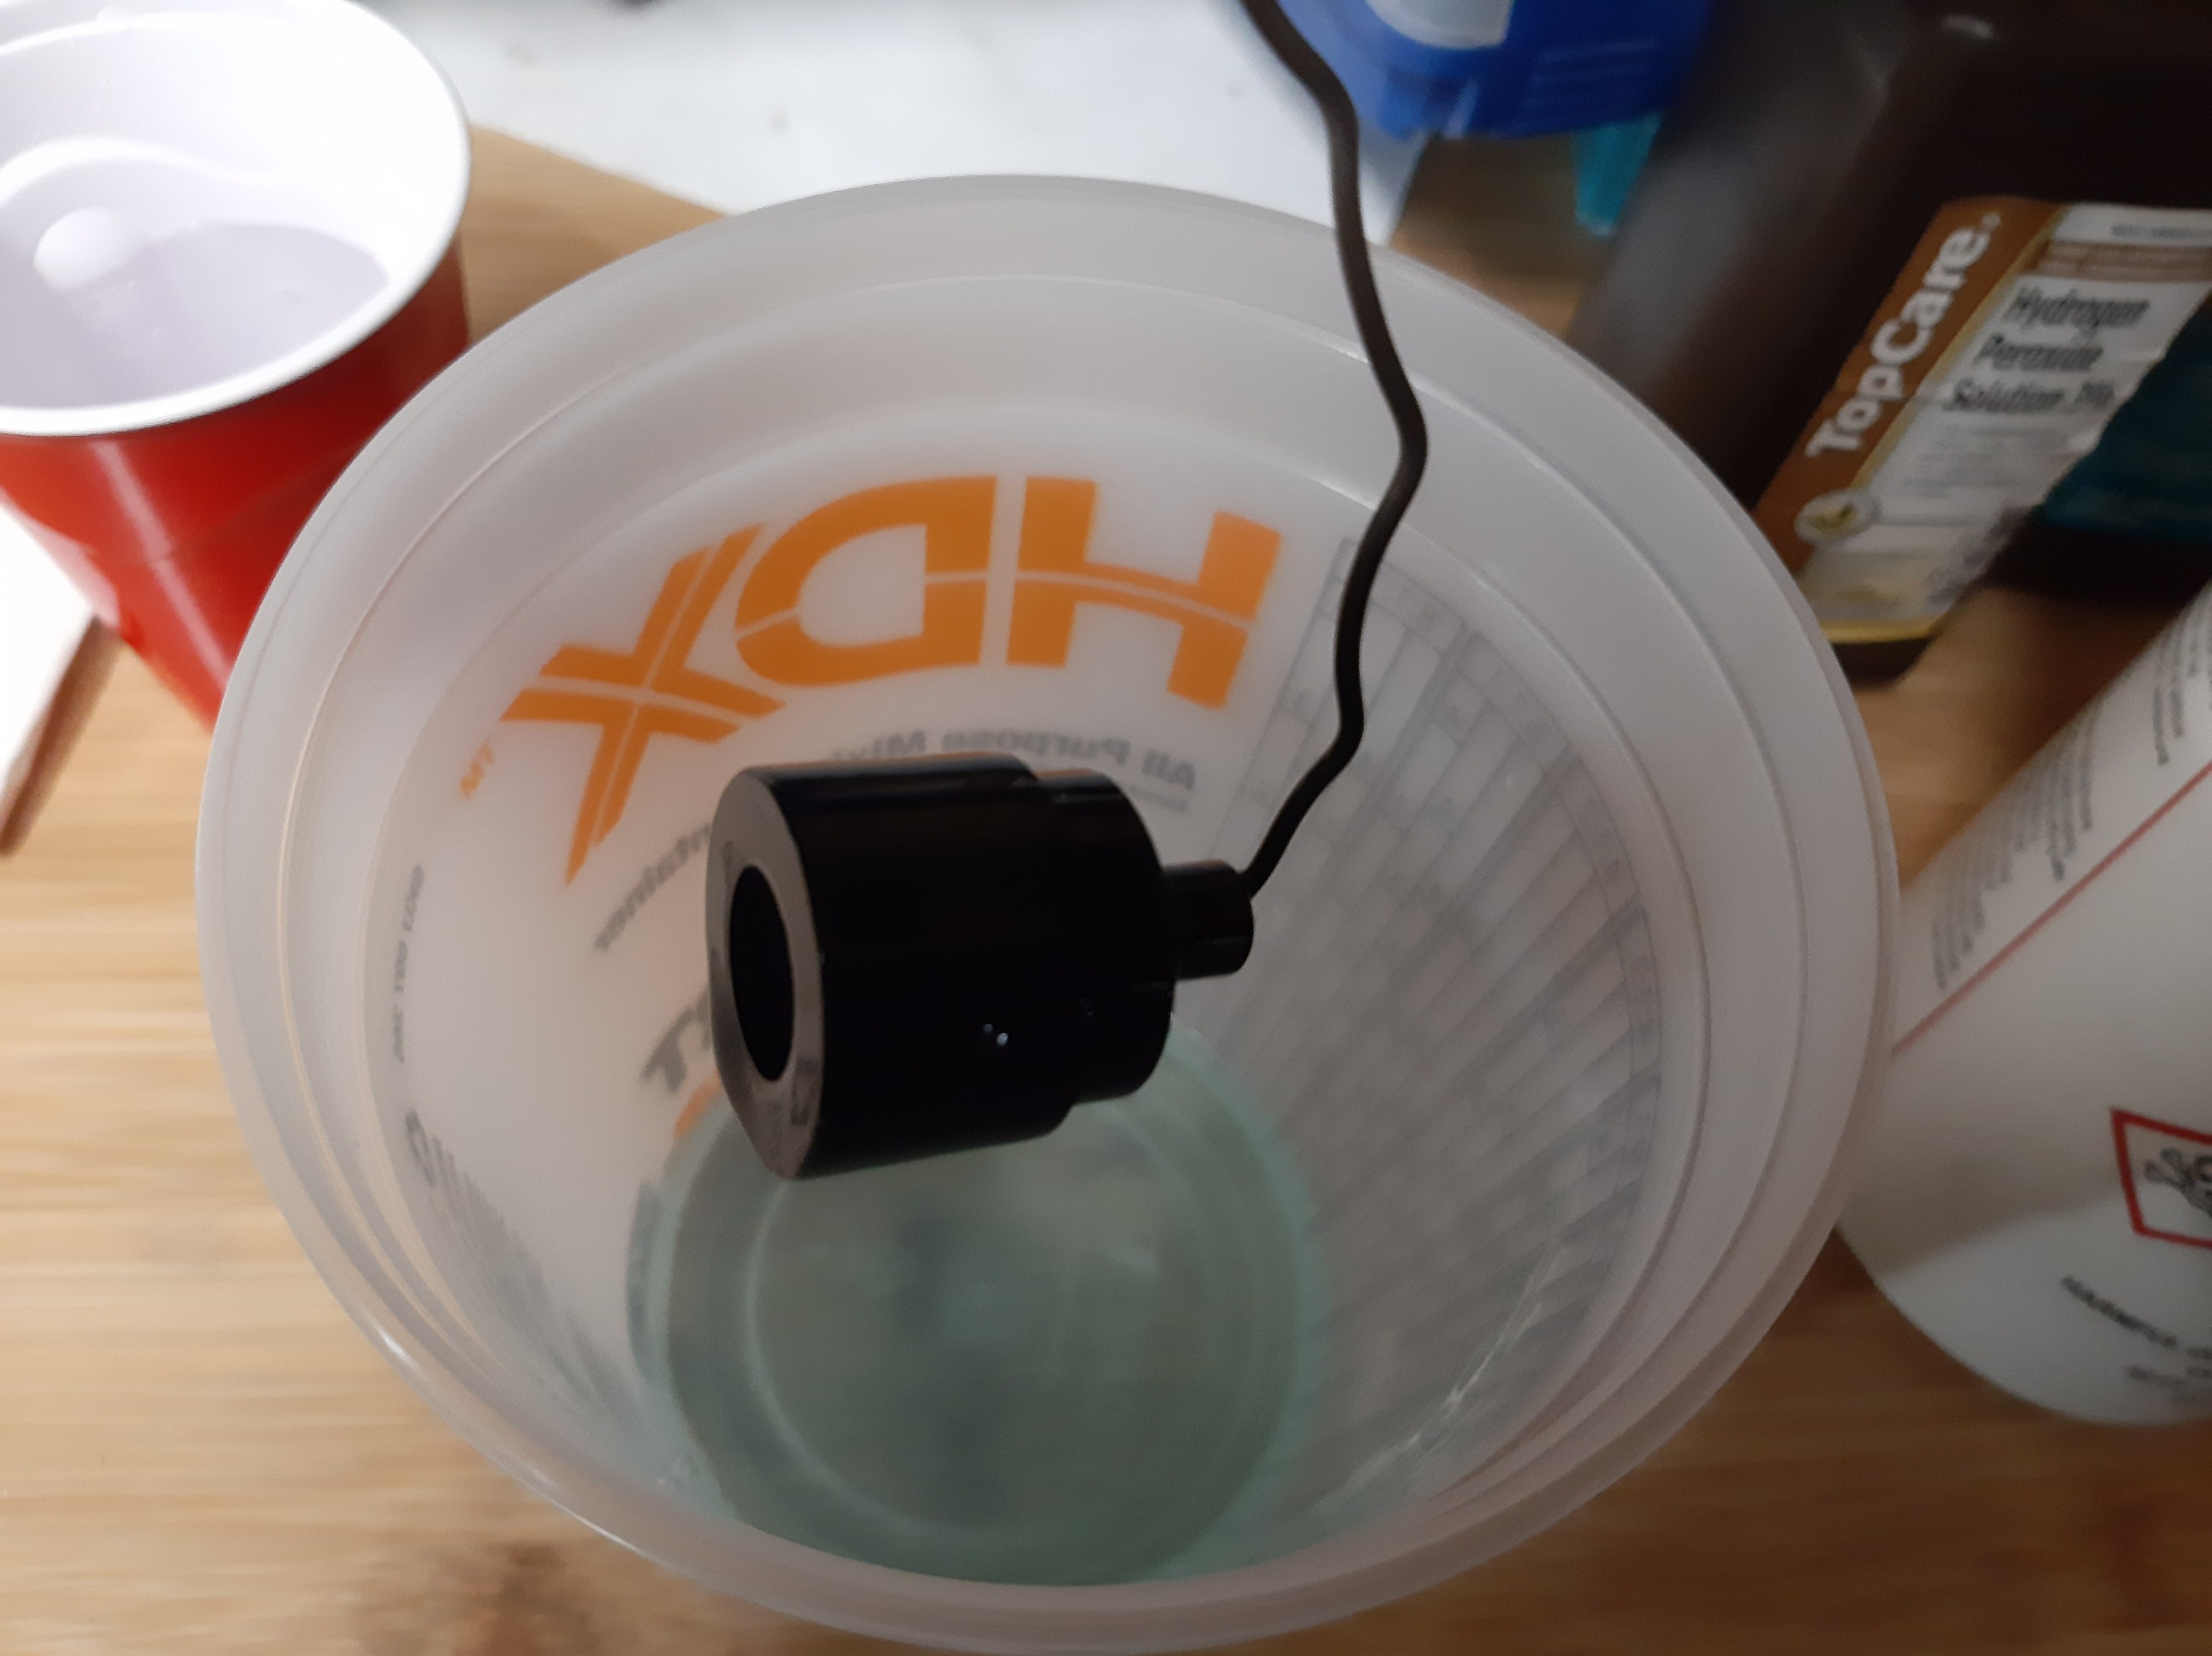
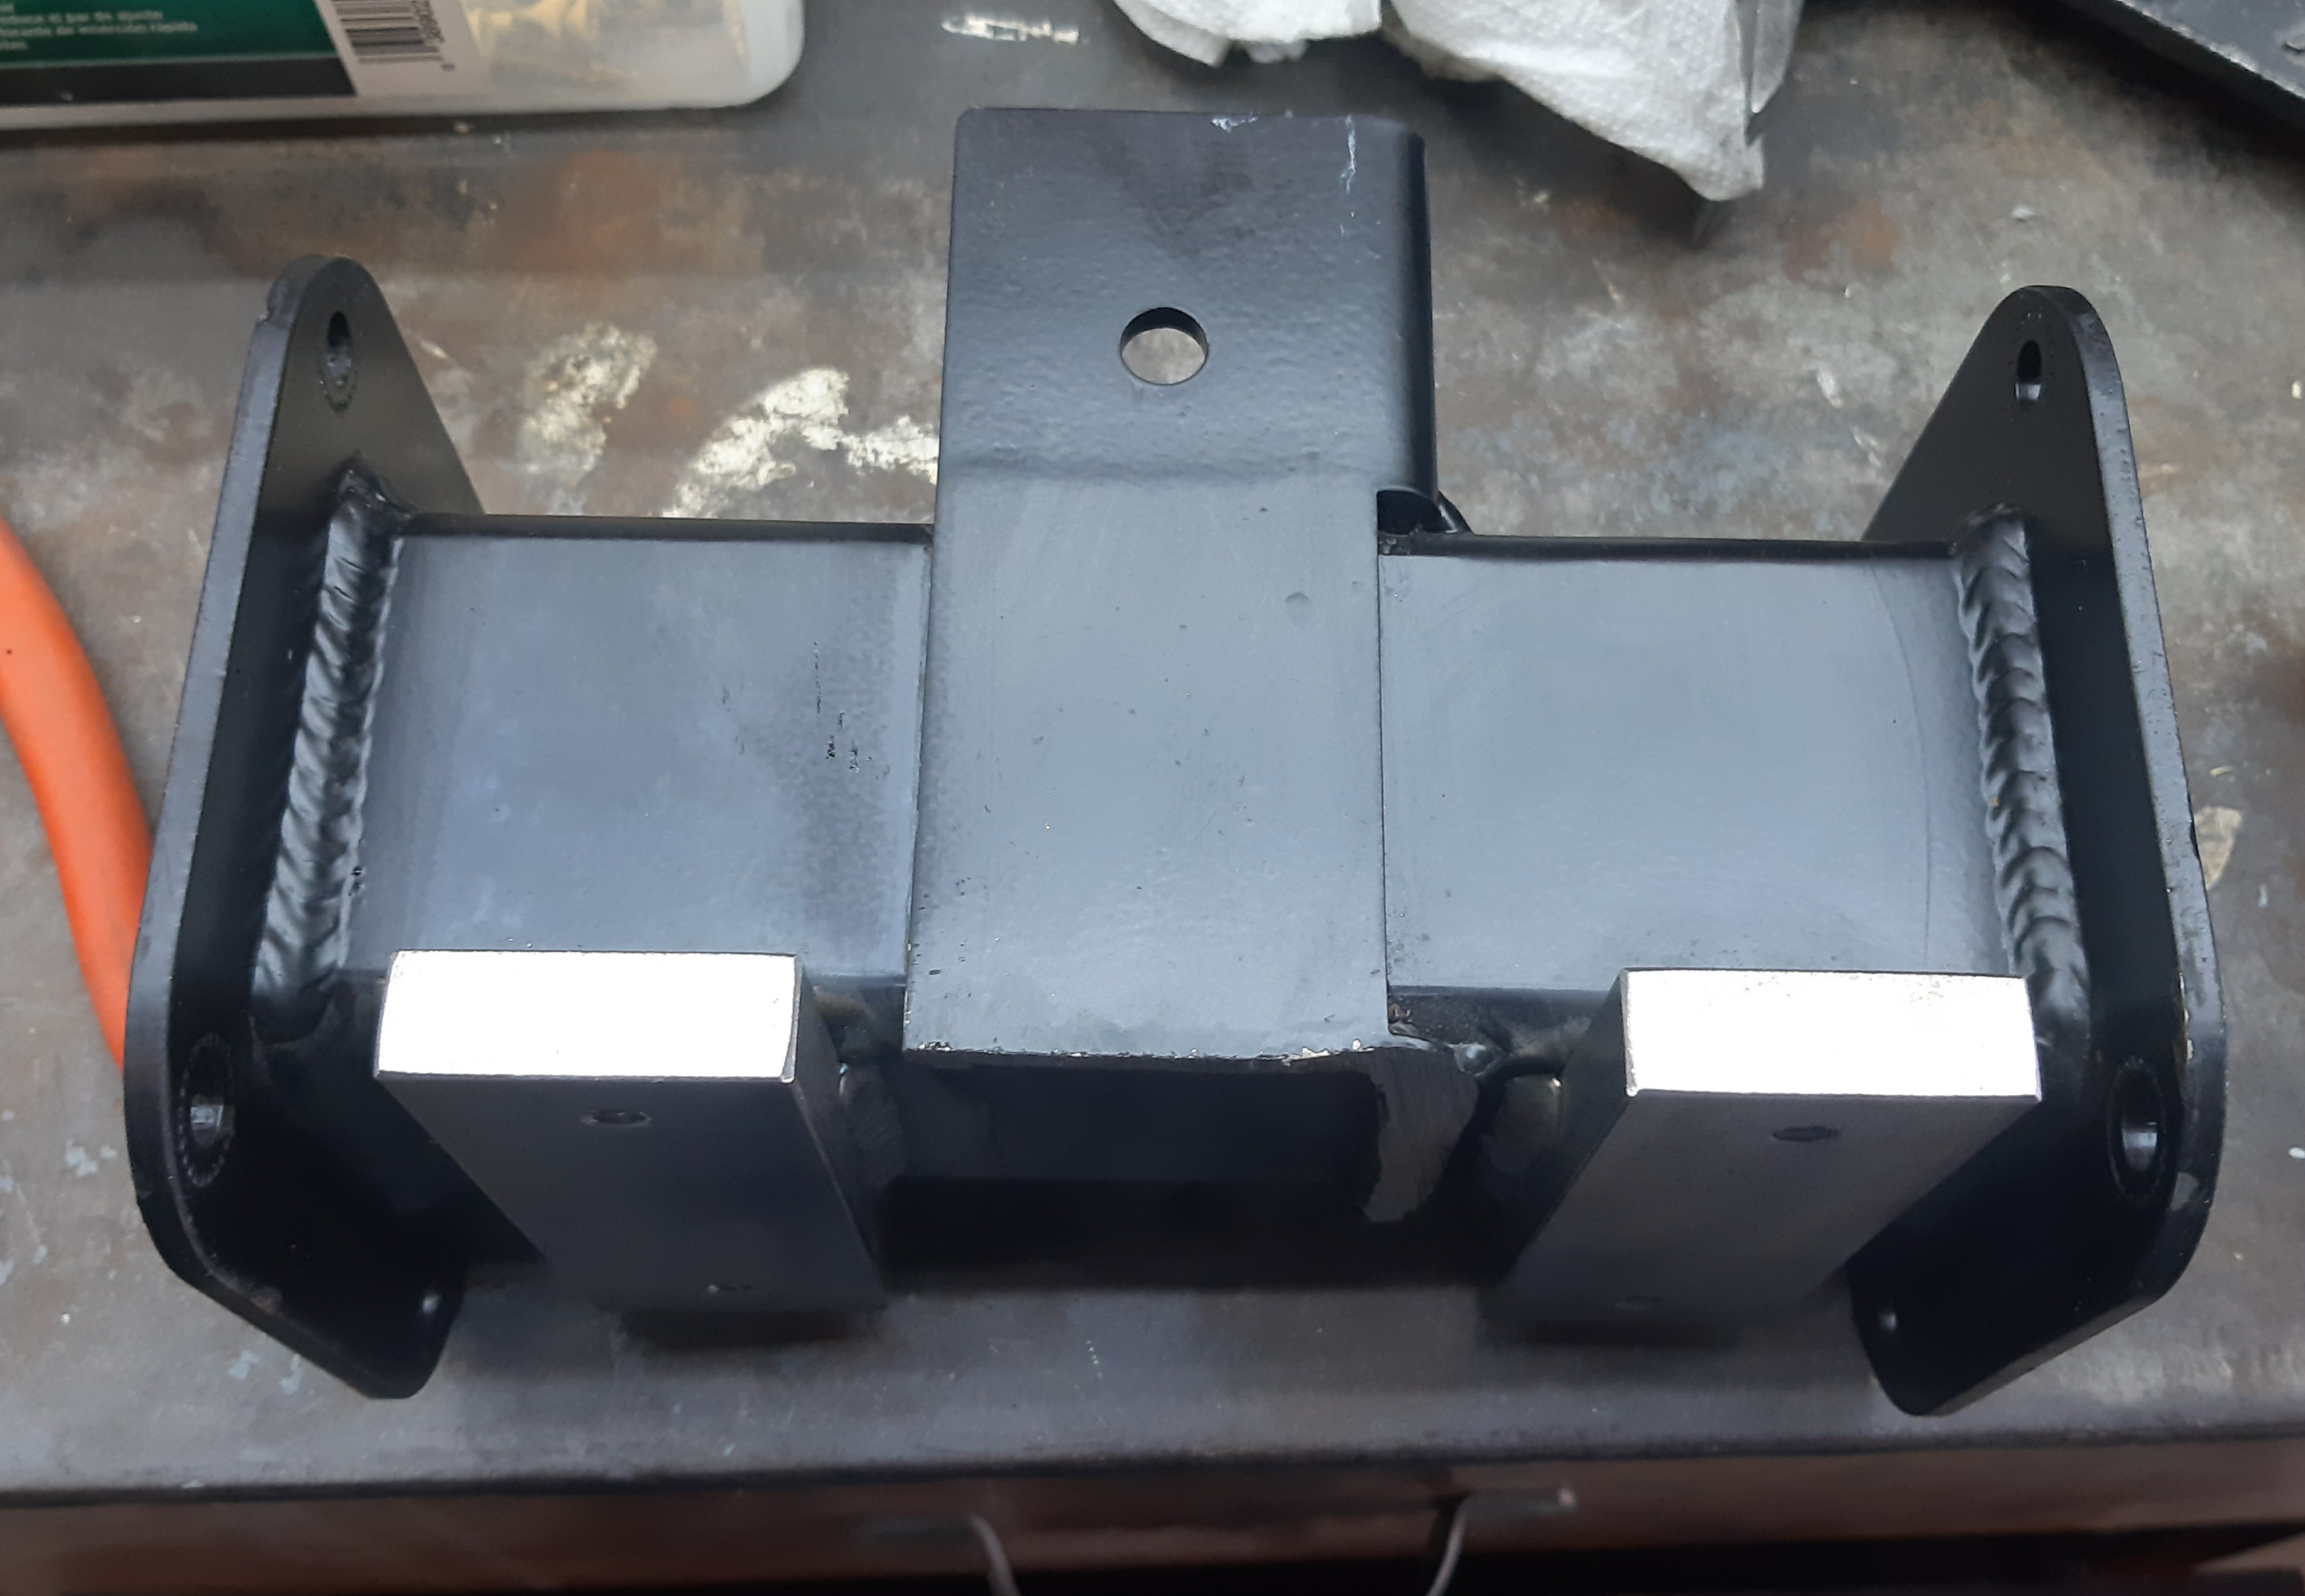
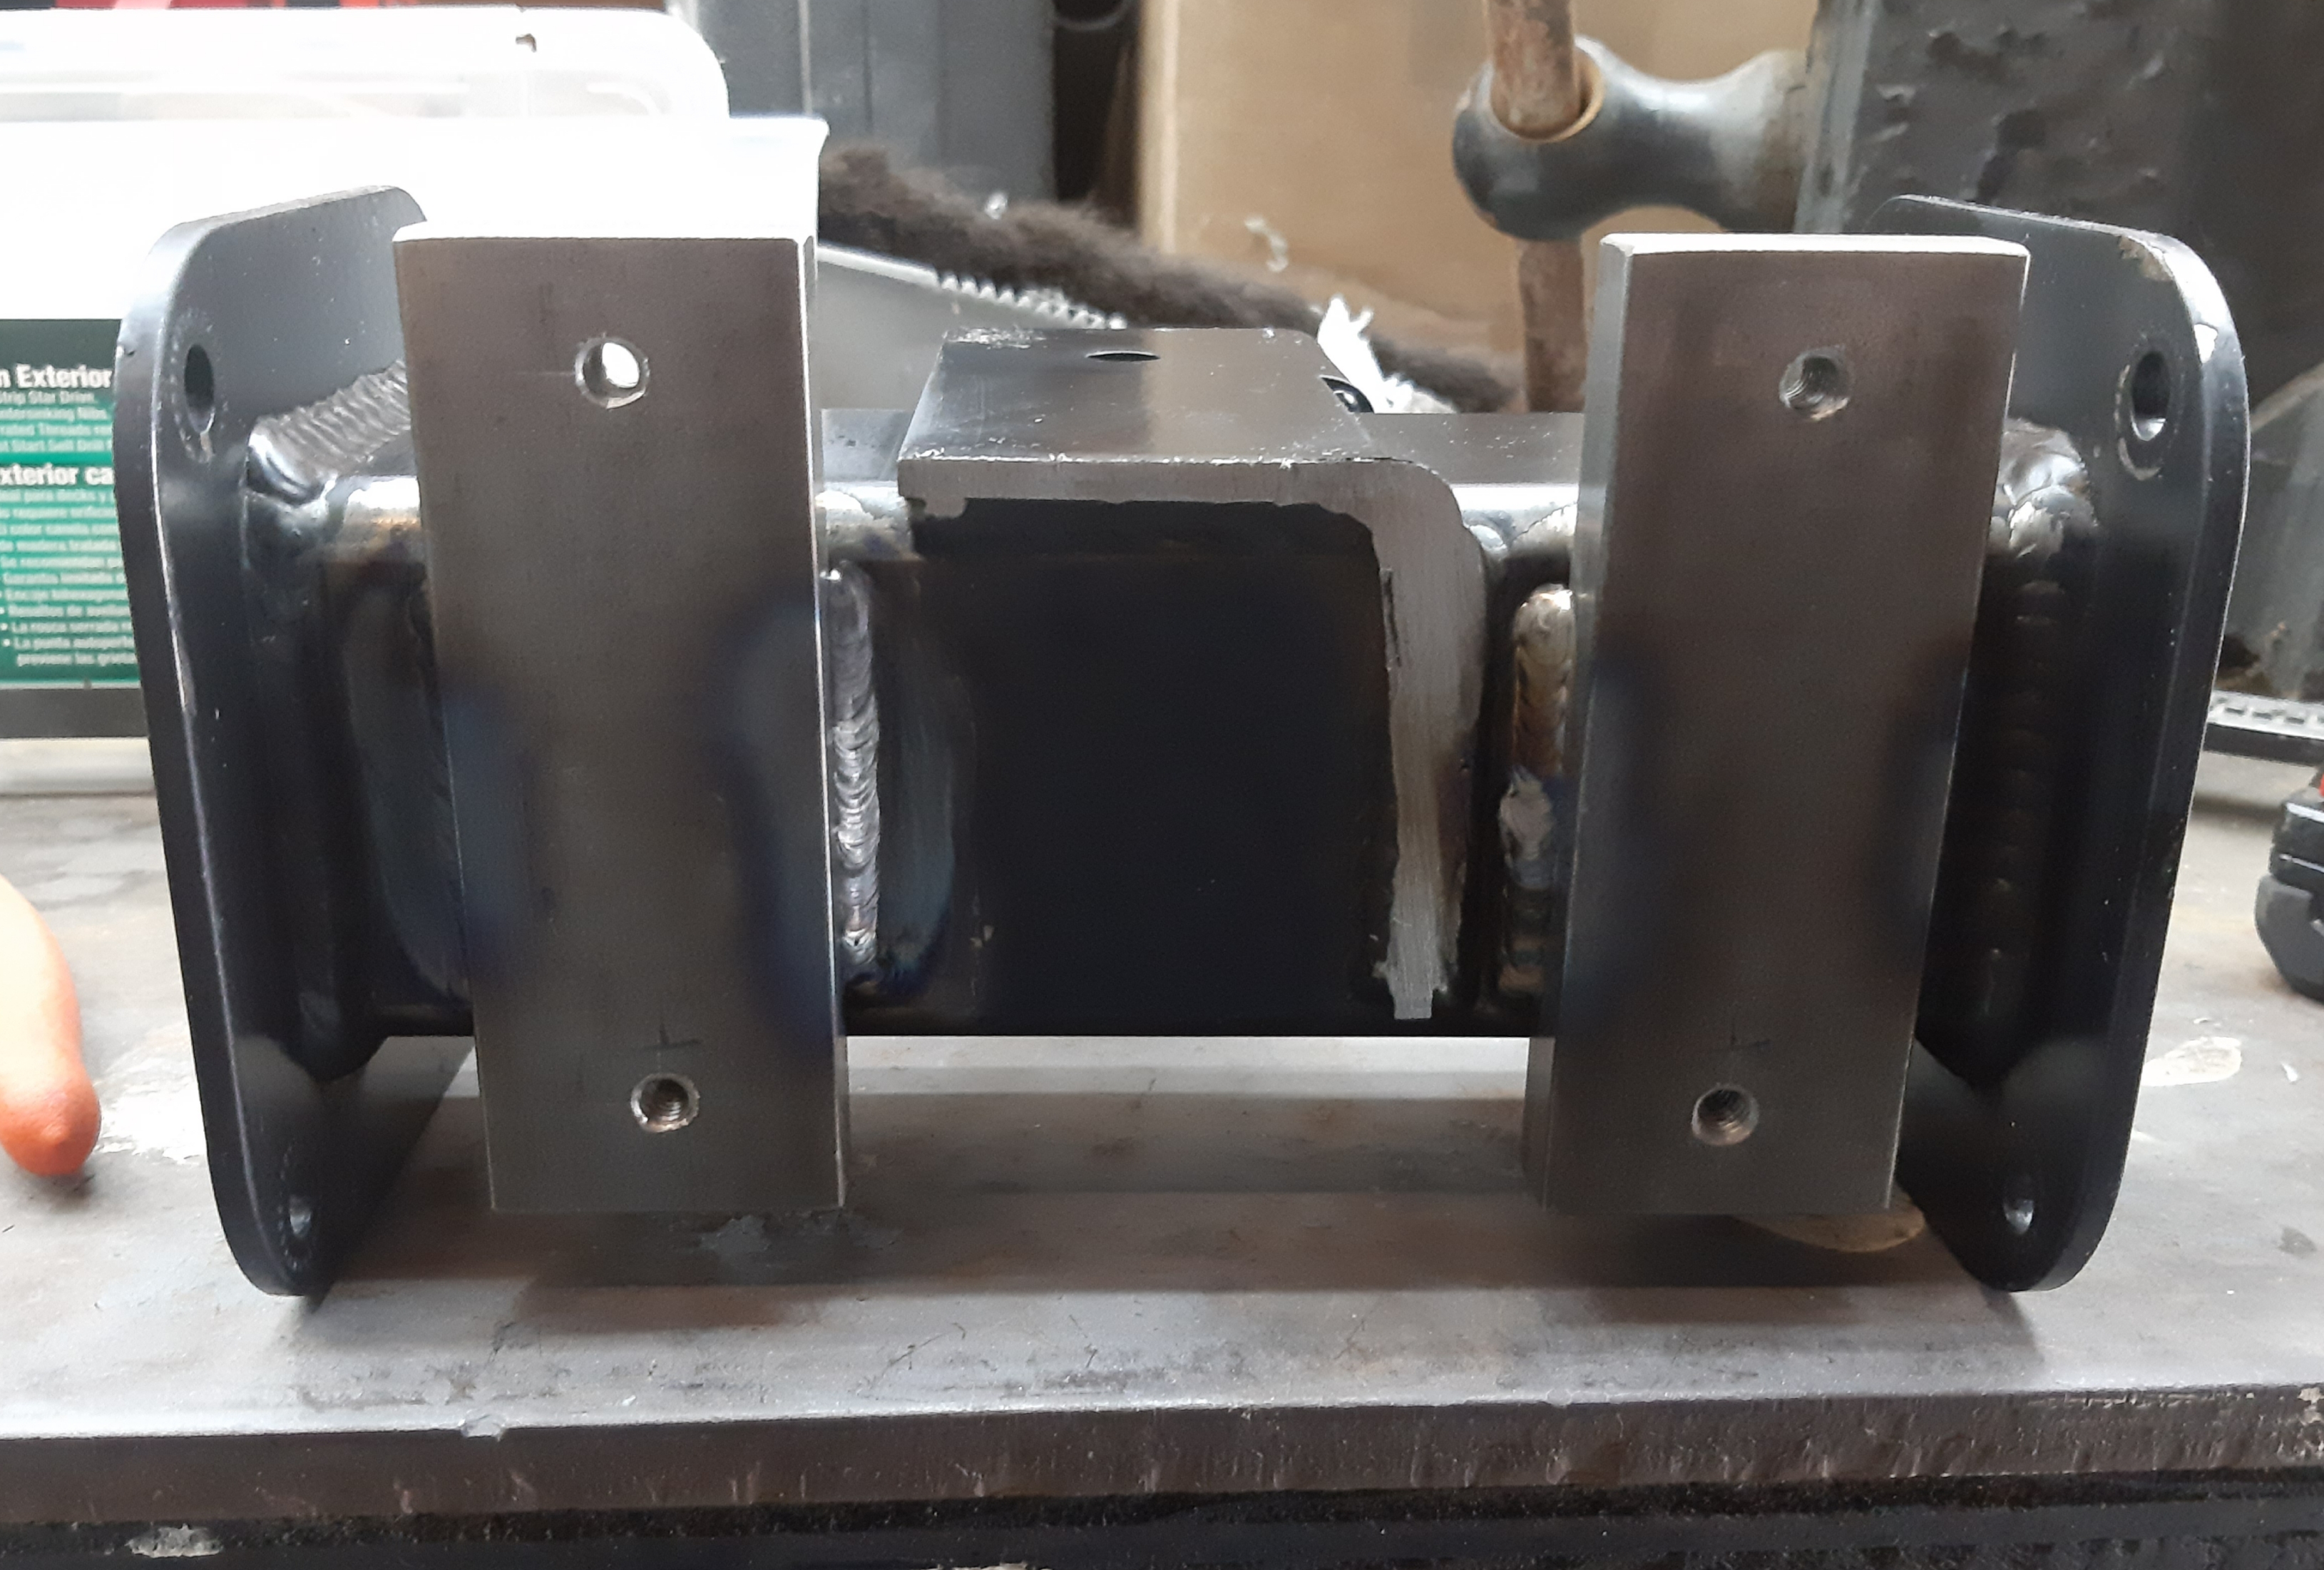
Turned out pretty good. Only after completing these did I realize that there could have been an easier way to accomplish the task these were built for…
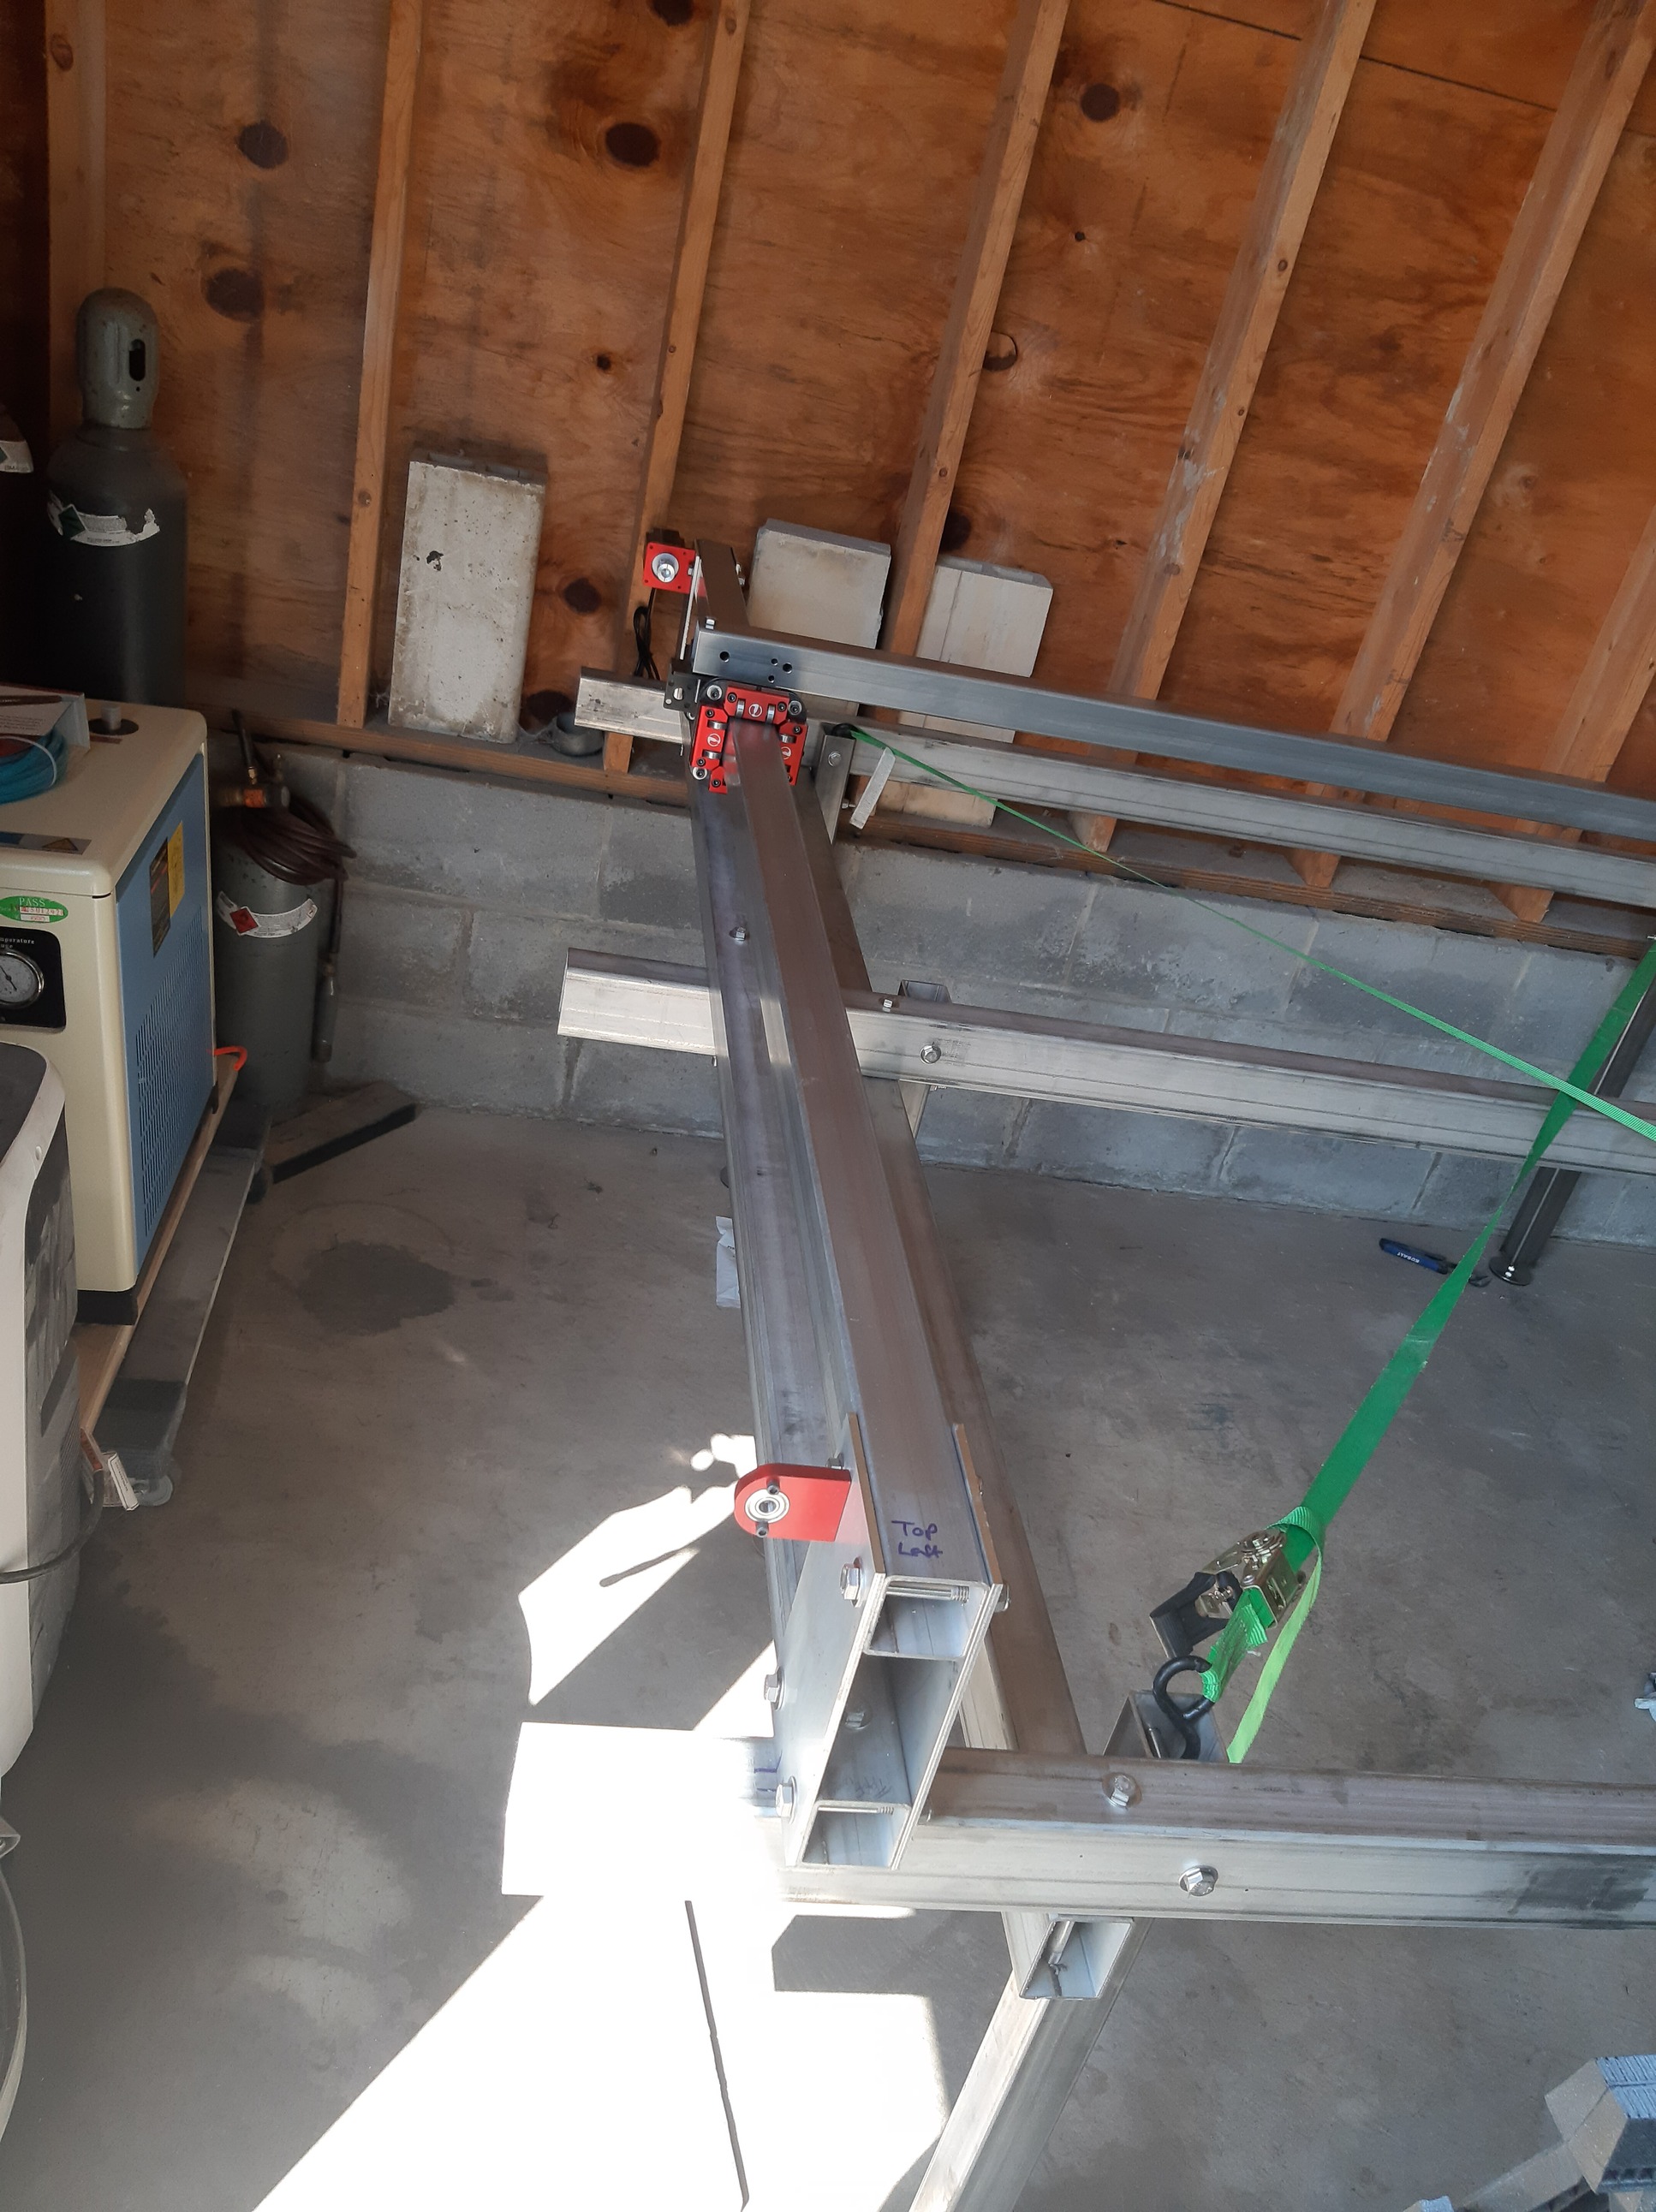
The carriage assembly still had to be modified. I ended up cutting off the support bracket and welding 2 spacers onto the carriage. These spacers will eventually get an aluminum plate that the Z axis will mount to. This way I can add or change things without removing the carriage assembly.