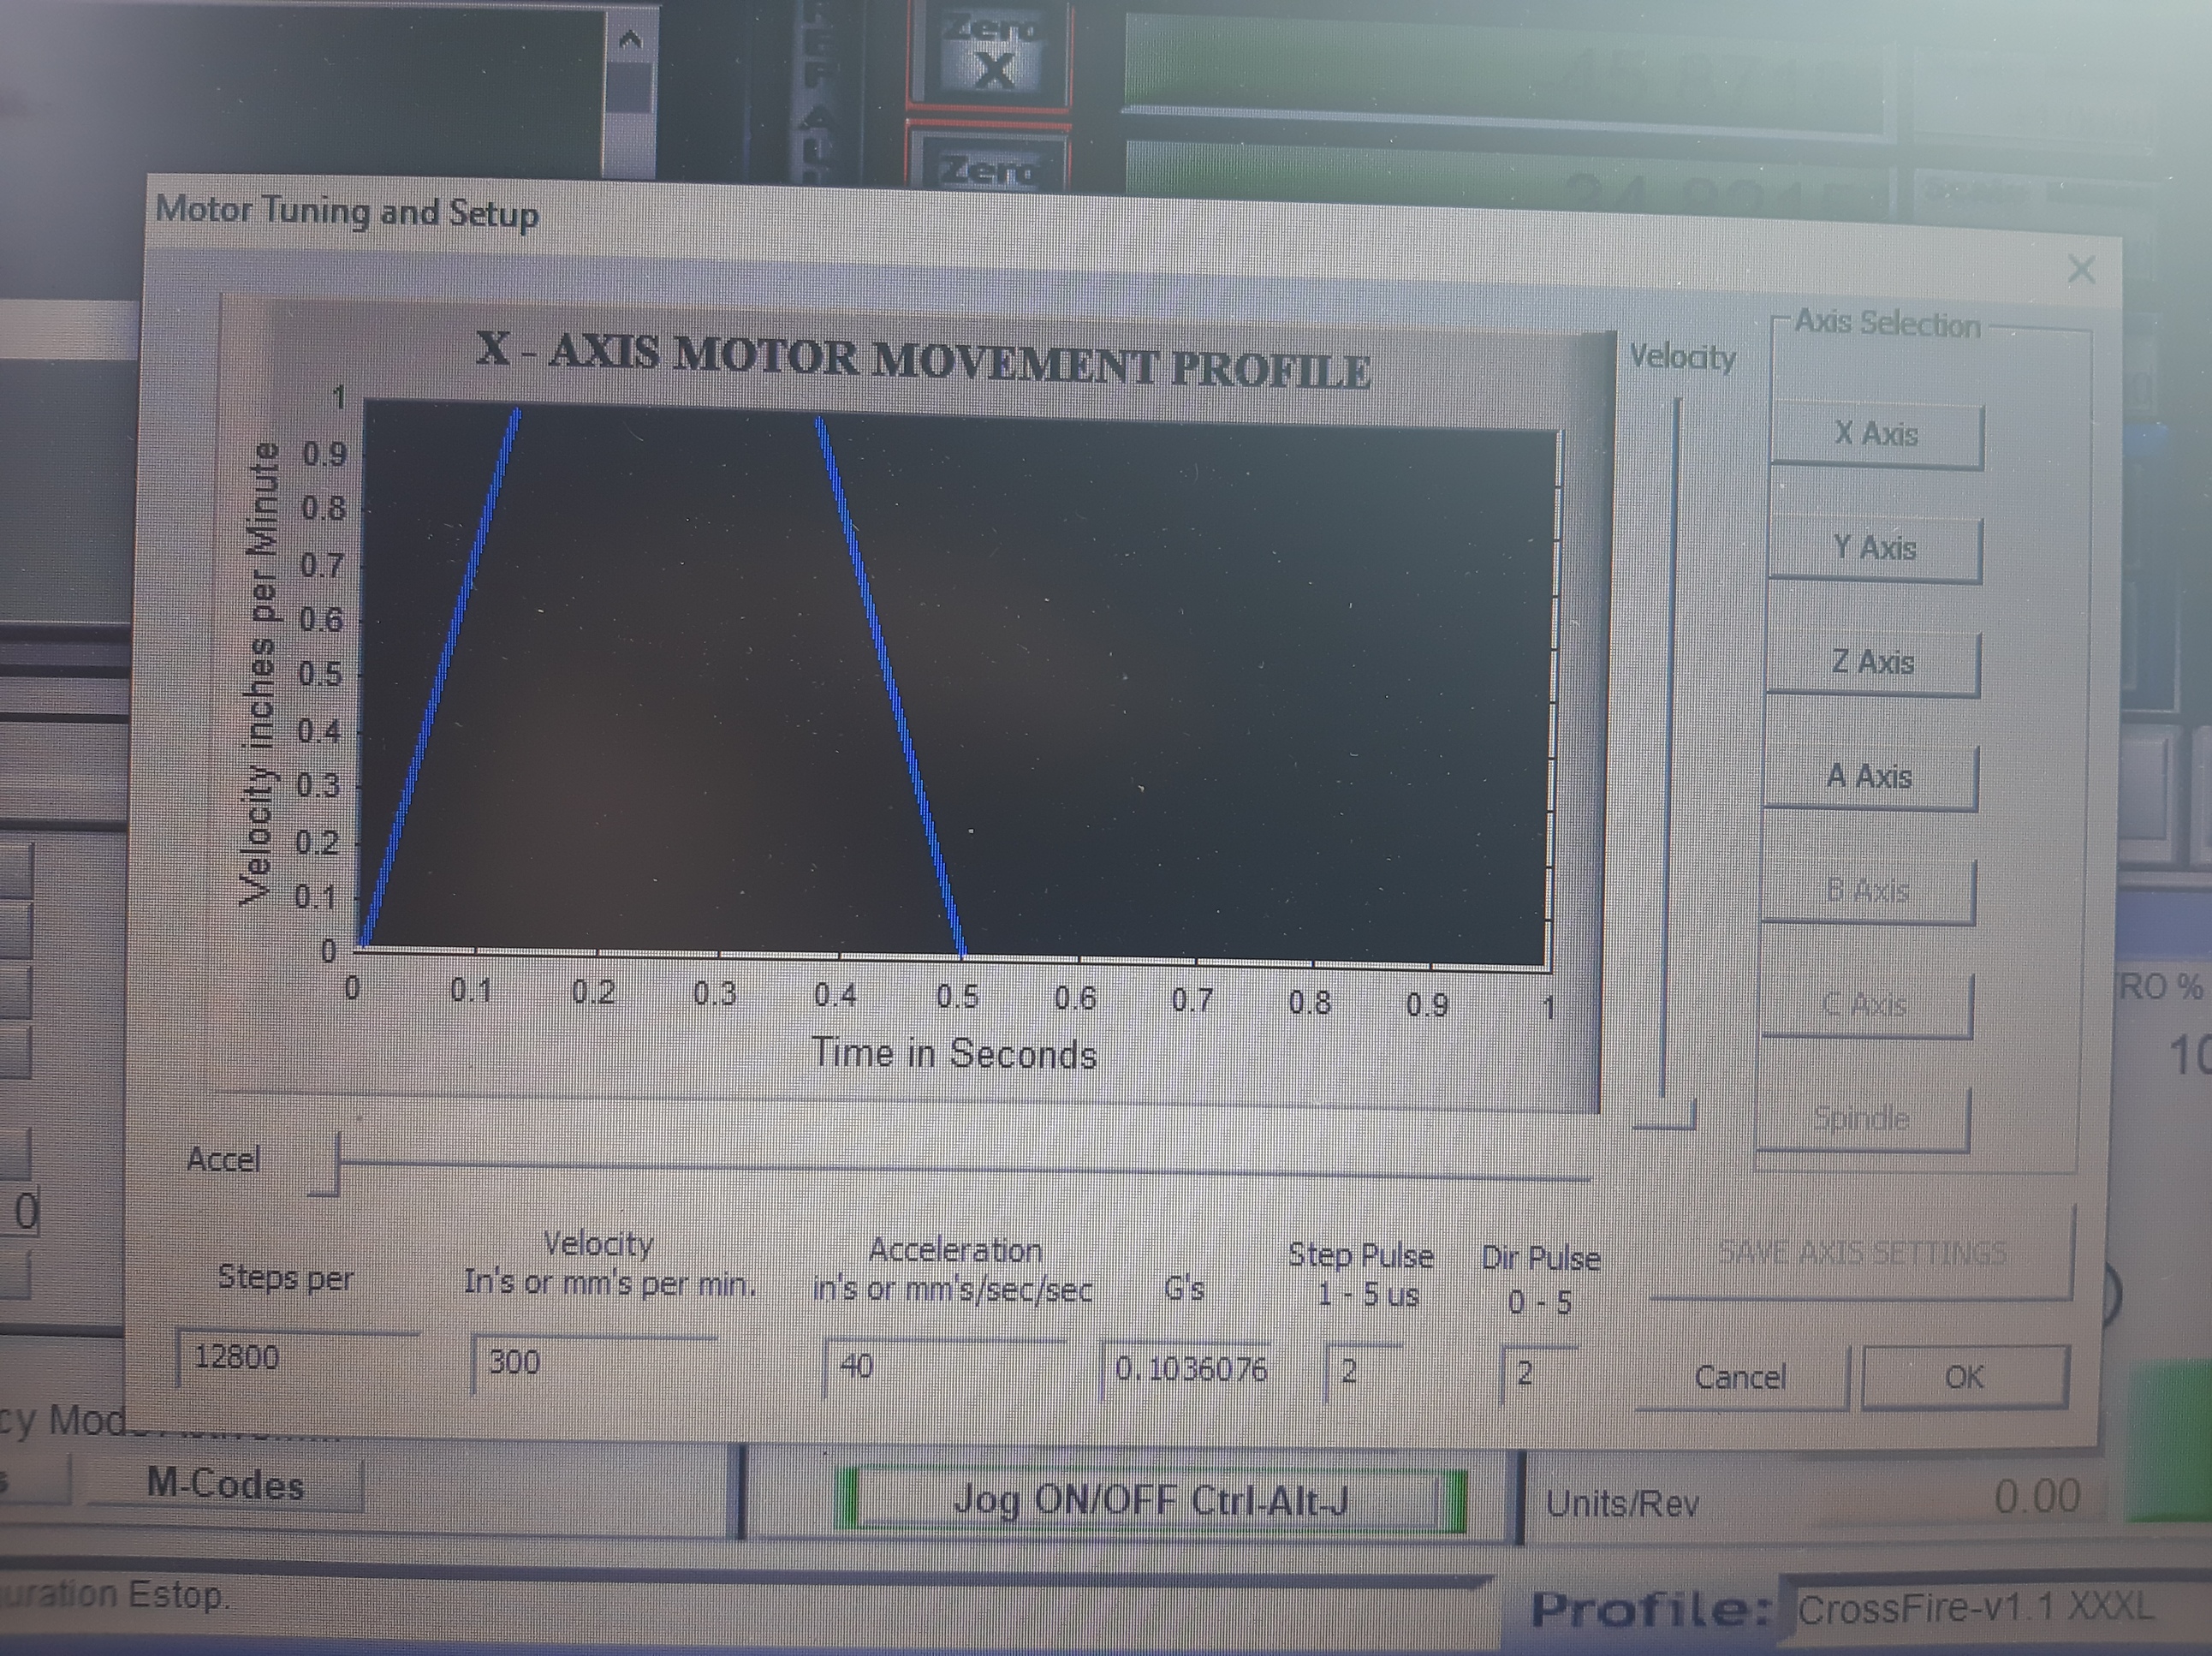
Would love to but I dont think the 1/2" lead screws could handle anything faster without whipping. They already want to at 300 ipm. Rapids would be nice at 600 ipm but that’s a dream with this setup lol. I doubt this machine will ever see cutting speeds over 150 ipm.
Seems to me that 1/2" lead screws would easily handle 250 or so, but I think, having a 60x60, you’ve put yourself in a box. You can’t lug 1/2" material into that sized space, so thinner stock will demand higher cut rates…
On the other hand, there won’t be a project you can’t handle! 
looks really great so far. i do have a question on your lead screw. i seen that you went to 1/2 in… did you stay with the same pitch, and was there any problem fitting it into the gantry bearing?
That looks Great. A 4 X 8 size would be even better…
I went with 1/2-10 5 start lead screws which is the same distance traveled per rotation as the lead screws that come on the machine.
If I could of found a 9’ long lead screw I probably would of went with that route. But at that length it would probably need to be a rack and pinion or maybe a big ball screw
Is this two tables put together? Or where’d ya get the extra carriages.
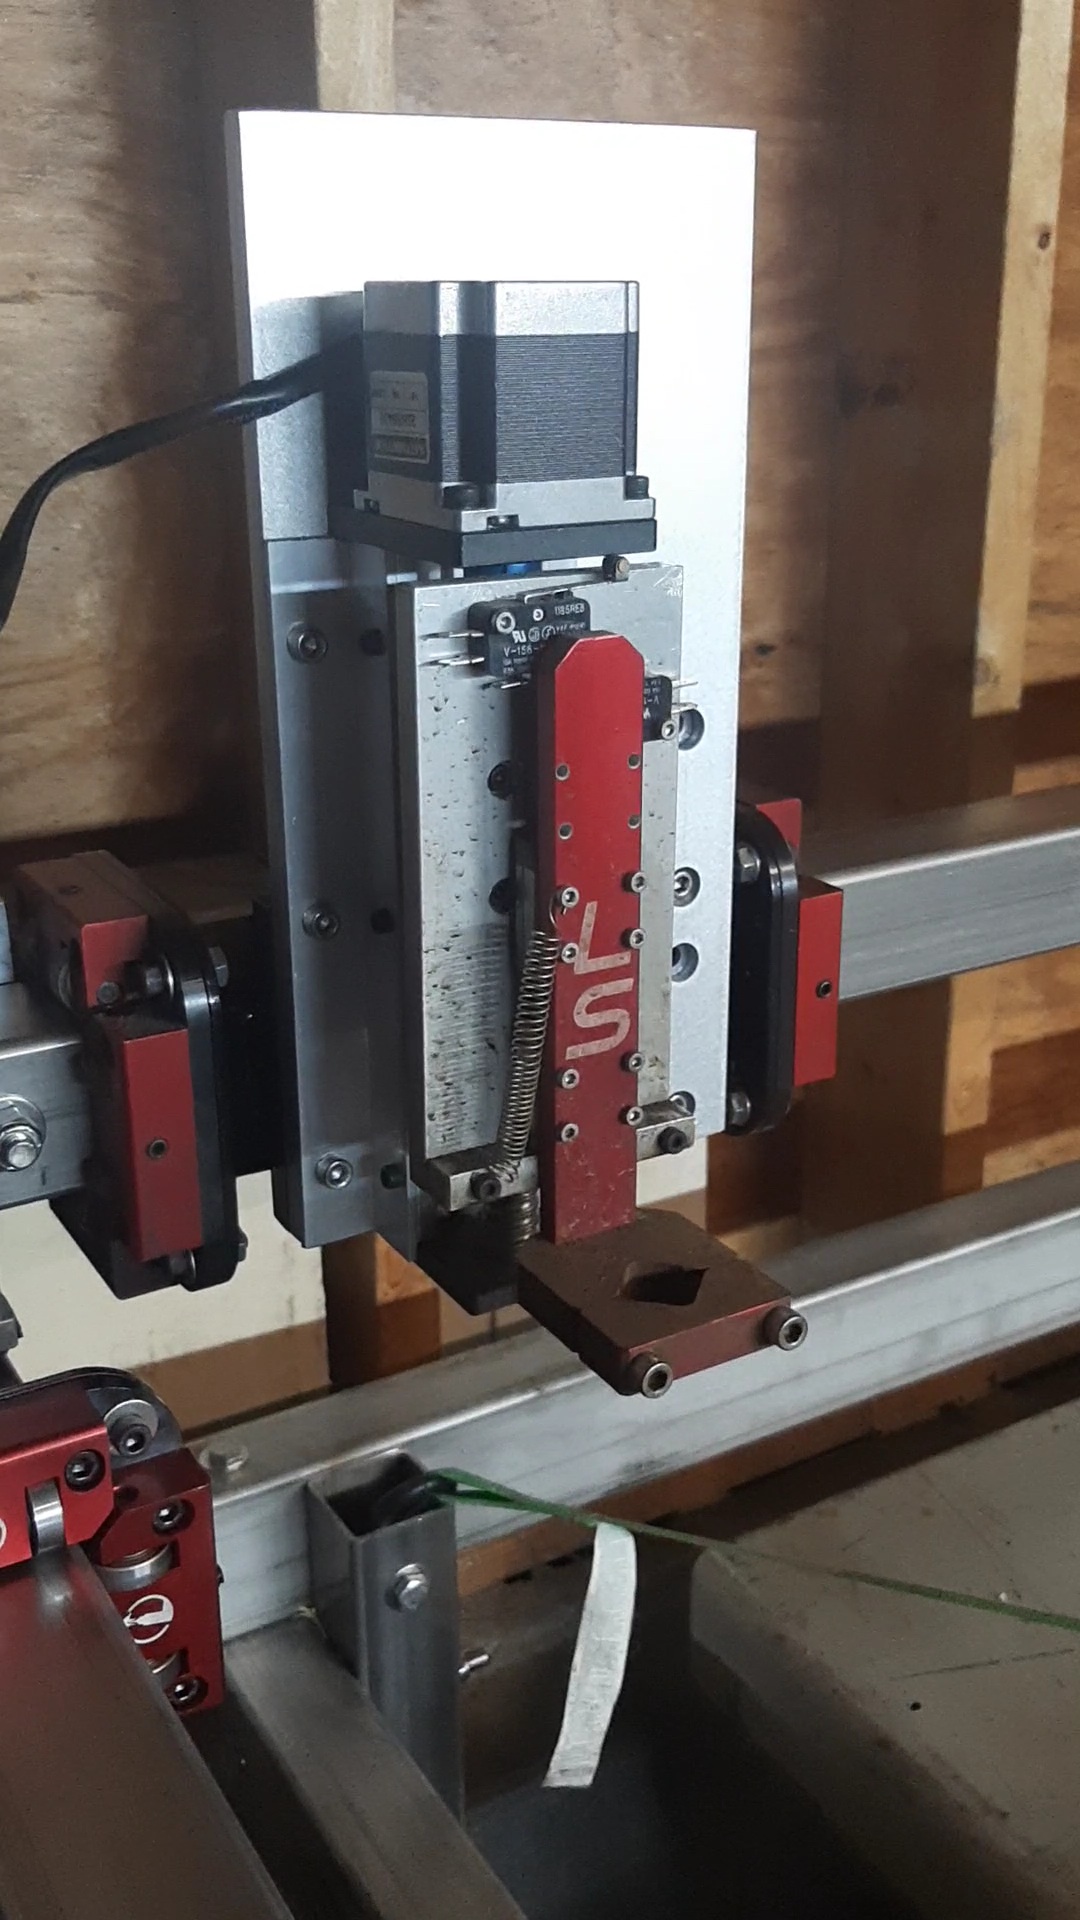
@Werks3D I bought the carriages assemblies from LS.
Ok. They told me they wouldn’t send me one right now. Must be low on stock. You must be on the nice list. 
“We have enough spare parts to provide replacements, but not to modify machines.”
Hopefully that changes.
I bought mine in early 2019. Just now getting around to building the new table.
1 Like
Nice work !!! I think you are heading in a great direction. Ok boys watch this guy he knows his sh#% !

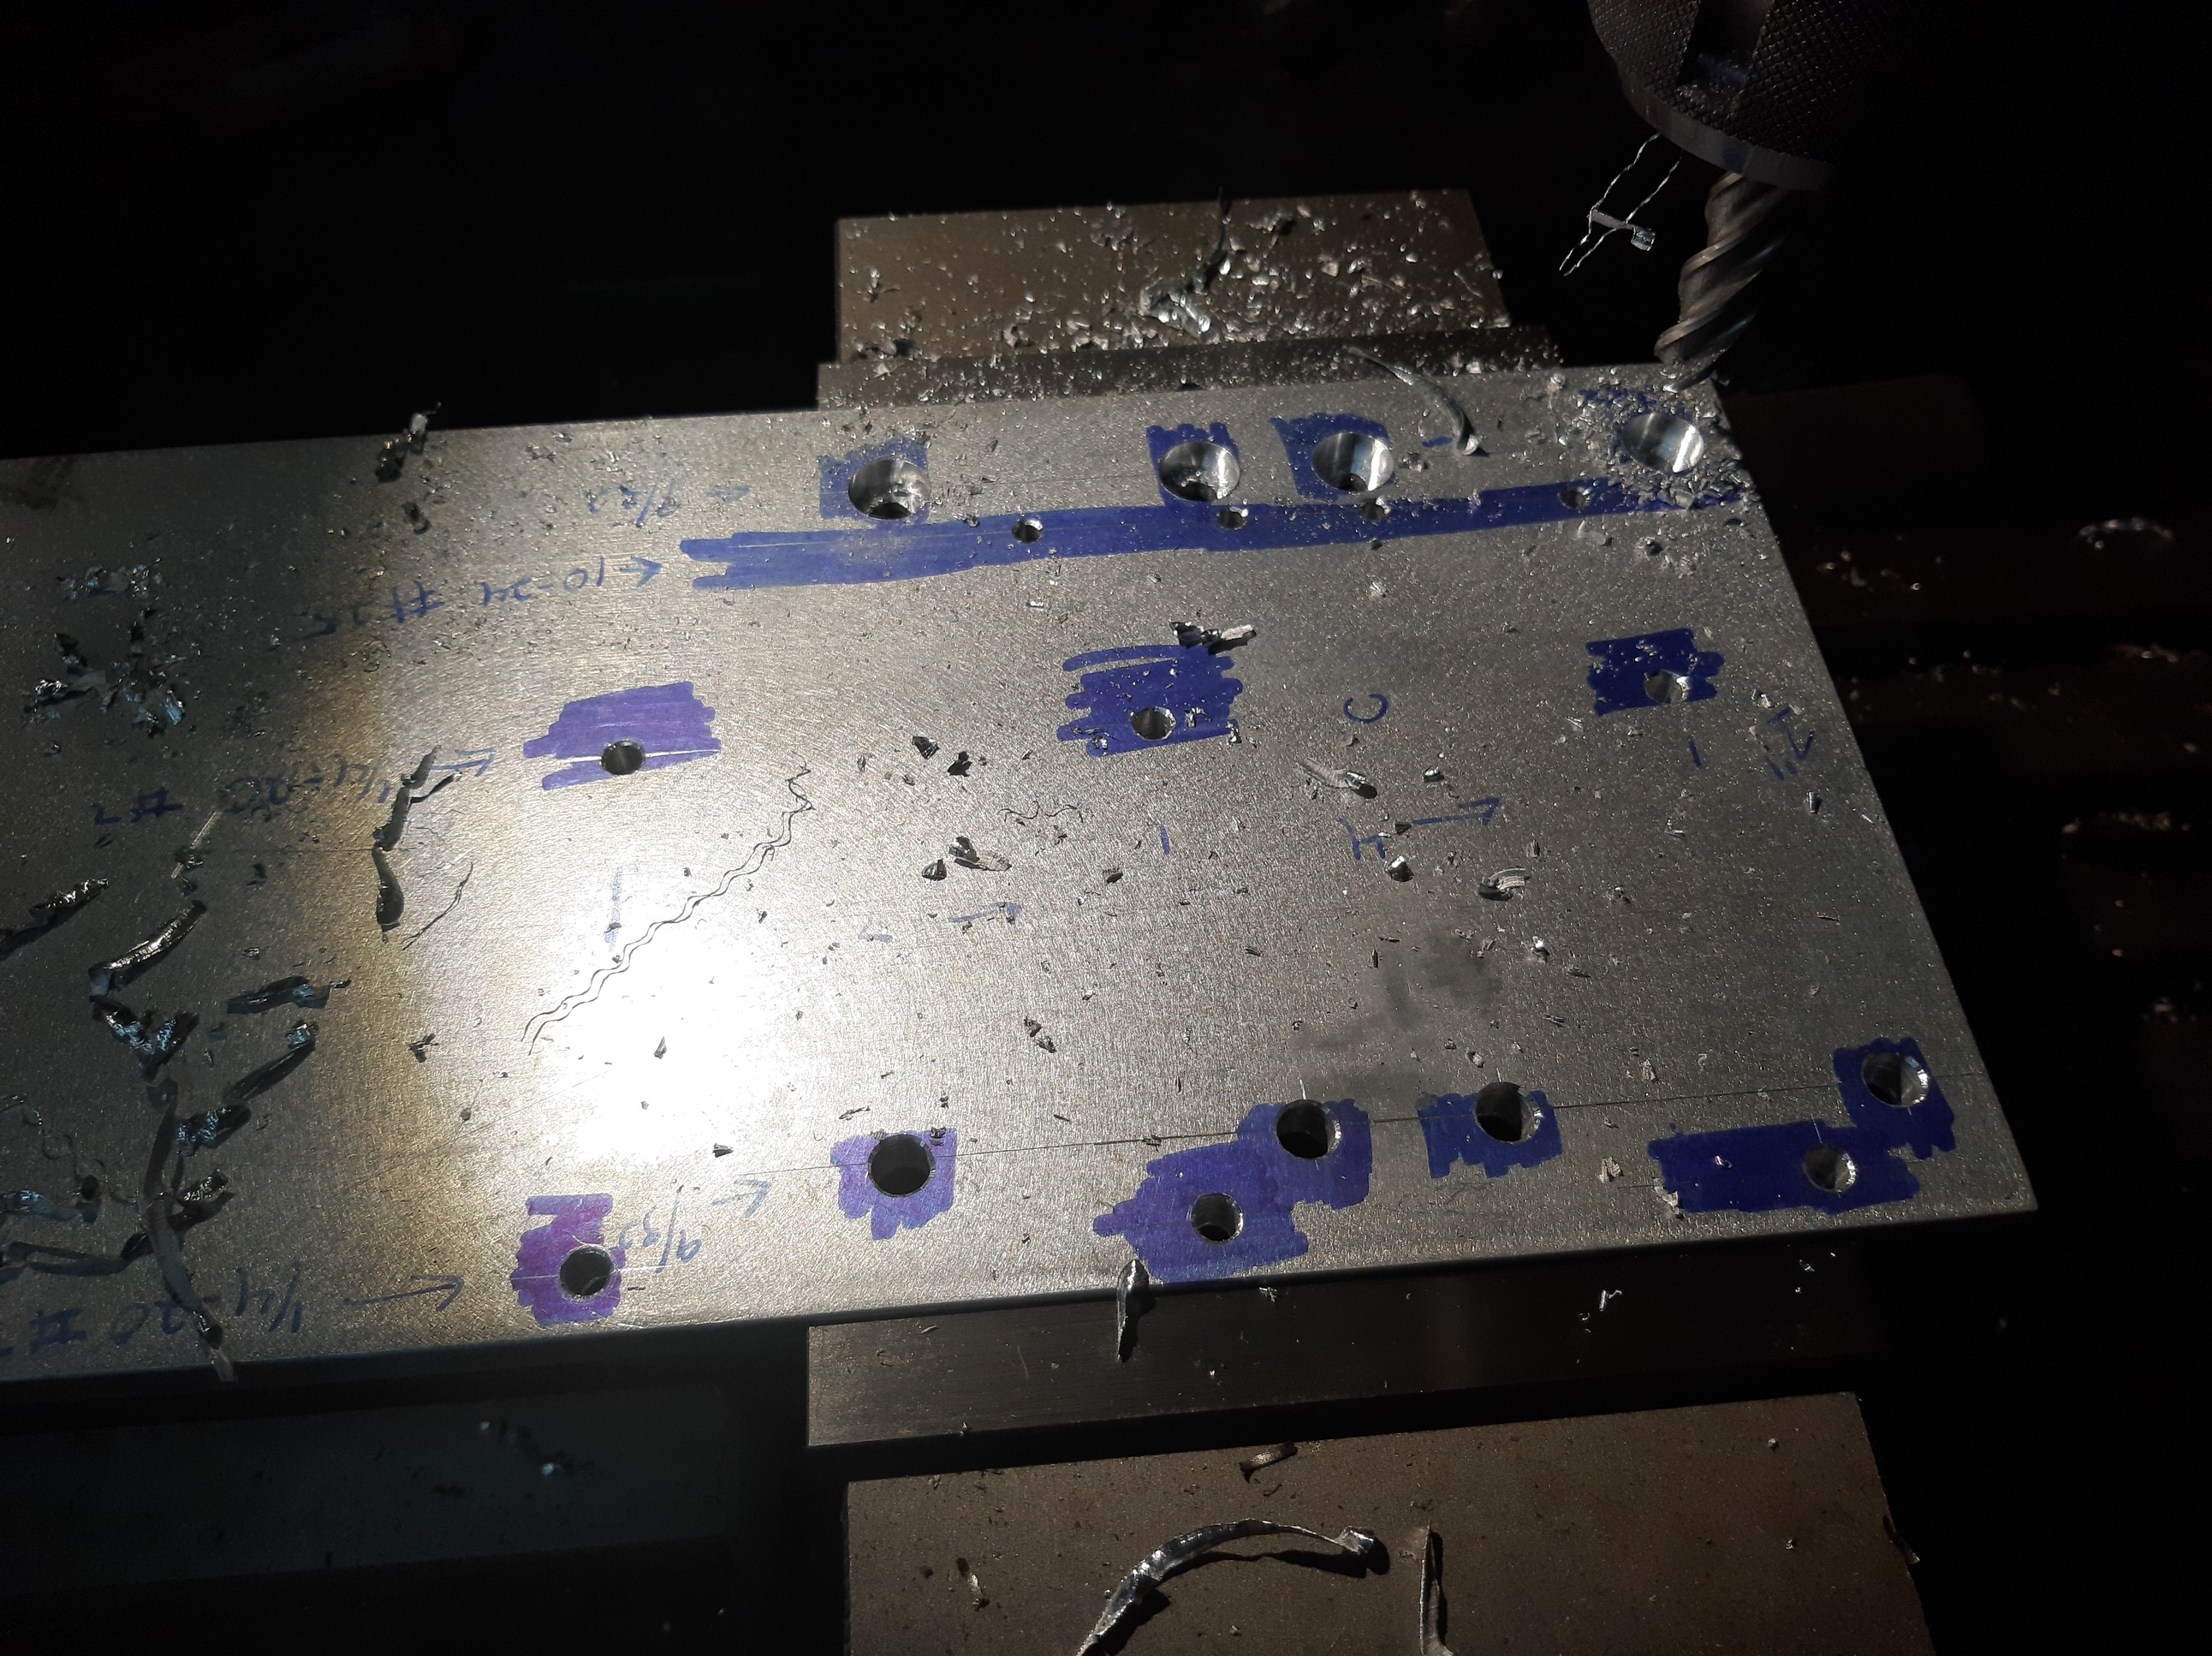
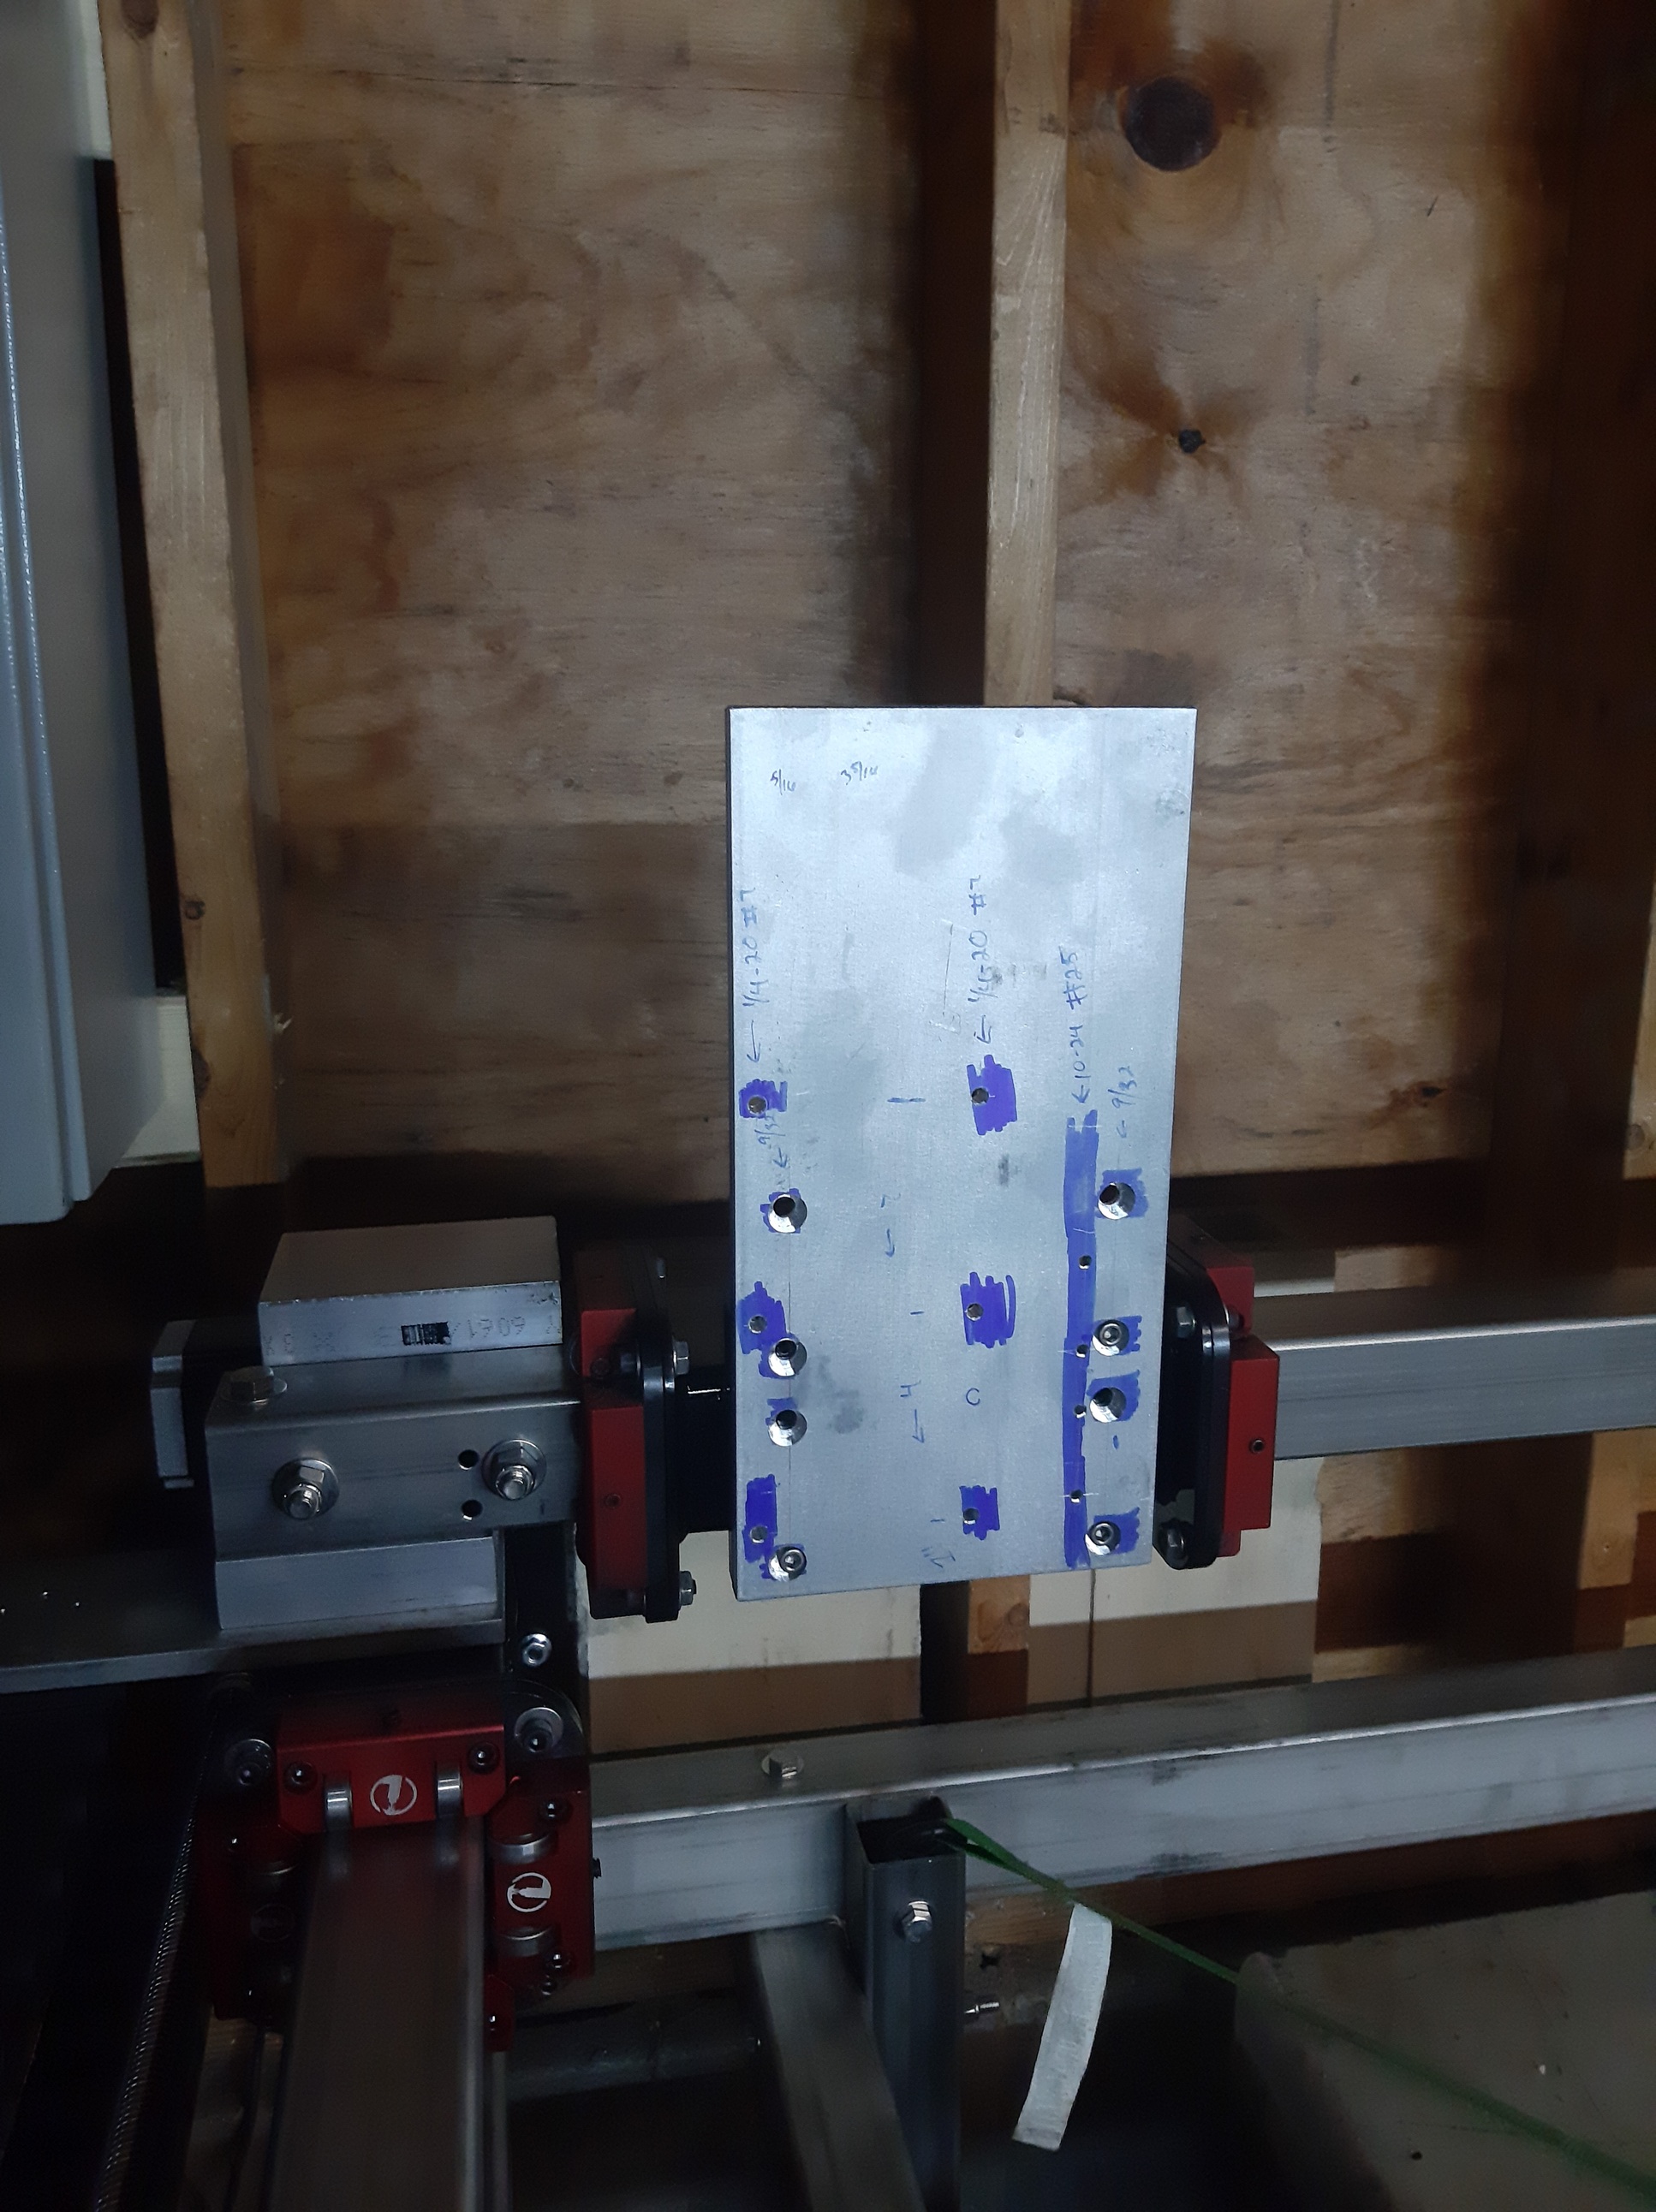
@MattD asked some questions regarding the lead screws used on my table.
The lead screws I found for my table were 1/2-10 5 start lead screws on ebay. See below. The original ones are 3/8-8 4 start I believe. In order to get the same travel distance per revolution you need to find a screw with a .5" inch per rev. To find the ipr you take the start (4) and divide by pitch (8) to give .5" ipr. Or with the bigger 1/2" lead screws 5 start/10 pitch=.5" ipr
https://www.ebay.com/itm/132450480303
You will also need these nuts. They fit the OG Crossfire with no mods to the brackets.
https://www.ebay.com/itm/142638623979
Also bought these couplers for the stepper motor to the new lead screw.
https://www.ebay.com/itm/273961856544
I ended up making my own coupler for the connection from lead screw to bearing block. Also shown in a previous post above.

If I had to do it again. I would just buy more couplers from ebay but 1/2" to 1/2" and turn down one end of a piece of 1/2" material (probably CR 1018 1/2") to just under 8 mm, .315" (the ID of the bearing), drill a hole and send in a 10-32 tap. I think that would be a lot easier then making your own couplings.
Or buy 8mm CR1018 and turn down one side to 1/4" and use the same couplings as the motor.
Or just use the original couplings and turn down the ends of the 1/2 lead screw to 3/8.
There is about 10 different ways to attach it.
2 Likes
@MattD you can use any lead screw or ball screw you want. You would just have to change your motor steps per settings in mach 3 to match your new setup. But a 1/2-10 5 start lead screw would be your easiest with no changes to mach 3.
2 Likes
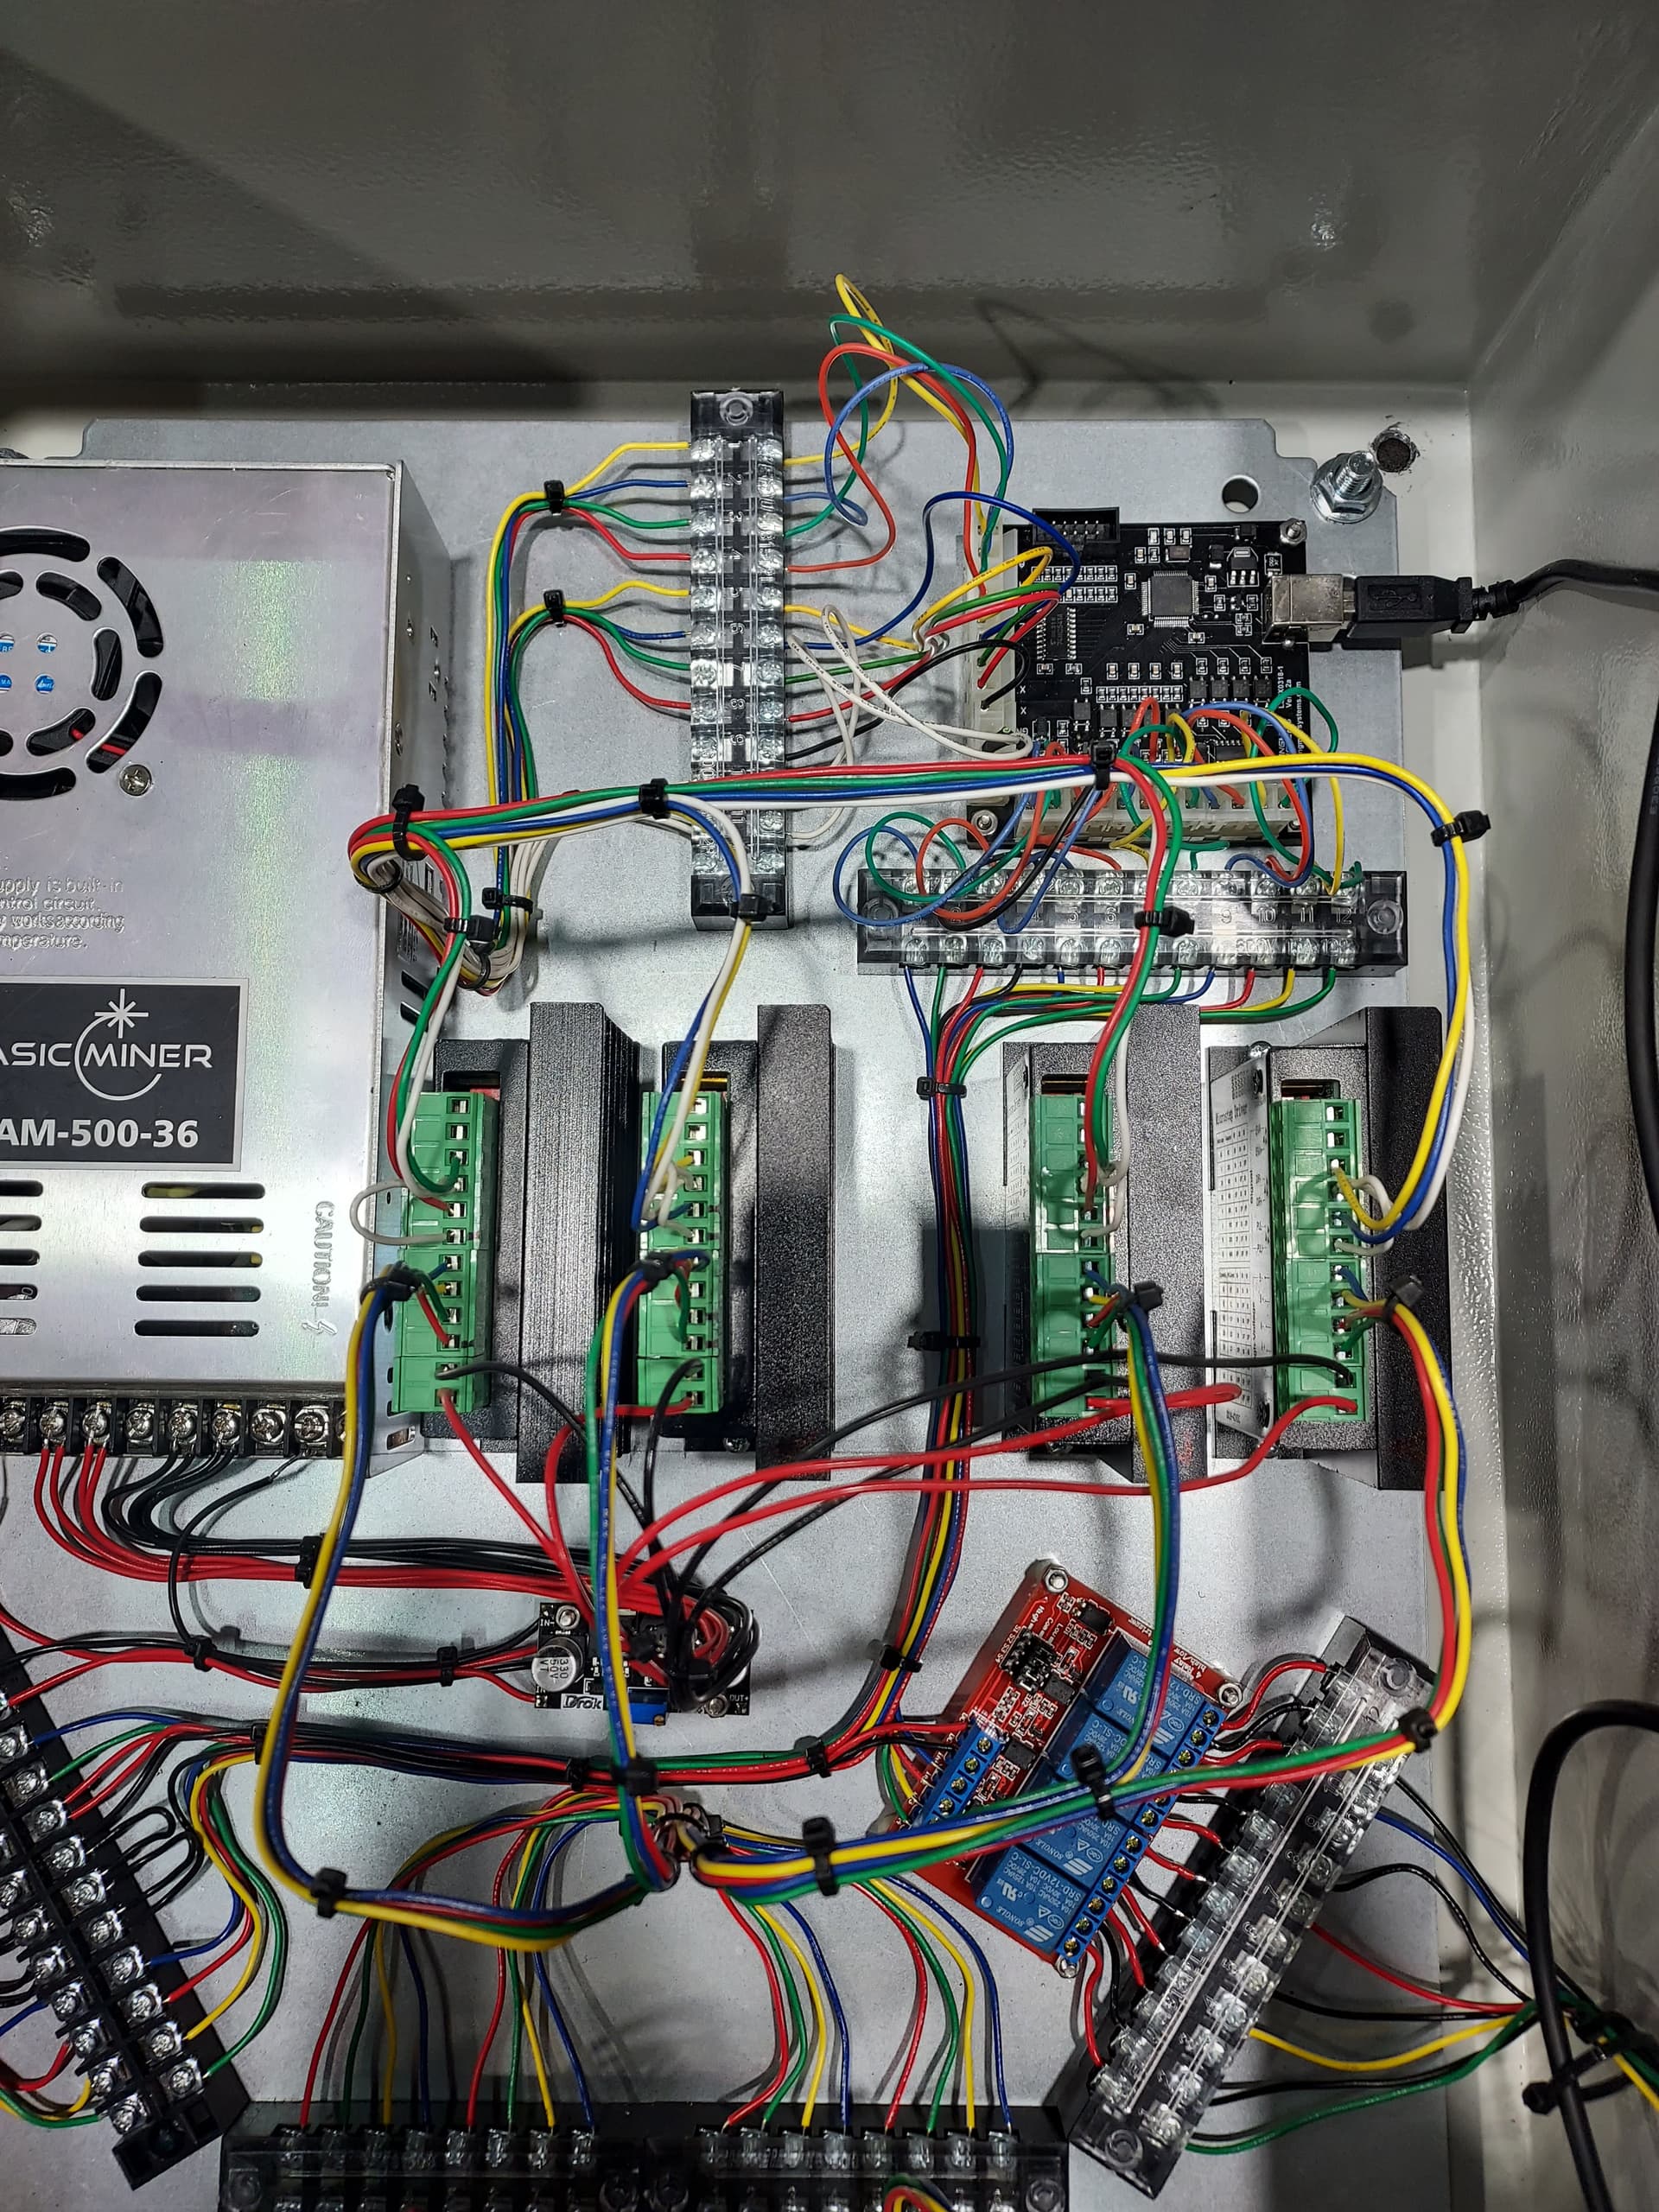
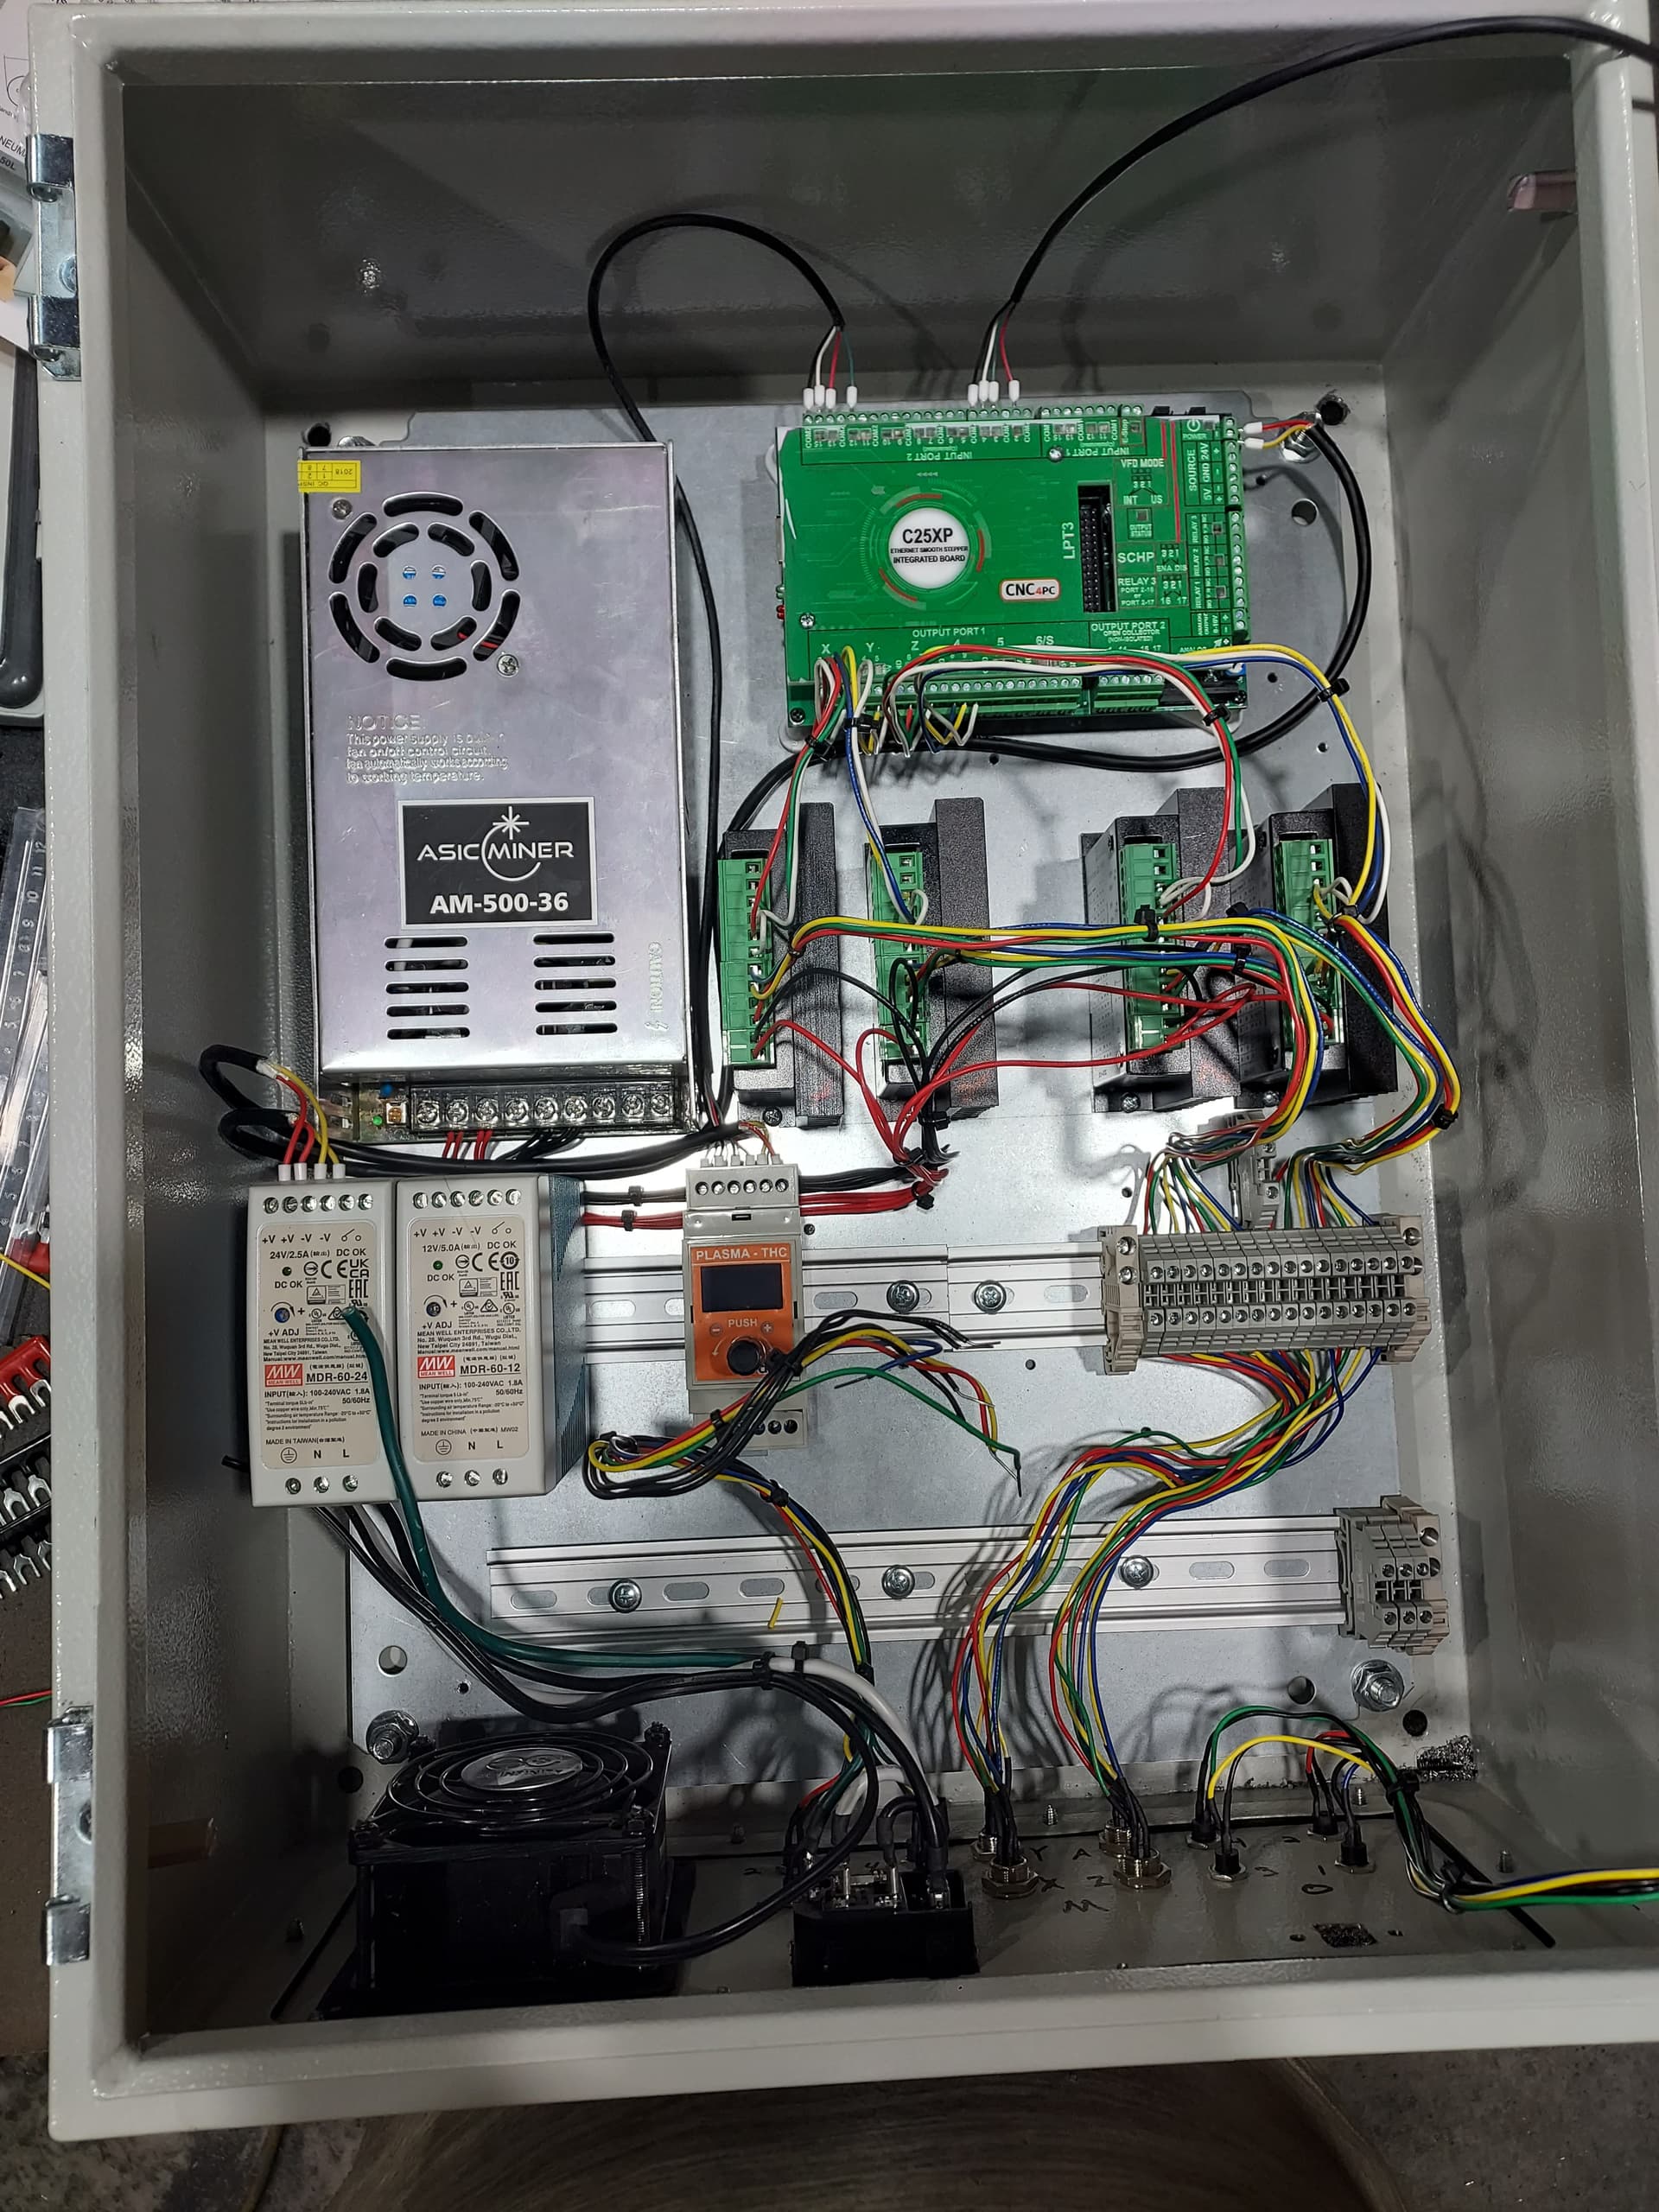
Changed the motion control board to an ethernet smooth stepper with a c25xp bob, added a cnc4pc thc and switched to mach4.
1 Like
Reason for change from another post.
Well I was going to stay with mach 3 but had issues implementing the new controller. Did some reading and decided to switched to mach 4. With mach 4 the ess changes torch firing m codes from m3/m5 to m62/m63. With the new m codes the firing of the torch is precisely cotrolled with the motion g commands which helps with piercing/delay. Also m62/m63 is designed for plasma as opposed to m3/m5 for spindles. Now I can use m3/m5 and m7/m9 for other attachments. Pin mapping is also very easy in mach4.
I have future plans for this machine and needed more then the 4 inputs that the og bob had. 15ish dedicated inputs and probably another 15 assignable.
With the board being ethernet I can now move my computer further then ~10’ from the control box which is a huge help in my setup.
Impressive skills. I am waiting for an XR, otherwise, I might be bugging you for plans!
I am on the list for an MR-1 as well…just when I thought I had made enough room in my garage for the XR, and they announce the MR-1 and take my money!
2 Likes
Hey, I’d like plans. Or at least a way to contact you other than a forum. I’m planning on doing something similar, yet not quit this advanced, and while I have a good idea how to do this, I also know that there are a whole bunch of “unknown unknowns,” that’ll pop up as I begin. Do you have a way I could maybe send you some questions as they occur to me? I don’t have anything specific in mind yet, but I can see you’re a smart, thoughtful guy and I’d like to be able to pick your brain. Happy to help teach python coding or javascript in exchange for homebrew CNC tips…