Beginner installation

The one inch space is going to be your sticky point. I could not do that on my set-up. No matter how I would approach it, by the time you came to your 3rd bend, the piece would be pressing and deforming onto part of the press. But I will admit, I have not tried placing a smaller angle iron to lessen the spread for the bending surfaces. Others might comment if they have been successful with these tight bends.

The way they did it in a sheet metal shop I once worked, was with a big Pittsburg machine that had dies with the correct profile and it would form it in one motion. If you made a male/female die with that profile, with space allowance for the metal, the Harbor Freight might be the ticket. I guess the question is: are you going to do a large number of these? If so, the press might be the right tool but you will need to get clever with the dies you make.

If the metal is thin enough, you could do it with the traditional brake like David has from Harbor Freight. The beauty of the brake is that the one bending edge slopes away from the metal. You would have much more control and clearance with the brake.

1 Like

I’ll try to do your bends with my brake later today. If it doesn’t work, it wouldn’t be hard to make a die to press them with the 20 ton press.

1 Like

That’s where SWAG’s gooseneck dies are great! It’s worth it to have both regular finger dies and the goosenecks.

4 Likes

With the SWAG Press, that bend is a problem. Even with the smaller angle installed, the larger angle remains, limiting the return bends due to interference. With a dedicated bottom die (say 1-1/2" across or L1x1x1/4), no problem.

1 Like

I just tried those bends on my brake and I can only get 3 of the 4 bends. I think you would need a purpose built bender or fixture to make those bends.

I would make a die to press the center channel into and then hand bend and hammer or press down the other two bends, while it’s still in the die.

2 Likes

Thanks for trying David.

1 Like

Jim, I am trying to save up funds for a sand blaster cabinet. No $$ for the goose neck dies.

1 Like

:smiley: I got the big HF sand blaster cabinet and then upgraded the media feed system & the gun as well as adding a foot pedal for the air. You can spend as much upgrading the cabinet as on the base unit itself.

2 Likes

I have modified mine somewhat as well. I put a bottom pickup with a shot gun hole that I put a hose on to attach air when I want to get real nasty.

Jim,

You can make them if you have some 1/4 remnant laying around.

See posts below from the “its been a while post those projects” thread.

john_s

2

Jan '21

Cut lots of large box tube end plates, hang plates, hooks, gussets, etc. Cut some riser plates for when I install the XL kit parts.

Needed some gooseneck dies for the Swag Offroad heavy duty finger press brake, but their versions are short, so designed larger ones and hope to try them out soon. Just 1/4" plate. I’ll weld them in groups for different widths or 1", 2" etc.

I’ve made a few dozen capture nut mounts from 1/4". Weld them to 3/8" nuts to mount hockey pucks as feet for different projects, a bench grinder stand, a couple radiant heater stands for a restaurant. Still trying to improve my tig welding.

Bought some rollers from McMaster Carr and designed an adjustable roller guide for cutting long tubing and angle iron. First of several of these I am making.

All on Crossfire 2x2, Primeweld Cut60, ViaCAD 2D / Sheetcam / Mach3

john_s

holla2040

Dec '21

Craig, here is the DXF for the gooseneck. It will require a riser on the end posts if using a Swag finger brake press since I made these longer than theirs. I’ve cut 20 of these and welding them in groups of 4, 8 and 8. I think the better method might be to add through bolt holes in the file and squeeze them together with an all thread. I have cut these out of 1/4" plate. I have no easy way of handling thicker stock.
gooseneck die v1 radius.dxf (11.1 KB)

3 Likes

@ds690 thank you for checking out if this was possible with your tool. I will take your recommendation on how to get this done and will likely pick up that Harbor Freight brake to get something to start with.

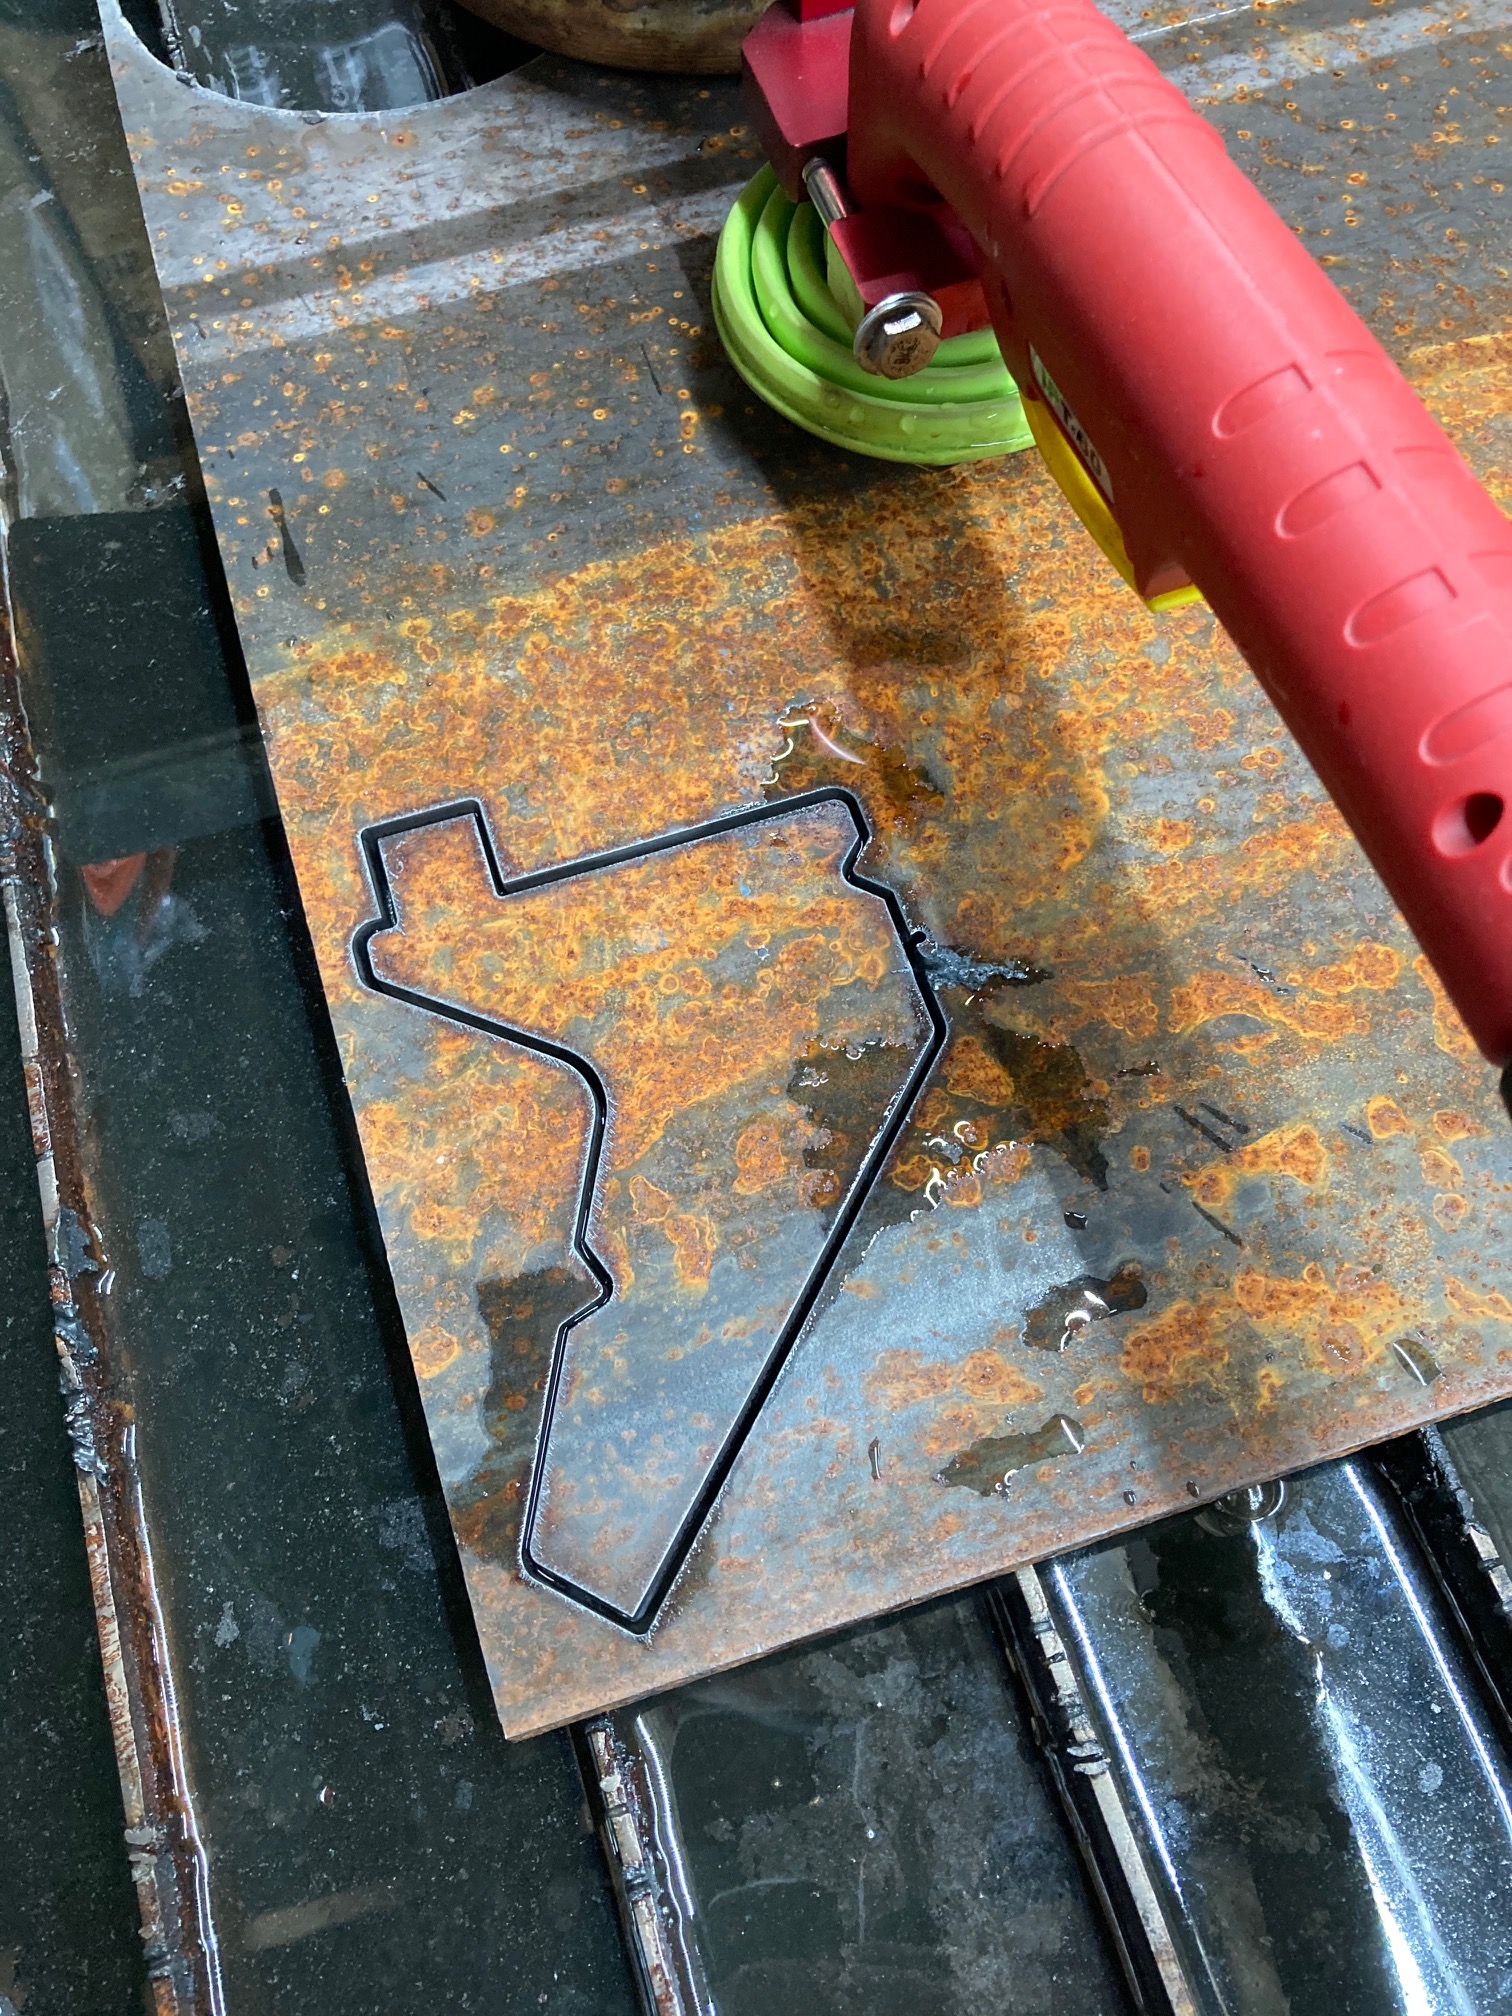
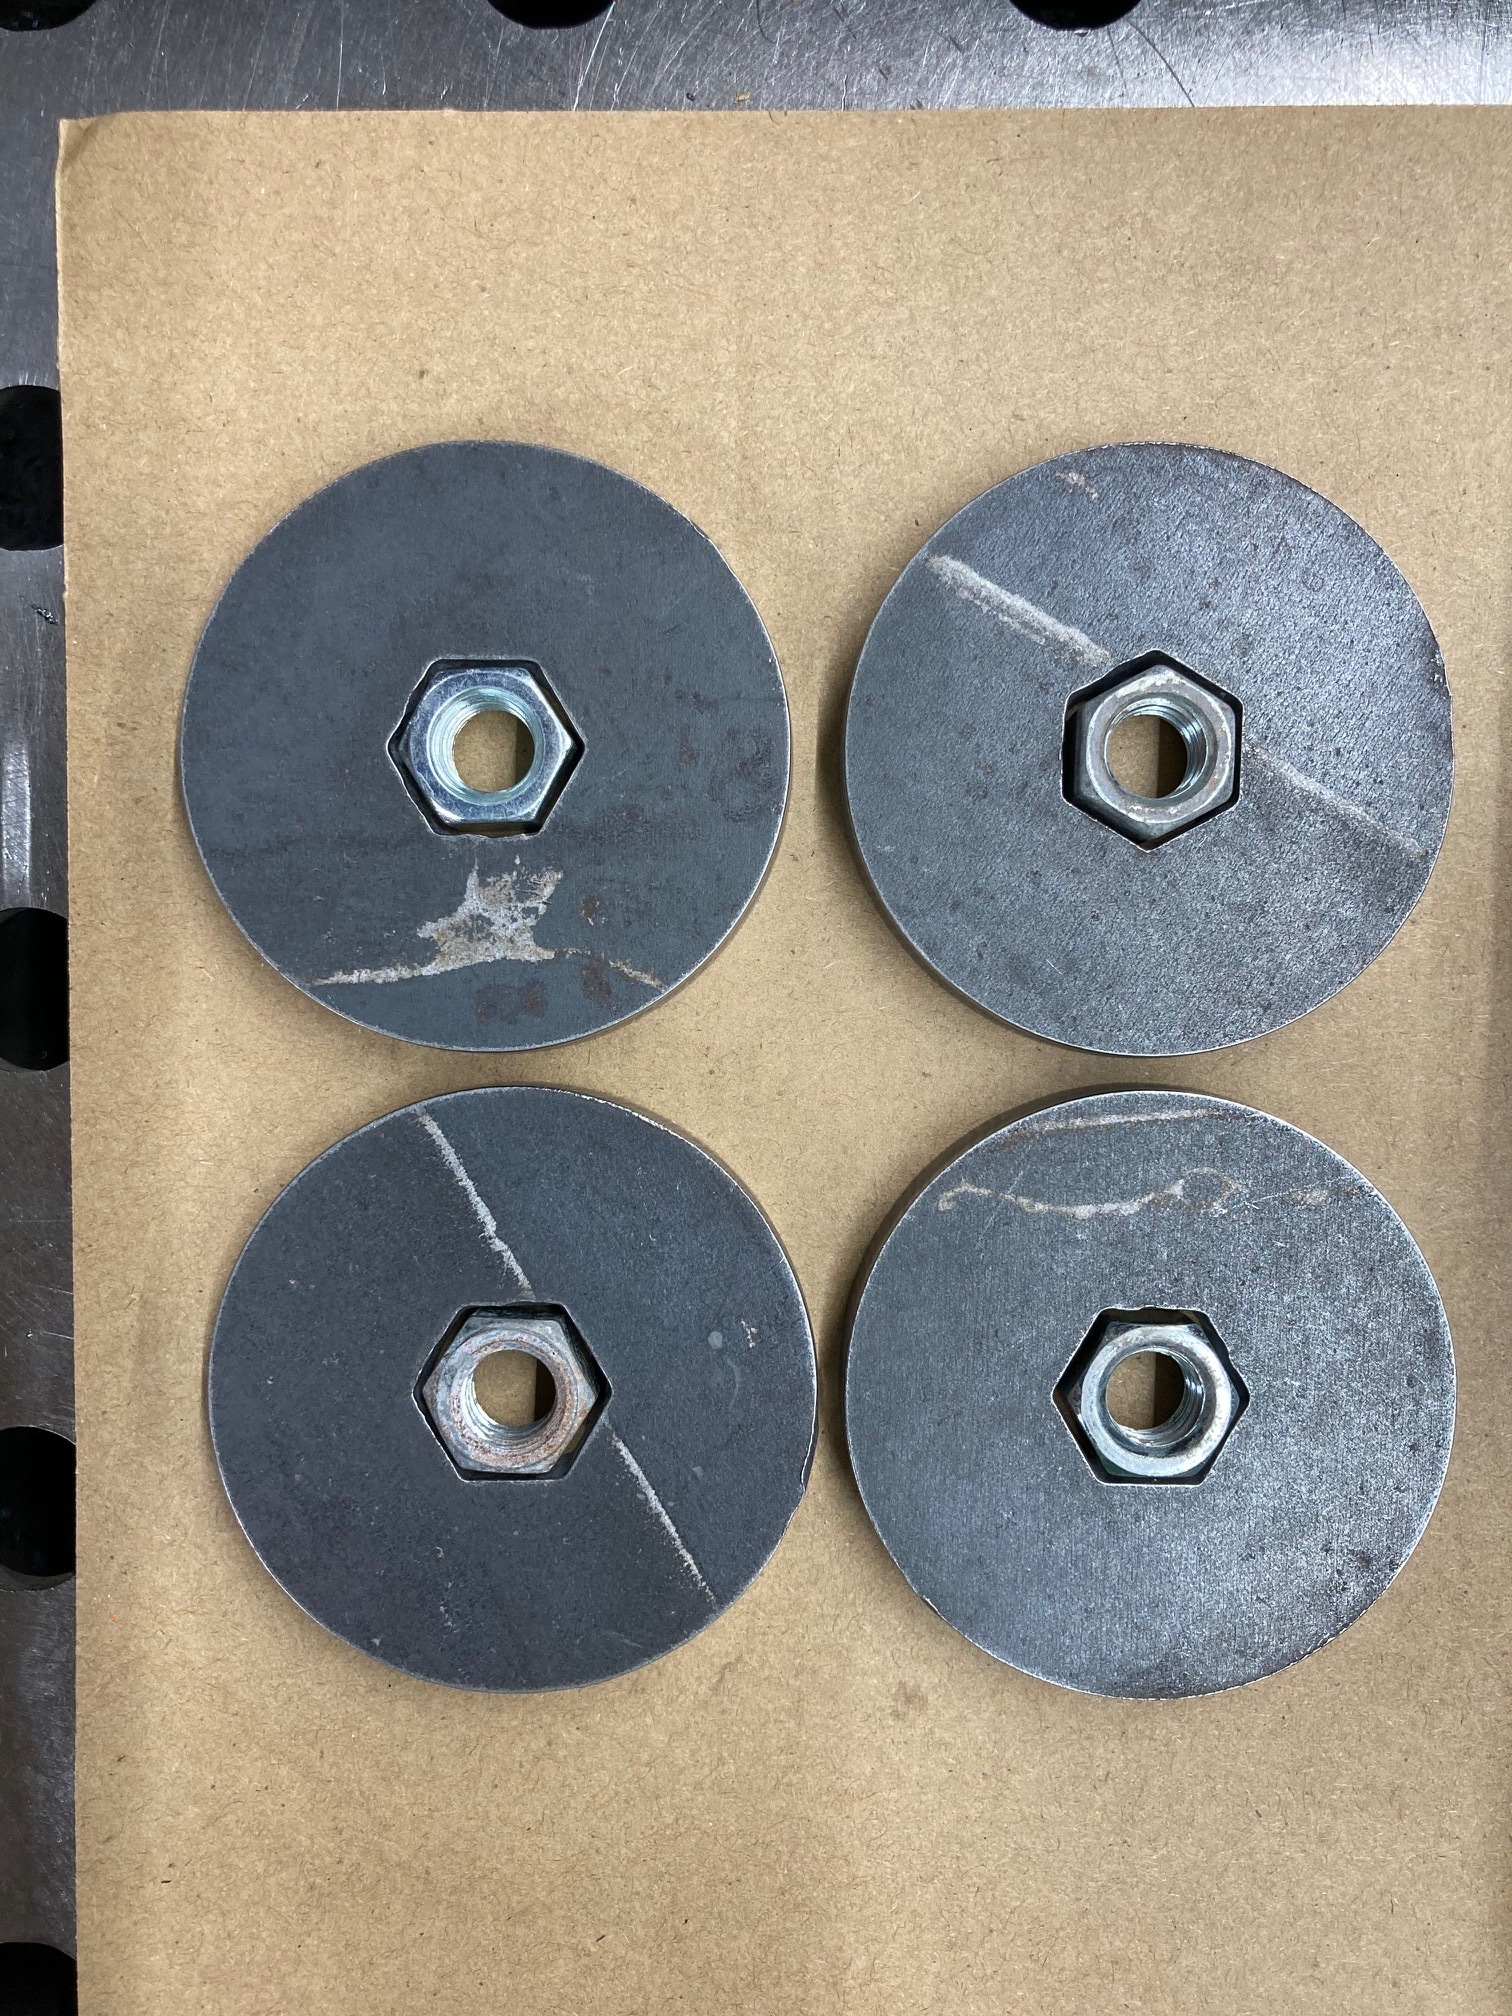
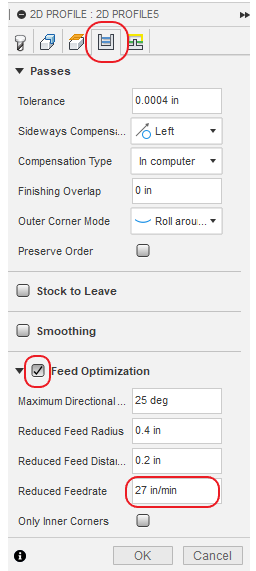
As for testing the machine, Saturday evening I finally had everything dialed in - correct electrical setup, airline ready, cutter/table/computer all functioning correctly. It was now time to cut something. I went with a piece of 14GA scrap that I picked up locally - have some varying sizes to play with but this was the thinnest (easiest to start with) - and hit go on FireControl. Of course, before I did this, I made sure that the connections were all correct. Did the dry run in FireControl - worked. Did the THC test in FireControl - did not work - realized I needed to adjust my psi - adjusted and worked flawlessly. Then hit “RUN”. For about 5 seconds, I watched the most underwhelmingly satisfying cut take place. The system worked exactly as it should with no surprises and almost gave me a “that’s it?!” feeling. This seemed to be a result of all the due diligence up to now making sure everything was correct before finally testing a piece. The outside edge was smooth as butter but I did notice I did not penetrate the entire circumference of the 1/2" hole in the middle and made some adjustments to my lead-in radius, lead-in distance and pierce clearance. At this point, I played around with the system in Fusion360 to see what it would allow as my first correction would not register the inner circle cut. I then played a little guess and check seeing which settings would make the test pass then pushed to the upper constraints of the settings to get as much gap from the pierce to cut to avoid spatter and get a good clean cut.

Originally:
lead in radius: 0
lead in distance: .15
pierce clearance: .006

Adjusted:
lead in radius: .01
lead in distance: .12
pierce clearance: 0

I was able to notice the points made above physically after that first go seeing that curving into the cut flowed a bit better and also realized that to some extent, there is a guessing game to fine tuning the settings based on what fusion360 will allow to be cut. When I went to these settings, it cut much better and the only imperfection I noticed was there was some slag on top of about a 1/4 of the inner hole and also there was some what of a bevel to the hole cut which I am going to try to correct both by turning up the amperage on the cutter. Speed, PSI, and amperage were all pretty spot on however admittedly, I thought it was 16GA at the time of cutting so I was off by a couple Amps on the cut. Turning it up should get the cut all the way through and hopefully improve the cut further.

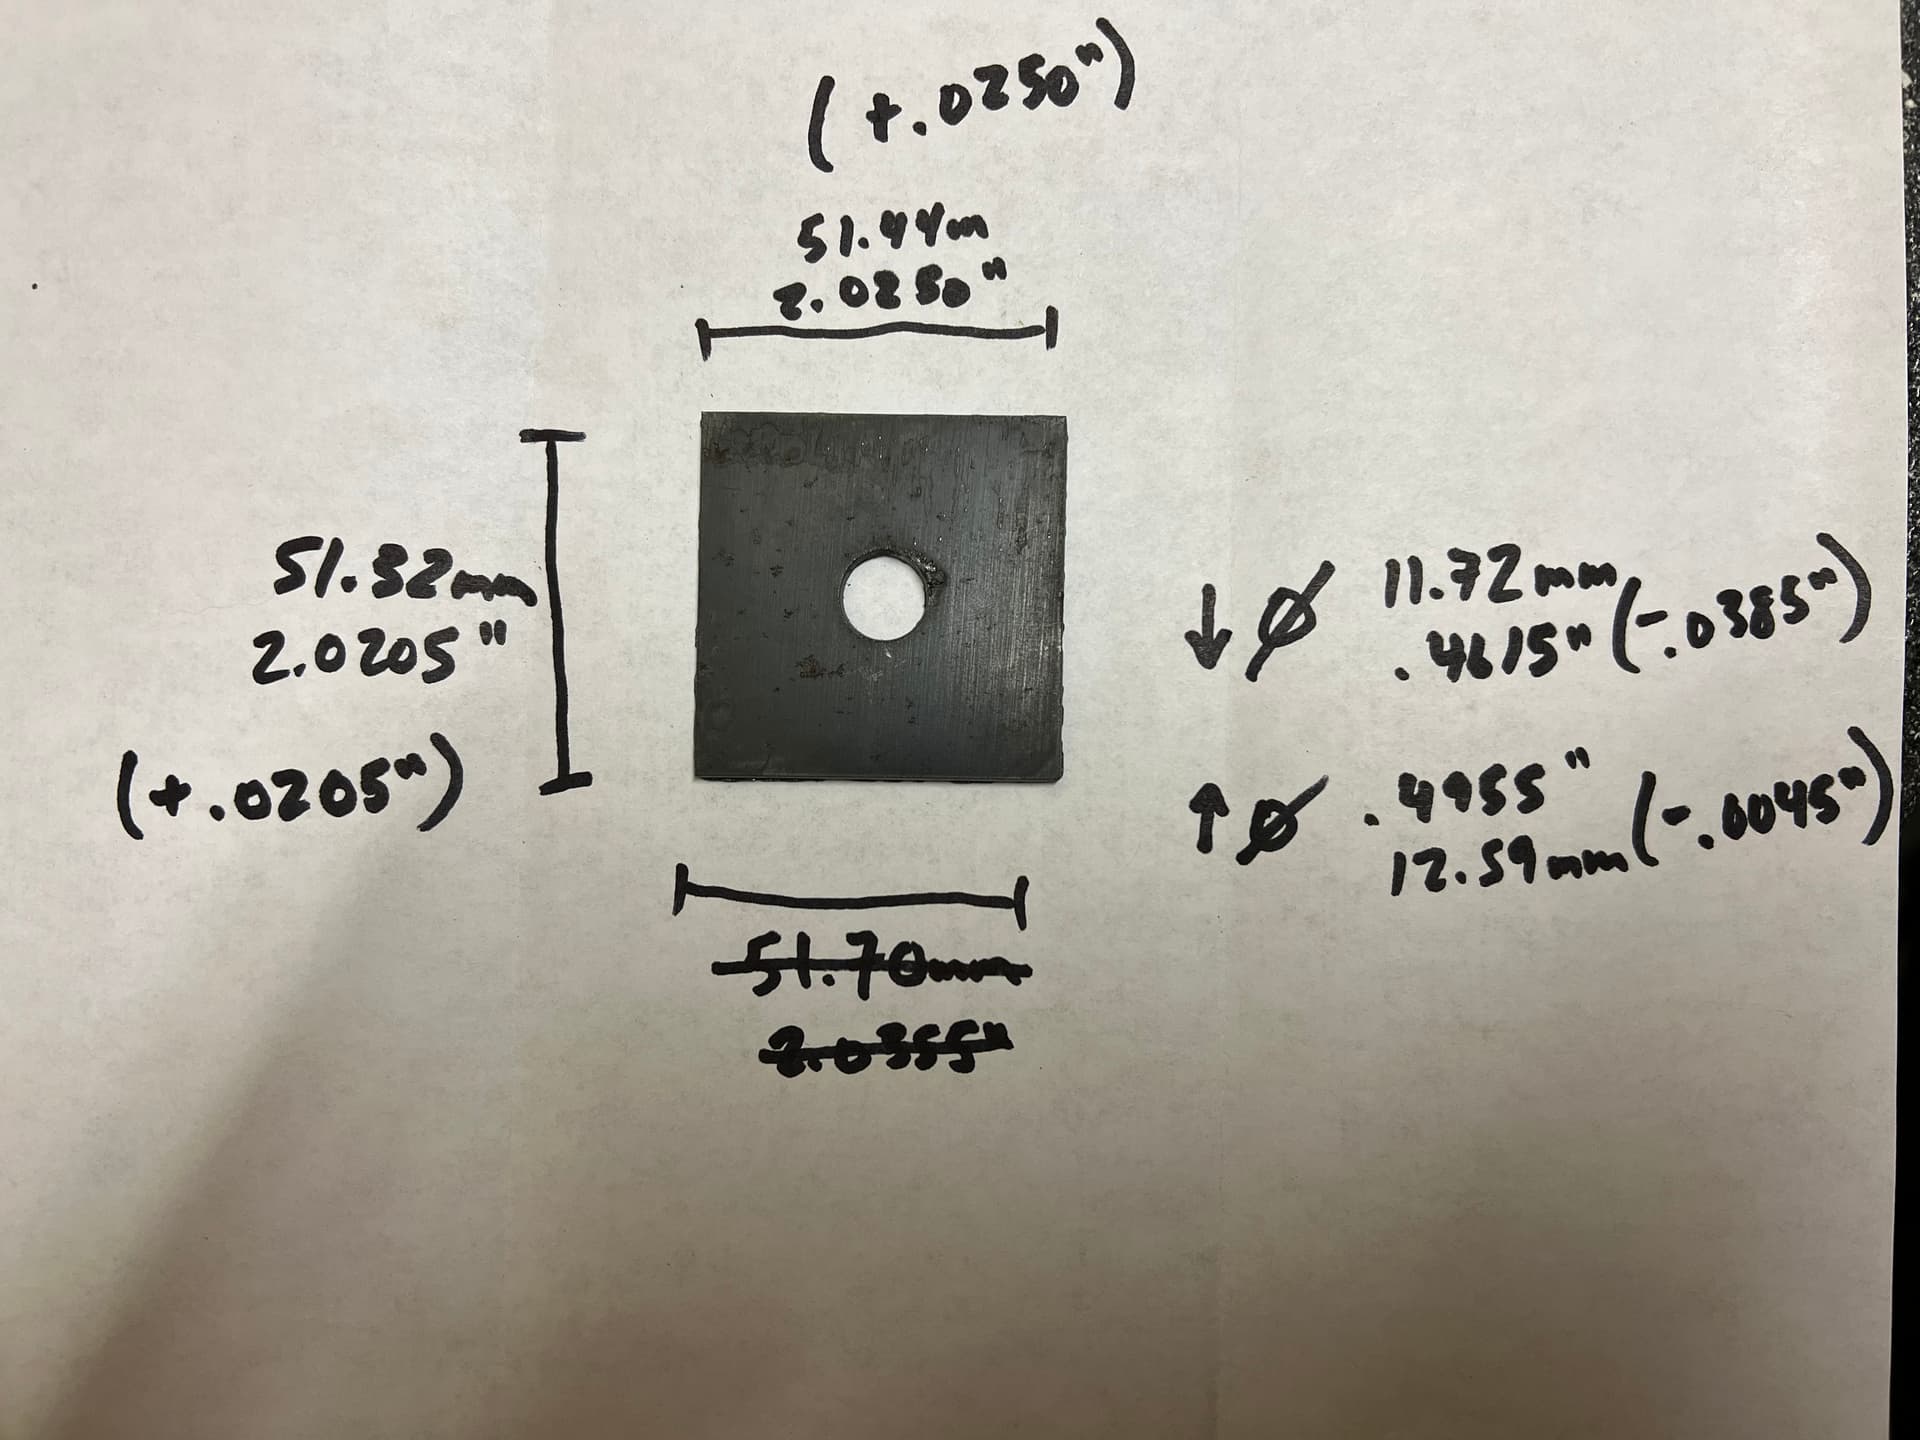
Alas, I need to play with my Kerf width now. I took some measurements of the cut compared to the target dimensions:

Once I get the kerf dialed in and proceed with the same cut settings with the correct amperage, I think I will be on the money.

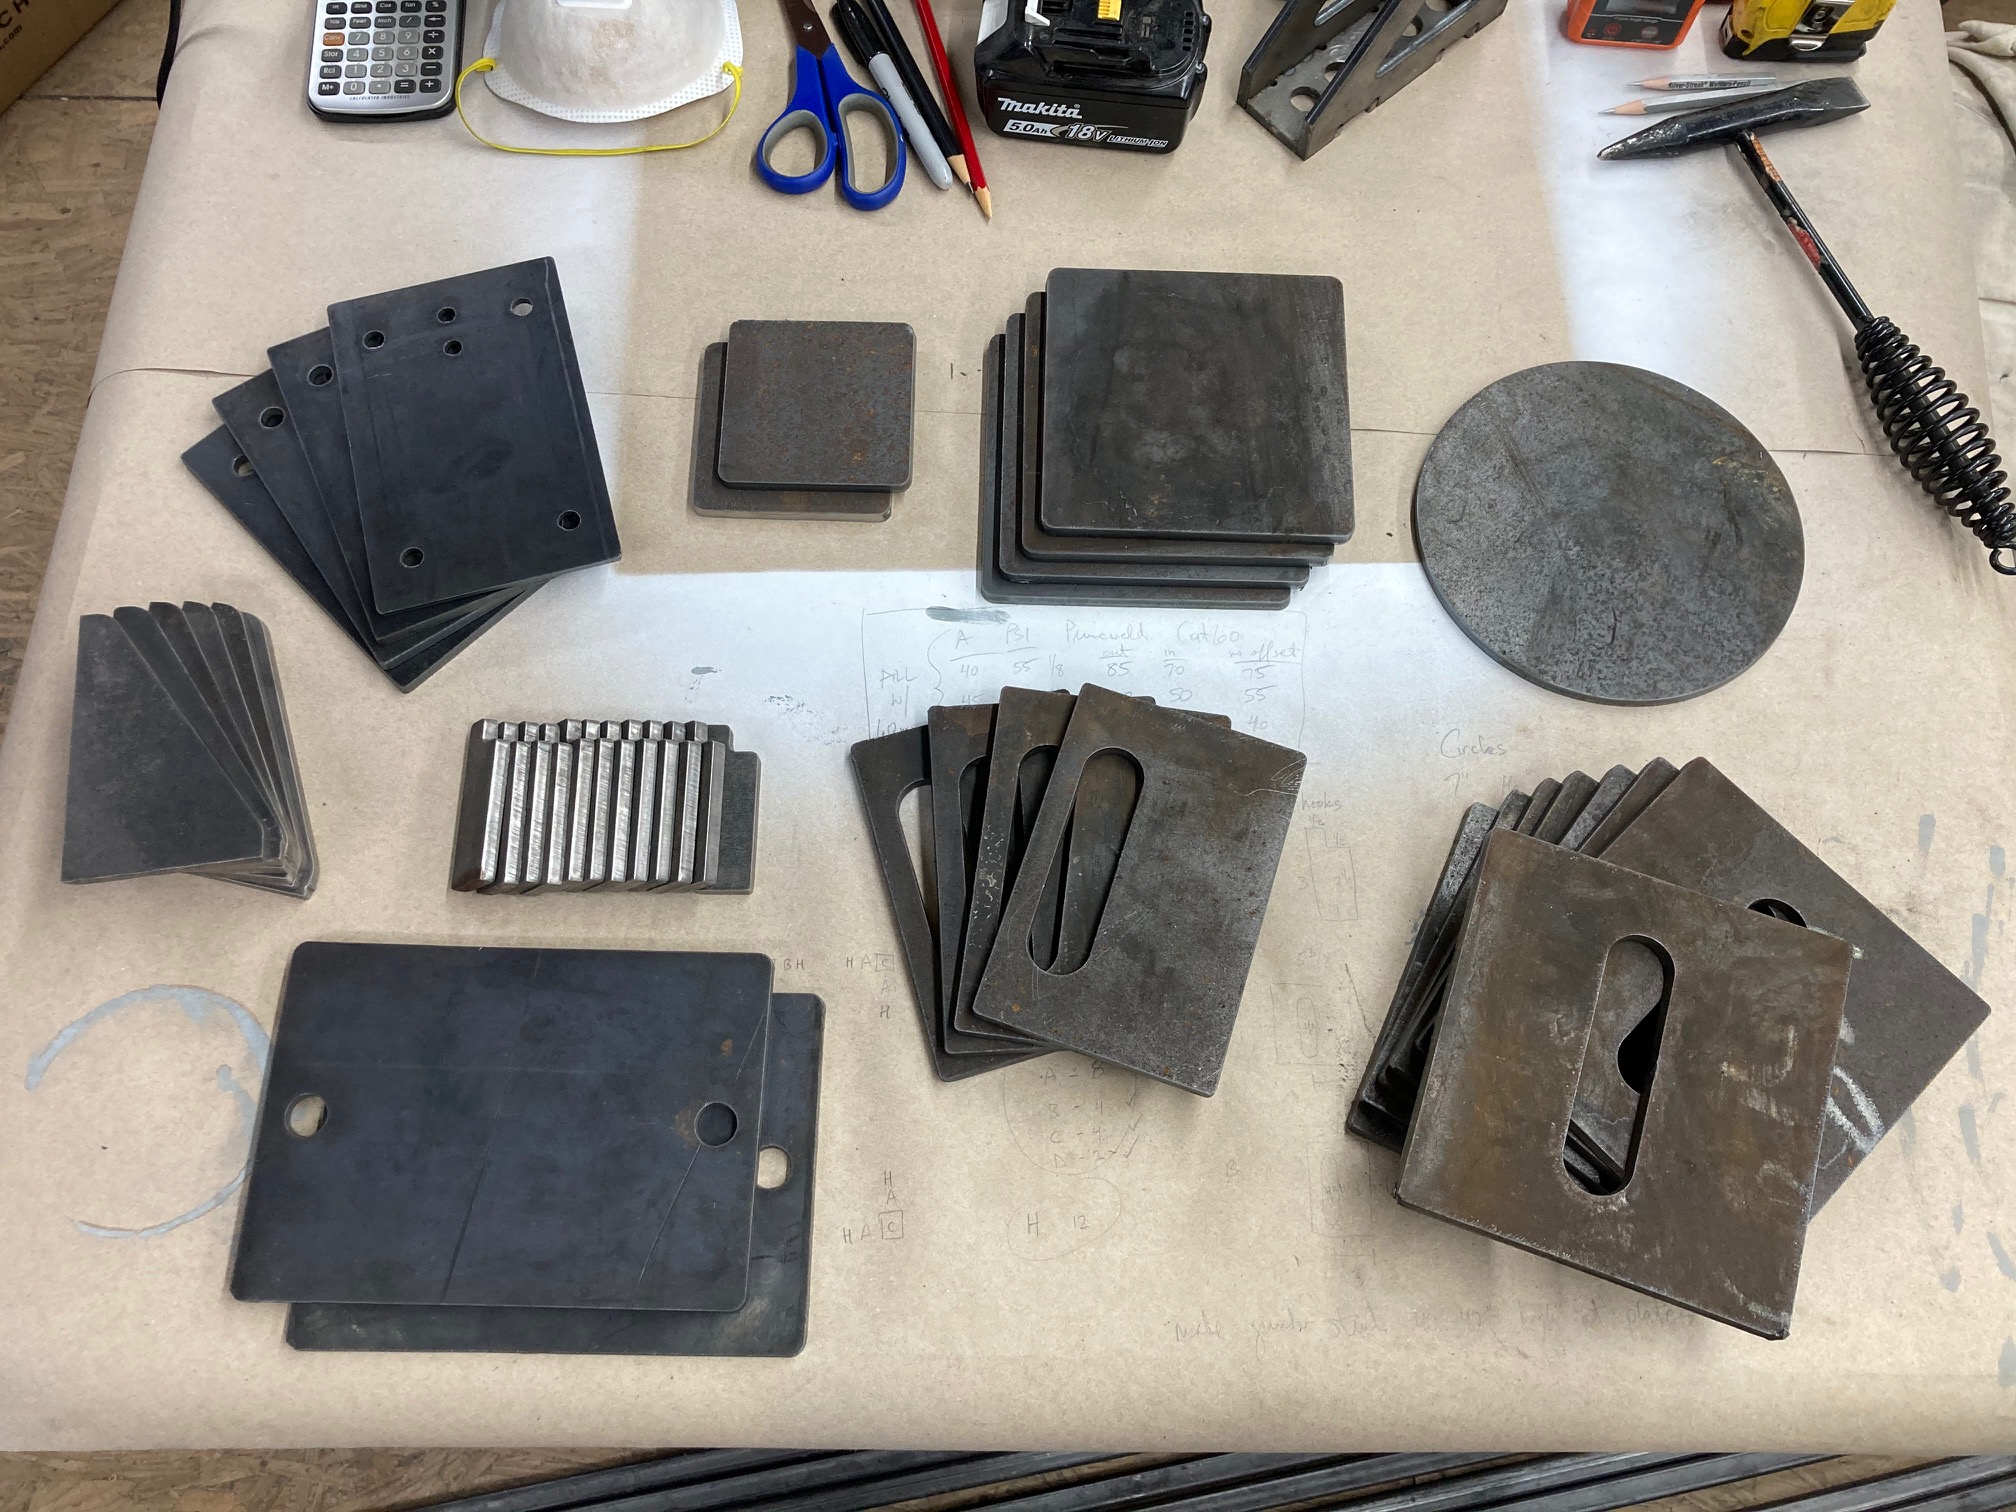
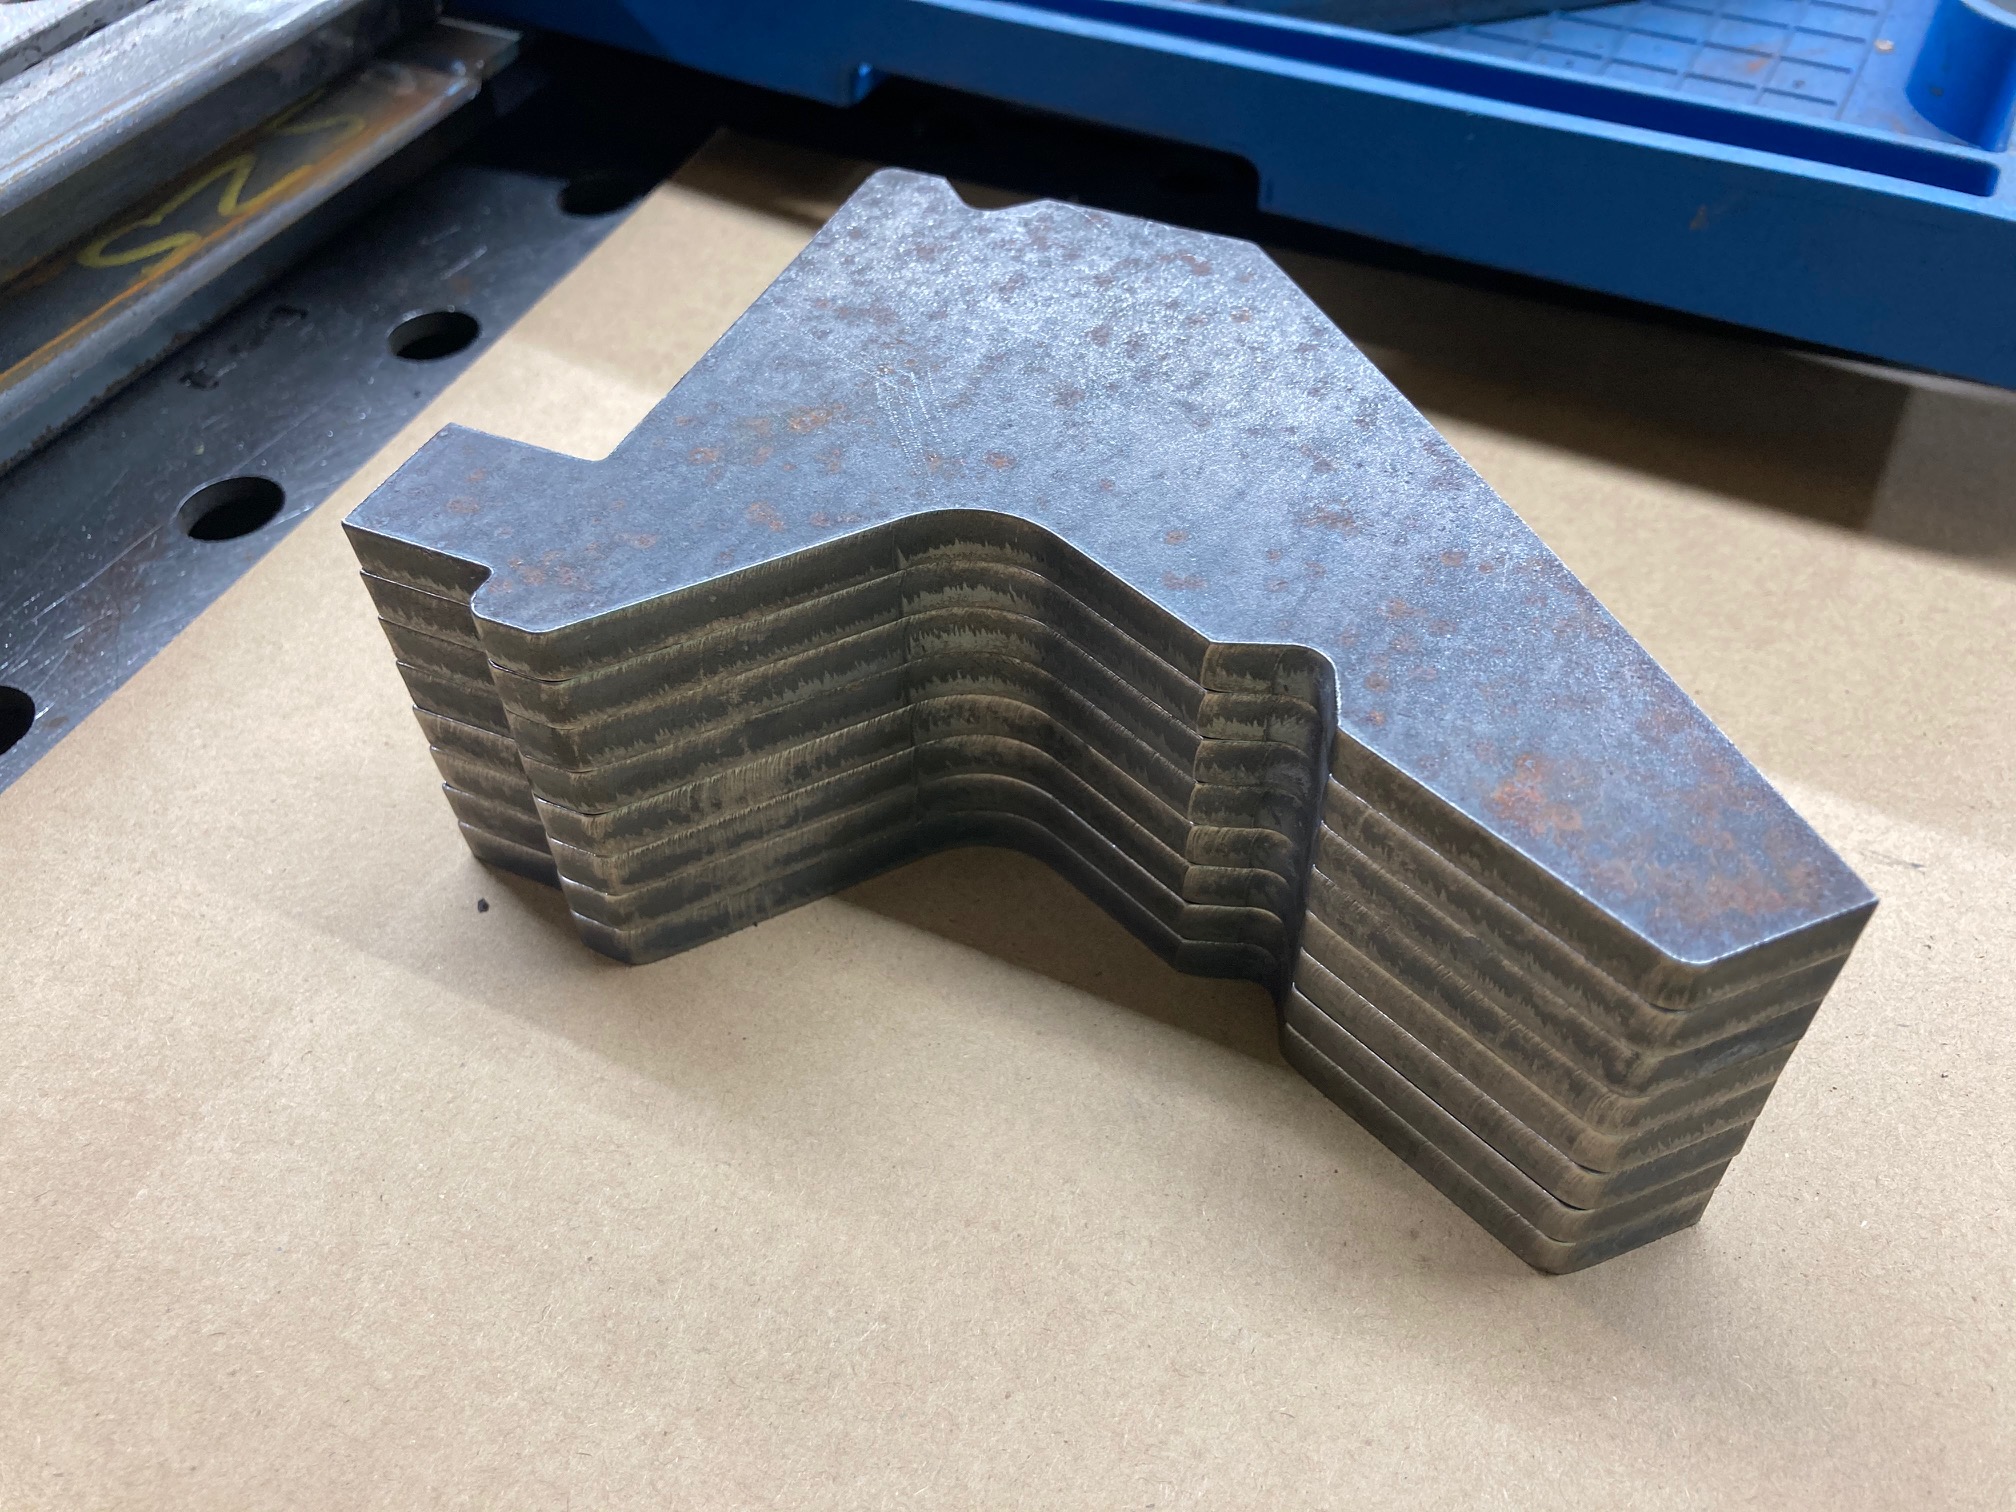
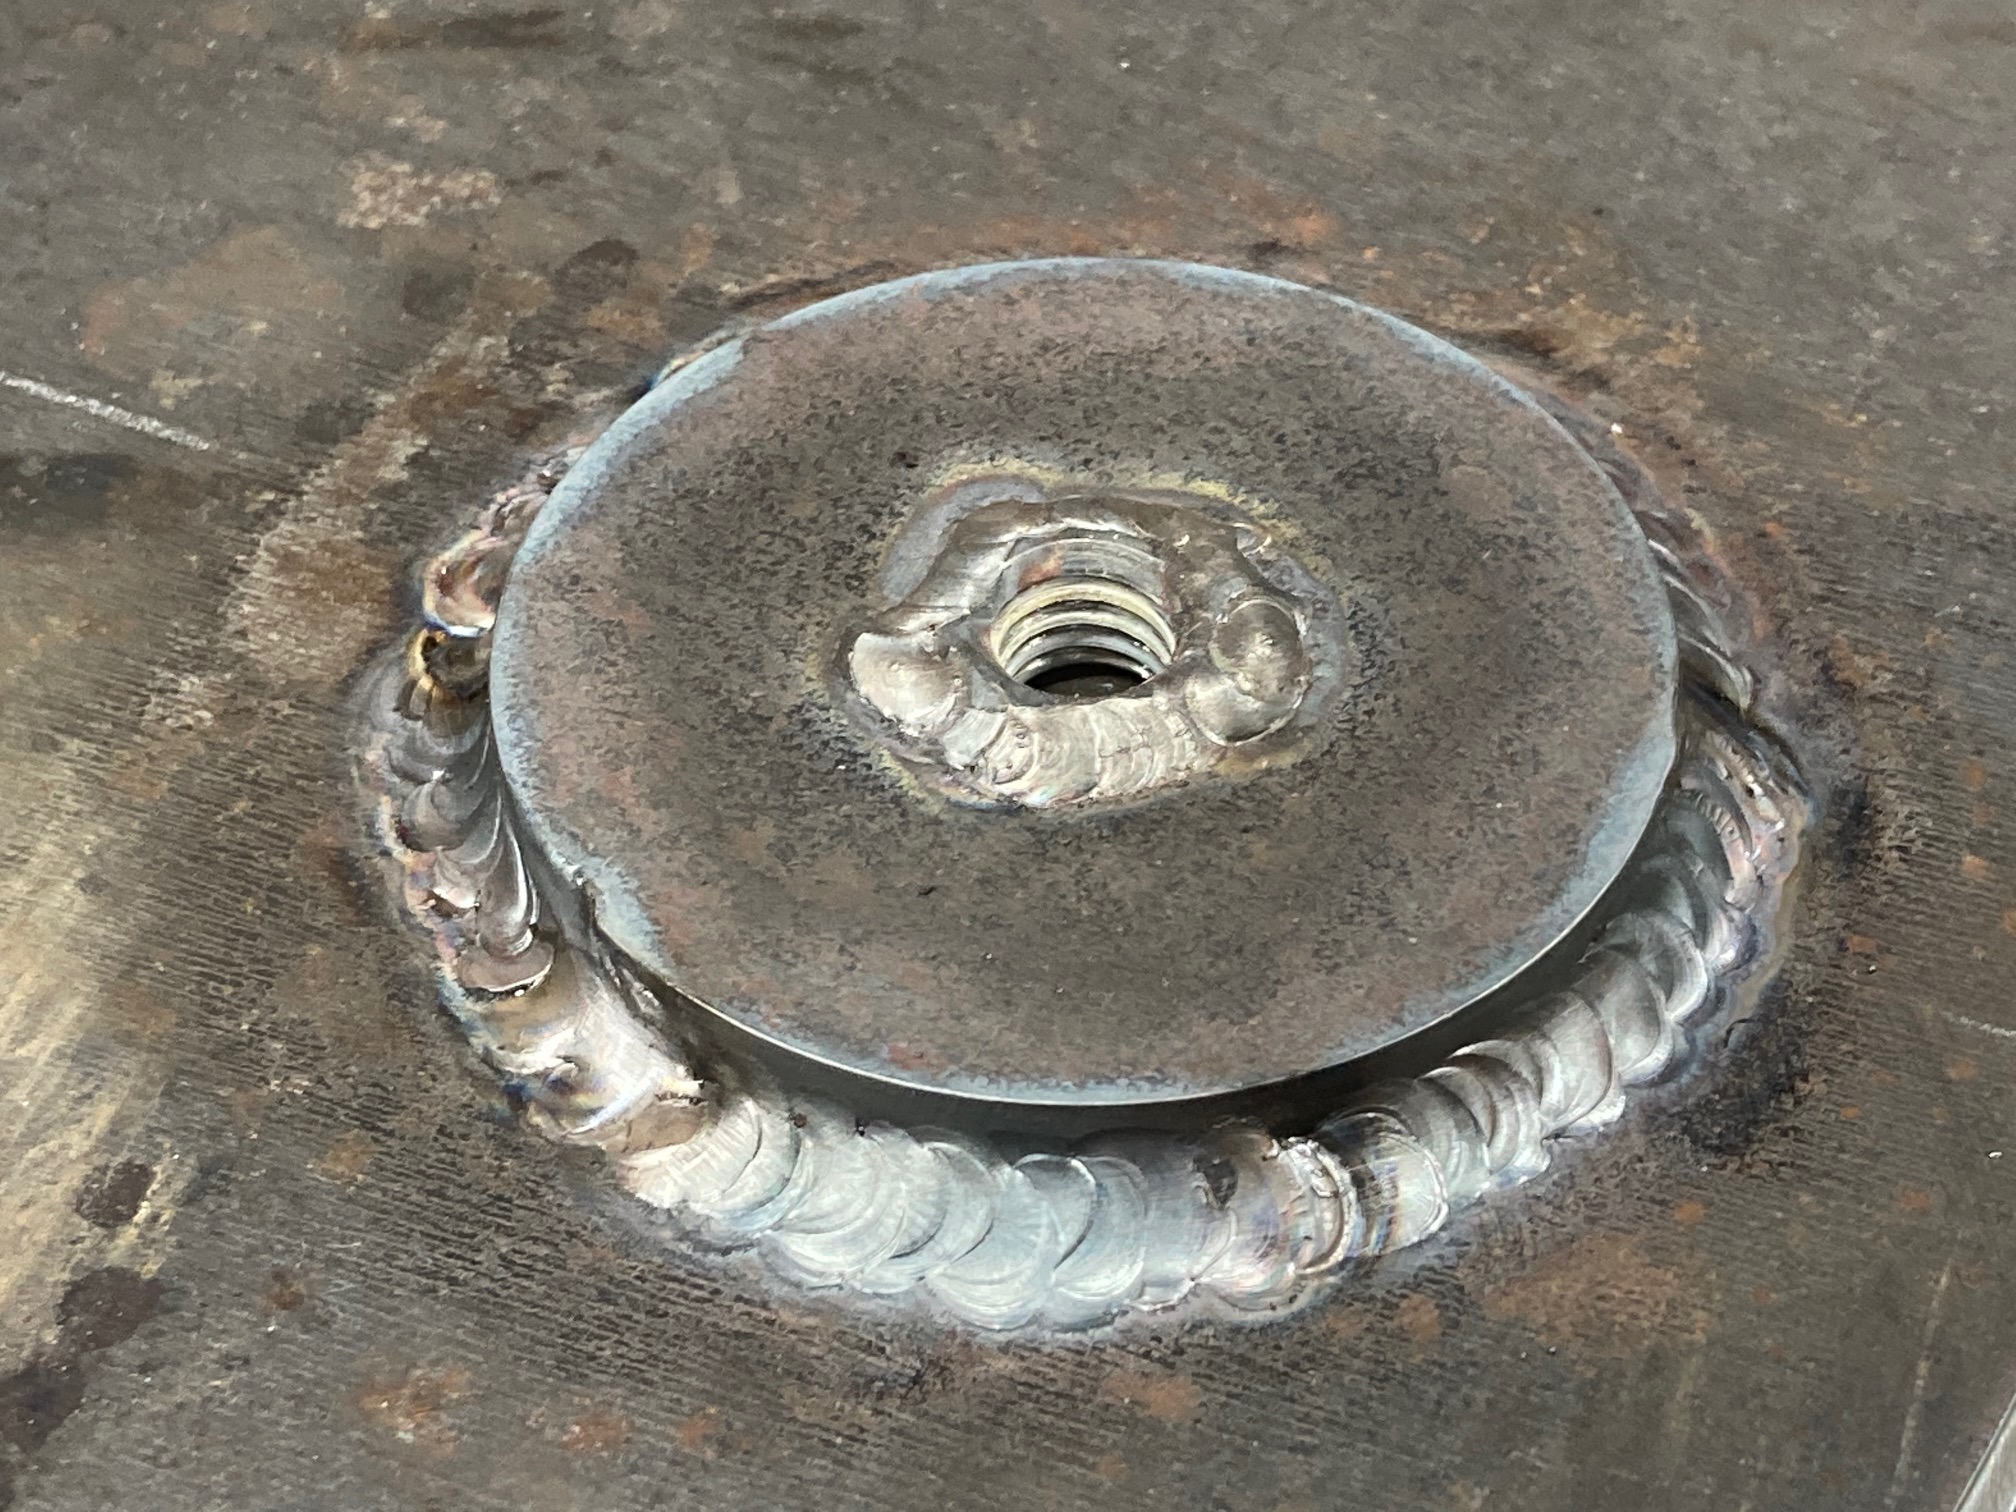
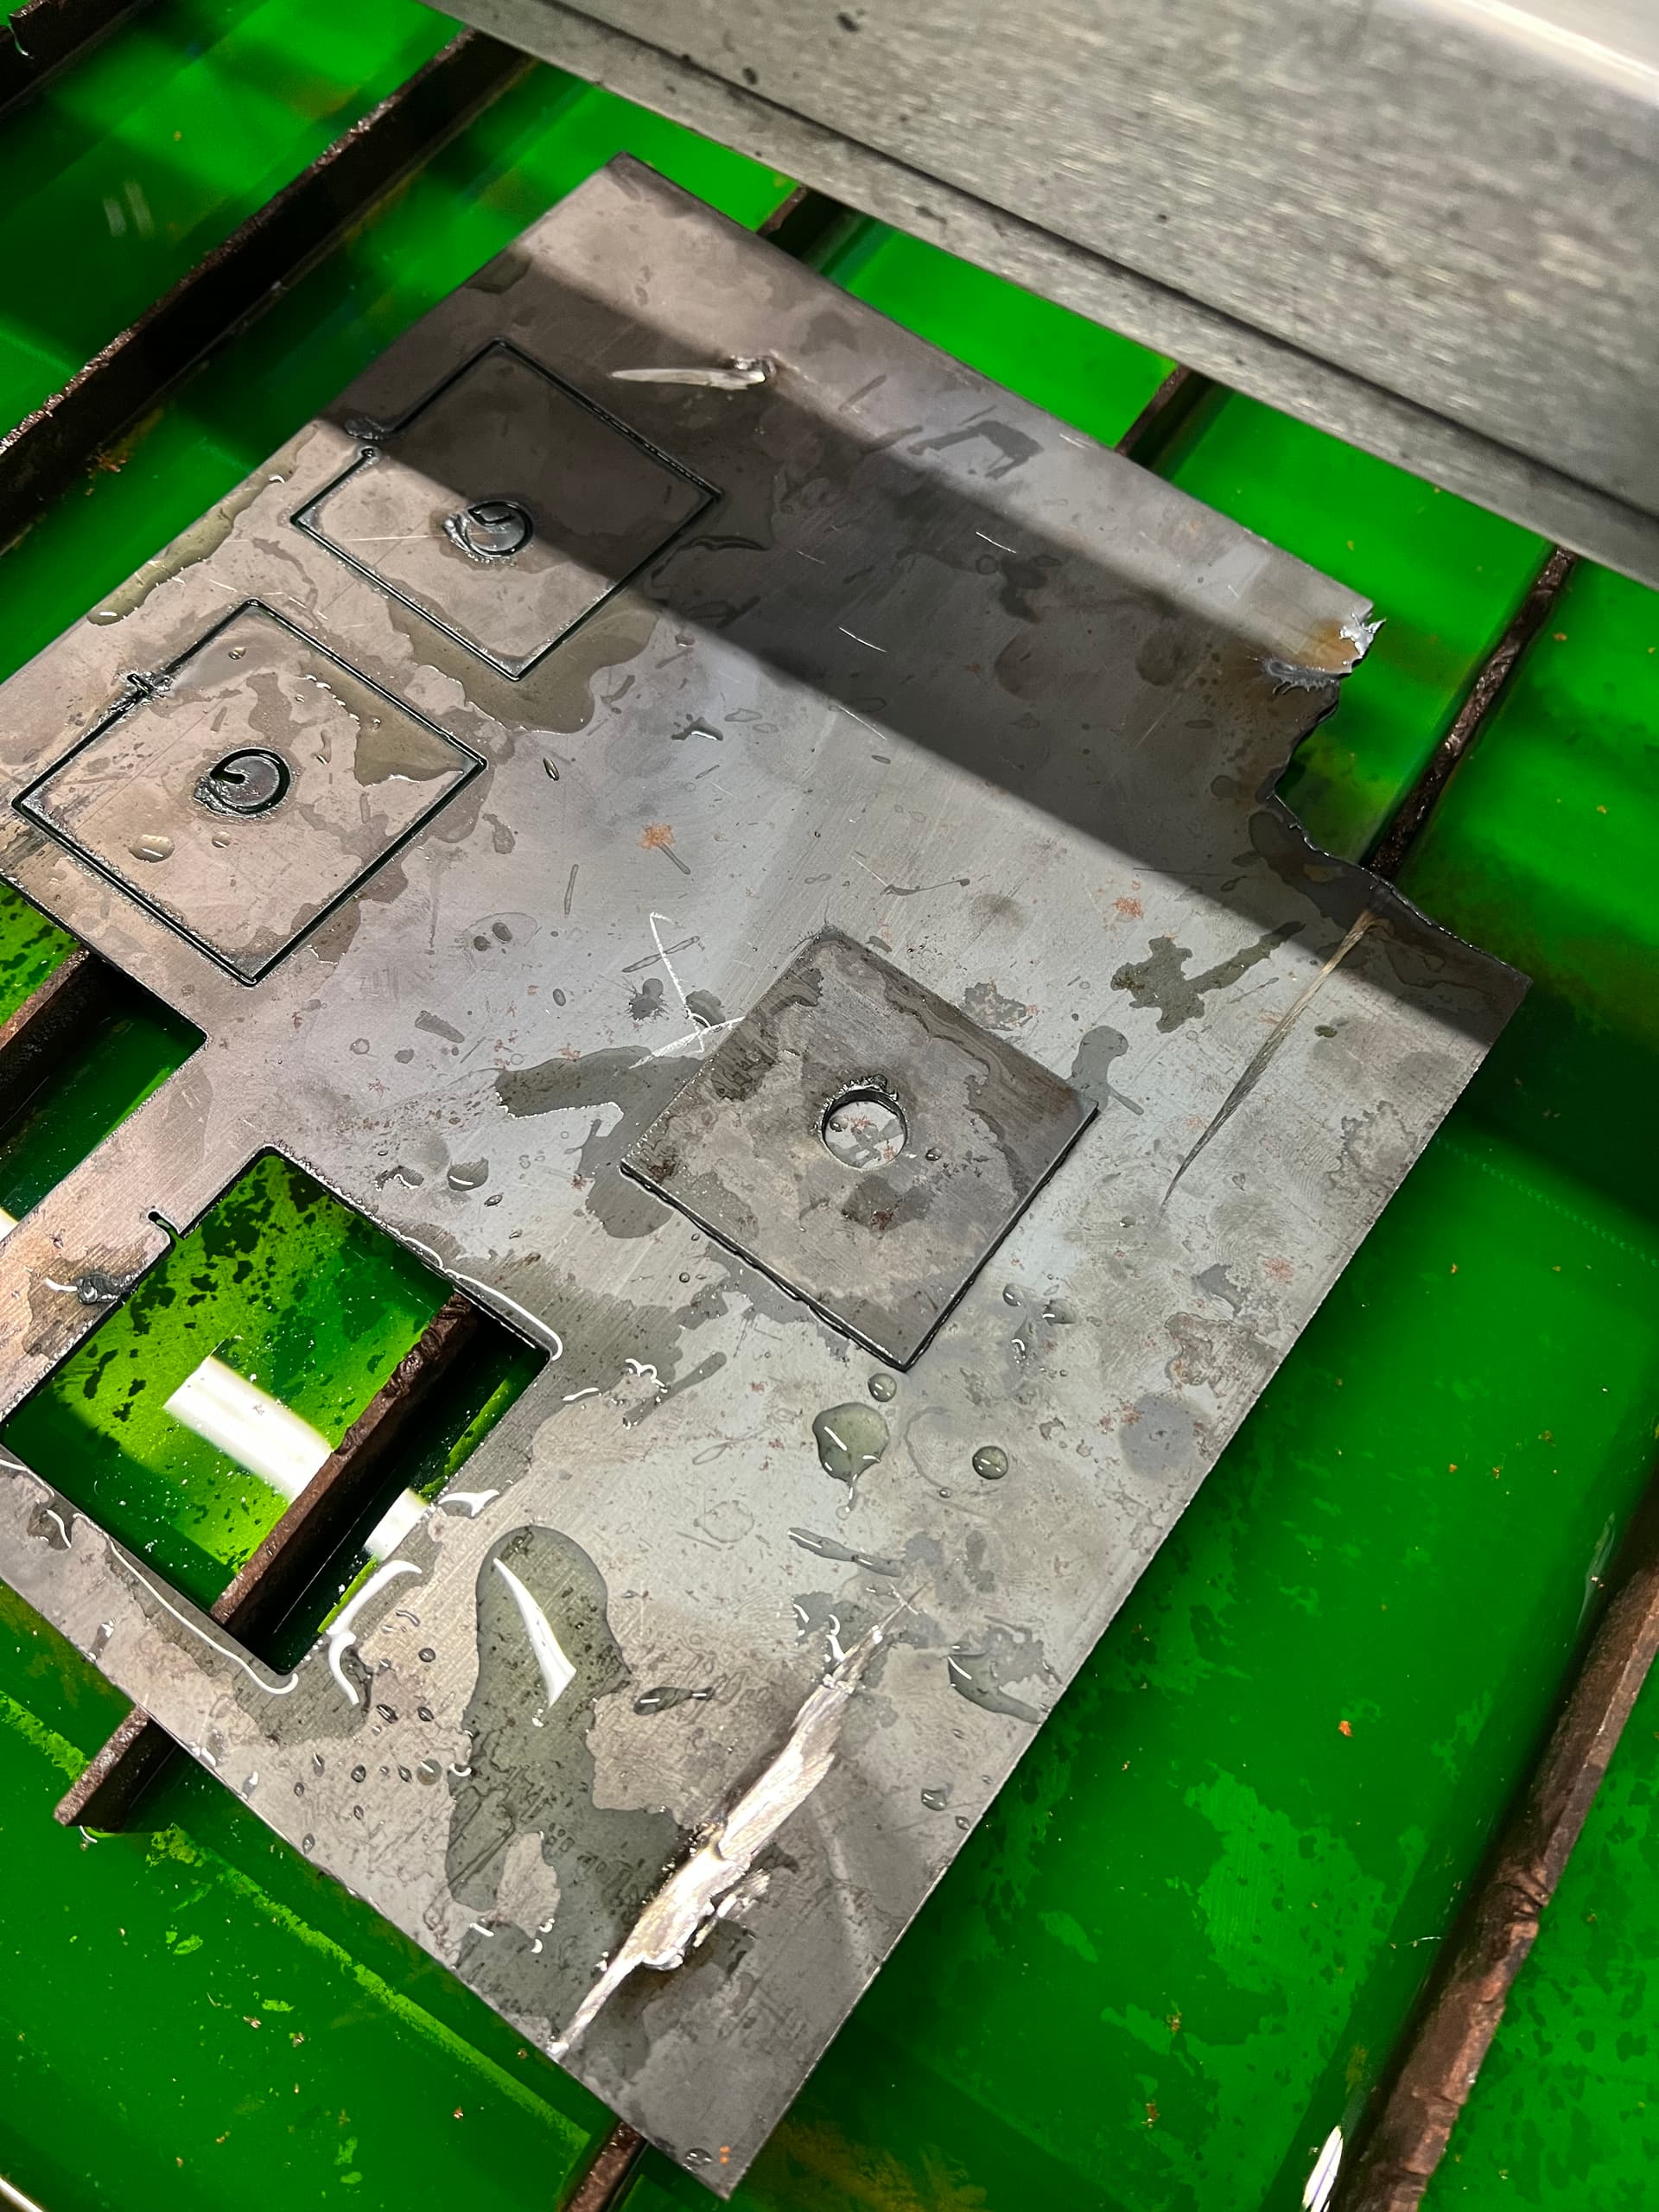
Here are the shots of the raw material with the various trials - 2 at original setting. 2 at updated setting (1st attempt at 2nd setting there was a bend on the metal so the tip contact the piece and messed it up - beginner mistake):

Also of note: extremely little smoke on these runs. Imagine this will increase on bigger pieces but the airflow was more than enough here.

I really appreciate all the support and guidance here up to now and as I’m sure all of you have been in a similar situation at some point in the past, seeing all the hard work and investment over the last several weeks pay off was a VERY proud moment.

4 Likes

Excellent!!! To help with the holes you will need to slow down the speed to about 60 to 75% of your regular cut speed. This will cut a more complete hole but will create more dross on the underside. That is to be expected.

Here is how you slow down, automatically, for the holes. In the Manufacturing, you will click on “Optimization”. Change the speed to about 60 to 70% of your cut speed. The number in the example would be way too slow.

4 Likes

Swag Off Road makes a flat top bottom die that allows for tighter bend radius and to make bends closer to the edge. https://www.swagoffroad.com/products/swag-20-ton-flat-top-adjustable-bottom-v-die

2 Likes