I’m going to condense some of the information I came across while researching this and searching for all the fittings. I don’t know about most of you, but I’m constantly amazed and frustrated by how much a person needs to learn while undertaking a hobby such as ours.
Why do we want this? Compressed air come out of the the pump HOT and when it cools, water condenses. We basically have three choices on where to cool the air.
- Before the tank (aftercooler)
- In the tank (just wait for it?)
- On the way to the tool (large run of copper pipe turns with drip legs.
You can drop some money on a refrigerated air dryer and just be done, probably the best overall bet. But I think most of us are engineering some other way to cool our air.
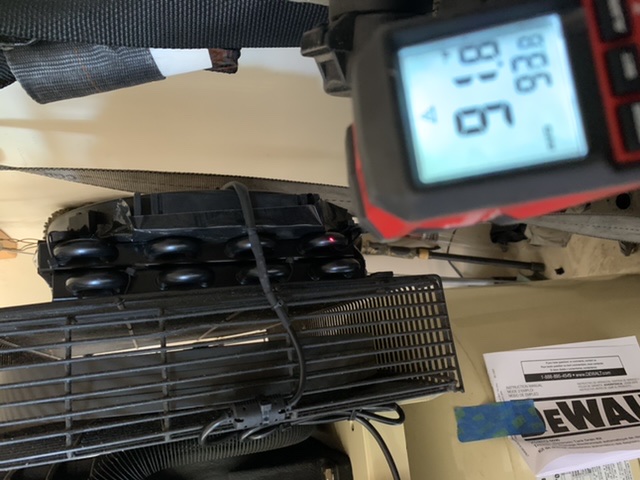
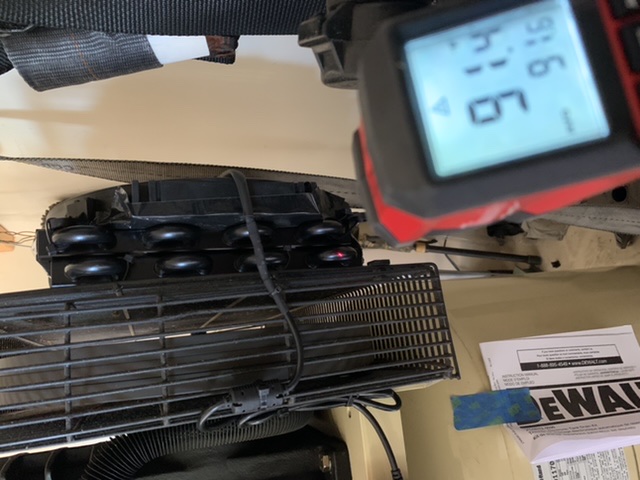
Is the aftercooler worth it? I think so. My 135 PSI 60 gal 5 hp Ingersoll Rand runs for 45 seconds to go from 100 PSI to 135 PSI. With everything starting at ambient temperature, I collect almost a teaspoon of water. That’s water not going in my tank and I’m happy about it.
Once everything heats up, it doesn’t collect as much water, cause it’s not cooling obviously. So a fan is needed on the cooler for extended run time. Initially I got a 240v dc concertgoer to wire right to the compressor so the fan came on automatically and shut off with the pump. But now I’m planning on having my fan manually controlled so it will run after the compressor shuts off so there’s a greater chance my next cycle will start with an ambient temp cooler and not one that’s still warm from the previous cycle. Plus keep it cooler on extended runs.
First, my saga. Skip to the parts list if you so desire.
I really did not want to learn about fittings and tubing and all that crap. I wanted to put an after cooler on my compressor by following a set of instructions. Yeah, no.
I don’t think any two different model/brand compressors are going to be the same when it comes to the pump outlet and tank inlet, but aside from that the rest is pretty straight forward. Most of the compressors we are using are 60 gal and up and have 3/8 ID (1/2 OD) Tubing from pump to tank so that’s what this is based on. If your tubing is smaller these fittings are not right for you!
My IR 60 gal had a very short run of copper tubing with double flares at each end. The pump outlet had a 3/8 male fitting to a 1/2 female inverted flare fitting. I probably could have taken that adaptor out but the tank input at the check valve had the same female inverted flare so I wanted to find the right adaptor anyway to avoid messing with the check valve and safety relief on the brand new unit. It also appears that you could single flare some tube and just be done with it, @sr71xJet just flared his on the same double flare that I have and hasn’t had any issues. But I was paranoid and had to get the fitting.
The first step is identifying your pump output and tank inlet locations. On some compressors these are easily visible, like my IR 60 gal. Others they are hidden beneath a fascia, like my Husky 30 gal.
Once you know where the outlet and inlet are, take off the fittings and determine what you need to hook right to the pump and tank. As long as you can get it to 1/2 flare threads the rest of this will work for you.
PARTS LIST!
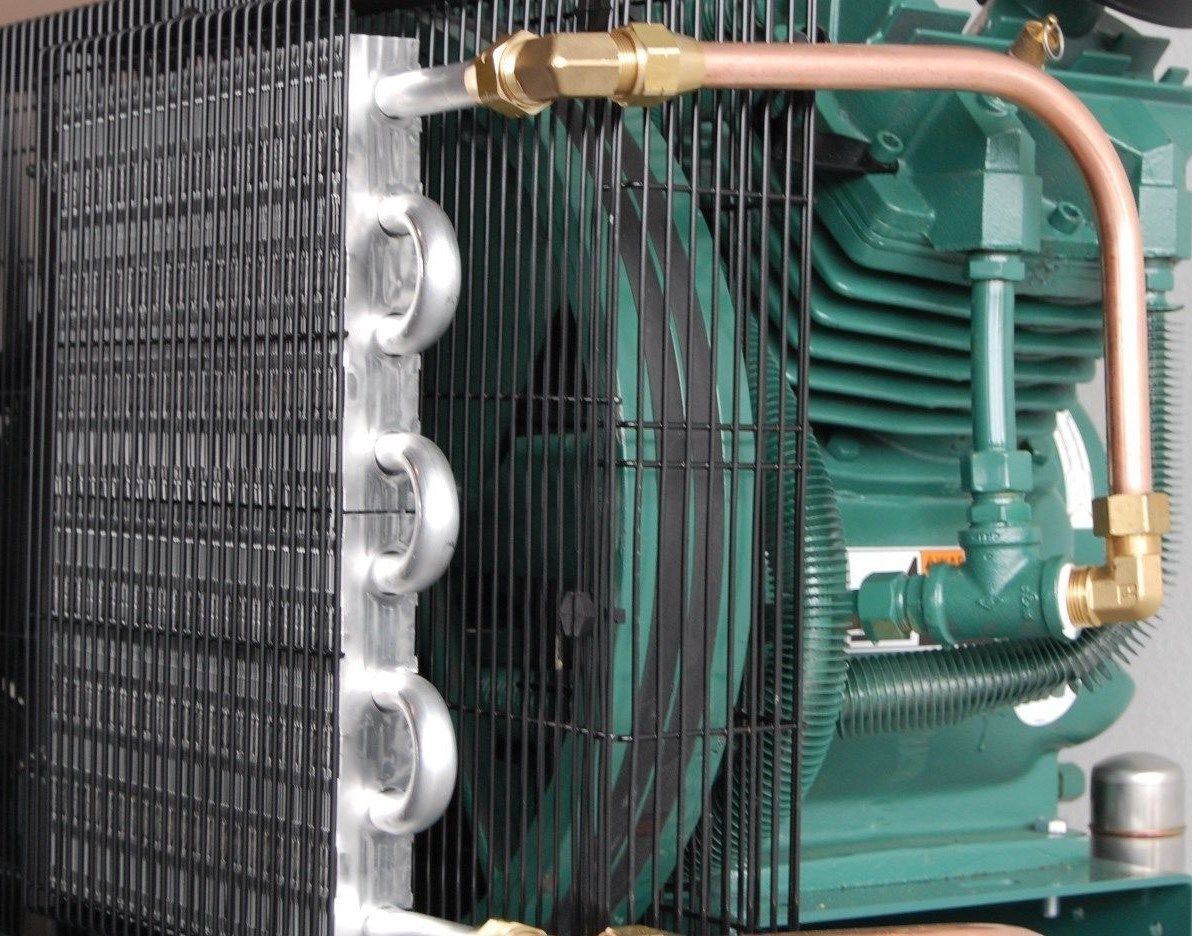
COOLER
This appears to be the most commonly used cooler. Construction seems excellent, lots of passes through the cooler. This is what I used as well. Be careful tightening the fittings onto it. I heard a slight creak when I was finishing up. Looks like you can twist hard enough to break off the connections so hold the fixed end of the coolers fitting when tightening.
TUBING
Tubing for the runs in between. Type L tubing is a little thicker. May not be necessary. 10 feet was plenty.
FITTINGS
INGERSOLL RAND INVERTED FLARE ADAPTORS
This was what I needed for my specific compressor. It had the double flared 1/2 tubing. I found it at Pirtek. They have several locations. I can’t link to the item, but it showed on my invoice as PS-08-08 ADAPTOR SAE INV FLARE X JIC. This fir the tank outlet and pump inlet and connected directly to my 1/2 flare fittings for the tubing I bought.
FLARE NUTS
https://www.homedepot.com/p/Everbilt-1-2-In-Flare-Brass-Flare-Short-Rod-Nuts-2-Pack-801589/207176776?MERCH=REC--searchViewed--NA--207176776--N
To go with the flare nuts, use any 45 degree flaring tool.
(The flare nuts and flaring tool can but substituted with 1/2 compression fittings. I chose to flare because it had a lower profile and looked a bit cleaner. I don’t have any knowledge on compression fittings. If someone wants to add a parts list post it up.
ELBOWS
I’m going to add some of these elbows to clean up the connections at the cooler. The tubing does not want to make sharp bends without kinking, unless you have the proper bender. I do not.
8AN TRANSMISSION COOLER ADAOPTOR FITTINGS
These are the fittings you want to adapt the 8AN on the above cooler to the 3/8 NPT you will need. This will let you add your water separator right onto the swivel fitting.
@timtiminy is running 1/2 flare rod nuts right off the 8AN Fittings and reports no issues with it. Specs show 8AN is 37 degrees vs 45 degree flare fittings. Visual inspection of the fit up looks correct as well. Looks like either will work.
1/2 FLARE TO 3/8 MALE THREAD FITTING
This is what you need to come off your water separator back to tubing to go to the tank.
https://www.homedepot.com/p/Everbilt-1-2-in-Flare-x-3-8-in-Lead-Free-Brass-Adapter-Fitting-801489/207176505?cm_mmc=SOCIAL|PIP|Internal||emailafriend|207176505?cm_mmc=ecc--THD_EMAIL_A_FRIEND--V1_M1_CA-_-VIEW_ITEM
3/8 FEMALE THREAD to 1/2 FLARE’
This is what you need to come off the tubing into the cooler from the pump.
WATER SEPARATOR
Get one with 3/8 inputs to minimize the use of adaptors. This is just an example of one, there are tons out there to choose from.
12V DC AUTOMOTIVE FAN
This is the one I bought for my off road rig but repurposed it. Any 12V fan of similar design should work.
120/240 to 12V DC ADAPTOR
You can wire this right to your compressor so your 12V fan only comes on when the compressor runs.
MOUNTING BRACKETS
I just bent and drilled some flat bar and used zip ties for now. Looks like 8-32 or 6-32 machine screws would work for holding it still without risking melting. For mounting the fan, well I’m not there yet but will update when I do.
I think that’s it. Post up questions or make suggestions and I’ll add them. There’s got to be people out there that need to see this all spelled out to make sense of it. I know I did.
 I just did it $40 or $50 at a time with each tool puchase.