Should I try tightening the rest of the screws before attempting to jog to the right-hand corner?

1 Like
yes, I am to that point.
Tightening steps will being right after this step.
A6 Tighten the Motor Couplers
A7 Tighten the X-axis and Y-axis Lead Nuts.
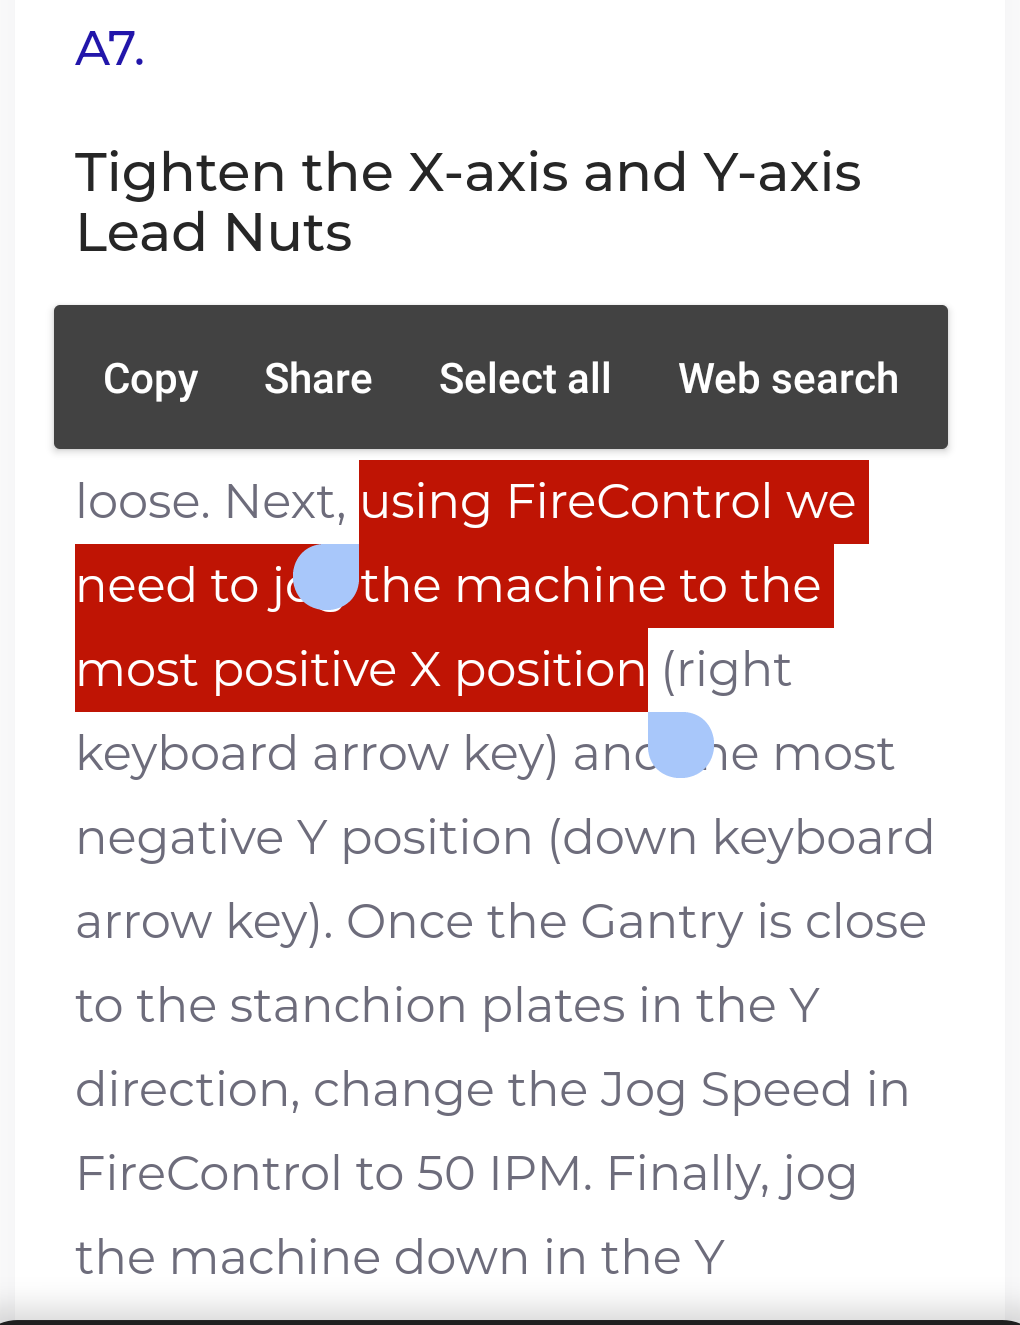
The mention in A5 is to prepare you for the step in A7. I believe this highlighted section is the first time you actually jog the machine.
Ok, thanks wish me luck I hope all goes well.
Tin
Y+ and -
Z+ and - are moving fine
Can’t get X+ and -
To move i striped out one of the motor couplings and got another couplings on Amazon should i get another coupling from langmire i thank it is slipping
With the power turned off to the machine can you turn the x-axis lead screw easily by hand try to run it from one side to the other side of the machine.
The grub screw stripped as you tighten it?
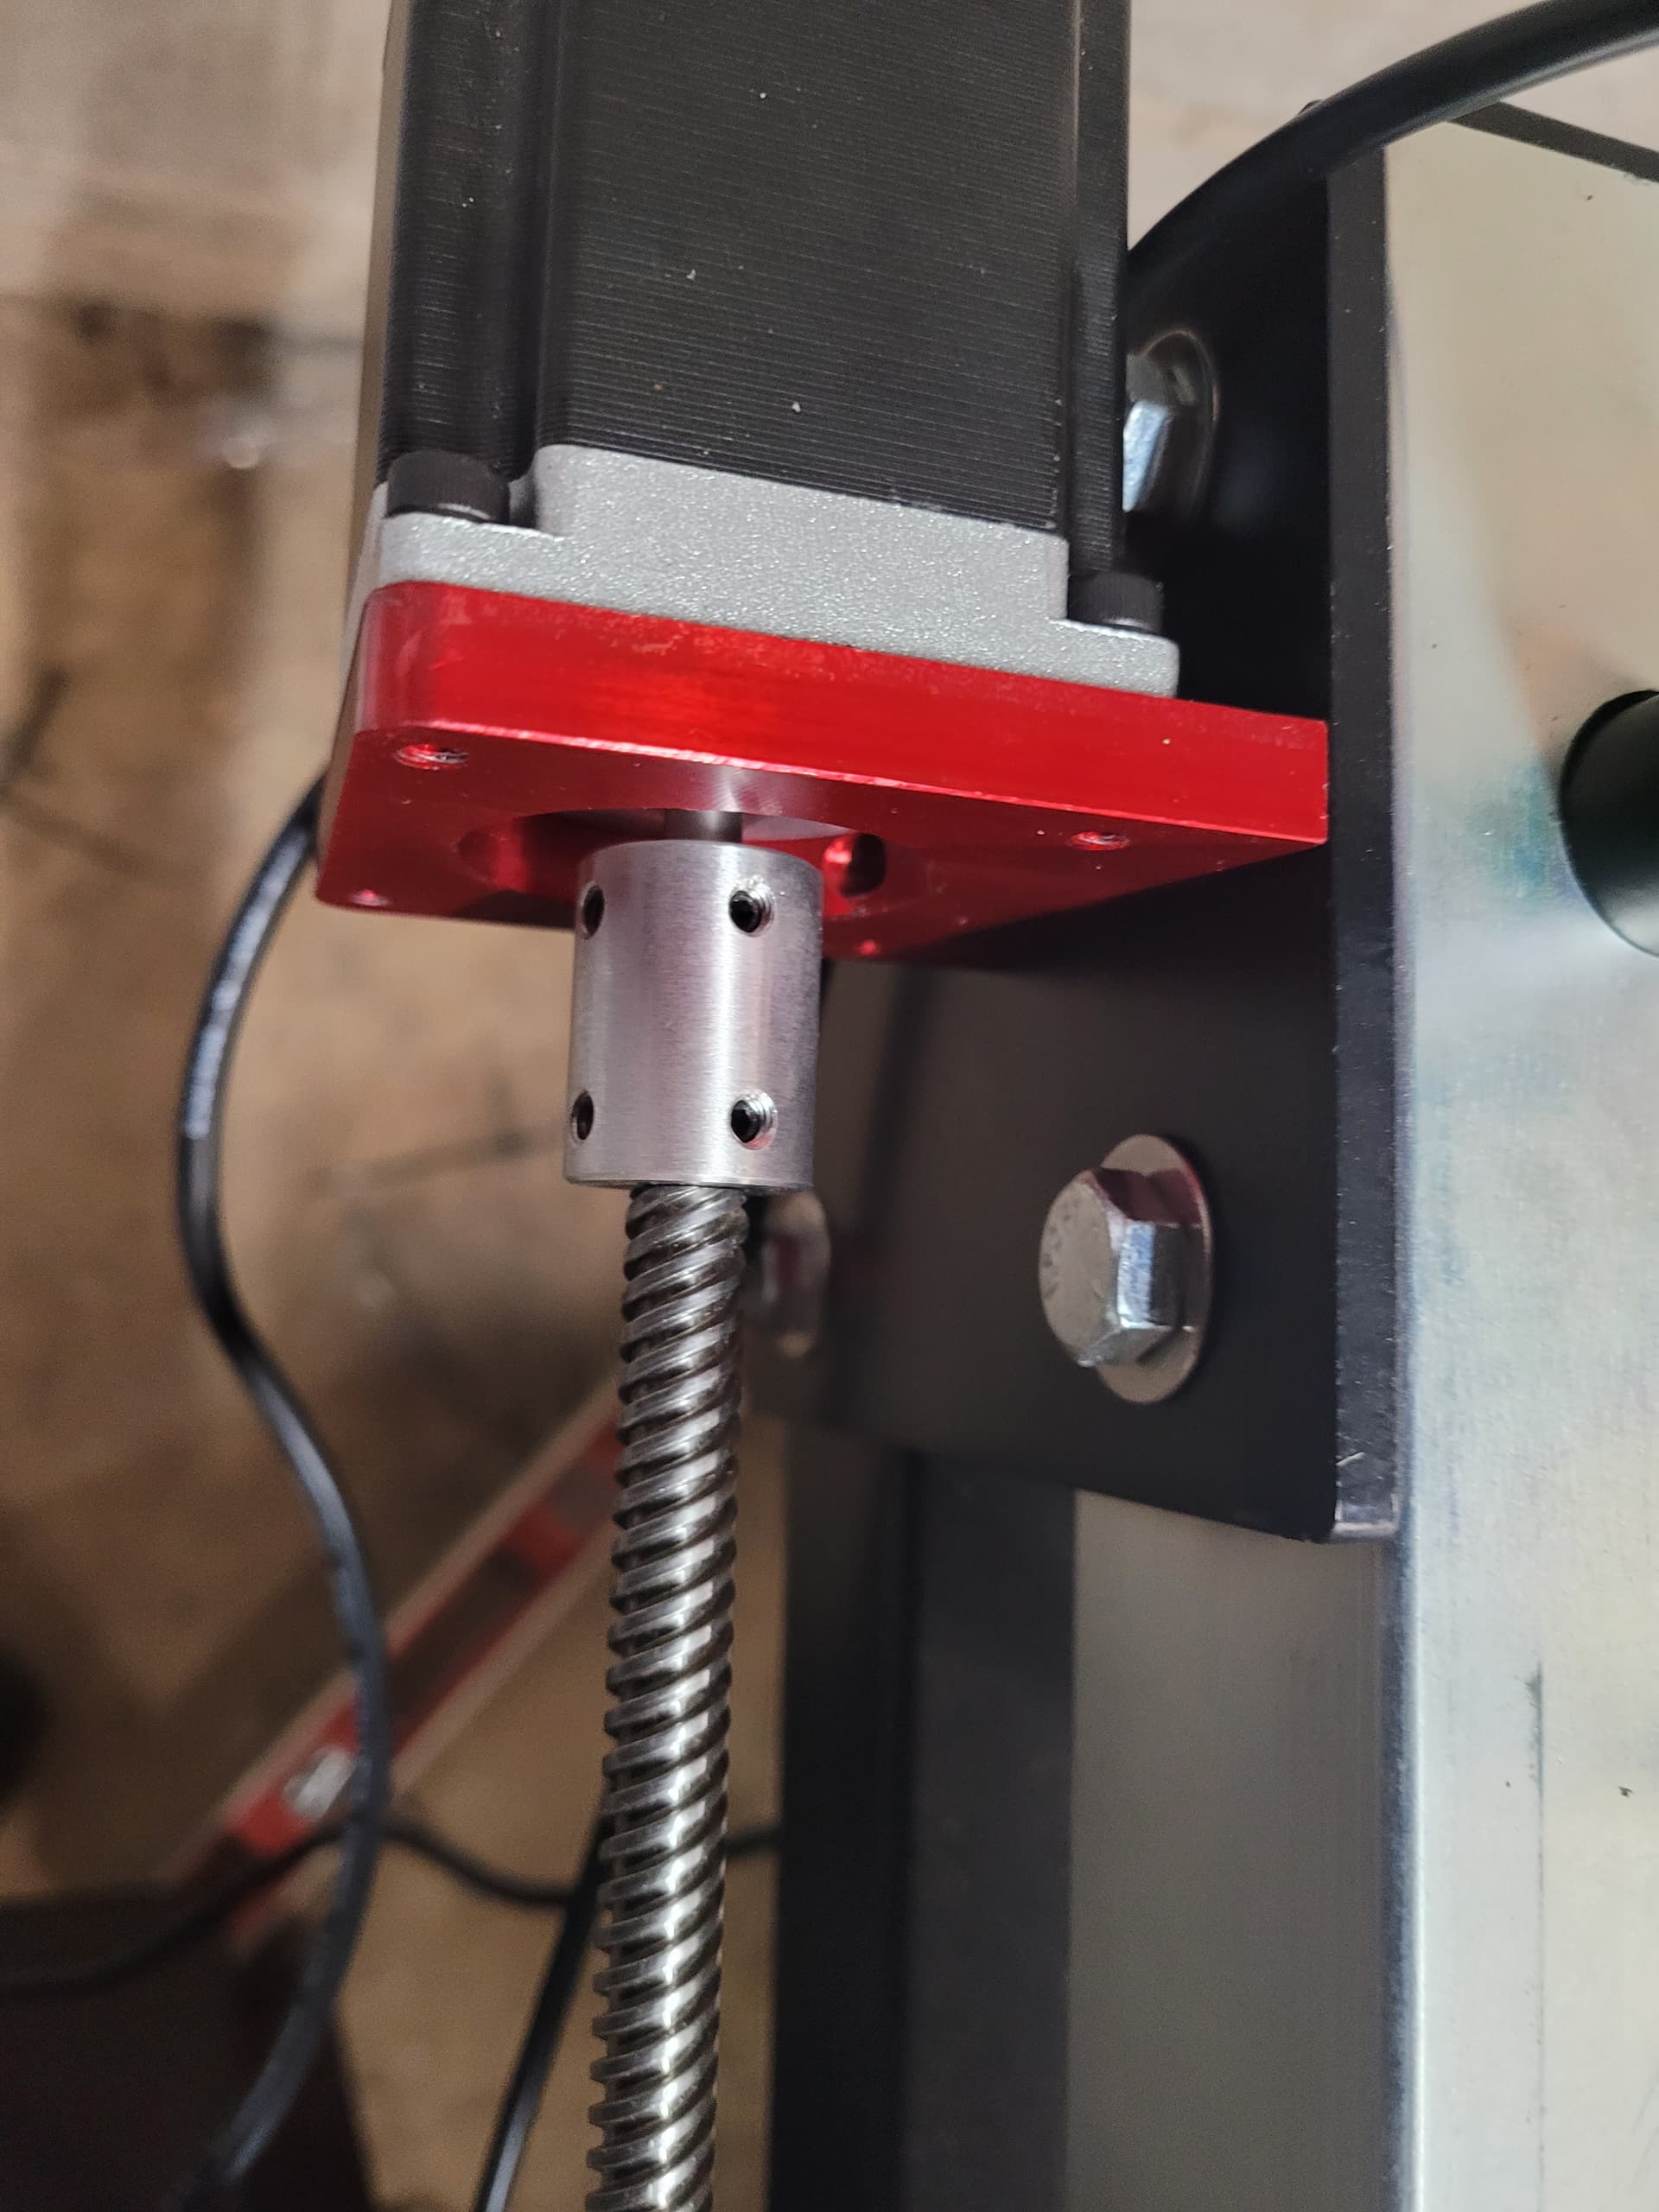
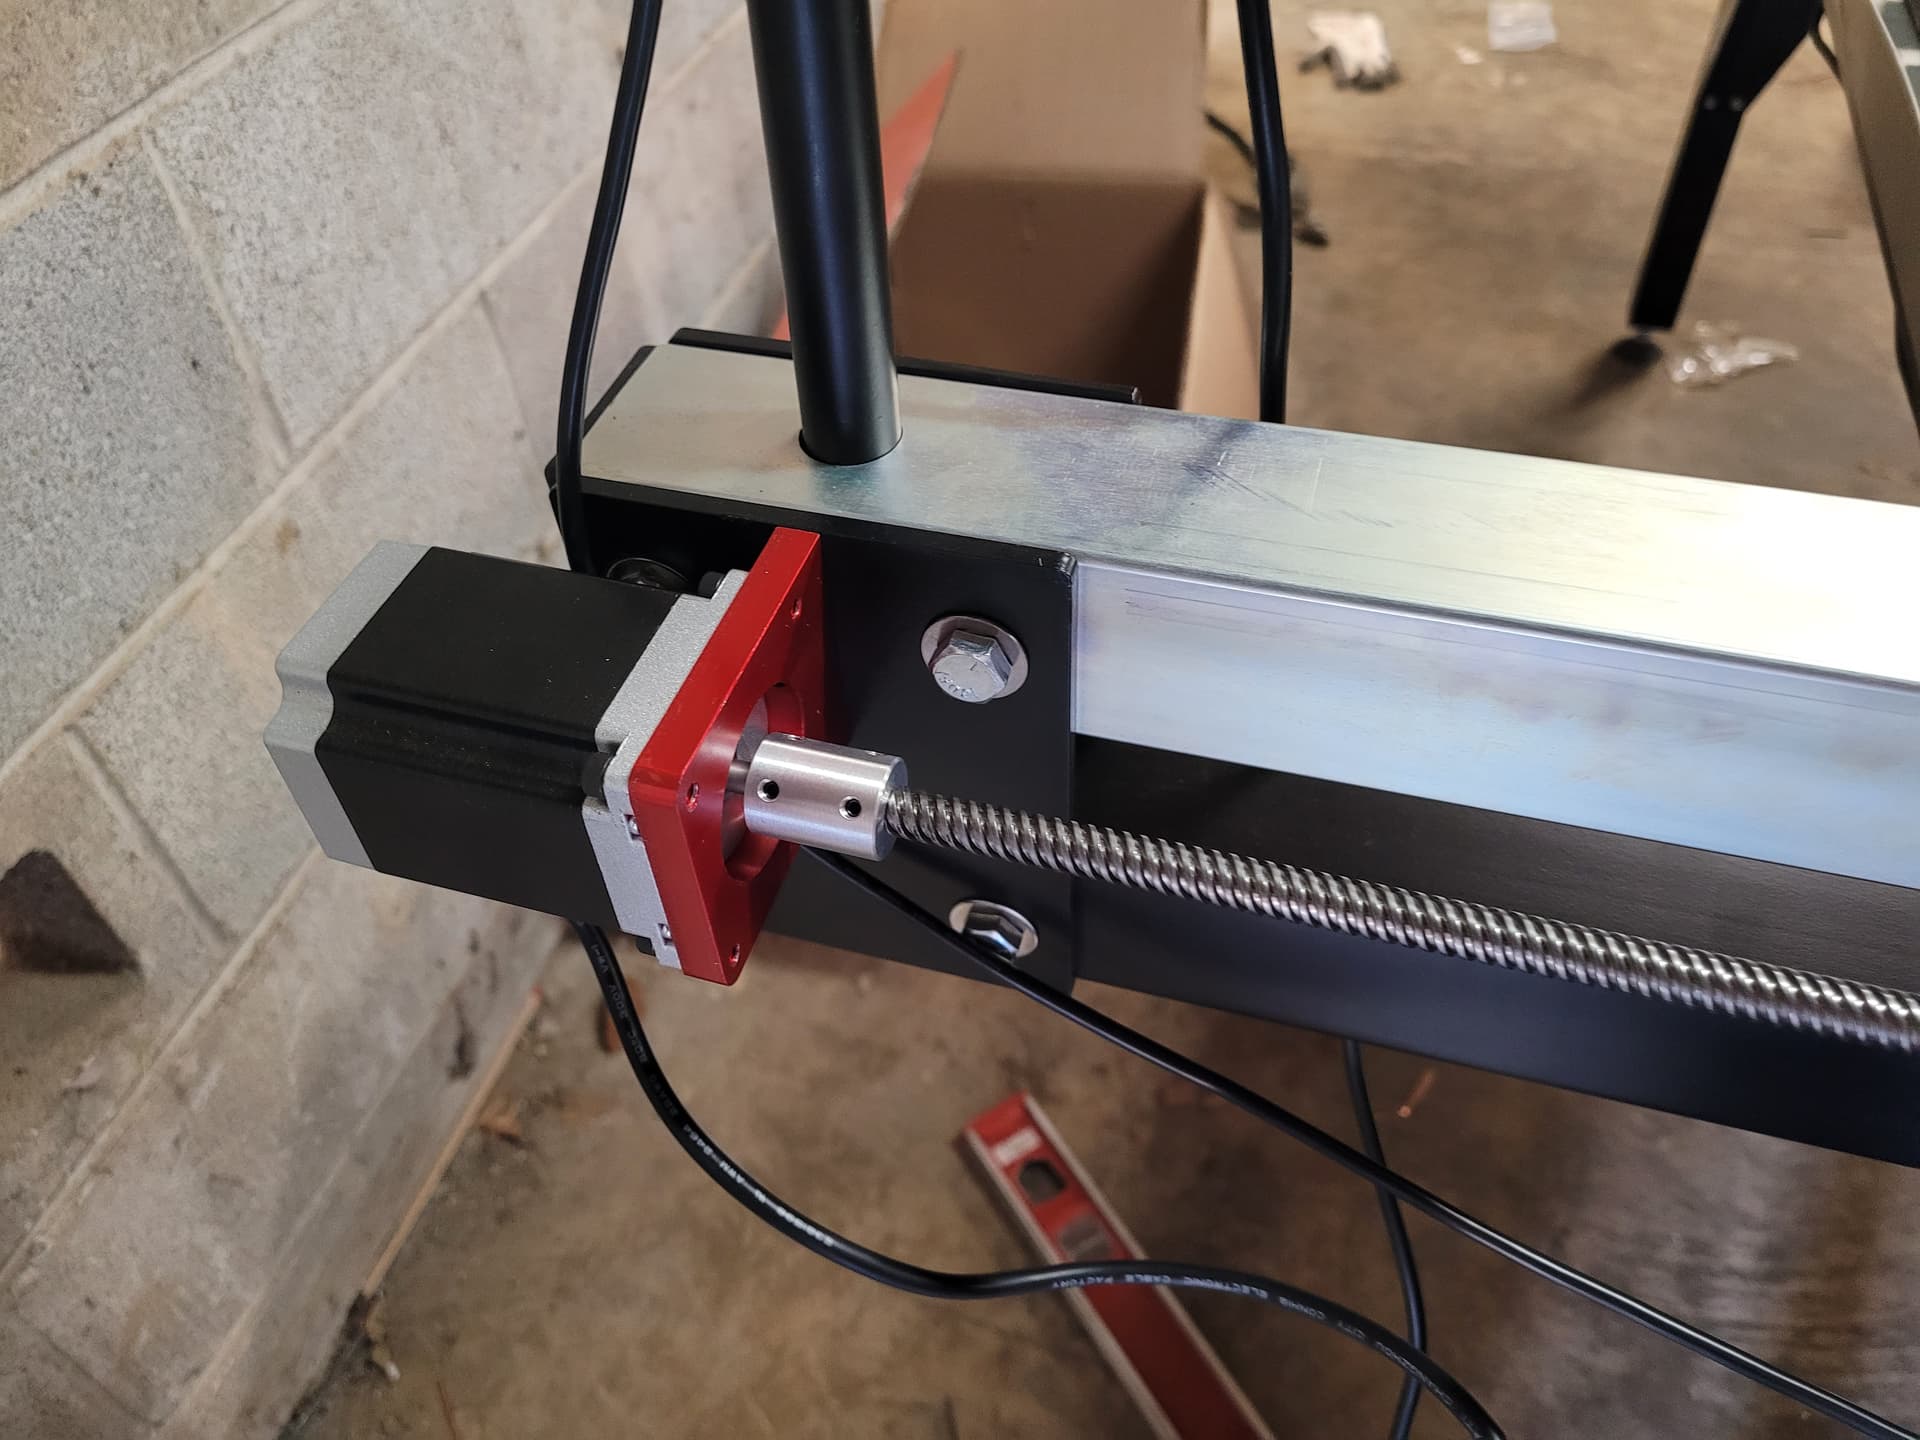
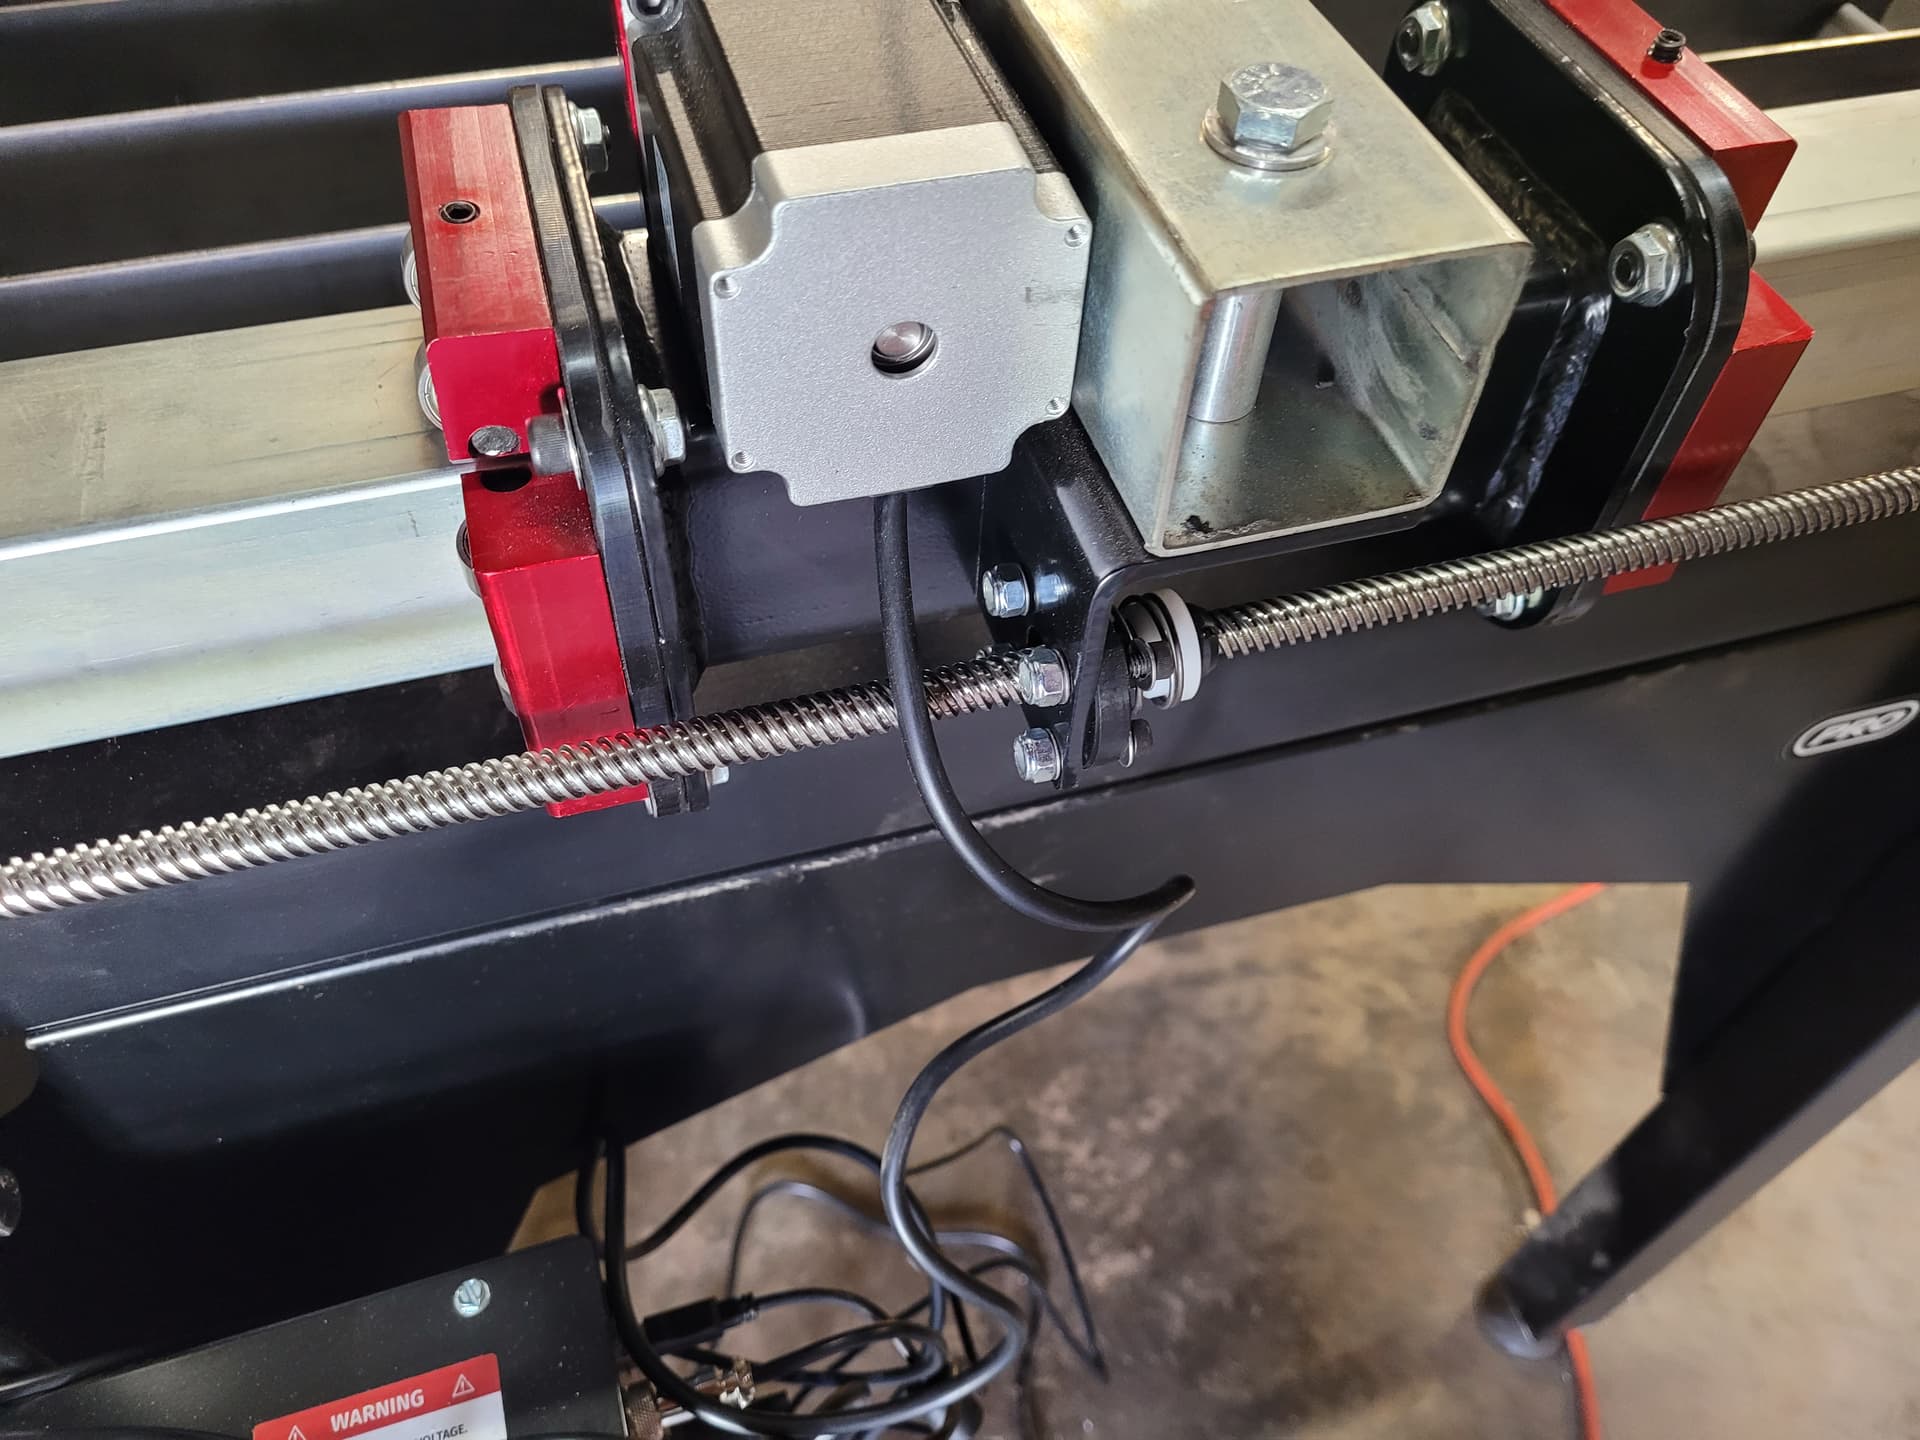
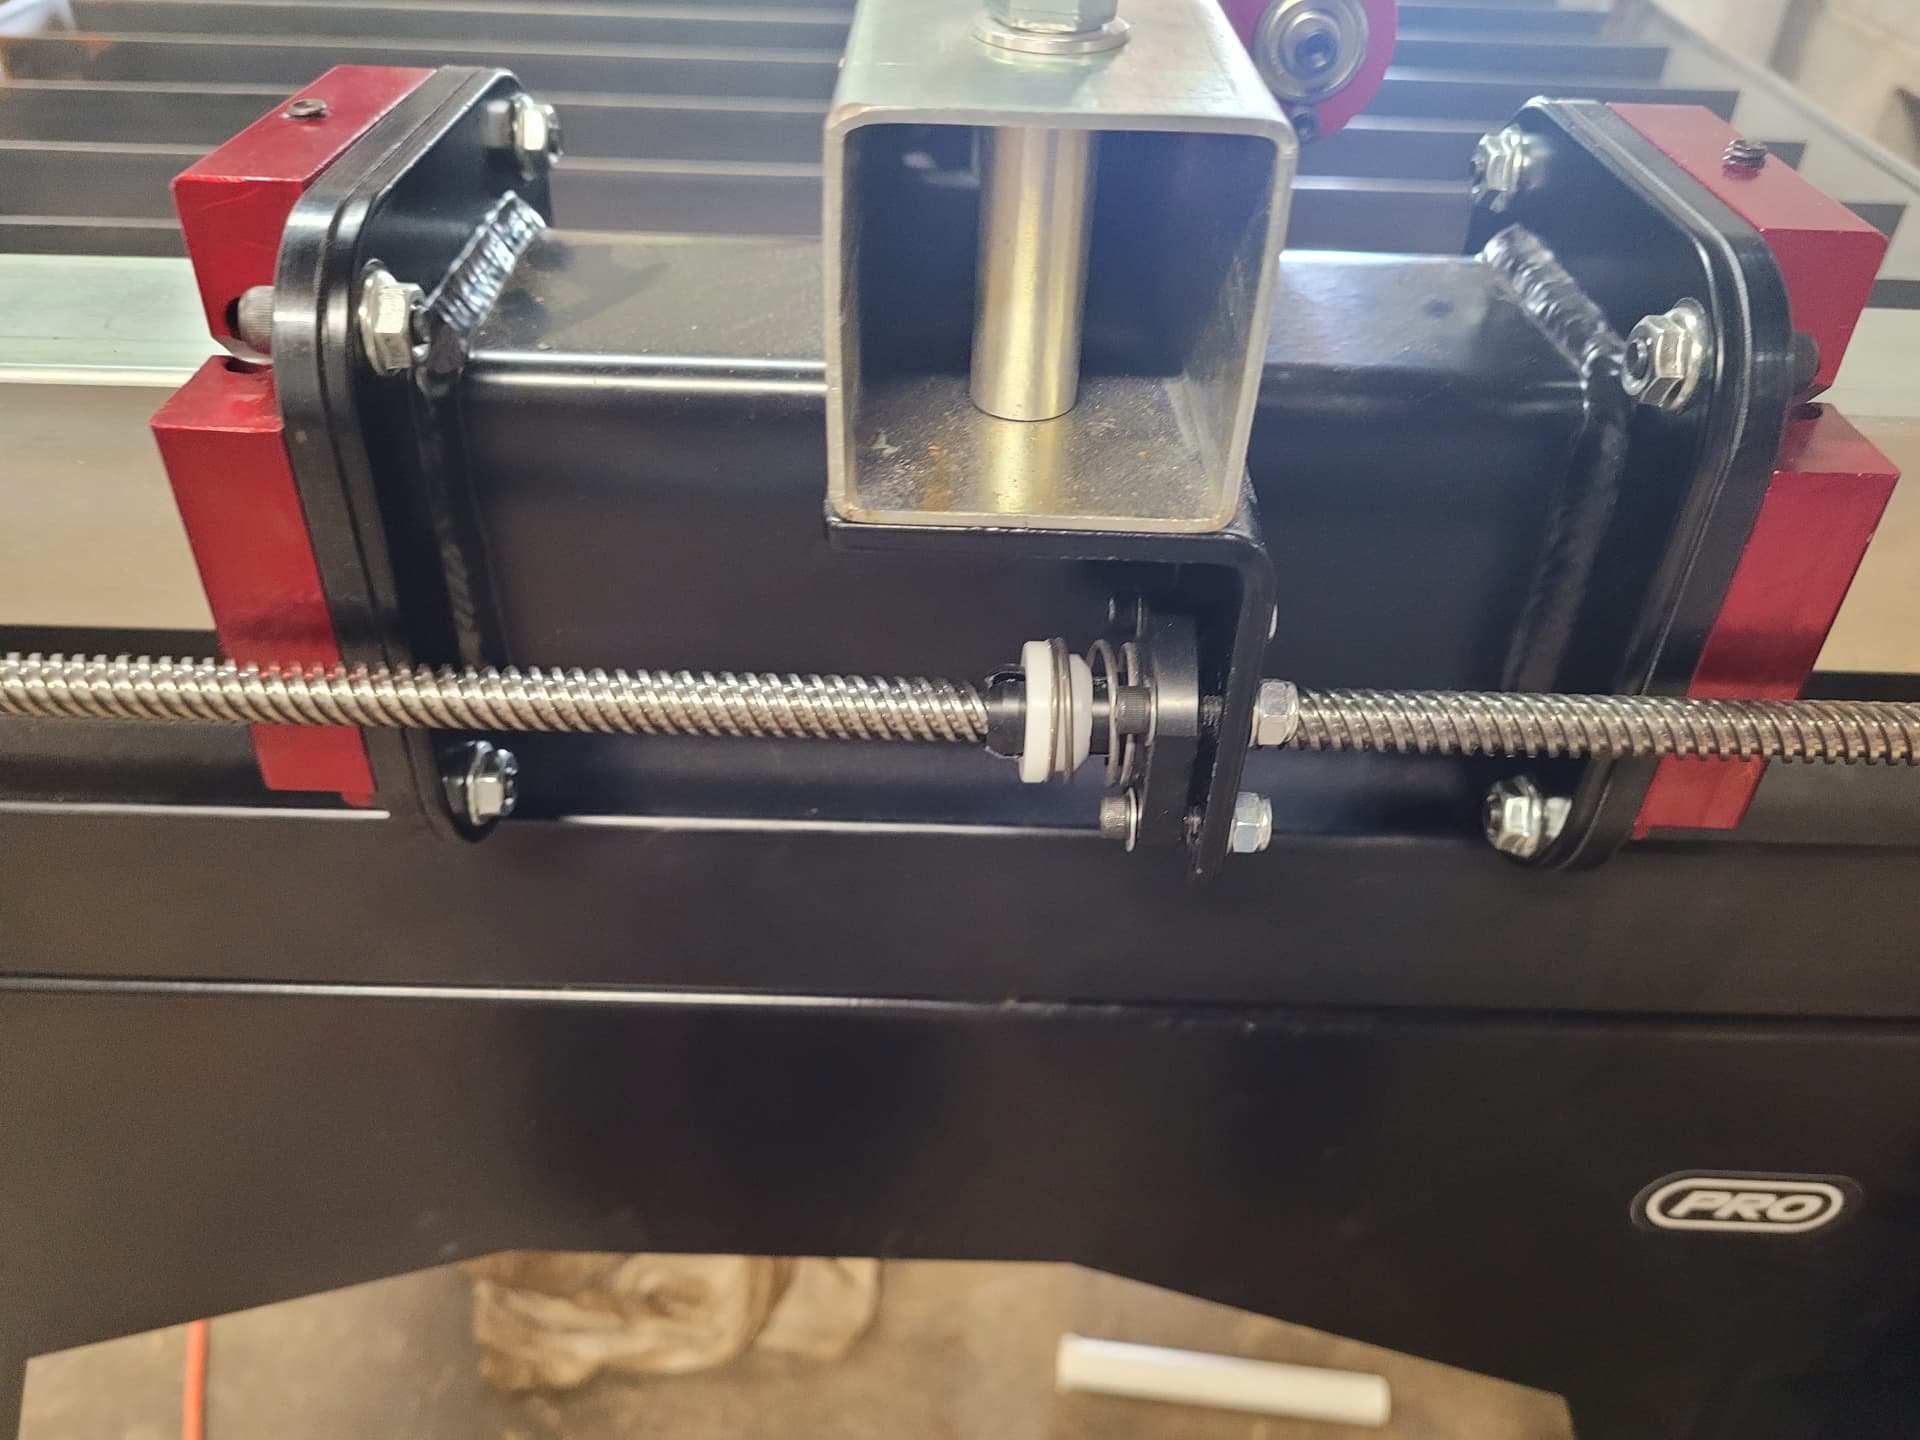
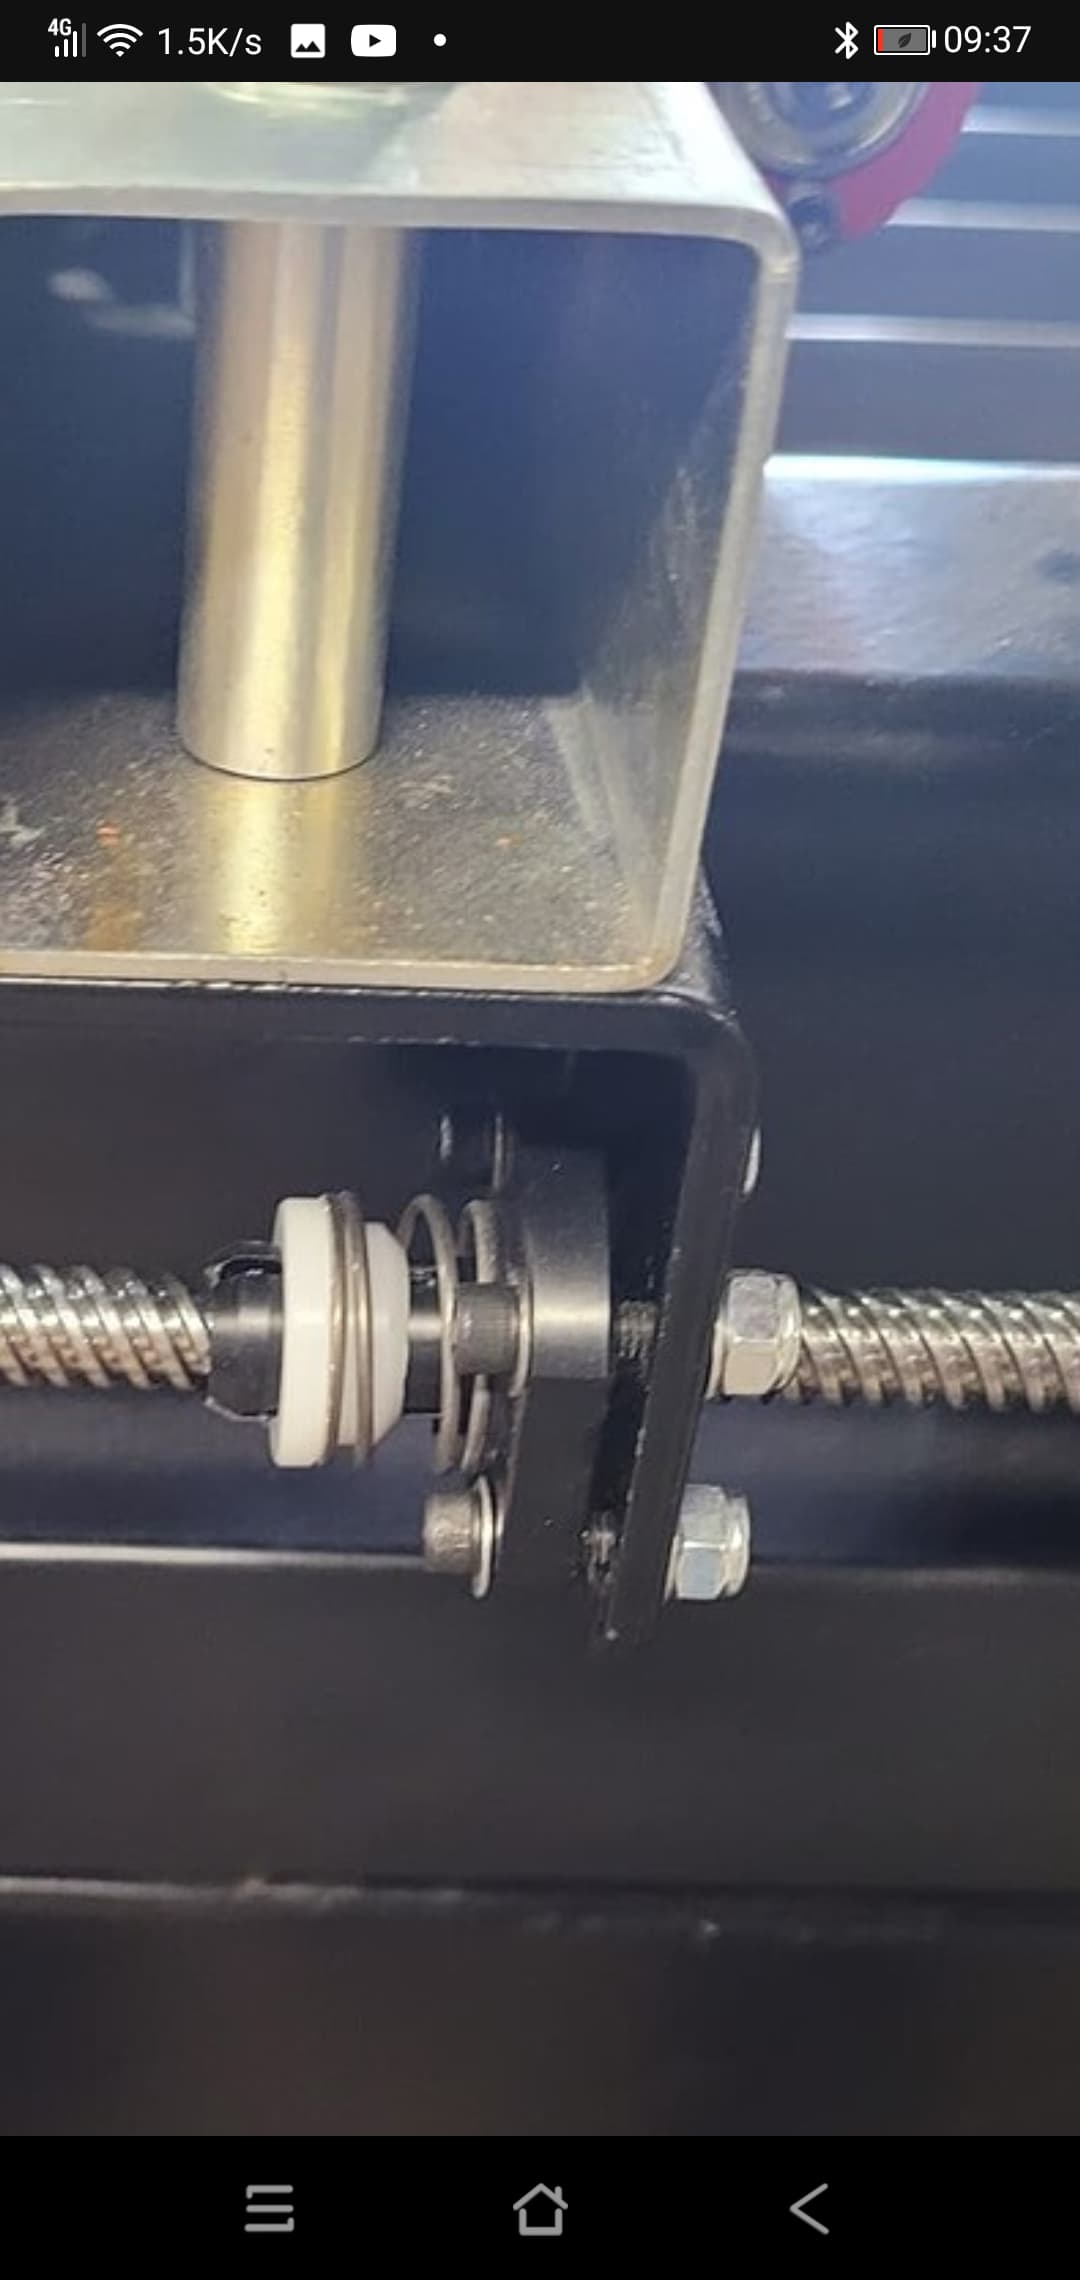
Could you take a picture of the lead screw nut for the x-axis where it’s connected to the z-axis.
Ok, I can turn the x axis with both hands but not easy too turn. I can turn the y axis with one hand easily.
If grub screw is motor coupling yes i striped it out when i tightened it.
Lol not sure what your wanting so i took a bunch of pictures.

The x-axis should turn by hand just as smoothly and freely as the y-axis.
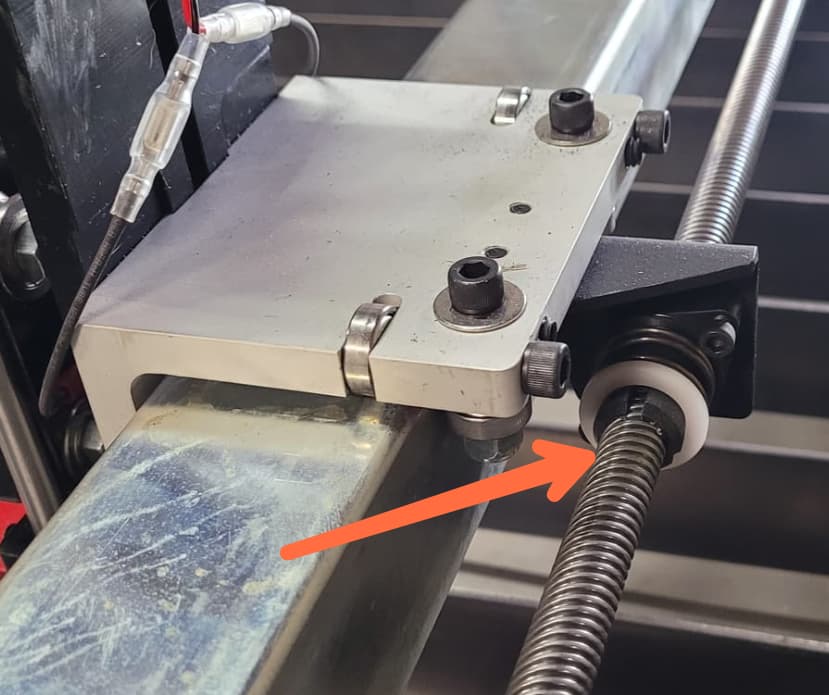
When you push in on the plastic keeper nut which kind of unlocks it while holding that can you turn the x axis smoothly? There’s been a few cases where that keeper nut is shipped out with a reverse thread.
No their’s not really any difference. Looks like one side moves then the other side starts to move are they suppose to together on the x axis
Tried to download a video of me moving the x axis but it not letting me do it
You’ll have to create a link to that video.
Maybe unfasting the nut from the z-axis entirely and then try to move it by hand again.
We need to find out what’s causing this drag. No point in moving forward till we do.
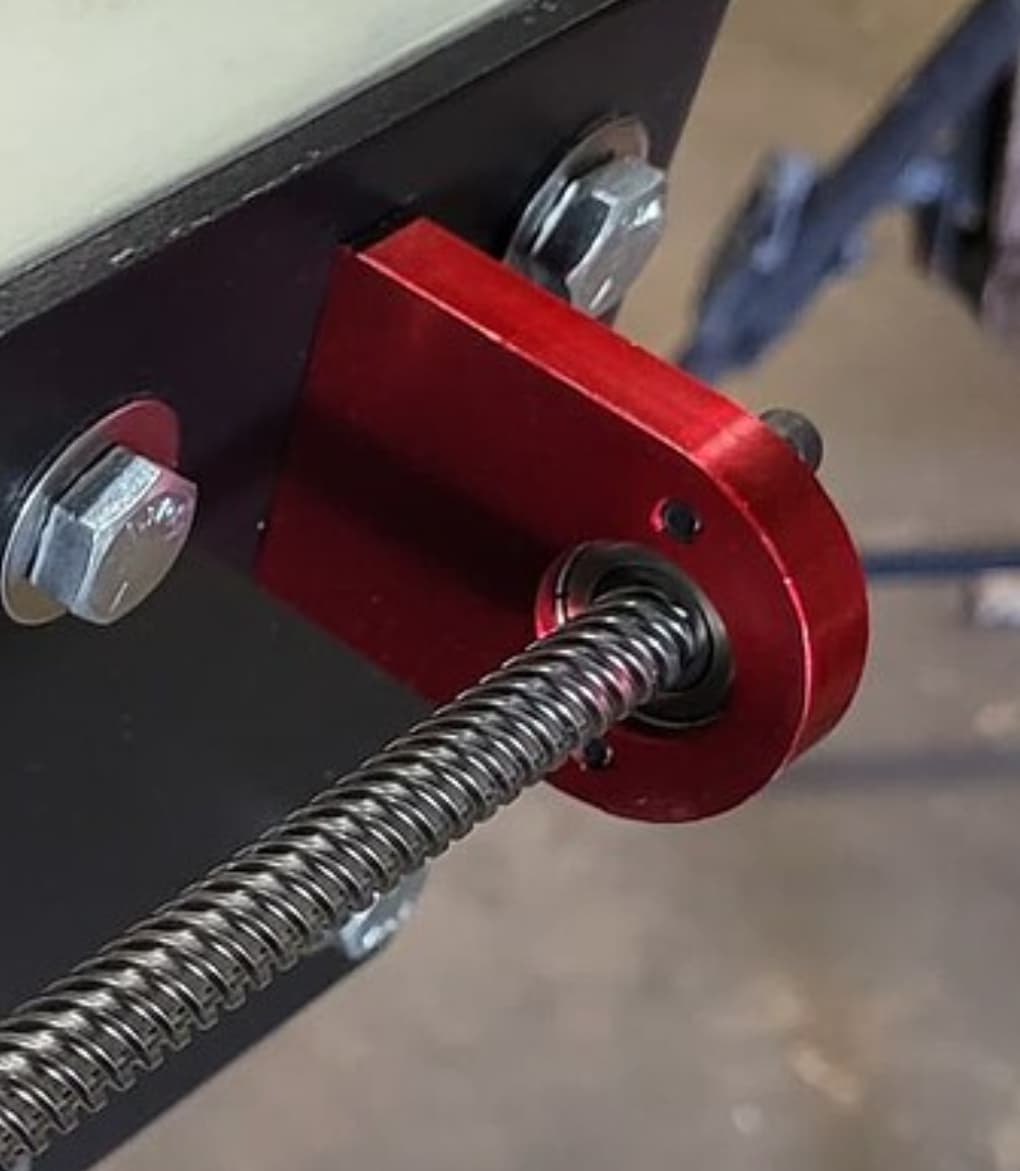
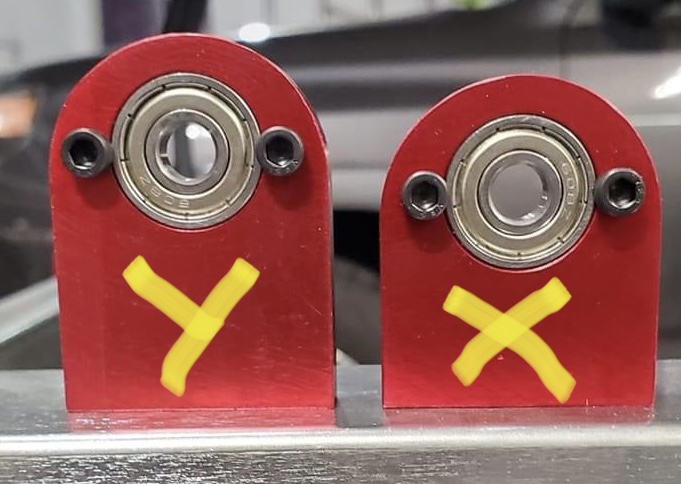
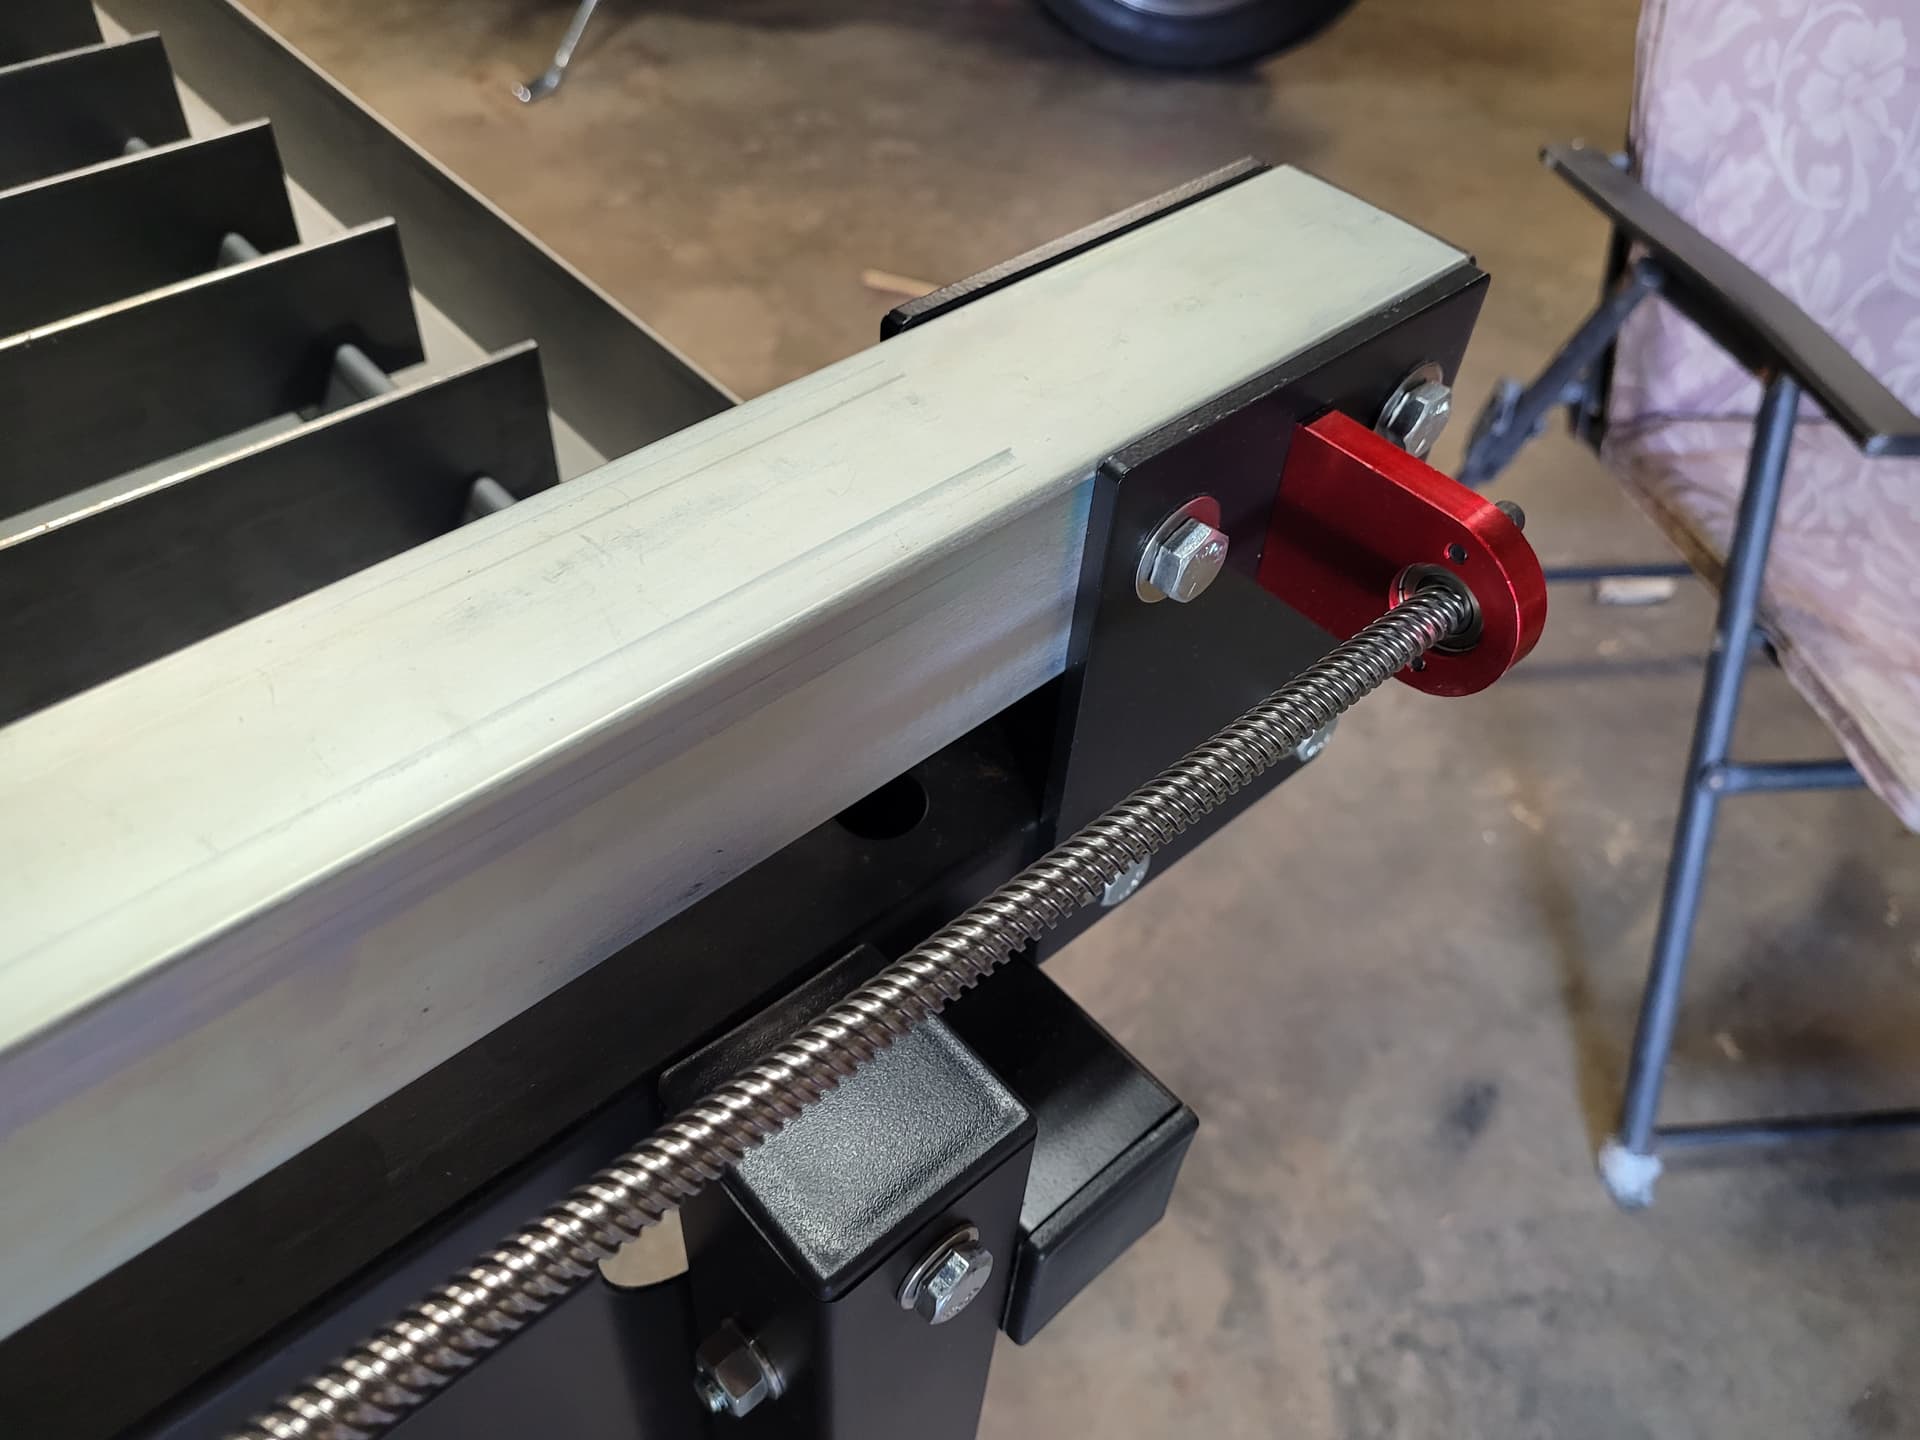
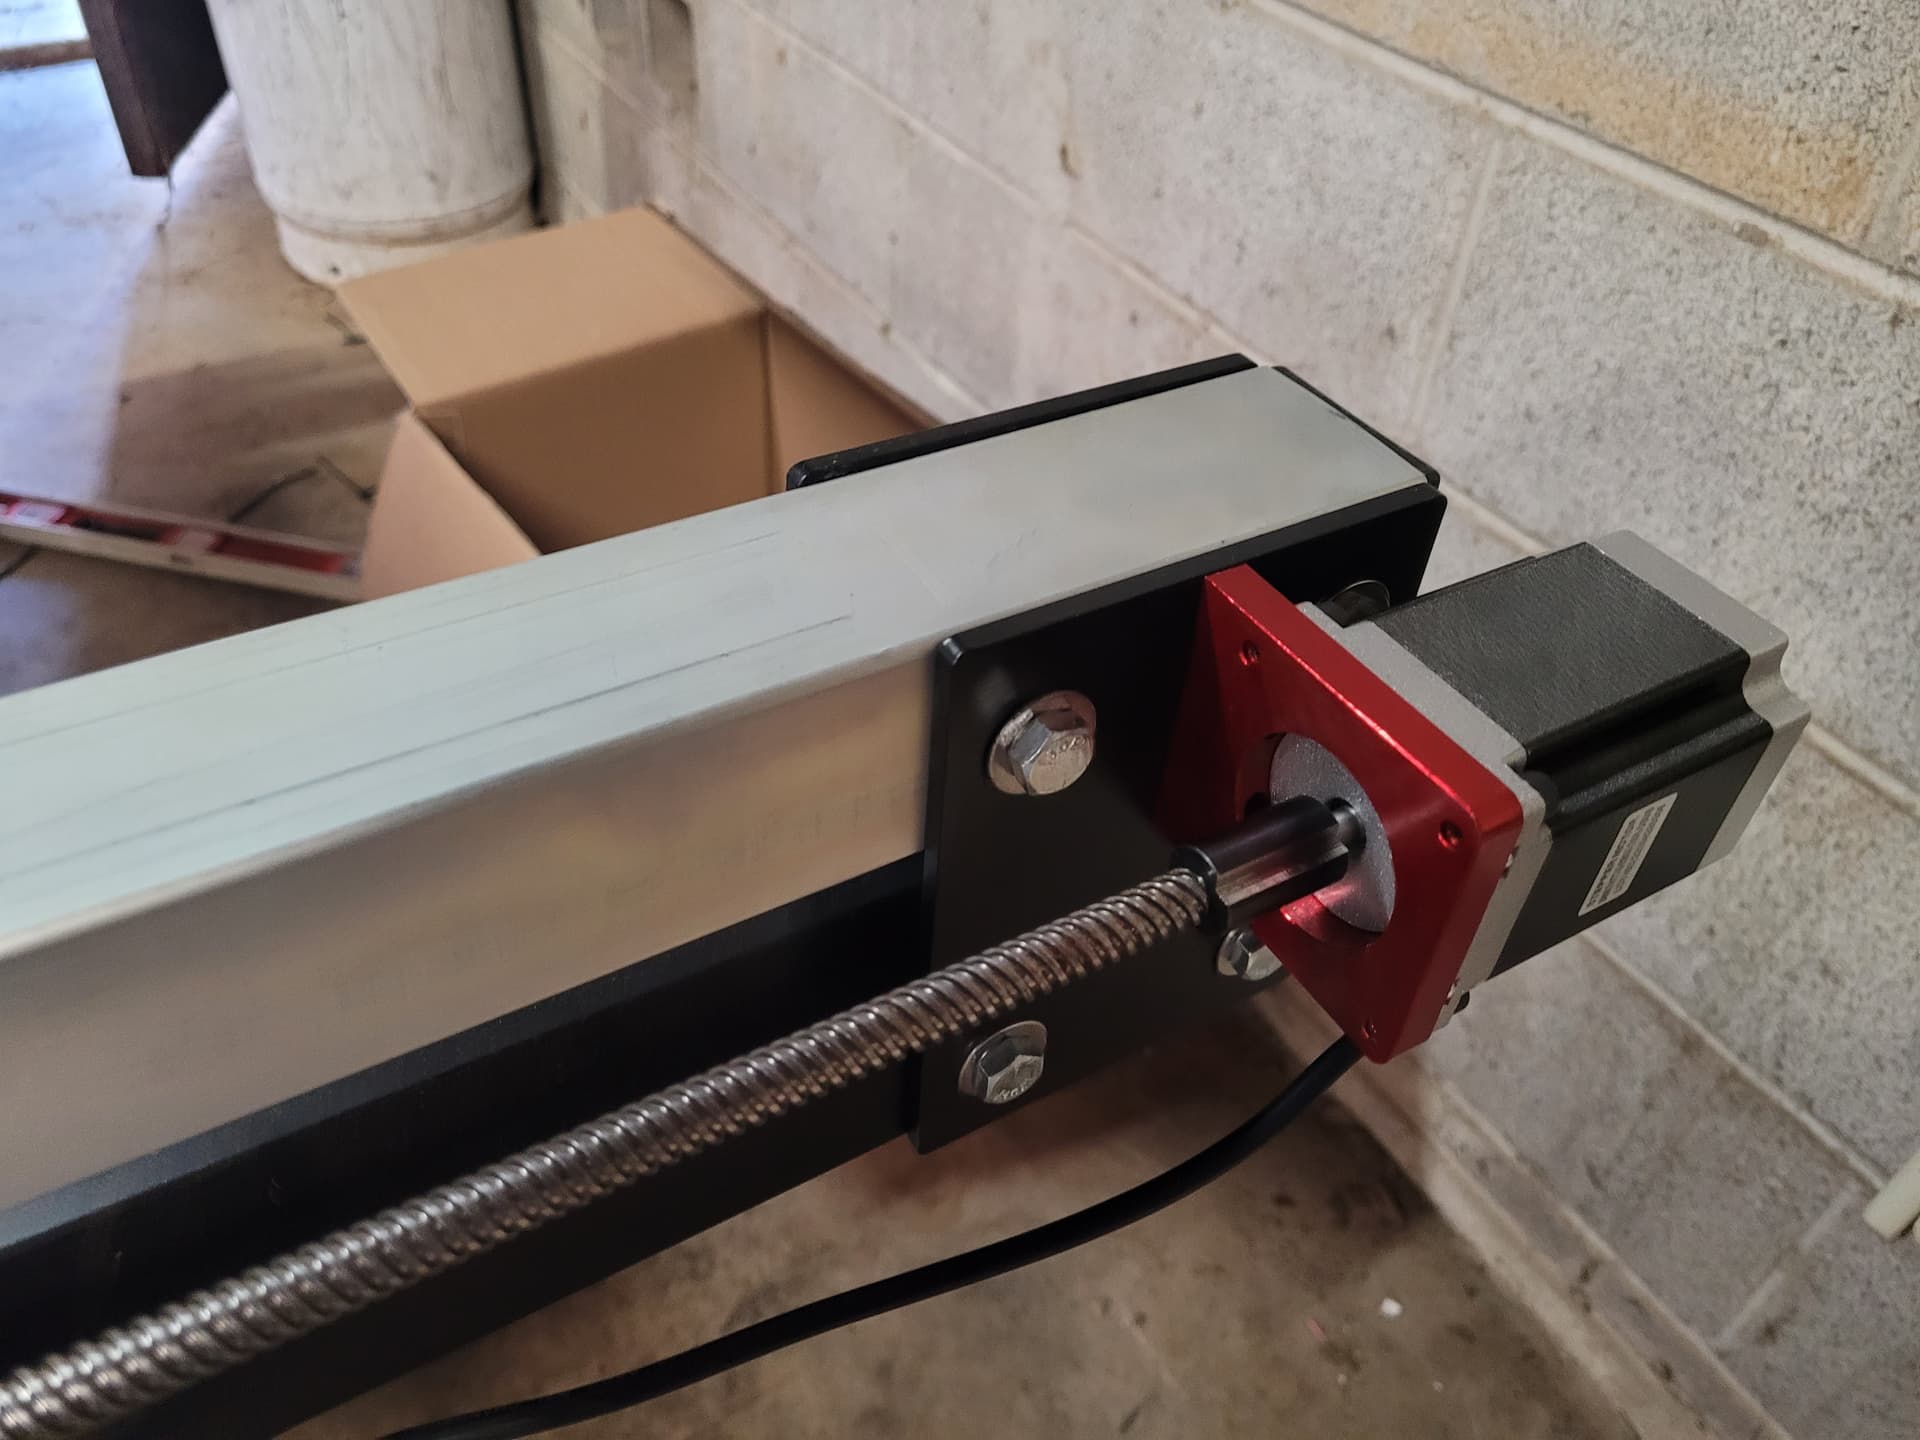
Can you verify that all these red mounts are in their correct location the ones for the y-axis are different than the ones for the x axis but they look very similar.
Z axis am I getting my axis turned around do you mean x axis
The z-axis is the up and down axis that is mounted to your x-axis.
The x axis standing in front of the machine is your left to right access with the one long lead screw.
The x-axis is mounted onto the y-axis
The y axis is your front to back axis and it has two lead screws.
The y axis is mounted to the frame.
I’ll screenshot where I’m talking about.
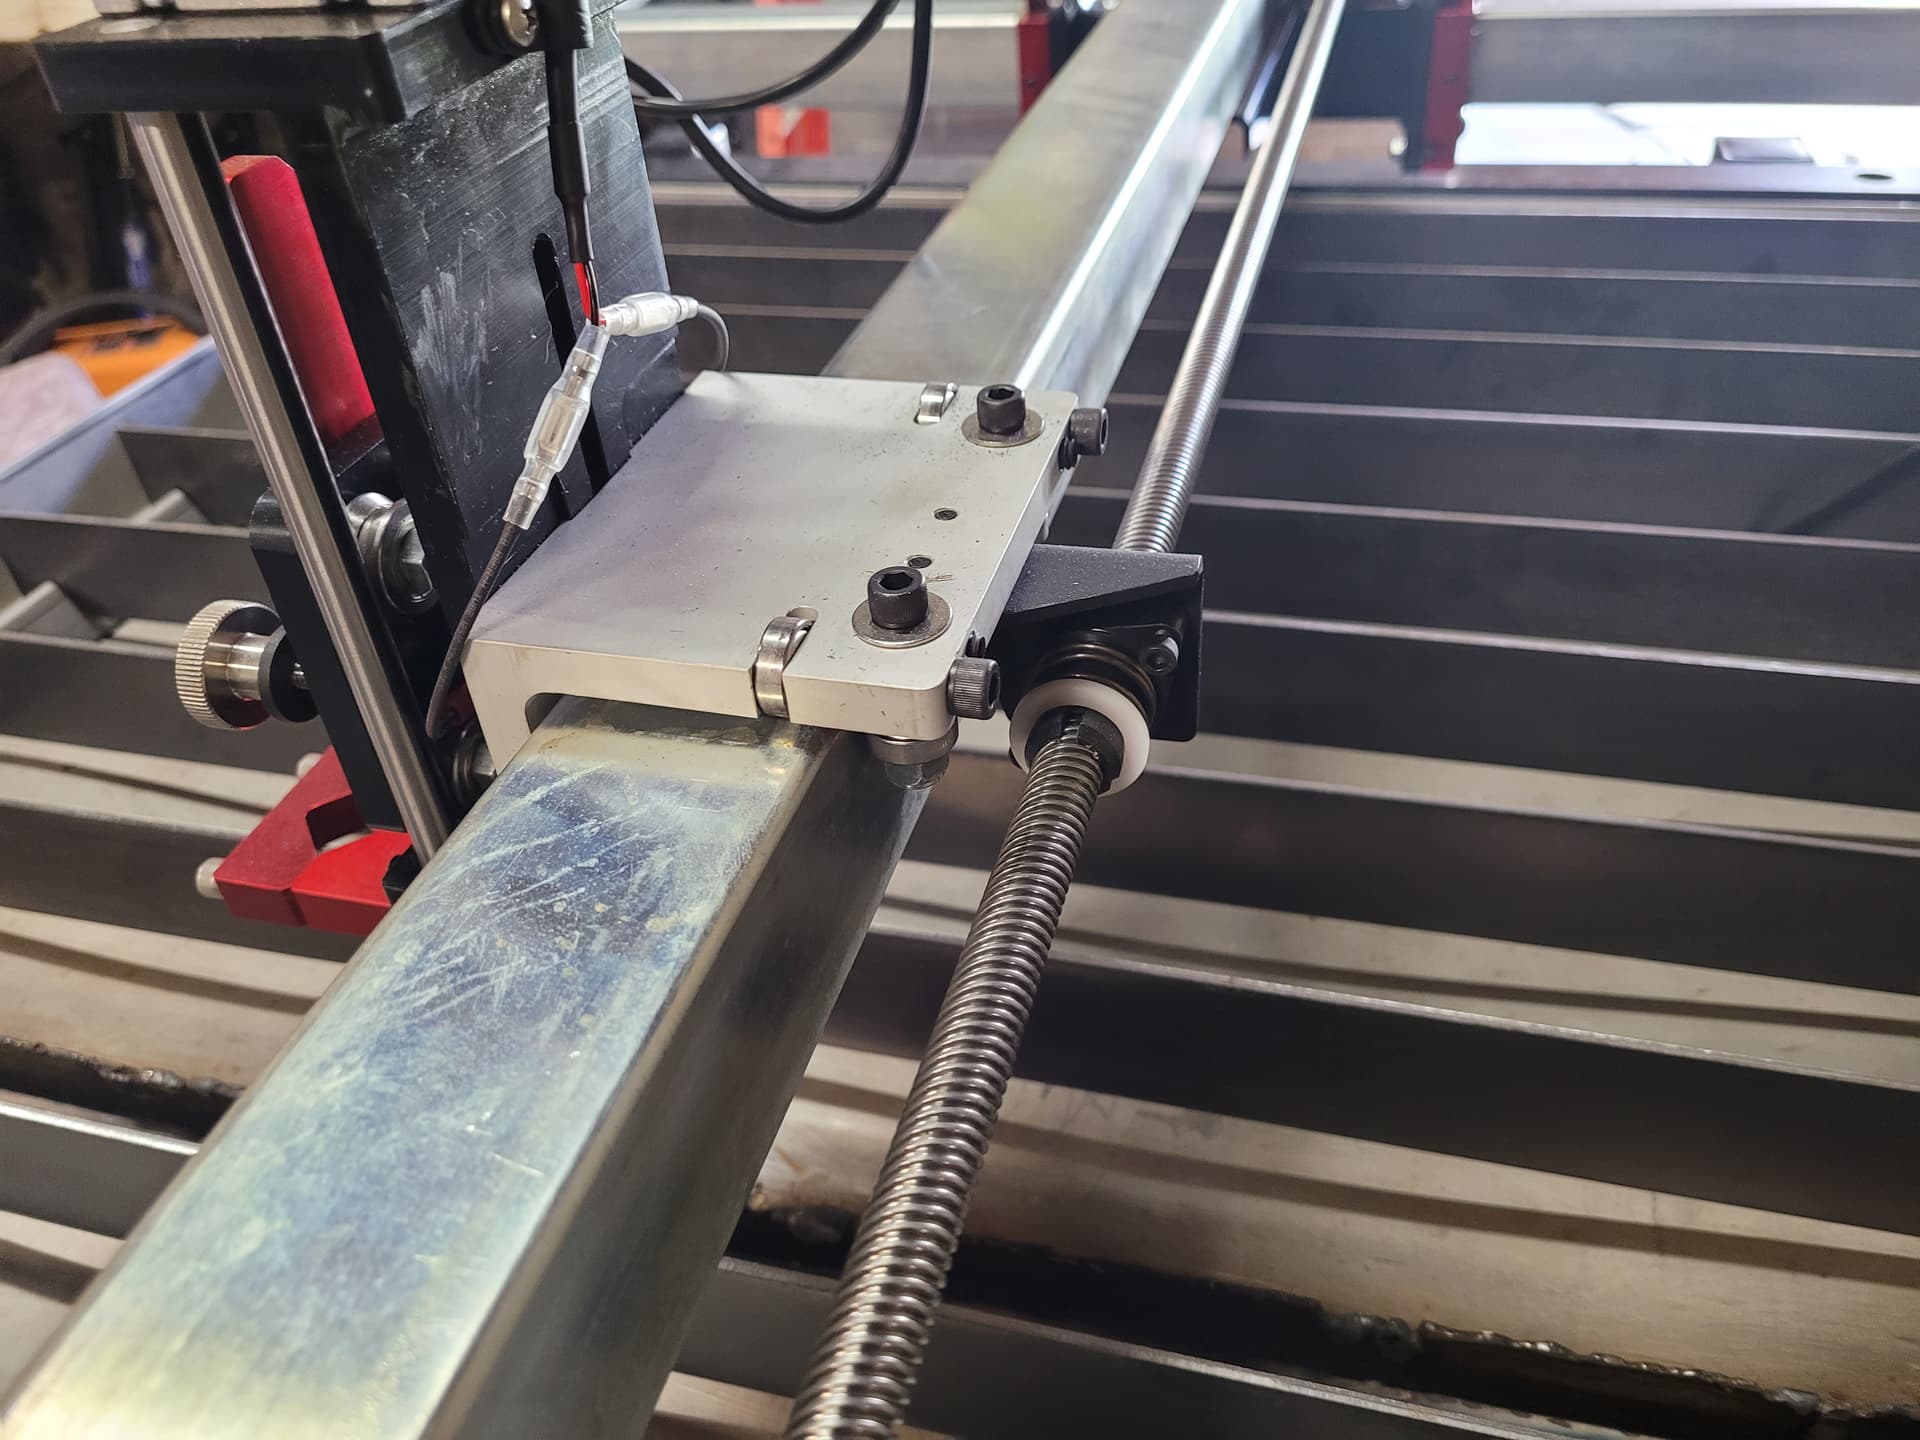
This is the nut I meant from that statement.
It is the nut that connects your x-axis to your z-axis.
I would check if that plastic nut is also the wrong hand thread
Ok tin
So sorry x and z axis moves freely my y axis is jammed and will not move easily
All good.
So I would make sure that you have the right red brackets installed on the y-axis.
I would also snug these up but not tighten them up more so than they currently are.
I would also take some kitty corner or crossways measurements on your machine just to make sure that it isn’t racked.
When in any doubt there is no problem in going back some steps and just double checking.
@ds690 has a good picture of these two red brackets side by side so you can really tell the difference but I’m not sure where that picture is.
@ds690 may you post that picture here. Thanks
corner to corner is 78 1/4 dead nuts perfect
left to right front of table is 58 15/16 back of table is 59 1/8
I used a framing square when I squared the table up last time I measured left to right it was perfect.
Perfect. So now I would check those red bearing blocks to make sure they’re the correct ones. Are you still on step A6-A7 or what step would you say you’re on currently?