Perfect!! Thanks again!
1 Like
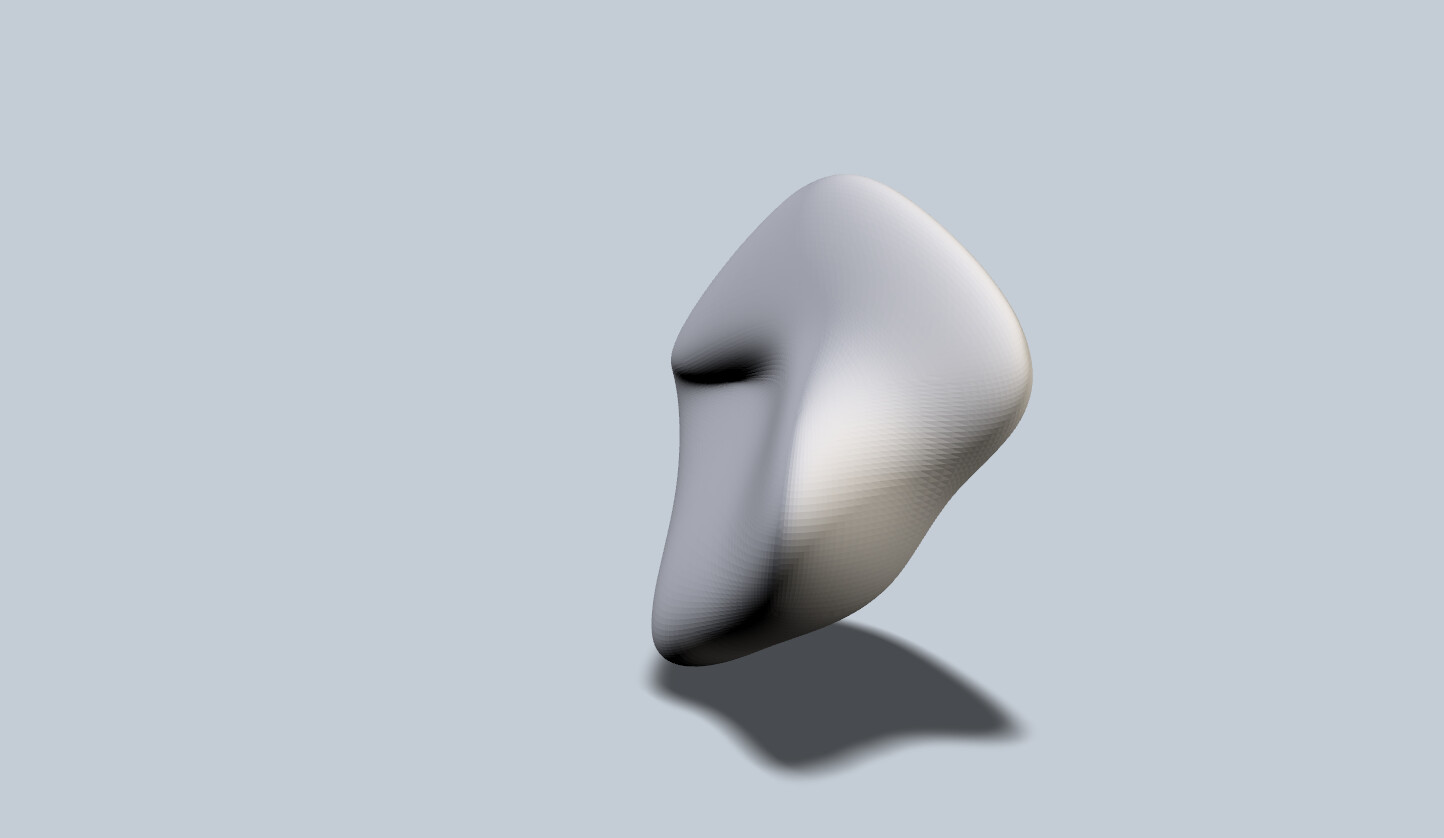
Eric!!! You are leaving me behind! I have not done rendering. I guess I am going to need to do some more learnin’ ![]()
![]()
![]()
2 Likes

more 3d model renderings
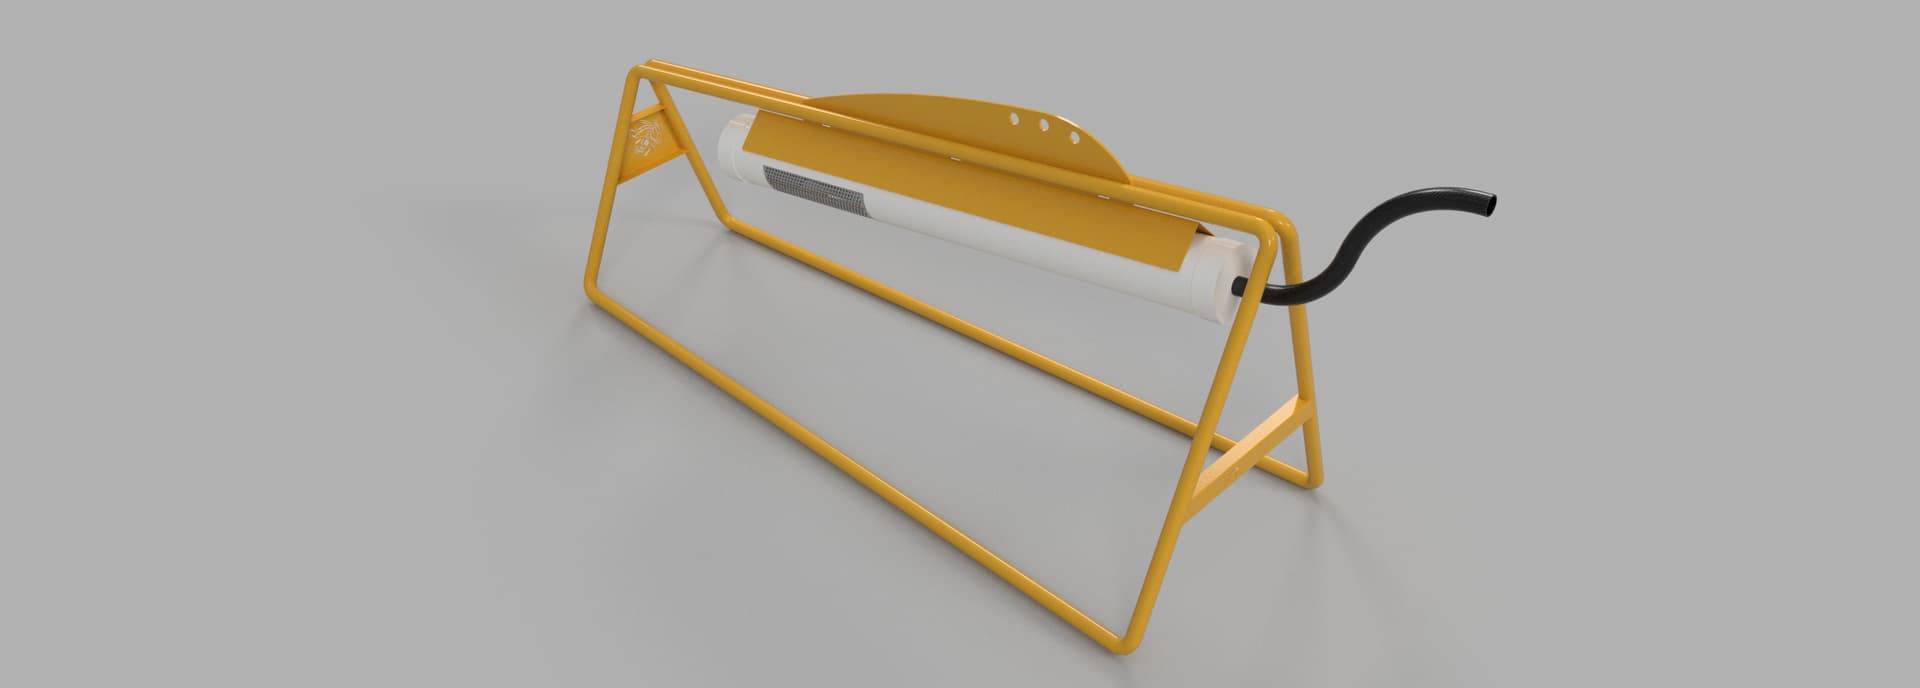

and this last link with be a model with all the different brace option with the visibility on so the user can toggle them on and off.

find the model browser menu at the bottom and open the model browser here you can toggle on and off the visiblity of different options
3 Likes
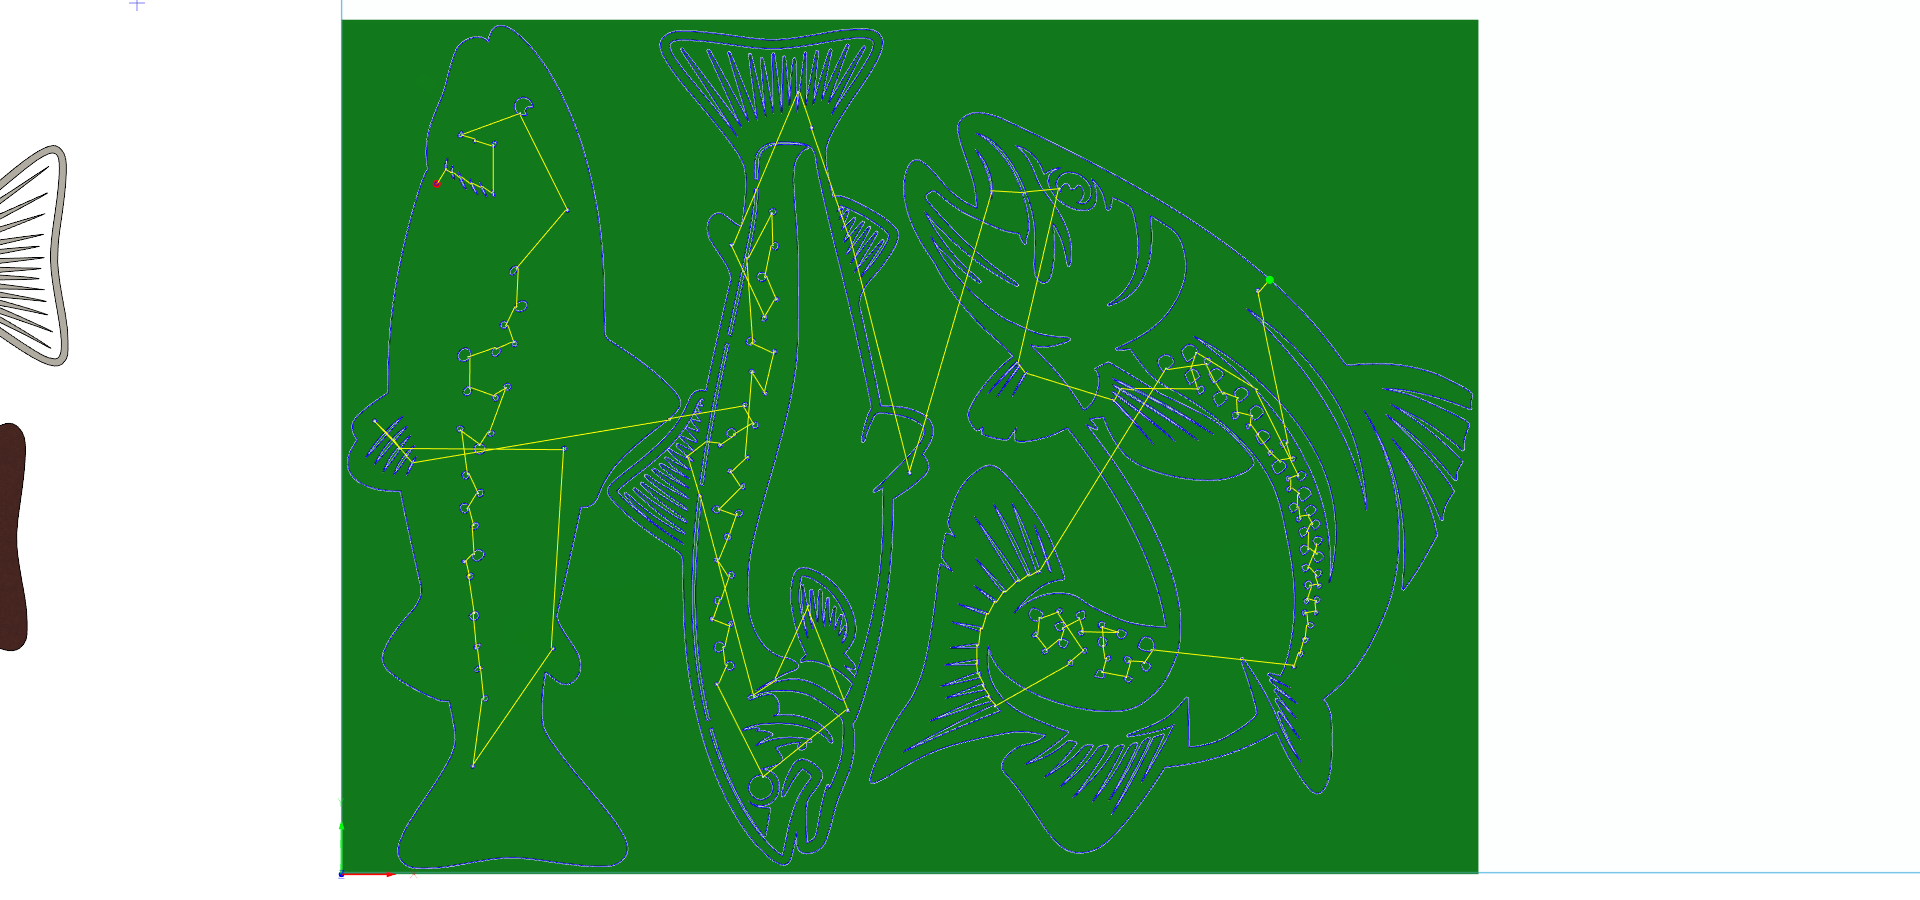
Next Stream is making a 2 foot rainbow trout of a customer. We will comb the internet looking for a suitable image or vector, Scale it and modify it with Fusion 360 and finish by making the CAM.
Start 520am mst
Live Stream Channels


2 Likes
Live Stream Channels

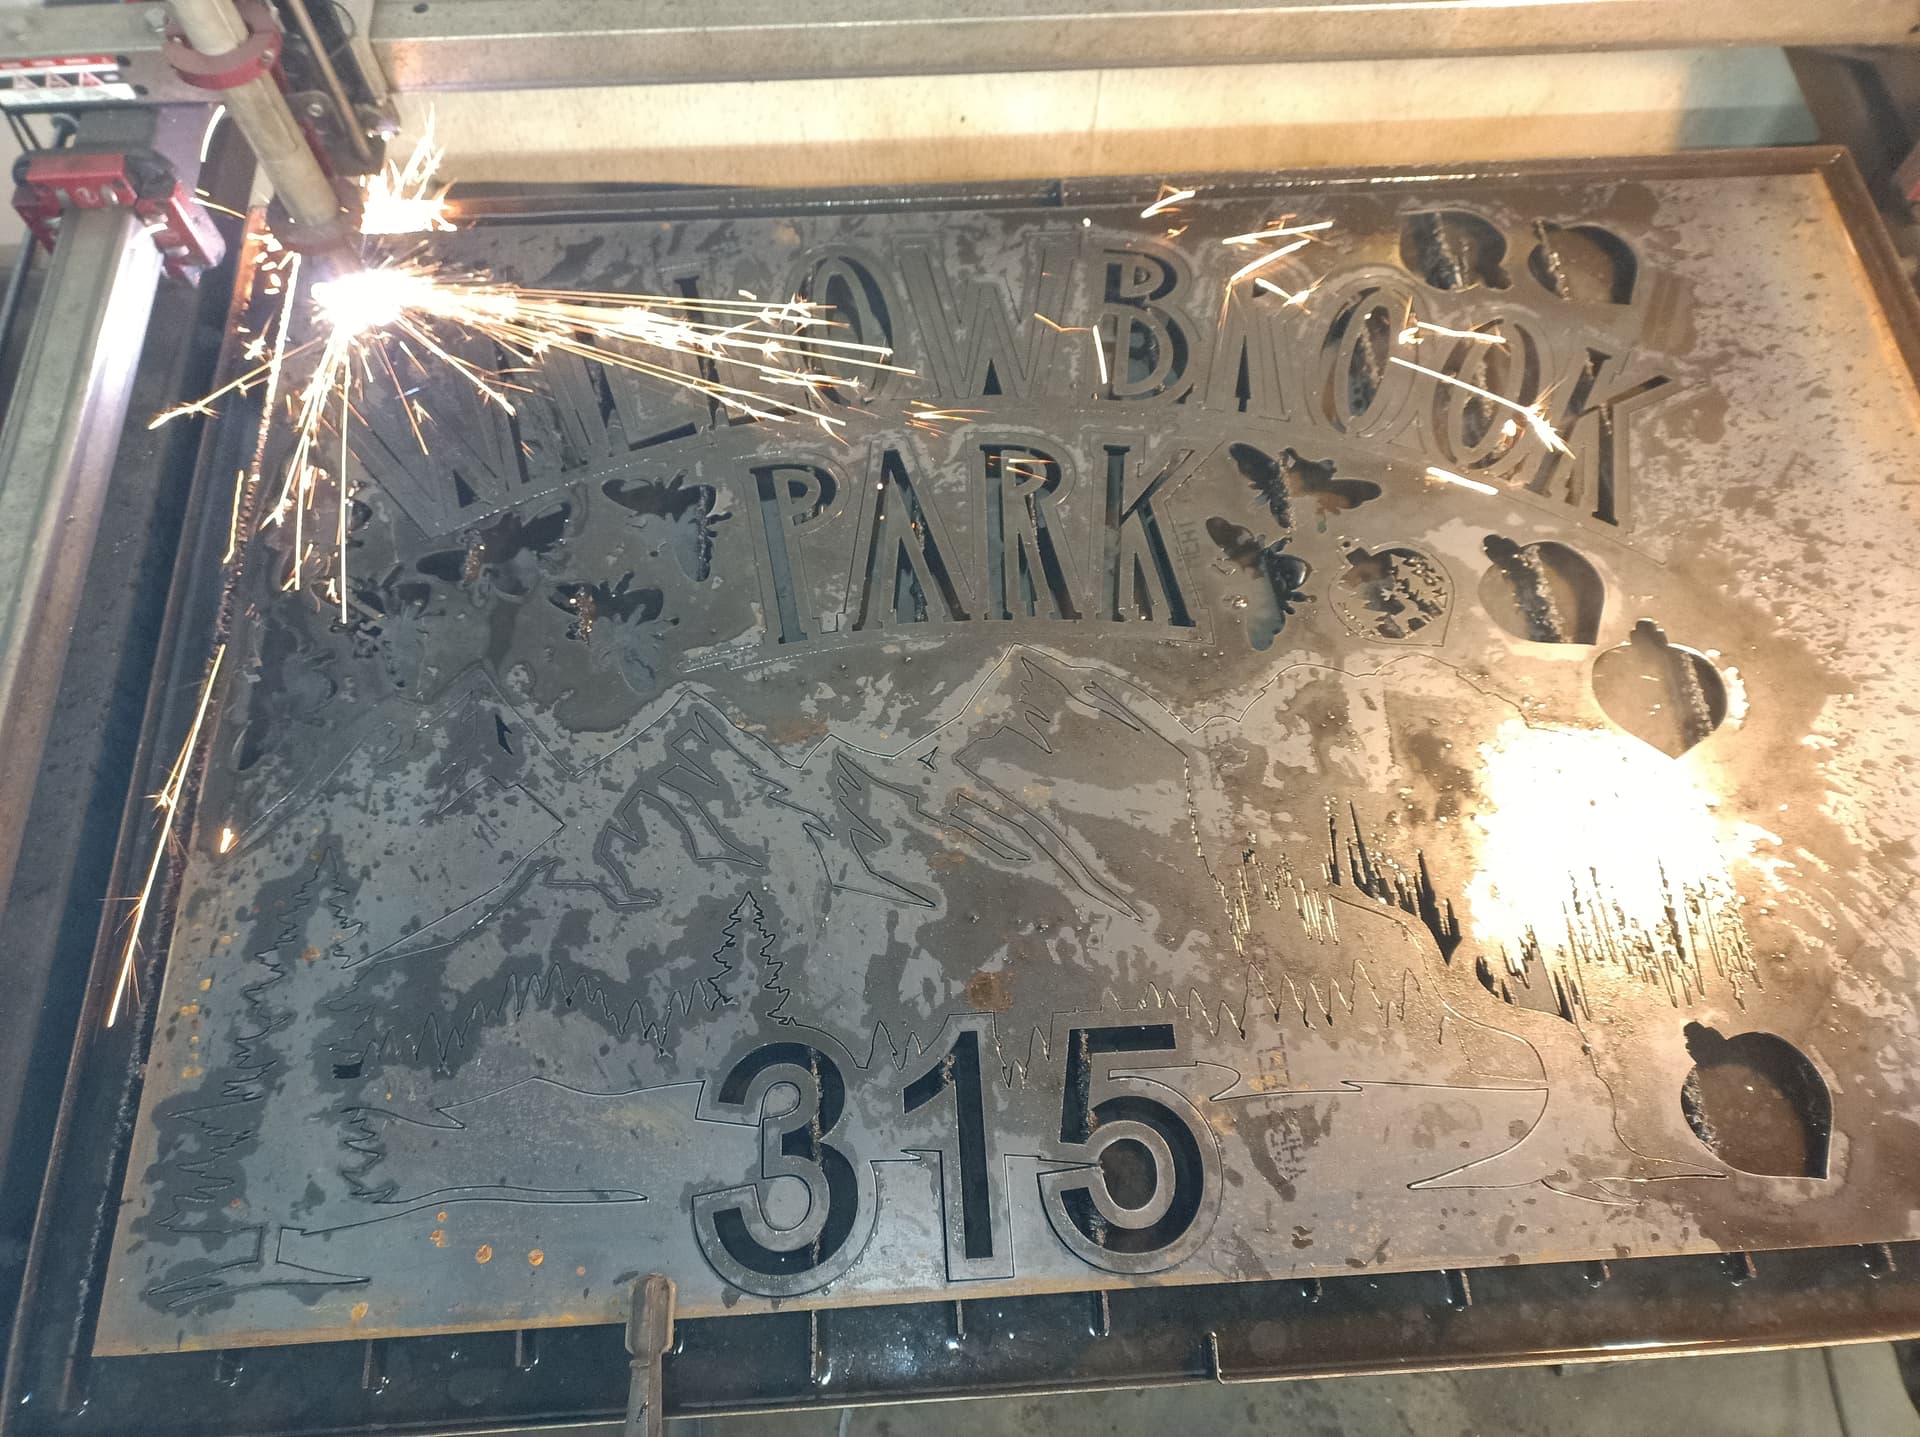
Planning a live stream of a project that need to be cut this morning. I have a few modifications and the CAM to do.
730AM MST DEC 2 2023
I was having some workflow issues i am going to revisit it soon
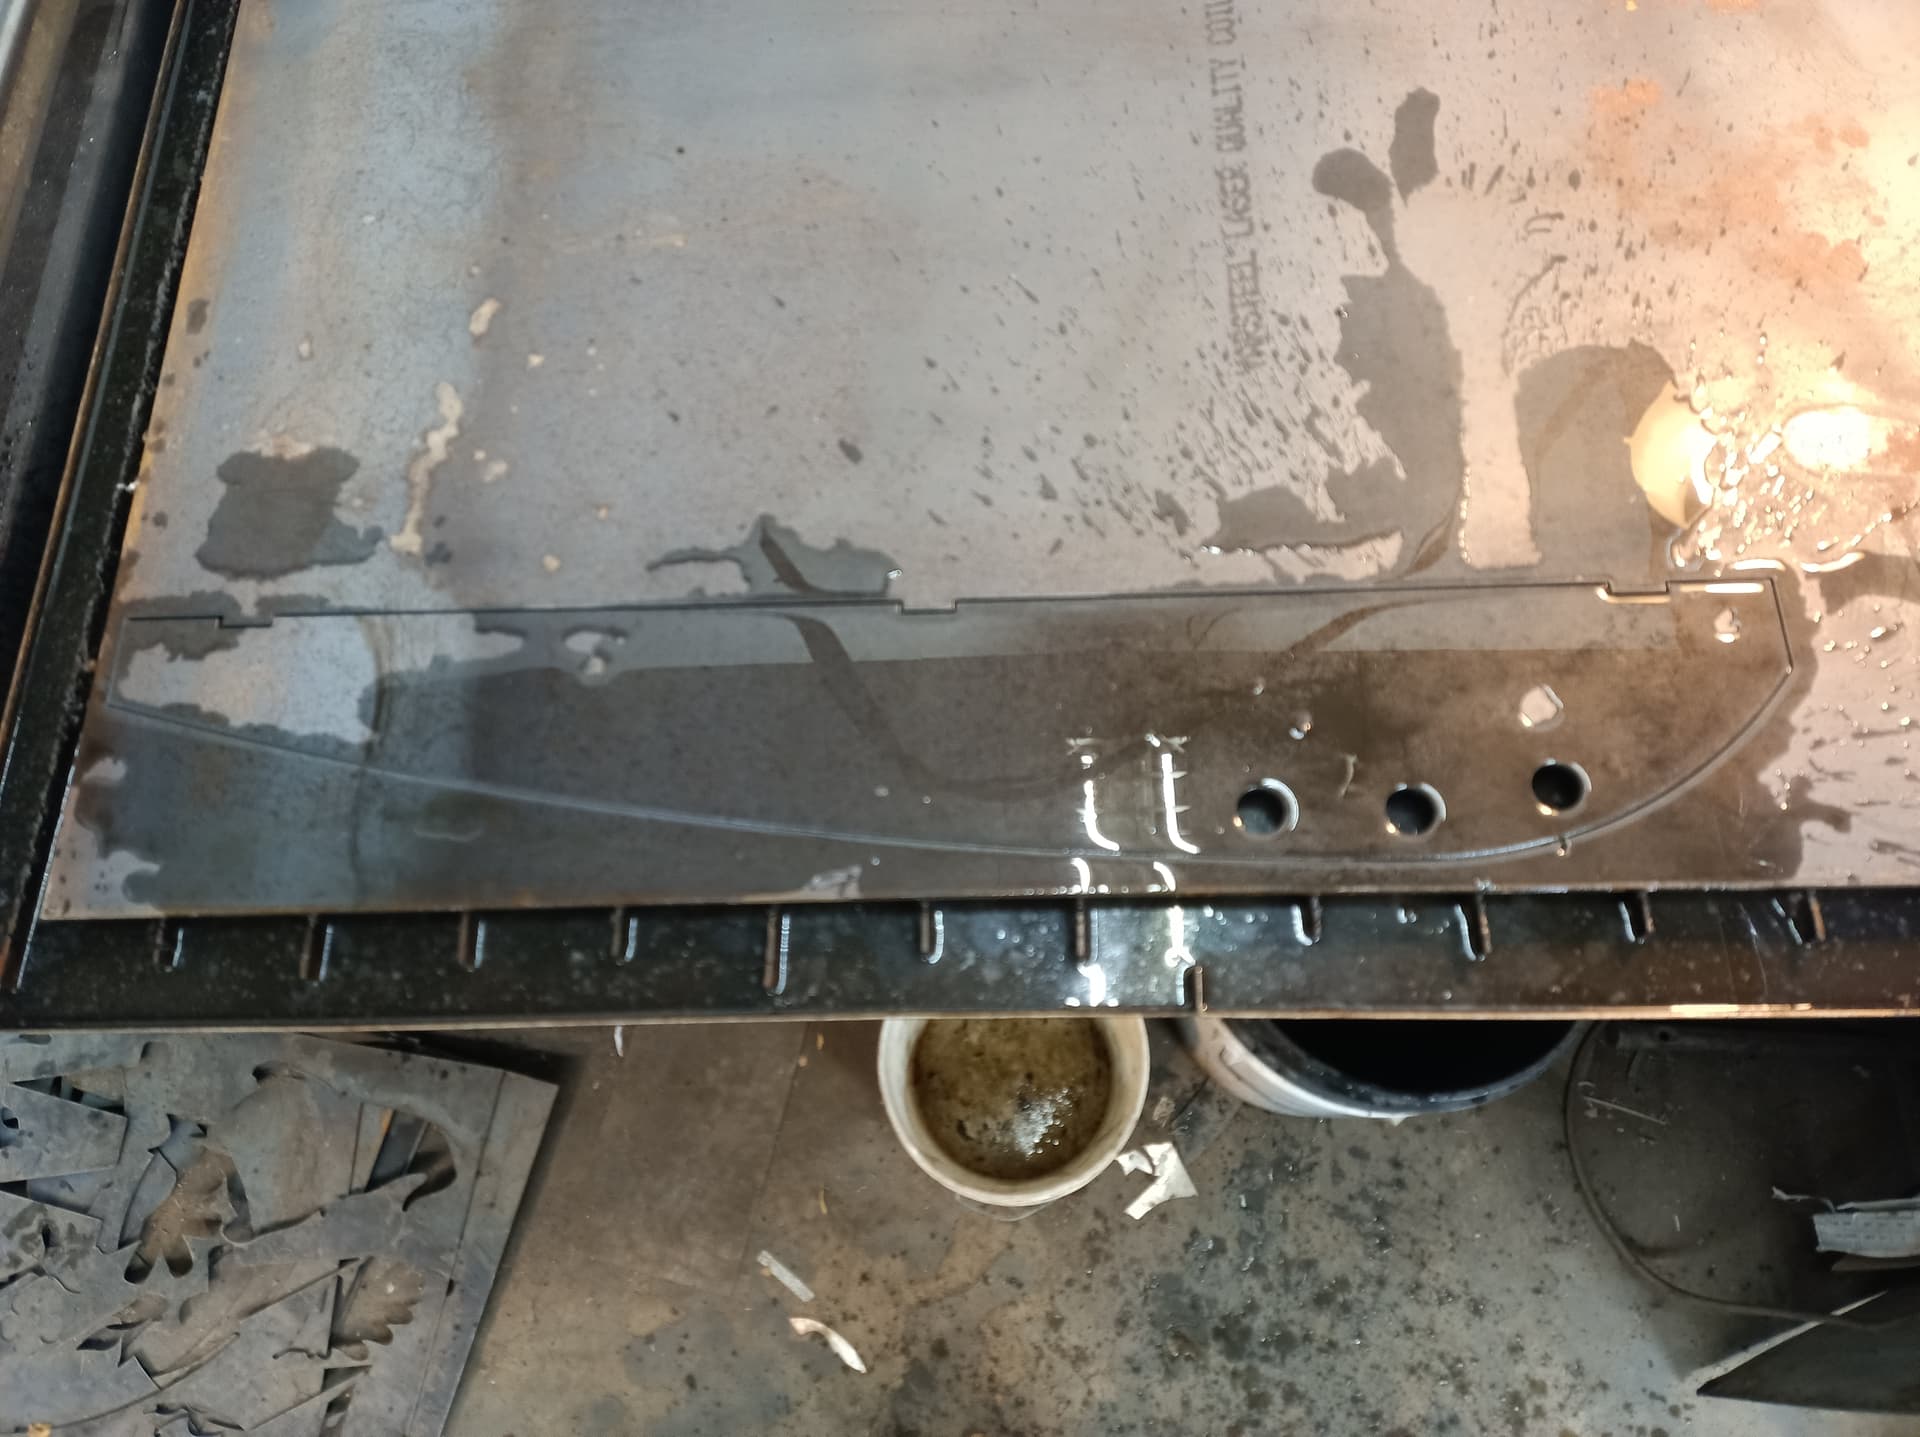
Fired up the shop laptop and it process the cam and cut out the parts.
3 Likes

Please do video on installing G-ripper and using it to convert gcode to DXF. This would be helpful. As we talked this last weekend. I use NC viewer and convert them a much harder way.
I think many folks would find it useful on here.
2 Likes
I am getting an AI feeling from the last post
2 Likes
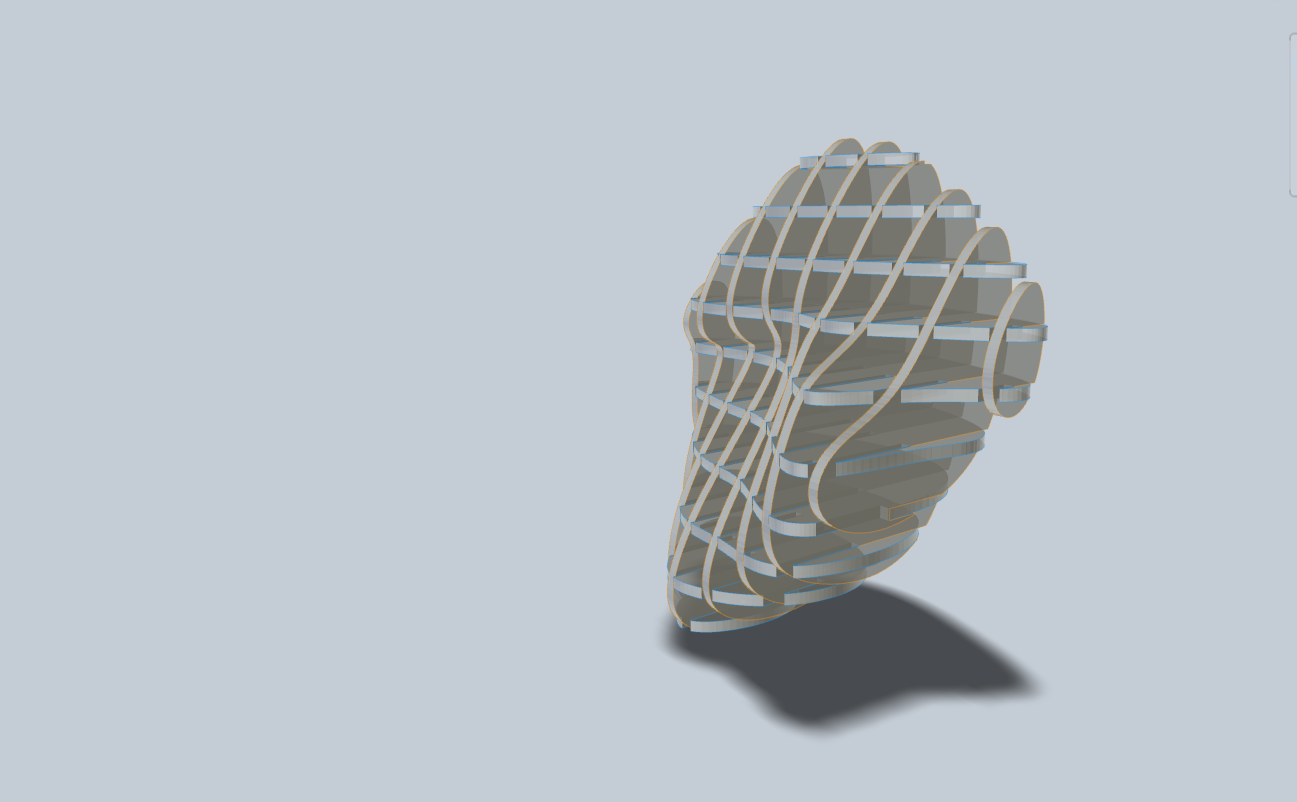
At the request of @Bender8 we are going to go through a work flow of producing a 3D object with interlocking panels. Here is the example picture @Bender8 sent along.

I am sure this deer was done with a more manual painstaking method, We will show in the stream a semi automated way of going about it . We’ll use “Slicer for Fusion360” a program made by auto desk and abandoned in 2020
https://www.autodesk.com/support/technical/article/caas/tsarticles/ts/3yg7zznS94MHNDG7KMV8Qg.html
While 4 years ago this program was better integrated with Fusion now it is a little glitchy and does not directly import anymore.
Autodesk fusion Interlocking slices 3d construction method live stream
I’ll start a live stream today 745-8am MST
5 Likes
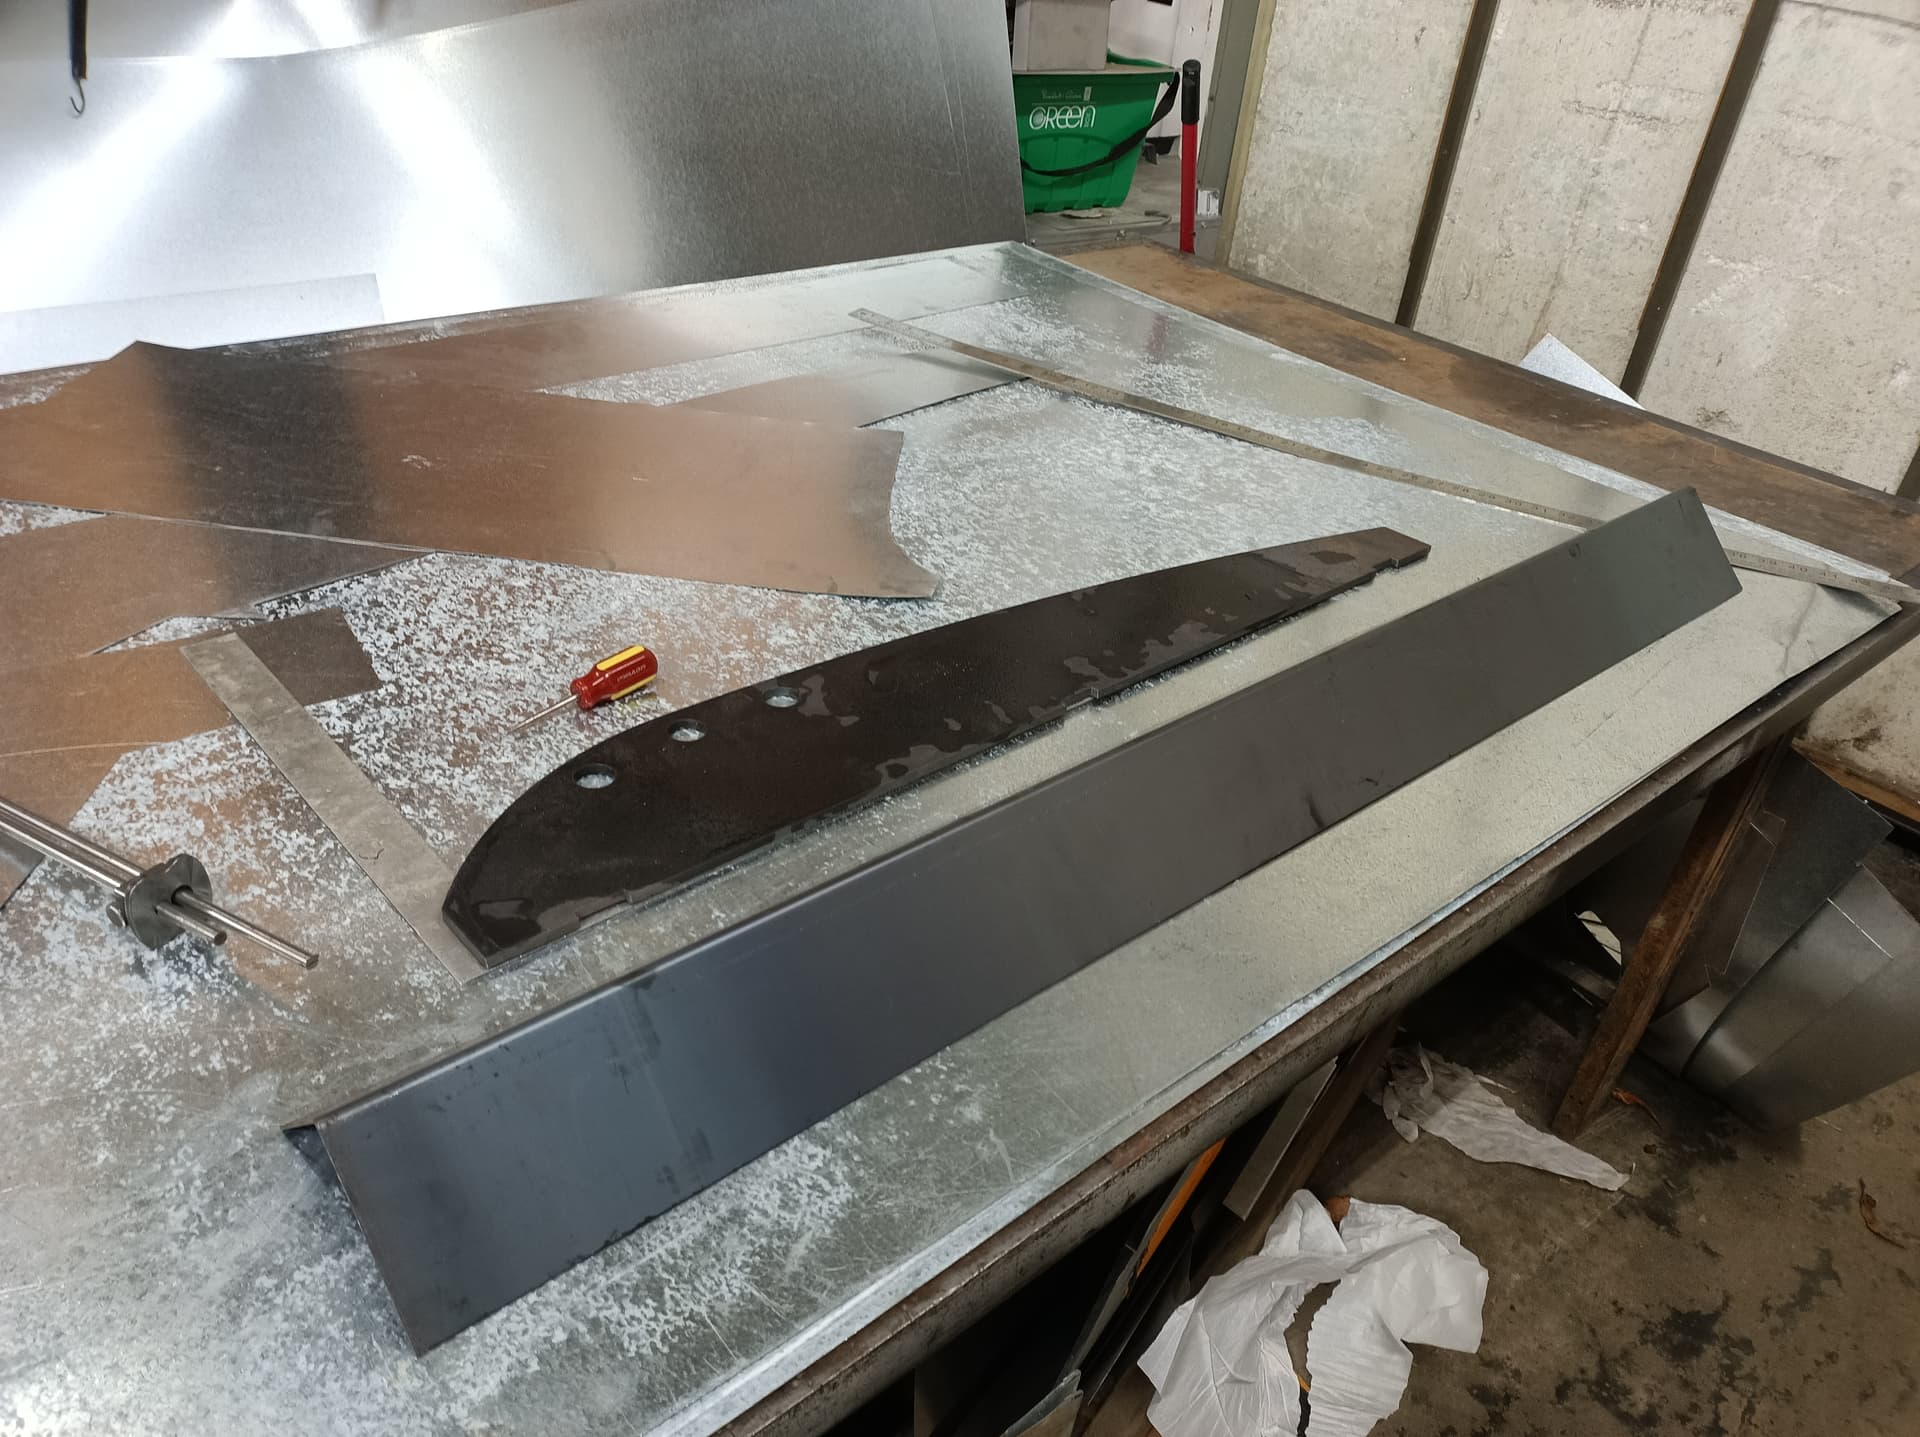
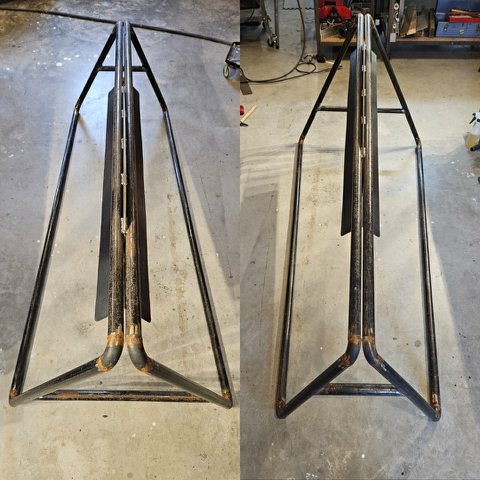
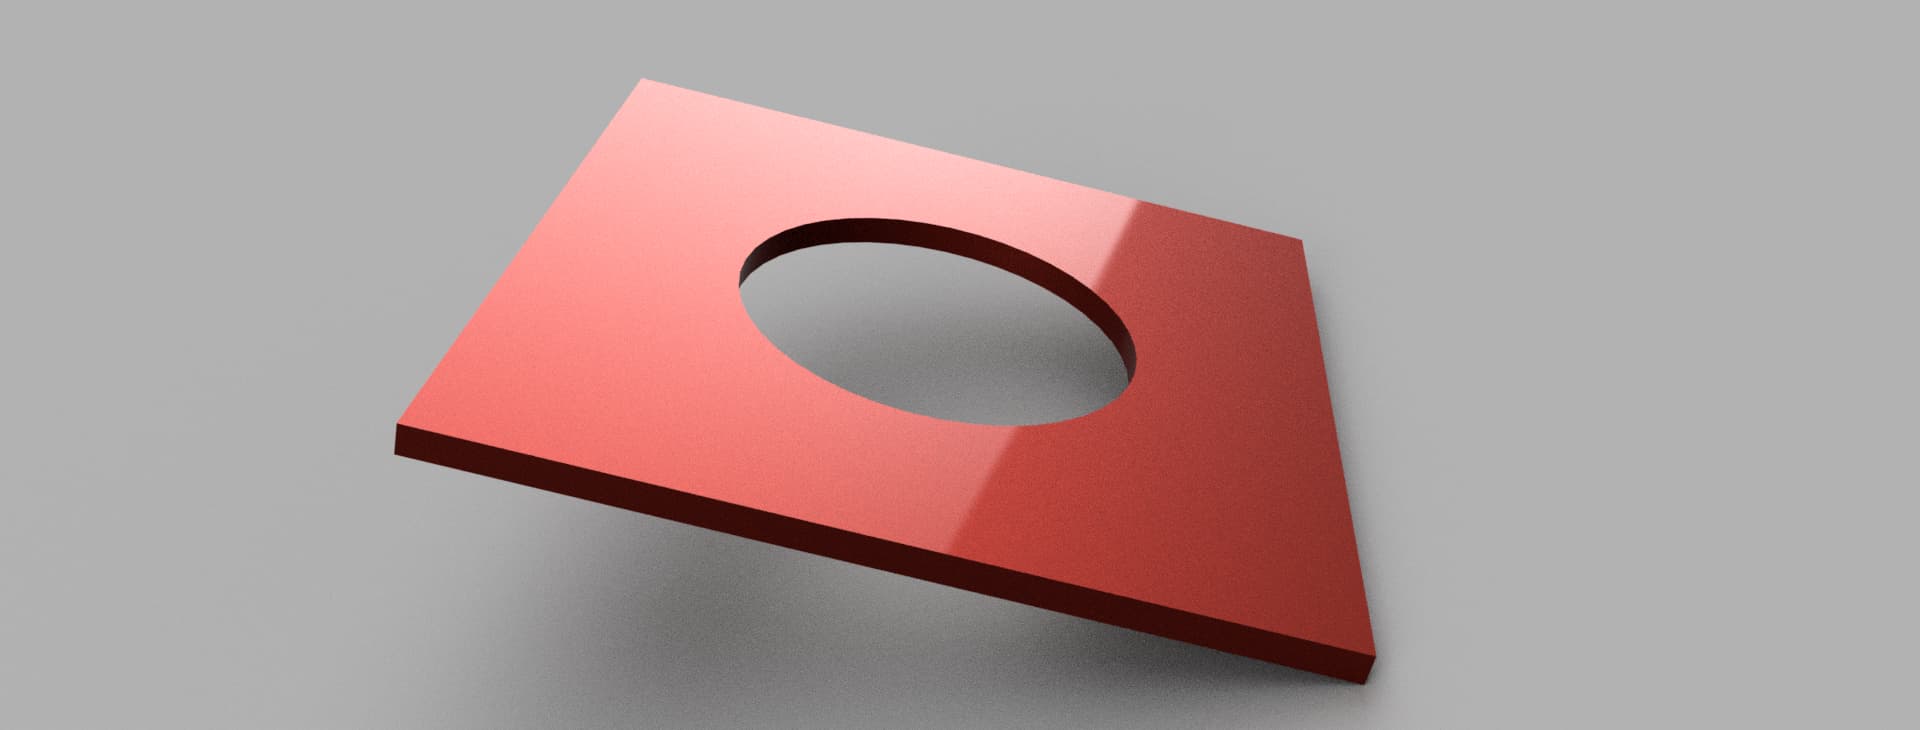
Today I want to do a video about a interesting project from @knick, a clam shell bucket repair piece.
The interesting part of this project is the slotted arc that guides the motion of the bucket.
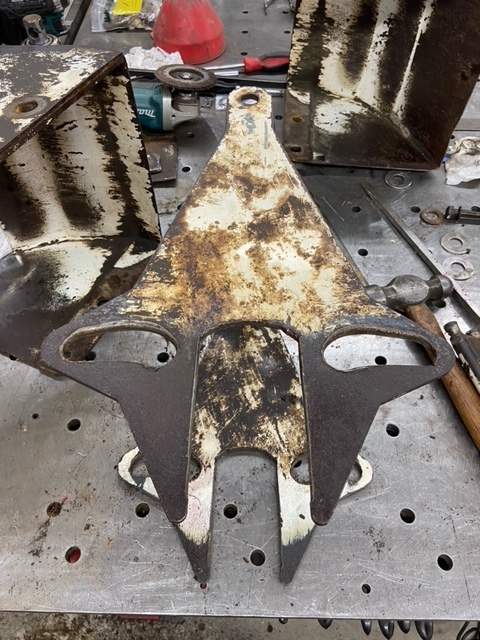
It this video I want to;
-sketch the geometry using provide pictures and measurements of the project.
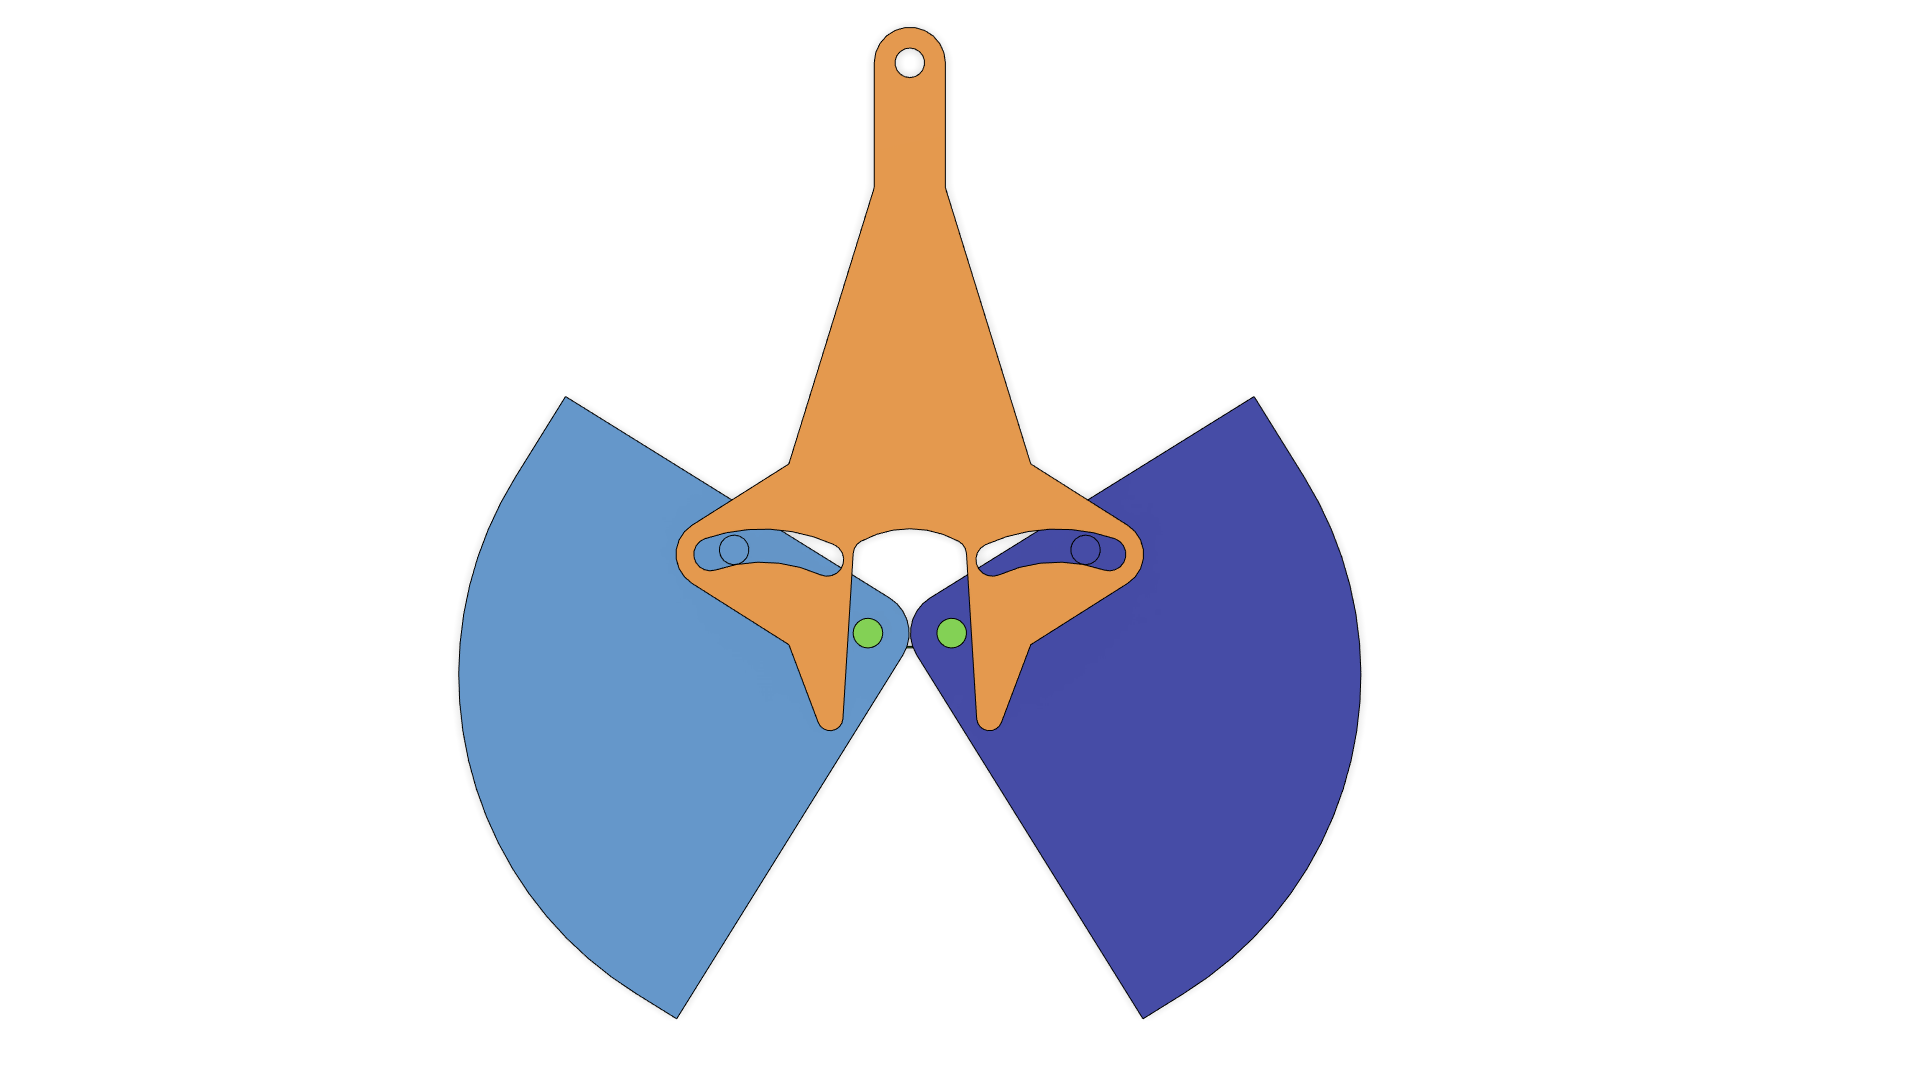
-Create the components of the working pieces from the sketch
-Use joints to prove the motion of the pin to the slotted arc.
I am trying to get started by 9am pst today.
here is the file from the video
clam shell bucket joint study v1.f3d (175.6 KB)
6 Likes
I really like this sort of thing but yet to have a project that I need it. That is when it will start sinking in.
Speaking of that, how is your project/plans going for the toy yard crane?
1 Like
still only a plan. I should dust it off again soon
1 Like
No idea how I hadn’t seen this thread before! What a great source of info.
I’ll be checking out your videos when I get a chance. Never hurts to brush up on my CAD skills!
4 Likes
One more for that long list you have given yourself for this year! It is a good thing you are a bot!
2 Likes
Thanks
Some of the older post videos were only posted to twitch so they are not up anymore. If you see any that you are interested in but the link is gone let me know , I have them all save to my hard drive and I could re post it to YouTube and update the links.
3 Likes
Hey Tin thanks for doing that, I learned a lot.
So just to double check I traced the old wore out arc and was going to lay yours on top of the old one to see how it looked and there is quite a difference in size.
Do you think this is because you did not really have a dim’s to go by?
Please see attached:
Bucket Arc Repair 2 v1.f3d (1.5 MB)
3 Likes
I did have to assume some dimensions. If I had the part here I would have done a rubbing or a masking tape template then scanned that with a ruler on a flat bed scanner. I’ll check out the attachment in the morning.
1 Like
I have never tried that, but before you spend a bunch of time, let me try that.
1 Like
I did look at the last file you linked.
I think the difference is the that the real bucket bracket lifts 4.25" +/-and the bucket is fully open at 130 deg +/- and my example i assumed the bracket lifts 4" to fully open at 150 deg.
But all iterations will have a slot arc radius equal to the pin to pin center spacing dimension .
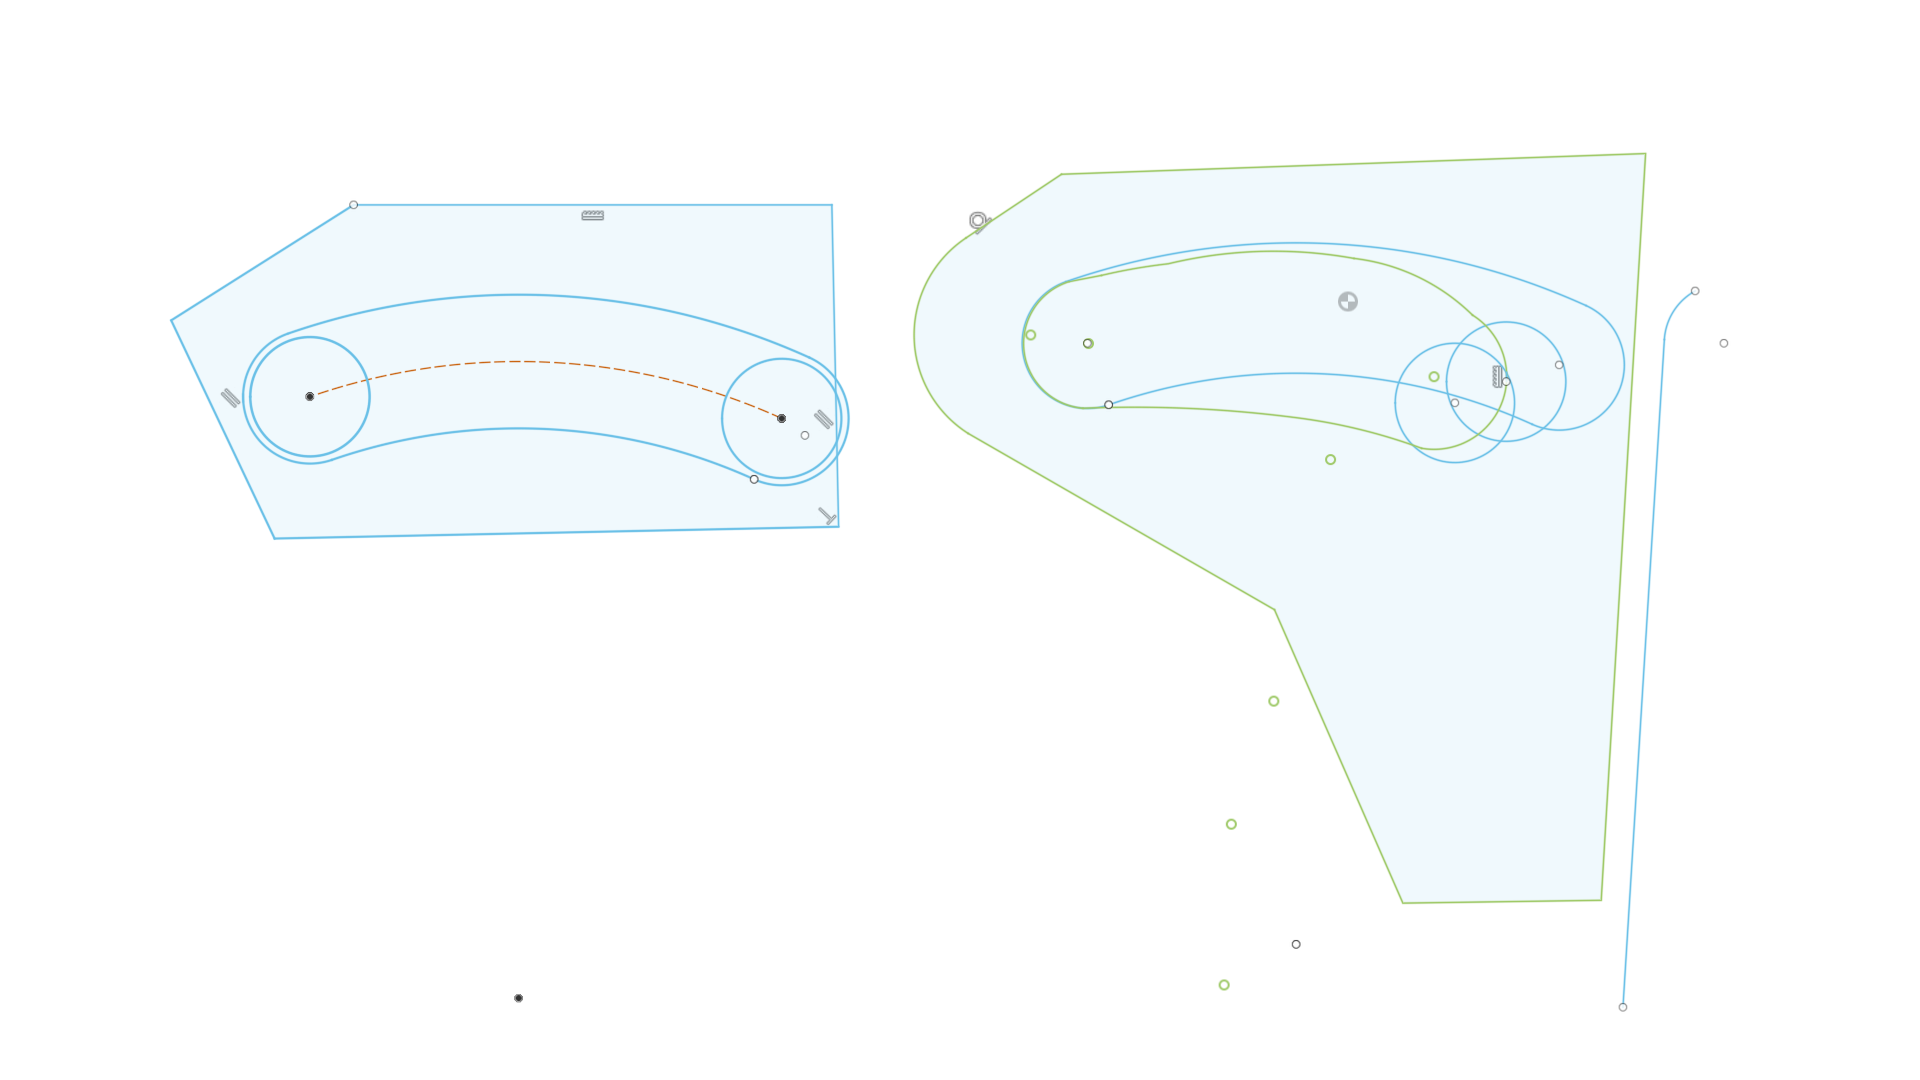
in this screen grab you can see the overlay in blue over top of your green slots dimensions the my slot from the video runs long because the bucket opens wider and the bracket lifts less ( assumptions i had to make ). Also look the two new circles on the overlay that get closer to the target by adjusting the lift height and bucket opening degrees.
this project is a good practice for basic joints and using fusion in a iterated design process.
1 Like