I thought I would toss up a build thread for my mill. I have owned a Crossfire Pro since they were released and I have been very happy with the table. Around July 4th Langmuir ran a sale that I couldn’t pass up so I decided to finally pull the trigger on a MR1.
Fast forward 2 months to the present day and I am finally getting started on assembling the mill. I have been looking at others build threads and decided that it would make sense to make a roll-able base for the mill.
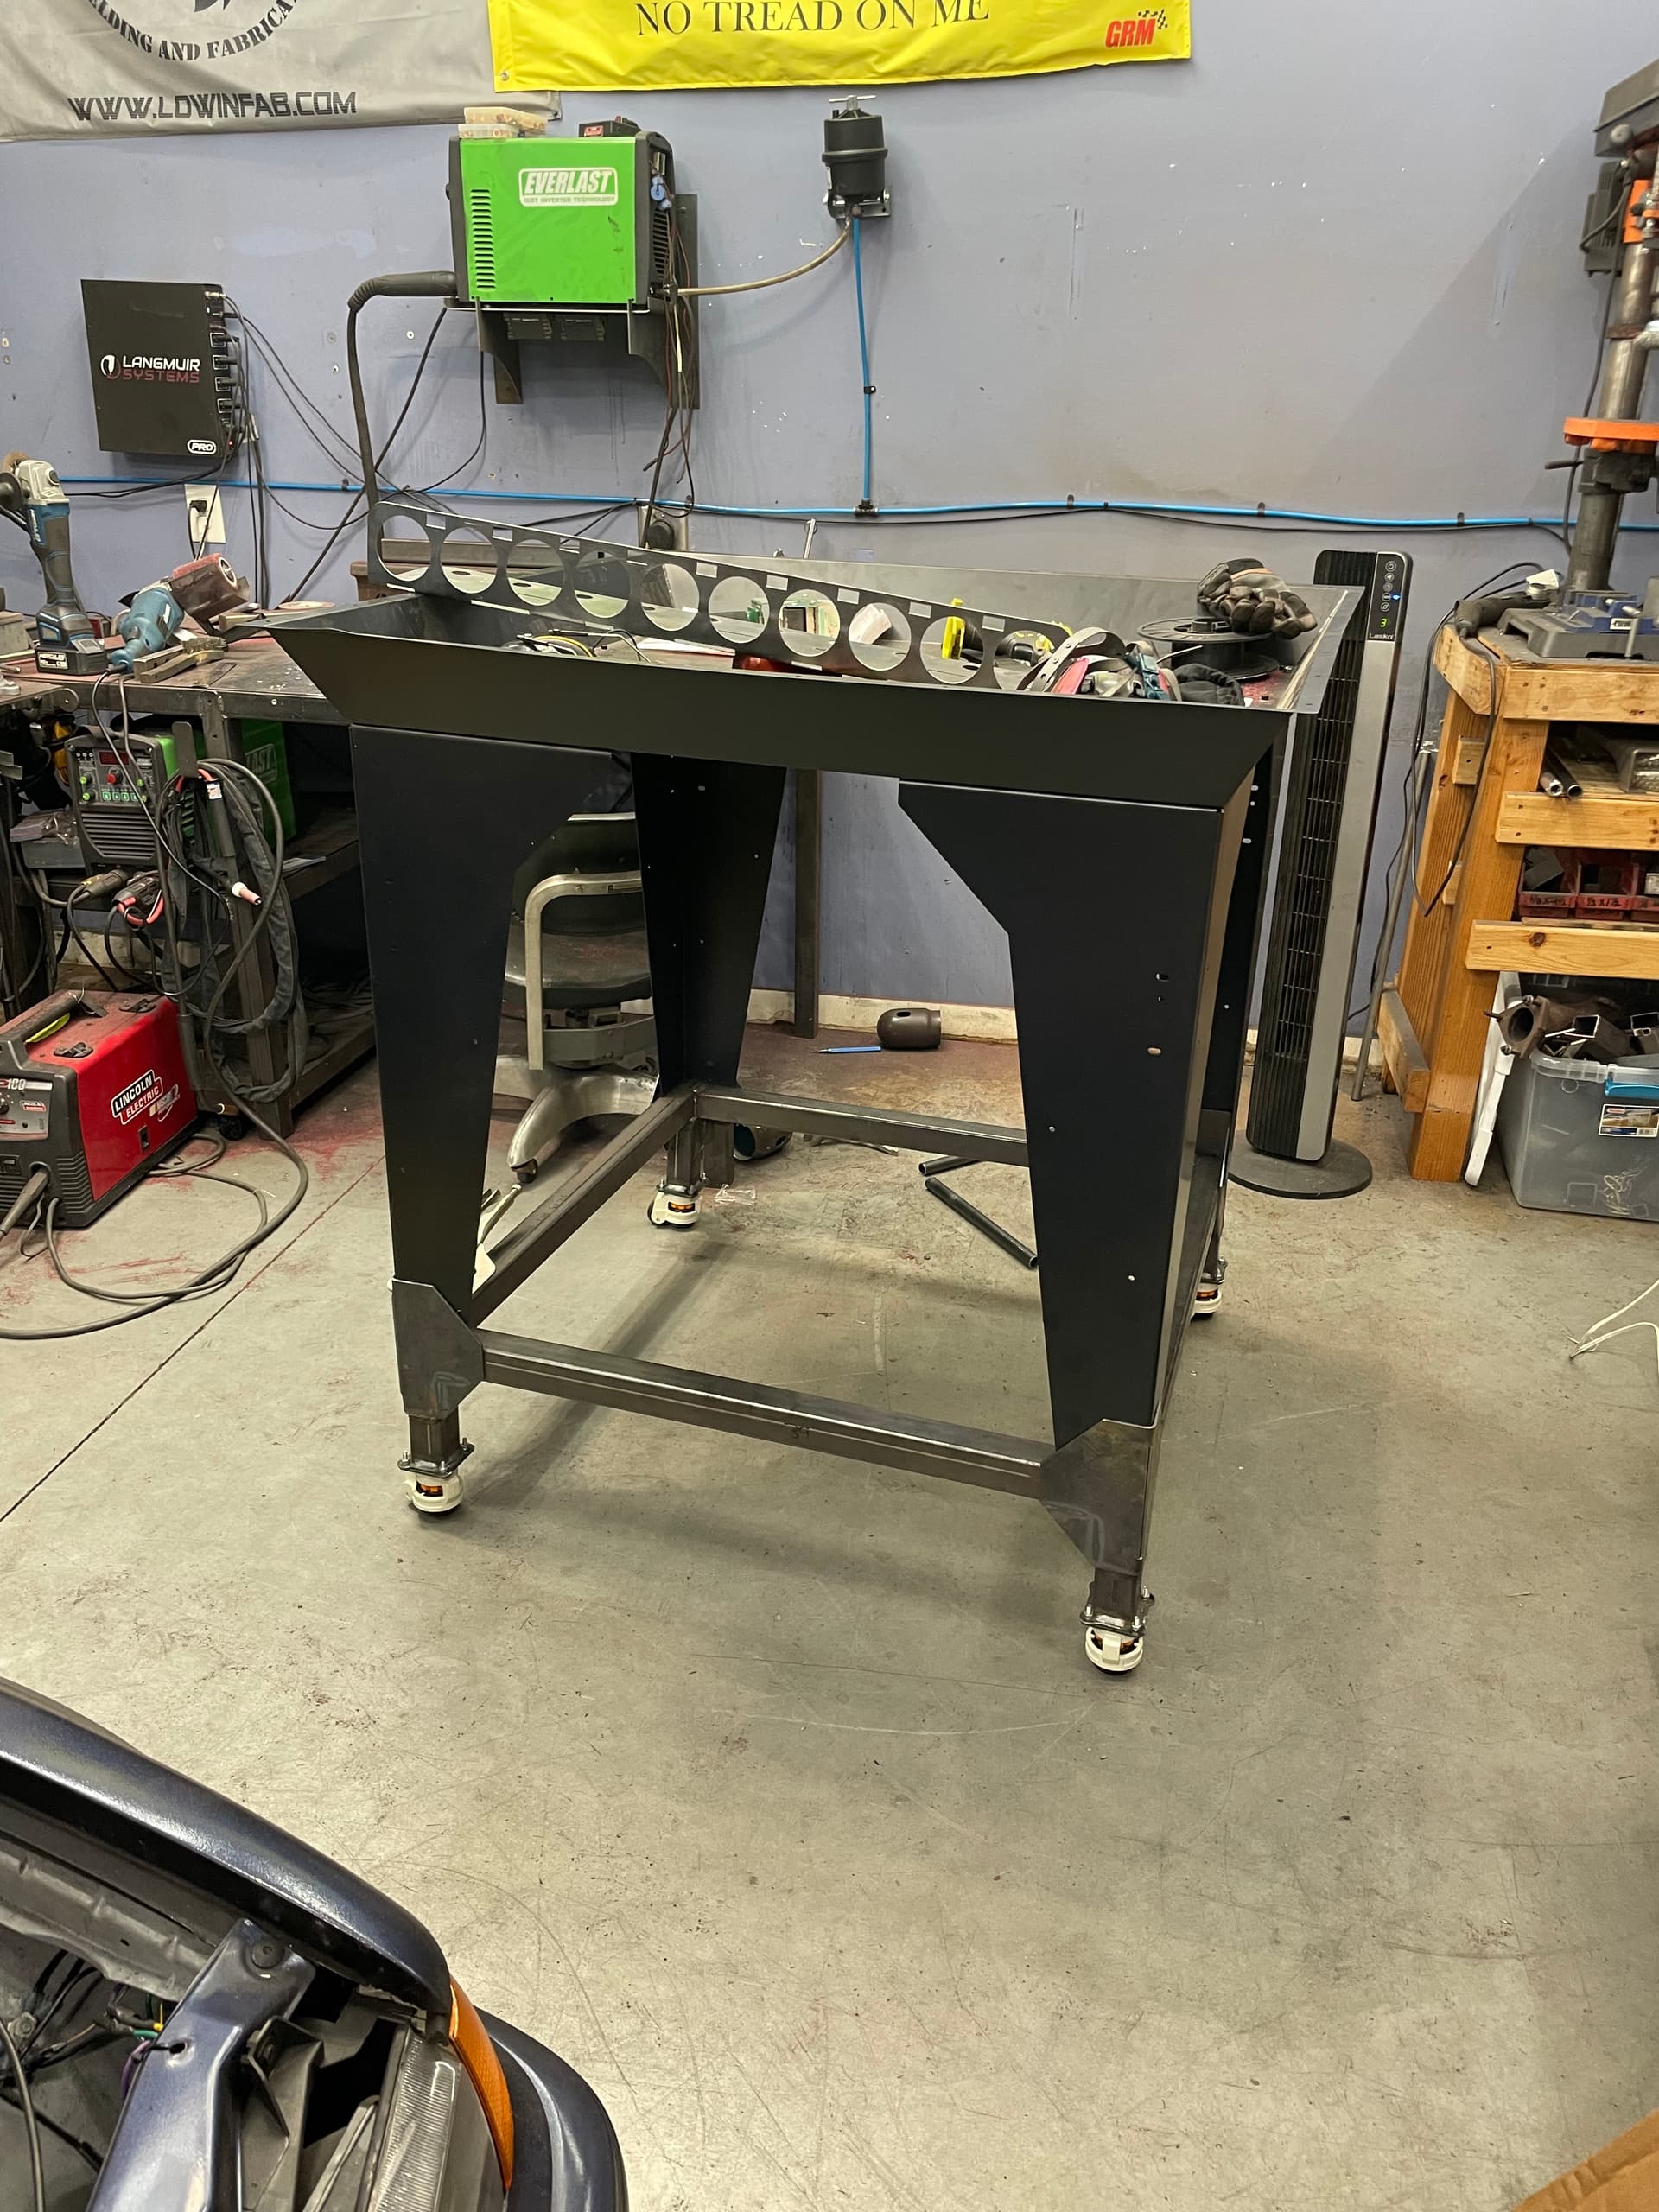
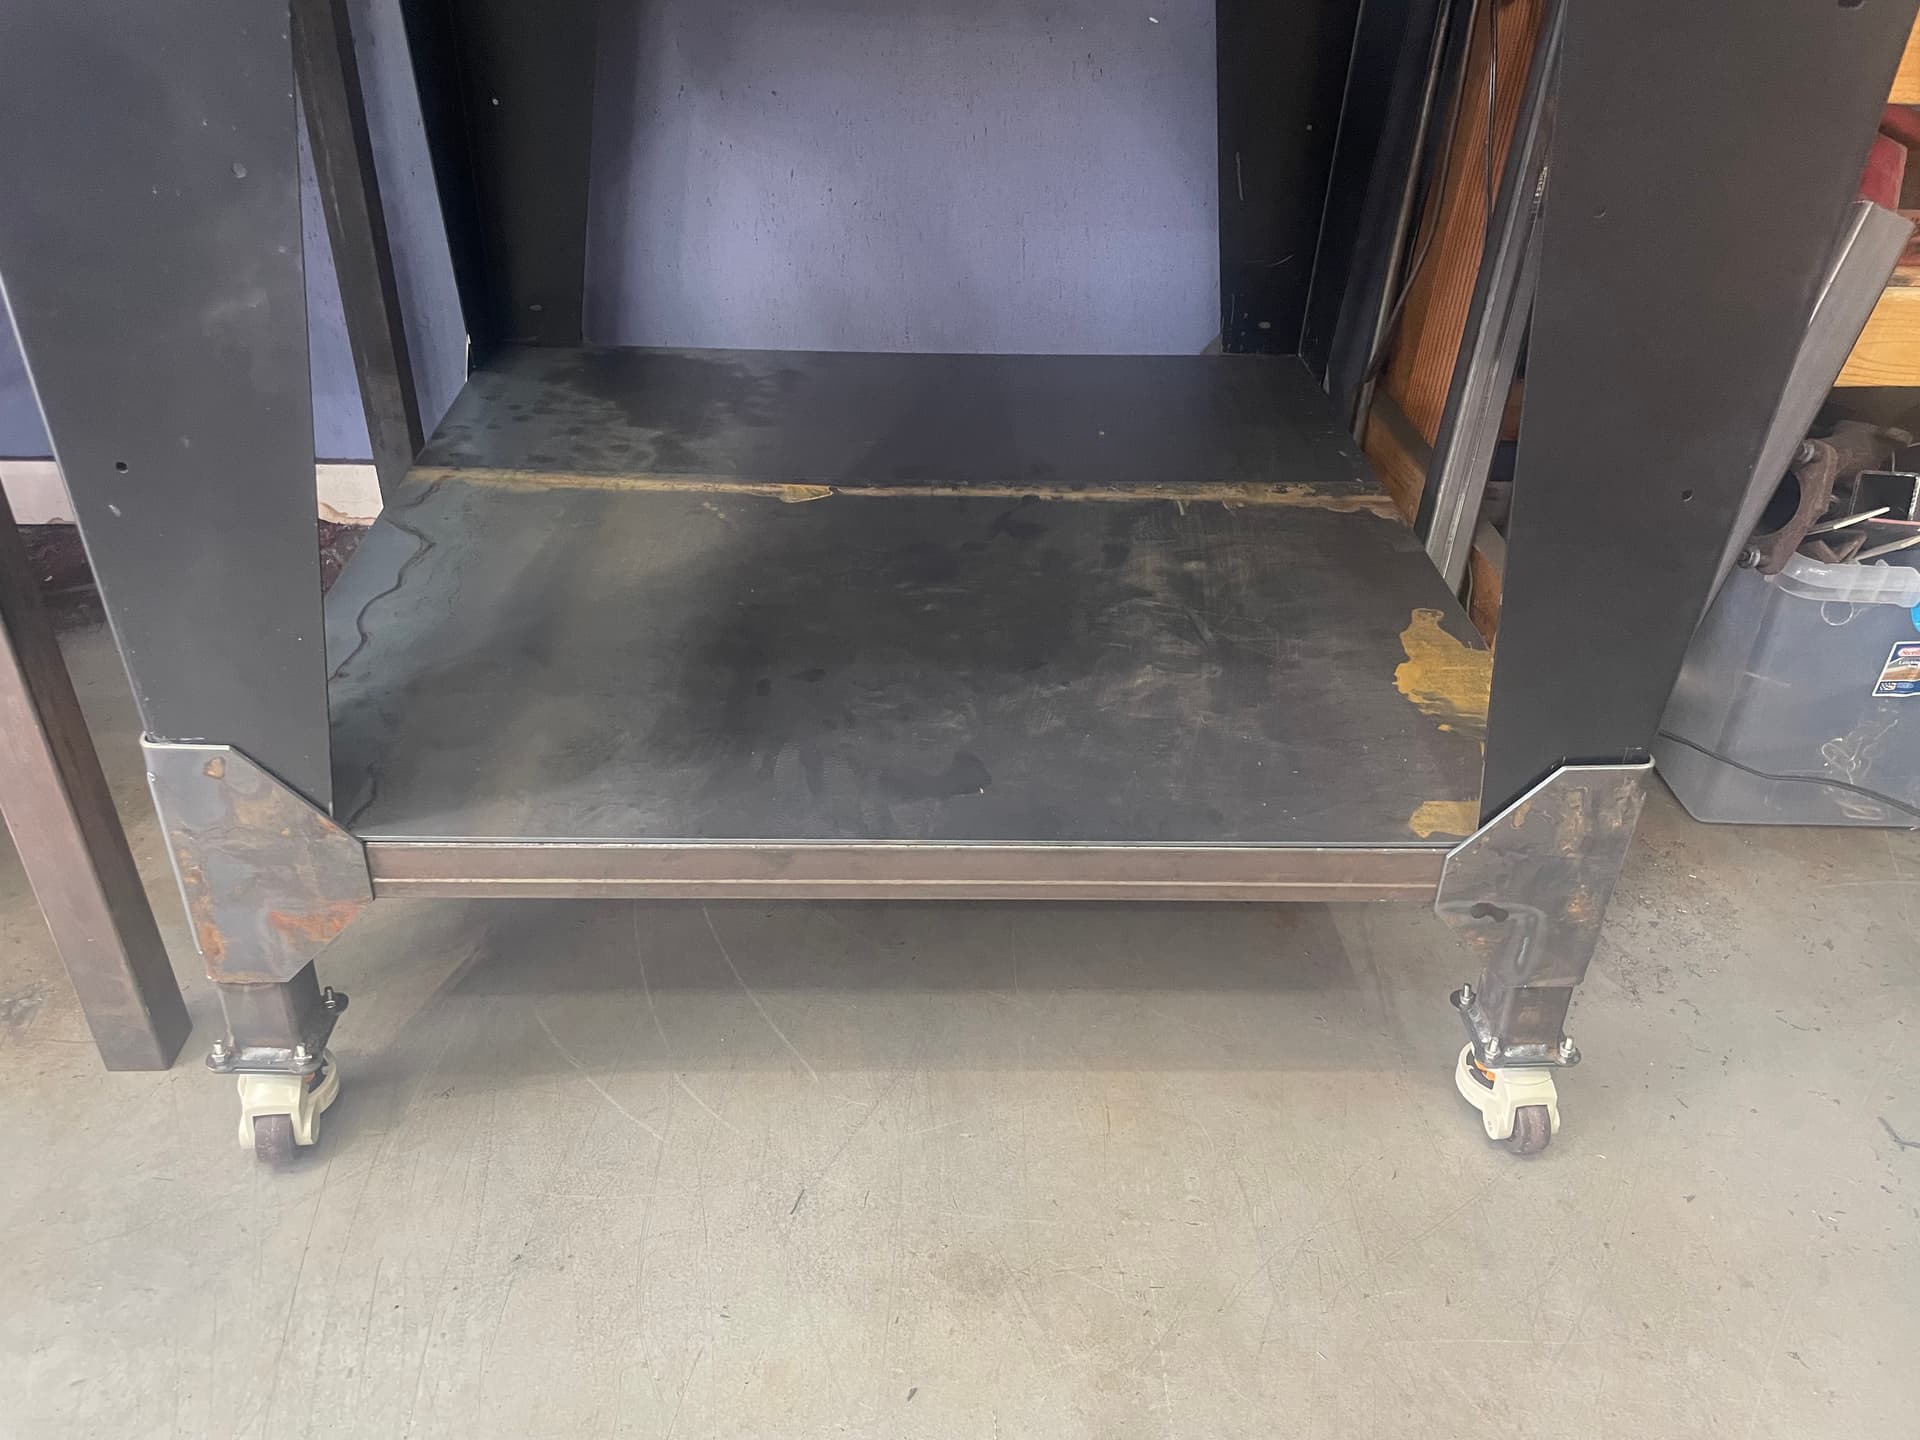
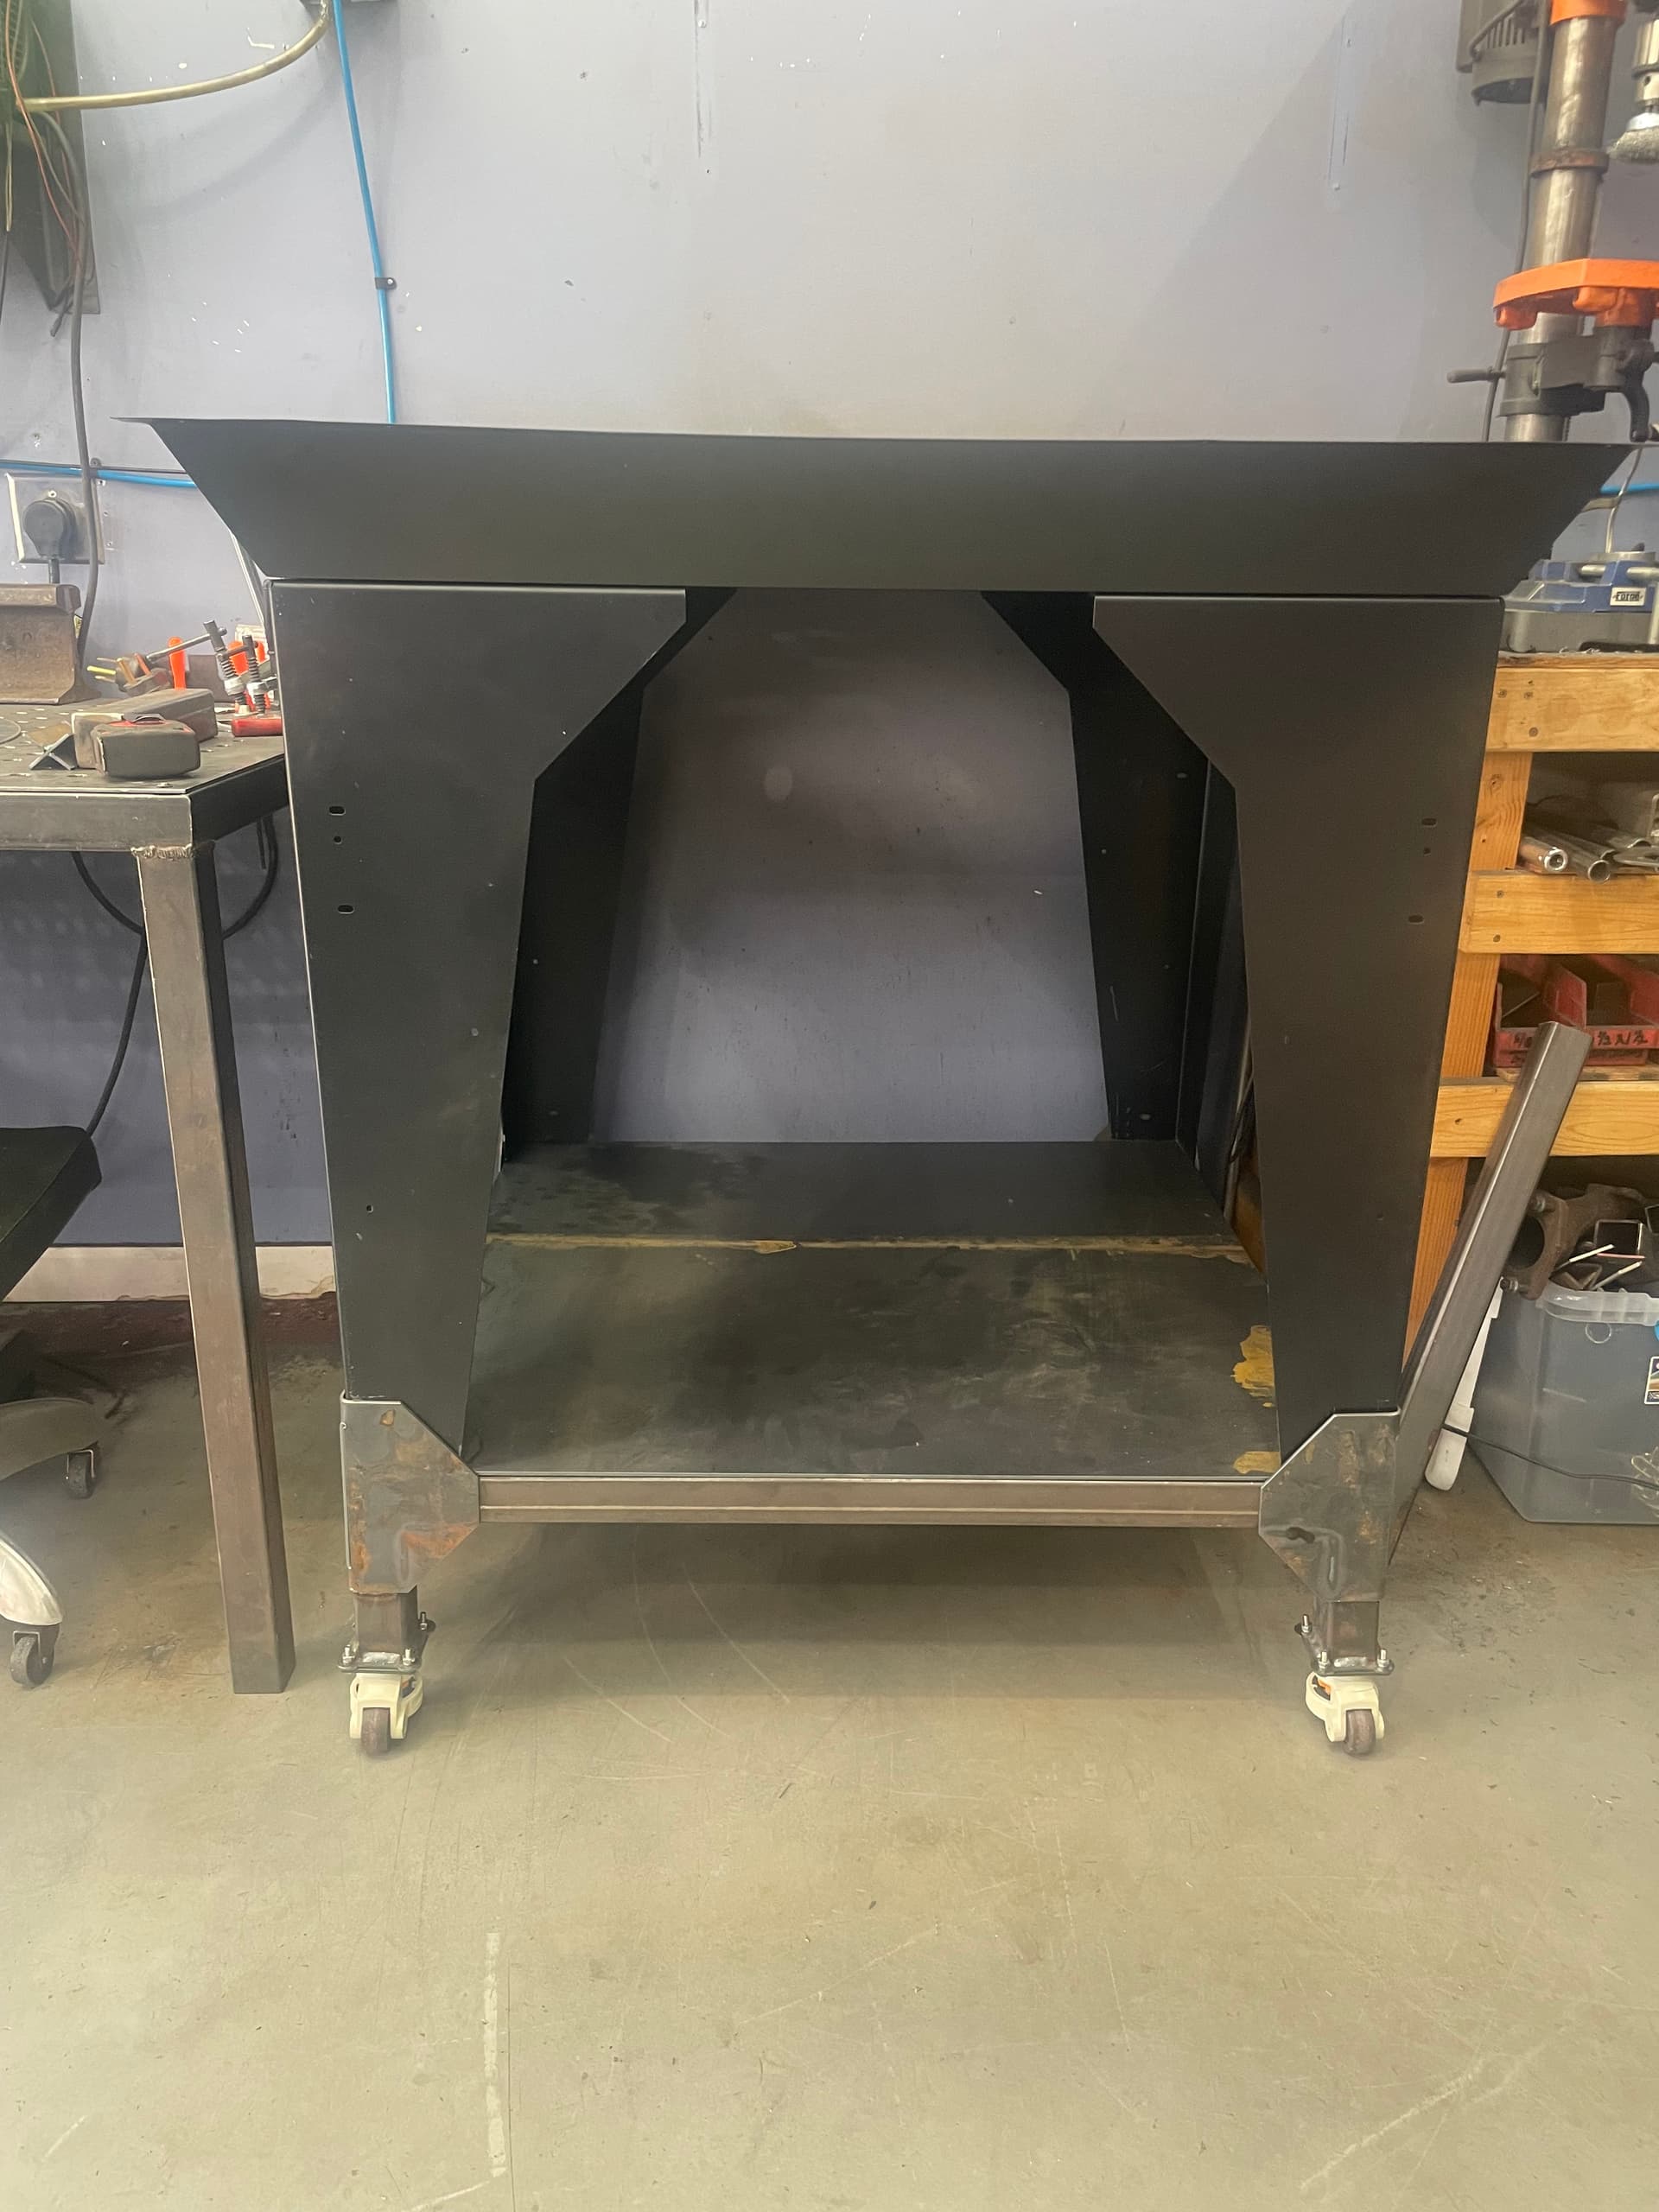
I made a base frame out of 2"x2" .120 square tube. Attached to the base are adjustable casters for leveling and future relocation if needed.
I am happy with how it turned out and has made life a lot easier with the ability to move the mill where I want it.
Currently I have the drains installed and I was starting to assemble the rails, but ran into a snag with the machining on one of the y rails. Waiting for tech support to get back to me, and then the real progress will start.
Did you go with the enclosure as well, and what are your pc control plans? DEFINITELY interested in seeing your progression on keeping this mobile! I love the idea of mobility in my shop and many of my machines are on wheels. I couldnt pull the trigger with the mill lol
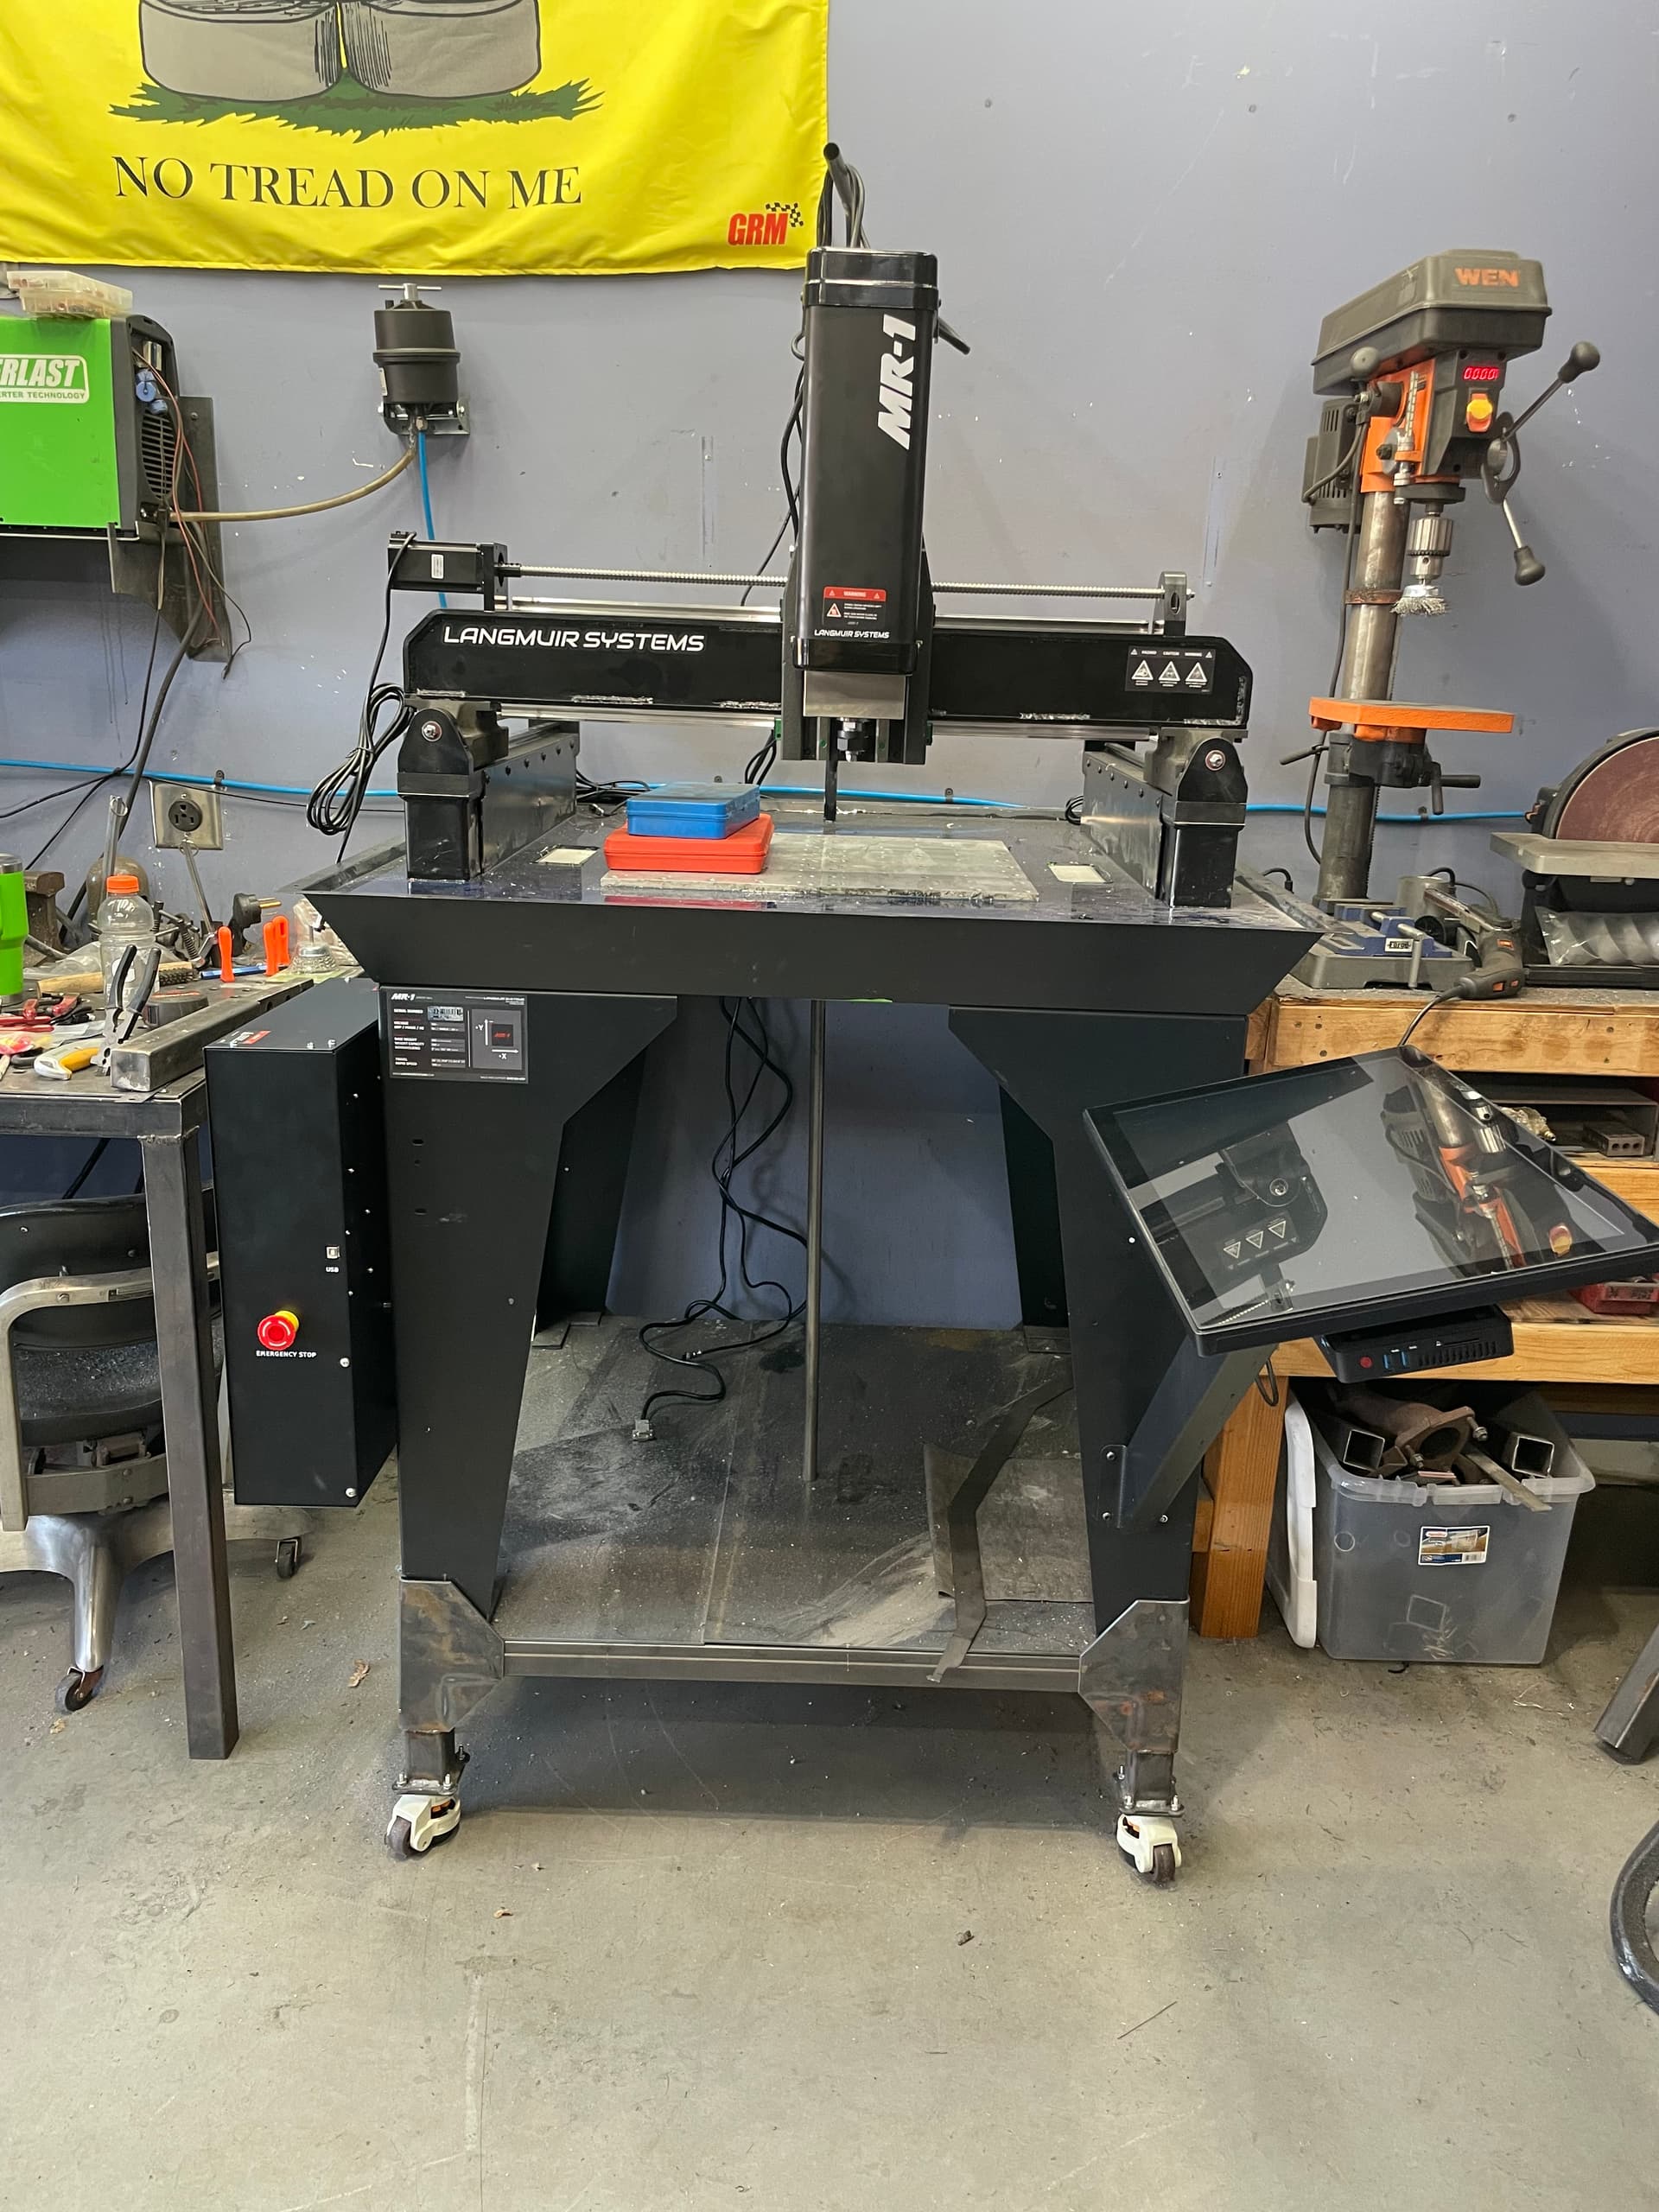
I did go with the enclosure and the touch screen & control PC from Langmuir. I had been looking at it for so long that I thought I might as well do it. My plasma table had paid for itself 20 times over and I am sure the MR1 will end up doing the same haha.
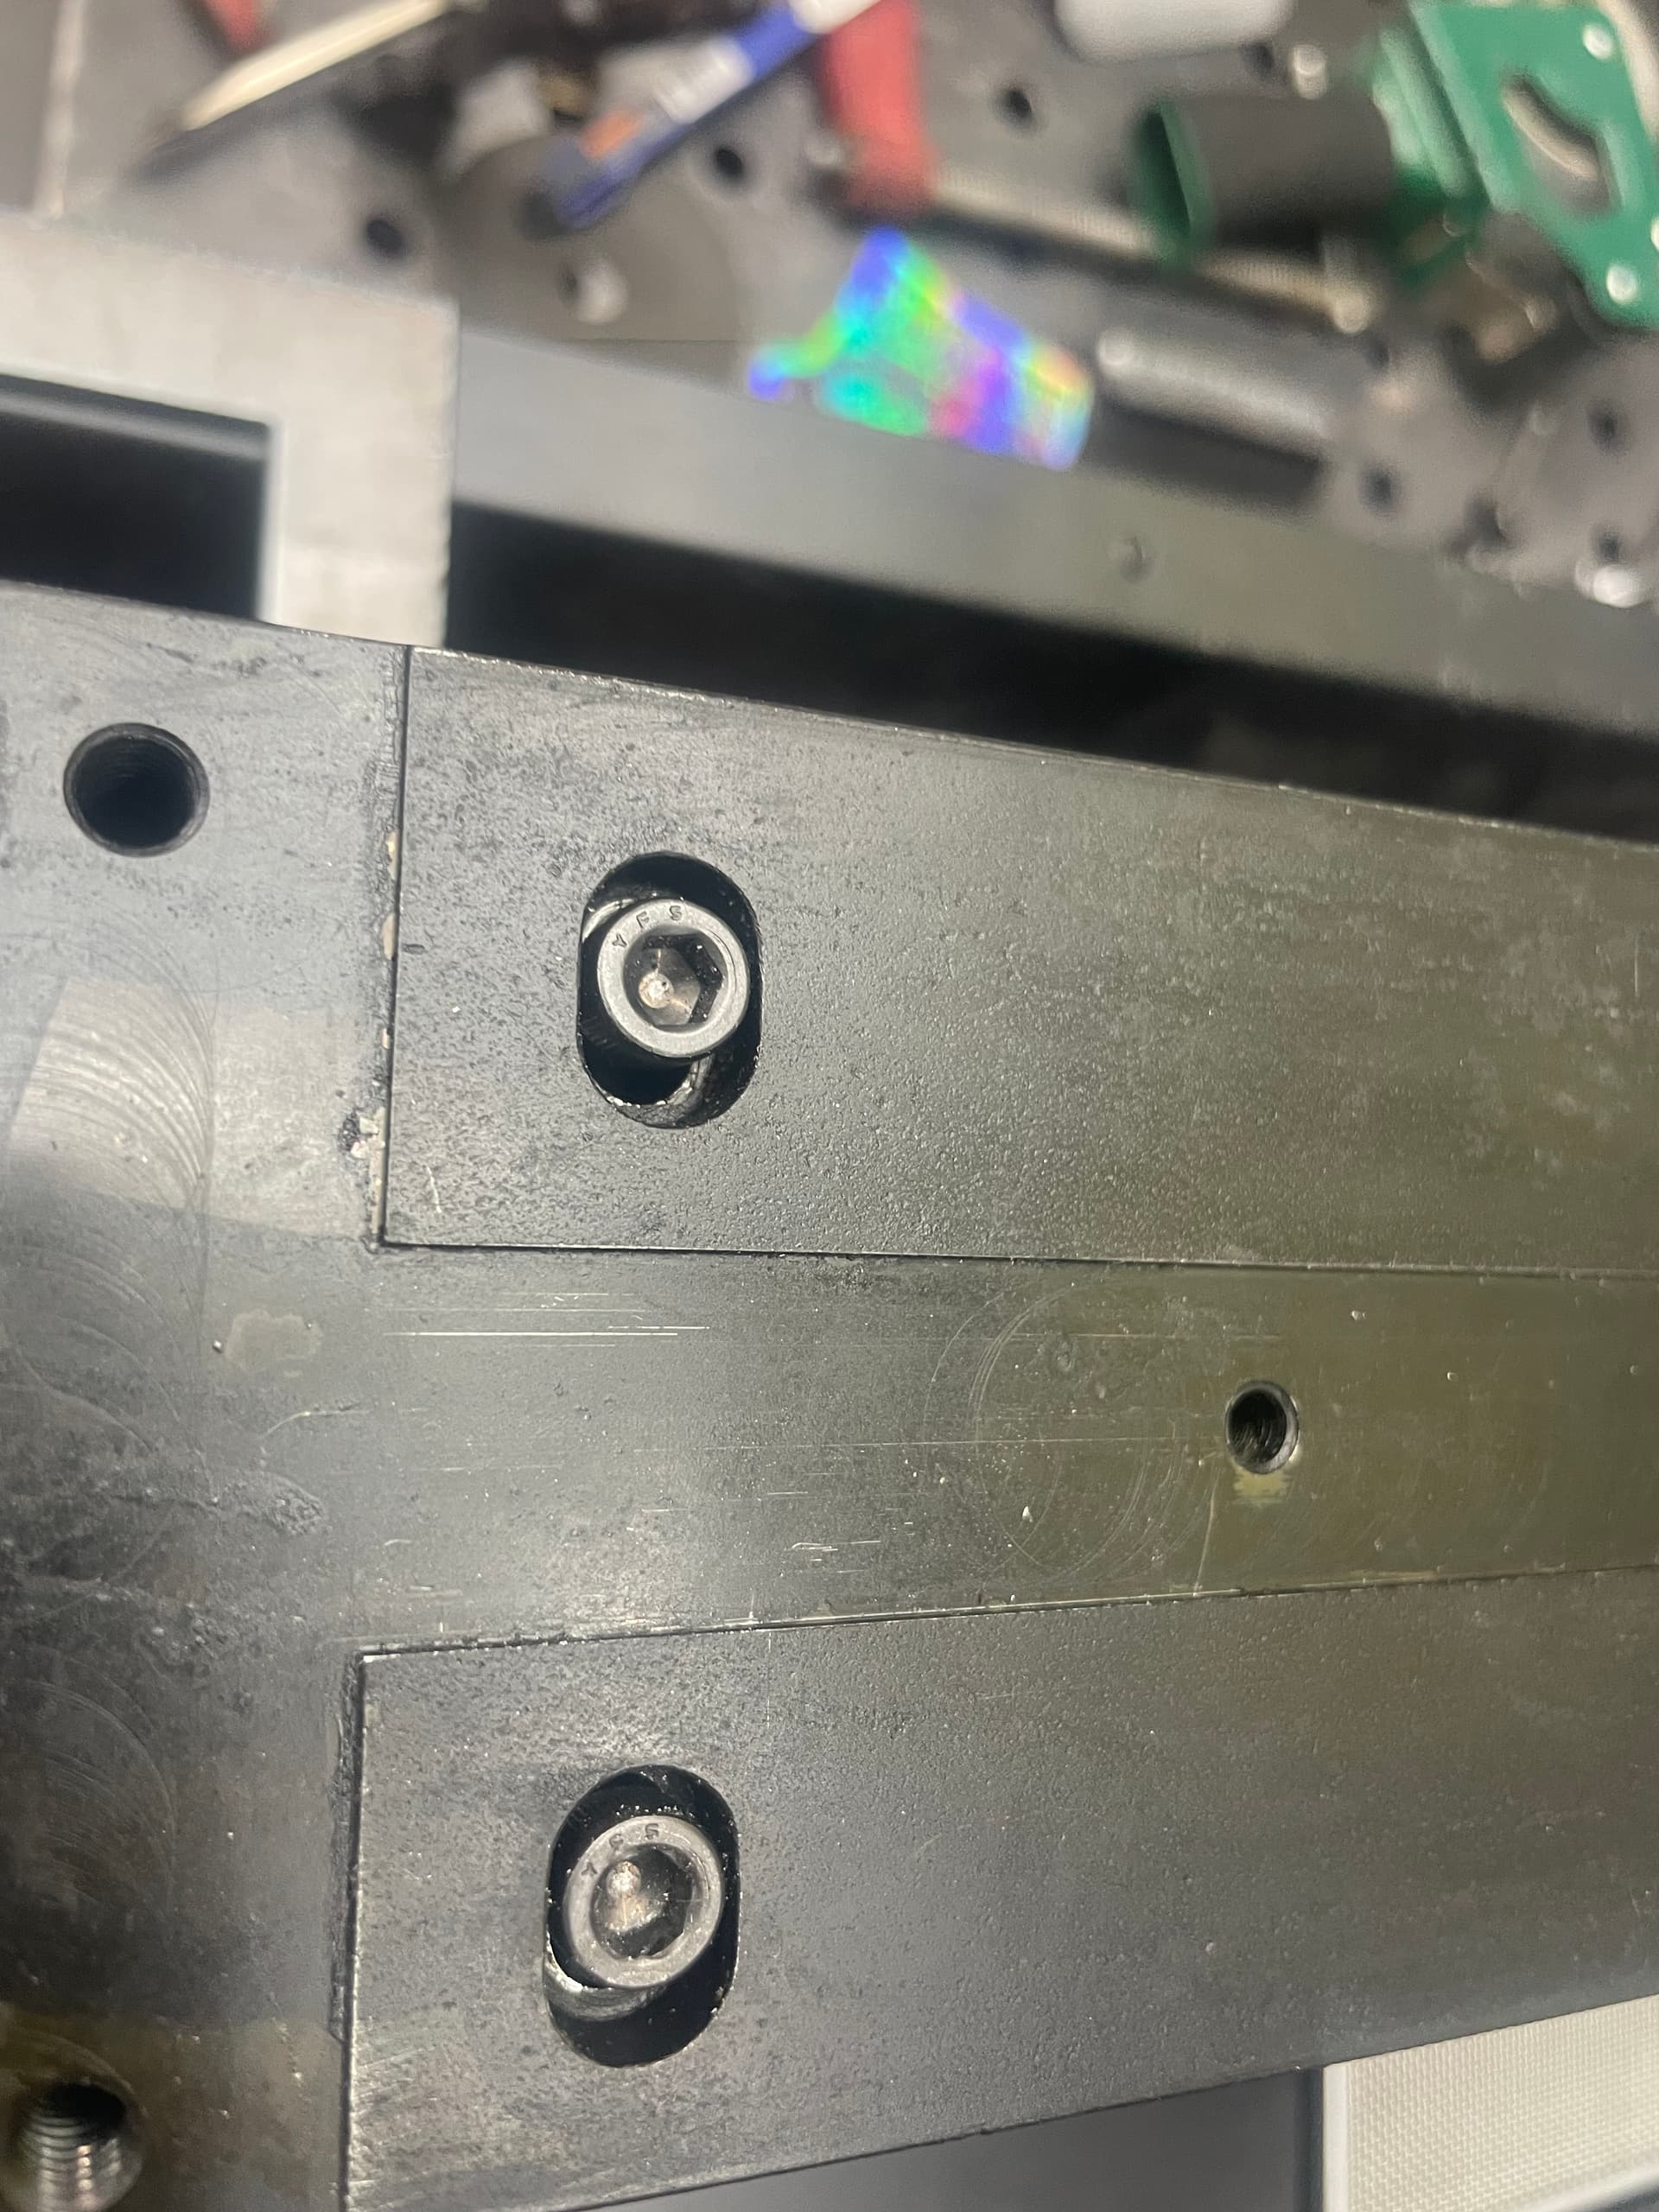
Quick Update. My replacement Y Axis rail came in and I have replaced the improperly machine original rail. However something odd is still happening. On the new Y Axis rail the hex head screws don’t sit as far down in the pocket as the other side does (see pictures below). The pictures show the hex head fully tightened.
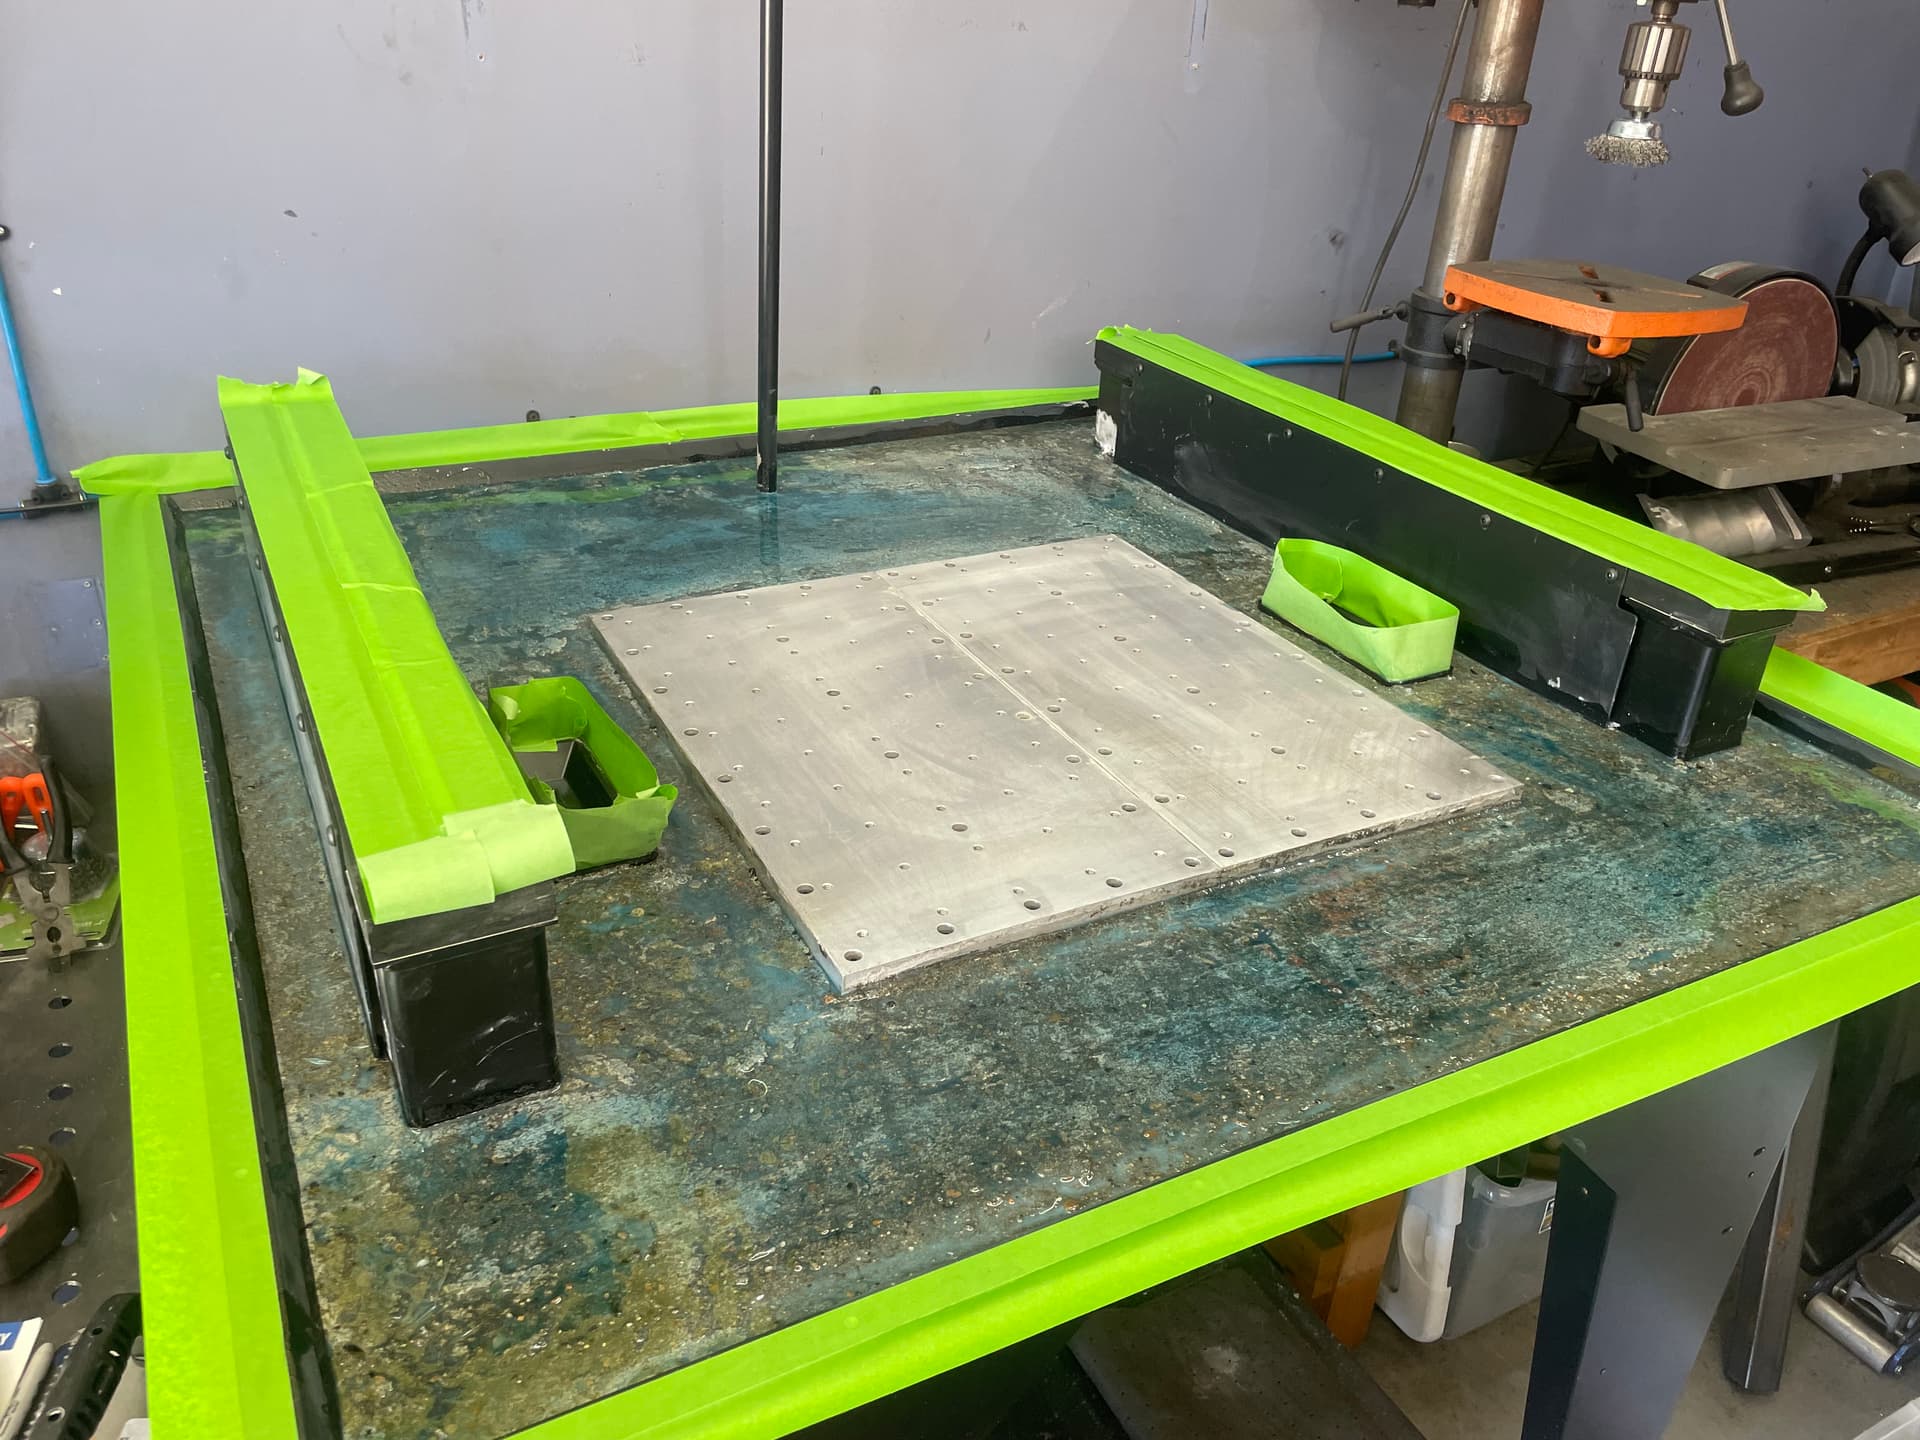
While I wait for tech support to get back to me I made some jigs to make sure the Y rails stay where they need to. I plan to leave these in place when I pour the concrete. They seem to work well and make it easy to tell if anything has moved.
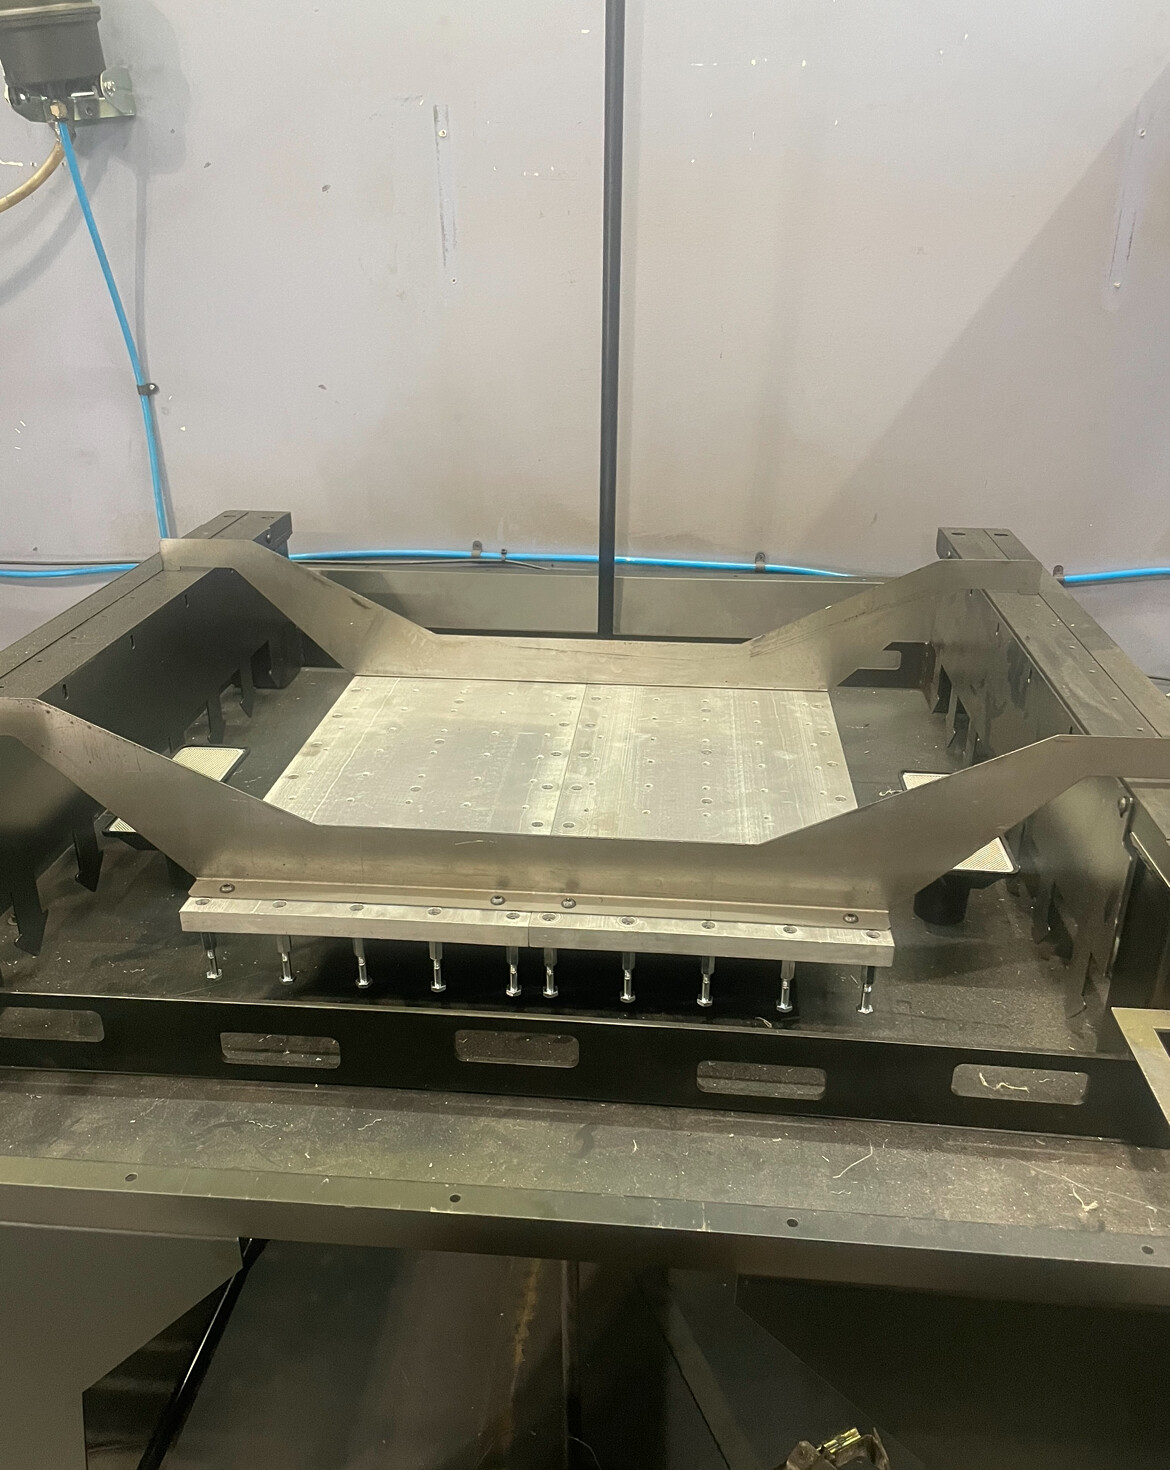
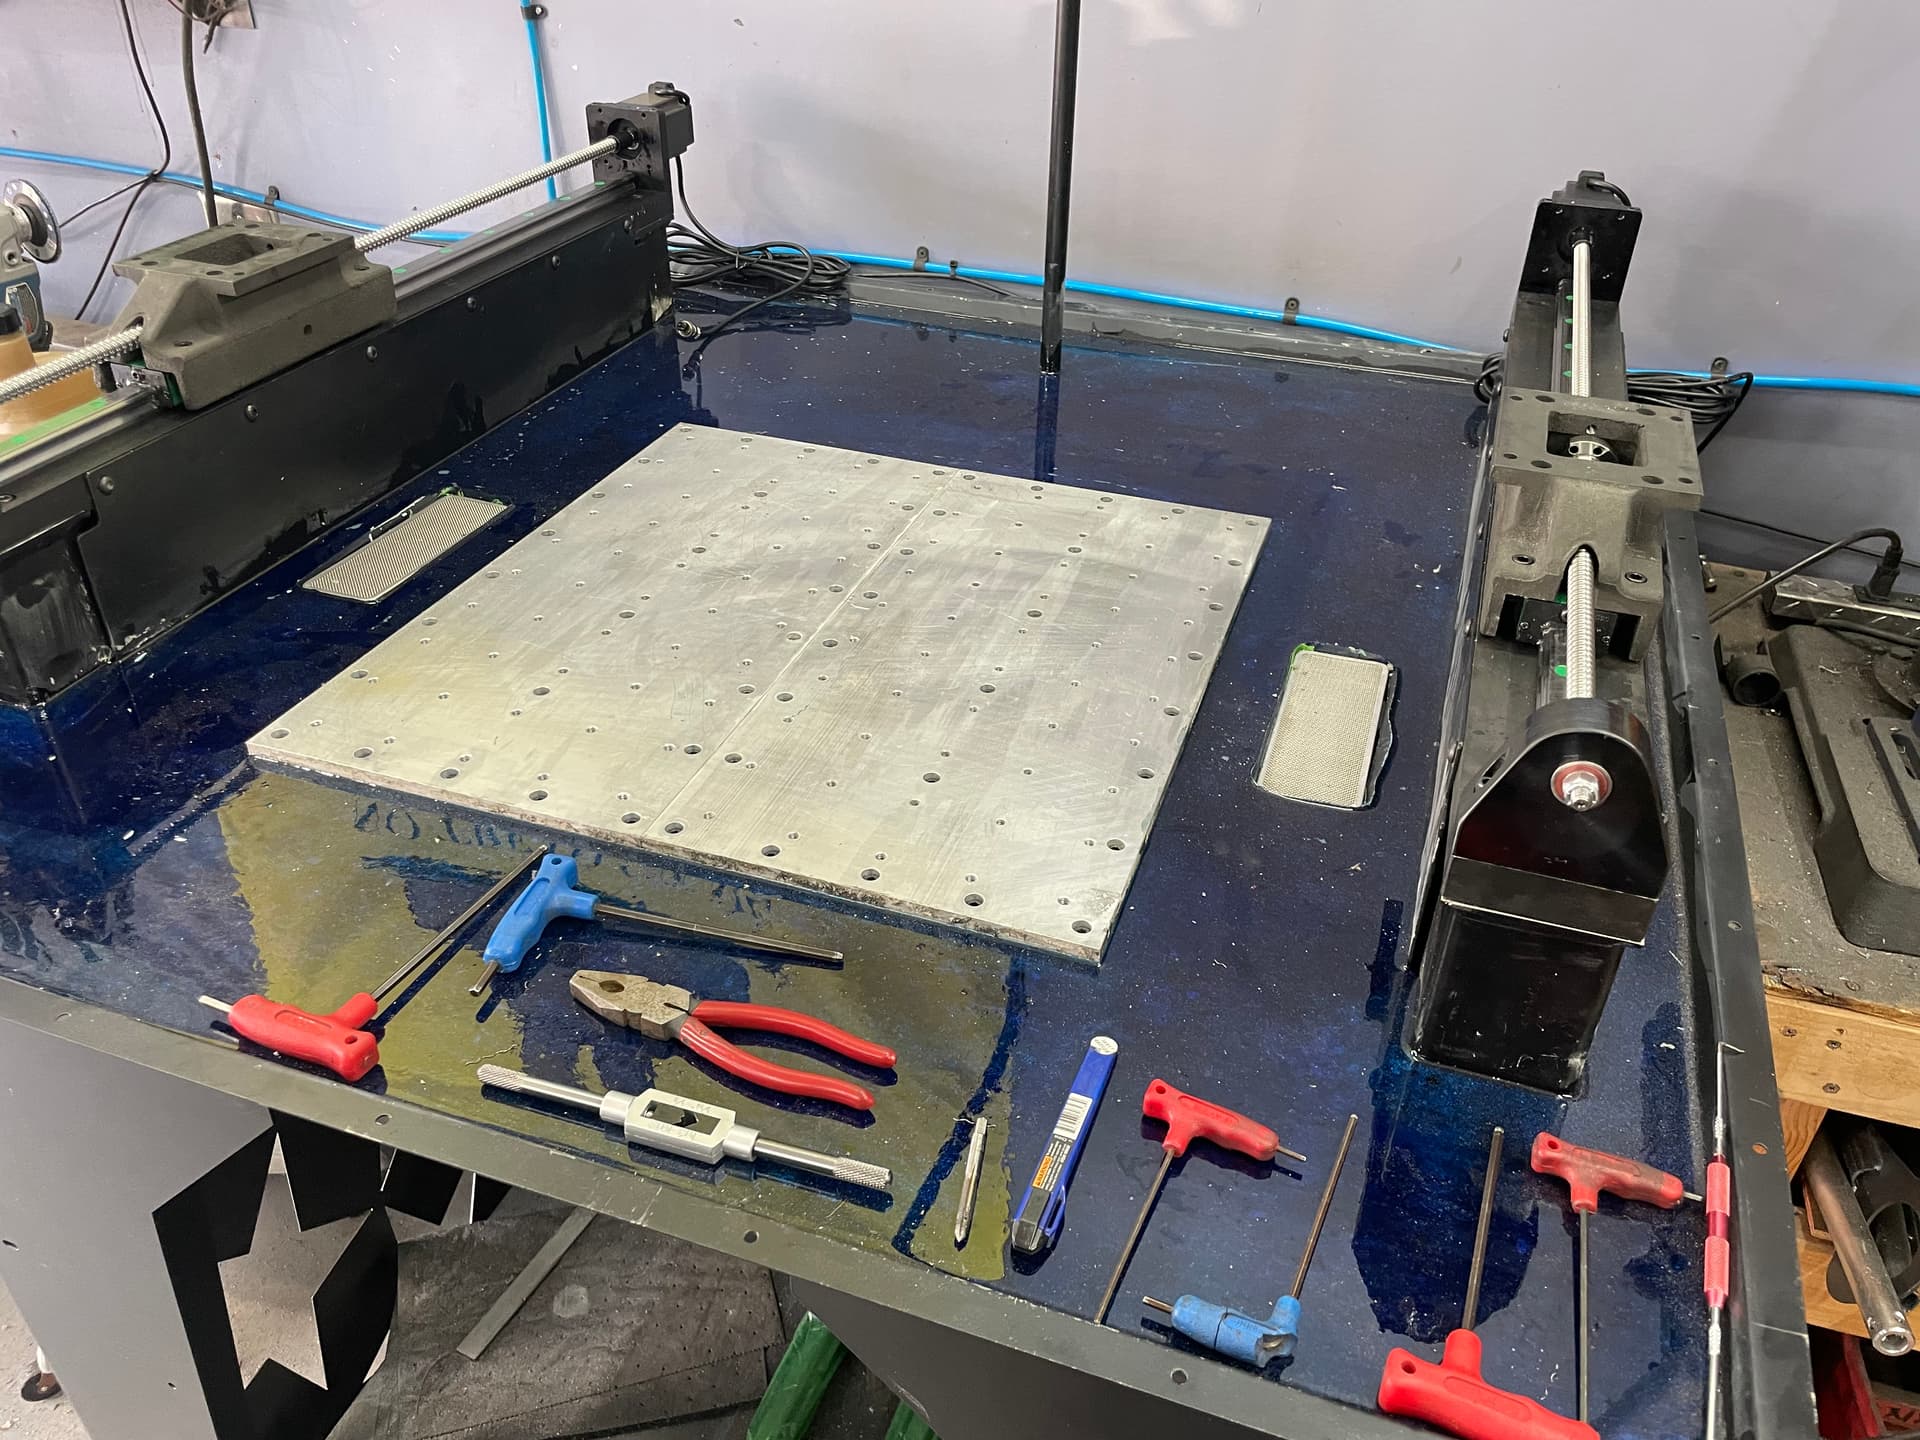
I have been making some slow and steady progress. Everything has been squared and leveled. The jigs I made did a great job keeping everything aligned and the base plate ready to go
Last Saturday I tricked the wife into helping me mix the concrete for the chip tray. I was surprised that Langmuir recommended 8 bags and 5 pints of water per bag. In the end I only used 7 bags and the right amount of water seemed to be 2.5 pints which is what was recommended on the bag. I under the 8th is really for touching up the low spots but it seemed that with 7 everything was spot on.
How deeply embedded is your baseplate in the concrete? It looks like it might only go 1-2mm into the concrete, and an 8th bag might have gotten you a baseplate that was more heavily buried.
I’m not sure how much this matters, but I would expect that the concrete does it’s job of dampening better when the baseplate is as buried as possible.
The base plate protrudes from the concrete by about 3/8". Its a little higher than recommended but I made sure to consolidate the concrete under the base plate well to ensure the concrete fully encompassed the embedded bolts connected to the base plate. Should be good.
Make sure you have enough epoxy on hand. I required an additional gallon to finish my machine on top of the two gallons supplied. If you don’t have enough, it will be a bad thing. This is just a heads-up.
I second what Bigdaddy said. My concrete level was higher than yours and i needed more epoxy than 1 kit could provide.
Also, every batch has very slight color differences, so you need to mix everything together. I didnt, and mine has a “marbled” look because of it. I dont mind it, i kind of dig it, actually. I can imagine there are plenty of folks who dont, though.
Good advice. The second epoxy kit actually arrived this moring. I am about to clean everything up, put the tape down and get the tack goat on while I run to the metal supply house.
Just a word to mix the stuff thoroughly and then mix it again. All the air bubbles will come out with the heat gun. We don’t need unmixed epoxy not curing. Trust me. My MR1 came out perfectly, but my BA Shredder base took some repairs, and I needed epoxy for the concrete base.
I let everything set for about 6.5 to 7 hours and then did the flood coat. Everything seemed to mix up fine and pour out well. I hit the epoxy with a heat gun and got a majority of the bubbles out. There are some smaller bubbles that won’t pop. I hope that while the epoxy cures these bubbles go away.
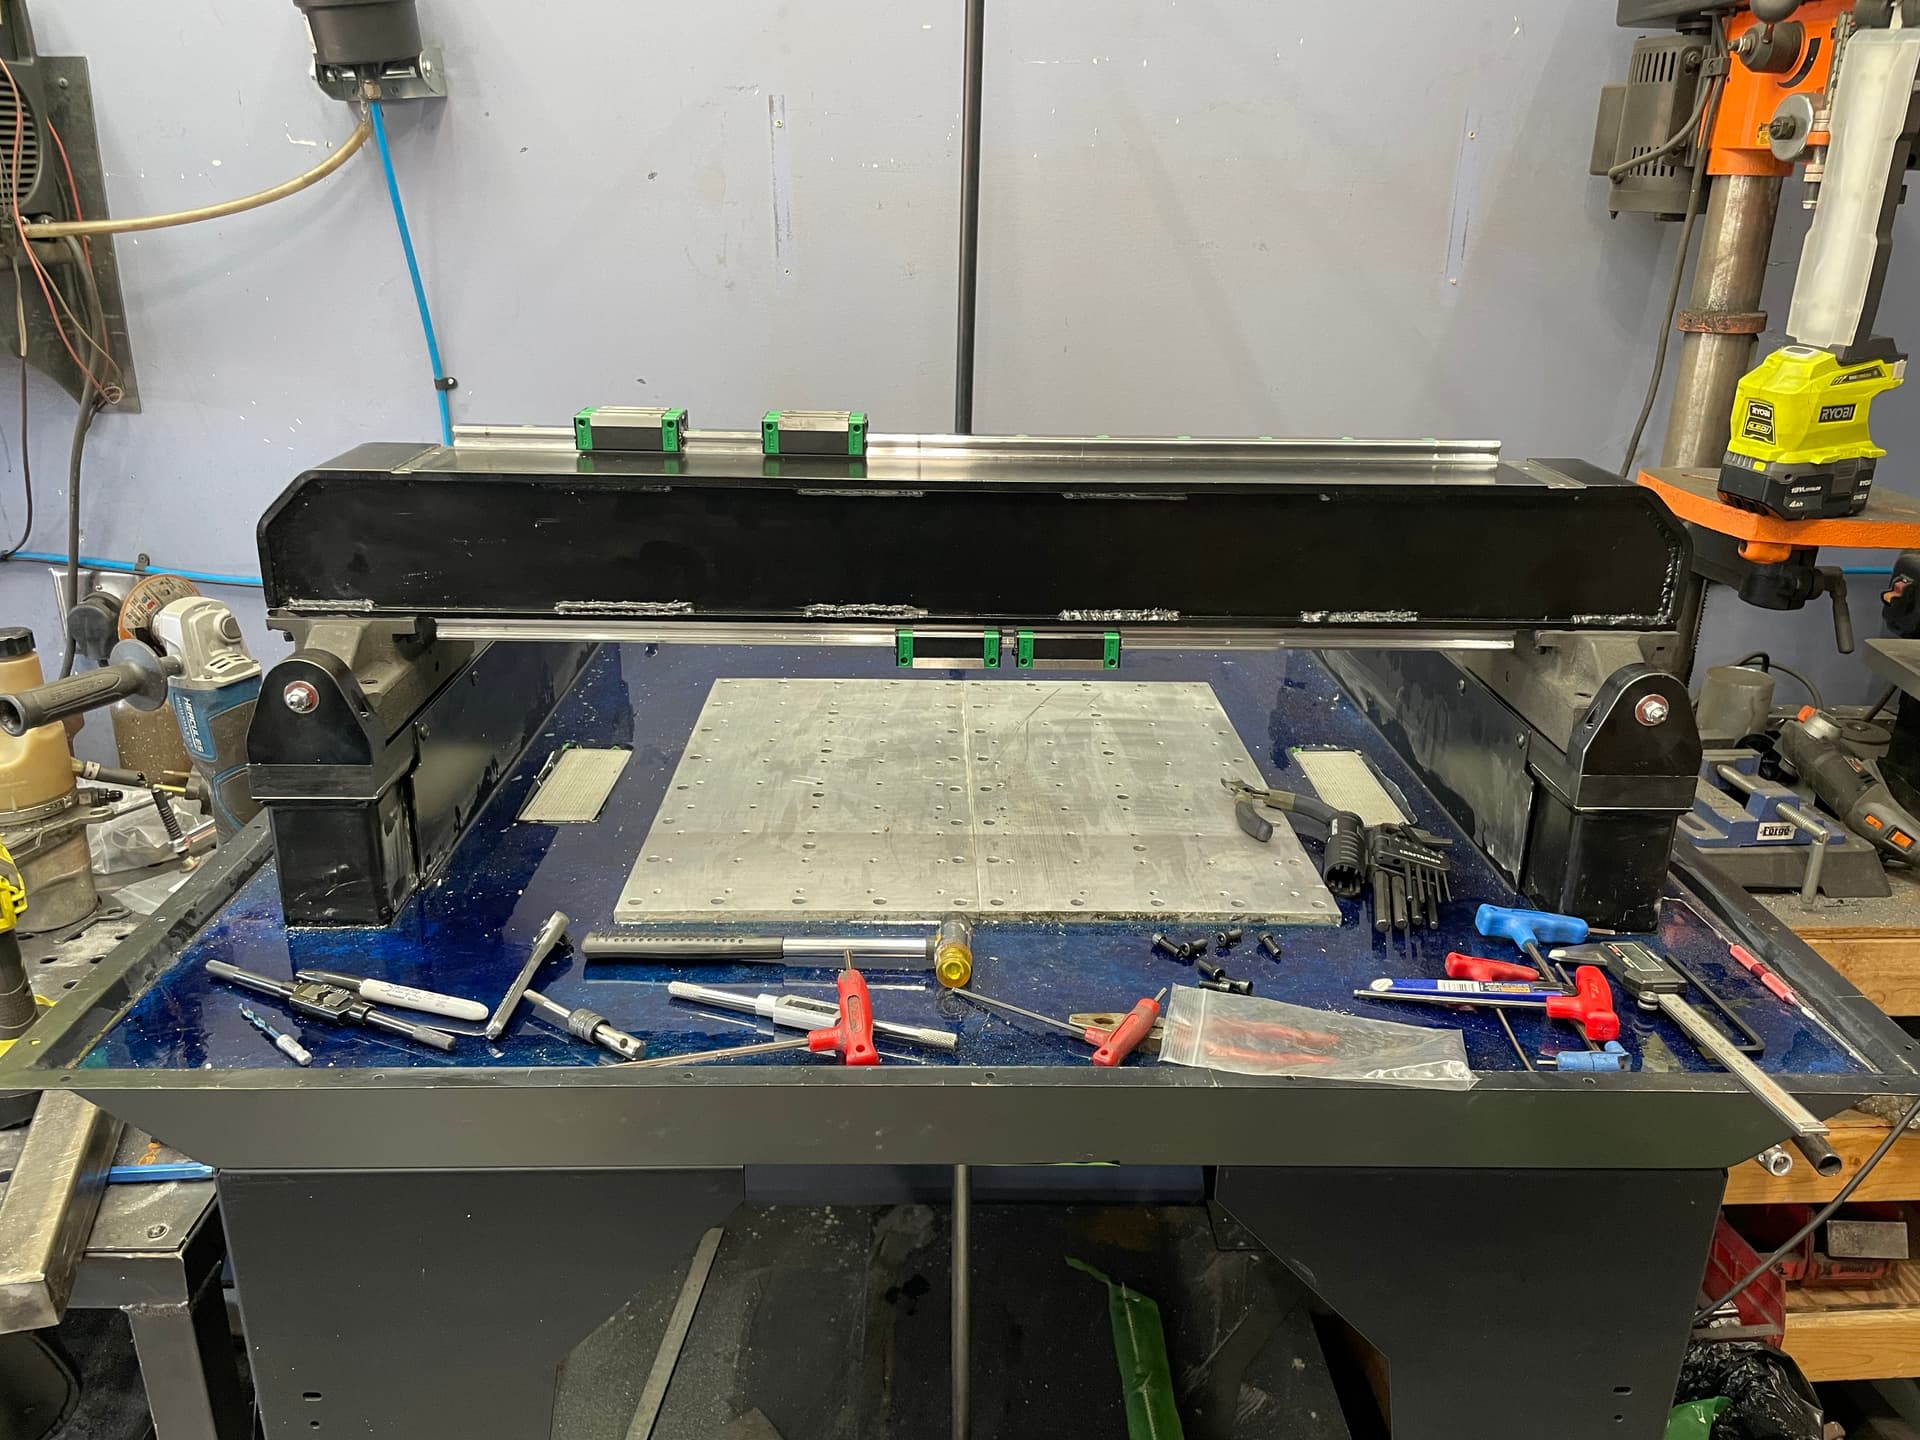
More progress has been made this weekend, and I plan to hit it hard this week. I have both of the Y axis wrapped up and just set the X gantry on the machine. I will say I have had to chase almost every 1/4-20 thread on this machine. Also I think it would be great if Langmuir could label the X and Y linear bearings. The notes in the assembly instructions are vague at best.
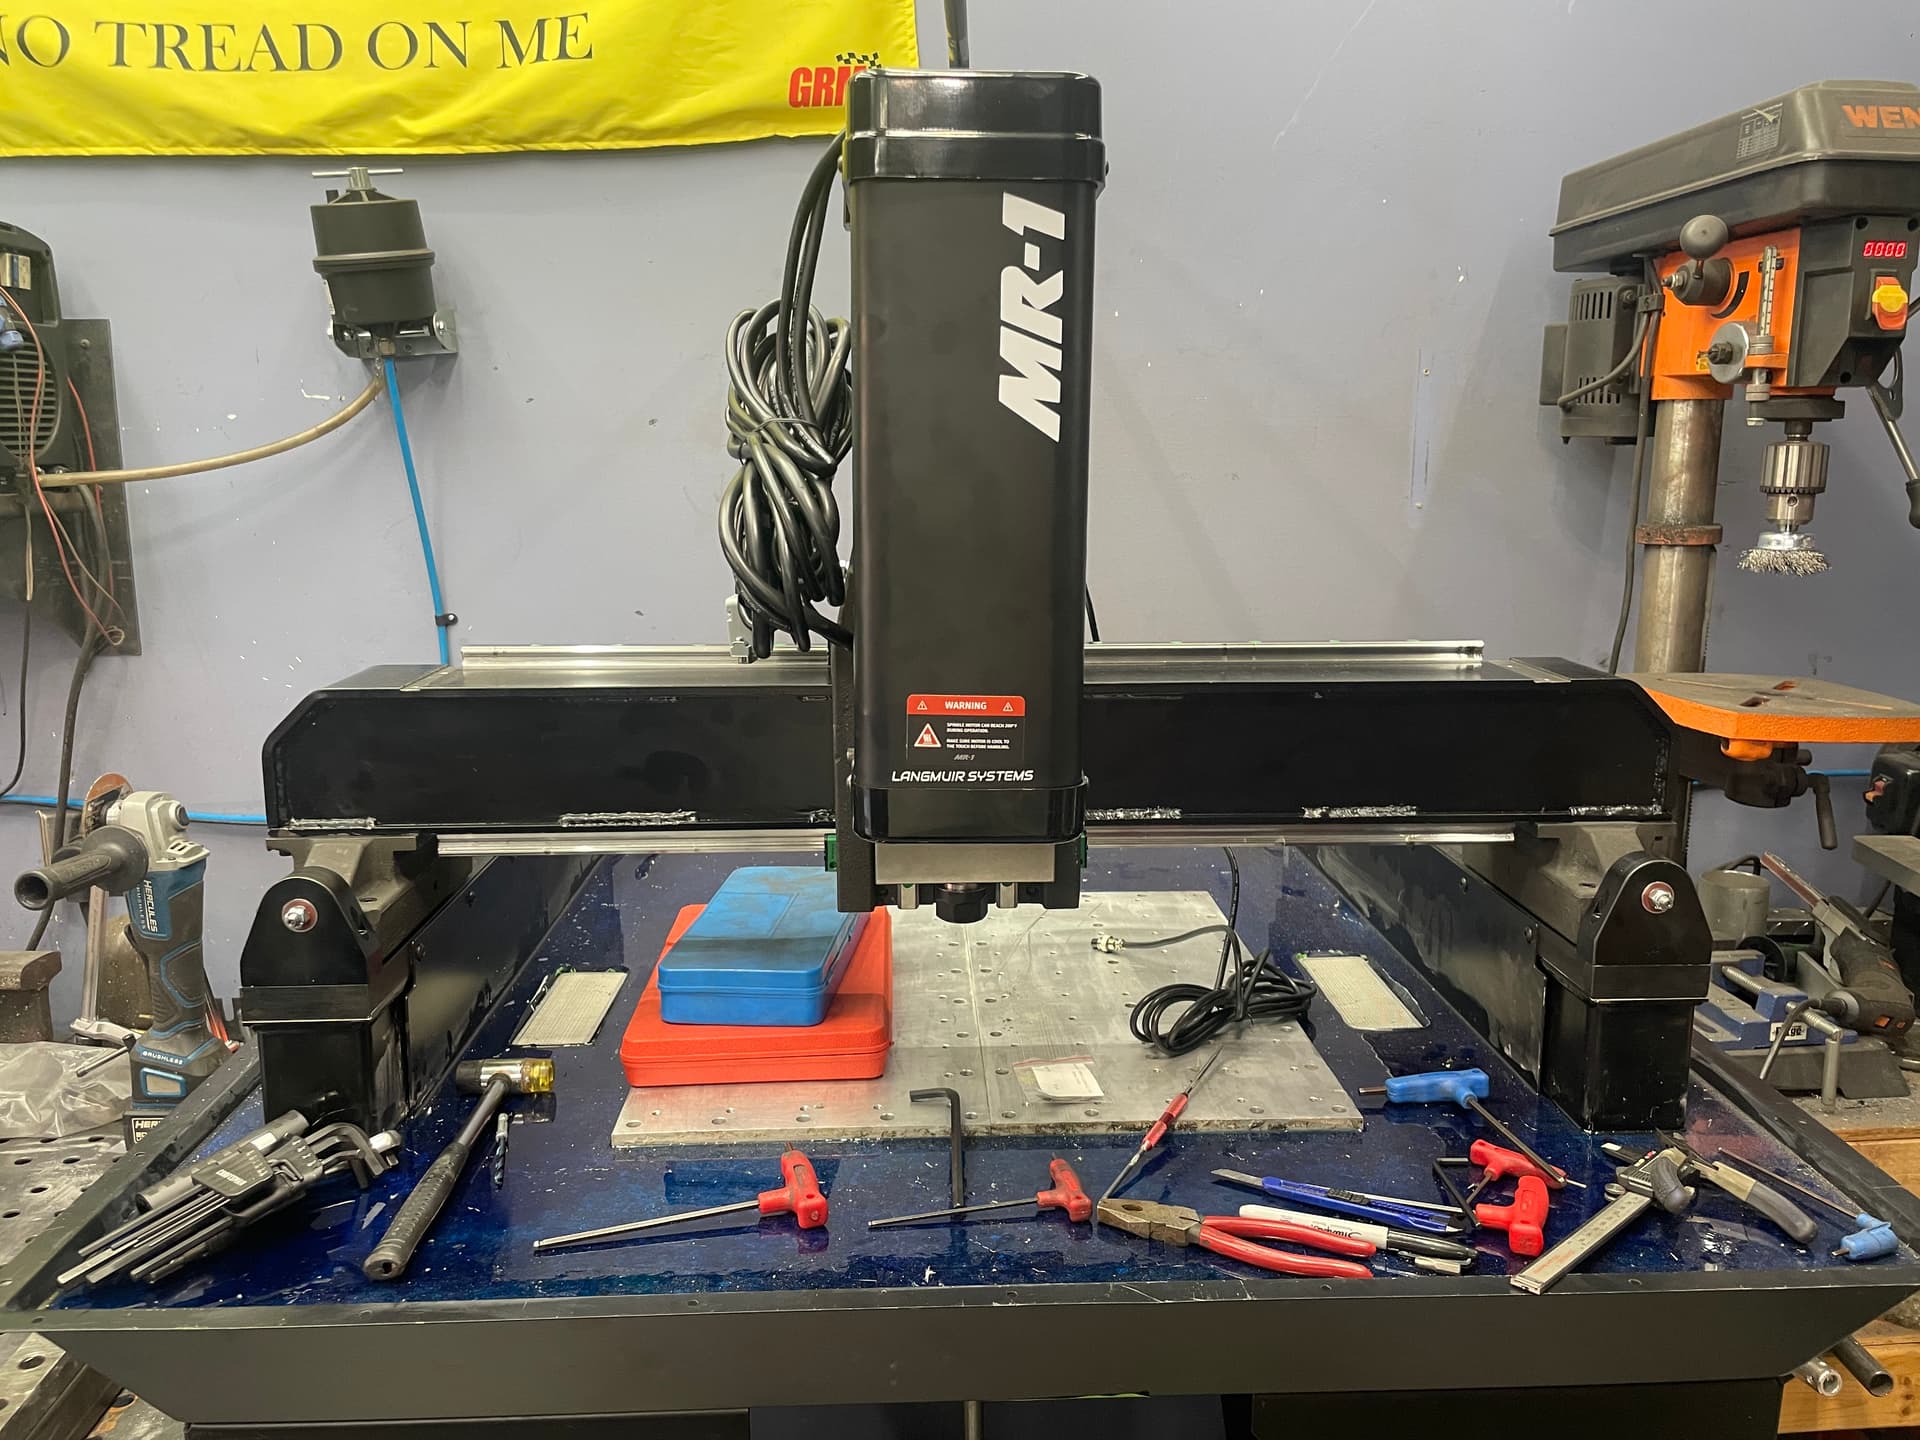
I made some good progress last week and this weekend. Everything is powered up and I have been able to jog the machine around. Currently working on the limit switches. Hope to have everything near 100% by next weekend.
Hit a snag and had to reach out to tech support. Trying to home my machine for the first time. It starts with the Z axis, hits the hard limit, and then just stays there buzzing. I can manually trip the Z axis limit switch and it will throw an error but the limit switch seems loose and doesn’t have a metal arm in it. We will see what tech support has to say.
Its likely that the mechanical hard stop for the Z axis is set to low (i.e. the switch is never reached and thus isnt triggered). The goal is to set the hard stop at the highest point that protects the switch from damage. Id recommend pulling the cover off and taking a look.
@langmuir-daniel Thank you. I will give pull the cover after work today. Is that a switch different than the rest and not supposed to have a trigger arm in it?
@langmuir-daniel I pulled the cover and found that the limit switch was loose. I set it in the right position and tightened it down. I am now able to home the machine. However in the process of removing the cover I noticed the Z axis stepper motor as very hot. I put my temp gun on it and it was 125 degrees (see pic below). All the other motors are ambient temperature. Is this normal?