I have read a lot of threads on water pan, and a lot of mention of TIG’ing but for those of you who have done this - care to share your thoughts? I really want to avoid warping, I have TIG’d a fair amount, but never something this large/flat (generally small body panel patches, etc).
Here were my thoughts:
trim the center flange down to be flush with the bottom of the bolt slots (mainly to avoid welding the slots - I feel like that is a leak waiting to happen)
brush clean & acetone wipe down
clamp the flange every 6"
add some mass into the pan on my welding table to help keep flat
tack weld every 2" or so, alternating locations to spread out heat
weld 2" gaps between tacks, cooling with water/wet towel between welds, pausing and alternating again
leak test
Planning to use 1/16" ER308L filler with 2% Lanthanated electrode.
Did anyone weld from the exterior as opposed to the flange on the inside? Anyone weld both?
I would second your thoughts on cutting out the lip above the slots. I did and it was very easy to weld. I clamped mine down so the center [ next to the drains ] was a 1/4 lower in the x axis so water would drain better. Make sure you figure out what you want to do for drainage and do that while its all clean. I used tc ferrules so i could add on when i had time.
I already ordered some 1" NPT SS bungs to weld in from the underside. Once it is assembled I’ll figure out how I want to valve/pipe it all for drainage/filling.
After i welded the inside seem I ran some small beads on the outside [ five beads maybe .750 long ] just so it was more rigid while it sat around and got moved till i finished the table.
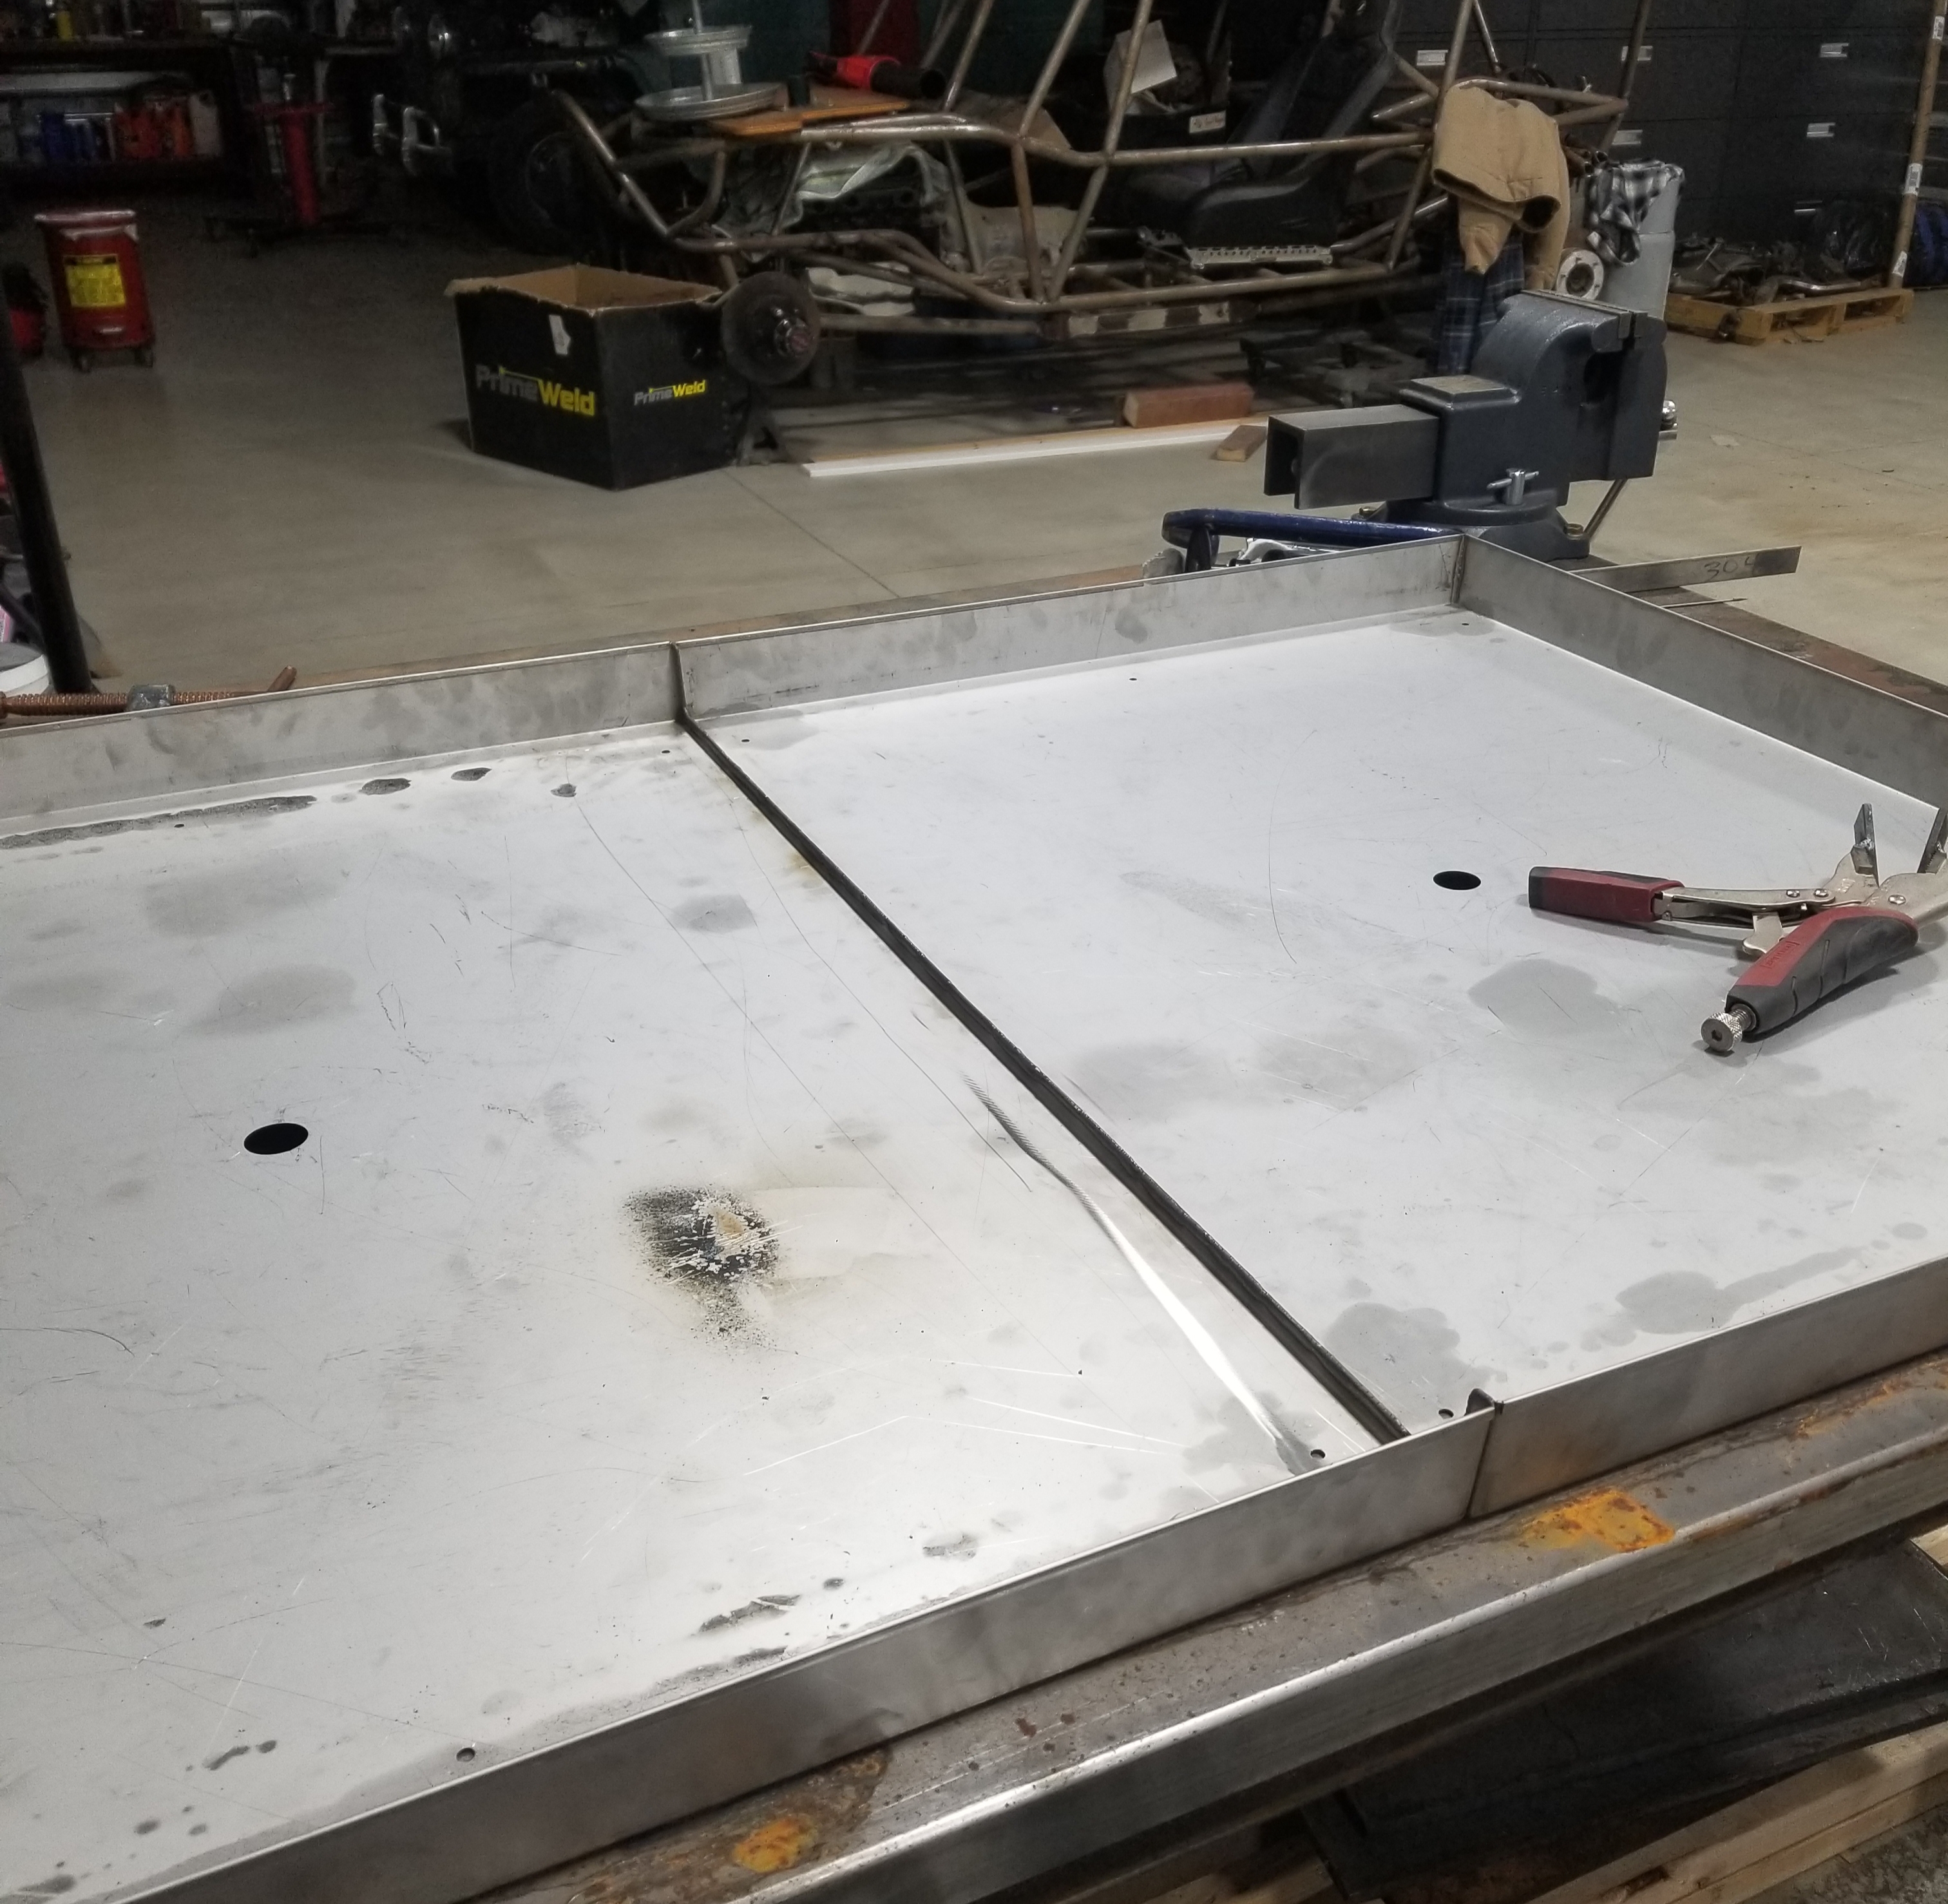
I welded in drains and my pan halves together. Took lots of time and never welded more than about 4-5" per side before giving the pan time to come back down to ambient temp. I only welded the edge side, I’m not worried about it pulling apart. I used 308L rod for the drains, and can’t remember what electrode, edge seam was just a sweat weld between the two pieces. Instead of trimming the whole edge down I just used a carbide burr and made the slots a healthy V so I had plenty of room to work the tungsten. I’m no pro welder, so I was mildly nervous when I went to water test it, but it has no leaks from anywhere, so I did a good enough job.
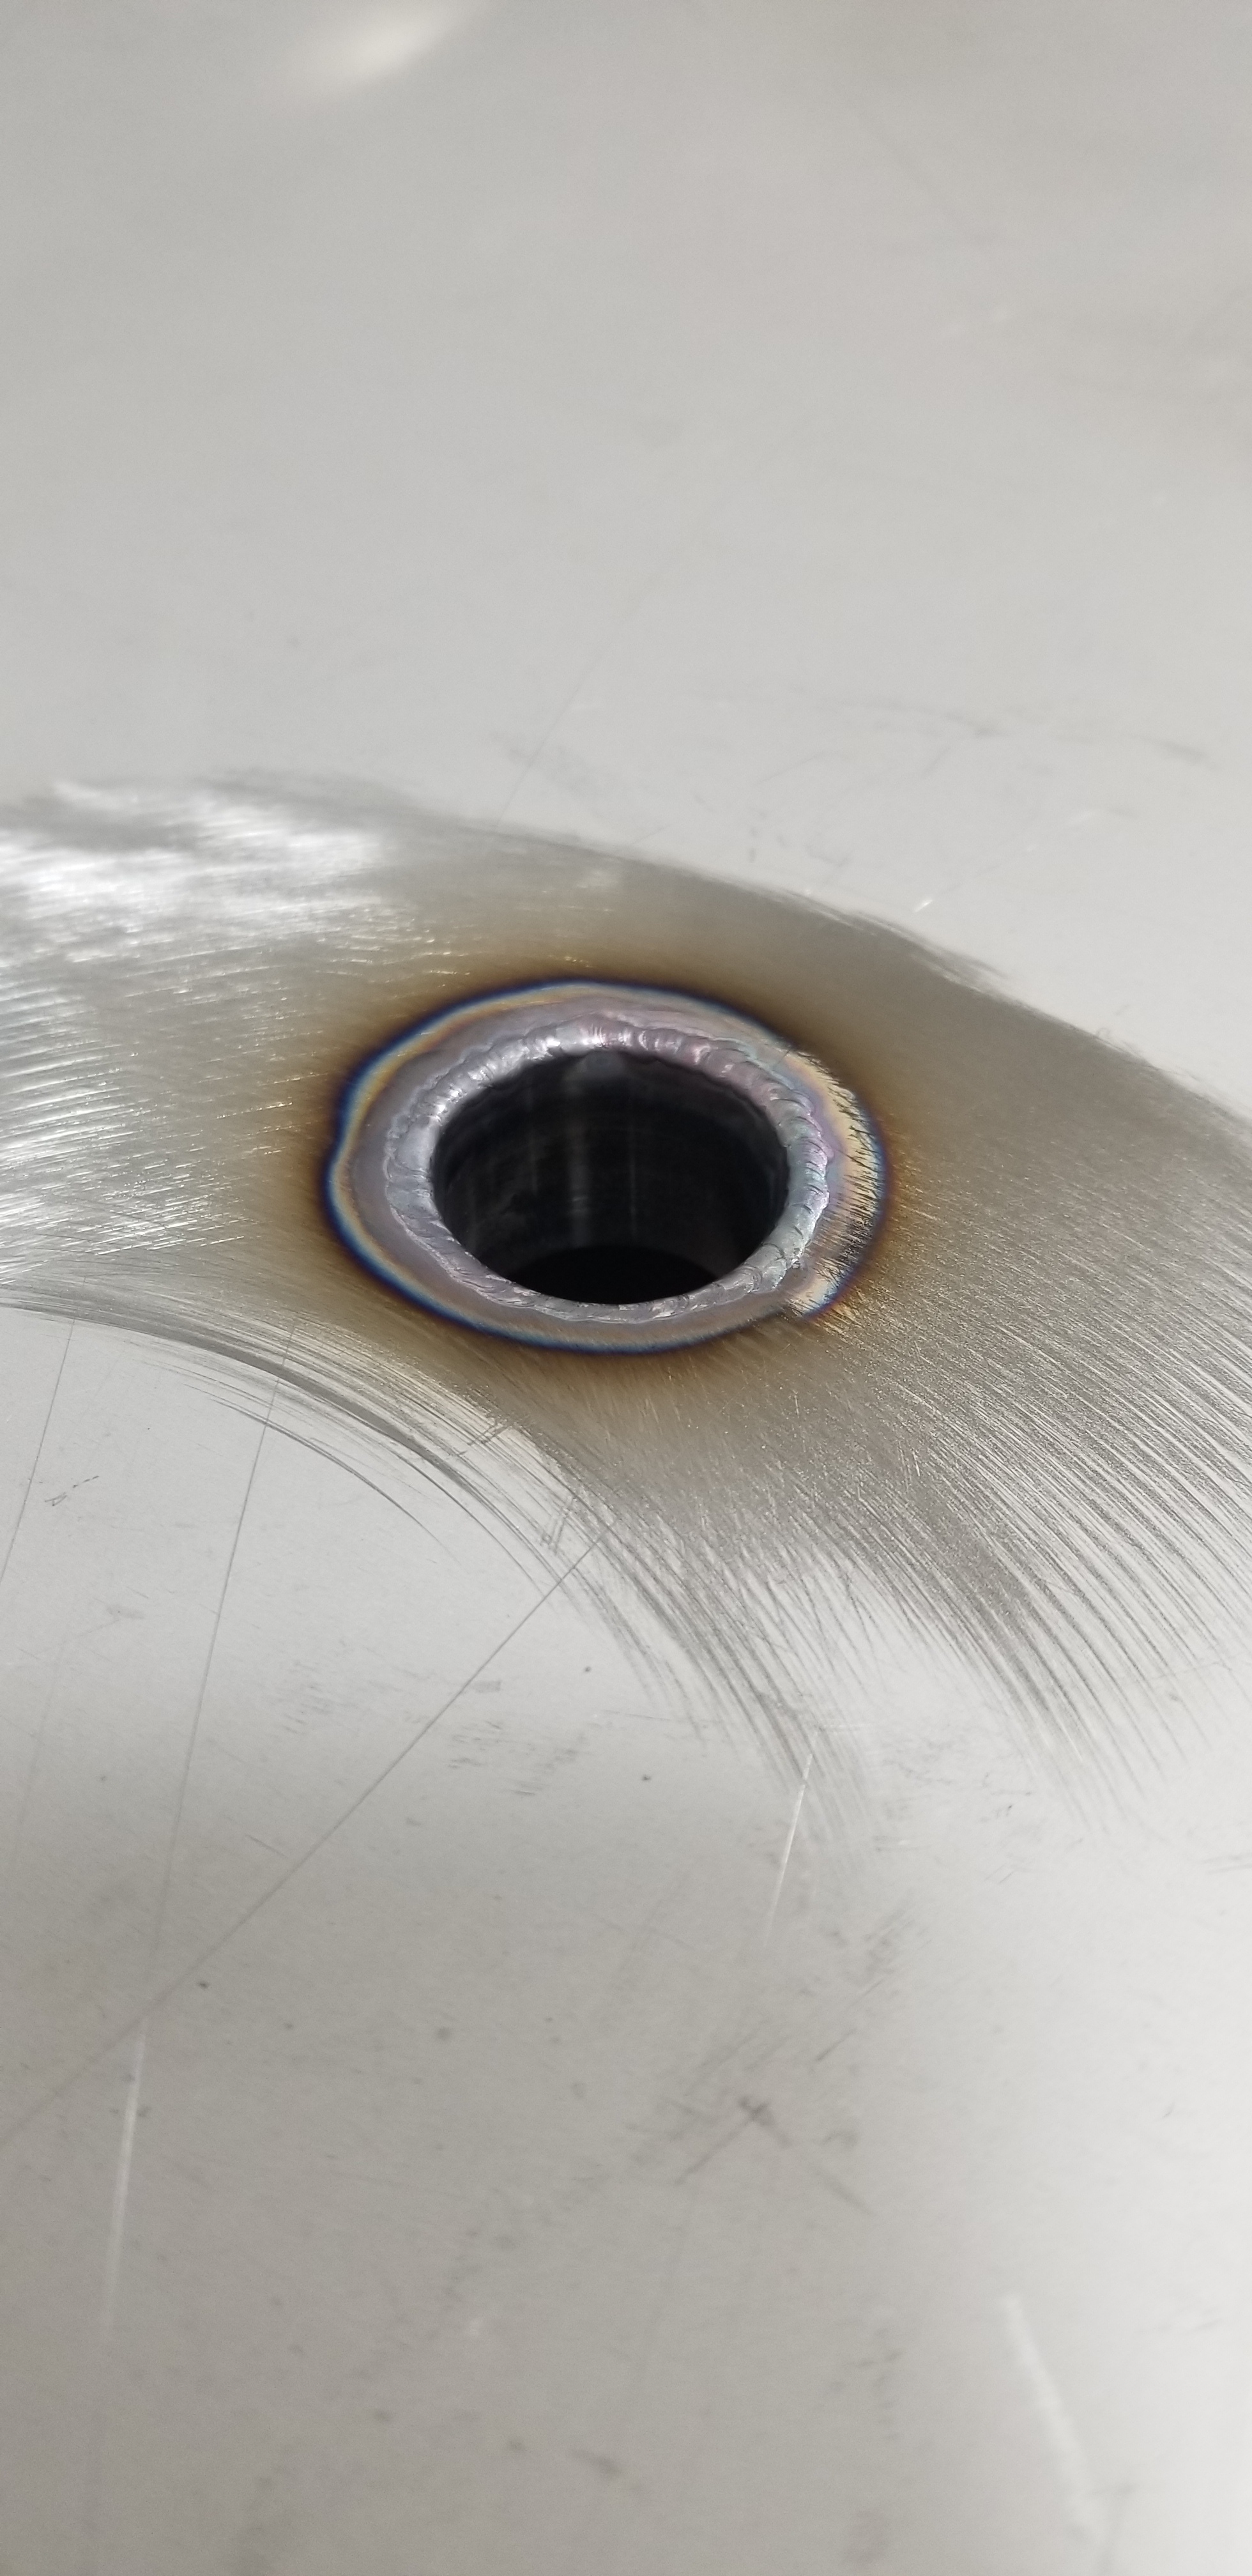
The drains I made from a 304 stainless 1" NPT pipe nipple 6" long. Split it and turned it down to be a press fit into the flanged drain edge so I didn’t have to futz around with holding it in place when I went to weld it.
This is before I went back over the OEM corner seam and made sure it was solid as well.
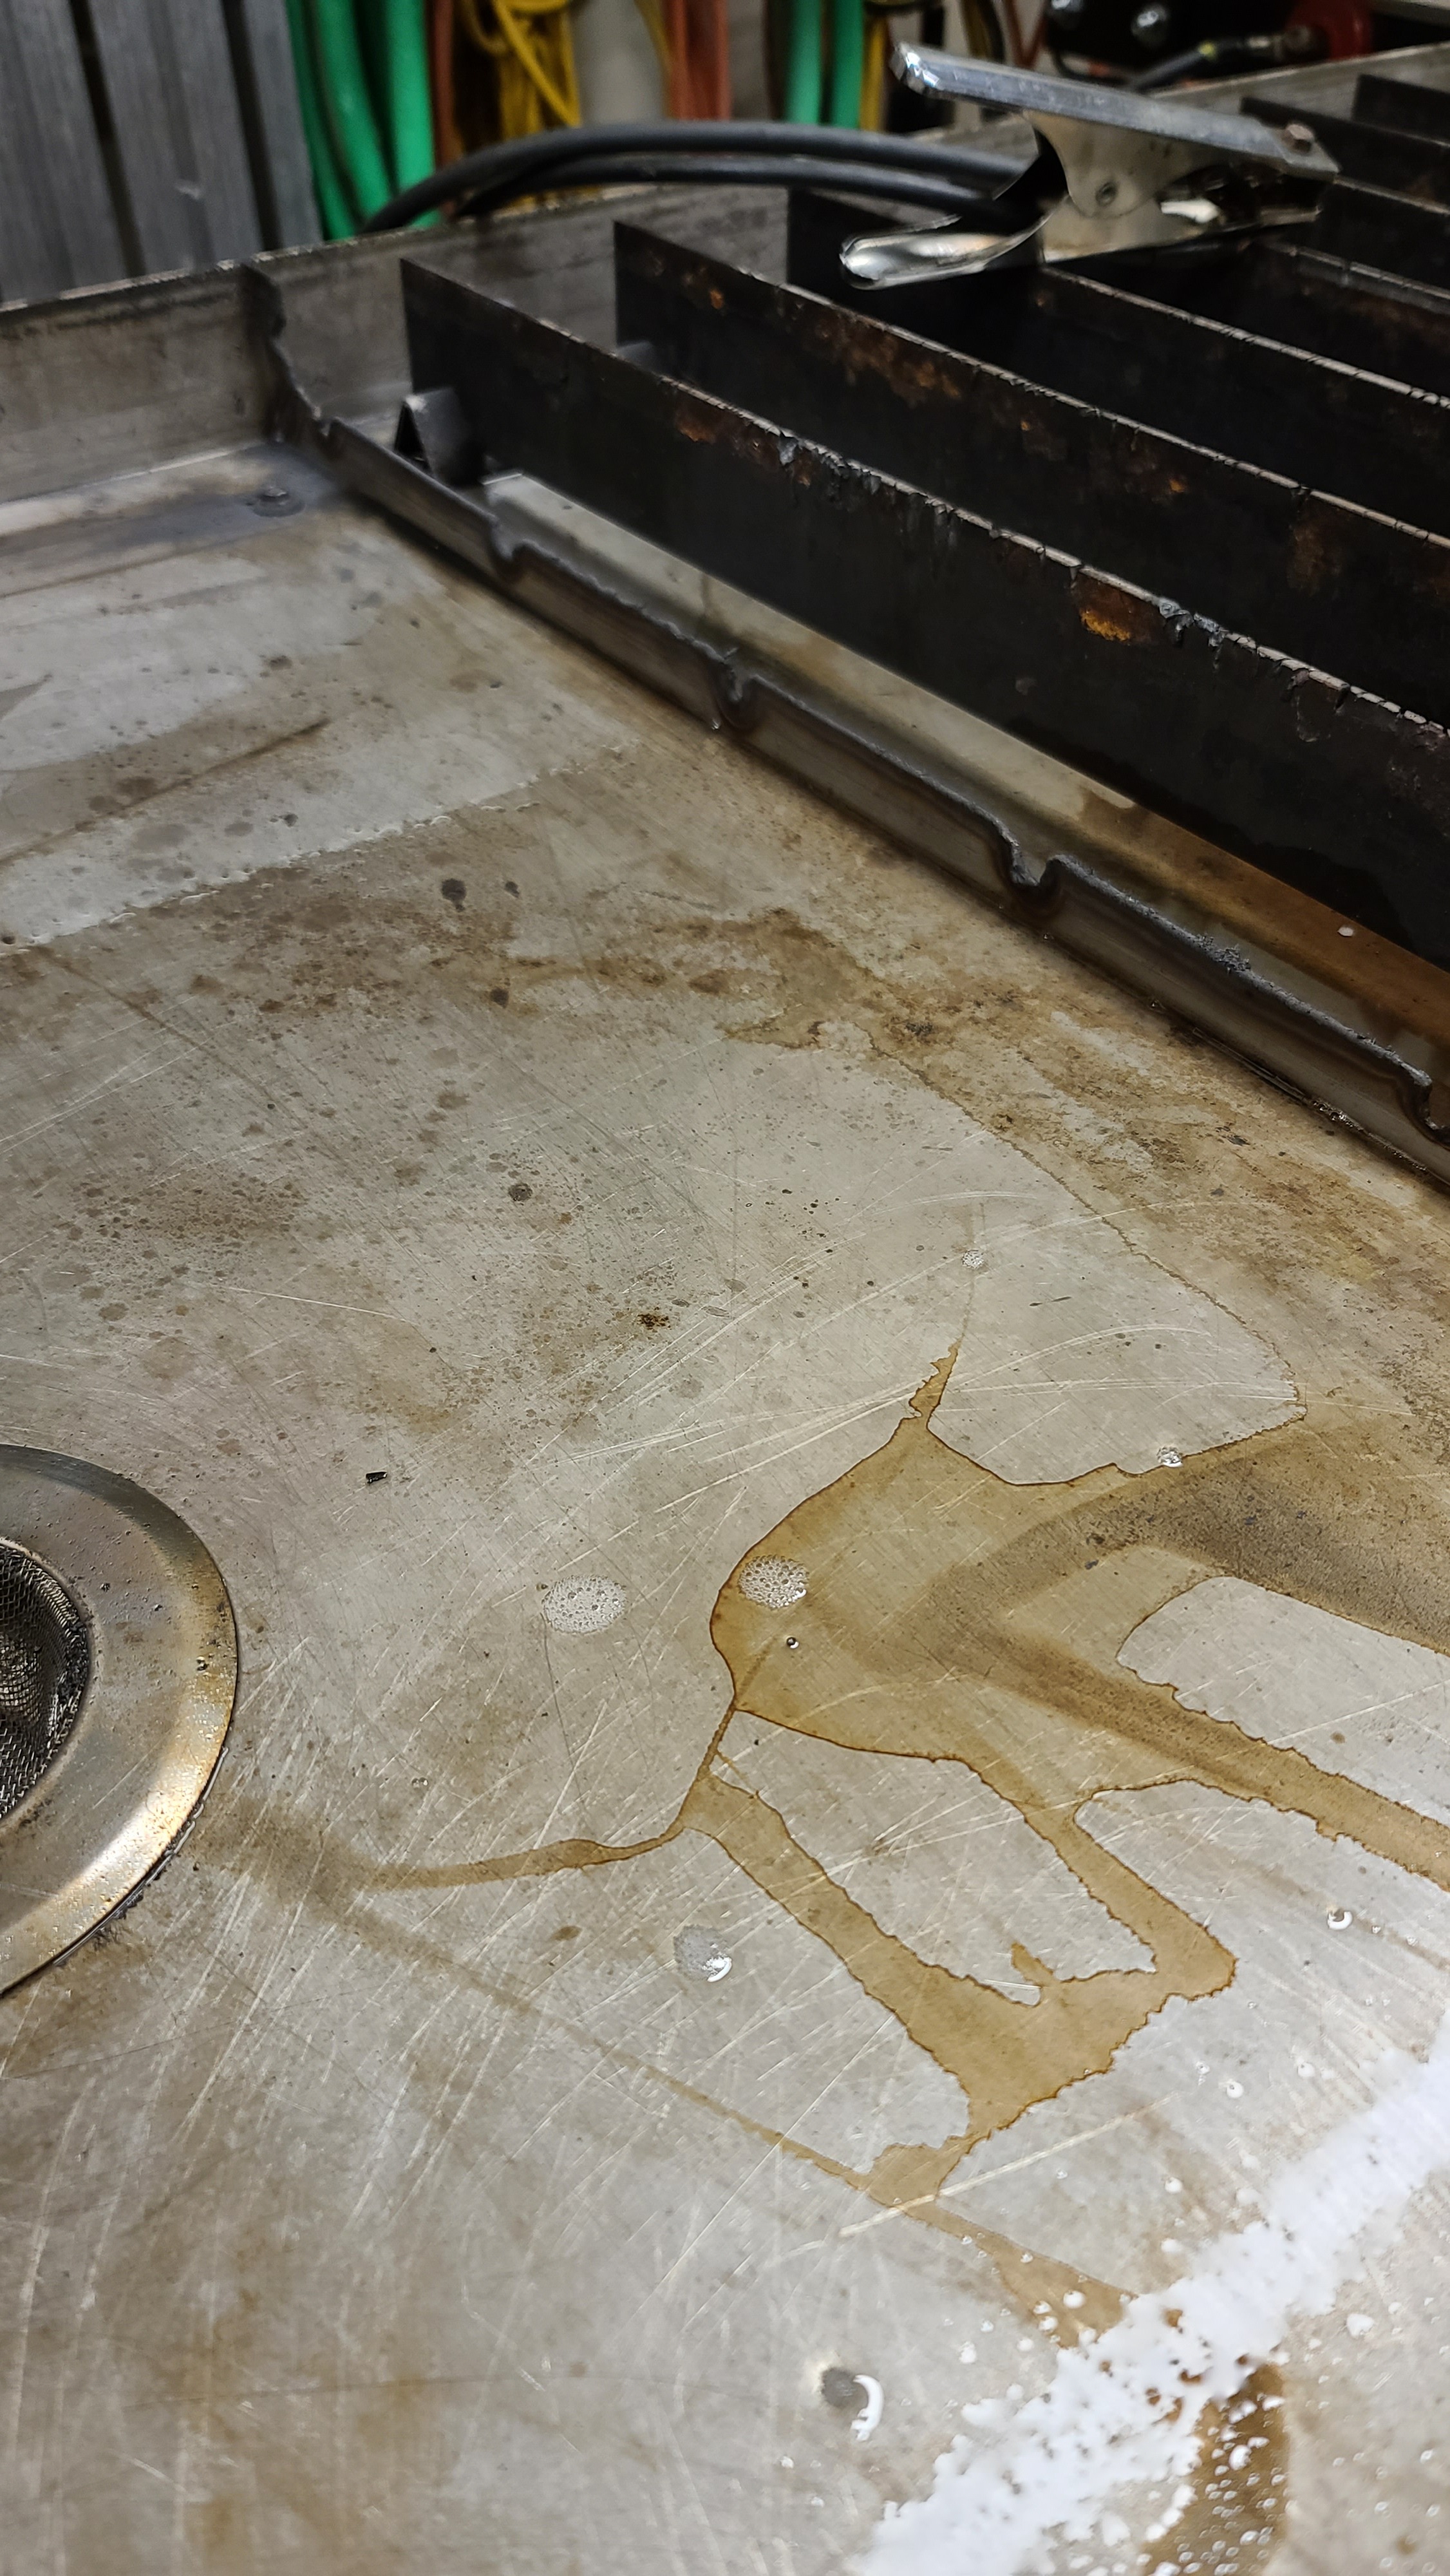
It does a good job draining. This is all the water that’s left after it finishes.
Edited to add that I used the bolts to hold the pan halves together till I had it tacked everywhere I wanted it, then vee’d out the slots. I made sure not to use any abrasives or chemicals that might contaminate the welds in the V sections, thus the carbide burr.
I would just weld the inside seam with flanges. Shouldn’t even need filler rod for it. Add some water like suggested to mitigate heat but since its just getting bolted down, inside only should be adequate.
The punch (upper part that goes through the hole) was just aluminum, and the hex die was 304 or 316, unclear as the chunk came from the scrap bin at work years ago. If I was doing pans all day long it’d all be hardened steel, but for 2, meh, aluminum is fine. If I had waited a couple days I could have just printed the files @Bobthebuilder posted, or realized from his post that I should just print dies instead of turn them. Old habits die hard. Pun intended.
@toolboy You must have had the pan screwed to your table to put water in it when welding or did you do something else?
My welder has a high-frequency start. Is there any caution I need to know about? I’ve heard HF can mess with the electronics. I won’t have the control box plugged in so I doubt there is a chance of damaging something, but then again, I’m ignorant about electronics.
There is no need to put water in the pan and it is much easier to weld if you can put it on a welding table. Just weld an inch or so and move to another part of the seam and do the same, until you have the whole thing welded. Pretty much all decent TIG machines are HF start and mine didn’t cause any problems. I didn’t have the pan bolted to the table when I welded it, though.
No filler is necessary. Just clamp or bolt the two sides together and fusion weld the seam. I used a bit of filler rod at the very ends, just to keep from burning away the corner. I used ER312 filler on those spots, which is a stainless filler that I have on hand for welding Chromoly bike frames. Any stainless filler should work, though.
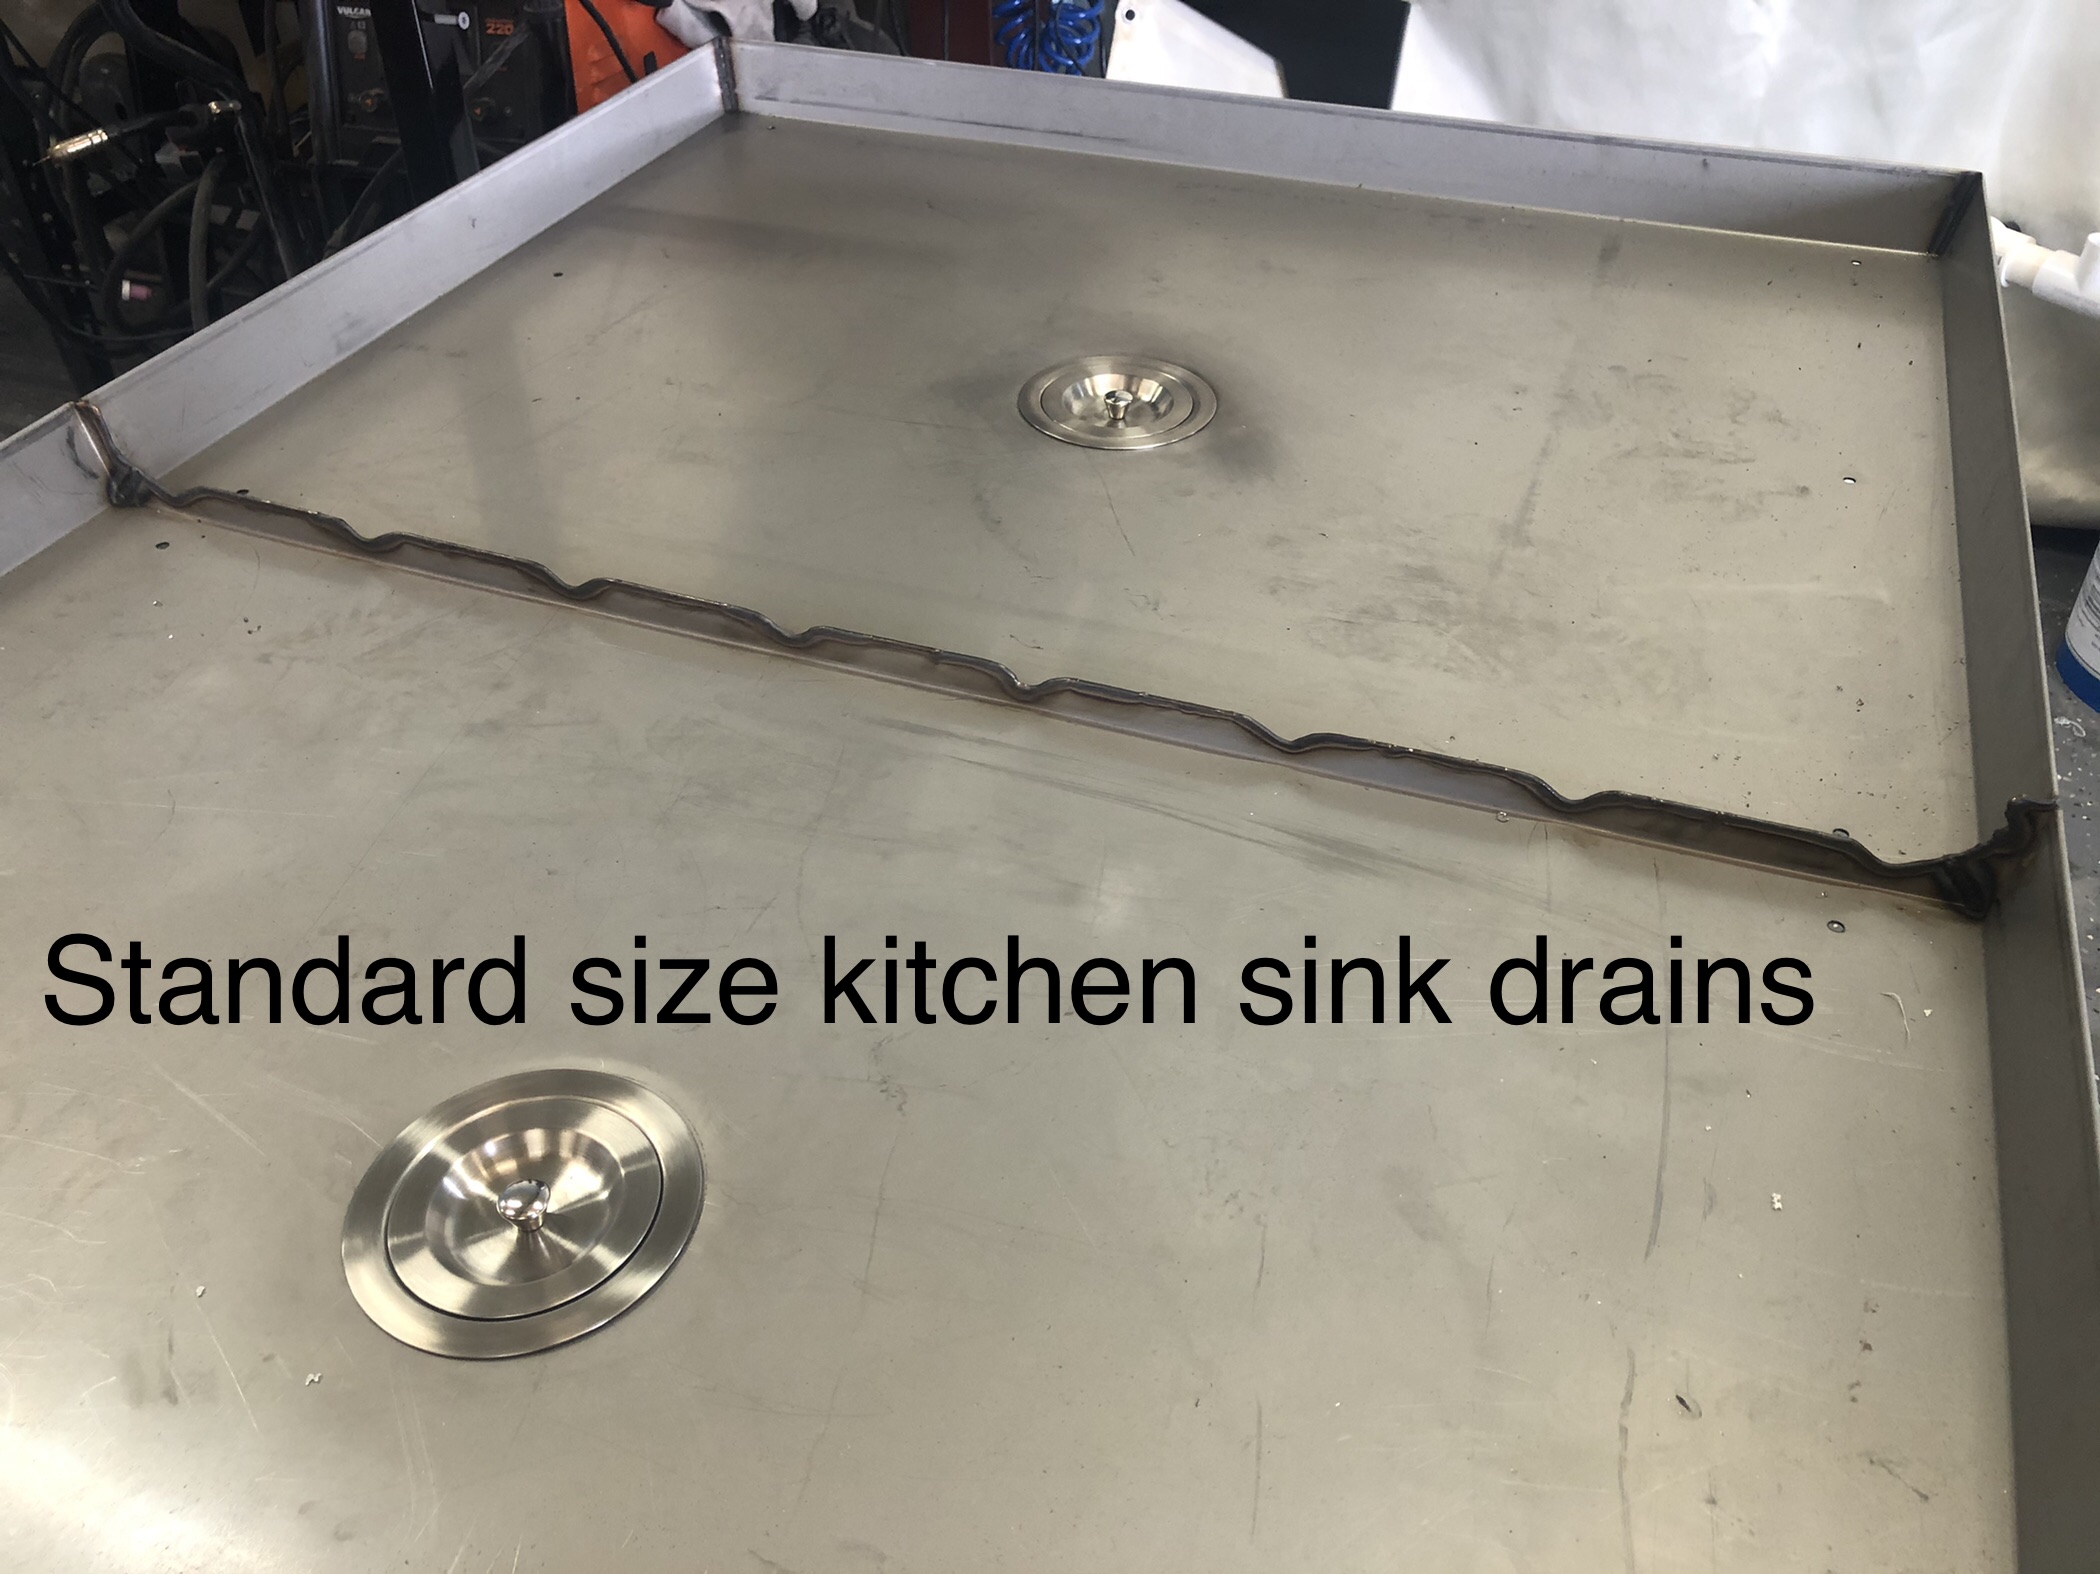
I did the same. Welding table and an inch or so at a time fusion weld. I also put in all stainless full size 3 1/2” hole sink drains dimpled flush, cut with a carbide tooth hole saw.
Still haven’t got the frame yet, so not sure if I’m going to use the self tappers or not yet. If I do, I will get them started, back them out a little and put some RTV on the threads for some extra piece of mind.