The slowest MR1 build...in the world

Howdy! I got my MR1 last Tuesday and as the thread states, this will (probably) be the slowest build yet. So far we have…gotten the legs on the pan. Let’s back up a bit though!

As mentioned, I got it last Tuesday.

I had to do some testing on our work truck this last weekend anyway, so I stole our tundra and threw the crate in the back

The wife and I started assembling it Thursday night since we had a pretty chill Thanksgiving. We’re both back in school, so our schedules are pretty insane, hence the slow progress. This is the general place we’ll be putting it in, but it might move slightly before we actually level it. Hoping to find some time to do that this weekend, but we’ll see. Also, apologies for the messy shop, the plan is to clean it up a bit on break while building the mill. Finals are next week and a buddy volunteered to bring down his concrete mixer/help pour, so I think the plan is to get the pour done on the weekend of the 10th.

As for projects, I’ve got quite a few planned. The first one is machining the t-nut for the new quick-change toolpost on my small lathe. After that are some tophats for one of my cars. Unfortunately for my wallet, my buddy lives close to a scrapyard that sells aluminum for $3/lb. So between him and some auctions, I’ve been building up some supplies for playing around. We also bought 25lb of machinable wax for testing toolpaths and I’ve got another 100ish lb of 7075 I bought a couple years back on the side of the shop, but that’ll mainly be saved for special projects.

Anyway, looking forward to learning this machine and having some more ways to build things! I’ll try to keep the thread updated as we make progress and start churning out some actual parts!

6 Likes

Slow and steady wins the race! I think most people on this forum have the most problems from trying to go to fast. Kinda cool your wife is helping, will she be running it also?

2 Likes

Yep! I’ve probably got more general fab experience, but she definitely has more machining experience, especially on a mill. It’ll definitely help to be able to lean on her a bit as I’m getting up to speed!

1 Like

Very cool!

Super cool thanks for sharing!! Can’t wait to see those blocks of metal turn to chips real soon here.

2 Likes

I think I might be racing you for that slowest build — lol. I got mine 17 days ago and just did the concrete pour last night :slight_smile:

Good luck with your build and love that it’s something you can do with the wifey! Makes it all the more fun!

2 Likes

Haha! I’m not sure if we win or lose by getting first place :rofl: Congrats on the pour though!

Thanks! Yeah, it should be a fun winter project for us!

VERY cool!! :beers:

I finished finals last night, so after I got home I went and worked in the shop for a bit. Having the extra time to build things has allowed me to fall into a pit of overthinking which is always a fun time. It’ll likely be a common theme here :rofl:

I’d like to lead with, these things are not something I think are actually a big deal and I would have built the mill with them and not given it a second thought if I was assembling it in a single weekend, this is just a function of my brain being dumb and having the time to allow it to run.

The first thing was I wasn’t a super big fan of the SHCS for the legs since the heads were barely bigger than the washer hole. Doesn’t actually matter in this application, but that didn’t stop me from buying a bag of 1/4-20 flange bolts. Now I just need to figure out what to do with this god-forsaken SAE hardware once I’m done :stuck_out_tongue_winking_eye:

The next thing was my brain didn’t like the mild steel drain lines. Realistically, the concrete should stop corrosion on the outside and coolant should stop corrosion on the inside, but my brain wasn’t going to allow thinking to get in the way of overthinking. I measured up the drain lines and they were 10mm tubes, which of course is very close to a 3/8" tube, but my brain got stuck on 10mm because 18 thou larger OD, so I started looking for places to source SS 10mm tubes. Everything was extremely expensive except for buying it in 250mm lengths and I needed about 425-430mm so I bought multiple 250mm lengths! lol

Please, if you go this route, just buy the damn 3/8" tube, don’t be dumb like me, 18 thou does not matter.

I just did autogenous butt welds on these since I could get away with it and I didn’t have any .045" ss filler. 32a and a .7s pulse gave me good penetration but kept it from overheating. Since it was such a small tube, I just connected it straight to the other side of the regulator and ran argon through the whole thing at 10cfm instead of a normal slower purge. Worked well and the inside doesn’t show any sign of sugaring. They did warp a little as stainless loves to do, despite my best effort to do multiple small tacks and clamp them down. But I was able to just bend them a touch by hand and get them very close to straight again.


Got those all welded up and then cut them down to length. Excuse the mess everywhere lol, it’s baaaad in the shop right now. Finished up the rest of the drain line install after that and then called it a night.


Again, this is not a thought that Langmuir poorly designed any of these parts or something, this is purely just me. Use of mild steel for these tubes makes way more sense from a cost perspective and realistically should have pretty much 0 issues with corrosion.

I wanted to do some sort of rebar in the pour as well, even though it probably doesn’t need it with how many elements there are in such a small area, but I had some SS all-thread from a previous project that I really don’t have much use for, so I think I’m going to put that in there. From everything I’ve read, the SS shouldn’t have any bonding problems with the concrete. You can see those sticks hanging around in a couple of the pictures.

The last thing update I have is gonna be an interesting one, for the epoxy pour, we’re opting to go with something a bit more fun than grey lol. I’m a big purple fan and the wife is a big teal fan, so we’re going to experiment with a purple sparkle base and teal swirls. It will certainly be…unique! I got an extra batch of epoxy and some little coaster molds so we can play around with when to add the swirls to it so that they actually come out right. The purple in this picture looks a bit more pink than it’s supposed to which I think is due to the flake sticking to the walls of the container, it looks a bit darker with the lid off. If it’s that color in the test pours though, I’ll definitely be getting some darker purple to mix in. Definitely planning on it taking a few tests to get right, but looking forward to it. I’m sure it won’t be many people’s cup of tea, but that’s chill

3 Likes

Always good to hear feedback, thanks for sharing! Looking forward to seeing how that purple/teal sparkle turns out…might want to save a few extra ounces of the gray mixed epoxy for the top just in case :rofl:

2 Likes

:rofl: :rofl: :rofl: Good call! Could turn out horrendous lmao

1 Like

How deep is the pan. Straight up and down ? 3” 4”?

You’re close but not the slowest. My MR-1 arrived on 11/16 and I’m not done with epoxy yet. Still waiting on UPS to deliver a 2nd epoxy kit I ordered a week ago. They’ve updated the delivery date three times
this week and now the status is “The delivery date will be provided as soon as possible” which is not a good sign.

Had to use a second epoxy kit to finish off my machine. Only used 1/4 of the second kit but was glad I had it on hand.

I will send you the kit I have left if you need it.
I say together they are about a gallon total.
Let me know. I’ll never use it again…

About 4.25inches measured from the flange is what I’m getting

Haha! Yeah, I’m sure I won’t be the actual slowest, especially now that I have actual time to work on things, it should get assembled decently quick. I’ve got way too many projects that are waiting on it to take any longer lolol

Sorry to hear about the delivery date on the epoxy, this time of year sure is rough for shipping, hopefully they get it to you soon!

Thank you sir for the replay. Just one last detail. Was that measurement taken vertically or at the angle the side wall of the tray is to the bottom of it?

Thank you for the offer, my kit is supposed to be here today. We will see.

1 Like

Alright, I’ve been slacking on actually posting, mainly due to, idk why. So, long update.

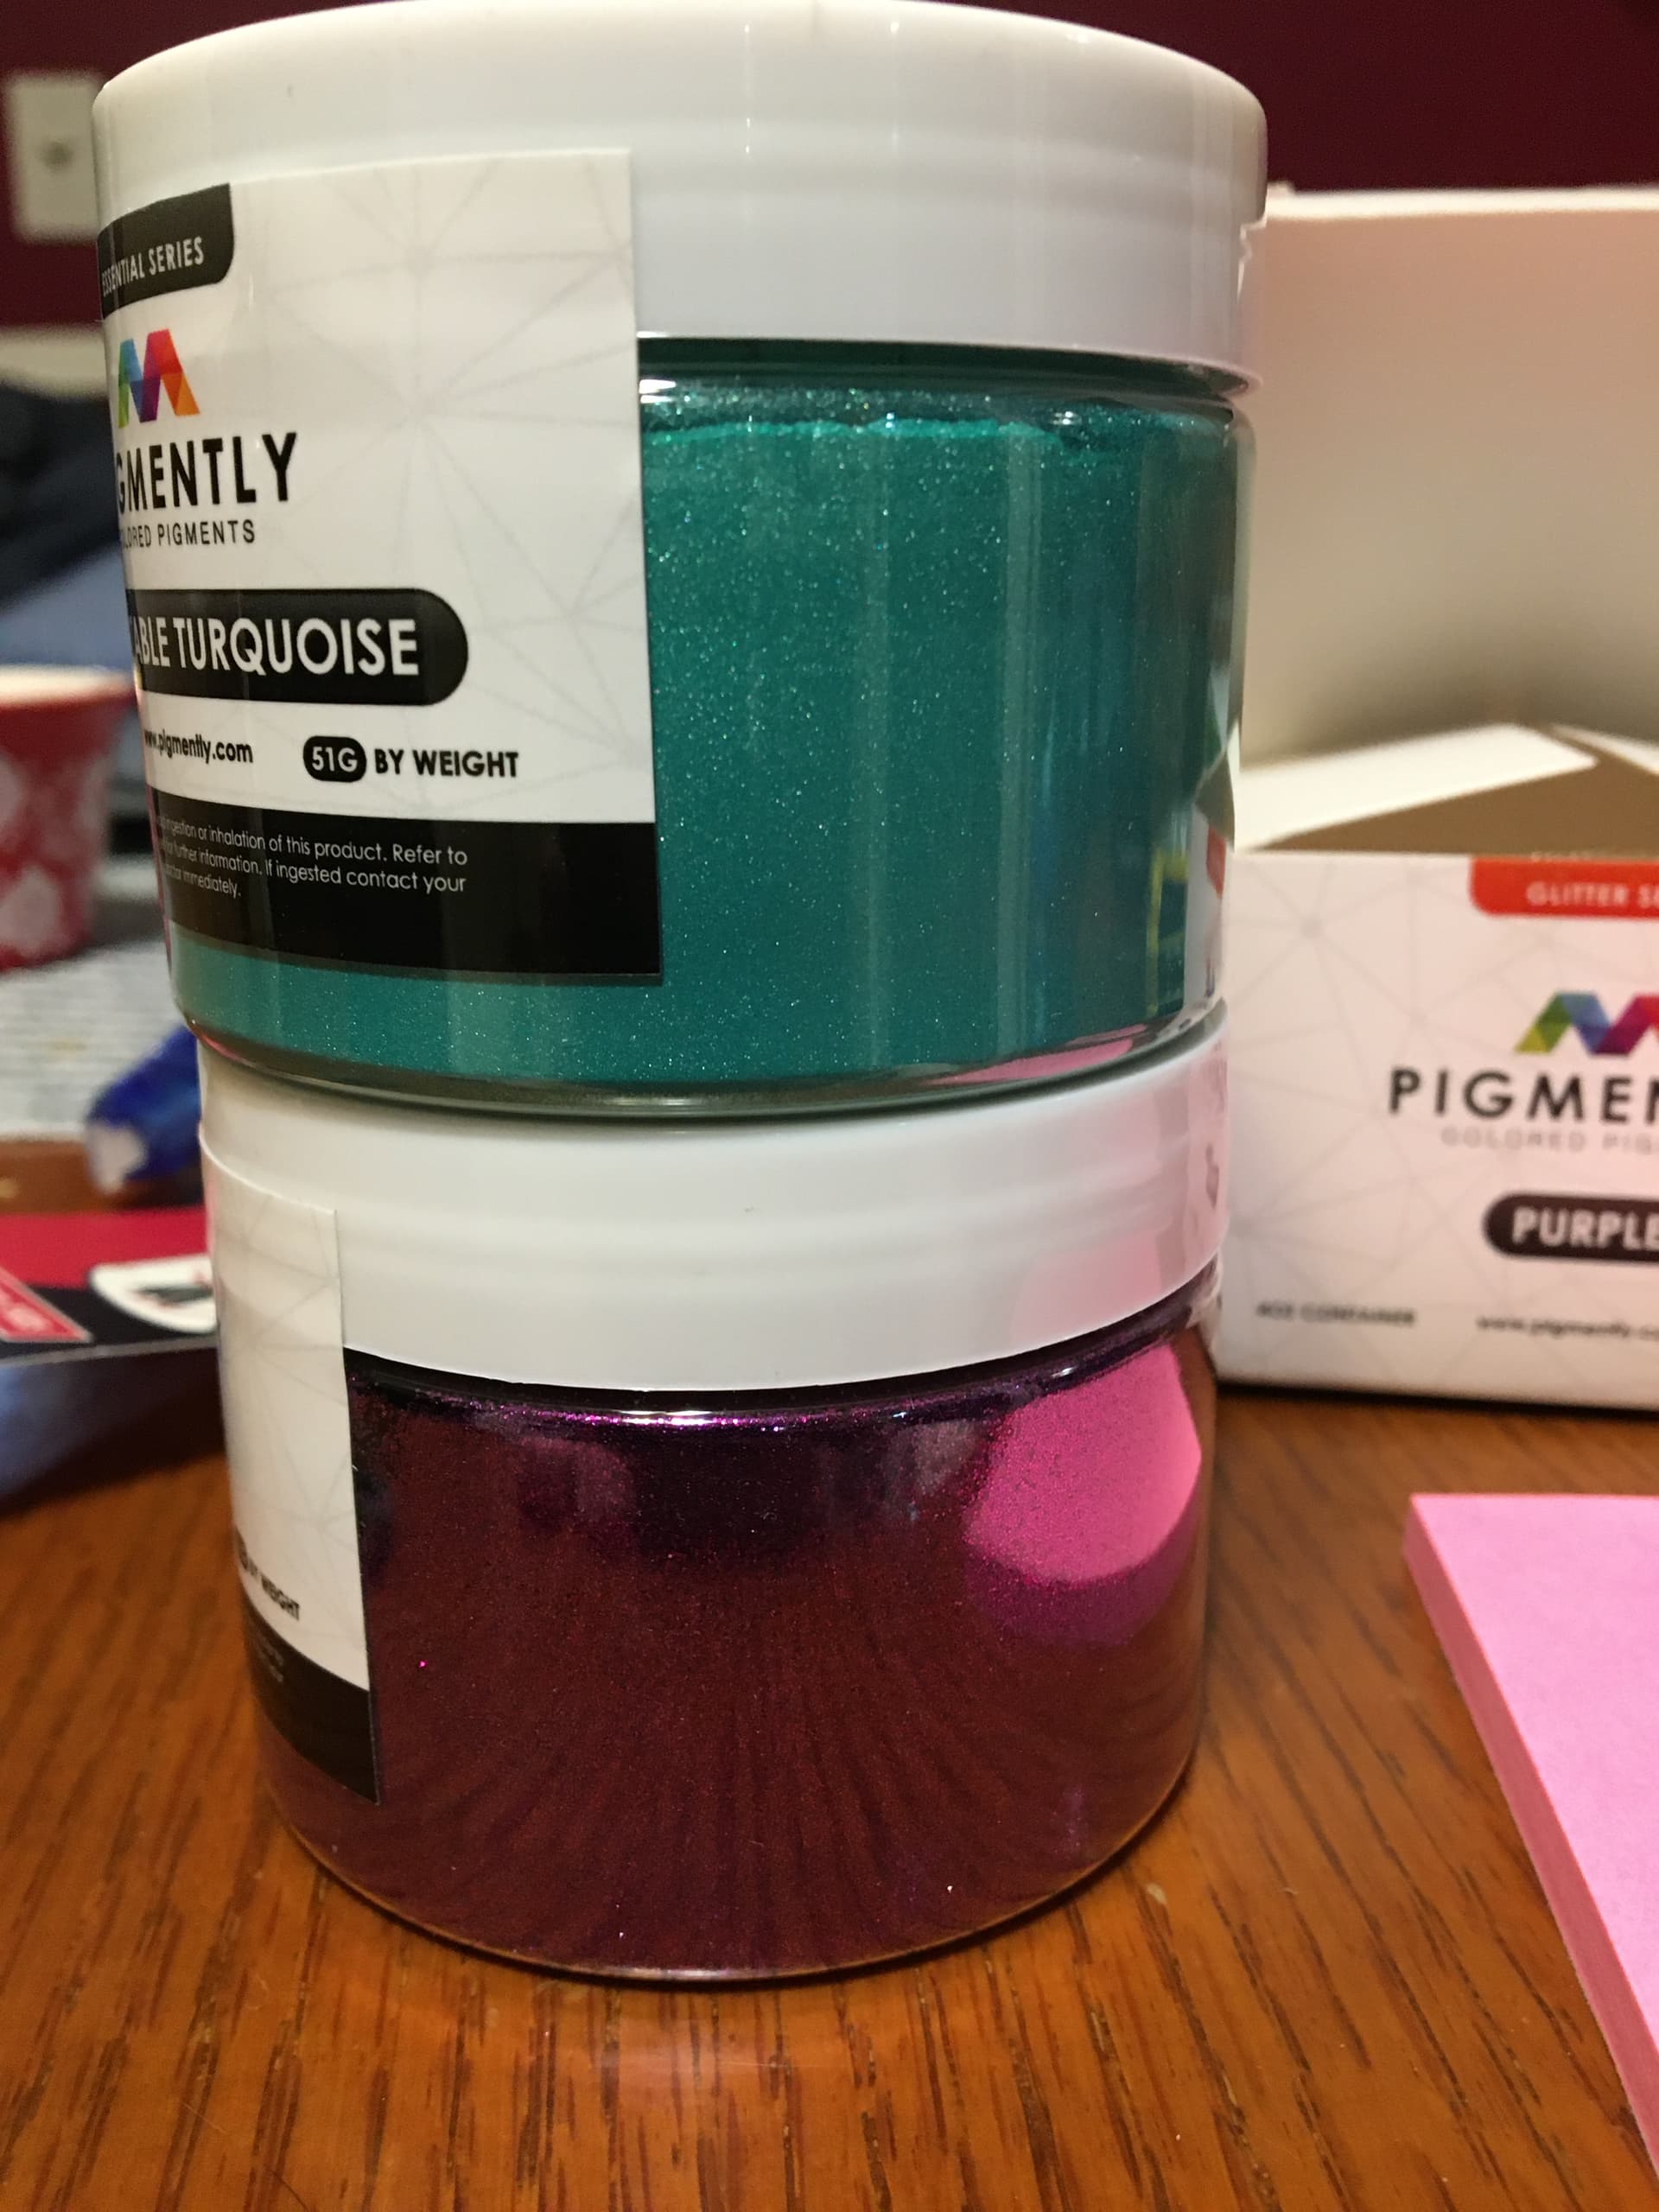
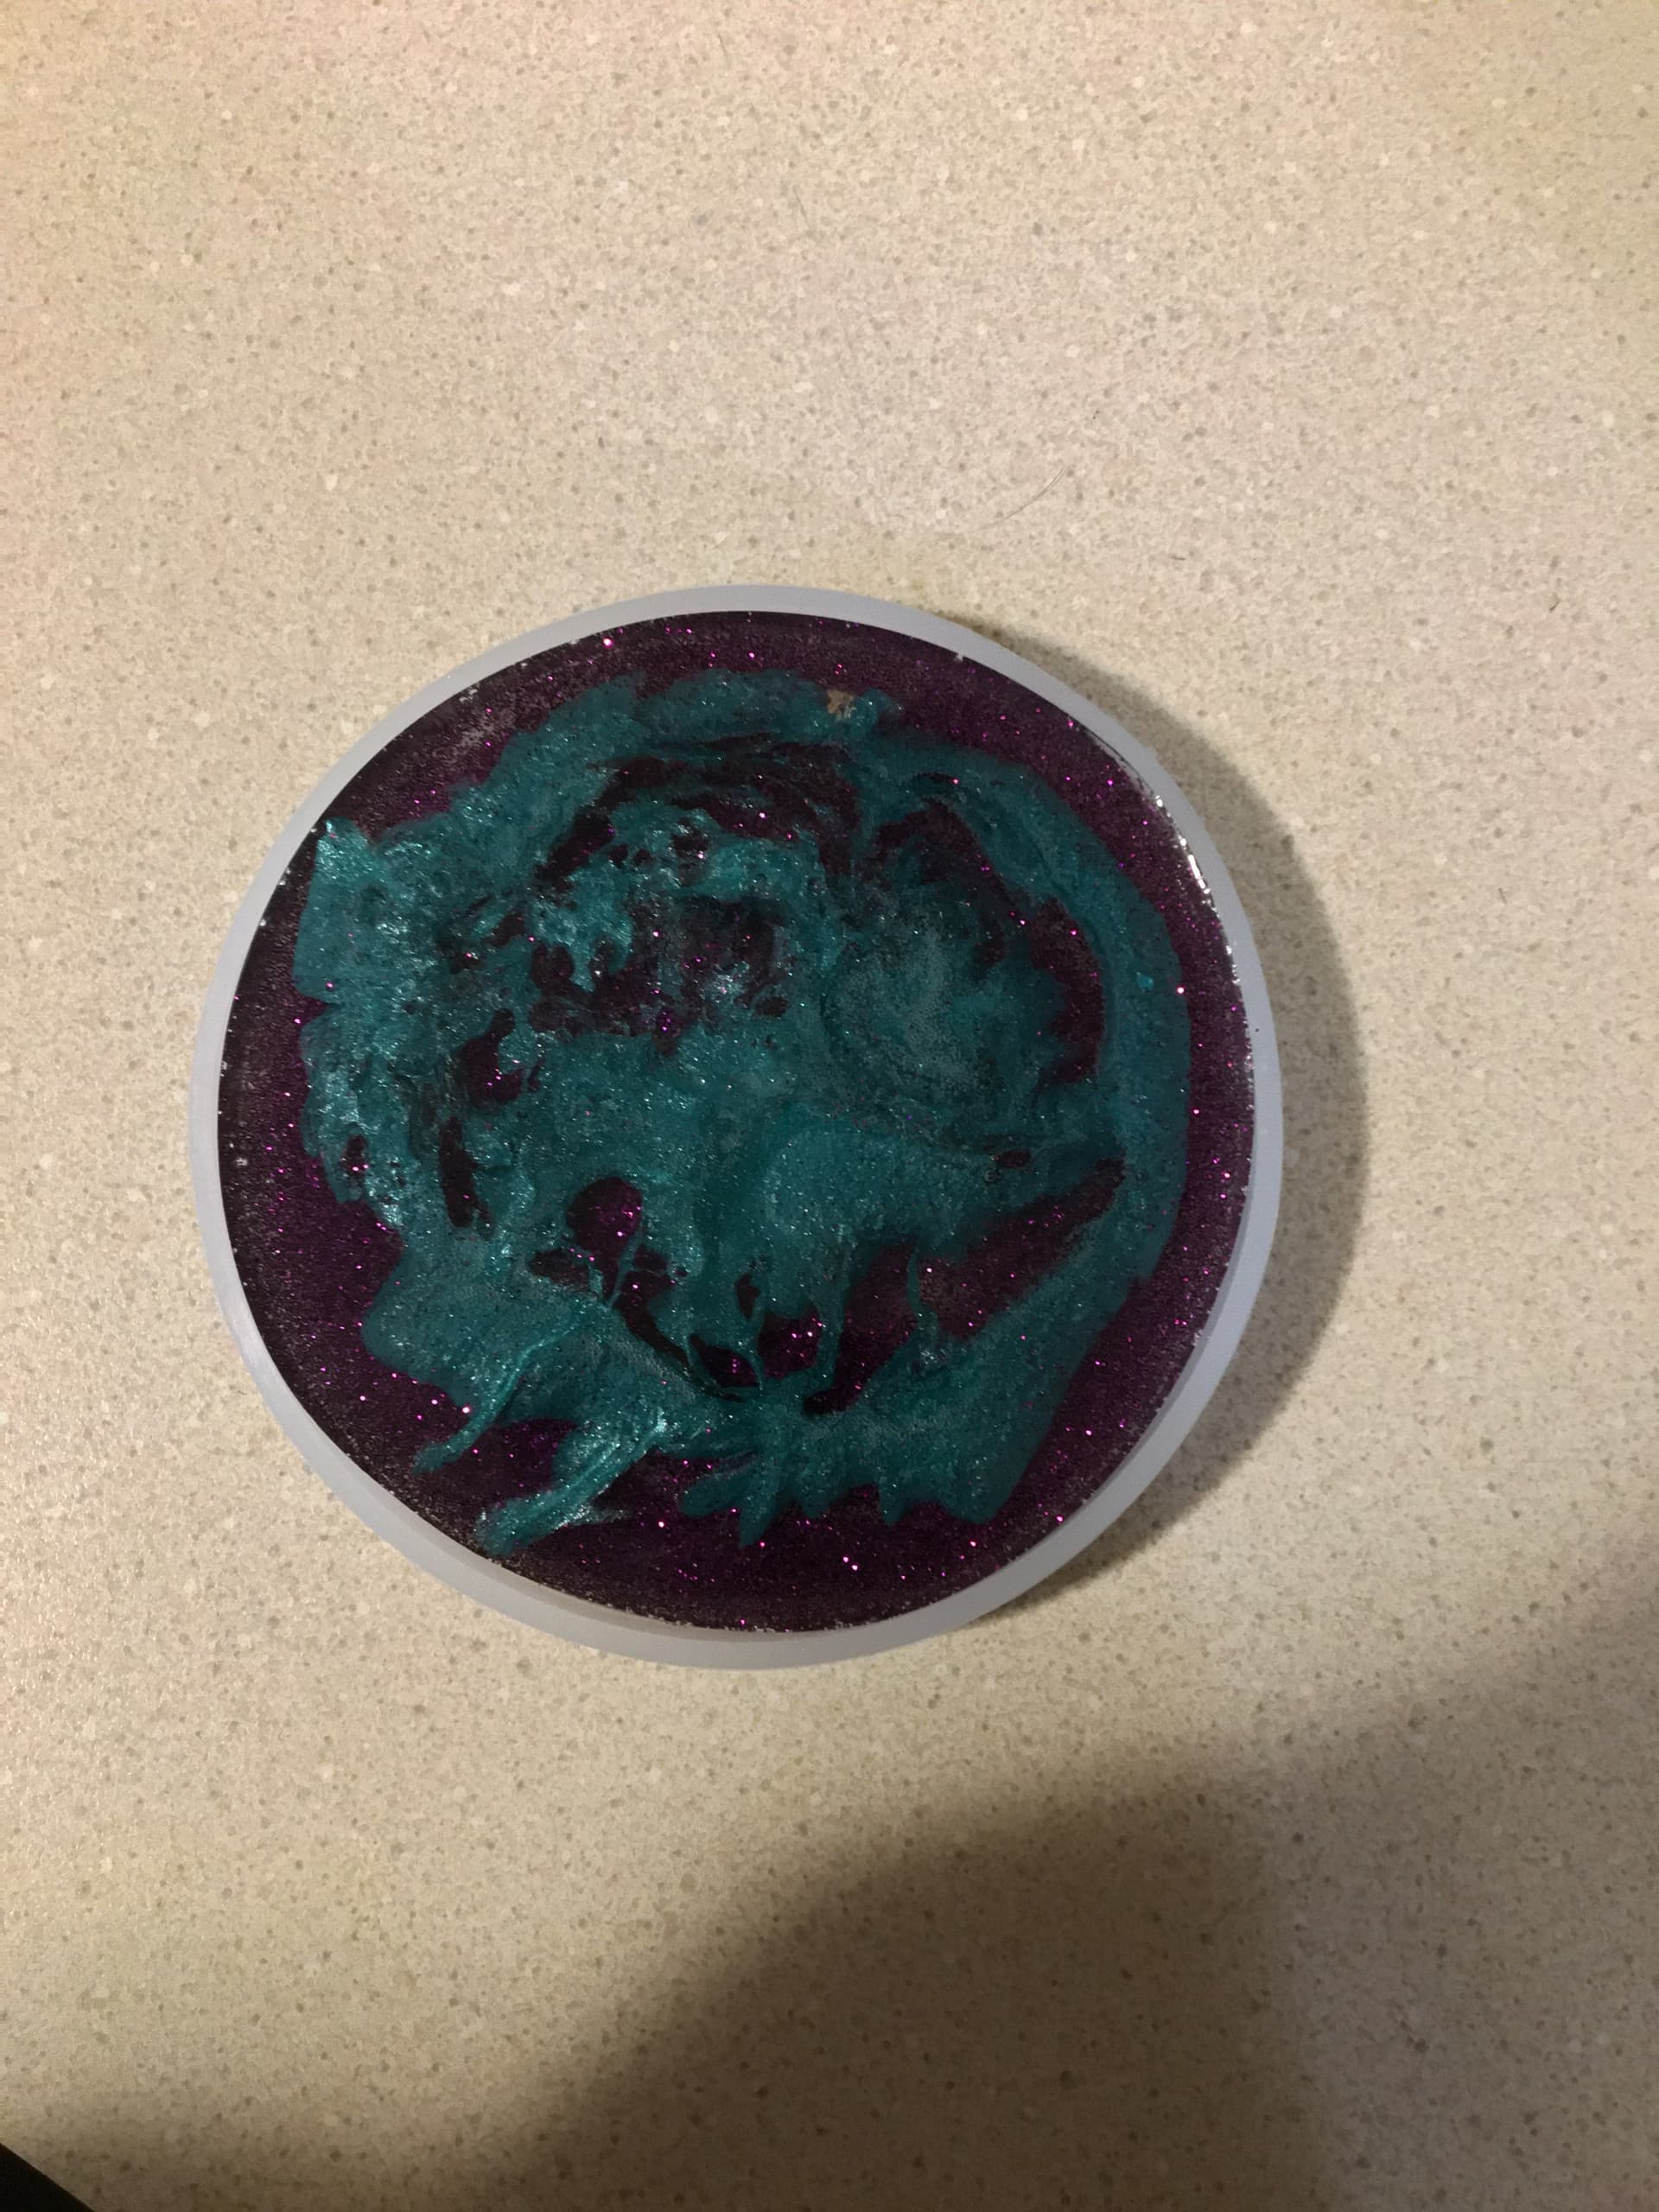
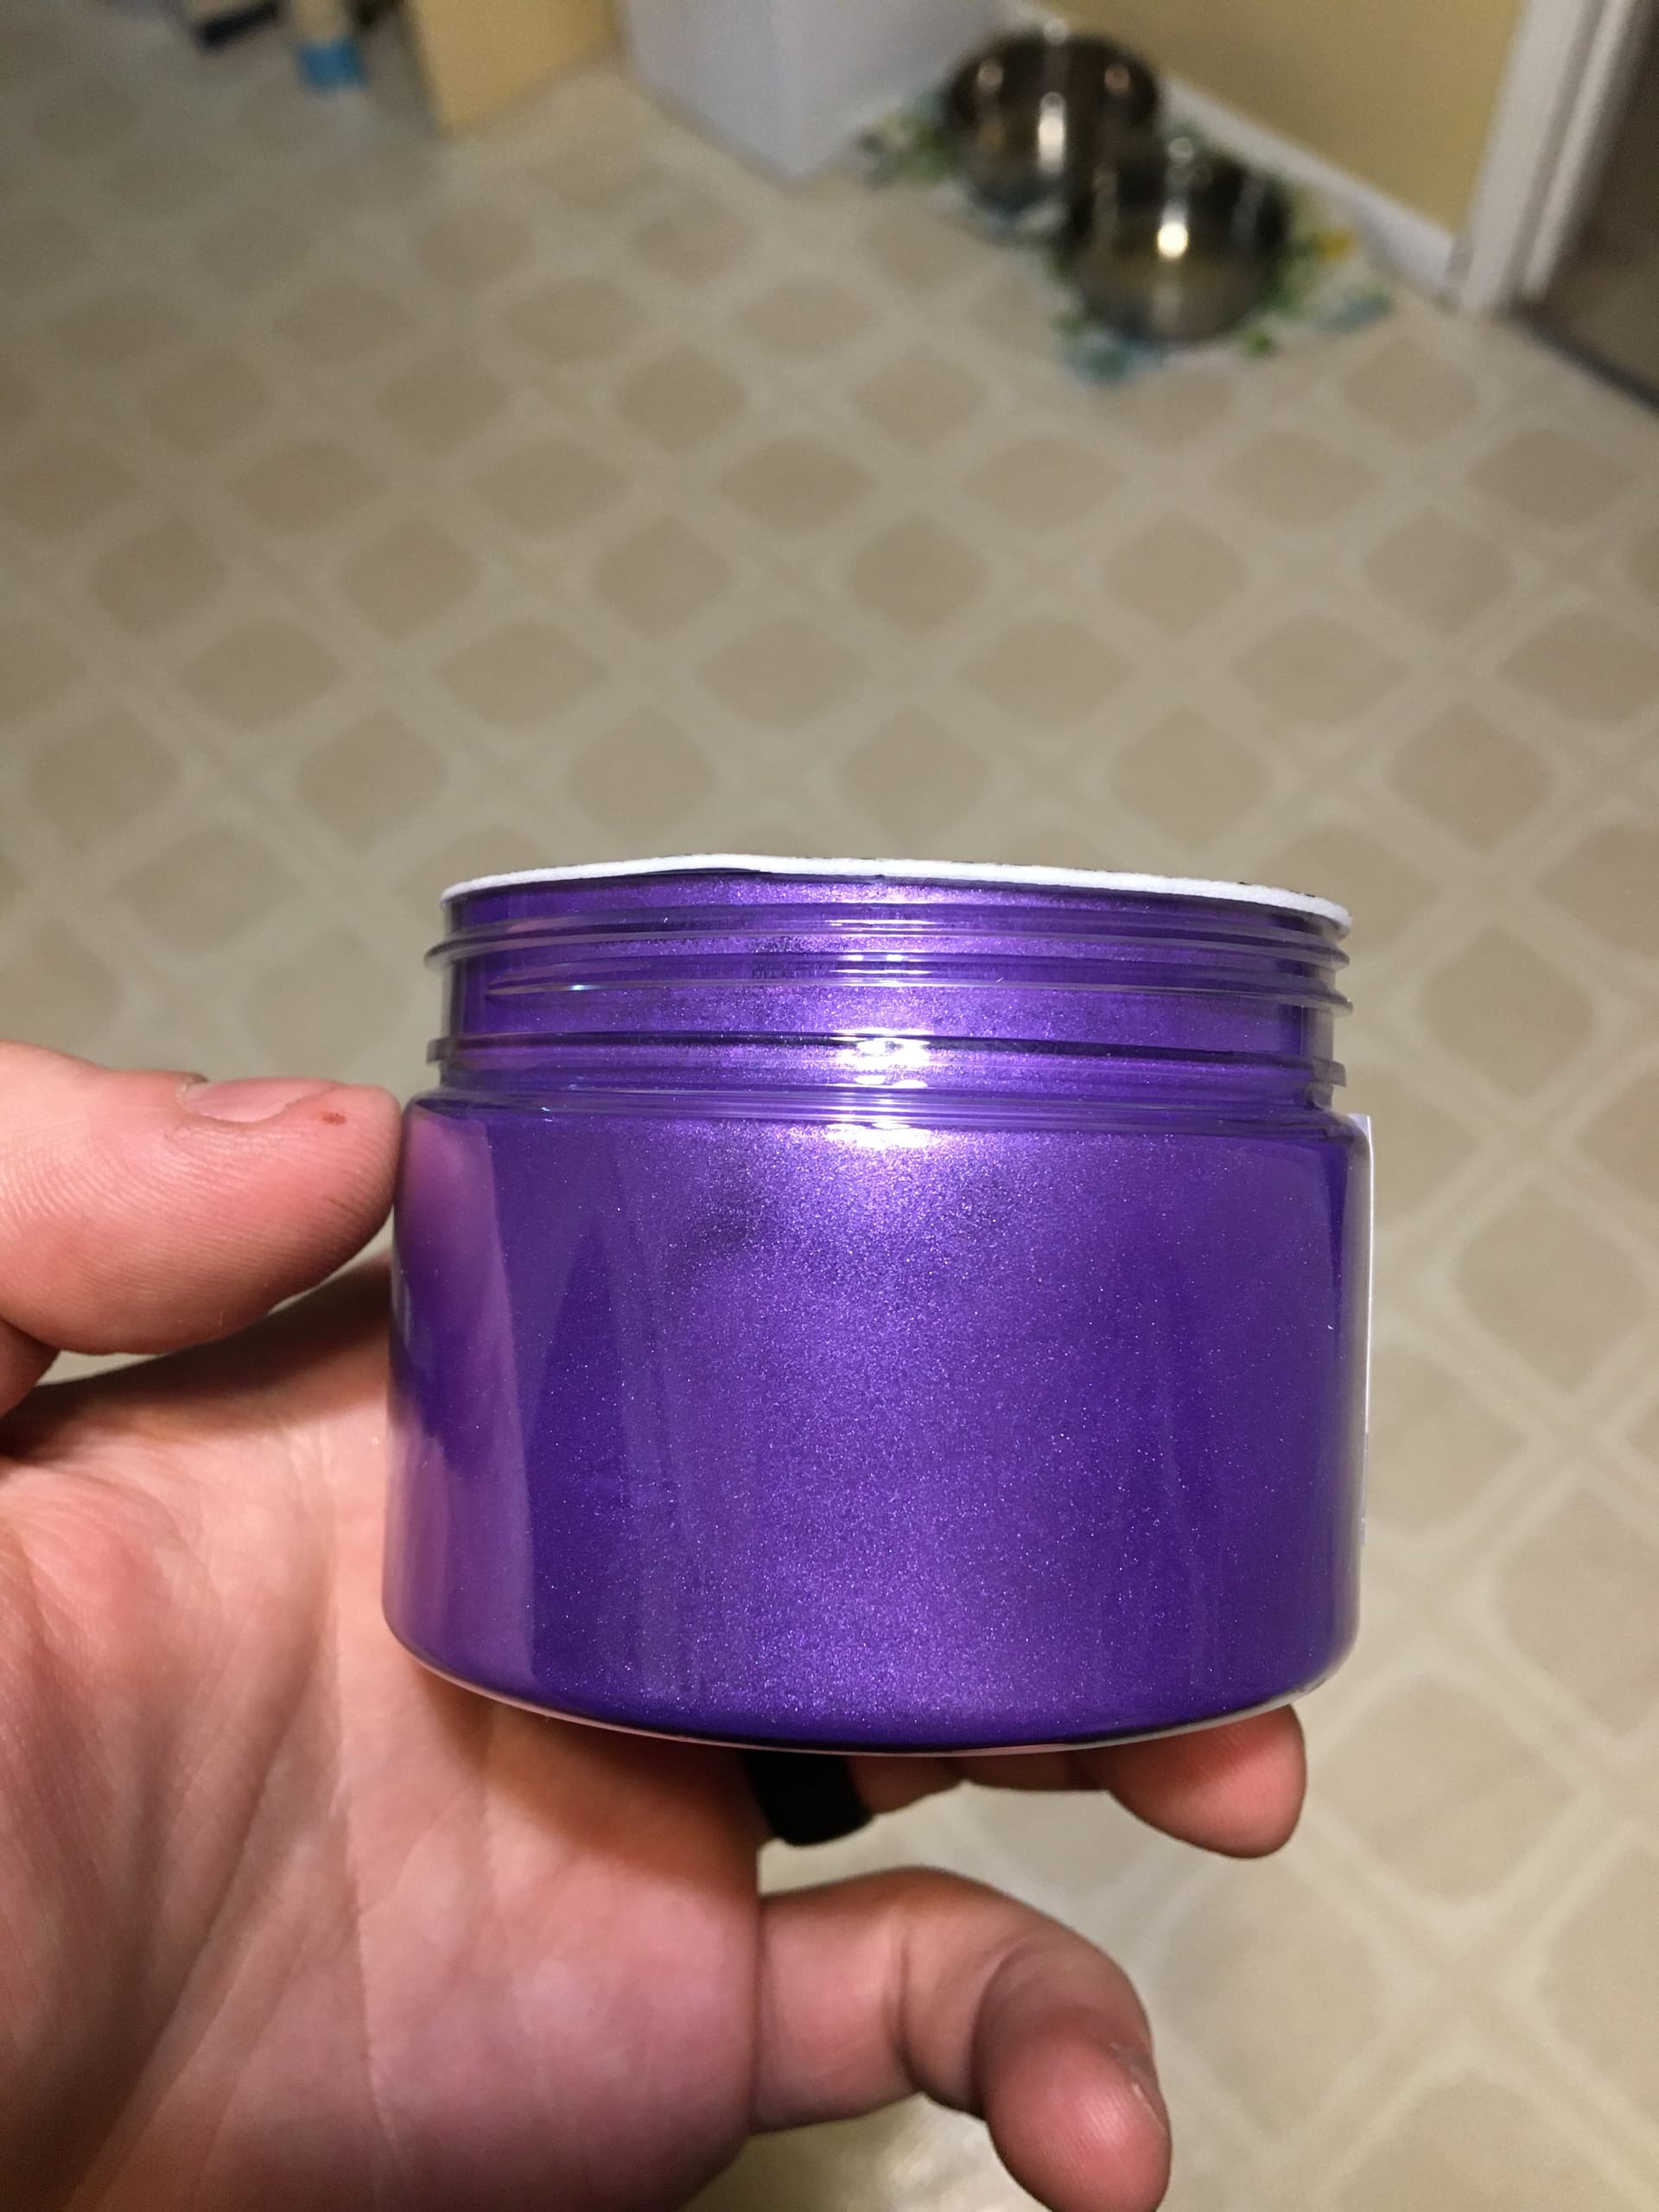
Last I had posted, I just got some glitter and the mica coloring. I started experimenting with those and timing of when to add the second set of epoxy in. It needed to be around the 2 hour mark otherwise the second color would “sink” into the first and pretty much disappear. This will change based on temps and whatnot, but basically, it needs to be super thick before adding a second color. The purple glitter I got was just that, purple glitter. I thought it was purple mixed with glitter so it didn’t quite come out how I wanted when I did the first test coaster (we’ve got lots of epoxy coasters now).

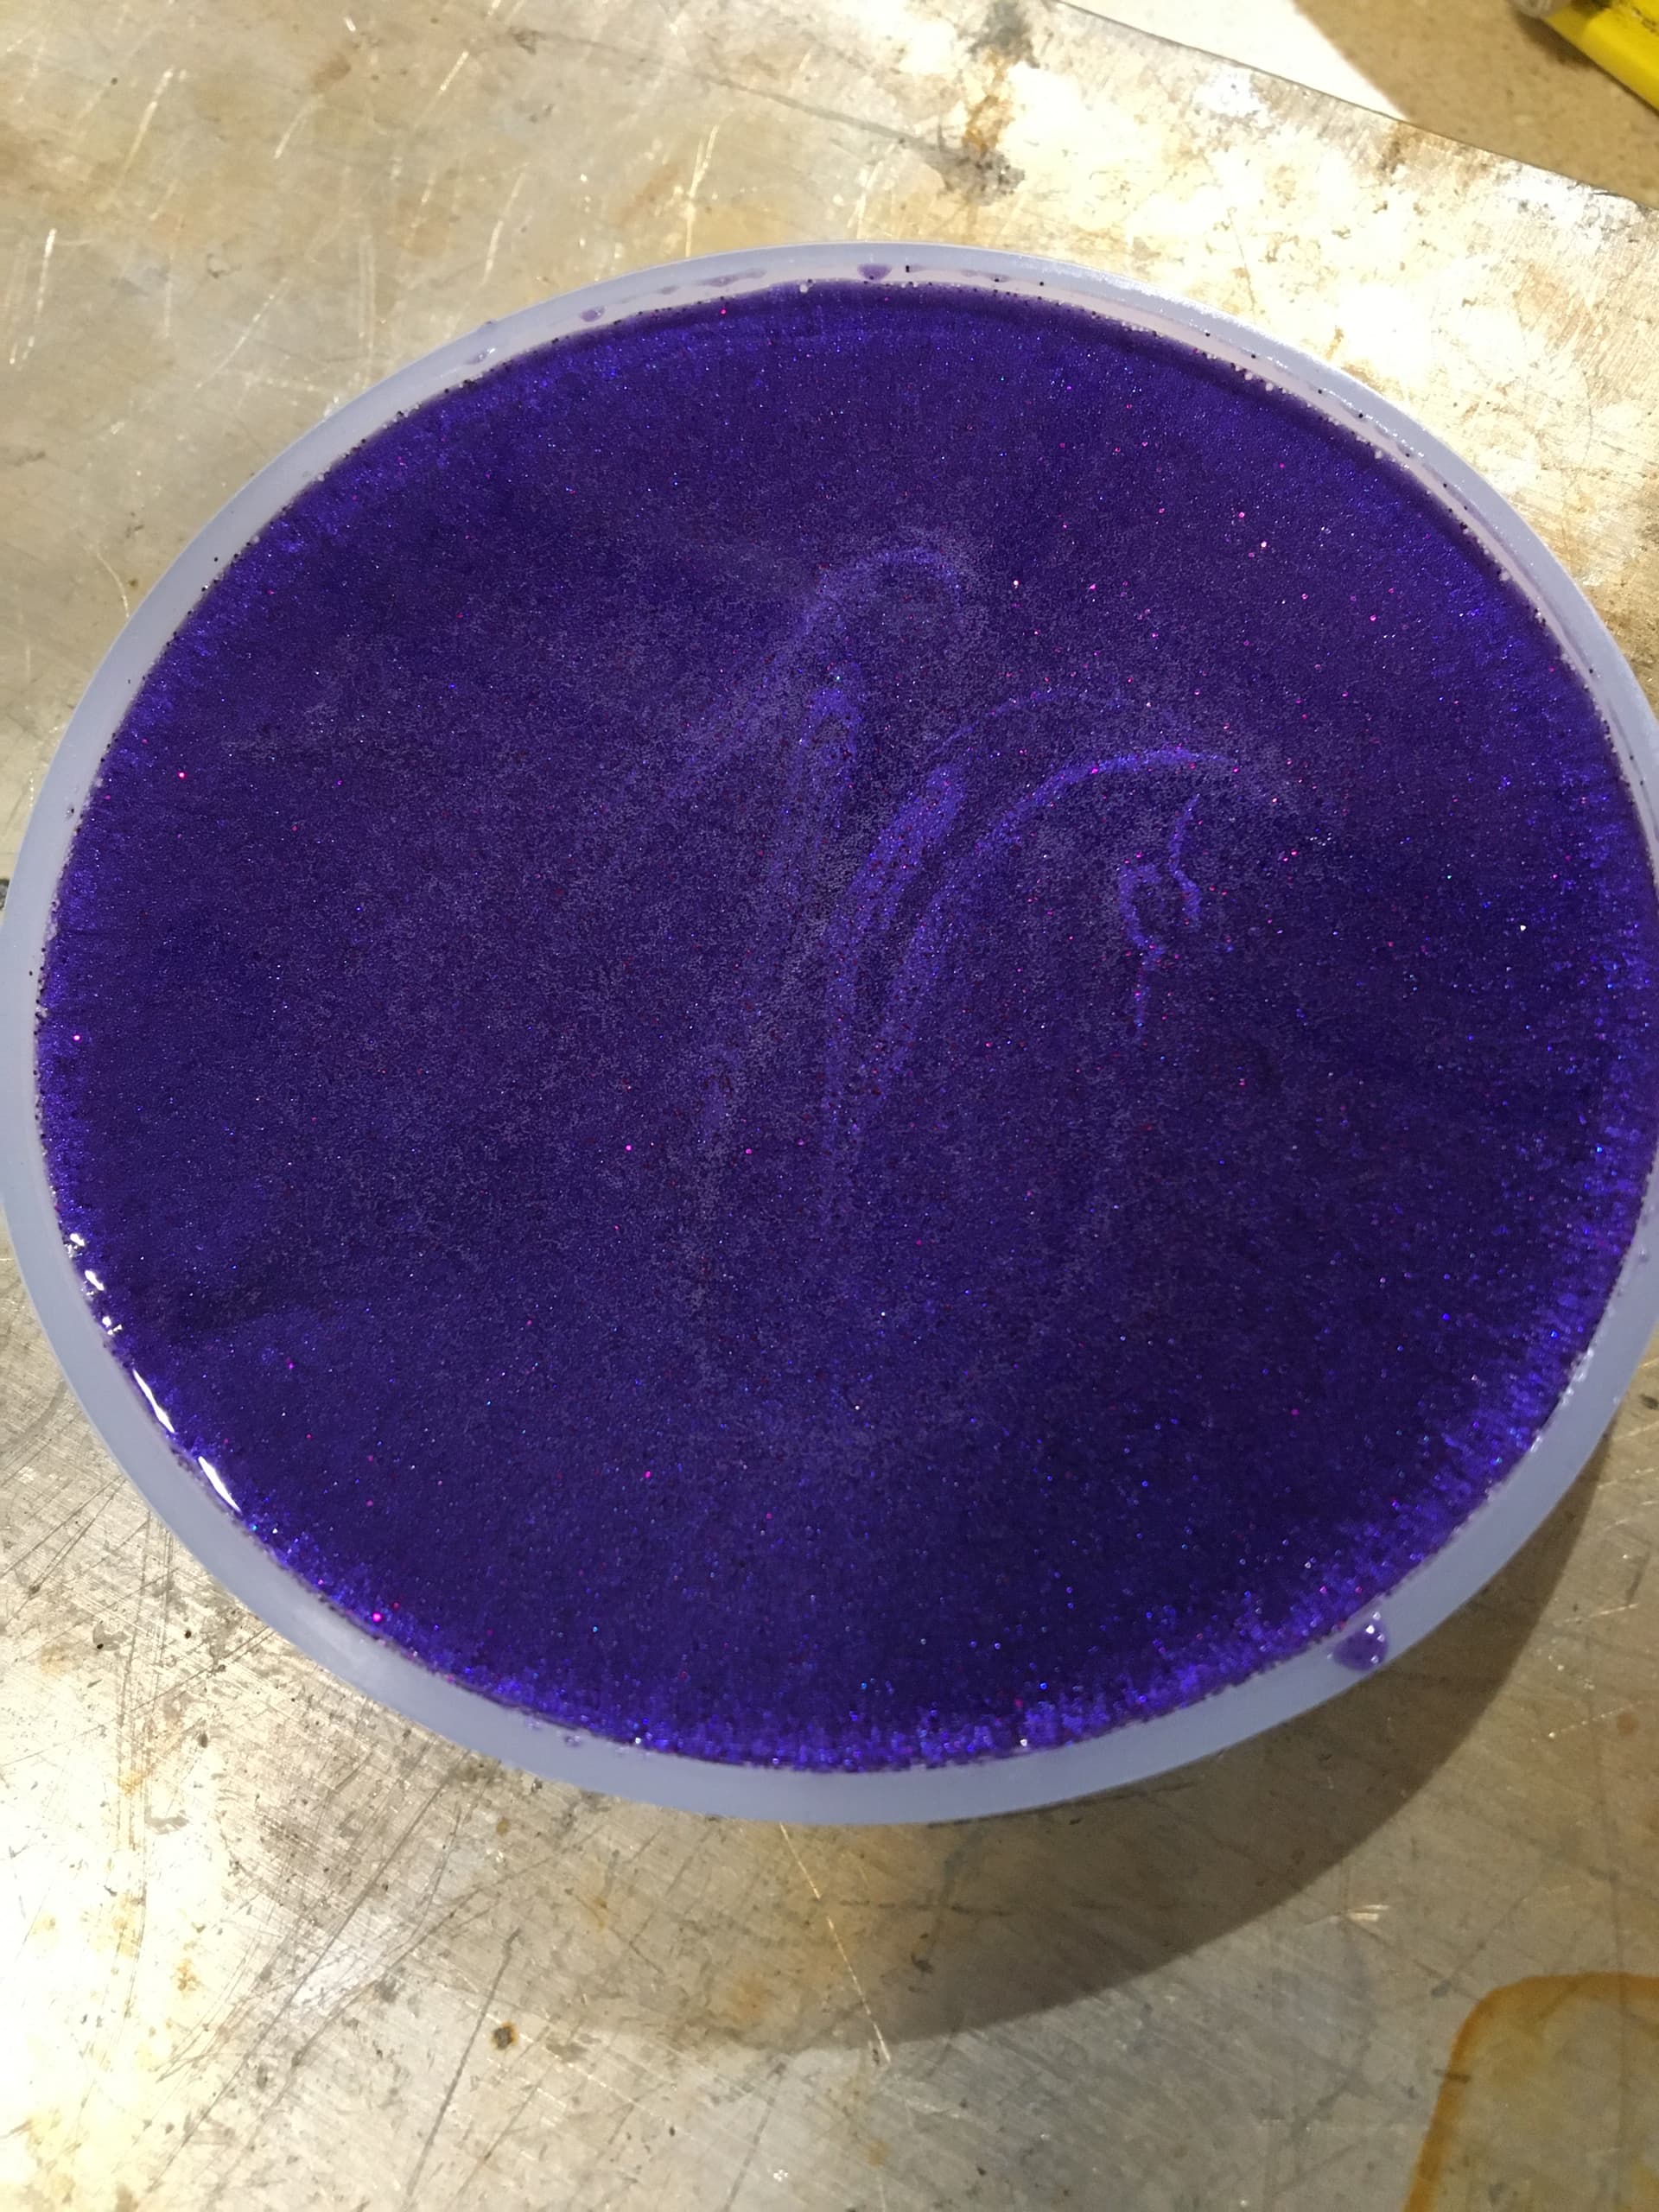
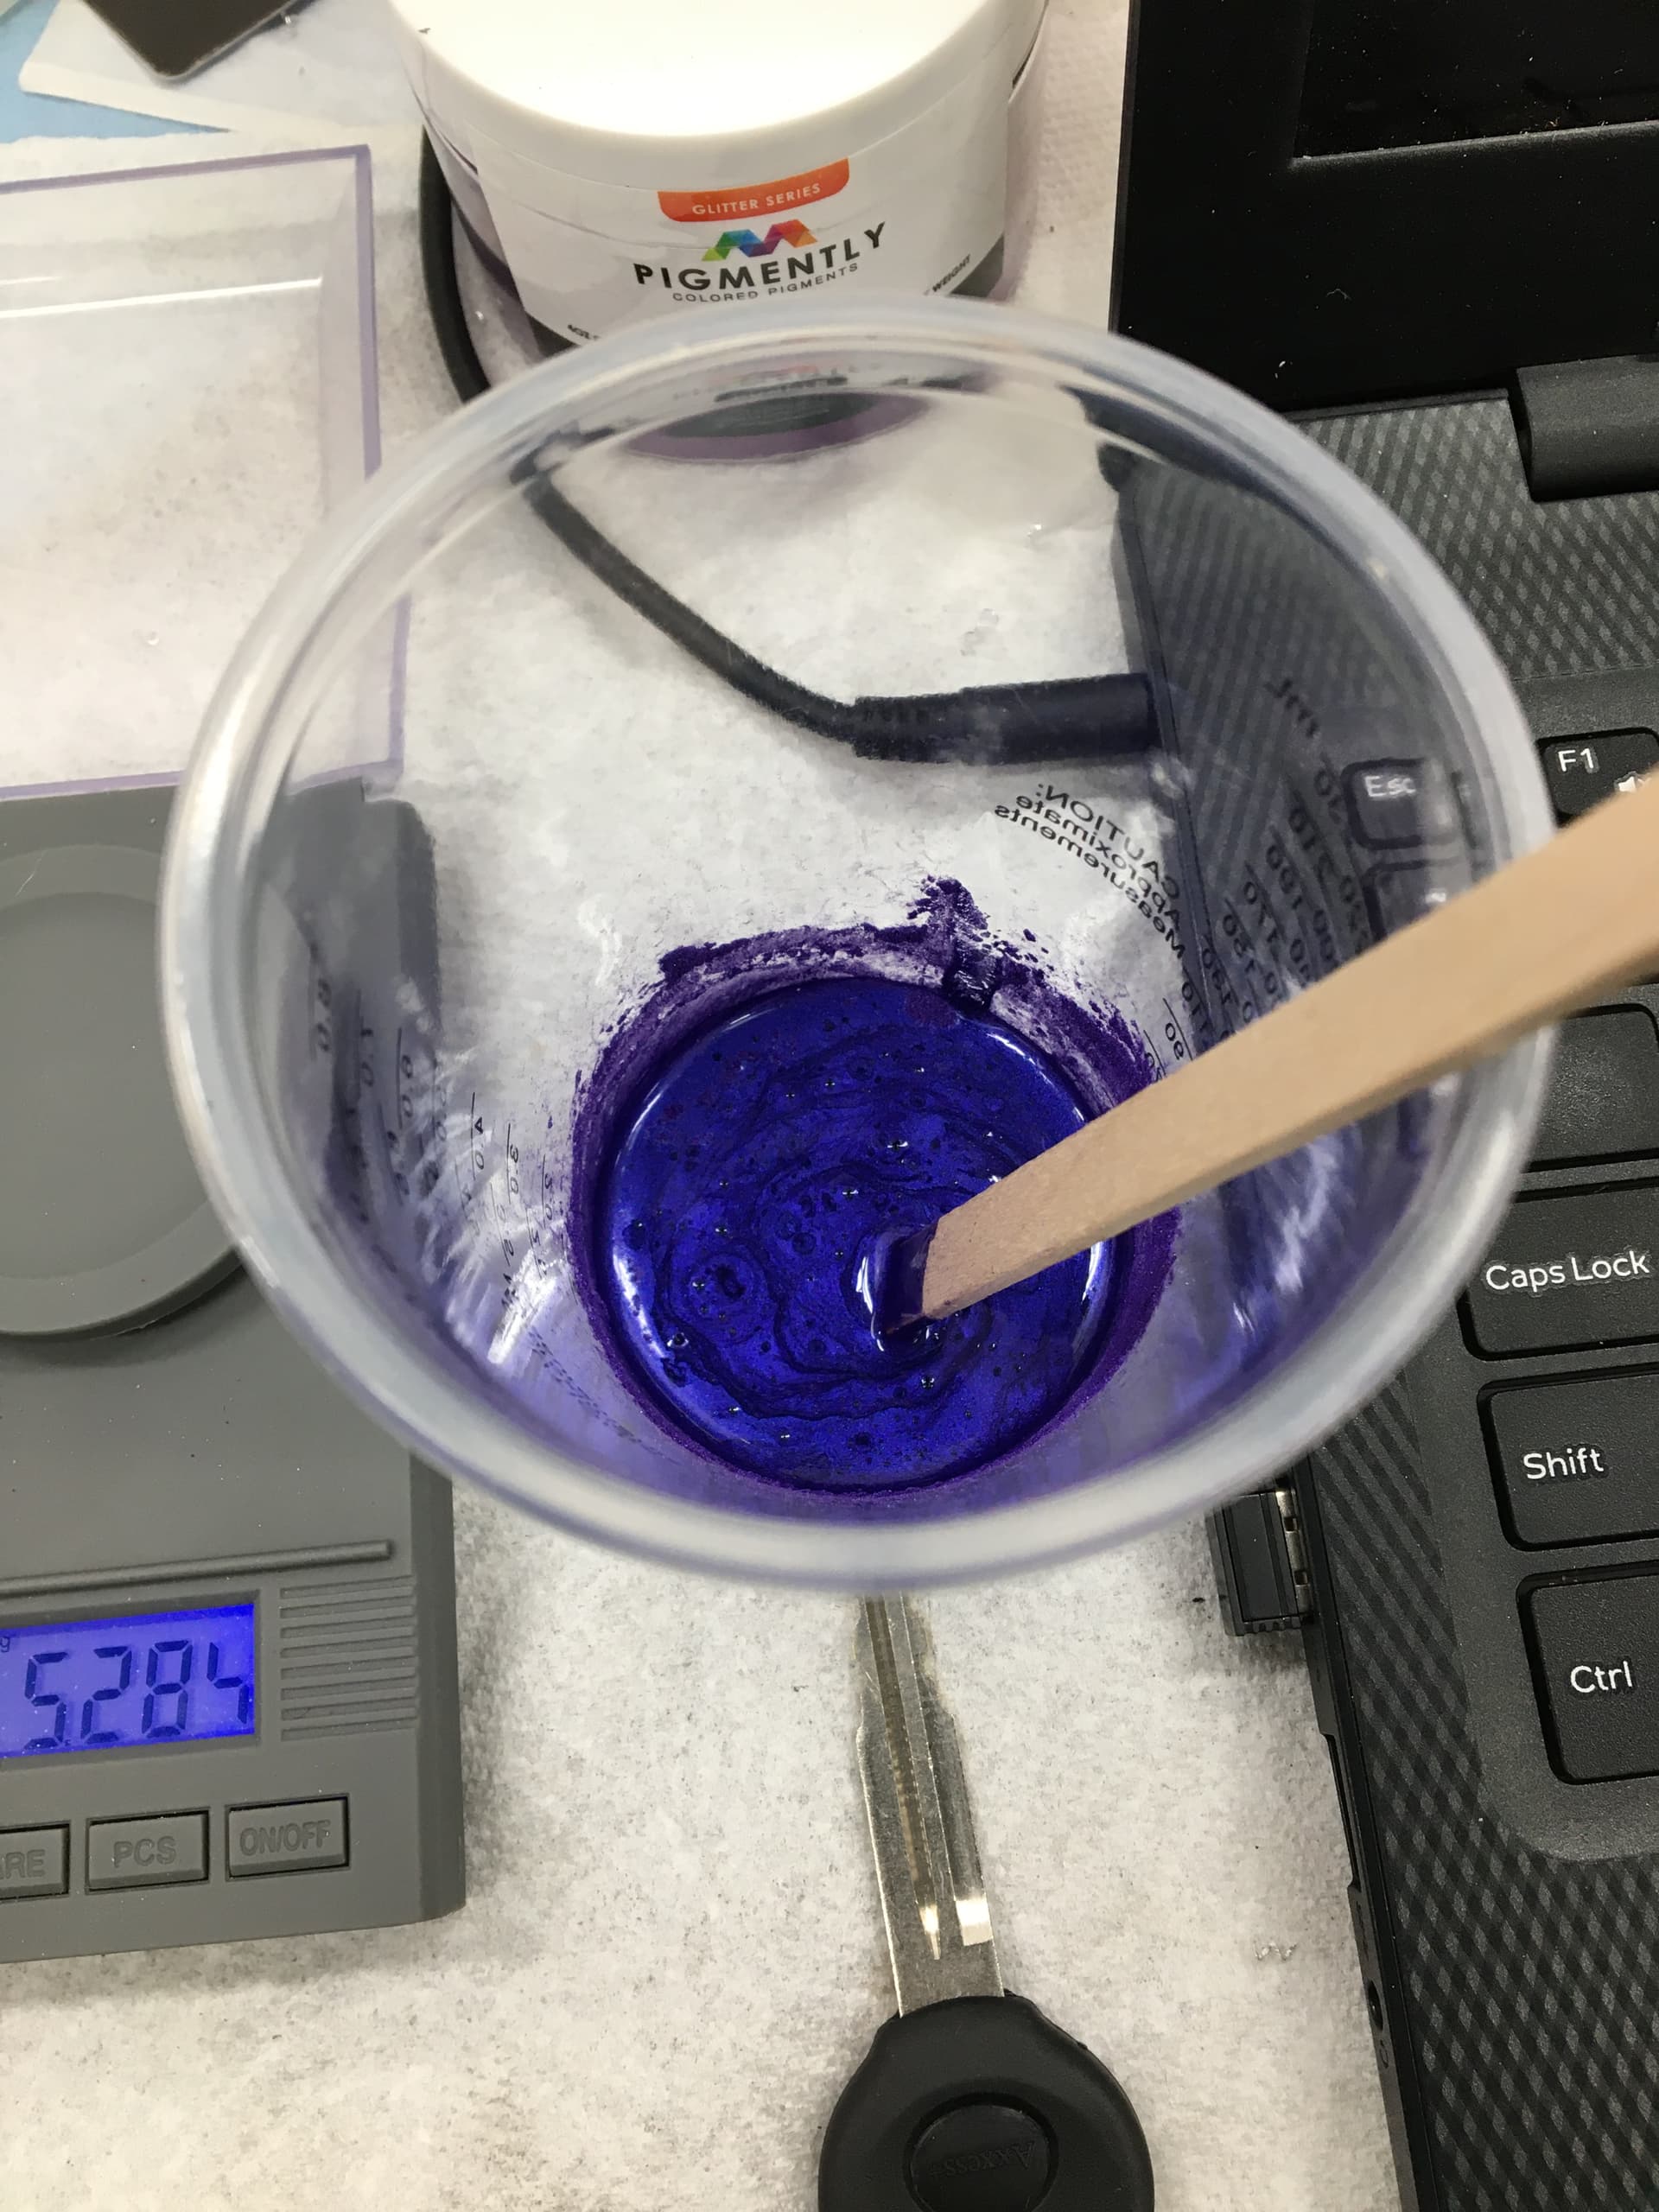
I went ahead and bought some actual purple and found that a mix ratio of .6g/oz of mica to epoxy and .3g/oz of glitter came out to a nice ratio of color and sparkle in it.


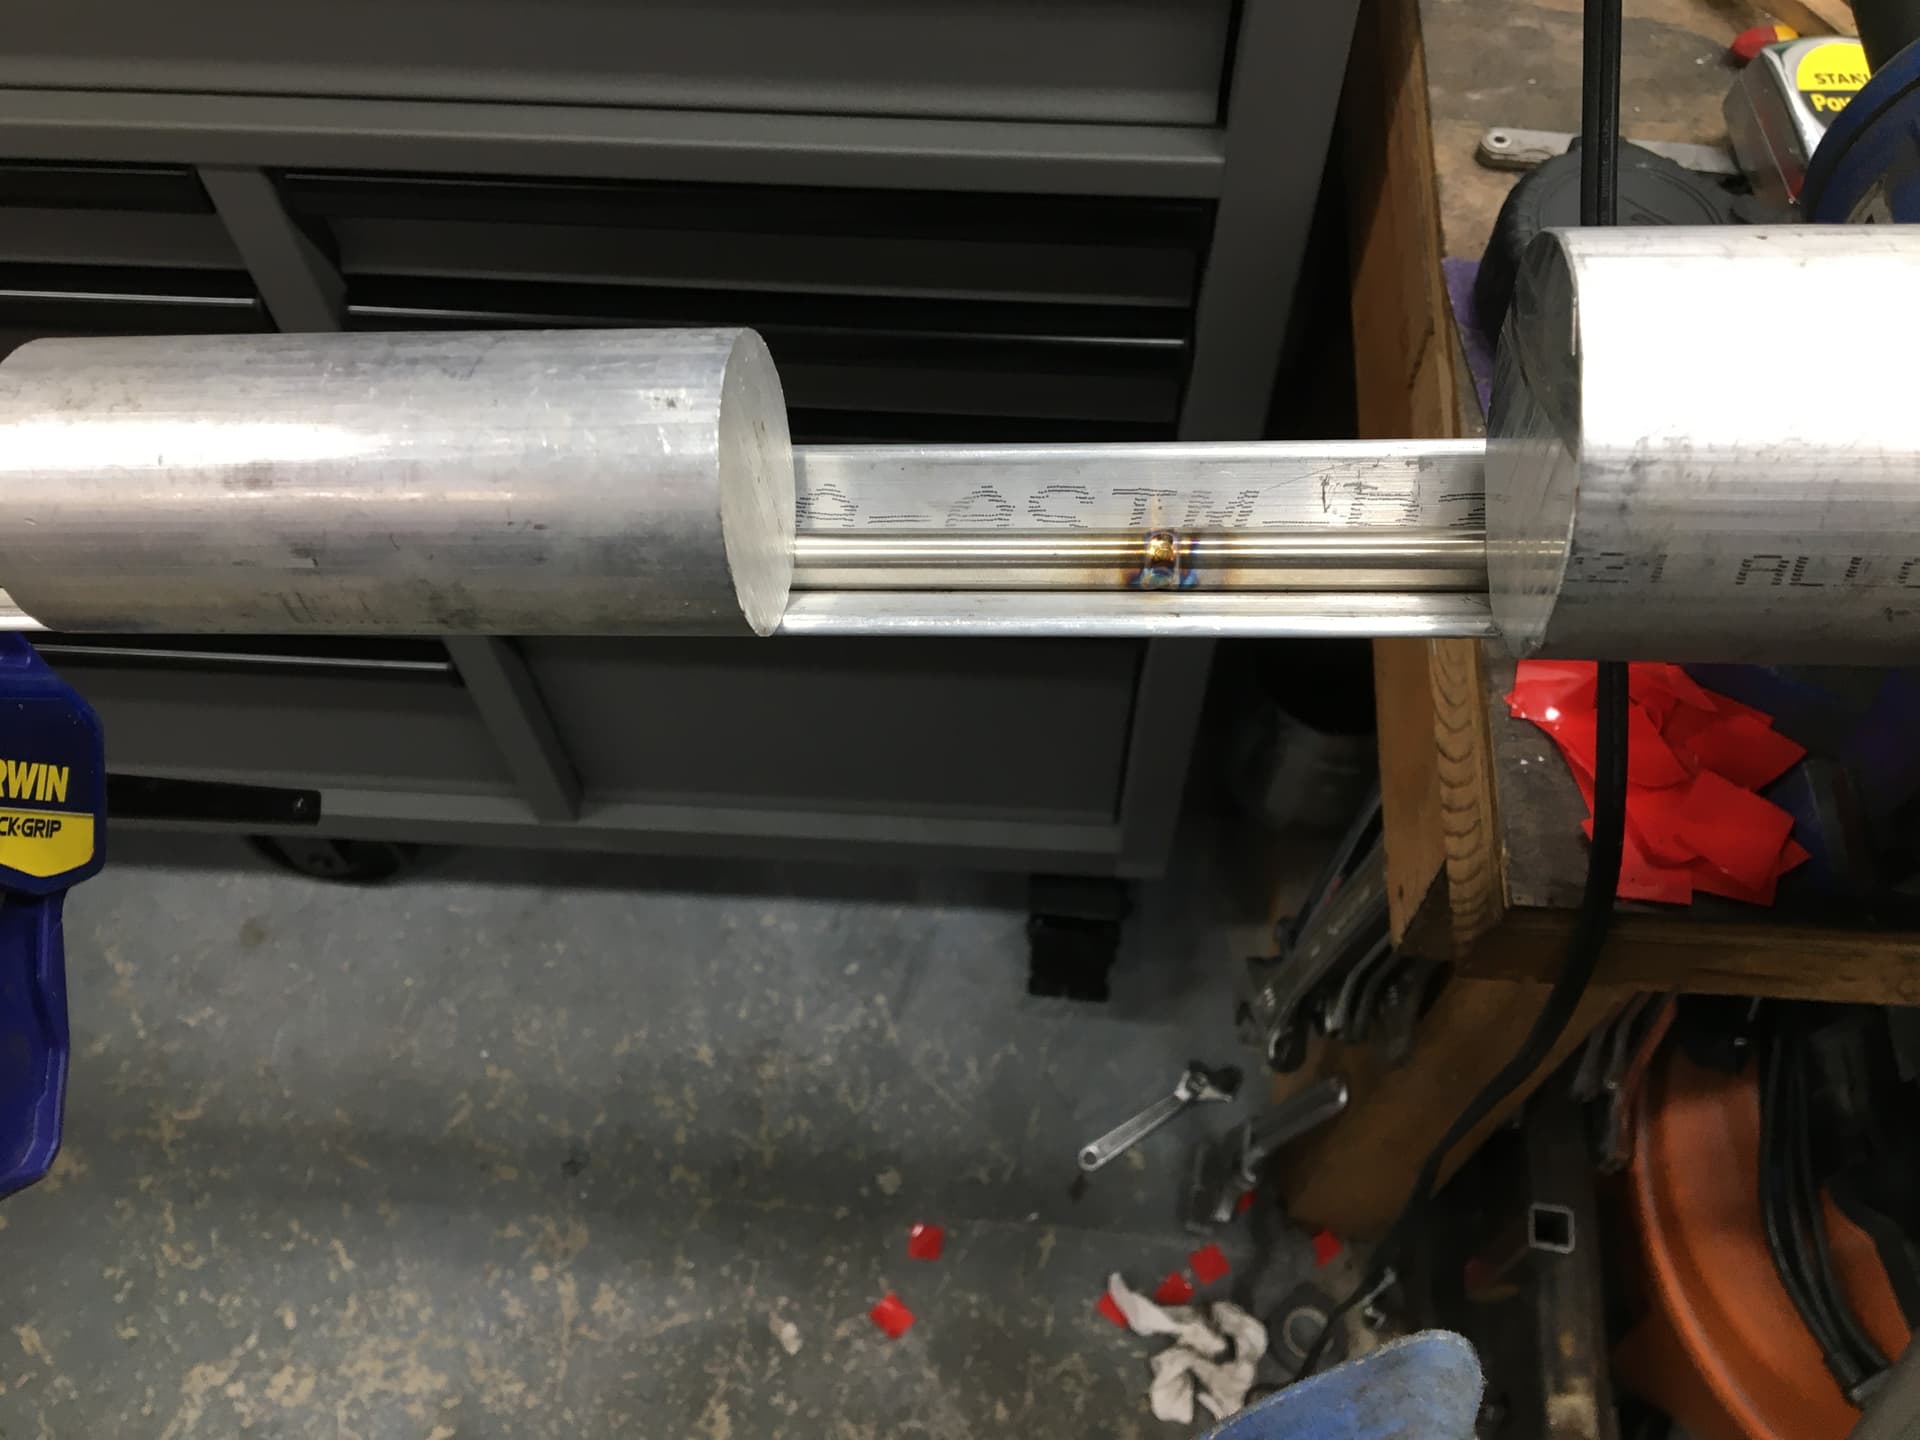
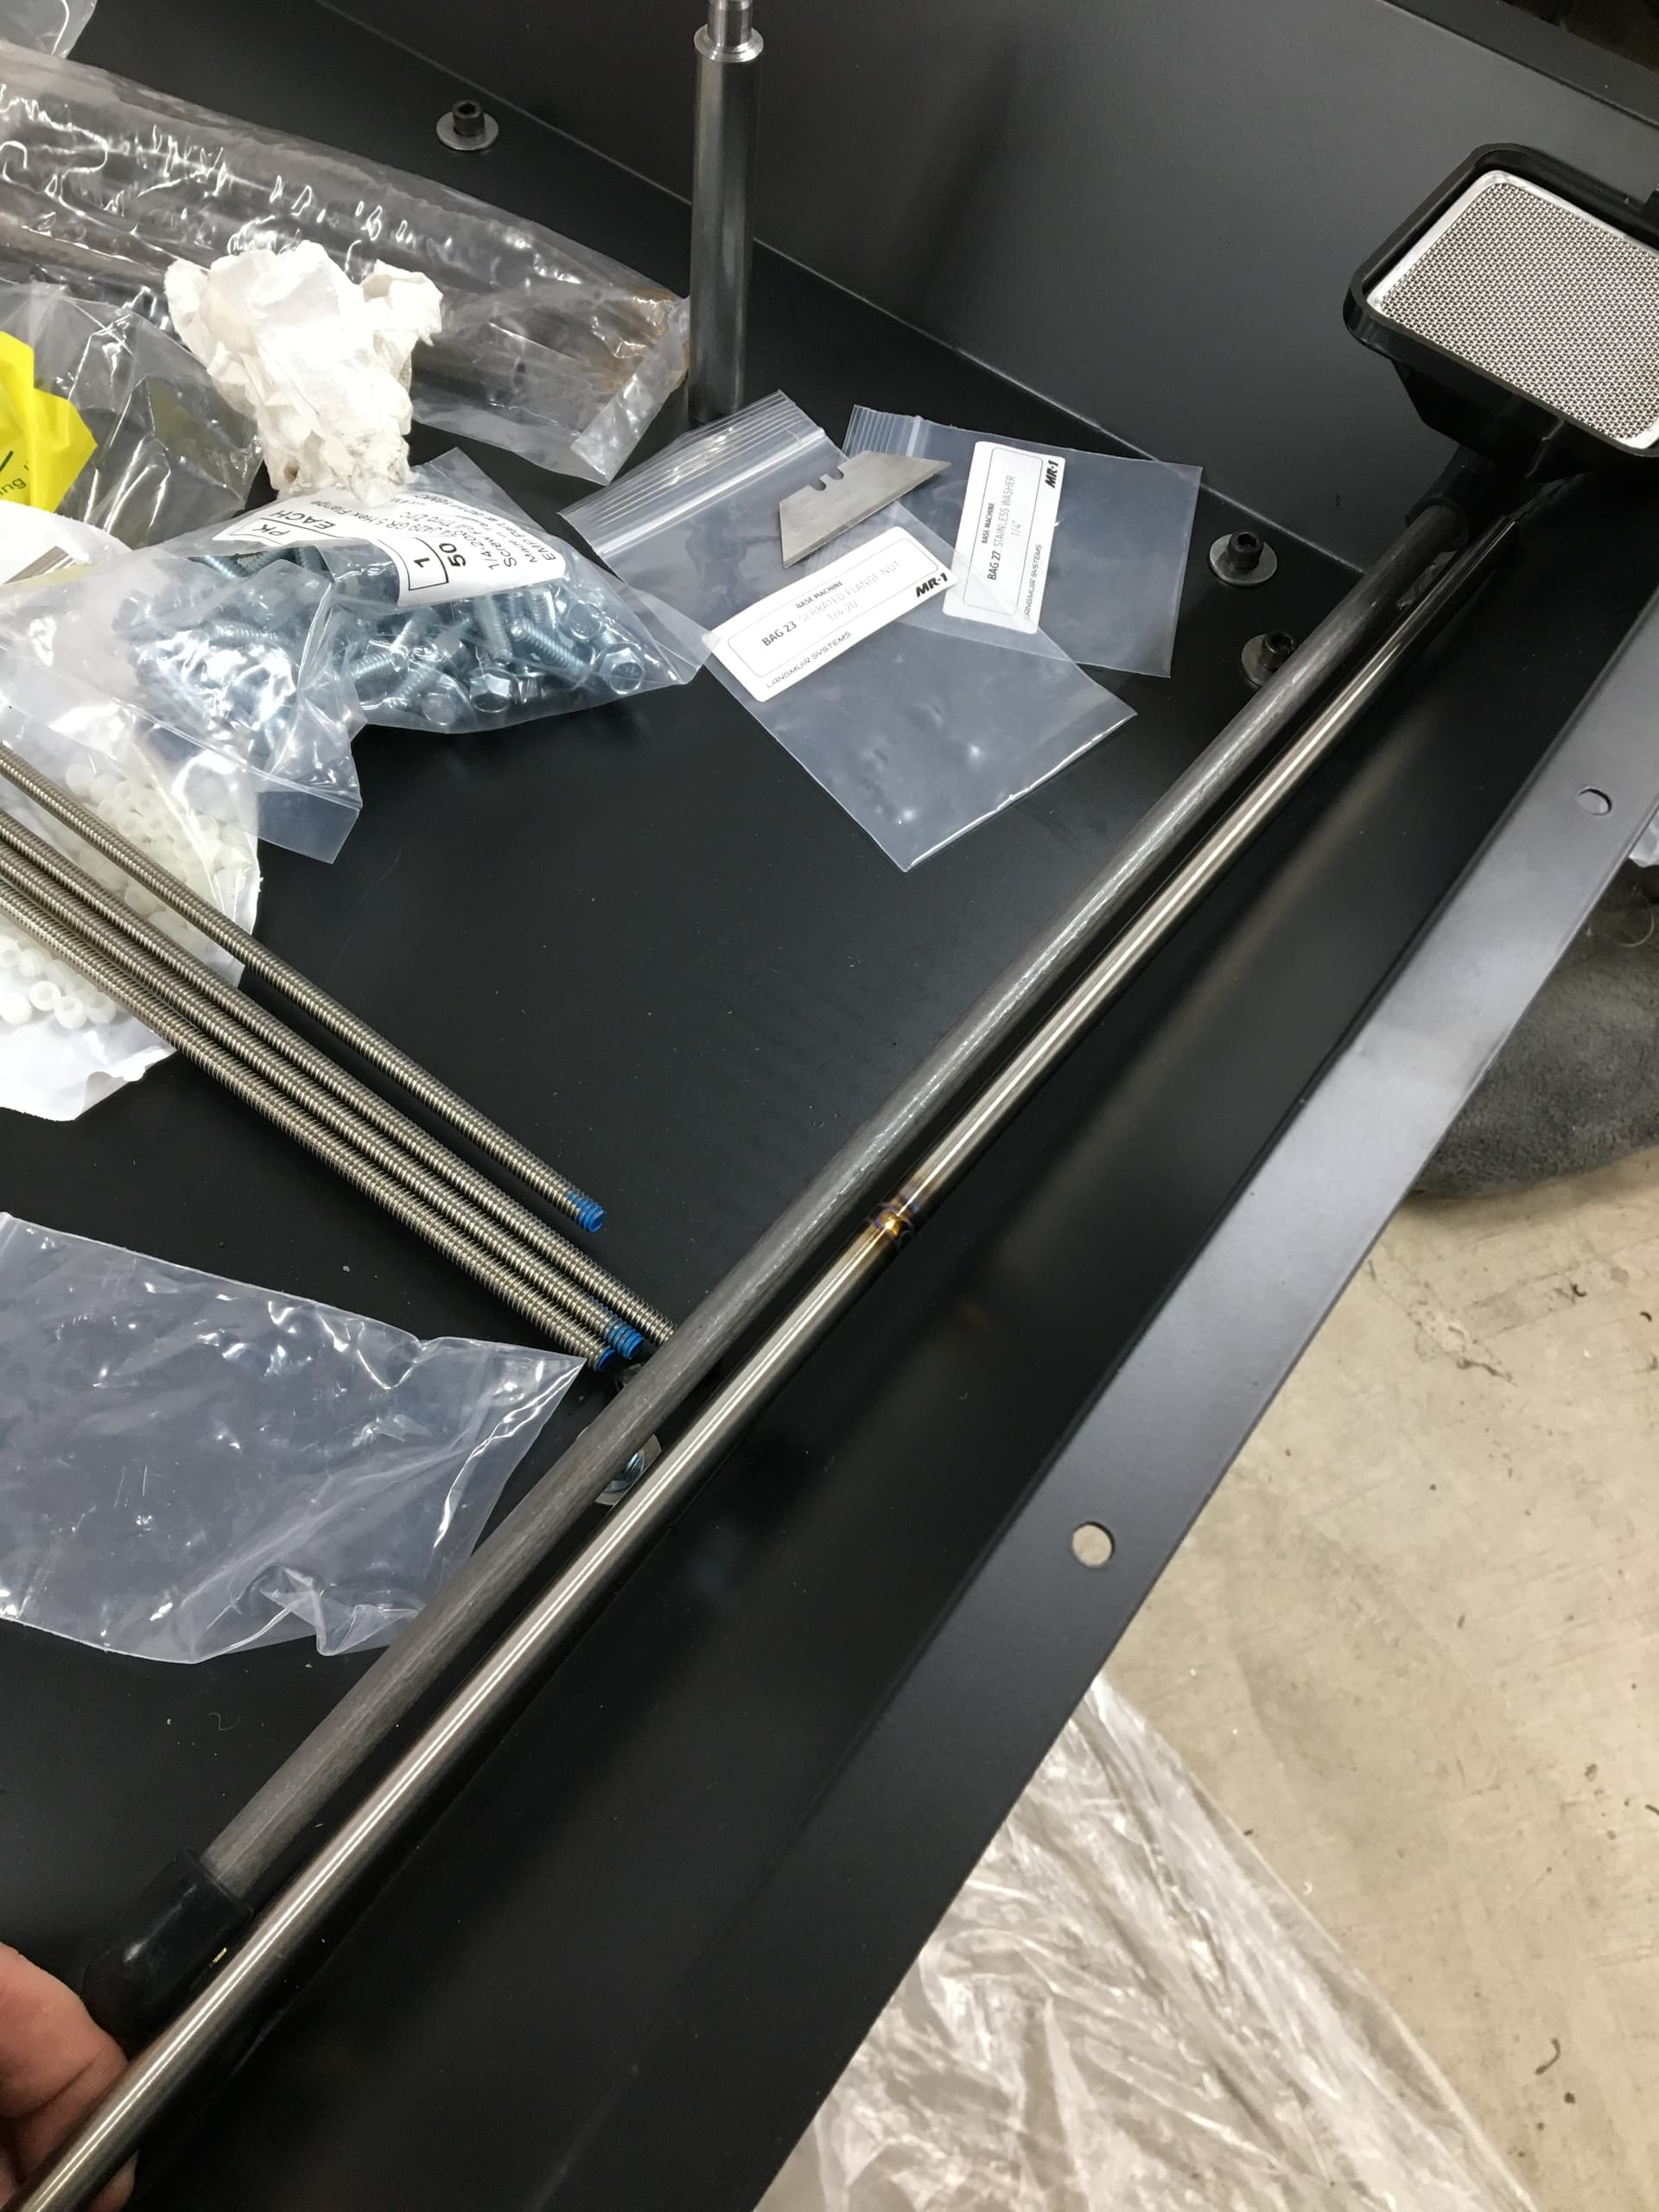
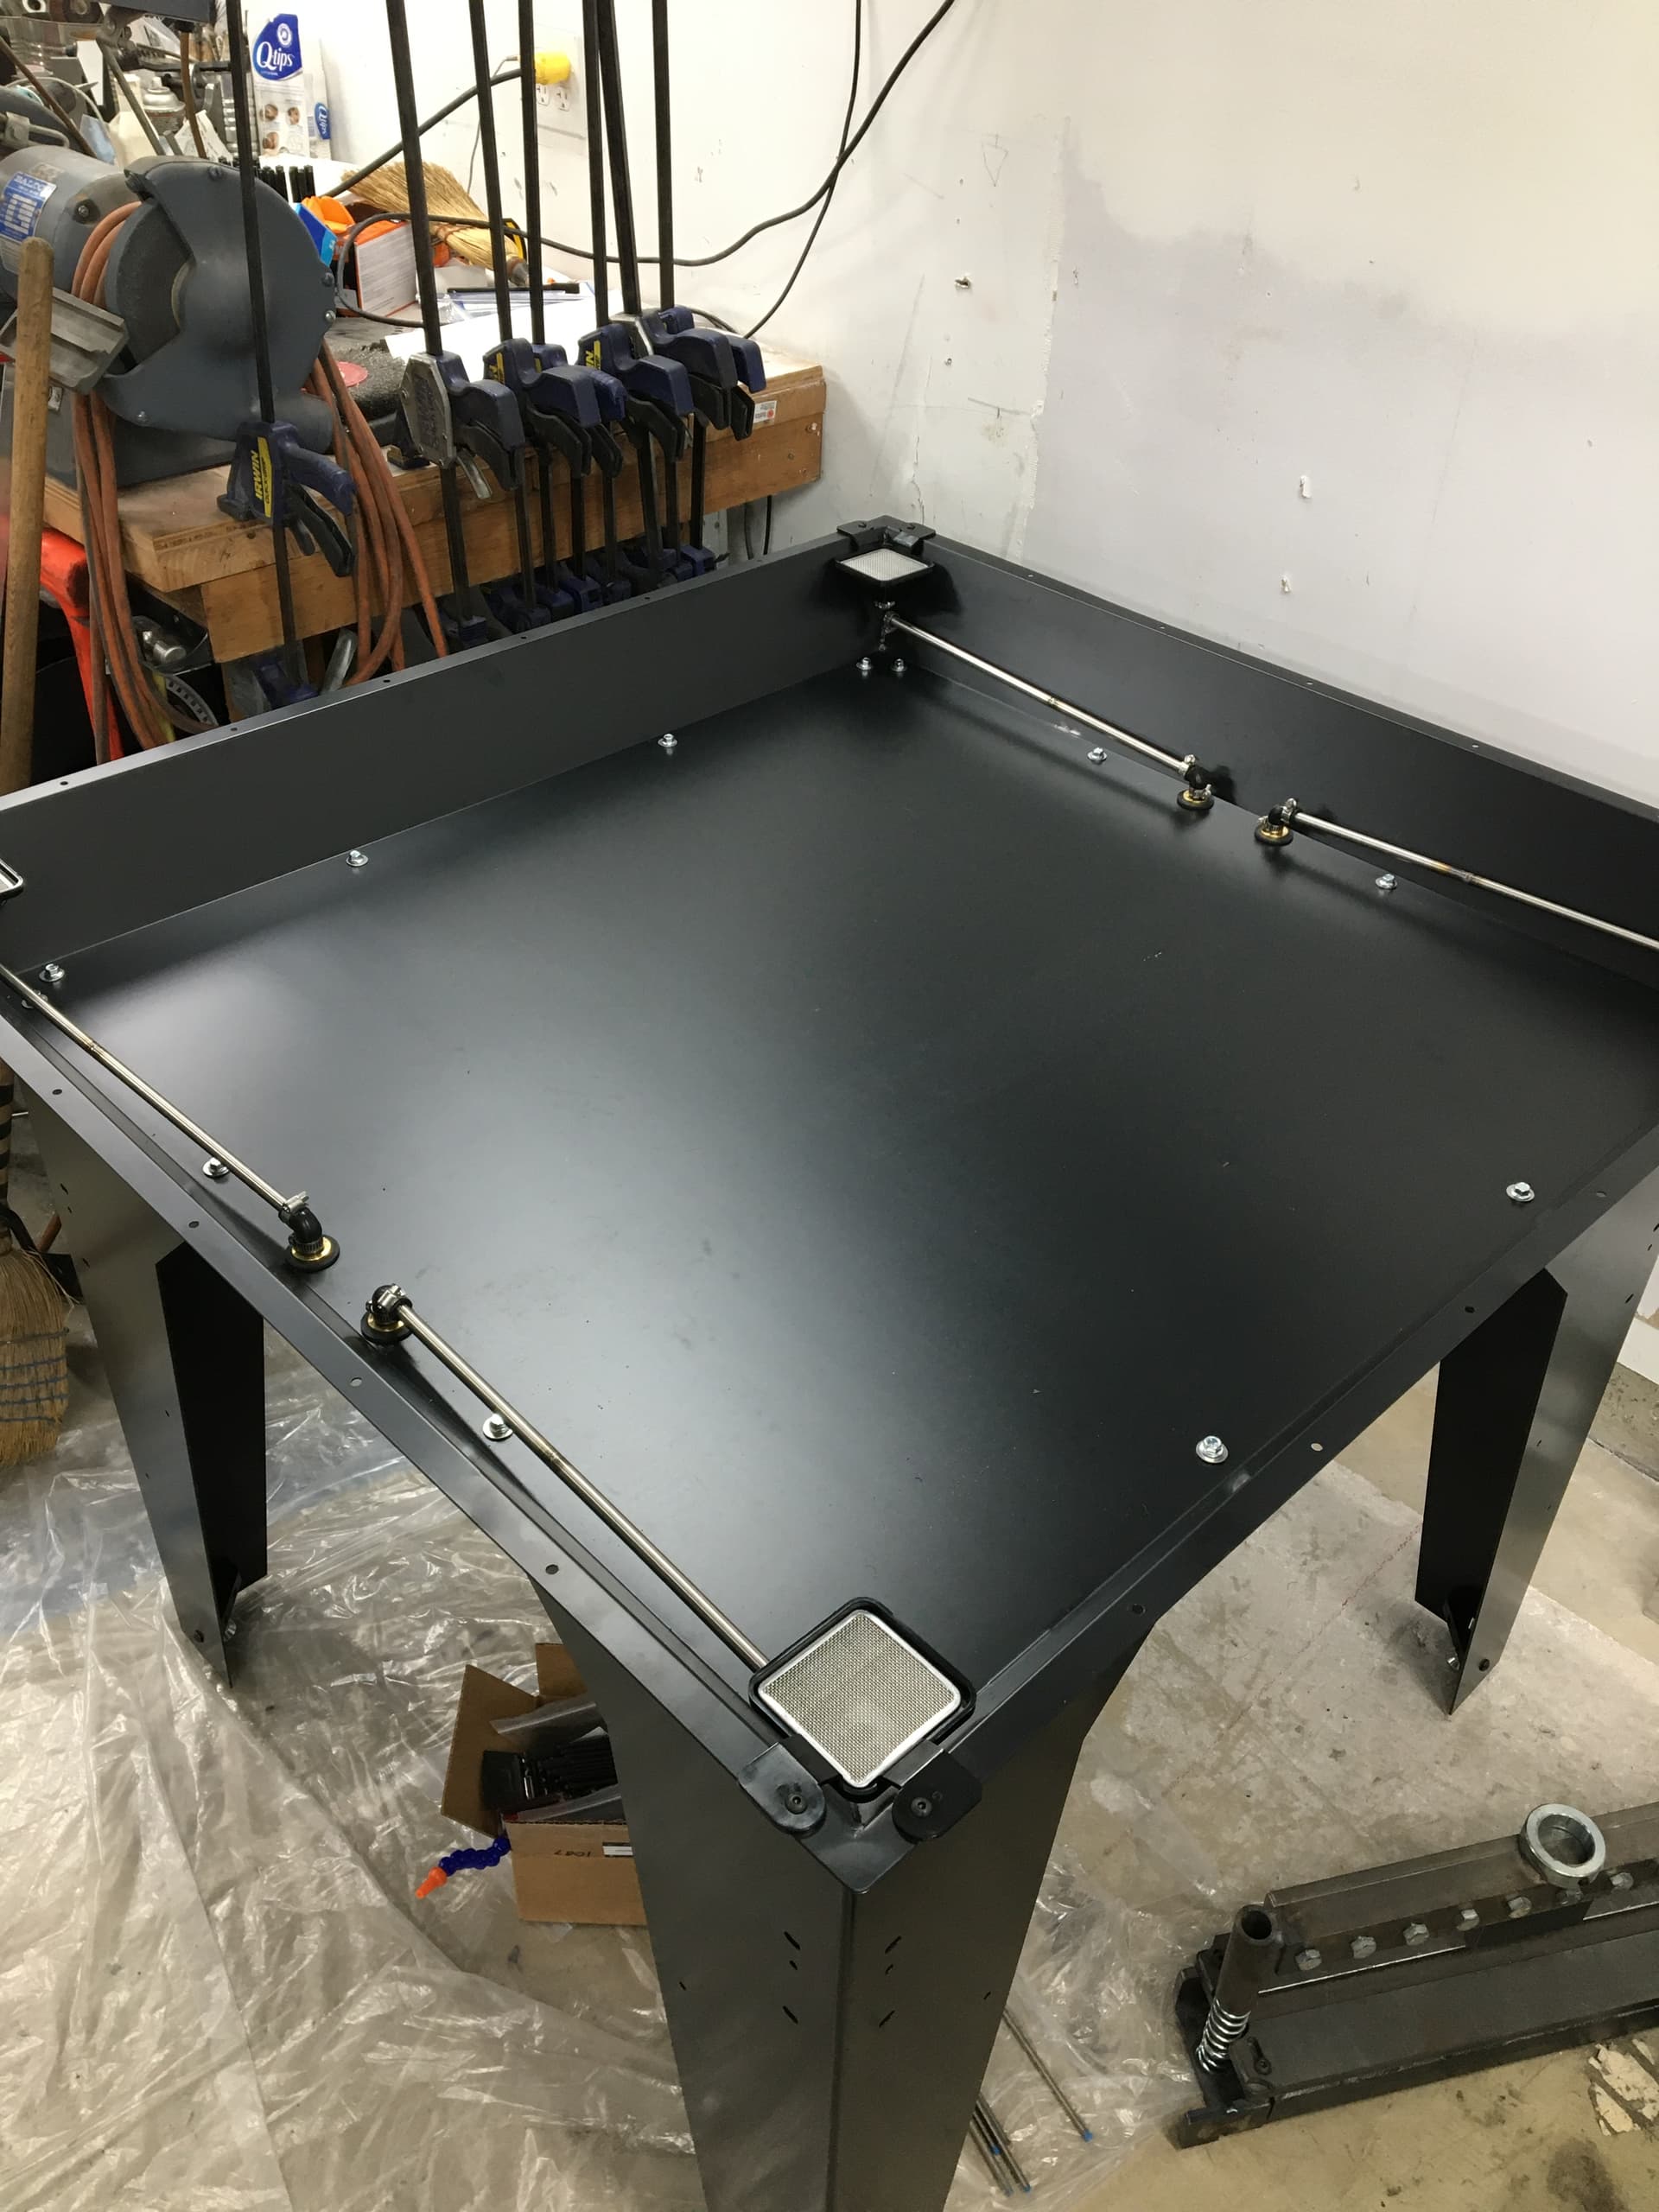
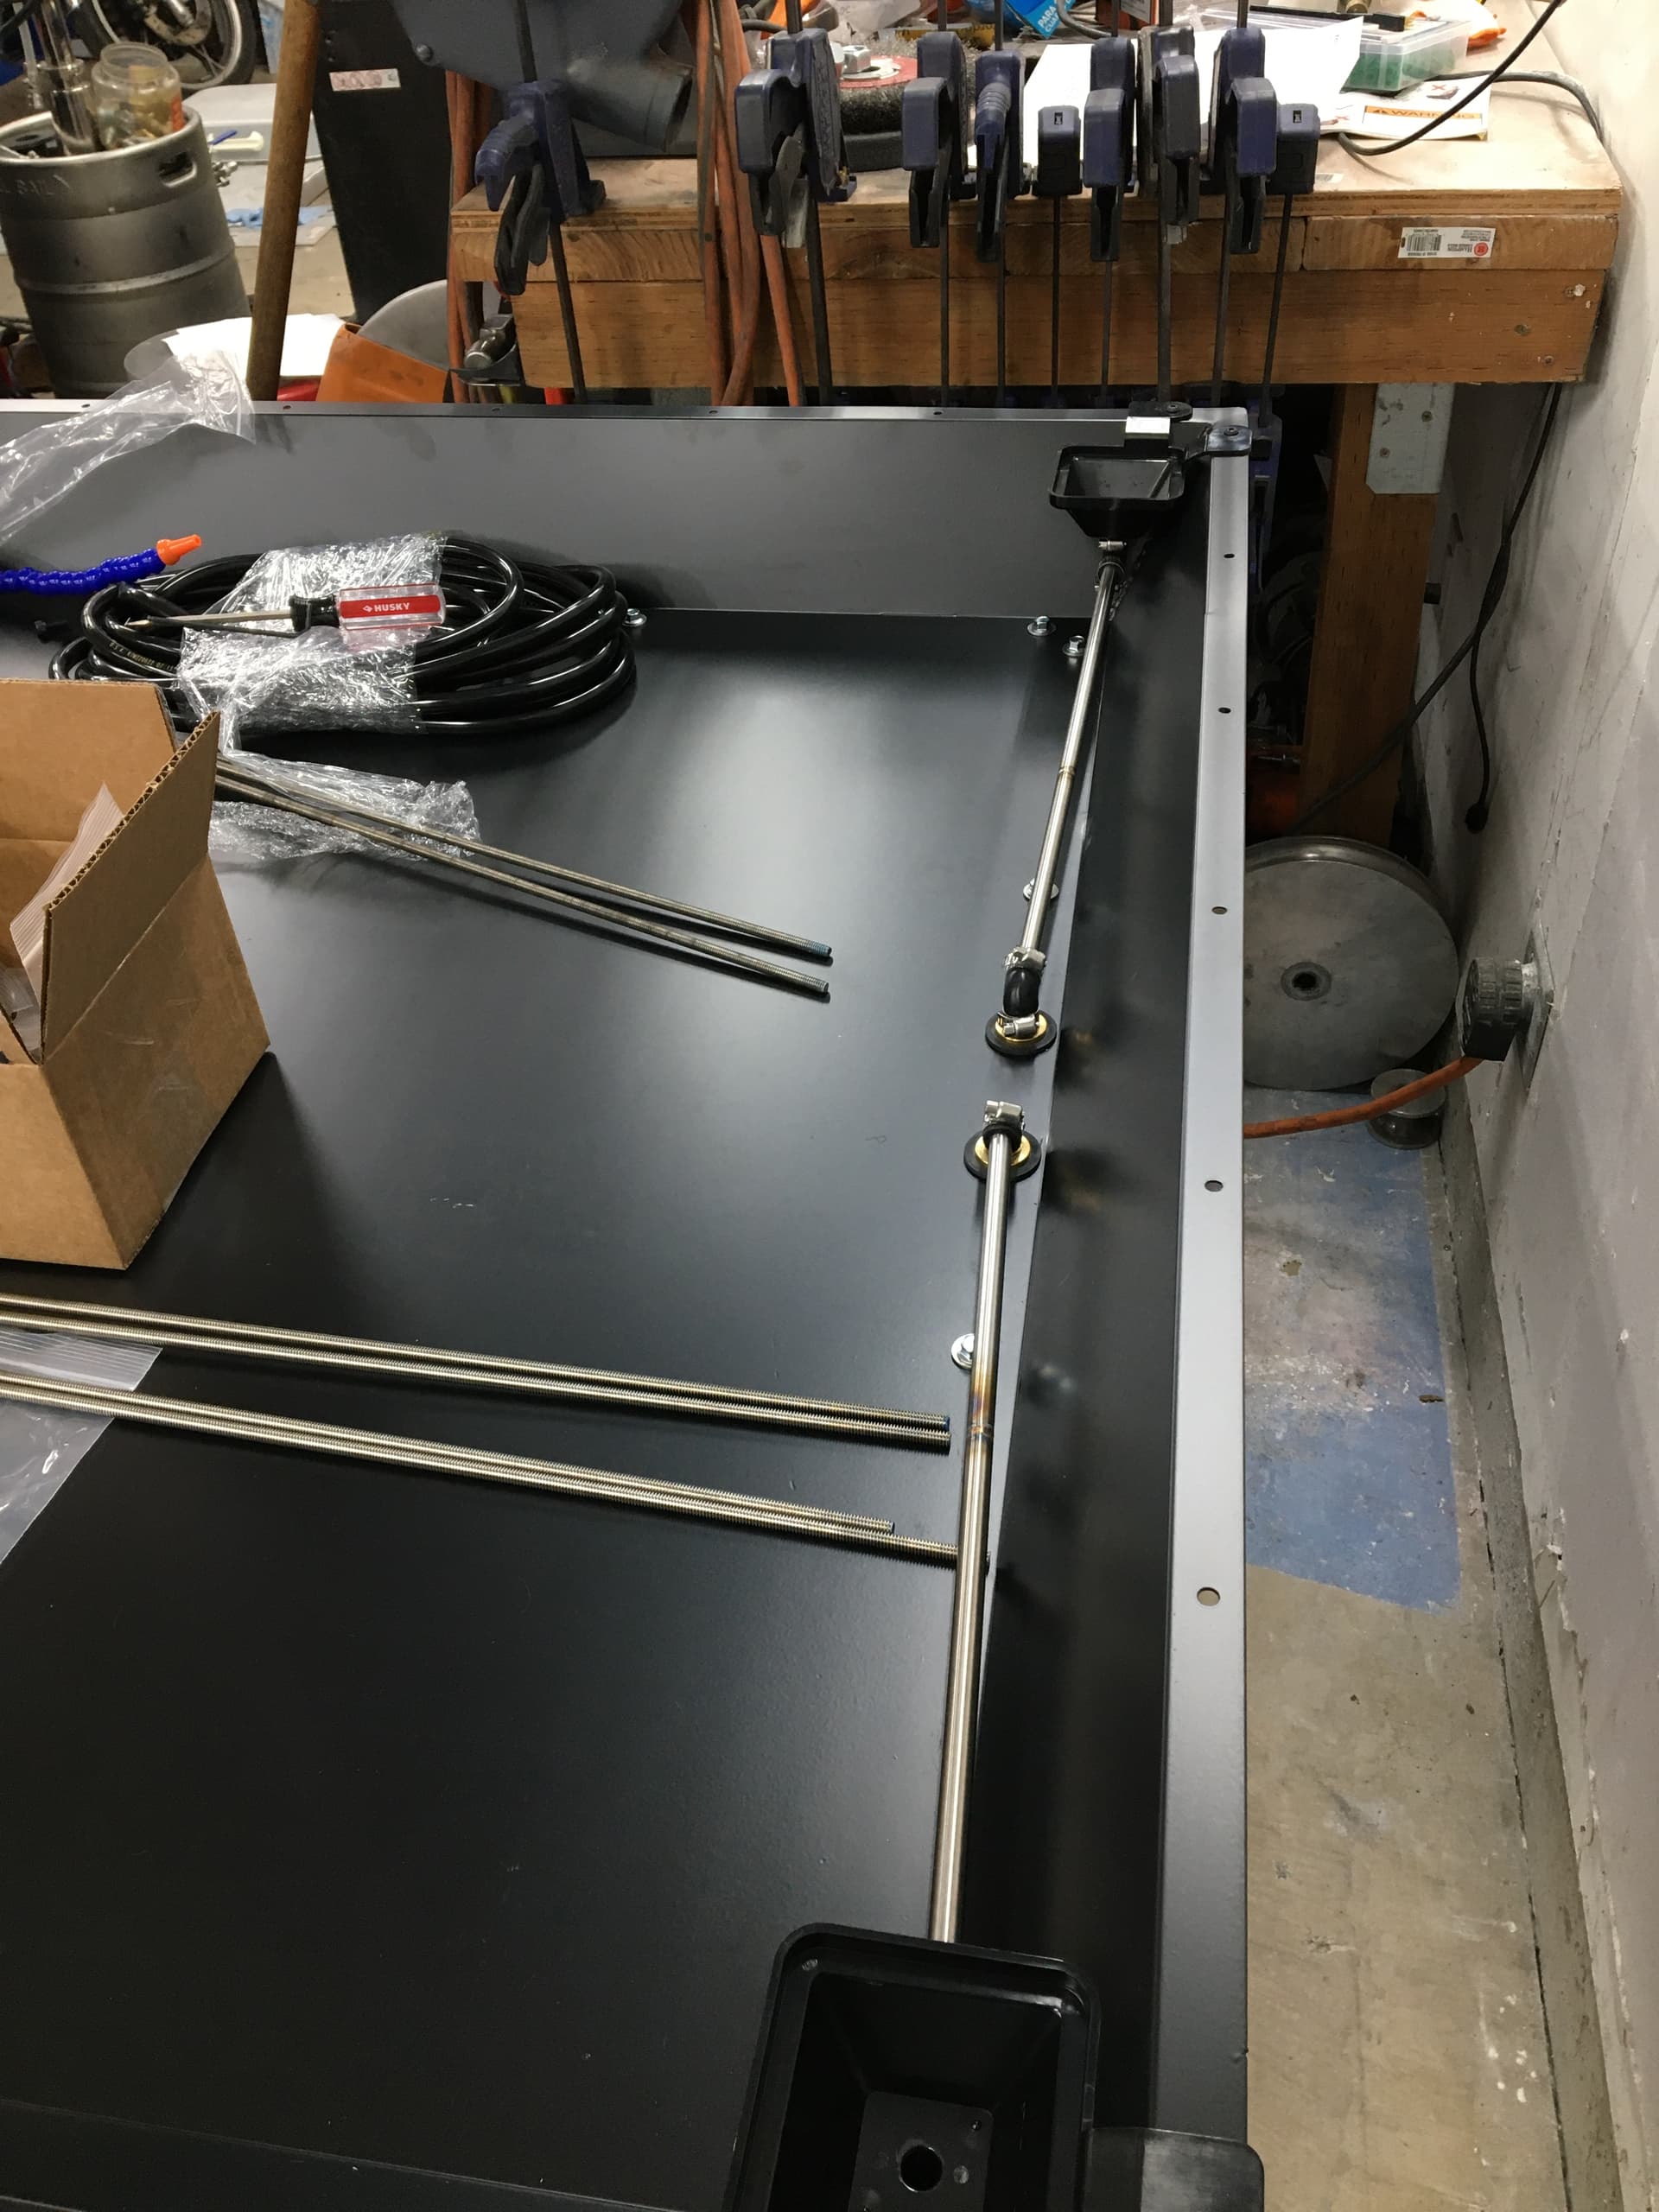
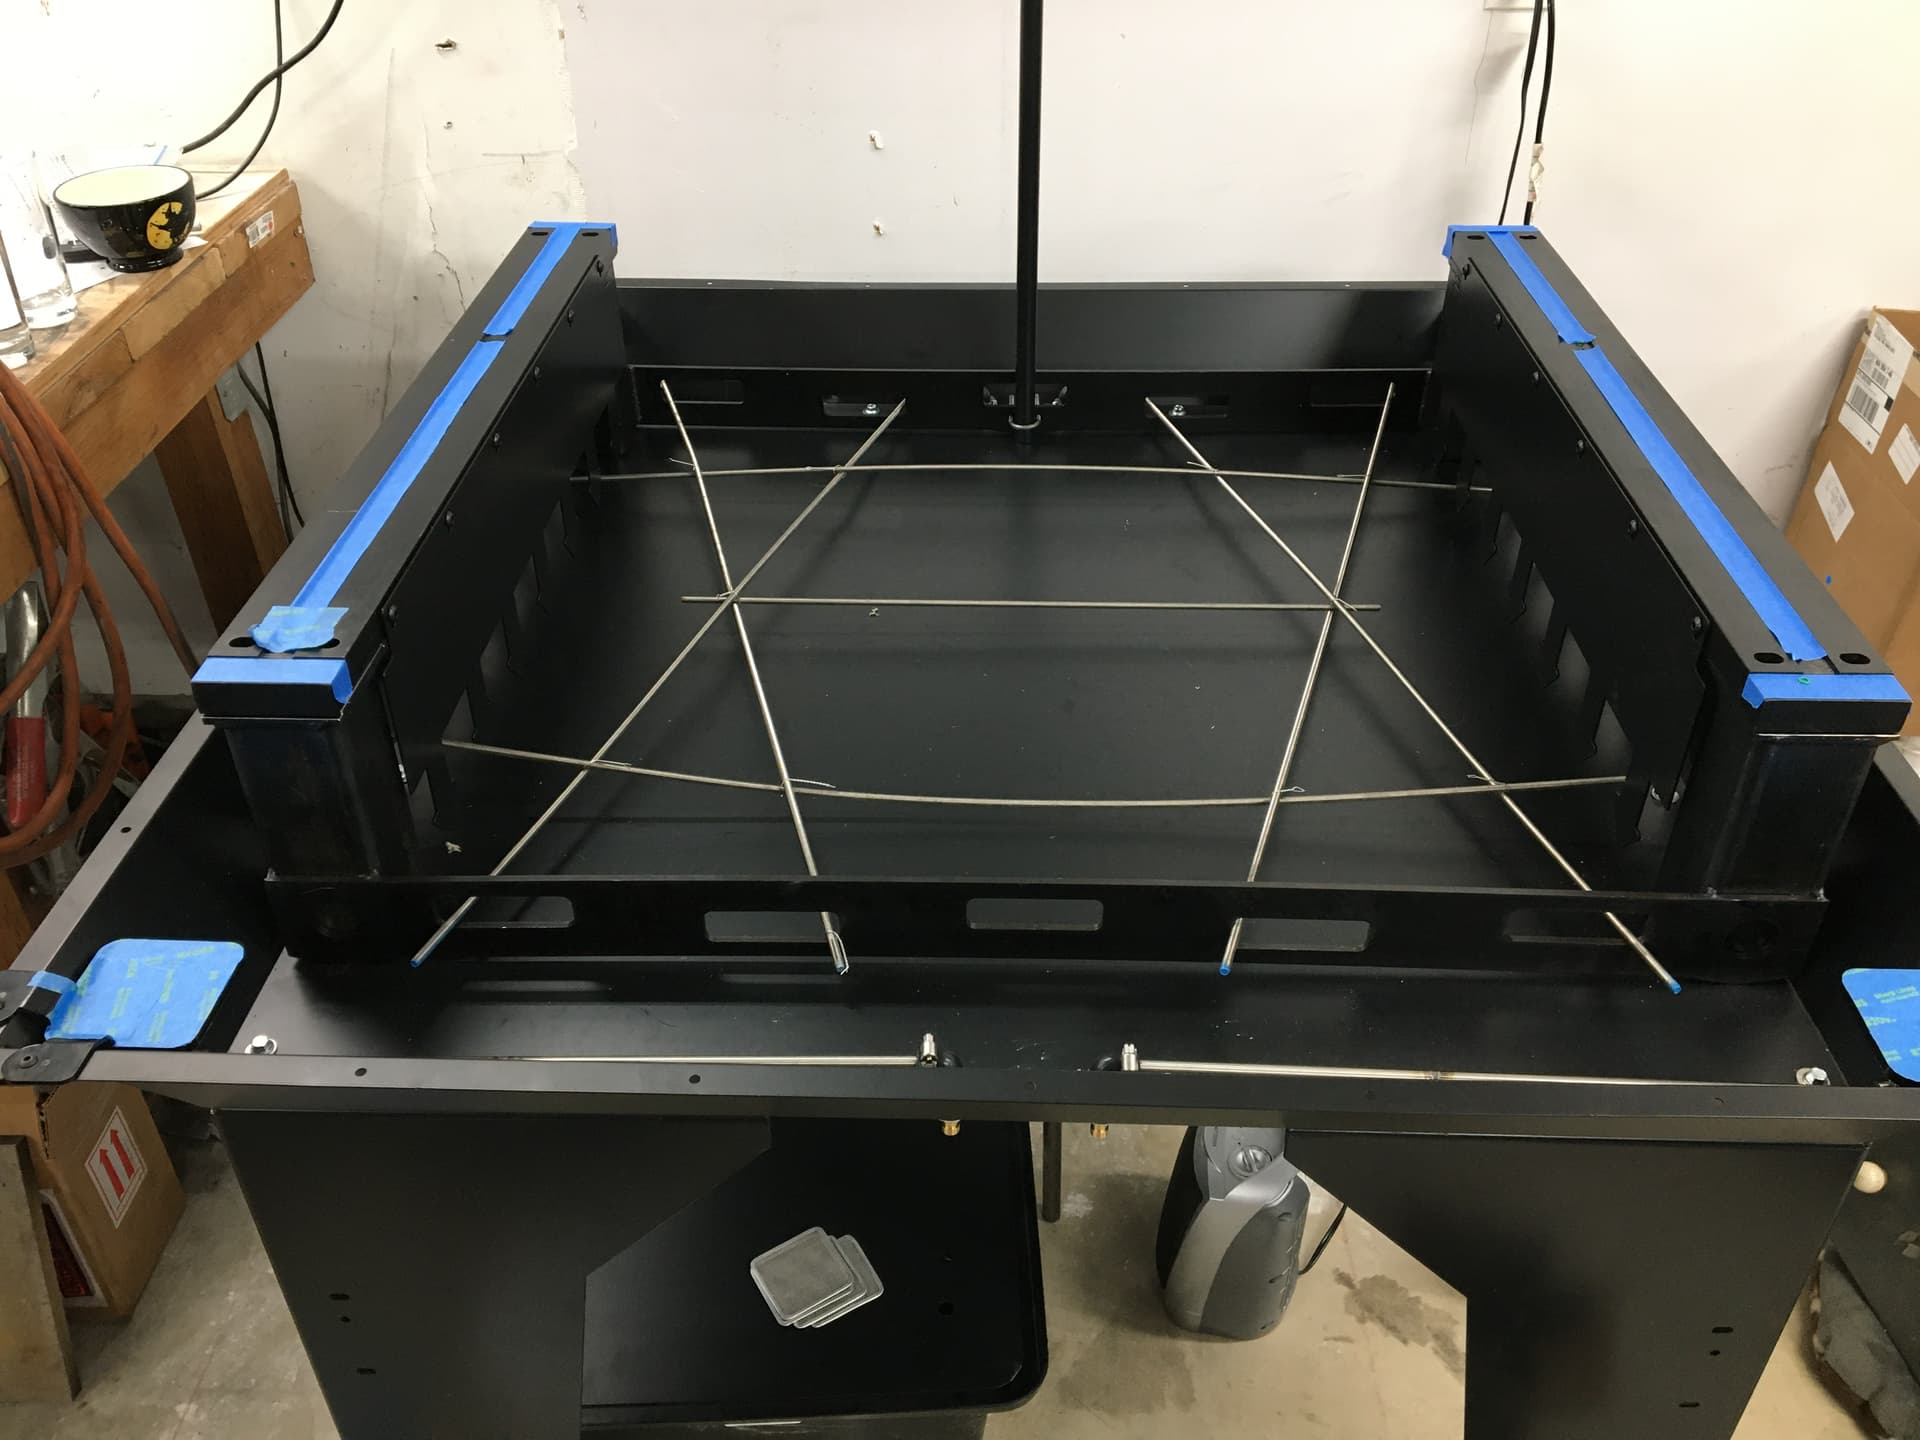
I had some stainless all thread that I mentioned I was going to use as rebar. I picked up a couple more 3’ sticks of it and made some sort of pattern with it that somewhat tensioned itself. It was still a bit too close to the anchors on the left side, so I used some safety wire to tie it all together and pull it down closer to the bottom.

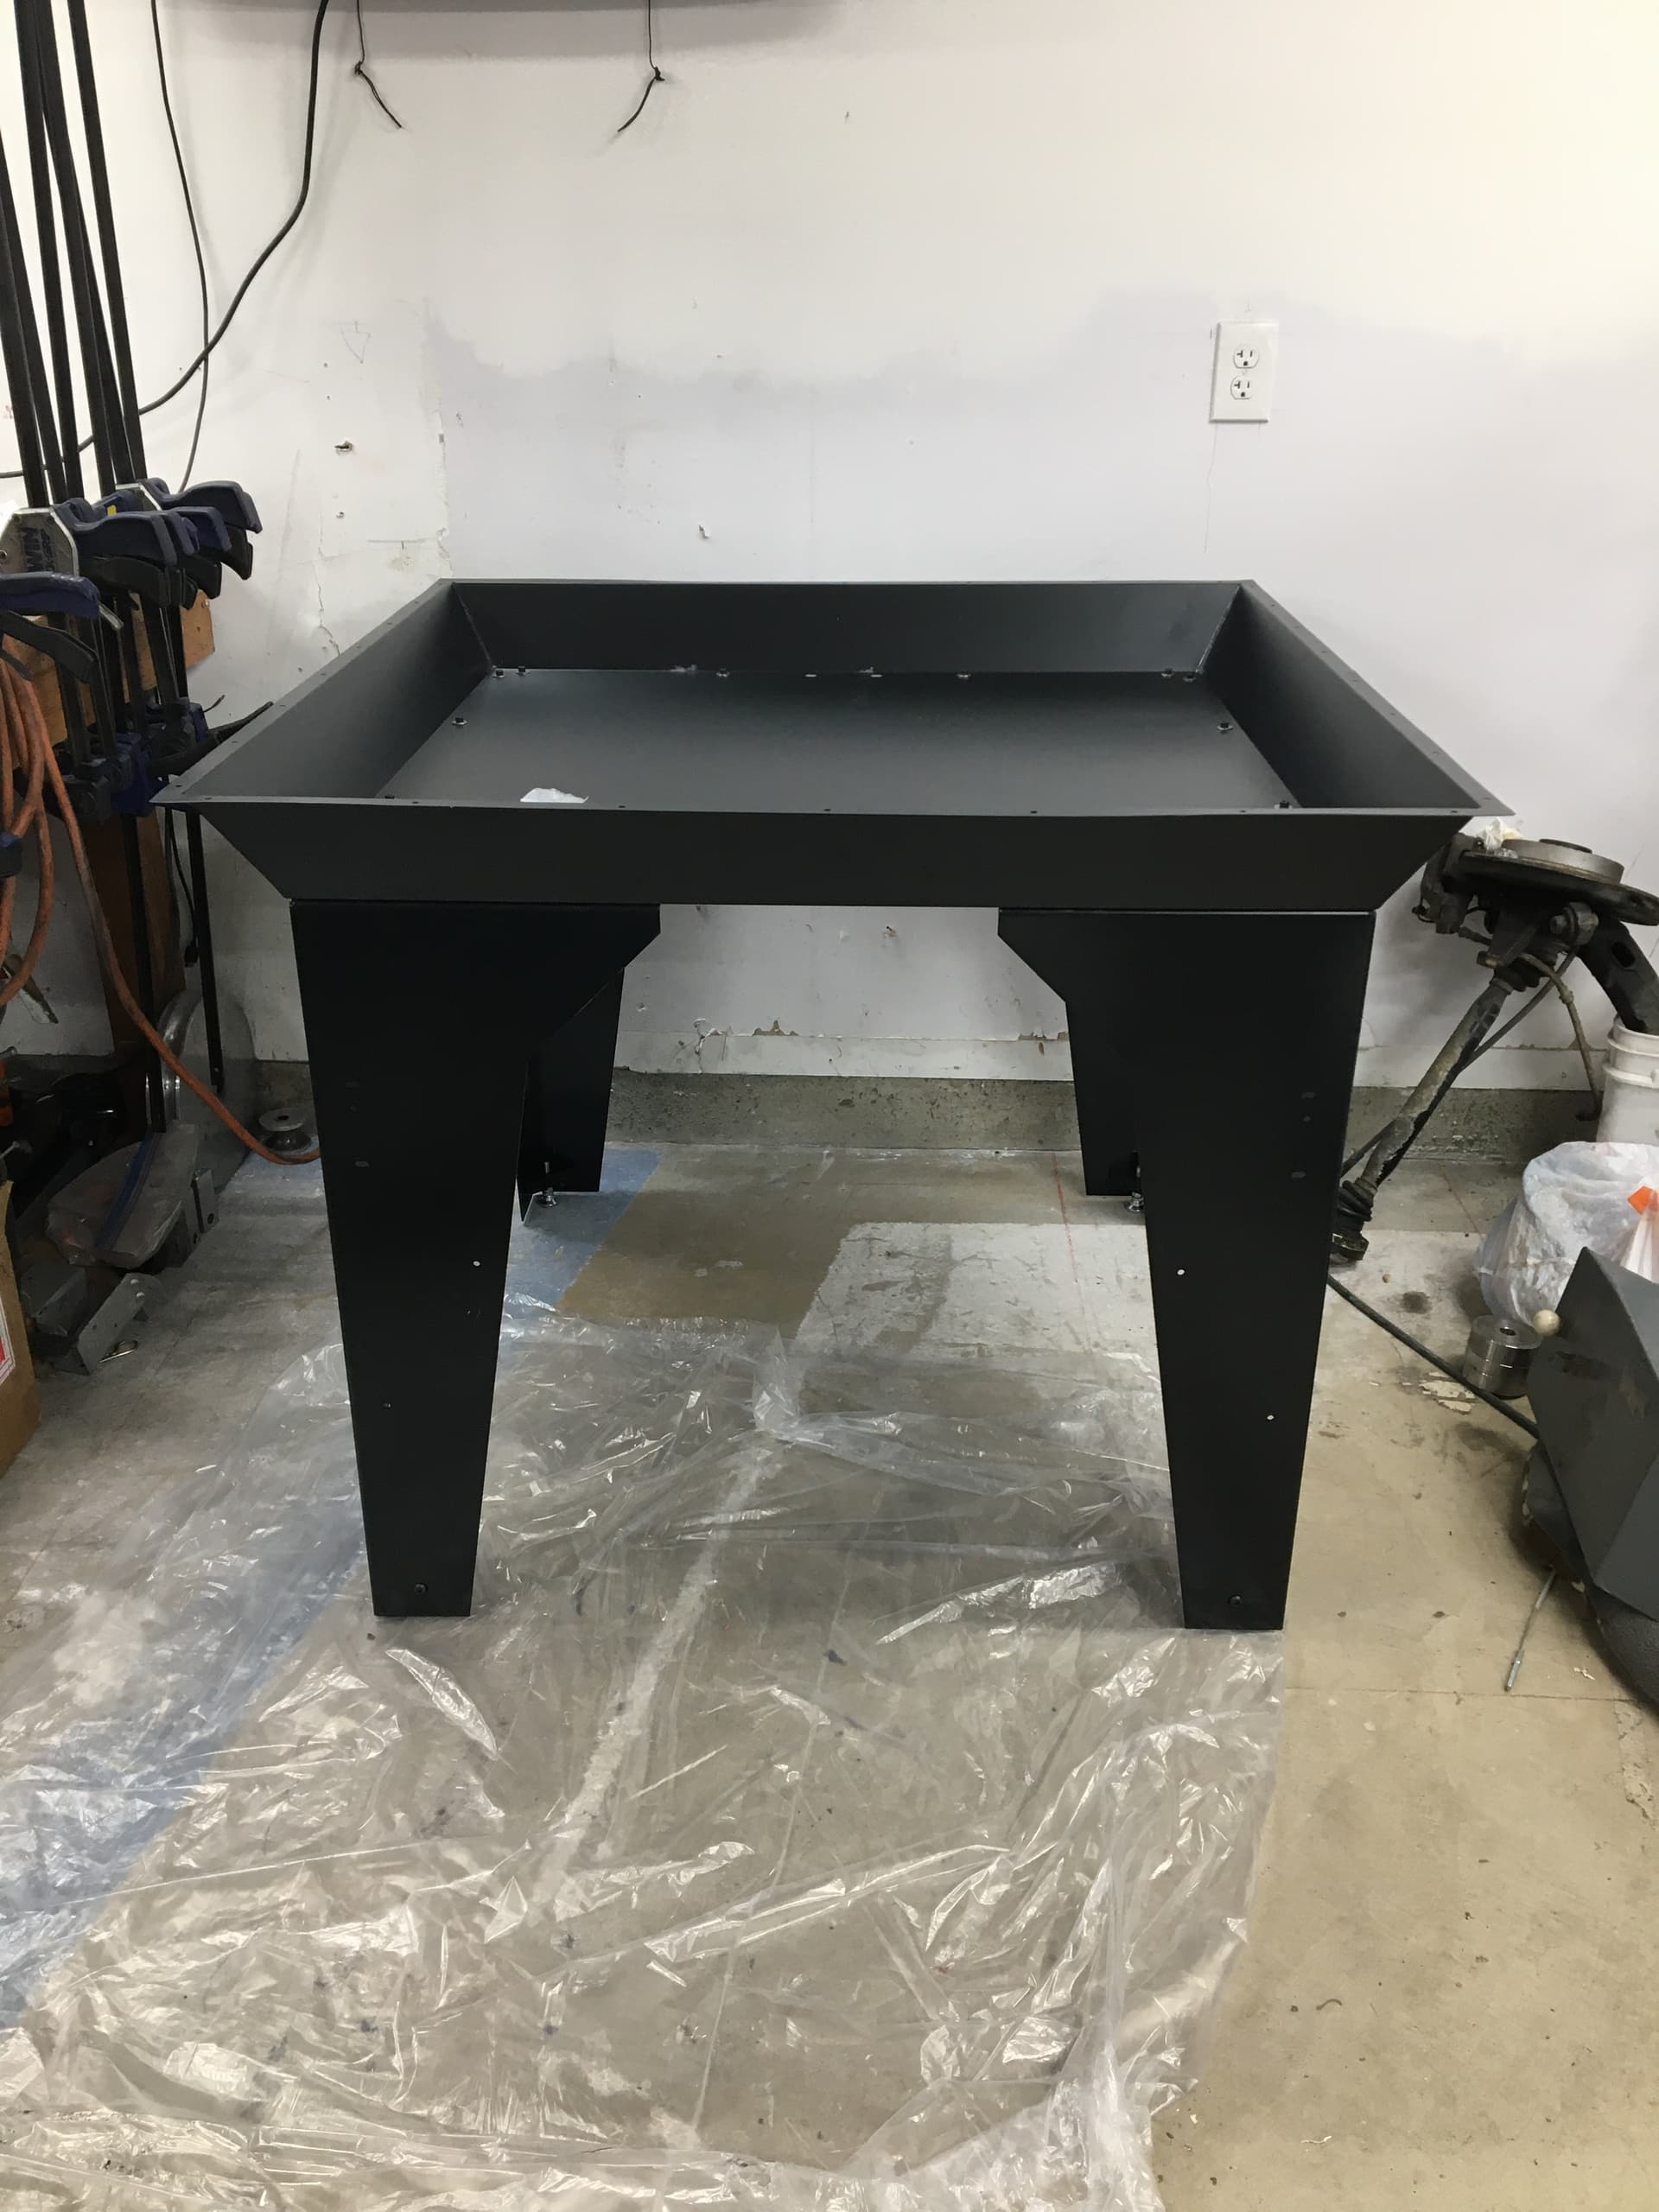
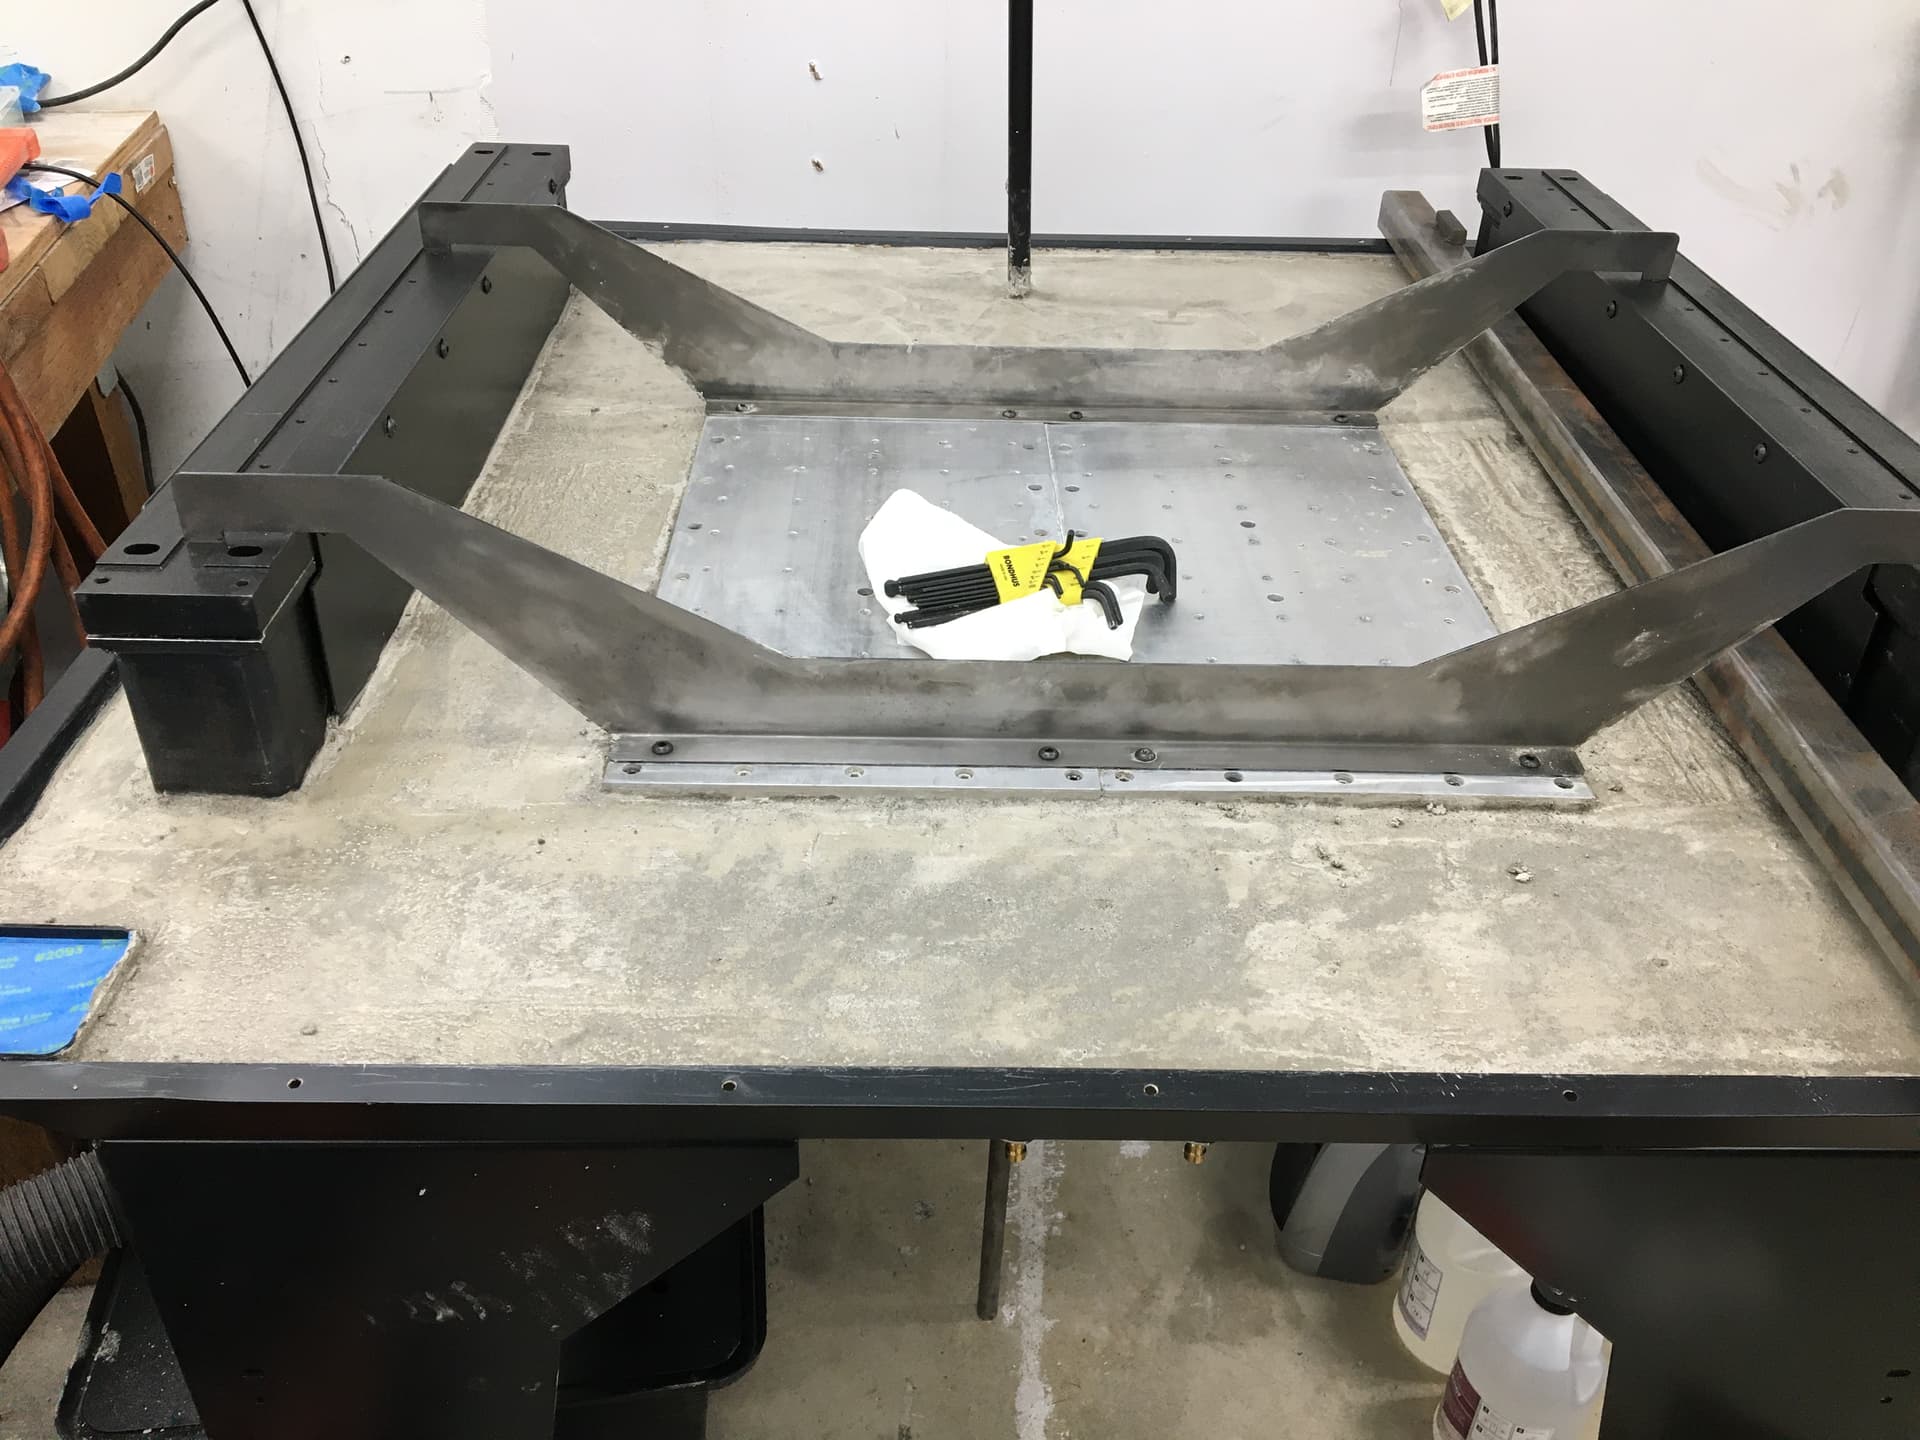
My buddy came over with his mixer and we got the concrete poured. If I were to do it again, I would add some more water, but I think it went in alright. Used a touch more than the recommended starting amount, and it would hold together well when squeezed, but I think workability could have been increased a little bit still. Putting in the plate and stiffeners seemed to be a bit more challenging than it was for the Langmuir folks in the videos. The surface was a little on the rough side in a couple areas, so I scraped it pretty well before the epoxy and made sure to brush, vacuum, and blast it with air a ton before.

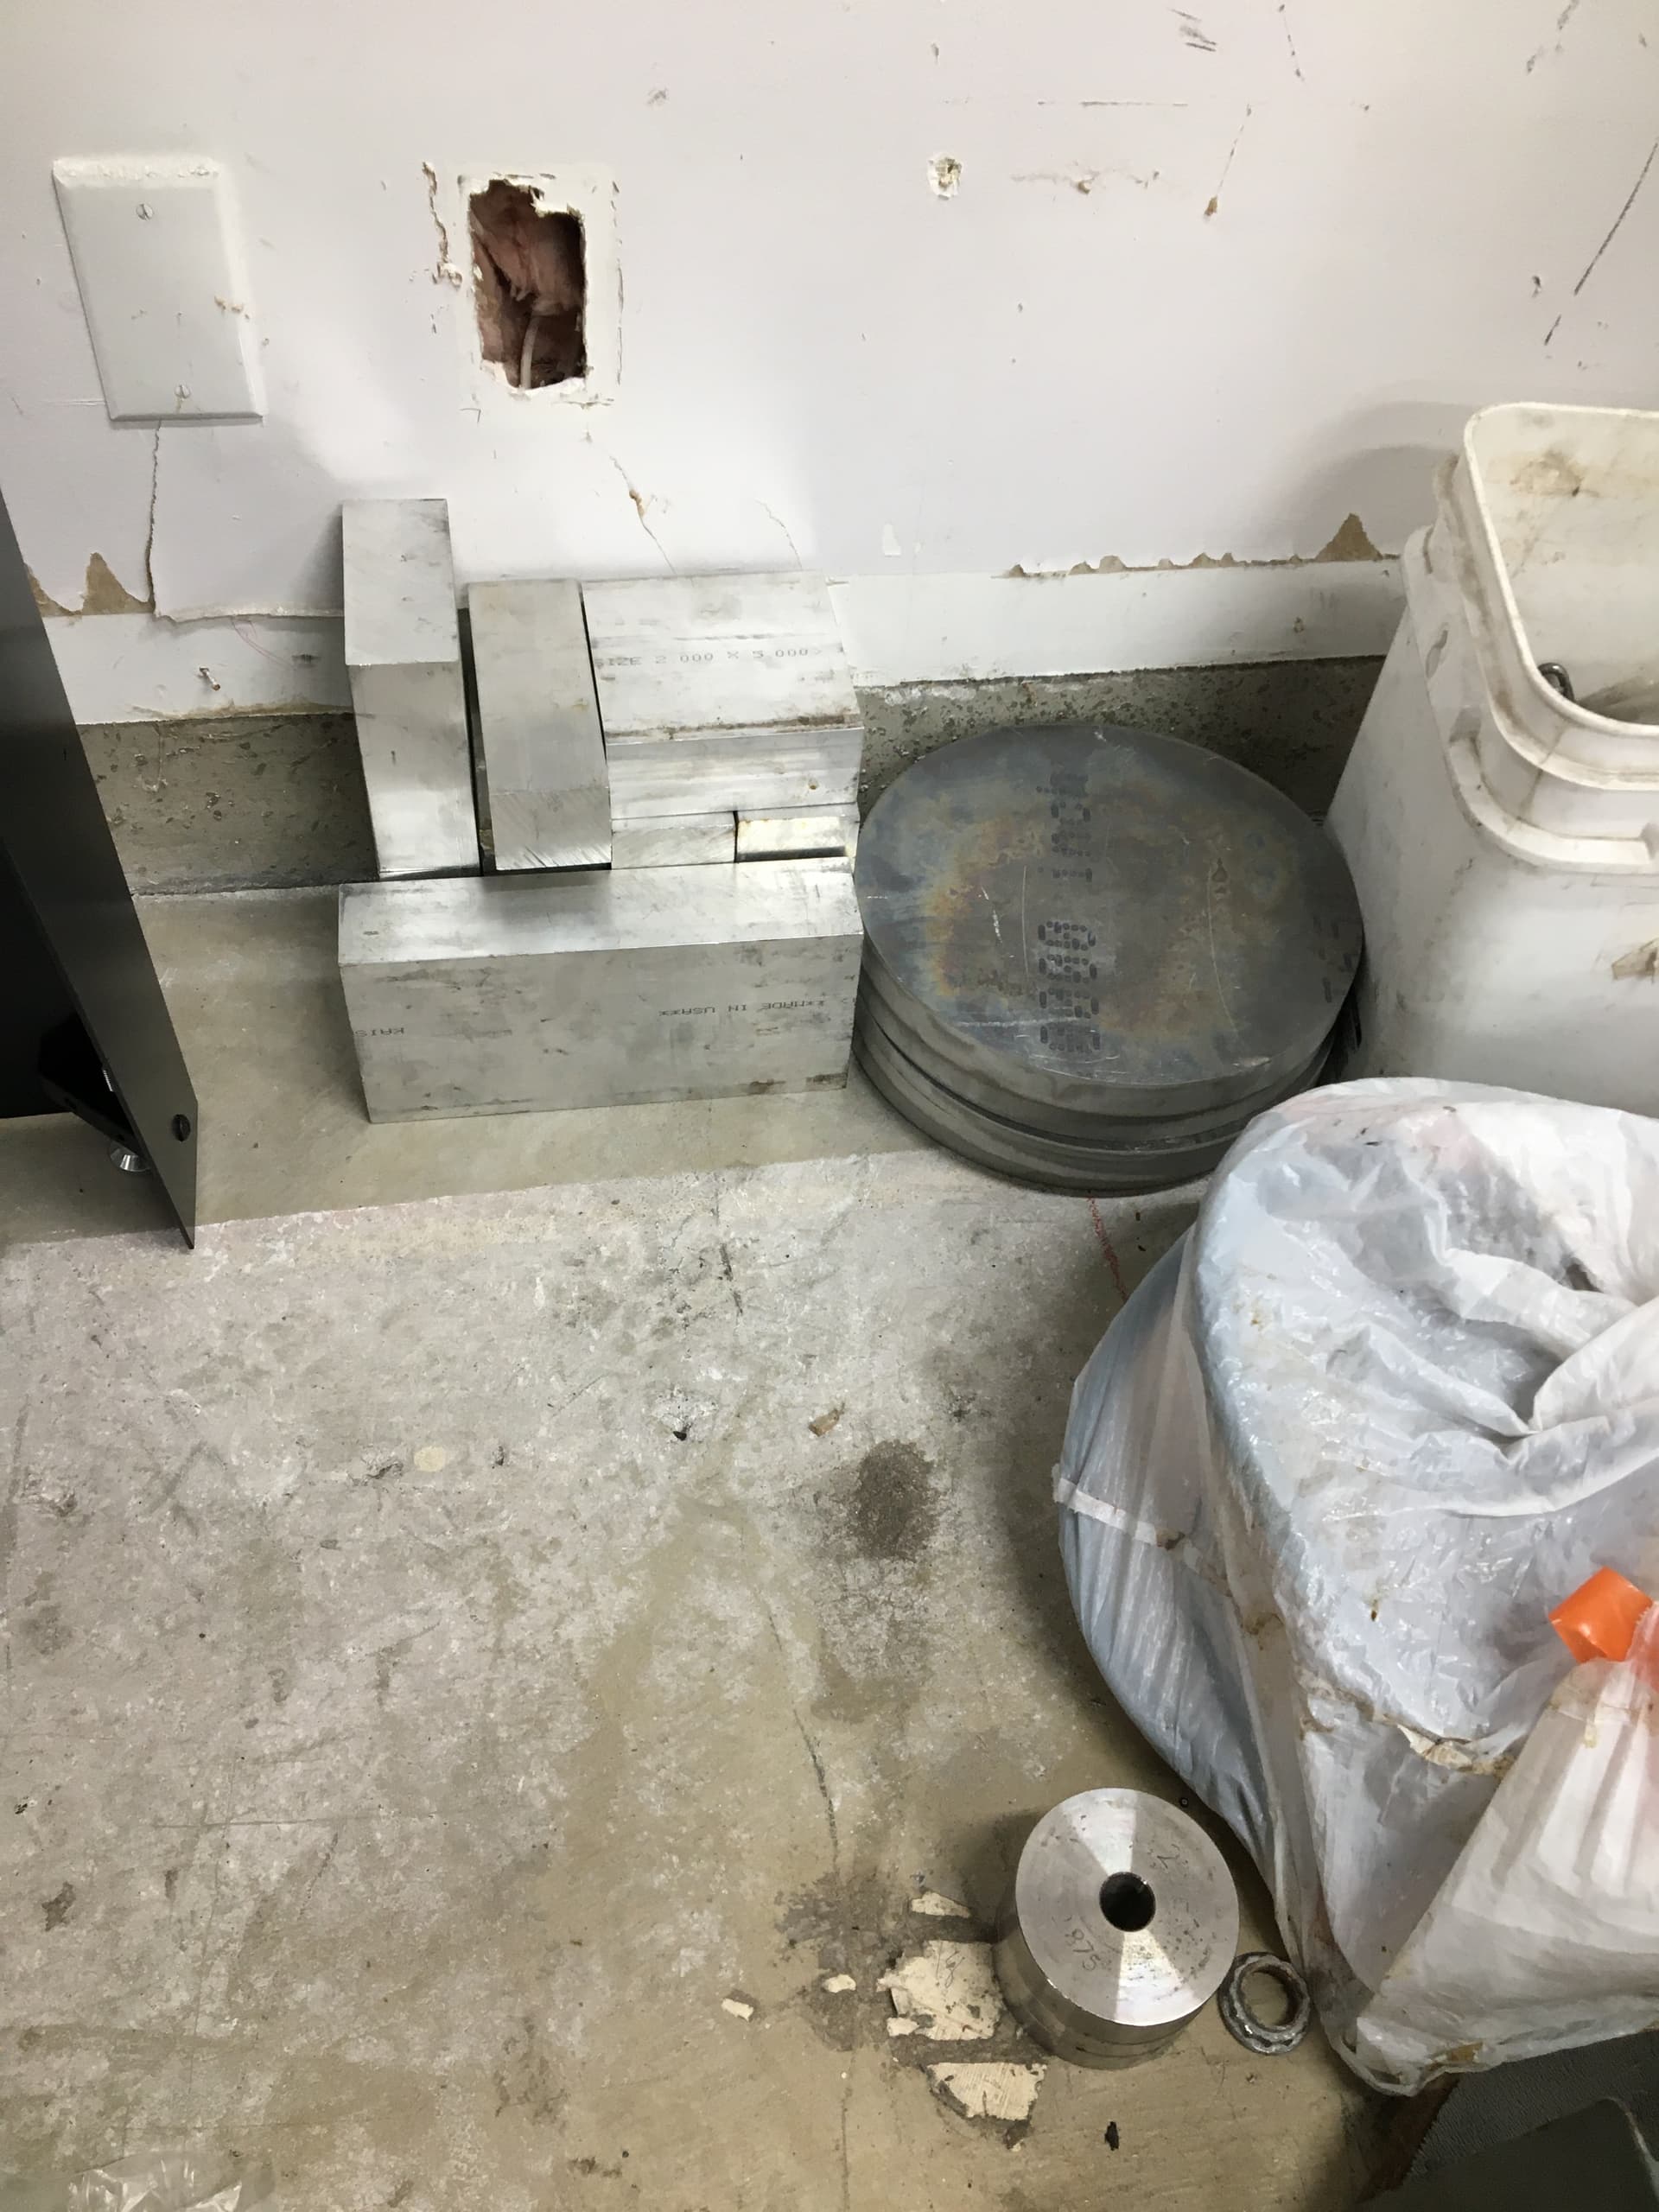
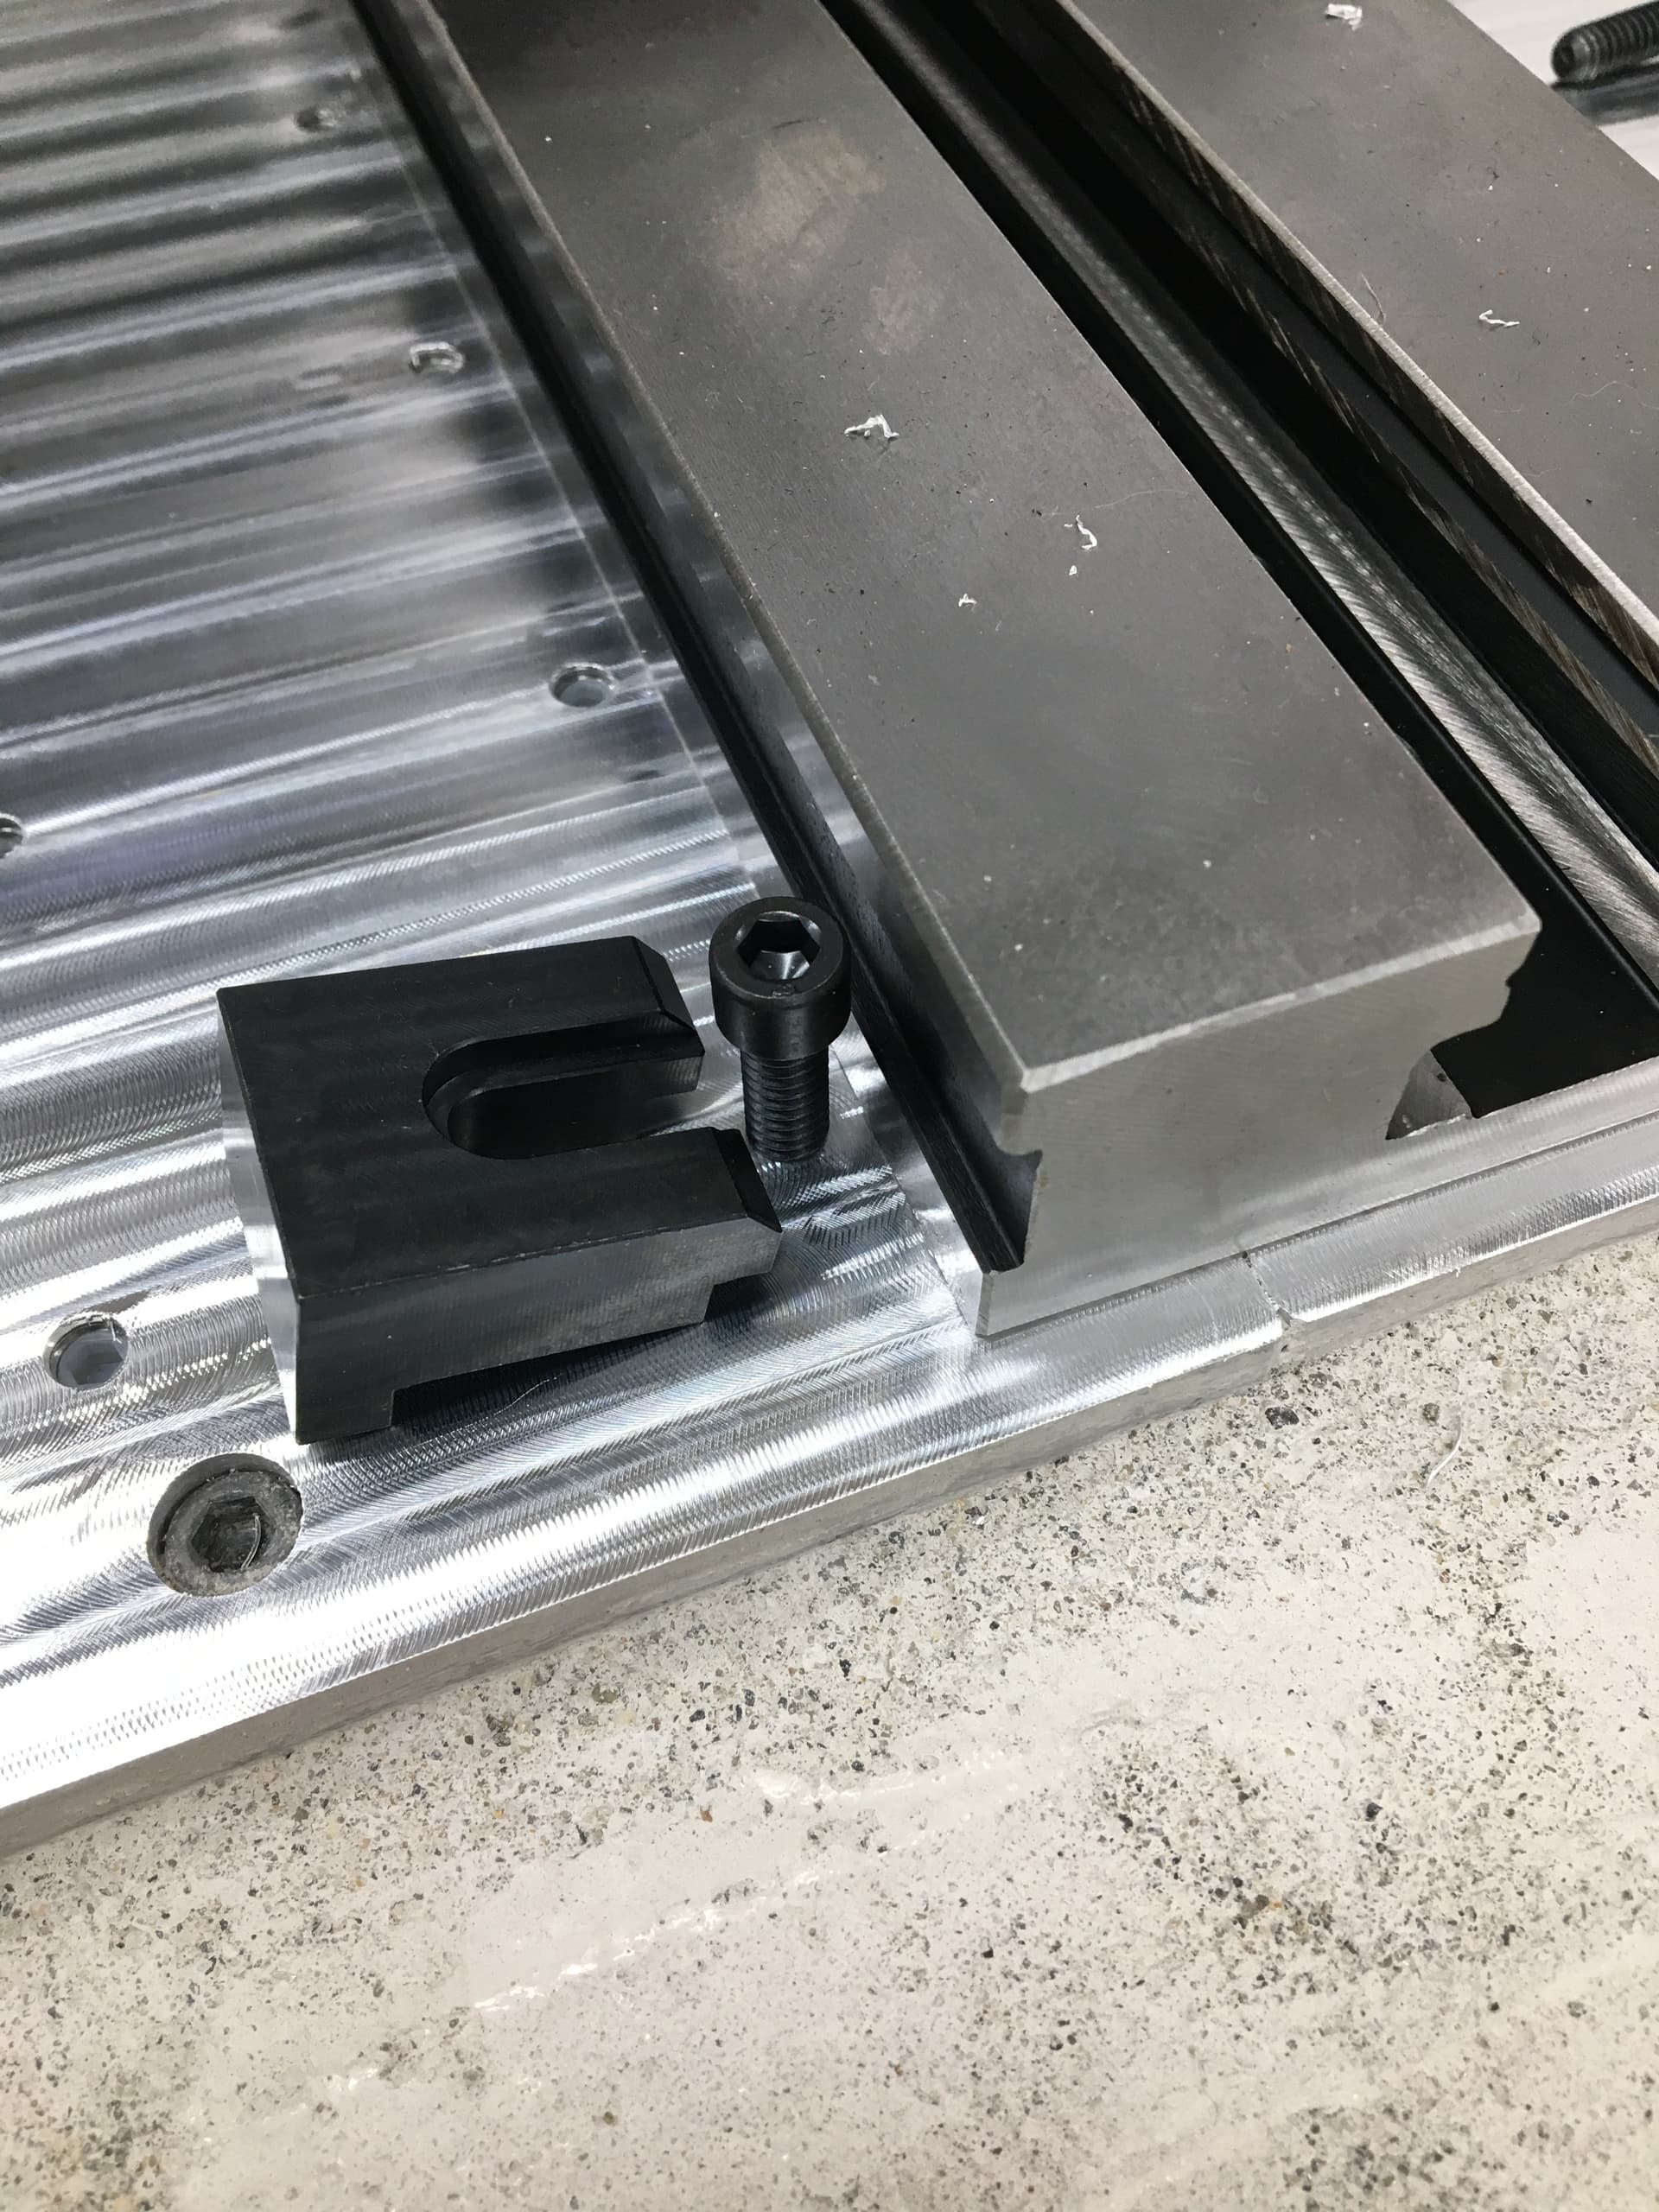
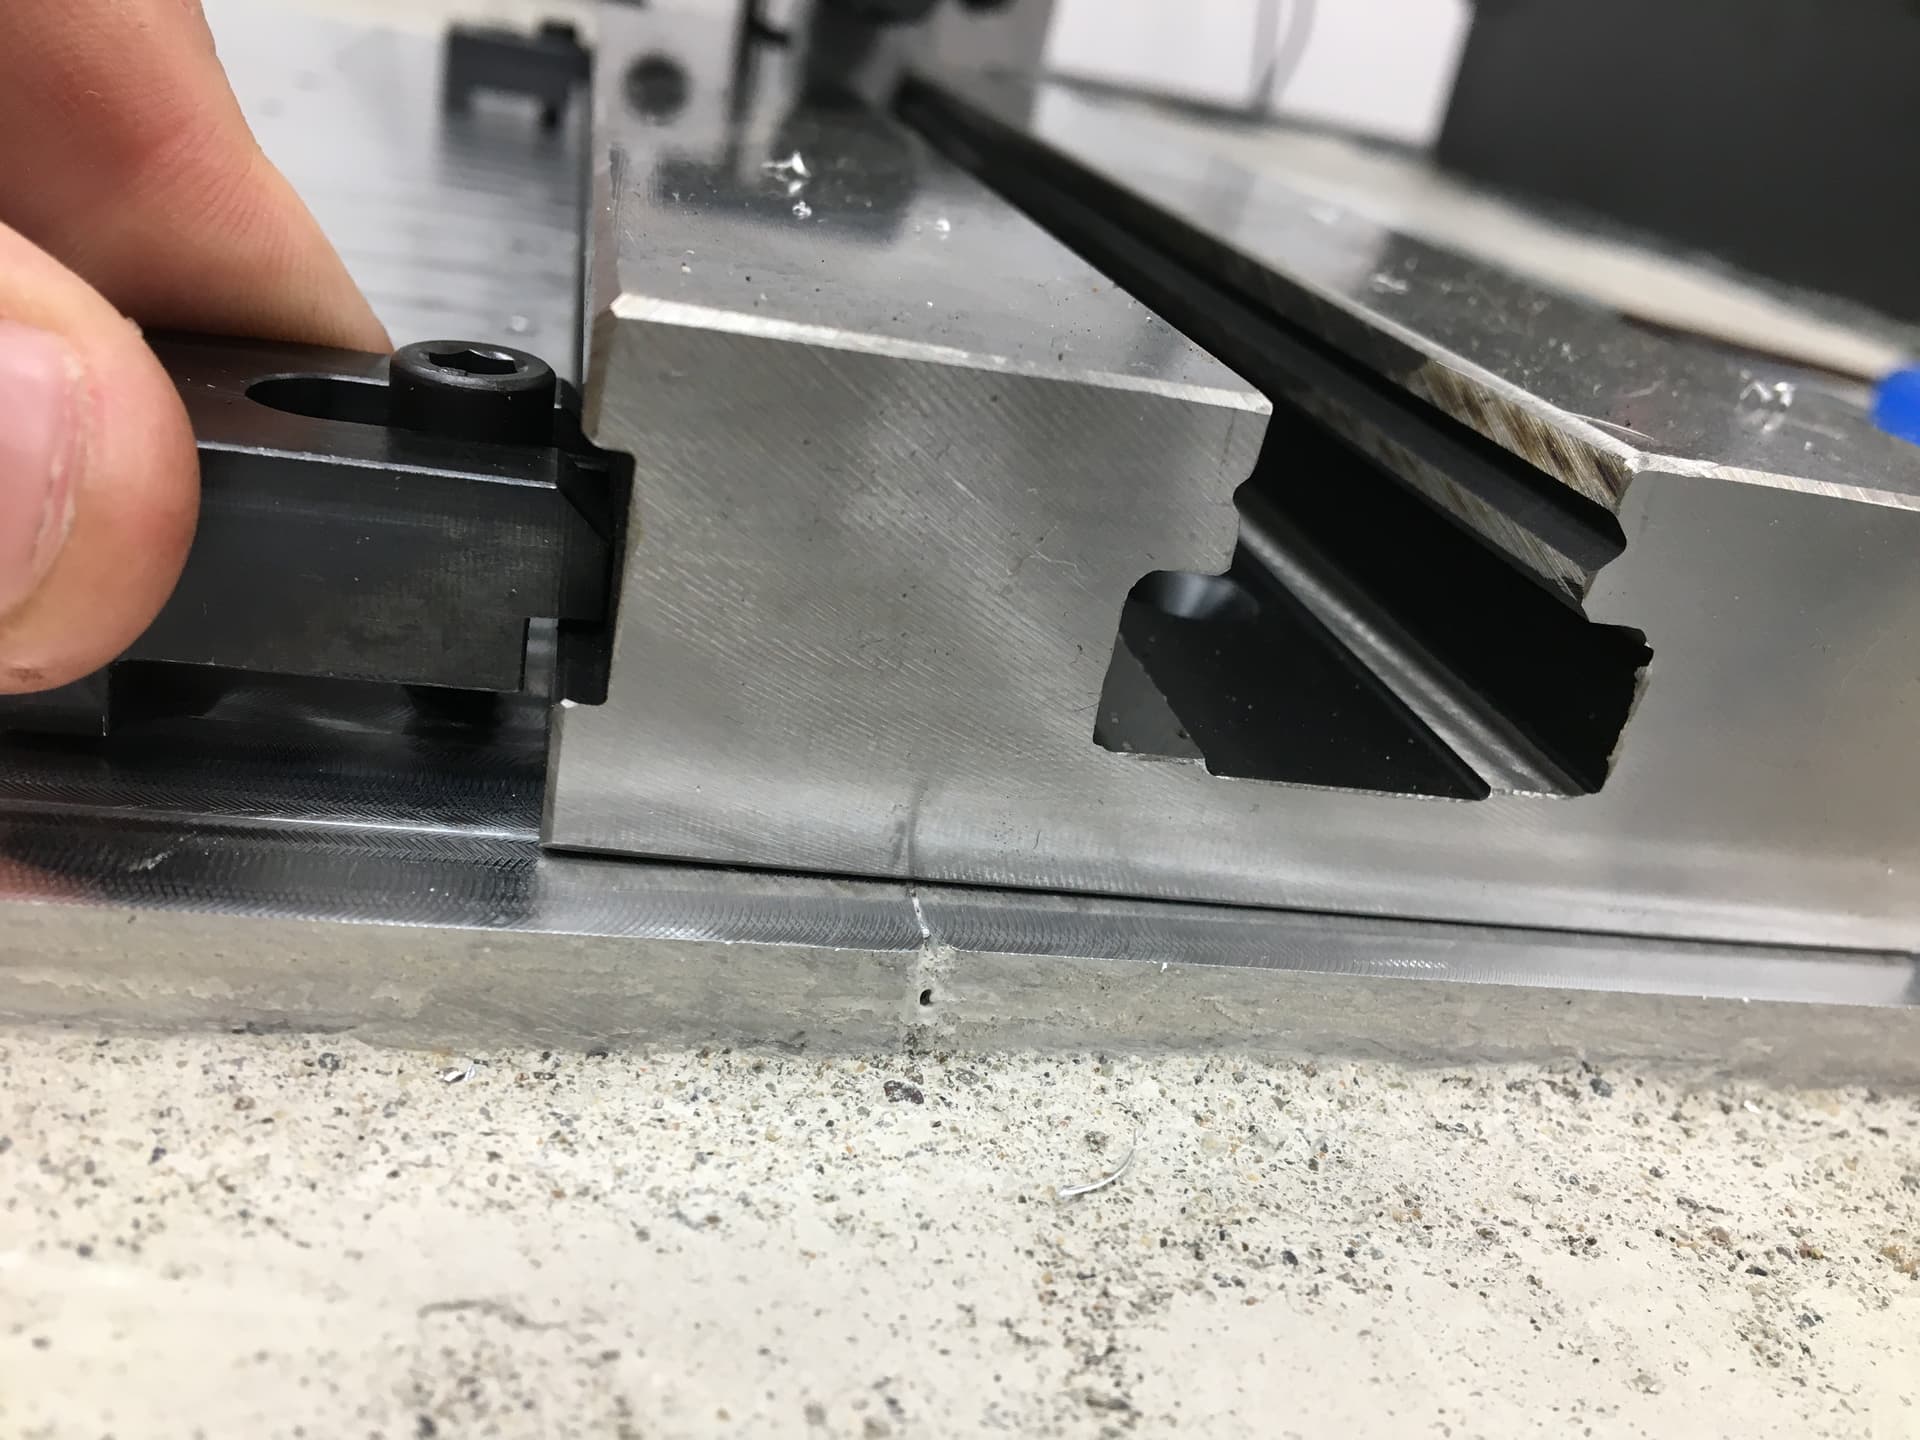
However, I knew we weren’t going to have time to epoxy stuff right away and I wanted to get a t-nut machined to make my small lathe more functional with a quick change toolpost I had gotten. I was also a bit worried about how much we were going to have to mill off because one side seemed to be pretty low on the plates and I didn’t want to over-epoxy it and then be milling a bunch of epoxy while surfacing. So we did a rough surface of the baseplate and I threw the vice on it. Unfortunately, it looks like the guys at the factory lost their bottoming tap on the day my plates were machined :yum: The vice wouldn’t bolt down due to that, so I went and picked up a new decent quality 1/4-20 bottoming tap. However, I wanted to get it done that night, so I put a washer on the bolts, tried not to crank them down too hard, and ran them above the slots they’re supposed to sit in with fewer threads than I’d ideally like to engage. But it worked fine!


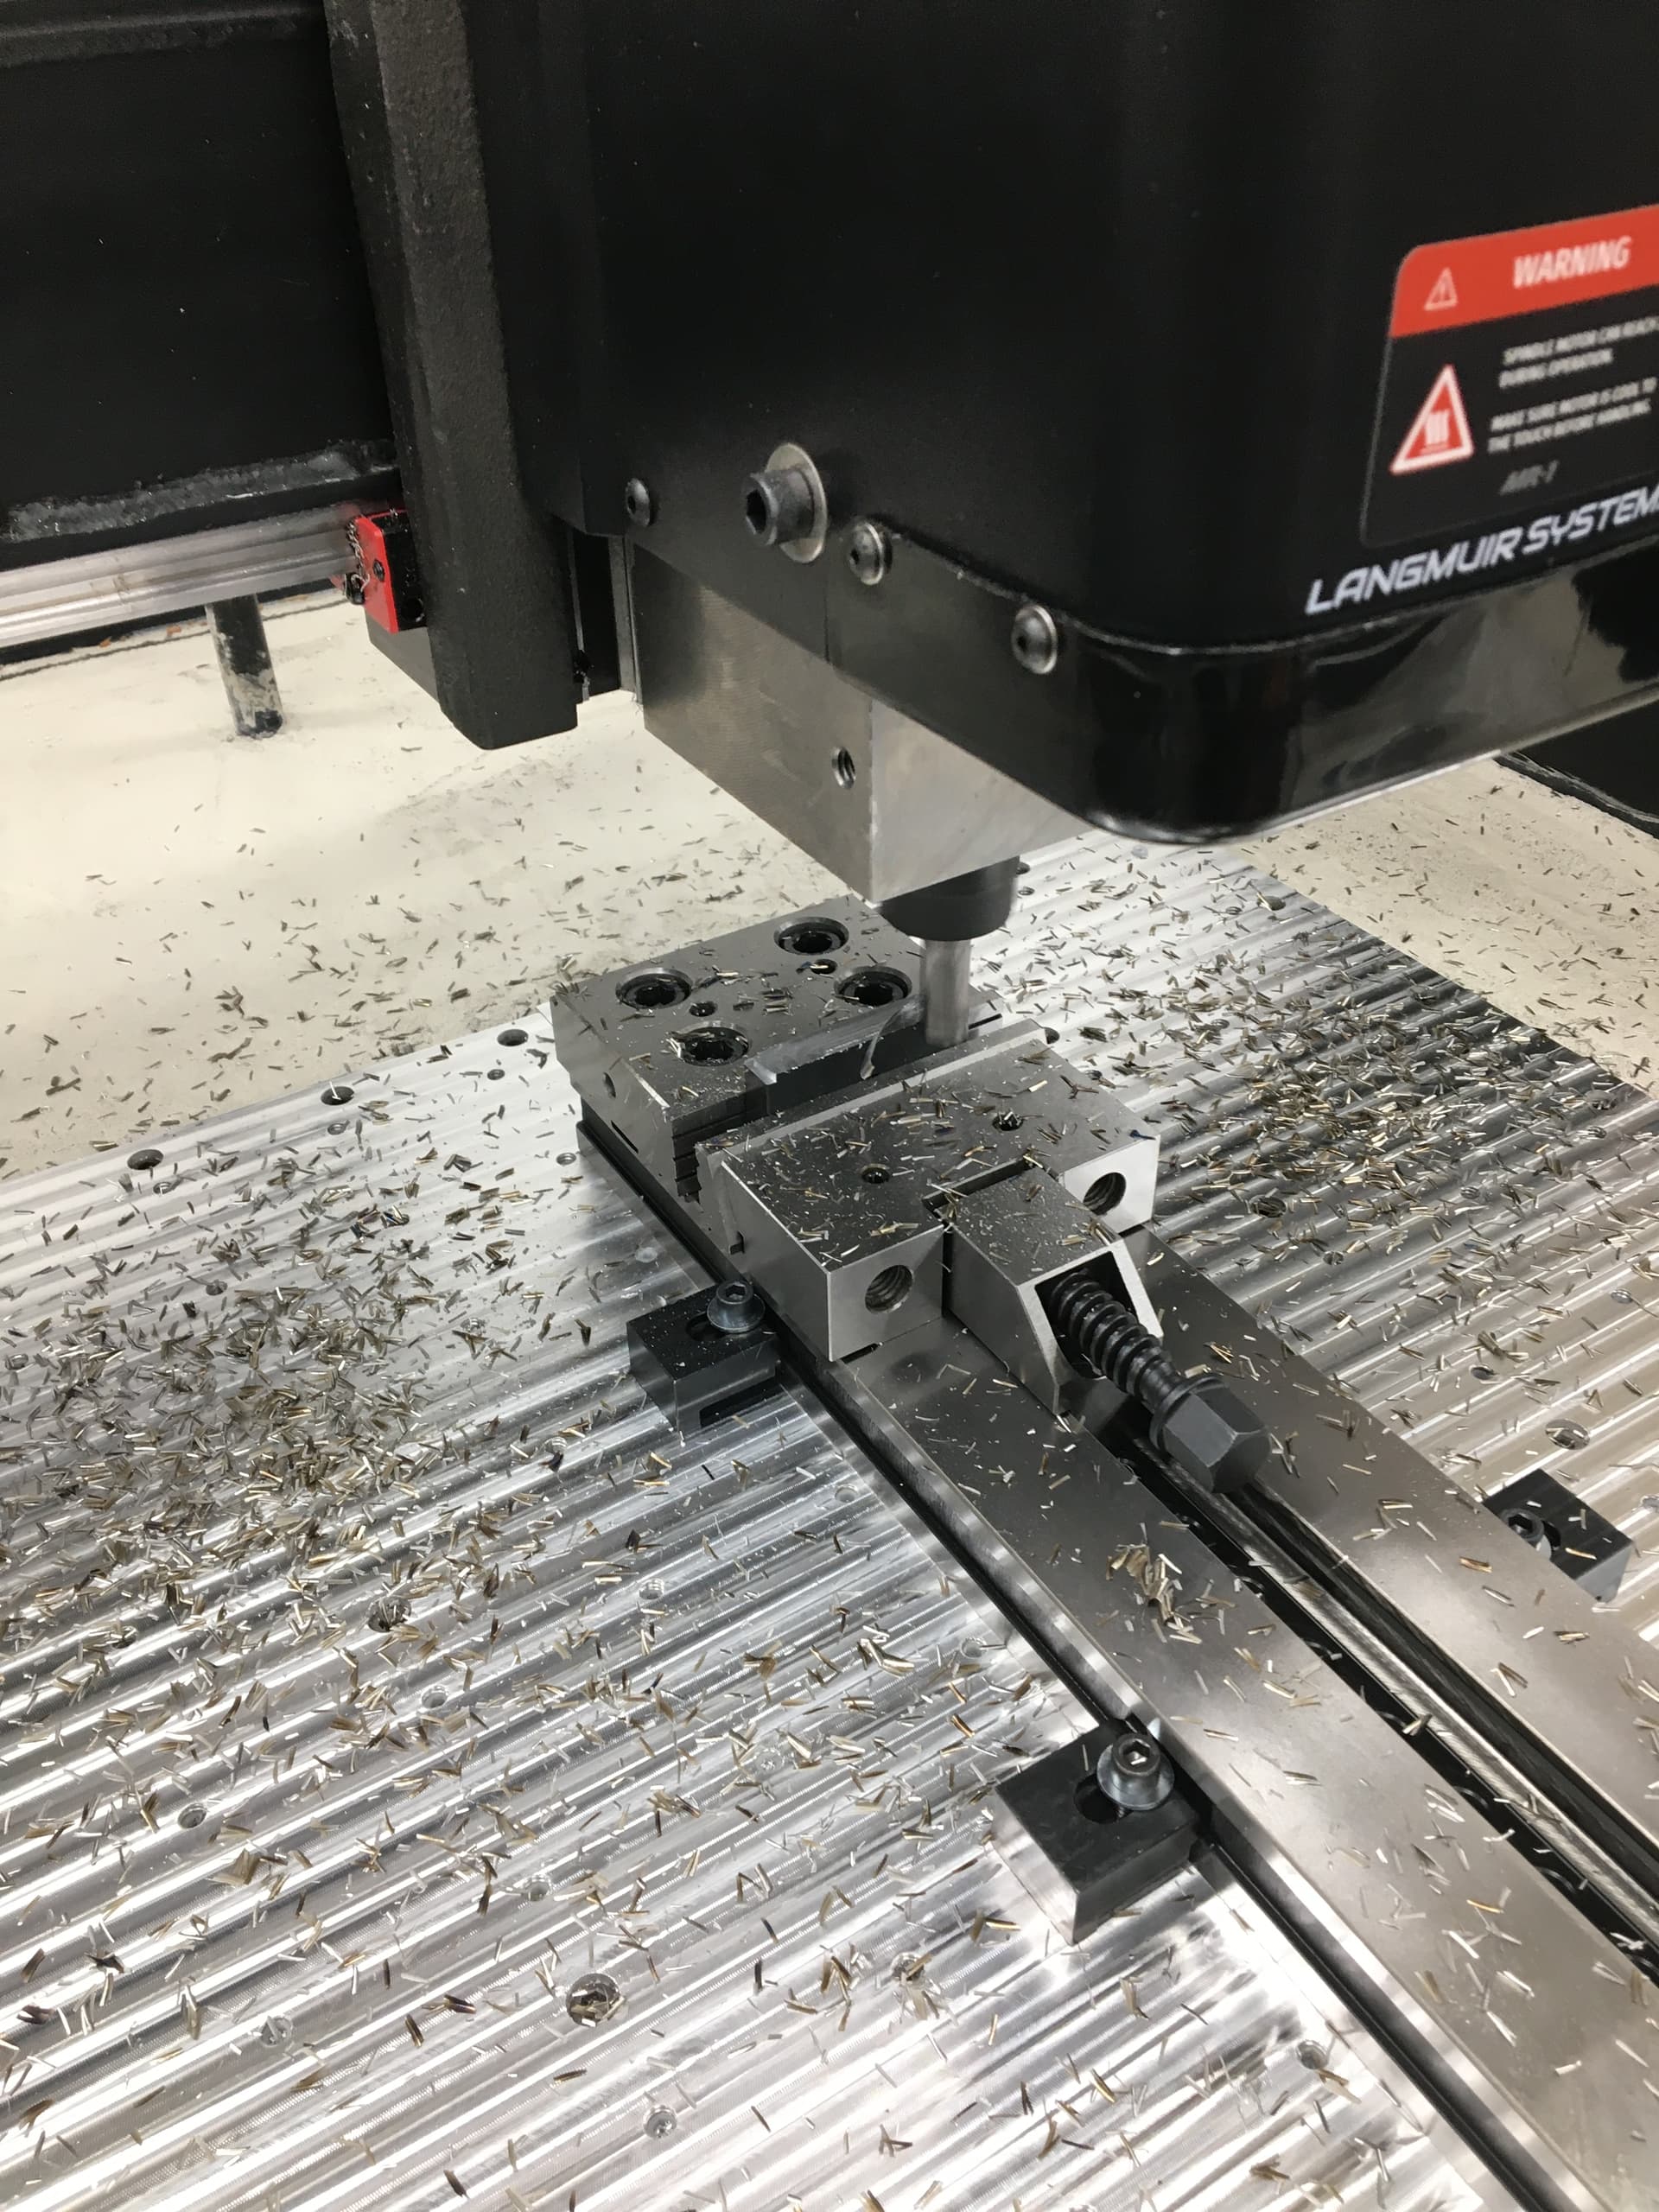
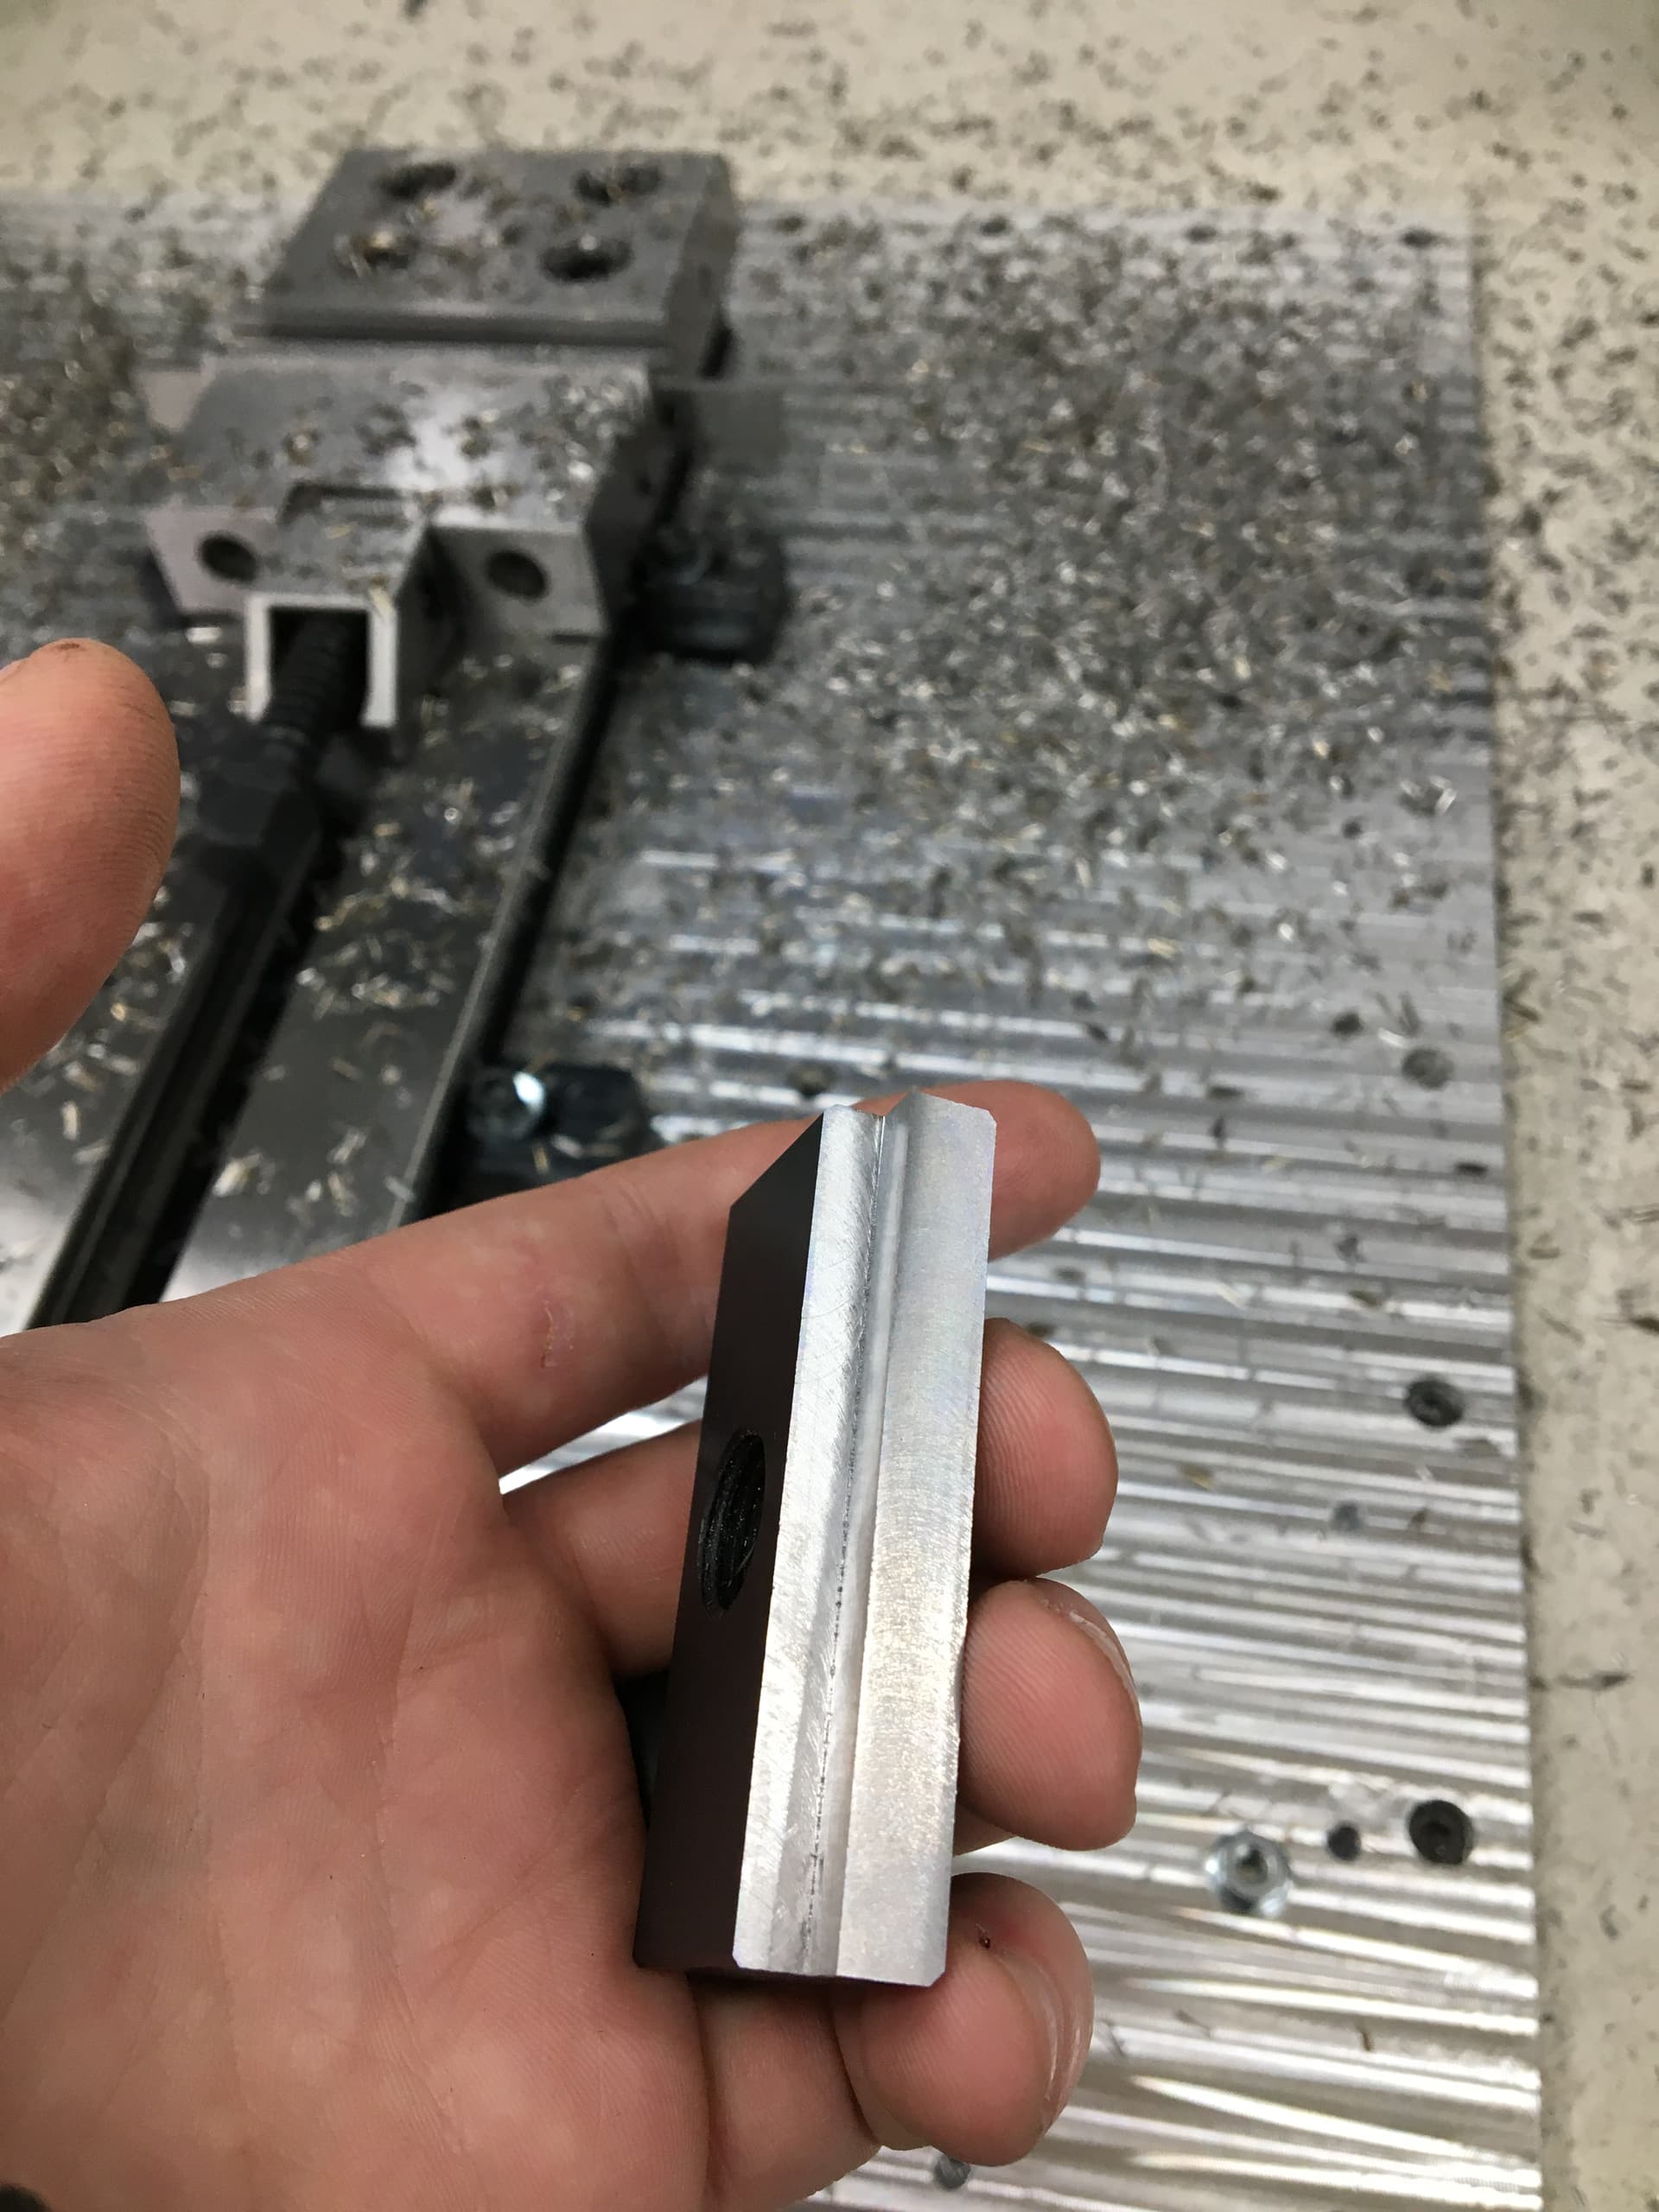
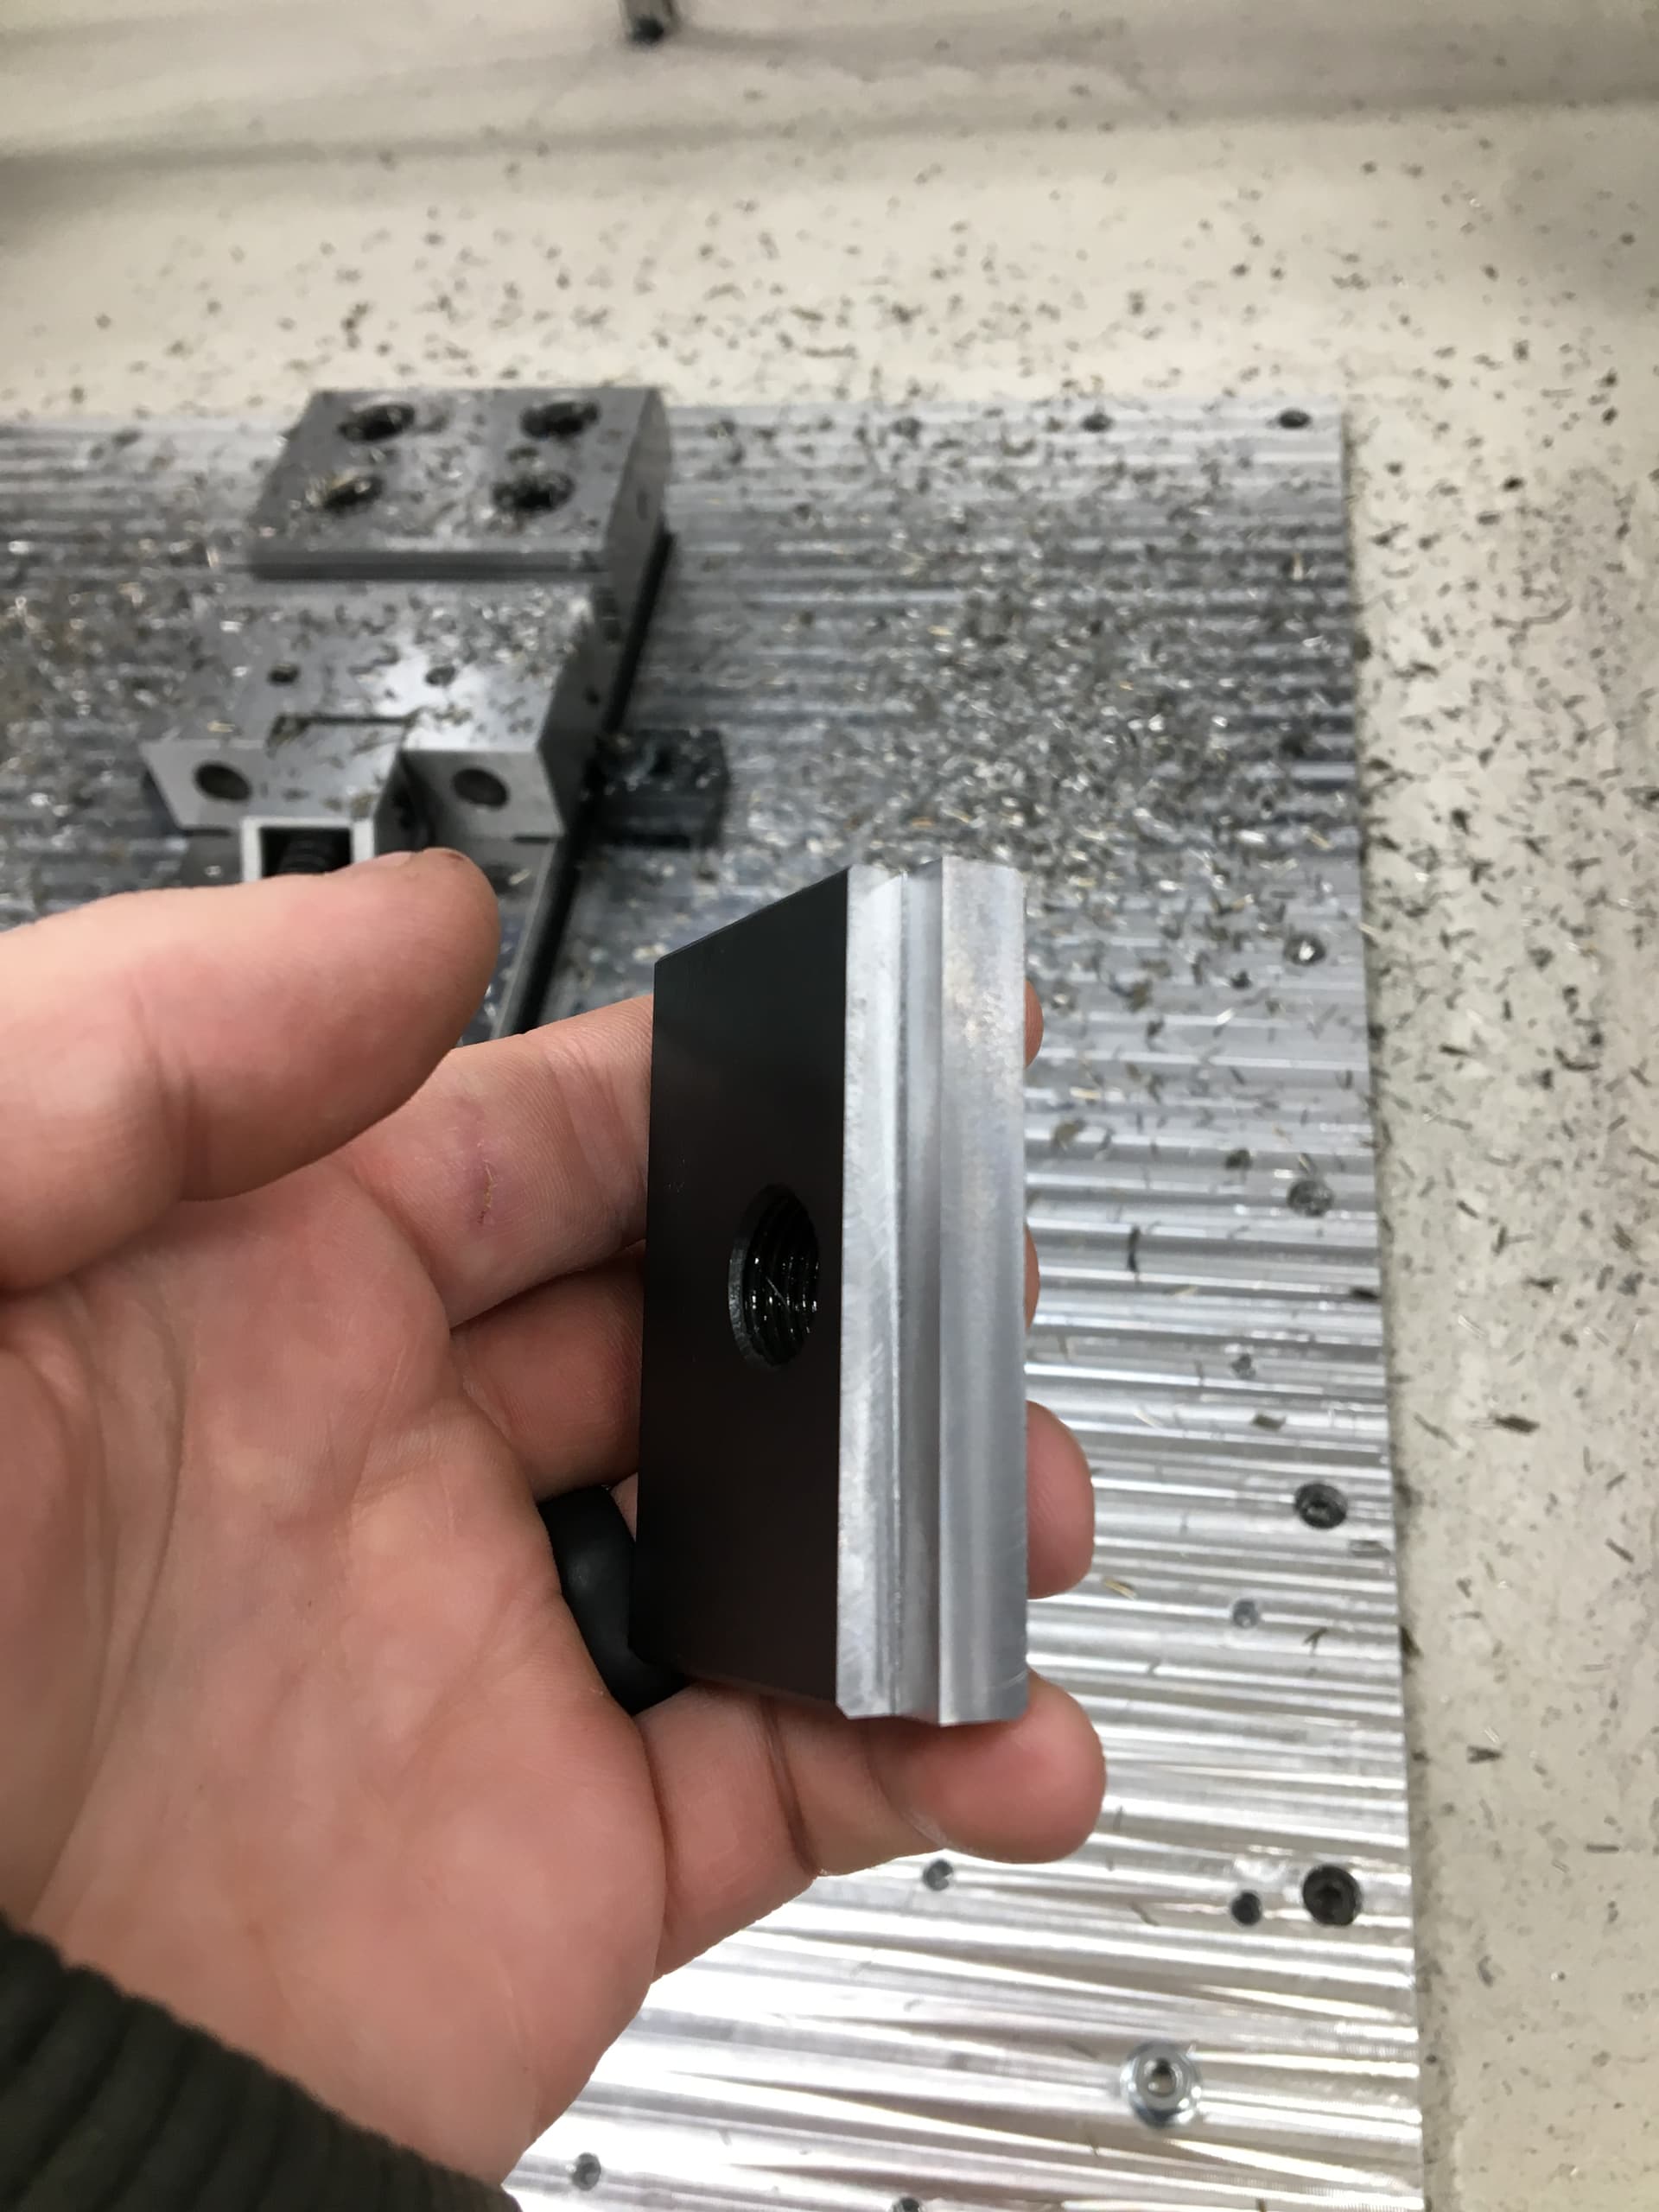
Being the first part I had actually cut, I have to say, it was a bit nerve-racking to cut steel of an unknown hardness. On one hand, it was just a big blank with threads put in it, so good chance it was on the softer end. But due to having threads, it also could have been on the higher end of hardness. No real way to know without actual testing, so I went for a “medium hardness” and was prepared to slam the stop button. In the end, I had to modify f/s a little, but it honestly cut great. I cut it dry since I didn’t want to run coolant on the bare cement. I think it had cured a full week at that point but still didn’t want to mess with it.


After that, the lathe was 10x better to use and about 100x more repeatable. Awesome success for the first part and it was awesome to see the machine work so well on steel. My gripe with lower-priced hobbyist-level machines has always been the lack of ability to cut steel, the MR1 chomped right through it without even blinking. Nice job folks, seriously.

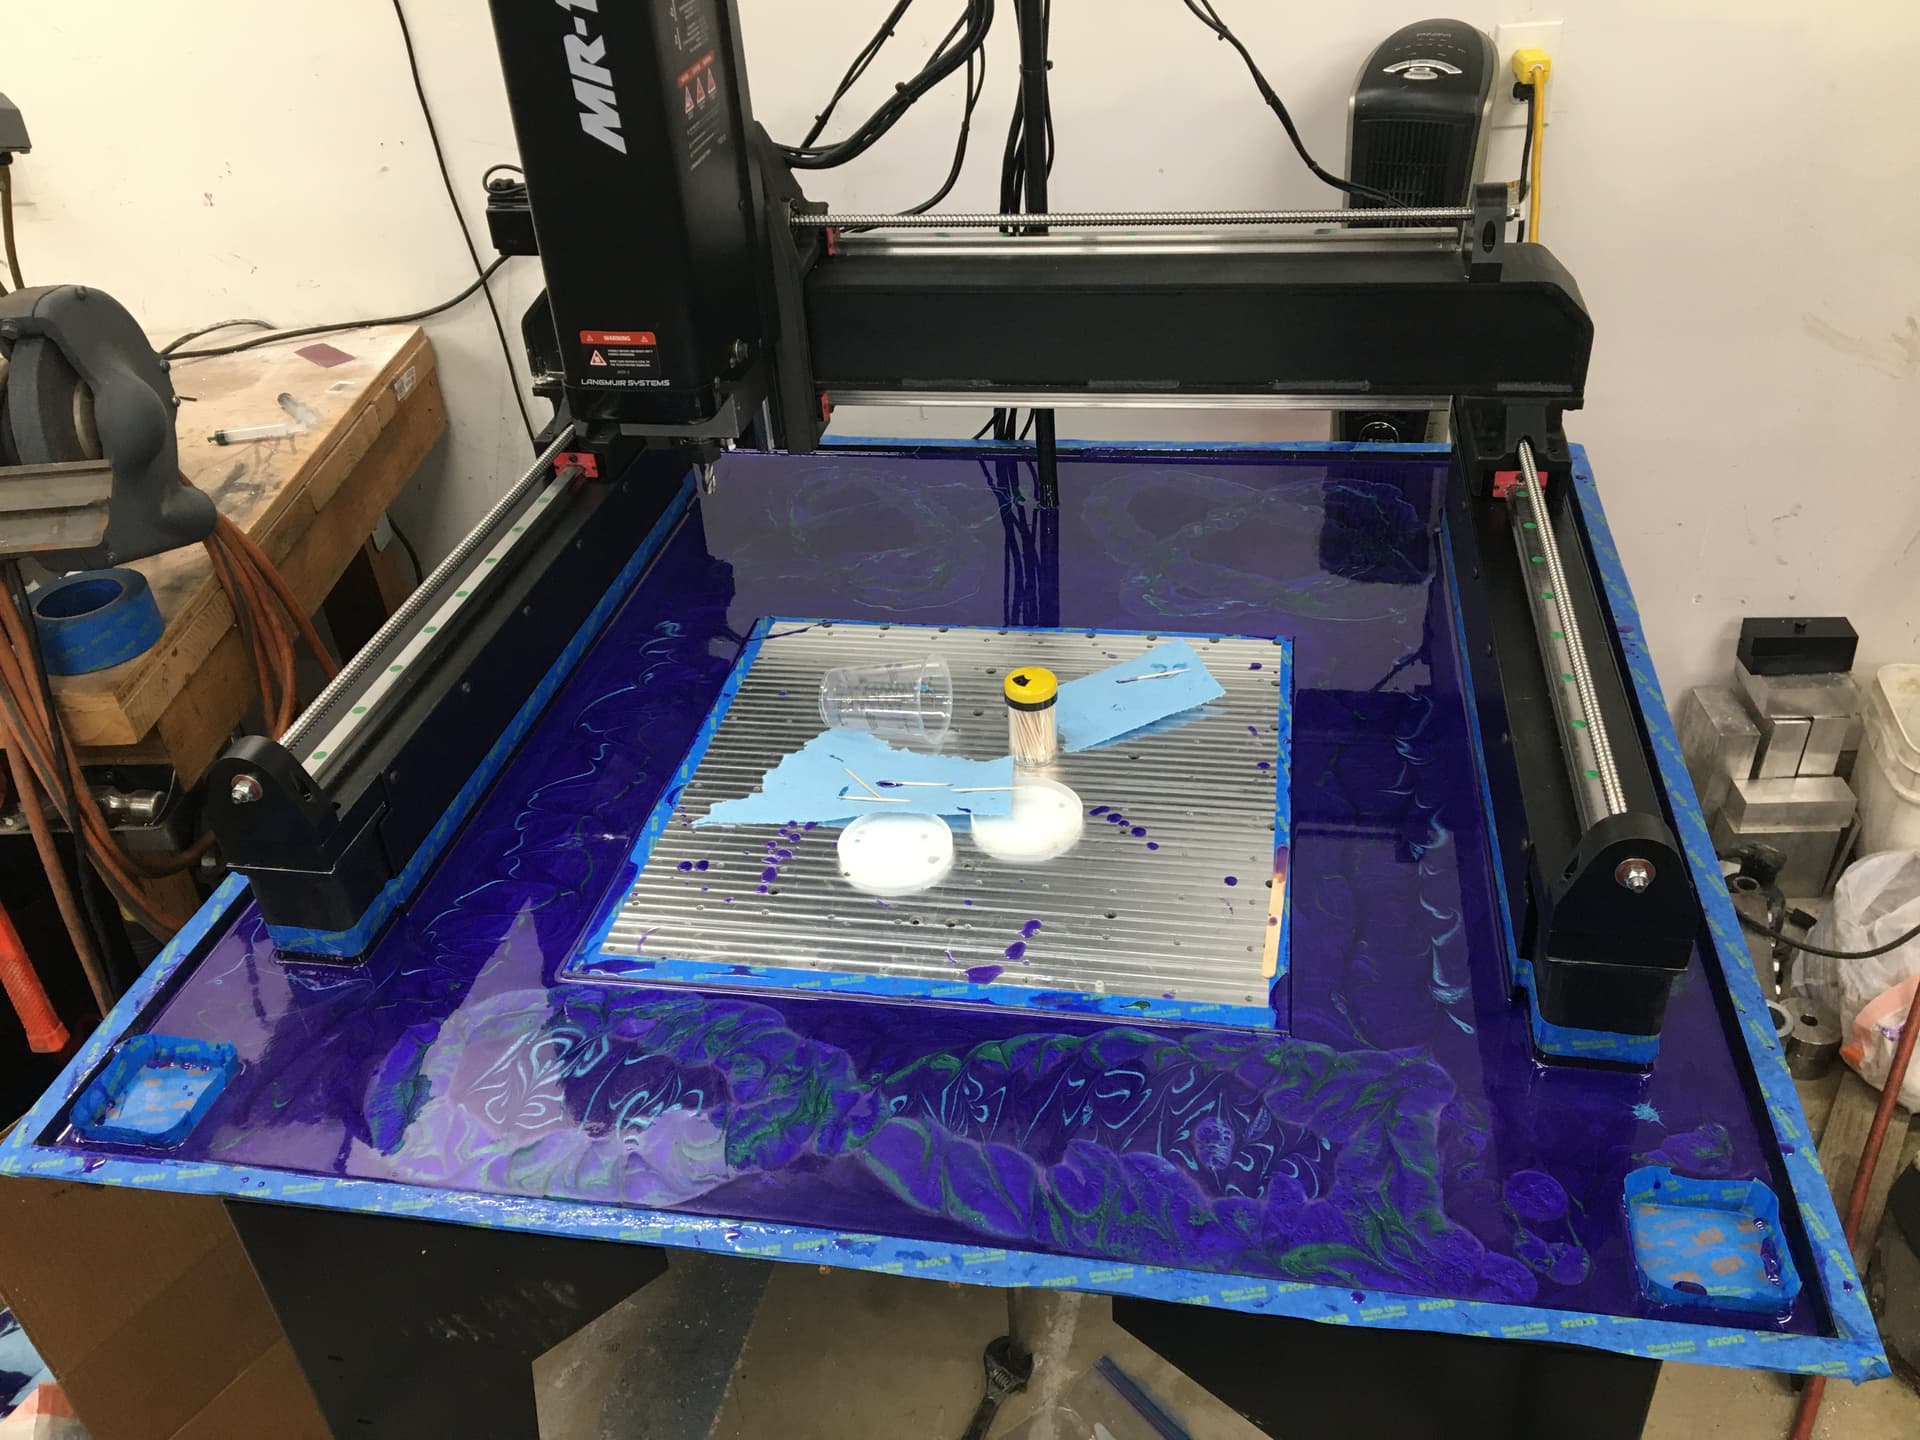
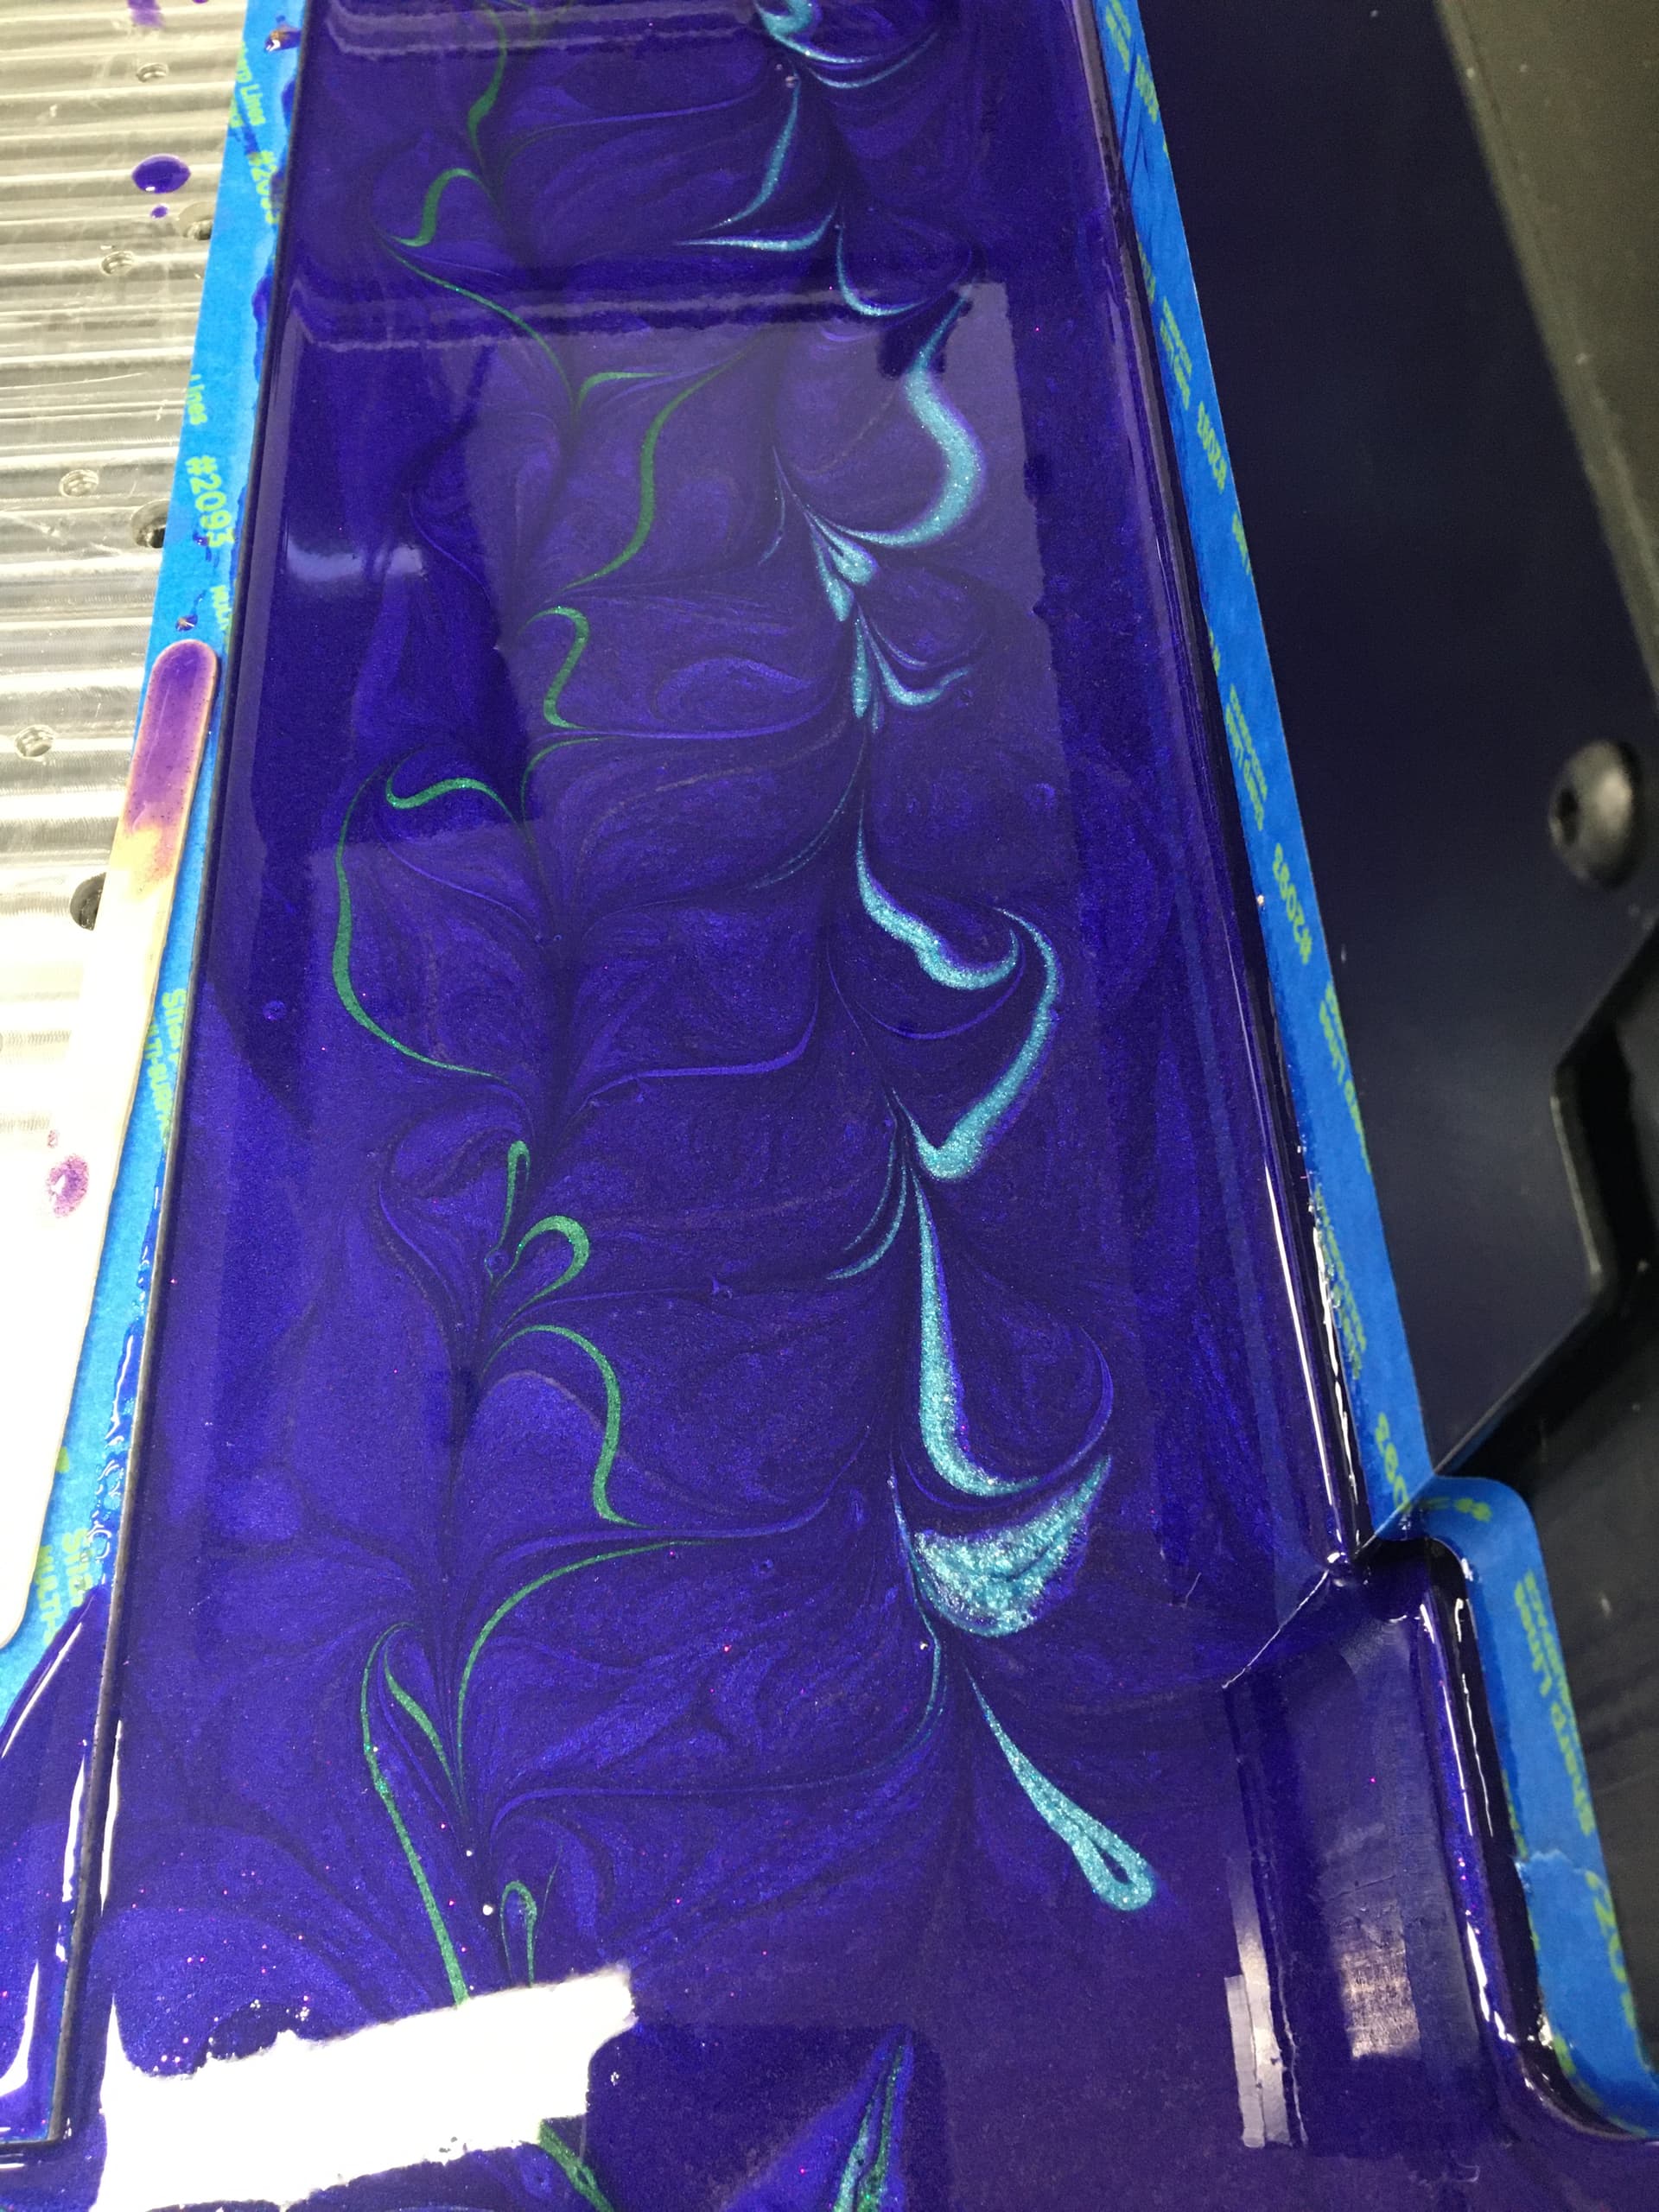
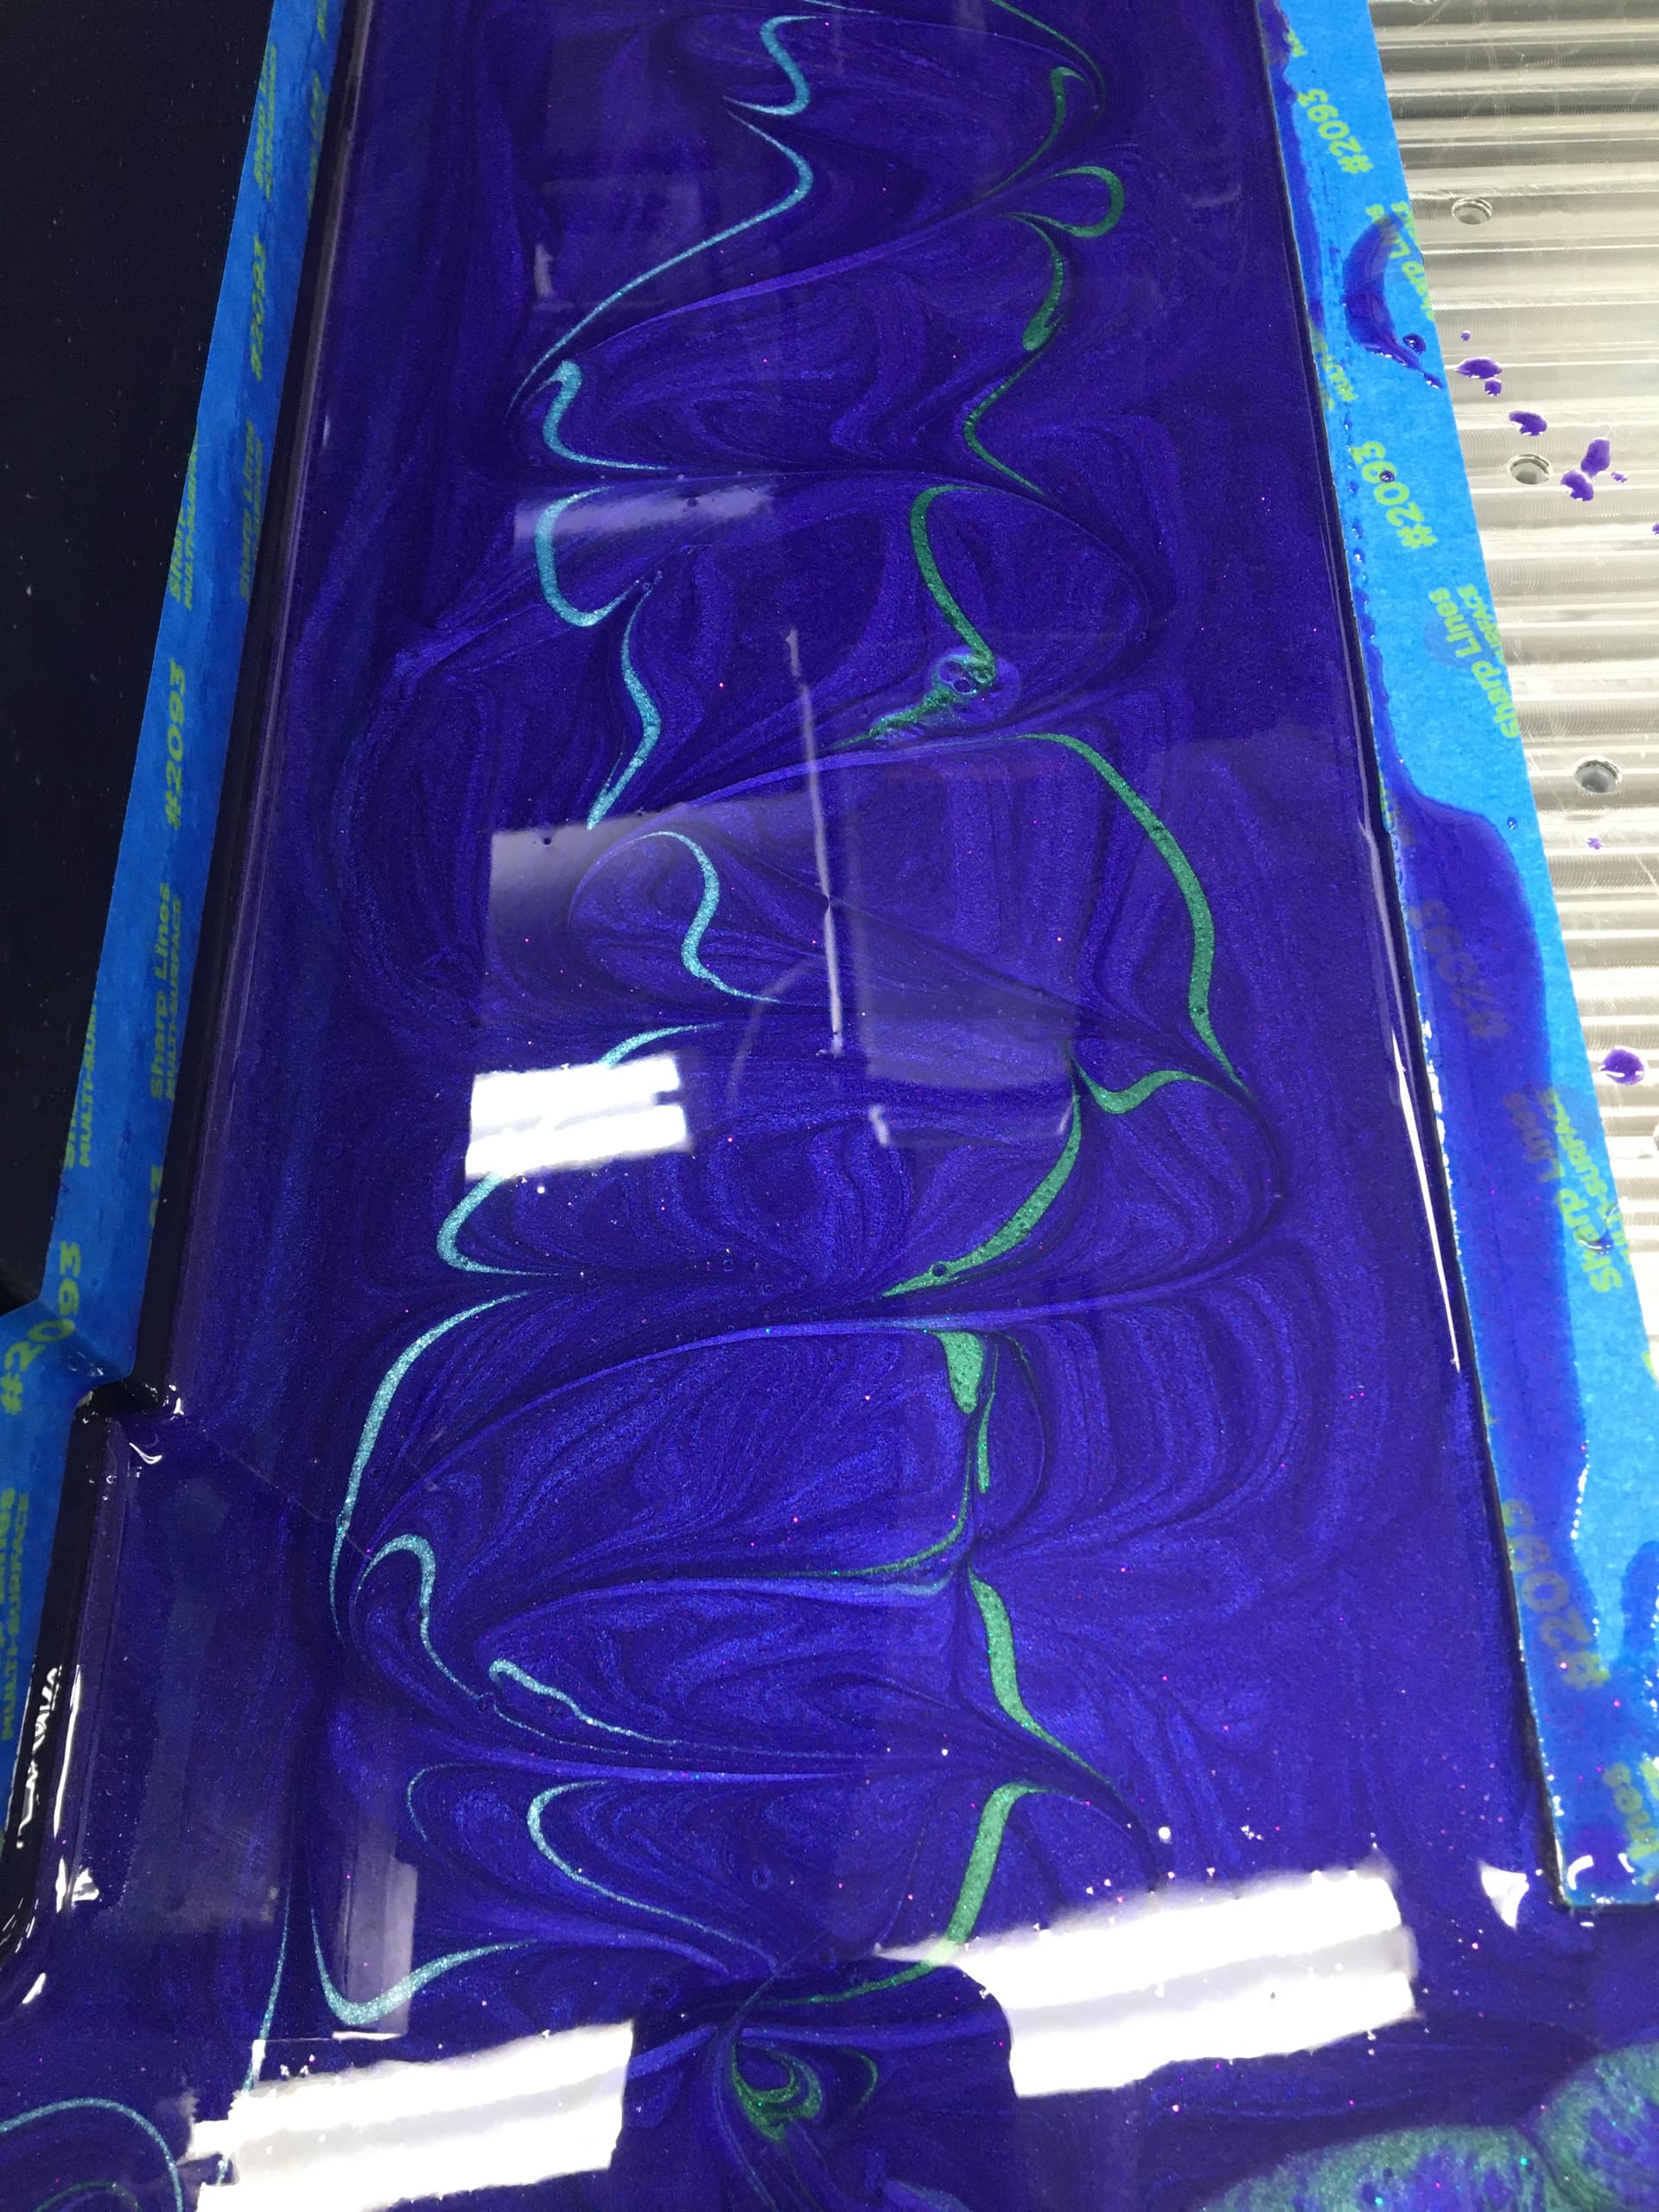
Next up was epoxy! Had a good time with this one and was decently happy with how it came out. The wife had some fun with the blue/green colors and designs and I think it ended up being pretty fun colors. Very groovy. Put a tarp and blankets over it with a couple of space heaters and walked away for a few days. I think by the time we actually put epoxy on it, it had been almost two weeks for the concrete to cure, so should have cured well! The only thing I wish I had done was put epoxy under the y-axis rails. I may try to blast some in there with a syringe like we used for the additional colors, but for right now, I sealed up the edges with some rtv.


We finished up assembly this weekend. I was gonna send an email to the Langmuir folks to get their opinion, but I had like…a lot of nod. It took two of the thick y-axis shims and an x-axis shim on the bottom to get the nod ironed out. I did get it down to about 5 tenths in the end, but that was pretty far off what the calculator was saying to do (2 x-axis shims). I did make sure that the top of the 1-2-3 blocks was completely flat in that area before measuring and it was. I had a small amount of tram as well, and I got that mostly ironed out. It was a touch under .001" when I called it there.

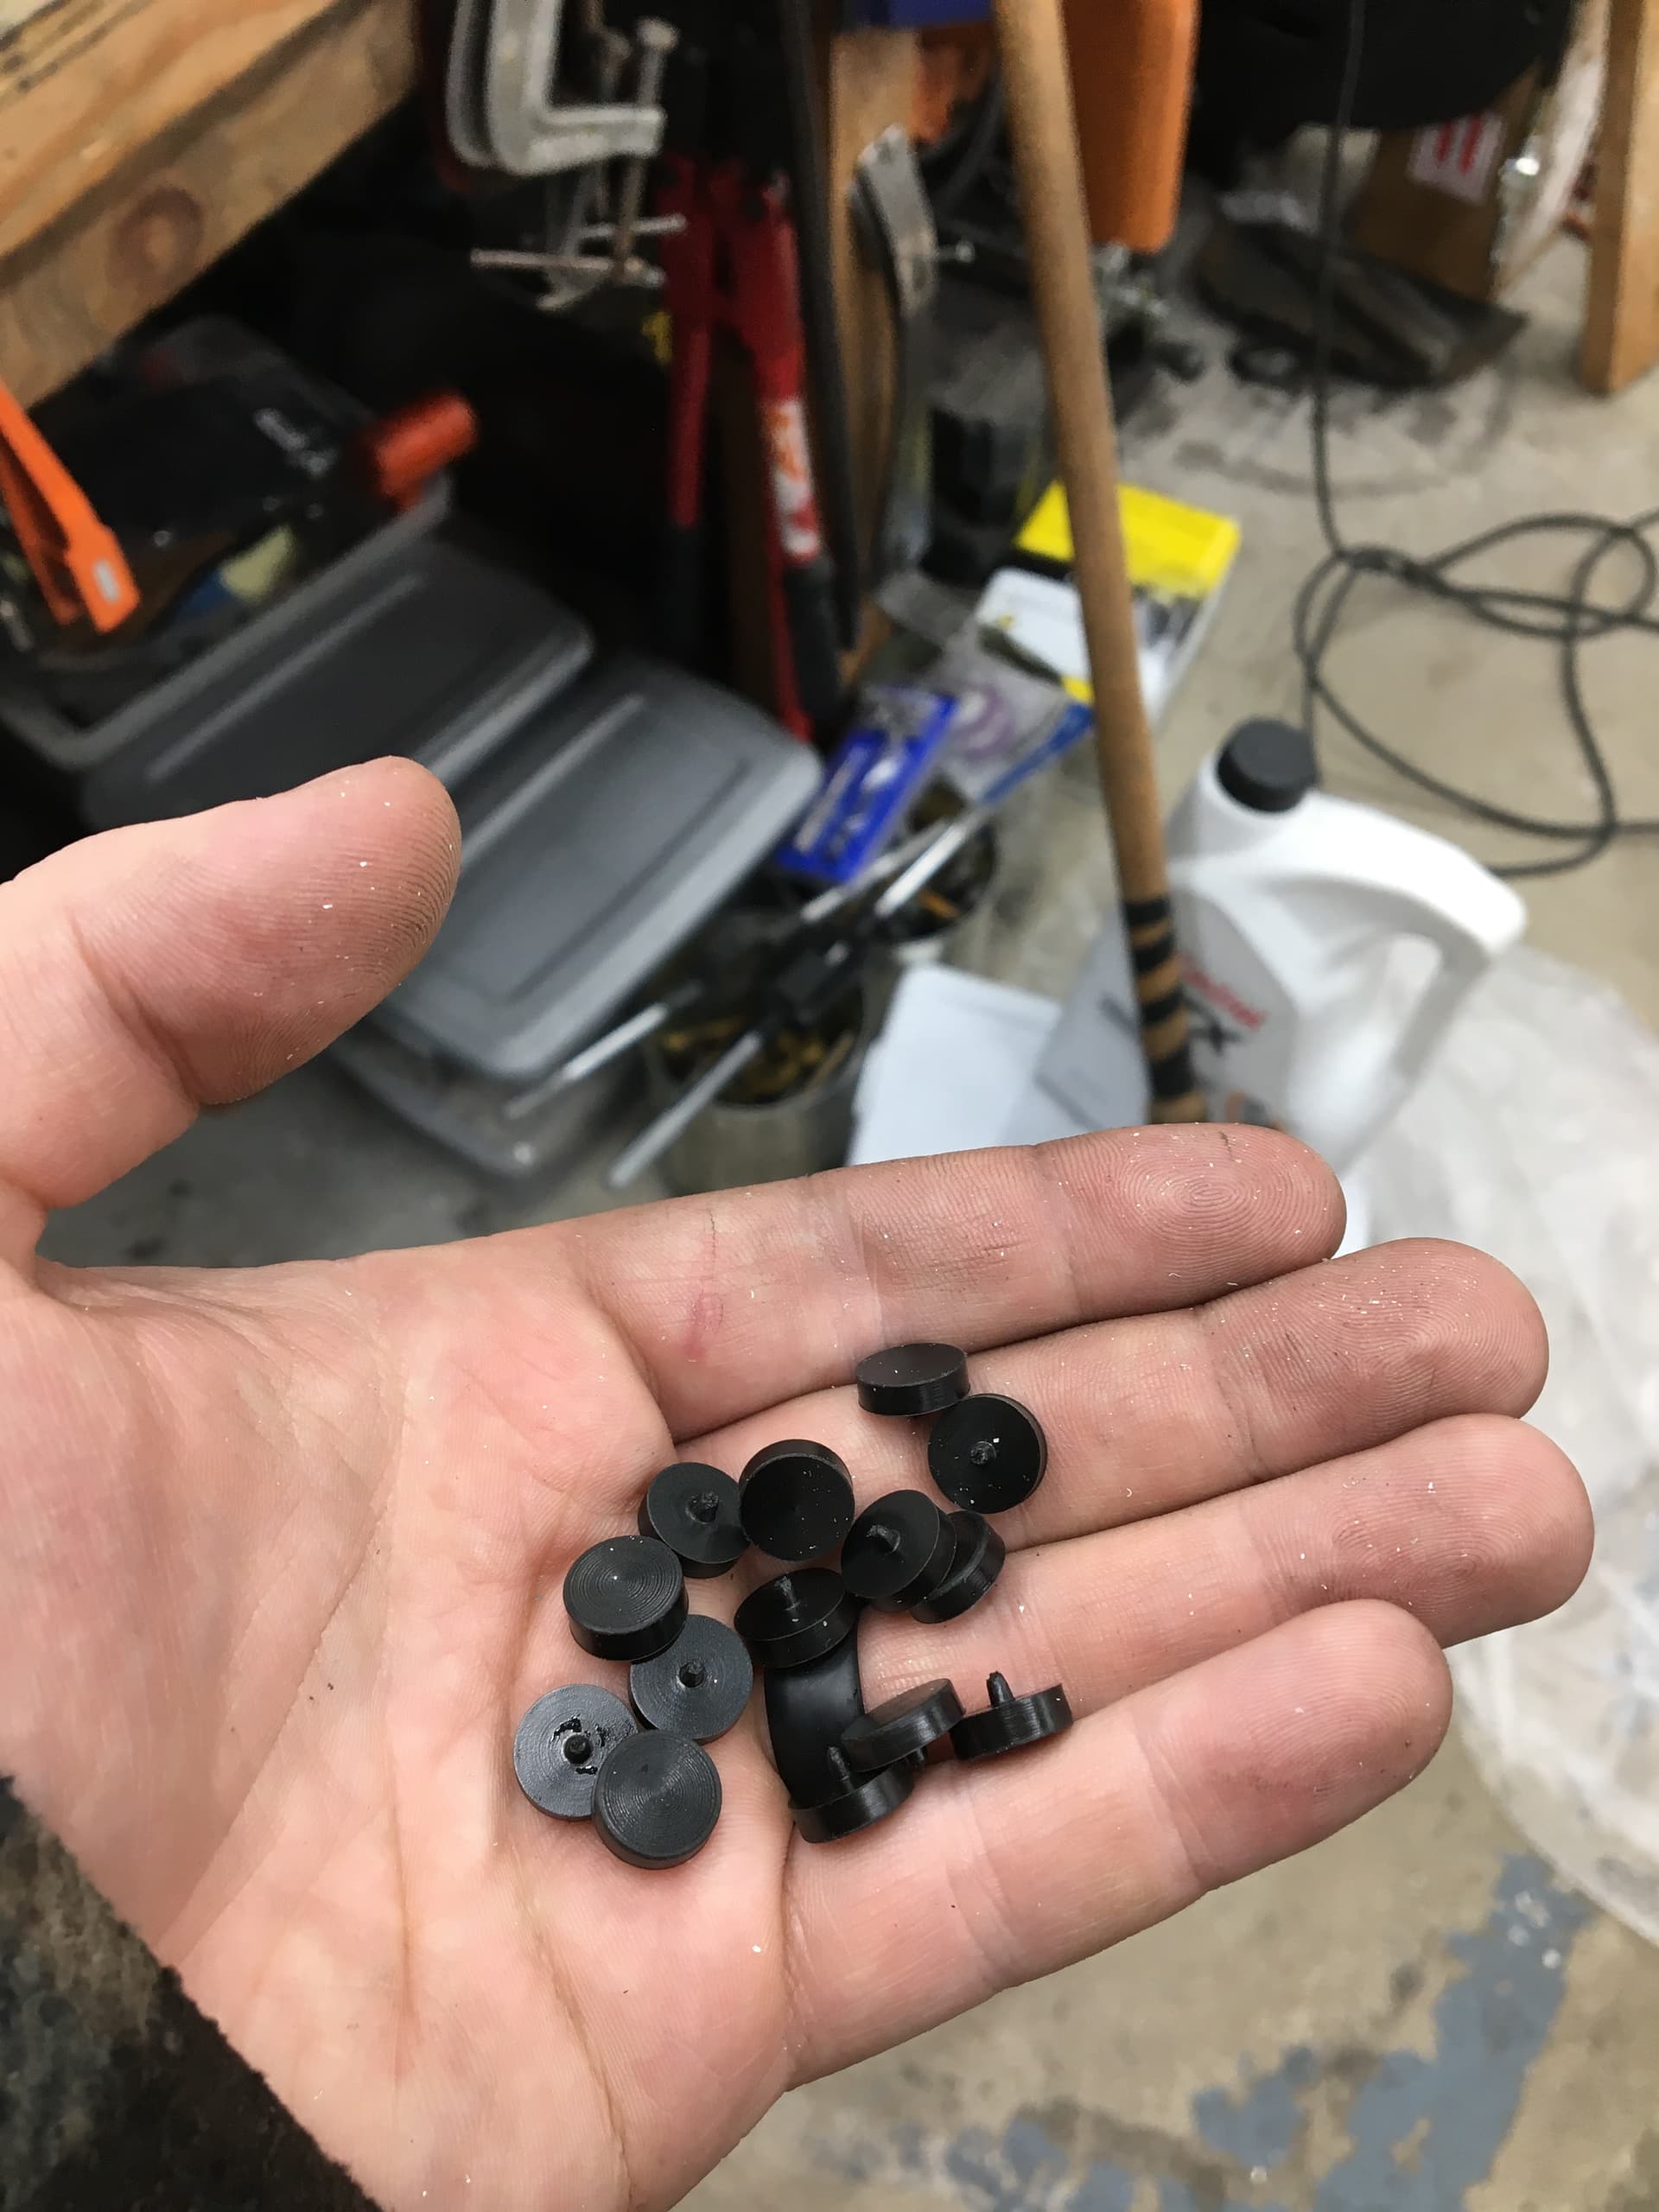
The little green caps didn’t fit very well on my y-axis (they fit perfectly on my x though) so I turned about 35 plugs out of acetal so I had some extras. I used the updated toolpost that the MR1 had machined the t-nut for to make plugs for the MR1 rails. Some sort of weird machining cycle of life going on there.

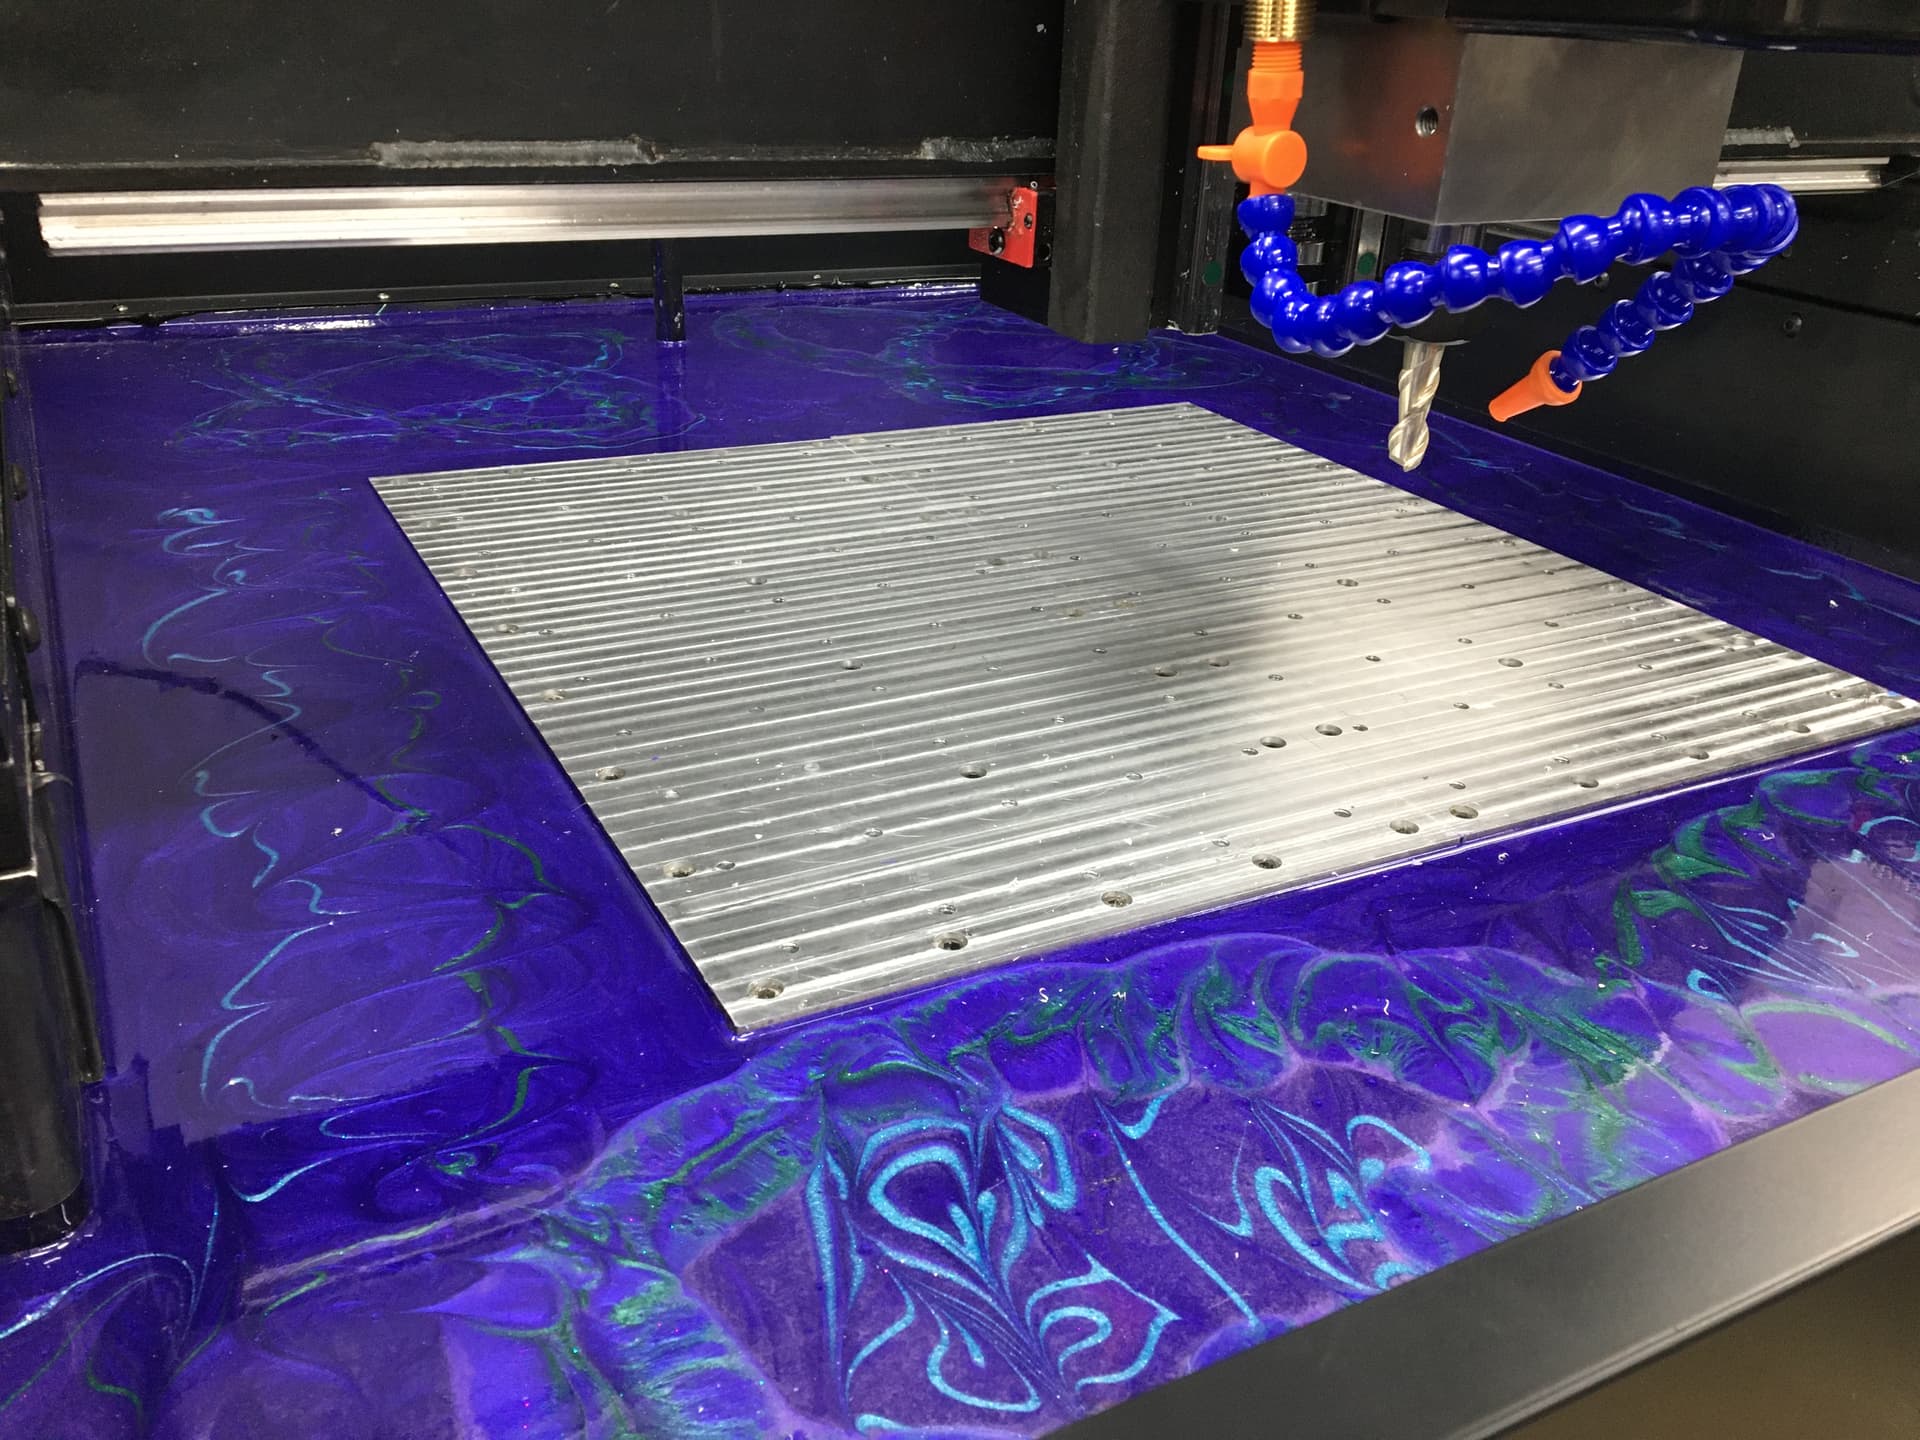
Finished getting the coolant set up, chucked up a new endmill, and did the final surface on the baseplate! Having the enclosure on sure helps with the mess lol.

Did the travel compensations, set up the tool setter, and then went to do the probe. Seemed they missed that one in QC at the factory too lol. Had somewhere around .030"+ of runout. Unless I missed it in the video (completely possible), they didn’t mention loosening the bolts on top before using the set screws. Because of that, I didn’t get much movement out of them. After messing around with it for a while, I finally tried that, and then I was able to make all the adjustments needed to get it right. Wrench is a 3/16 for those btw, luckily I did have one! Got that dialed into about 3 tenths of runout and was happy with that.

Picture limit seems to be hit, continuing in next post.

4 Likes