Thanks again for taking the time to post this. Been going back through your process as I noticed on the last project I cut, that my table has gotten worse and is now about 3/8" out. I am going to have to do the tear down and re-square as you outlined. I have started working on my rolling base and have the frame done. What size of threaded rod did you use for the leveling feet you made?
You are better off leveling the table not the roller base. My Pro table is not attached to my roller base, I level the table itself with leveling feet I made that attaches to the table legs. Each leg sits inside square tube on four corners, so table doesn’t slide off roller base. works great for over three years now.
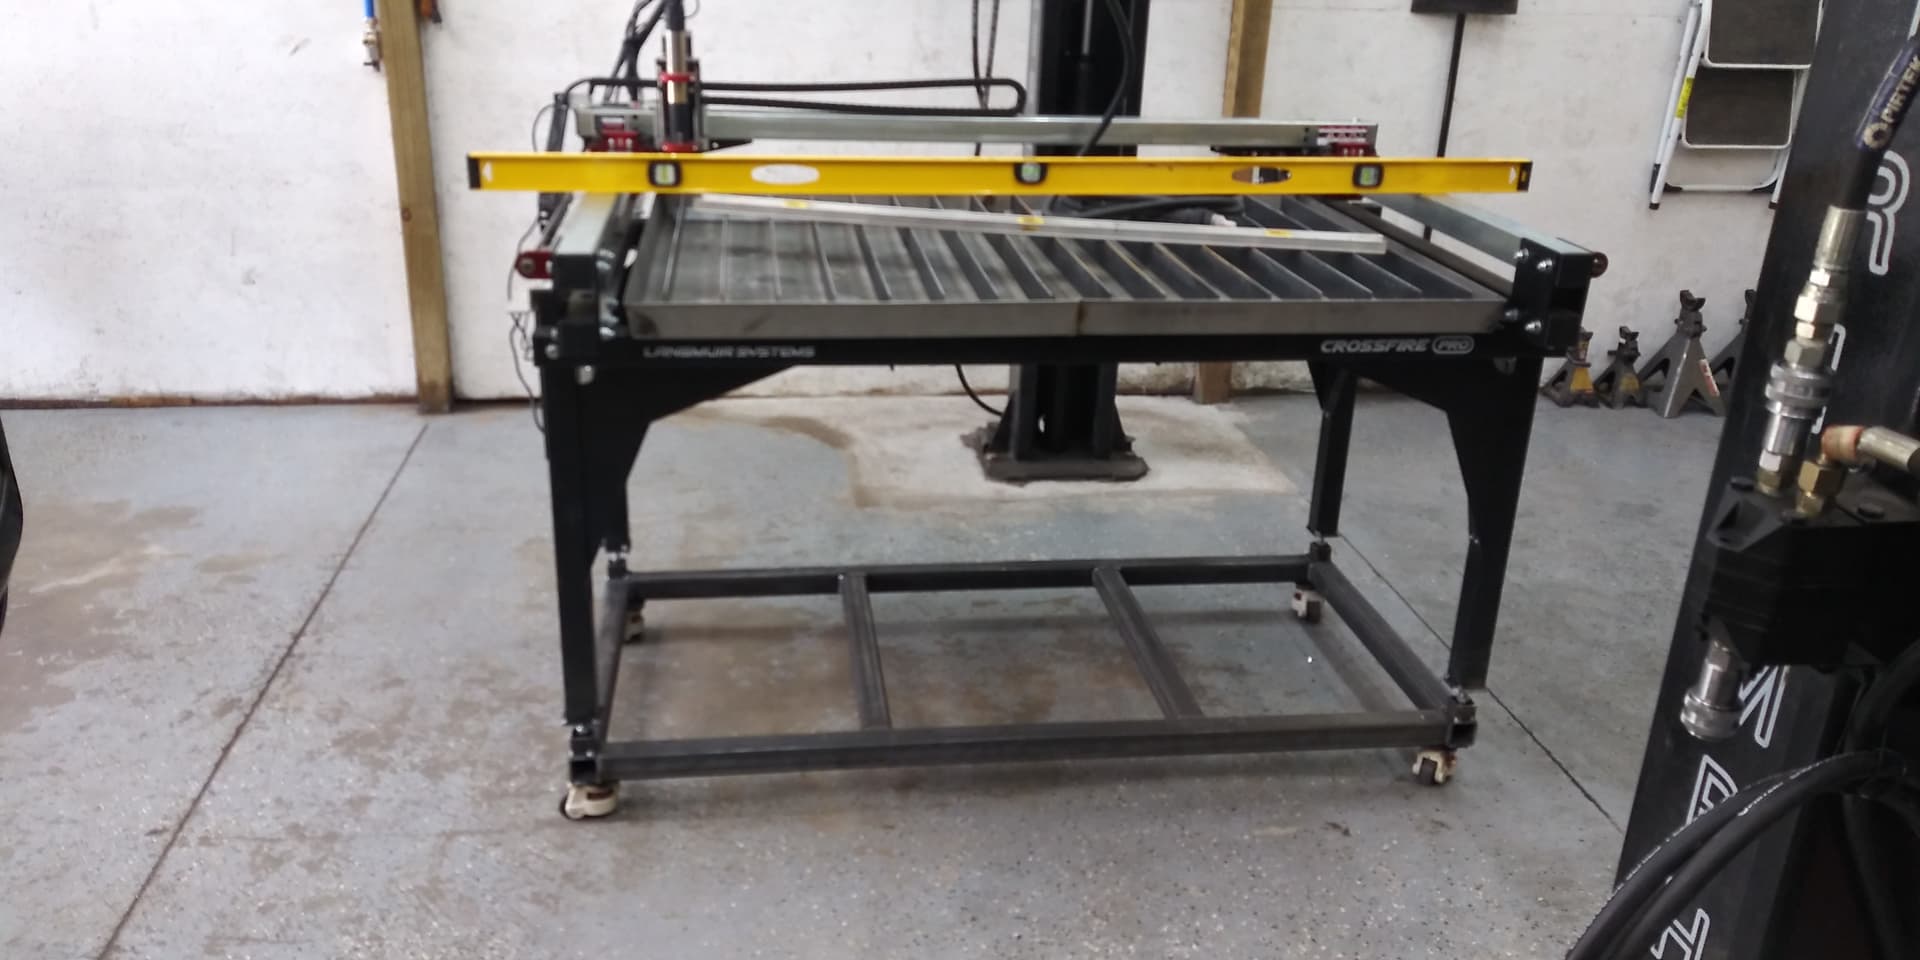
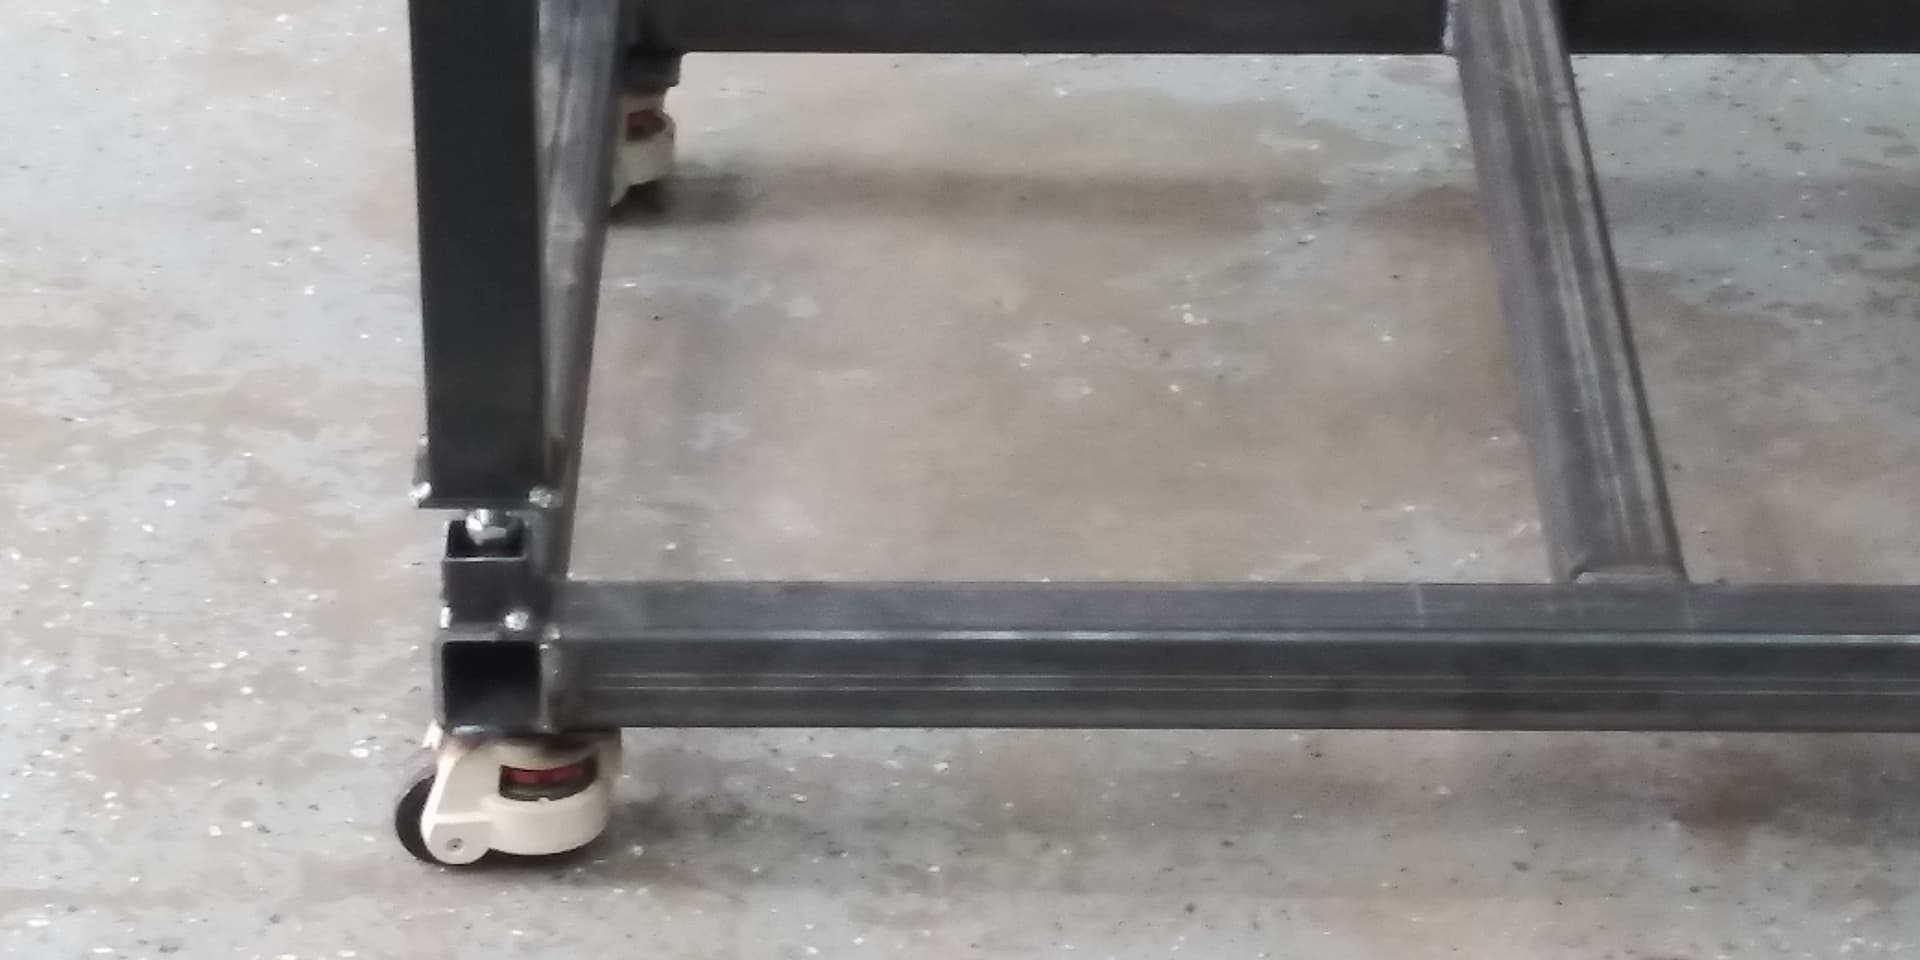

I don’t use the leveling castors on roller base, I level the table itself at each leg.
2 Likes
@toolboy
My table is the exact same off as yours I have gone through to re square the table and had it perfect.
But when I wen to put the water table back on none of the holes lined up.
I finally just put it back in by wobbling the table around and now I’m back outta square I think a 1/4 maybe a hair more or hair less. Any tips for this.
Square the table again and make new screw holes in the pan. Plug the old ones by welding or filling them with sealant.
This is why the frame must be square before screwing the pan down. The pan holds it in alignment. There are no factory holes in the frame for the pan. They get drilled when you install the self tapping screws in the pan.
4 Likes
Ohhhh okay I didn’t know that I got mine used ( kinda ) guy bought it and then never used it. So that makes a lot of sense . Thank you
2 Likes
When I took mine apart to re-square it, it seemed like every time I had it square I would be right back where I started when I tightened up all the leg/frame hardware pre screwing the pan back on. I ended up using cables diagonally across the table with turn buckles to hold it square while I tightened everything up and re-mounted the water table. It’s possible the table never was square so using the old holes is counterproductive as @ds690 pointed out.
3 Likes
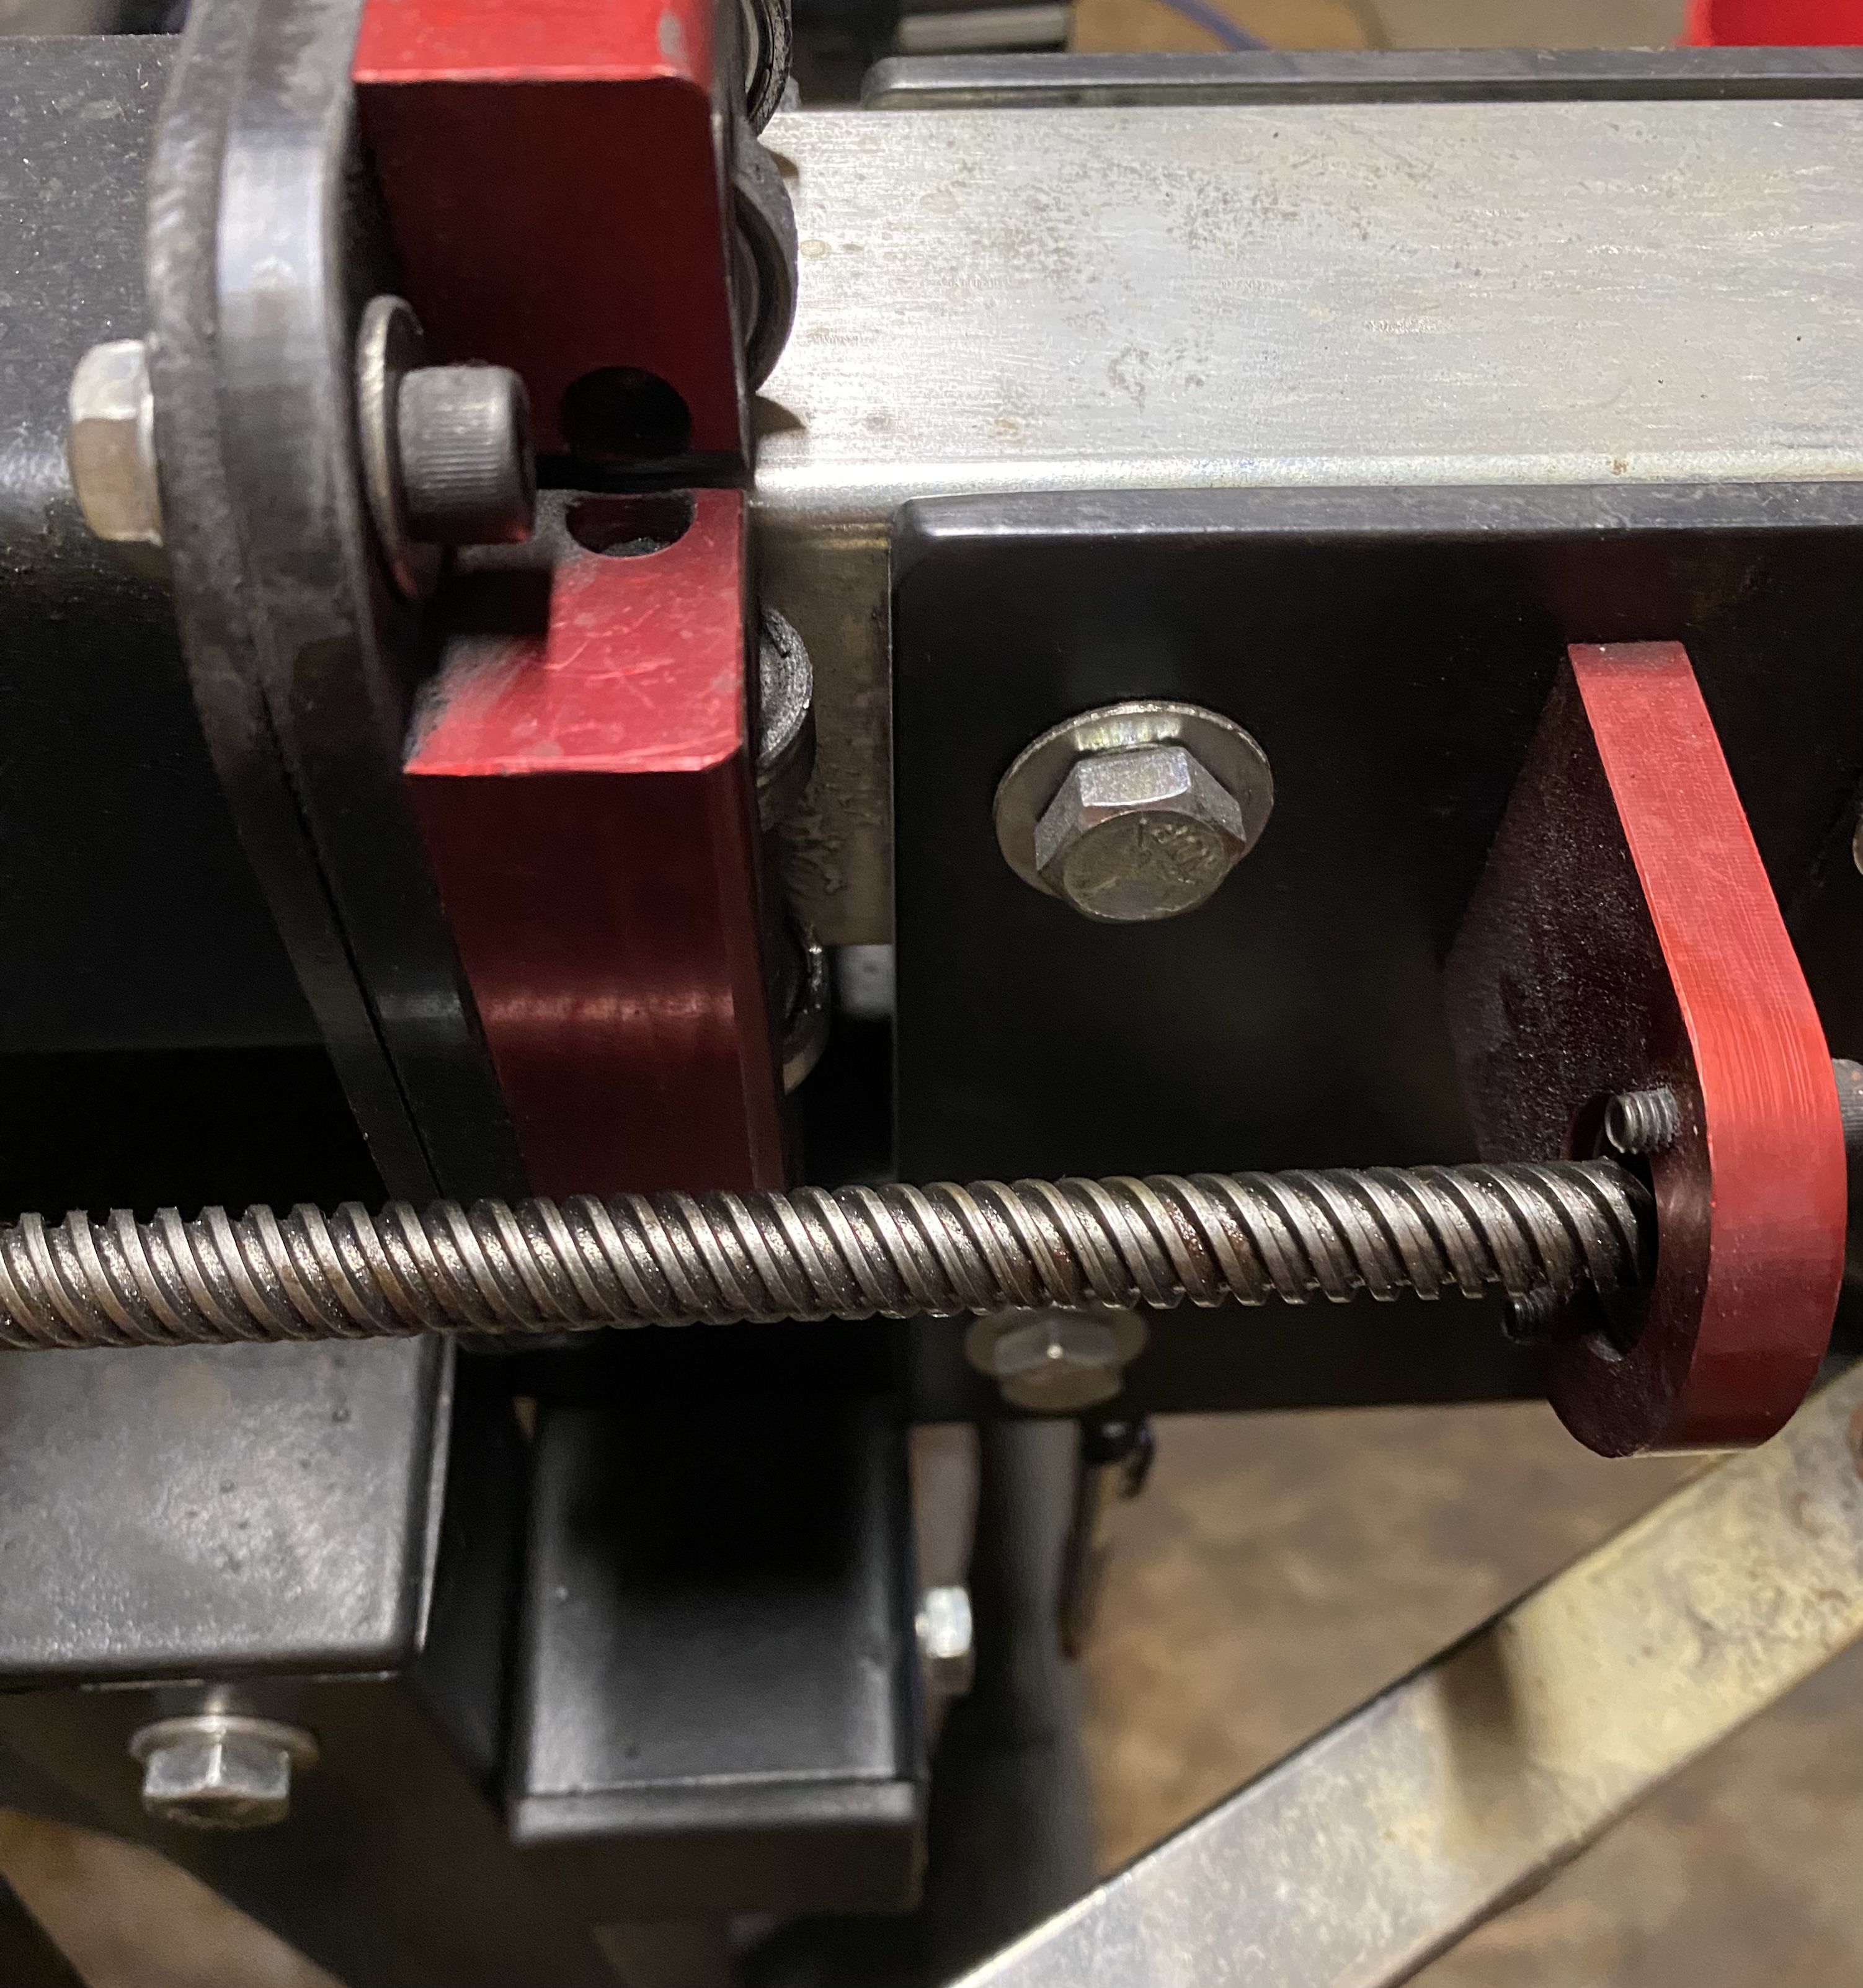
Loosen the bearing carrier bolts just a little. The carrier is not totally square with the frame.
Run the carriage as far as it will go, take an Allen wrench, and loosen the bolts. The carrier will snap back into the square. Then, retighten the bolts. From the picture, it looks really out, but that could be the angle.
3 Likes
There are three bolts on each side of the X axis rail that attach it to the weldments. There is enough play in those mounting holes to allow a considerable misalignment of the X axis.
Run the Y axis up close to the stops and then loosen all of those bolts. Turn off the power to the control box and turn the lead screws by hand until both sides are touching the Y rail supports. Tighten the bolts holding the X rail again.
The X should now be very close to square with the Y axis. It could be slightly off, because the Y rail supports have some play in their mounting holes, as well.
4 Likes
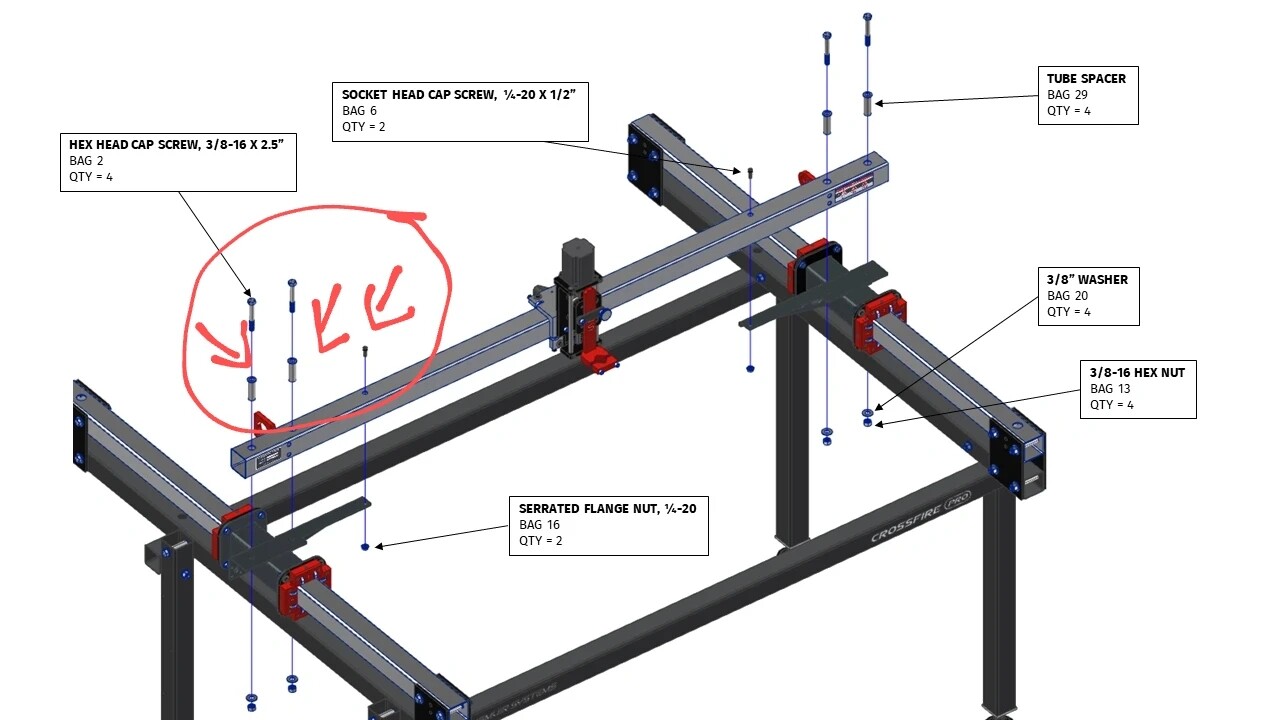
Which 3 bolts ?
Sorry I bought table already put together so I never got super familiar with it.
I might should mention I have the limit switches as well.
These three bolts on each side of the X rail. They attach the rail to the carriages that ride on the Y rails.
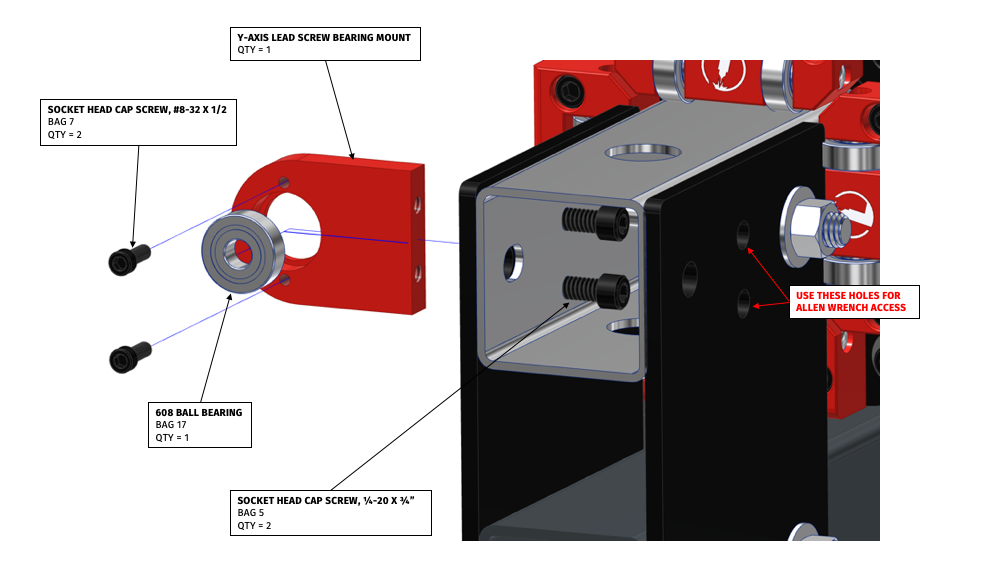
You should consider going through the assembly instructions that can be found on the support page of the Langmuir website.
5 Likes
You guys are awesome ds690 and bigdaddy2166 thank you so much she’s going good. Got her fixed up I was doing all the wrong things.
3 Likes