that is why I have to try and post it tonight…I could forget…lol
3 Likes
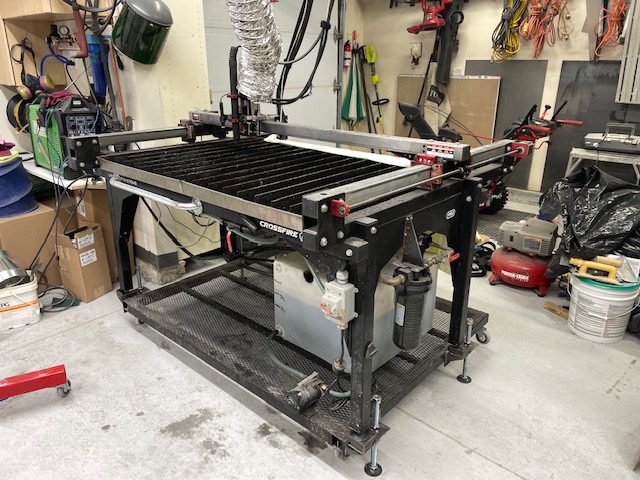
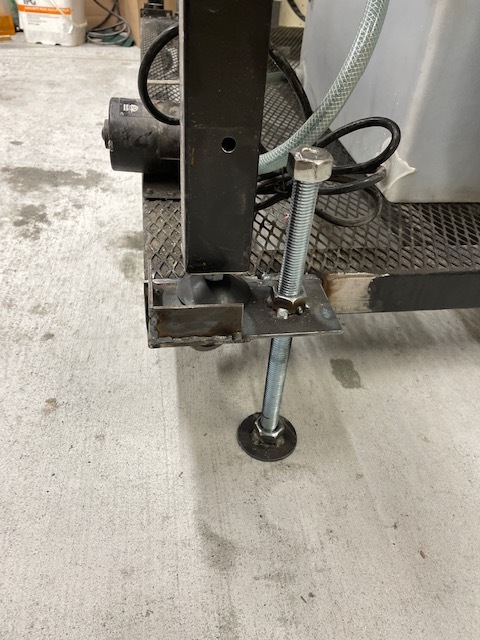
@toolboy i chased 1/16around for 2 hours and then decided to live with it. Seems to work fine. I just have wheels on the bottom of my legs but am thinking about building a lower frame because I’m getting too much flex in the casters from the leg material being a little on the light side. Machine moves around fine so far but I do not want to unexpectedly fold a caster under while rolling it around.
2 Likes
I have removed my lower shelf from the table…it is sitting presently on it’s own legs without wheels…
I am building a raised platform with wheels to sit the Pro Table on…I will no longer use the legs…frame…or have wheels on the table itself…only the “dolly” it sits on…
this way it will prevent and twisting…torsion…flex…when ever trying to roll the table out of the way…I will only put force on the dolly…
I feel alot of my square issues were a direct result in using the table frame as the main source or moving the table on the wheels.
7 Likes
Is it all squared up now, cutting true?
1 Like
@toolboy
With the table off you can manually turn the leadscrews on the y axis. This may get you the adjustment needed to square up your table.
I would turn whichever side is out a half turn and rerun until you get it square.
1 Like
nope…tried that…all that does when you are out more that 1/4" is put tension on the gantry nuts on the drive screw…
2 Likes

So…I completed the re-square of the table last week and was sidetracked to get this post up on how it was done…
SO a quick recap…I was out of square on the table along the X axis…see above for details…
I tore the table down to the bare black frame.
To do that…
-
I first pulled the drive screws out on the Y and X axis.
-
Then I loosened the bolts on the stanchion plates that hold up the gantry system.
-
I put some supports under the gantry tubes then removed the bolts holding the gantry up…
-
I then pulled the complete gantry system off and placed it aside with help….I did not want to damage anything
-
I pulled the water tray out…this was the part I feared the most…would I have leaks after…
-
Then I pulled the stanchion plates off leaving me the black frame
-
I leveled out the black frame in all directions
-
at this point I undid the triangular and gusset plates on the legs…I actually pulled the screws out of all the screws fastened to the legs.
-
Next was to loosen all the bolts in the black frame…not to loose that they are sloppy…but loose enough to allow me to shift the frame.
This was the time consuming part. To square the frame from corner to corner and making sure the table stayed level…there was a lot of back and forth and a few drinks to calm the nerves…Yes a good Irish Whiskey helped.
-
Once the frame was square, I tightened the major bolts making sure to always check square and level
-
Then I looked at the triangular leg gussets…a couple I had to completely reposition…but most were new holes…
-
I always kept an eye on the square and level status……I did not want to have to go back again.
-
Next the water table went back on….I threw out the gasket and washers but kept the screws….I replaced the washers and gaskets with ones from metal roofing…nice thick gaskets and washers……I even put some pipe dope on the holes when I screwed the table back down….
-
when I did remove the water table at the beginning I decided to replace the sink drains with new…and at this point I assembled the drains but not using plumbers putty but with again….pipe dope….
-
I connected my drain lines and filled the table with water……no leaks….none….to be safe I actually left water in it for 24hrs to make sure.
-
next the stanchion plate loosely bolted on….
-
placed the gantry supports in place then again with help lifted and placed the gantry system back on the table.
-
with the bolts snug but not tight……double ……triple checking the square and level……all good
-
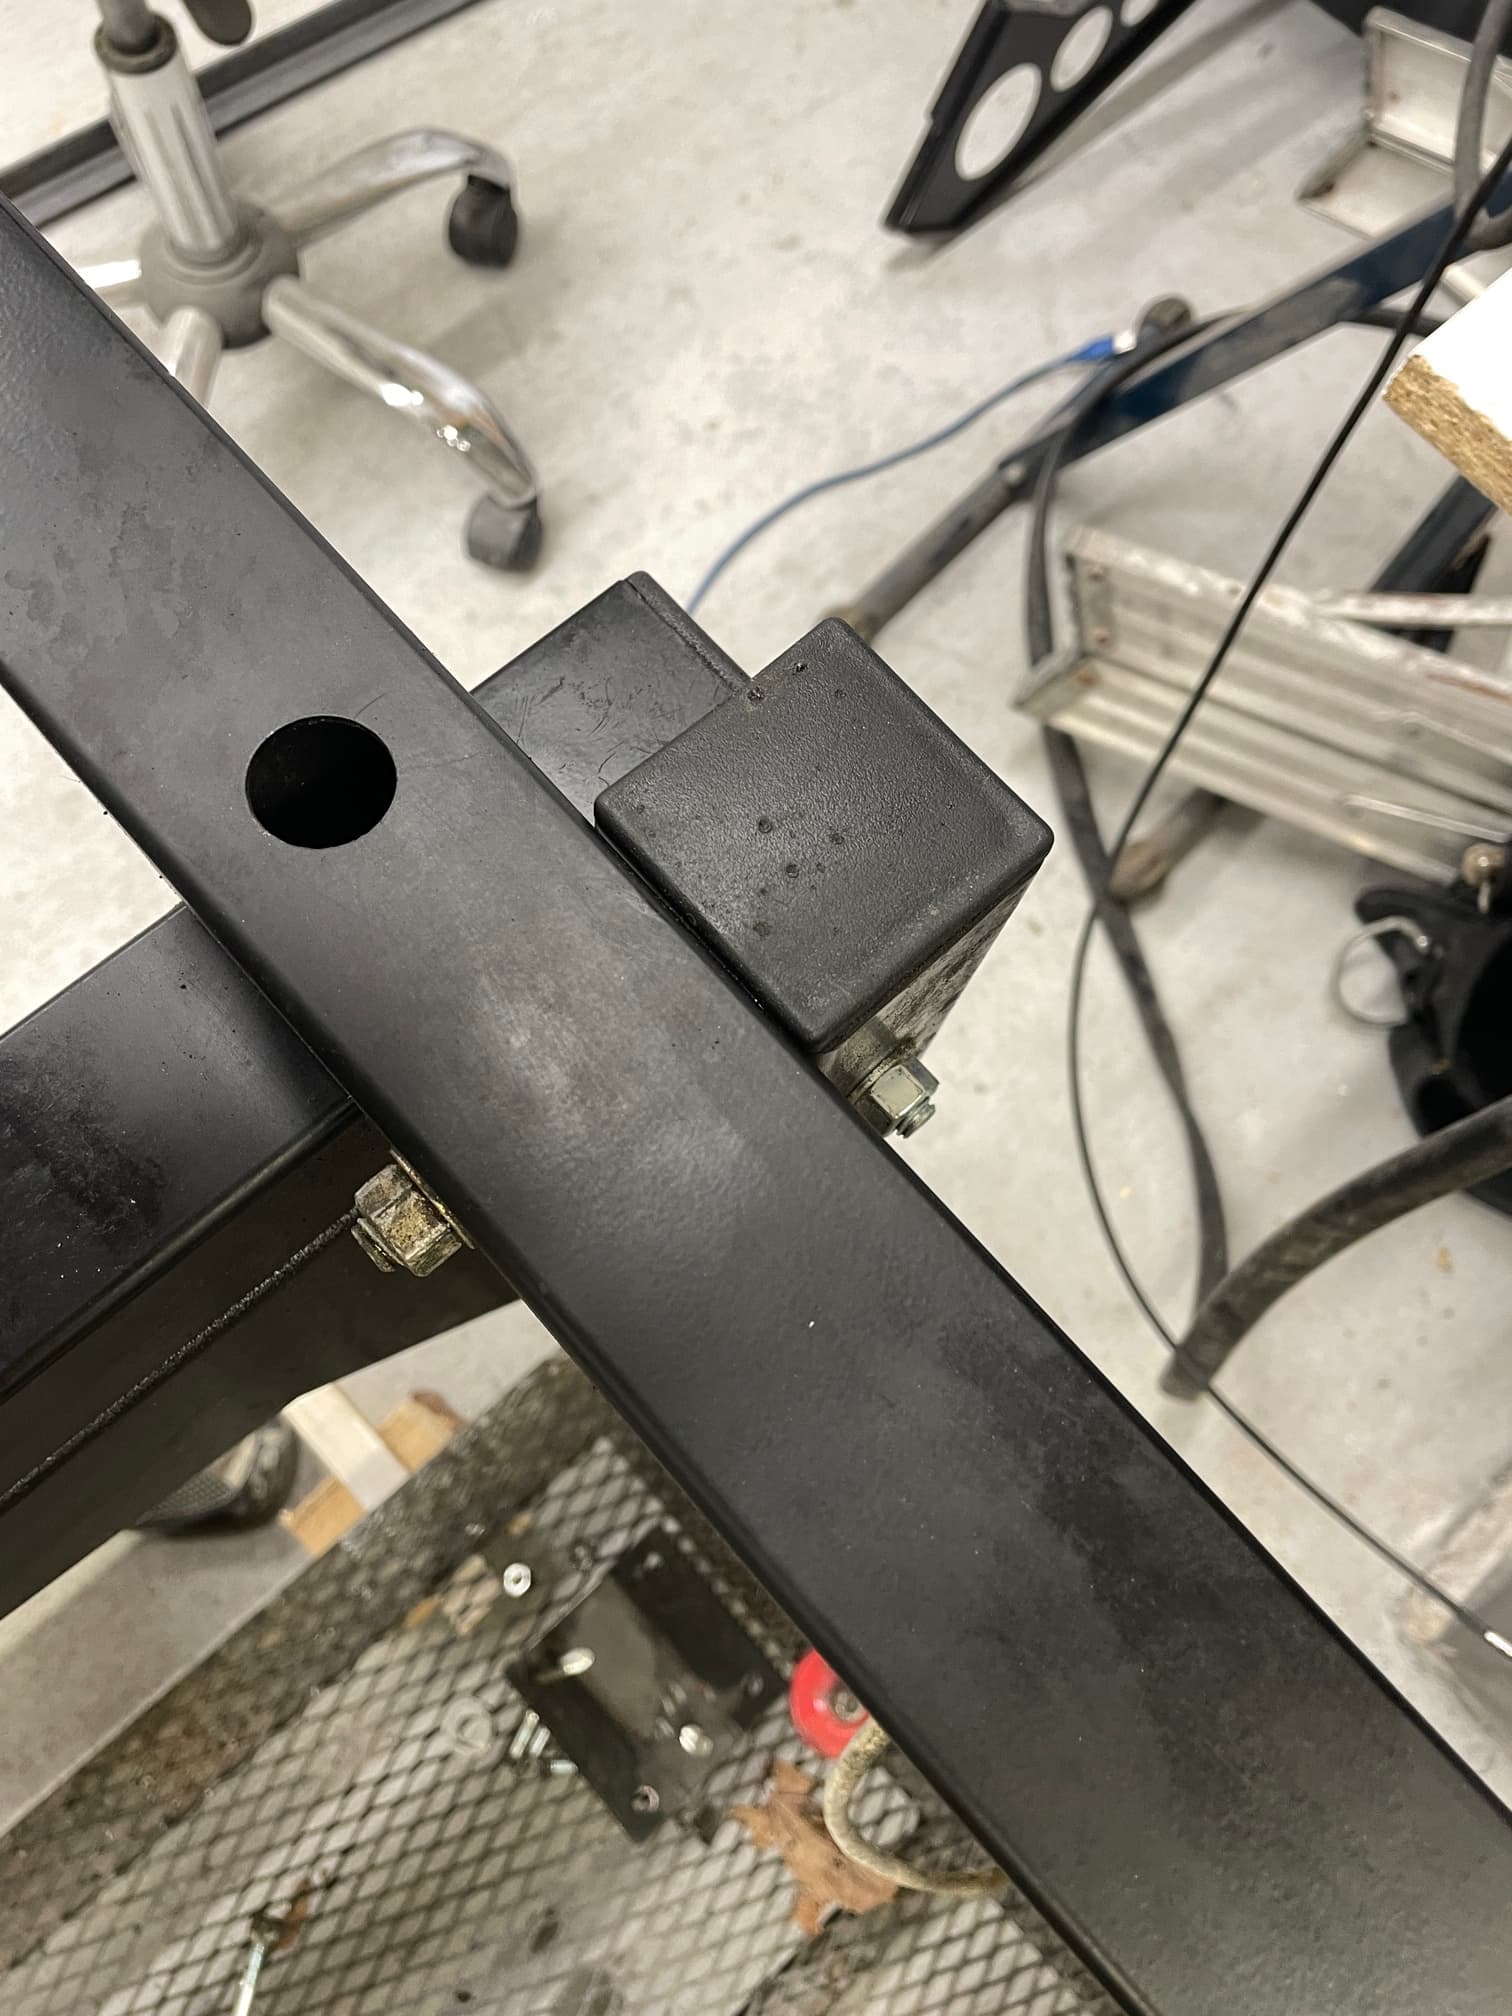
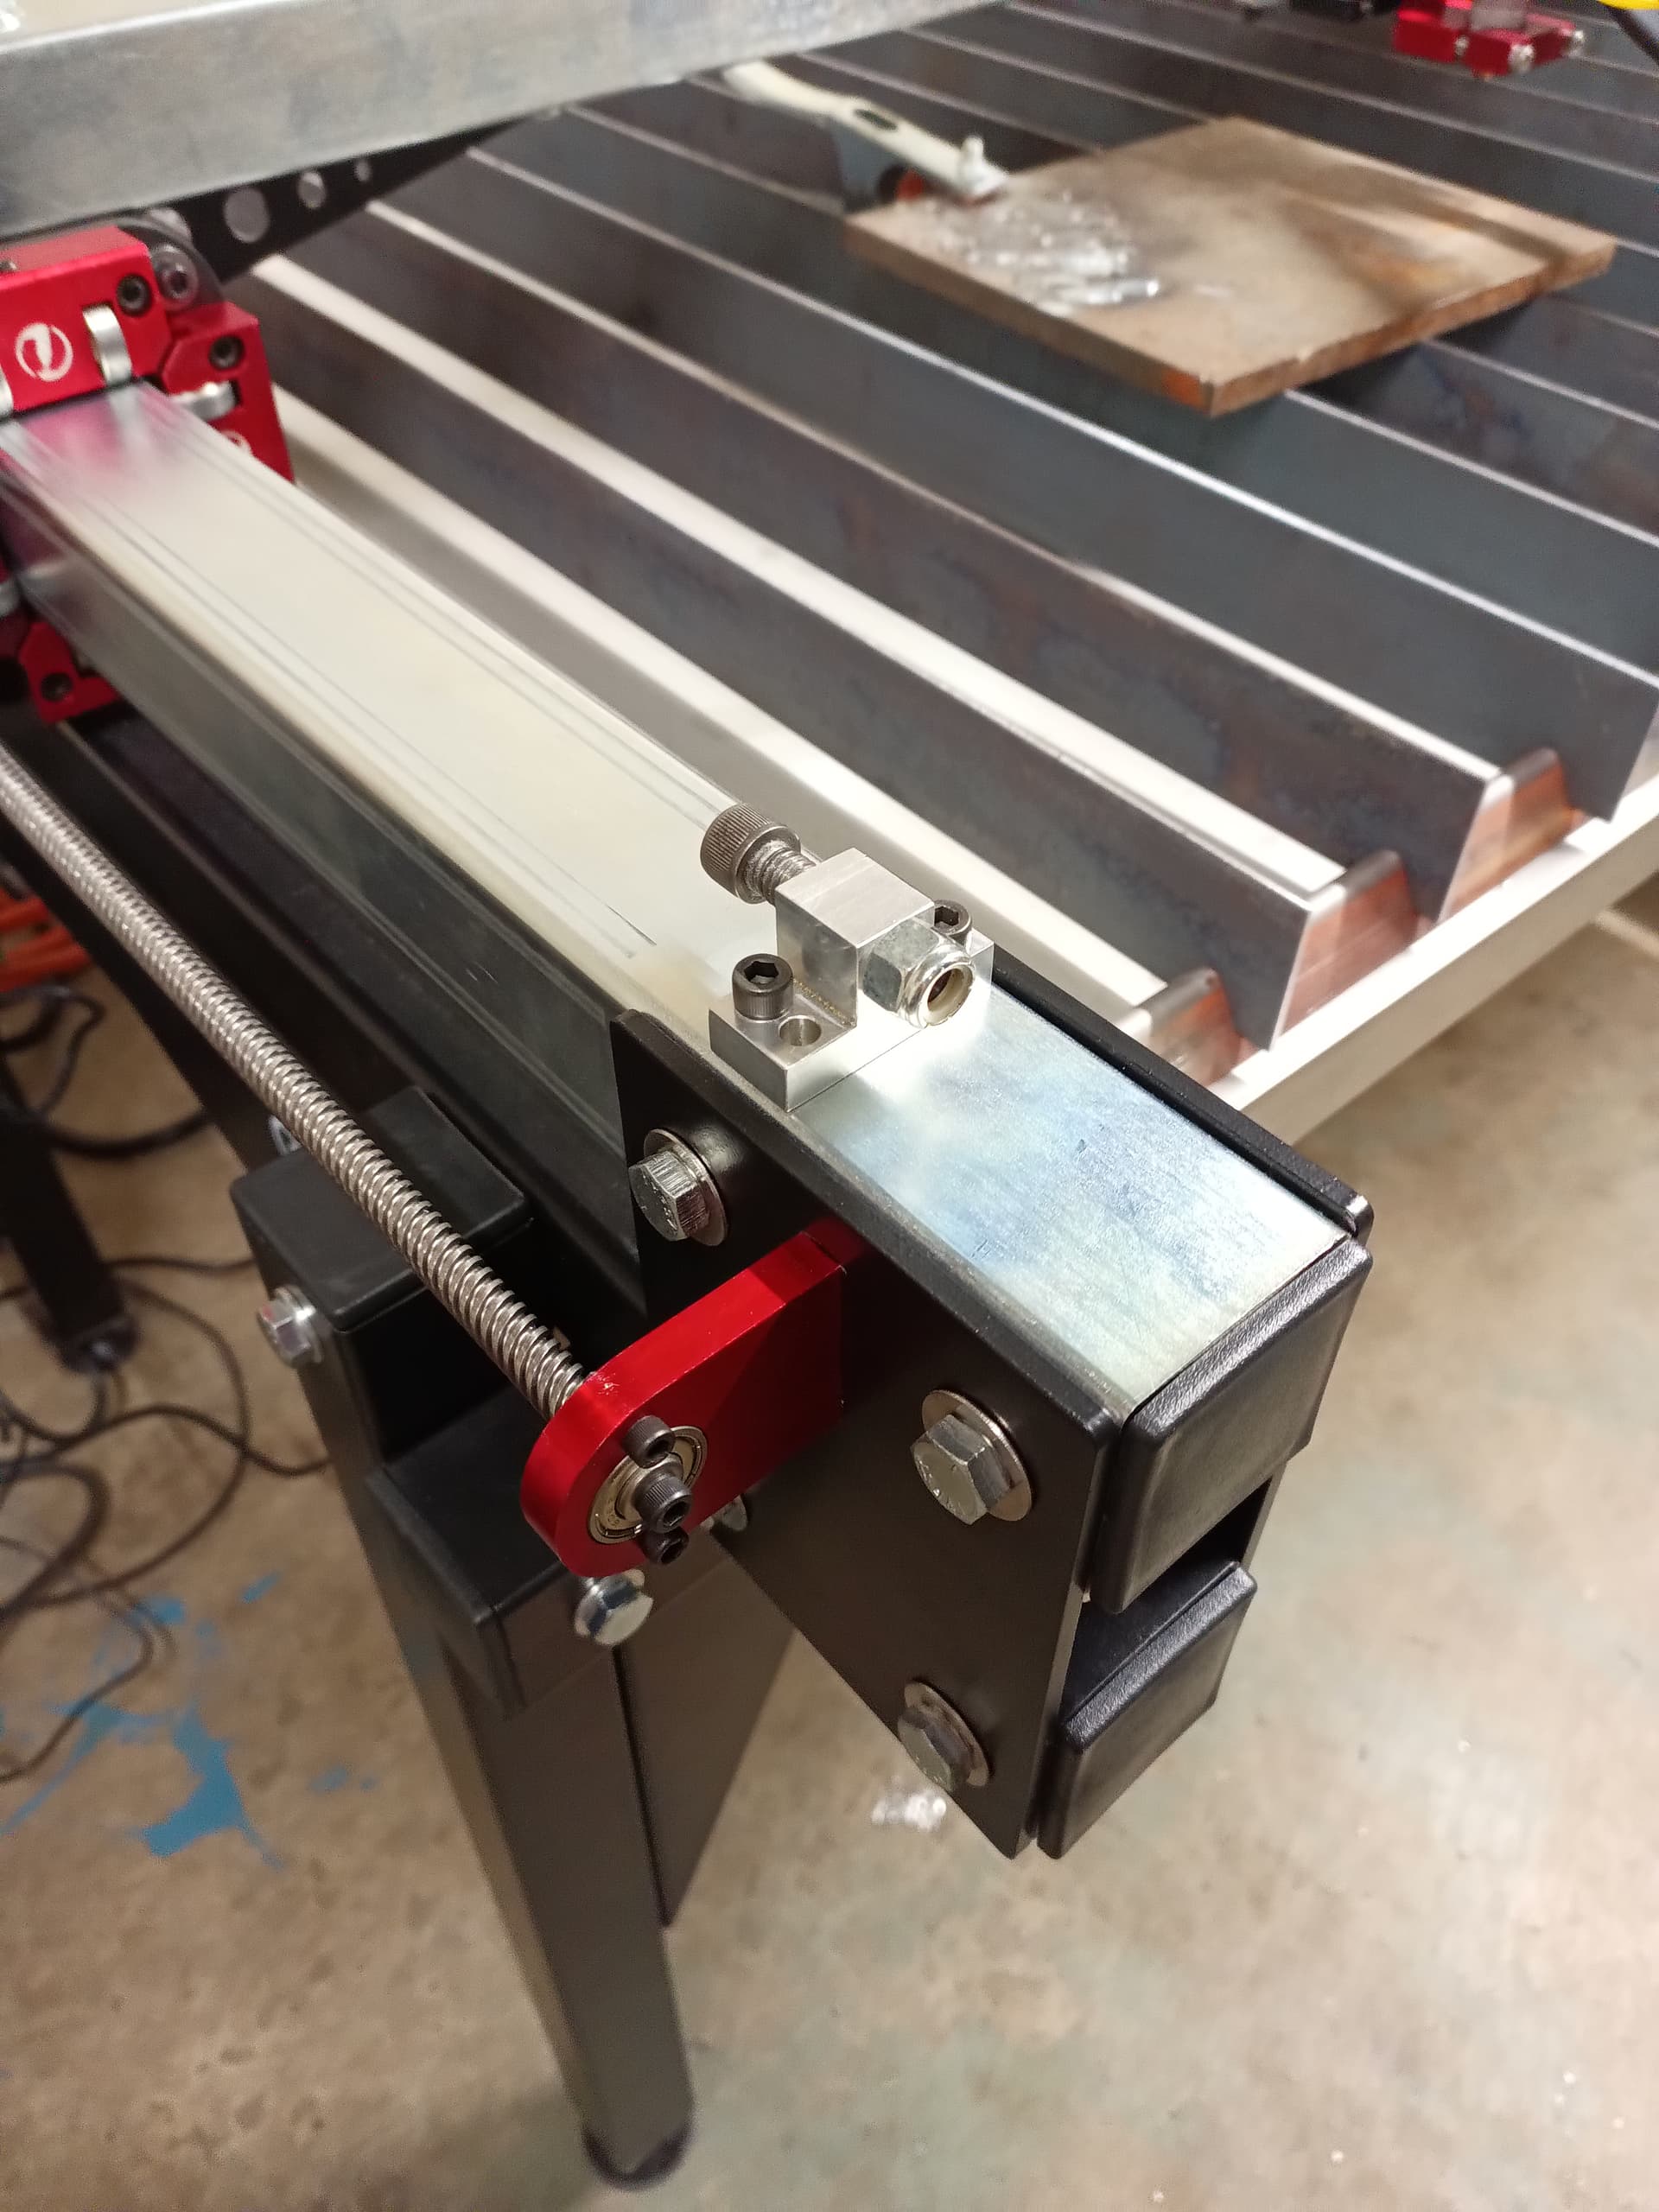
I rolled the gantry system back and forth by hand and found it a little snug……I found that I needed to loosen all the bolts holding the X axis to the gantry bearing assembly…….this alowed me to have some play……….the gantry ran smooth but not loose.
-
At this point I replaced the drive screws and ran the gantry front to back numerous times….
-
Double checking as always square and level….
-
I then set my lasers and checked the actual square of the newly adjusted table…bingo….!!!..well almost……
-
remember I did loosen the bolts on the black gantry brackets……well I ran the gantry to the front and to the back to see if the bearings were even at the stanchion plates……when I tightened up the bolts a bit I found the gantry seemed tight…so I loosened up the bearings….
-
Ran the system around and slowly loaded the bearings a bit at a time….
-
ran my lasers on the square template and was back in business….square to within 1/32+ -
I learned a lot from this…….
Wheels on the legs are not the best idea….they put to much pressure on the table when moving it
When building the table you can not be level of square enough….spend the time…get it right
one thing to remember that when you loosen the stanchion plates you must also loosen the red brackets for the motors and the end bearings…if you do not loosen them you do not get full mobility of the stanchions
12 Likes
@toolboy lot of good tips on squaring and importance of continually checking square as parts are added and tightened. Im like you i think having leveling casters and rolling a table around while convenient it constantly will twist the table until it is out of square and then creates problems. I think the best way to make a mabioe table is to make a frame.for it to sit on but the frame it sits on still can impart twisting forces to the legs. Most good floors probably woukd not really have any issues with twisting if pretty smooth and level. But i have seen some shops with floors not much better than dirt floors unfortunately.
3 Likes
Thanks for going through this procedure! I might hold off on doing this.
I got the okay from the wife to build a new shop this spring so I think I’ll wait till I move it to the new shop.
Lots of good info!
2 Likes
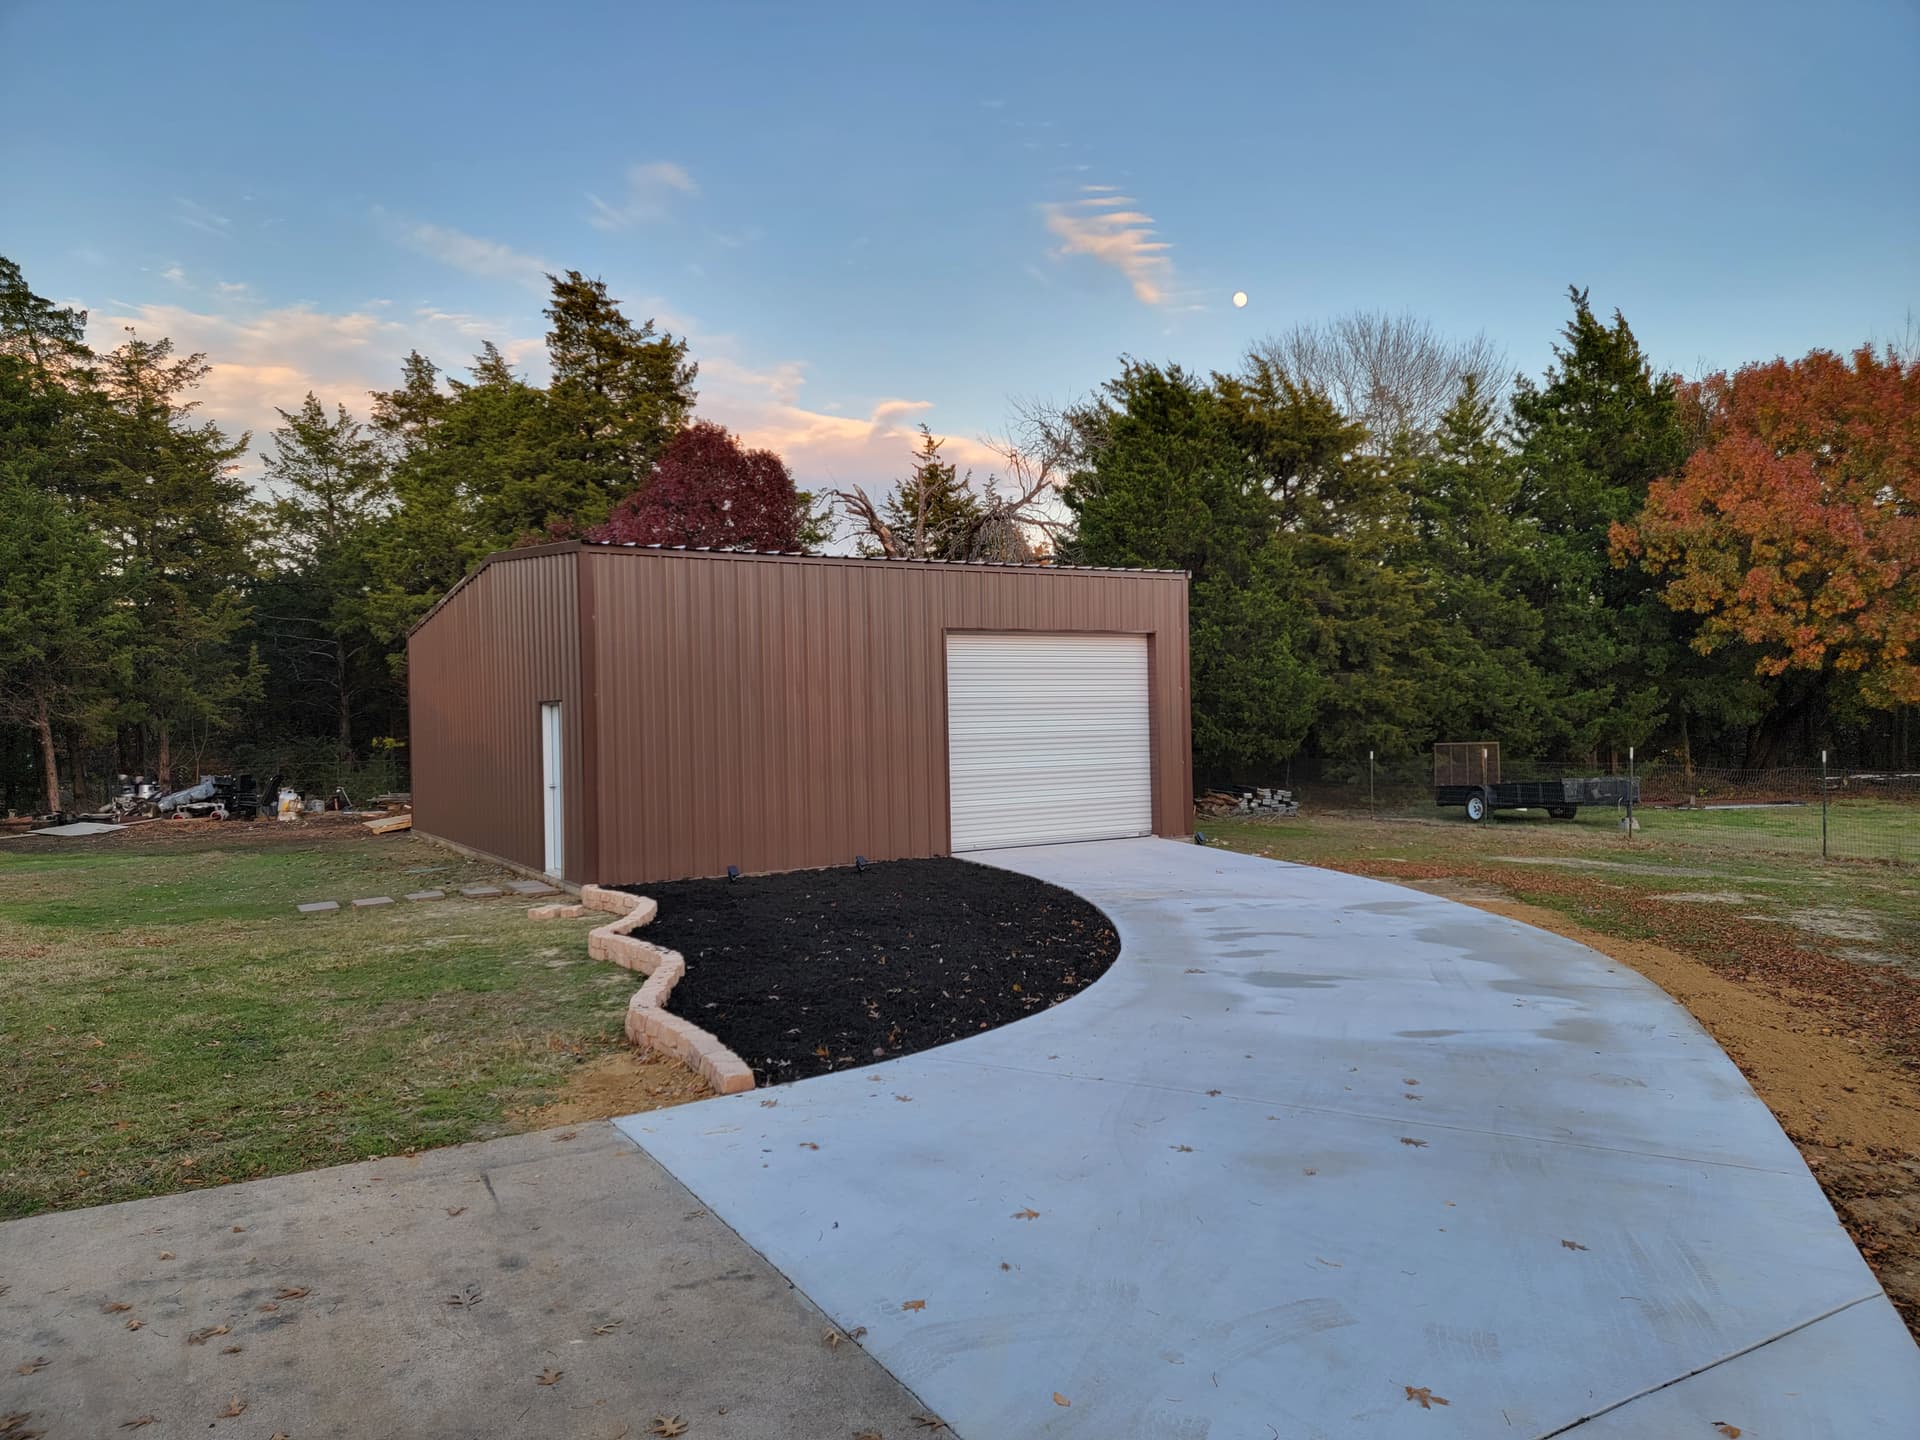
@72Pony always good when the wife blesses a new building. Mine blessed mine and slowly trying to get it completed. Waiting on electrican now and then will start slowly moving in to it.
2 Likes
What type of building did you go with?
Nice! That’s exactly what I’d like to build.
Thanks!! Wish coukd have went bigger but space and money dictated the size. But will be big enough. When i get finished will post pics of inside.
2 Likes
You better be careful or you will be writing assembly manuals for Langmuir ![]()
Nice job
1 Like
aahahaha…this is an amazing table…sure it has it’s challenges…but worth every moment of it
3 Likes
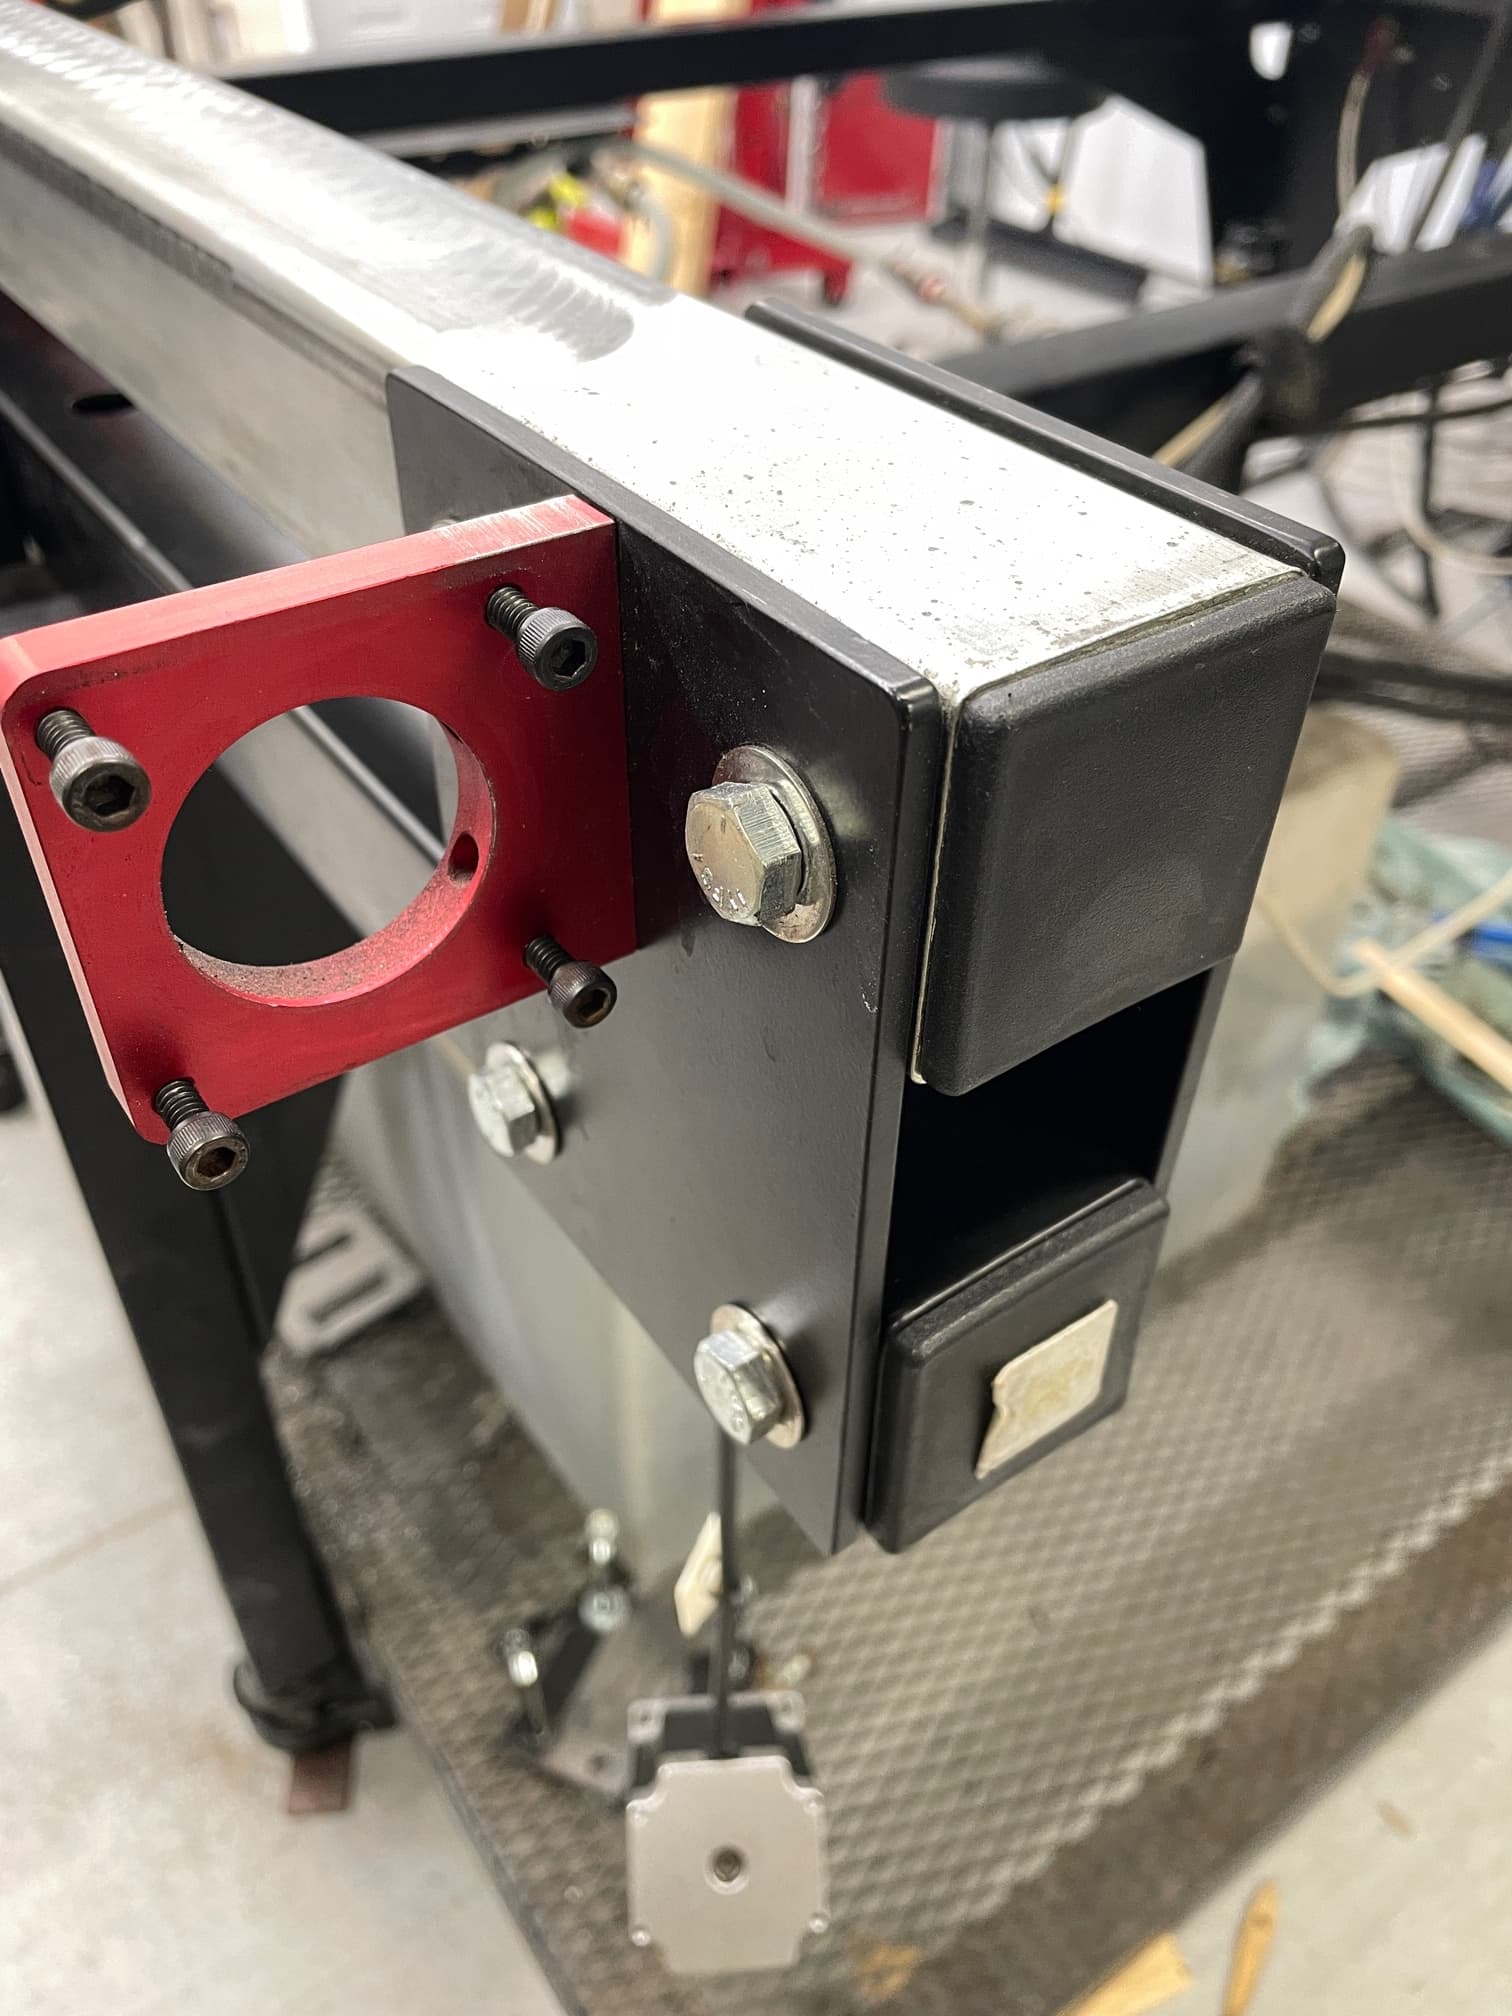
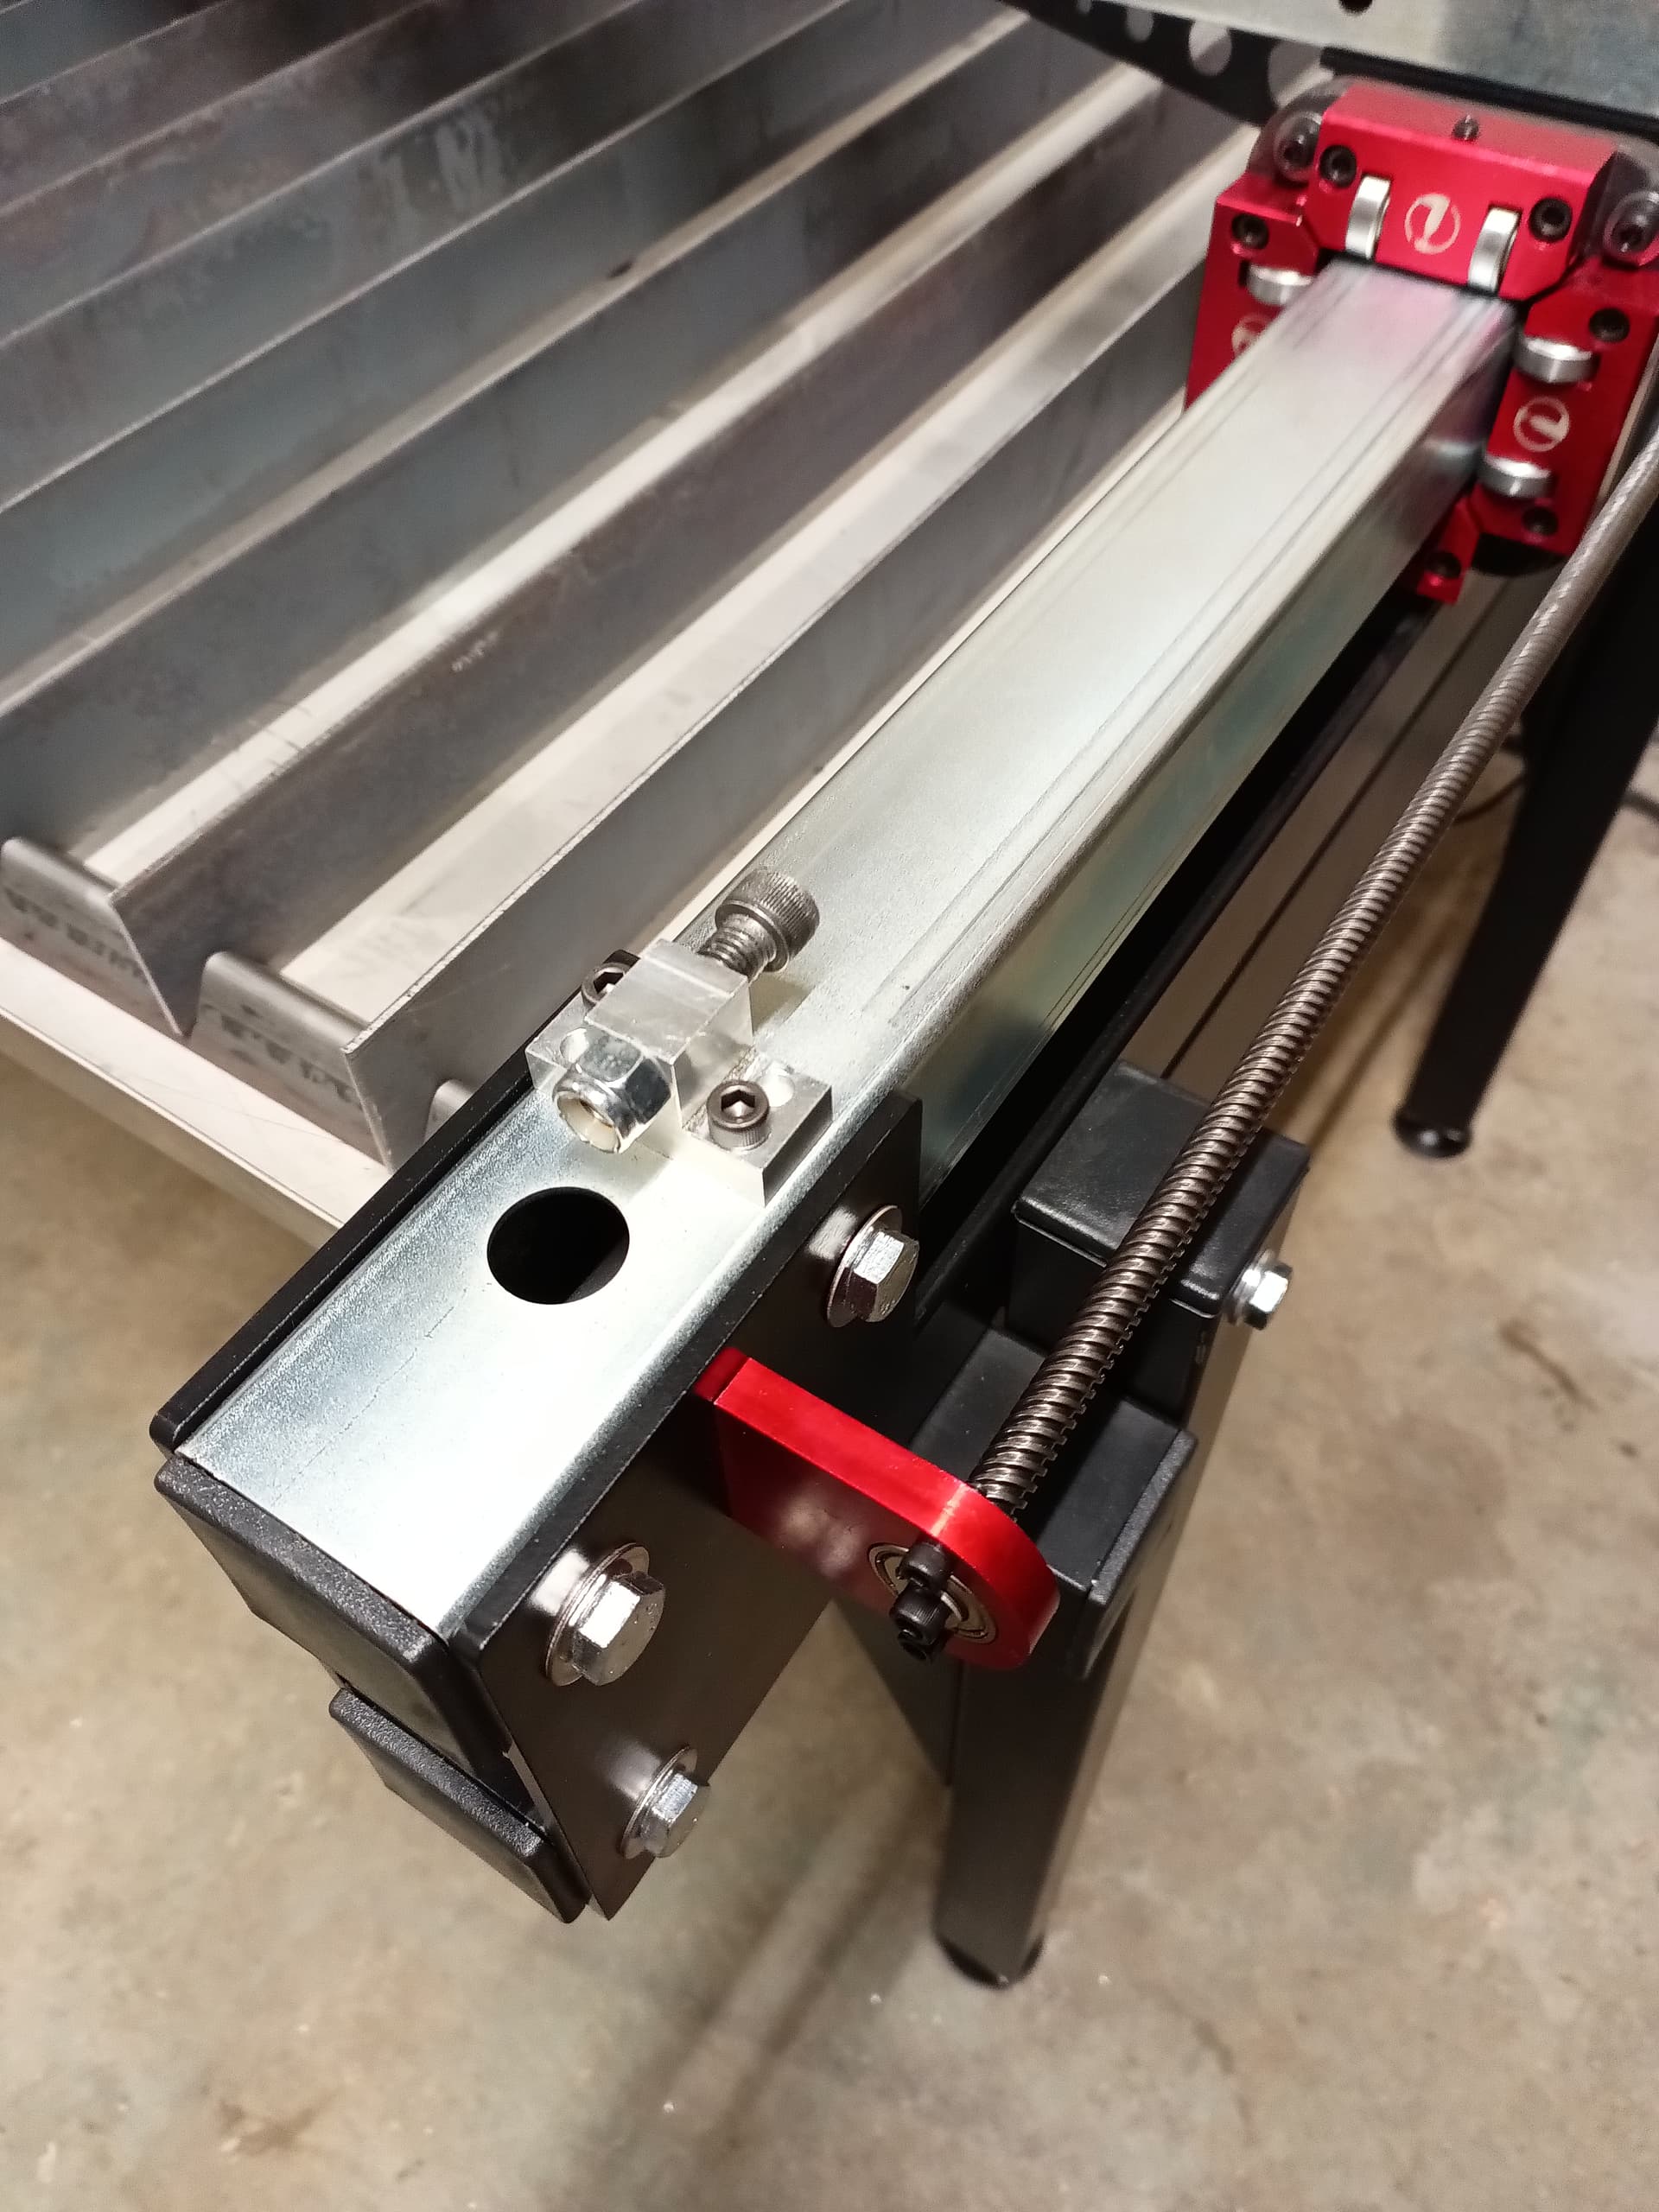
I was having the same problem. I made these adjustable hard stops and used a large square to square up x and y.
2 Likes
Looks like I’ll be journeying down this hole. Cut out a large rectangle for a project and it looked off so I started checking its measurements, definitely not square.
Did some quick measurements of the table and gave it all a once over. Looks like I’m out of square by 1/4” diagonally between the Y tubes.
Weird find was running the gantry front to rear, bearings all impact front stanchions on both sides, but at the rear only the left side hits the stanchion, the right side has maybe a 1/16-1/8” gap. Not sure exactly what that means but guess I’ll find out
I would also check the bolts that hold the lead screw nut brackets. Seen several have them work loose.
2 Likes