New guy here. After searching for some time on this great forum and reading through many threads on assembly and builds, I’ve accumulated (and plan to steal) several great ideas for my build, which currently resides in the three boxes in the shop, and sadly will be there for another several weeks until I get some other work out of the way.
However, I’ve been unsuccessful in confirming one key piece of info; specifically the stock table height.
I understand the table comes with leveling feet, so I realize there is a little variability, but I’m looking for the height of the cutting surface, from the floor to the top of the slats.
The website drawing shows 30.4" but my isometric drawing interpretation skill is lacking to decipher the specific upper reference point, and my photo interpretation skills have been unable to compare the relative heights of the top of the slats, the table pan lip, the top of the lower rail tubes.
Because I do know that the other table dimensions do not reflect the leg to leg dimension, I figured I’d ask the question here.
For my planning, I’m using 60.5" x 27" leg-to-leg, based on what I’ve been able to mine from this forum.
I’m planning to build a rolling base for my table as there are times when I’ll need to reconfigure and relocate stuff in my shop, and I’m hoping to set my cutting table height to match the heights of my welding tables and some other relevant shop equipment to make moving sheet materials around the shop easier.
If you are trying to match the height of a workbench or table, you are best off to completely assemble the table first, then take your measurements and build your mobile base from there.
The adjustable feet for leveling will throw off any type of “static Height”.
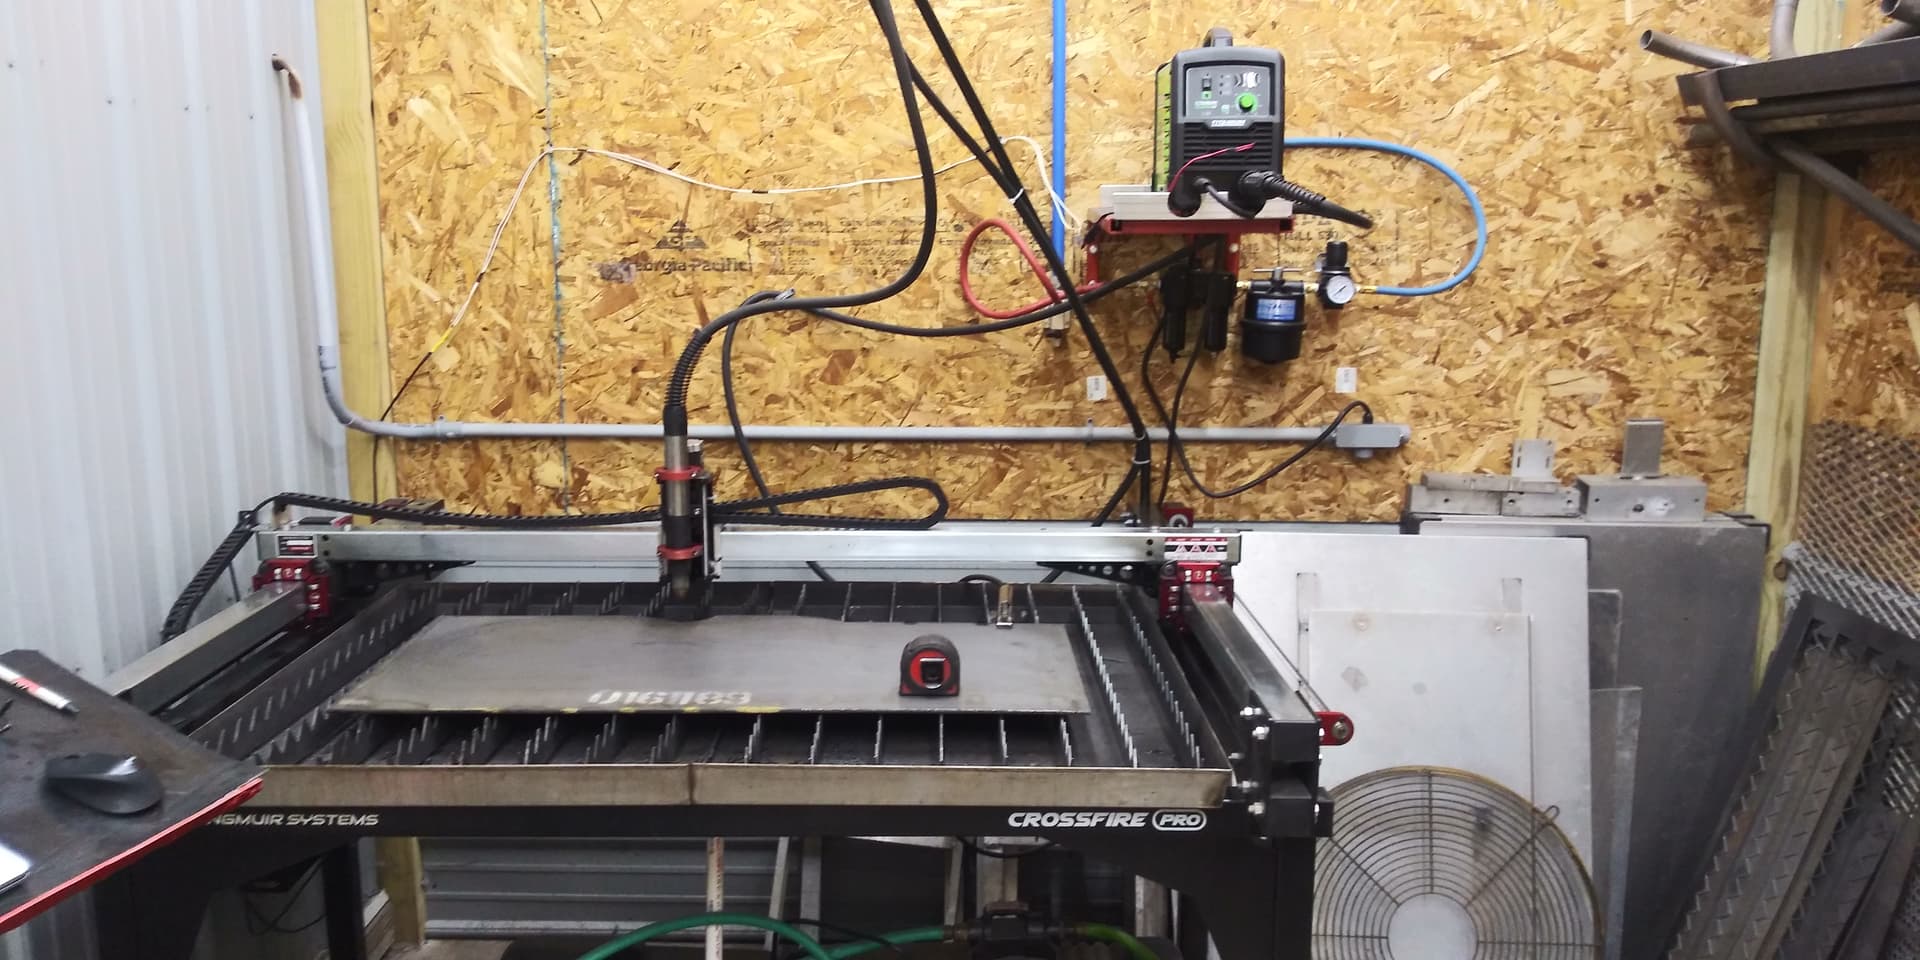
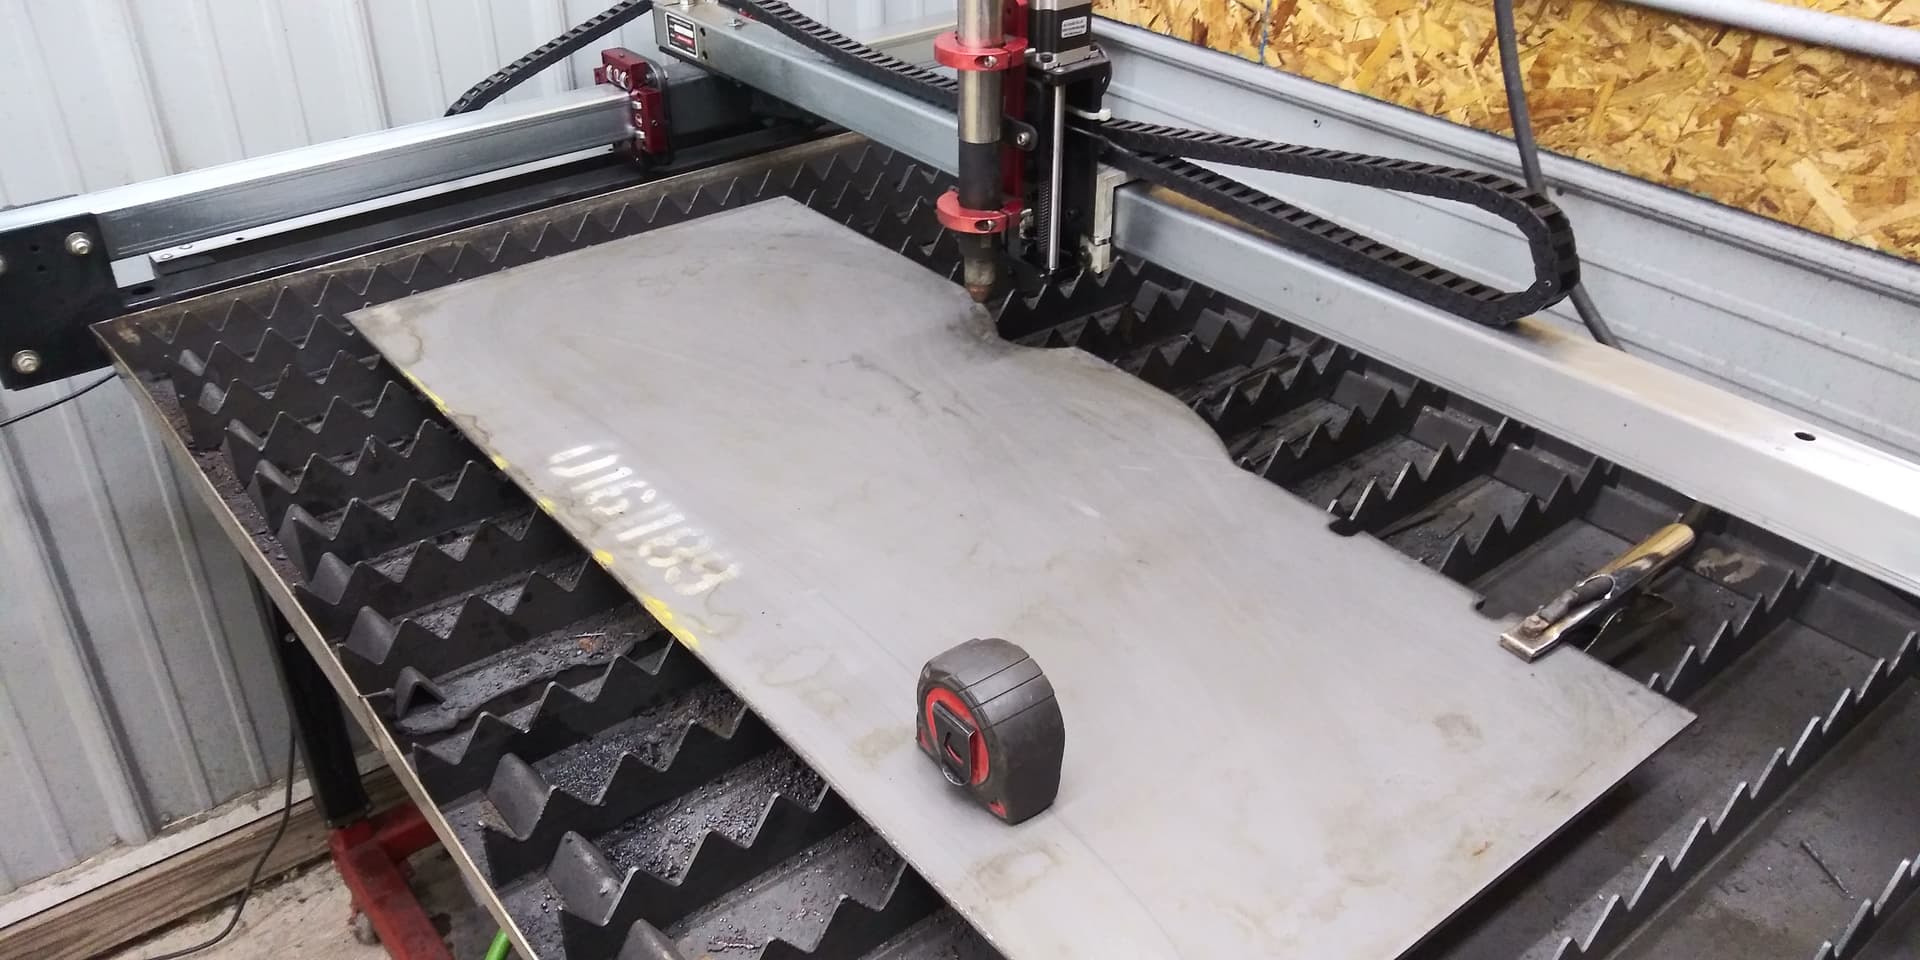
I would also recommend that you consider having a one piece water pan made, 3" deep, and oversized on X and Y. 42x48.??. Stainless if you want, mild steel is fine as long as you use actual cutting fluid, not home made borax fluid. A good coat of paint on the outside, leave the inside bare.
Then make some stanchion risers +3 over OEM at least, with the appropriate cutout on the top to allow more Y axis travel. Only need one of the two mounting bolts on each corner at the top for the rails.
This will give you much needed Z height (cutting tubing) and cut down on the water splash. Presuming you are using a machine torch, not a hand torch.
Having the table built first is a good idea, but it’s more a matter of trying to knock out some tasks in parallel, to include improving my fusion skills, firming up a steel order for a bunch of projects, and knocking out a bunch of painting on those projects at one time.
I’ve made an assumption of 30.5" and will have the ability to finalize that detail once the table is standing.
Sadly, I won’t get to table assembly for probably another month, but I need steel for those projects by next week.
I hear you on a single piece water pan, but that’d be a follow-on mod if it comes to that.
I’d like to add the drag chains up front, but, other than looking at the pretty pics of a couple other folks’ work, I’ve not made much progress there.
Any now you’ve added risers to the mix to provide added -z. Damn you.
I’m trying to avoid getting into the do-loop of too much ‘design improvement’, and not enough cutting. Ugh.
If you are going to future project the deep water pan, then you can cut your risers first on the table after assembly, then make that part of the future expansion.
I raised mine twice.
Take your measurements from the OEM stanchions then design new ones in F360. If I saved mine, I can post them here. Somewhere I have a thread with pics showing the evolution of the stanchions.
Thanks for the detail on the stanchions. I’ll read through the thread again, as I was not tracking when I first read through that thread last month.
Tonight, I found D & N Customs’ utube channel and looked at how he did drag chains, then watched his IHS and THC tutorials. I saw he had some other videos, but those will have to wait for another day.
I’ve really got to knock out my other outstanding unrelated tasks and get to building my table.
This is how I did drag chains on my pro 5-6 years ago . Still working great, although moved table to my shed then to a friend’s shop recently to make room for my XR table.