It’s already in the works, as I shared that with Jeremy offering a few more ideas on top of his own.


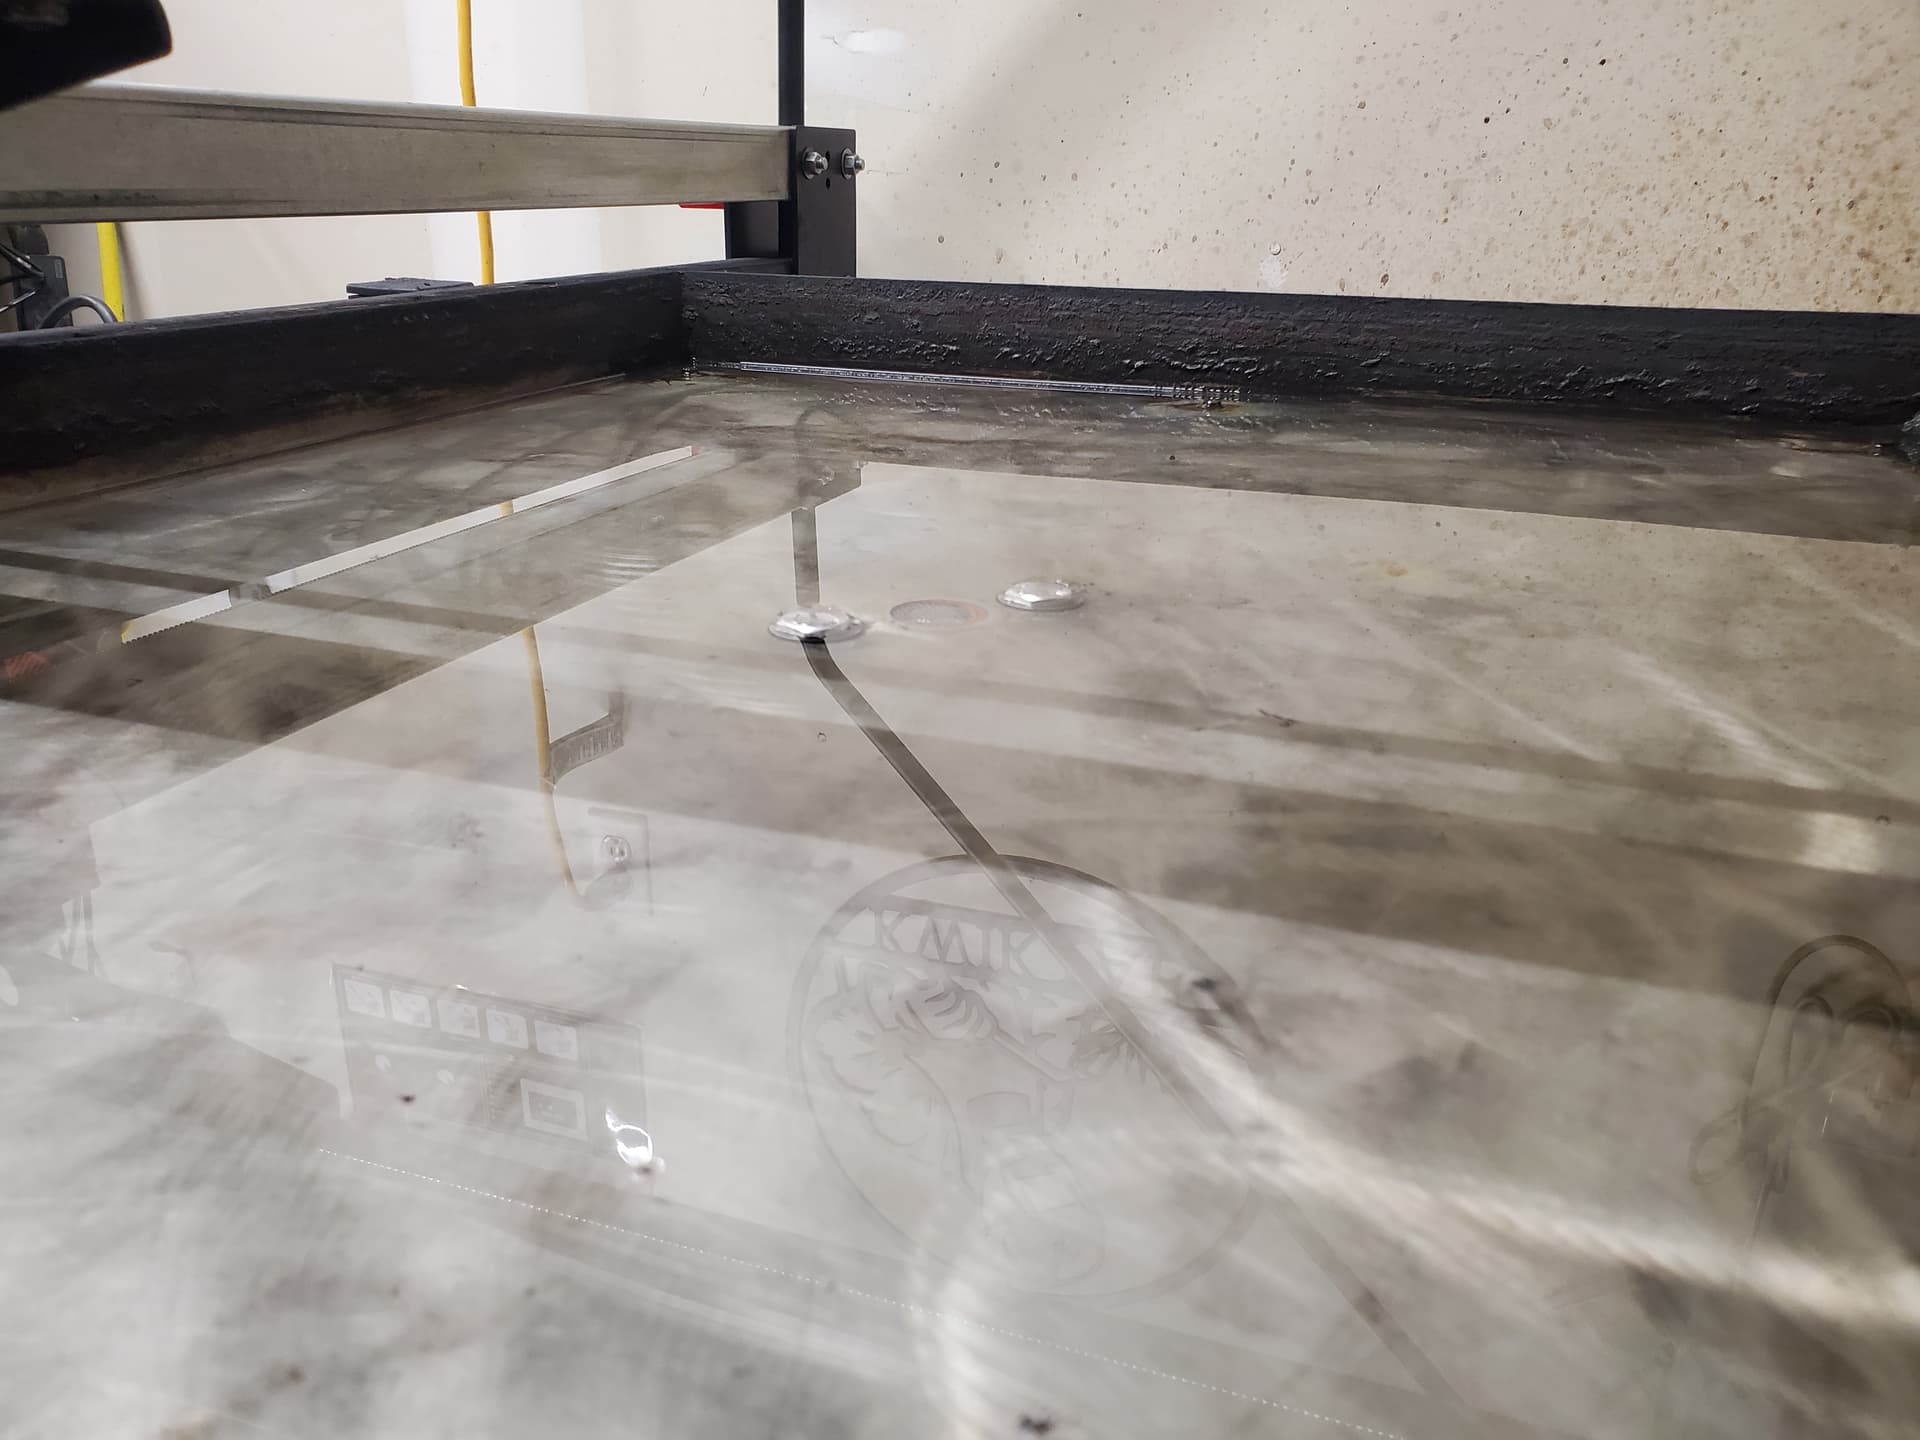
Slats need cleaning up, but once that’s done I should be back up and running.
Will be curious to see how test cuts come out.
2 Likes
You’re only running two bolts on the van stone flanges?
I am.
I’ve done overnight water leak tests already.
Nice. I didn’t think that would work.
I’ll tell ya why I use two.
Had I used four, there would’ve been twice as many possibilities for a small leak not from the flange but down the bolt threads themselves.
I am running an inline filter (1" necked down to 3/4" at the ends for my PVC).
To keep as much crud out as I could, without getting all fancy with cutting a larger hole, using bar sinks, dimple dies, and other stuff, I simply sandwiched stainless steel mesh between the flange and the table bottom.
To keep things water tight between the flange and table, I used a gasket above and below the mesh and glued the two gaskets together.
2 Likes
Not home for the while, but I got to thinking that I’d want to make my own floating head.
The lead screw on the Z axis - does anyone have the specs for it? I recall spinning the plastic nut 4 times to travel one inch. This makes it 4TPI?
I guess I can look up what “starts” are as I’m unfamiliar with all the lingo. I don’t recall getting a standard measurement for the diameter either.
I ask because what if I used a ball screw and linear guide rails instead of the factory setup, I’d need to match the “movement” based on our drivers used? I know the DIP switches can be turned one way or another but it’s not infinitely adjustable like MACH 3 is (using Firecontrol).
Careful with your linear rails as they may be sensitive to Splash and debris that you get
2 Likes
Thank you for the heads-up, guess I could ensure it isn’t exposed
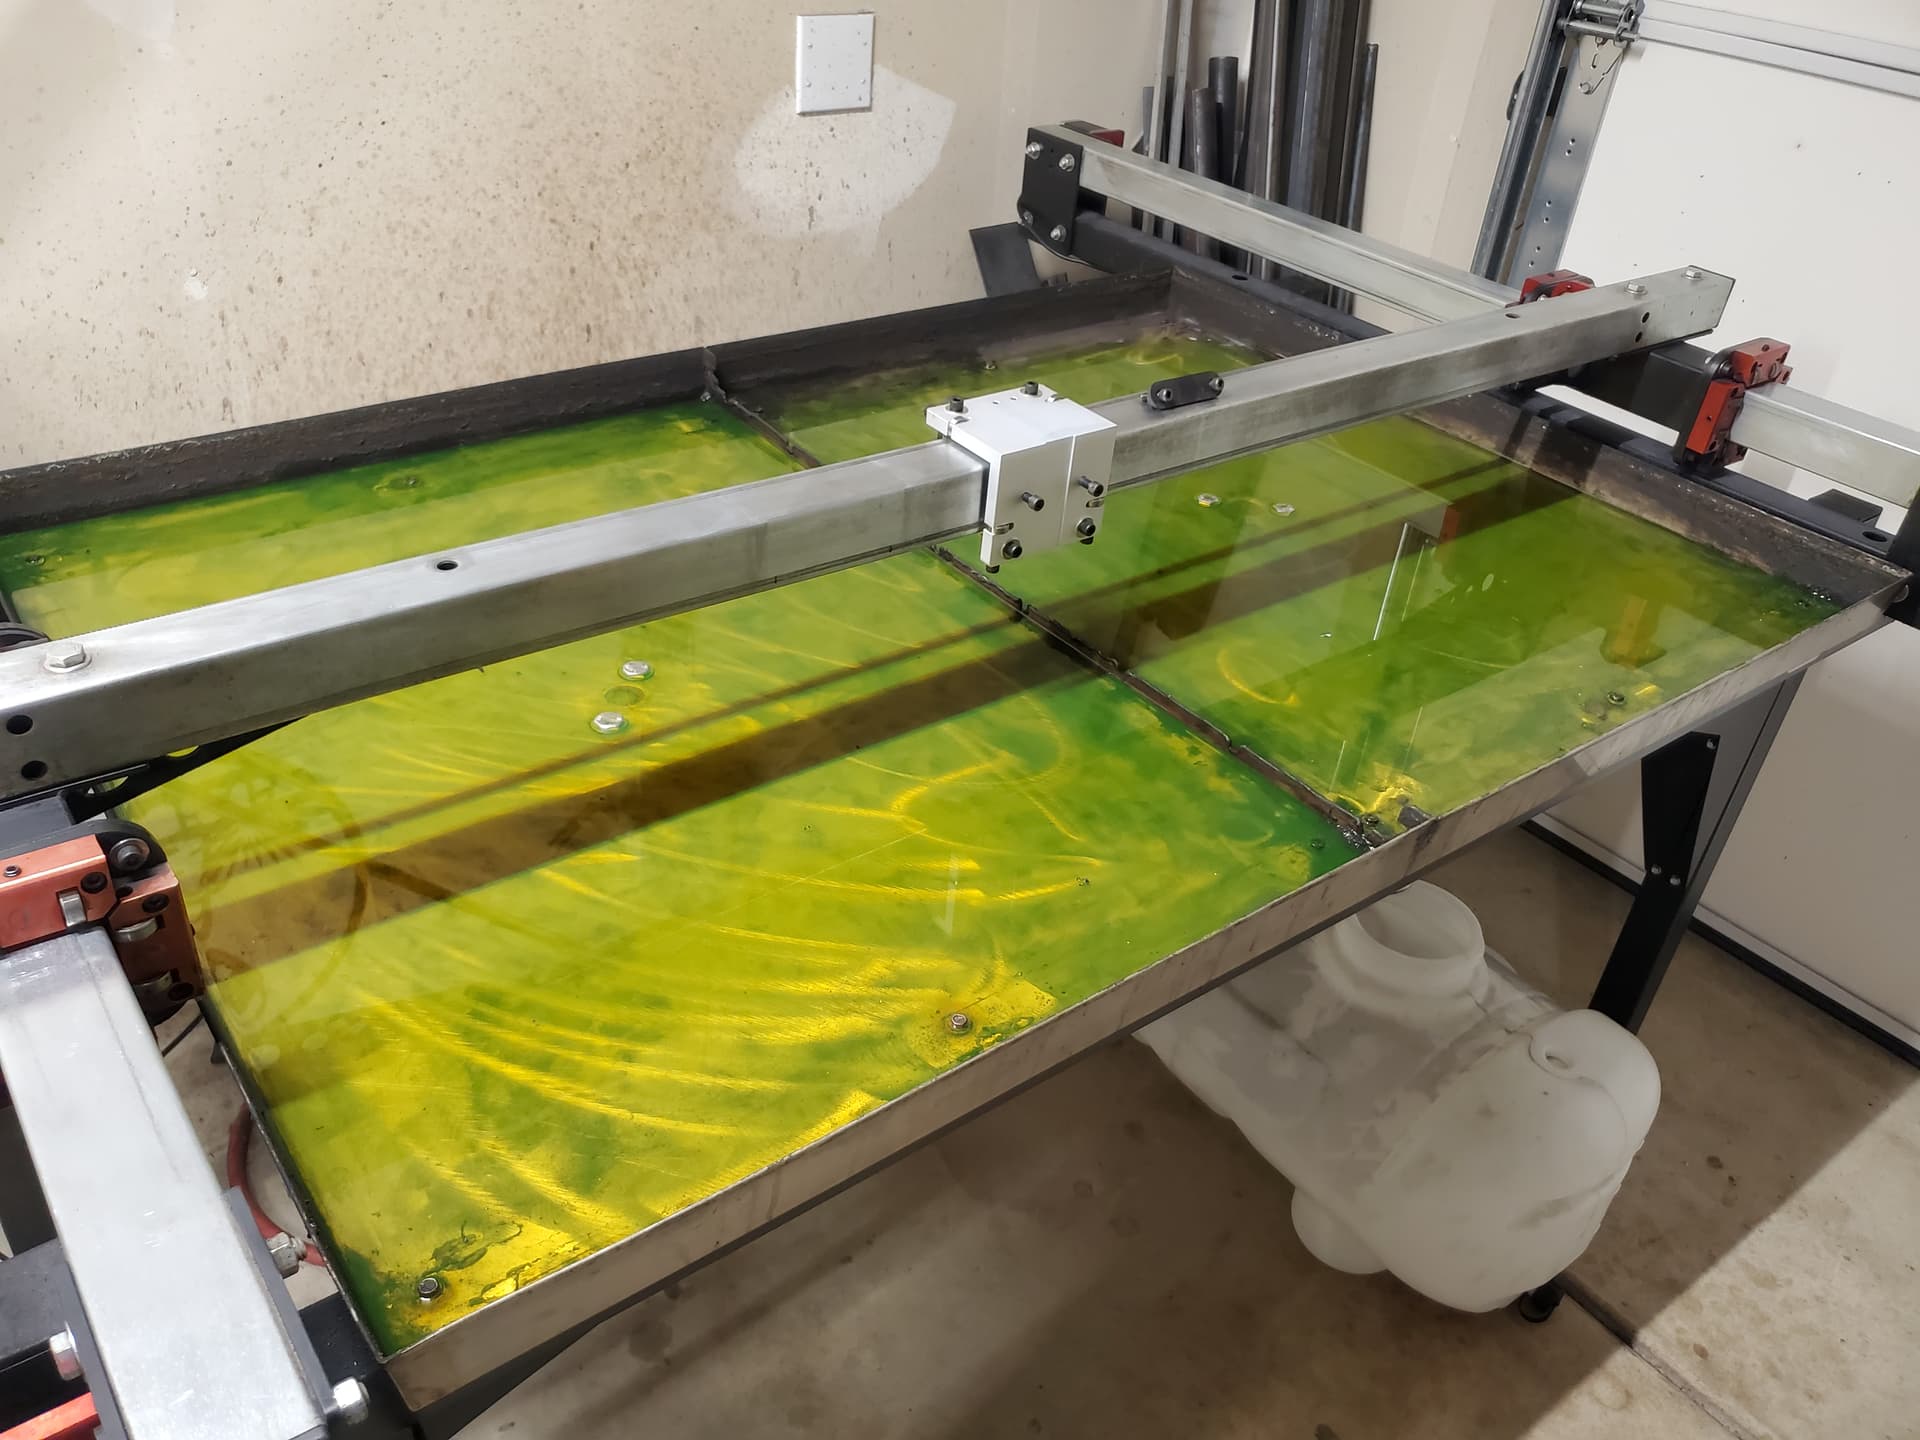
She’s back together!
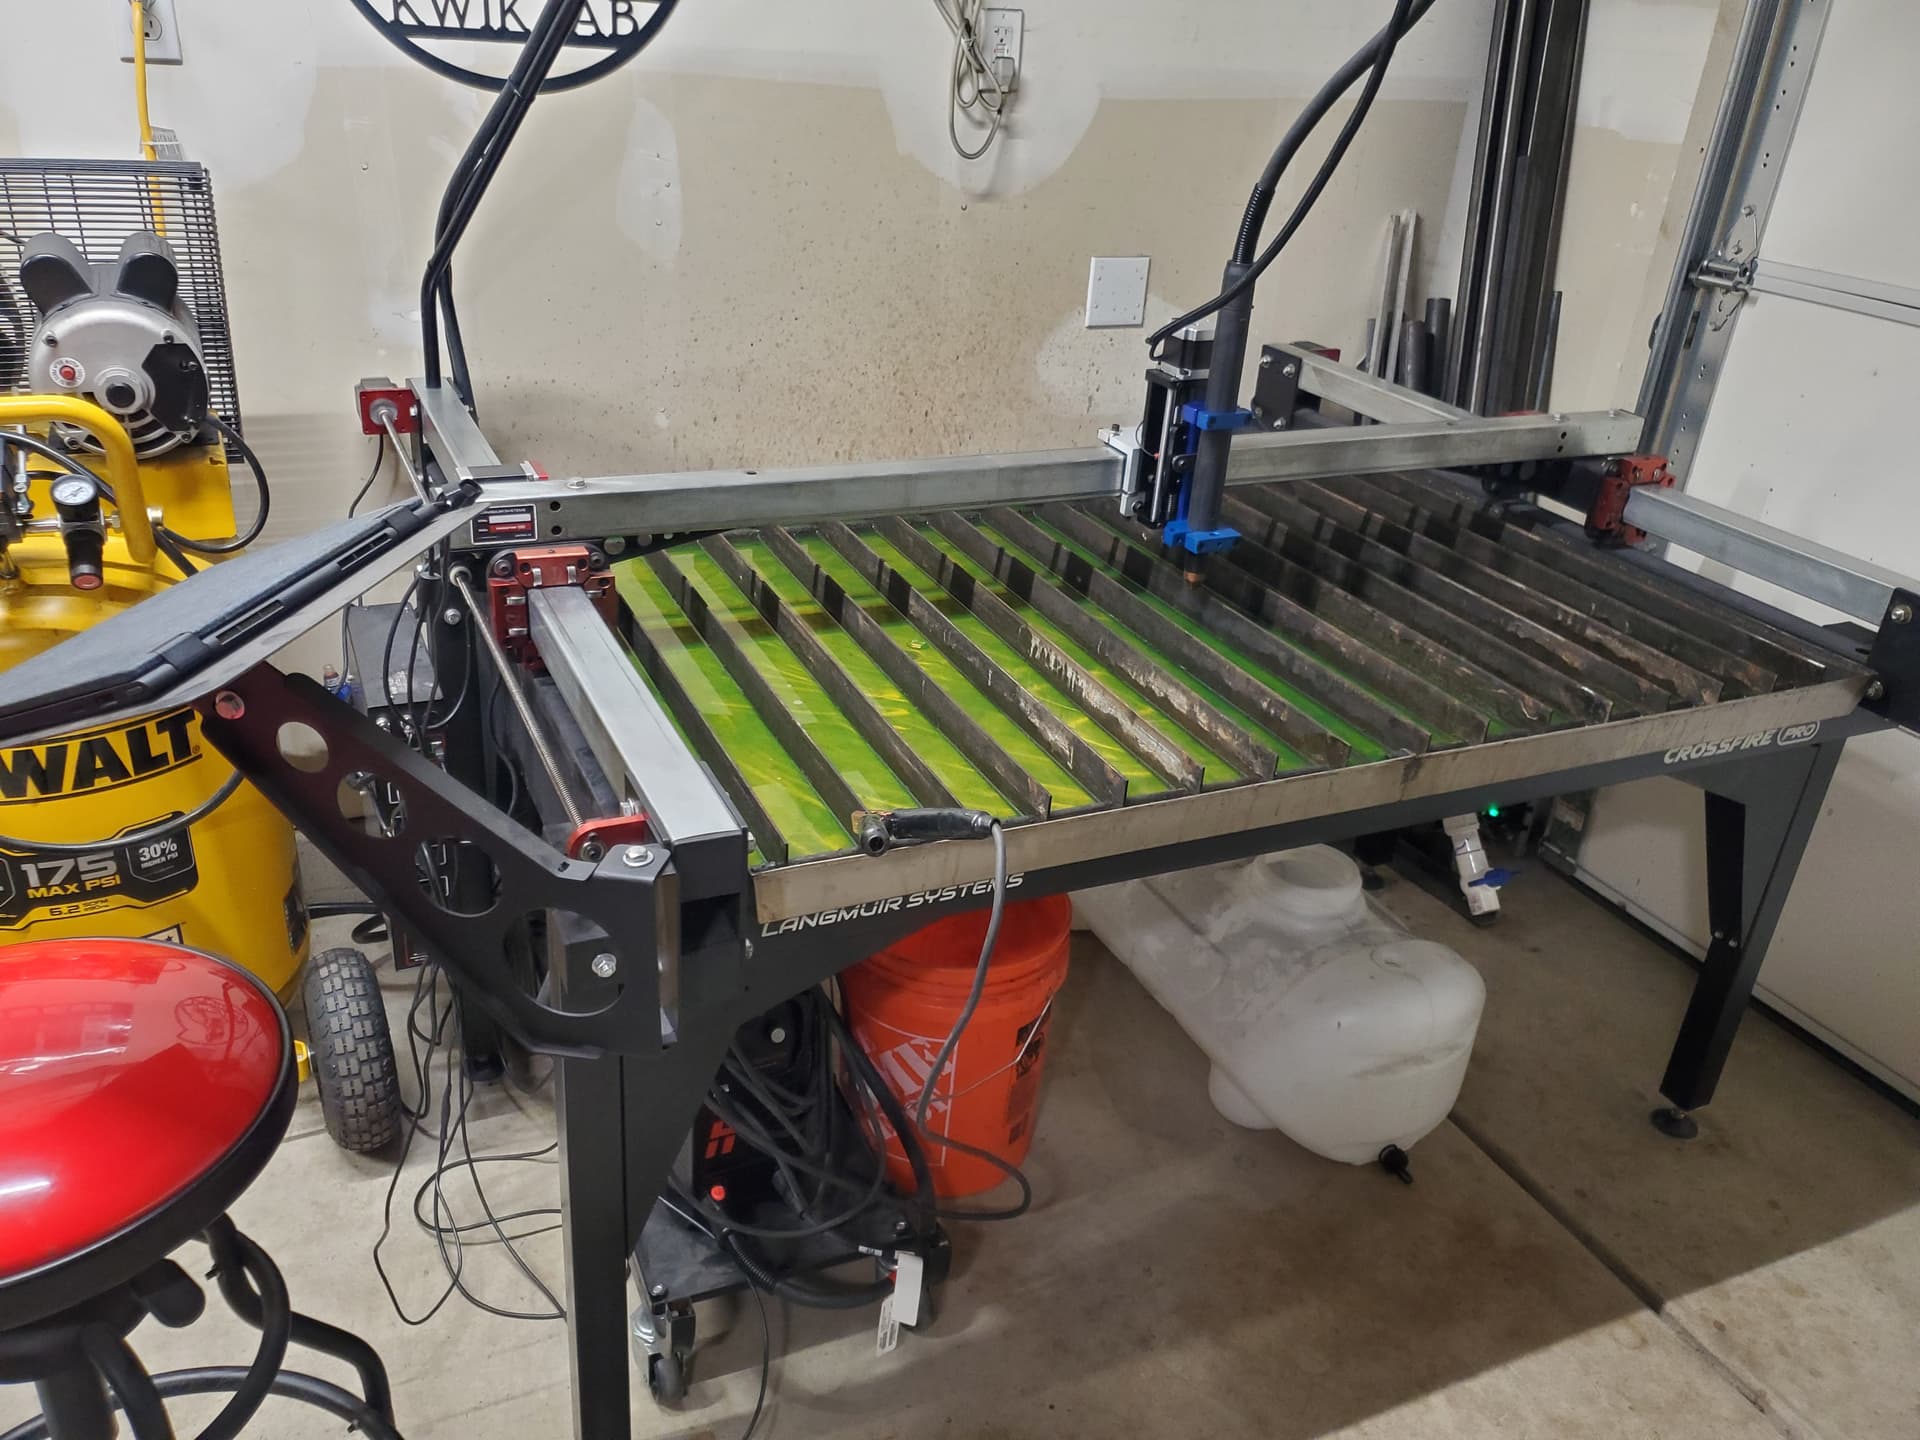
Did a test cut. Shared photos. Spoke with friends.
And lastly, spoke with Hypertherm - they said seeing up to 8 degrees of beveling can be the norm and is considered acceptable. They don’t publish these figures but engineering has determined that’s acceptable for their air-machines.
So, I can say I’m done chasing this “issue” and just accept the single bevel.
Hypertherm did admit that it’s weird that the opposing side sees no ill effect, but that the “bad” side is within tolerance of what to expect.
2 Likes
I cut some 1/2 steel yesterday. I got considerable more bevel than the first time but I caused most of those problems since I was in a hurry:
- I did not clean off the rust for the work clamp to have a good connection
- My water bed has slats that are not level with dross built up in areas
- The nozzle needed to be replaced (that helped)
- The z-axis had a loose bearing causing slop for the torch.
I am not saying you had any of those issues. But, I would say even with all of those issues, by bevel fell equal to or better than the 8 degrees. (Except my inside cuts were terrible. I blame that on the work lead connection.)
1 Like
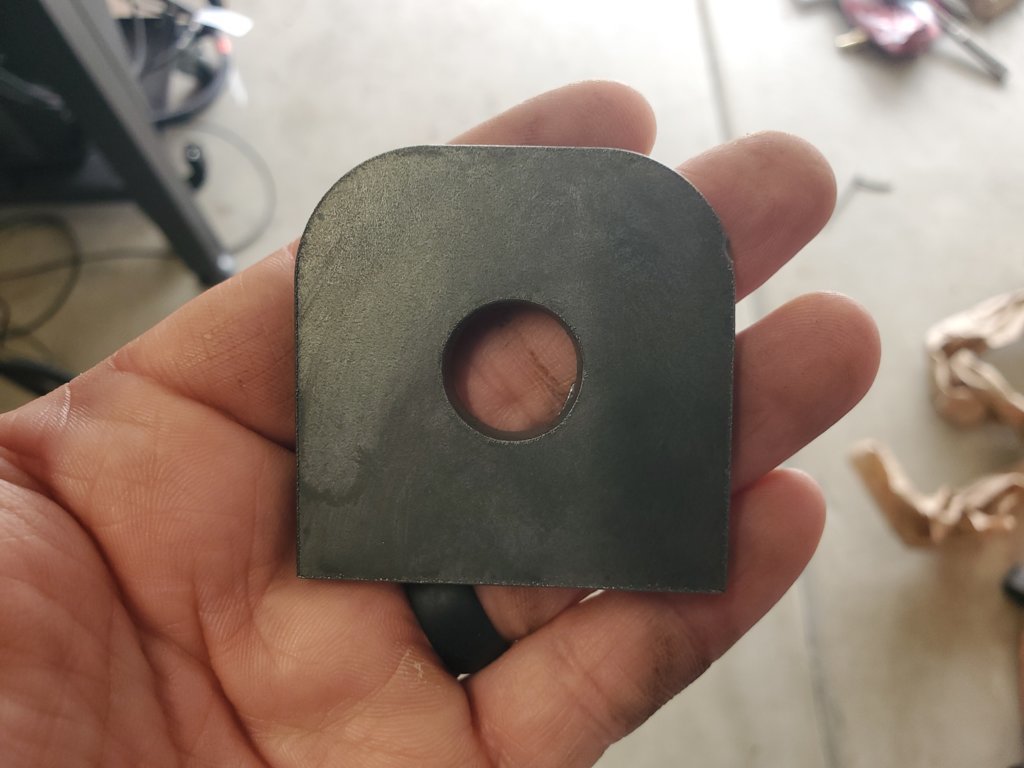
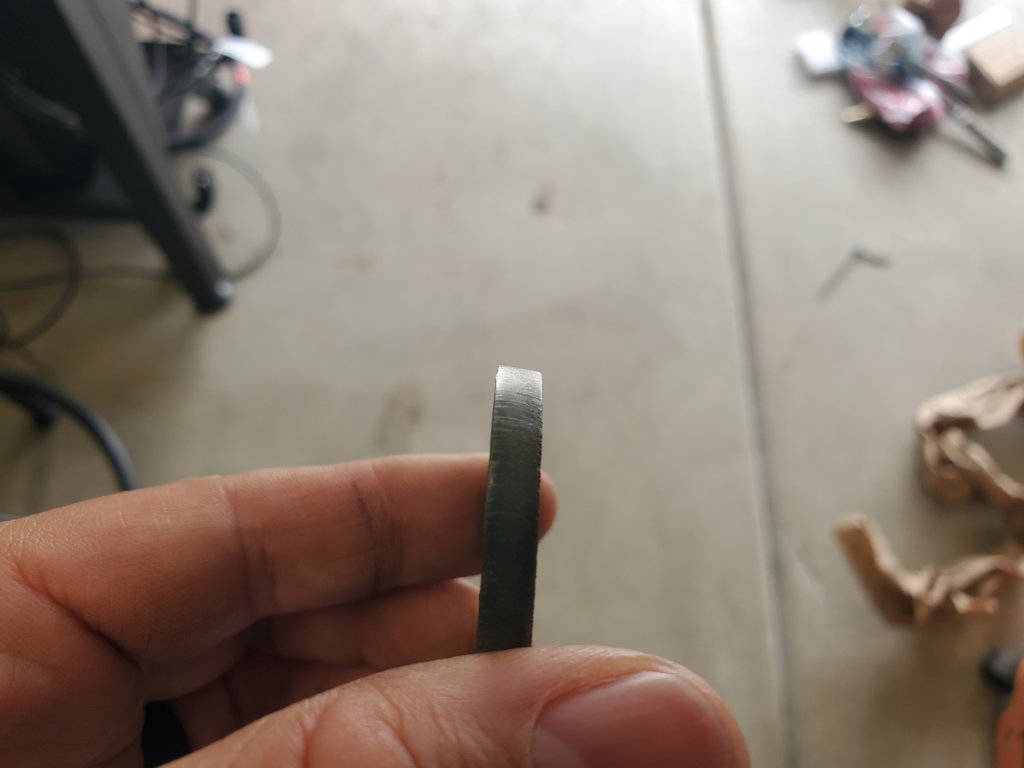
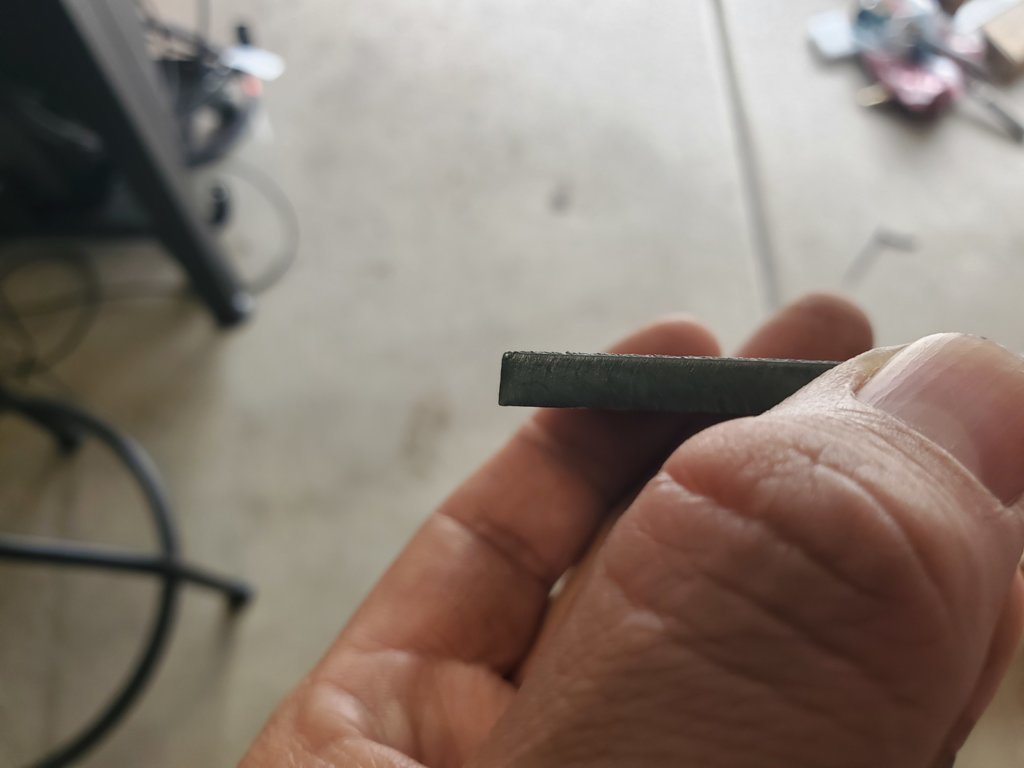
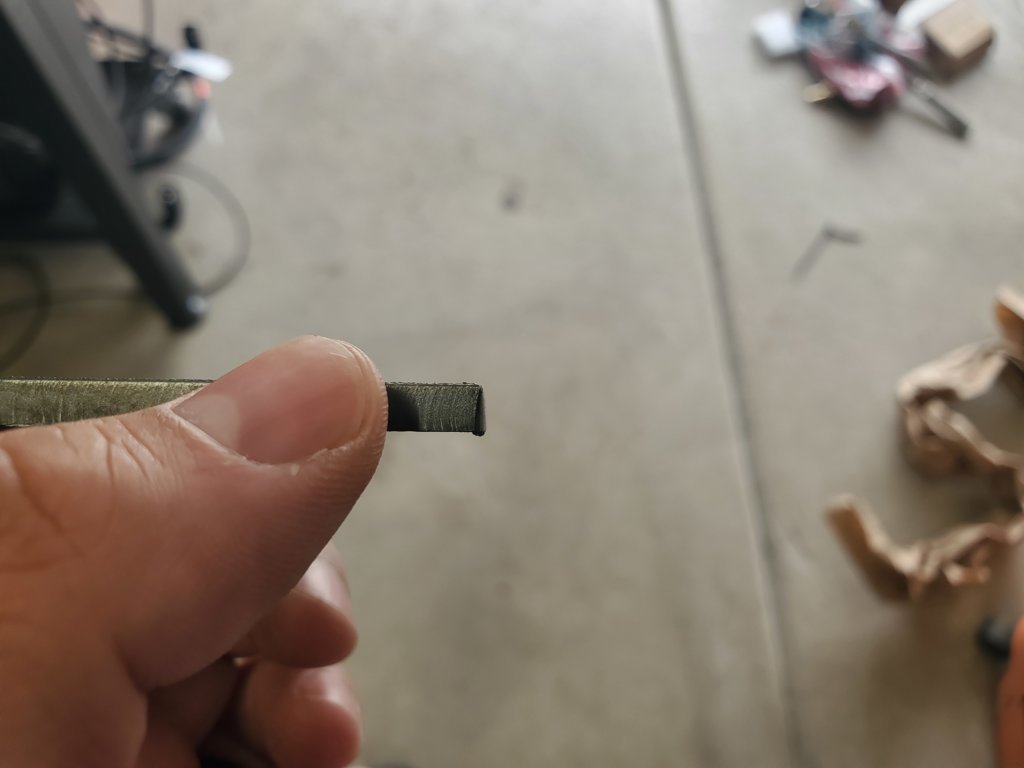
Yeah just sucks because this is only 3/16" and -
- No rust anywhere, this is new steel
- My slats were completely cleaned up prior to cutting this morning
- Consumables have less than 100 pierces on the entire set
- Z Axis assembly is factory new
Not to mention the plasma cutter, CPC kit, and machine torch (as well as torch mount) are all practically new.
I’m running more than ideal conditions and running one edge of thinner steel towards the far end of the tolerance range.
Just sucks but I’ll have to accept it.
Face -
Top edge -
Bottom edge -

Left edge -
Right edge -
My PrimeWeld was cutting the same exact piece more square than this so I’ll just learn to accept this as my new standard.
Pictures make the overall cut look better, but the bevel measures out to 8 degrees give or take a few tenths and is worse in person.
3 Likes
If it makes you feel any better, my 0.5 inch hole in that 1/2 inch plate could not even allow a 3/8 inch drill bit thru. It was “BADDD”
2 Likes
Now I want to cut that file and see what I get
1 Like
Chilling in the couch, but it’s simply a 2" square with a 5/8" center hole.
Place a 3/4" radius at two corners, then cut it.
I’ve used files that others have processed using Sheetcam or Fusion with the same results (bevel on the top edge) whereas others have a square piece all around.
1 Like
Oh I thought you eliminated the bevel by starting at another corner or whatever hypertherm told you to try.
It looked a tiny bit better doing a perfect square, but still had more bevel on the top edge.
Yet if I cut any design that incorporated that identical “square”, the pronounced beveling remained on that same top edge.
Hypertherm said I’ve got 1 year warranty on my torch, but my torch doesn’t warrant being replaced.
I know you did a complete tear down of your z axis.
Have you confirmed that your plate is square to the head. Just because your slates are clean doesn’t mean that the plate is square to the head
That’s tramming your Z axis.
I’ve done it maybe 12 times before tear down, and 2-3 different times after reassembly as I ran wires up and connected everything.
Z axis wasn’t just redone, the entire table was.