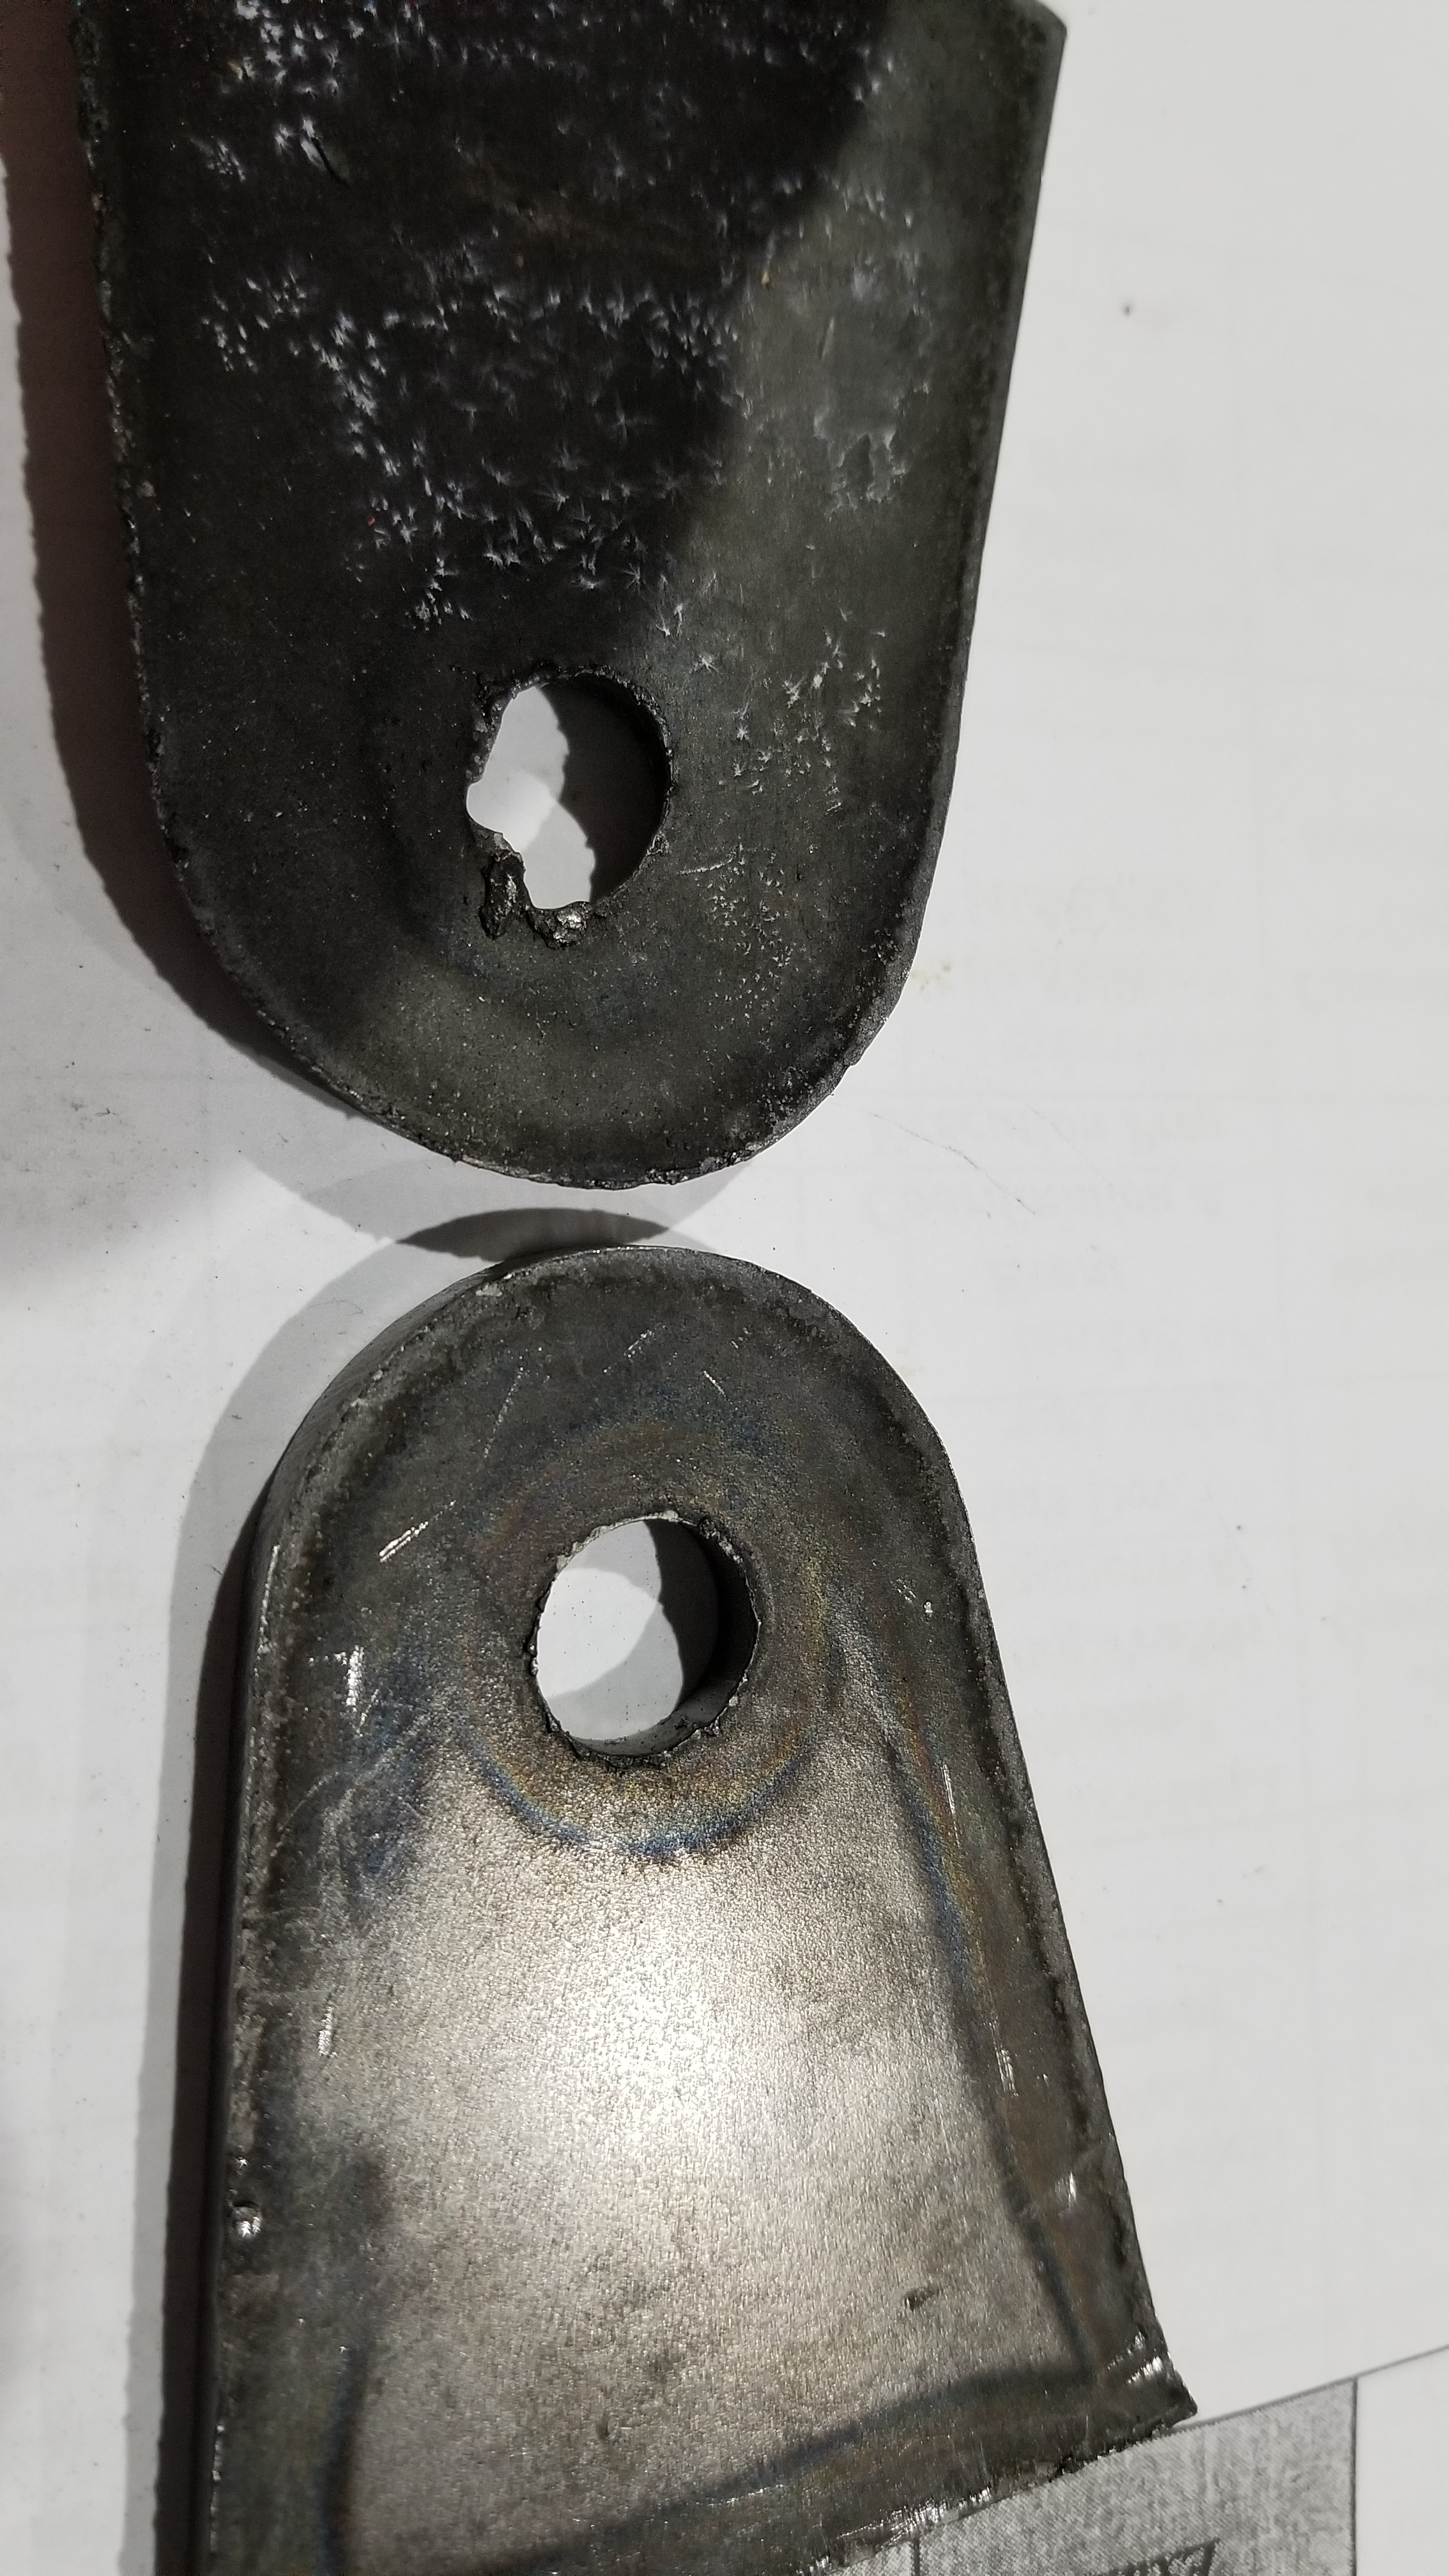
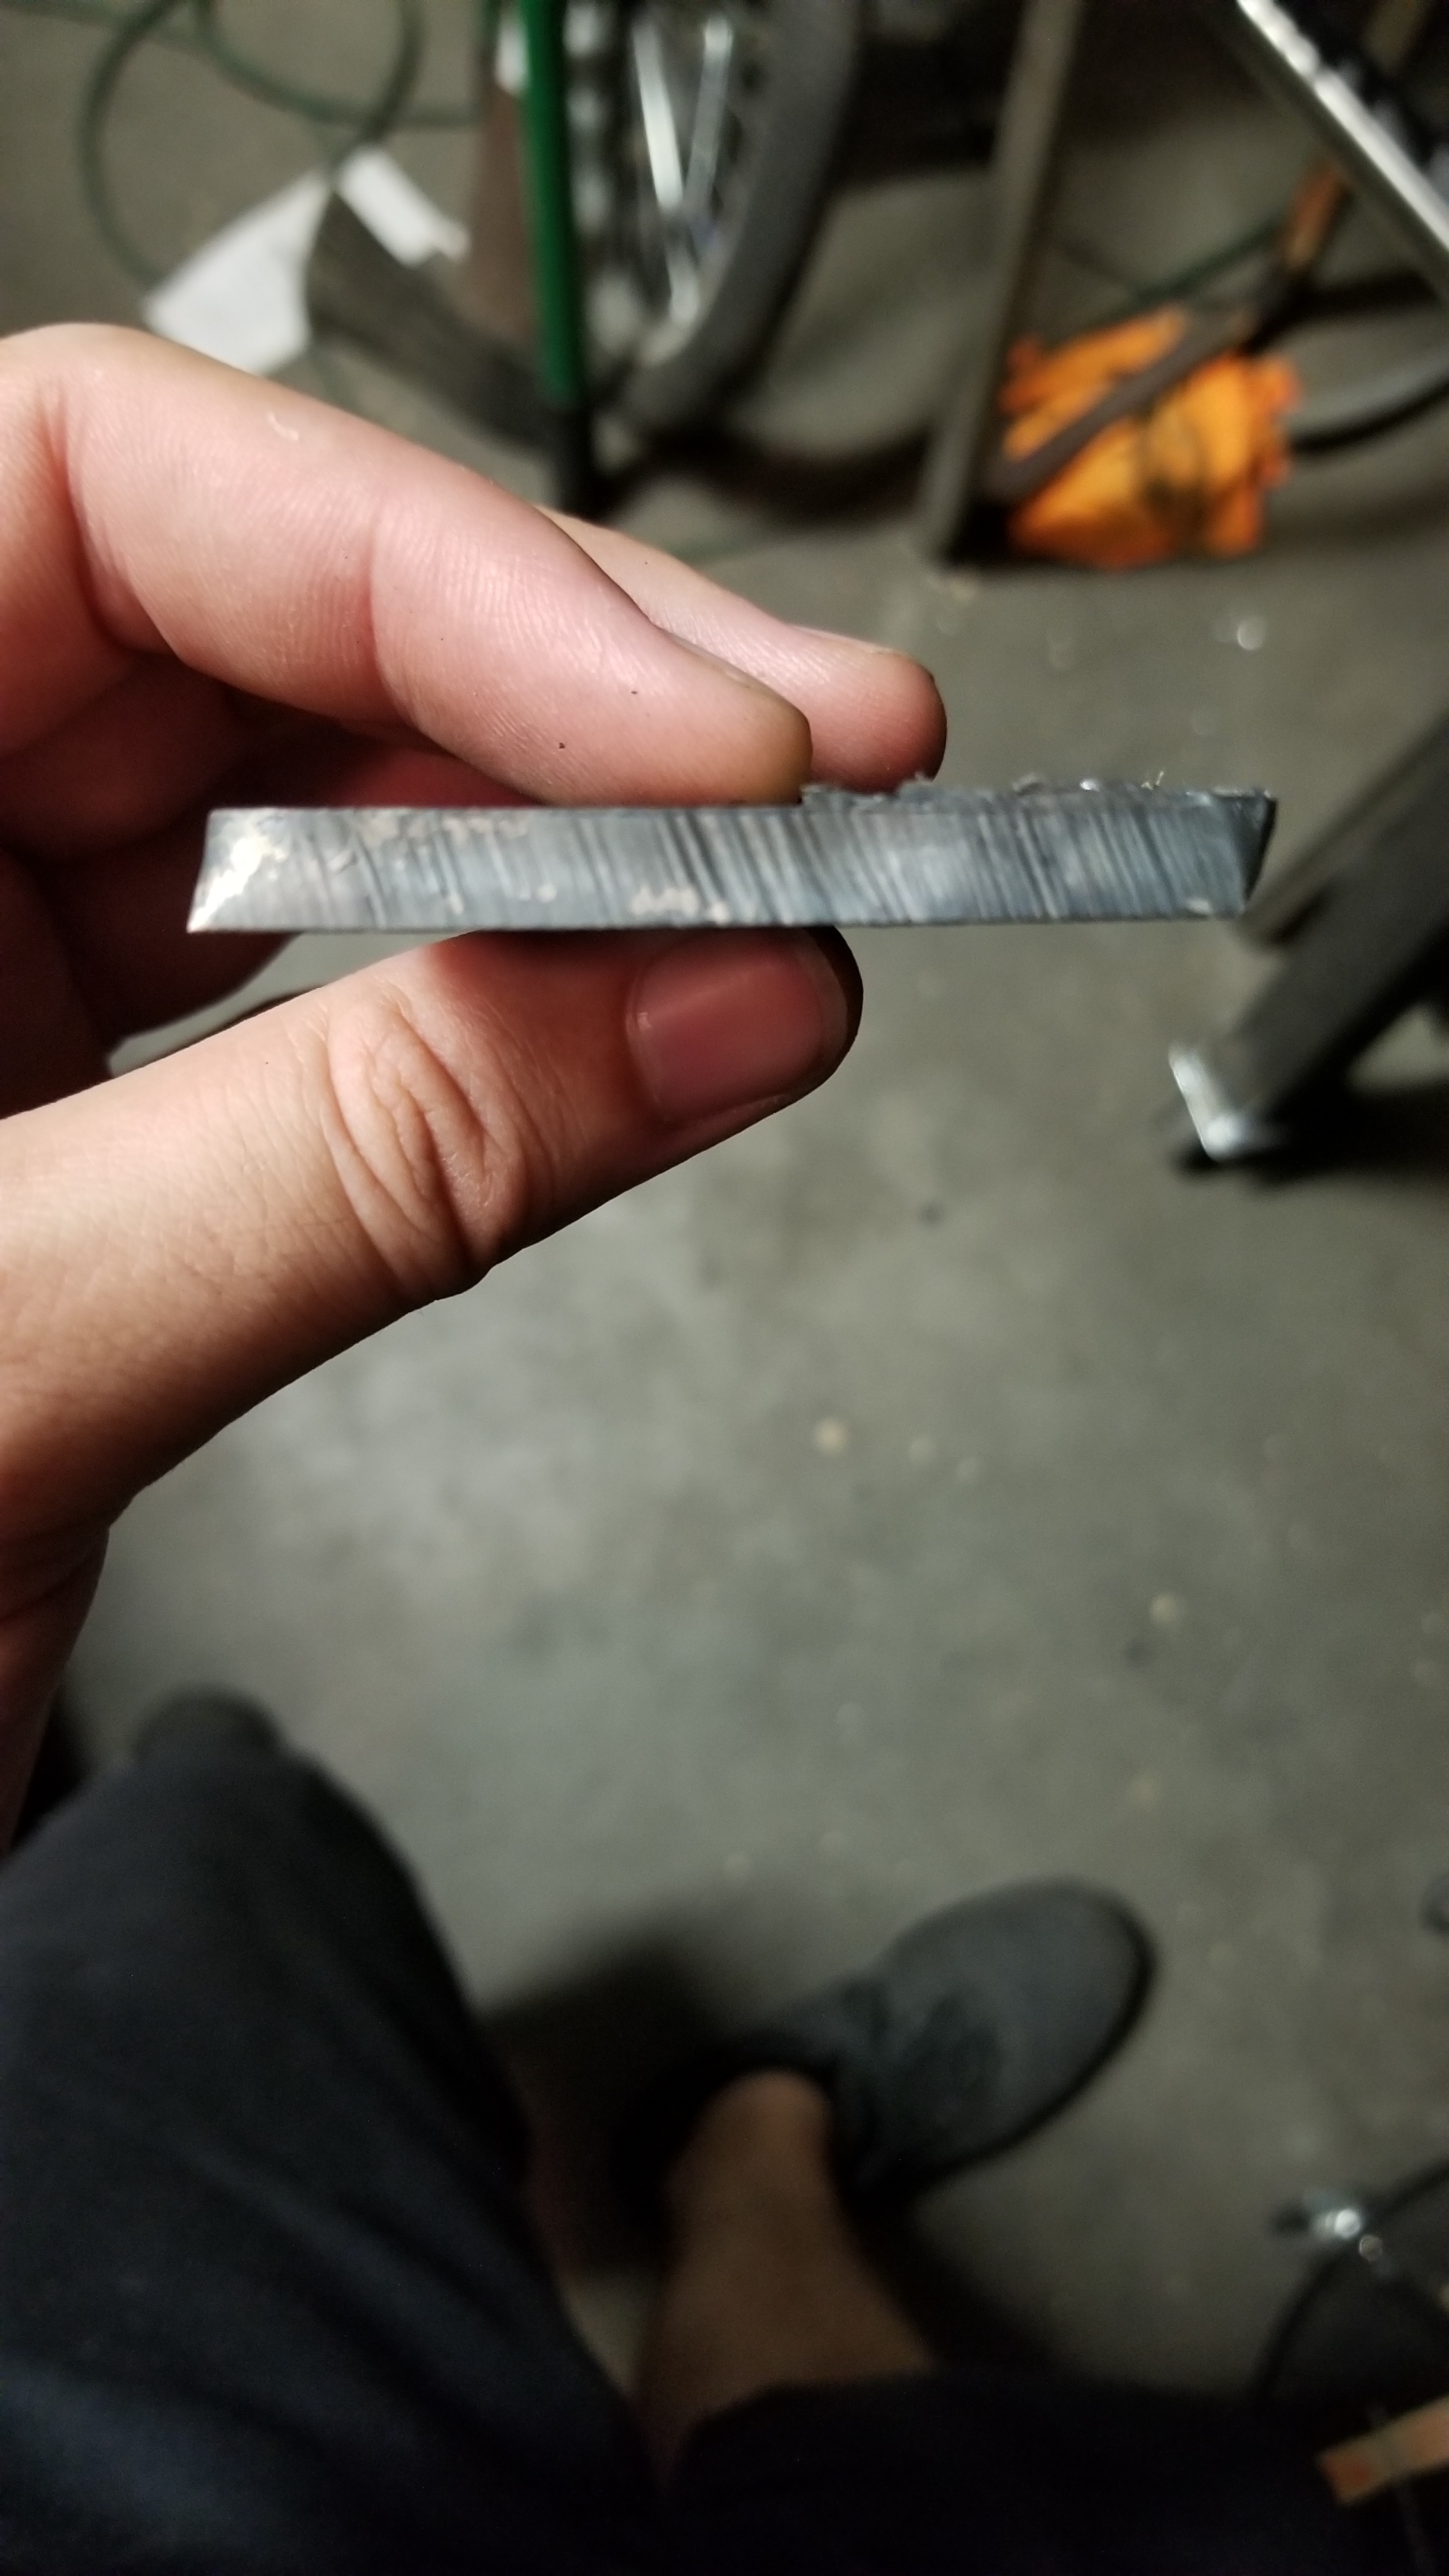
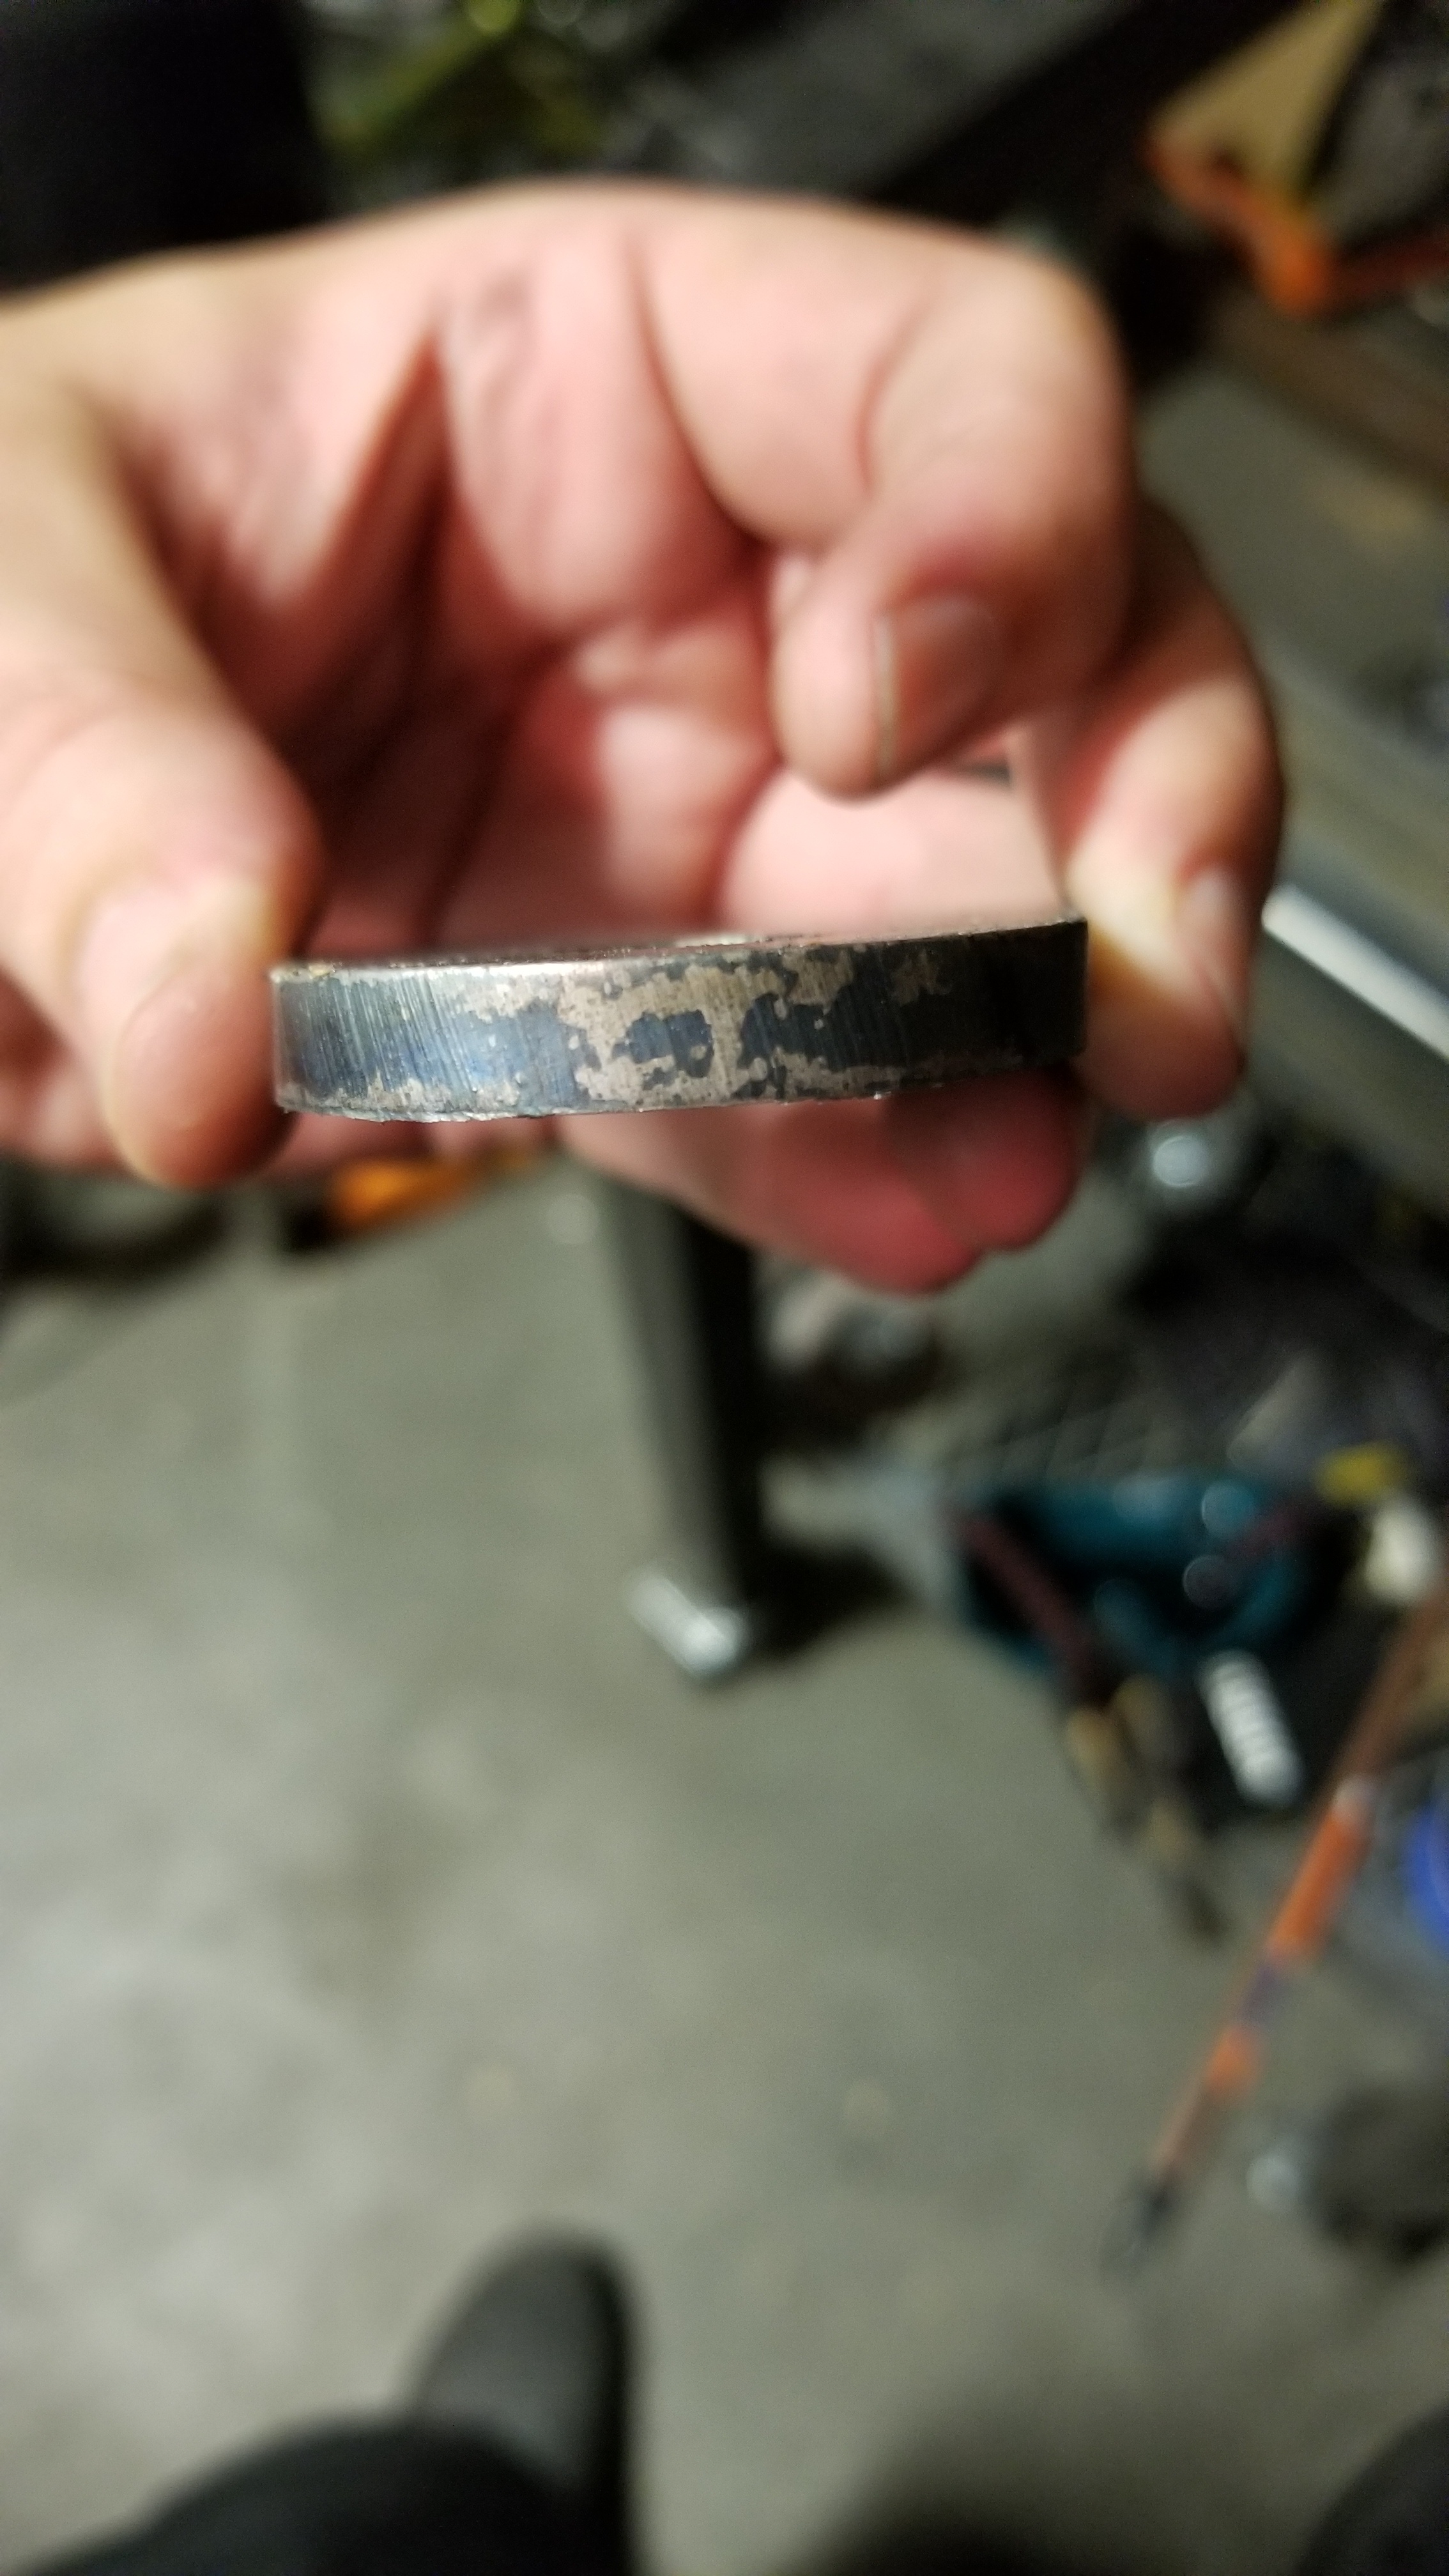
Just thought I’d share these pictures of what happens when you put your swirl ring in the torch wrong.
I upgraded my compressor to a 80gal 2 stage and added a refrigerated compressed air dryer. My first attempt at 1/4 inch plate was beautiful! The next day i did some cutting on 16g then changed nozzles to .09 to cut 1/4 again. The cut came out awful! I went back to the .08 nozzle and still garbage. I gave up for the night before i ruined a bunch of expensive plate. Today i thought about it and remembered the swirl ring. Flipped it around and the cuts look great again. Ive got some feed rate testing and fine tuning to do but im on the right track now.
I have been trying to tell people that for years. Also you have to have the right original swirl ring for the make torch your using, the wrong swirl ring or a chinese copy will make you pull your hair out trying to find out whats wrong with your cuts.
Haven’t flipped my swirl ring yet by accident but, is there a good way to tell which way it goes on just by looking at it? If I remember right, it pretty much looks the same either way. Or, just better to go by trial and error?
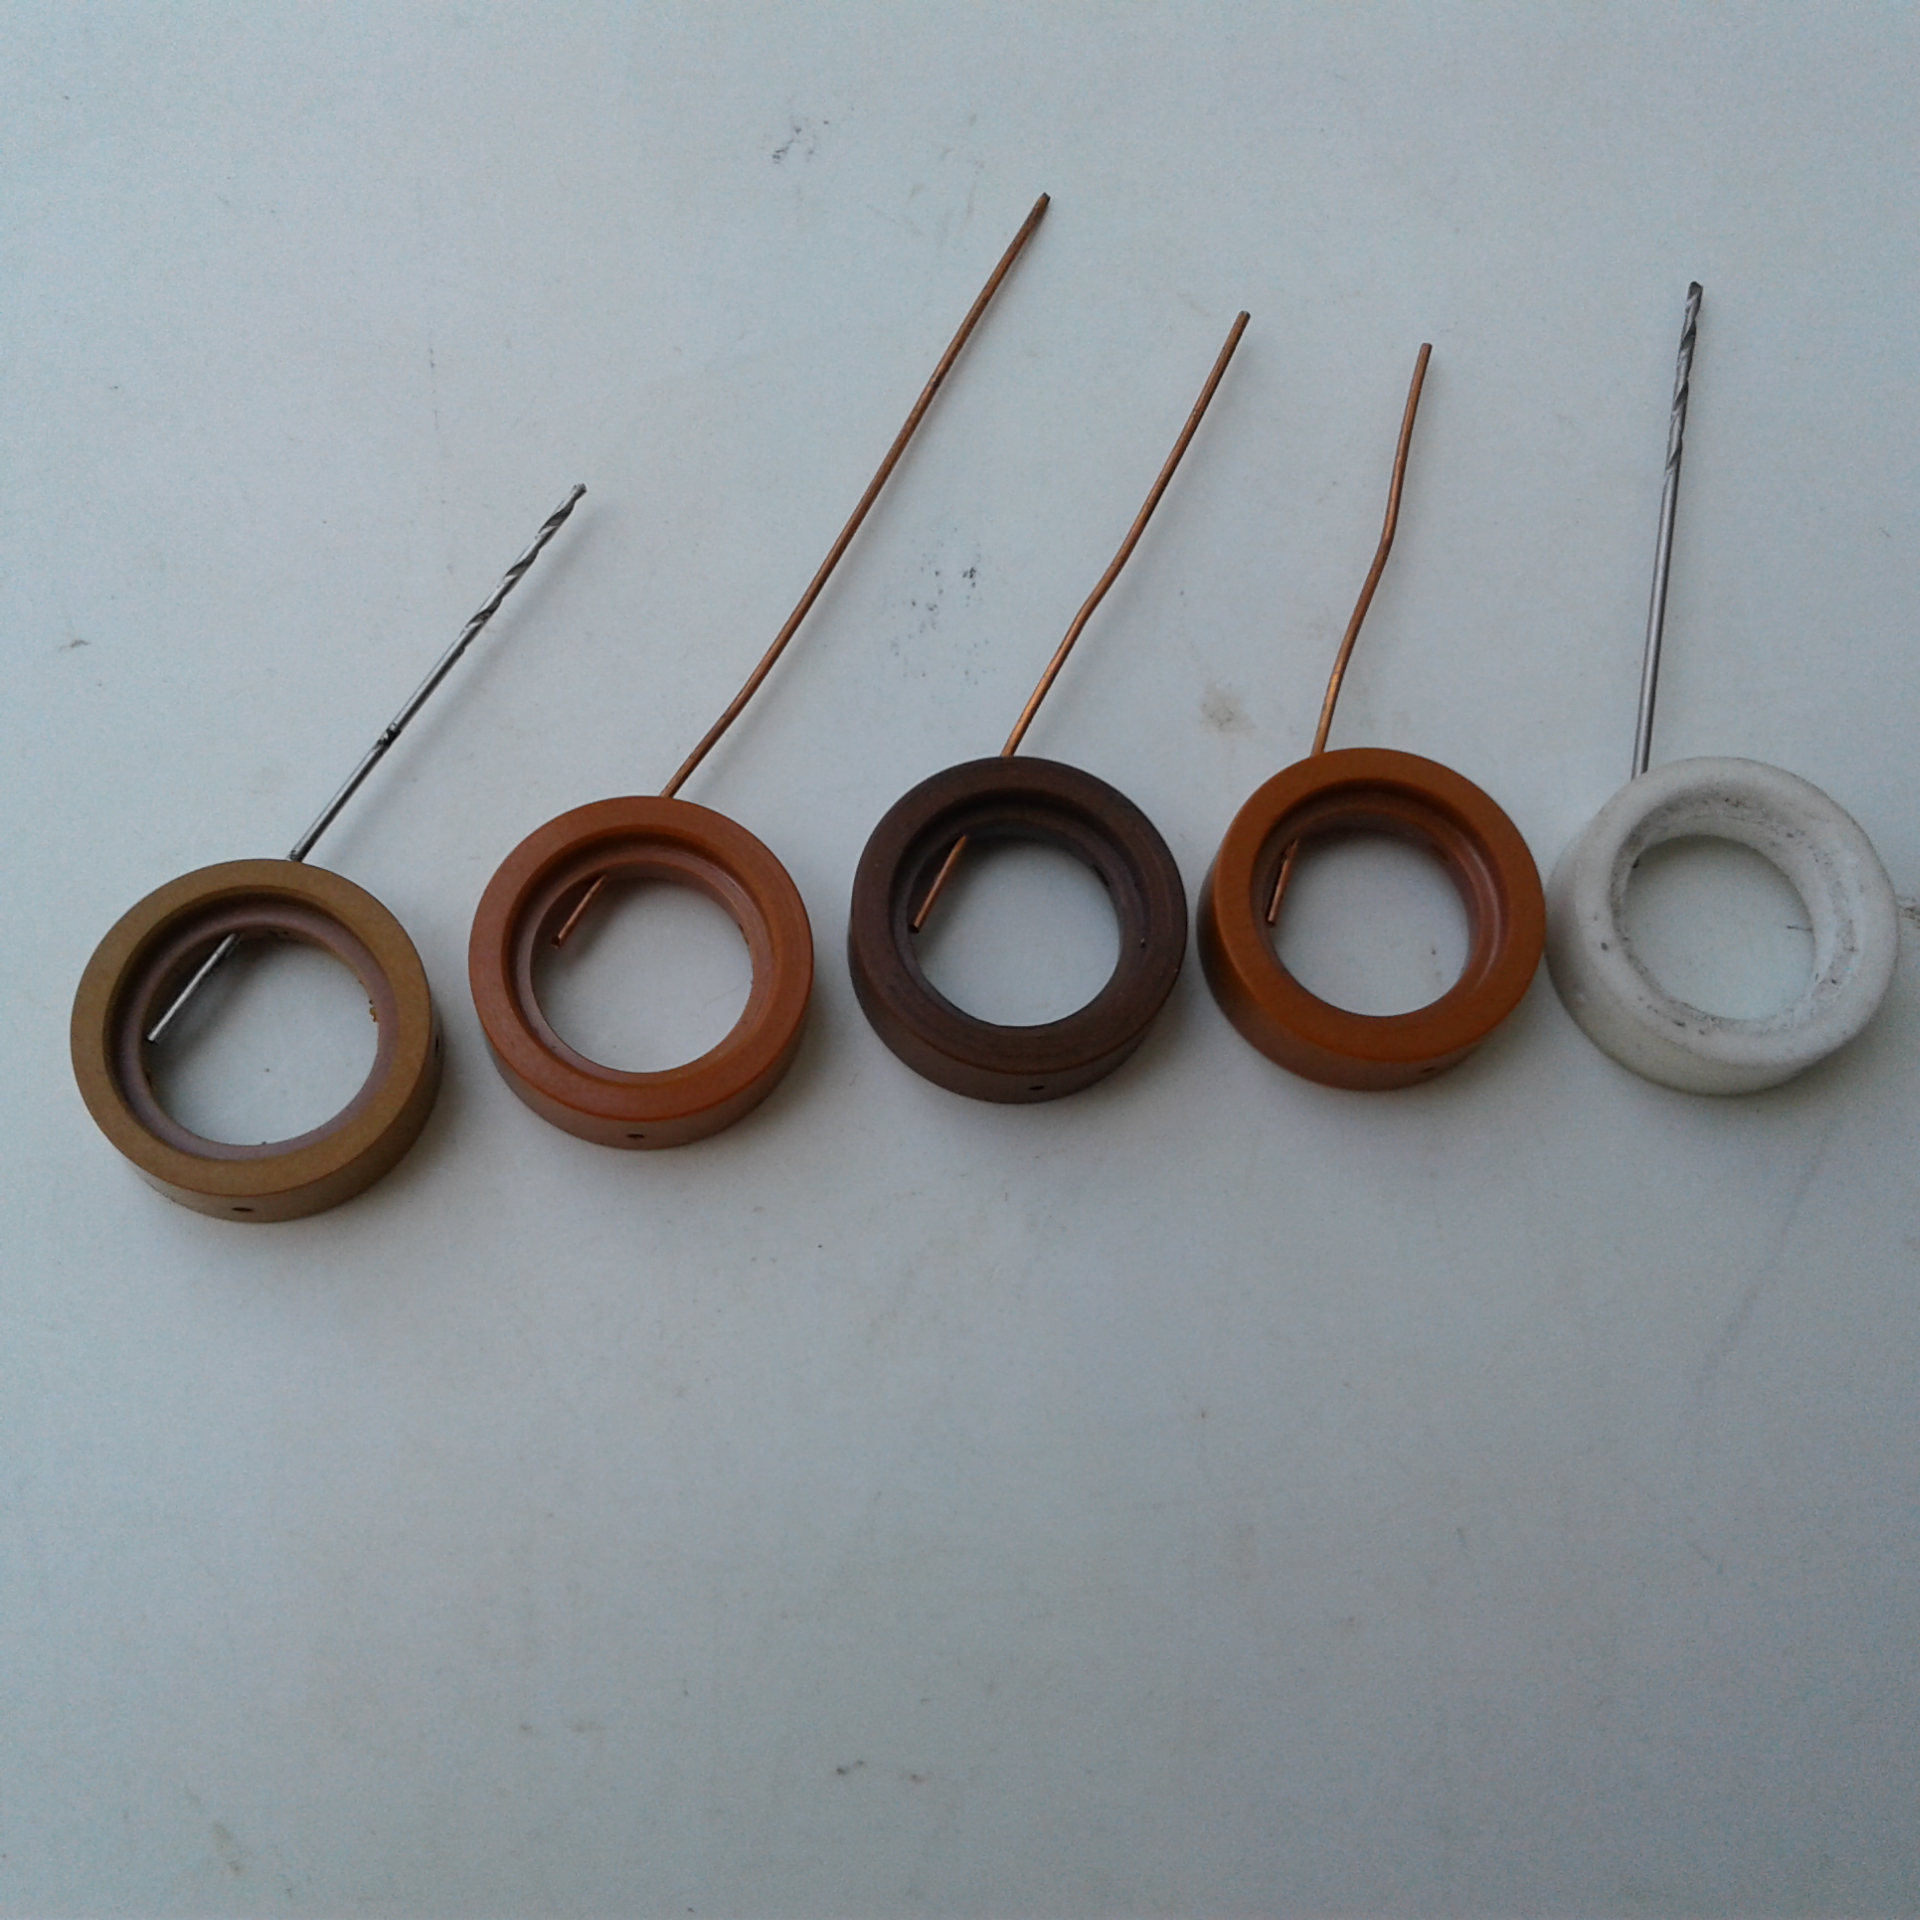
I remember seeing a picture recently of a bunch of swirl rings side by side with wires and drill bits placed through the holes to show the difference in angle and hole size between different copies for the same torch. It may have been your picture @mechanic416 or maybe GambleGarage’s but I forgot to save it. That picture alone speaks volumes.
@KX9M If you’re in a well lit environment you can actually see light through the holes to determine which way they’re cut. The holes are cut at an angle from inside to outside so if you flip it over the path the air takes is reversed clockwise to counter clockwise or vise versa. You can also use the light to make sure the holes aren’t blocked. Since yours is cutting correctly now, you can take a look at which direction they are and make a note for the future. I wish I would have done that the first time lol.
Love it!.. Yes, I will get that figured out now just so it can’t be something to consider in the future when questionable cuts come as I’m sure they will at some time…
You mean this picture. And this is only a few I had laying around. The first one on the left is for the Trafimet S45 torch, the second one is for the Tecmo IPT/PT torch the others are Chinese copy’s.
This all depends on the plasma cutter and torch. Some swirl rings can only be installed one way, others can be installed either way. If it can be installed either way I always say install it in the same direction as the electrode screws in. Looking at the cutting end of the torch it would be clockwise, looking down at the work piece it would be counter clockwise.
so in this picture - and sorry to be redundant and blonde, the part showing in the picture would go agains the torch. the side on the flat surface above would go towards the nozzle?