I have stalked for awhile, whilst thining of buying, but I gotta ask…
Can we get a topic where people post the surface finishes of their parts. Not the swirly face. Which I dont know why people are not using a fly cutter more often. Perhaps the hassle of changing tools? Hide spindle tram alignments? Even Langmuir doesnt show projects with tool changes and tool setting. There should be more of that. Not every part is made with one end mill.
I get this thing will hog out material but I want to make parts, not chips, and NO ONE really brings the part to the camera to see the side wall finishes. They show the swirly face of the finished part. Whis is cool sometimes, but hides surface finish. In the rare occasion I get a glimps it seems there is chatter/tool marks of some sort. The 3D project video by Langmuir had some significant chatter/tool marks. Was that because of the machine or CAM settings? I know they like to use 2 flute end mills. I wish they would use a 2 or 4 flute end mill on a finish pass. I am an aluminum guy, having nice finishes with the MR1 seems like it should be the norm. I see what looks like a finger nail grabbers on the base plate when folk skim the deck on their new machine when using a fly cutter.
Im not trying to be negative and I realize there are probably a lot of new to machining folks buying the MR1. But I want to make parts with nice finish & tolerances, not just make chips. I dont want to be fighting vibration/hermonics. So show off!!! Put those part close to the camera. Show those finishes and lets see what this thing can do.
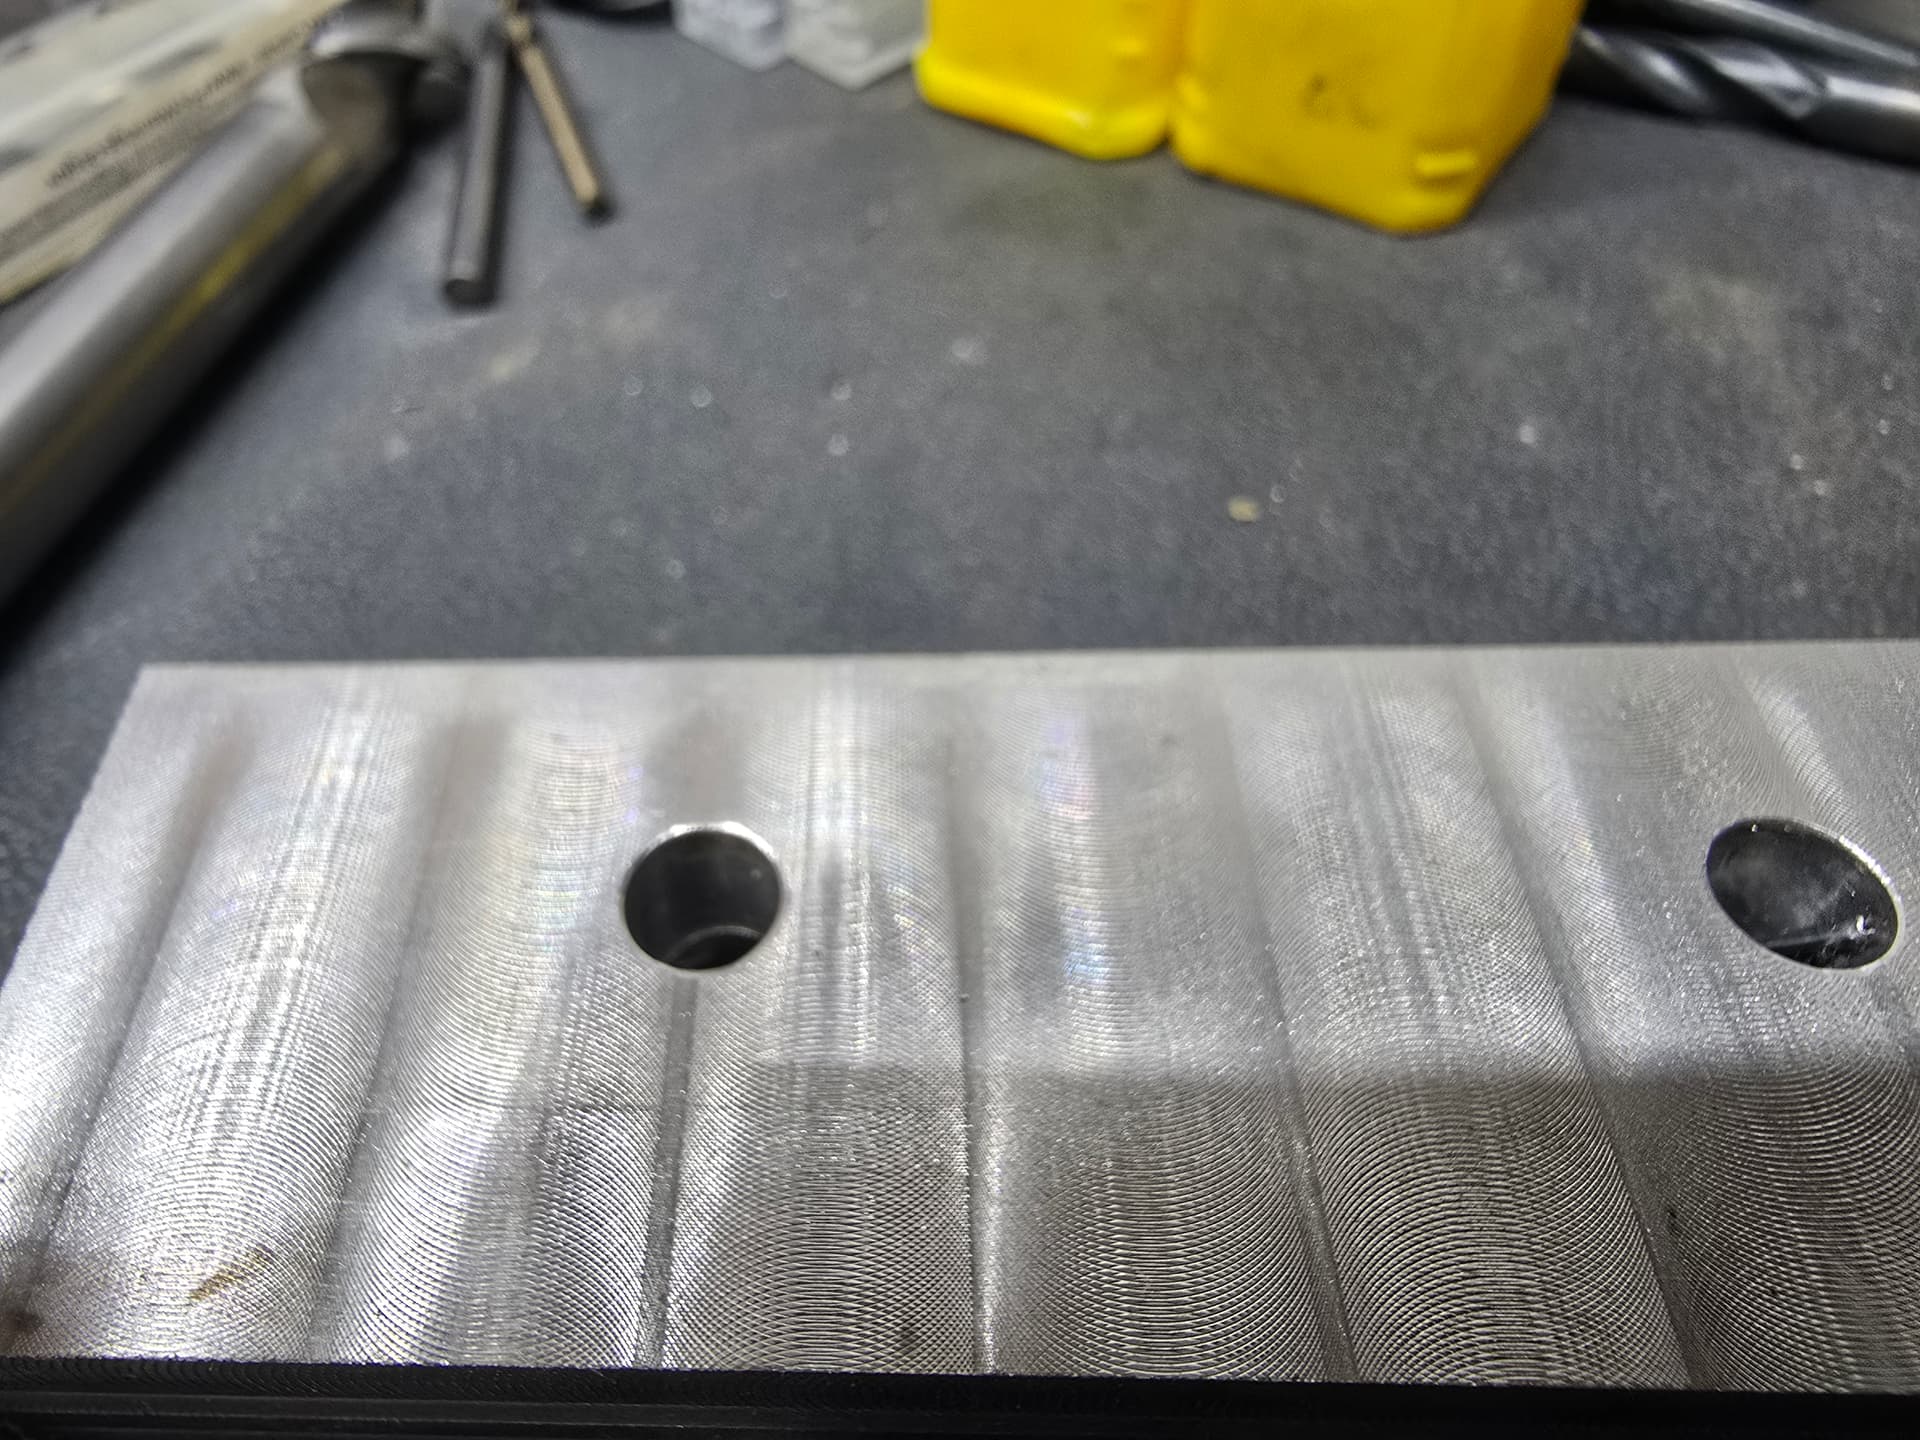
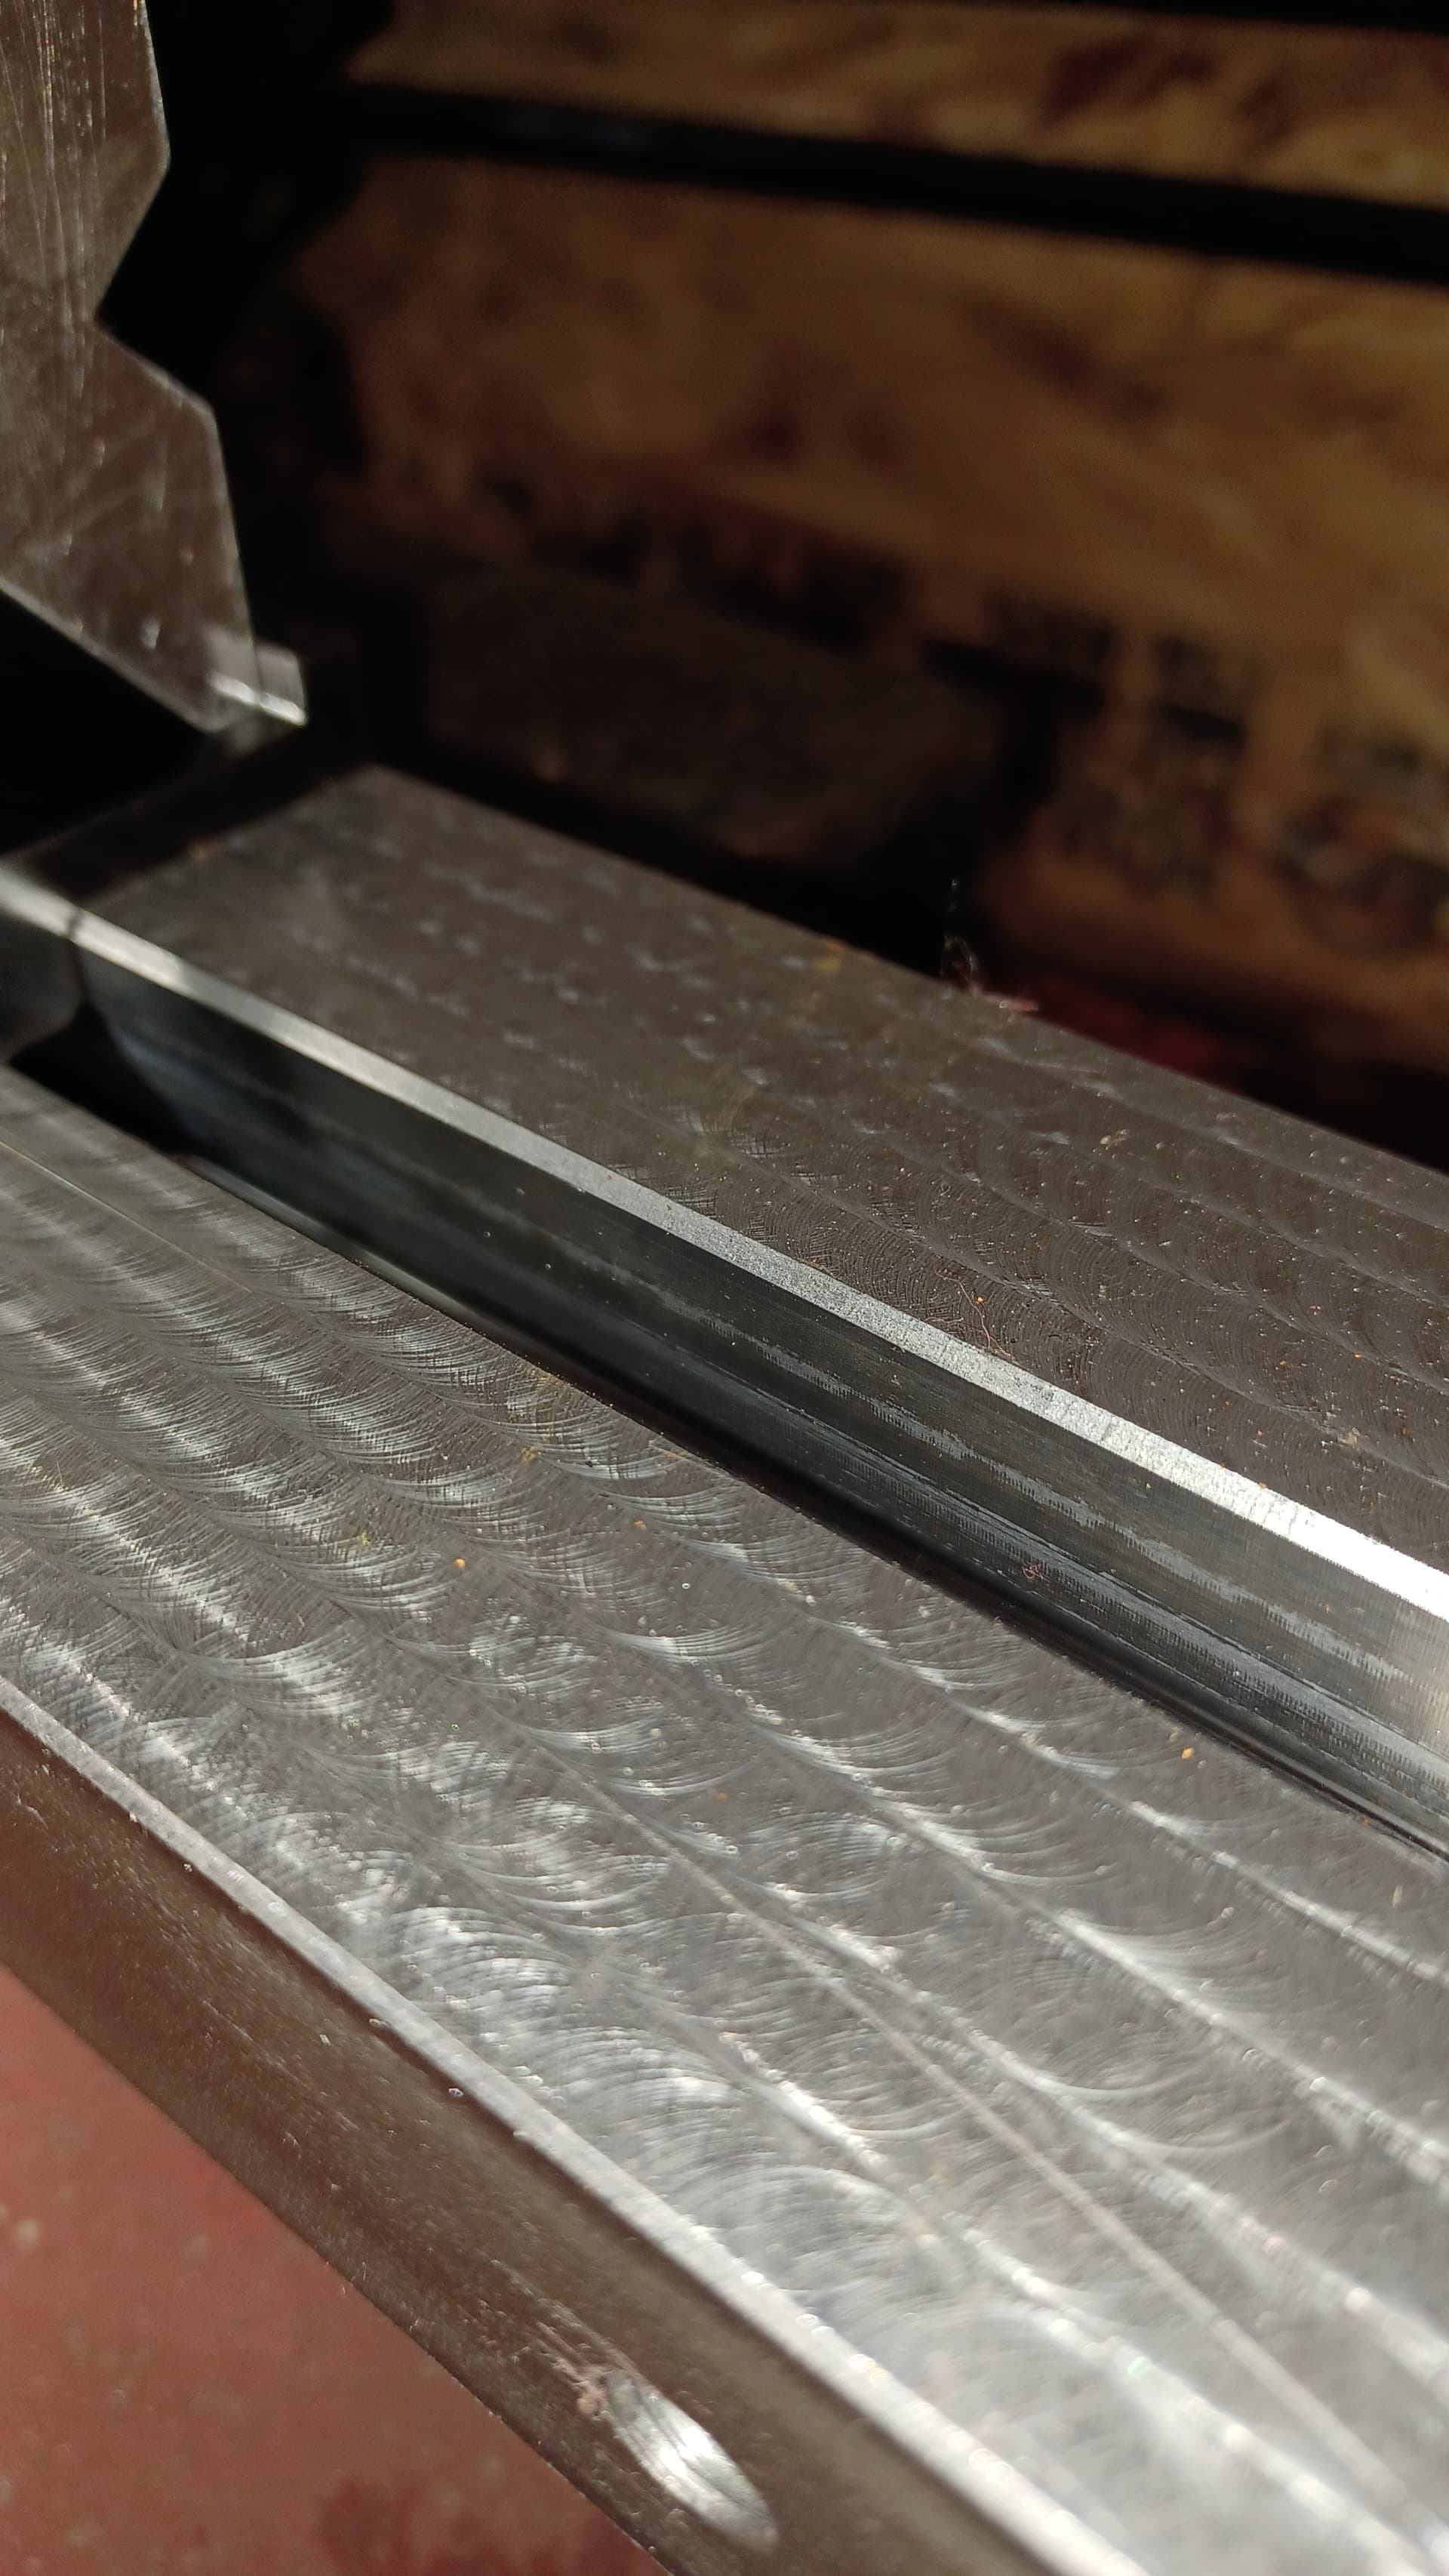
I don’t snap pictures of parts often, but I have a picture of a fly cut surface on a block. Customer wanted a good finish on a mating surface.
T6061 aluminum
Most of the time I don’t have a surface finish requirement for what I’m making so feed lines aren’t a concern. I’ll see if I have something handy to snap a better picture of the finish.
Are you wanting pictures of rough passes or finishes passes? I have a good bit of aluminum tooling I’ve made, but generally finish at 60ipm so the finish isn’t great.
I can’t say that I’ve had much problem with harmonics outside of milling stainless or having long tools chatter a little. That’s something that can easily be tuned at the control with the feed and spindle tuning.
I don’t run fly cutters because getting the machine tramed in good enough for that is a stupid long process if you don’t have a set screw mod. Took me hours to get it good enough to run a 1/2" cutter. I almost never run 1/2" cutters because you’ll stall the spindle if you take a heavy cut. Since I run 1/4" cutters or smaller 95% of the time it’s just not worth the effort of getting it trammed well enough to run a fly cutter. I’ll try and get some pictures latter to post in here for you. I got to go coach soccer at the moment.
In the mean time I’m sure some of the guys here have some good ones to share. This is just my experience. Having said all ^ the MR-1 is by far the biggest bang for your buck under $10k
How did he like the surface finish? I take assume the customer wanted a sealing surface? I can see the 2 passes from the fly cutter, doesnt look like a fingernail catcher at all. Have you ever checked it with a straight edge and a flash light and see if light passes under the straight edge?
I’d like to see more finish passes. Most everything I see is a 2 flute hog’d a bunch of material then they do a slower clean up pass with the same end mill. So wall finish usually isnt too great. Then with all the swirls you cant tell if the floor finish is smooth without edges/ridges. Id like to see some 3 or 4 flute aluminum machining. Im not a fan of 2 flute.
I think the Full Slotting Aluminum video by Langmuir would have been better, if they did the same test using a 0.5 2 flute and 0.5 4 flute. I bet the machine would have run smoother and it would have been quieter. With flood coolant I dont think chip evacuation would be a problem.
Better than that I can tell you the flatness on that surface was 0.0002" from corner to corner diagonally. And yes, there was a gasket between that plate and the valve body it mounted to.
I am pretty particular about my mill and took the time to tram it in as close as possible.
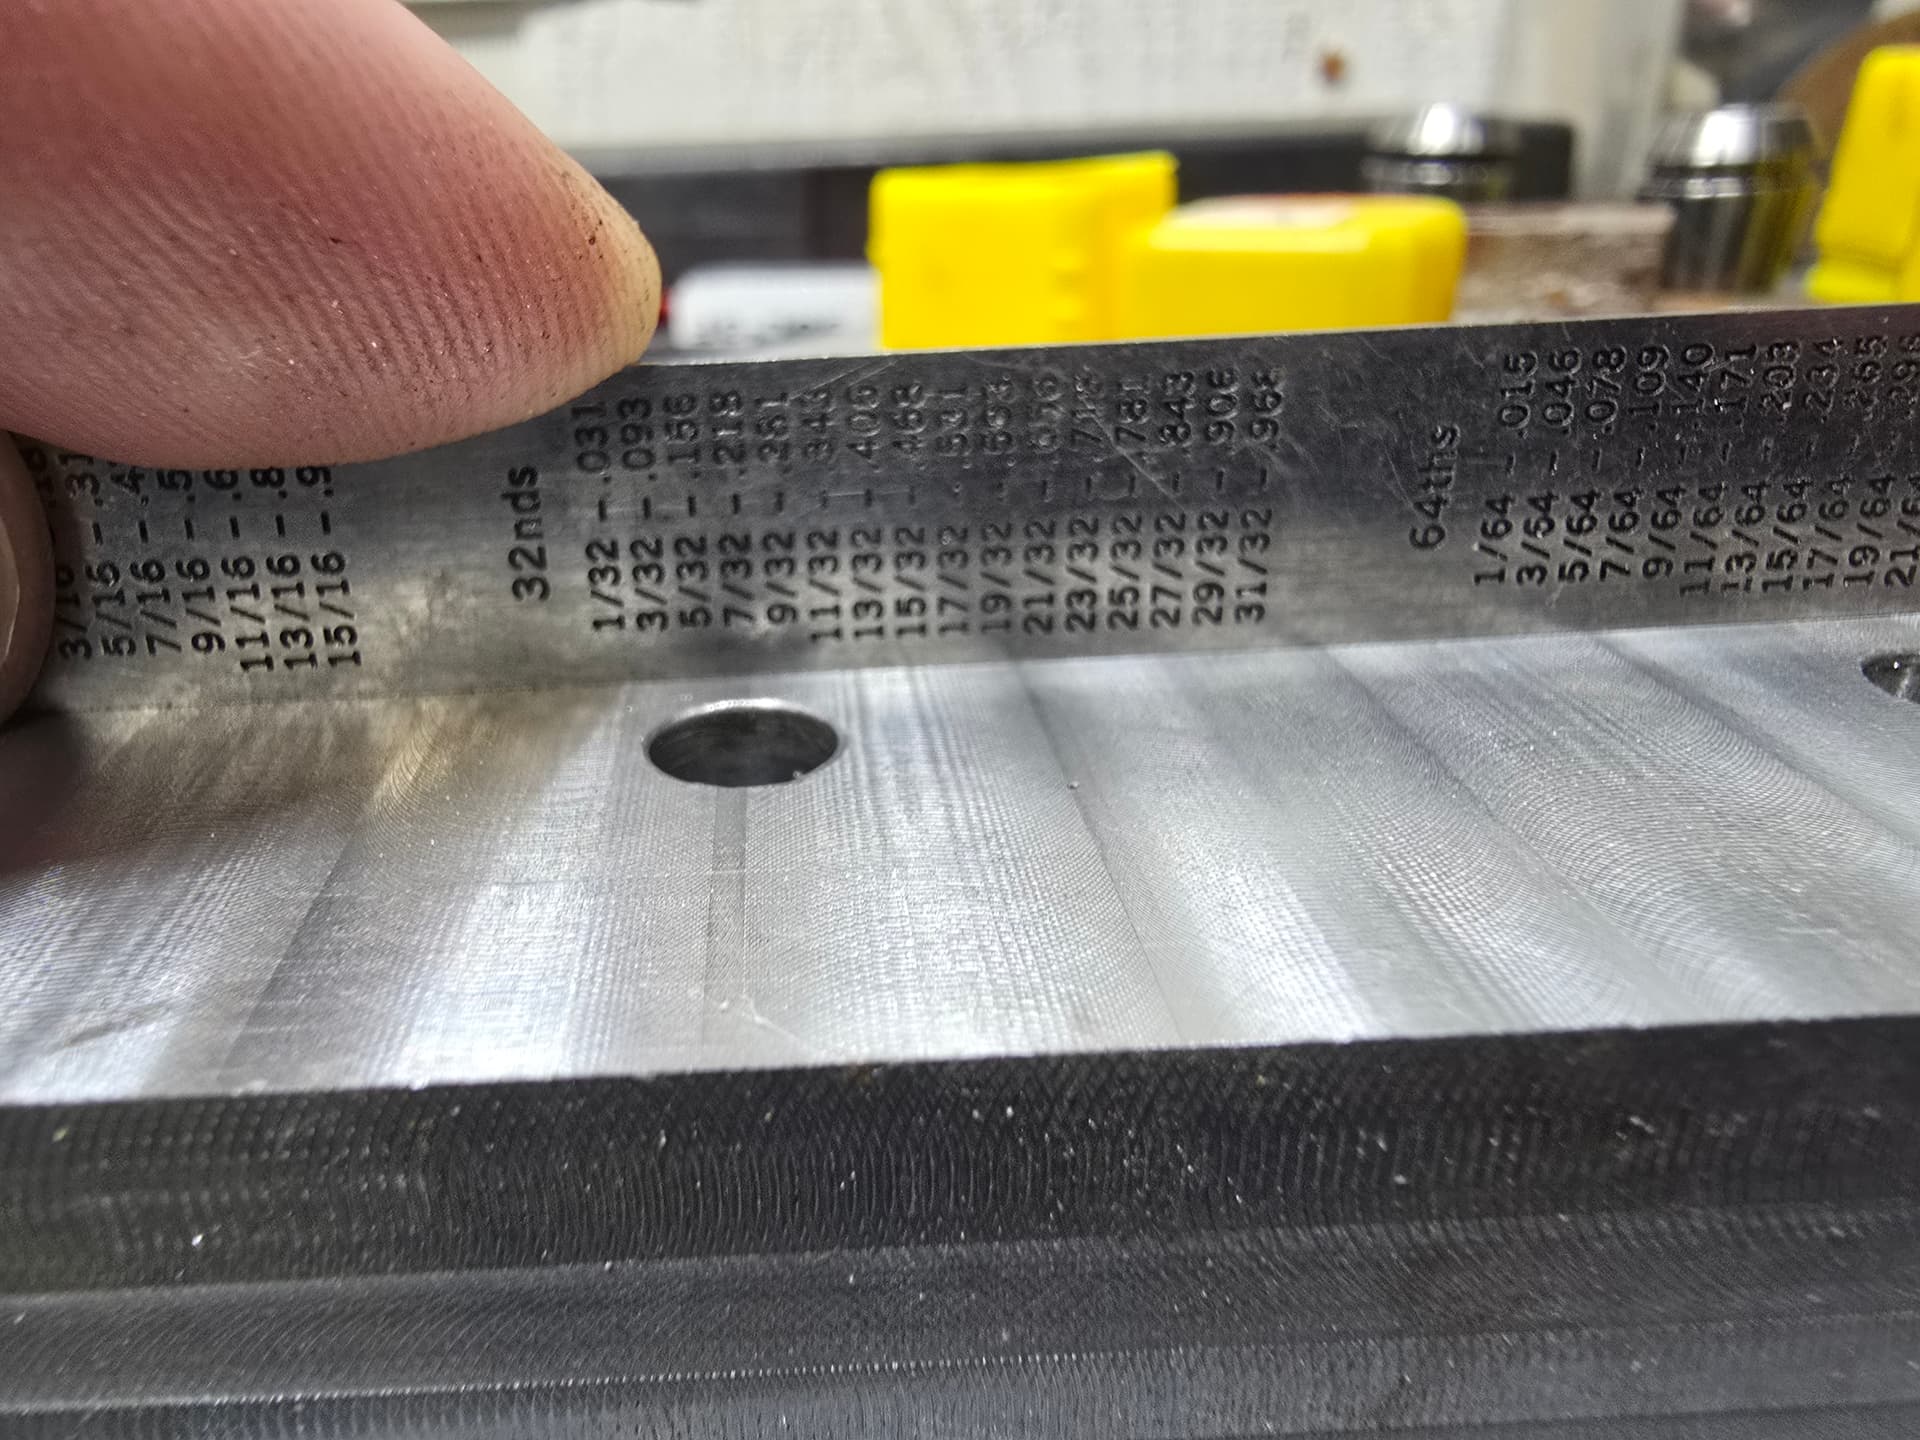
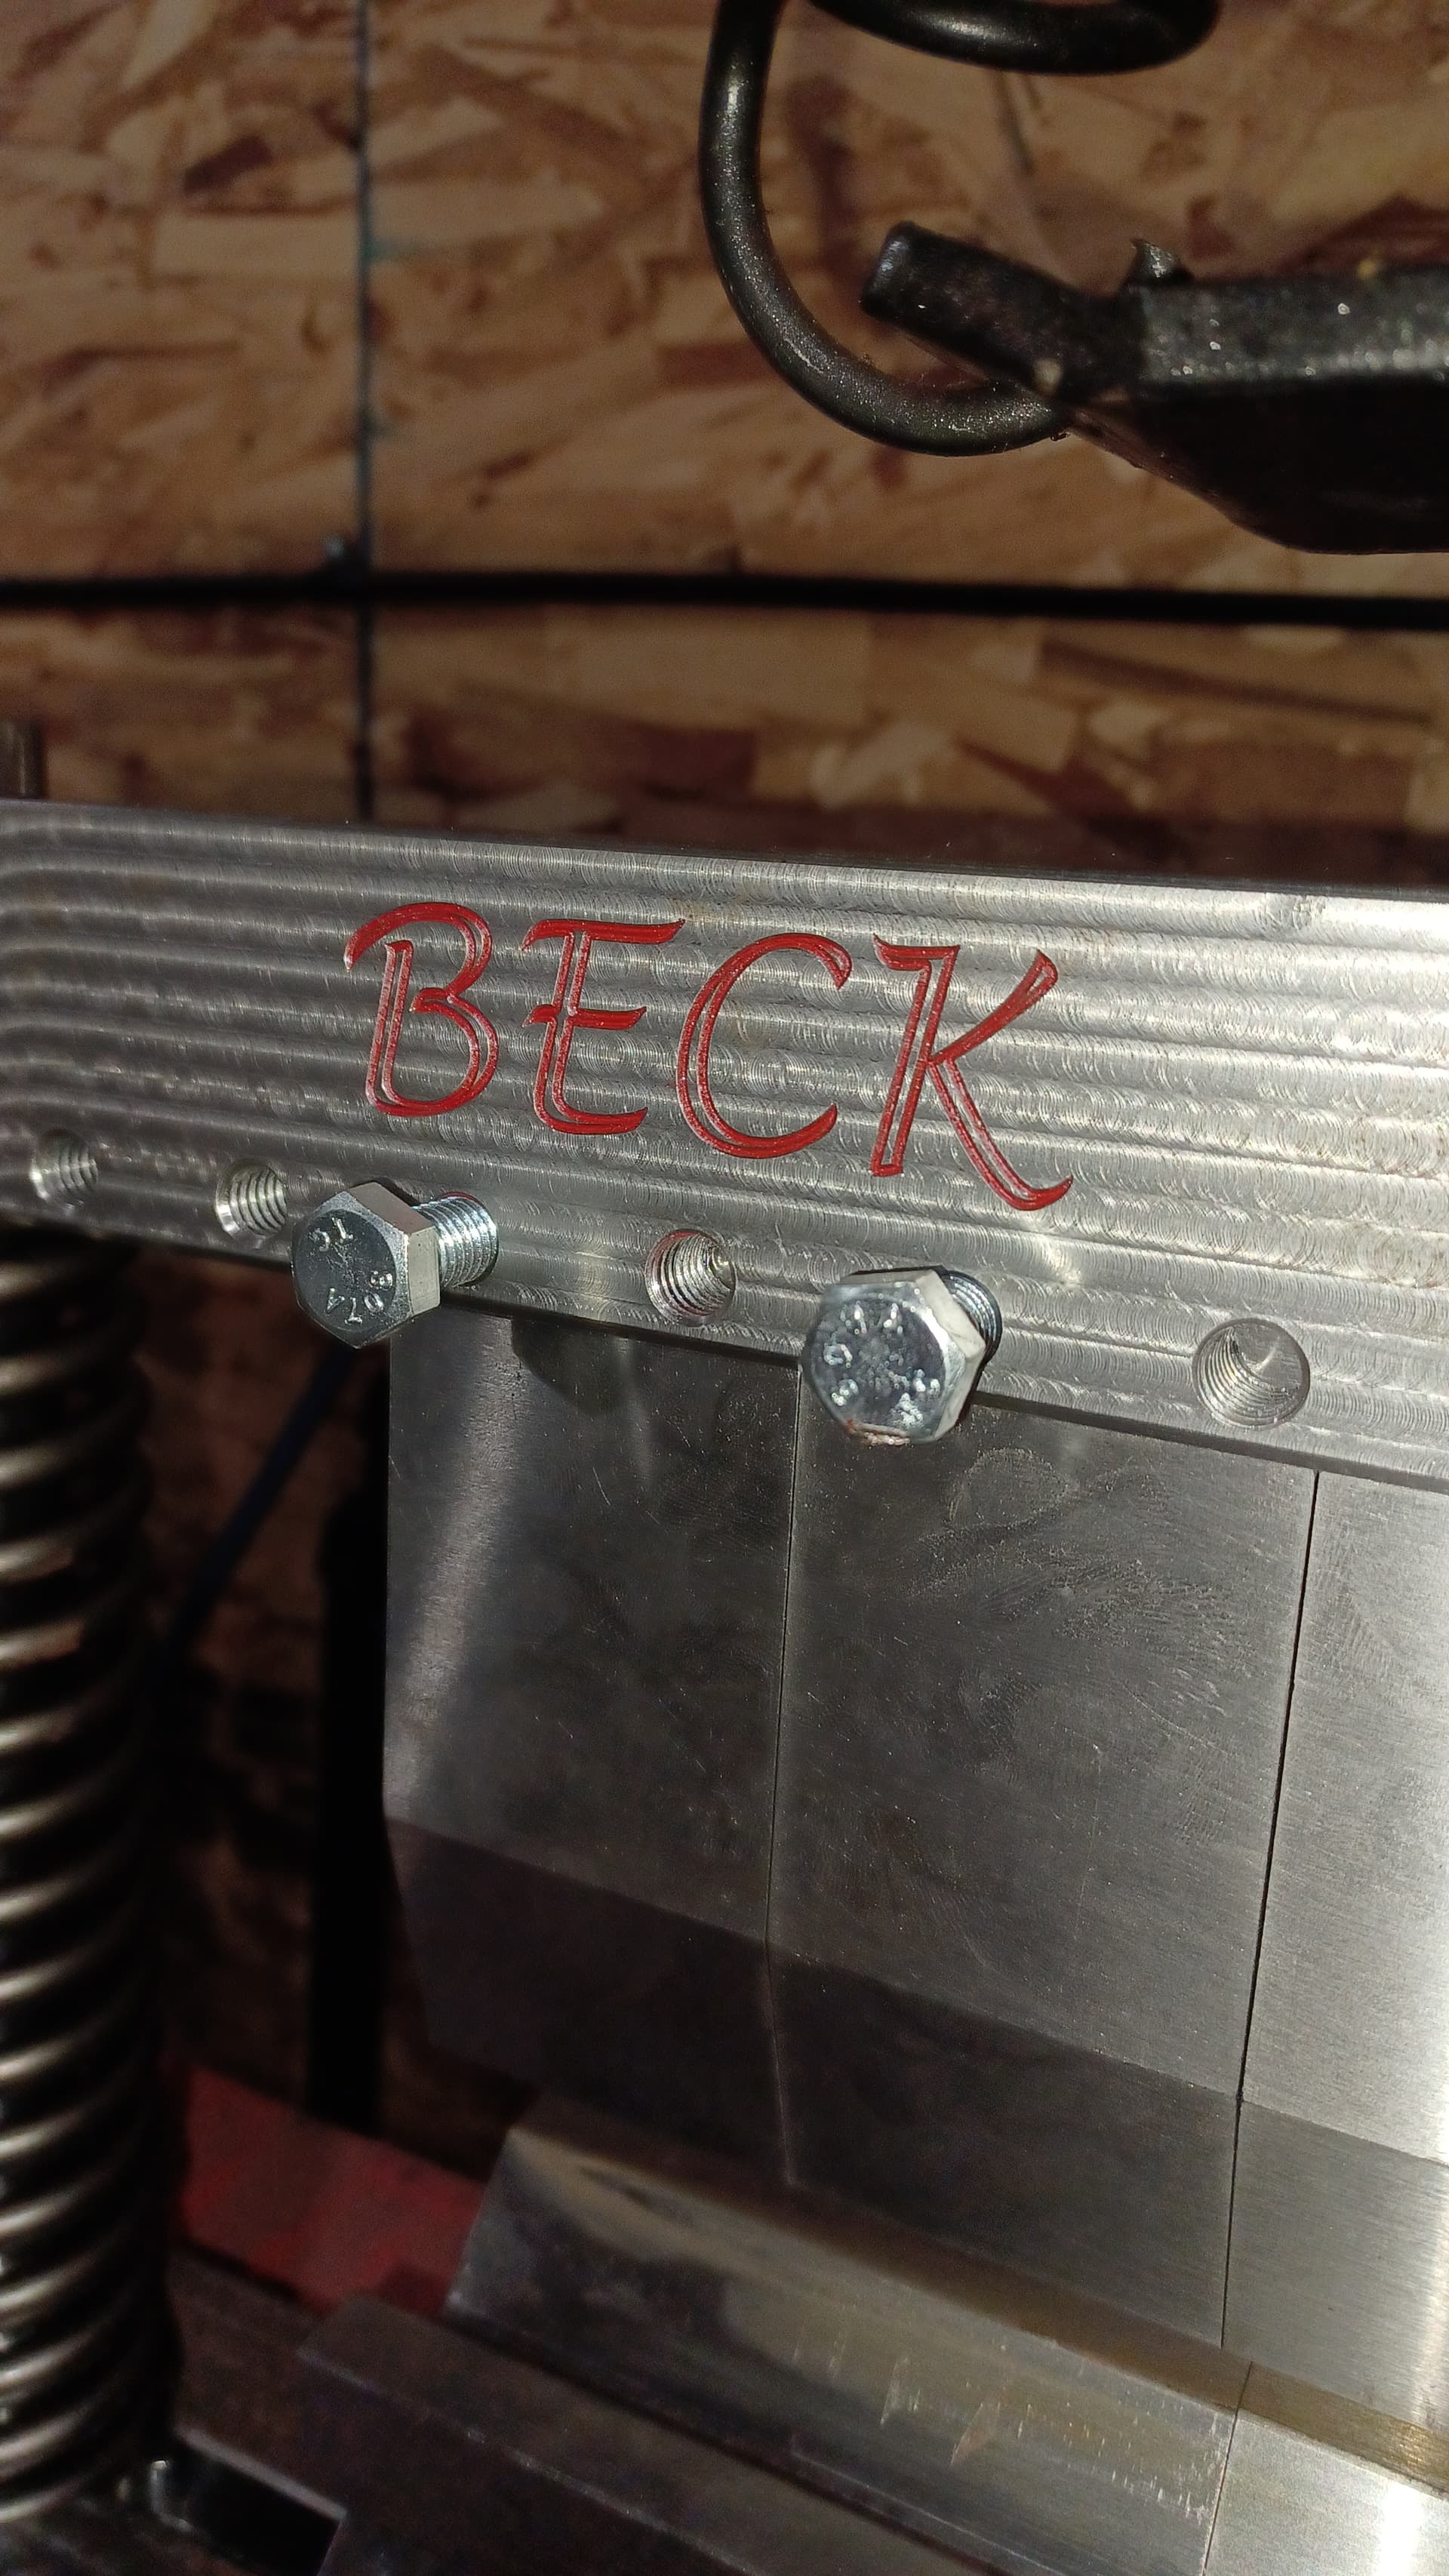
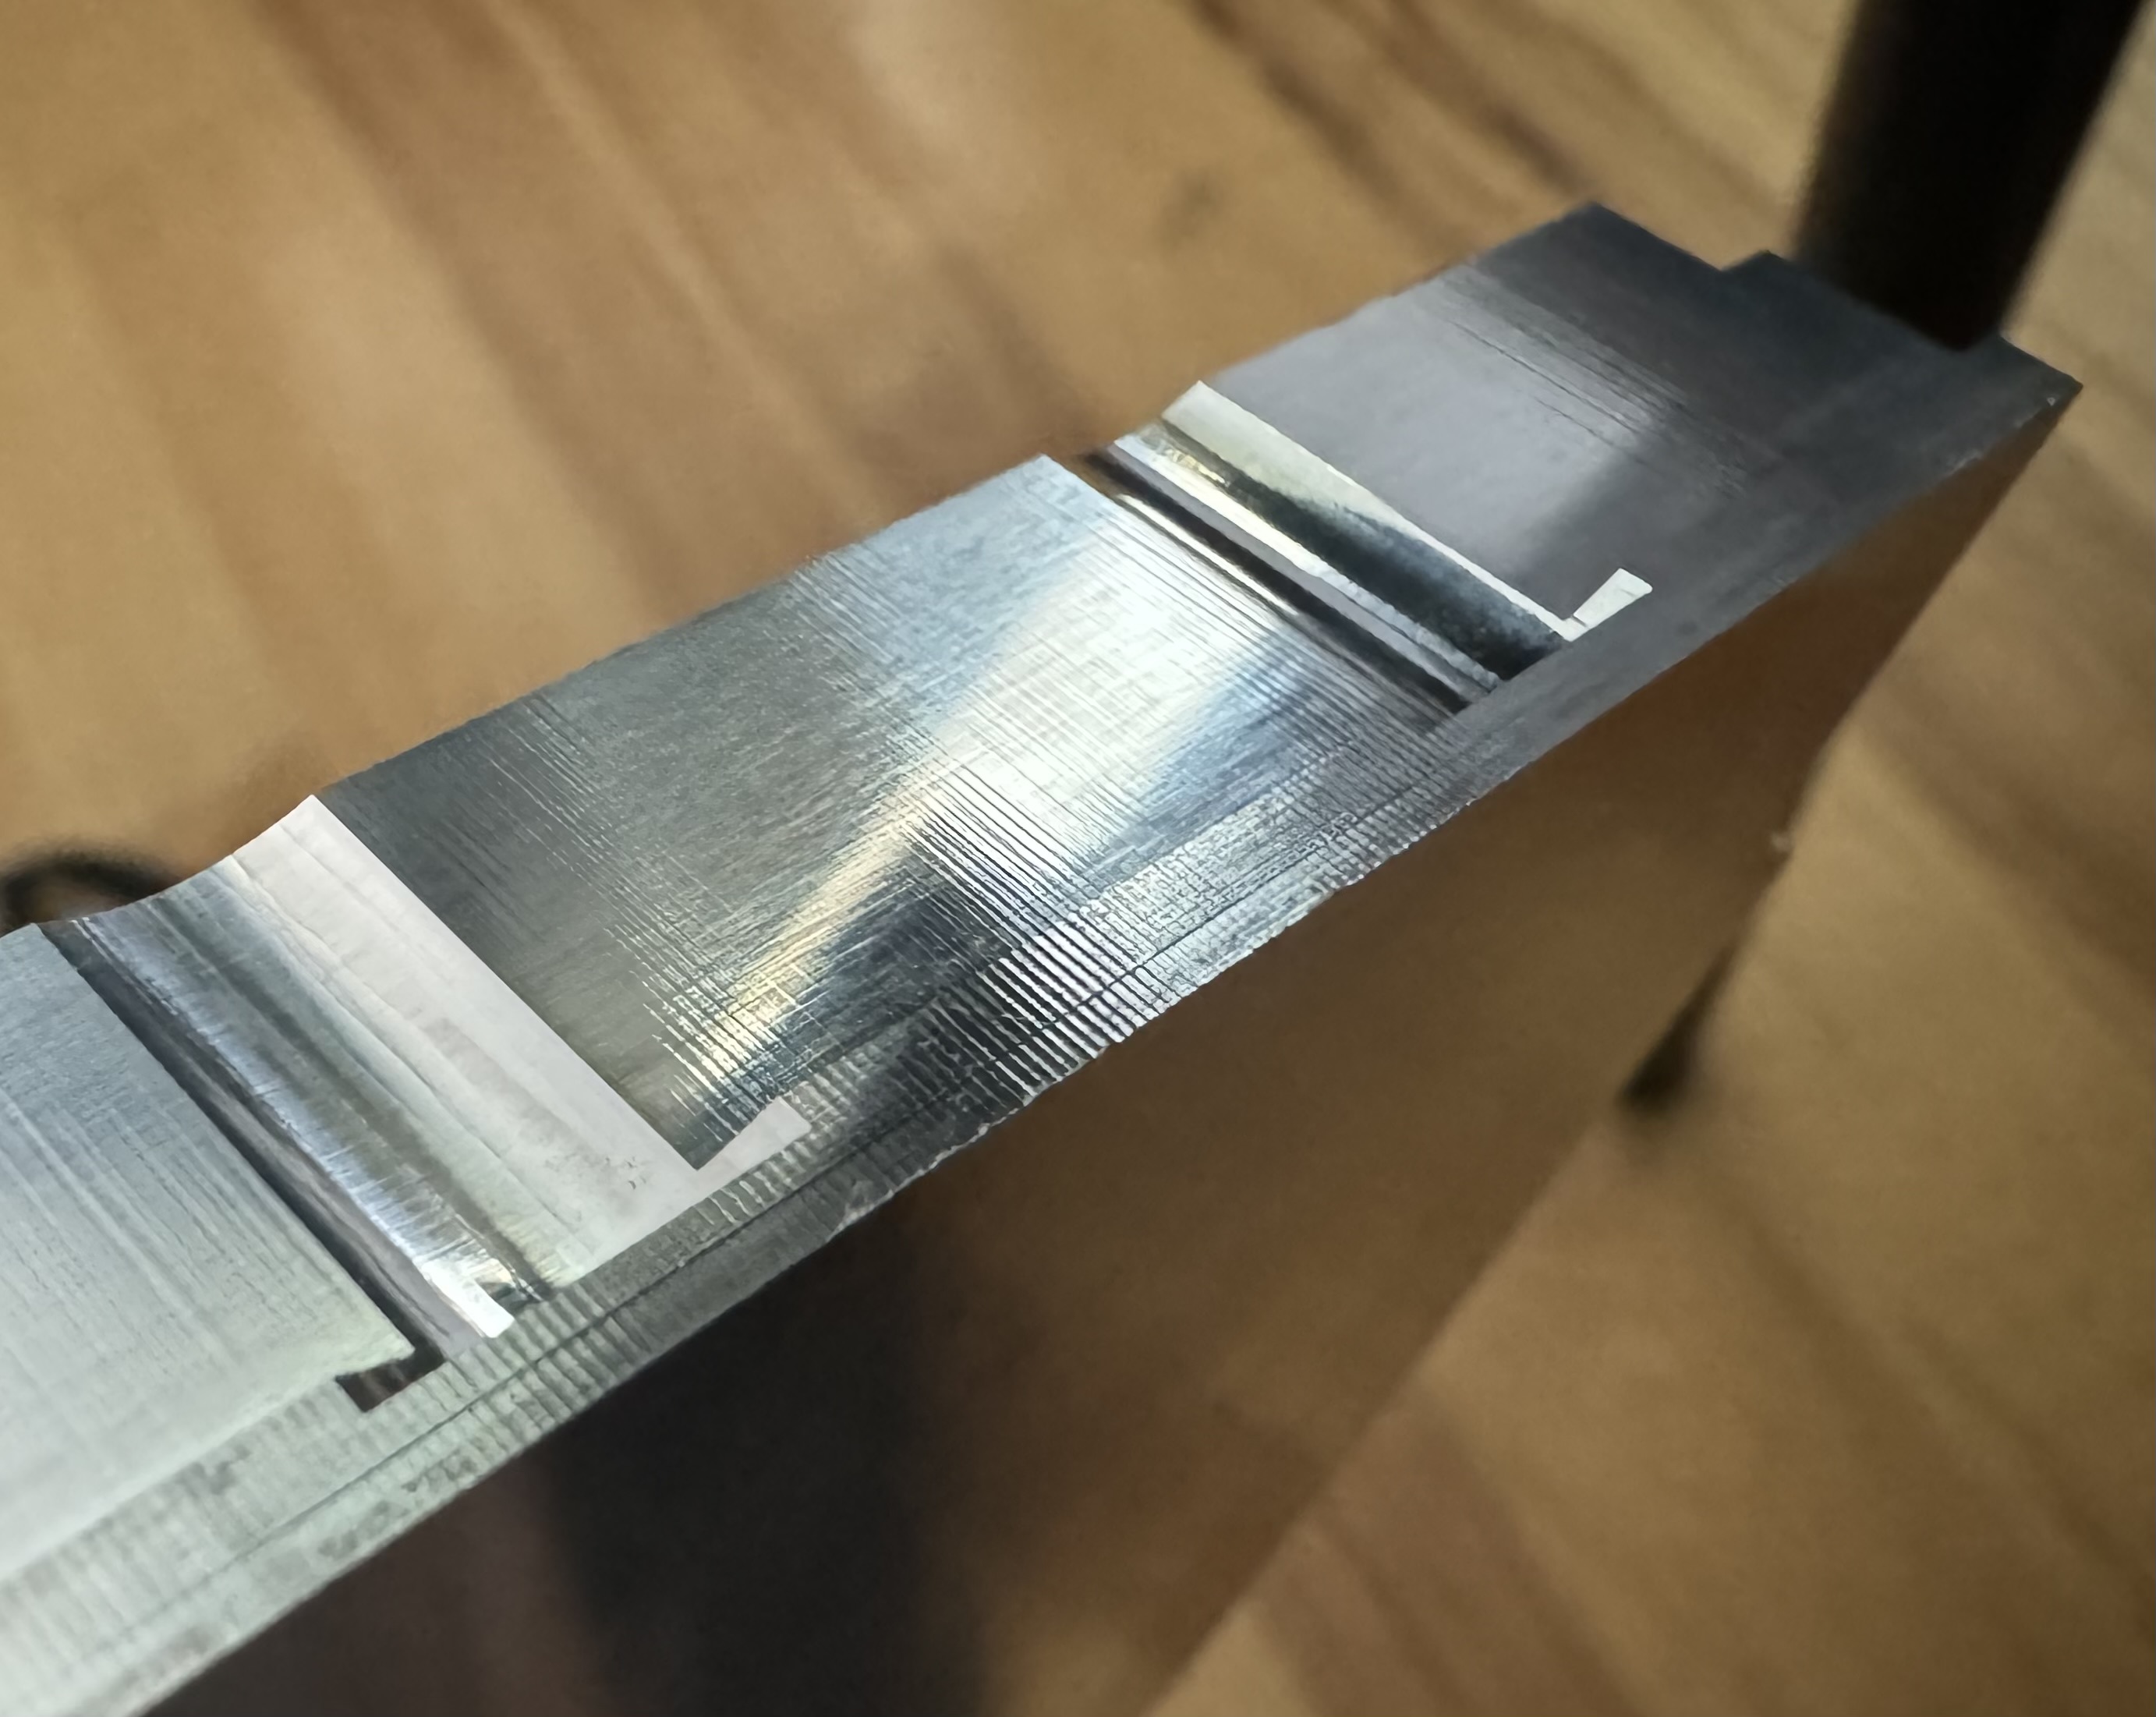
Even on more rough passes it’s still very flat. Here’s a couple of pictures of an aluminum spacer I machined. It was finished at 8,000 rpm and 60ipm feed rate with a 2 flute mill, so not a show stopper, but the parallel between the surfaces was more important.
With a 6" scale laying across it is still very flat.
I don’t have any really pretty stuff to show off at the moment, just some tooling laying around from other jobs.
That is a concern I have, and how well it maintains its tram. If it take awhile to tram, then fine, but if it drifts/slips then thats frustrating. I dont want to be constantly tweaking things to maintain nice finishes and tolerances. Note: I realize pushing the machine hard can cause issues over time and thats not what I am talking about. Most videos I see push it harder than I would. I would be more conservative to maximize machine longevity & minimize maintenance.
Thats what I like to see. If you cant already tell I am particular as well. I want to know that this is up to my standards. I dont scoff even at the 2 flute pass. Pictures often make things look WAY worse that they really are. And I dont expect a 2 flute to be the best at finishes.
I too am a 6" scale carrying type of guy. I have them all over the place so I never need to go looking for one.
Totally understand, it’s a solid investment. I don’t know if mine has paid for itself yet, but it’s got to be close.
As far as longevity after it’s set up, I can’t complain. I had some issue with the original Y axis limit switches (about a year in) and caused the machine to sound like a jackhammer finding home. After I replaced those with some much better switches I went ahead and leveled the machine again and set all the square between x/y/z. I haven’t had to adjust anything in over a year now.
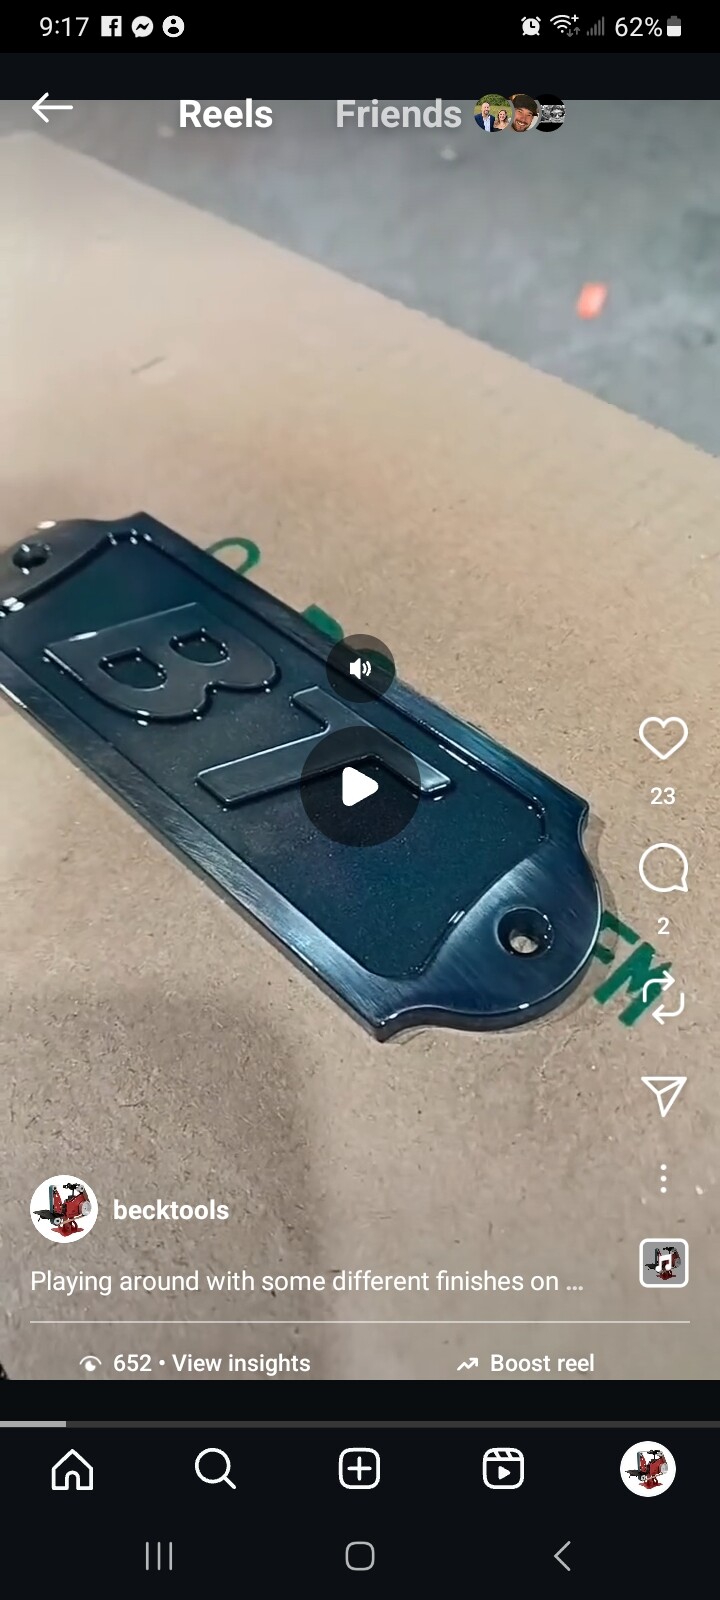
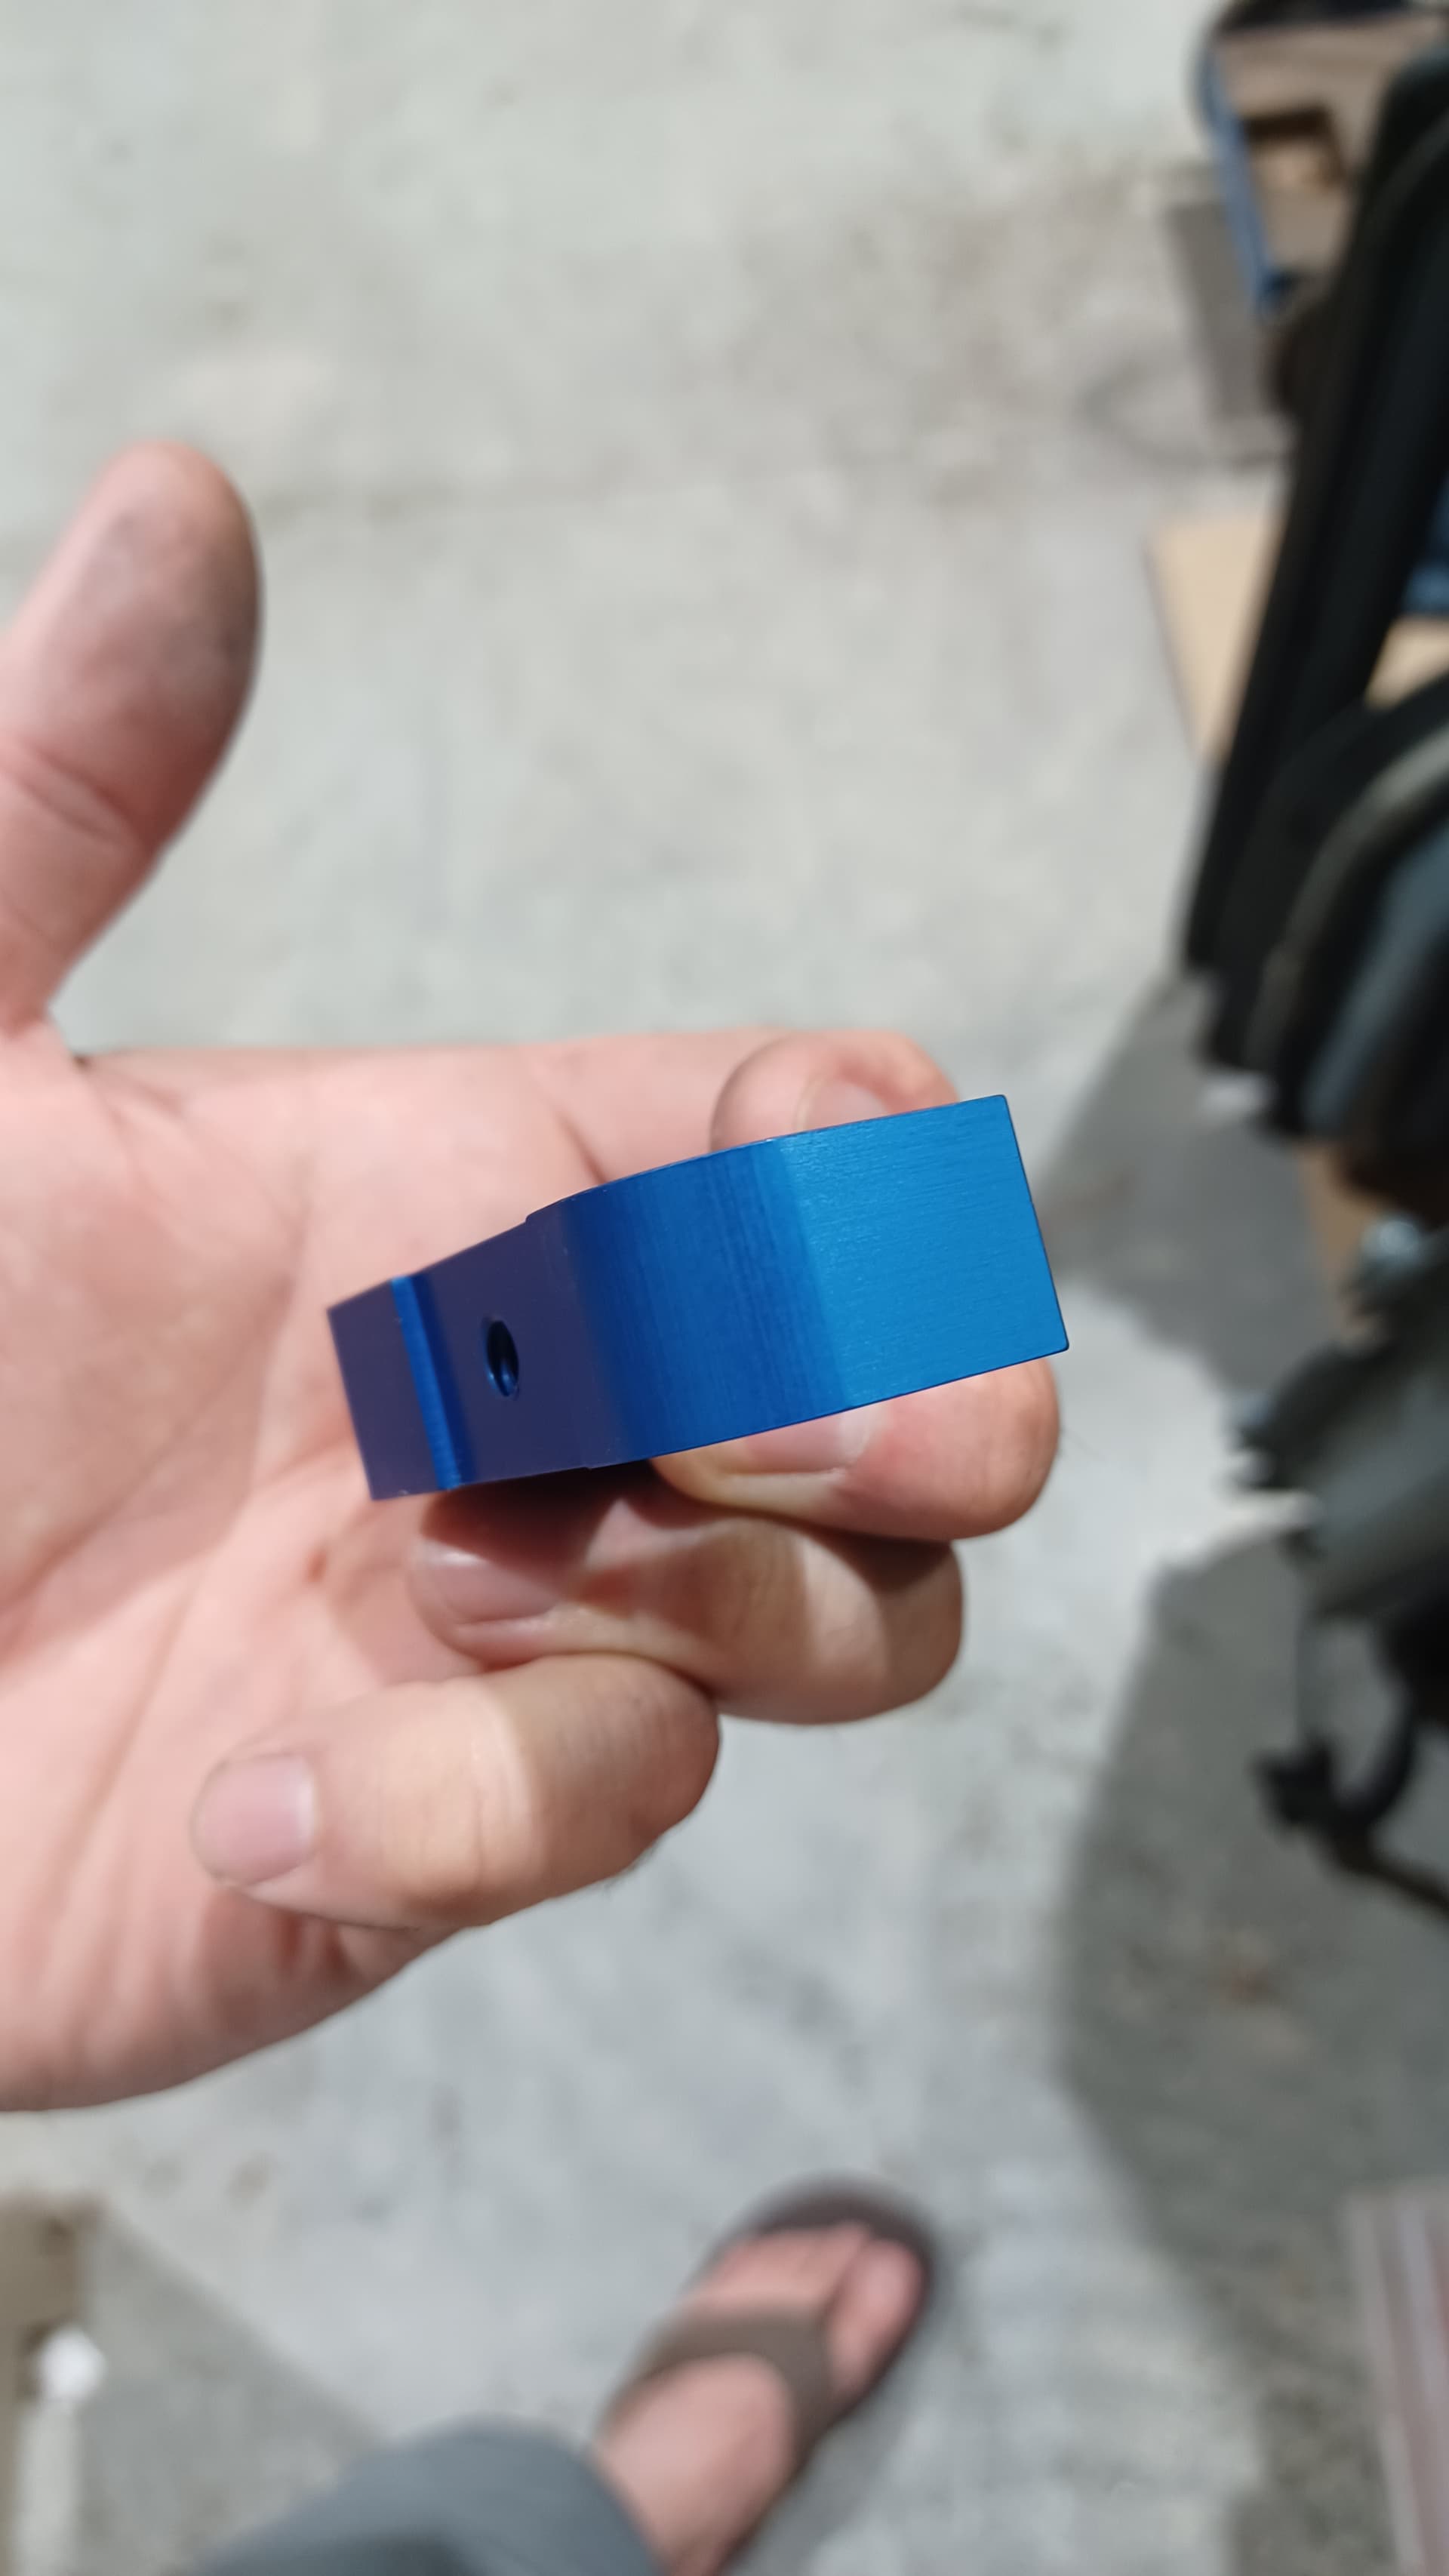
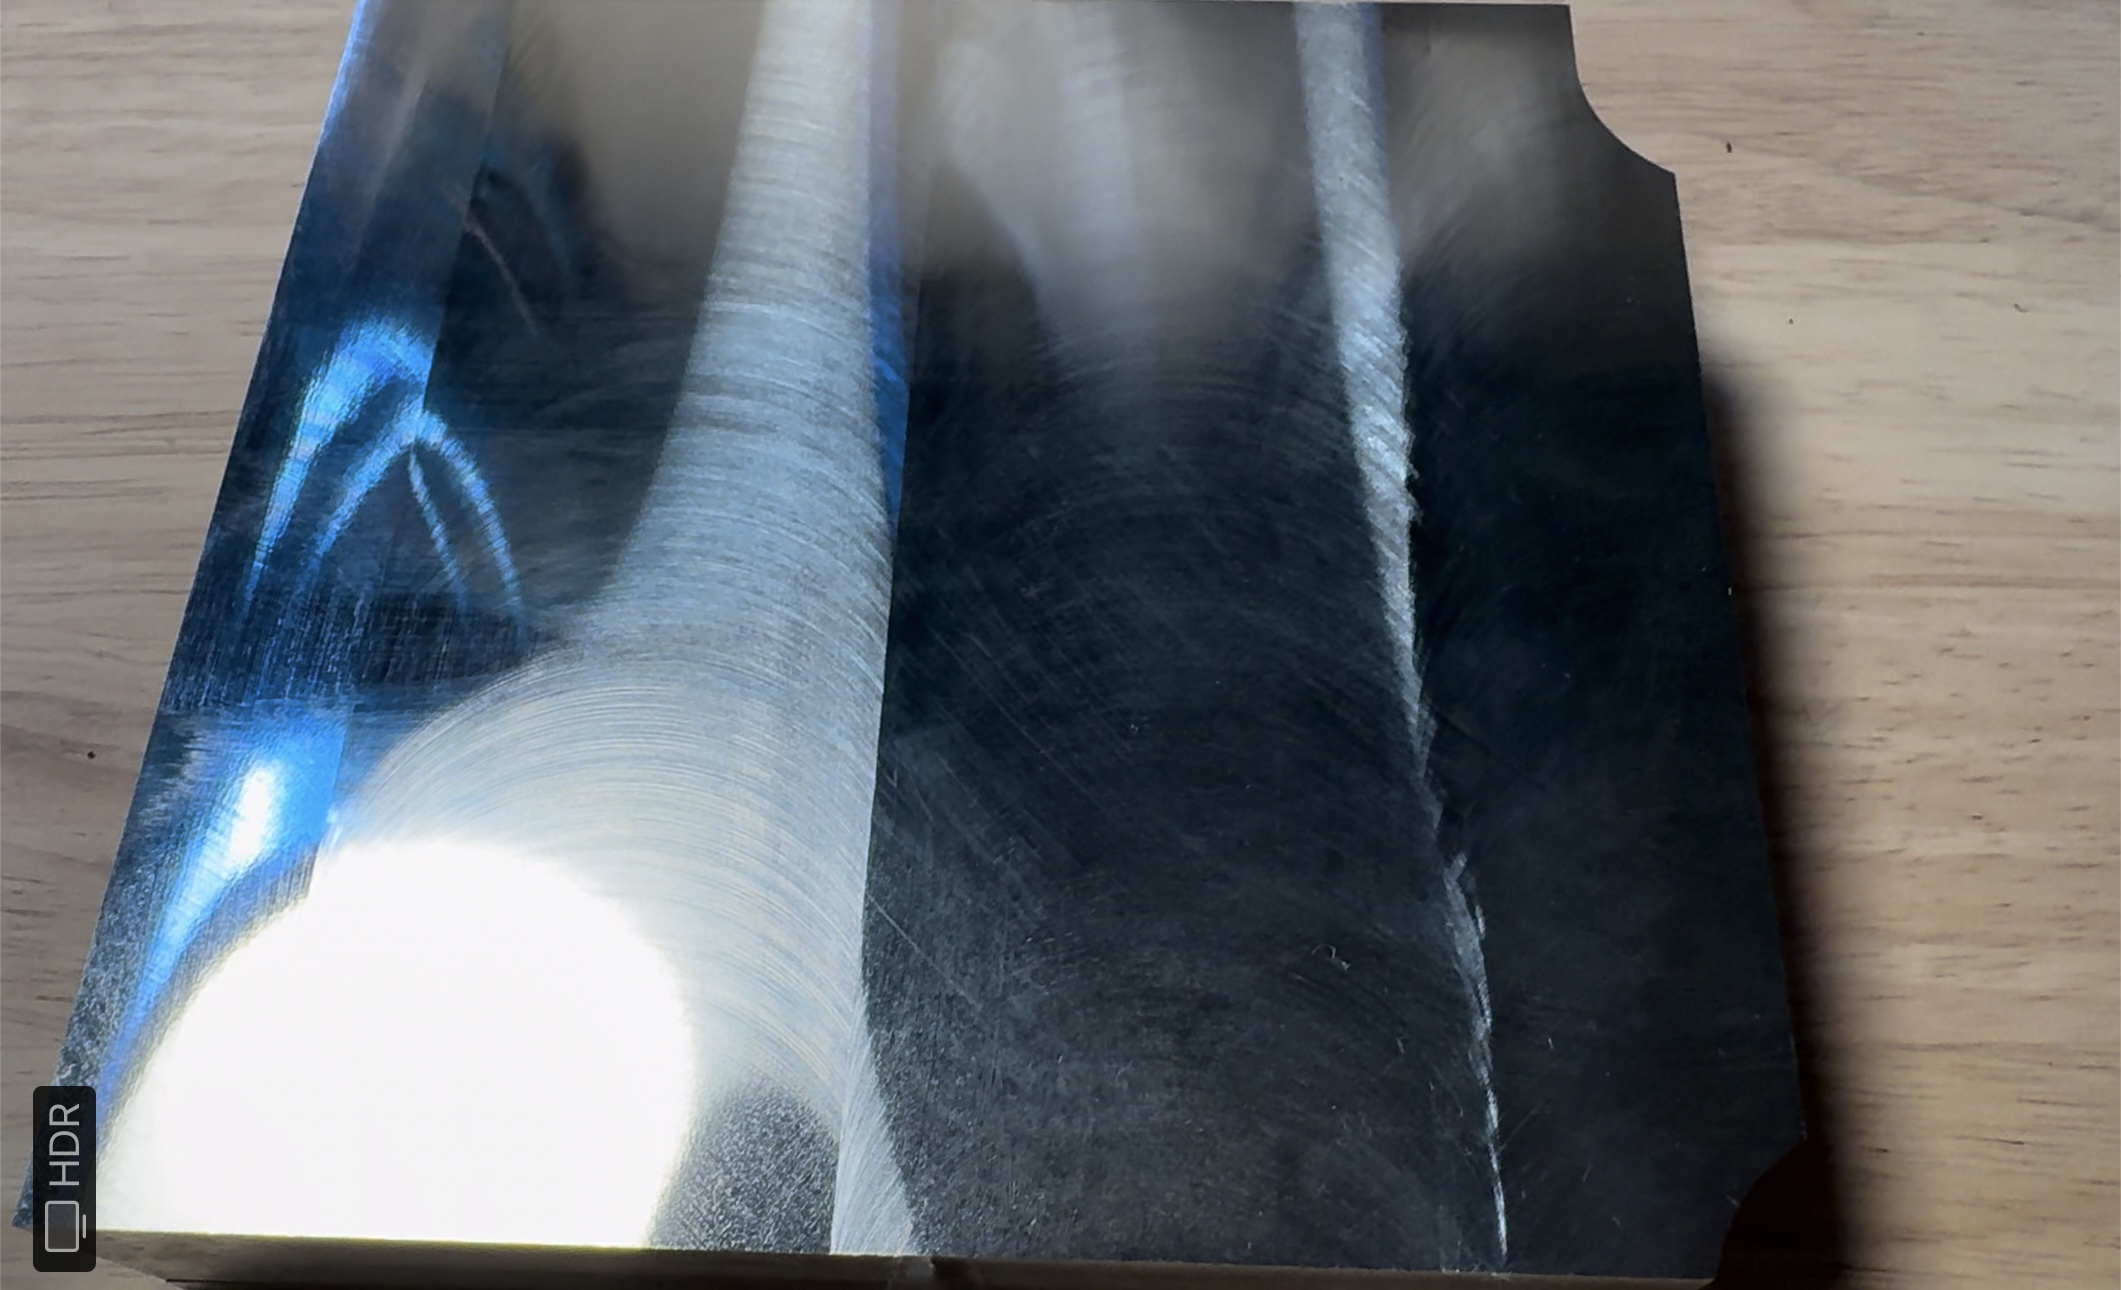
Wall finish on the blue part looks good. The face looks like there is a ridge. If you drag a finger nail across it do you feel it? I know you said you didnt tram yours super tight.
You can feel that just a tiny bit. That was because my Z axis angular contact bearings had a little backlash in them. Those bearings are tiny. I’m on my third set. Having said that I’m running production and pushing it super hard.
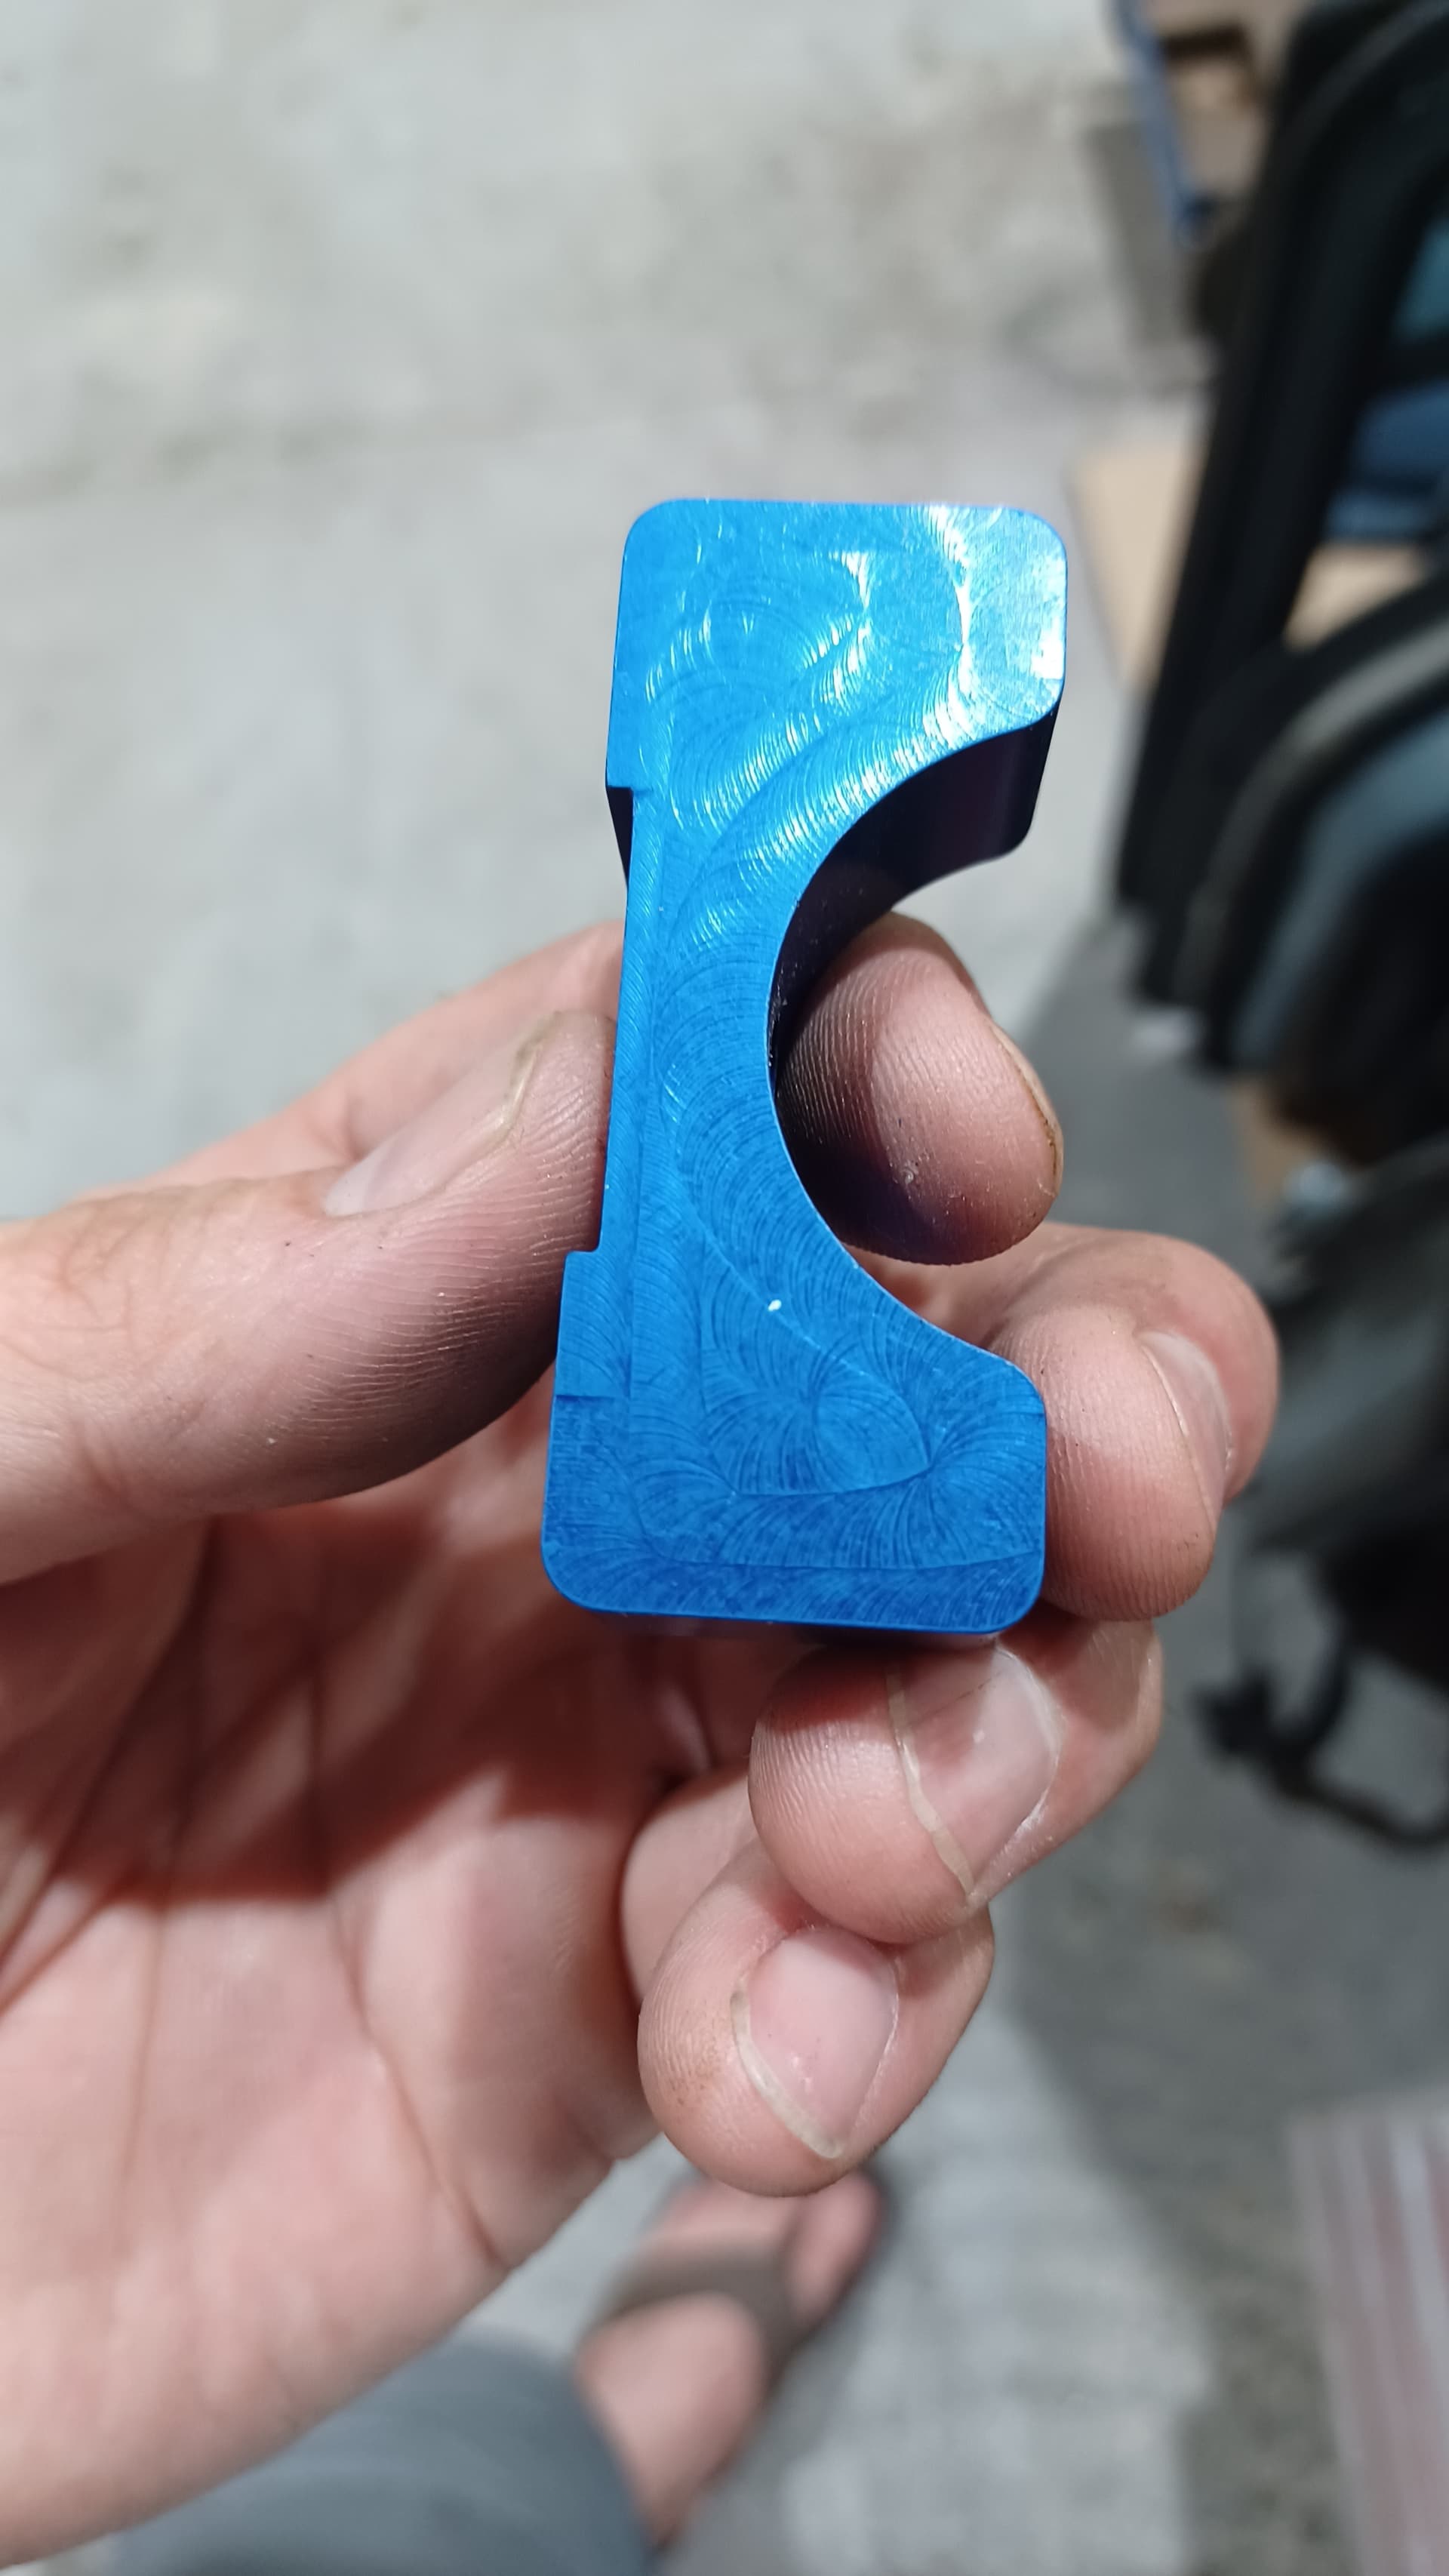
That endmill is a beast. As long as I clamp the parts tight enough and I don’t rip them out of the vise I can run hundreds of these blue parts on 1 endmill. I also can’t push it to hard or it pulls out of the ER-20 collet. I can go 8,000 rpm, .375" DOC with .060" stepover, 100ipm. There is enough power for a much larger stepover but pullout becomes a factor. I also used to run at .75" DOC, with .030" Step over but the chips stack up soooo fast I started going .375" DOC to make them smaller. I don’t want to use my chip breaking endmill because tool change times stack up really fast if you’re running 100+ parts.
I’ve got a guy designing a custom aluminum dash bezel for his boat. Once he has it drawn up I’ll be machining it on the MR1. I will try and remember to get some pictures of the finished part.
They ended up going with some kit they found on the internet unfortunately. I’ll drop something in here when I get an esthetically pleasing part.
Most of my MR1 jobs are something like a broken tractor part that people want asap and aren’t worried about finishes. So it may be a little bit. That bezel was perfect timing, but didn’t pan out.
Generally, I’m pretty happy with the surface finish but I’m also not looking for ground level perfection on side walls. I’ve got some near mirror finish side walls with a 1/2 end mill, I’ll try and get a picture if I remember.
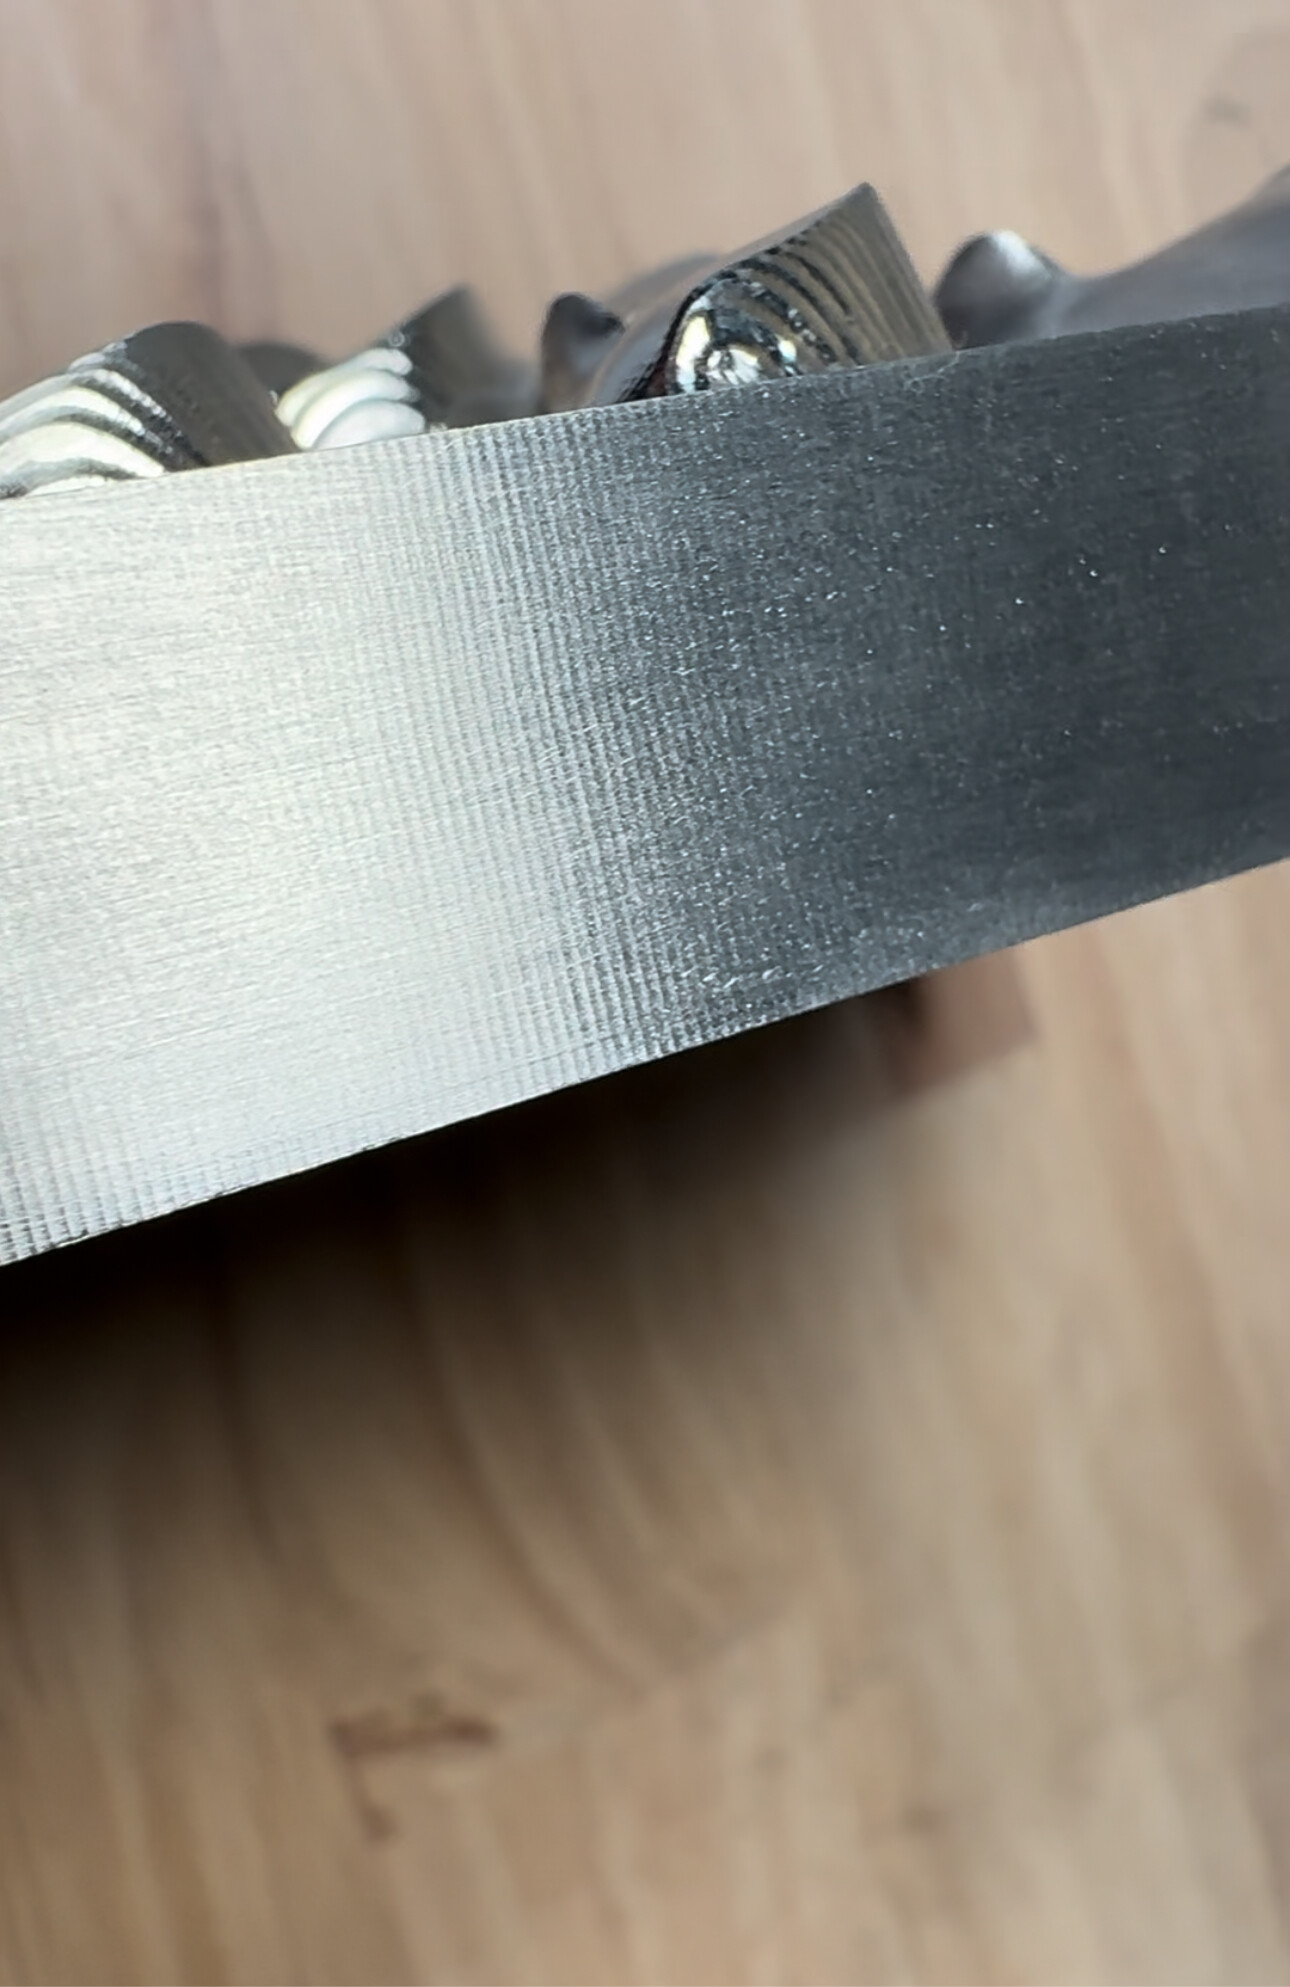
I’ve dialed my machine for a flymill. It was a pain. Lots of shimming. The results were worth it.
Looks pretty good. I know pics make things look worse. I always drag a fingernail over it & feel for the ridges or if fingernails catches it. If it doesnt catch or make a zip noise going across the surface then its pretty smooth, a thou or less typically.
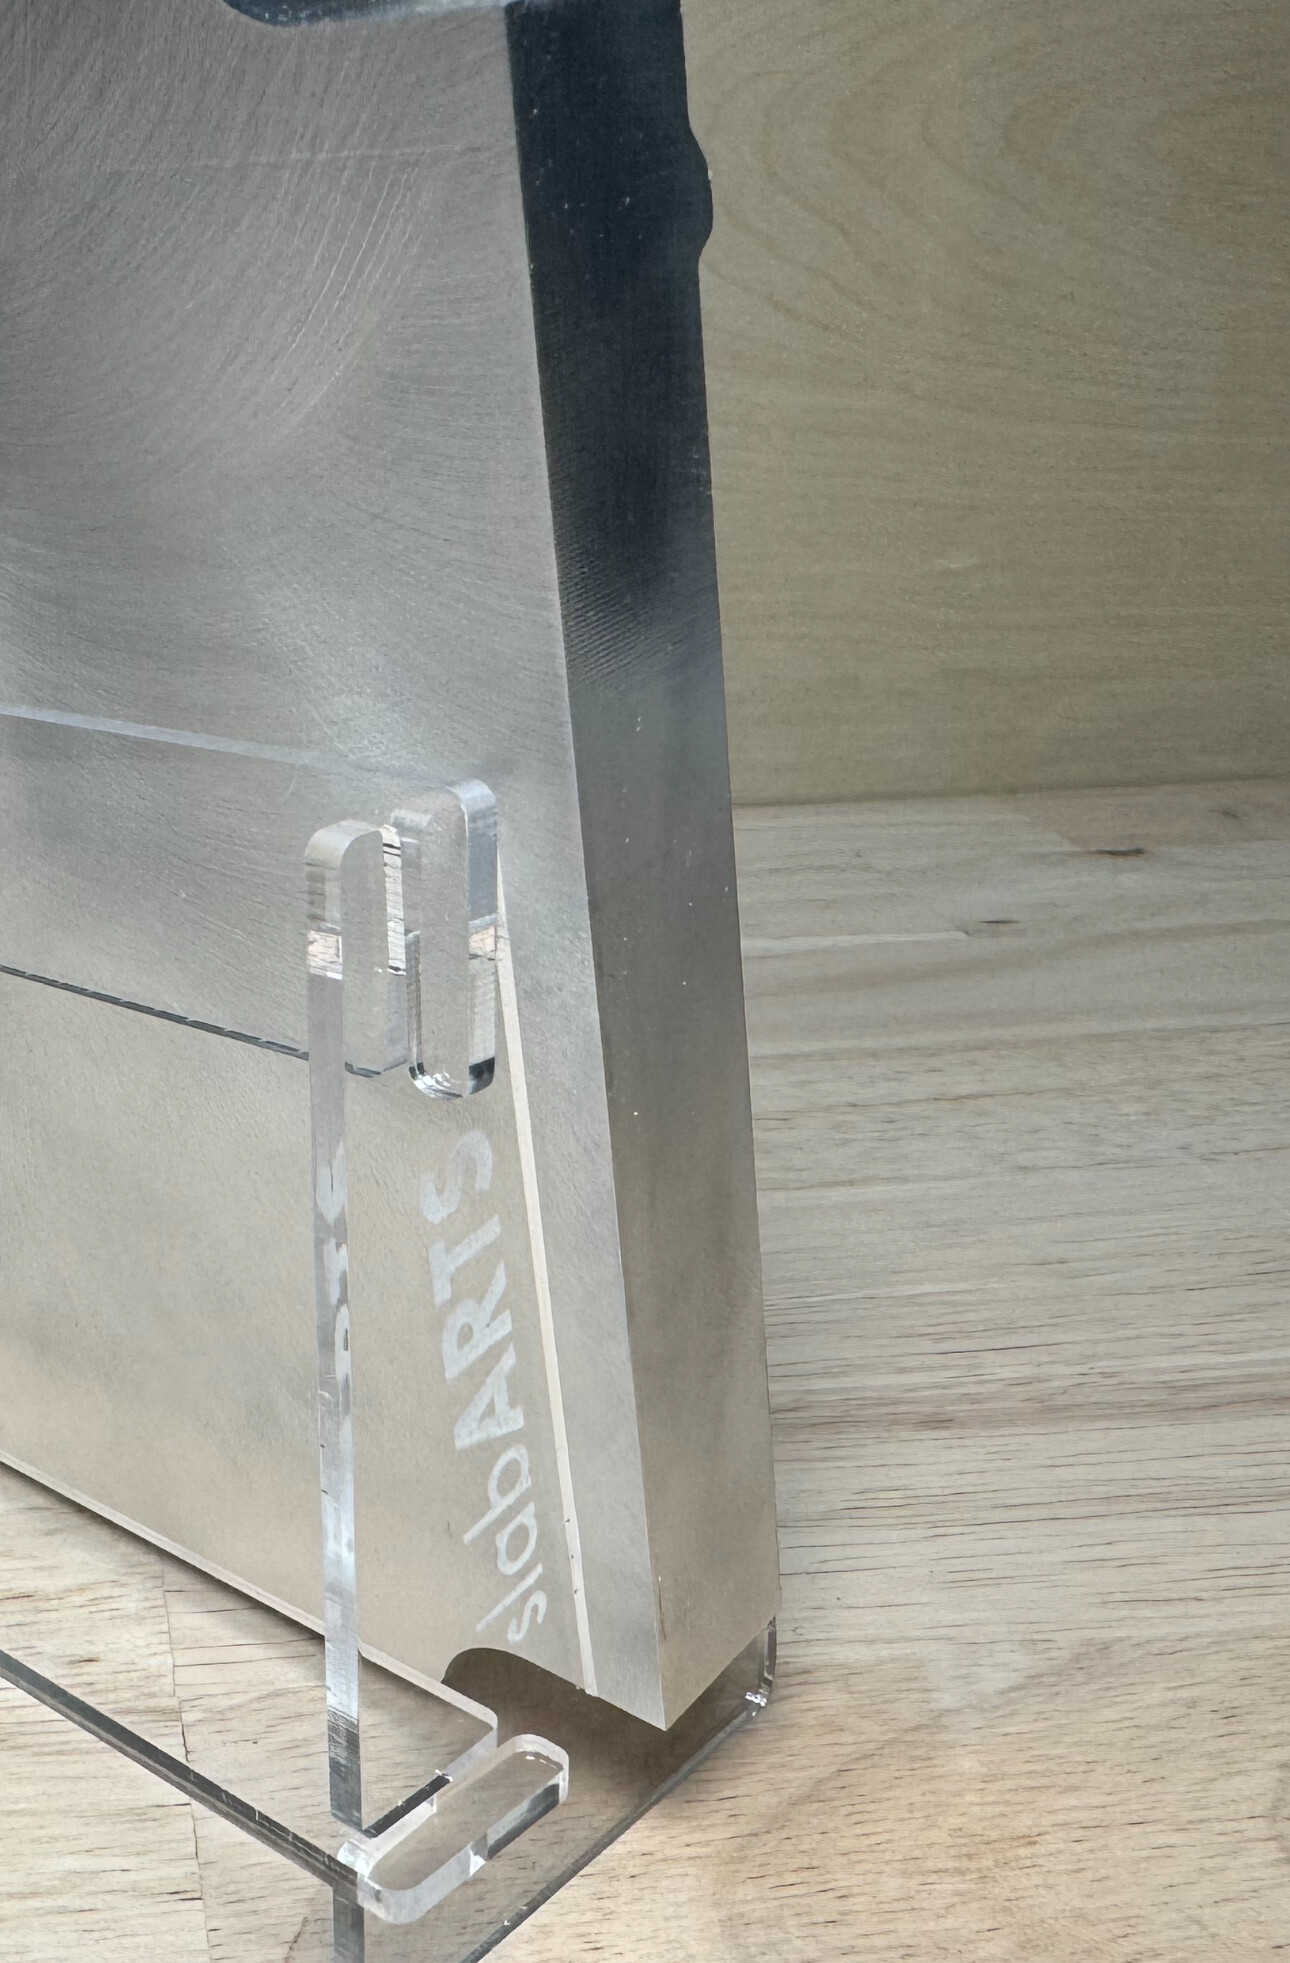
Here’s a photo of the best side-wall surface quality test blank I created (looking at the larger flat). My finger can’t feel anything moving across this surface and my nail doesn’t catch any texture.