No problem, @Knick, its one of the reasons I’m here. To share info. I won’t let the fact that you knew it all along detract from the pleasure of my teaching moment. ![]()
1 Like
I knew my condition had a name!
Good news! Box 3 was delivered today. Yay!
Bad news, I’m out of town until Friday… Boo!
Ah well, I’m still waiting on the replacement bearing flange plate before I can proceed anyway. I’m thinking that I need to go back over the Y-axis bearing adjustments, I’m not sure I left everything loose that was supposed to be loose while I did it. OK, yeah, that might be an excuse to extend the build time. While I do want to finish so I can cut something, I am enjoying the build process tremendously.
That’s it for now,
Cheers everyone!
1 Like
I had a rare two day weekend, so I was able to get 99% finished.
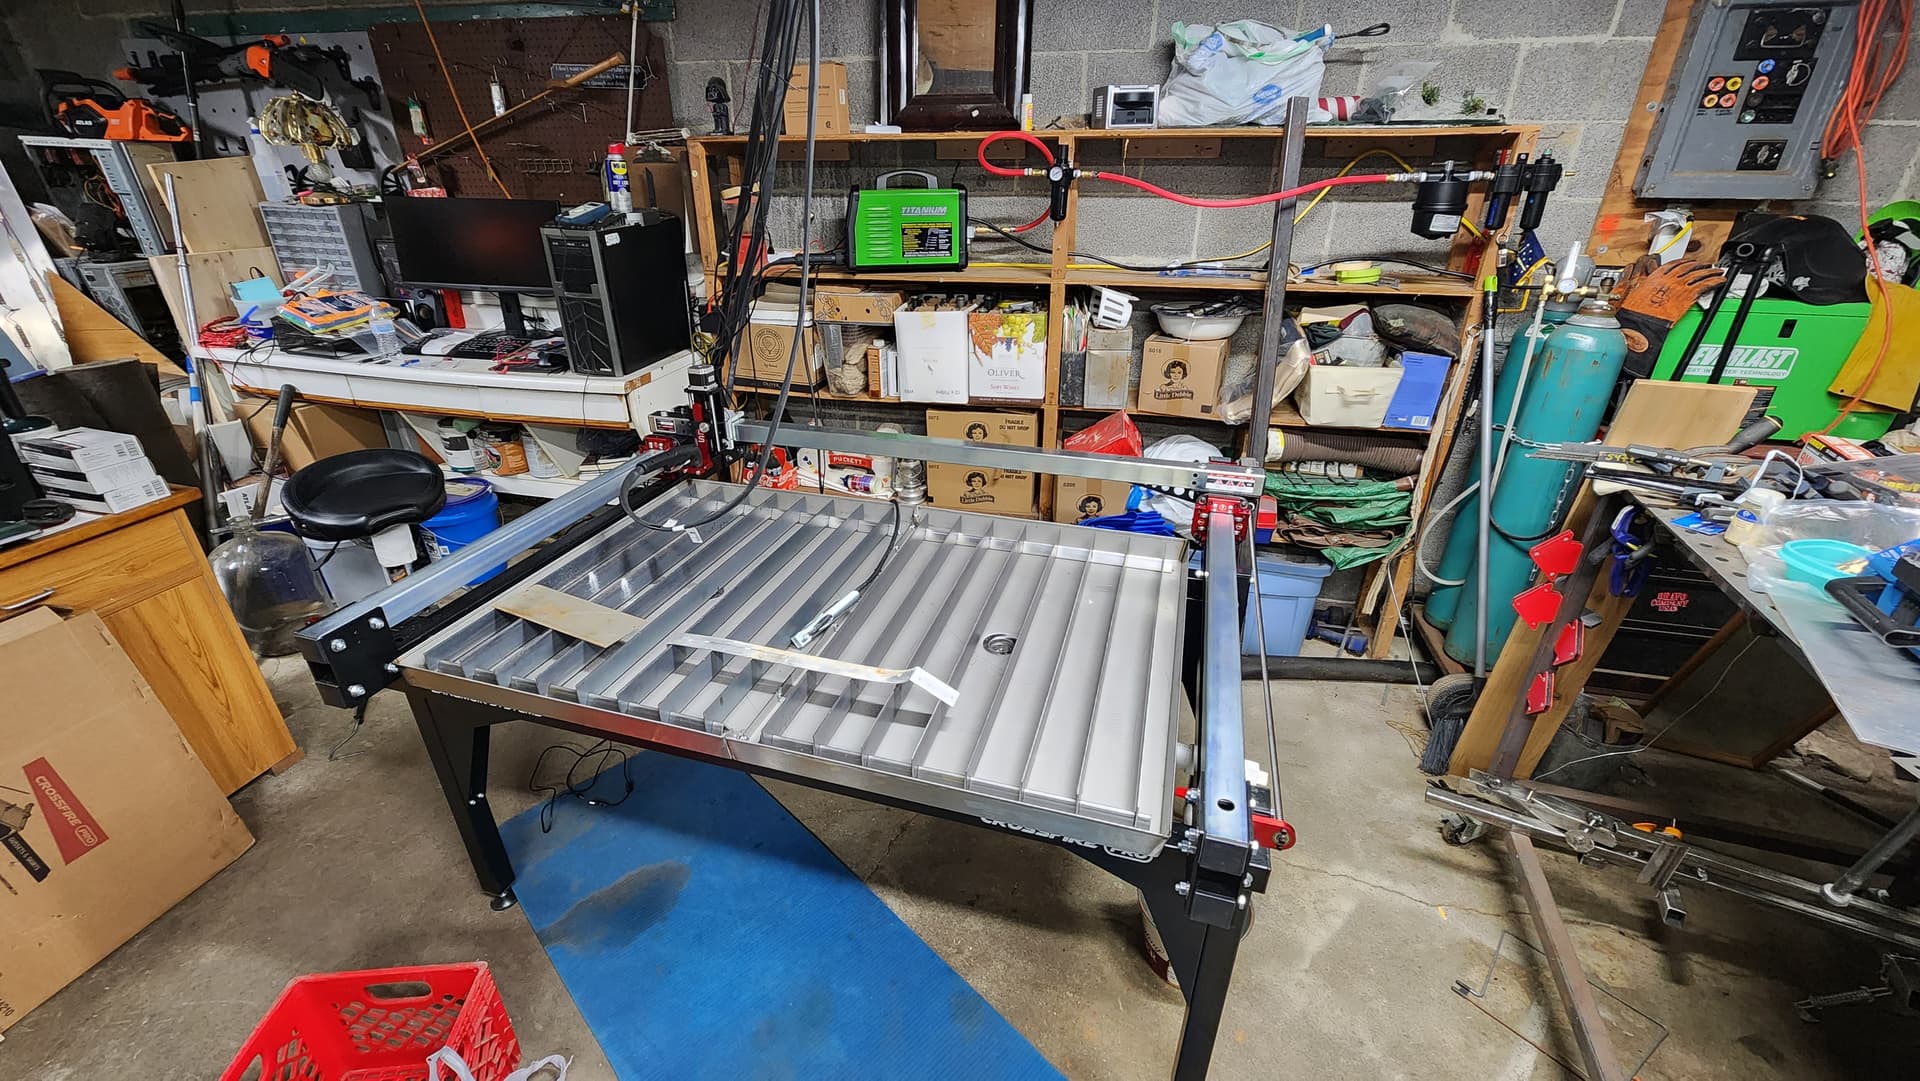
Short of putting water in, it’s ready to go.

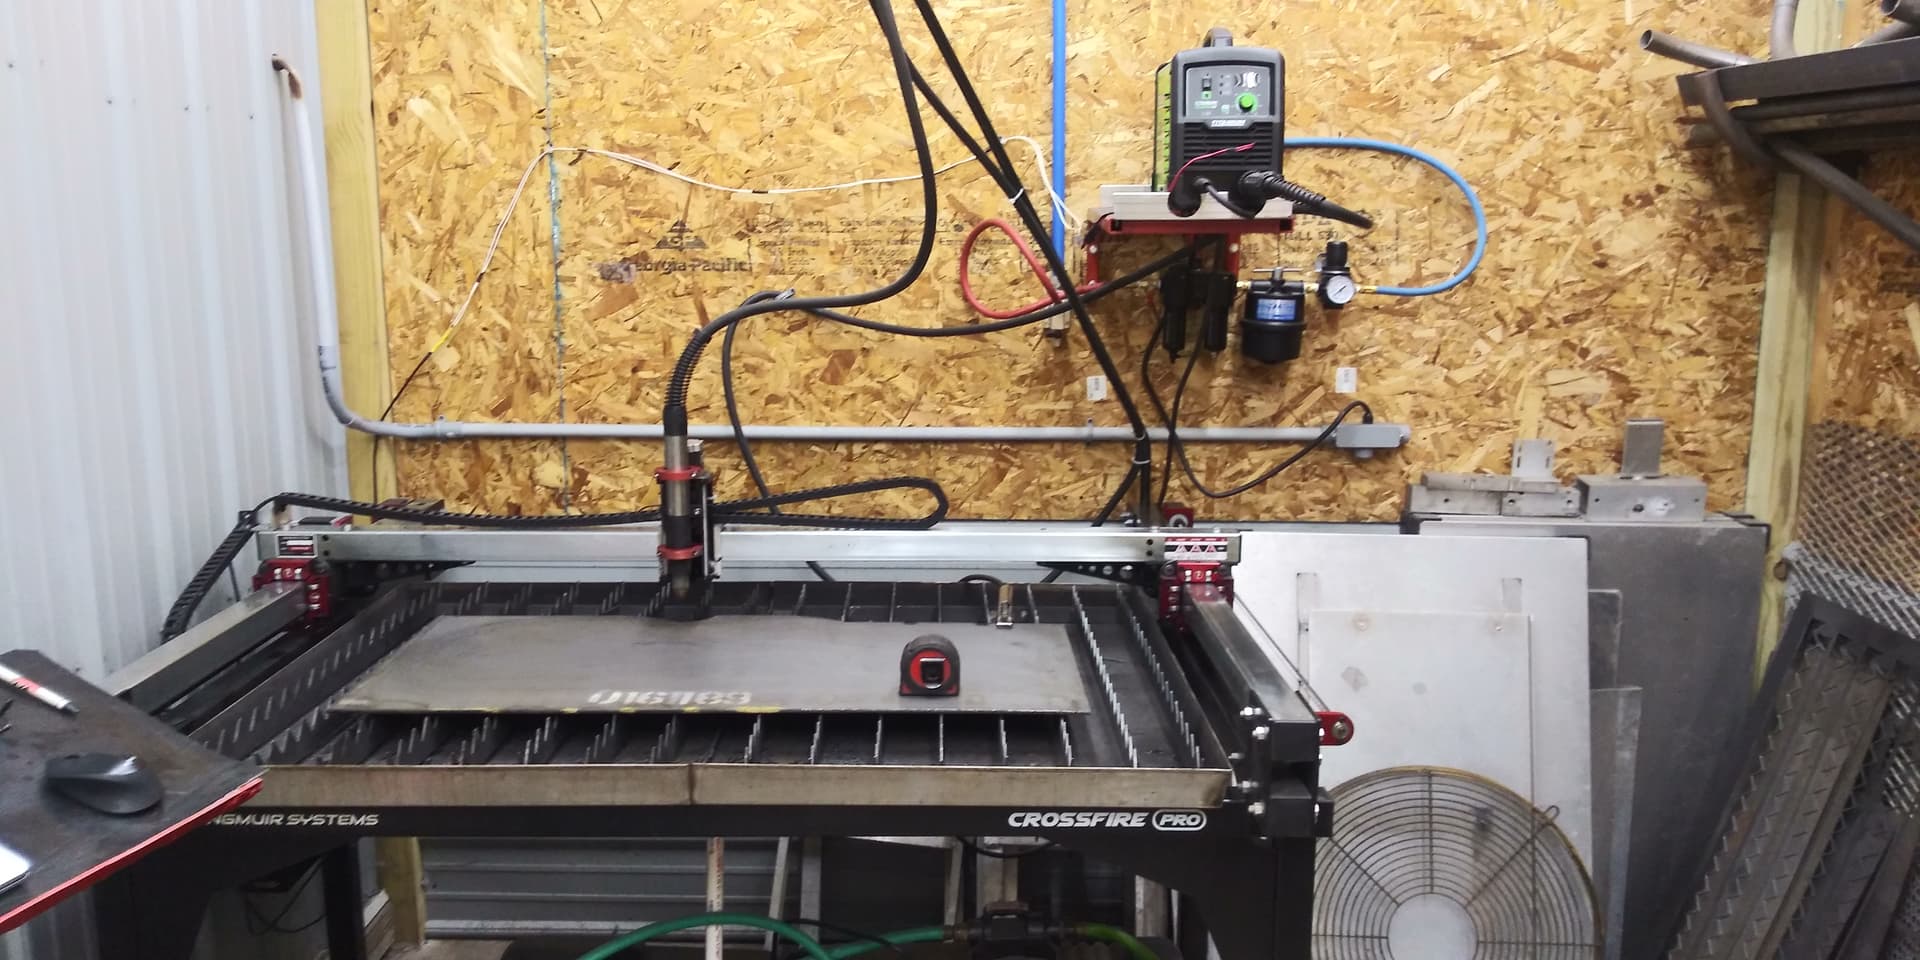
Of course that didn’t stop me! I had a scrap piece of aluminum, so of course I had to try it. After getting my pierce delay figured out I was able to make a couple of 3 inch straight line cuts. 33 amps at 100 ipm seemed to cut great. The Titanium 45 has 100% duty cycle at 33 amps so I plan on using that setting as much as possible. I’m excited to get some water in it next weekend and do some serious cutting.
3 Likes
Do yourself a favor and run at 45 amps, you will never hit duty cycle on the Titanium machine. You will have better clean cuts at machine full amp output.
Cut this .080 aluminum on my XR w/Hypertherm powermax 45 xp at full 45 amps cuts are clean.

3 Likes
Whatever you did to your thumb nail looks like it probably hurt at the time!
I take your point, and that may be where I wind up. The plans of mice and men…yada yada. I do plan on doing a series of tests to see where my particular machine’s sweet spot is. That said my intended projects will be fairly complicated with lots of intricate cuts, balanced out by being mostly on sheet, maybe 16ga, so a fairly fast cut rate. Being new to this I’m not sure how long the cut durations of something like that will be, so I plan on being conservative until I’m more comfortable with it.
1 Like
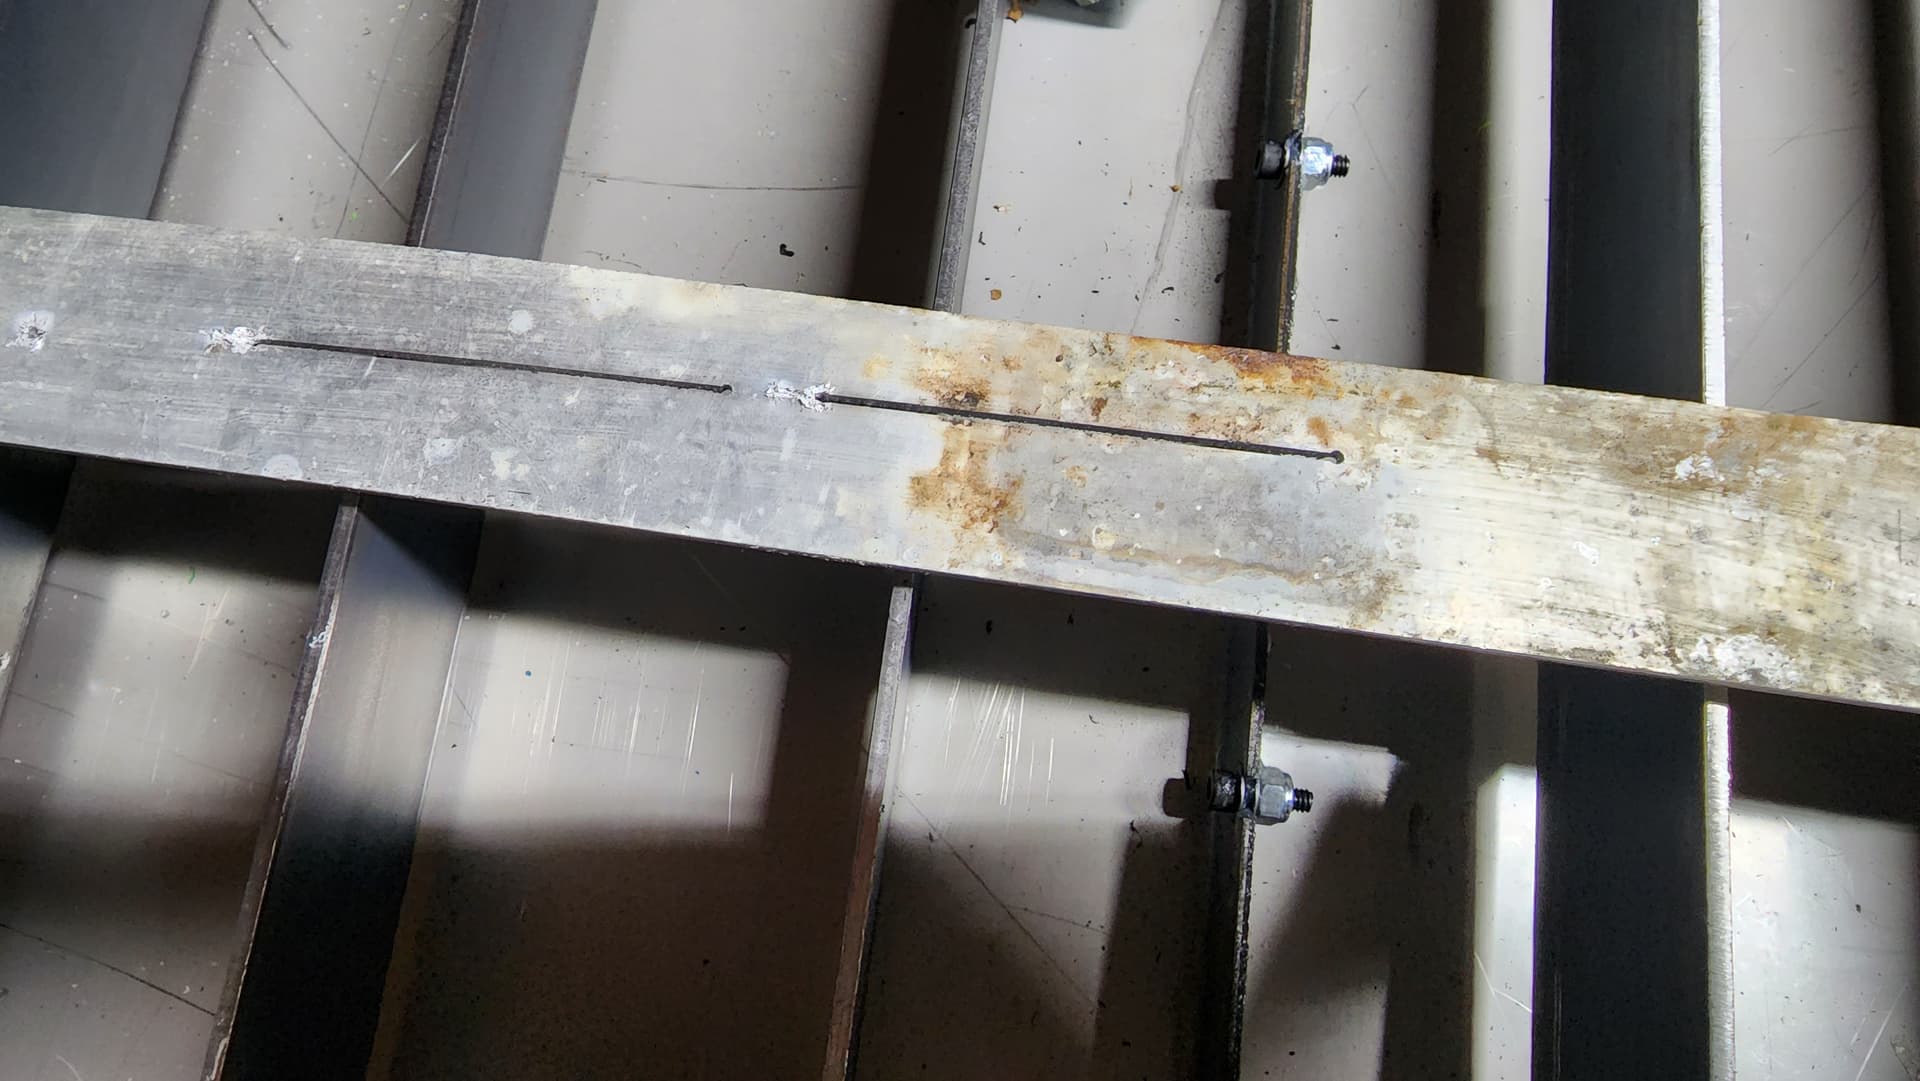
If you or anyone you know can TIG weld the tray seam, do it now before you ever fill the table. Mine leaked and many others have as well. I ended up TIG welding, still had a very small leak.
1 Like
I bought my machine about 3 years ago and all i did was use Seam Mate between the pans. I did not spare any either. Did not tighten the bolts all the way and let stand for 24 hours and then wrench tightened the rest of the way. No leaks yet. If you over tighten the bolts right away, you can squeeze most of the sealant out that can cause leaks.
4 Likes
That may be what me and others who had the same issue have done.
A good TIG weld should be forever in this situation. Still likely the #1 option.
2 Likes
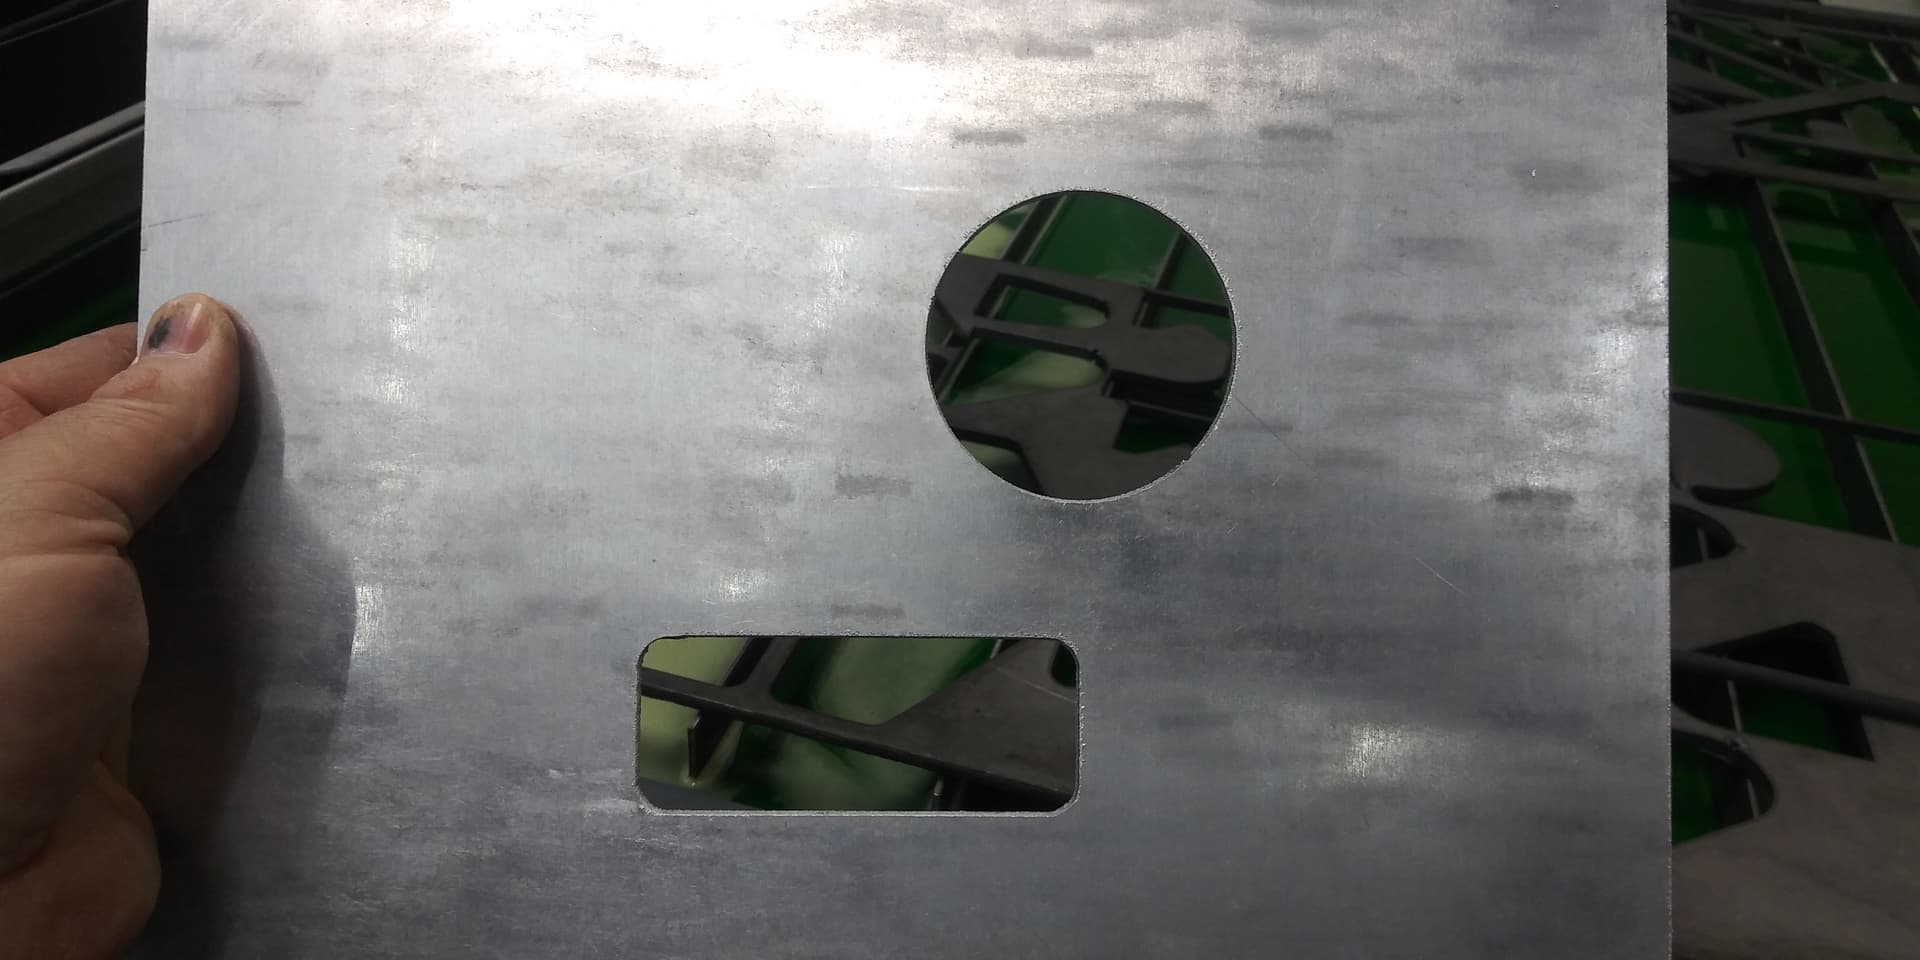
First non-straight line cut!
I designed this up quick in F360.
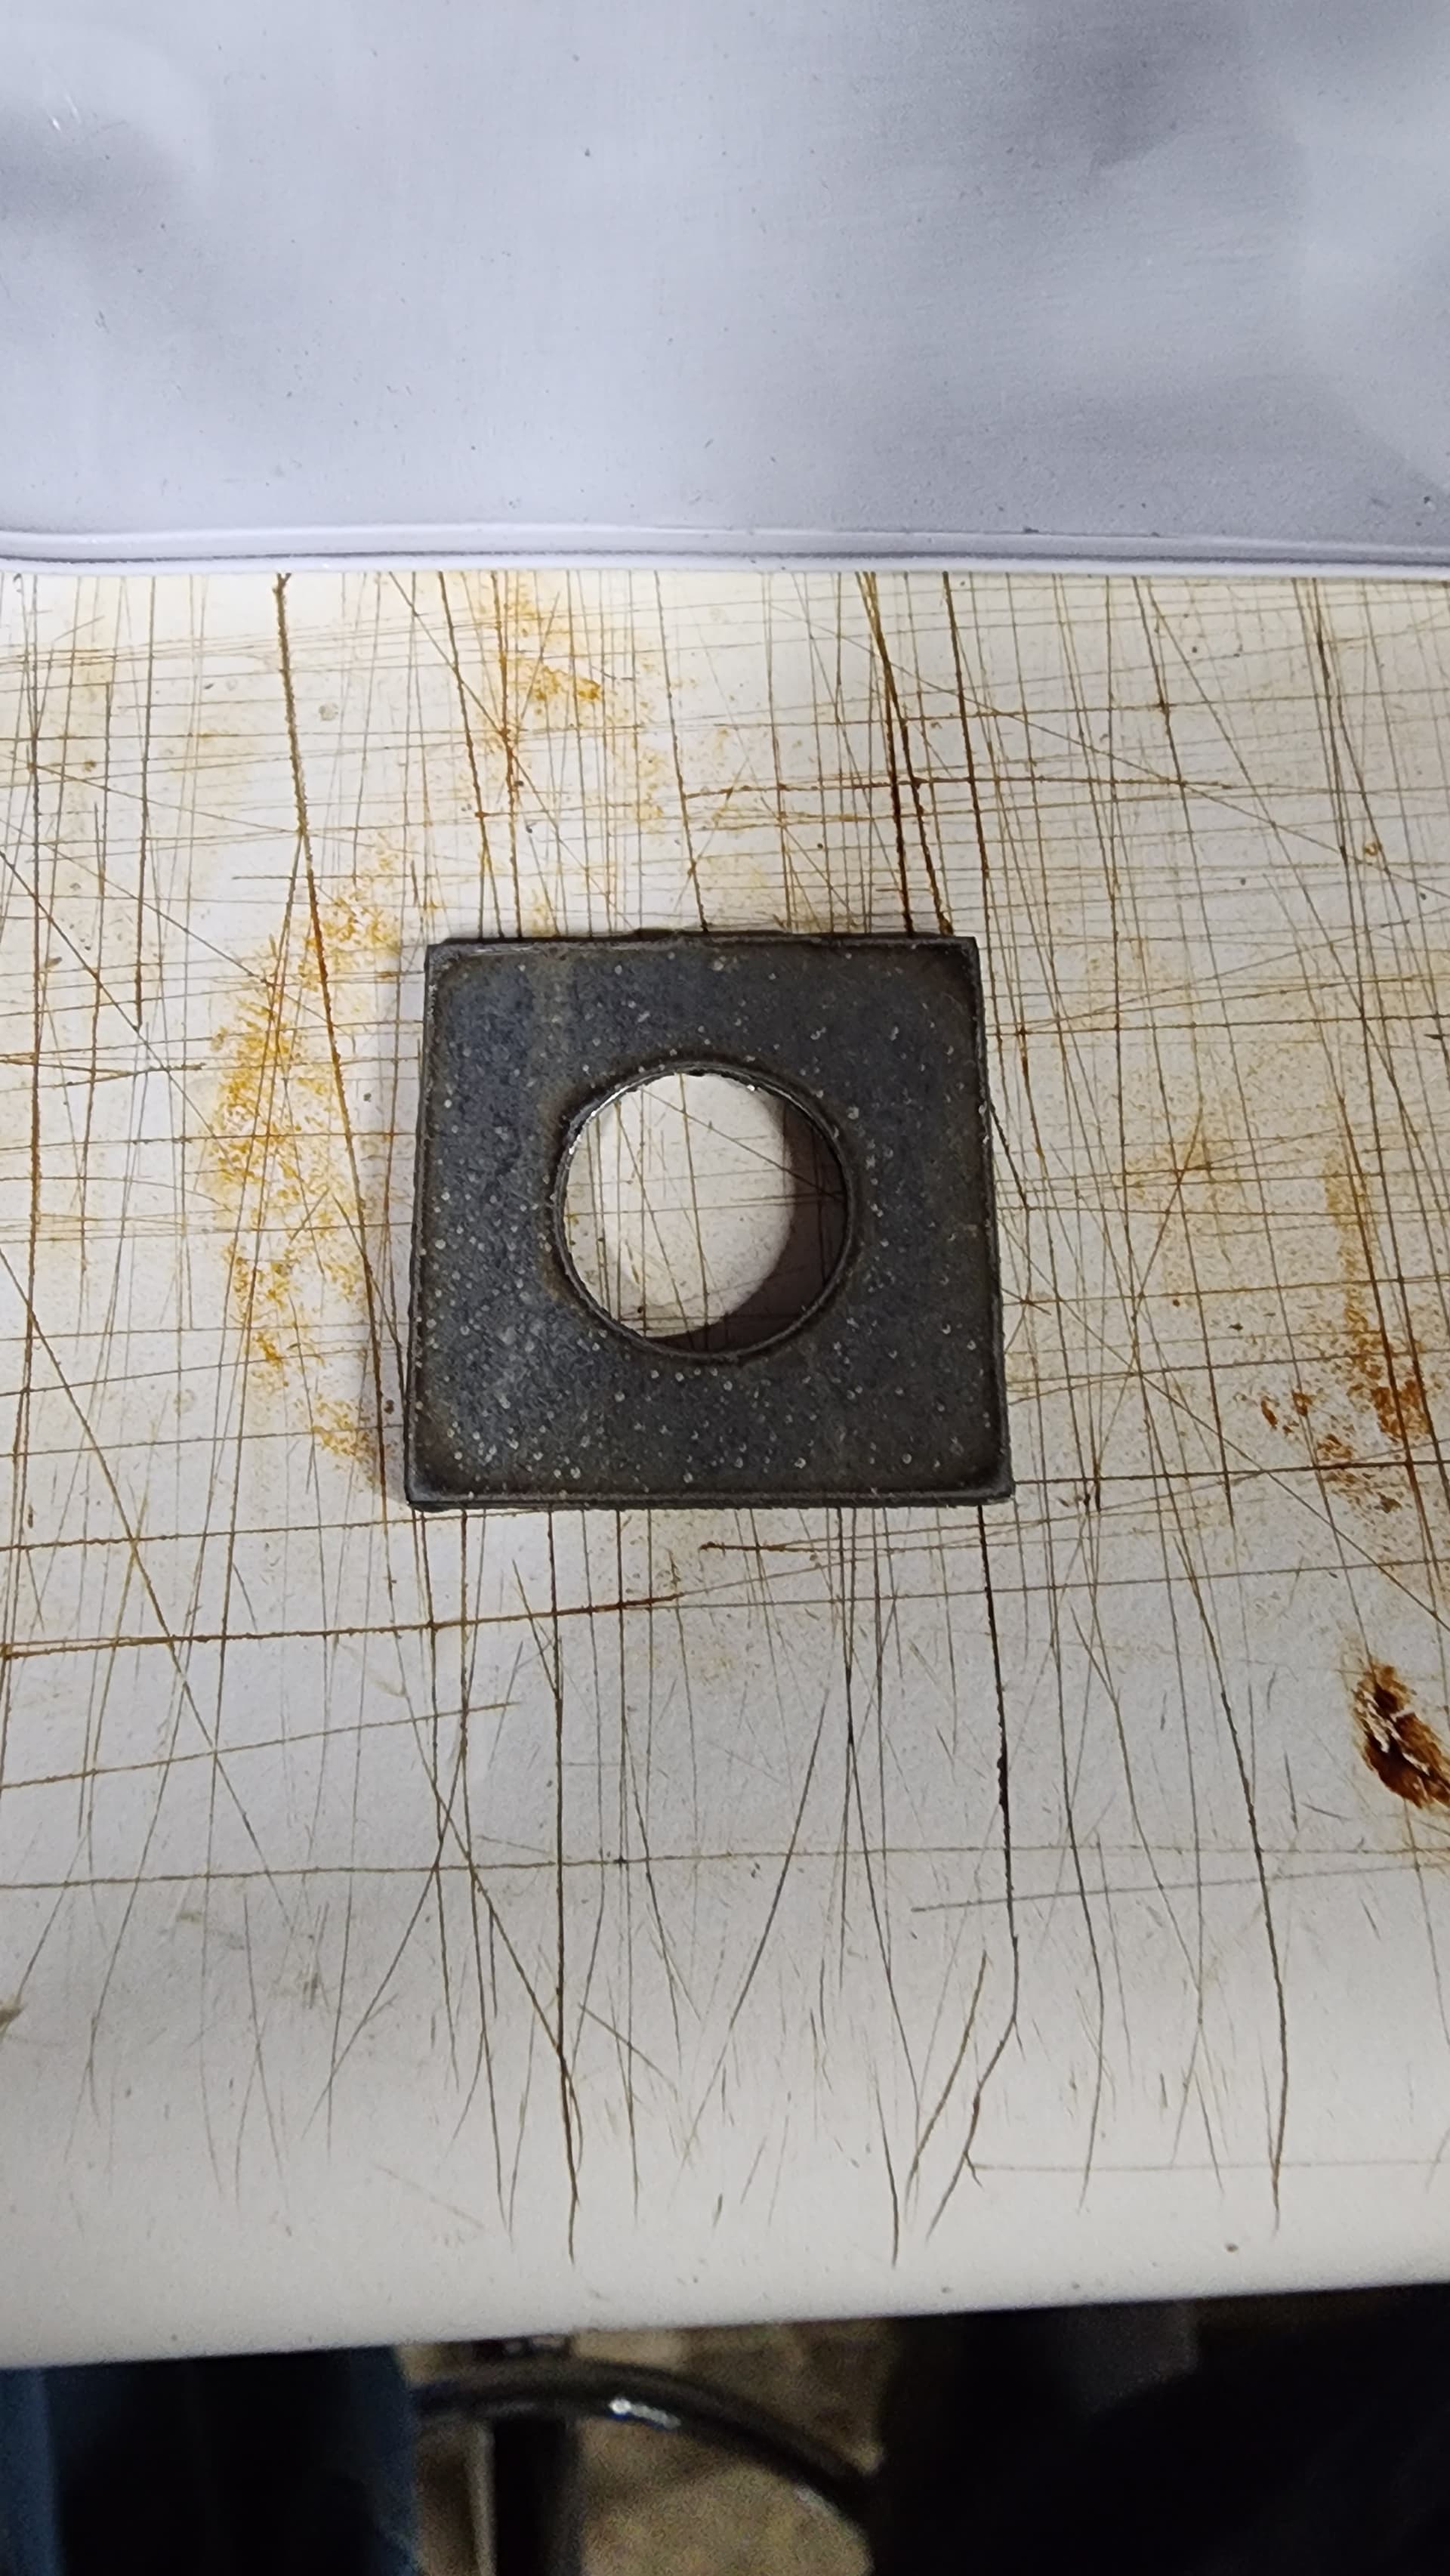
1 inch square with half inch circle.

Corners are square.
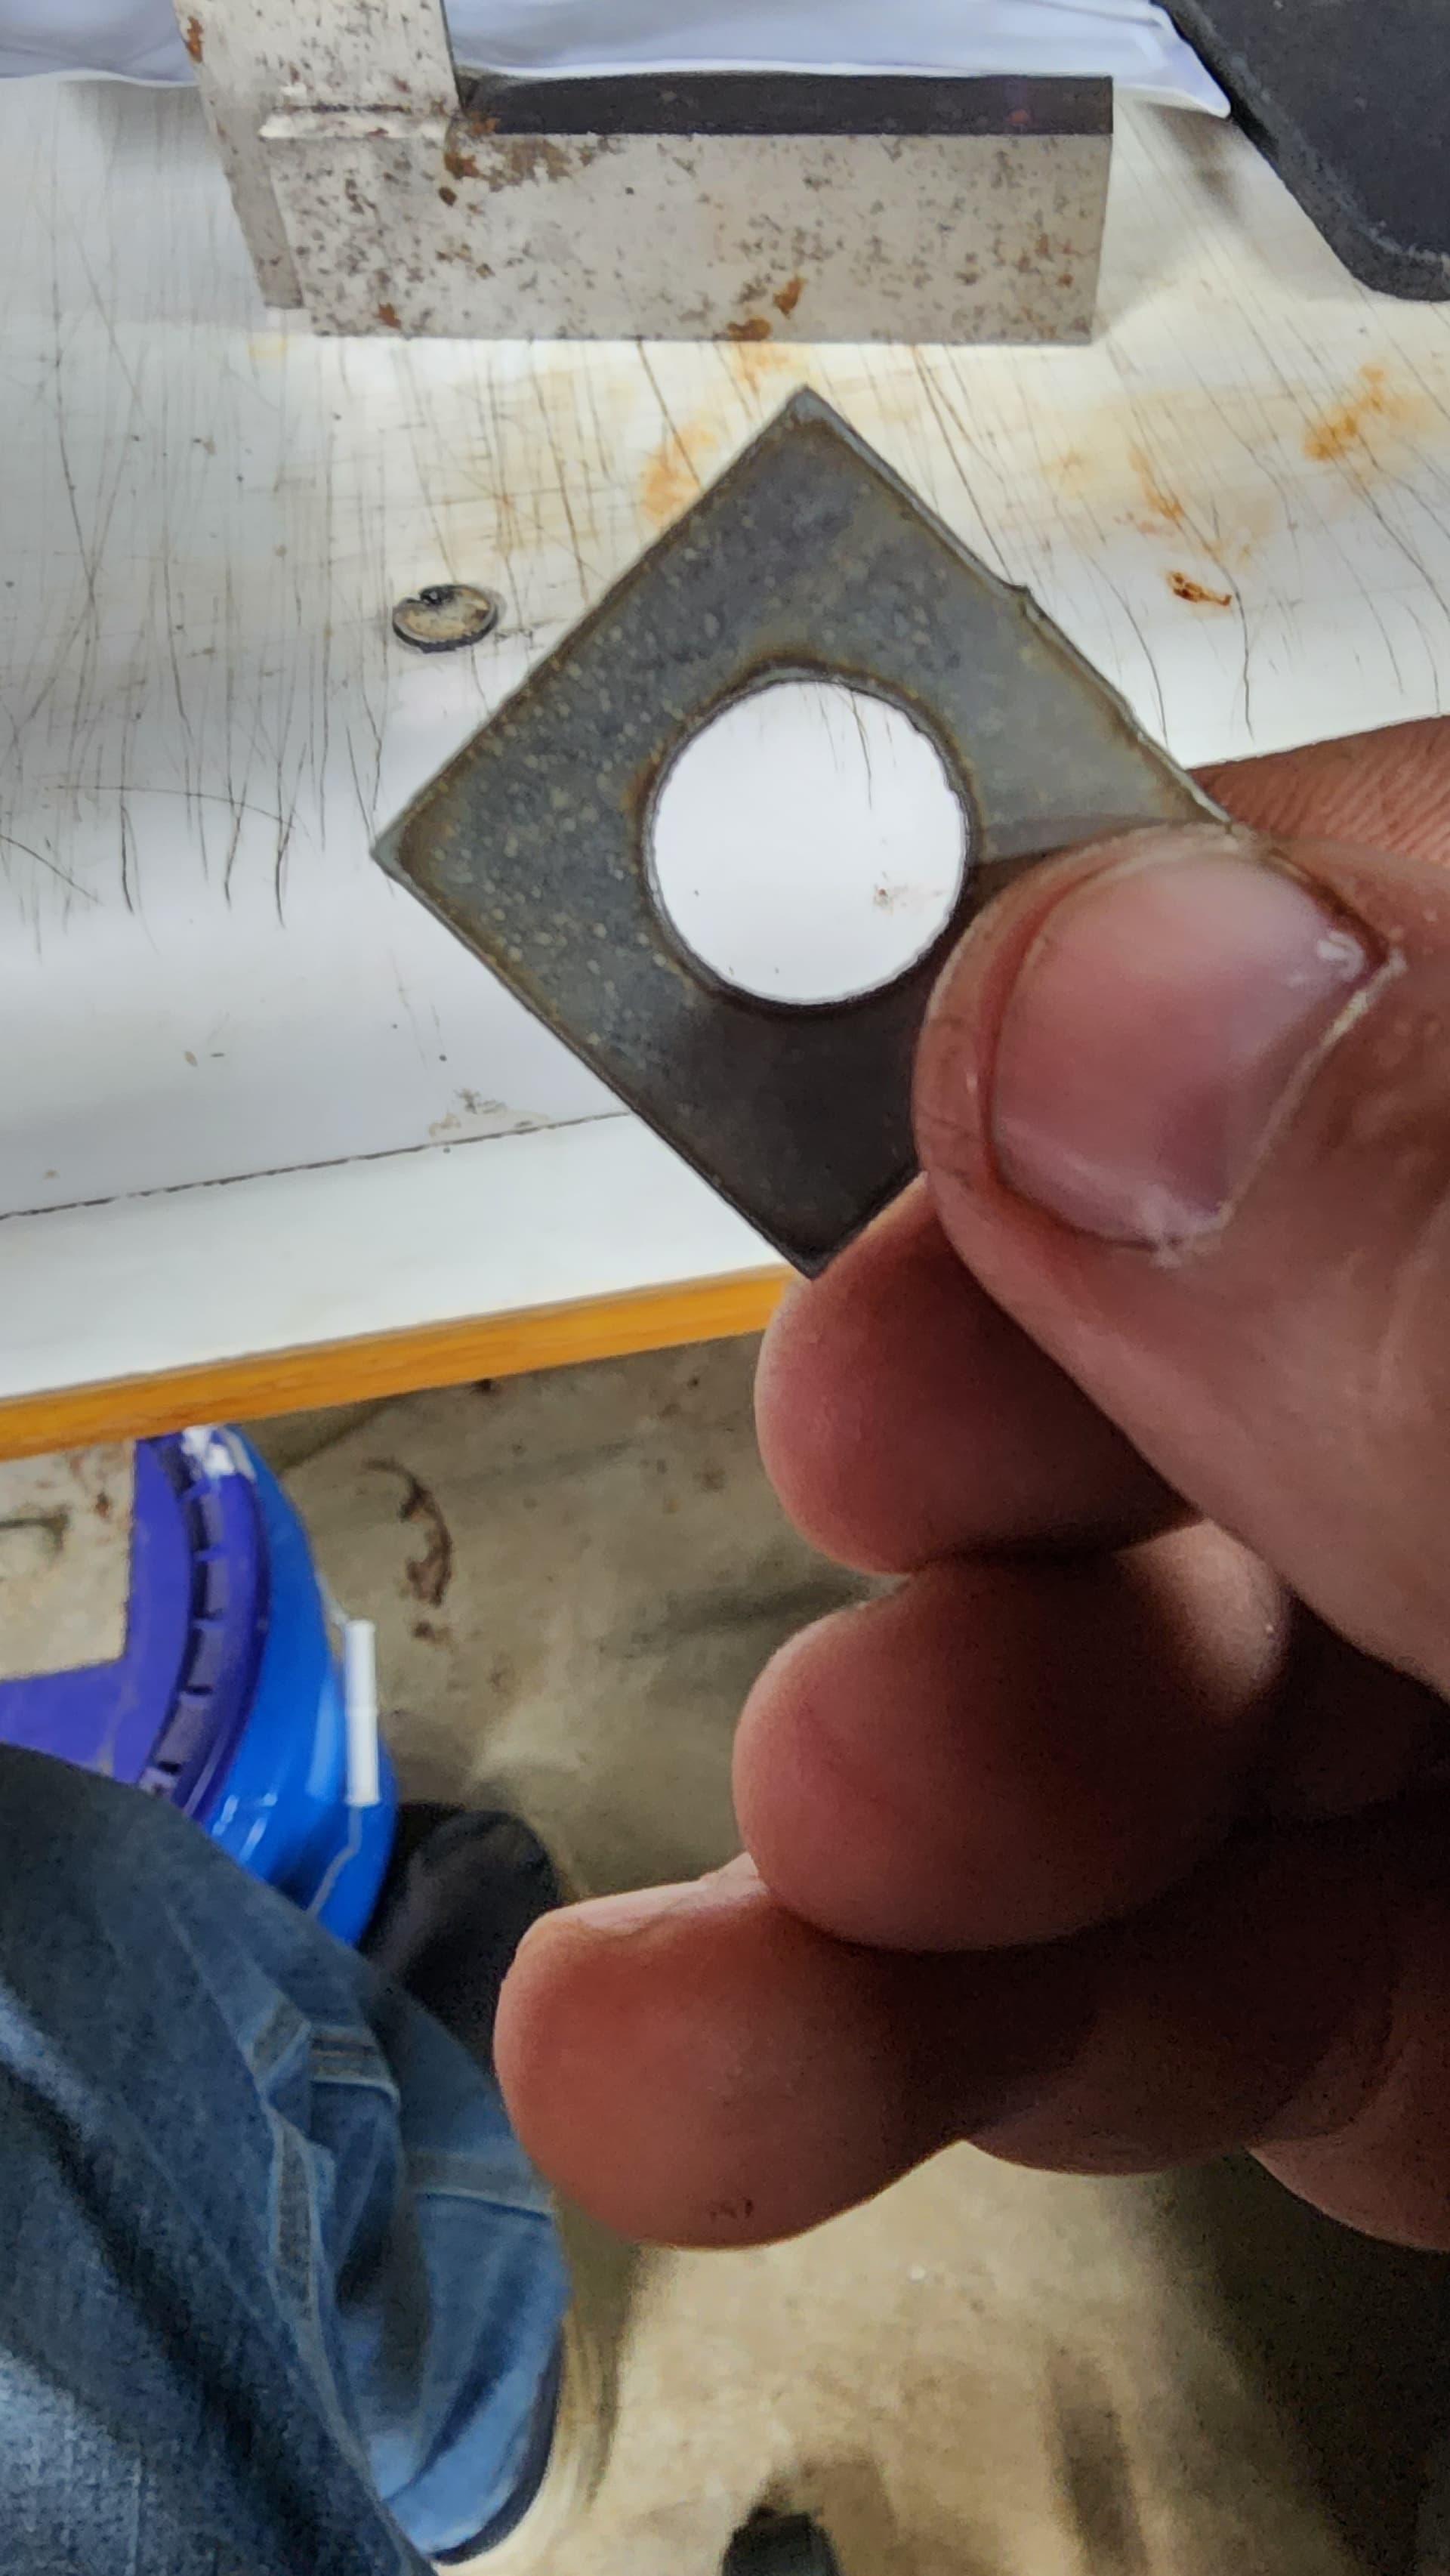
I used a 0.2 overlap on lead-in and lead-out, with an arc radius of 0.125 inch and a 90 degree arc. In the overlapped area it actually left more material on the part, which was the opposite of what I was thinking it might do. I figured it would eat away extra material, not leave more. The material outside the cut was straighter than the part… I did disassemble the torch head and reassemble it some weeks ago, I wonder if I put the swirl ring in upside-down. It’s tiny and looks like it could be installed either way.
I assembled the table per Langmuir’s instructions, and the only leaks I have are in the drain system. I think I had some joints that were starved for glue, and the nuts on the drains needed to be tightened.
I bought a few dxf files off etsy and was going to use one in sheetcam. I had requested an evaluation license last month and only installed it today thinking that the 30 day wouldn’t start until it was installed. Nope! It was apparently dated inside the license. Oh well, I’m going to buy the license for it, it’ll just have to wait.
That’s it for now,
Marty
3 Likes
As has been obvious, I have been MIA for a few months. With limited free time due to my job, the cleanup and repairs from the storms we experienced in central Indiana back in, what March? It’s been so long now I don’t even remember when. Suffice it to say it has dominated my time. However that is starting to come to an end, at least enough that I can finally get in a little shop time again.
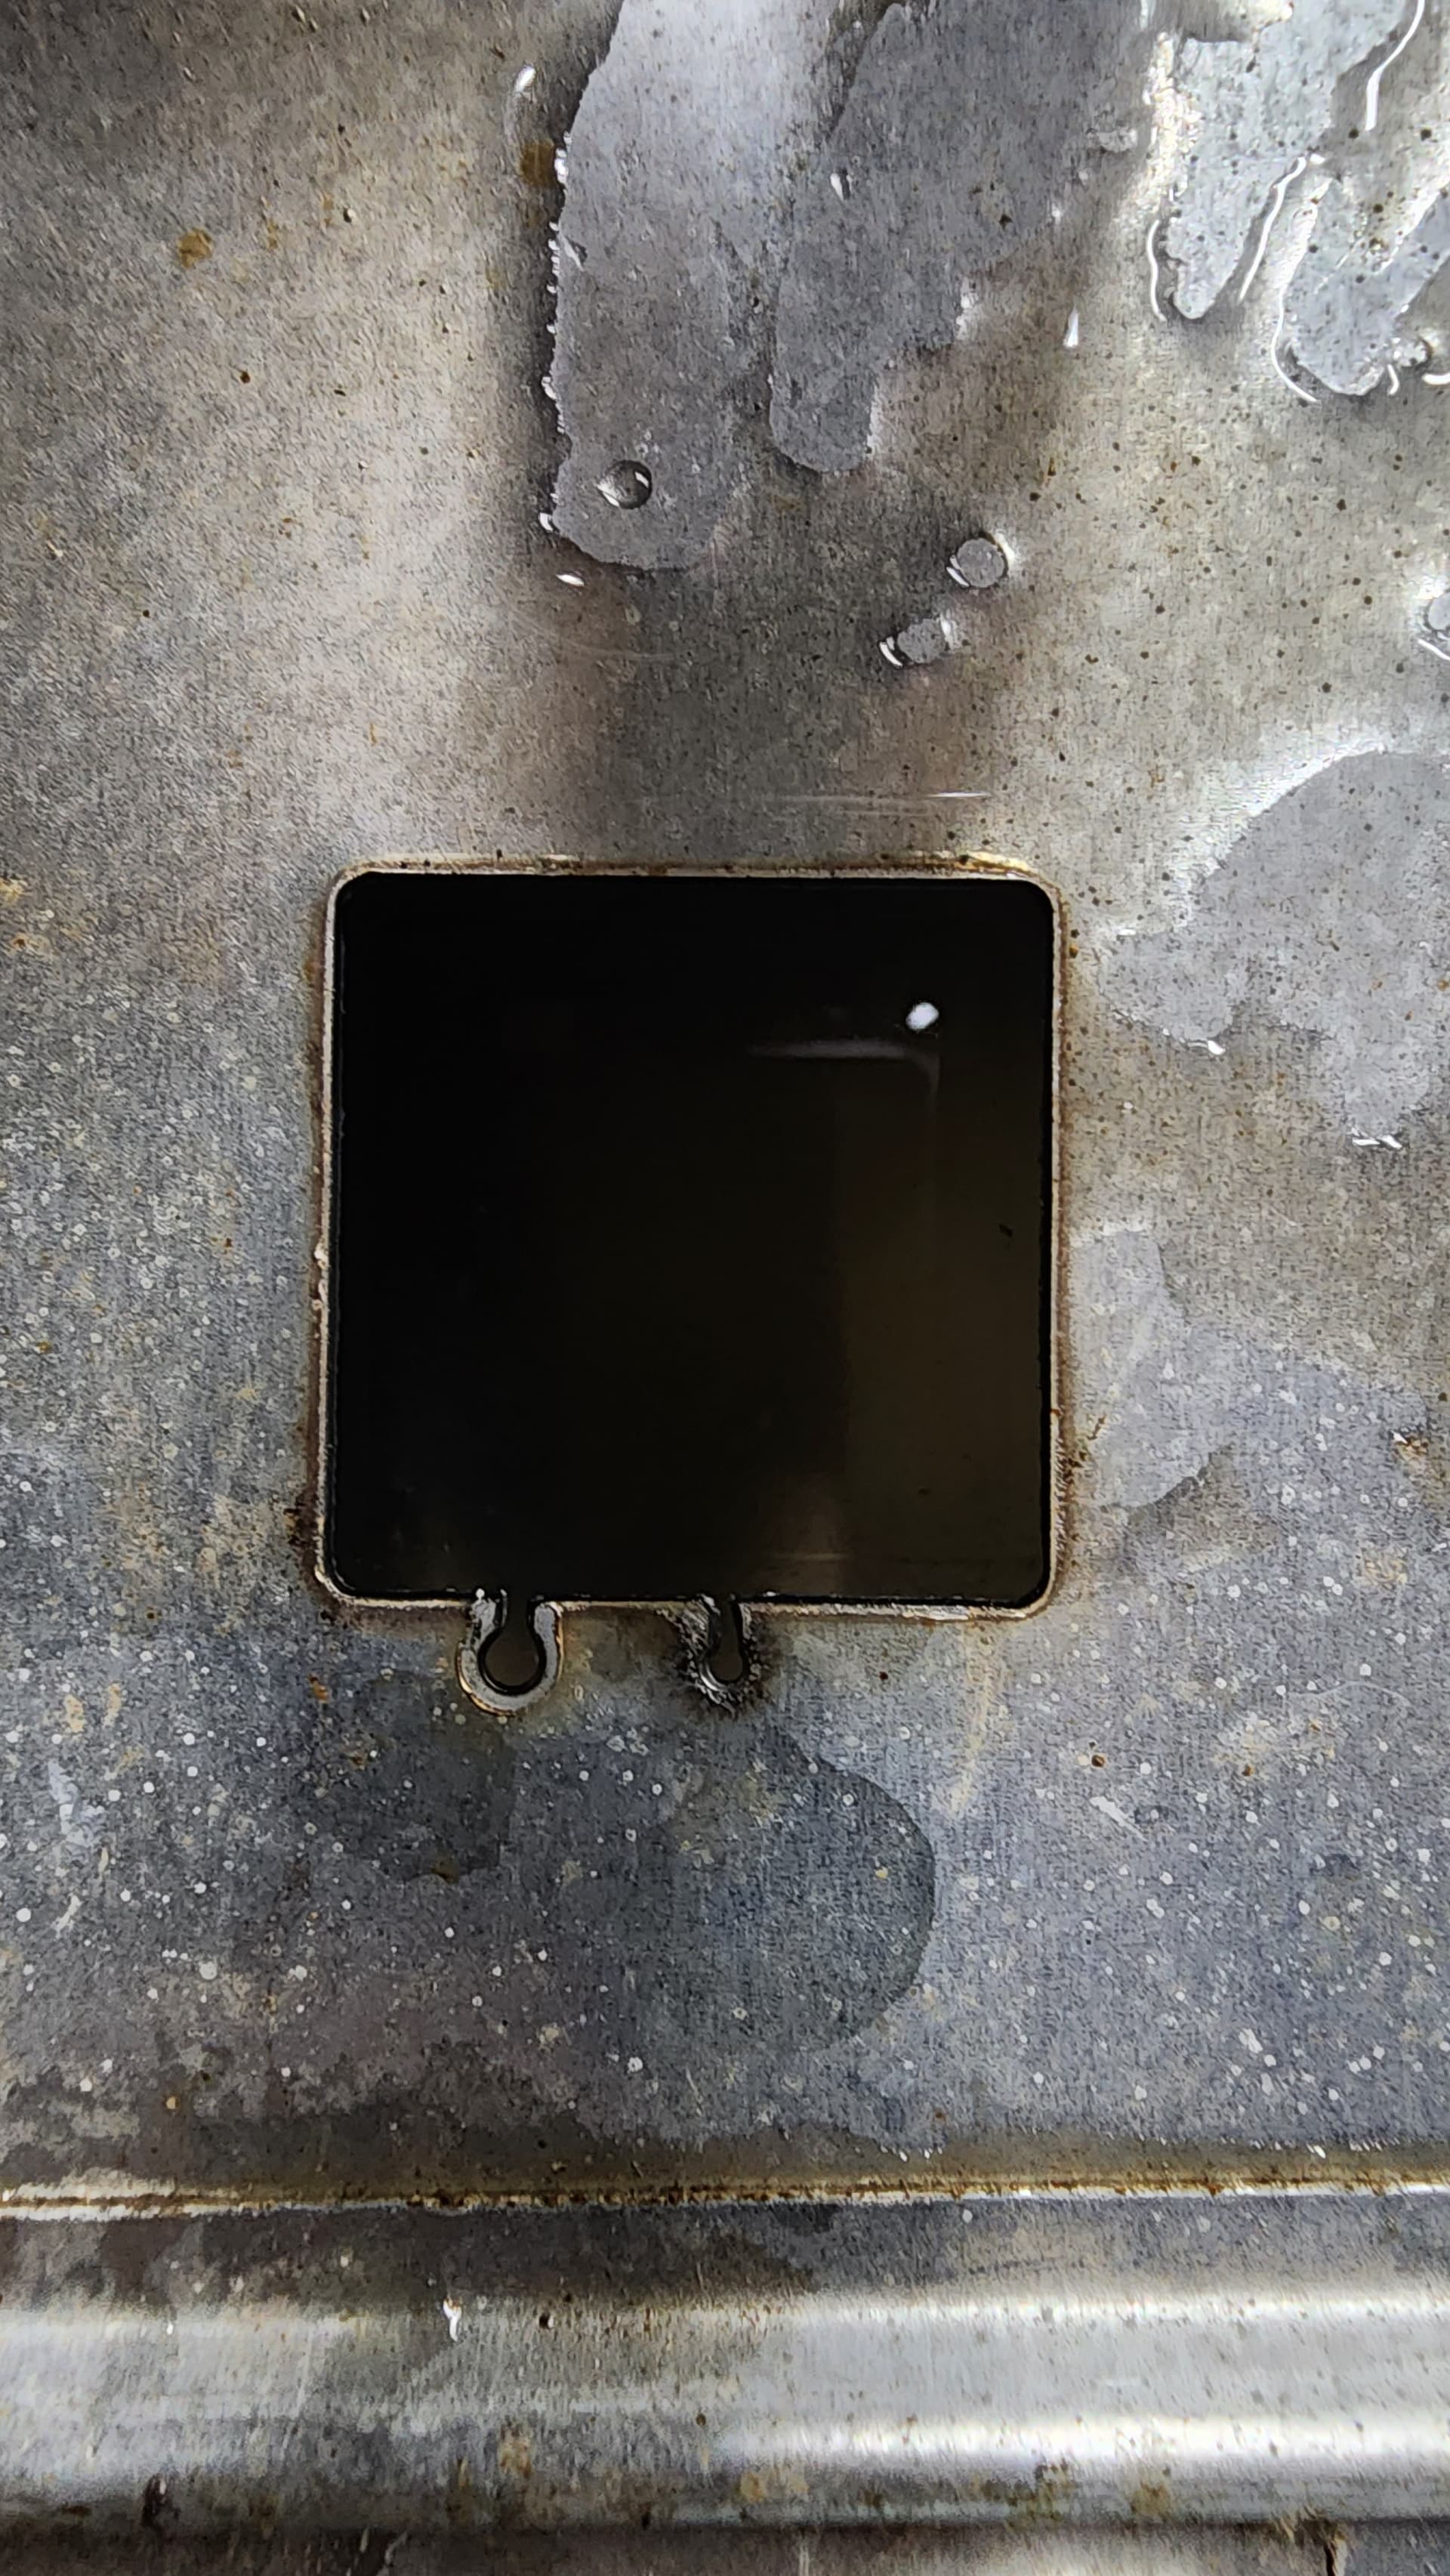
My project this week was a simple fix for my push mower.

The drive wheels have a plastic guard that is supposed to keep clippings and other debris out of the wheel. It works right up until you hit a stick or rock and it breaks a hole in the plastic, and when the wheel fills up with grass clippings and stops pulling my indentured servant… er, I mean son, refuses to mow. Well that couldn’t be allowed to continue.
My first thought was duct tape… Yeah, that lasted about as long as you’d expect.
Then I was like duh, dummy, you have a plasma table! ![]()
![]()

About ten minutes later and Voila! A reinfocement plate for the guard. I measured it so it would fit over the plastic flanges/bosses whatever they’re called. Man I couldn’t have gotten them any closer on fit as they were basically a press fit. Now waiting for the boy child to try them out.
Anyway, it’s good to be back in the shop and cutting, even if only for a few minutes.
8 Likes
Was that you or your indentured servant who came to that conclusion ![]()
Good story! Thanks!
2 Likes
It’s satisfying to use the table for more than signs and stuff. I posted my turbo gasket in the “What Have…” thread a day or two ago. One of the more simple things I have cut, but really felt right.
Man, I hope you have a good sense of humor and don’t drive to Evansville and punch me, but I gotta get this out… ![]() Every time I see your avatar I think you look exactly like Rick Harrison, the guy who owns Pawn Stars and does the TV show. I love that show.
Every time I see your avatar I think you look exactly like Rick Harrison, the guy who owns Pawn Stars and does the TV show. I love that show.
Edit: But if you do decide to drive down and punch me, I can let you know some good places to eat, we have a casino, a nice zoo, and some other touristy things to do.
2 Likes
You’re safe, I’m not the punchy type of guy. lol
I’ve been through Evansville a few times traveling to my birthplace in Tennessee, although not so much since I-69. I’m wondering if I’ll live long enough to see the proposed I-69 bridge over the river.
Target is 2032 for completion.
1 Like
Was that you or your indentured servant who came to that conclusion
That’s funny
1 Like
After getting off work this morning I went to my metal supplier and picked up 193 pounds of drops.
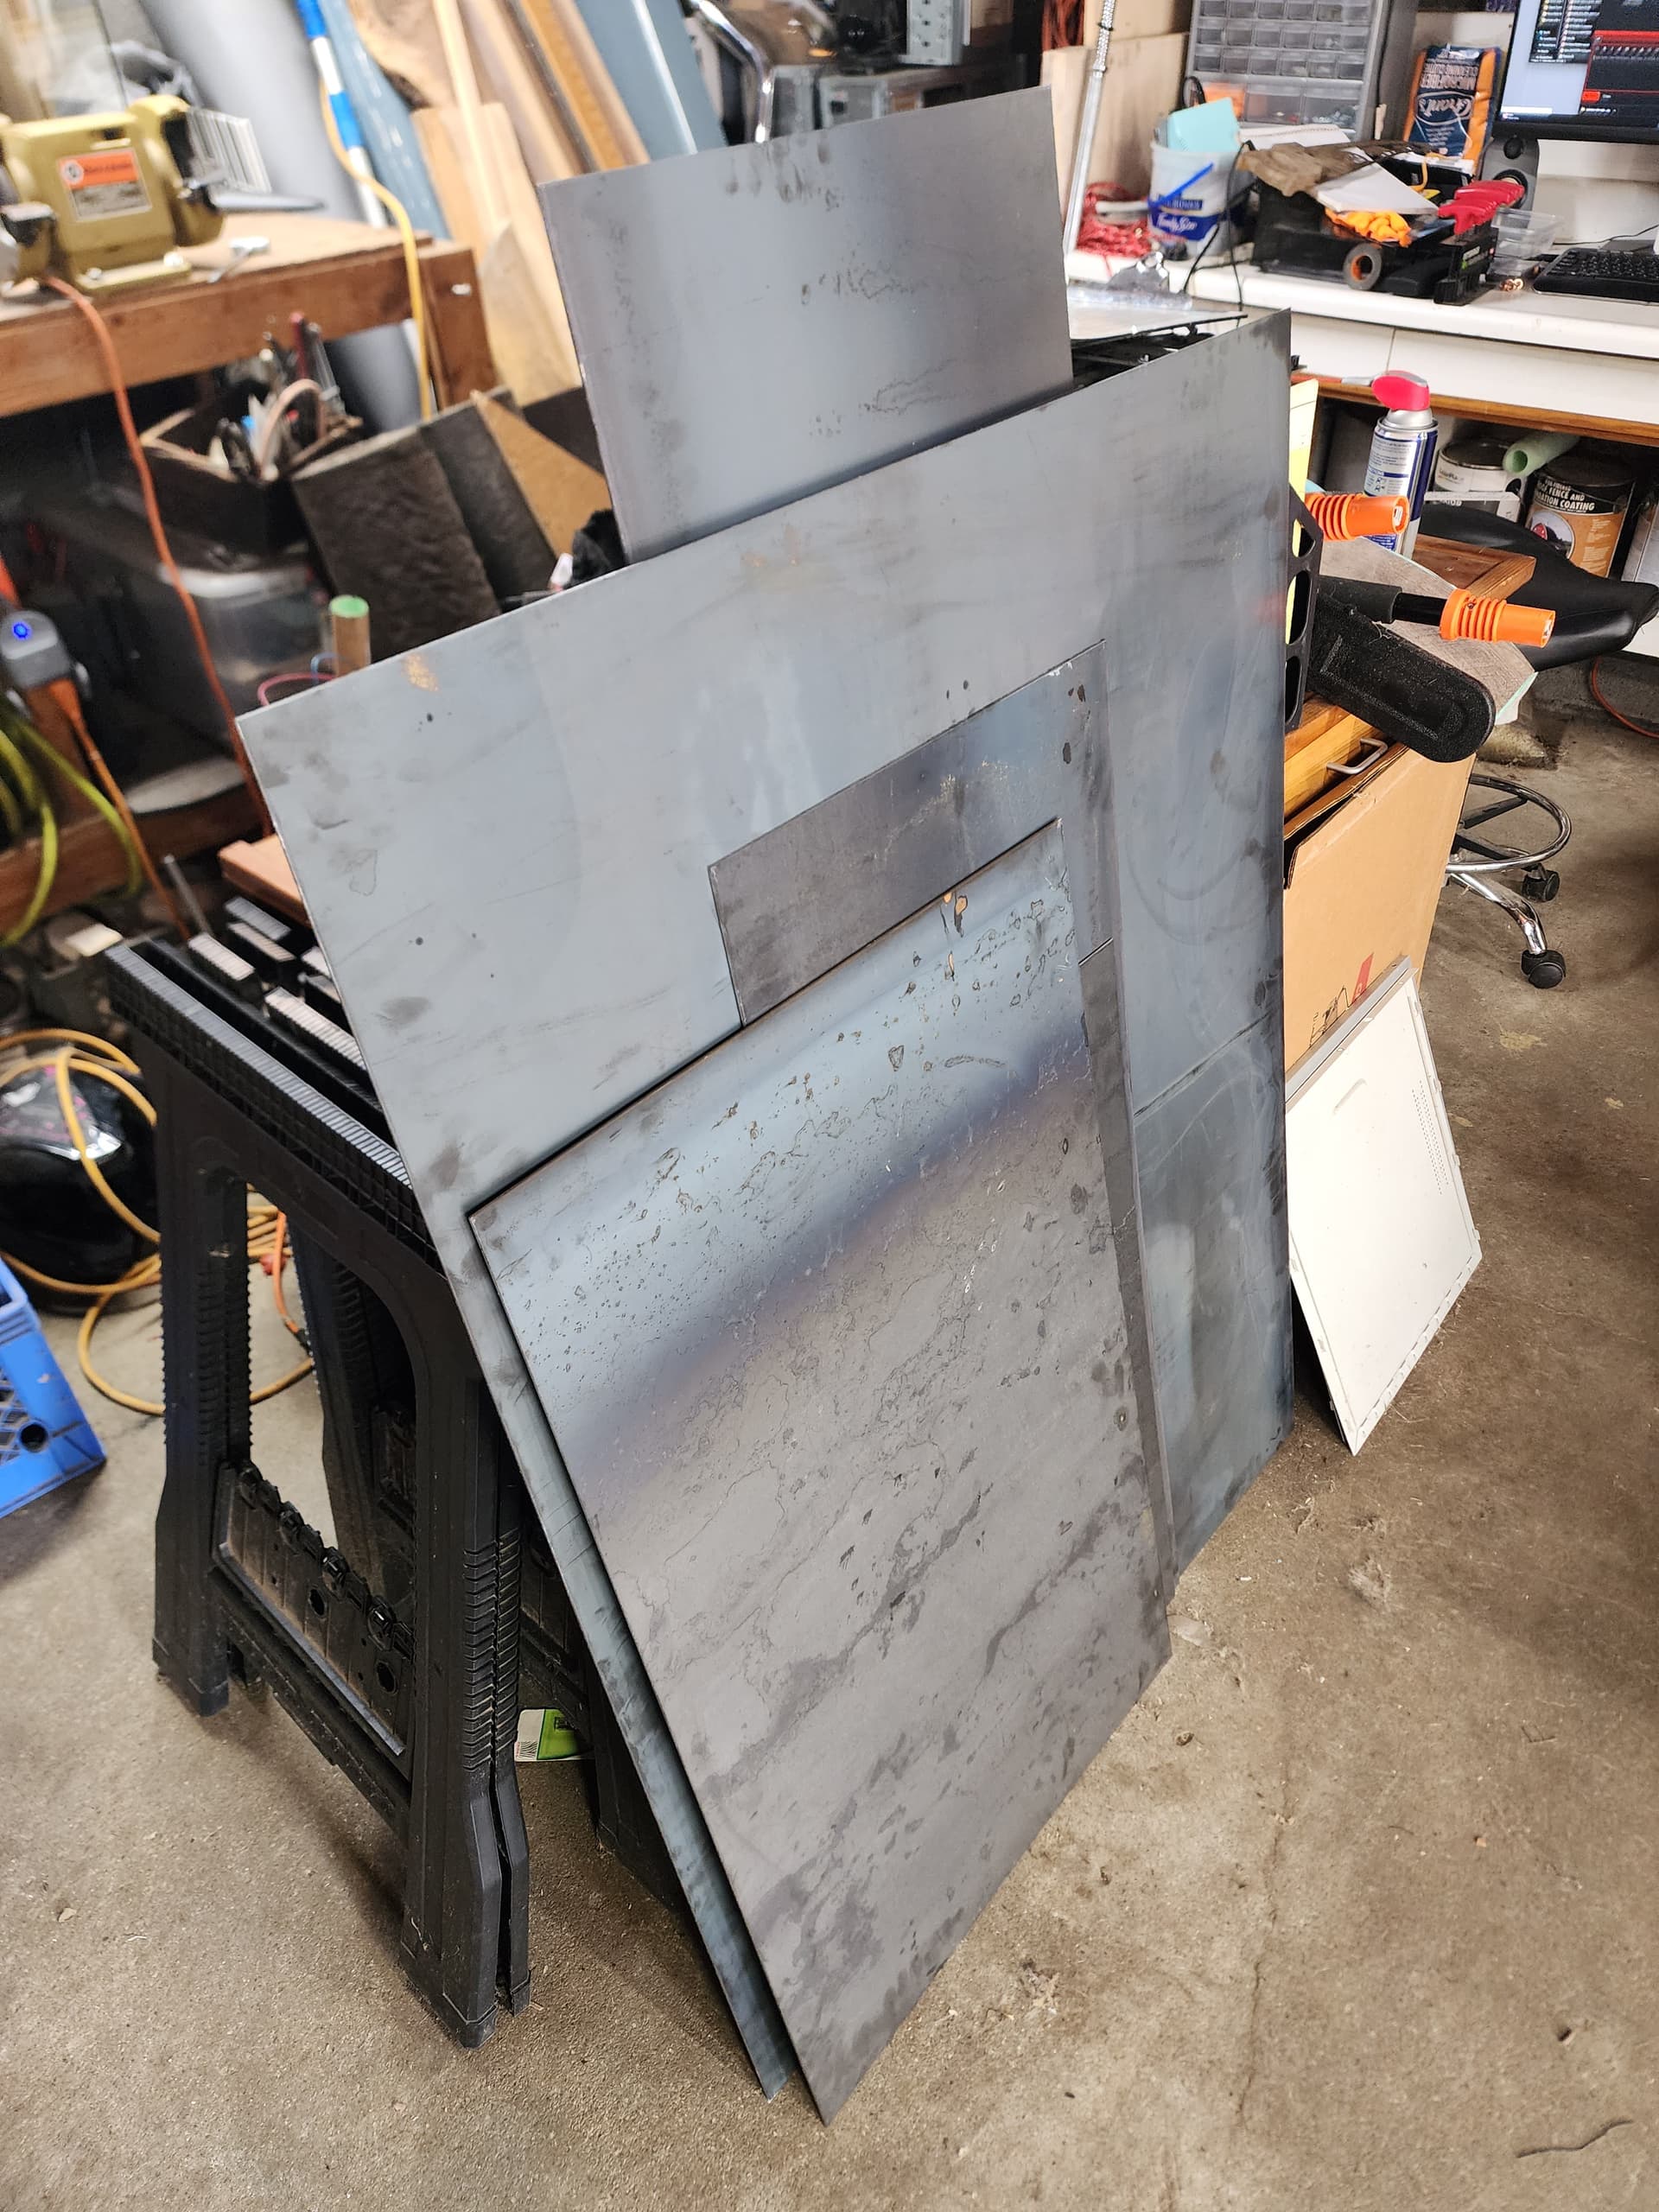
One man’s drops is another man’s treasure! At $1.05 a pound, I wasn’t complaining. I got seven sheets ranging from 16 gauge up to 1/8th inch. Most of it is 1/8th and that’s really thicker than I was shooting for. I’m still new to all of this and didn’t have my calipers with me. Still a decent haul. It won’t go to waste, I was just wanting more 16 and 14 gauge, live and learn.
Then when I got home I got on the forum and caught up on what everyone else is doing and saw a post by @DonP on a piece he did and knew I had to do one for each of my granddaughters.
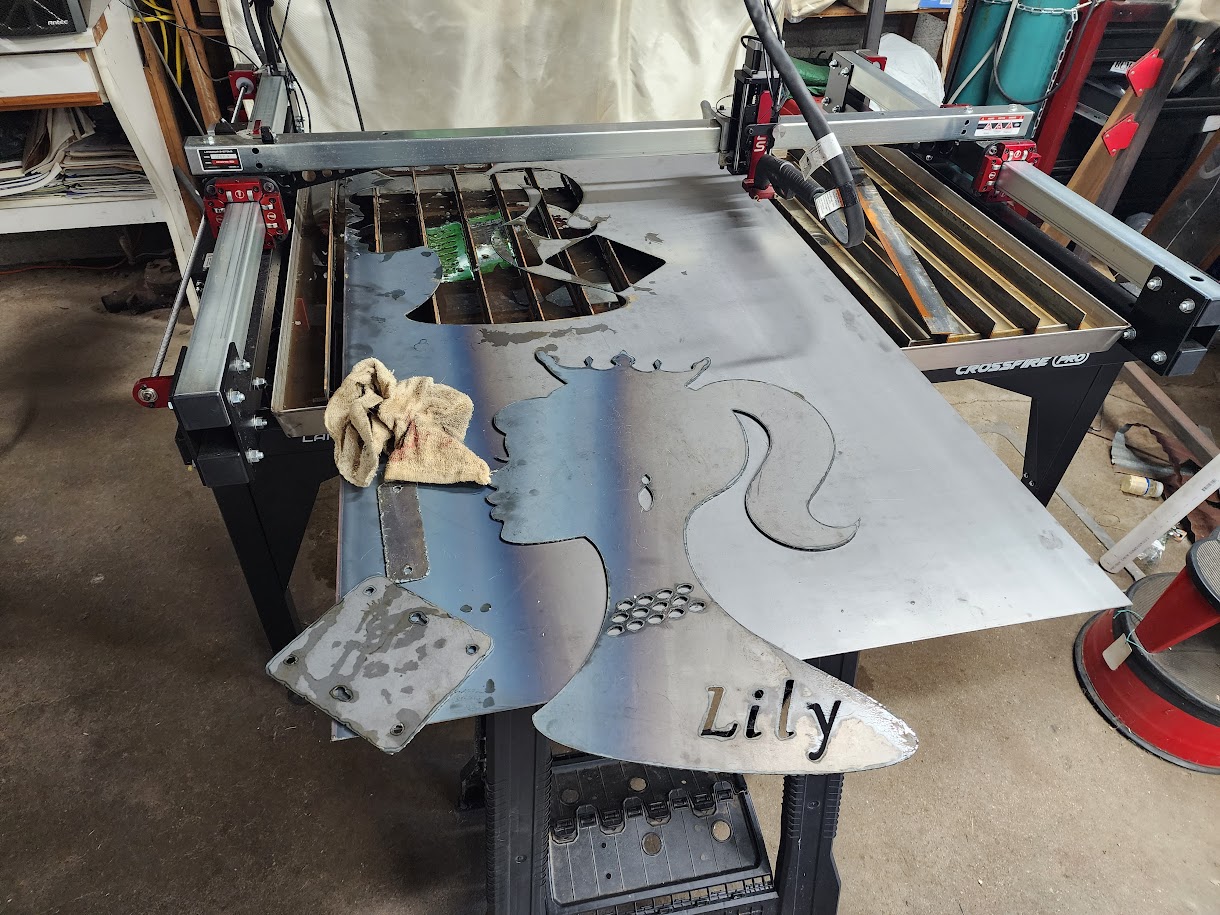
While it did cut just fine in 16 gauge (45ipm at 45 amps Titanium 45), the dross…oh the dross! I read where people have dross that basically falls off. That has not been my experience so far. That crap welds itself to the back of the piece, I’m going to be grinding for a while cleaning this up. Has anybody used anti-spatter spray on the back of the piece to try and eliminate some of that? Also I guess I need to pony up and waste some metal to do some cuts testing my ipm.
2 Likes
Sign looks great!
i don’t rememeber which font i have so many and just scroll through them until i find one i like for item. i added a bunch to my computer many months ago which is super simple. You can look up on YouTube.
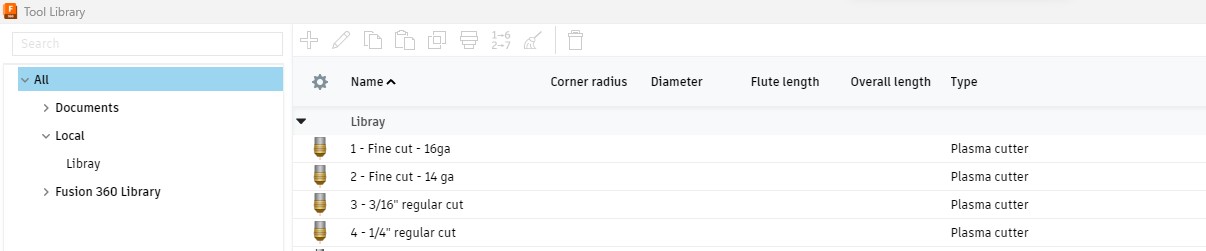
So I have hypertherm 45xp and run fine cut tip at 150ipm & 40 amps. Not sure but your IPM seem really slow for 16ga. and 45amps. You should check chart for steel and setup new tool so when you cut 16ga again its all correct and not guessing or changing it.
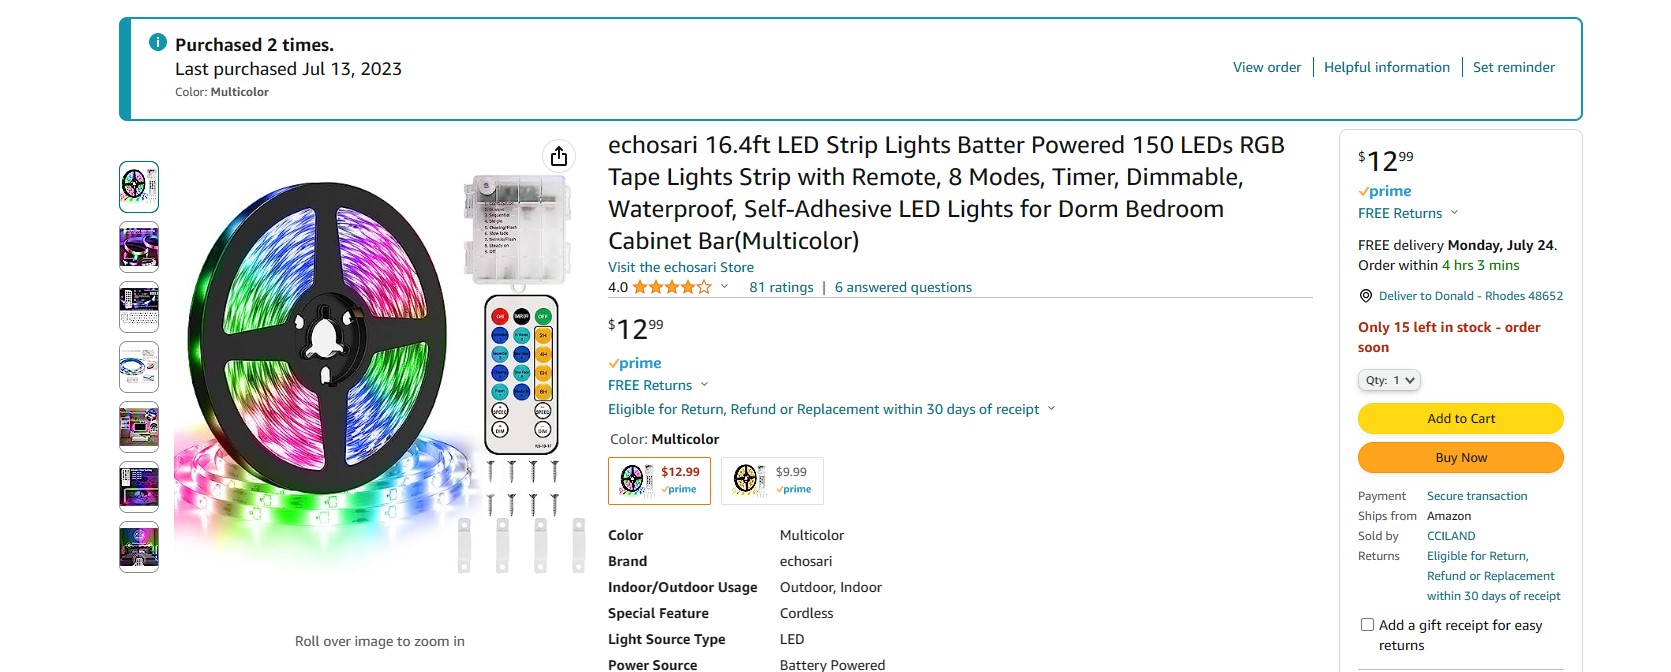
Yes, it’s a big wall sign because I added lights and wanted it to work for night light even. I set it for 2hrs and it automatically shuts off.
Back of my daughters looks like this…
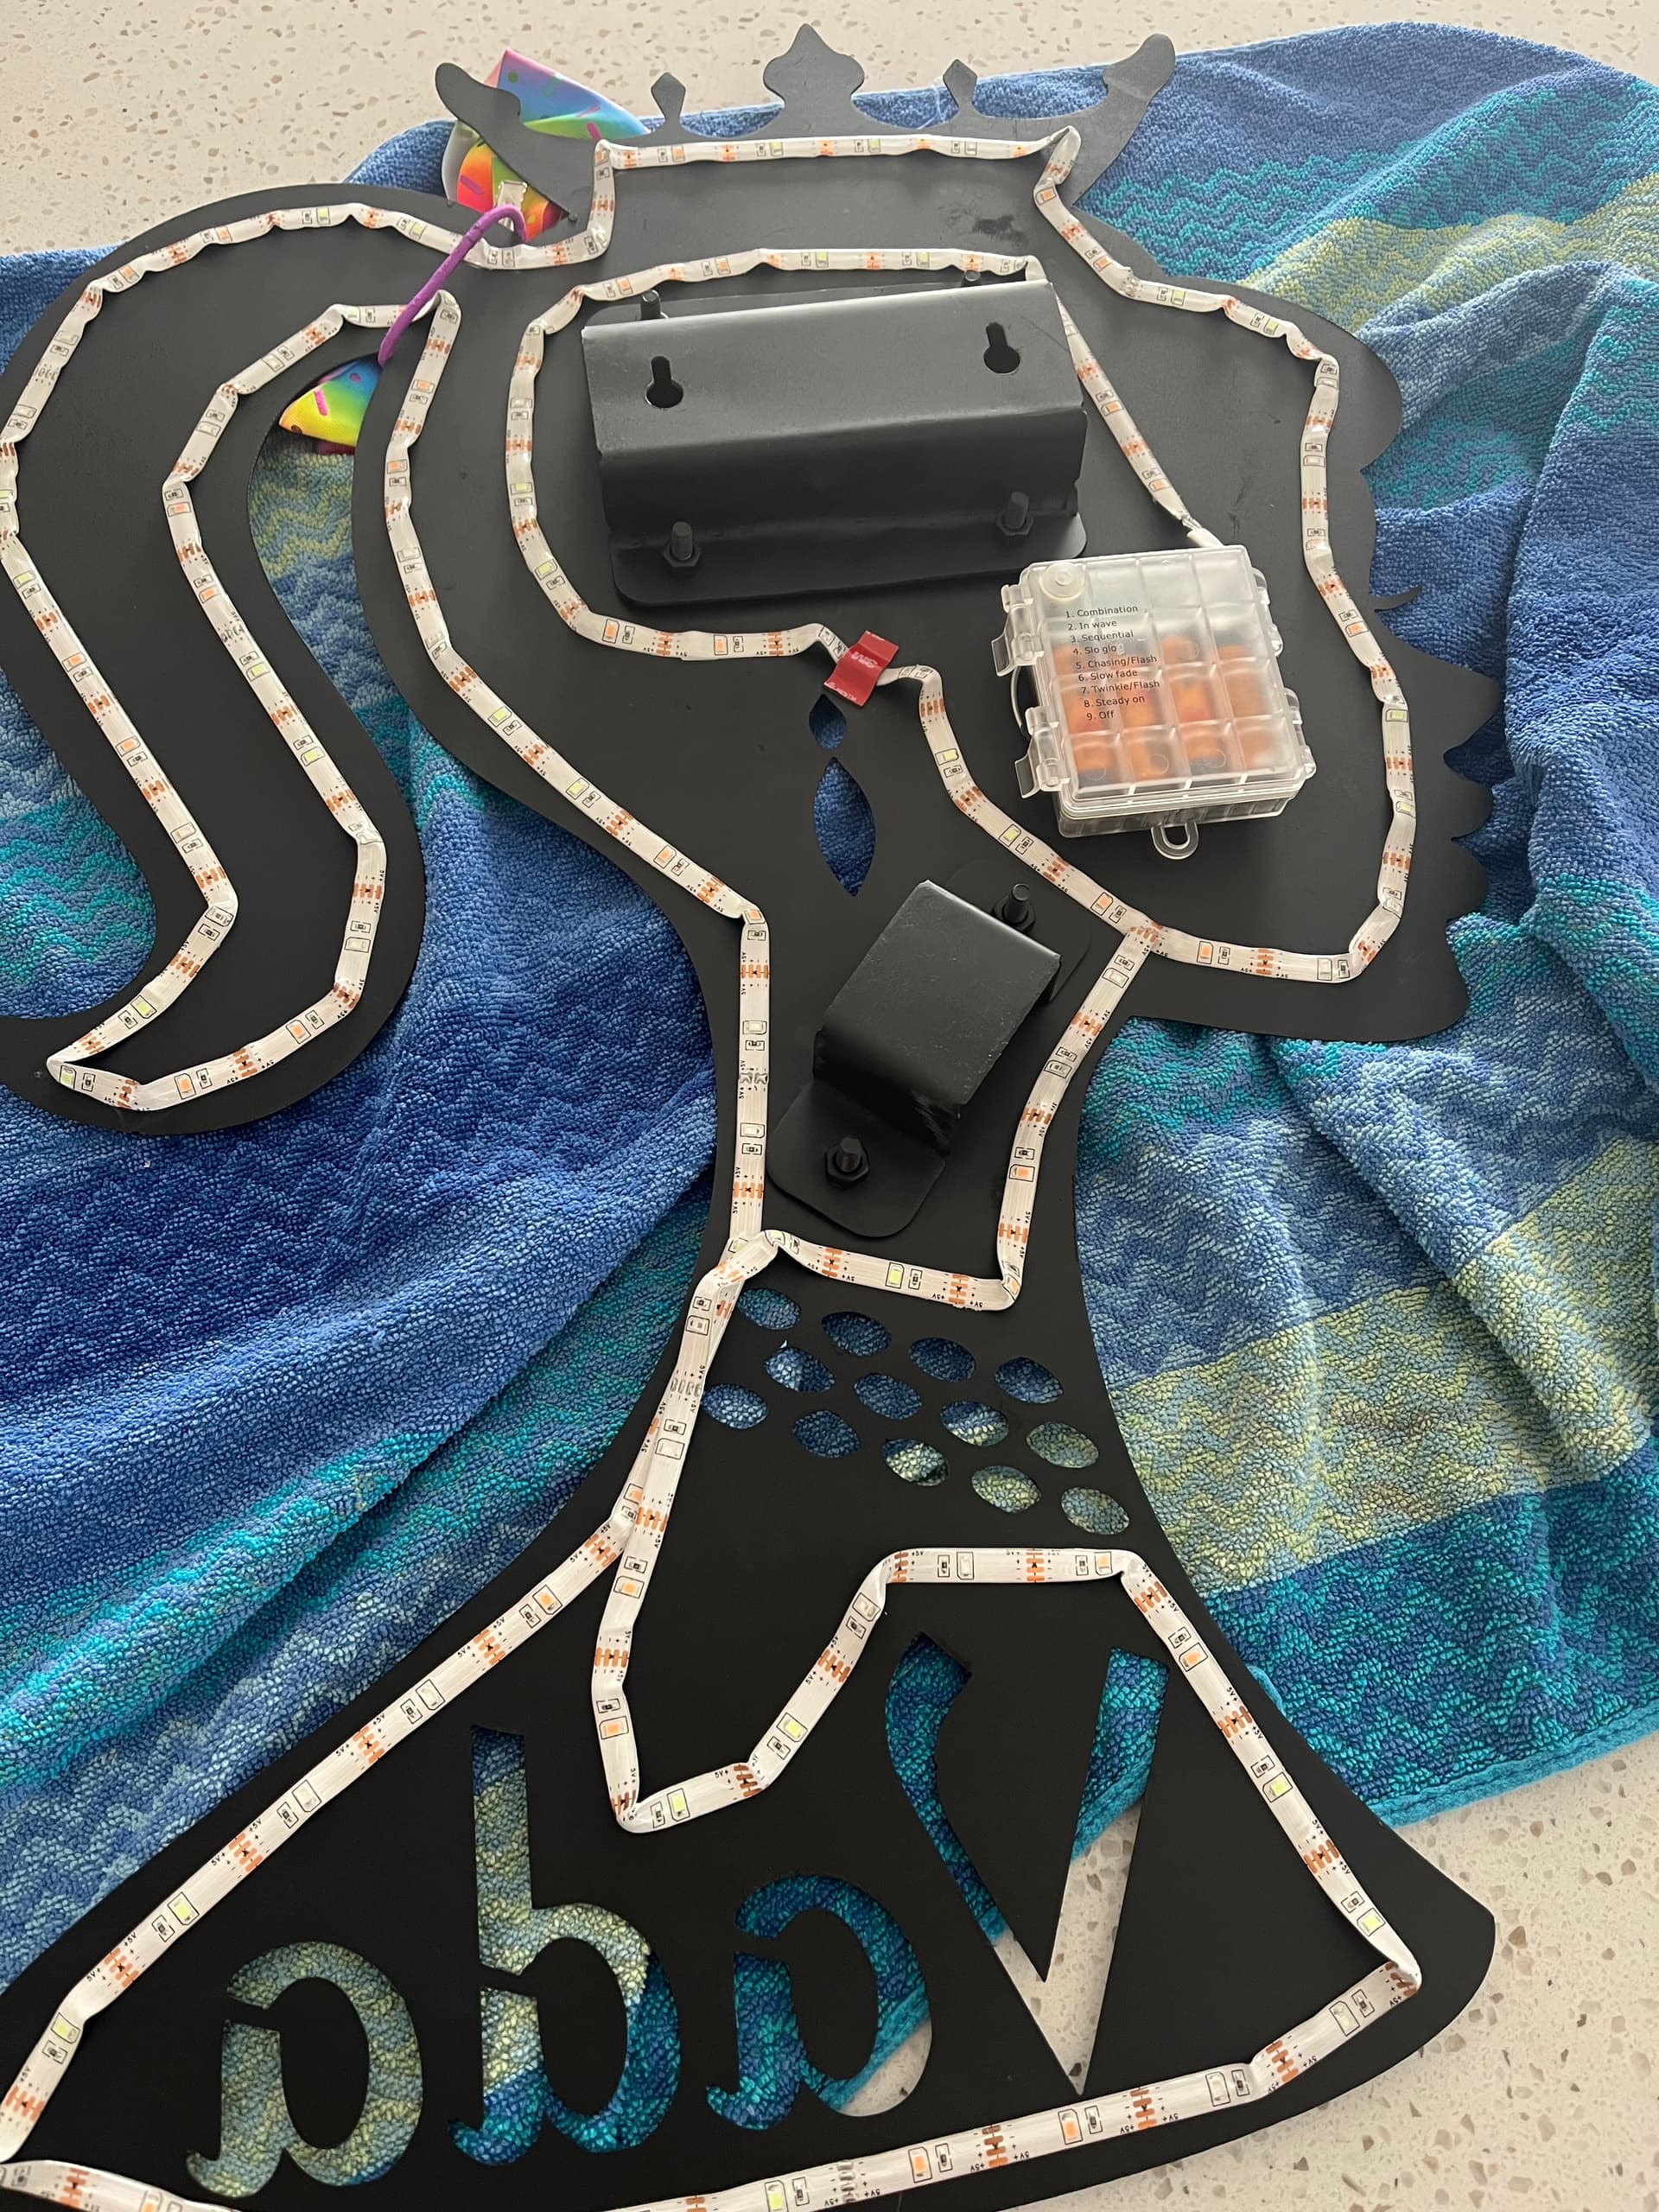
I got pretty good about making my own hanging brackets but if you don’t have a bender and vise/3lb hammer it might be tough. If you didn’t want to cut them and use something else you can just not select them in setup.
sign currently working on for local fire dept at them moment…

If you select “Stock” tab it will tell you size prior to cutting if you haven’t looked this this tab before.
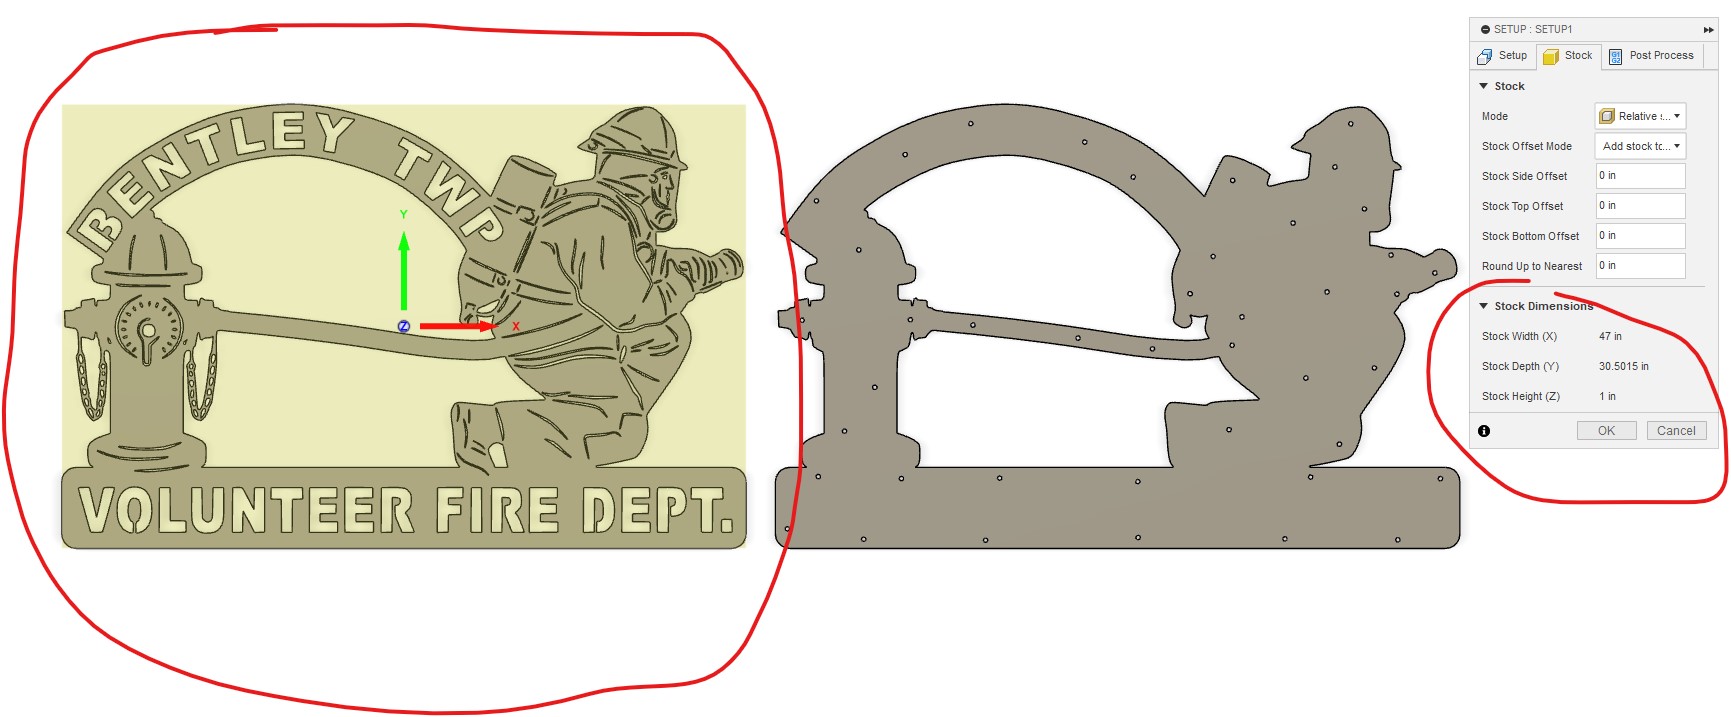
Let me know if you need anything else.
2 Likes
Yeah, I had originally set it up for 1/8" but switched it out for the 16 gauge and forgot to redo my speeds. Of course it might have been slow even for the 1/8". I have a feeling that might be at least partly to blame for my dross problem as well.
And thanks for the dxf and all the info, I know my grand daughter is going to love it.
2 Likes