I cleaned the all the square tube as some spots felt a bit sticky I’m guessing from the water table additive, after that I took all the videos and pics I mentioned I would.
I didn’t do it during an actual cut but I was running at 100ipm, I can do it during a cut once I have the hand torch installed, which I’m in process of doing
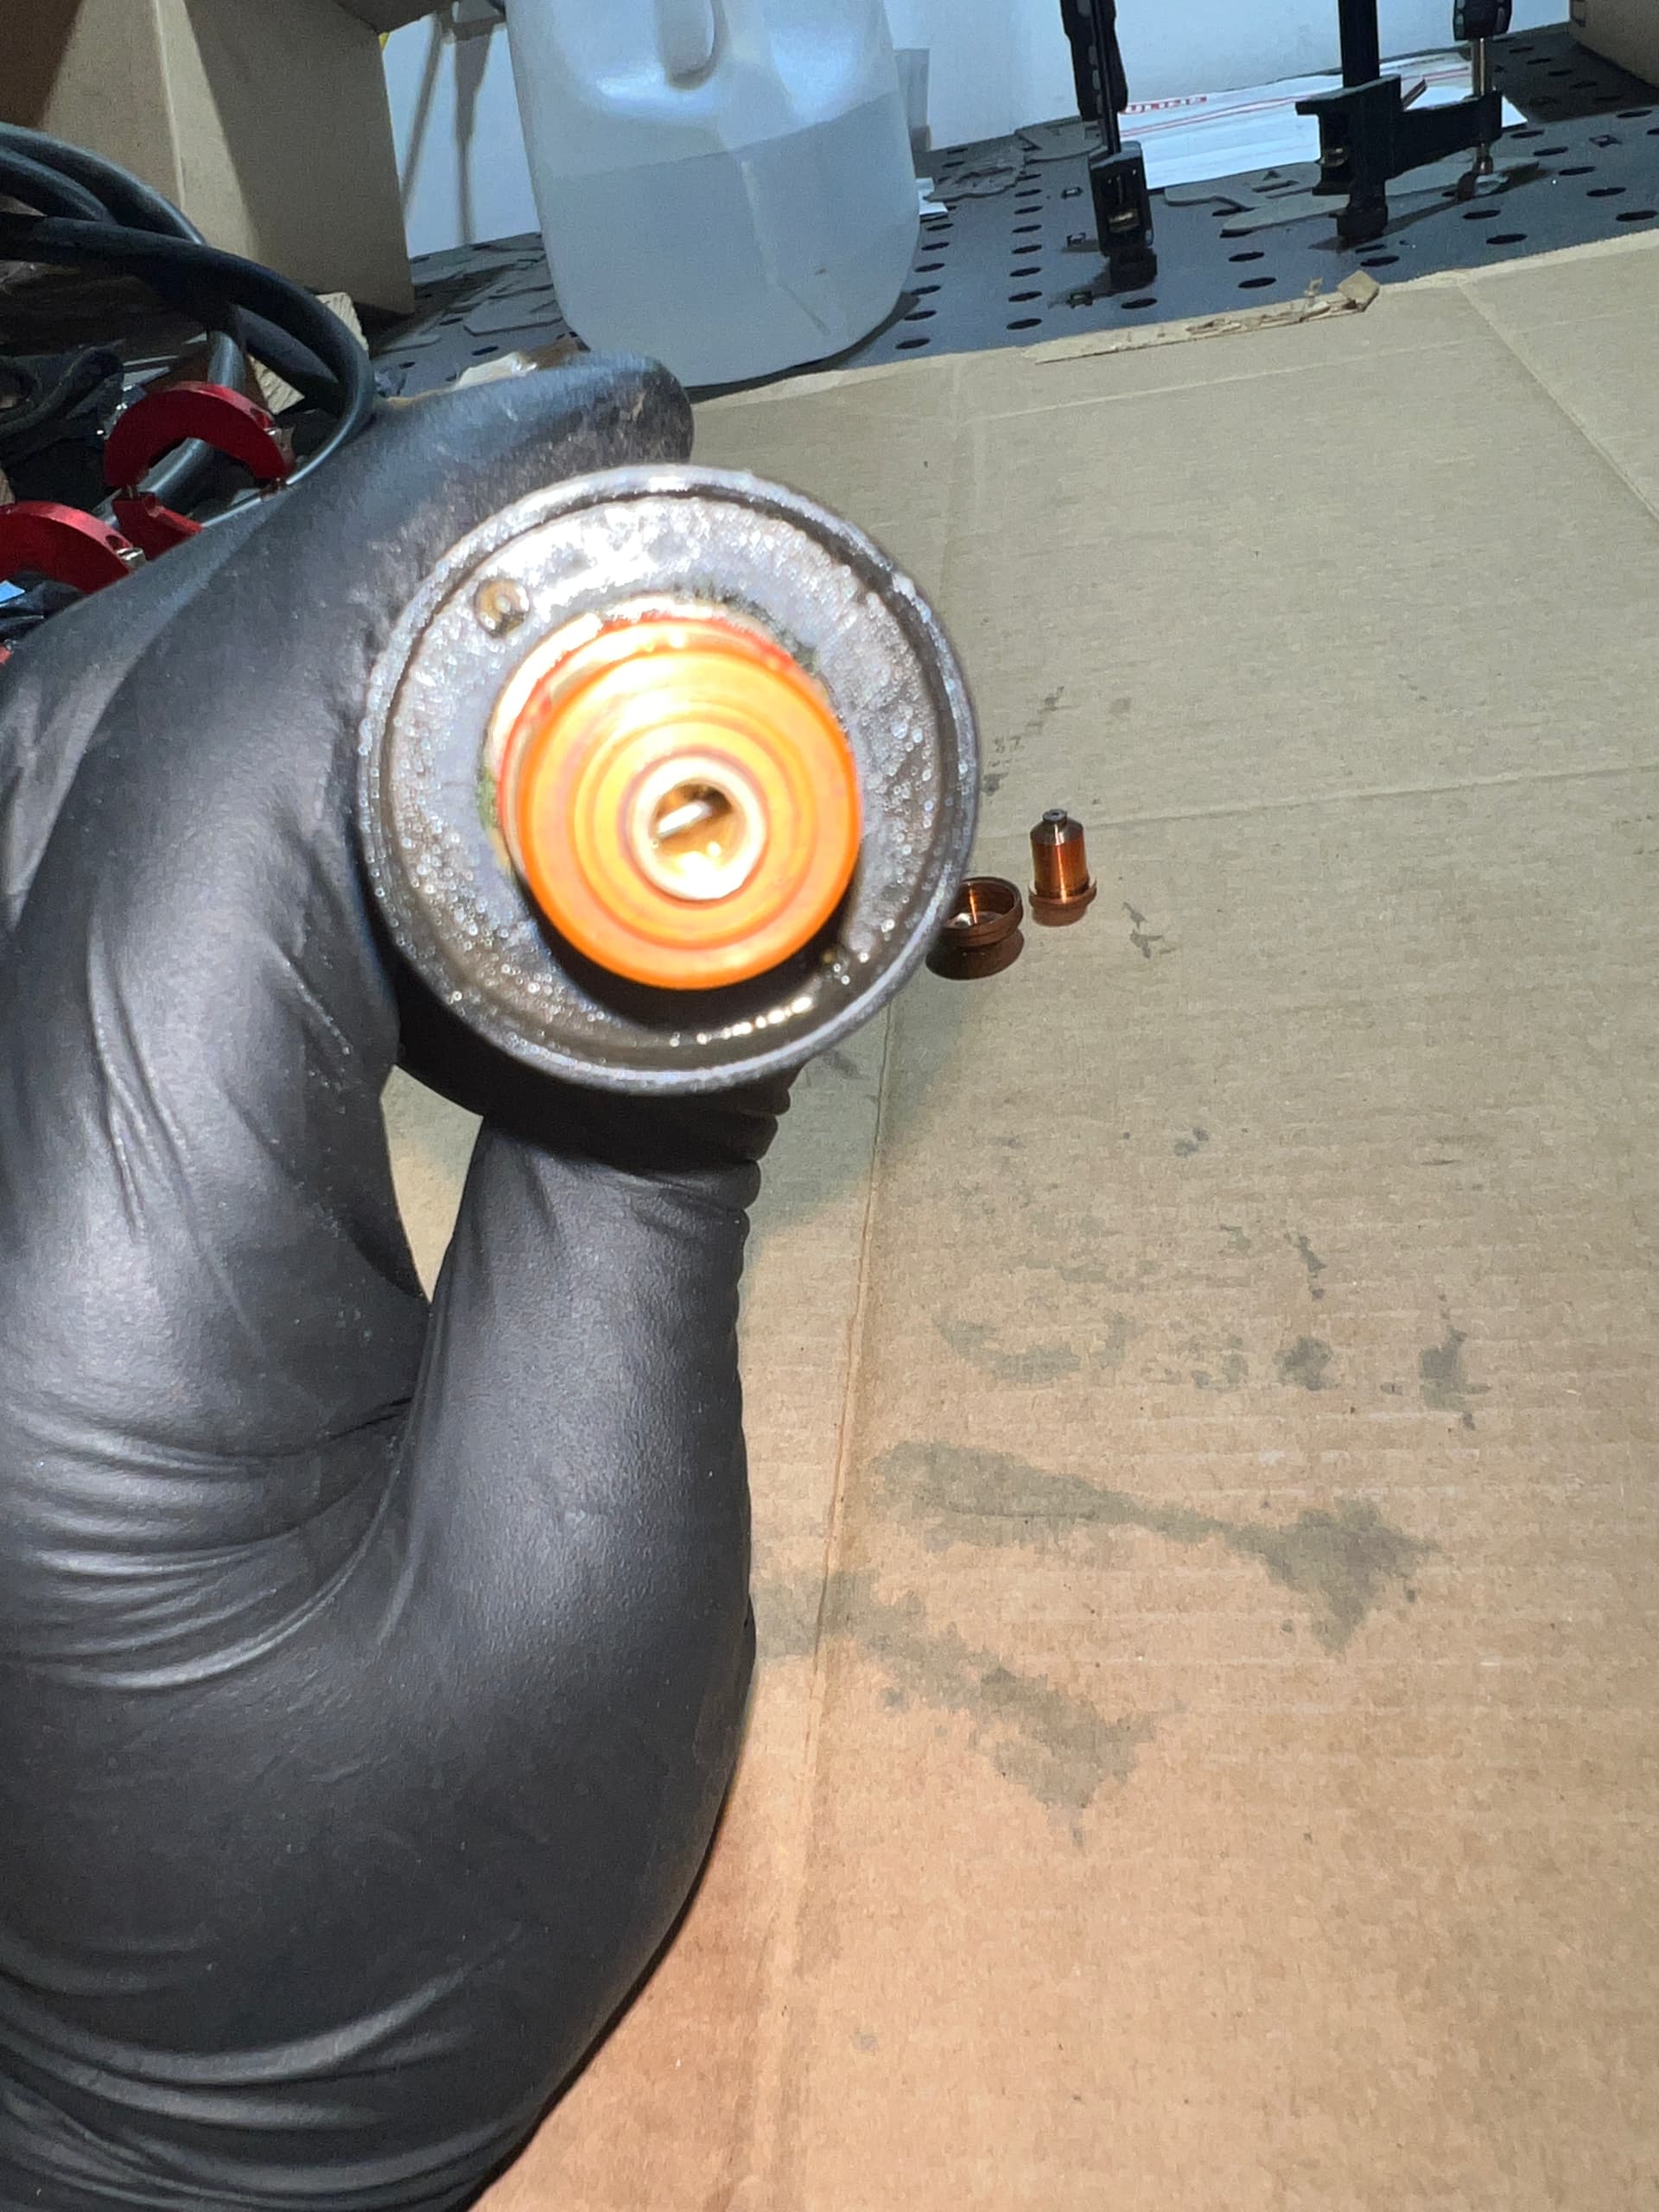
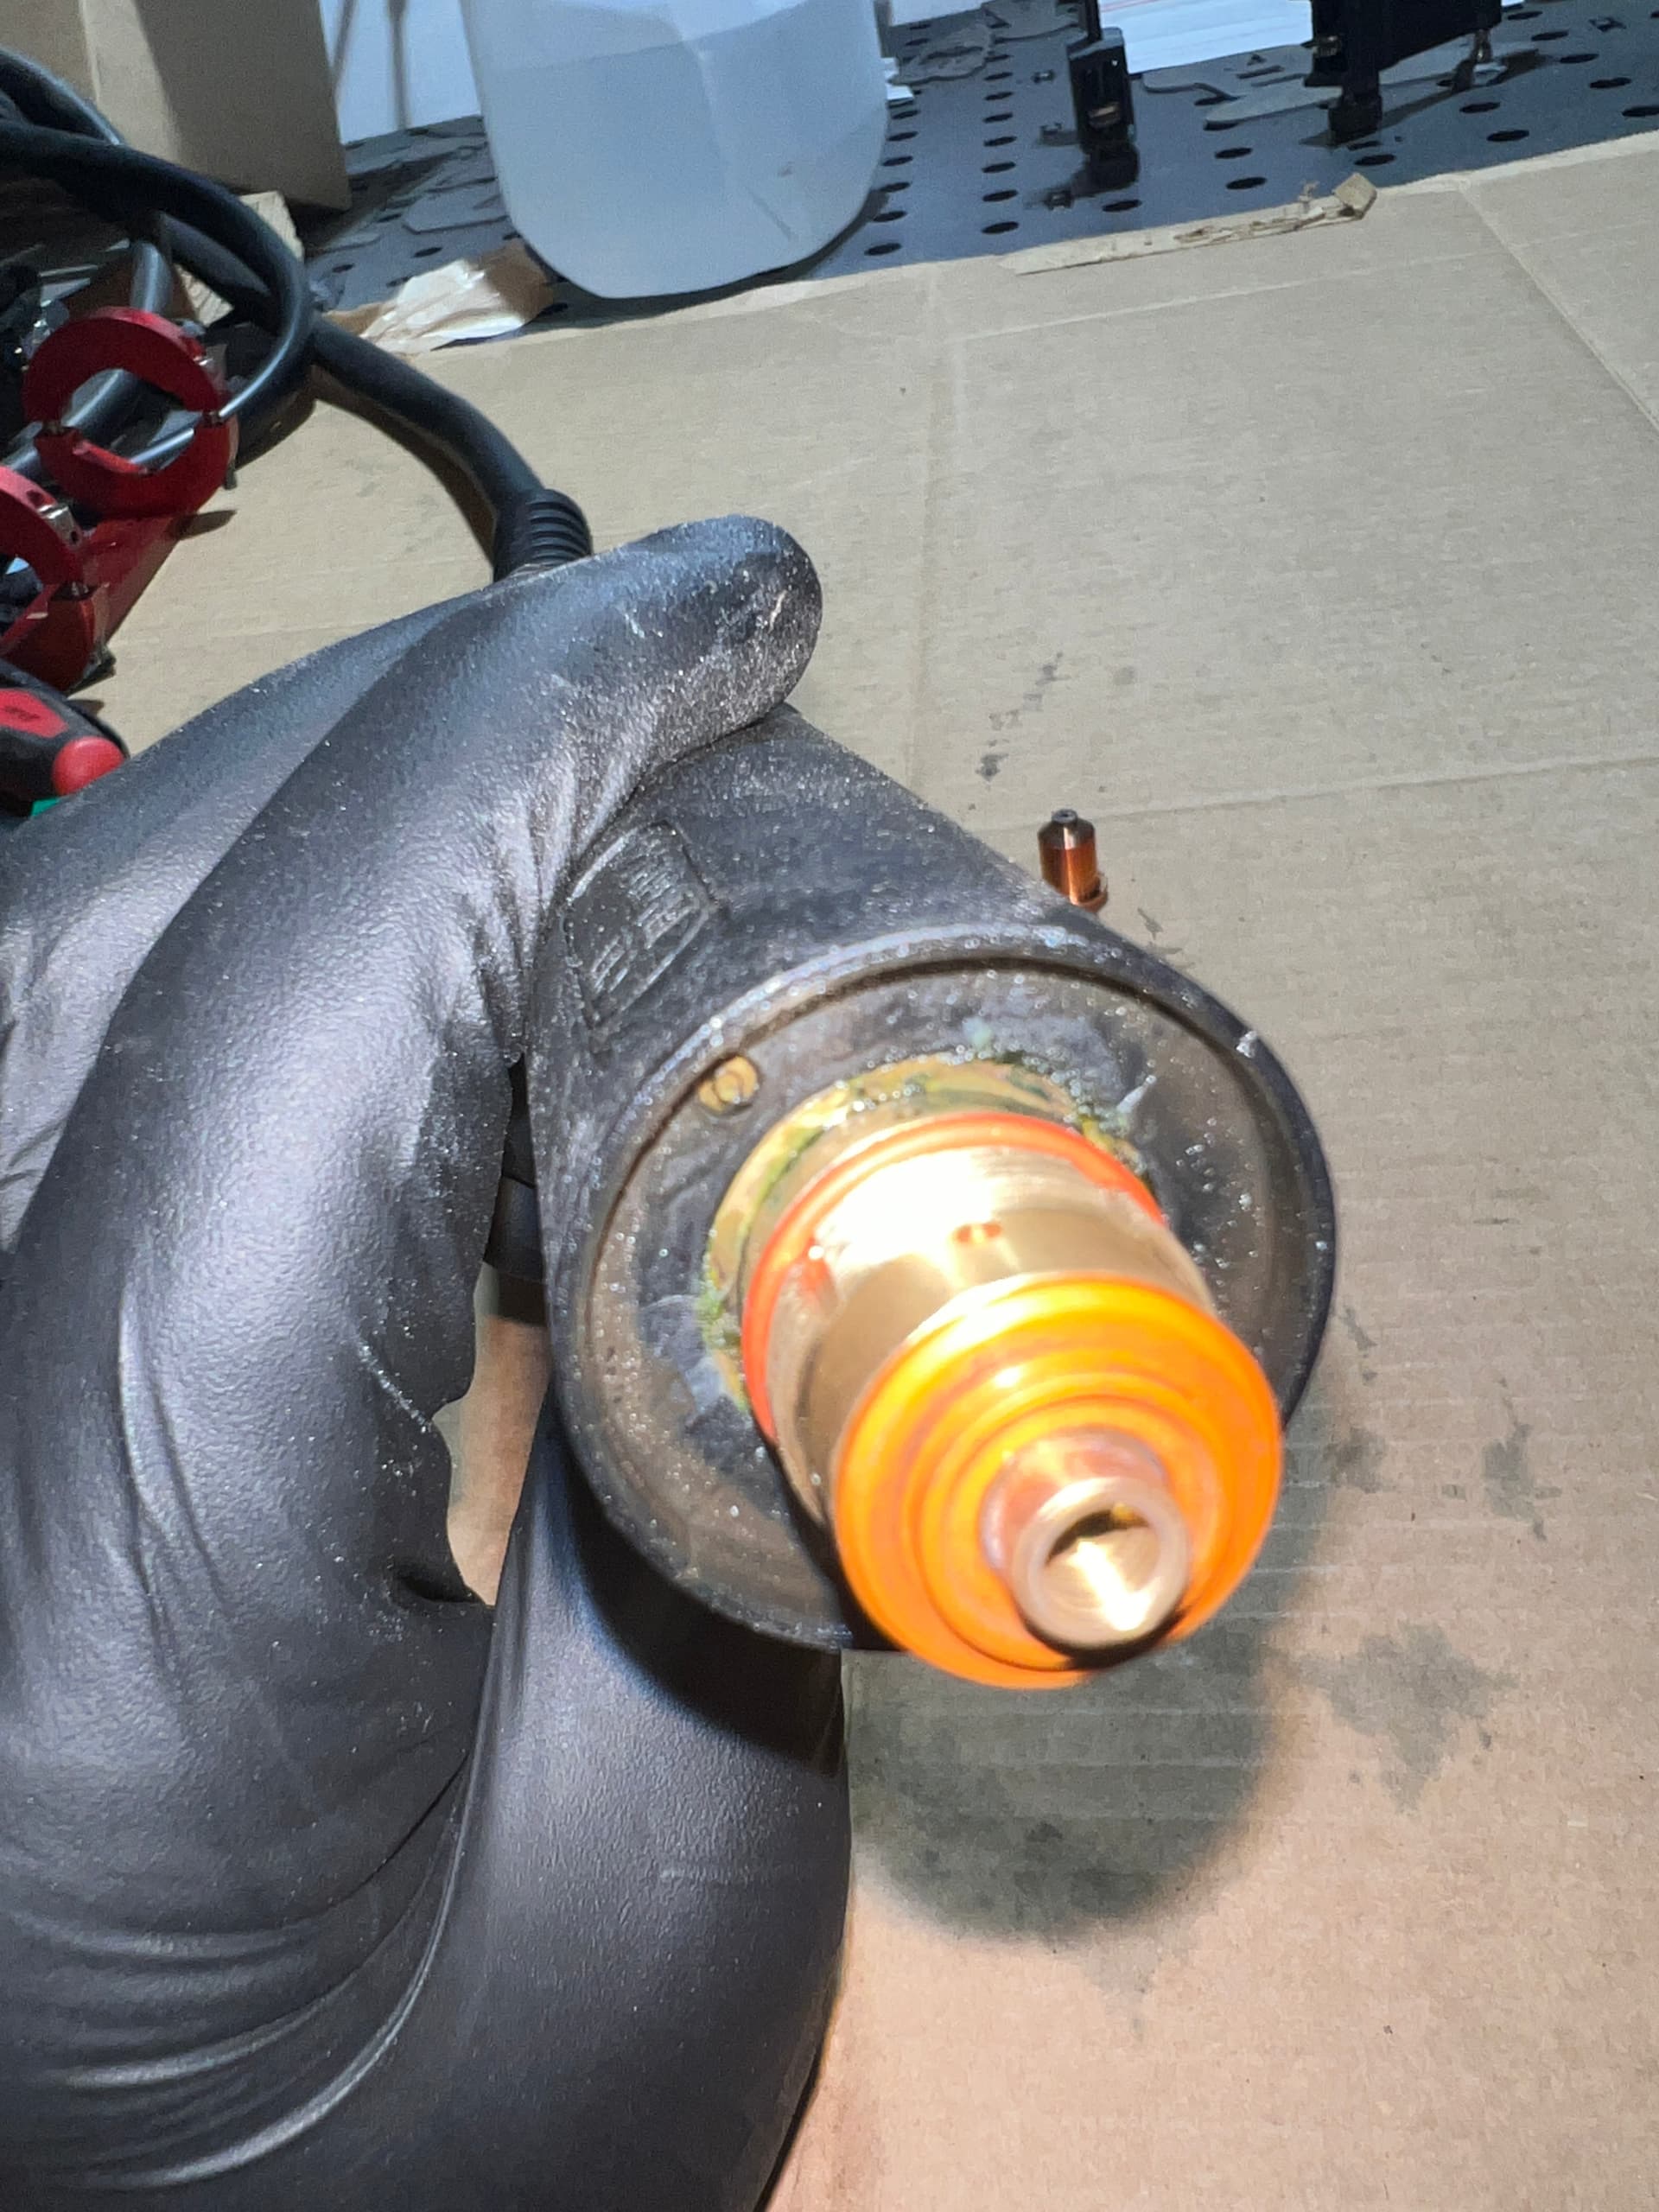
The torch was last used to cut the “good” example in my OP which was right after the bad cut. So consumables have just two signs 18x16 on them it’s probably 100 or so pierces I could be off tho
VIDEOS:
Z Axis Movement:
Z axis moving
Z Axis Other Angle
Z axis wobble at different height
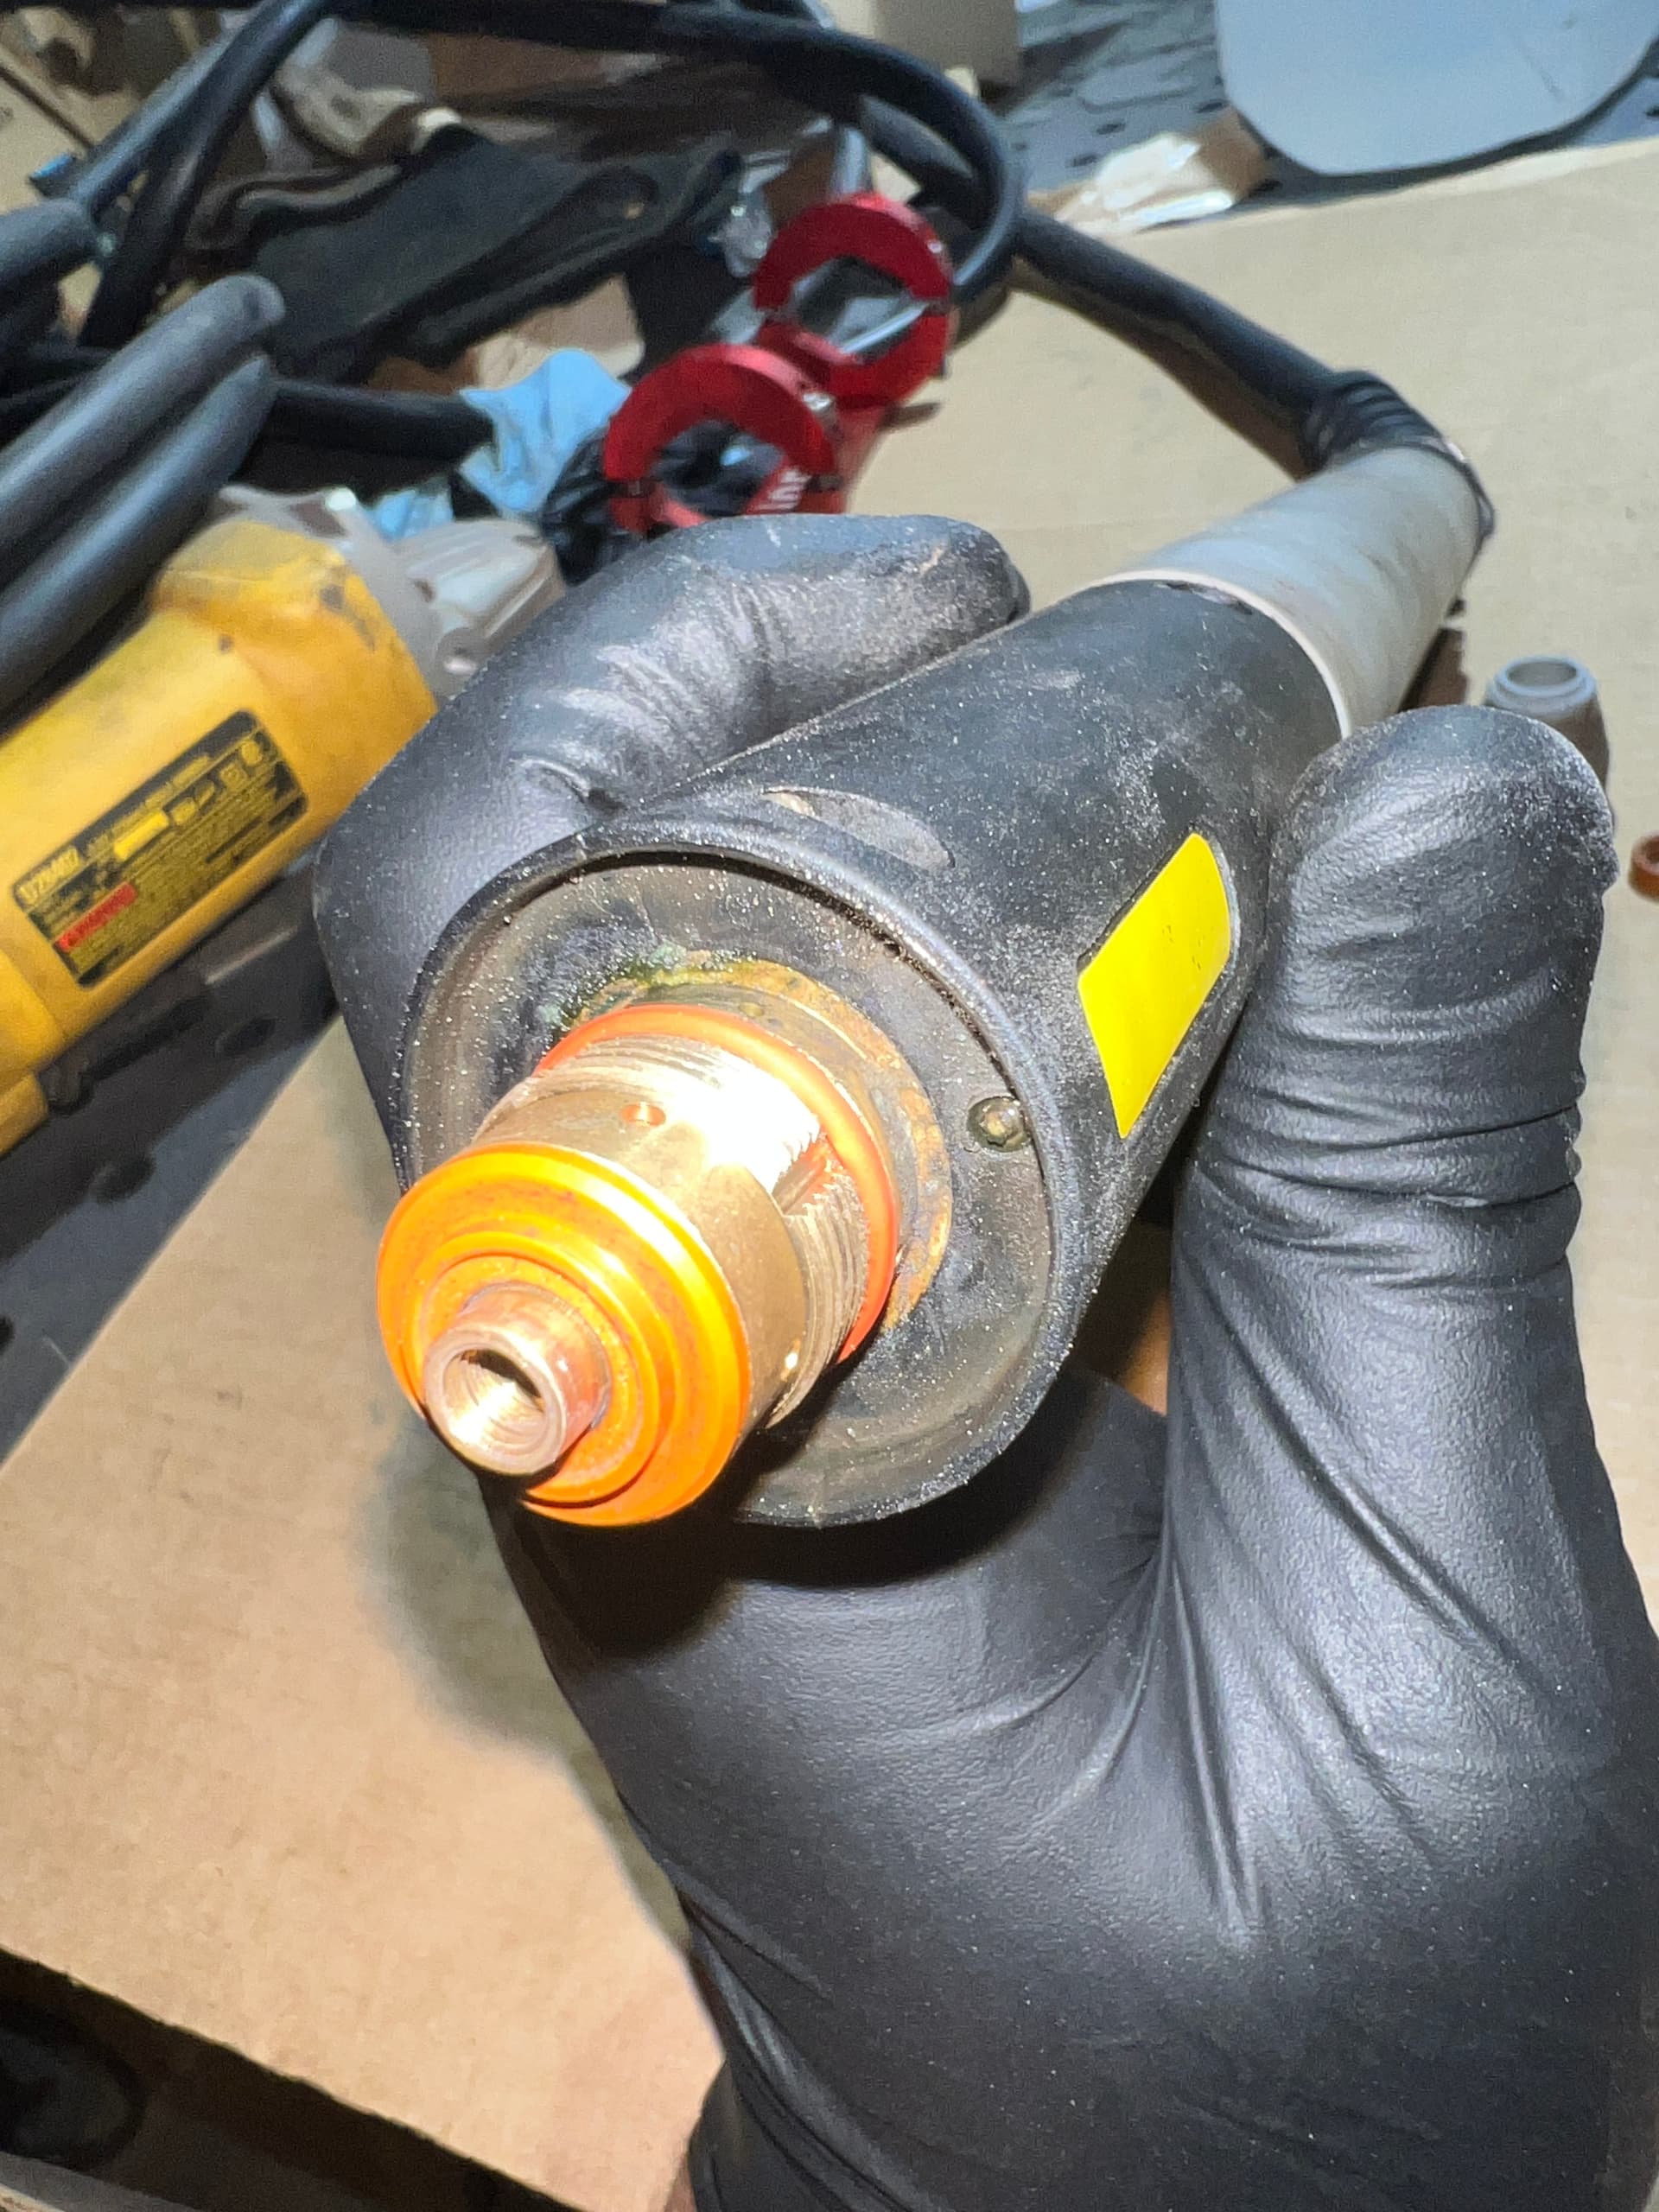
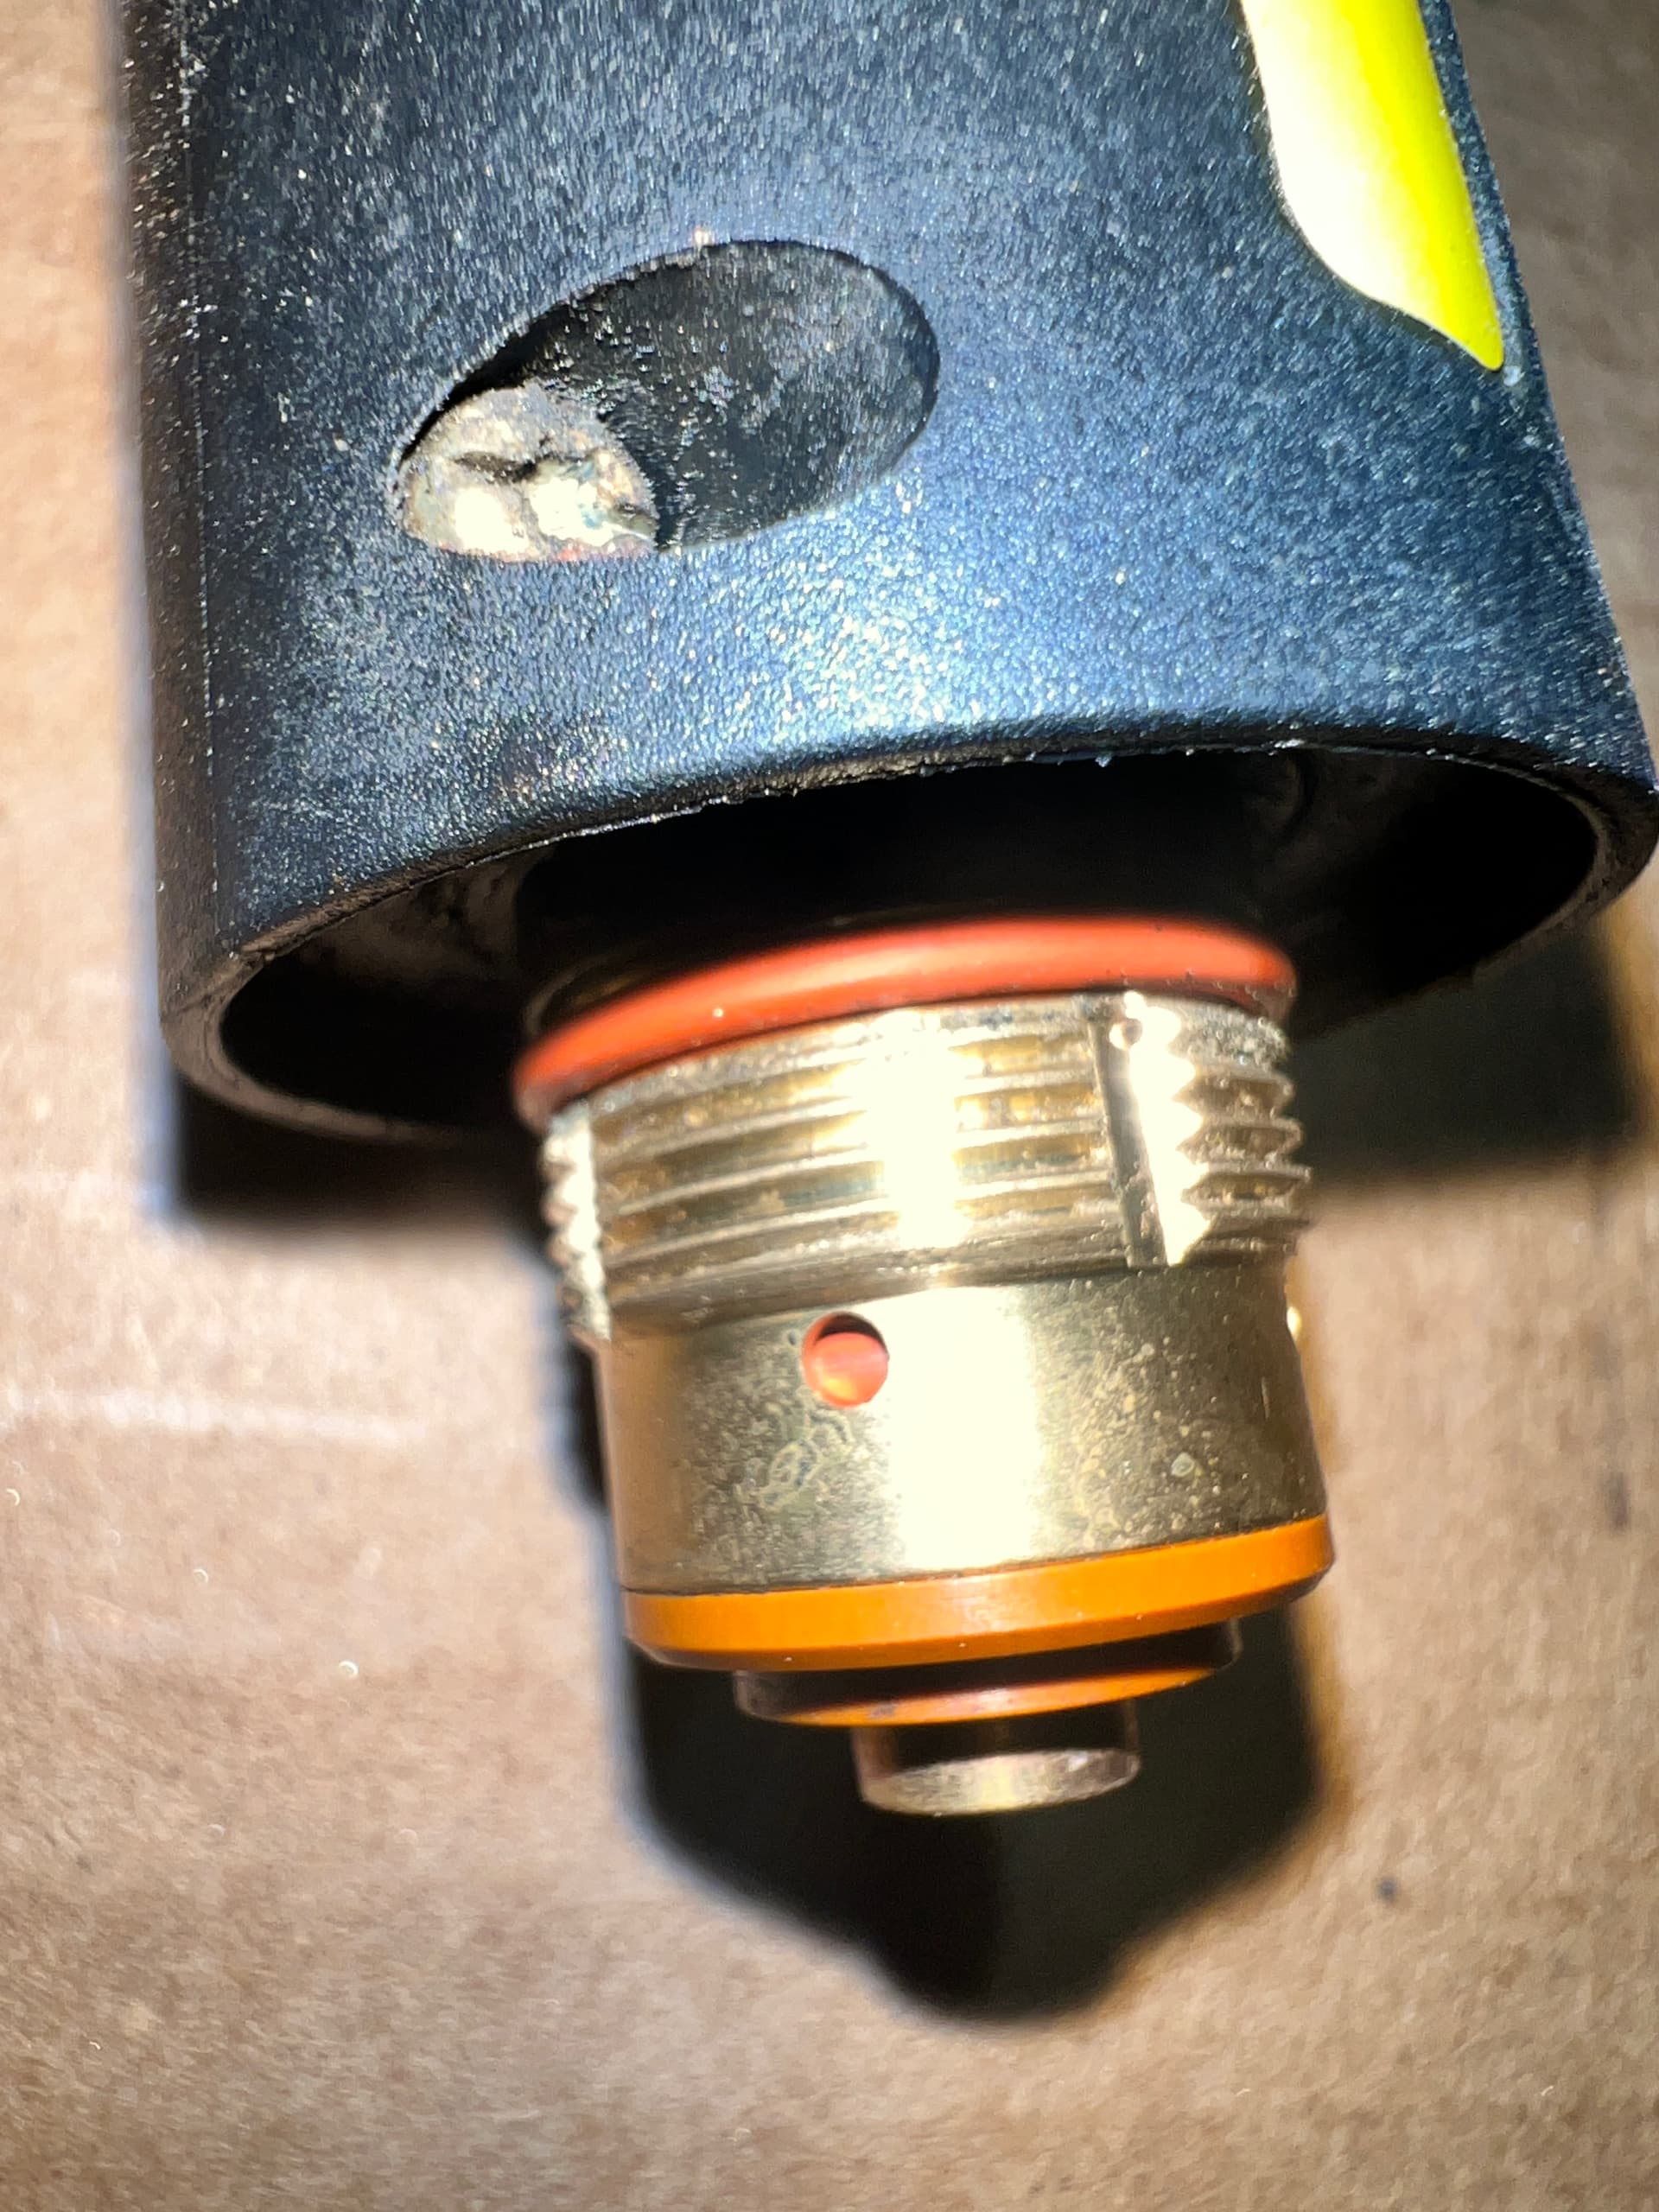
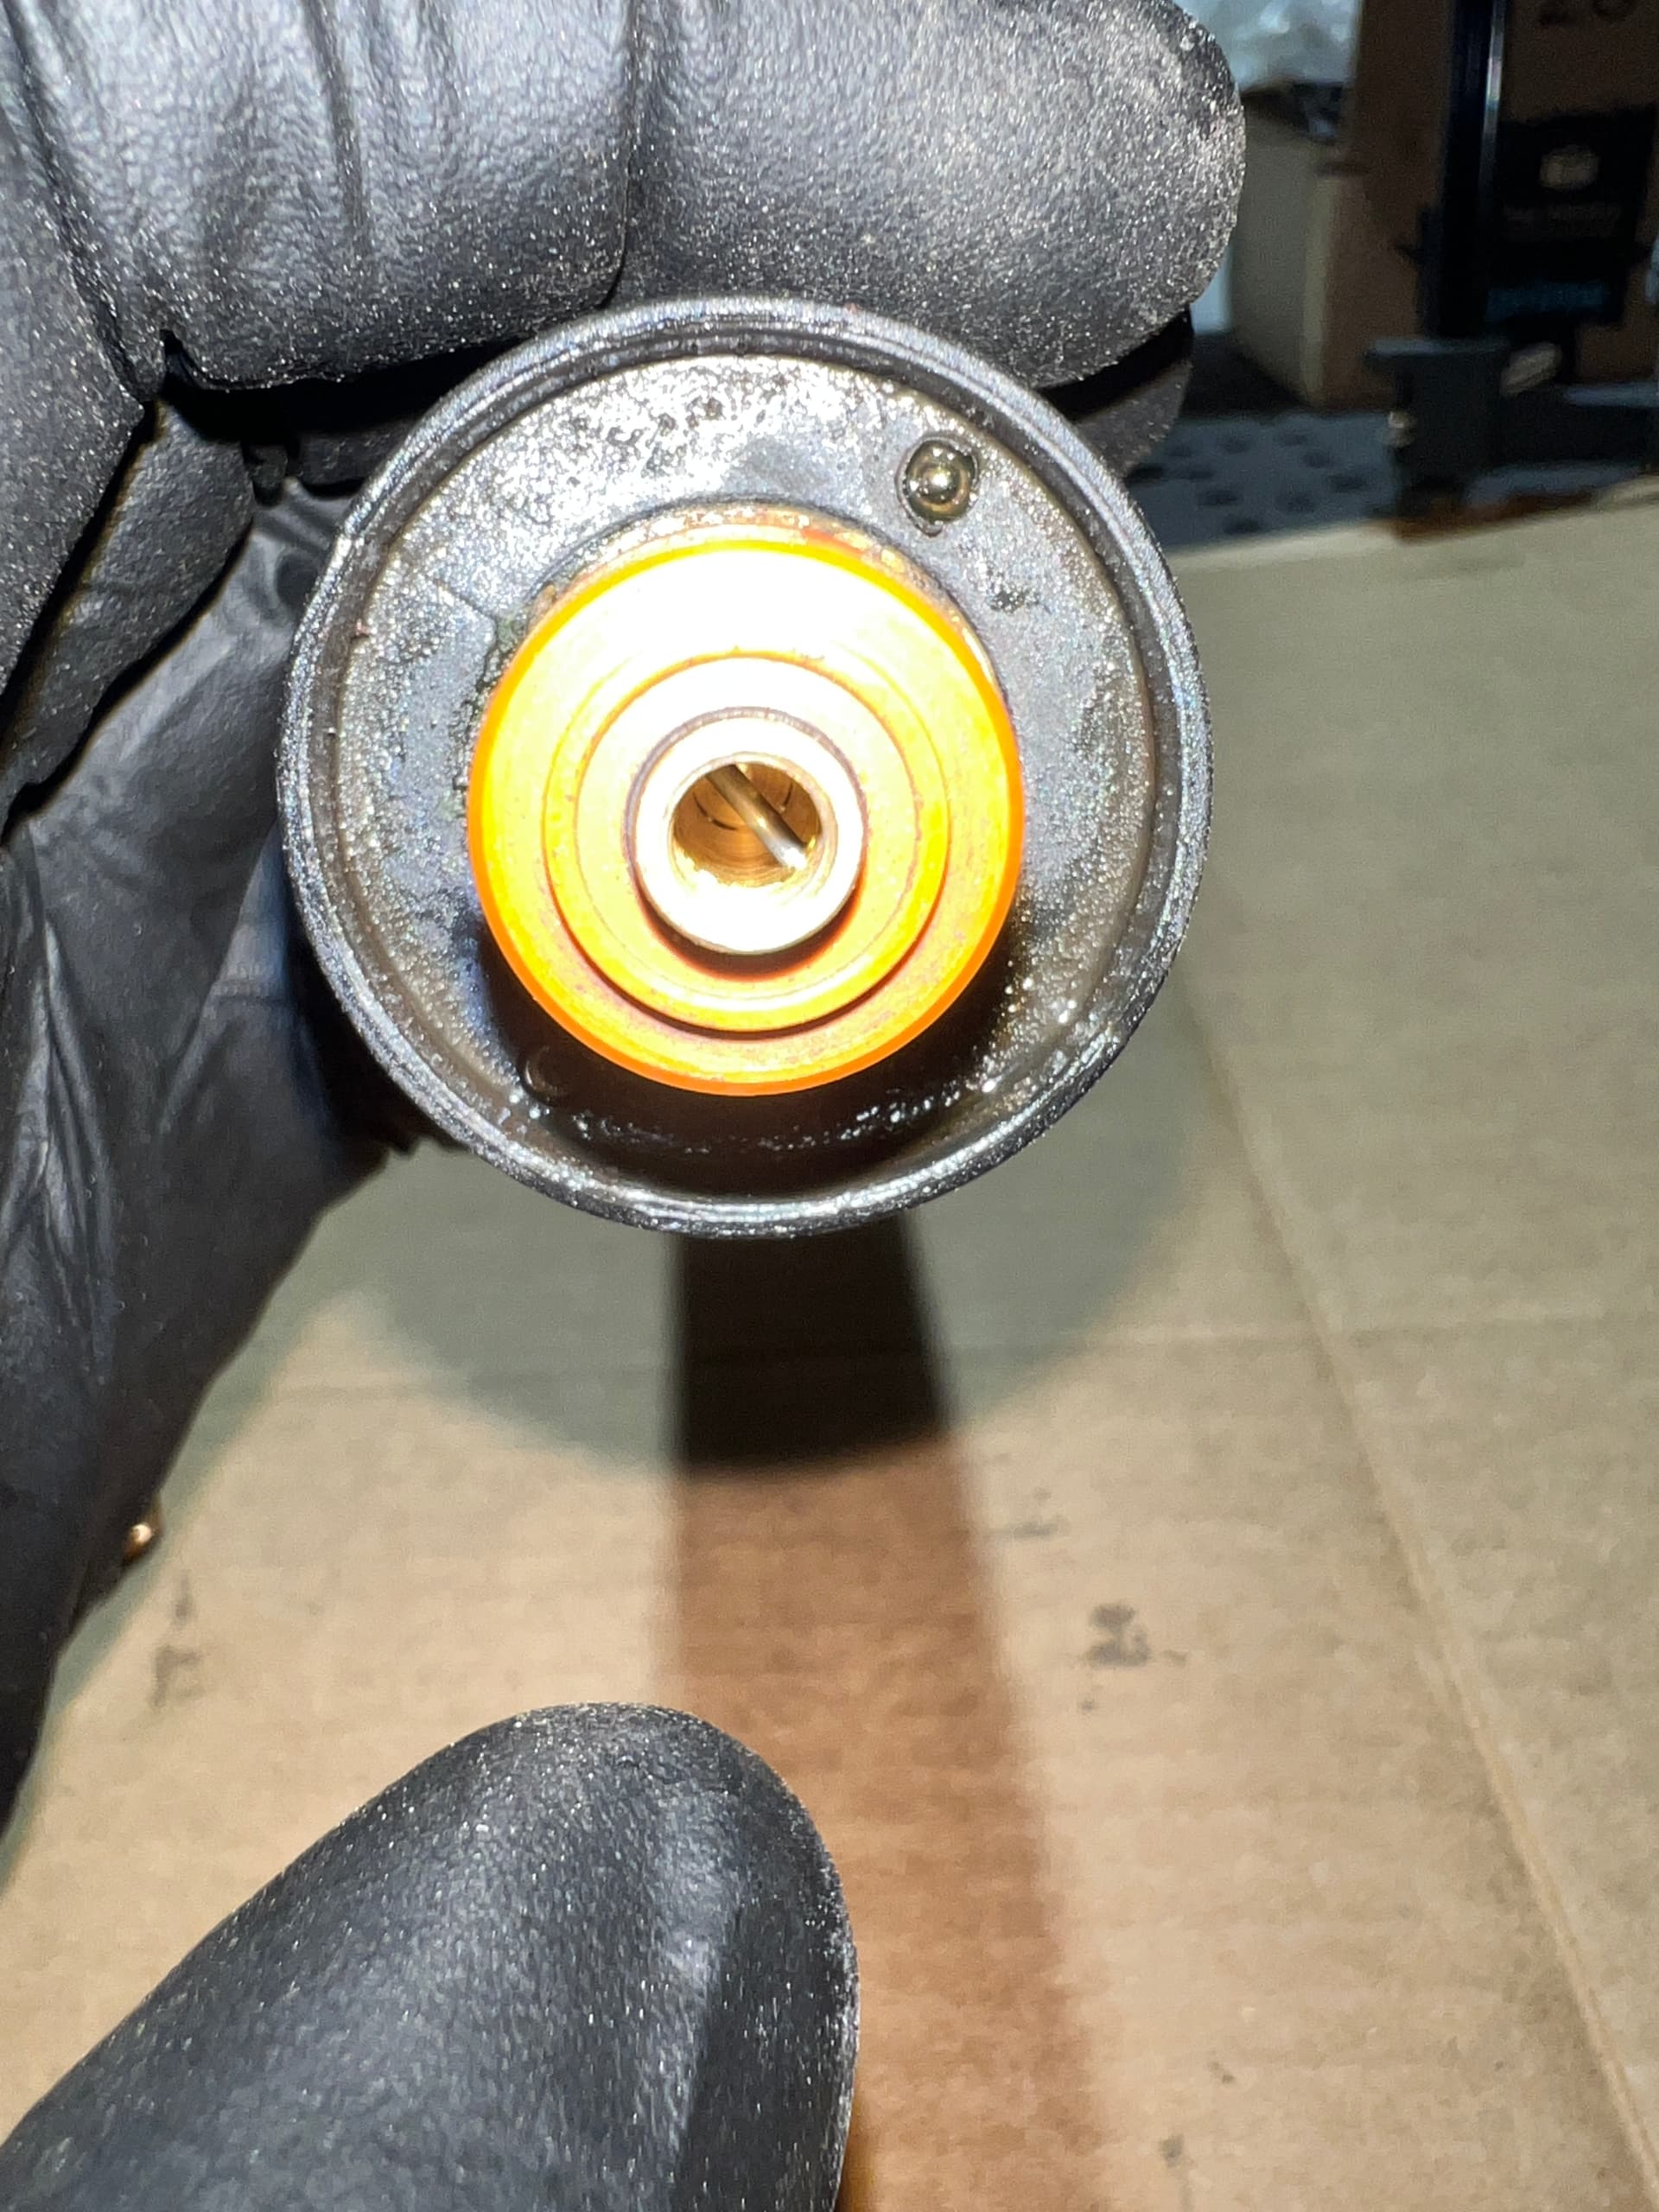
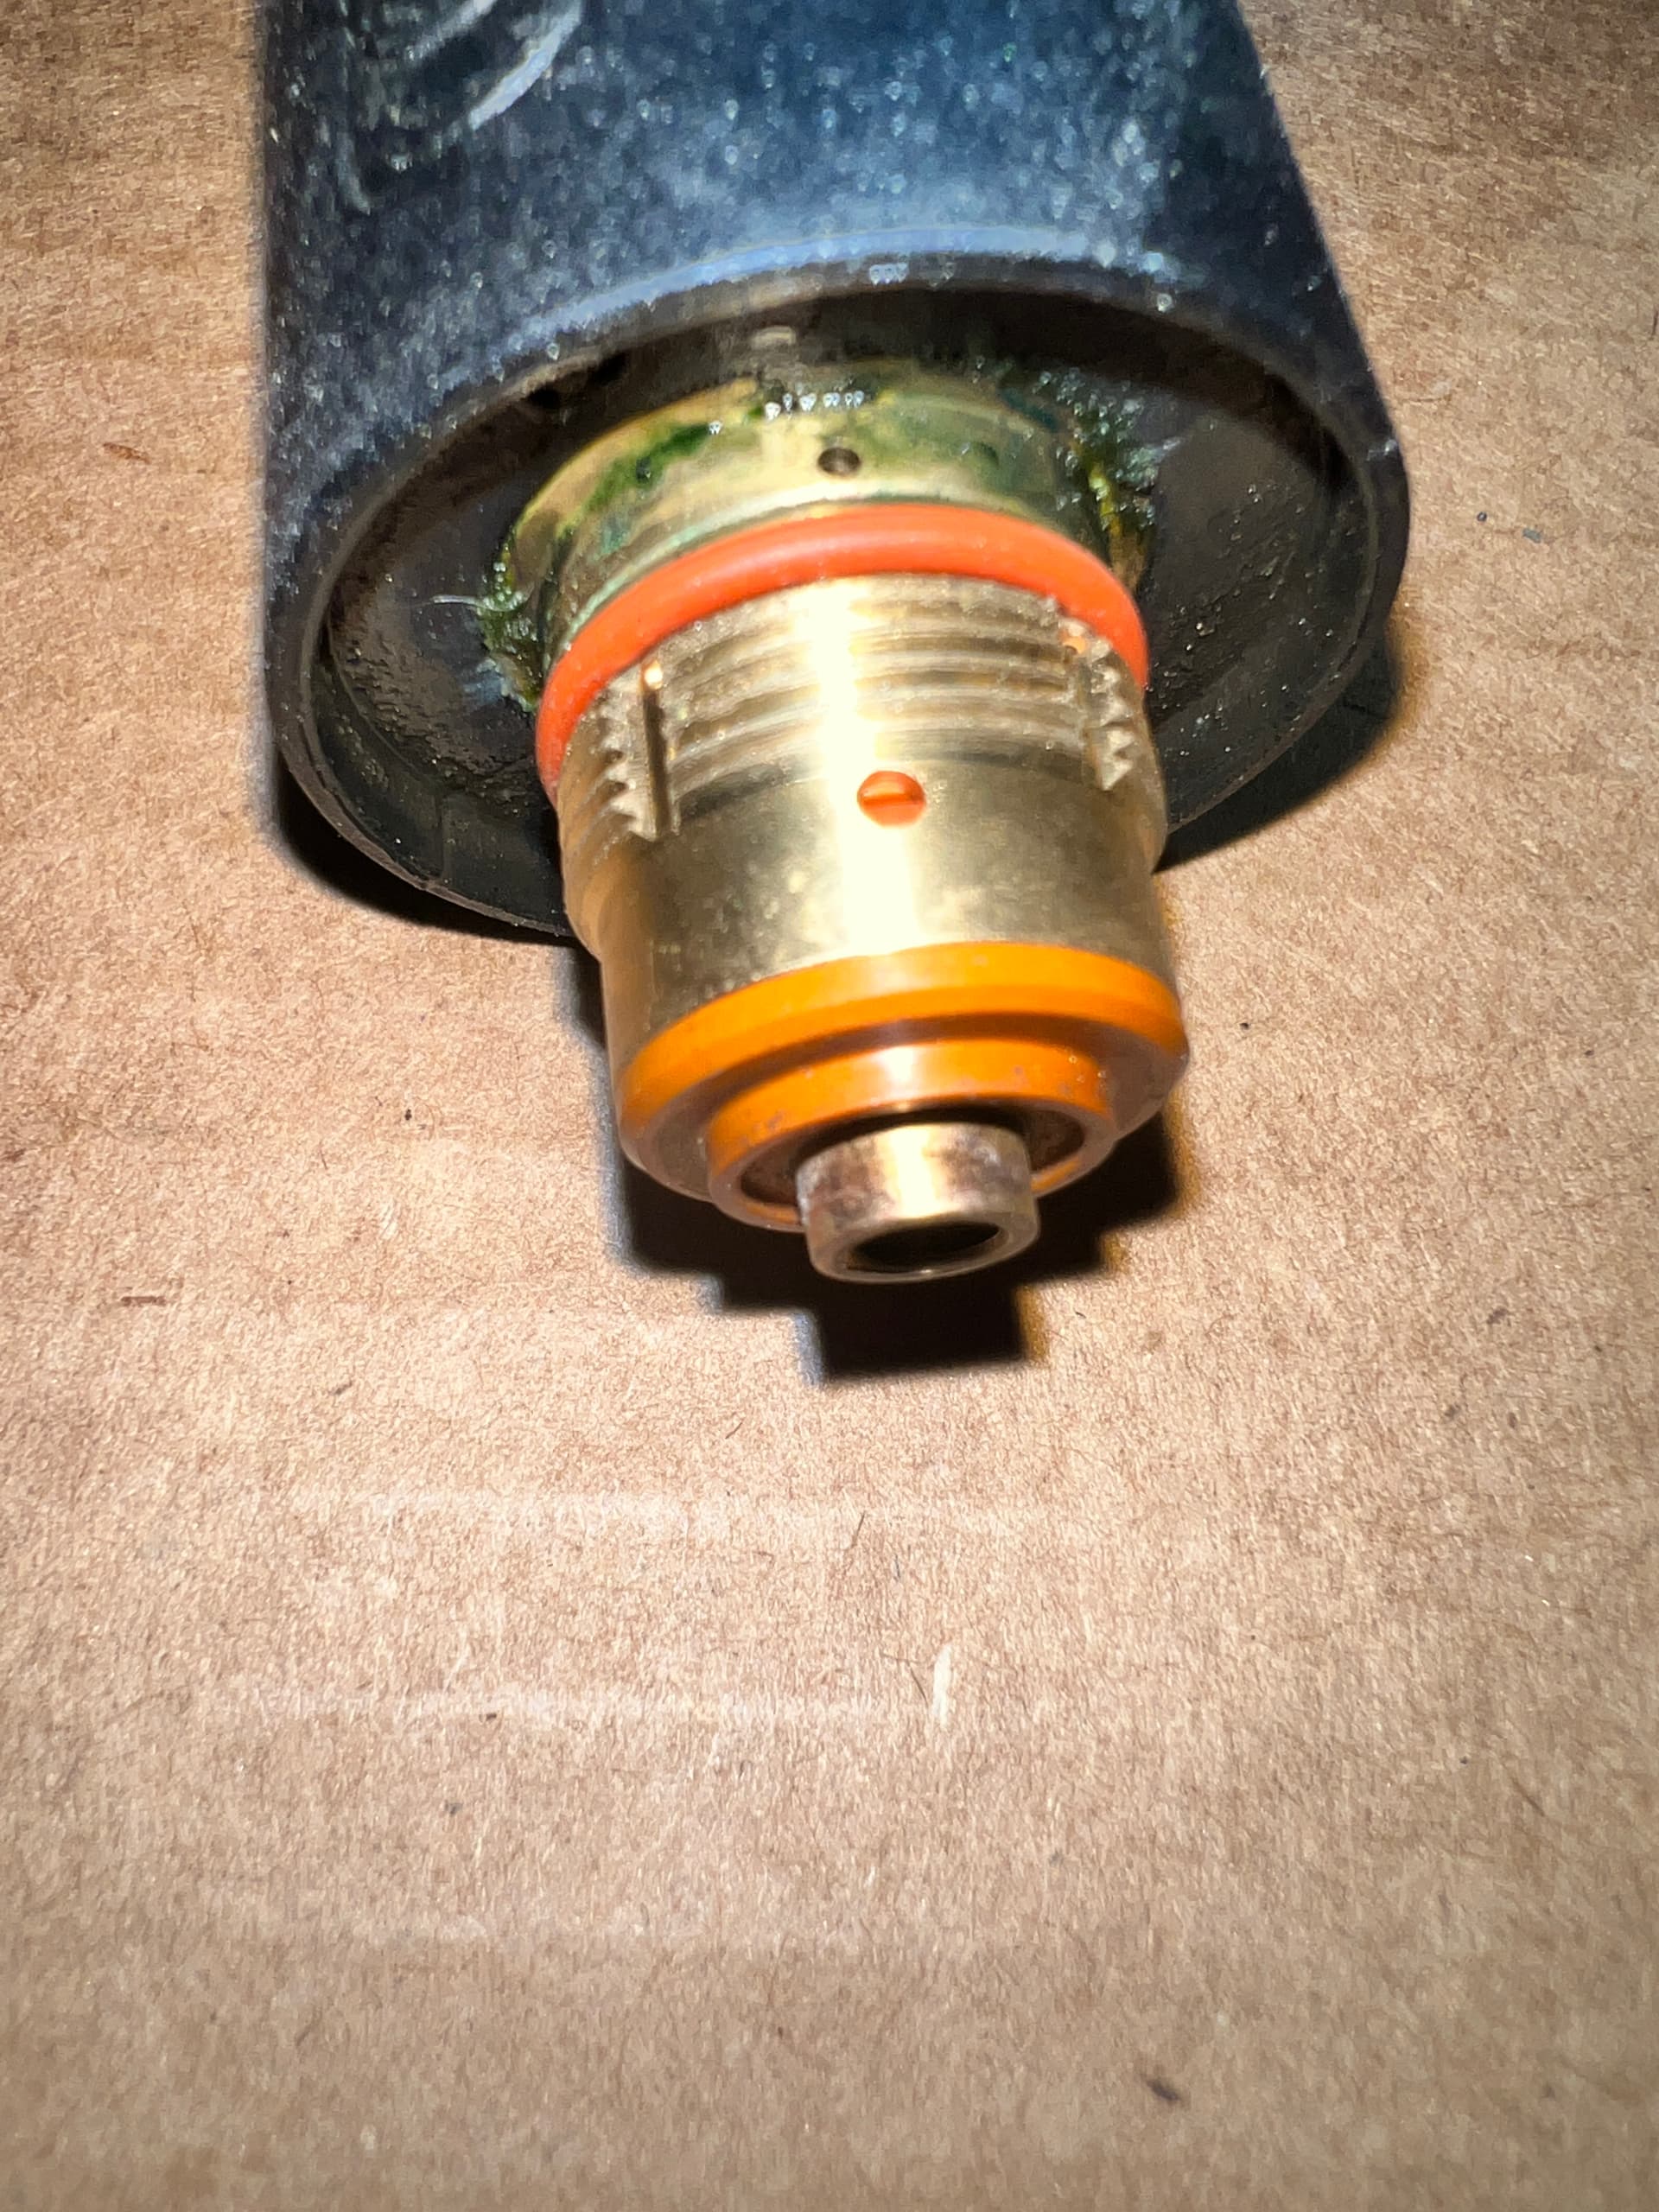
TORCH:
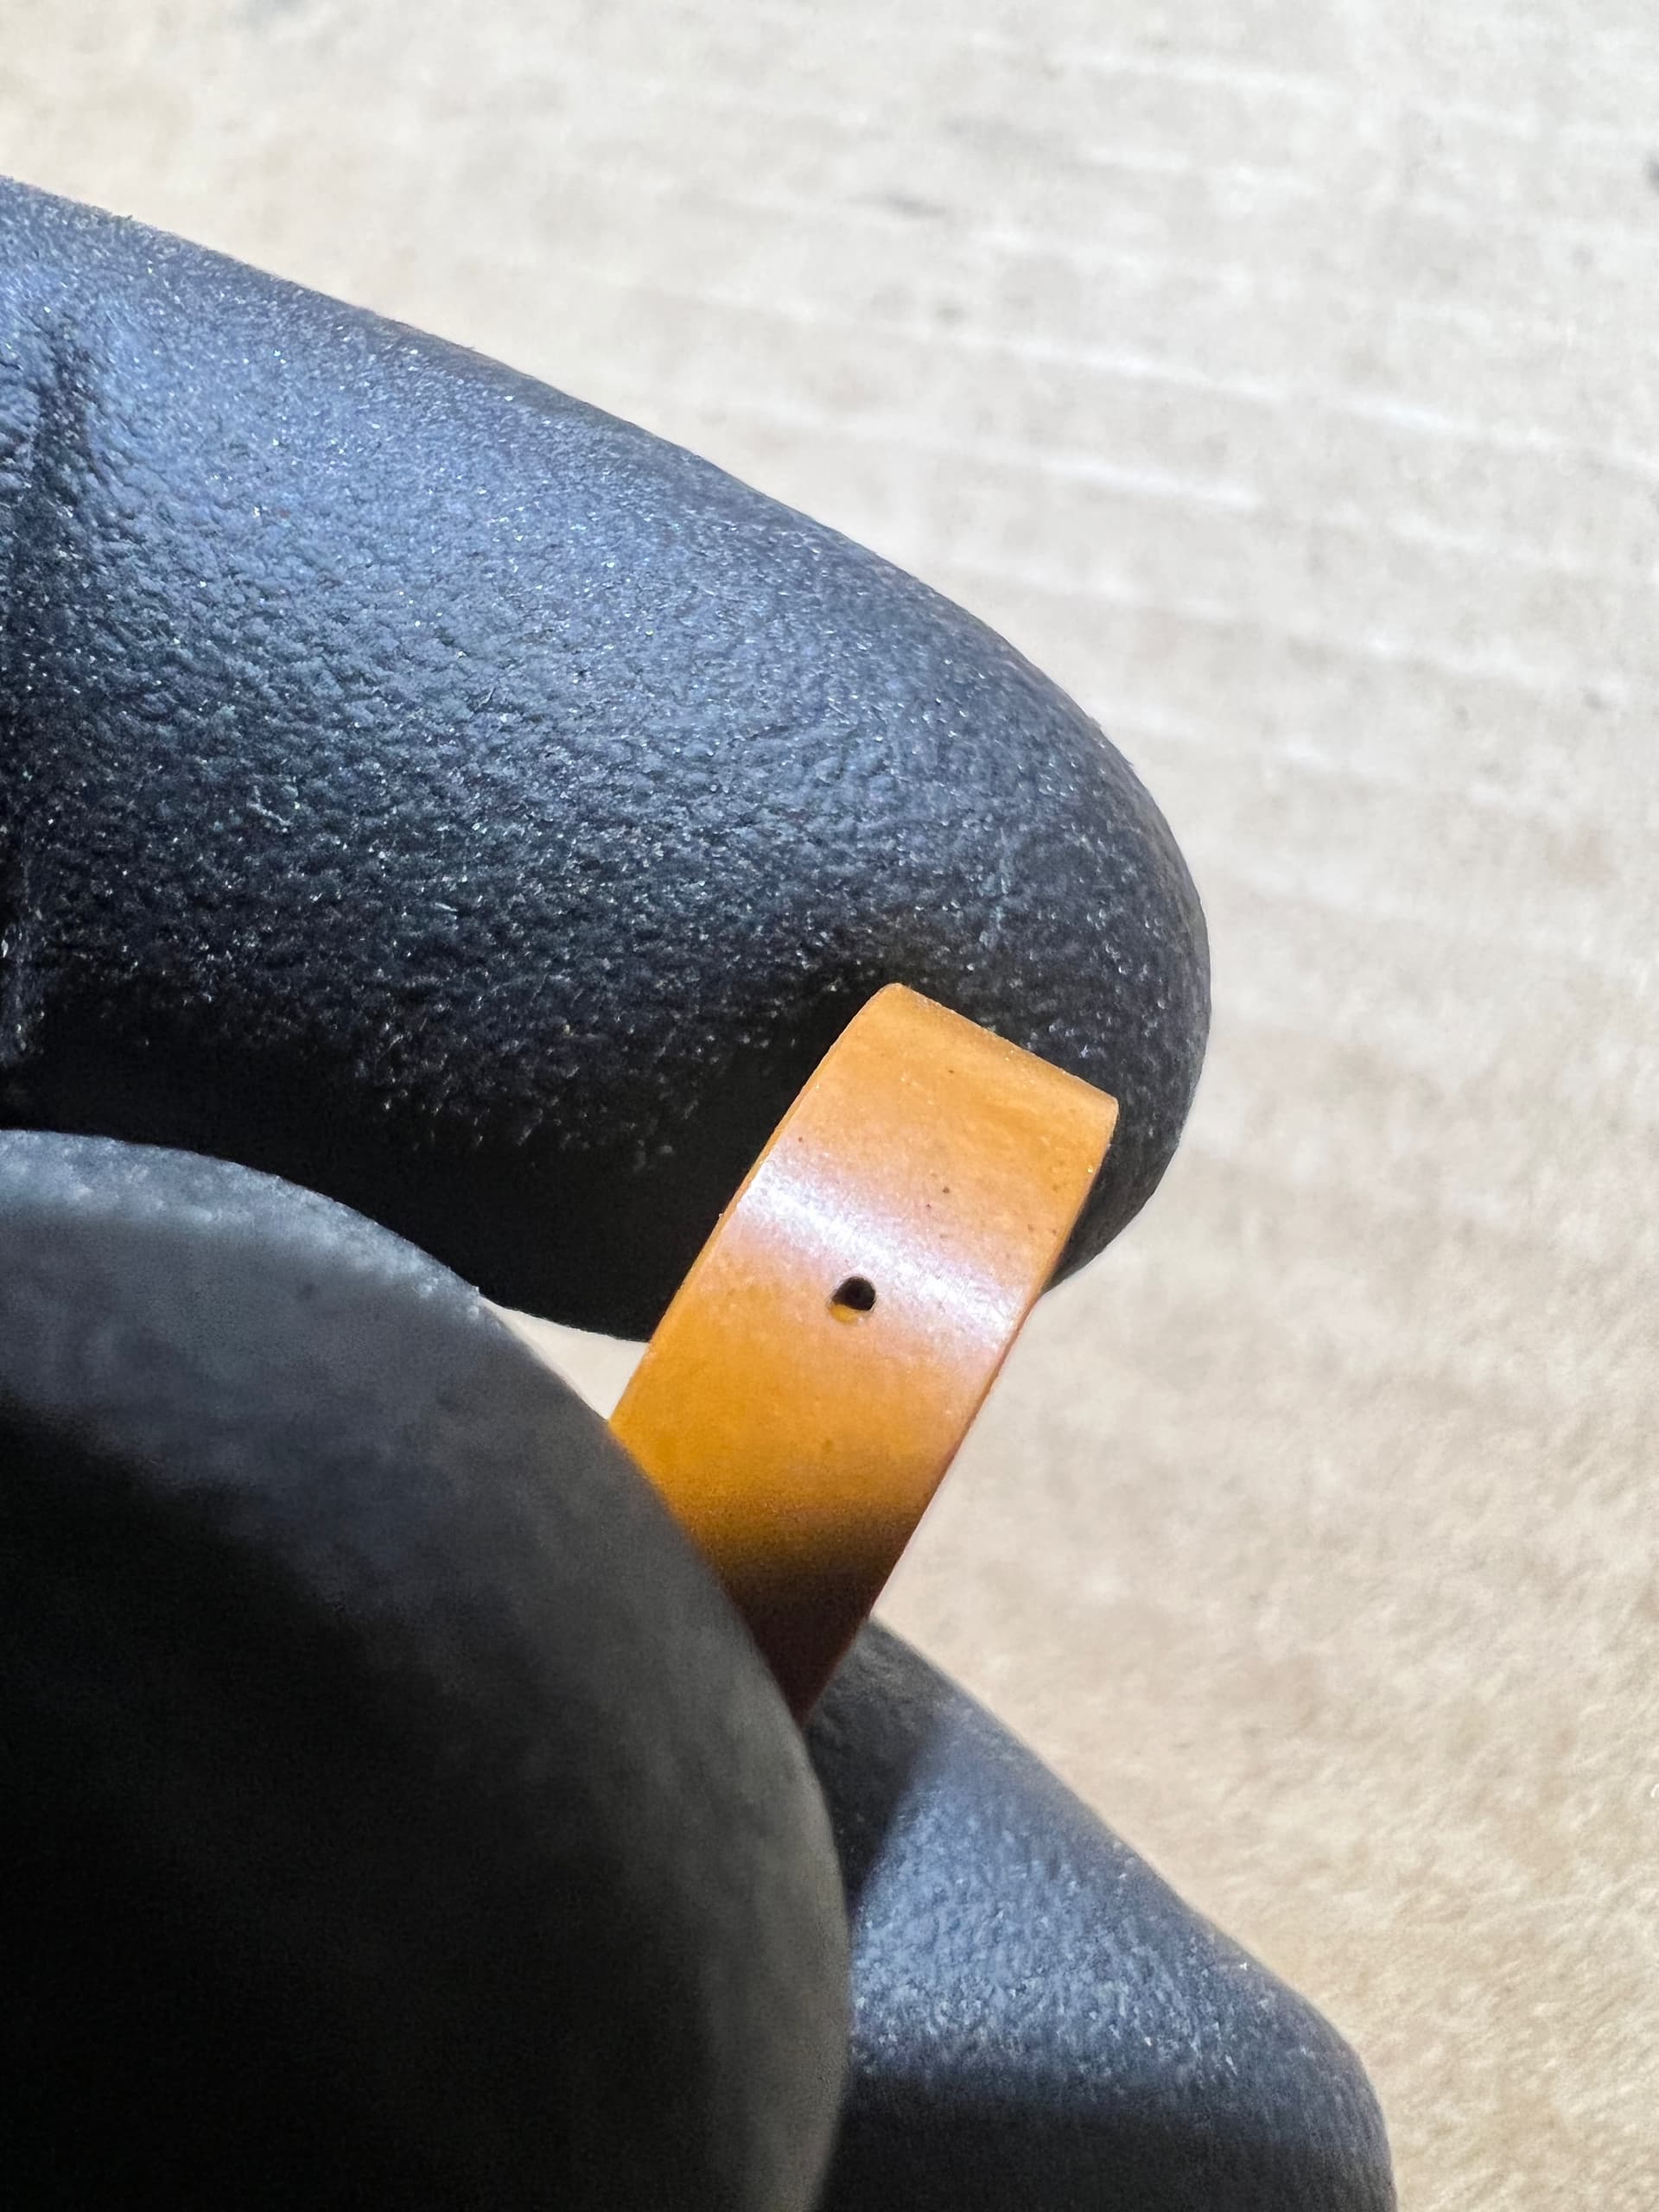
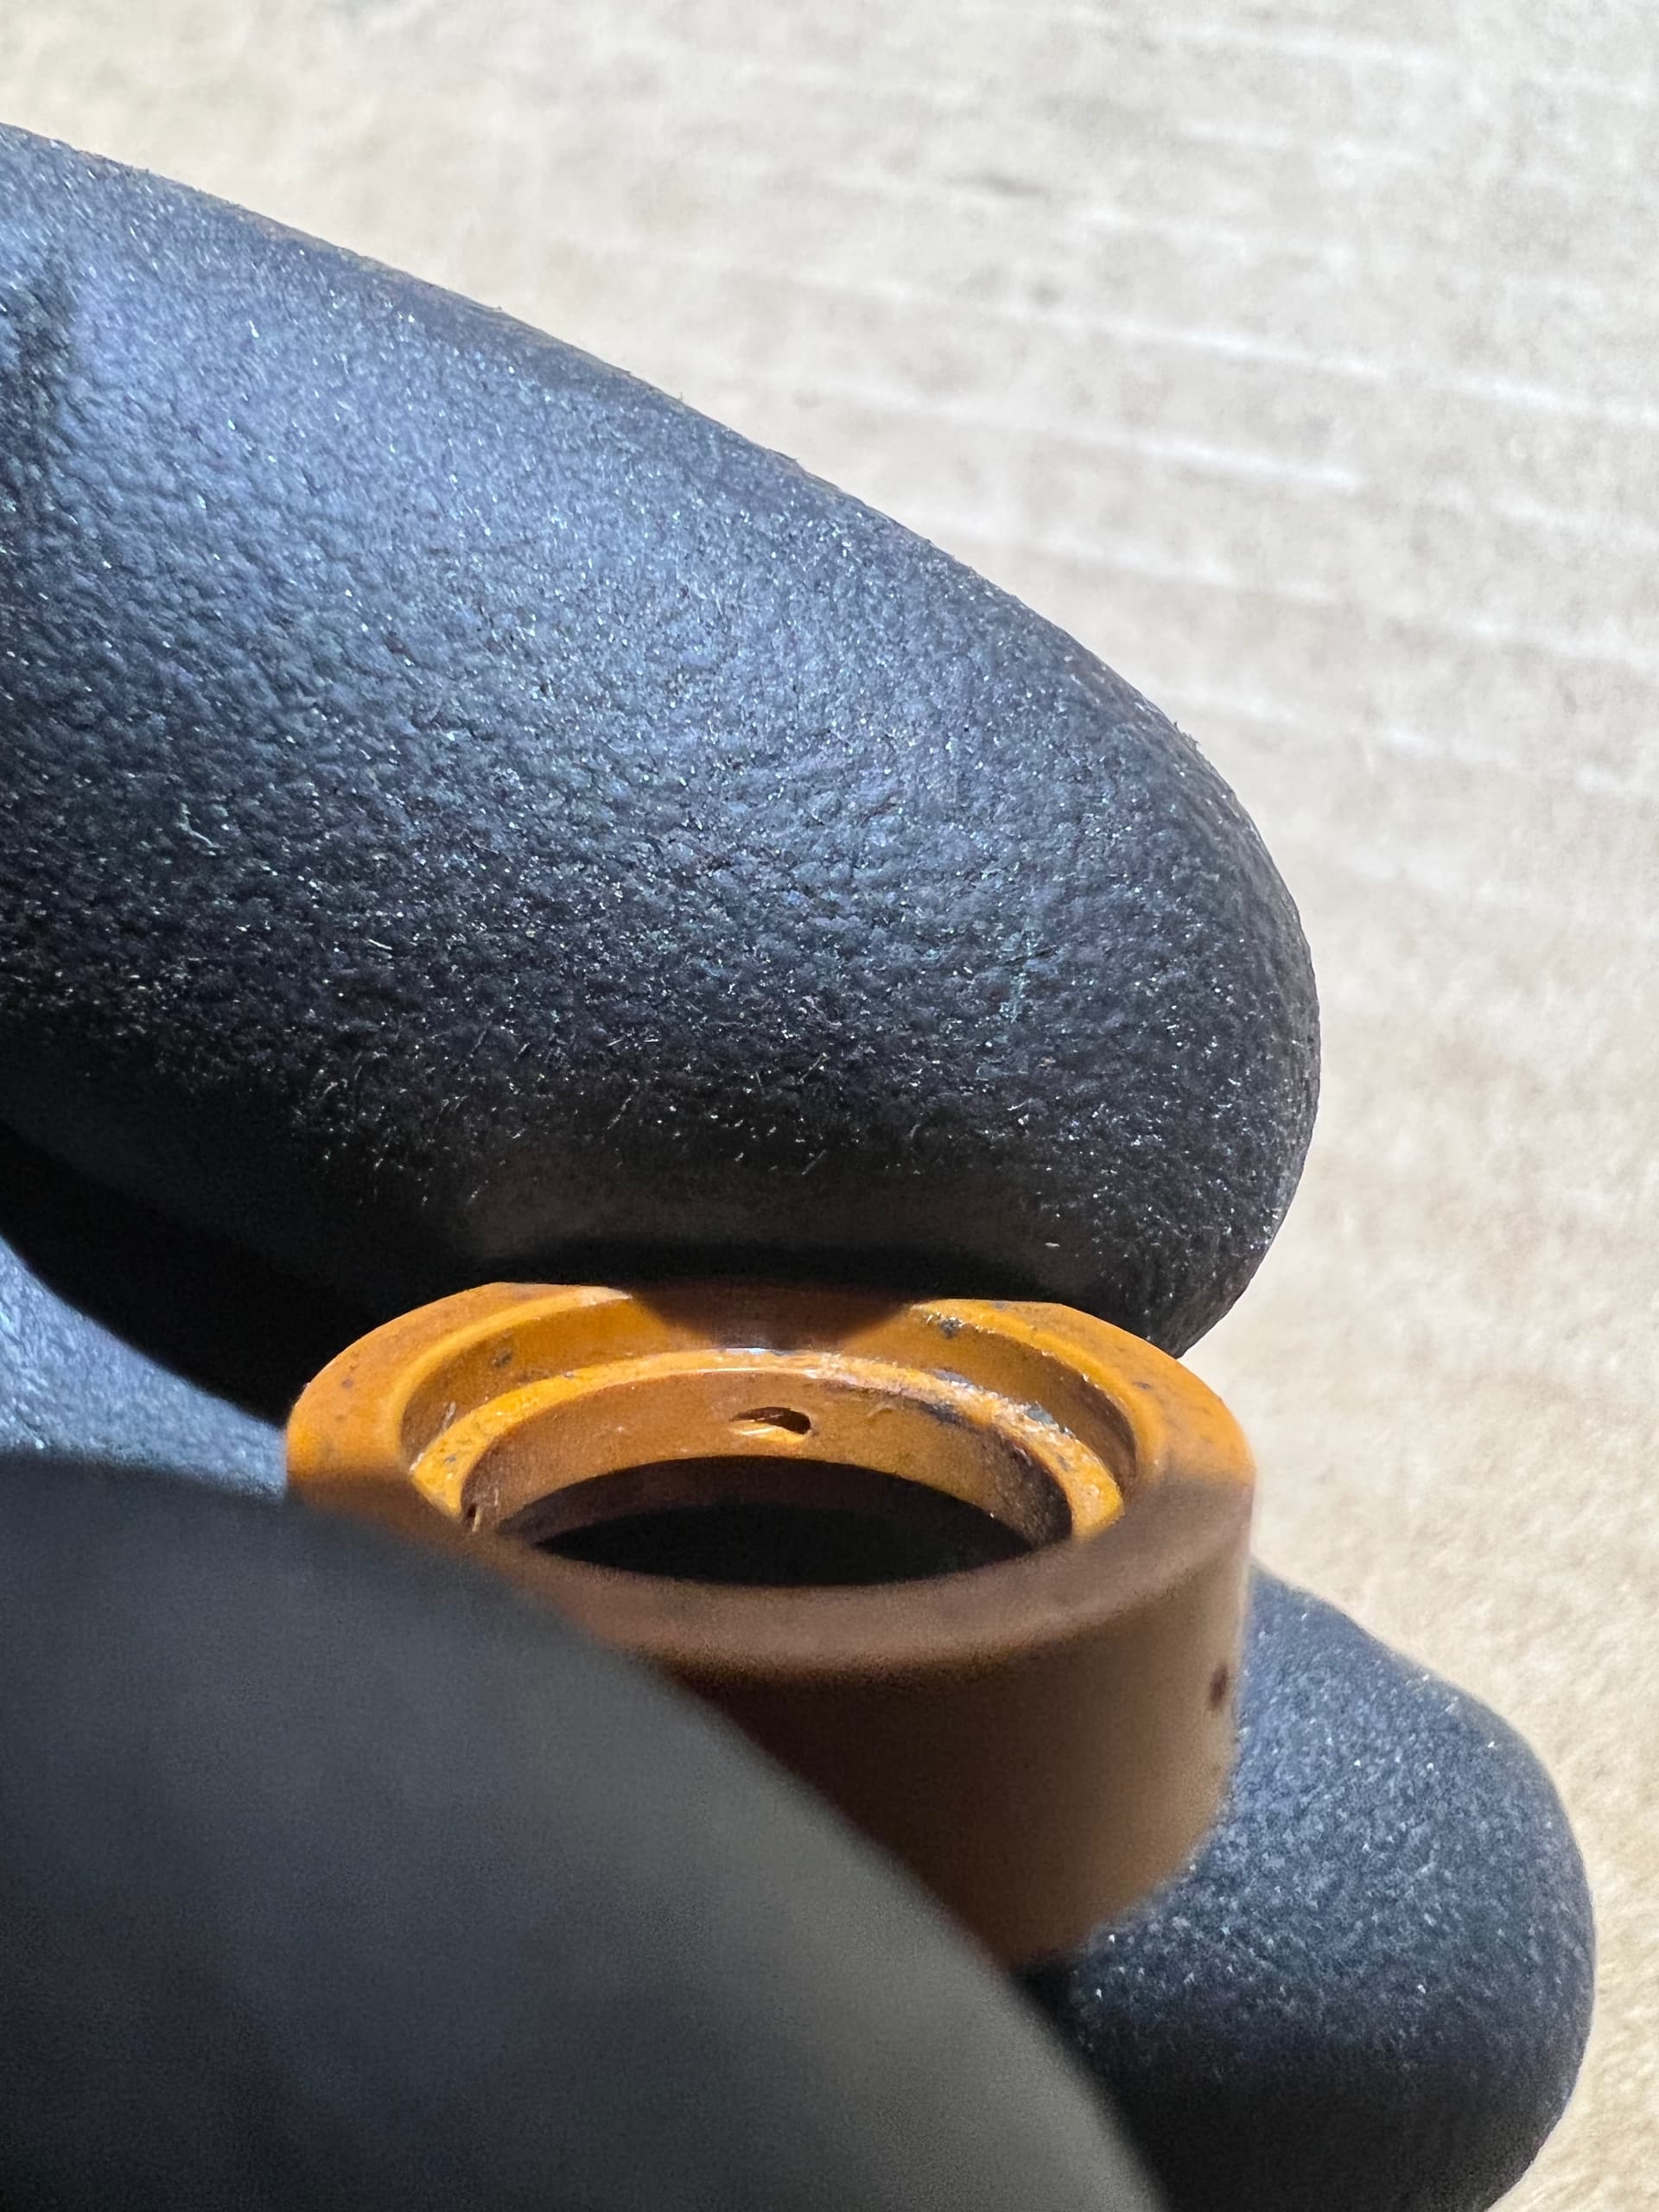
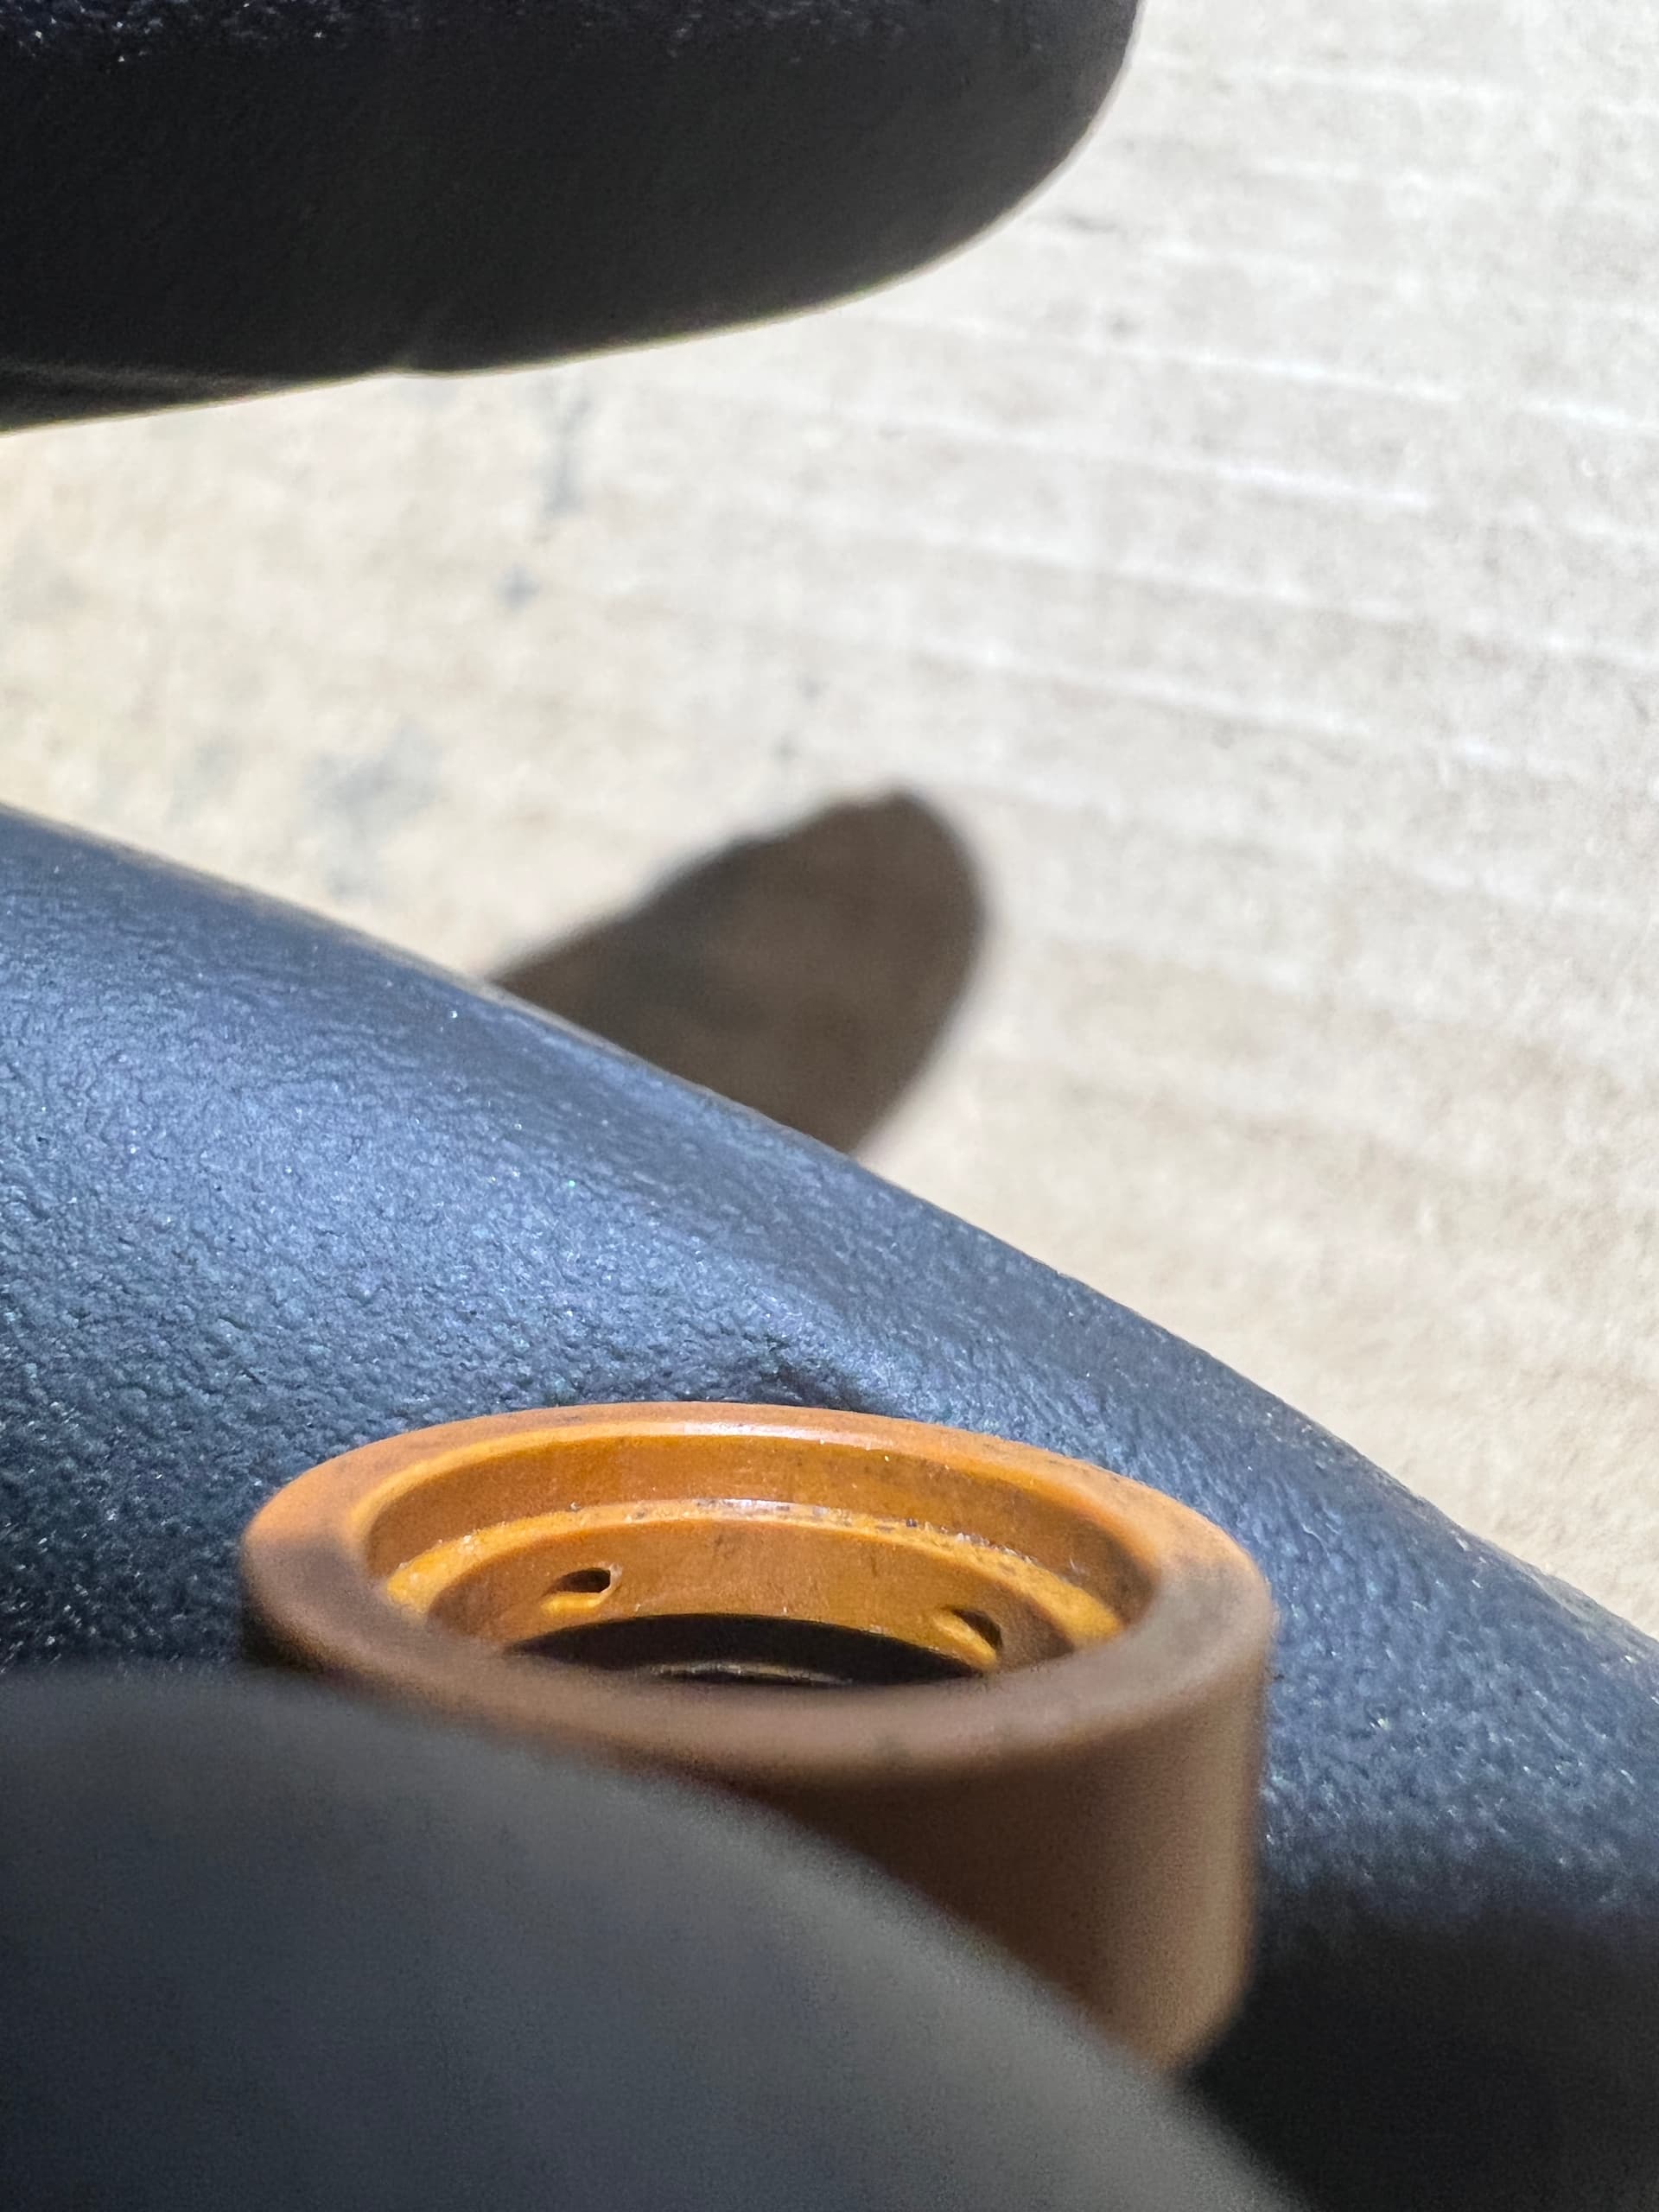
PTM60 Torch Parts
SCREWS/BEARINGS:
Gantry Bearings (all sides were just like this)
X Axis Lead Screw
Y Axis Right Lead Screw
Y Axis Left Lead Screw
PICS (some water because I dunked torch doing Z Axis video):
make sure your swirl ring is in the correct direction. I had a similar issue like your having and that was most of my problem. I don’t remember off the top of my head which way it goes, and I’m not at my shop to check. I marked mine with an arrow so I know which way to install it. search on here and you’ll find the right way it needs to be
i also marked my lead screw to coupler and coupler to motor shaft with paint markers to see if anything ever gets loose. if a coupler is loose it can cause issues like this.
Well, since I need to do test runs to try and solve this I’m cutting inventory now. I installed the hand torch last night, Running a screen recorder on firecontrol and video-ing the cut with my phone.
Let’s see how many things I can cut now that it knows I’m watching lol
I reinspected everything all seems tight where it should be and free moving where it’s supposed to be.
brief side note: i had been running at like 120IPM for a long time, changed to 160 not too long ago (had problem at 120 as well, but in my mind i thought slower = safer) and boy do these things cut quickly now. Feels like this thing is so close to perfectly dialed in, thats why this issue annoys me… besides the wasted steel.
so far its working better, i dont trust it further than i can throw it. So i’m going to keep monitoring it, got a ton of stuff i can cut so we’ll see if anything occurs. The random-ness of the issue has always been the worst part. I’ve tried making sure I’m doing these cuts close to where i know the issue popped up last time just in case
It was for the “better laser mod” or something posted on here for laser cross hair. I removed it thinking maybe my cheap lasers could be putting out RFI or something
Gotcha, I was thinking if you had machine torch lead attached to that bracket that it could have been giving you jagged cuts, because of lack of slack on torch lead.
Oh yea definitely not, made sure had plenty of slack for both torches, but I had thought about it and interference from grouping it with other wires so I had it run to the plasma by itself and made sure it wasn’t pinched anywhere and had slack at the mount
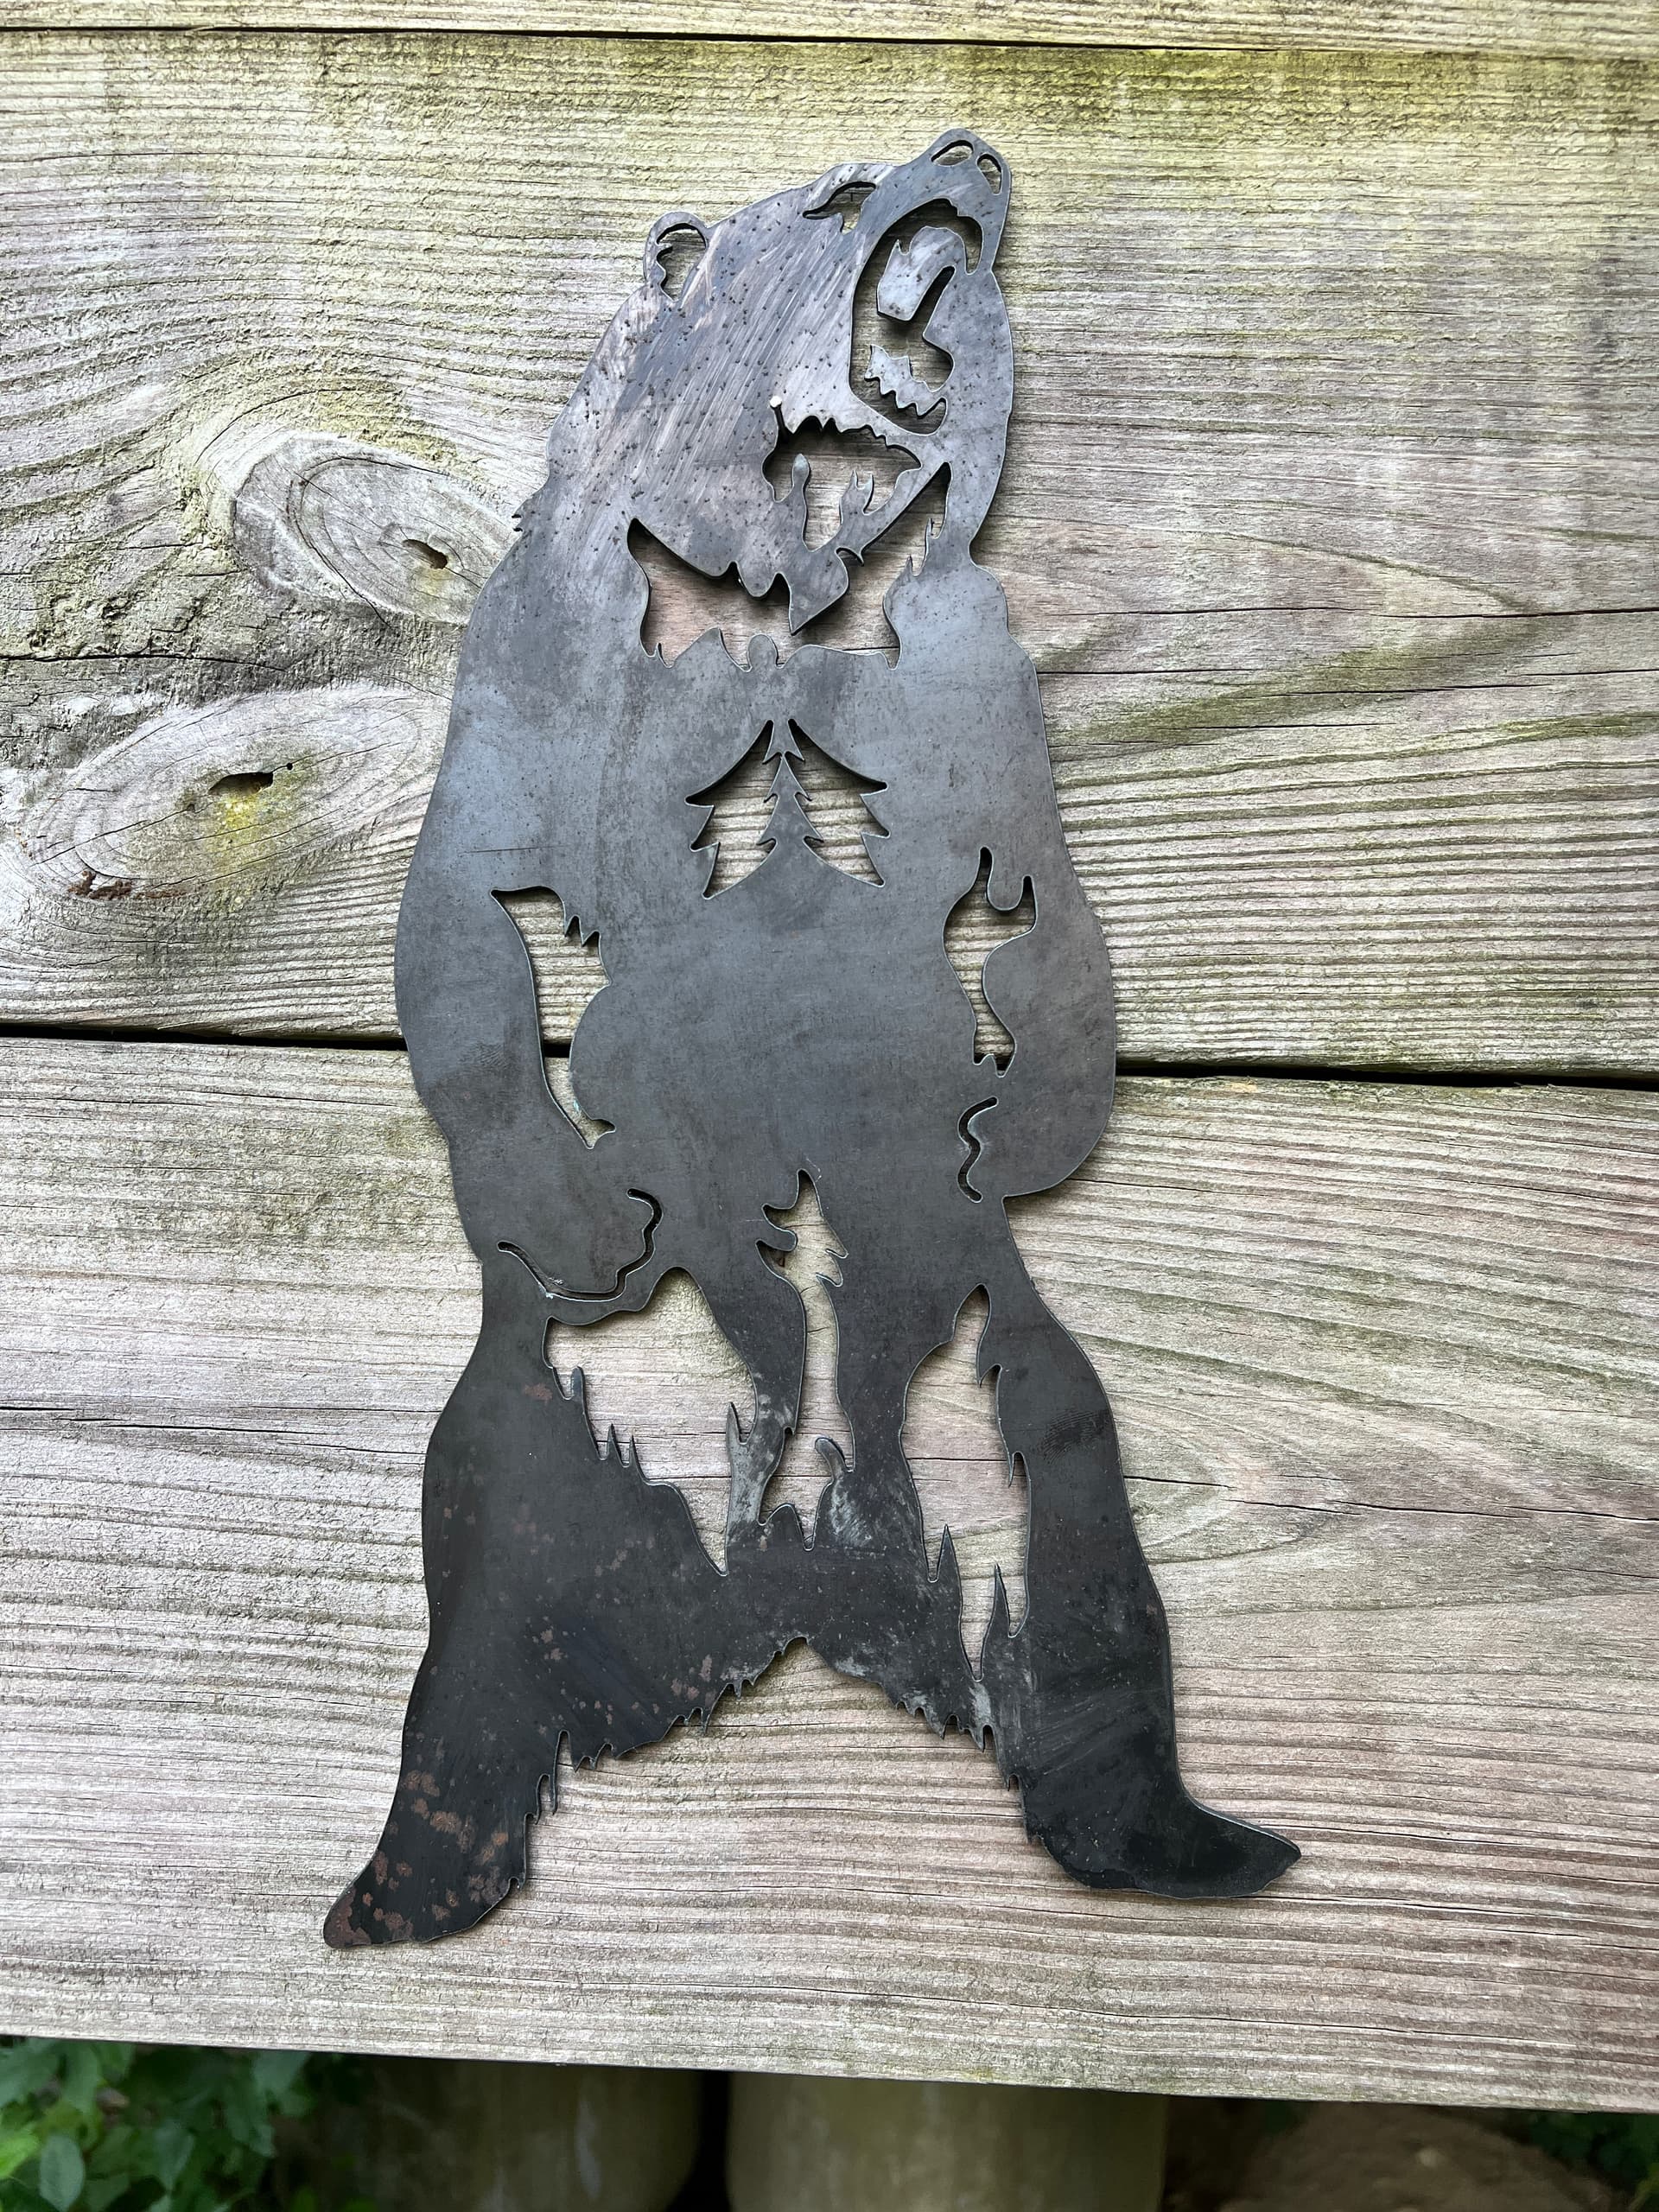
Today we’ll be cutting out another car design so should be the ultimate test
As of this moment since swapping that torch I haven’t had the issue occur in that time I’ve done 5 average pieces (for me), but in a little while I’ll be putting it to the test cutting out another of my car designs.
If everything goes smoothly on that cut I’ll be comfortable saying it’s fixed.
Only things I did was torch swap and cleaning the x/y rails
I went with a 45xp also, and def want to mess with marking. I heard it works best with Argon just as a note
I usually buy my bottles and just pay for contents but I think I’m going to rent a tall argon cylinder for the marking operations of the XP.
I read through the manual on it a few times and there’s a couple good videos on it but I don’t see it being used very often.
I plan on mounting my 45 XP right below my PowerMax 85 so I can easily swap the machine torch hook up over when I’m doing marking and use the hand torch off the 45 XP to Buck up skeletons while they’re still on the table.
Yea I tried researching marking as well and there’s just extremely limited info out there. I could only find “cut in progress” looks at it rather than an “after clean up” pic or video. Definitely nothing incorporating it into a design or anything.
I have a ton of argon for my TIG work so I’m used to having it around anyway.
When are you expecting yours? Maybe we can learn together on what works well
I started a marking thread on here a while ago I’m going to find it and update it with a few videos I found recently.
It’s bought and paid for sitting at my buddies house who lives out of town. I’m not exactly sure when he’s going to come to town next.
I’ll find this old thread and we can post to it as we go through our trials and tribulations with marking.
I have an argon cylinder for my MIG welder in case I’m using the spool gun and another one on my TIG but I hate disconnecting and rehooking up stuff for different operations that’s why I’m going to buy another other tank.