If a wind spinner doesn’t spin on its own in 10-20mph winds it’s in trouble… I can’t justify 40mph wind in our tent. Maybe I should just call them storm spinners, or hurricane spinners…lol
1 Like
I am prepared to give back her money, 2 will hang flat on a wall, but will replace it if asked. If we see her again. We are there every Friday. Bummed obout them still… ![]()
RockyMountinFab storm warning device…
$19.95…plus shipping and handling…(what is handling anyways?)
buy these spinners…hang them out front…when they spin…strap your ass down and pray for help!!!
aHAHAHAHAH
3 Likes
ROFLMAO 


Now toolboy is a man with vision…lol
I love it! Good value too!
I am going to get some 20 gauge and try that. Sucks that I burned a full table of windspinner wall art, but live and learn. Hope the price for a 4x8 of 20 or 22 gauge, as James mentioned, doesn’t clean out the funds… trying to save up for the XR 
I am kind of serious…make the light weight ones…make sure they spin…but keep the heavy ones…and call them storm spinners…I bet you will sell them just as fast…
2 Likes
daisy chain several, of different weights, so you can market them as calibrated wind speed gauges 
2 Likes
Nice write up, Great work. I hope to get 1/2 that good with my cutter one day.
1 Like
Well, another couple of table loads were ran for Father’s Day. 3hrs at the Farmers Market did $383 in sales of $20-$40 items. Brought home a lot, but have a offroad themed 4th of July event coming so not worried…lol
I did burn the last of my 14g, so gonna get some quotes tomorrow for 2 4x10 14g, 1 4x10 16g, and a 4x8 of 20g for wind spinners. Damn scared to get that email…lol
But I am determined to make the damn things spin in a light wind. On the bright side, my large 32 inch souvenir chainsaws. Rotated all day like the were on a slow motor…lol Might have to rethink my spinner designs.![]()
My Pro also developed a small glitch somewhere I need to nail down. Best way to describe it is that the lead ins are on one side of the line (like inside of letters) as it should be. But just the other side of the cut line it left a dimple beyond the normal kerf width, and continued on without issue. The happened mainly on the bottom of an x axis cut. To me it looks like the torch wiggles or jerks as it transitions from y axis lead in to an x axis cut. Or it is doing it on the lead out which could see happening, but possible I guess. The saw in the pics was cut as it hangs here. You can see the issue at the bottom edge of most letters. Lead in is .05 Arc from inside of letter edge (in the drop)
Any ideas, Anyone? ![]()
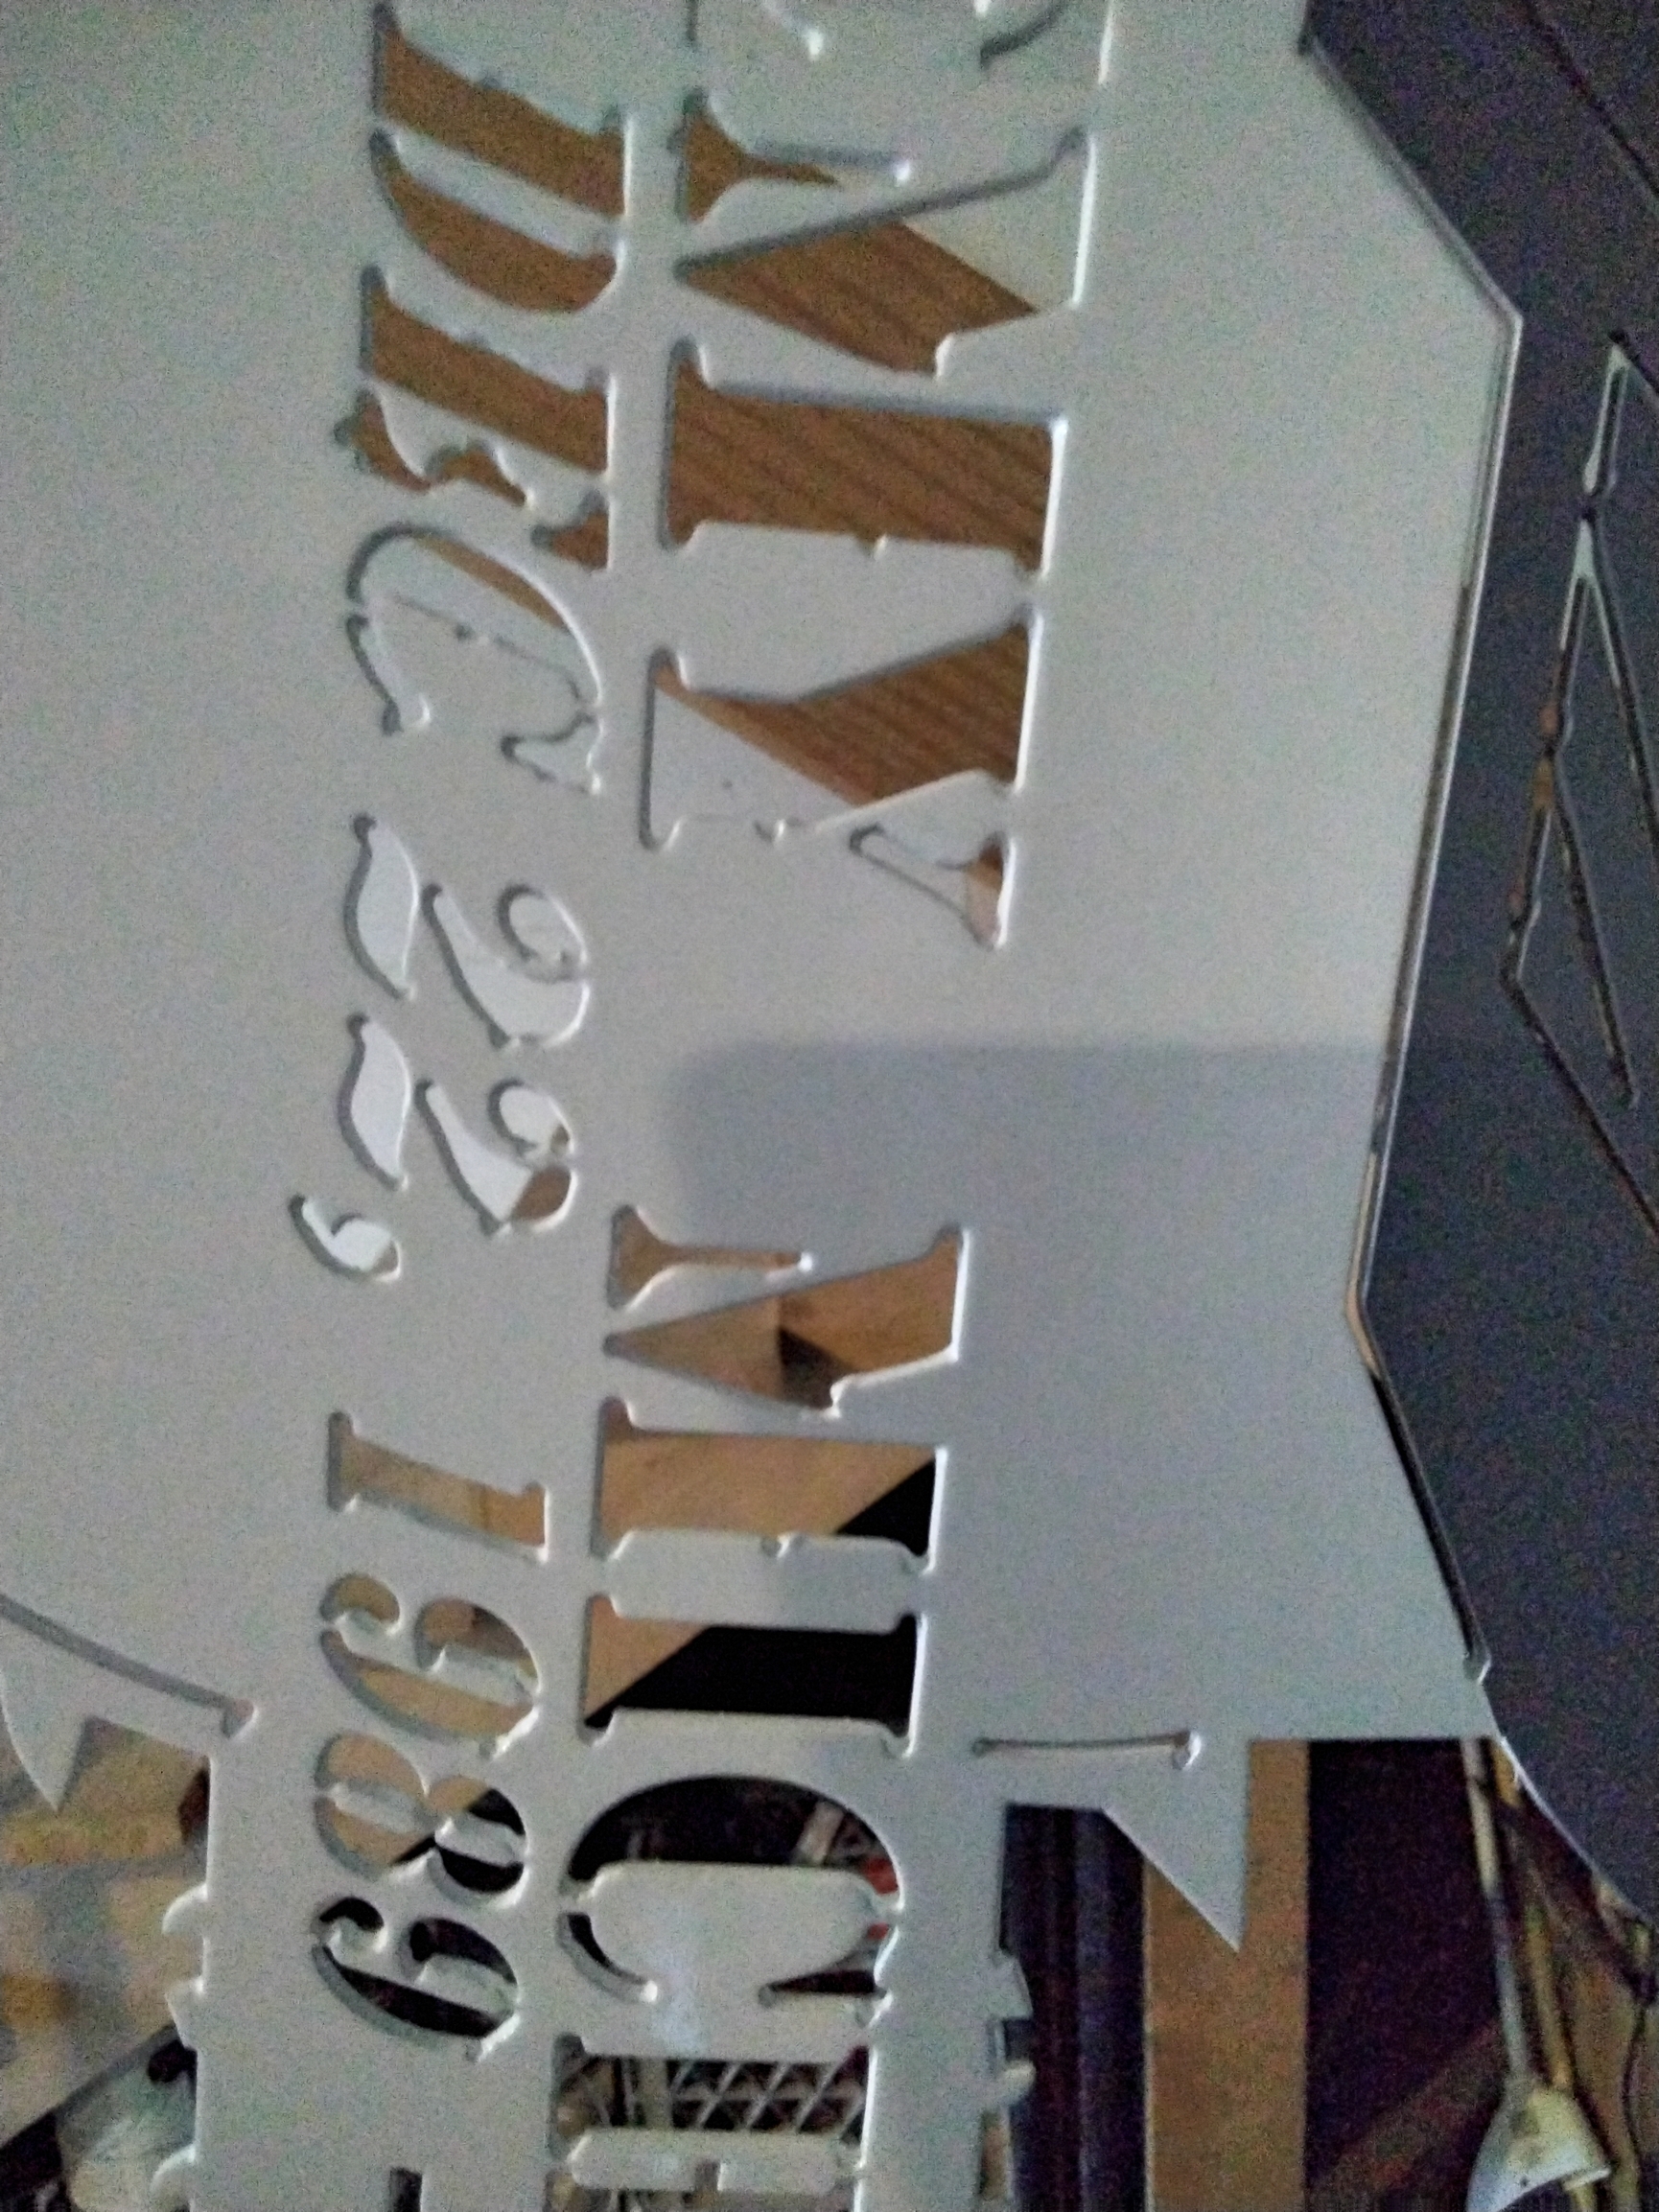
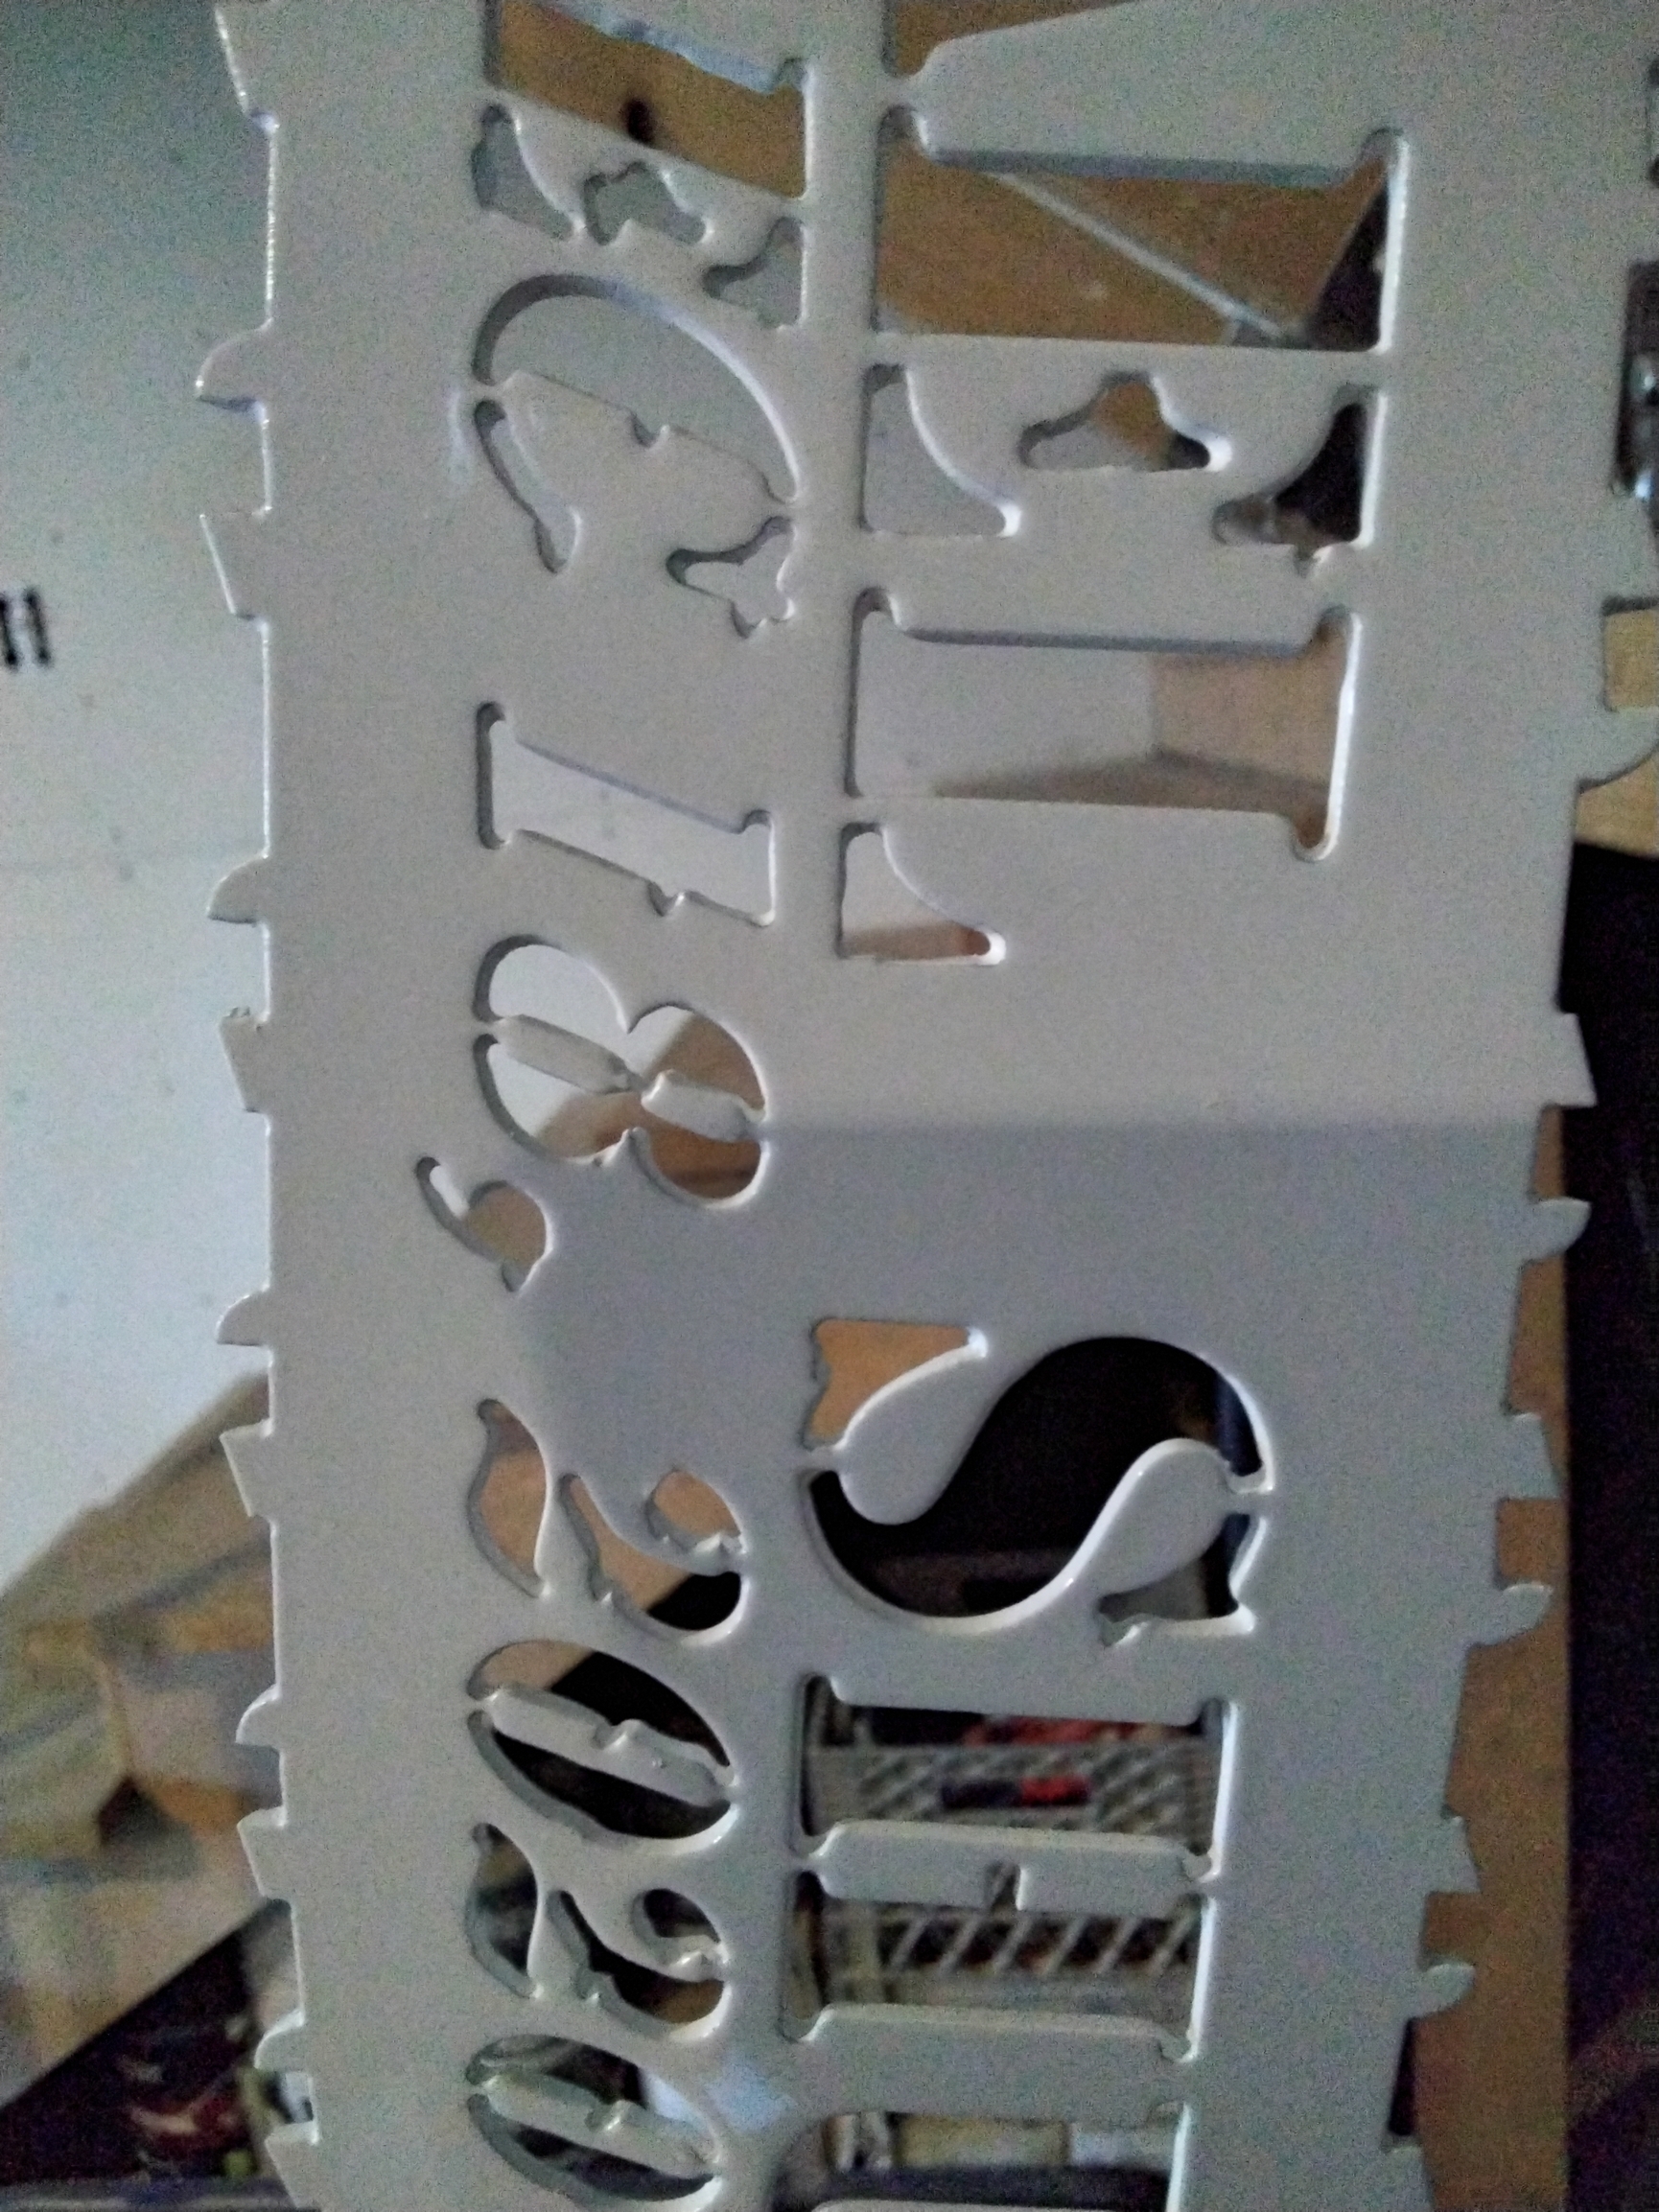
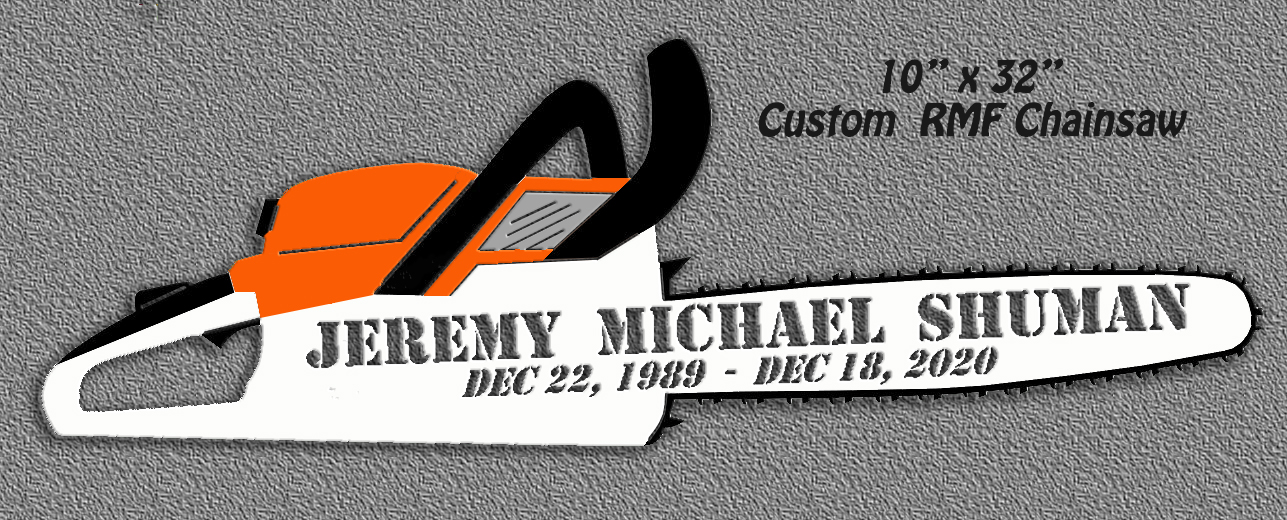
This is what the final product should look like. It’s a donation, so will live with the piece, but need to figure it out.
PS. Everyone gets a photoshop image on the final product for approval before I burn it out.
Lead-in is too small. Your .05 is just about the kerf width (maybe a little smaller than the kerf if you’re not using new fine cut consumables).
1 Like
Been using that small lead in to get into tighter detail on most files, without it jumping into the piece. On the un-effected letters, the leading was just on another axis. The divot never showed up on the top or sides. Only when the leadin is above the line coming down to the X axis cut line. Had I cut the saw 90⁰ rotated, the divots would still be on the bottom only, if that’s where the leadin was. The divots you see here (most of them) would not be there. Showed up almost every piece with the same kind of leadin position. It might have a booger on the z axis rails making it bump out. Haven’t taken a good look yet. Just irritating to say the least. If I set the start points on the top or sides of the cut loop, no problem… 
Yep. That’s actually a better way to handle tight cuts when you can - move the start point to where there’s more “meat” in the scrap. Like the 2 you have - moving the start up to the wider portion of the upper curve gives the room you need for a proper lead-in.
If that doesn’t work on a piece, then I switch to a straight in (vs arc) lead-in. It does make the head take a 90 degree turn as it progresses from lead-in to cutline but it’s not moving too fast at that point so shouldn’t booger up the cut at the turn.
Only if it’s too tight for even that to work do I cut the lead-in to the kerf width. If that’s still not good enough I’ll do a no-offset cut and set the start point so the divot isn’t particularly noticeable.
2 Likes
I usually will move starts, but never had an issue with stencil font before on any angle. It just showed up on my last load. 2 loads before that show no signs. Double checked other items with lots of meat, and noticed the same divot. I’m gonna try it at say 80ipm and see if it still does it. I was running at 100ipm, 30a, 75psi (cutting), .07PH, .55PD, .065CH. Gonna take a scrap and cut horizontal with the same leadin set, and figure it out. Been dialing in the pierce with firecontrol and pausing, inspecting and adjusting and had it cutting clean… till this…
Really makes me want to upgrade to the XR. I think this hand torch is part of the problem. Might step into a machine torch this summer to help me get there… probably have fewer issues. (Don’t have many though now)
Could be that as it transitions the inertia causes the torch to bounce. Thought just hit me that my torch lead might have tightened up a little on my support, and it might jerk as it drops to cut height…
I’ll take some time tomorrow and look at it closely.
Thanks for the input. Helps get the brain in gear…lol
1 Like
are you running a hoist on a trolley in the Unistrut or what?
I actually made a plate to bridle 2 of the trolleys for in the unistrut together and then those go to a shackle that holds a chain hoist. I am about to start tinkering with this same setup but instead of a magnet going to a manual pump vacuum cup.
1 Like
Labor Day Weekend is over thank God…
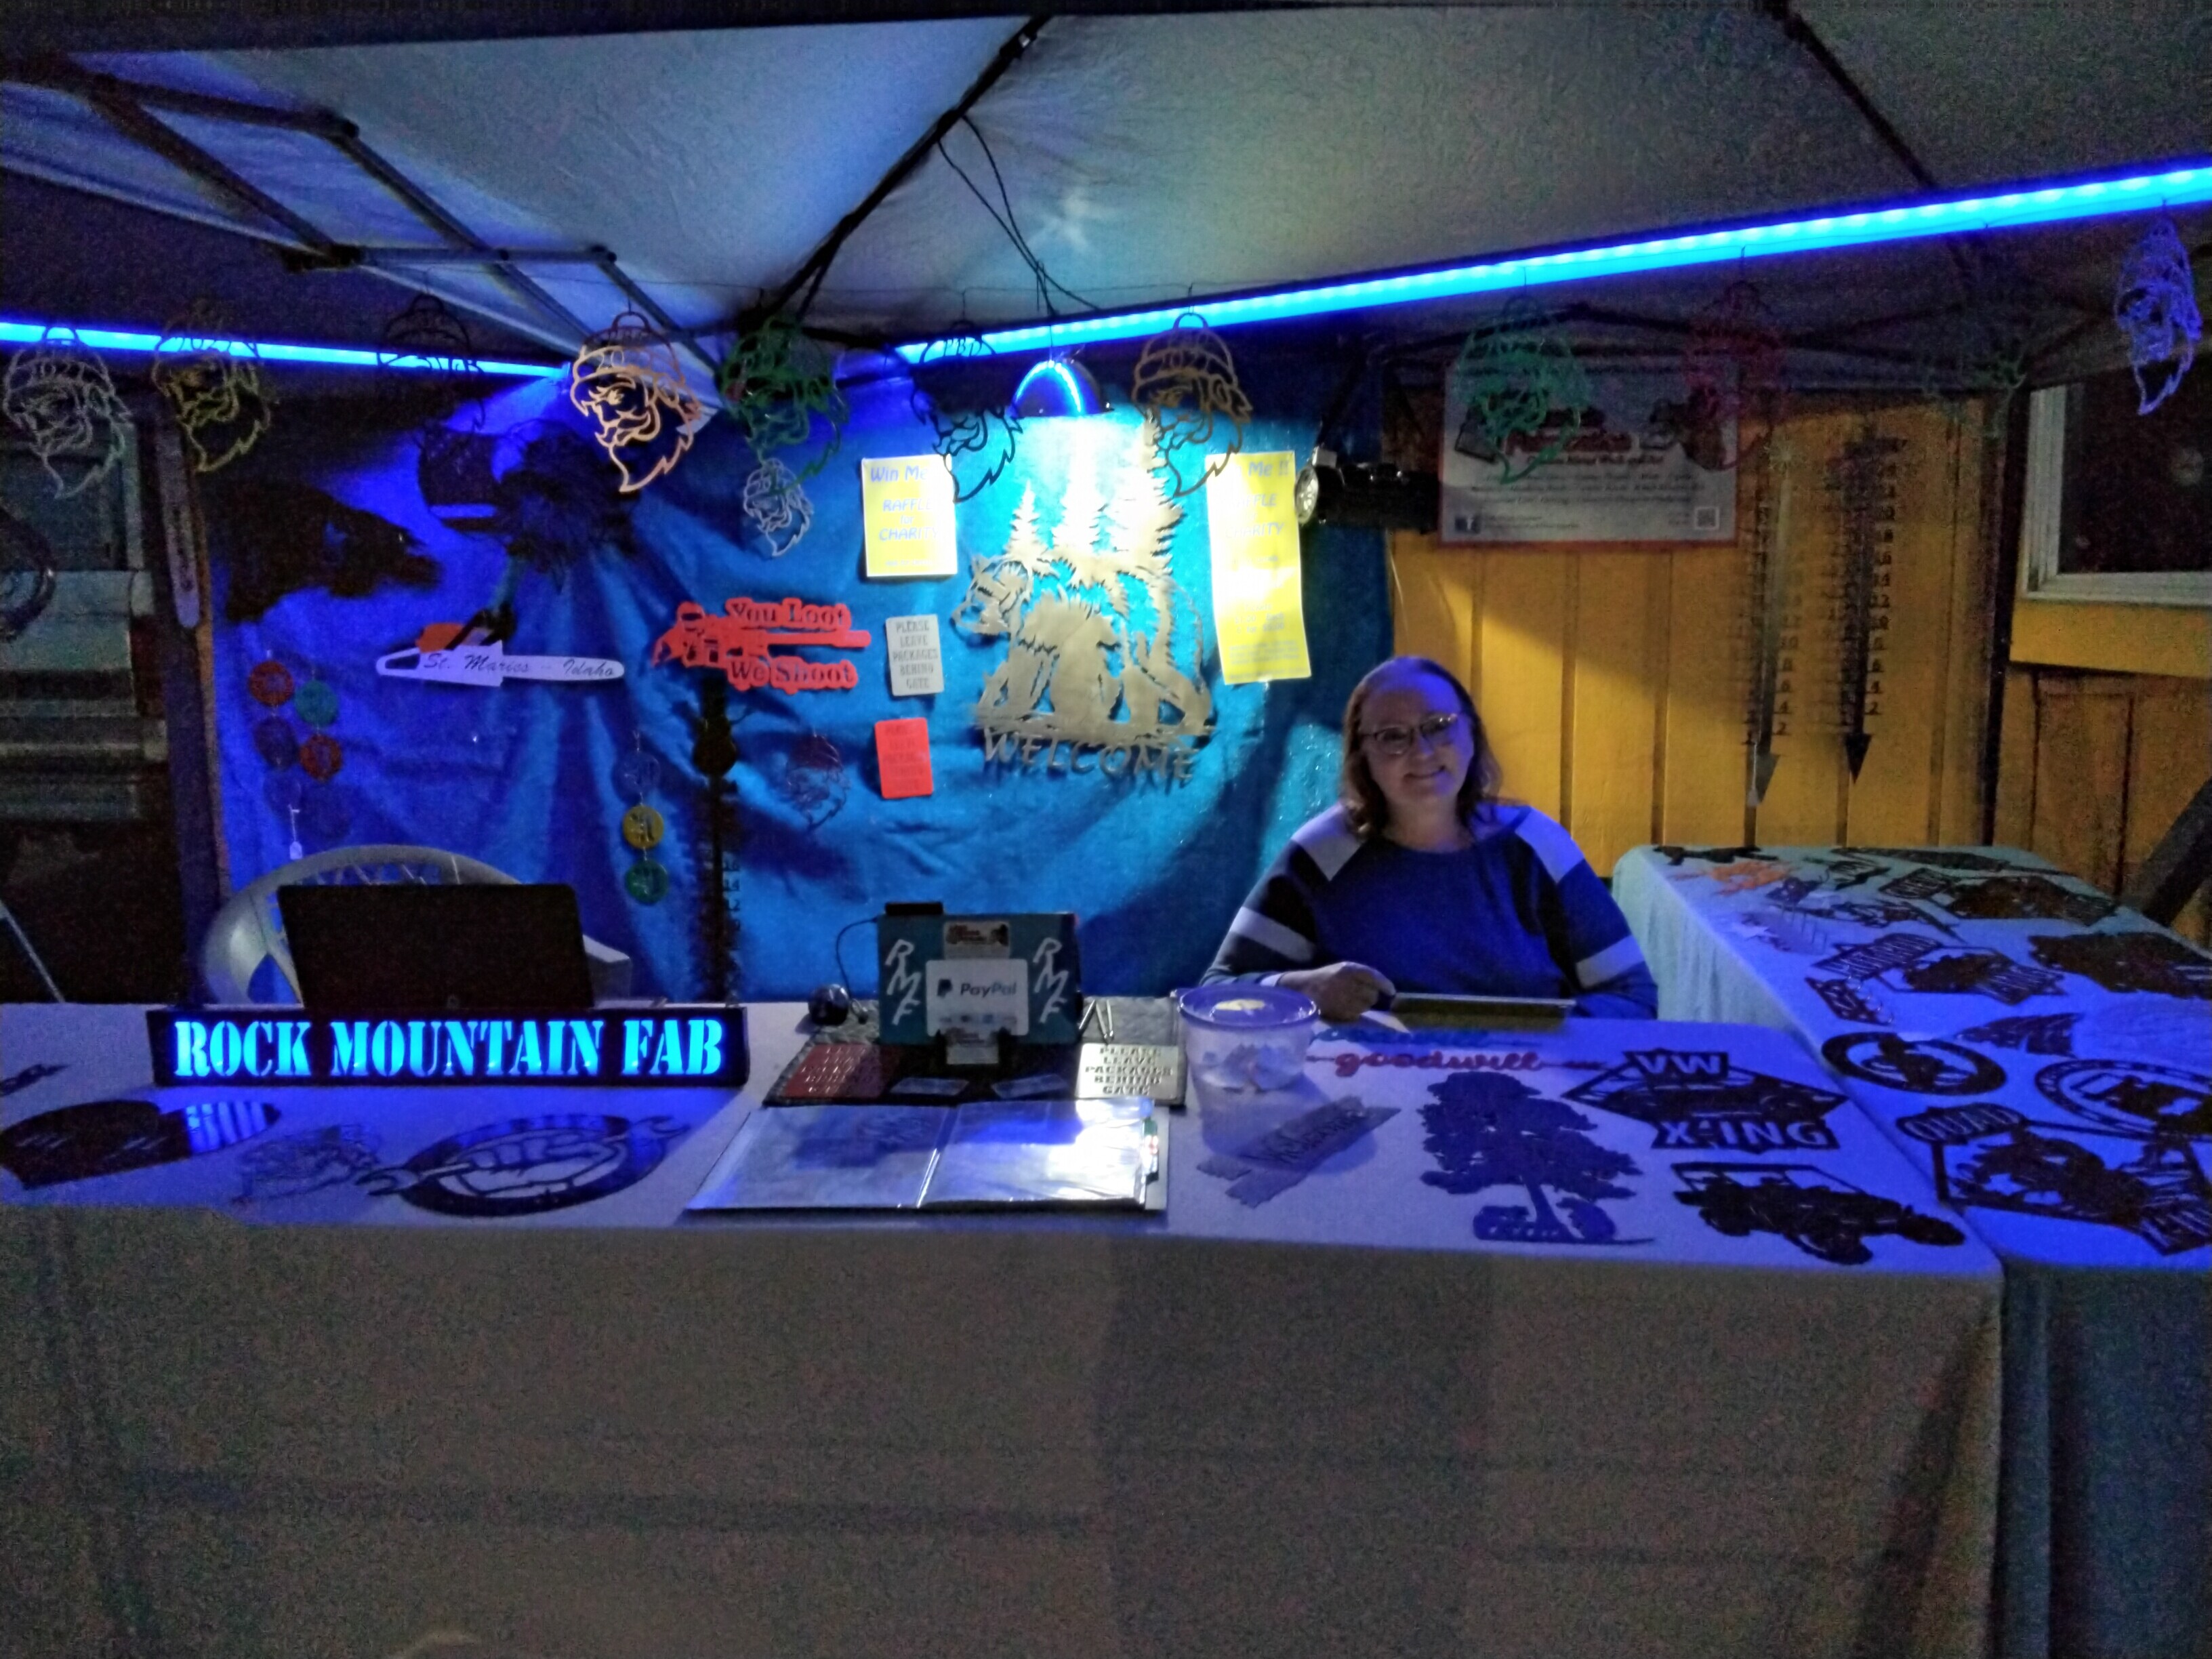
Spent the last 4 days at our local Labor Day weekend event and am now burnt out for a few days…LOL. On the bright side, we did around $2000 in sales. After expenses, I figure roughly $1300 profit. We raised about $250 for a local charity with a Raffle for a 28 x 36 Grizzly bear scene, unfinished, but let the winner choose the finish. They chose clear, with just the wire cup prep from knocking the dross off. Easiest finish I will ever apply…LOL I burned it out at 2am Friday morn, and left raw for the show. We only had 1/4 of the usual foot traffic as normal years, but with Delta and skipping last year, people were a little hesitant to get out. We expect to triple the sales next year. Eagle flags (rattle can black for $100) by far were the easiest sale. I should have made more. And definitely should have made more Trump 2024 flags.
Custom orders is what we are after at these events and it paid off this time. We have about 20 custom orders which will continue to bring in cash as I get them completed over the next month or so. I’ll be busy at the computer for a while getting designs together, invoicing, final approval, and final file edits. Need to get in some airbrush practice before tackling a few of them but have time for those.
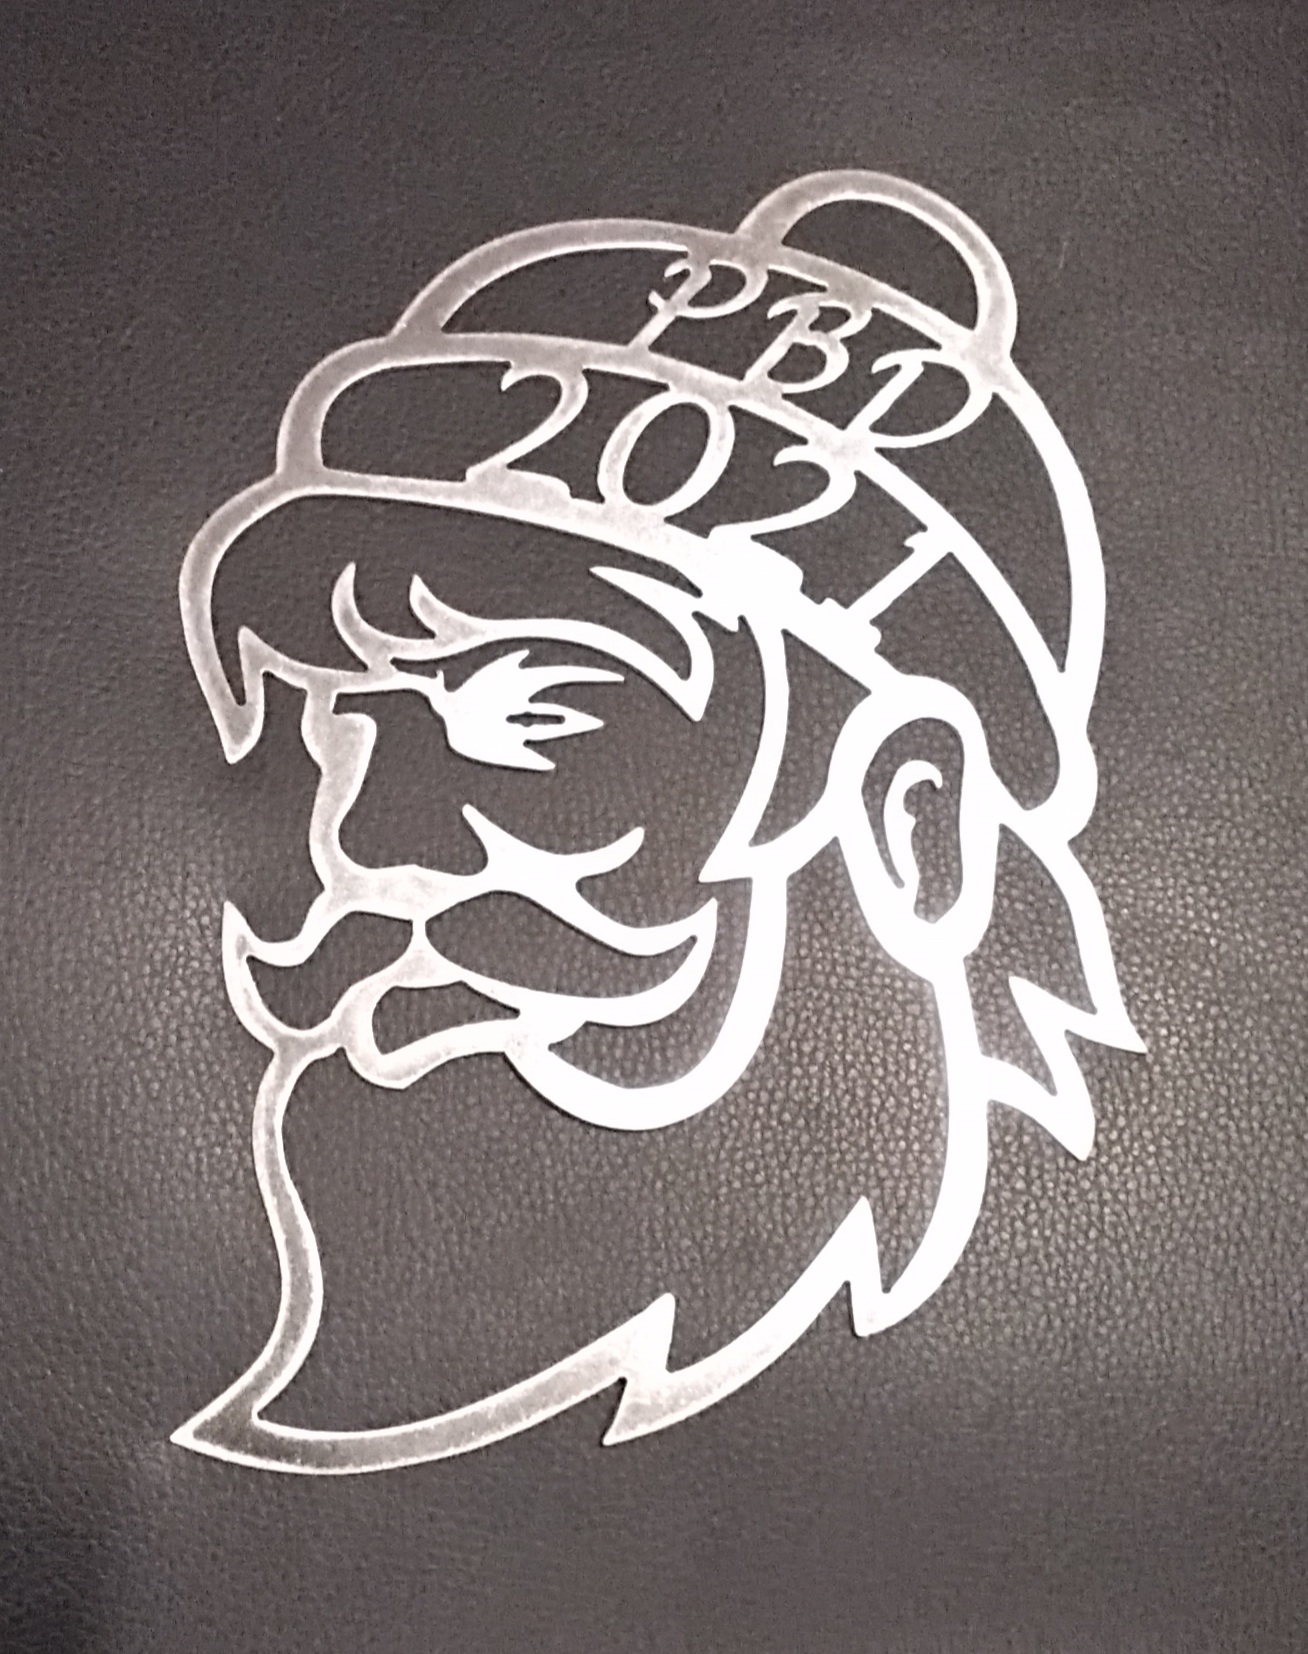
Had a “PBD 2021” (Paul Bunyan Days) commemorative piece that didn’t do as well as I hoped it would that we tried to sell at $20 the first day. Had 40 of them (6x9 in) in various metalcast paints but only sold 1 on friday afternoon. Dropped to $15 for Satuday, only sold a few more. Dropped to $10 for Sunday and sold a few more. In disgust, Monday morning, I started giving them away to local fire fighters and law enforcement. As they went by in the Parade, I would run out and give each of them one, with a business card, thanking them for all they do written on the back. Felt good, and the community saw me showing support which is just plain Good PR. Those that I missed came down later to pick up their free piece. It was Awesome way to eat the cost of 40 smaller pieces. Also was great show of community support from a local small business. ![]()
Also got some good experience with night time sales at events. Proper lighting techniques, product display, and other various aspects that go along with a multiday event. Each day of an event is a big part of my research process and came home with new ideas on what works good for us, things to change, and what Not to do.
(Also found my wife’s breaking point when it comes to all day events…LOL)
Again, being able to take debit and credit cards was paramount. Almost half of our total sales were with cards. Keeps them from saying “I have to go to the ATM first.” and then not coming back by.
ALL IN ALL…
It was an Awesome weekend. Very tired, and going to be very busy for the next month catching up on orders, as well as continuing the Farmers Market until the end of September. I get a few custom orders a week at the market, but sometimes have zero cash sales. Next big event is Oktoberfest, a month away. Then a few months of no shows till December’s annual Christmas craft show. Whew!! Need some rest… ![]()
Hope this continues to encourage all who read this thread to hang in there, learn from each experience, get proficient with your software (I still need work there…LOL) and above all…Enjoy Yourself !!! ![]()
Remember, If it ain’t fun, it’s work… ![]()
3 Likes
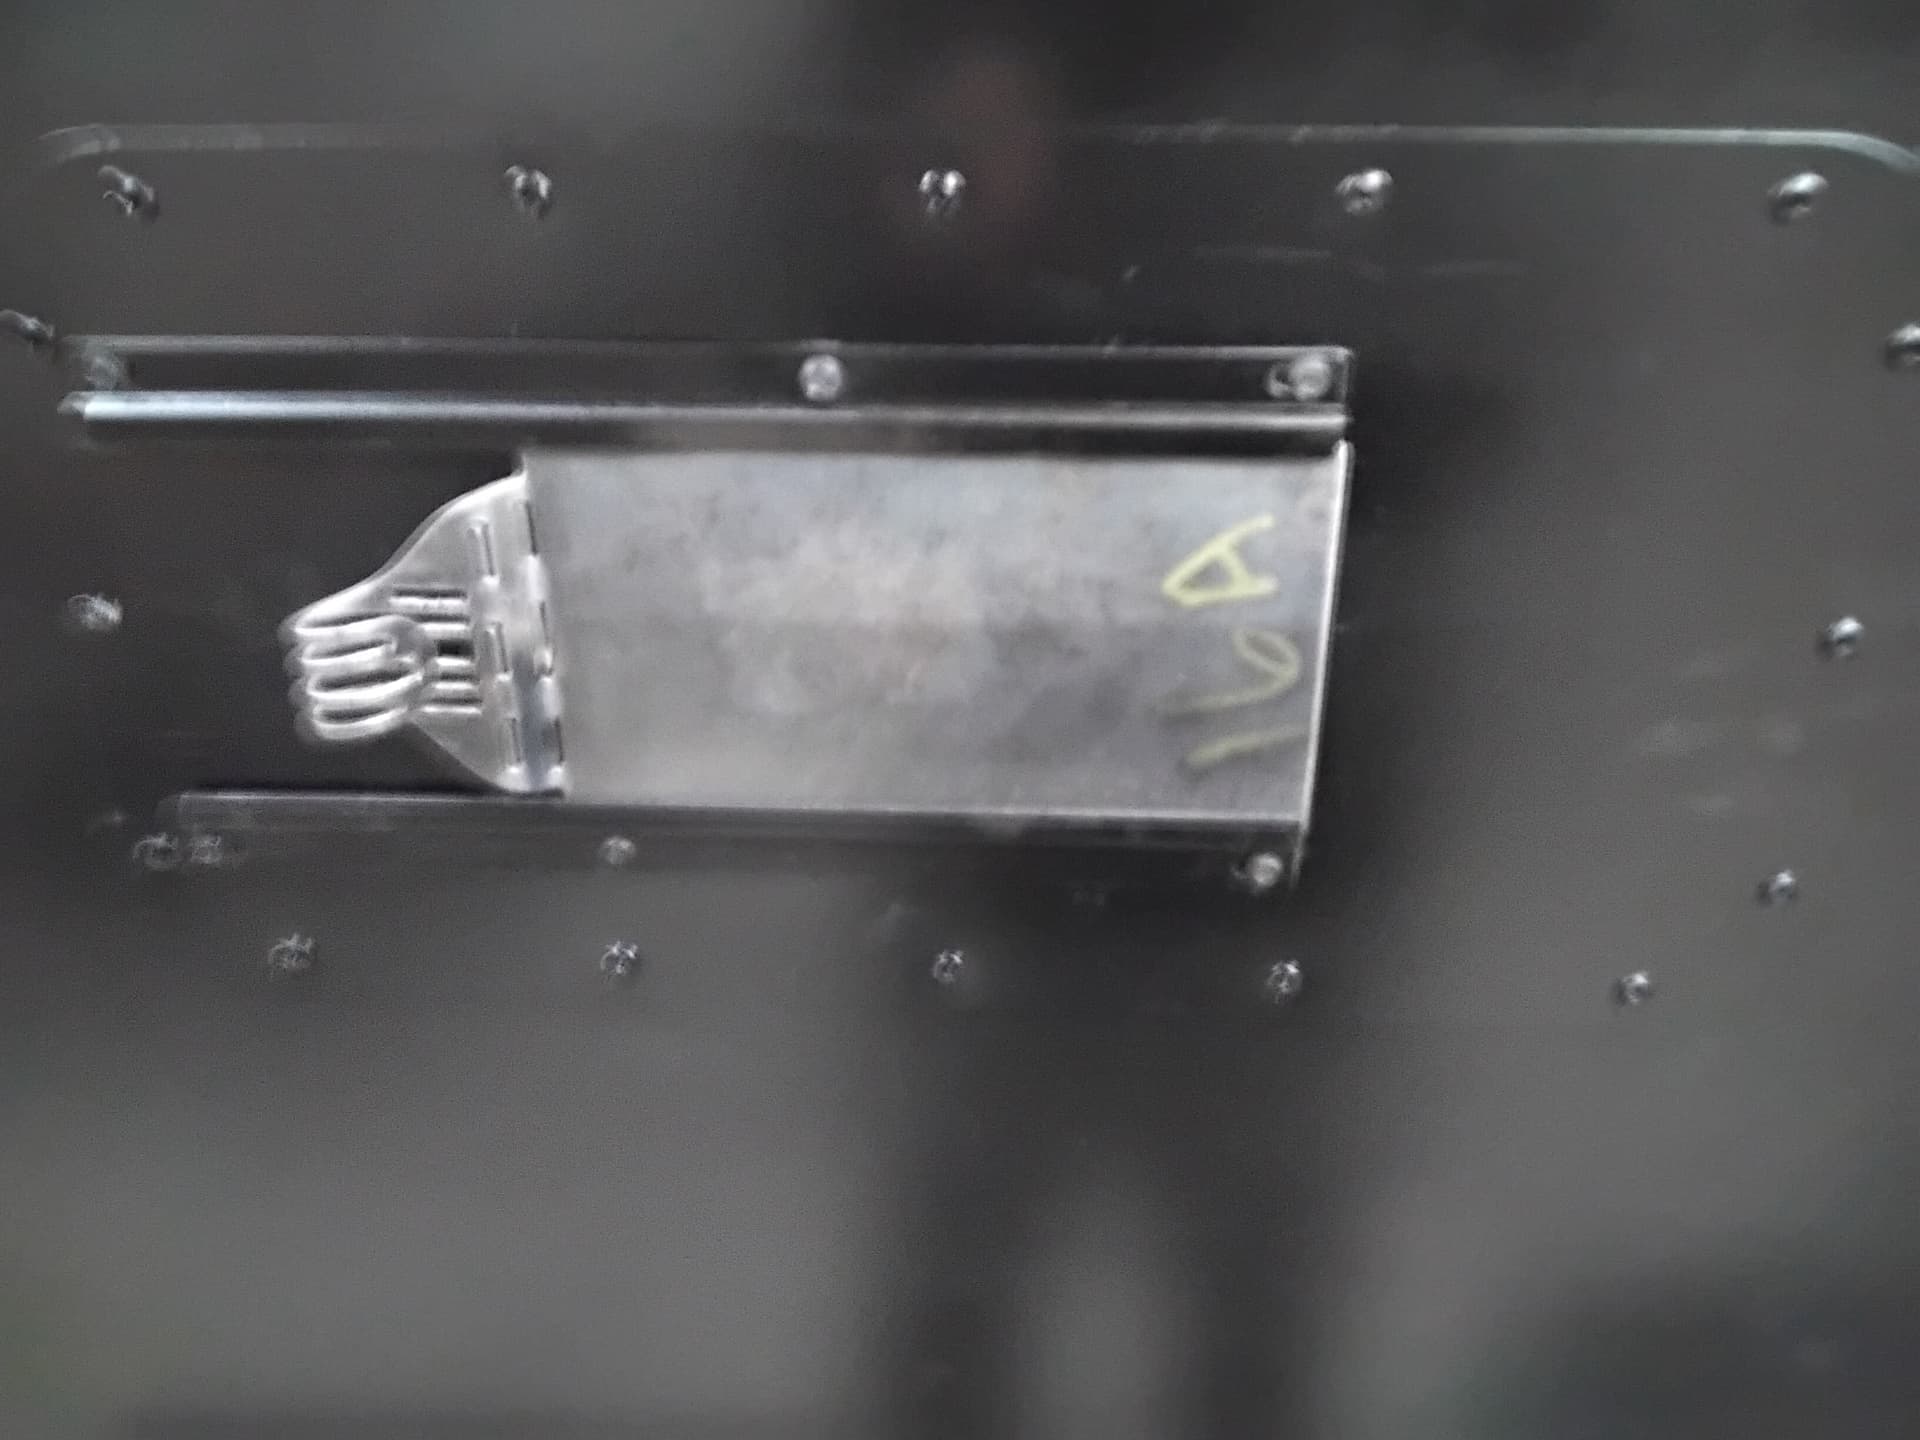
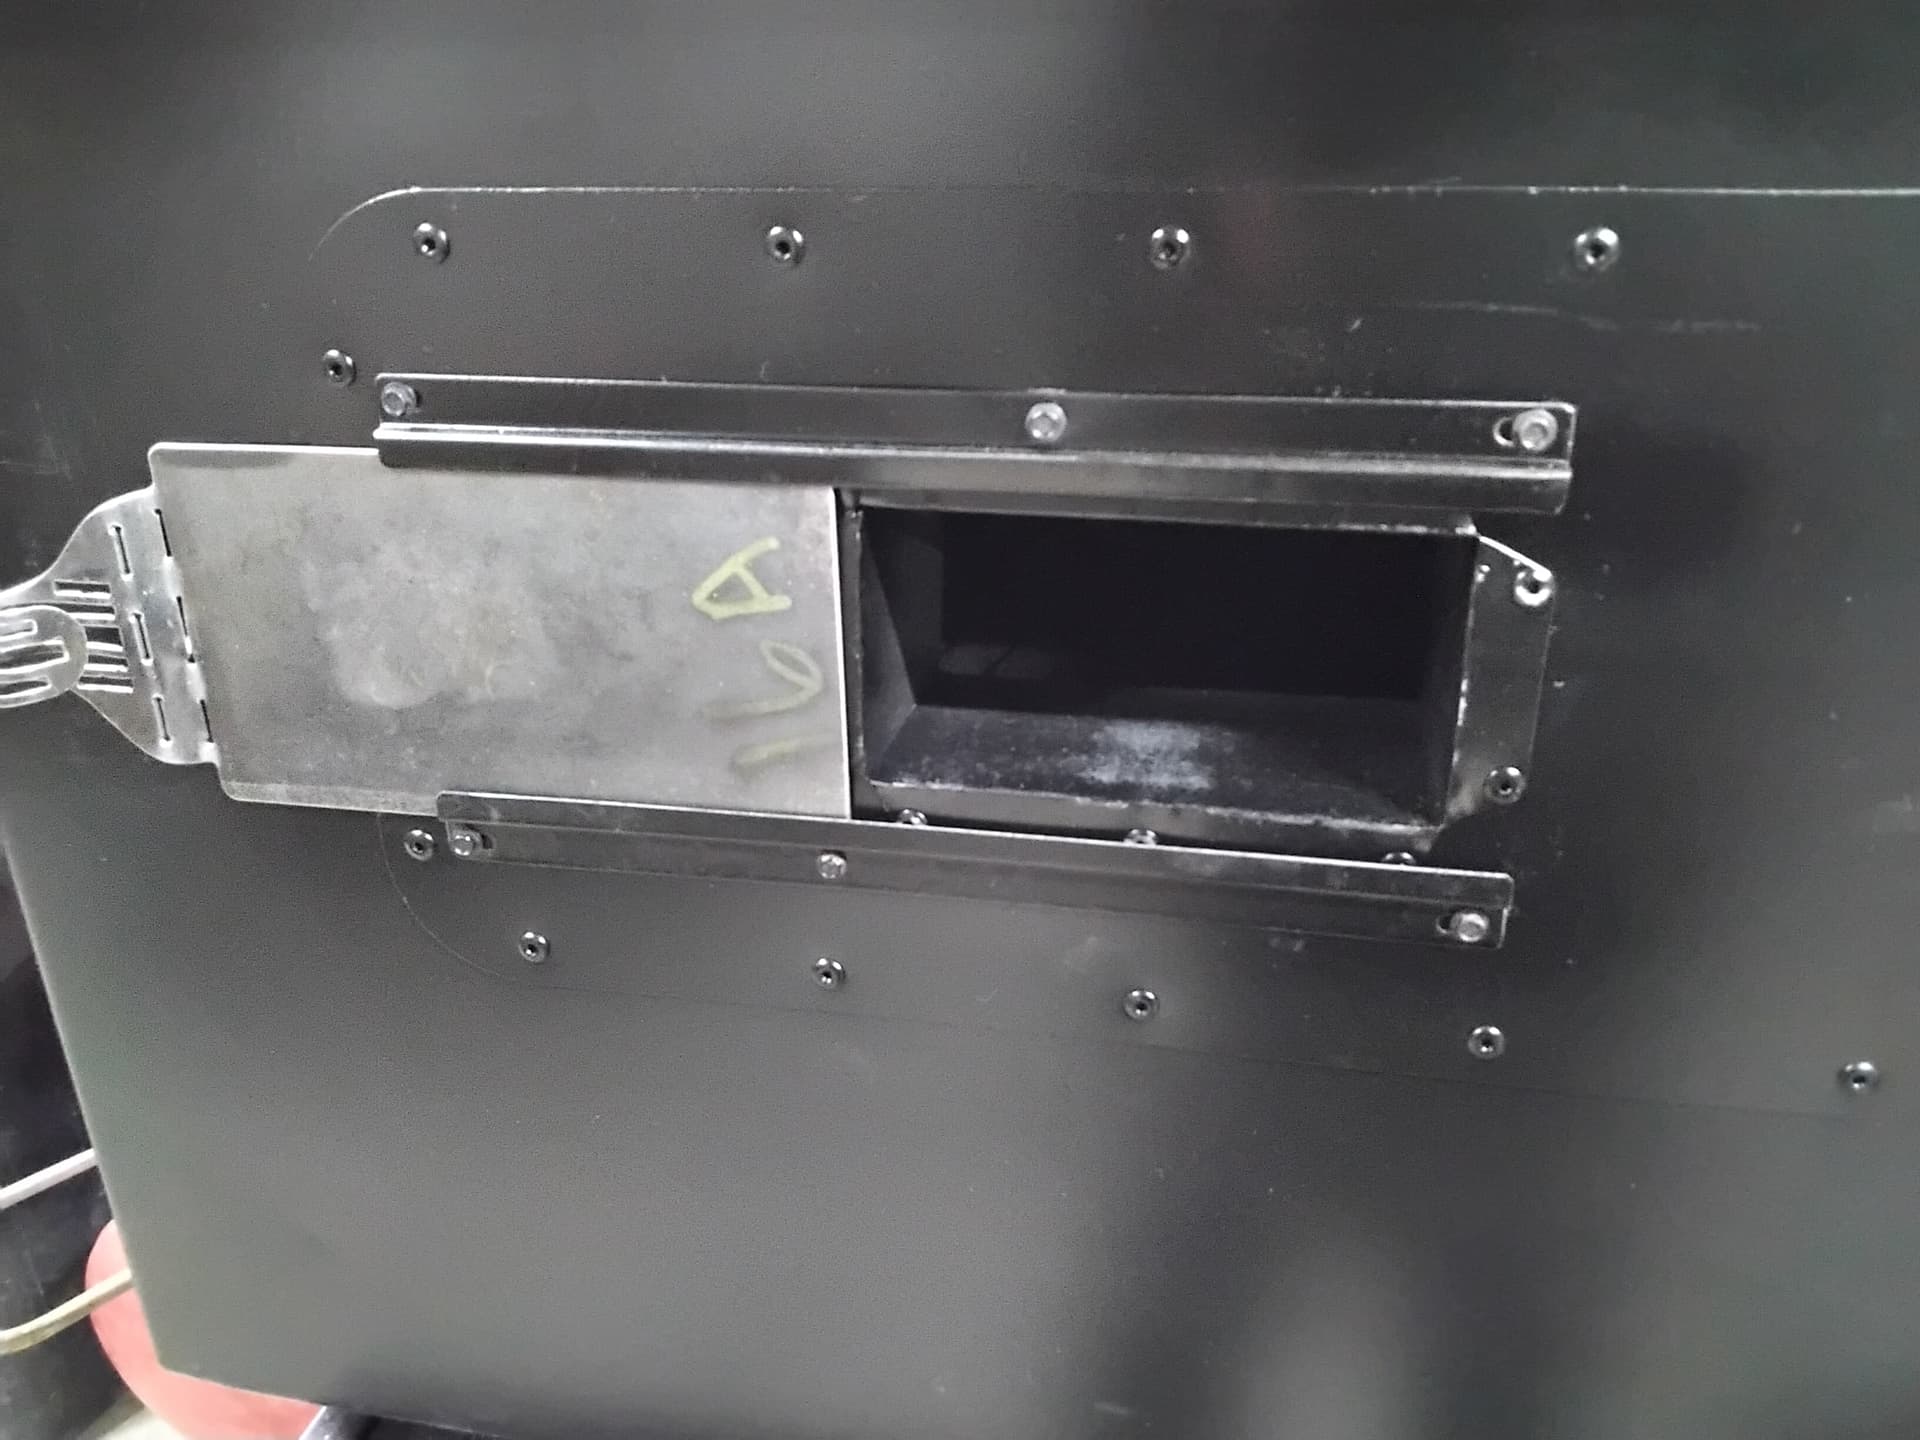
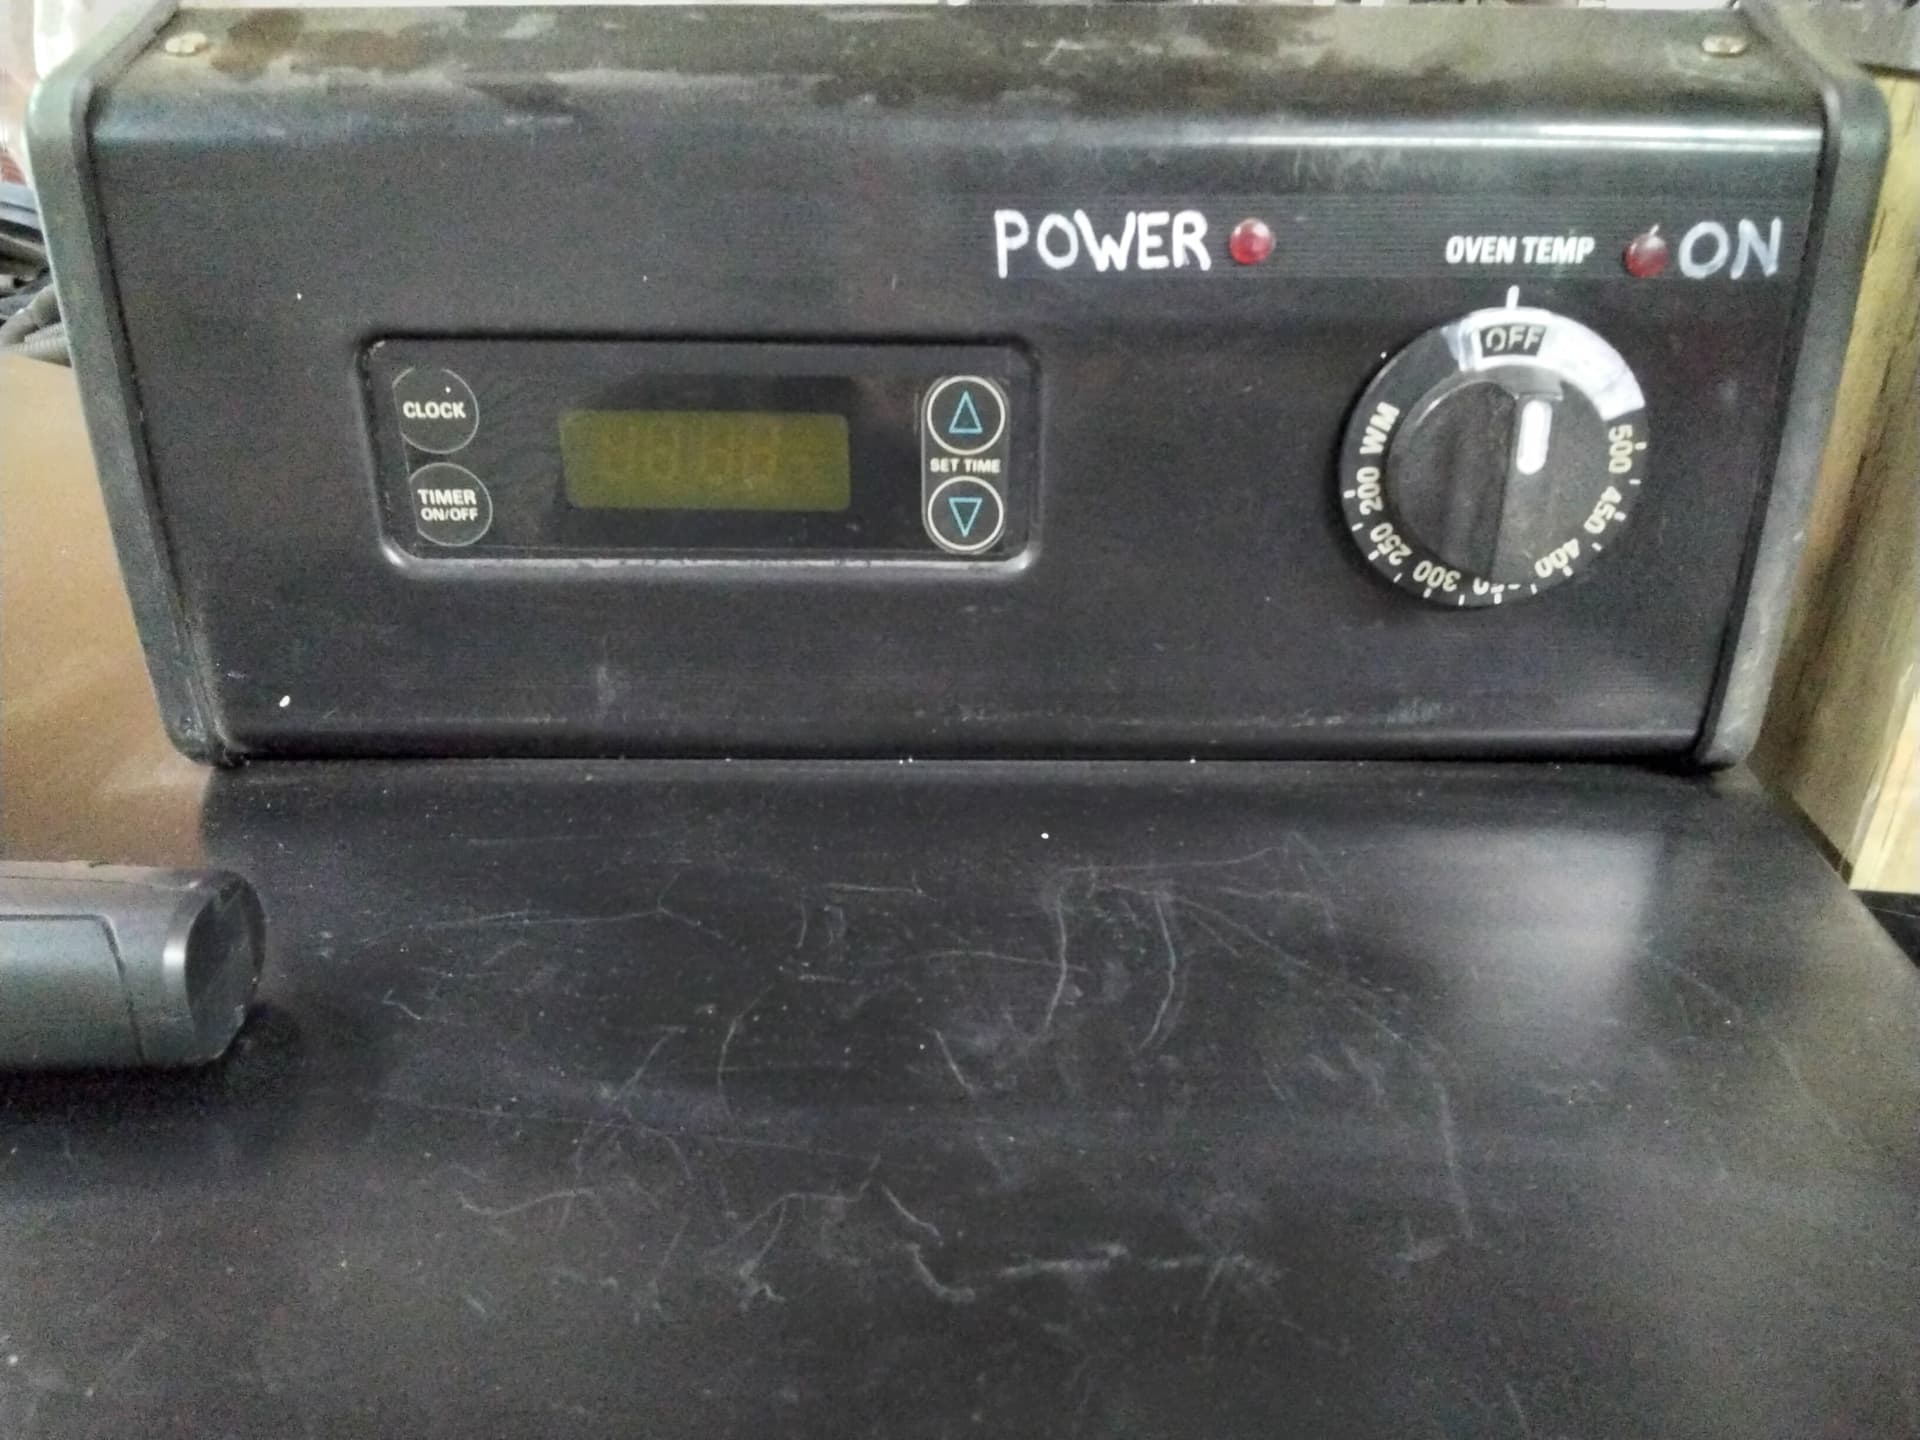
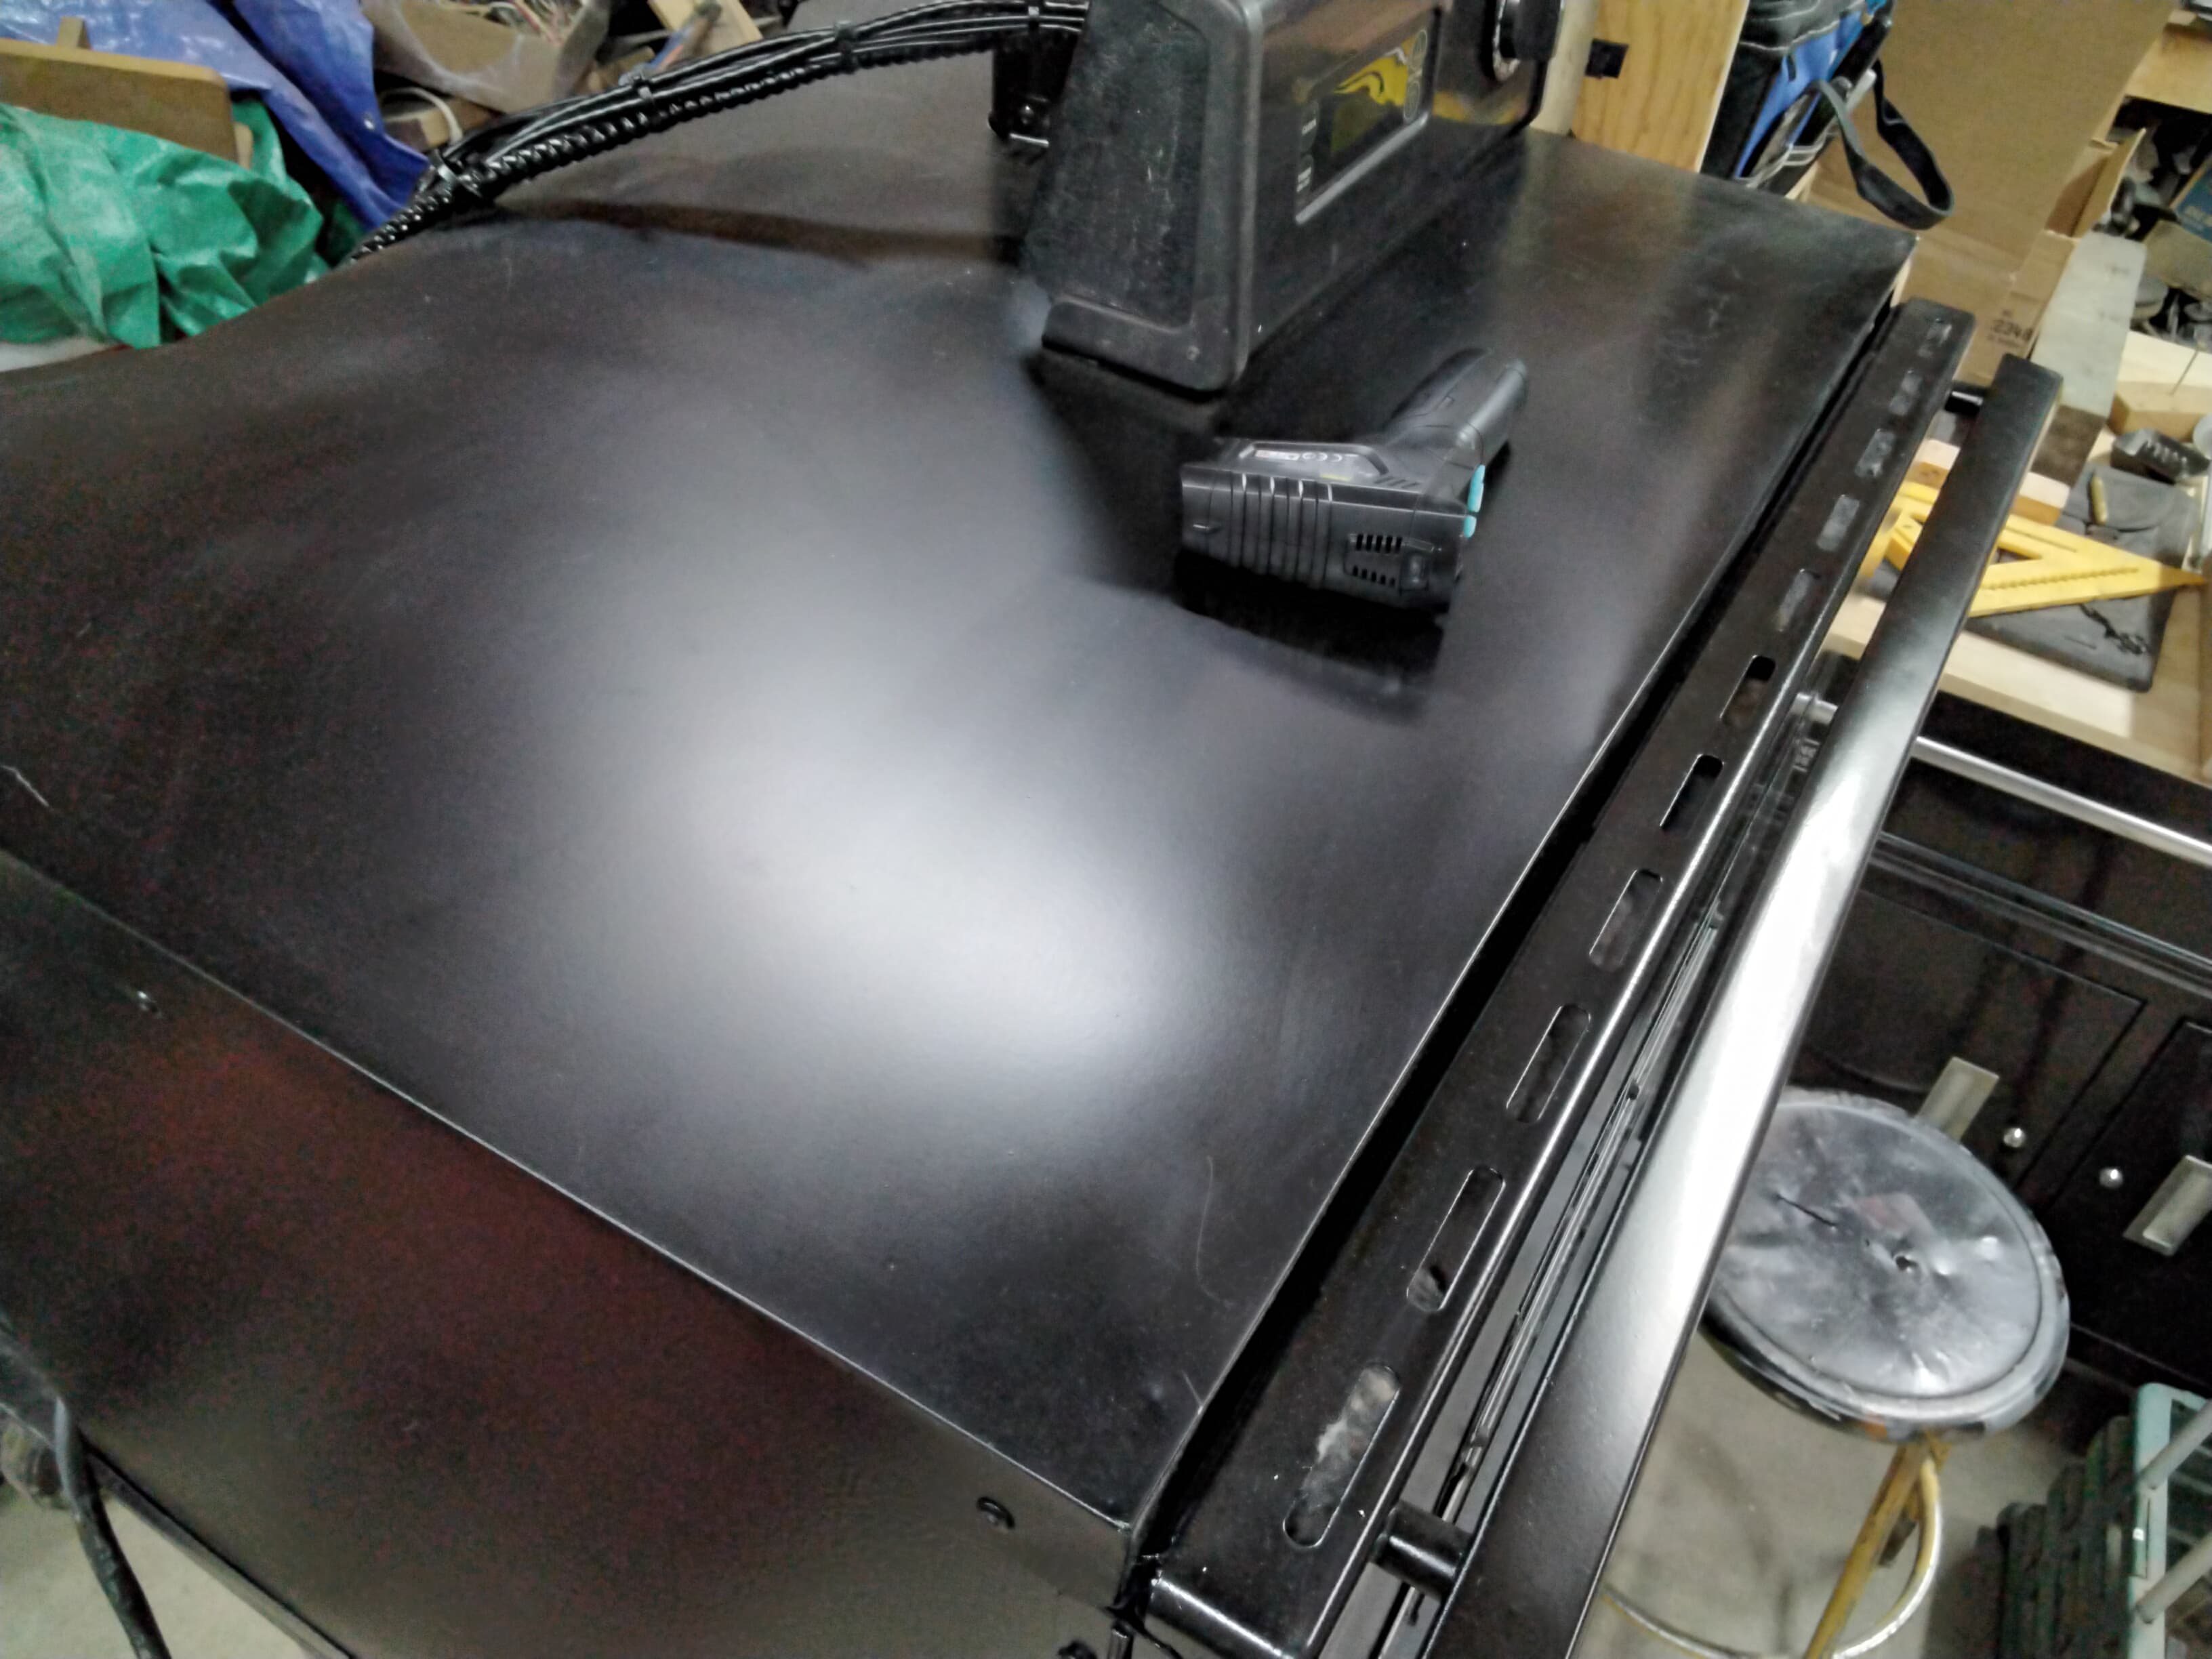
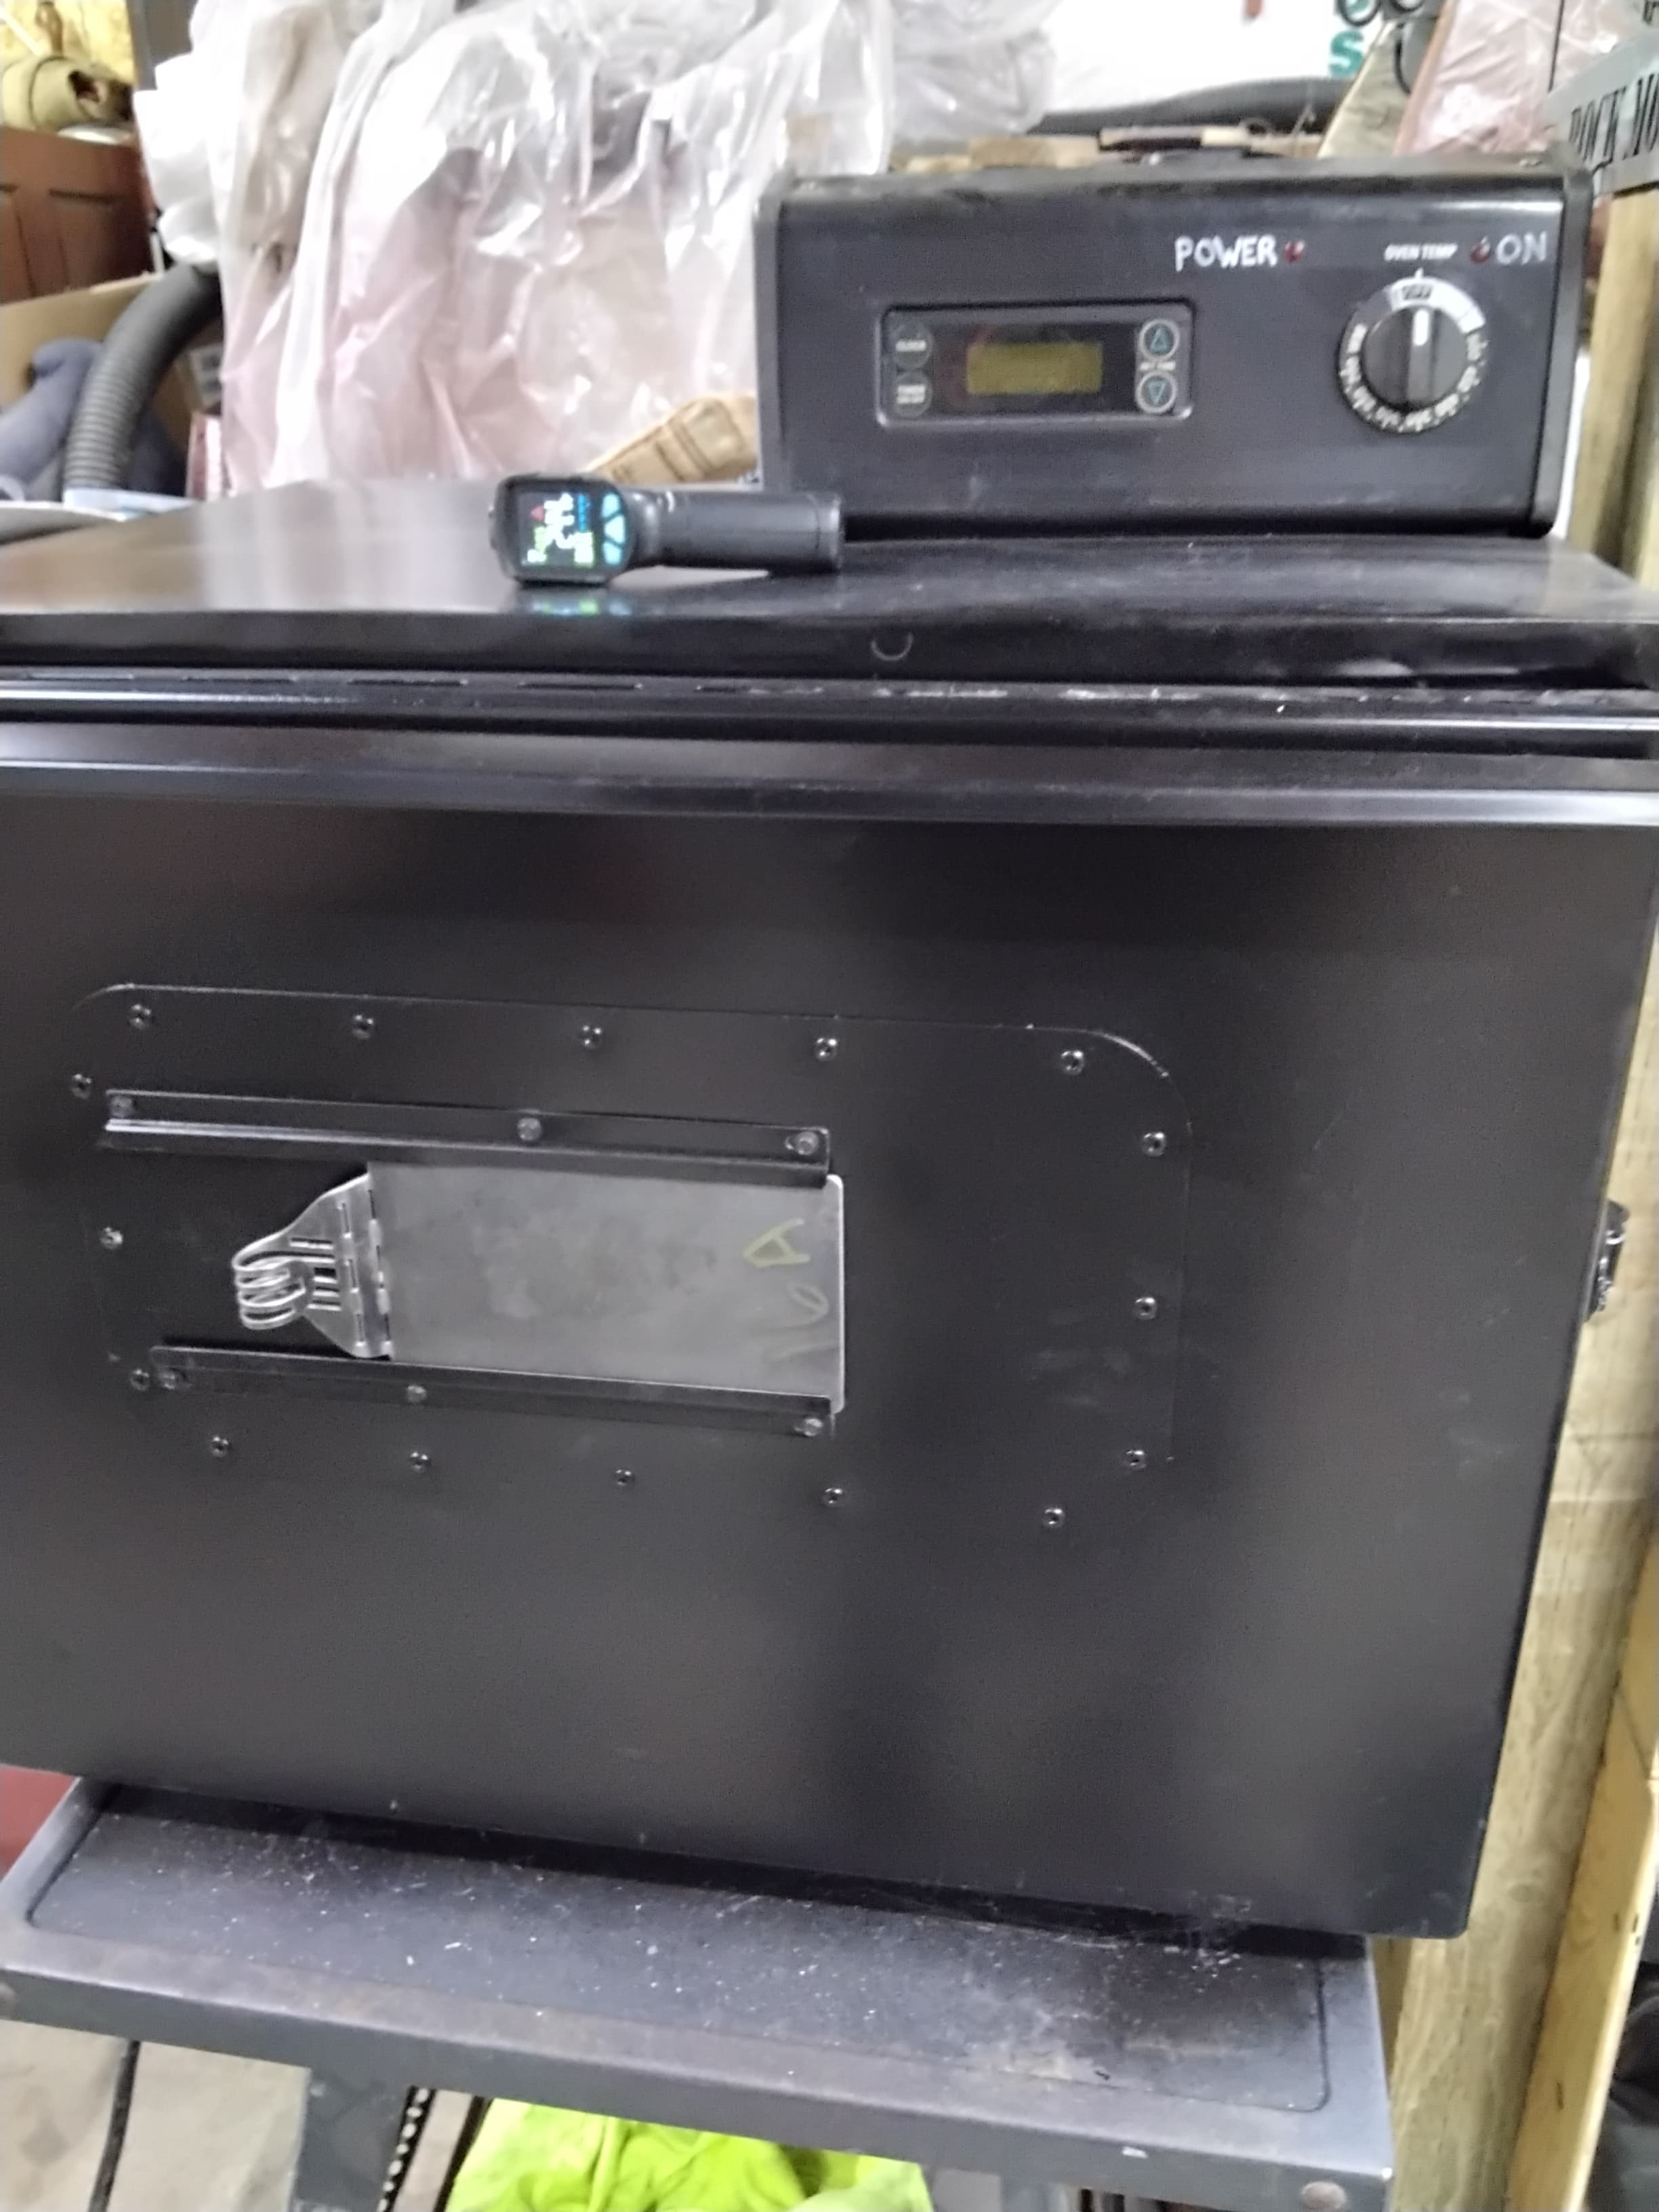
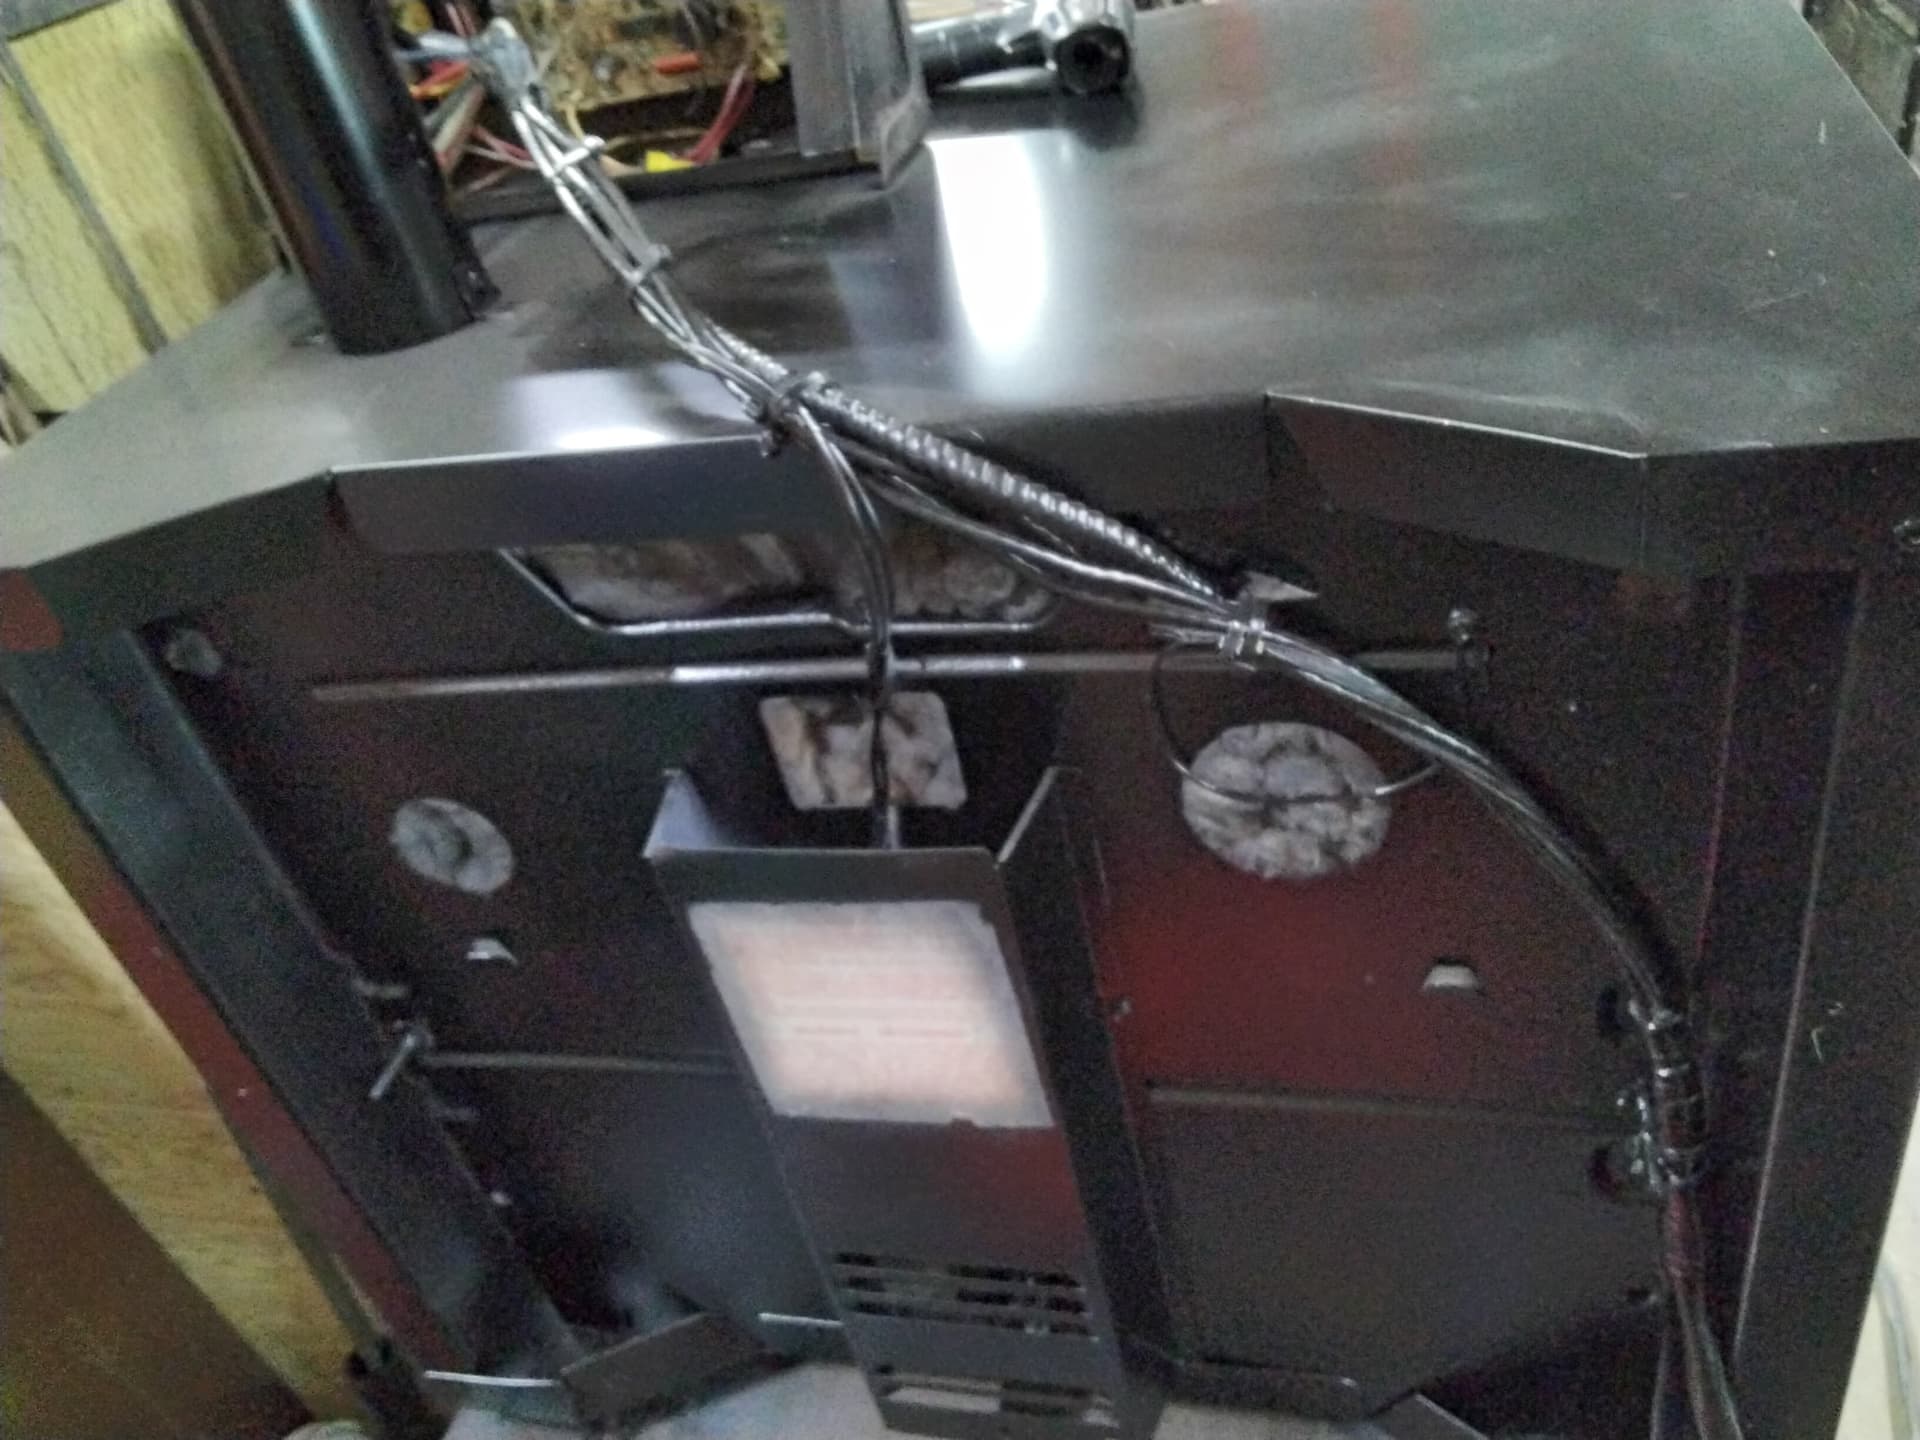
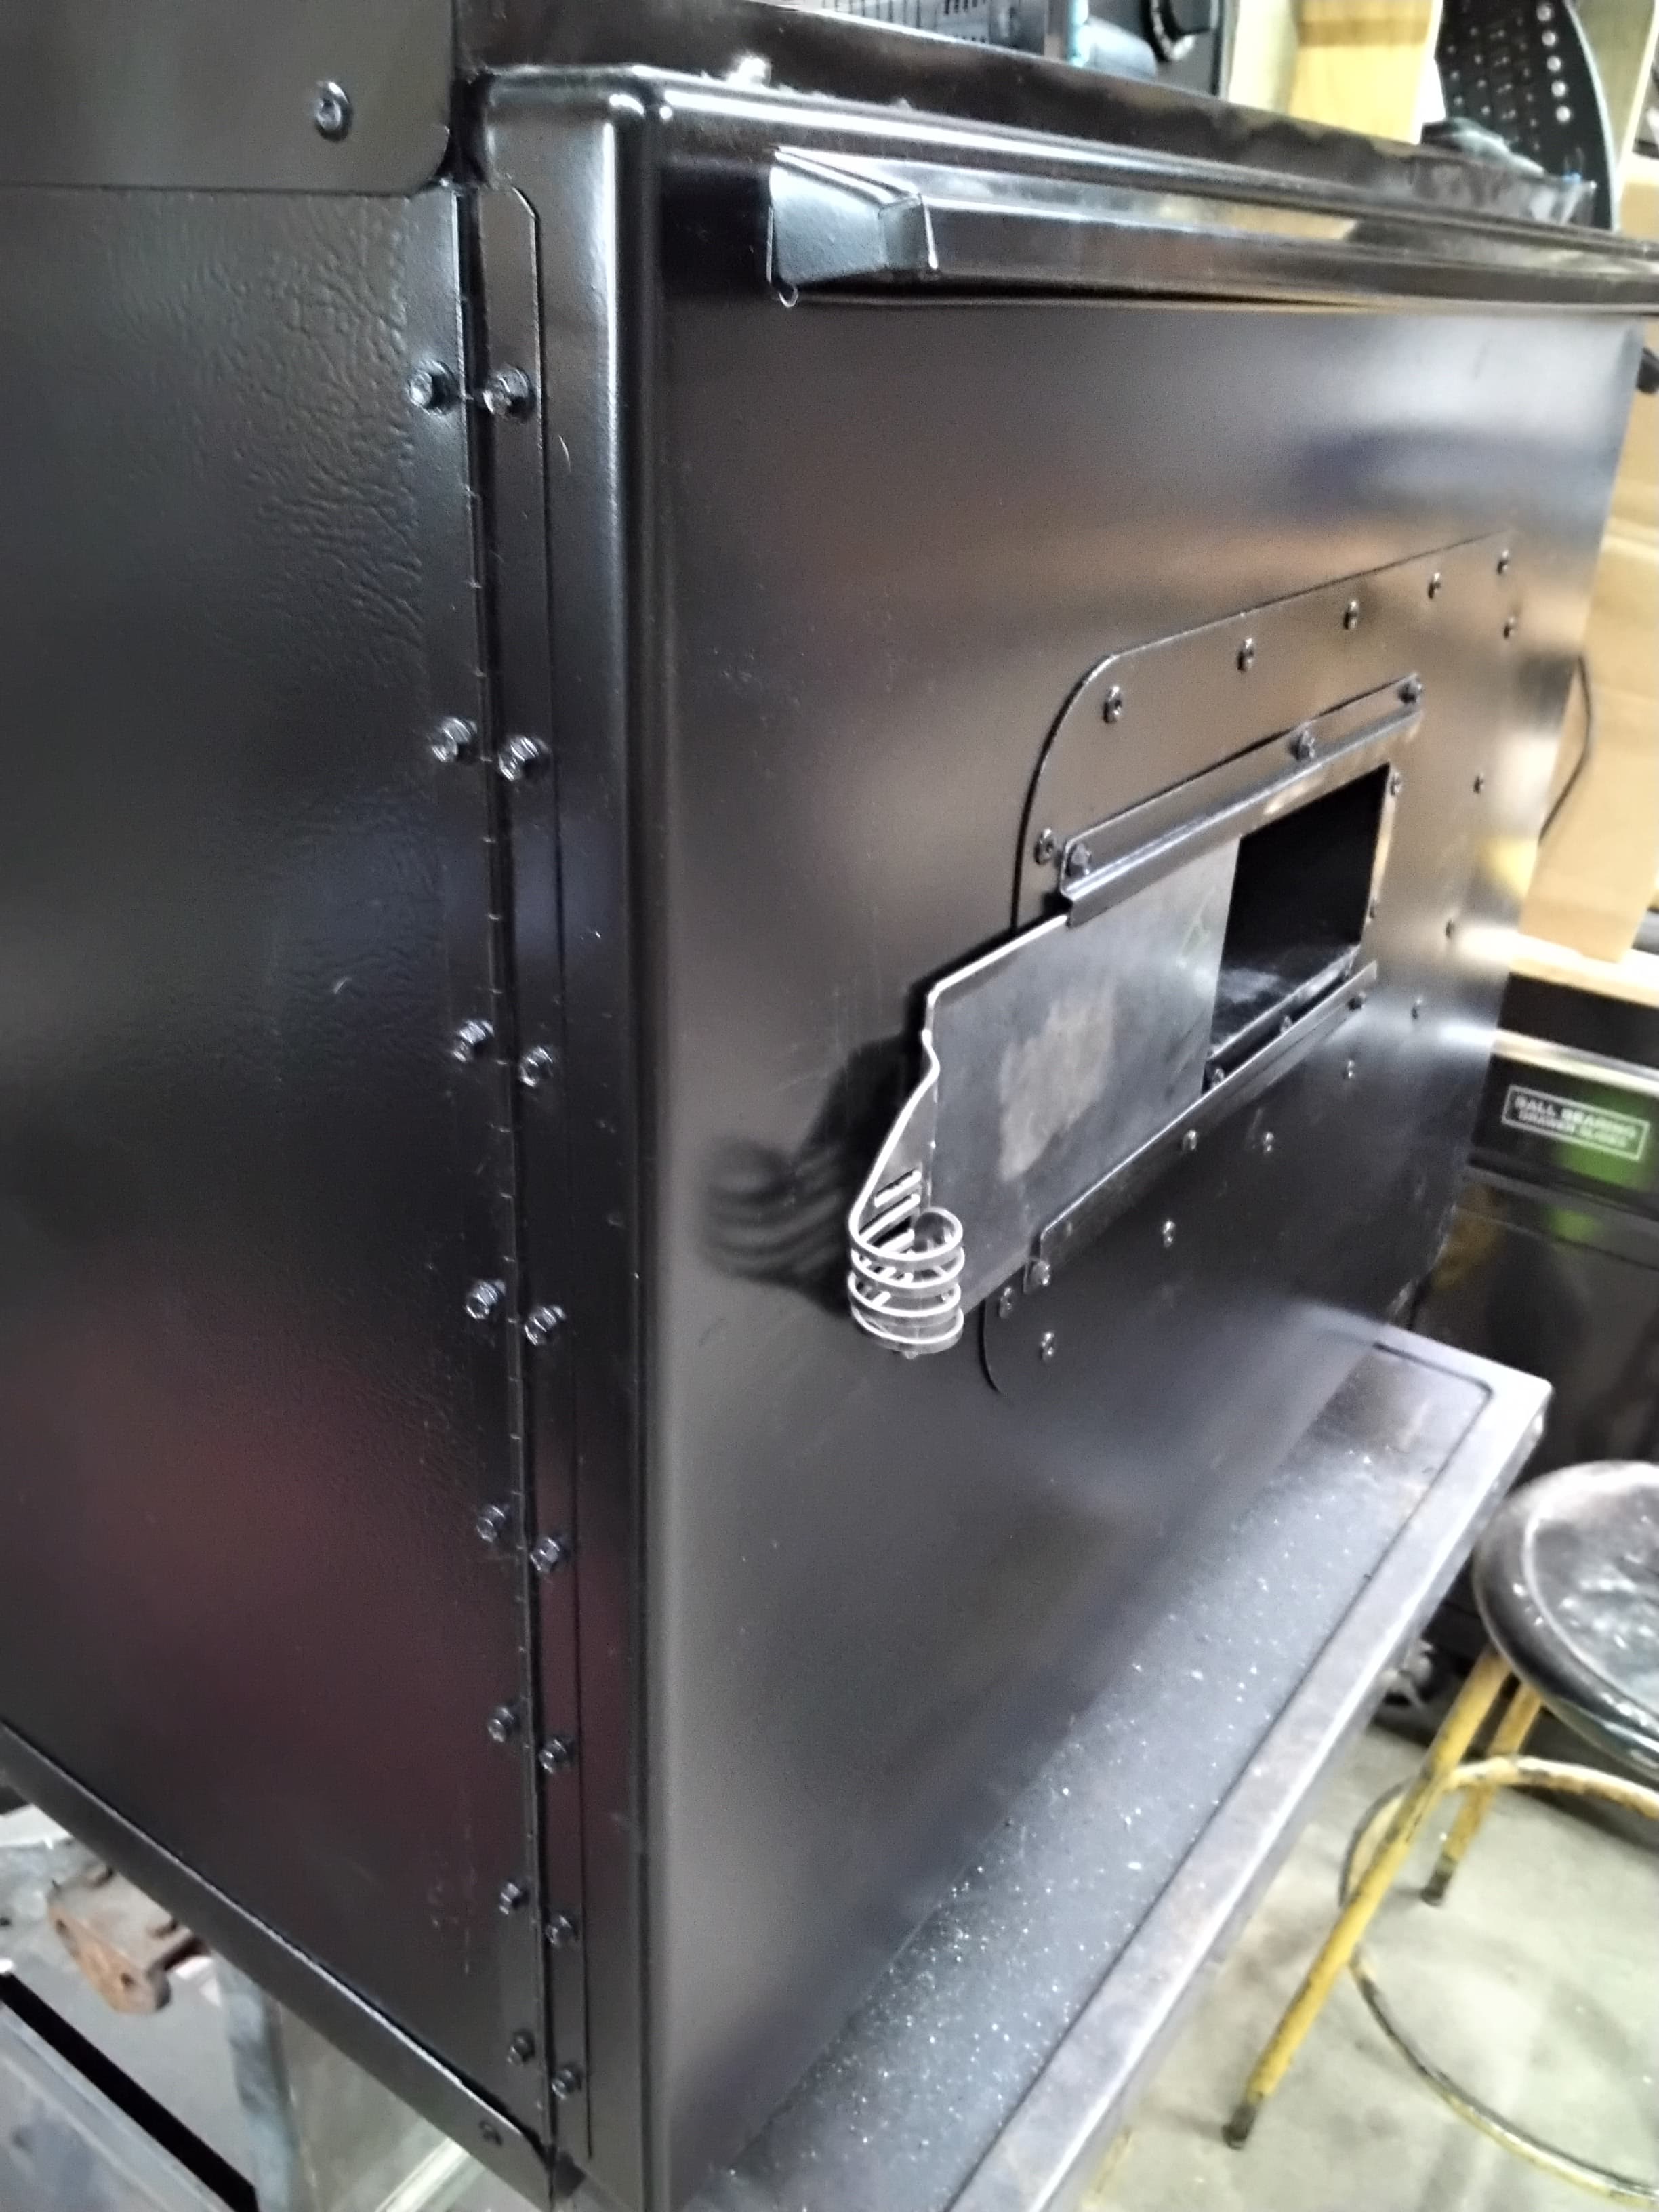
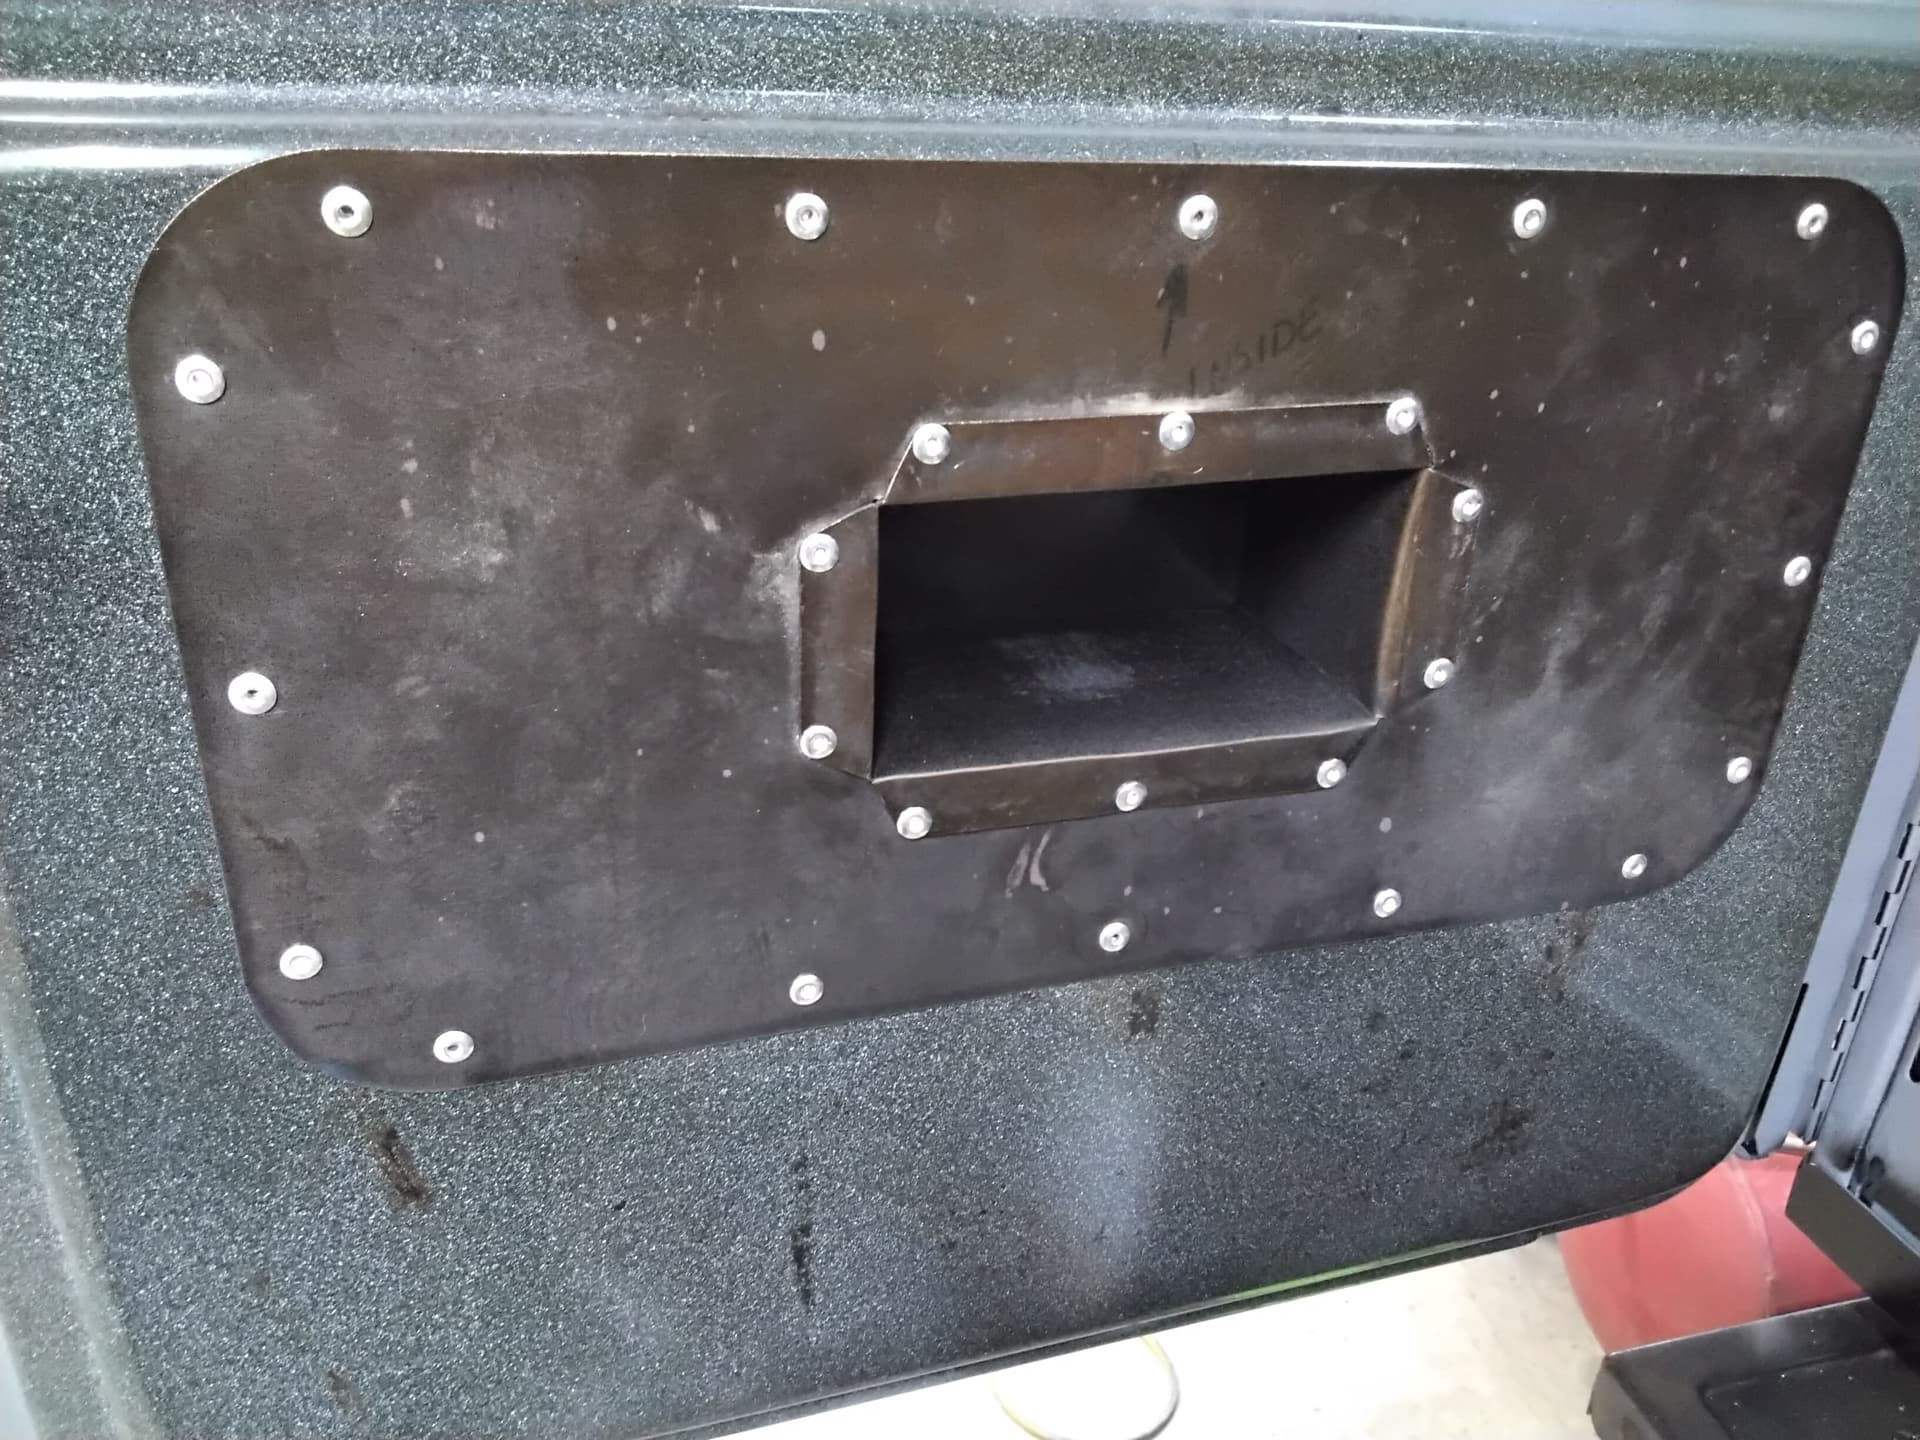
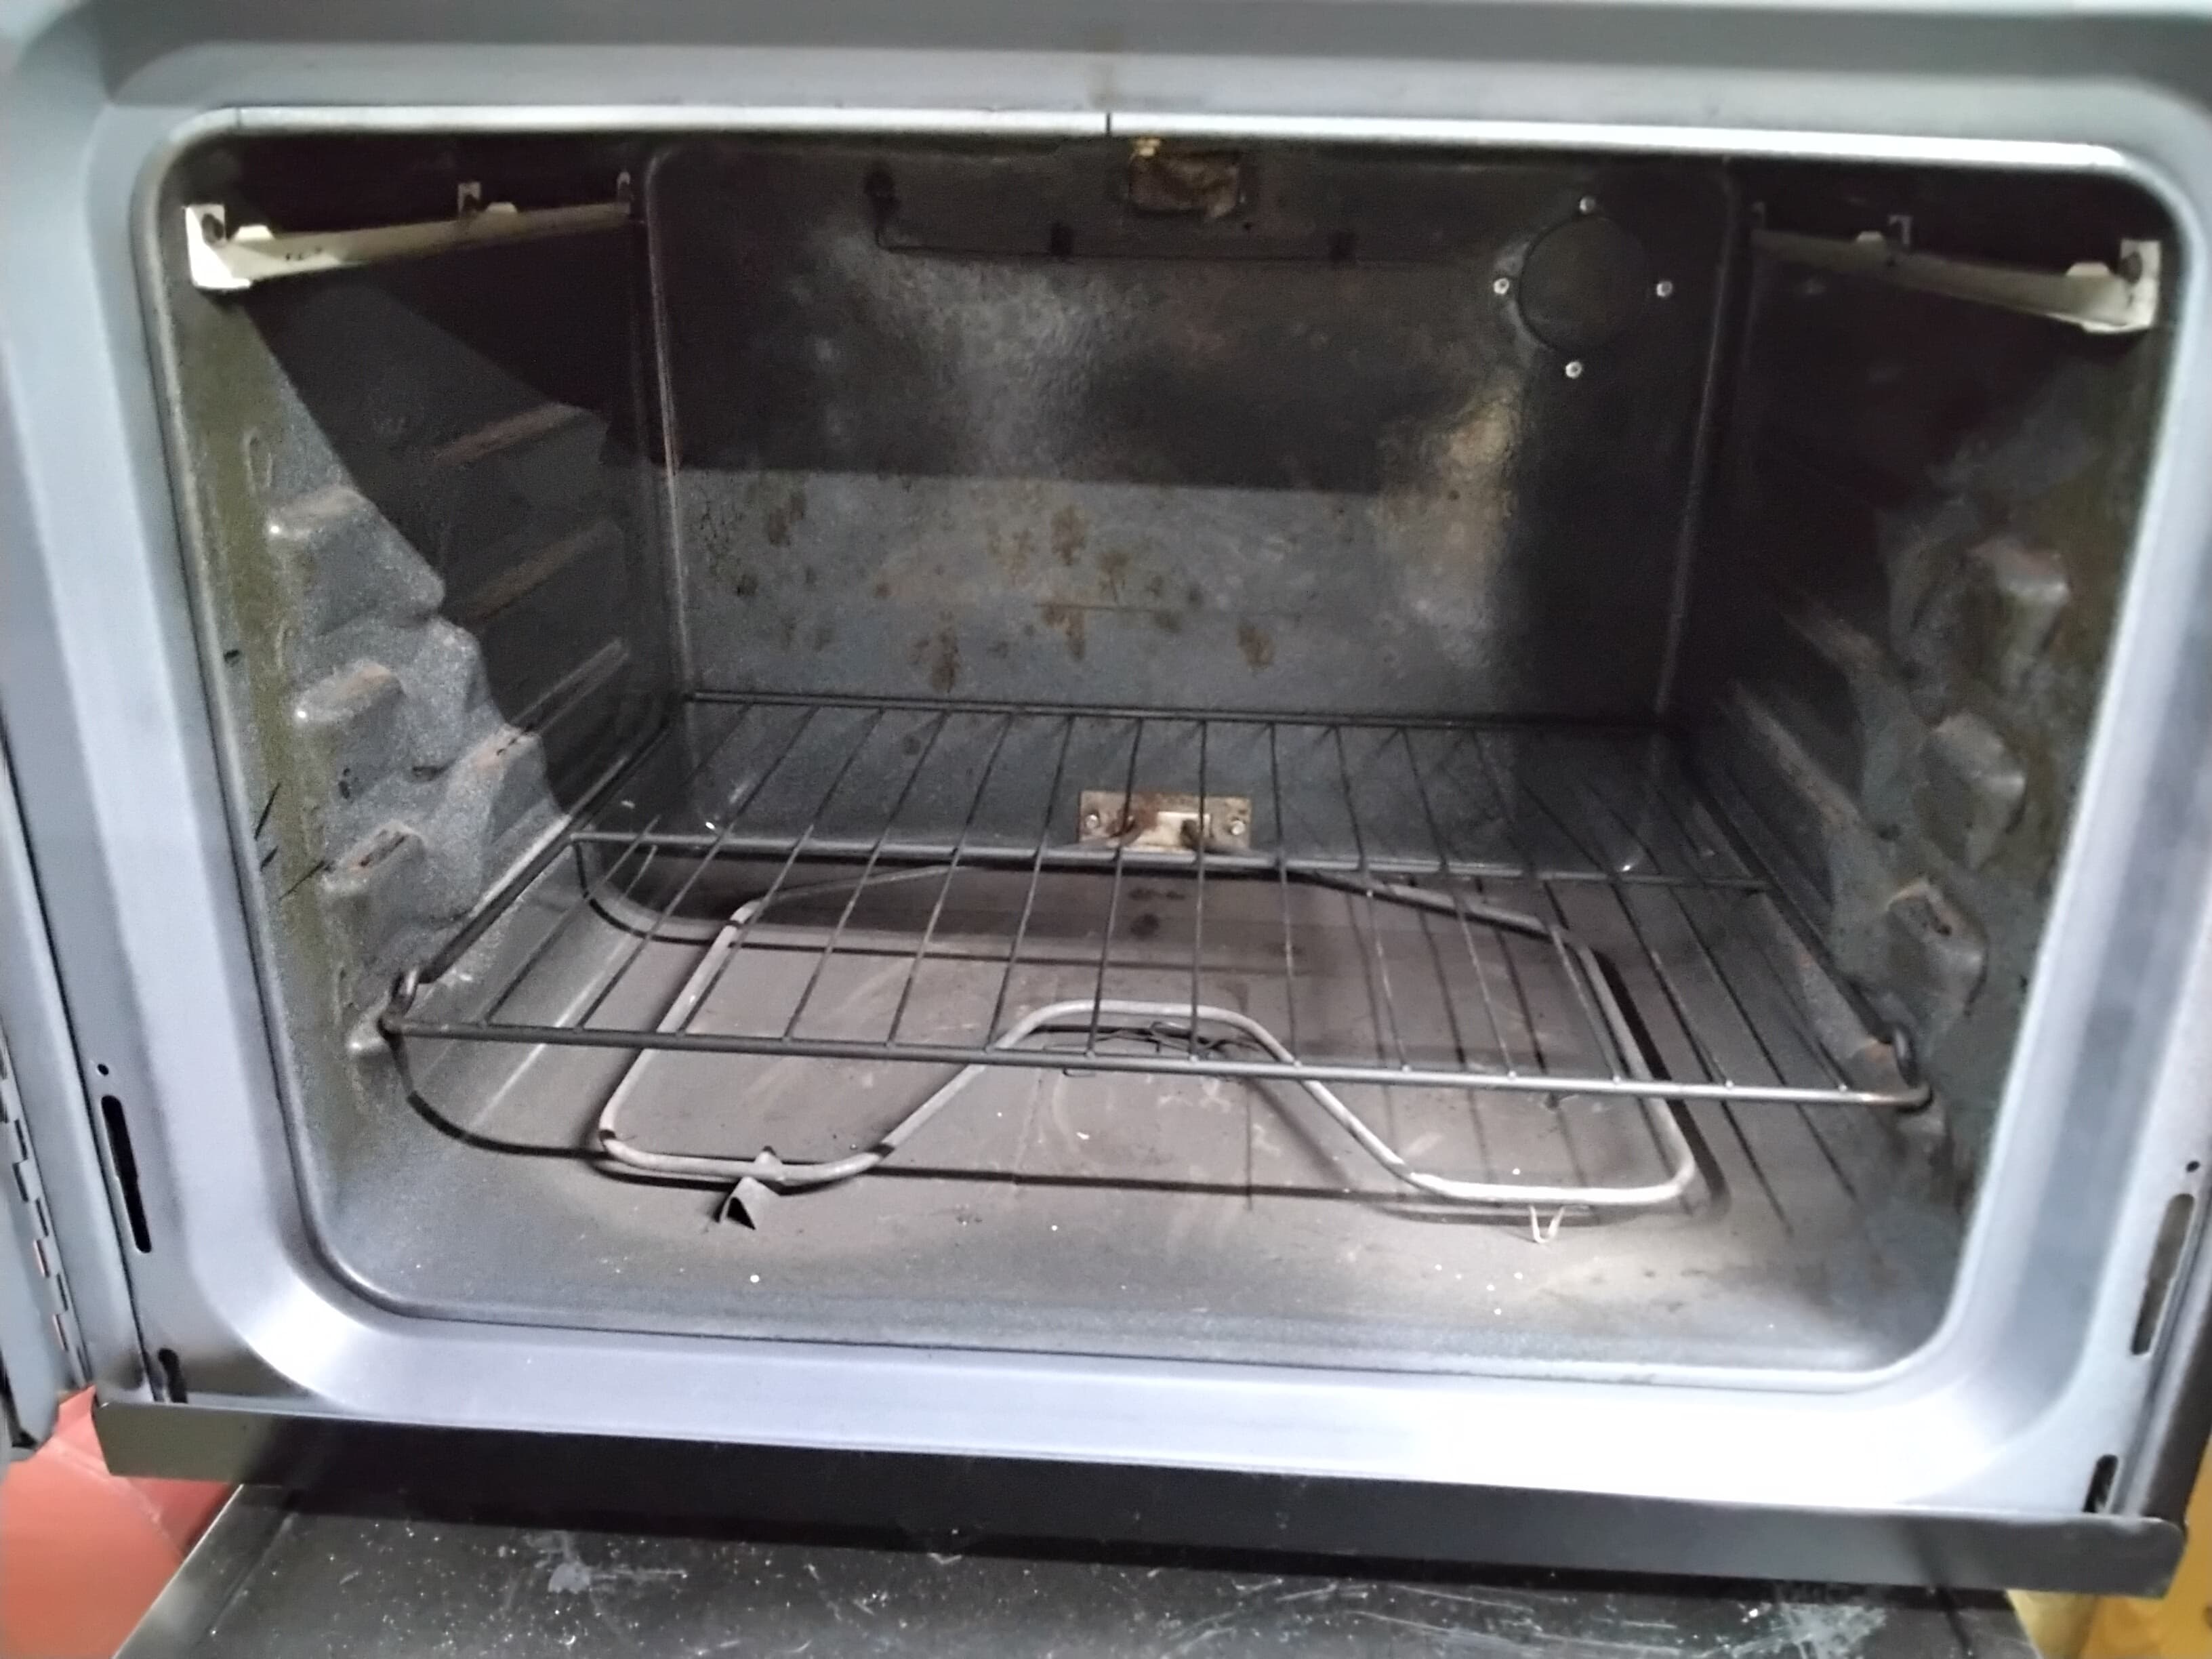
Been quite a while since I last posted here and thought I might share my newest venture. I ripped a nasty old stove apart and came up with this Powder Coating Oven. Used my pro for the top and bottom to make it mouse proof, cut the controls down to size, re-vented, Changed the swing of the door, and provided an inspection door. Something I will add later is a light, as I removed the stock one for product room.
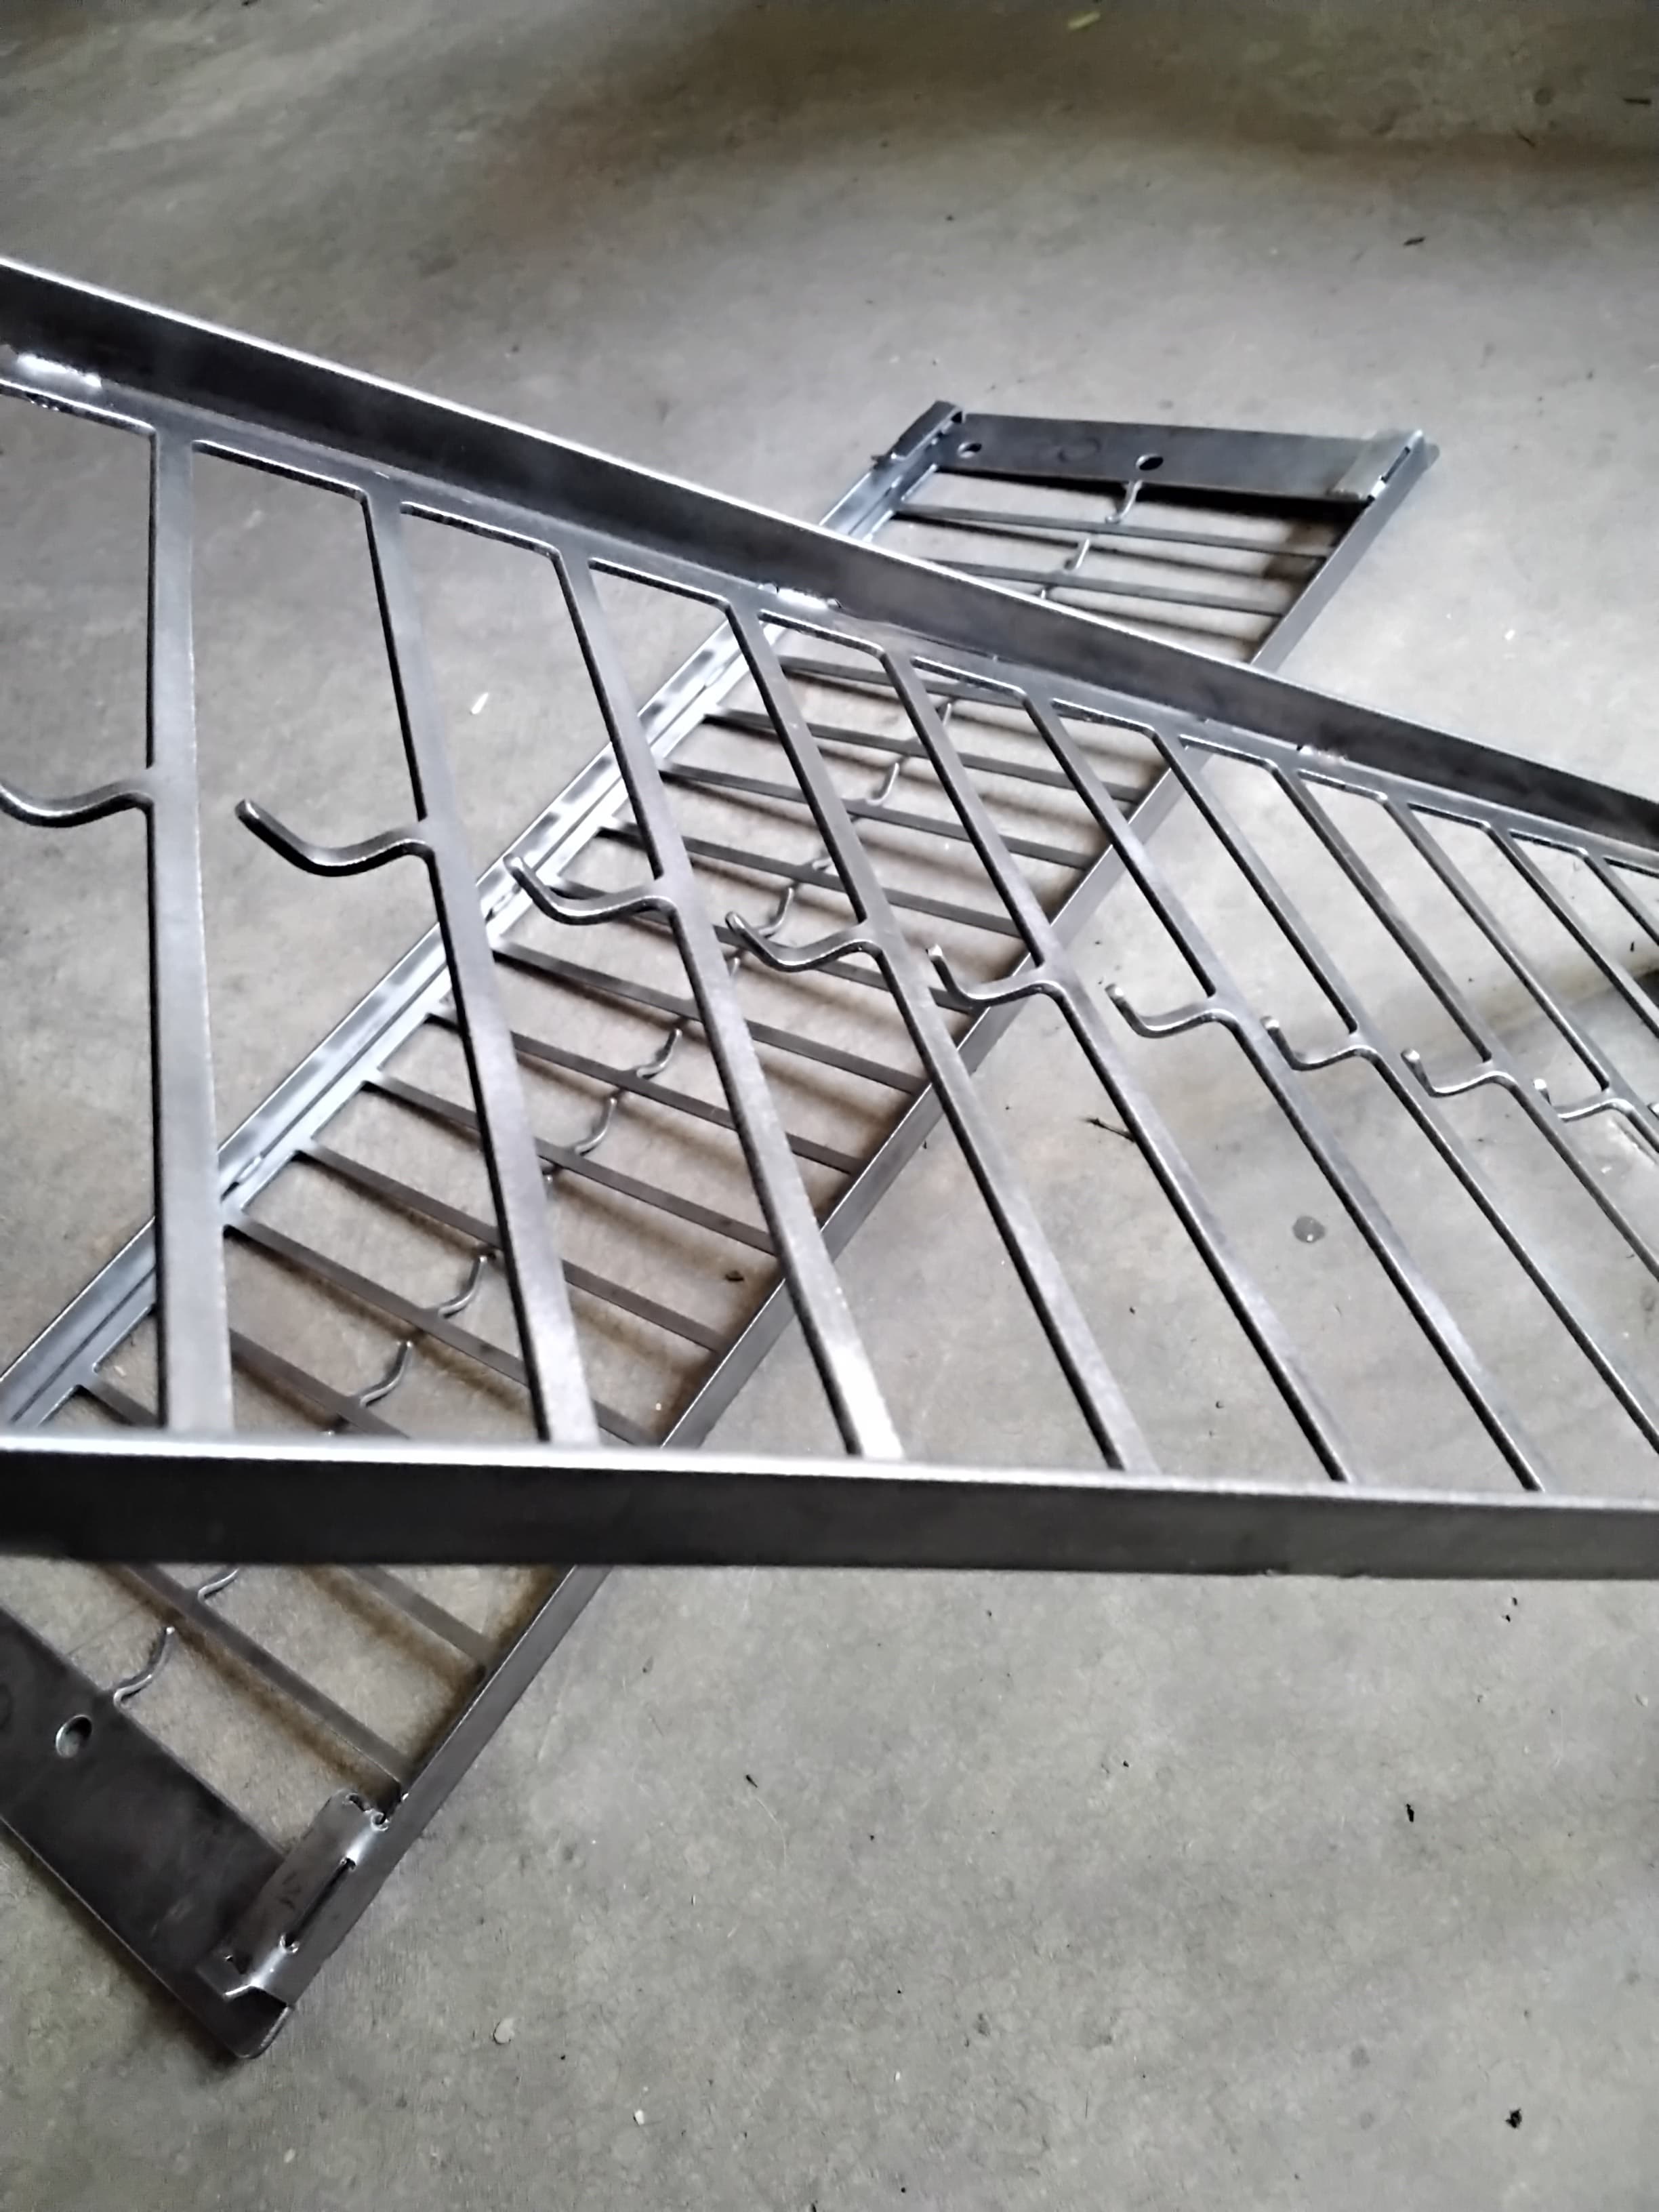
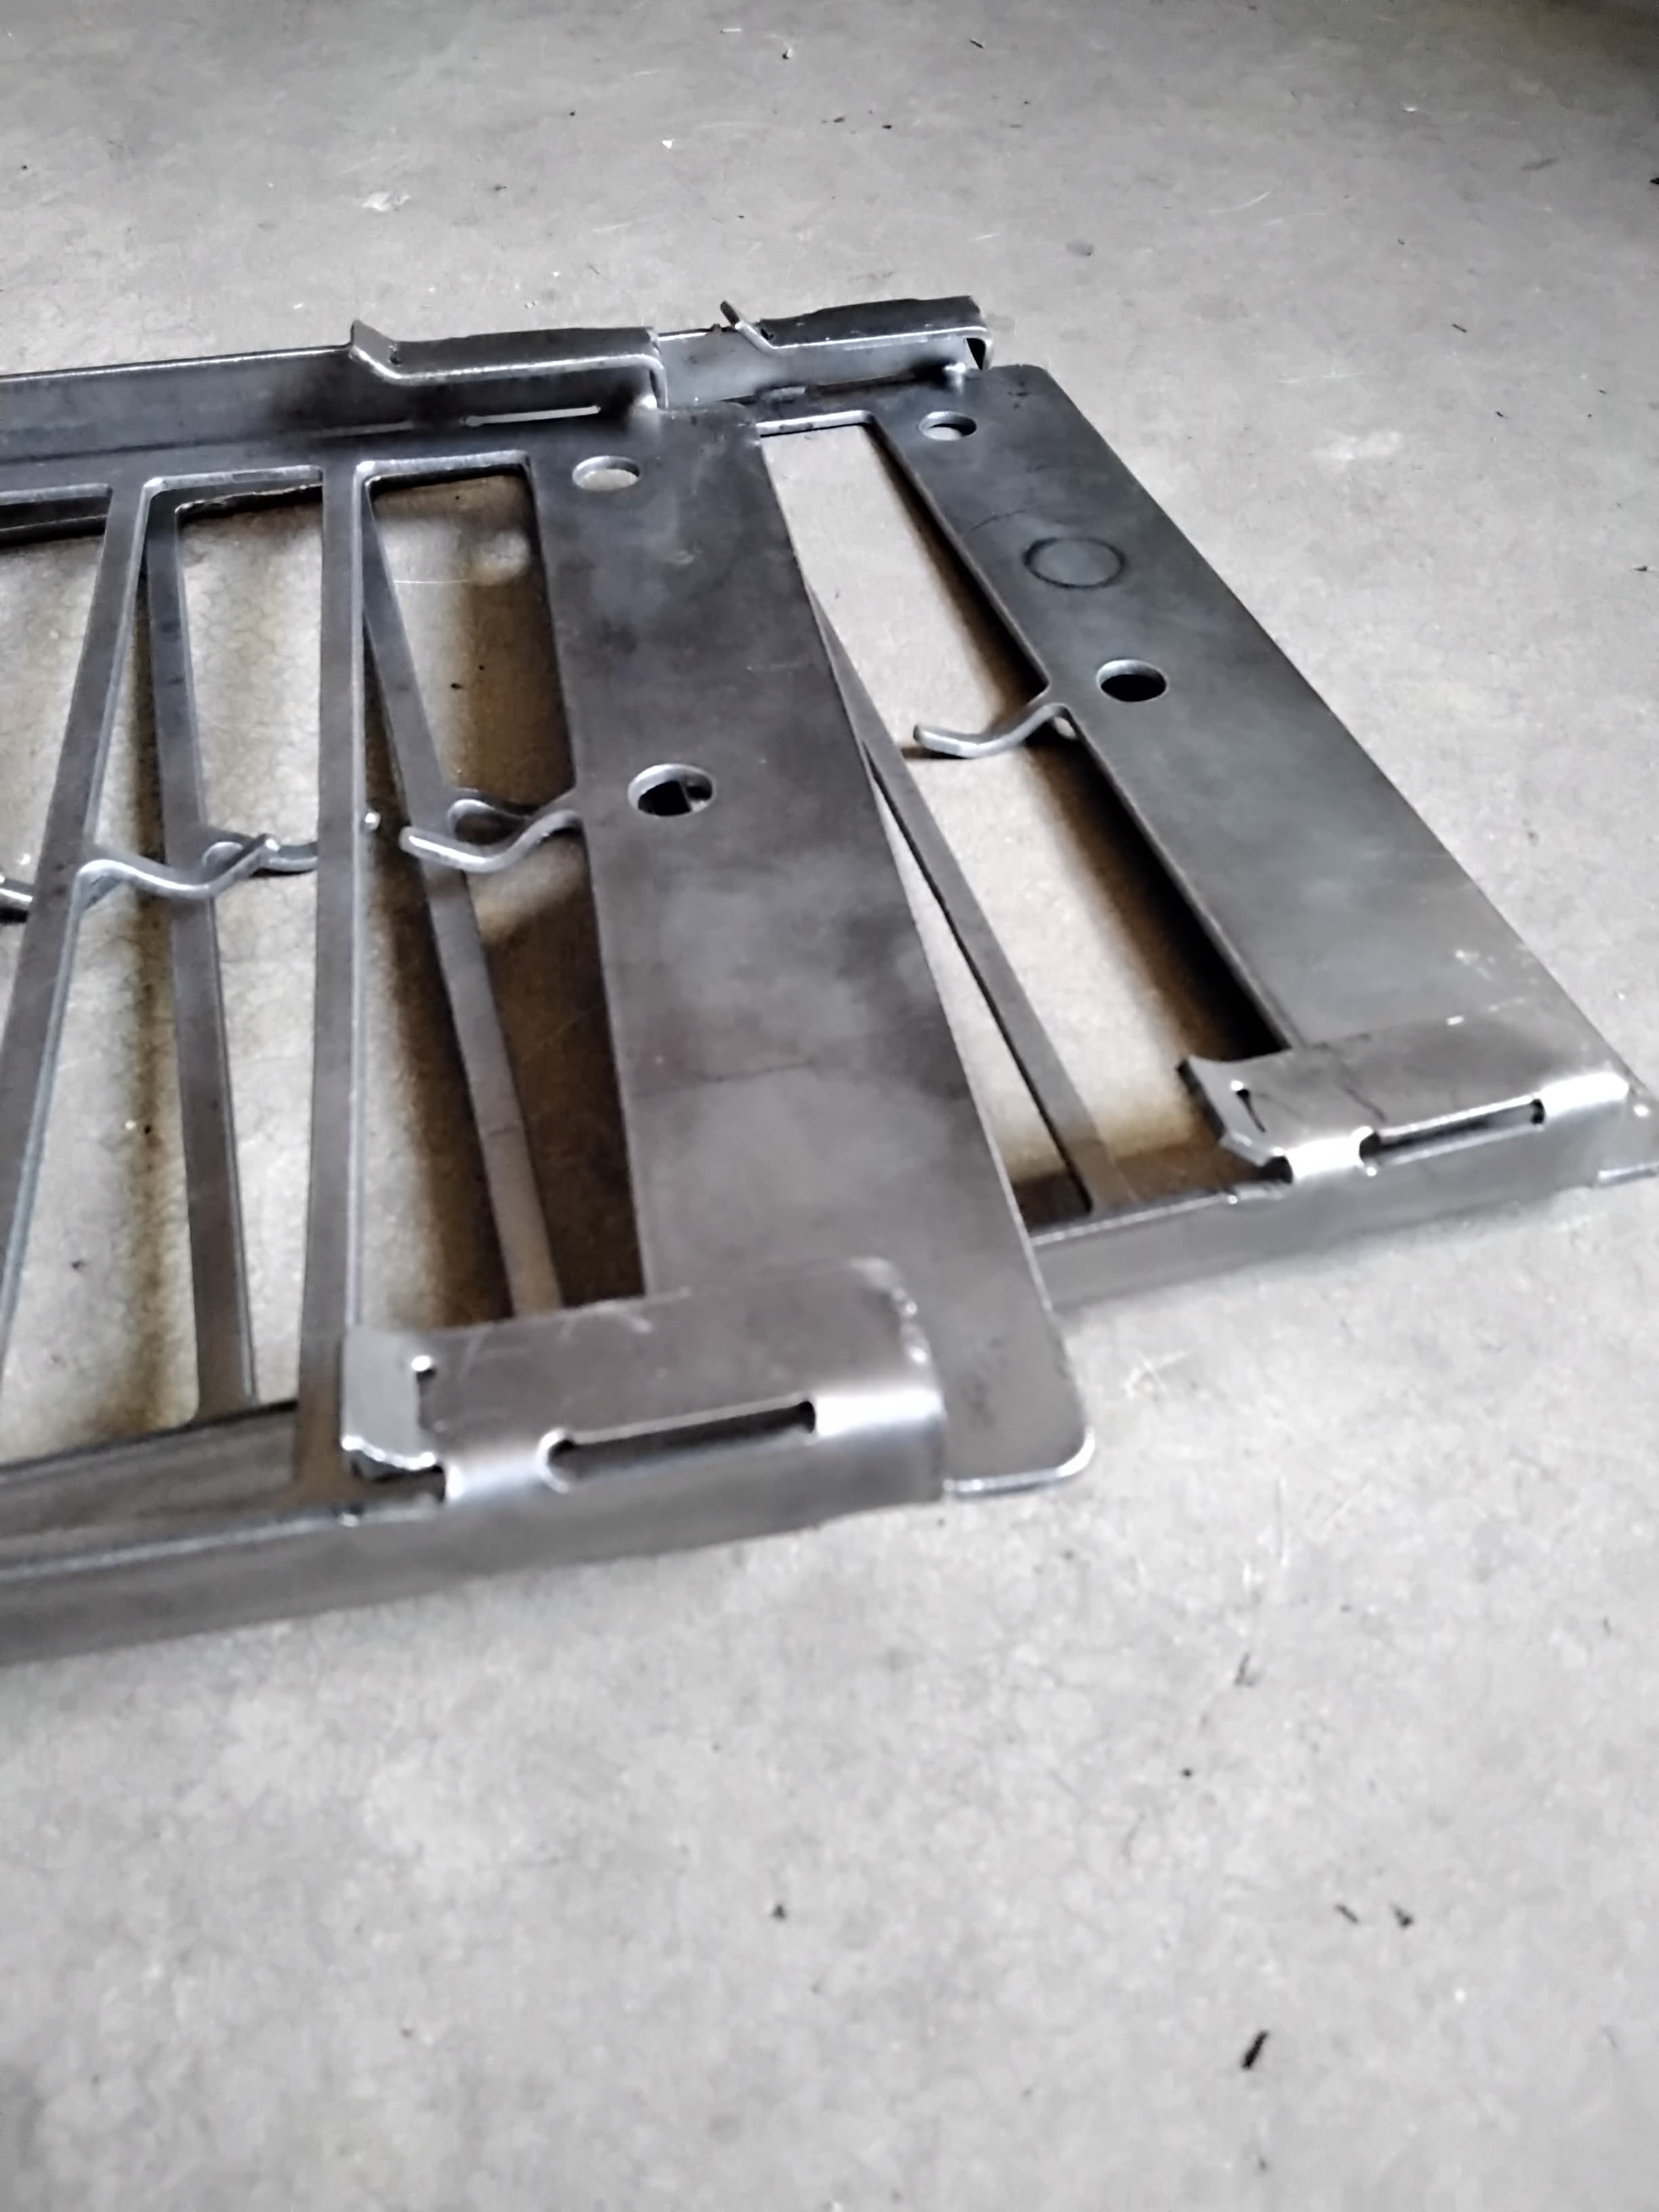
Also created a couple of racks for specific and general purpose. I coat right on the rack an place into the oven. Bought a cheap IR laser thermometer which seem to be accurate enough. It’s a learning curve, but quite doable for someone with no experience.
I’ll try to get the Top, Bottom, and Racks uploaded to Fireshare soon.

Here’s the racks…
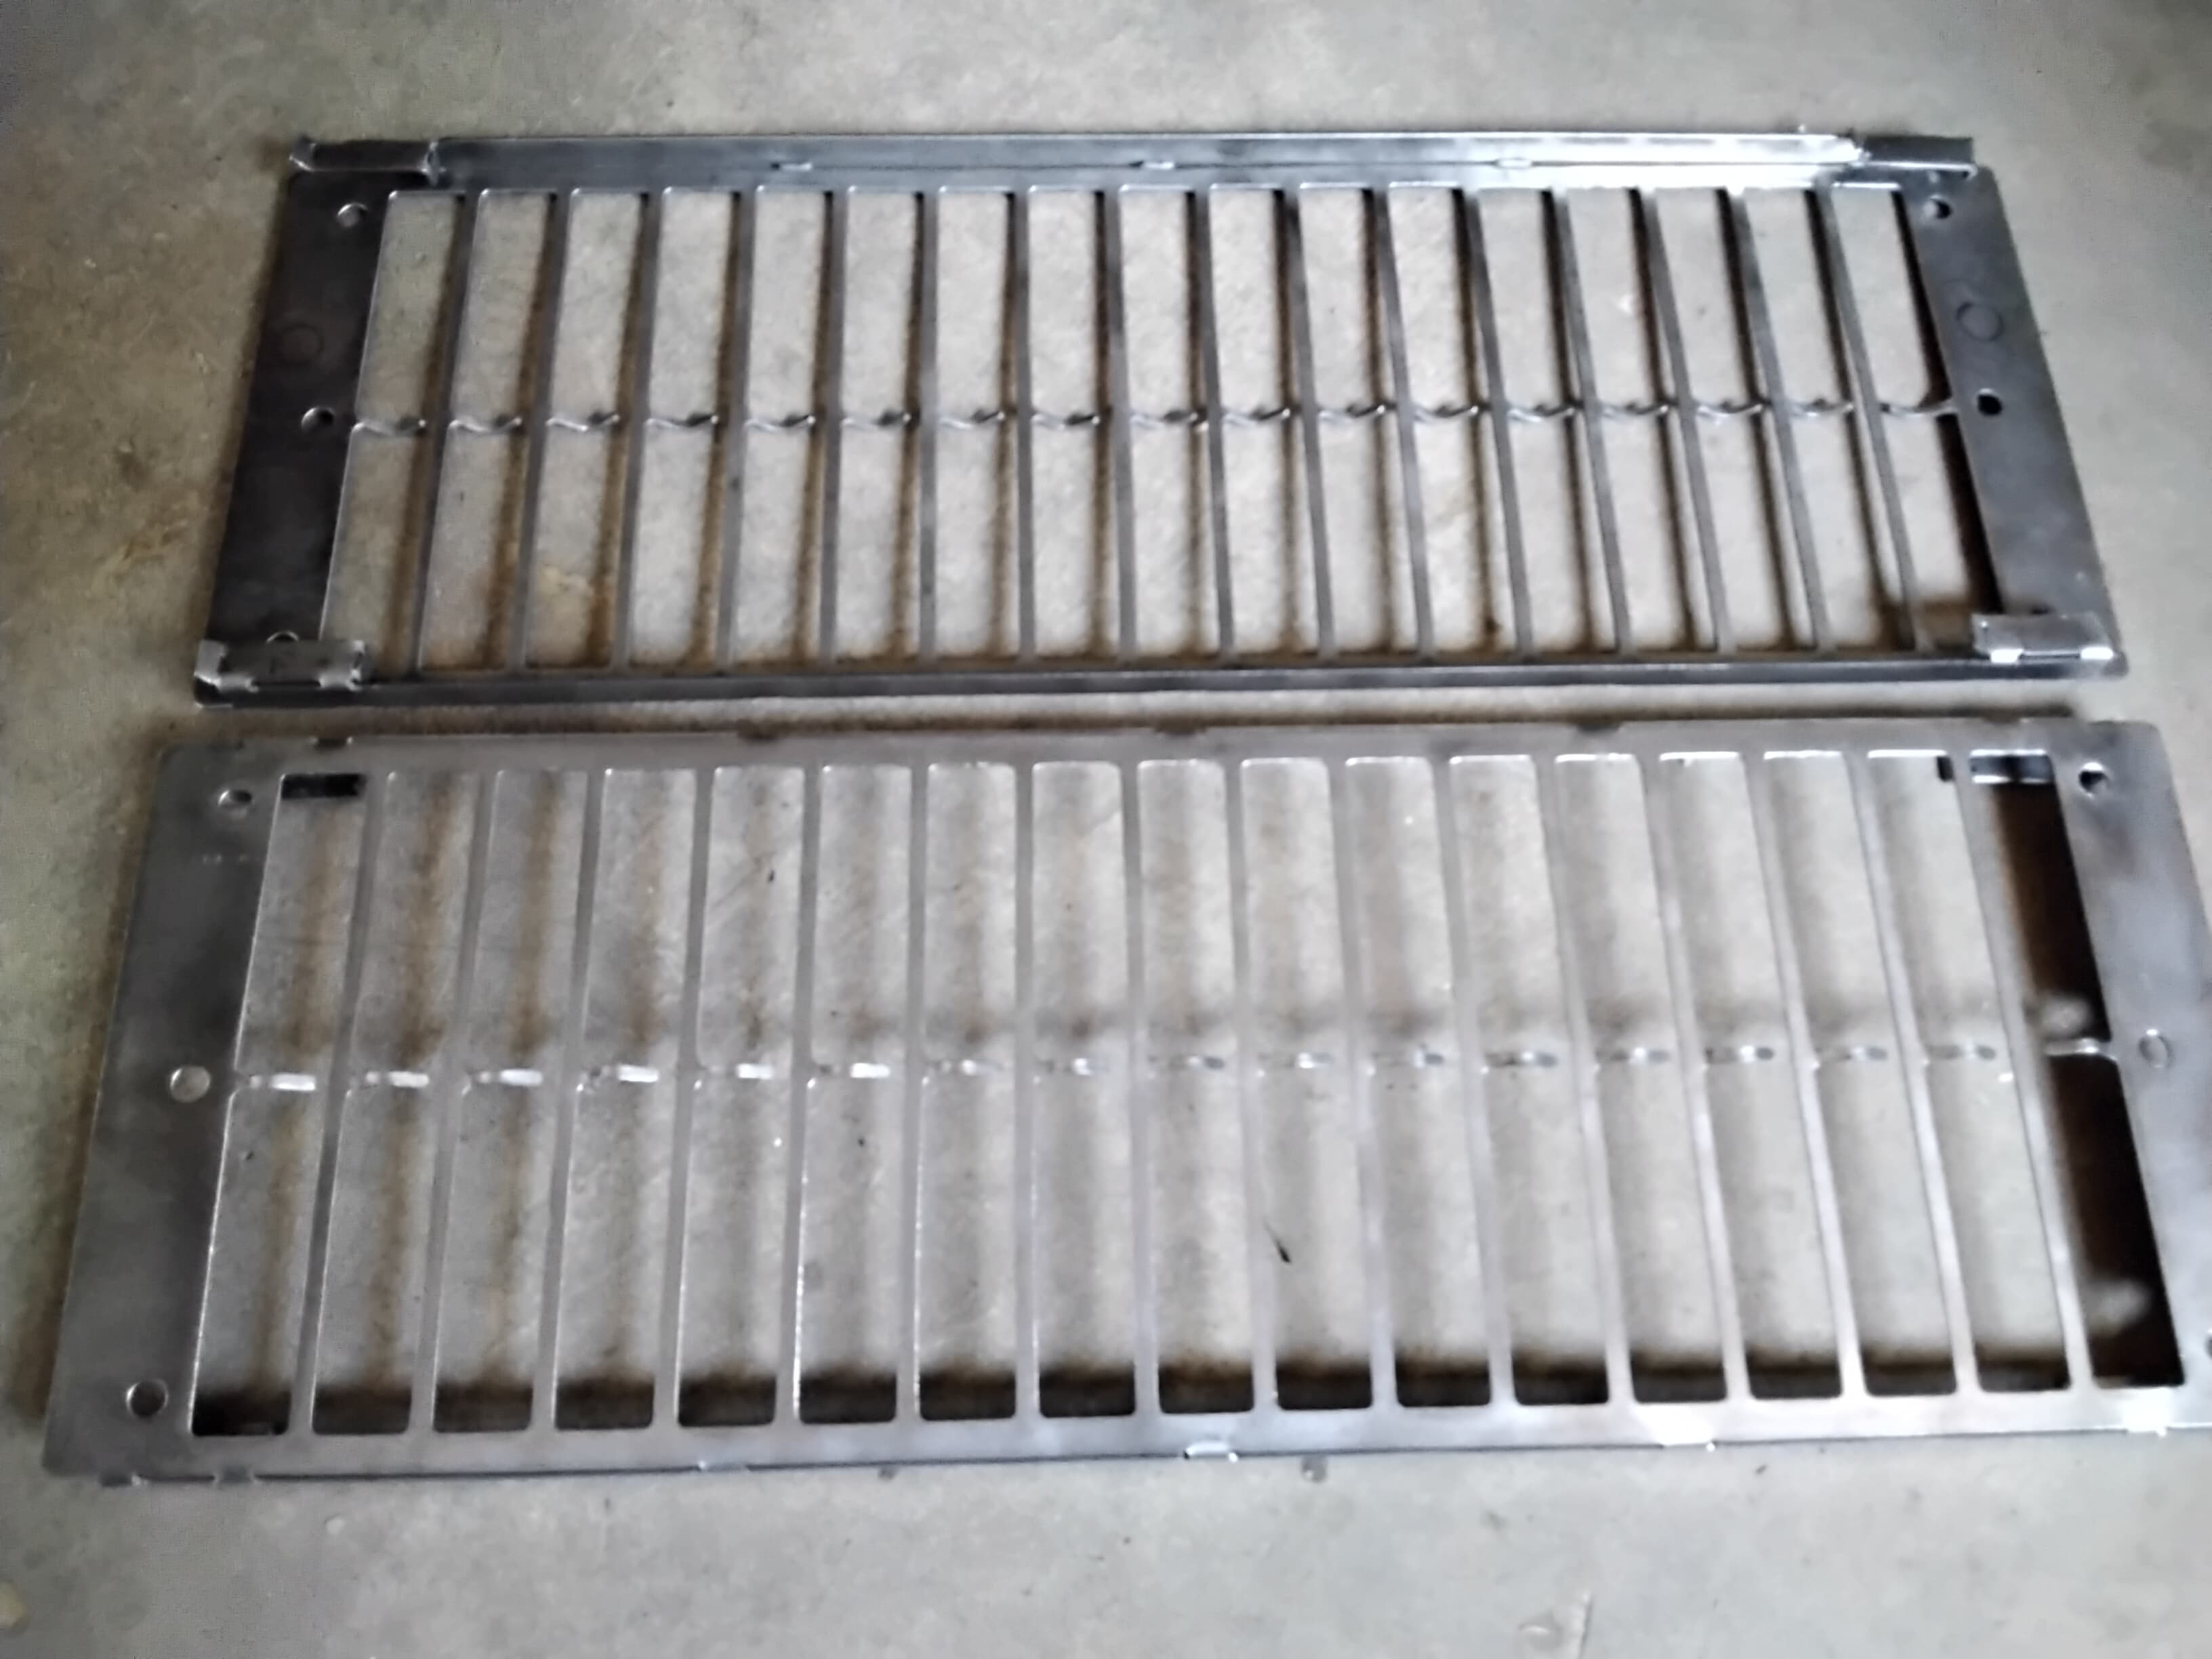


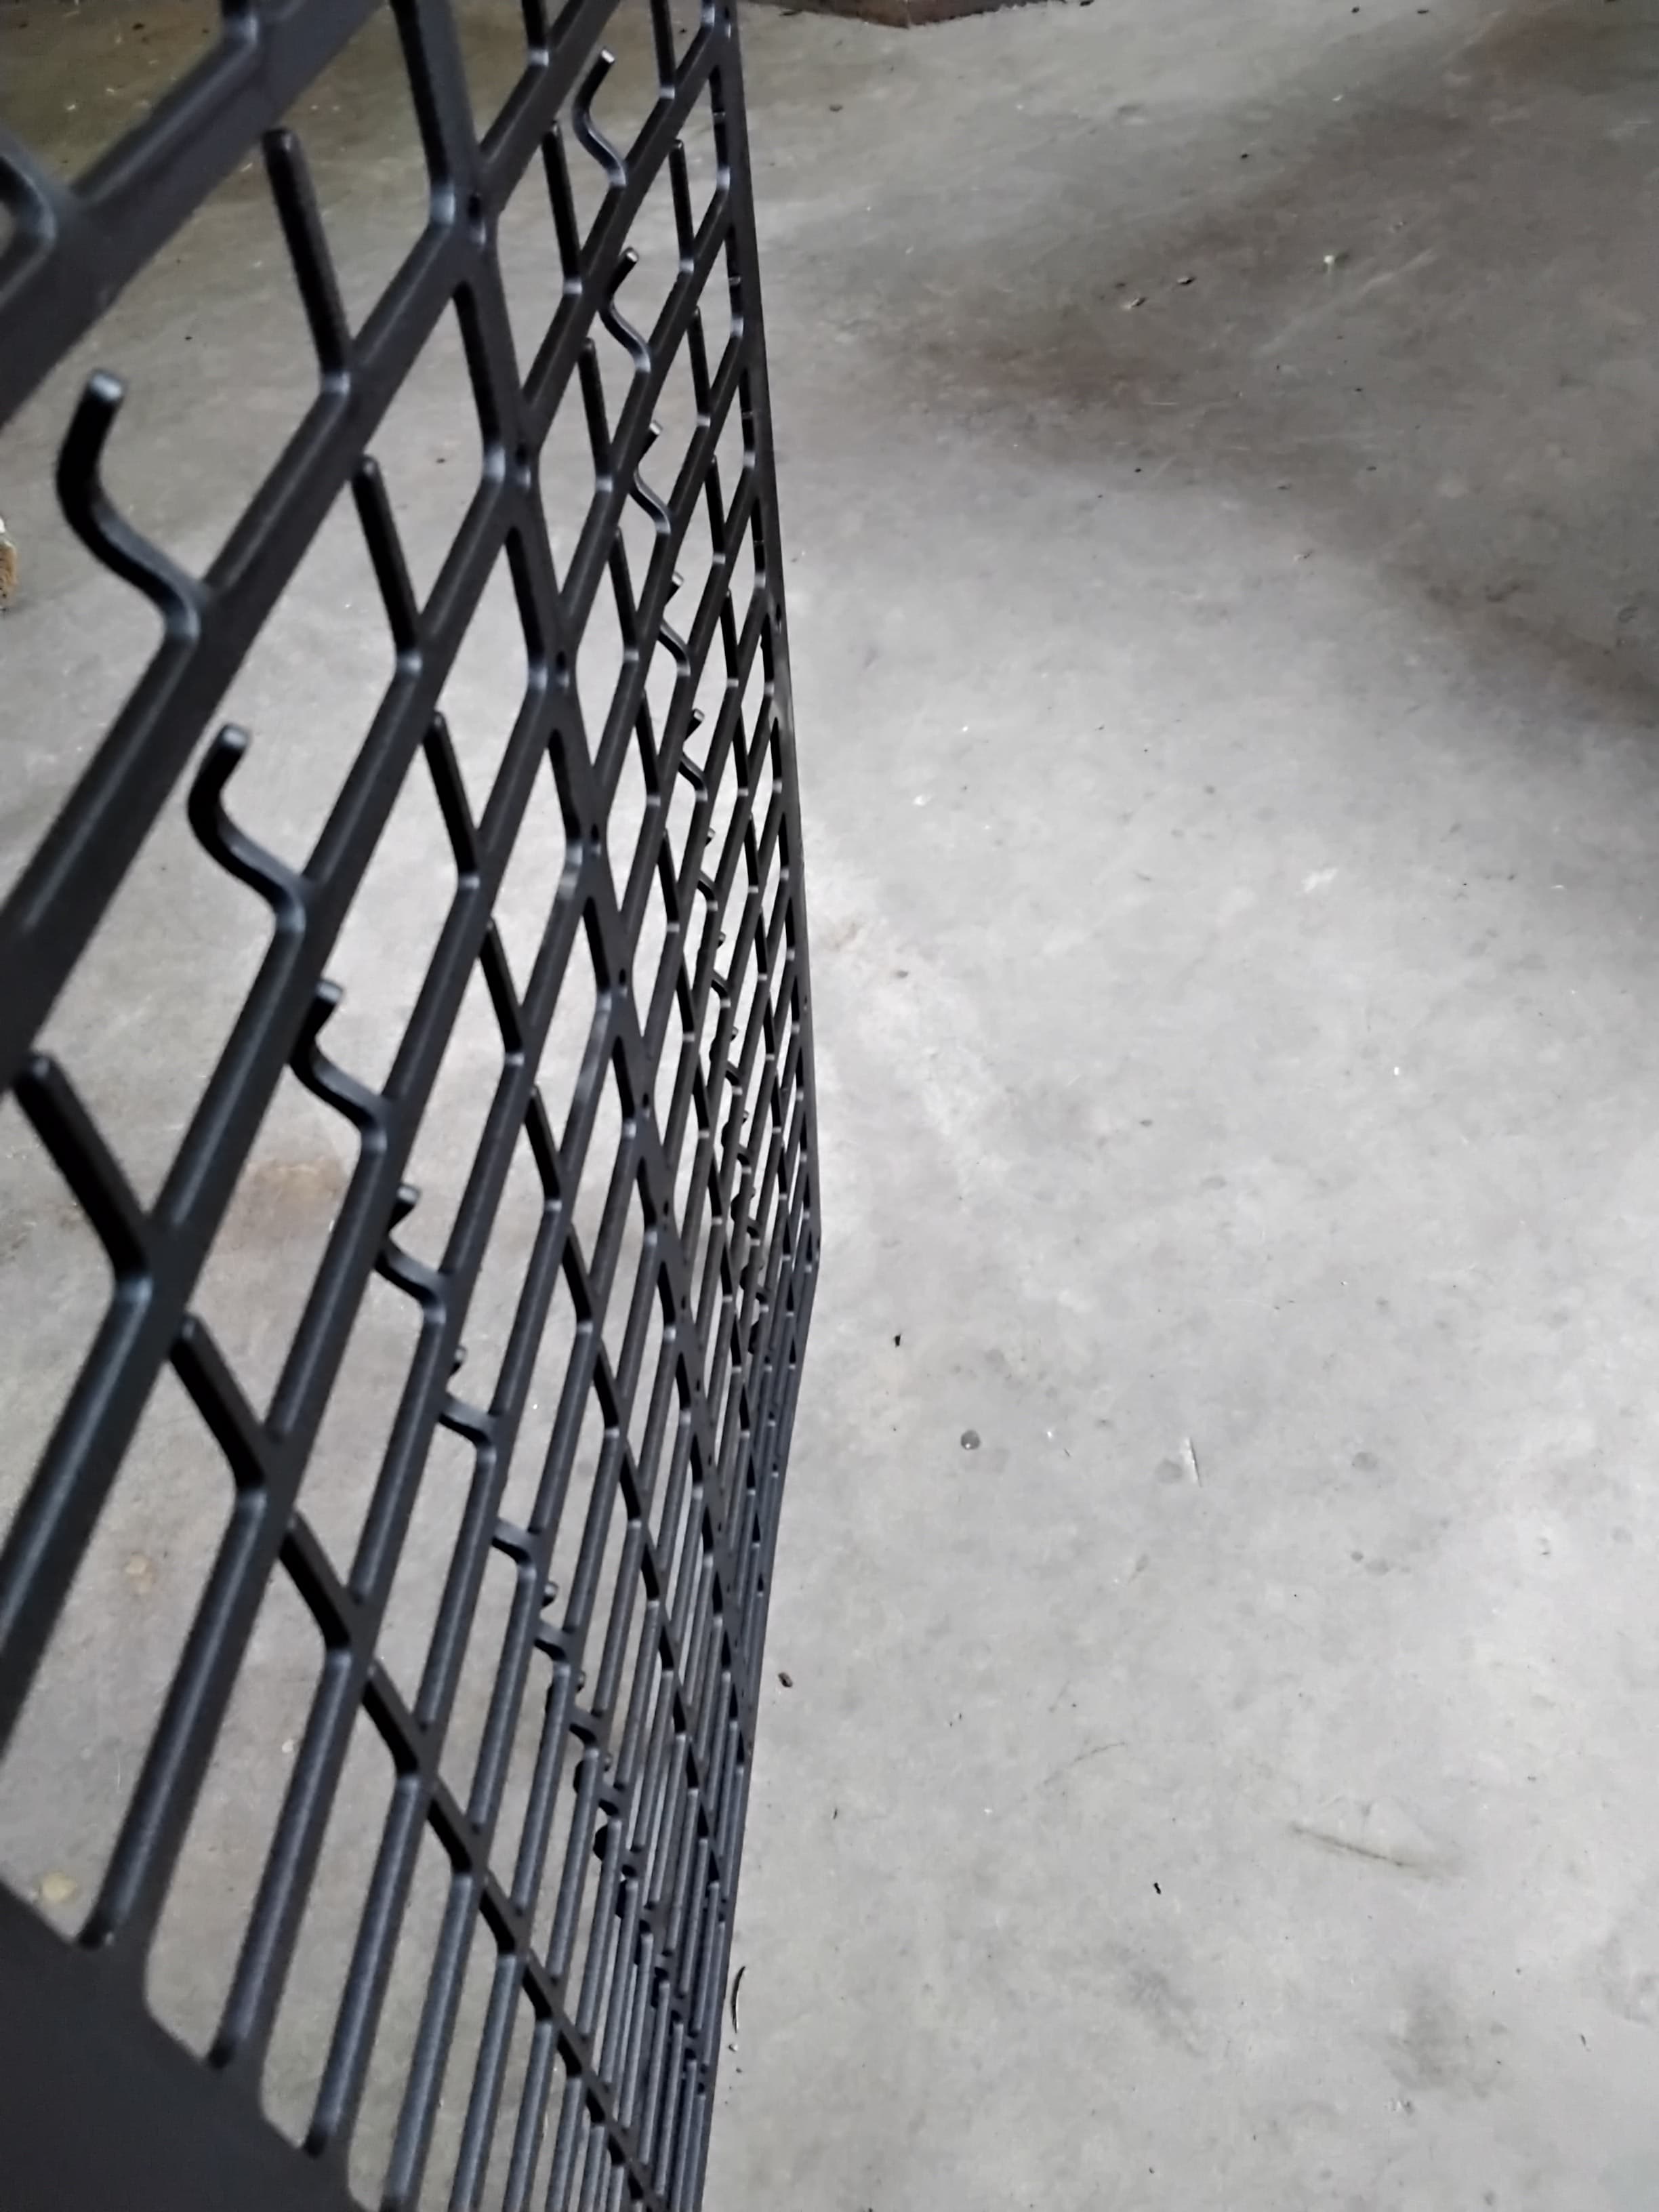

Just thought I might take a minute to share… ![]()
2 Likes
This was my first PC project. A 10g 16x13 Memorial to be set raised above a concrete slab at their favorite camping spot. Rounded the corners for safety and figure others will probably tie dogs to it, stand on it, and who knows what else. Put two coats on for durability. The customer loved it and will be installing it as soon as roads are open. The rebar runs clear through and was plug welded as well as on the underside.
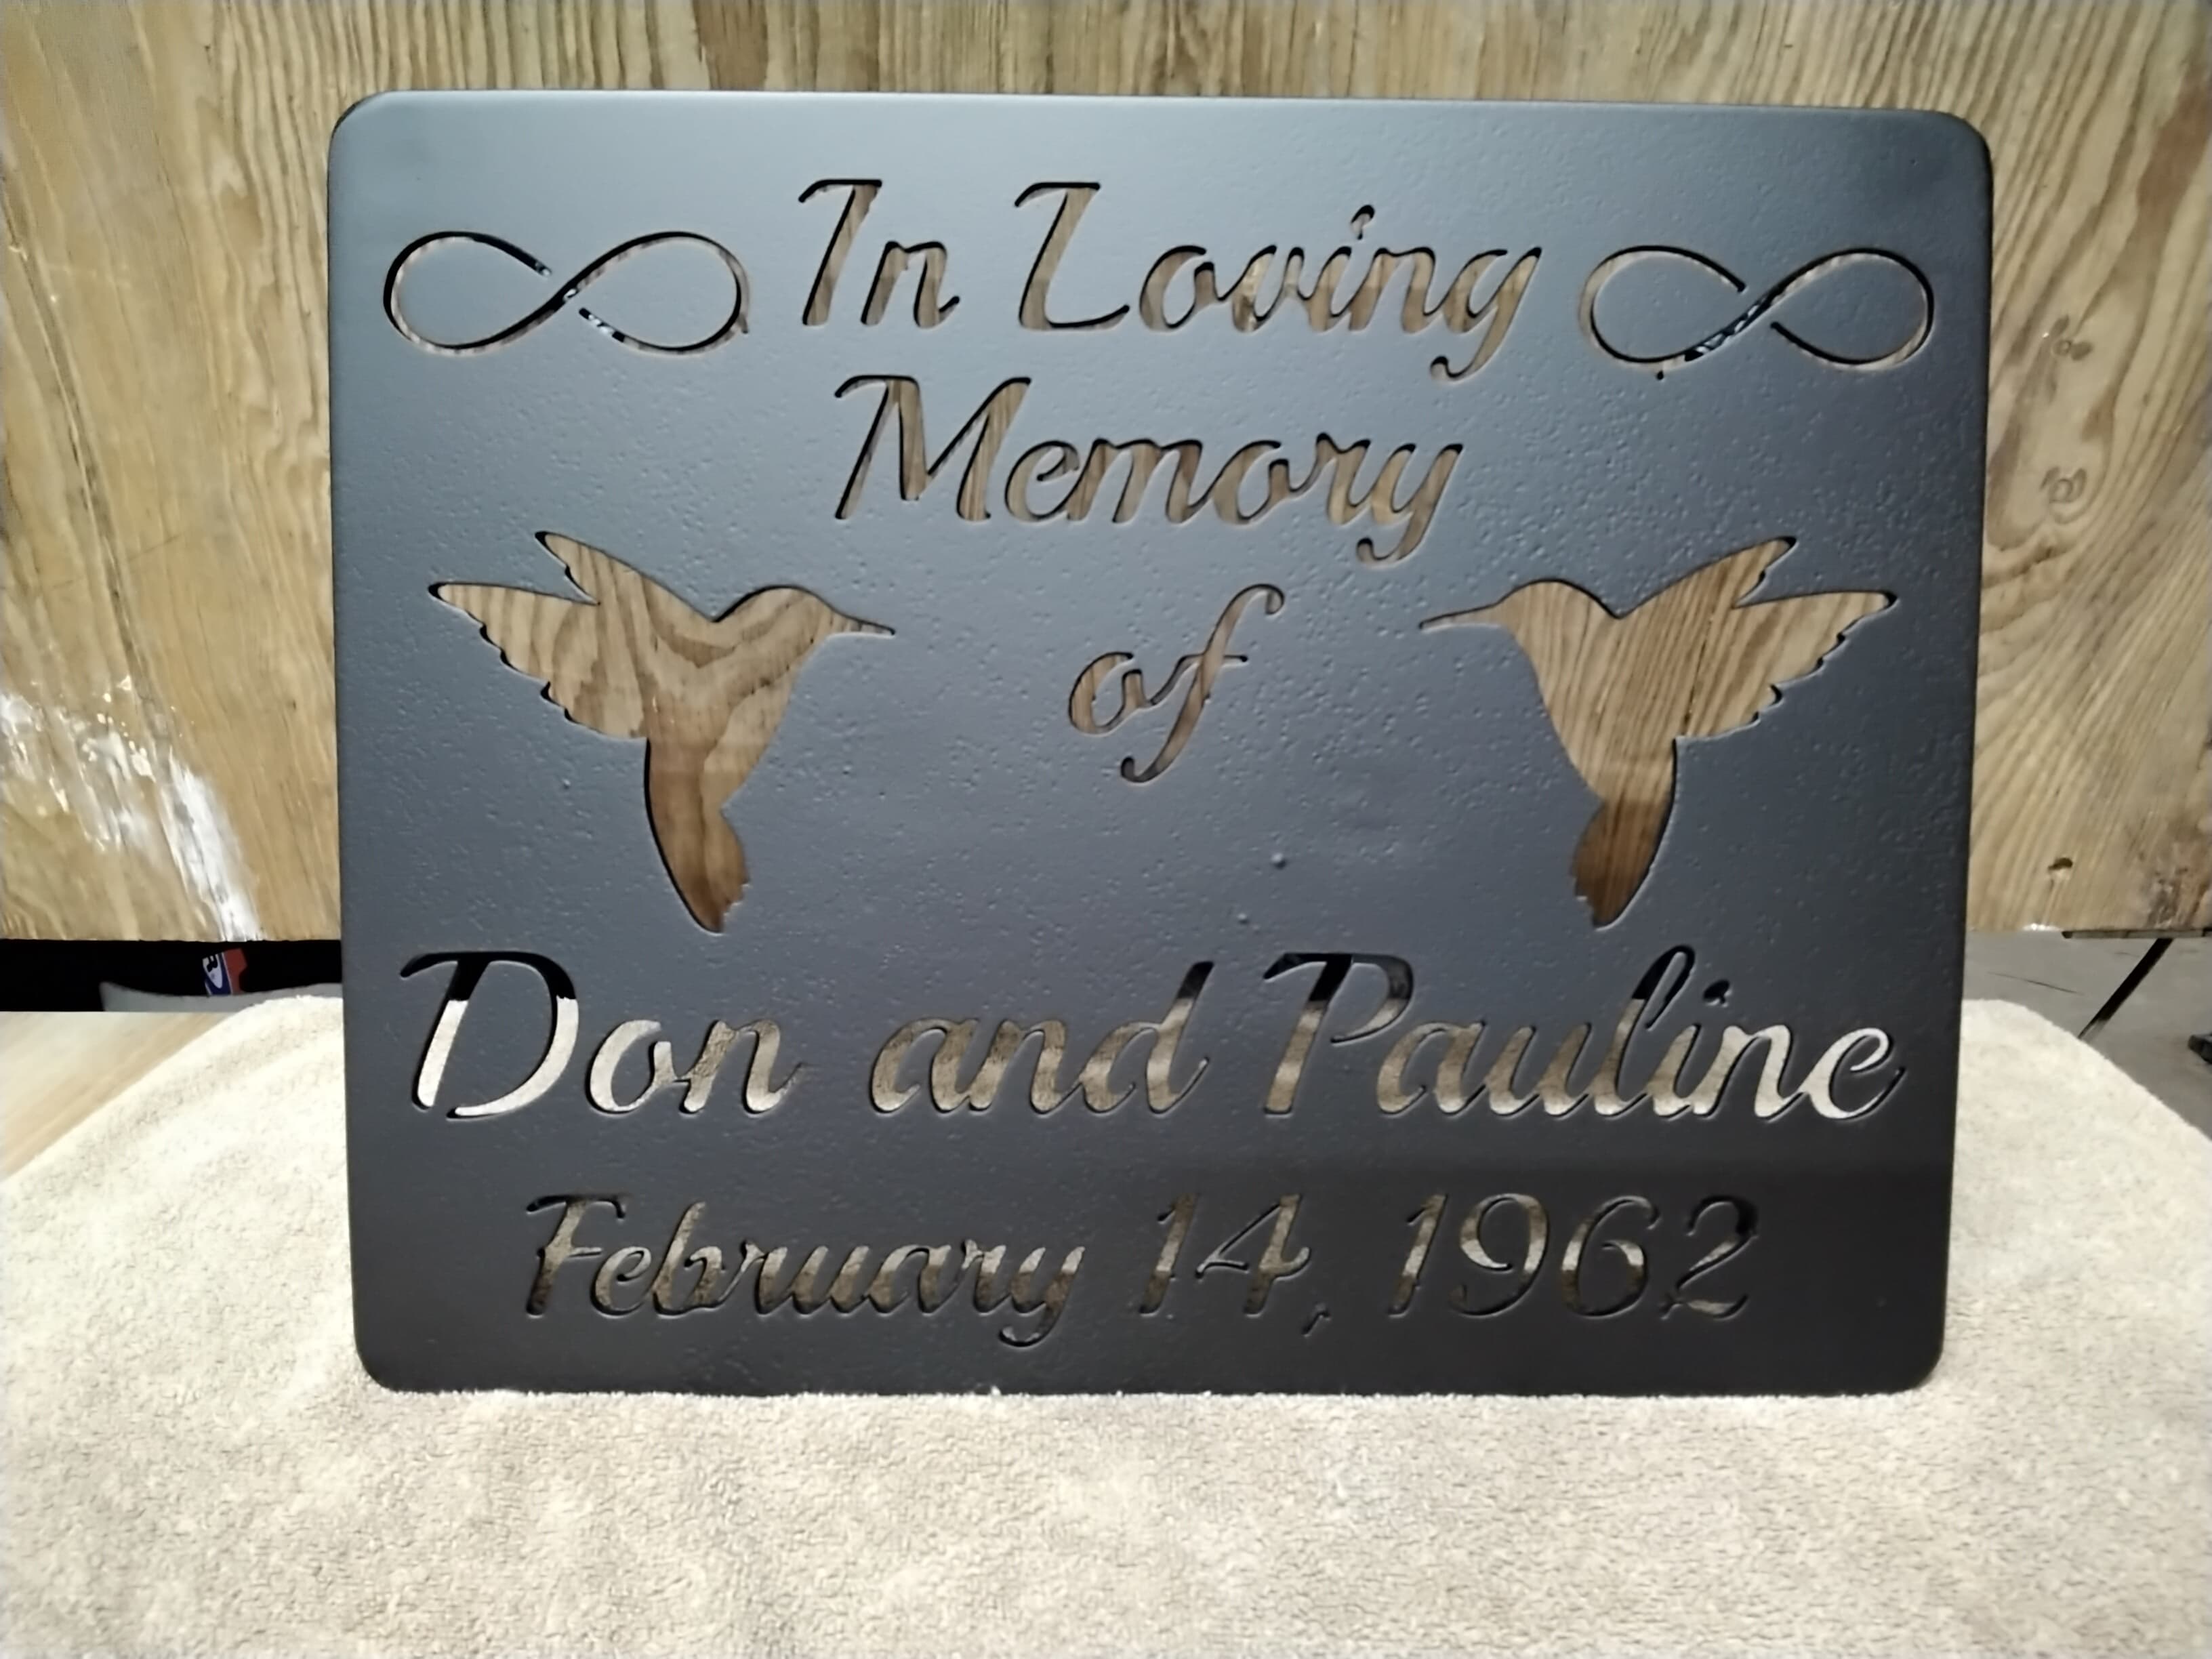
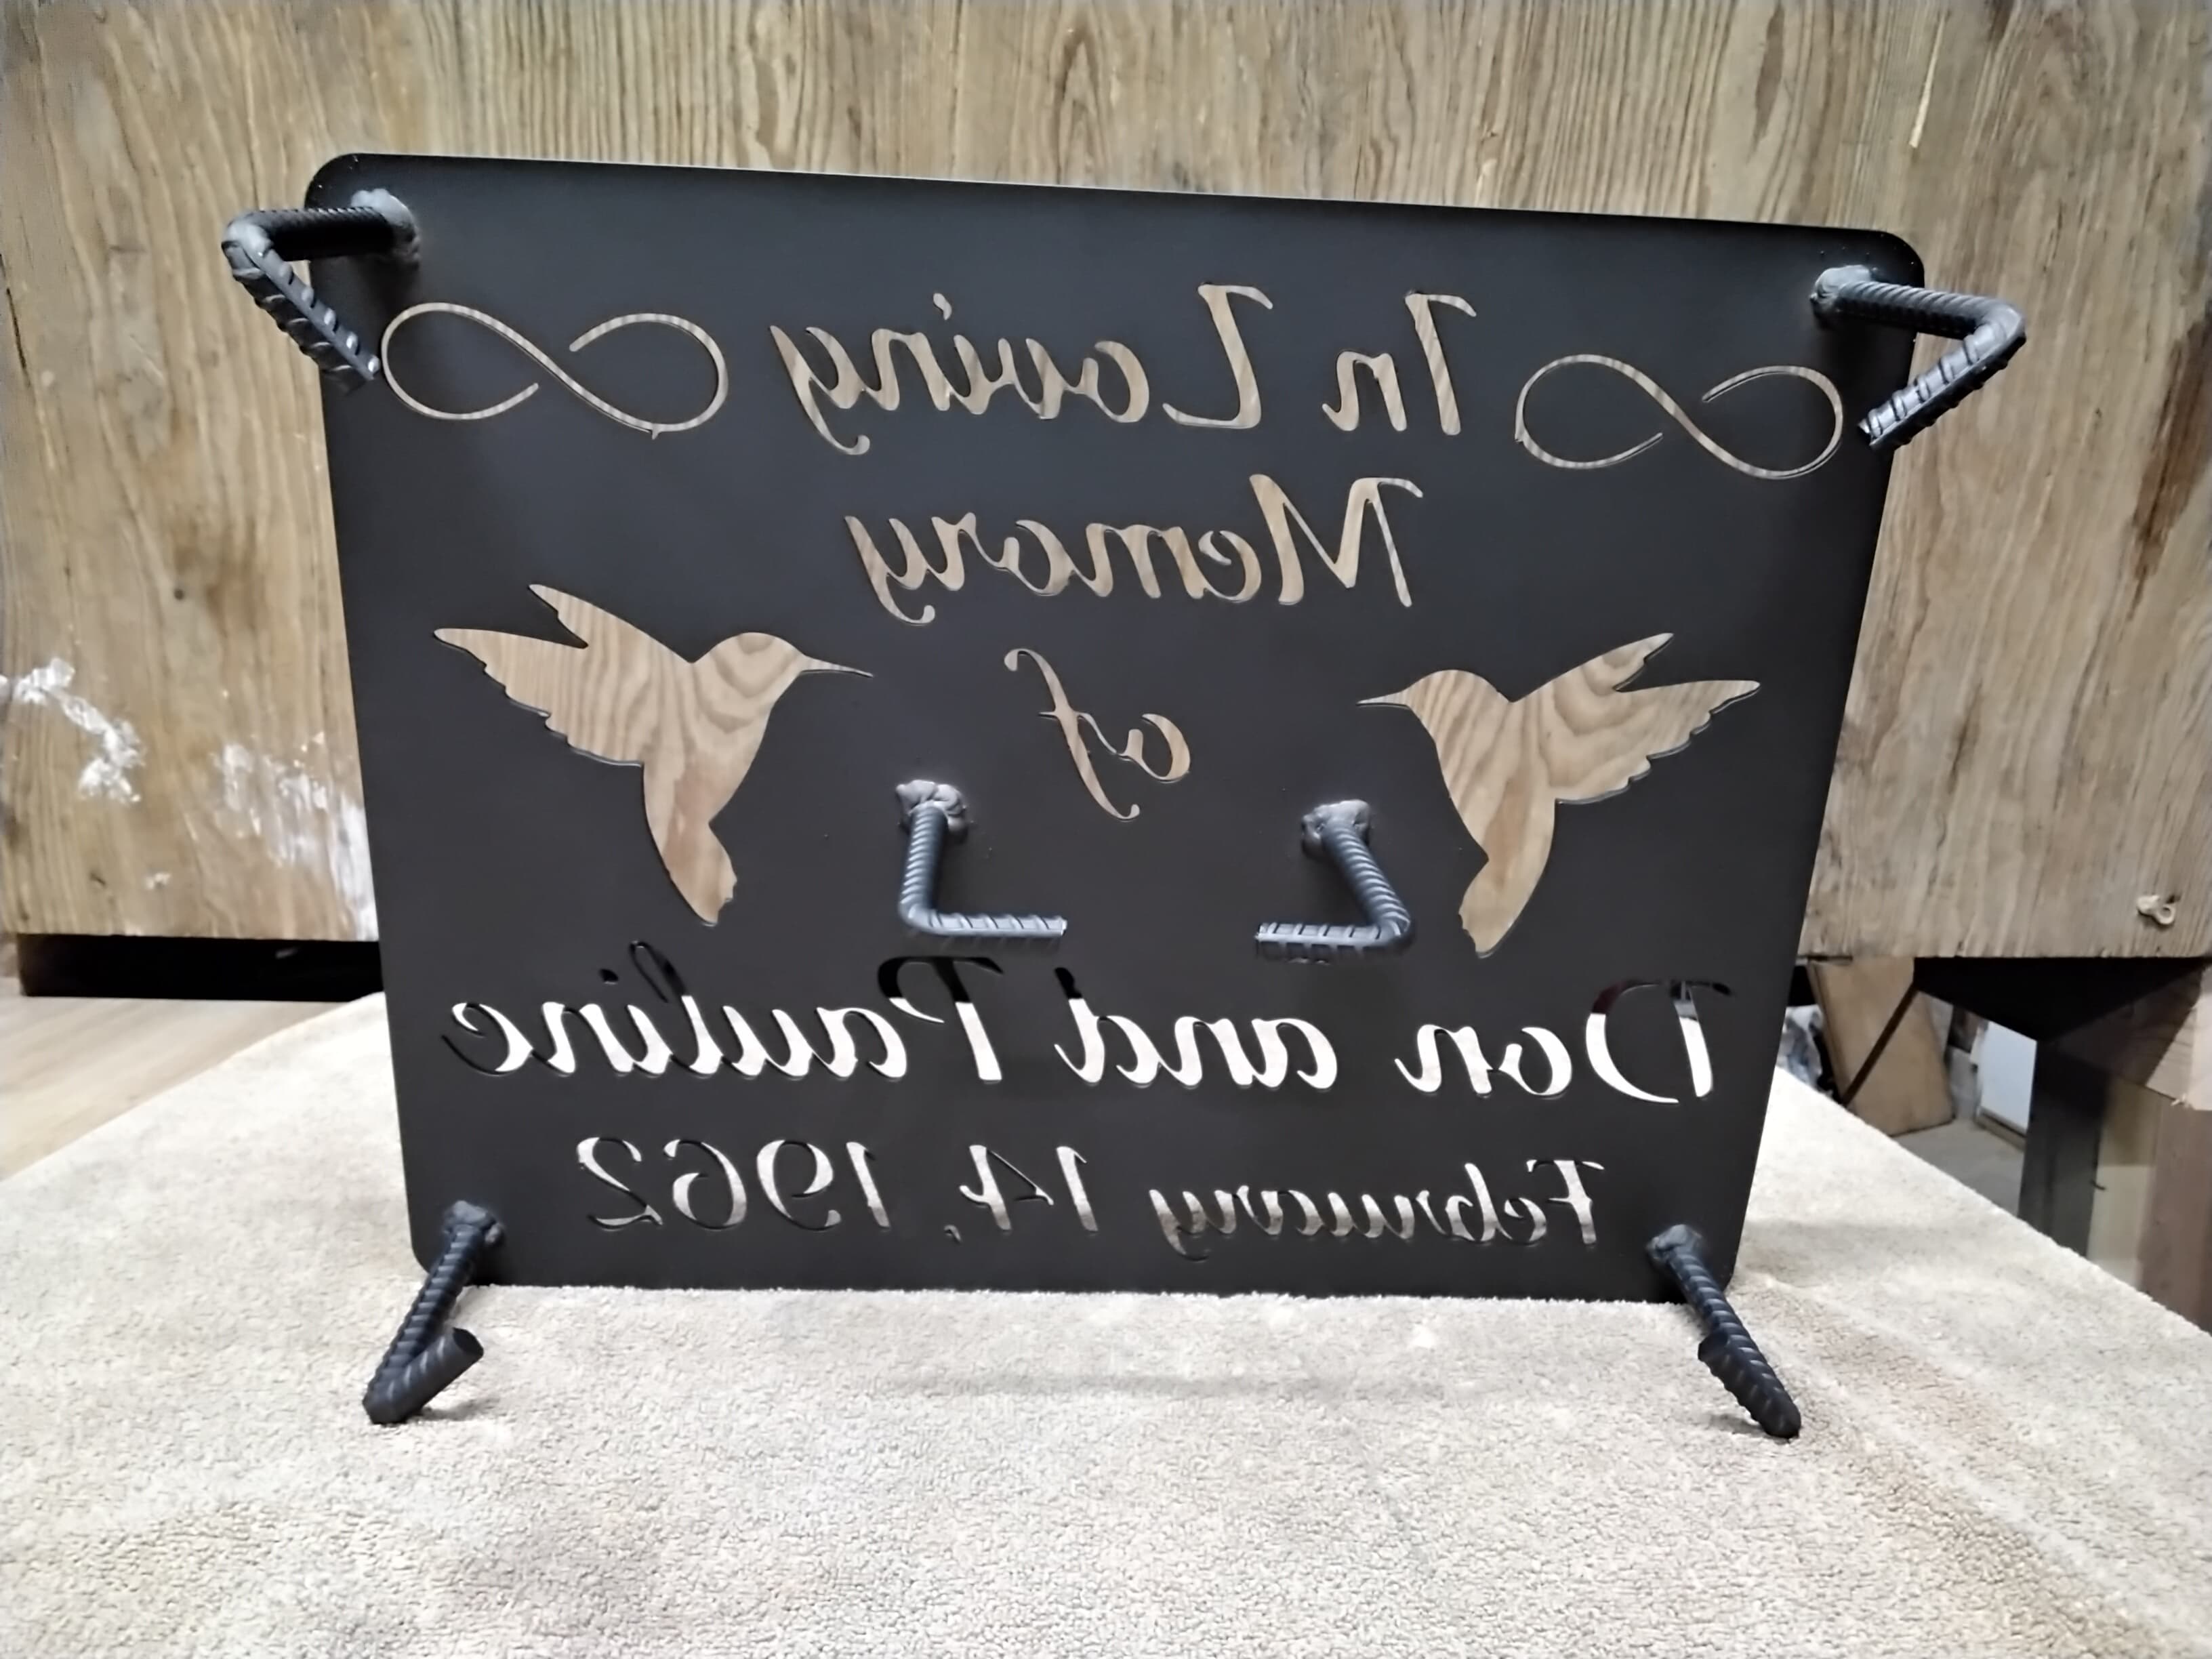
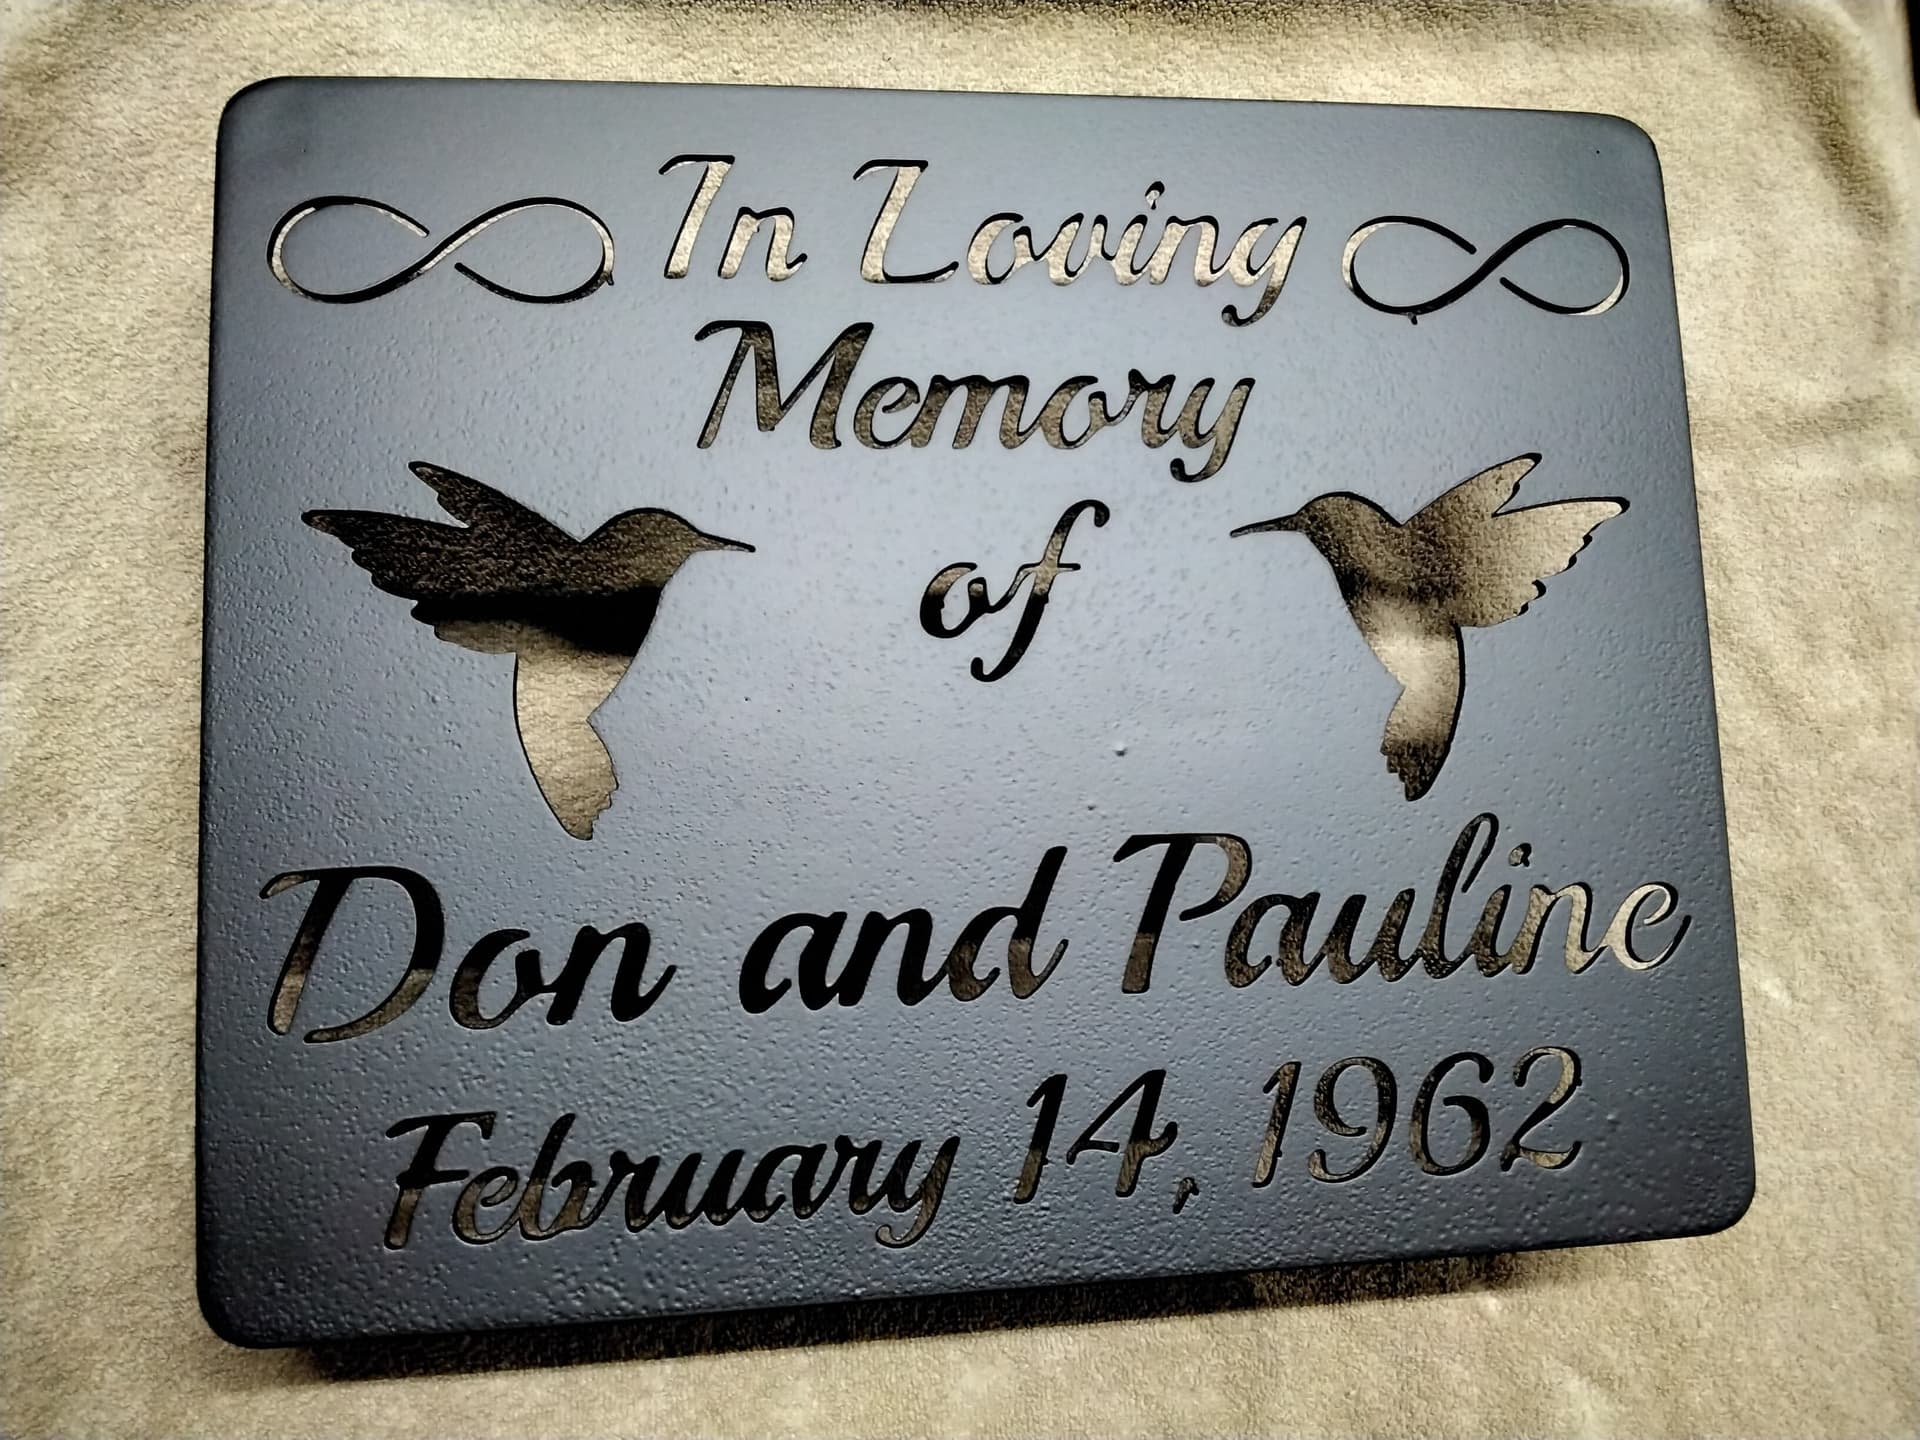
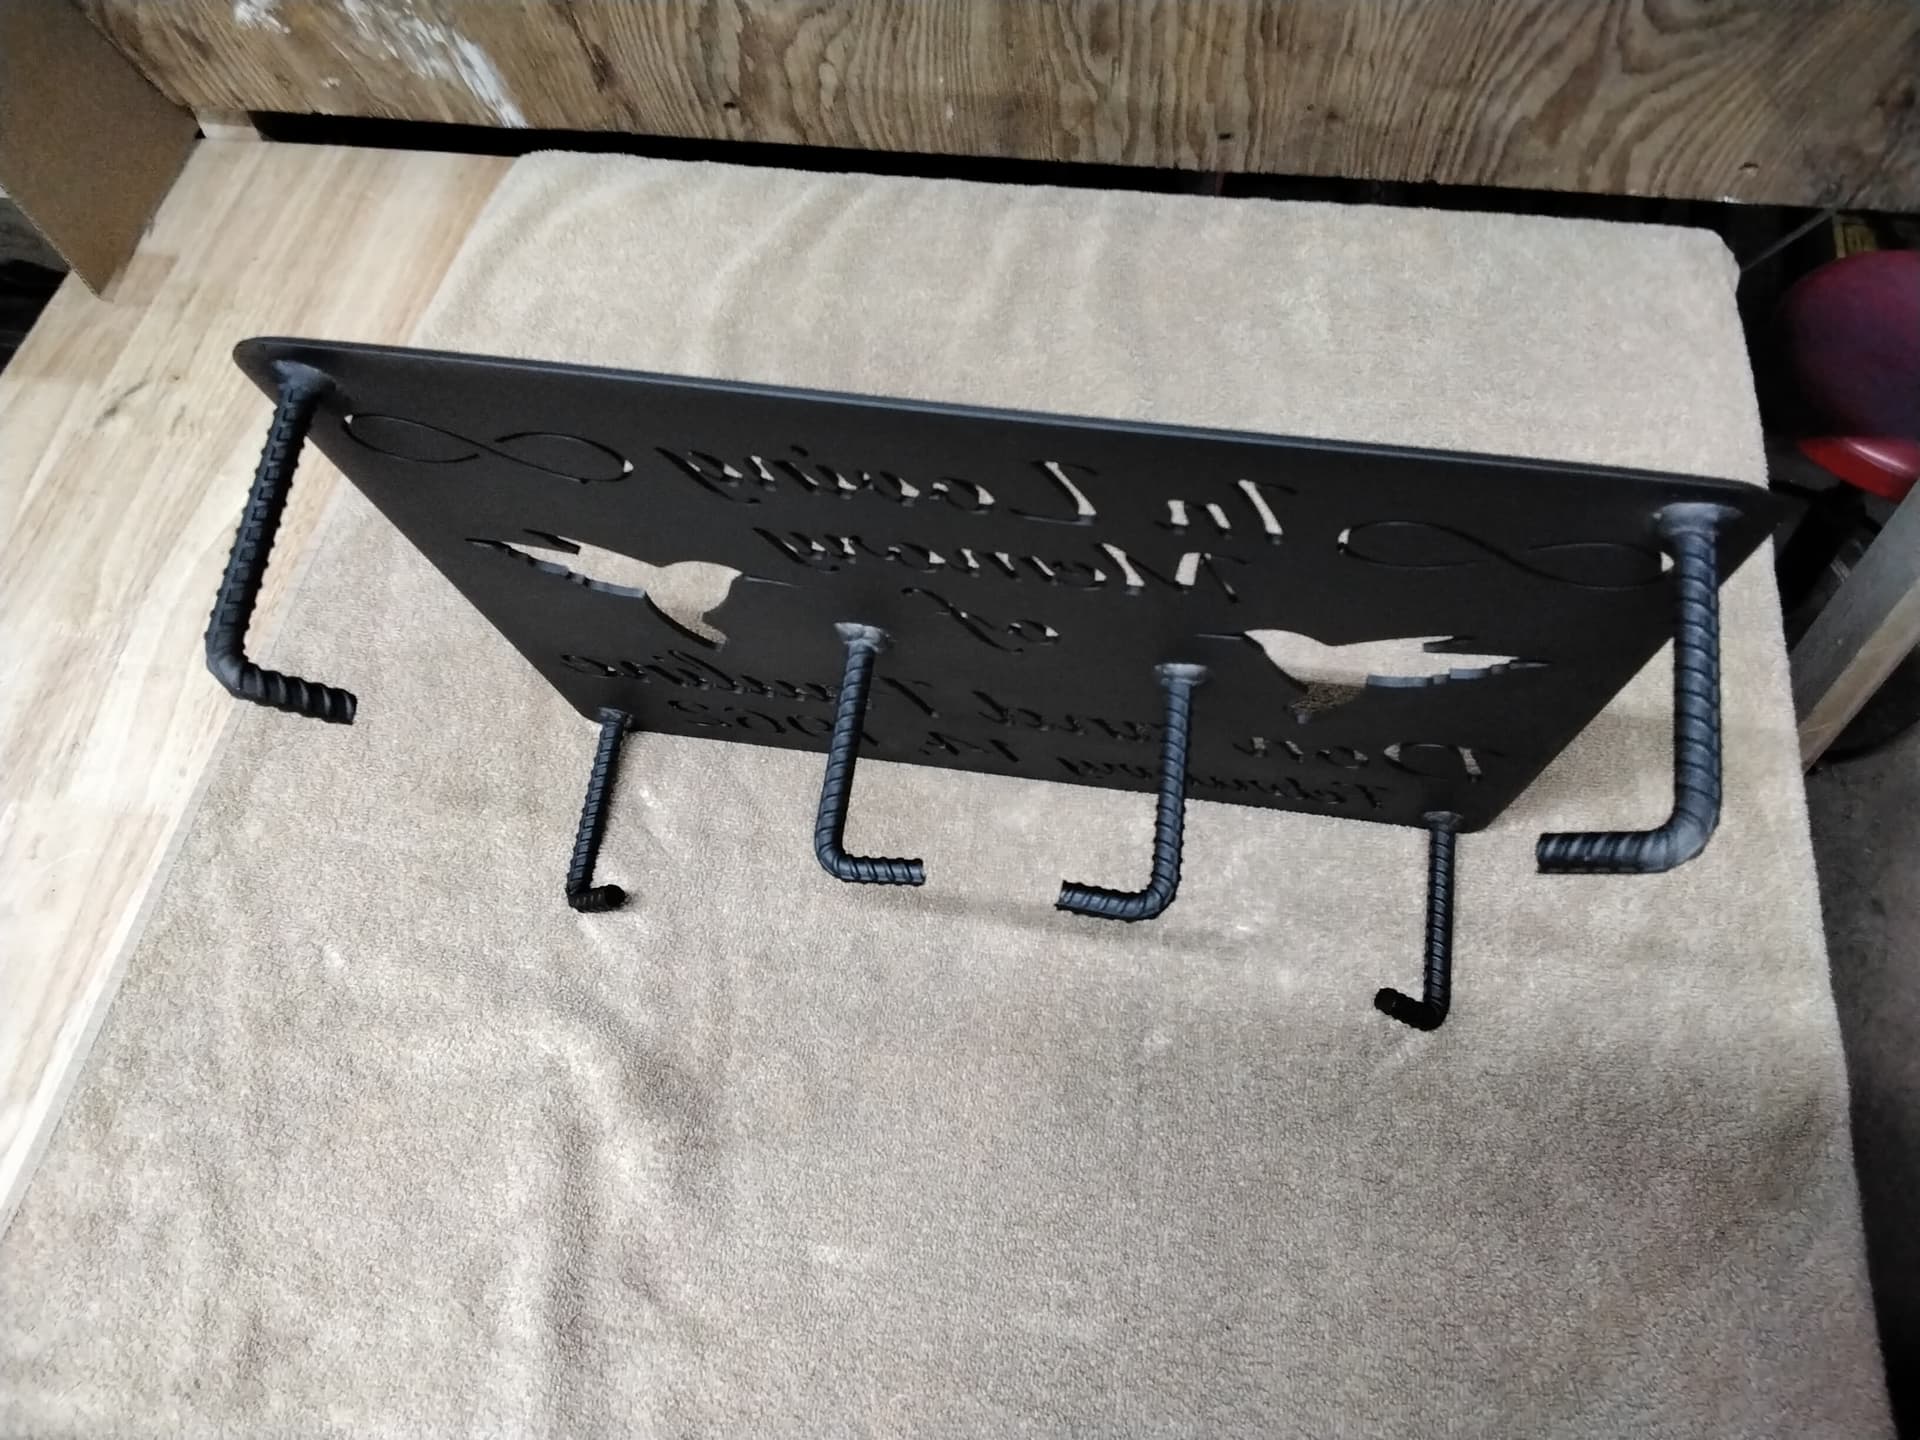
5 Likes
Well, Now that it has gone public, I can talk about a brand new game.
This game wouldn’t exist without my purchase of the Pro table a few years ago.
Inventor came to me with an idea for a game, and I put my imagination and skills to work to come up with this design. I later had to learn how to run a 10w laser the partner bought, and come up with all label designs for this and the other 3 that are in the works. Also handling the website design when I have time, while running My personal business as well… Ugh… This is the first patented project I have had the chance to work on, and covers all design variations and rotation factor. I have put a lot of sweat equity into this the past 8 months… Owning a percentage of it is nice as well… LOL
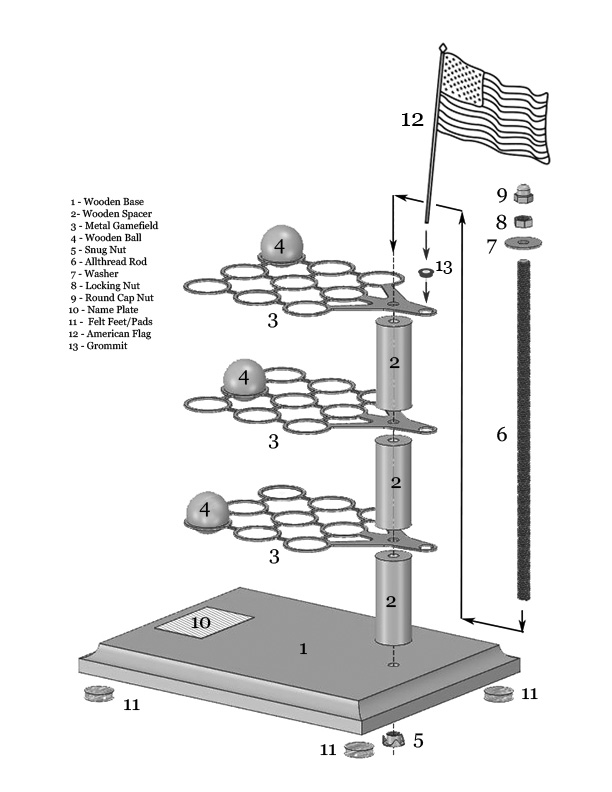
3D Tic Stack Toe
Designed so the boards can rotate 360* to increase the difficulty level. 16g powder coated game fields, MDF base w/veneer, heavy duty hardware, 1.5" painted wooden balls (37, and 64), patriotic or natural versions. 3x3x3 Gameplay is a blast. The 4x4x4 is really a challenge, especially when rotated 4 ways.
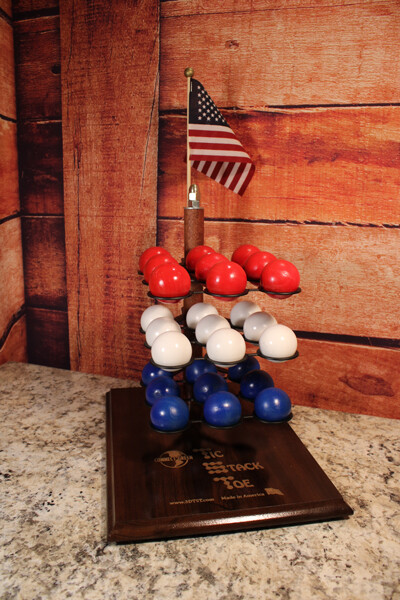
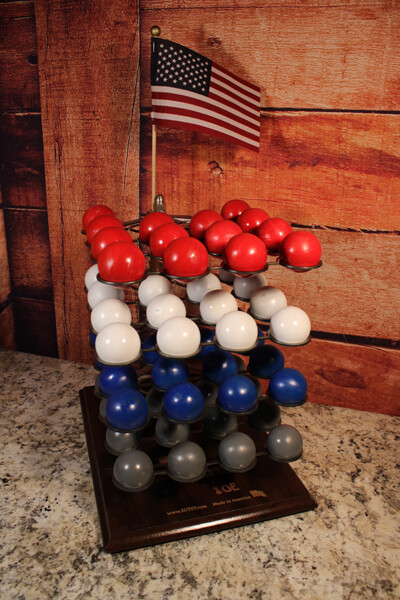
2-3 Player Patriot , and 2,3 or 4 Player Beast

Here’s the patent drawing on file now with the USPTO…
hehe… I’m published… LOL
And for those wondering, I used Designspark Mechanical 4.0 for all design work. Took the game fields to Sheetcam and cut out at 220ipm at 32A, 95psi, Slow to 70% on smaller than 1". I rounded all 90* corners with a small radius to eliminate slamming when changing direction. Cleans up easy with magnetic chuck 3 at a time, then powder coated on the custom racks I previously shared, 15 at a time, and bake 30 in a shot. Love Powder coating… When it’s cool, It’s done…
Anyway, Just thought I would pass on another success story with a Crossfire Pro.
Hope this helps inspire those that are questioning the choice to purchase a machine. Best investment I have ever made. I continues to provide opportunities…
Visit www.3DTST.com or Info@3DTST.com for more info.
Thanks for reading… Happy Burning!!!
5 Likes