Excellent, Cant wait to load mine up like that! 
Loaded her a few more times with pretty good results. had enough pierces that i smoked a set of consumables already.
Wasn’t without a problem or two. I learned Run From Here fairly well…lol
And a few other tricks that helped me salvage a piece or three…
Setting torch to fire with the trigger, running from here, and keying the torch at the missed/boogered cut loop, following the carriage till the end of the cut, then pausing the program to reconnect the torch. then continuing the run. Saved wasting a number of pieces.
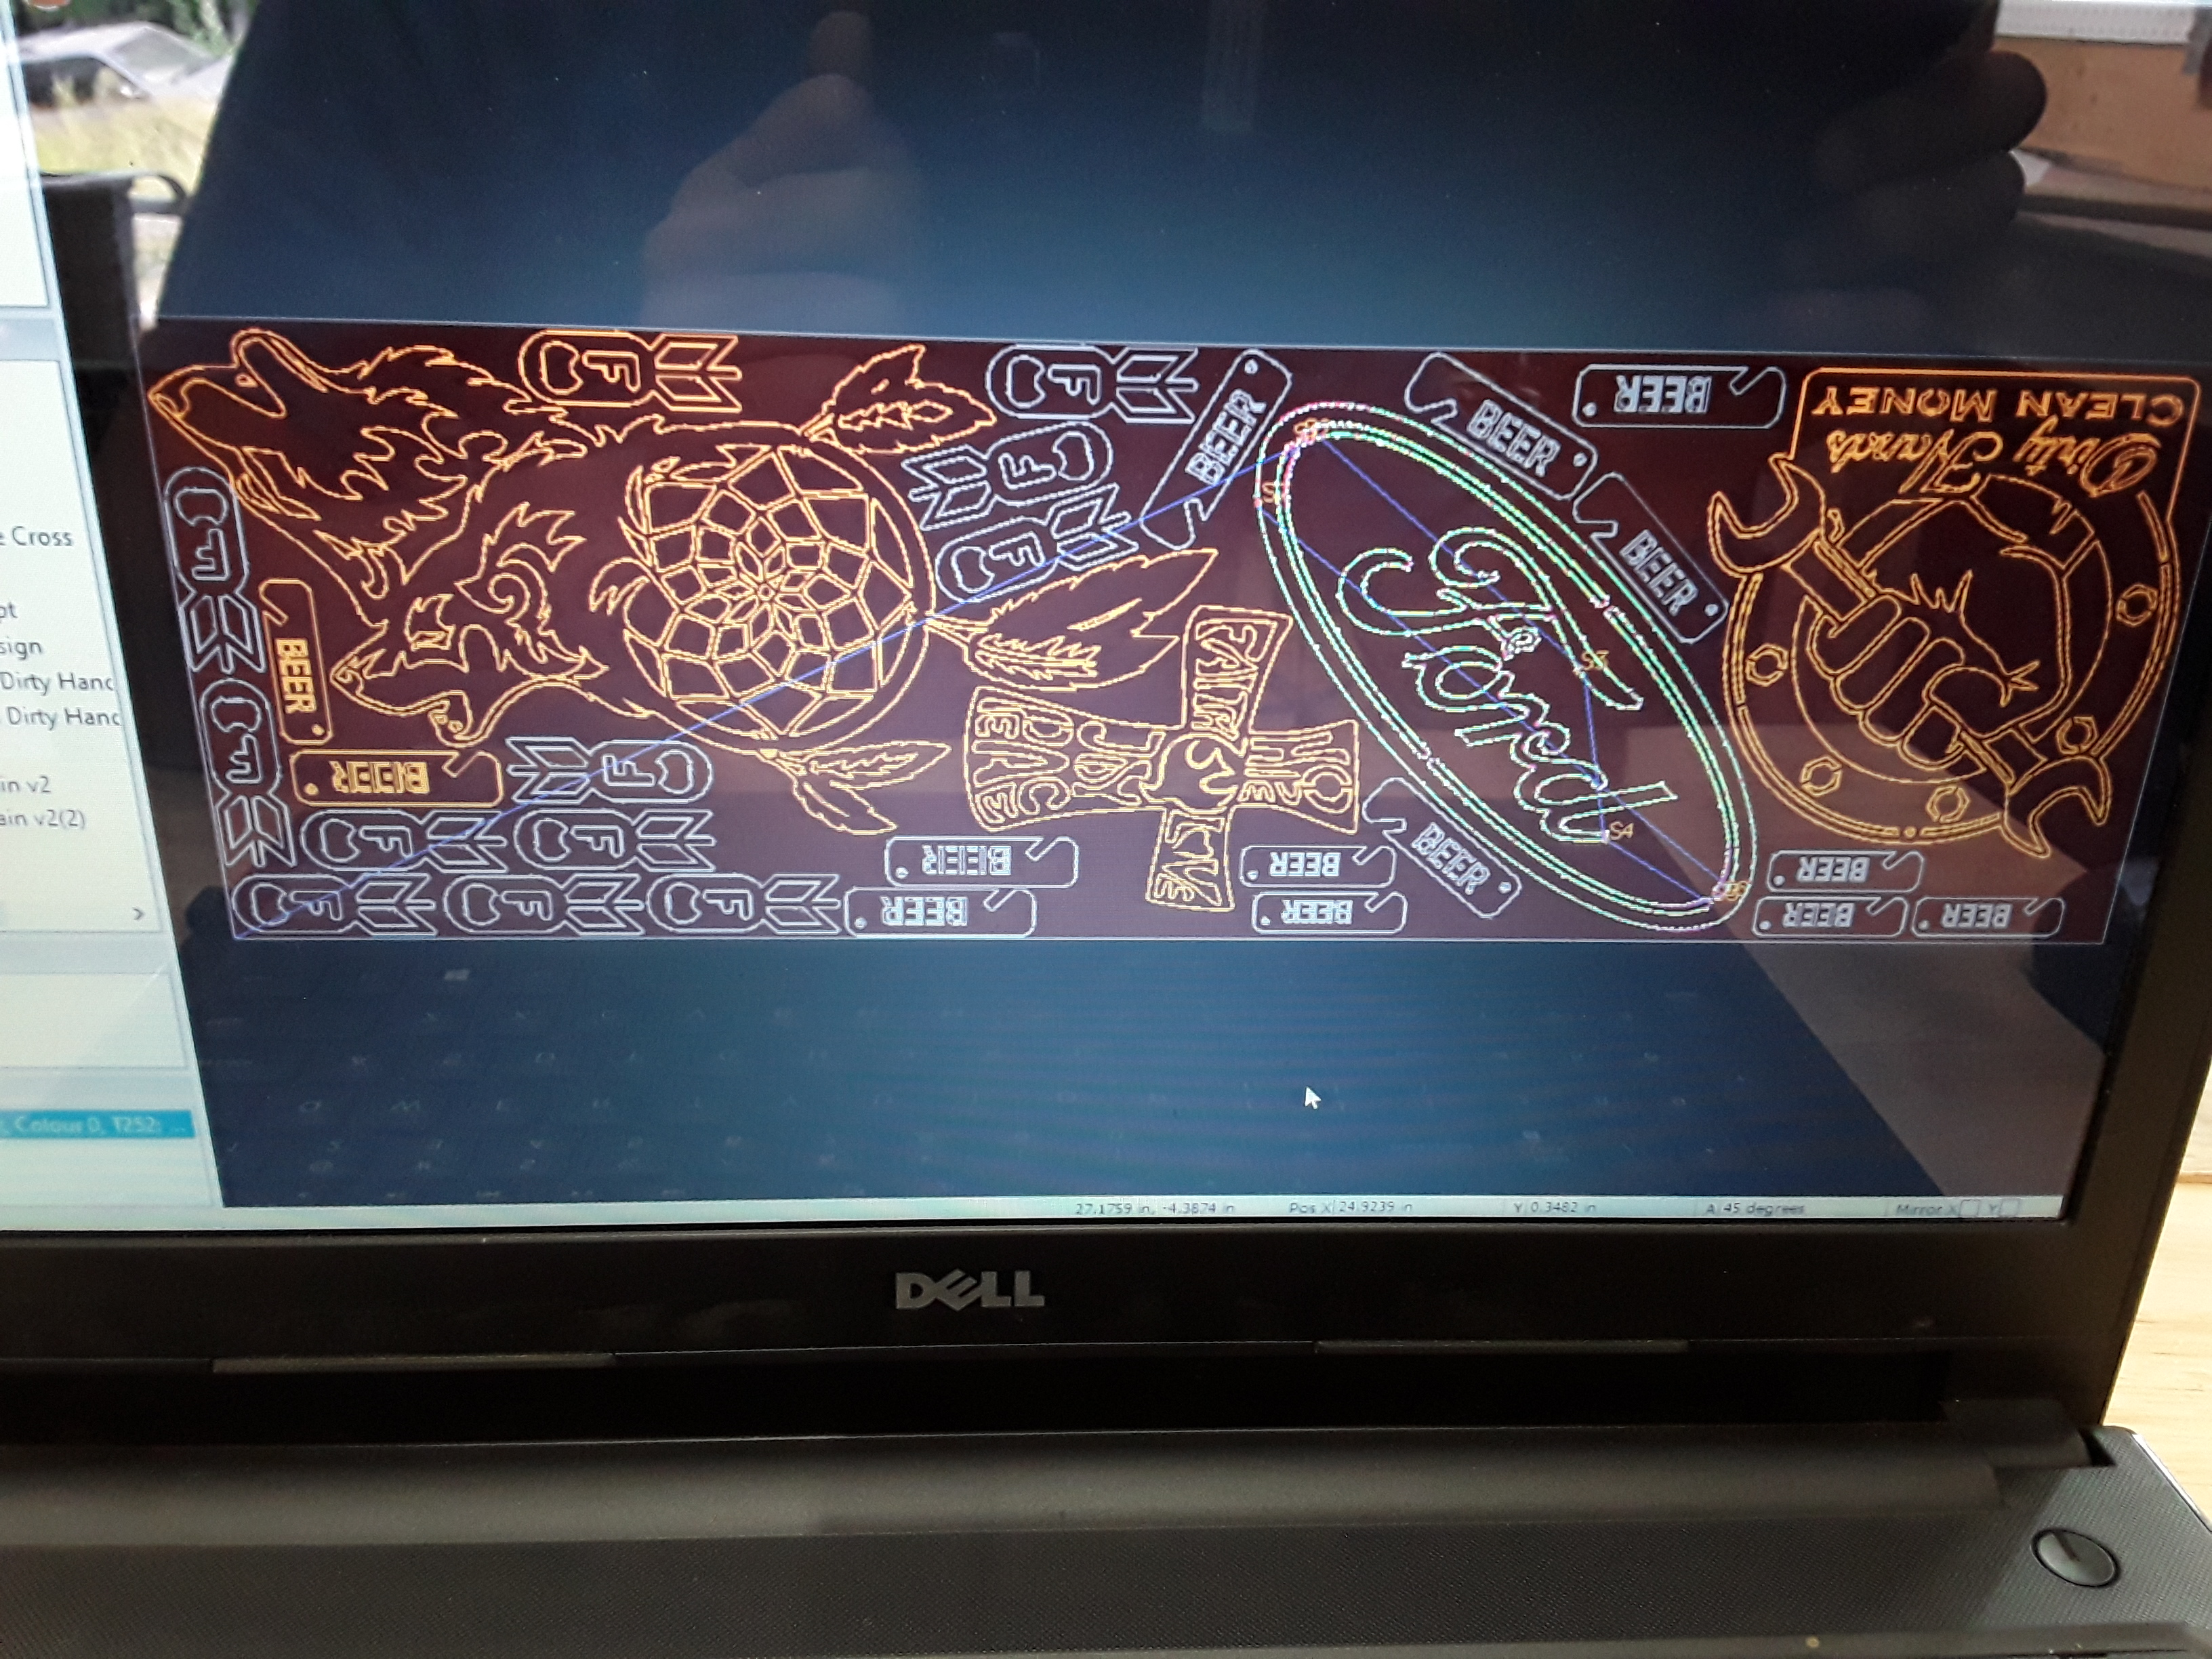
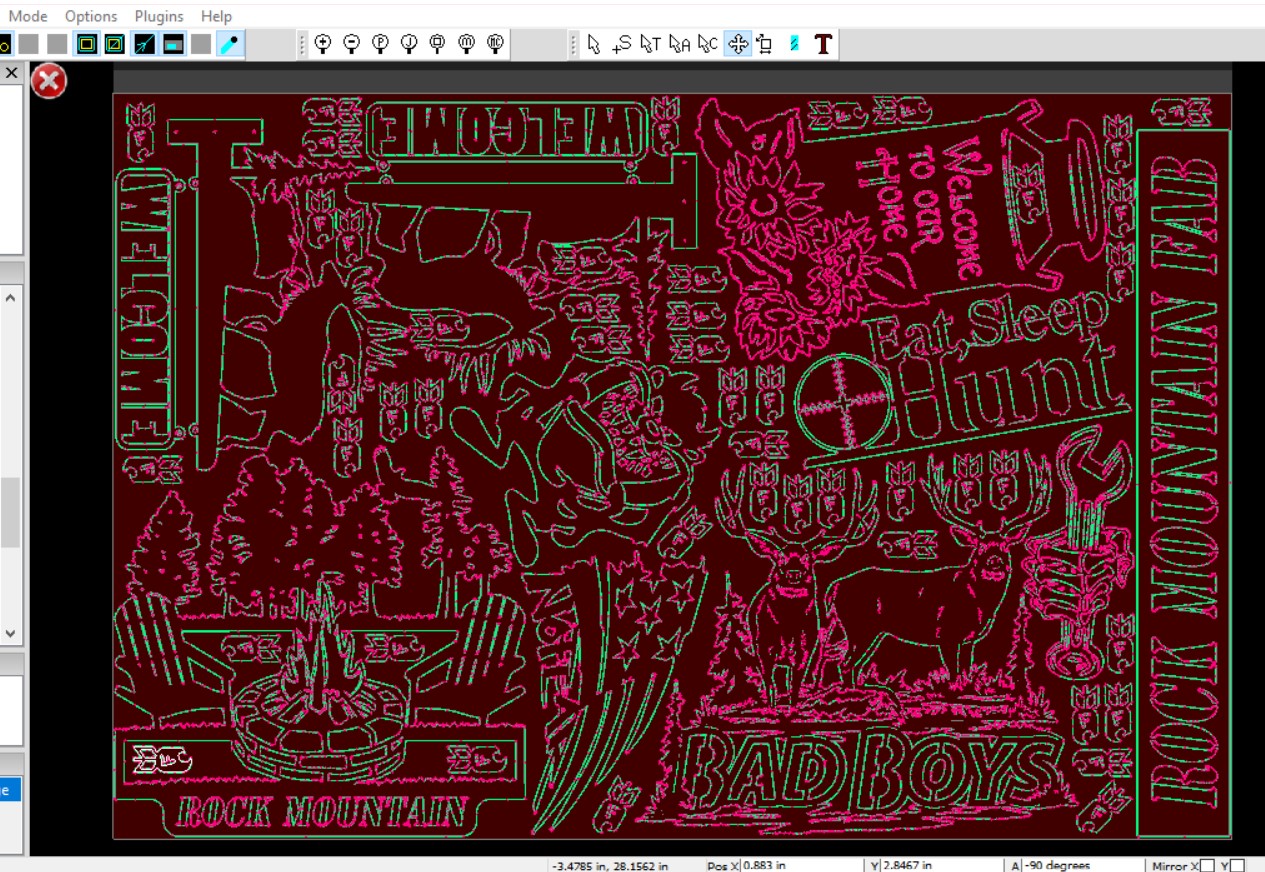
i use the Fbombs as scrap filler, so they get cut after the bigger pieces. they get passed out as calling cards. Just save multiple tap files after turning off the parts you dont want to cut. then run second file with the fillers, so if fitting is a problem, you dont lose a larger piece.
And I still have 48x48 left of a 4x10 sheet… ![]()
6 Likes
Nice clean cuts! What do you think about your HF air dryer? Is it doing the job?
1 Like
I sure think so. I set up a Poweraid bottle to catch what it drains, and on some days i get 3 to 4 ounces on a fully loaded table of 46,000 lines of code. My consumables seem to be lasting even with a butt load of pierces on a set.
My most recent set. She cut nice on the larger parts. Some of my filler FBombs misfired, because the steel islands had dropped out of the bigger parts, before it got to it on the filler DXF i make. I run the filler afterwards, to maximize usage, and keep them from screwing up a much larger piece. learned that the hard way once.
Followed it up today with a Farmers Market for the first time. Sold 2 items, and got 3 custom, well paying orders… Right On!
3 Likes
How do you separate out the filler pieces to run after main cuts ??
I just uncheck them (the Fbombs) in sheetcam, then save the file and post process for Firecontrol, Then recheck them, uncheck everything else (main cuts), and save as a filler file and post process with a different file name. Then in firecontrol I’m actualy cutting 2 files. One main file, and a filler file. Just dont bump or move the sheet after the first set. I do remove the first cuts (so they dont get boogered) and add a weight plate to the skeleton to keep it tight.
2 Likes
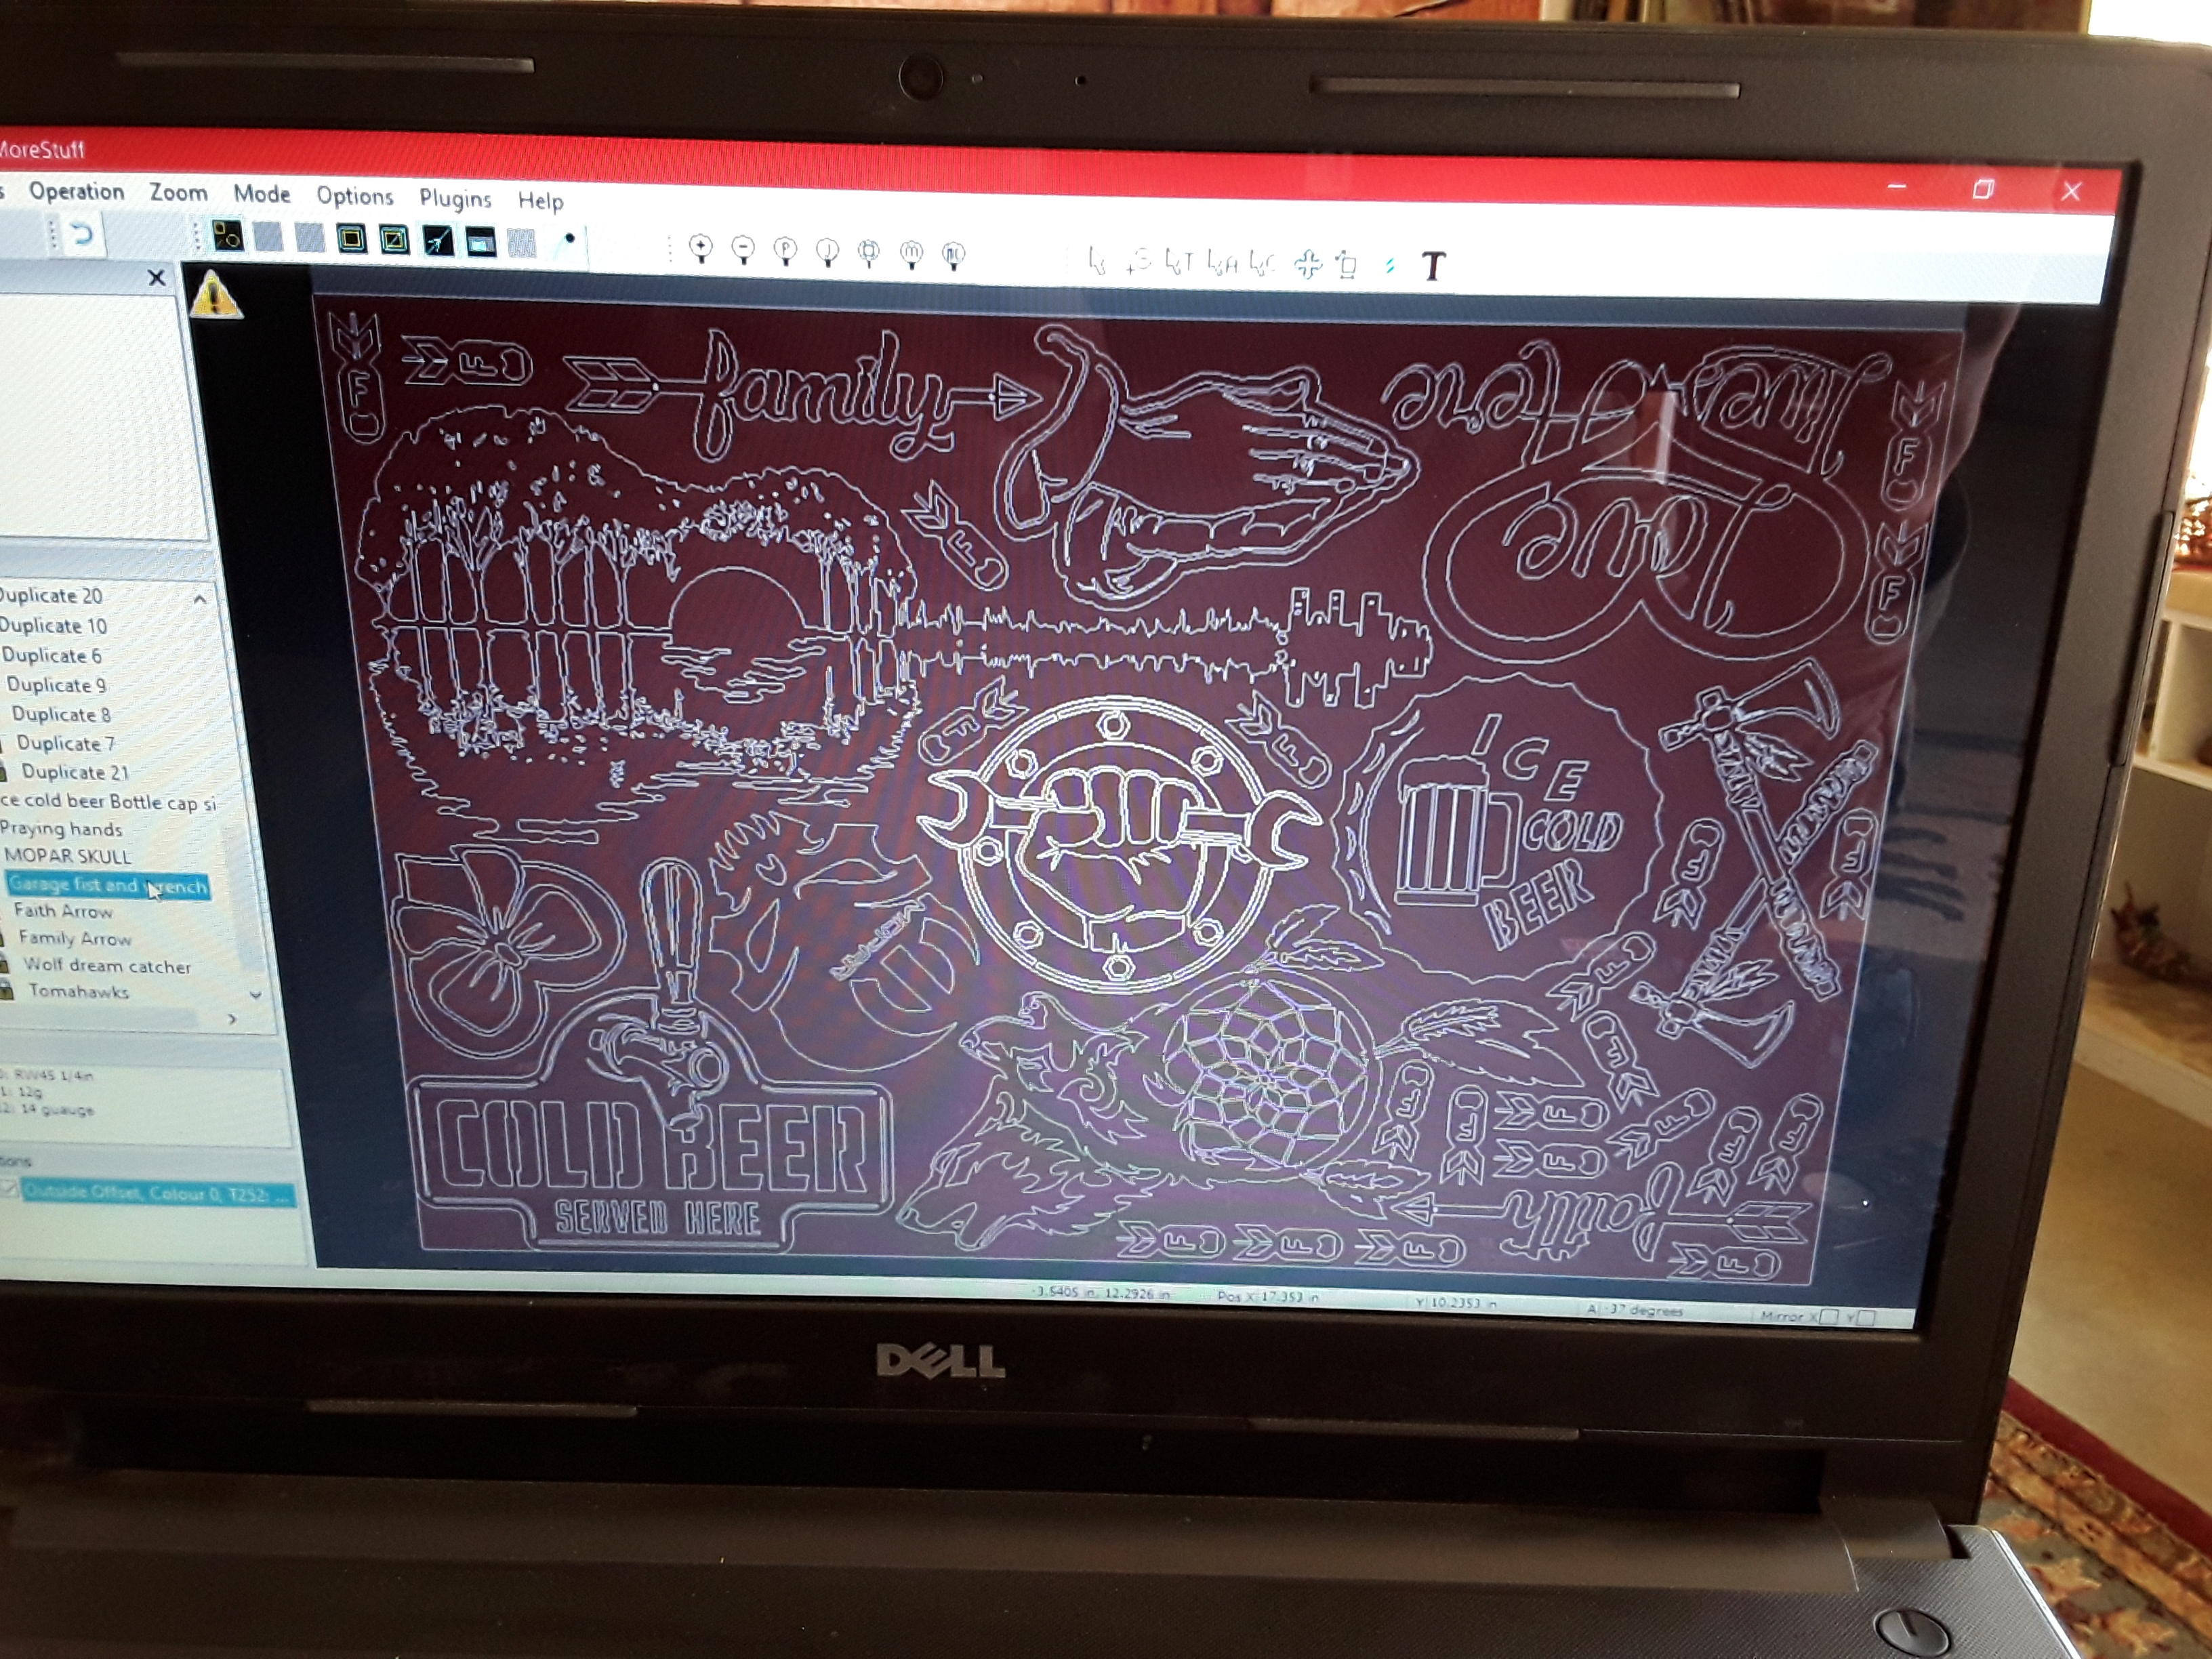
That’s some serious nesting.
We haven’t done an event since February. All the usual ones we were signed up for have been cancelled. May not have any until 2021.
2 Likes
VERY serious and cool nesting! 
Sorry everyone… that the Pro build pictures are no longer available at the Facebook link listed above. I will try in the near future to get them Posted Here instead.
I had to remove everything for obvious reasons, such as not sharing Everything with my potential customers. Small community, and I don’t need any competition right now as I get things rolling. We have done a 2 weeks at the Farmers Market and have one more to go for the year there. Made good contacts, but didn’t sell much there. Saturday, I did a street fair… If you could call it that. It was a first annual street fair for a very small community with little advertising or prep time. We did over $200 in various items with some rust-olium paint on them, and made some great contacts. Received custom orders for a driveway sign, 120 of my small Fbombs for a vendor at wholesale, Table sized sign for a Skate Shop in a college town.
Just getting the word out there has been great! People in my area have needed someone that is affordable for their special projects that they have been waiting on. My online contacts have already hit me up for a few items as well. A large 2 layer Fancy Name art for a girls room, and a large Harley maybe backlit for a living room. Not trying to work to death yet, but damn…
I’m trying to get more design time in but right now it’s hard. 1 more market then I get to sit back for a minute and figure some things out.
-
Need to be able to take credit cards. I was asked this several times Saturday. Luckily the store a few feet away had an ATM and those customers came back and purchased, but could have lost the sale… PayPal has one that will scan the strip when offline, then give 24hrs to connect and process. Most others require internet which I don’t have available by location at times.
-
Take someone with you that can sell table stuff, while you talk ideas and design with another potential client. That way someone is always engaging. Others see this and come over to see what’s happening.
-
Uncured paint likes to stick. Especially on hot sunny days…LOL What feels dry to the touch can become quite tacky as the sun heats the steel to like 1000 degrees… At least that’s what it feels like when you pick them up to move them. New Rule… all Art to be handled by customers should be in the shade…lol
-
Don’t over price the work in a low economy community. I’m trying to make the items affordable based on the average income of my local area, which is on the lower end. While learning the software and machine, I am cutting a break on a few things. But I let them know that they are getting a break for that reason and prices will be going up as things progress.
I’m finding some people that put off getting some art because of the price point, yet buy from me, telling me my prices are reasonable. Yet I still can make a good profit of the sale. I’ve sold 1/3 of my inventory and paid for all 3 sheets of 4x10 ( which I havent used all of yet), so off to the supplier I go!.. -
Raffles are Awesome! I don’t mind offering up a piece to raffle with the proceeds going for the local food bank or other local charity. I raffled a piece Saturday and raised $67 for the Elk’s holiday baskets given to the needy, and plan on raffling another large one at the next big event. This keeps people at your booth while they put their information on the tickets, giving you a better chance to show your wares and services. Got a few contacts that way. Plus it shows community support, which is always great for a business starting out. (Besides, many moon ago, they help us out in a time of need…)
-
Get yourself an easy Pop-Up Canopy and folding tables. They were on sale at Ace recently. It drizzled all day Saturday (for the first time in over a month) and was glad to have a roof. I used cheap flannel bed blankets $9 king size to cover tables and keep from scratching things up. (paint may stick if not cured and it gets hot, Found that out on a piece) Also I set up an extra chair to offer to a customer that might look tired, or to sit with and discuss their ideas.
I’m sure the list is probably much longer but these are the main points that I found I needed to touch on to get things rolling more smoothly. One thing I can say… I think the PRO is going to change things for me and the people that I am having the pleasure of meeting. I am so glad I made the purchase. I do see myself growing out of this table before too awful long, but maybe LS will offer a 5x10 down the road. That will be my next big jump I think. After this one has paid for itself, which might be fairly quick at this rate…
Hope this helps a few, encourages a few, educates a few, and Inspires ALL…
RMF
www.RockMountainFab.com
6 Likes
We use Square for credit card processing. We use an IPad or phone for connection and they use different services, ATT for the IPad and T Mobile for the phone. Usually one or the other will get service. If not you can process credit cards offline and it will complete the transaction as soon as you get in range. Only thing is you won’t know if the card is bad until it can finish processing.
1 Like
yeah. where we live, a good portion of the sales happen where there is no cell service or wifi. Paypals reader was one of the only ones that offer use when offline and would tie in with my existing longtime PP account. Most of my customers in this case are local, and are pretty easy to track down in a county of only 9000. I know what to look for and will require ID ( if picture matches the face,) to use a card and write down DL#, but wont miss the sale.
As far as paint, yea it takes at least 72 hours to cure spray bomb paint and sometimes longer. I learned that the hard way. I used Rustoleum 2X mostly. I got pretty good at it and some people thought it was powdercoat but still on a short turnaround the cure time was a killer. I now powdercoat all my stuff and as soon as it is cooled off it is good to go.
As far as pricing my goal was to make things somebody could buy with a 20.00 bill. So my stuff is fairly small which makes it easy to pack. It’s about a 80% profit margin as far as materials but the labor drags it down. I’ve made some bigger stuff but the hemming and hawing about price means I carry them around longer, harder to safely transport and display. I’m retired so I’m not trying to make a living.
It’s fun to do a car show and walk around and see the customers cars I have made and some of them include them in their display. I also made a large display piece for a food vendor and it’s fun to see it displayed, it’s about 5 years old now so it’s getting a little rough around the edges.
2 Likes
Waiting on Approval… Driveway sign 14x20 simple mod to existing file quick coat of paint and $40 in the bank. Economy here dictates the price. easy edit so no charge there. I’m at 5 cents a square inch (rounding up), that’s 3x cost, ($14), 1 set of consumables ($5), 1/2hr shop at $40hr ($20), $1 paint. My shop rate is based on my disability slowing things down a little and no overhead, everything is paid for so no debt either. I do let them know that the price will go up as things get busier.
UPDATE: Well, they decided on different colors… Once the check gets here and clears, I’ll knock it out. But wont burn an inch till then…LOL
2 Likes
@RockMountainLLC what did you use to make those channels for the drag chains to sit in? Looks like some modified drip channel.
I use Z flashing for the drip edge of steel siding where it drains over the foundation edge. Laid it back to back, and fastened together with silicone caulk (thin layer).
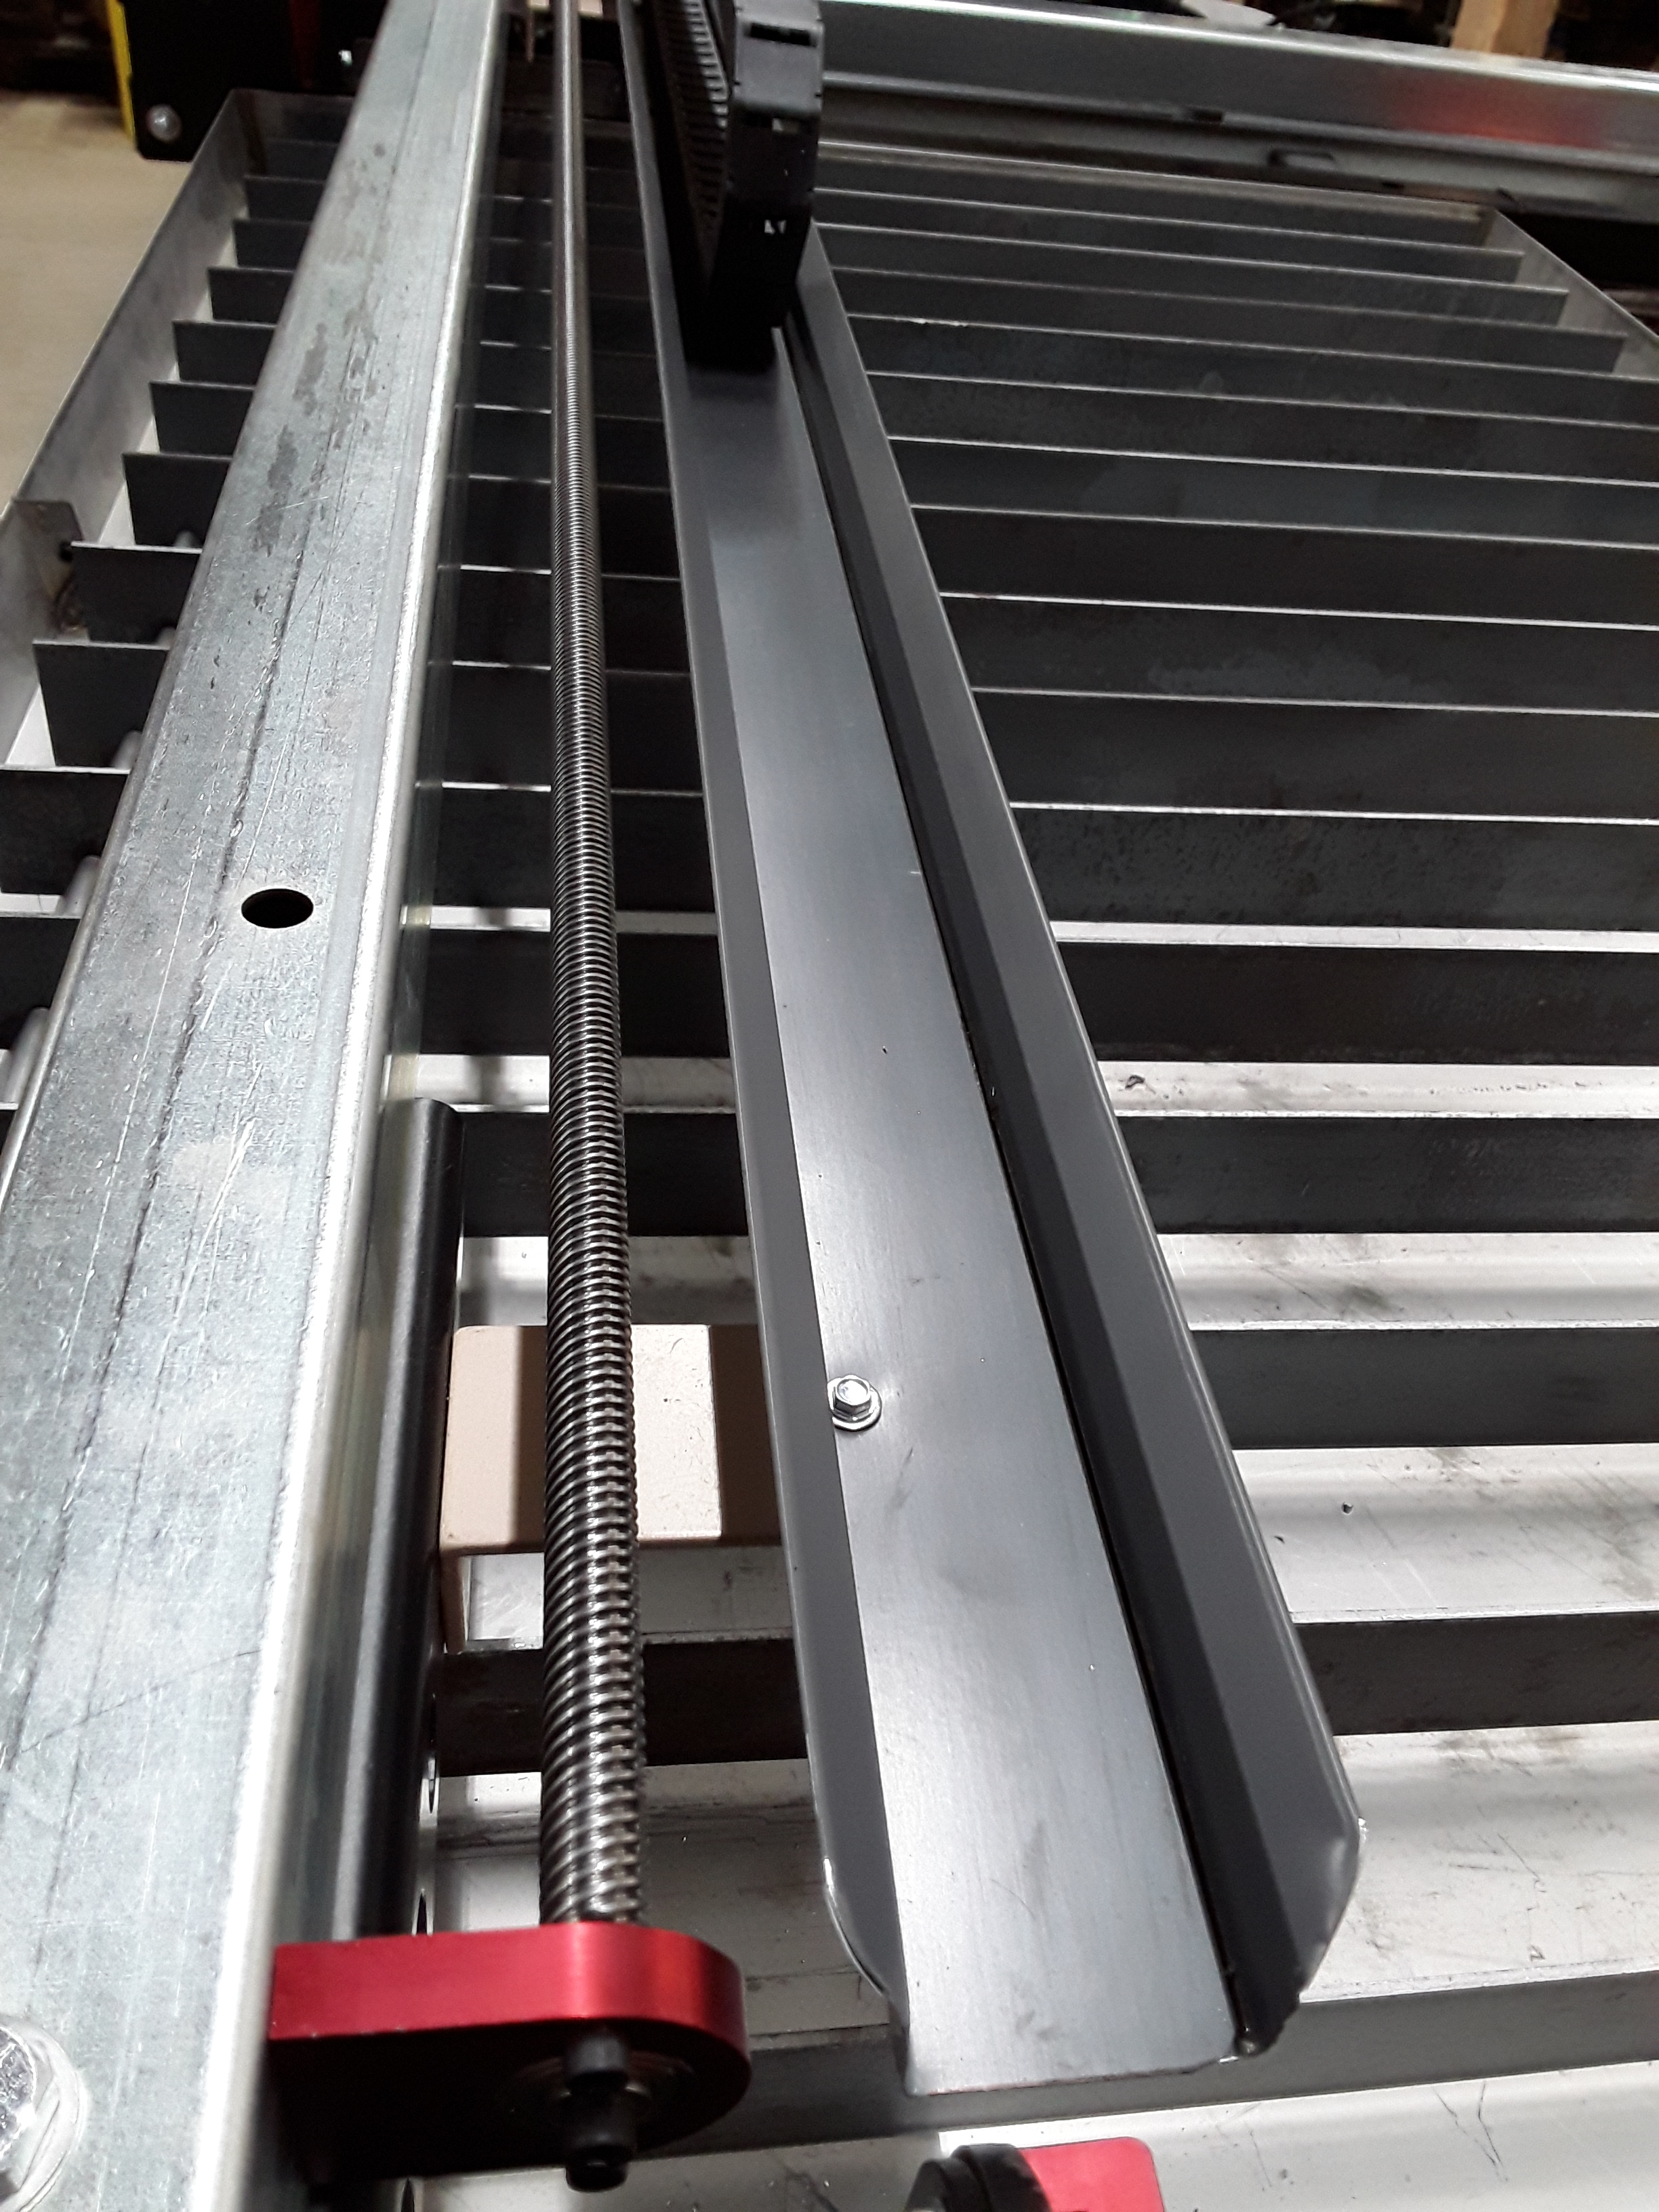

Hope this helps. Had some laying around for a siding project so gave it a try. Nothing special but cleans things up and does the job. I used the same stuff flipped upside down and tucked into the edge of the water table. It controls splashing / sparks / and dust from getting out the sides of the table. Dust no longer gets on my control box, still in its stock location…
1 Like
Kicked out a larger project this week!
It’s a log grapple and arm for a three point tractor hitch. It works awesome, and customer is very happy! Grapple it self is 5/16, arm is 2 1/2" 3/16 wall tube. Figure all in at $150 in materials and pins.
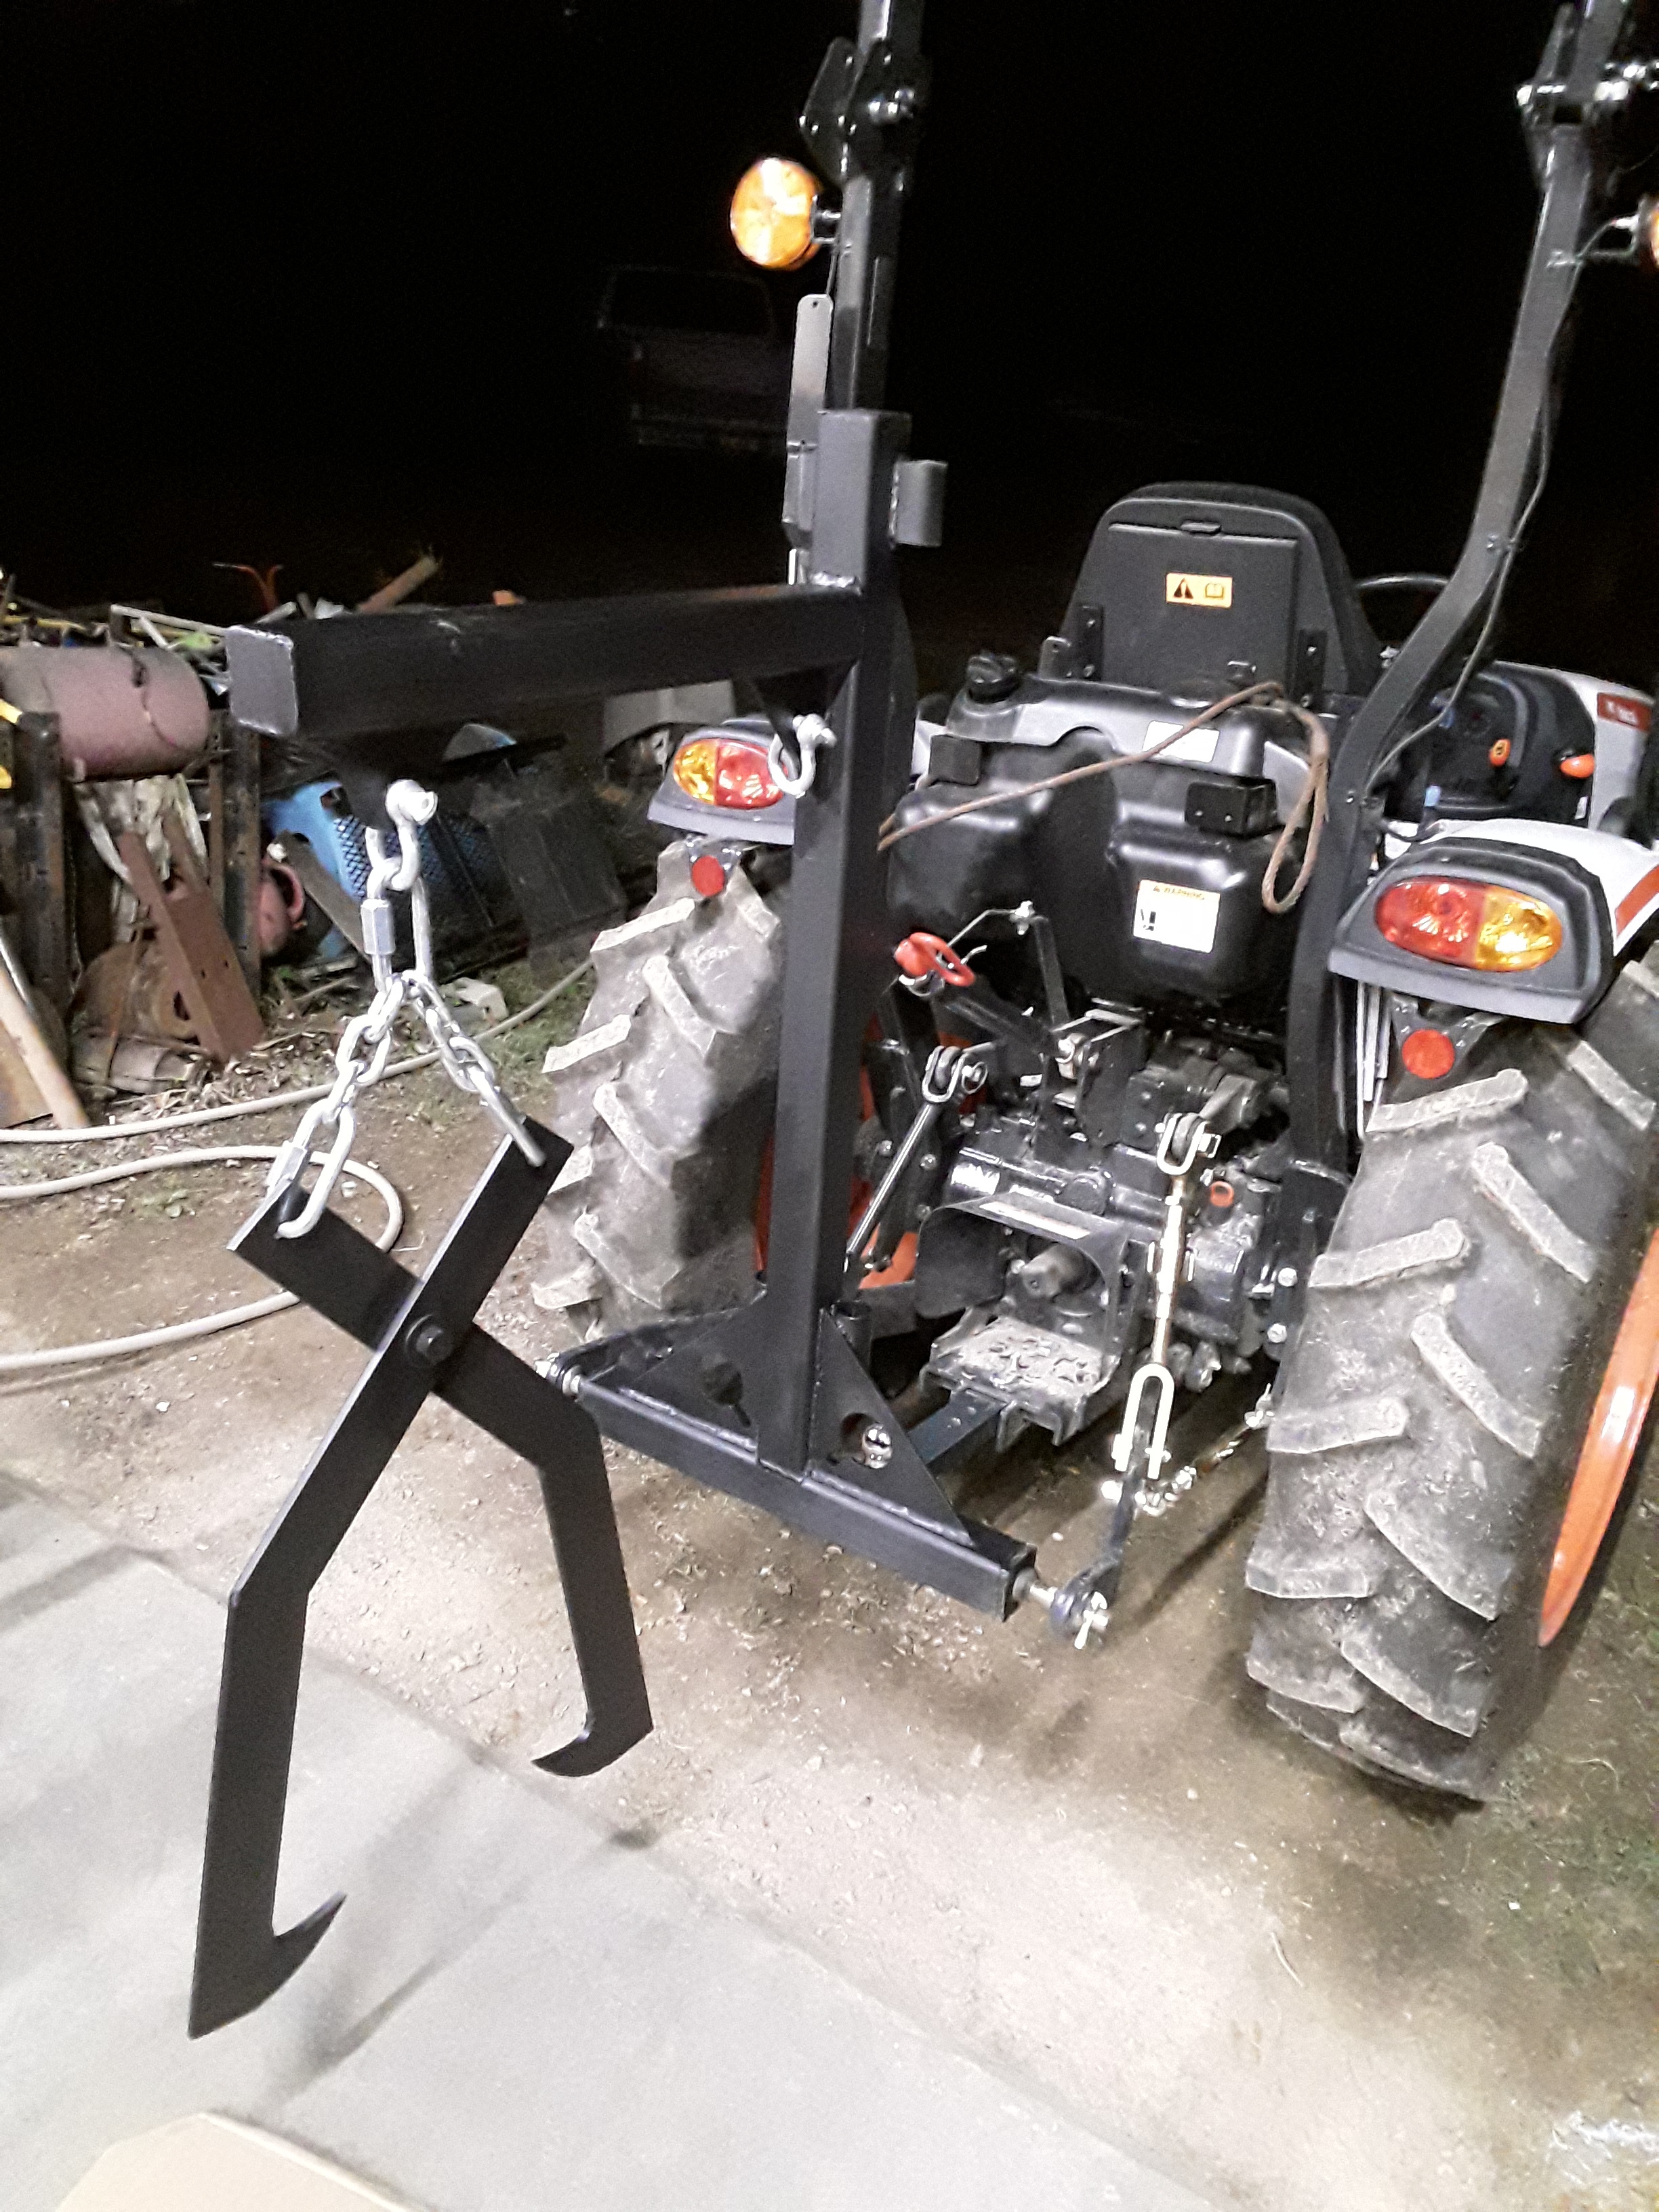
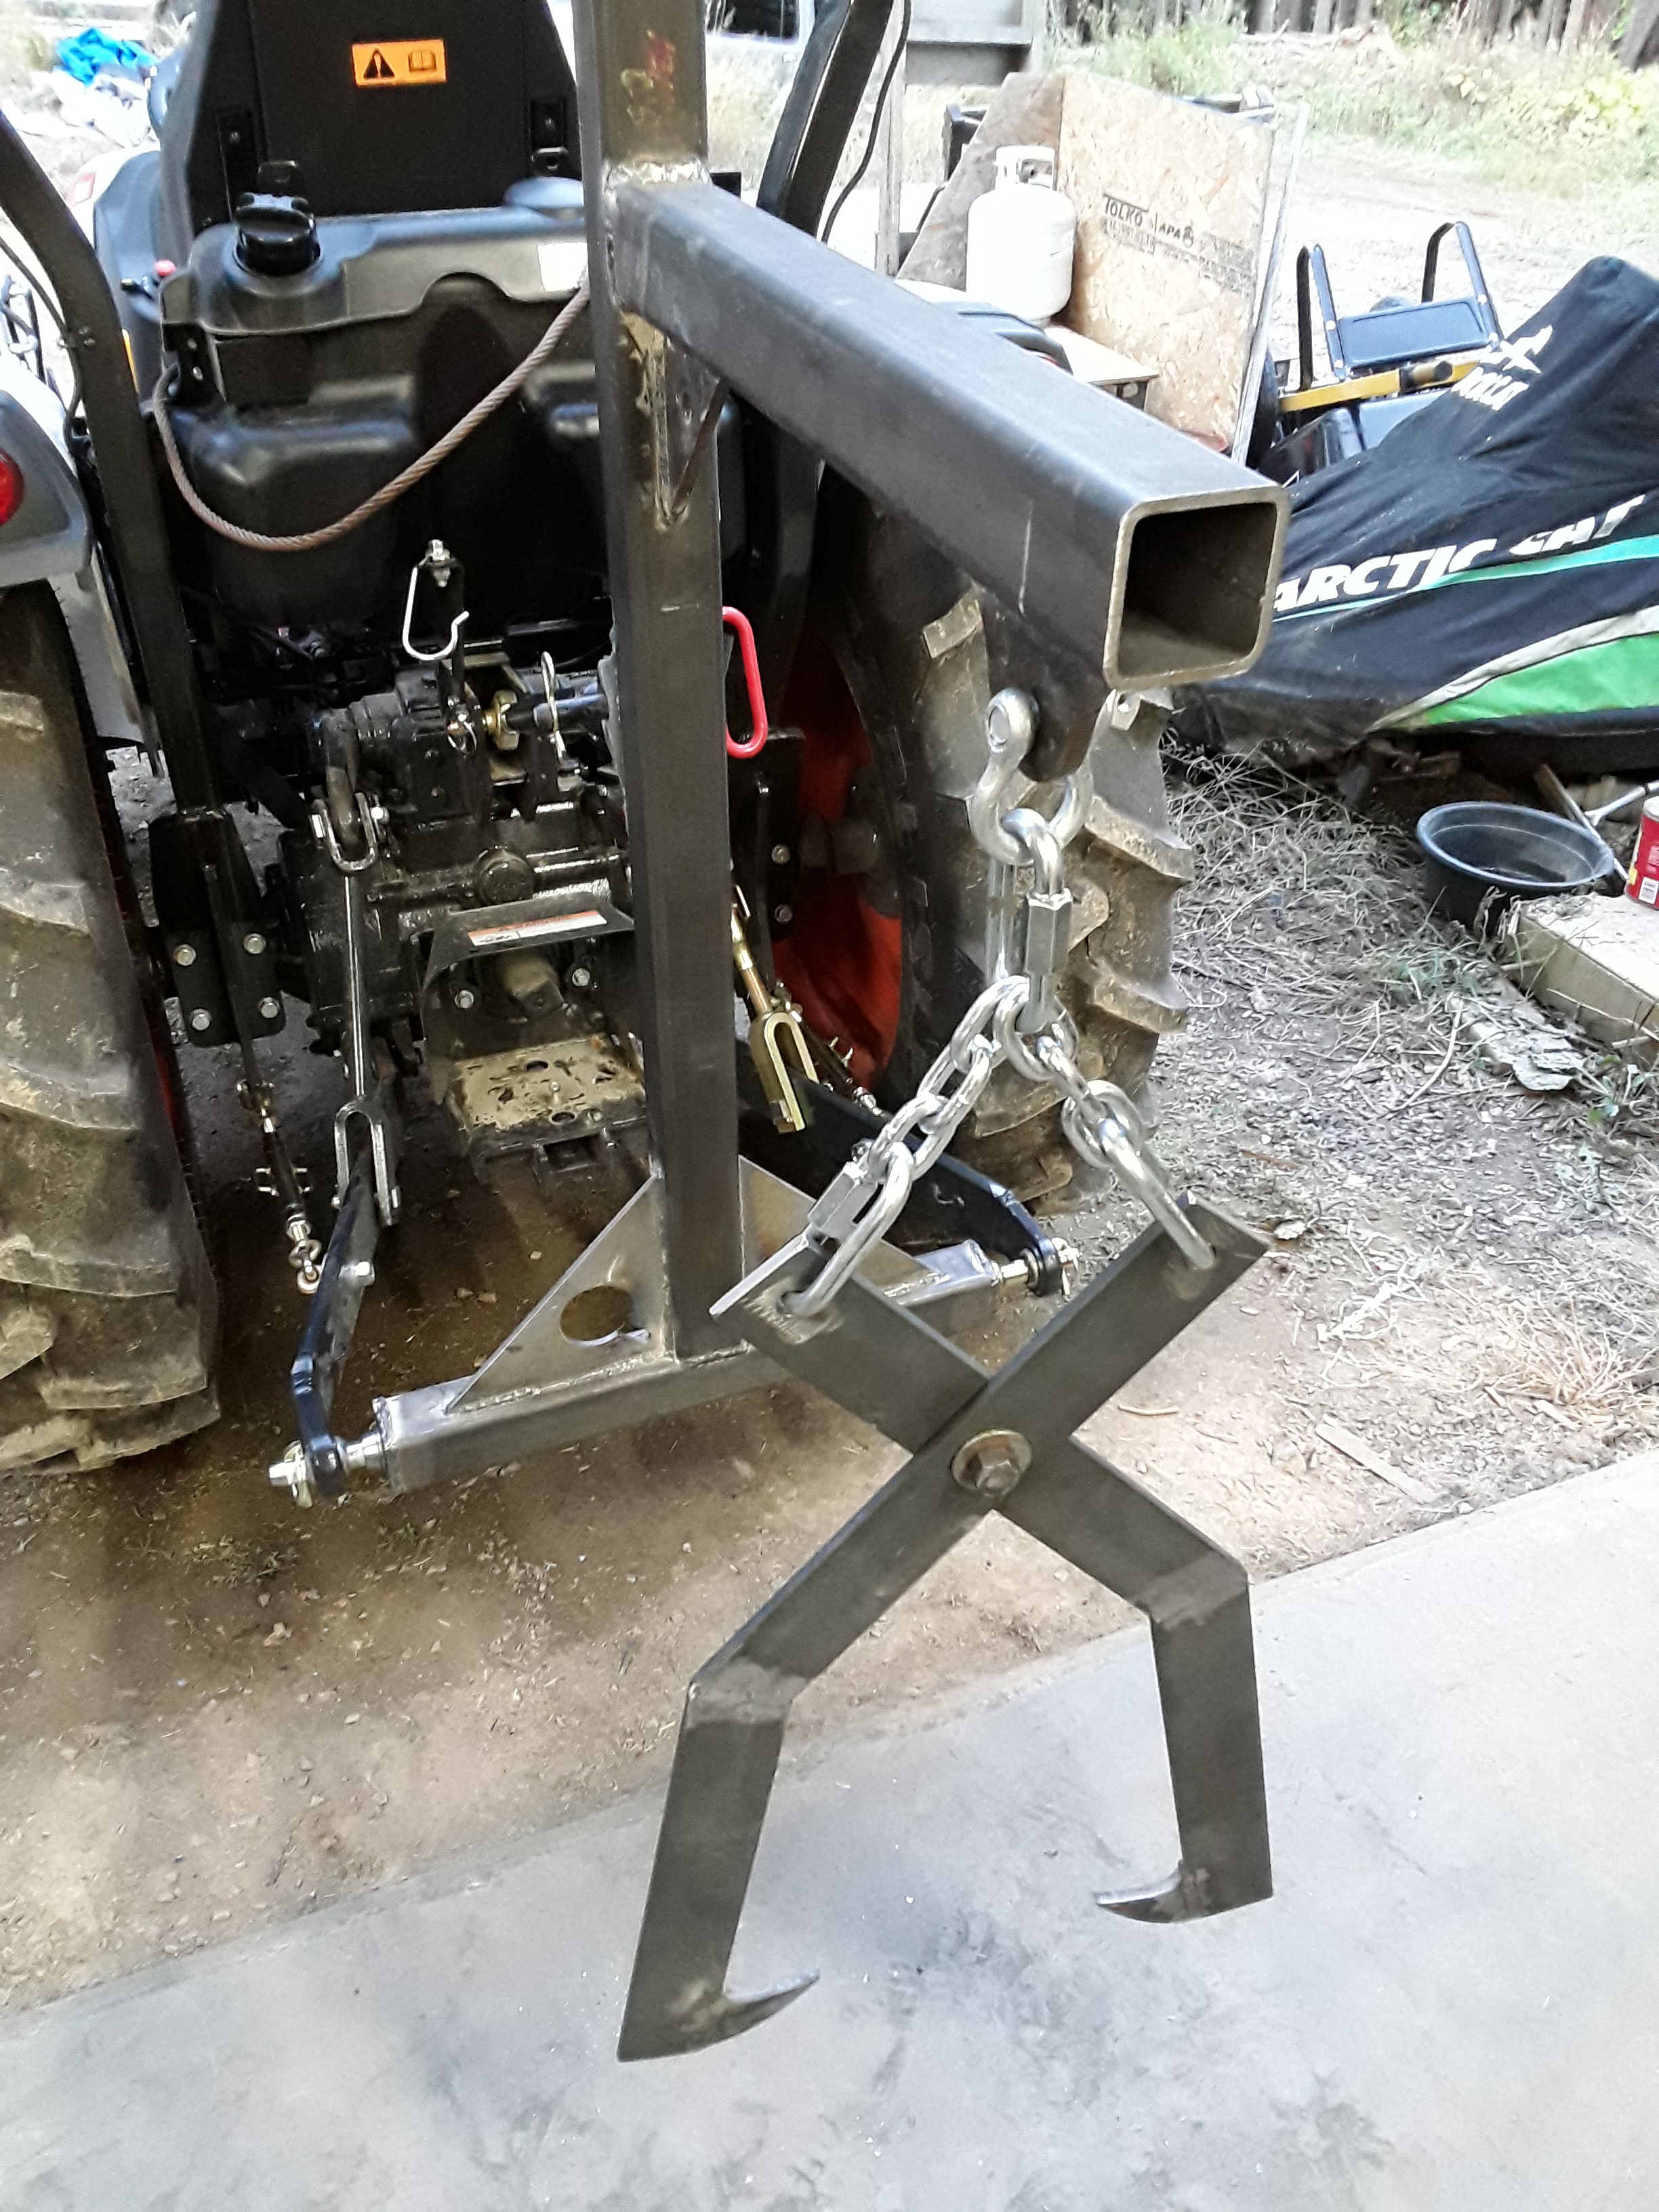
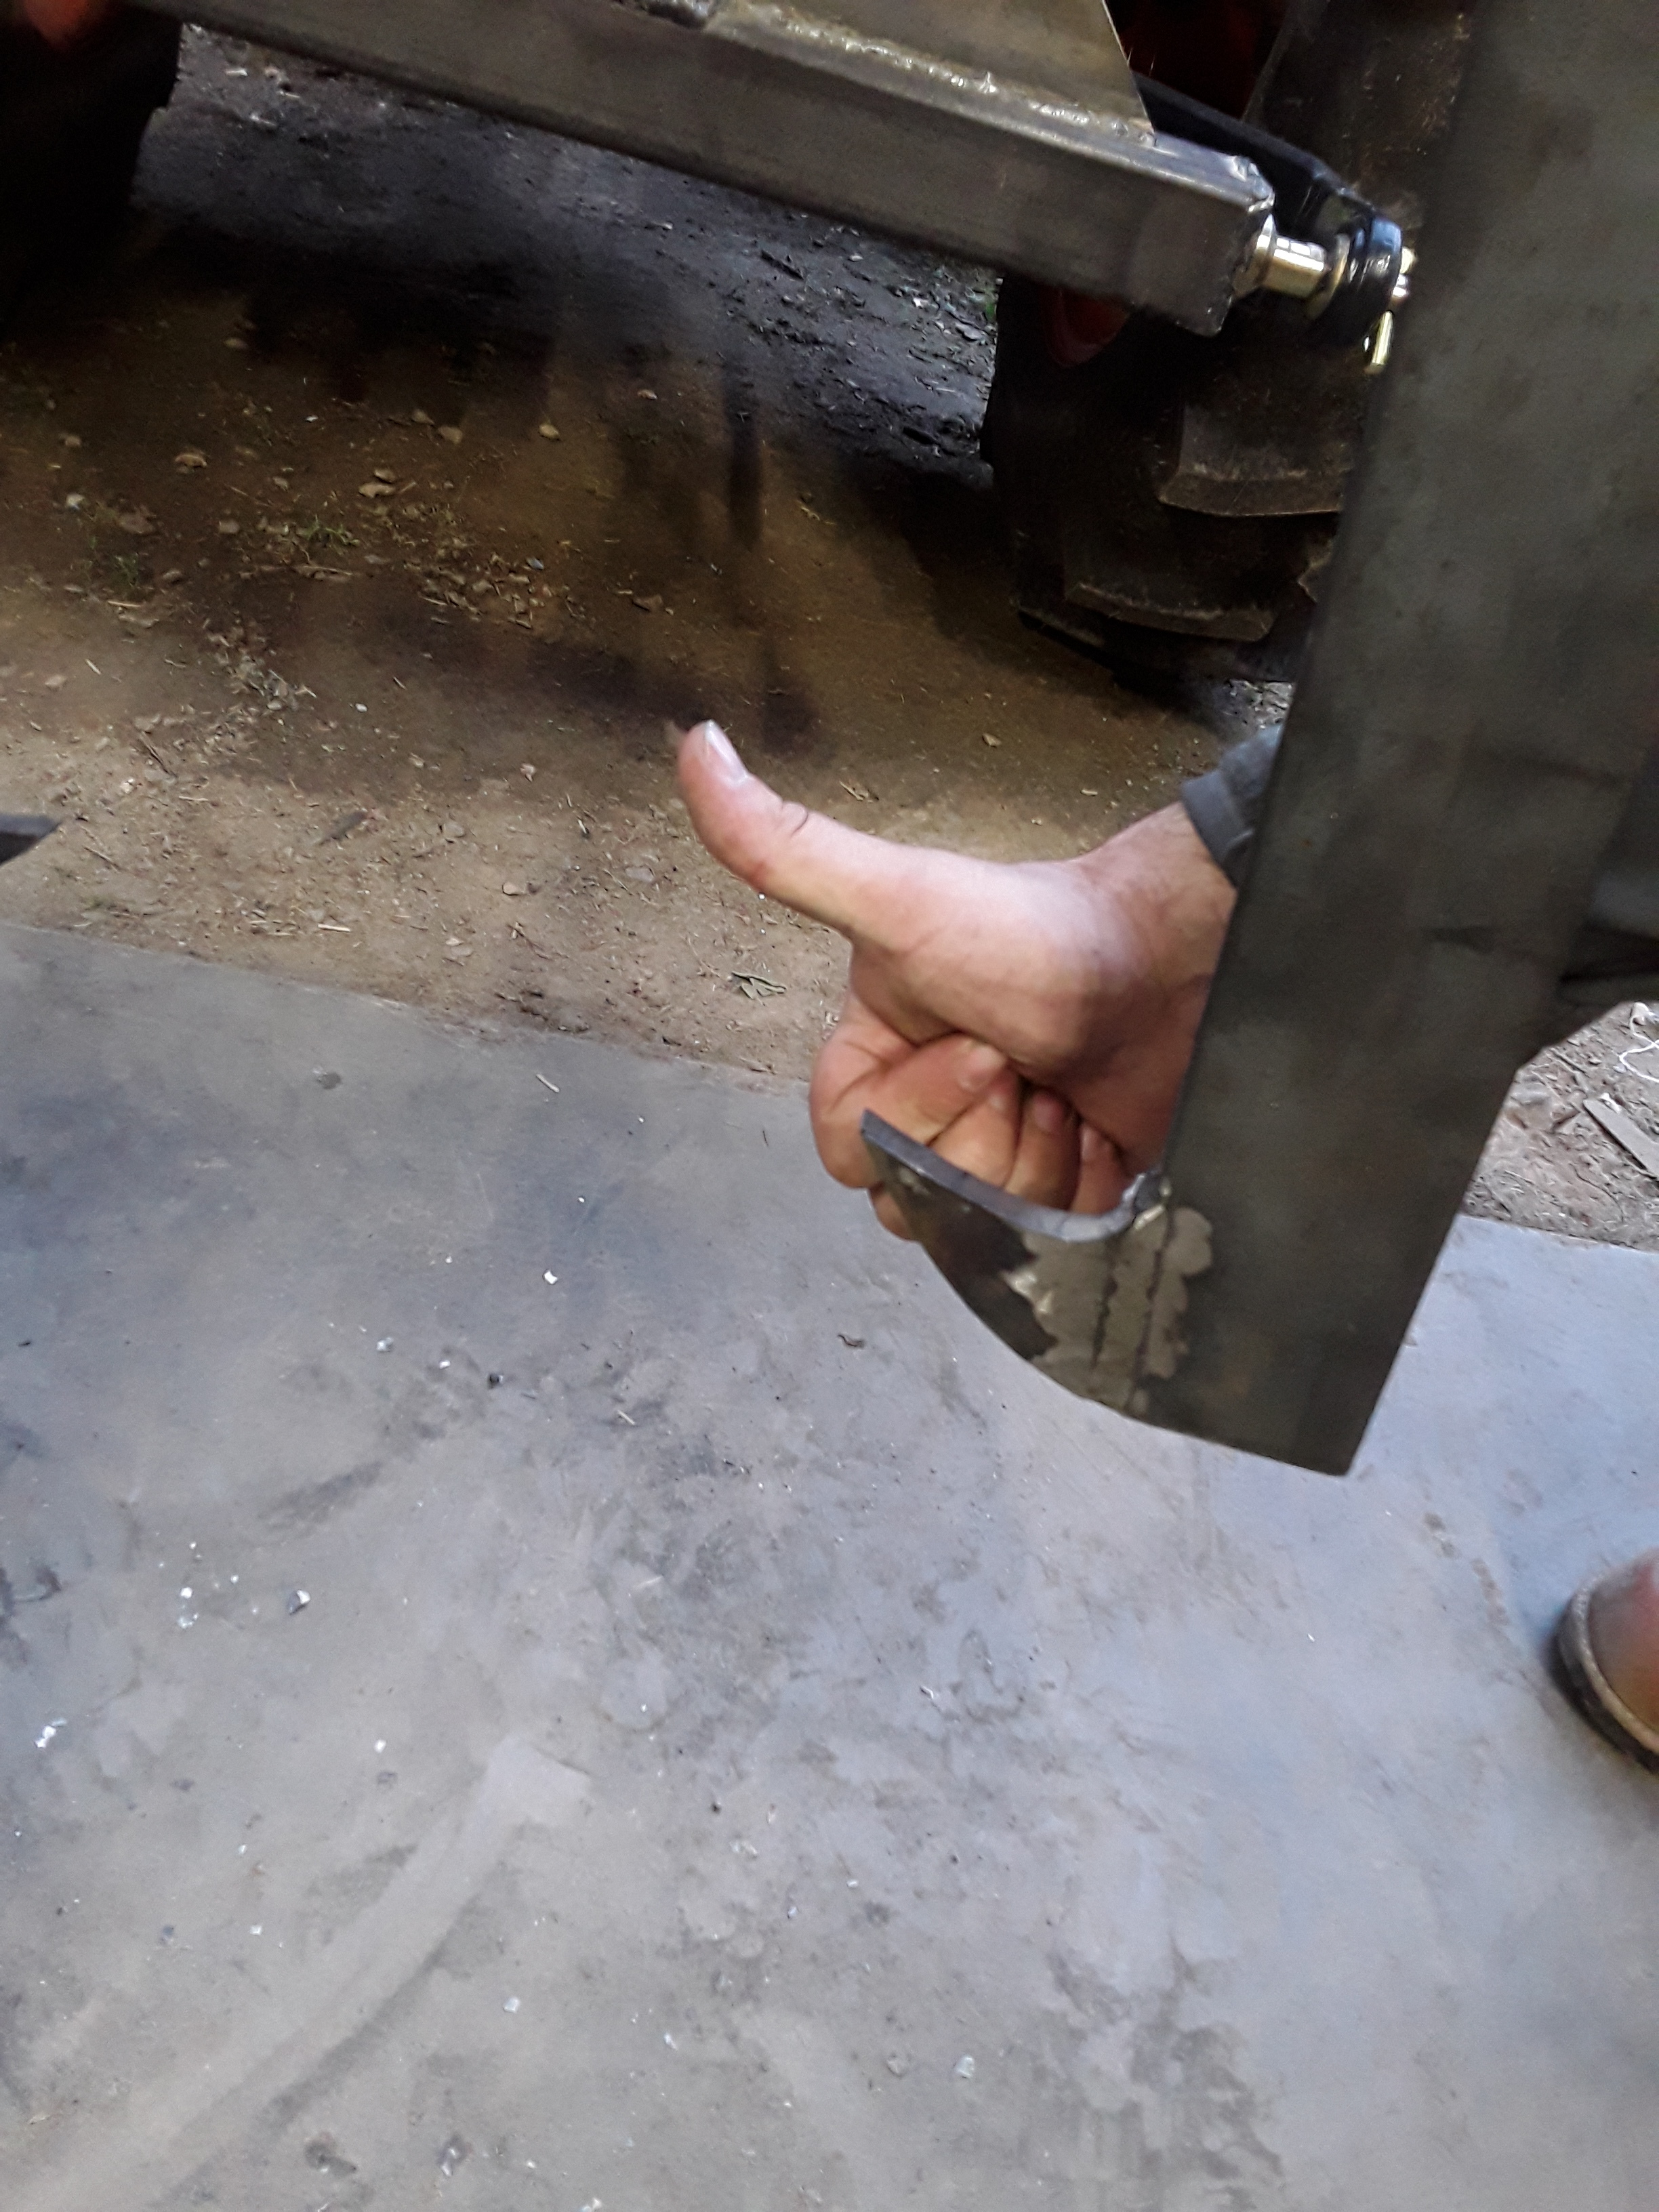
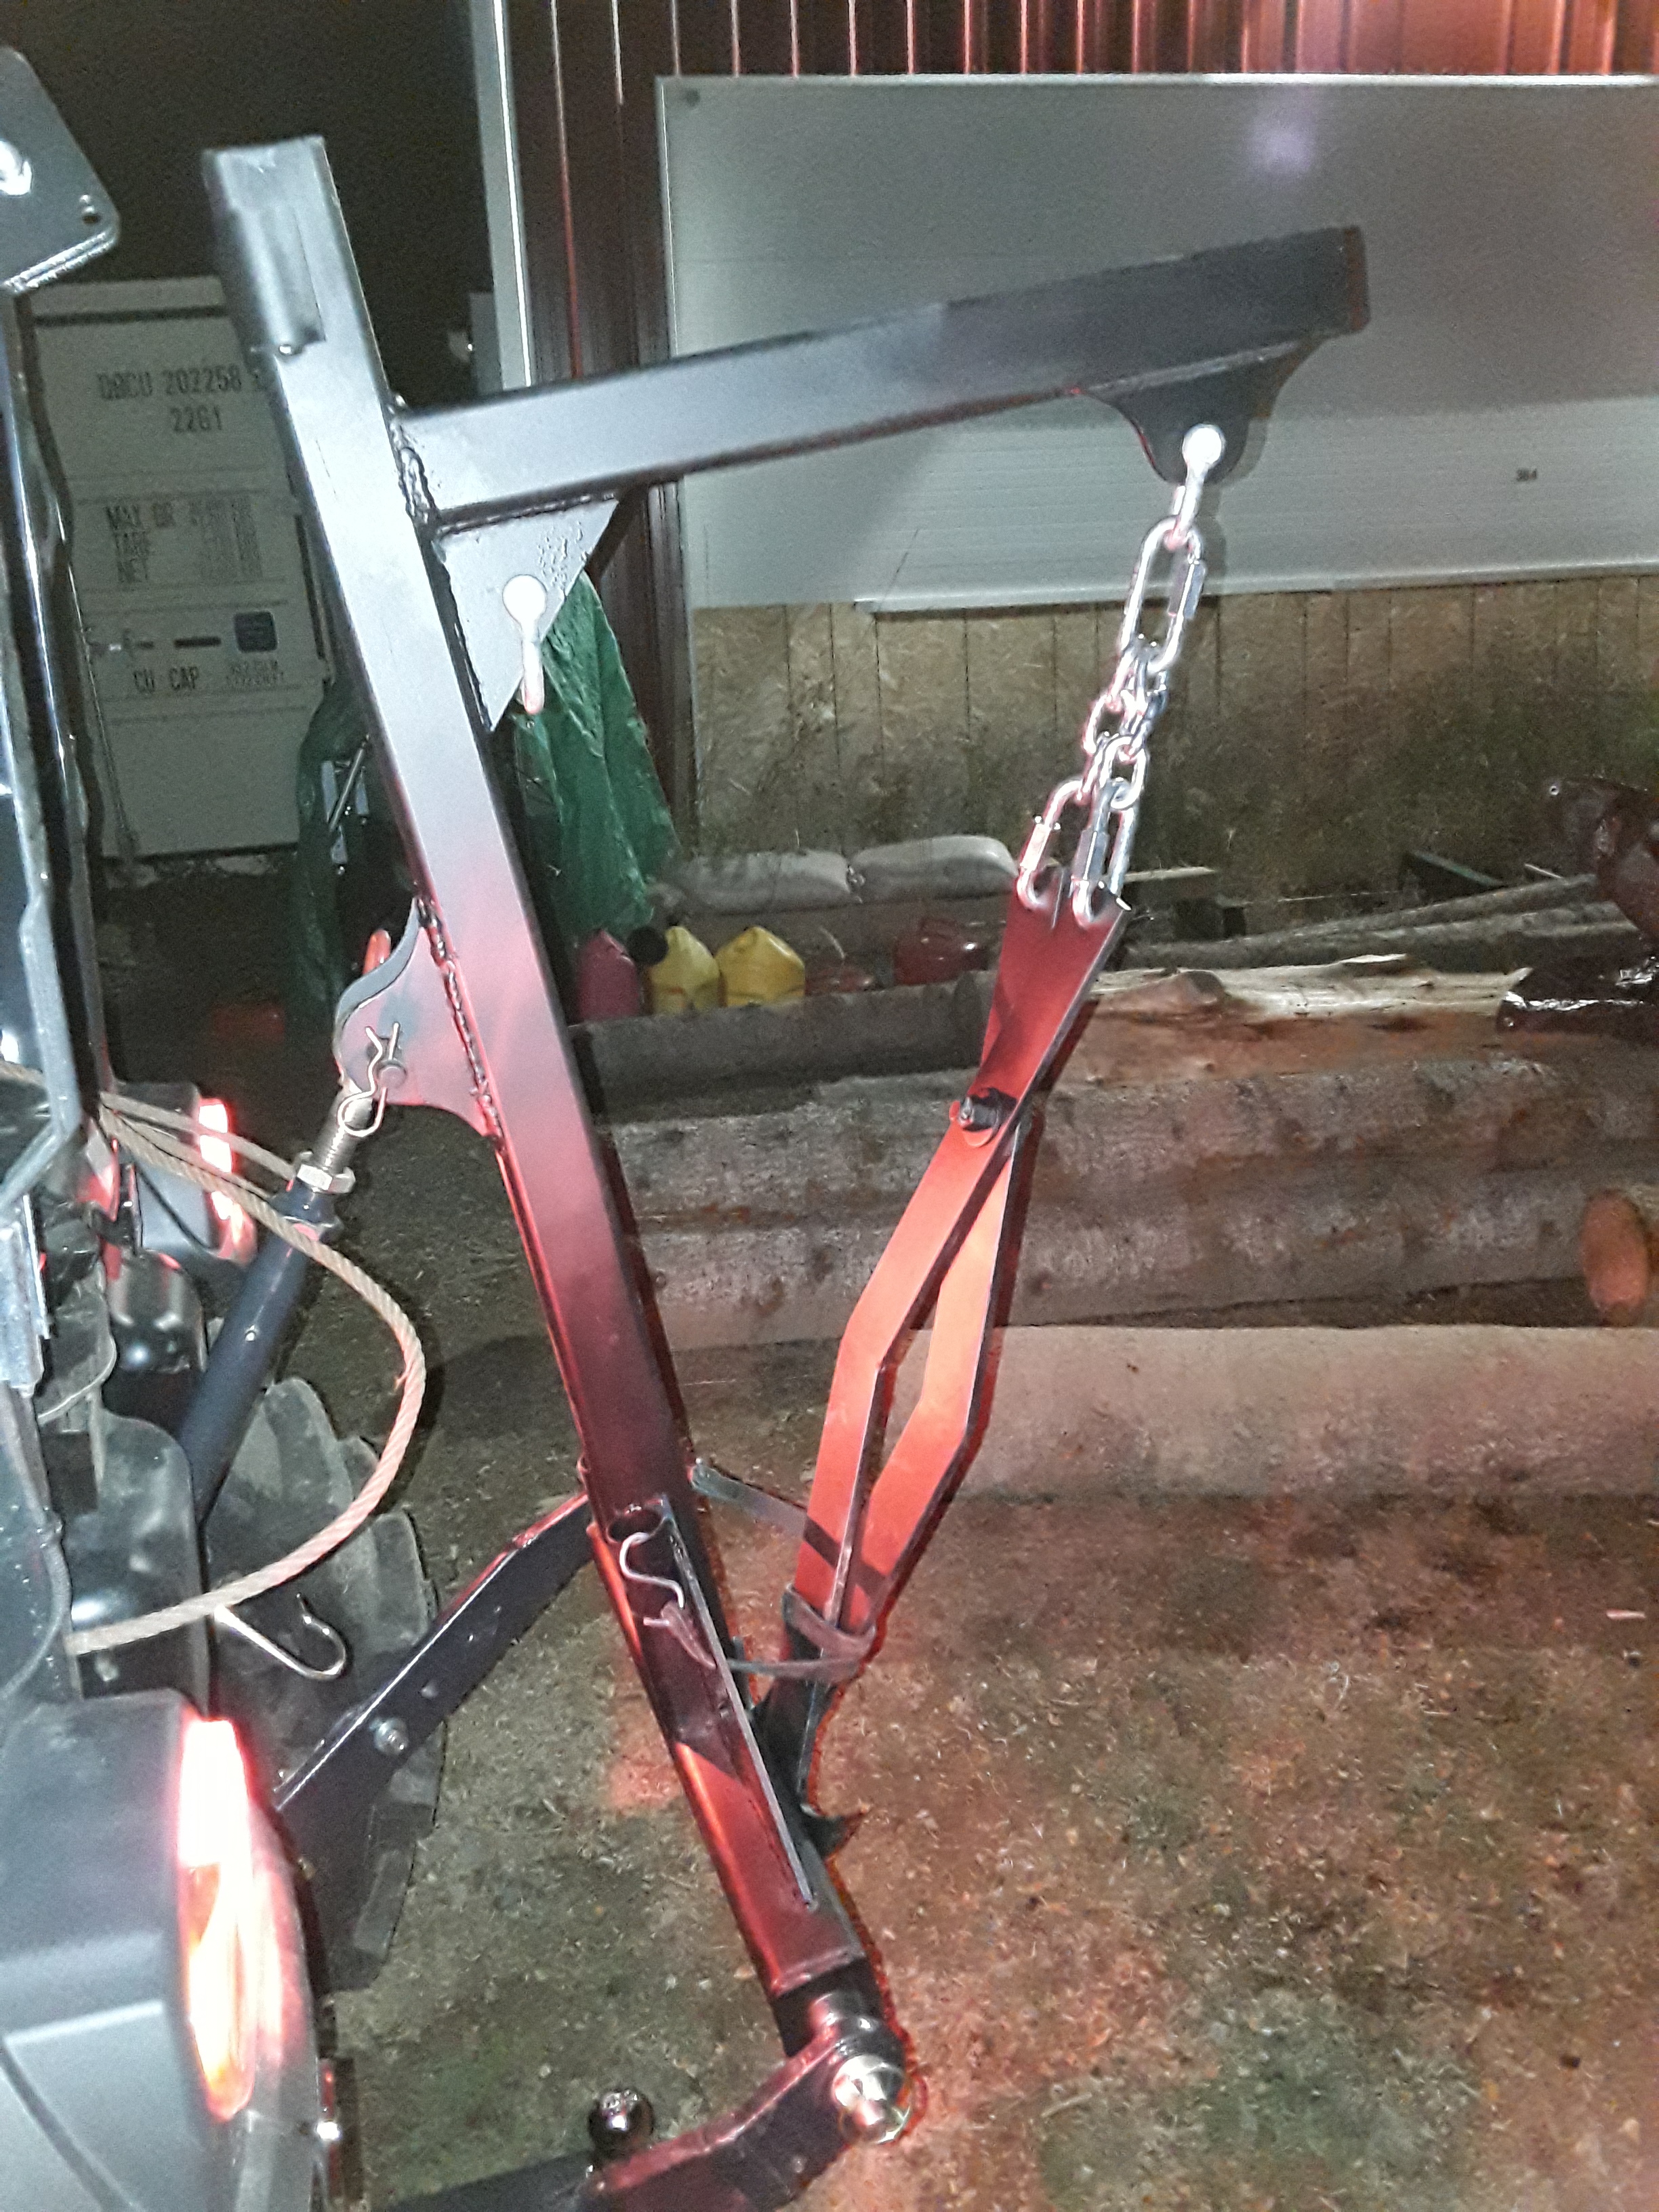
I assembled and tacked it together and then the customer welded it out with my equipment. Was a fun project and he has used on some good sized logs without issues…
4 Likes
Very nice indeed!
This last week in the Pacific Northwest has been a killer for production. My shop didnt get above 25° for 5 days… ![]()
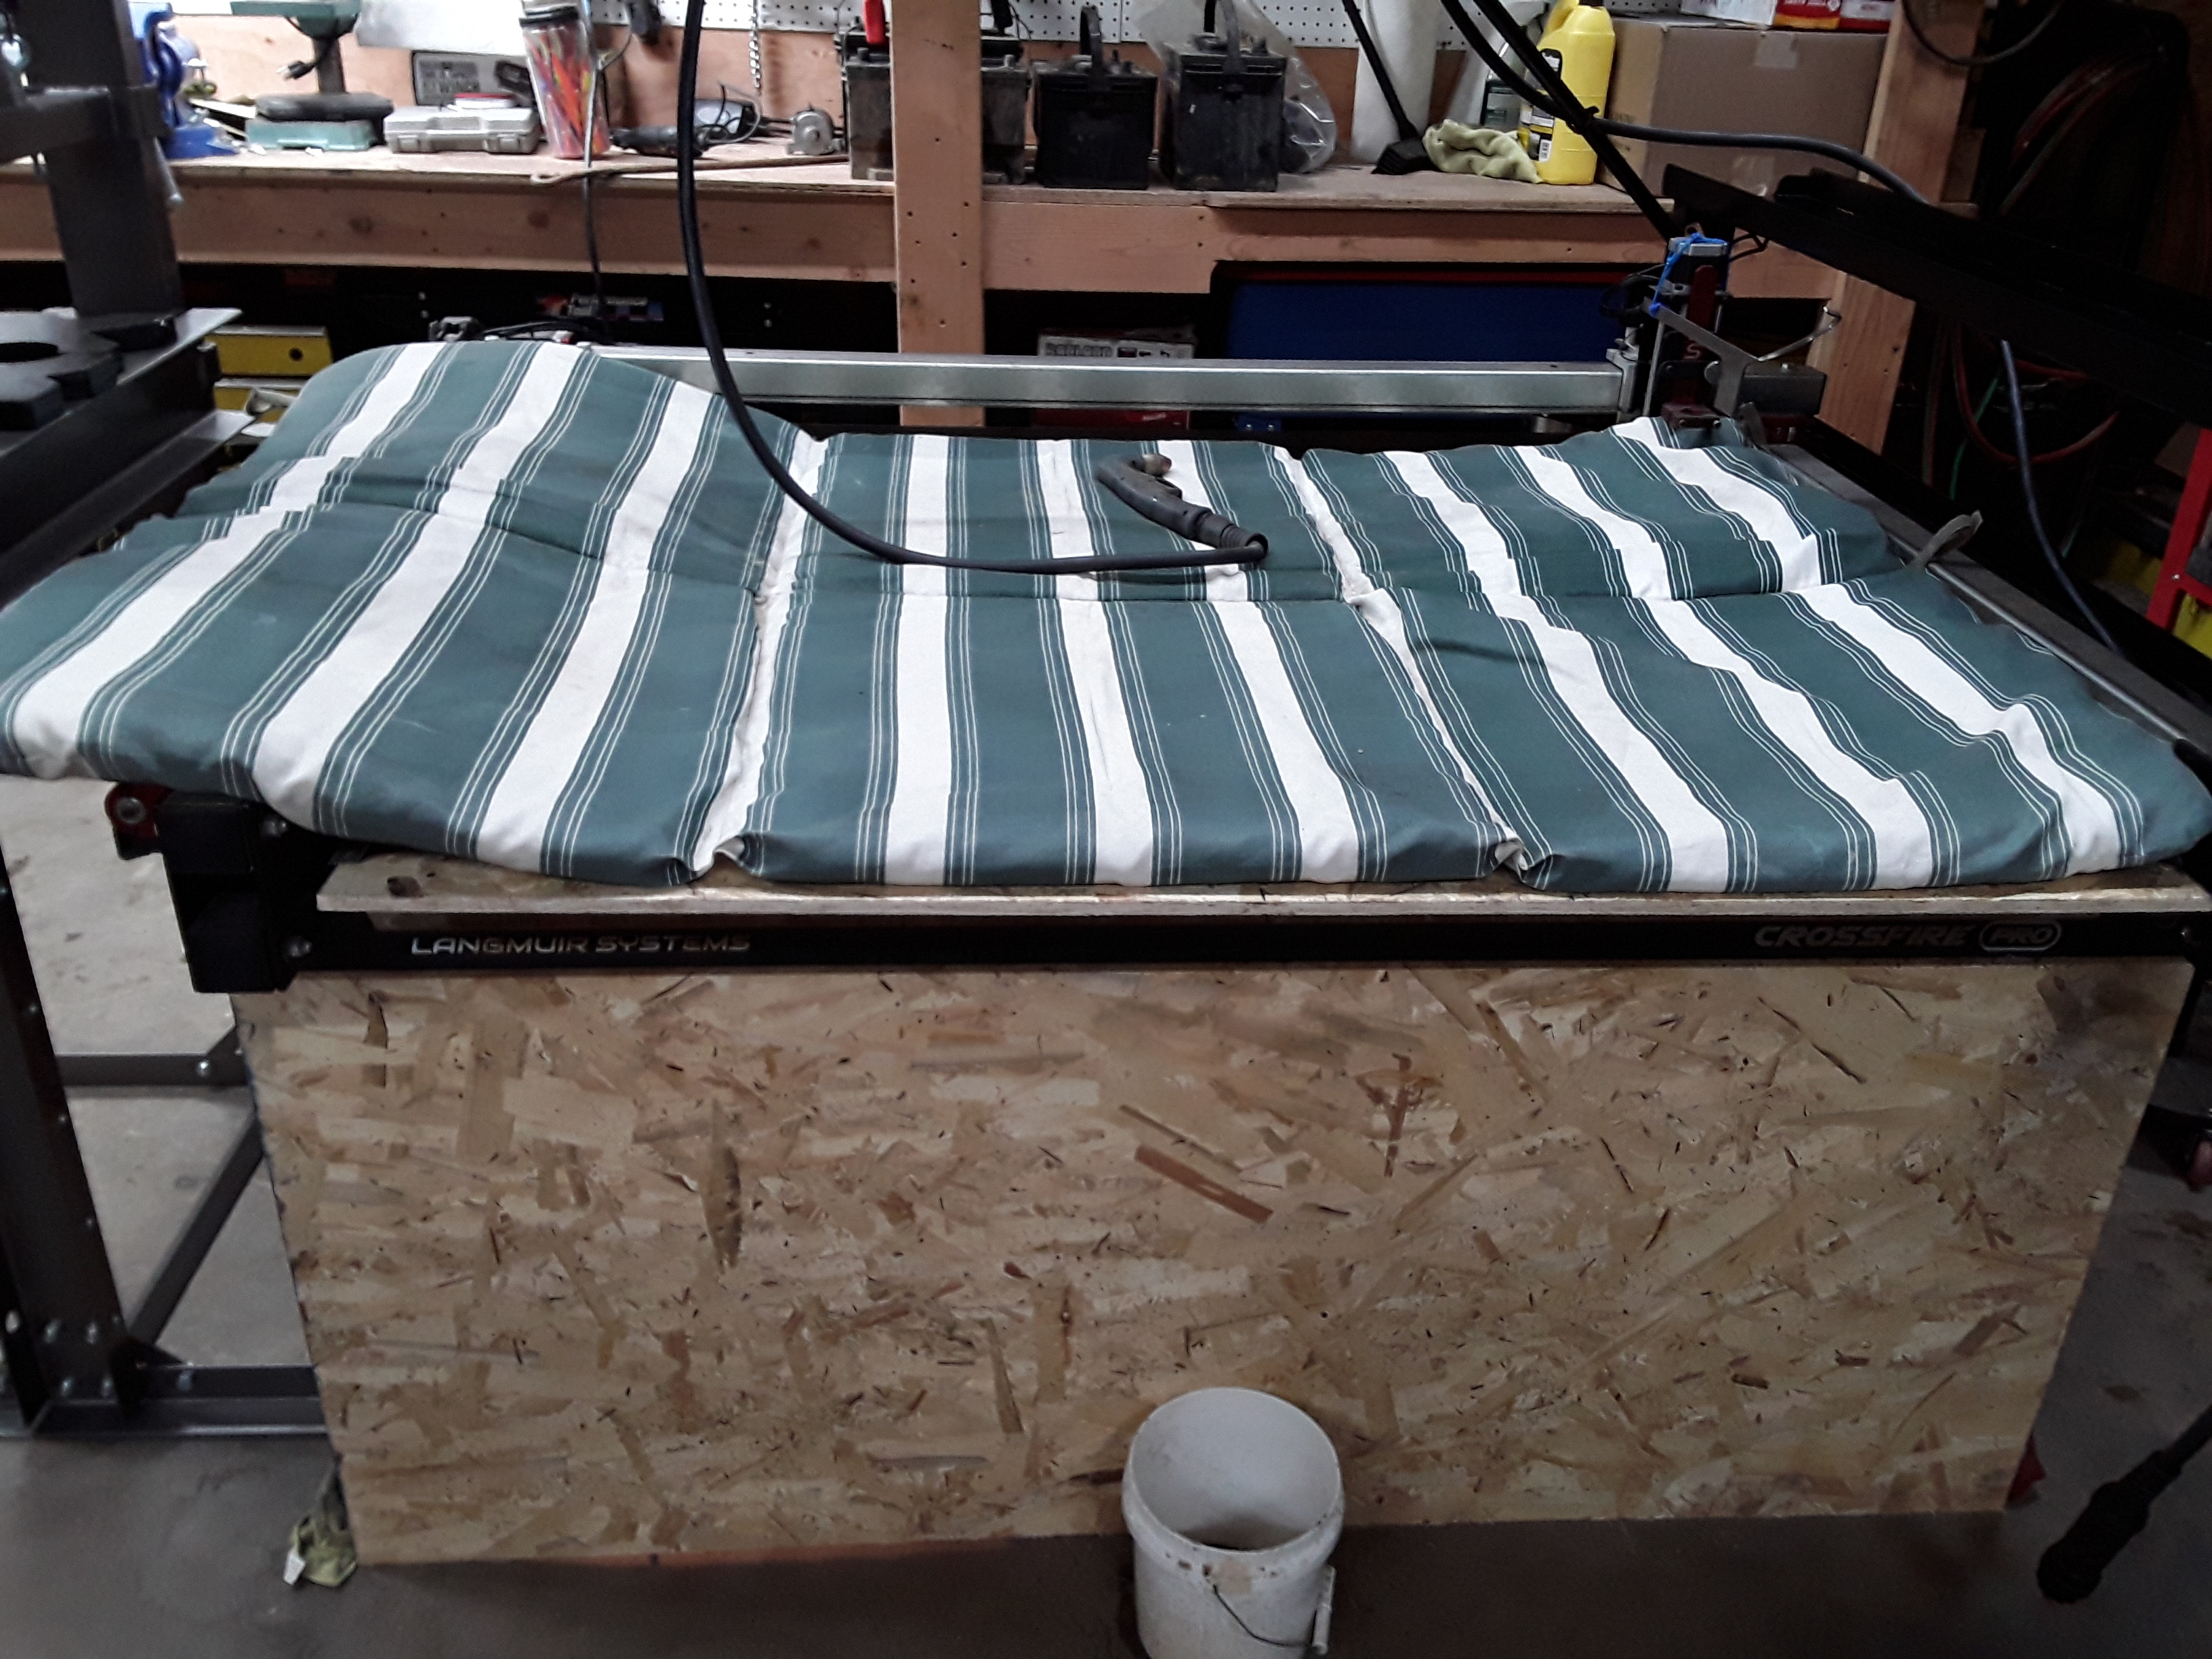
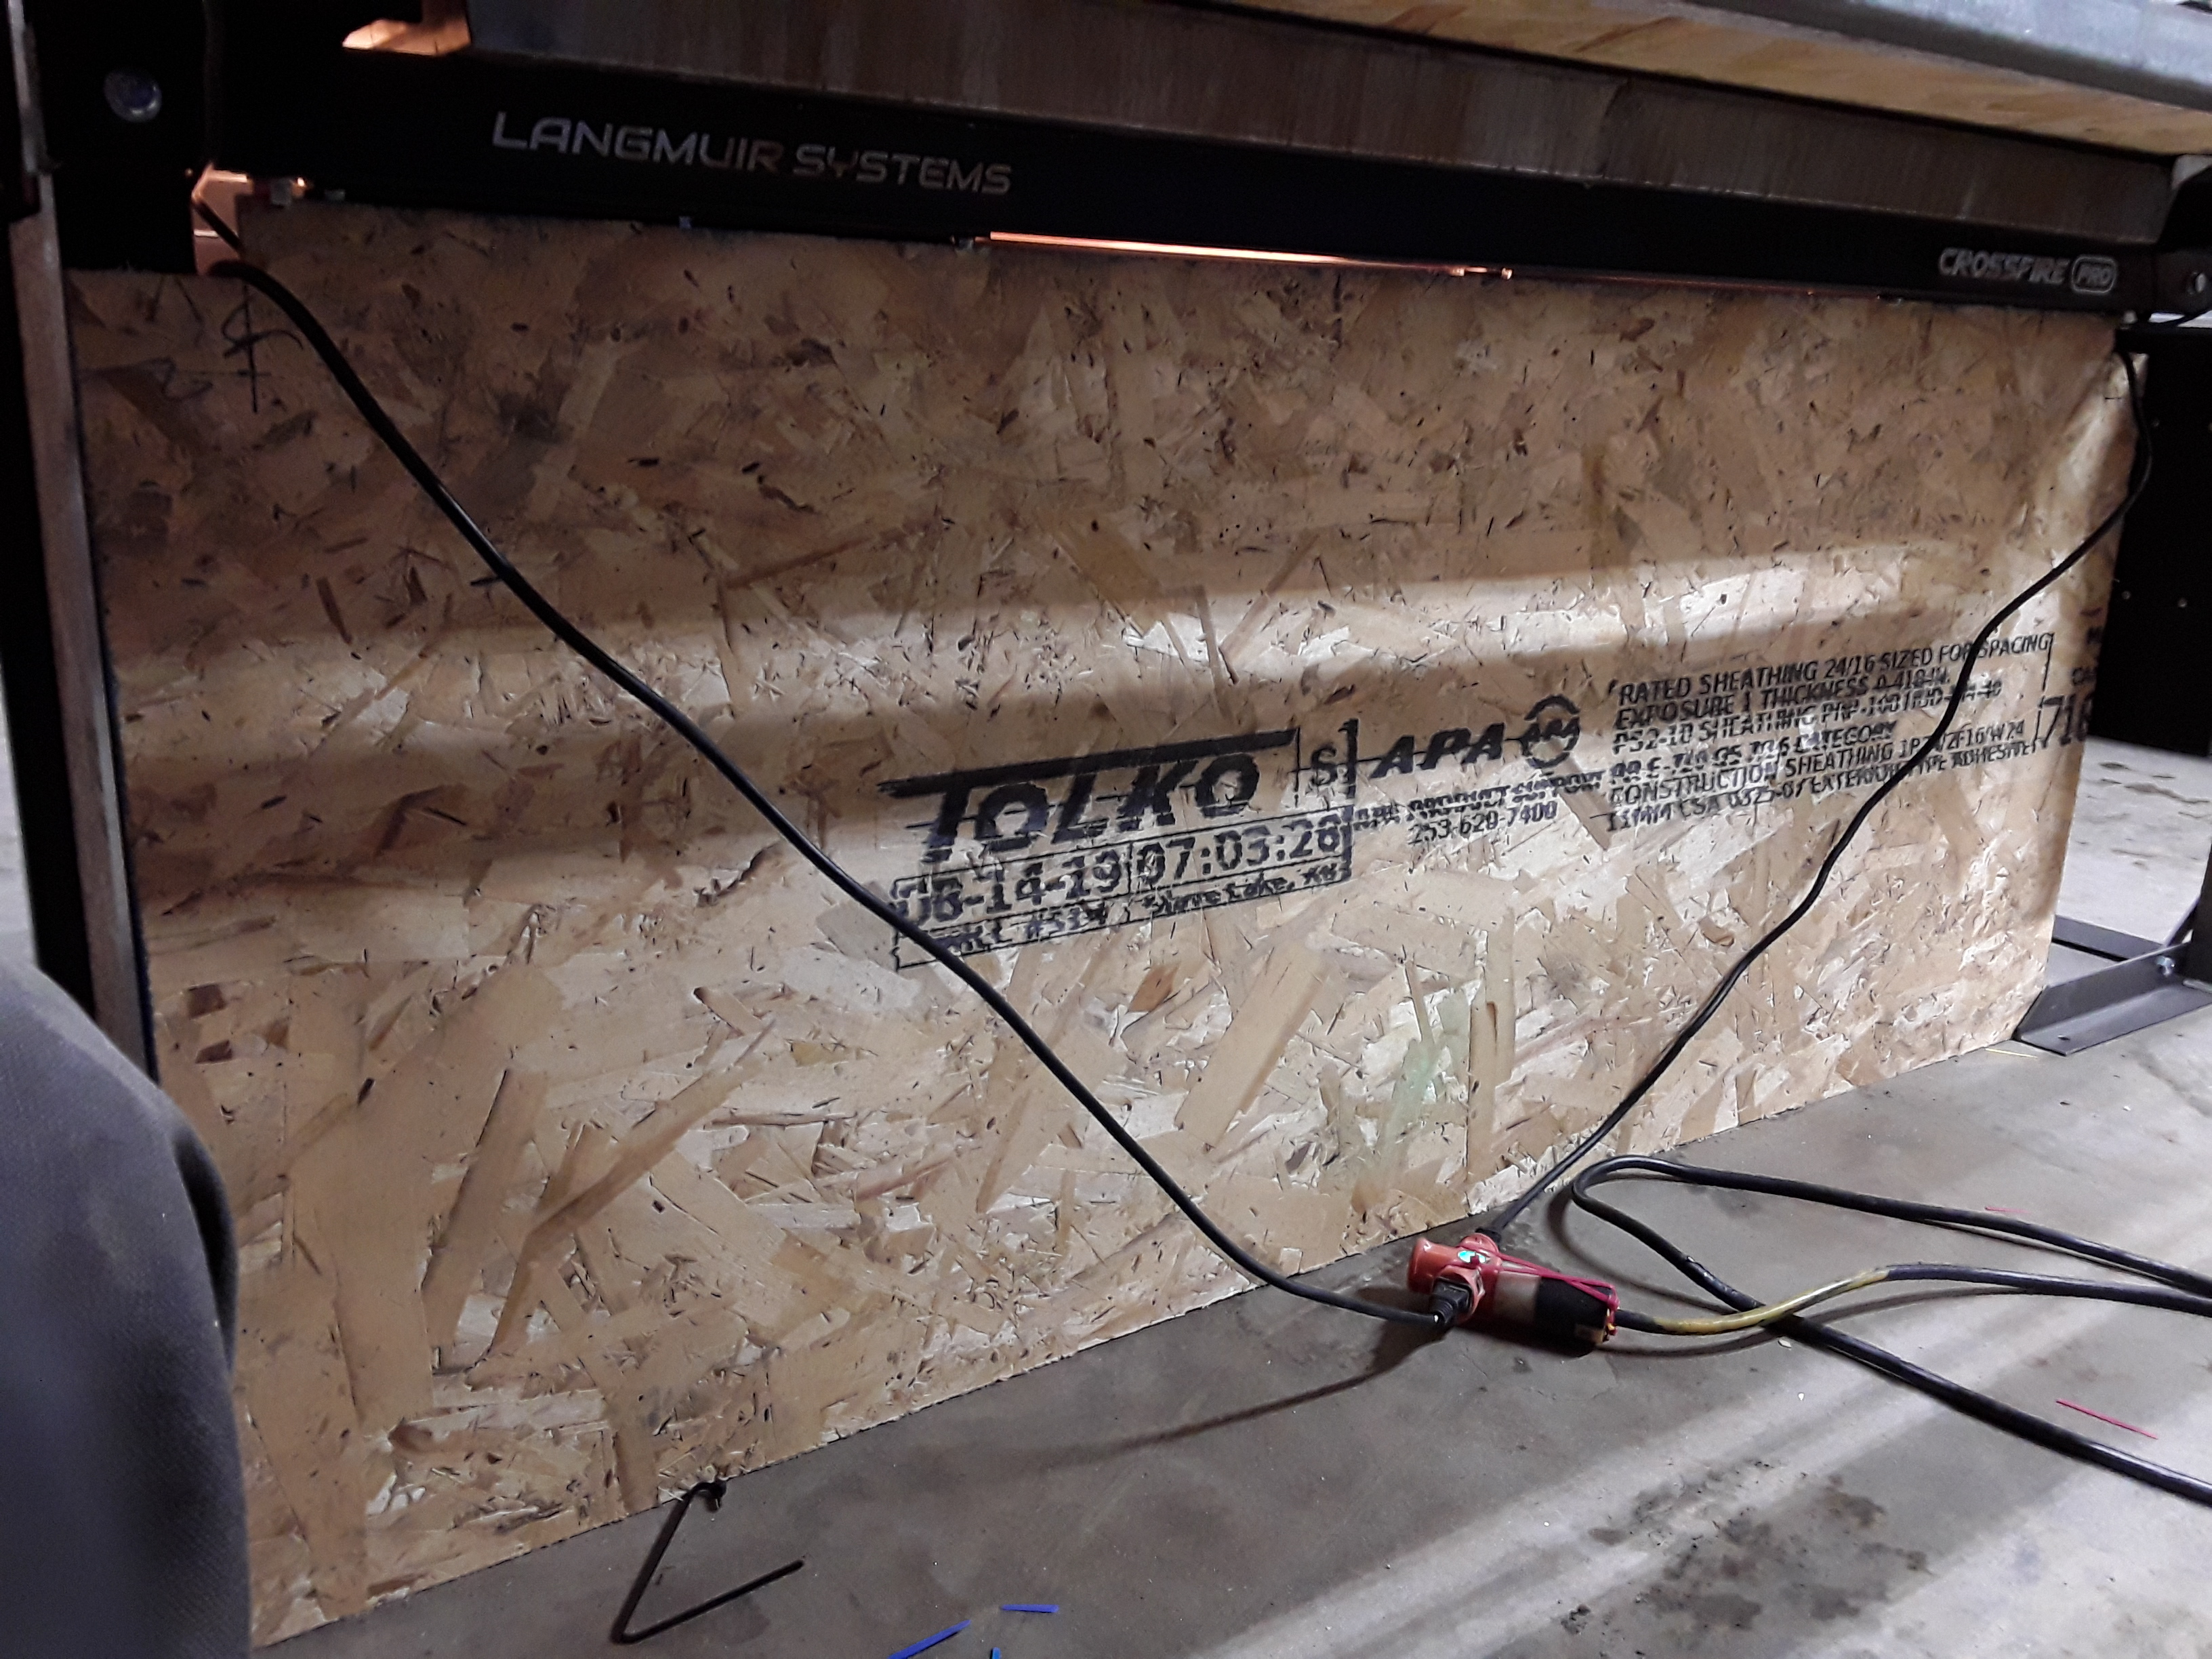
FIrst order of business was to keep my water table from freezing solid. I ended up skirting the entire frame with OSB plywood and plugged whatever I could. Placed 2 65w light bulbs on the concrete and placed a thermometer on a buck about mid height in the compartment I created. Even when 10 degrees in the shop, the compartment stayed at 38 to 40 degrees. I threw a porch swing cushion over the wood covering the top of the table to help keep some more heat in. Keeps it from freezing, but not hot enough to produce steam when uncovered.
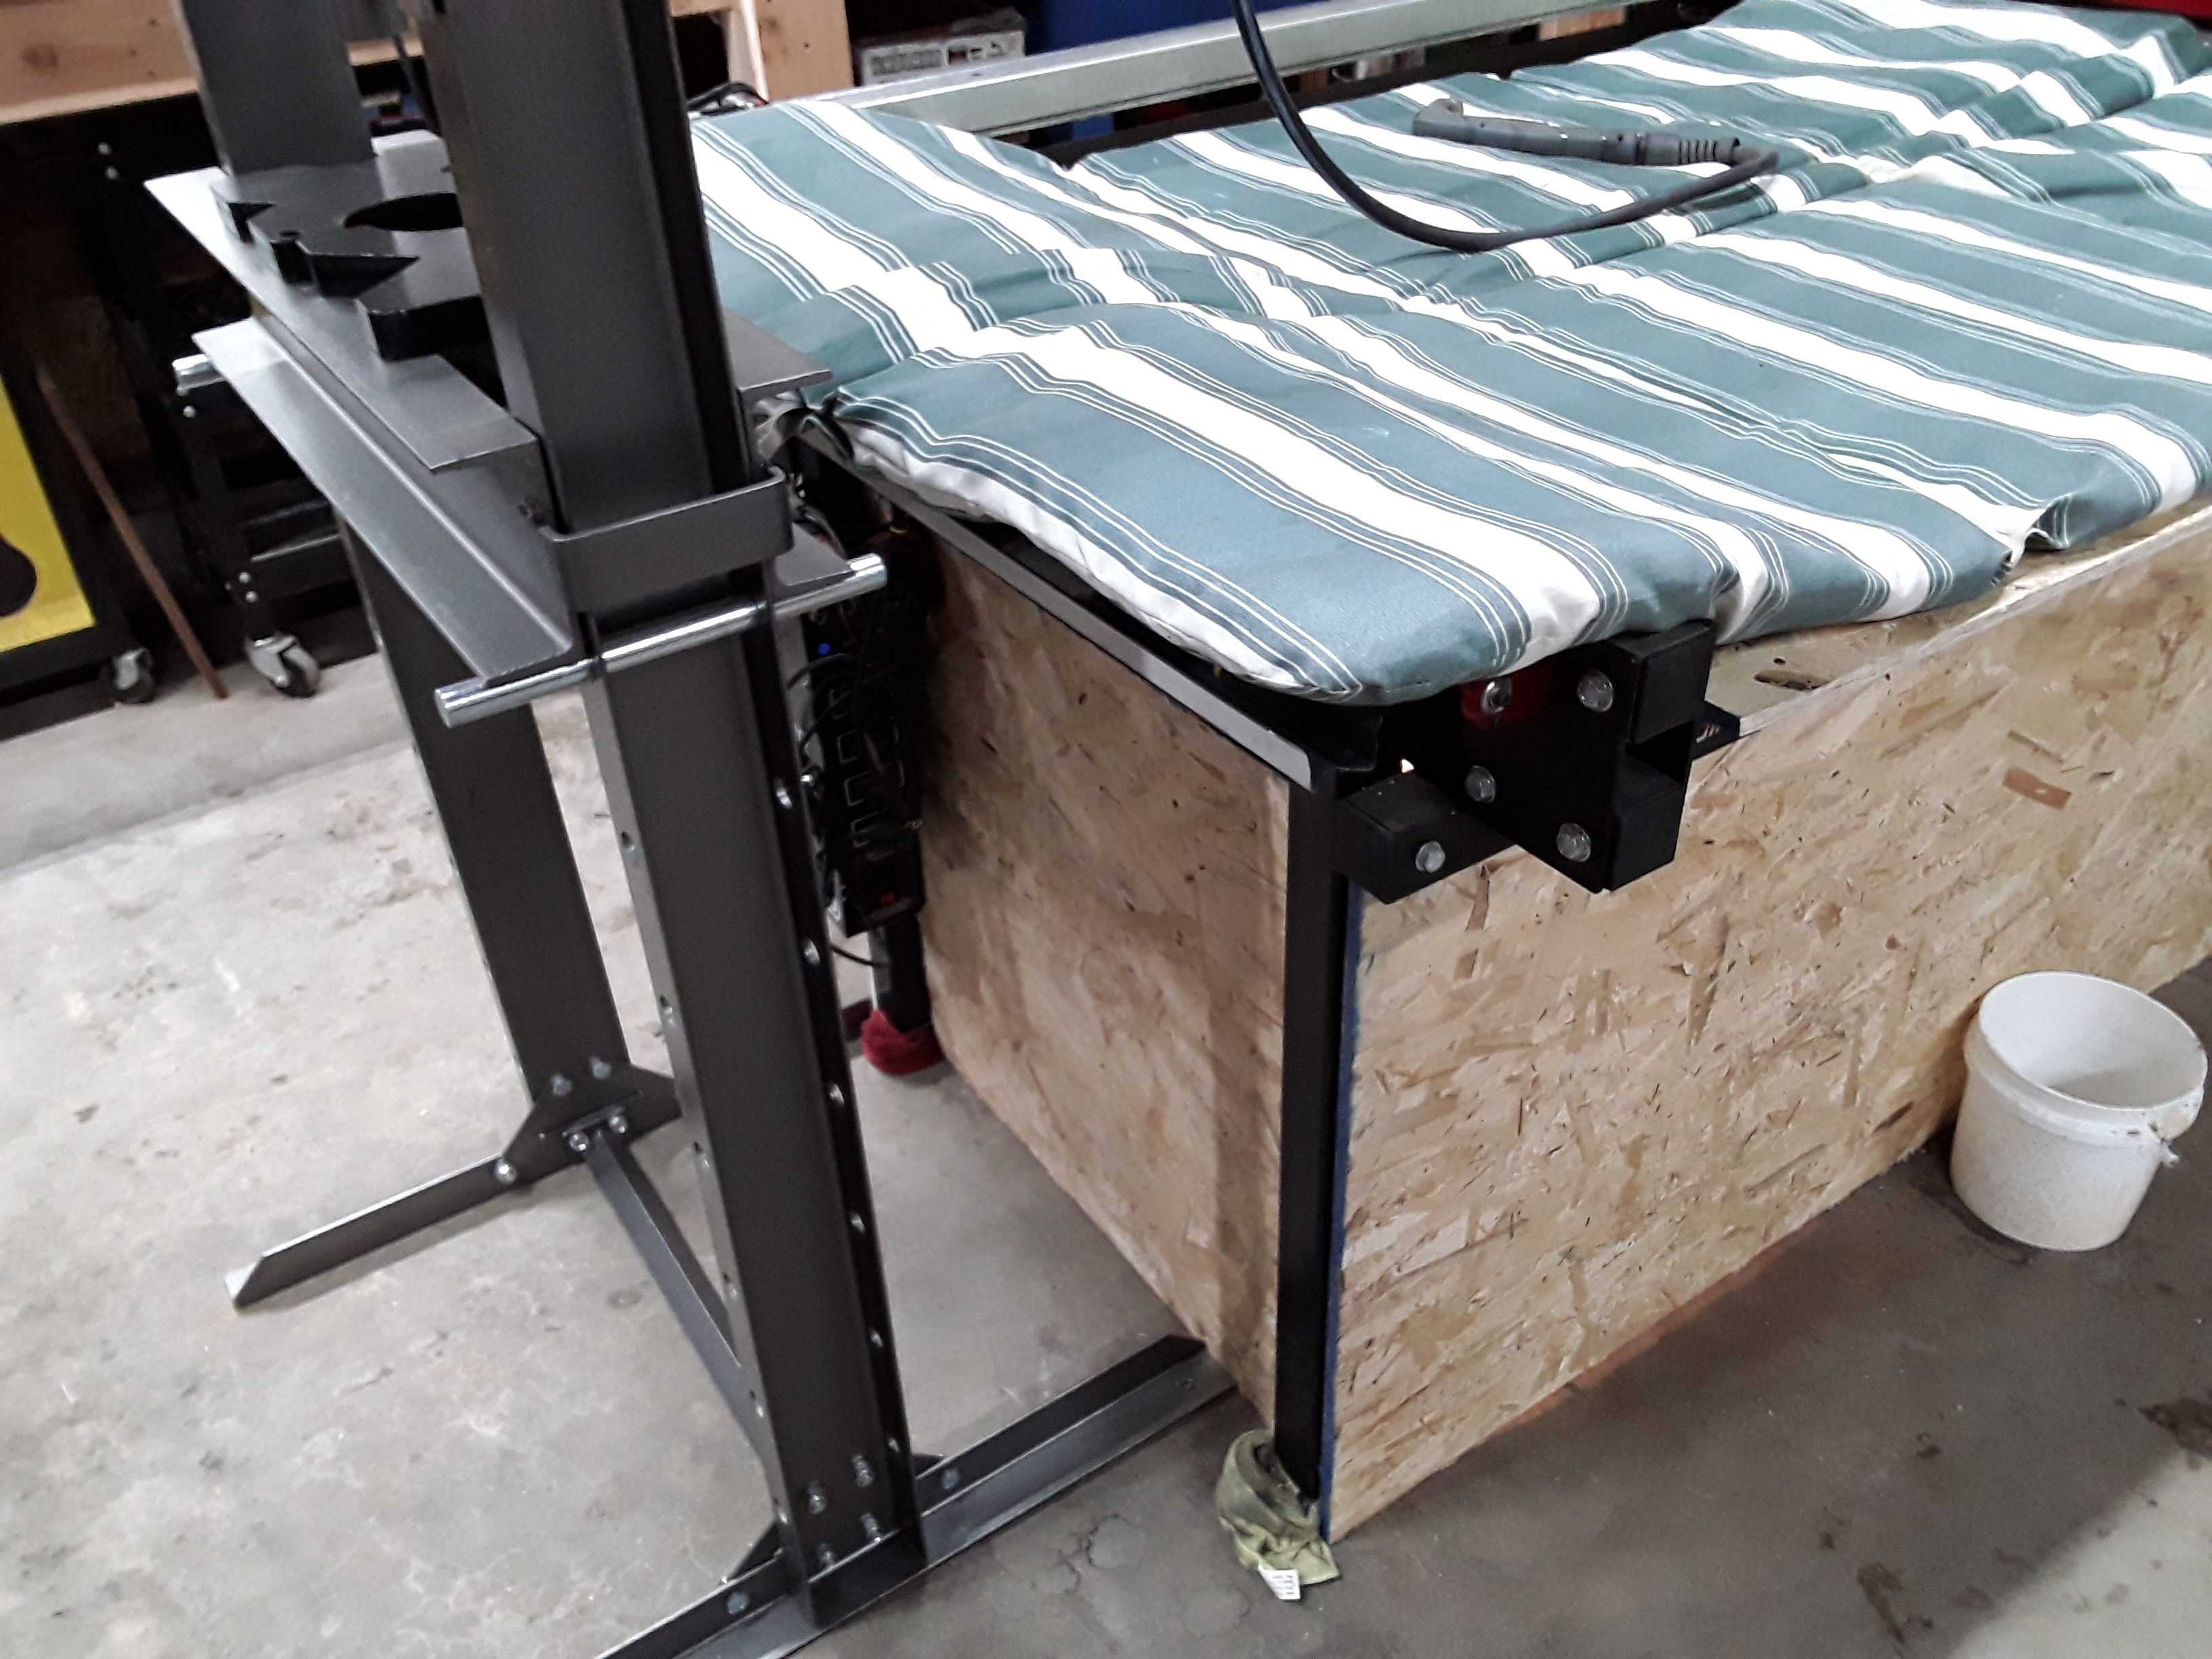
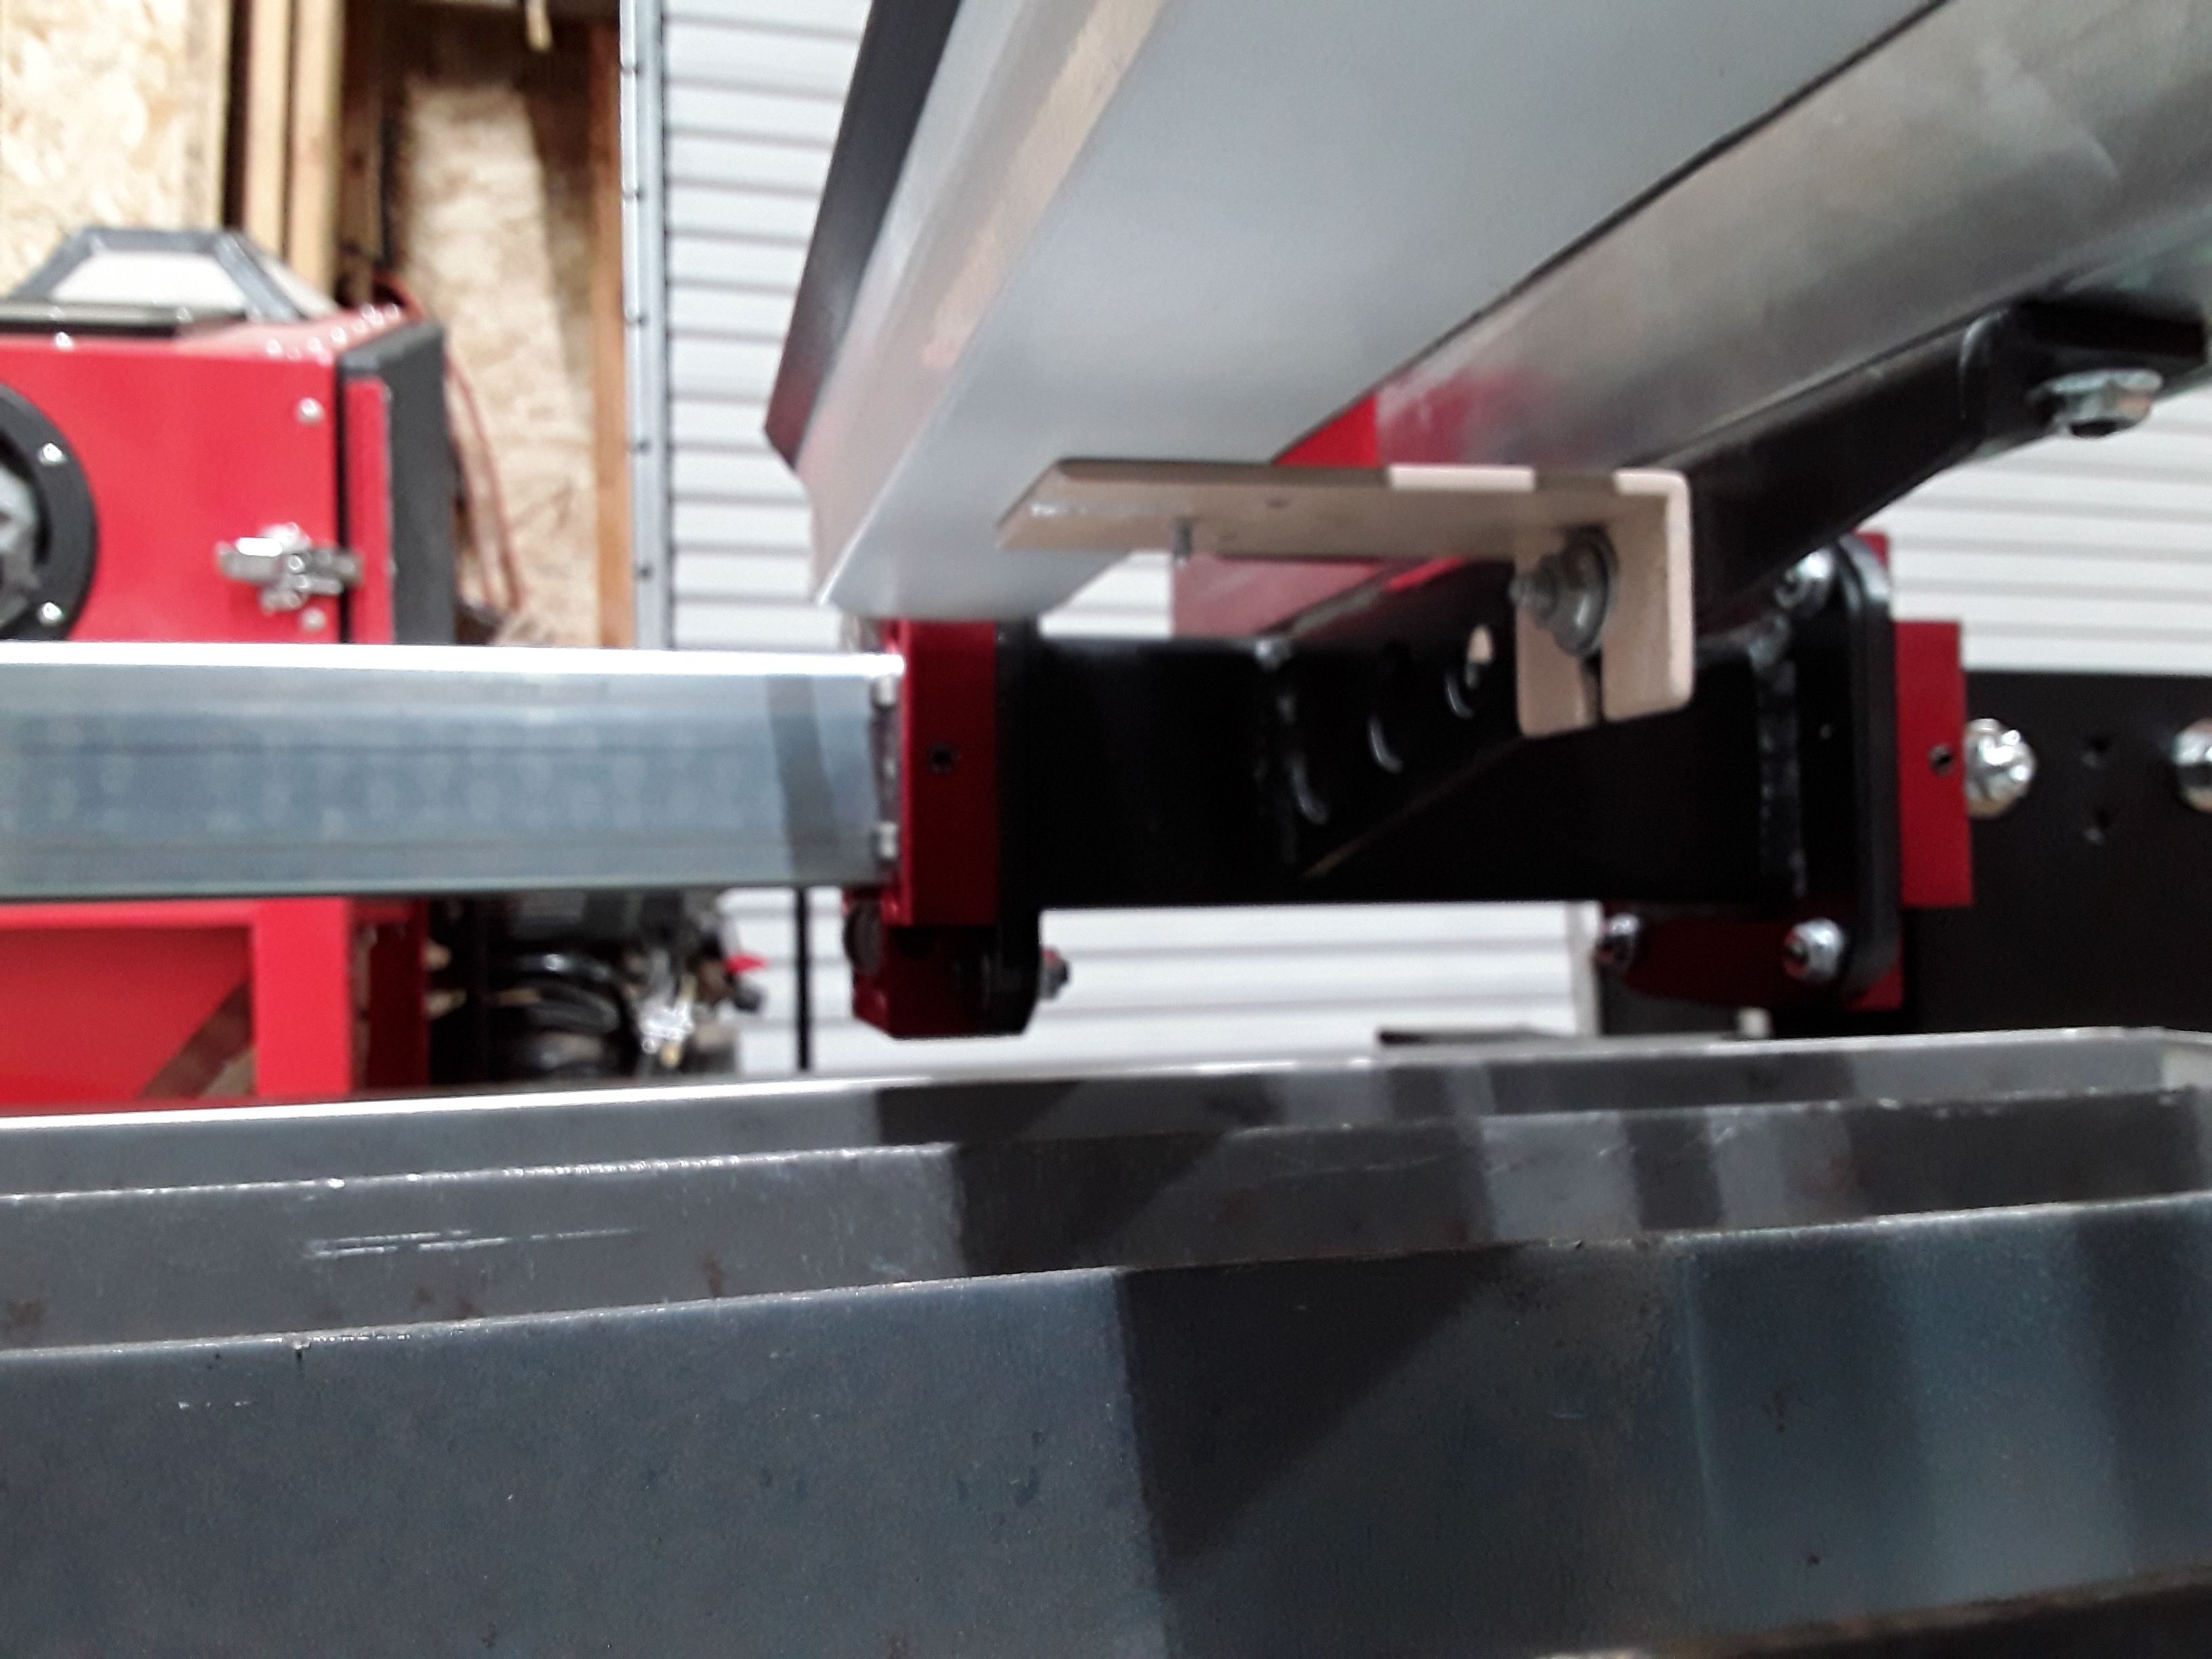
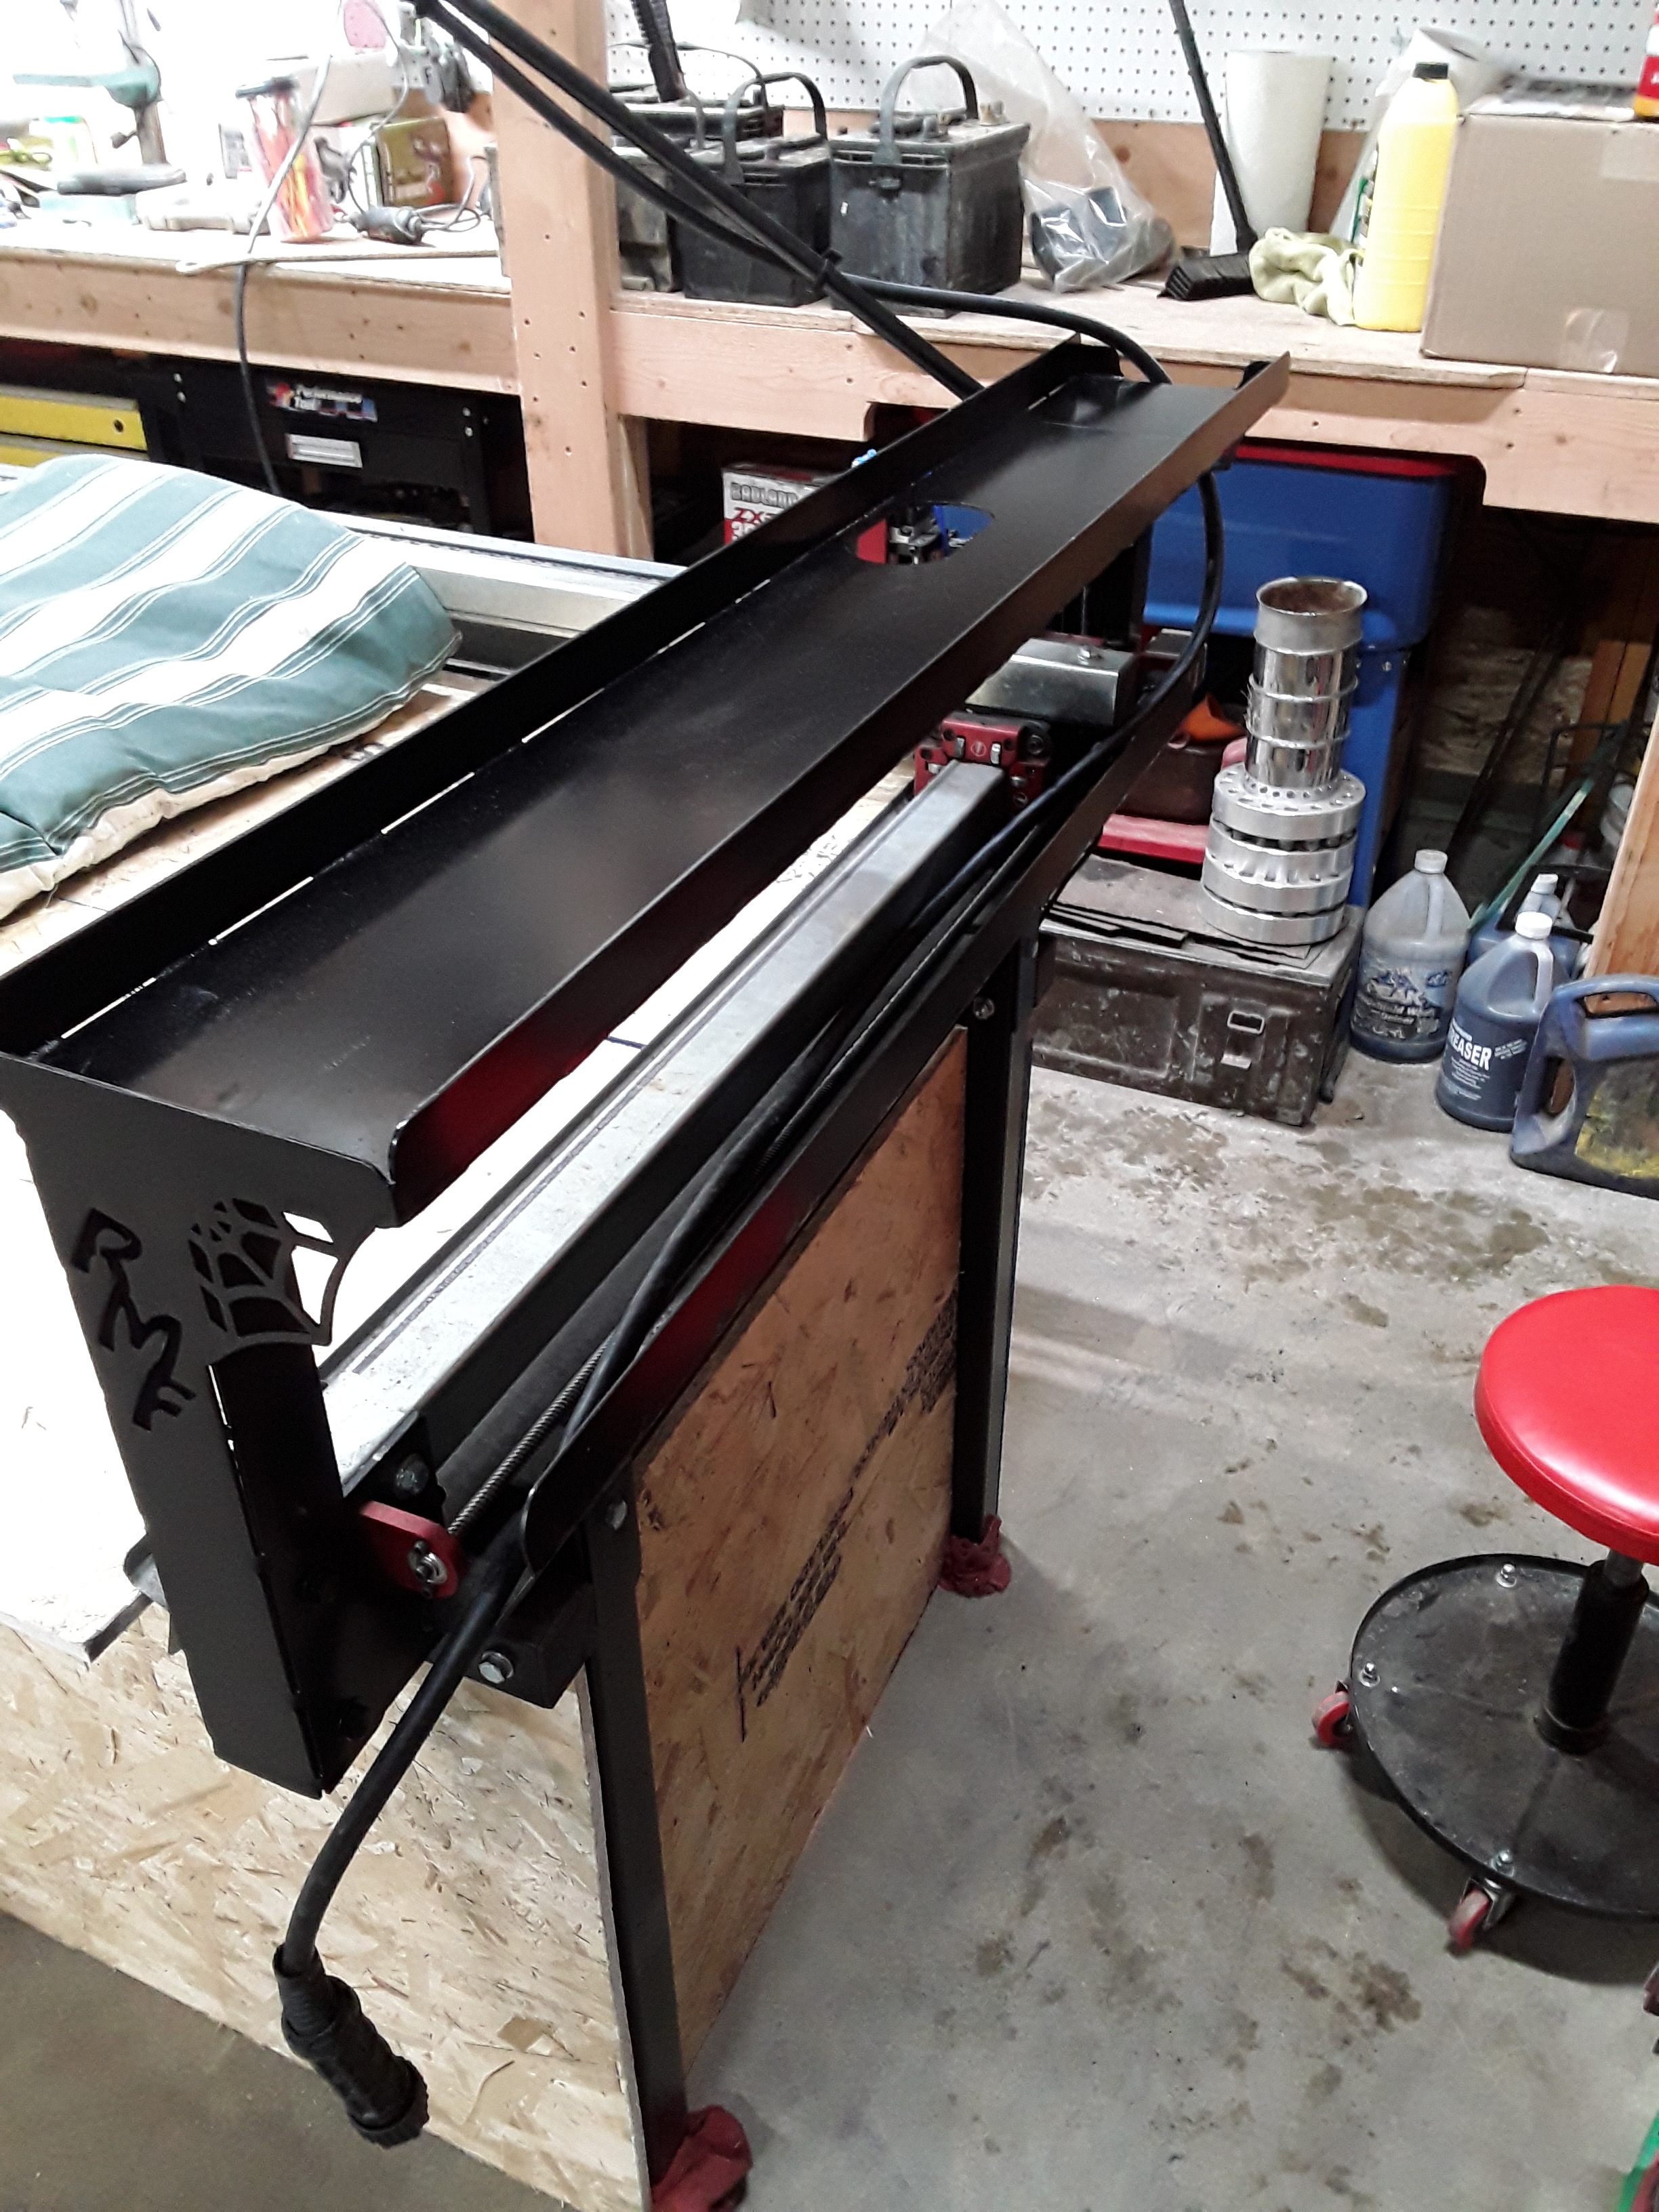
WHile I had a little down time, and after having to move my torch out from under the table, I finished a project I had cut parts for last month some time.
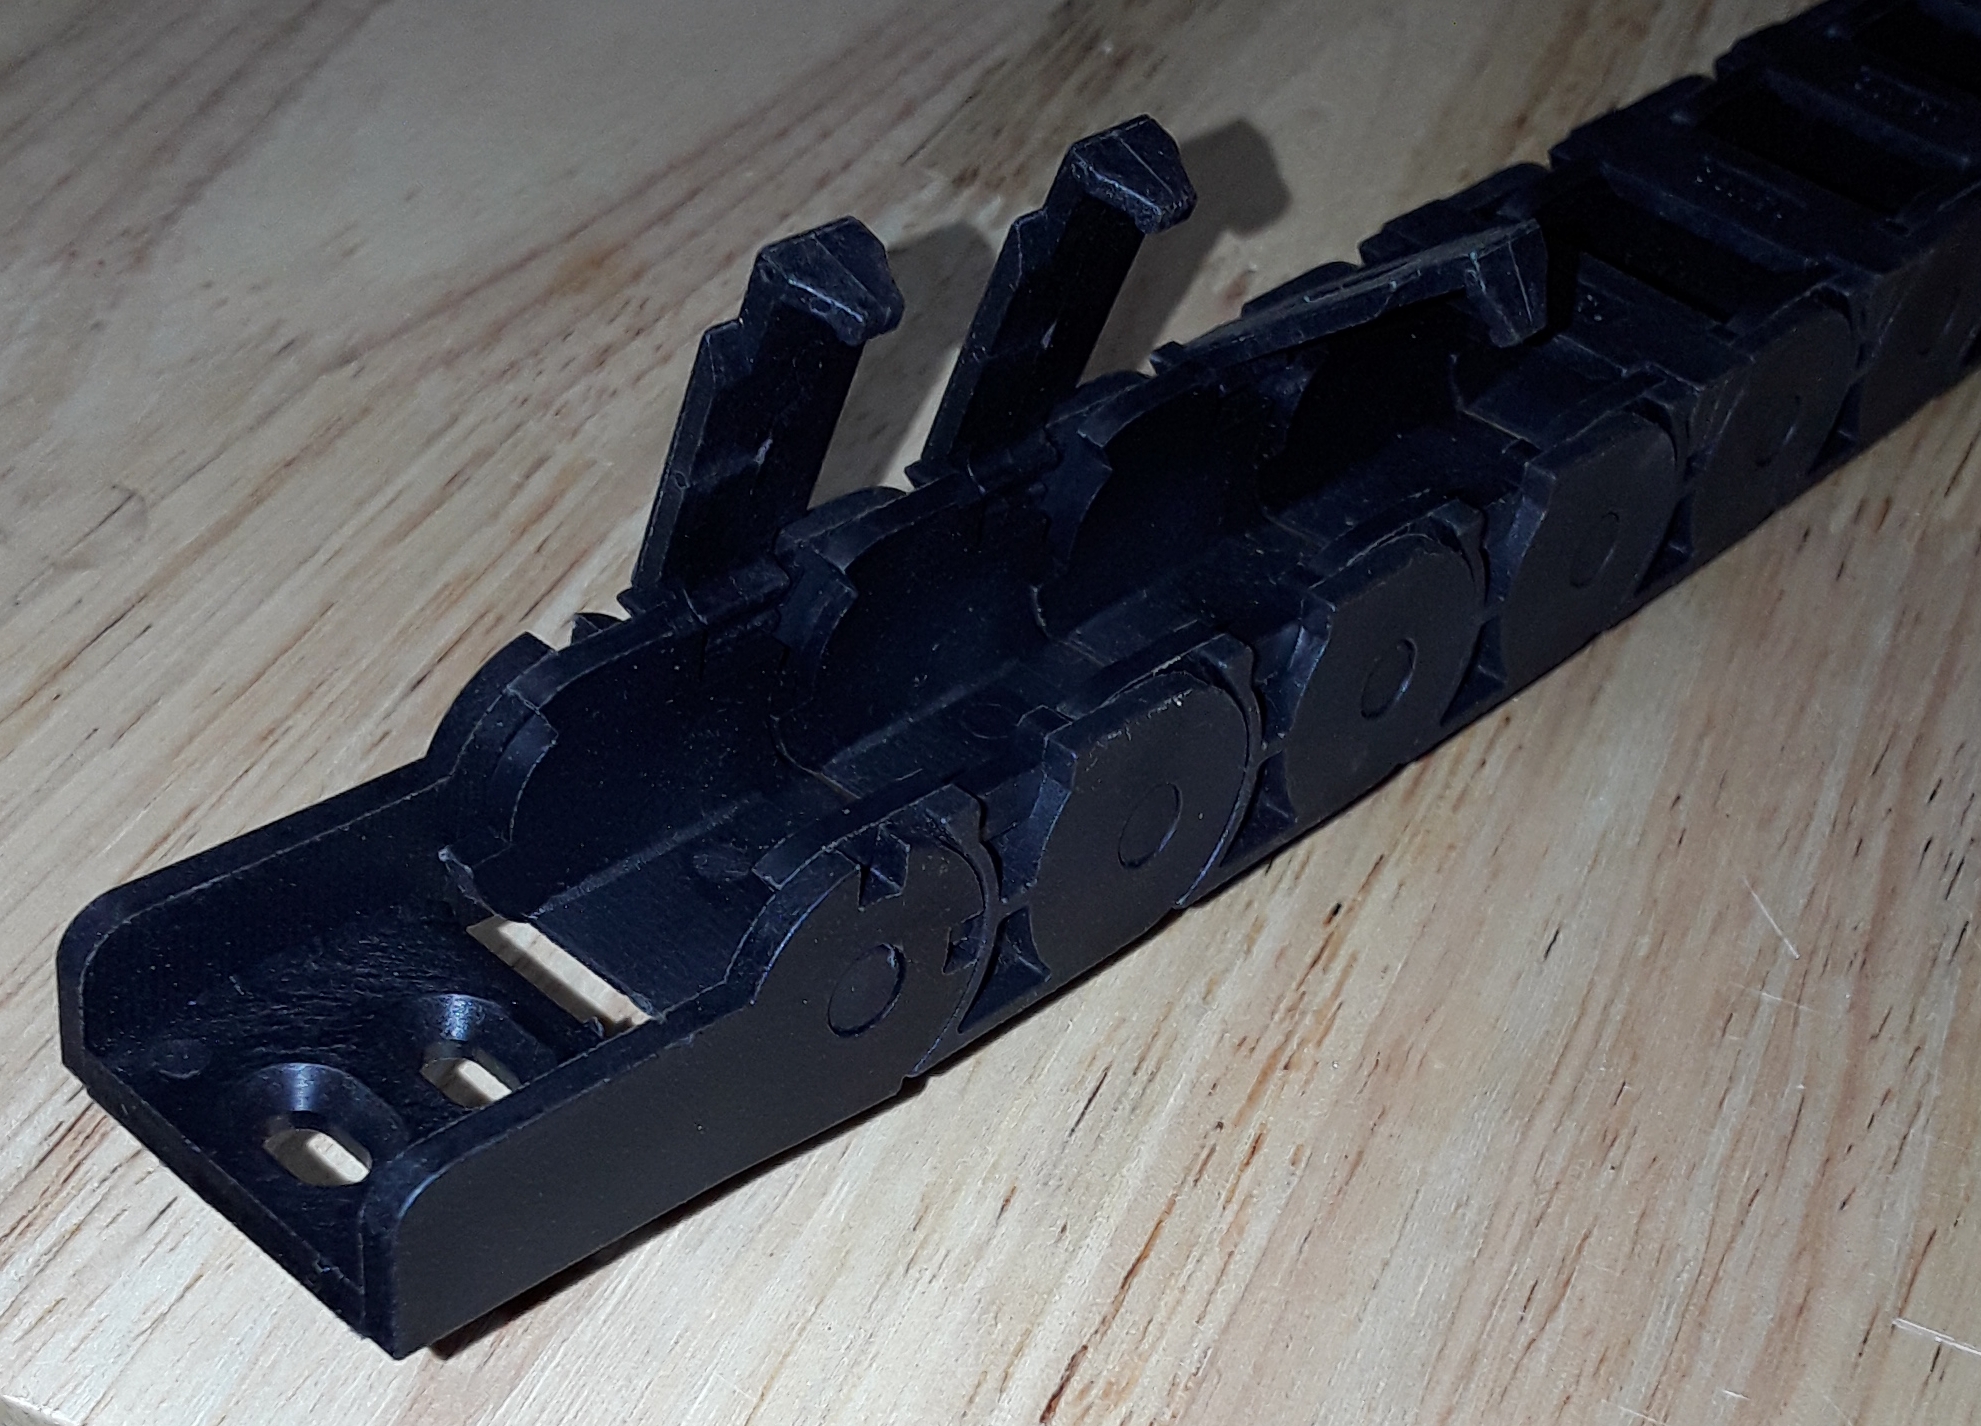
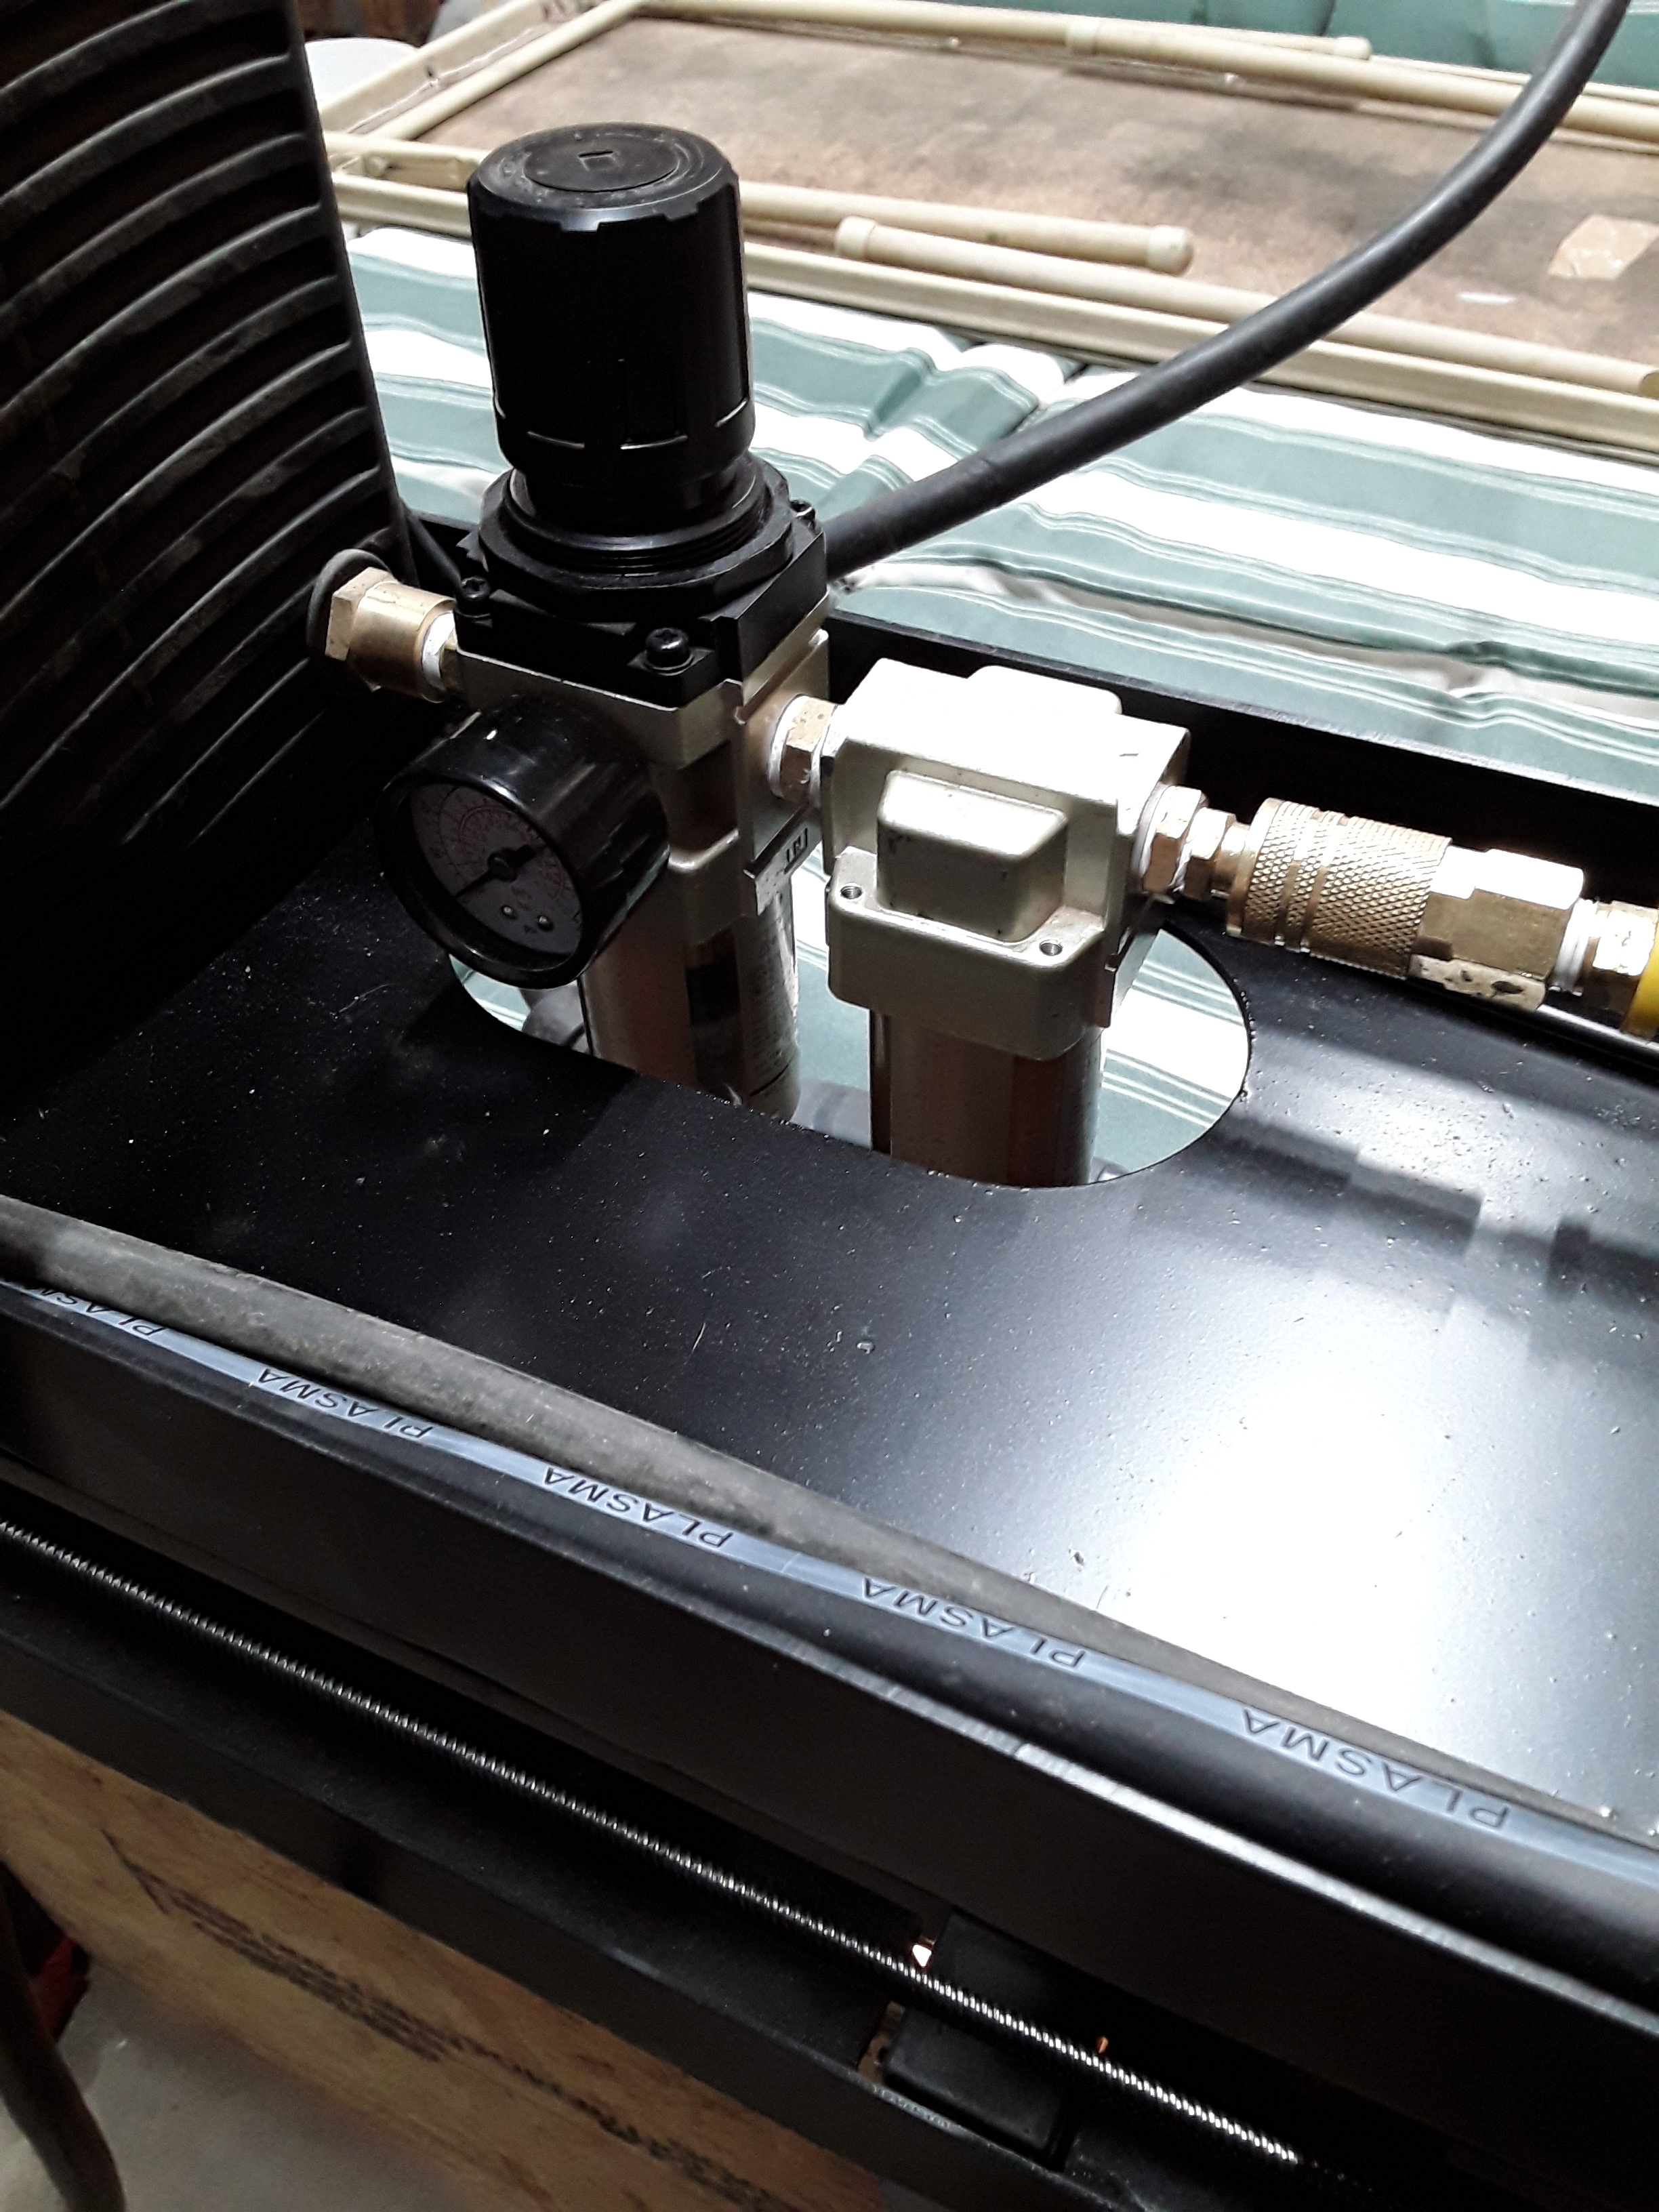
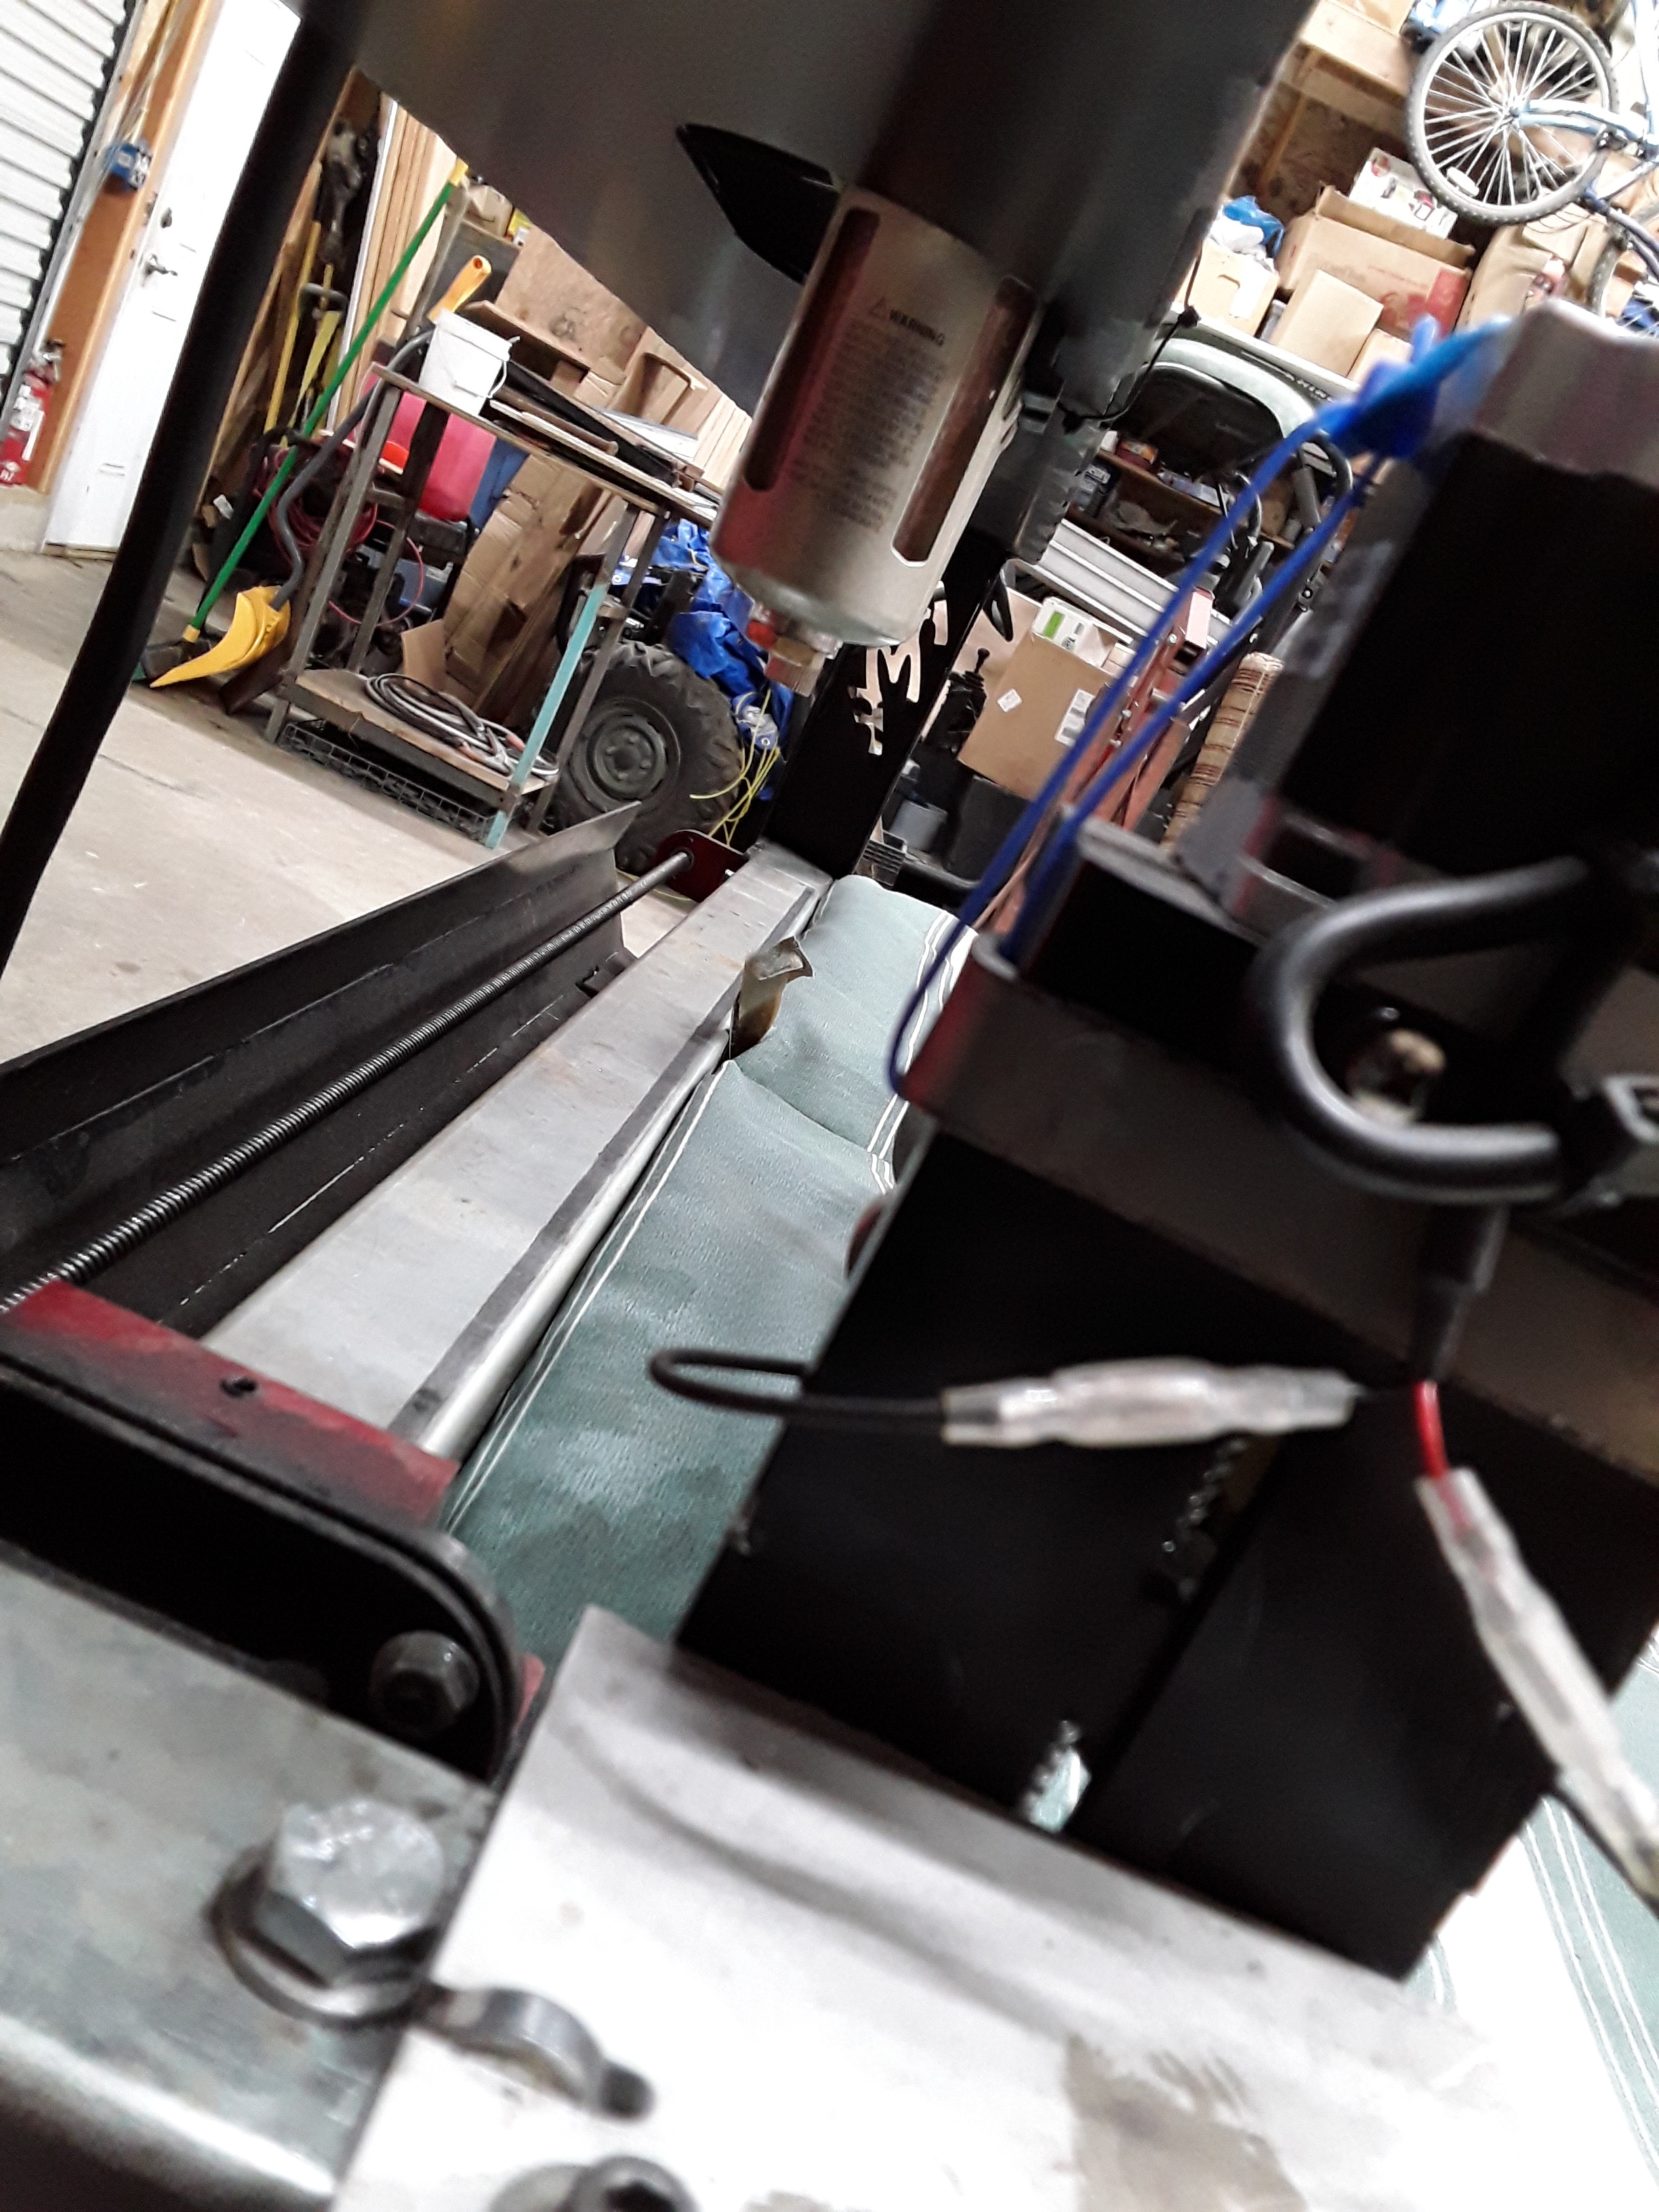
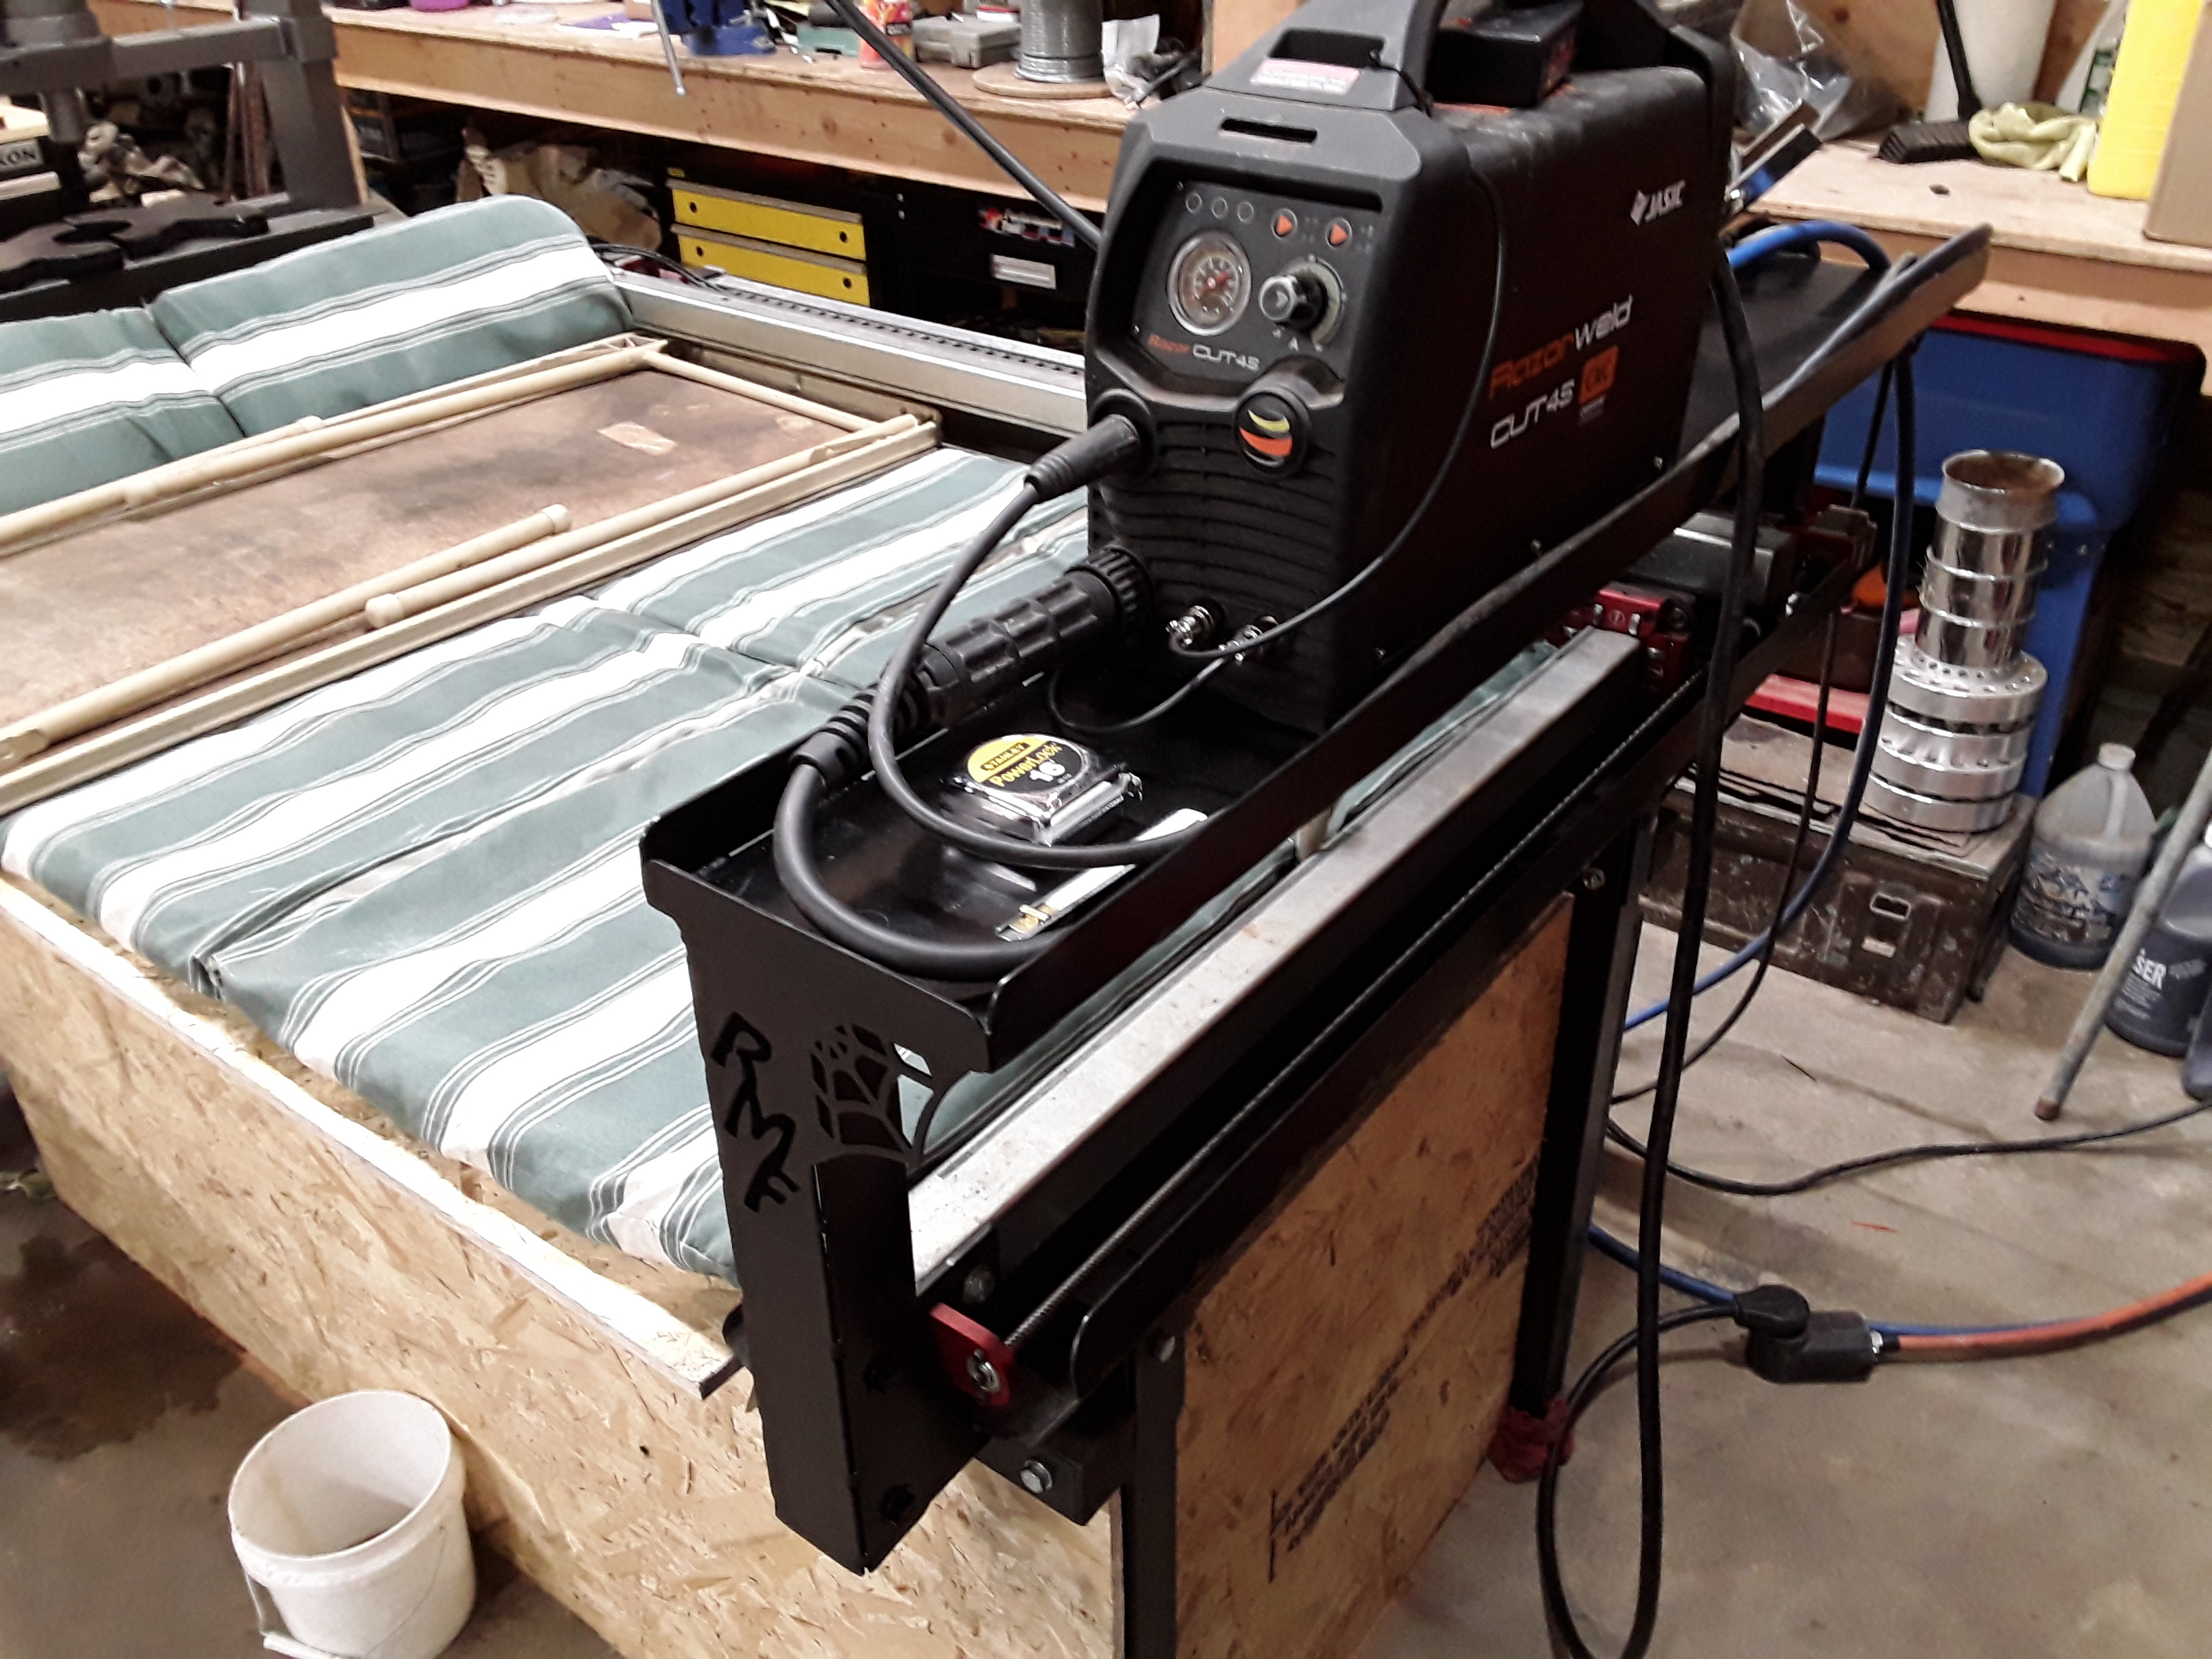
Basically it is a shelf for your RW45 or similar sized plasma torch to sit on. Raising it up makes it so much easier to get at and adjust. Clearance is allowed for gantry to clear the regulator/trap and a disicant trap. I left the motion control box in its stock position for now and bravely cut and extended the cables to reach to new torch position. LS should provide 12 ft cords instead of 6 ft. It would allow for optimum placement of things.
I will share the files for this on Fireshare later. As like my other mod (guard seen below the shelf) this one uses existing bolts. These are on the stanchions for support. However, the head of one needs to be ground flatter to fit behind the y axis drive motor, or it will screw with motor alignment.
2 Likes