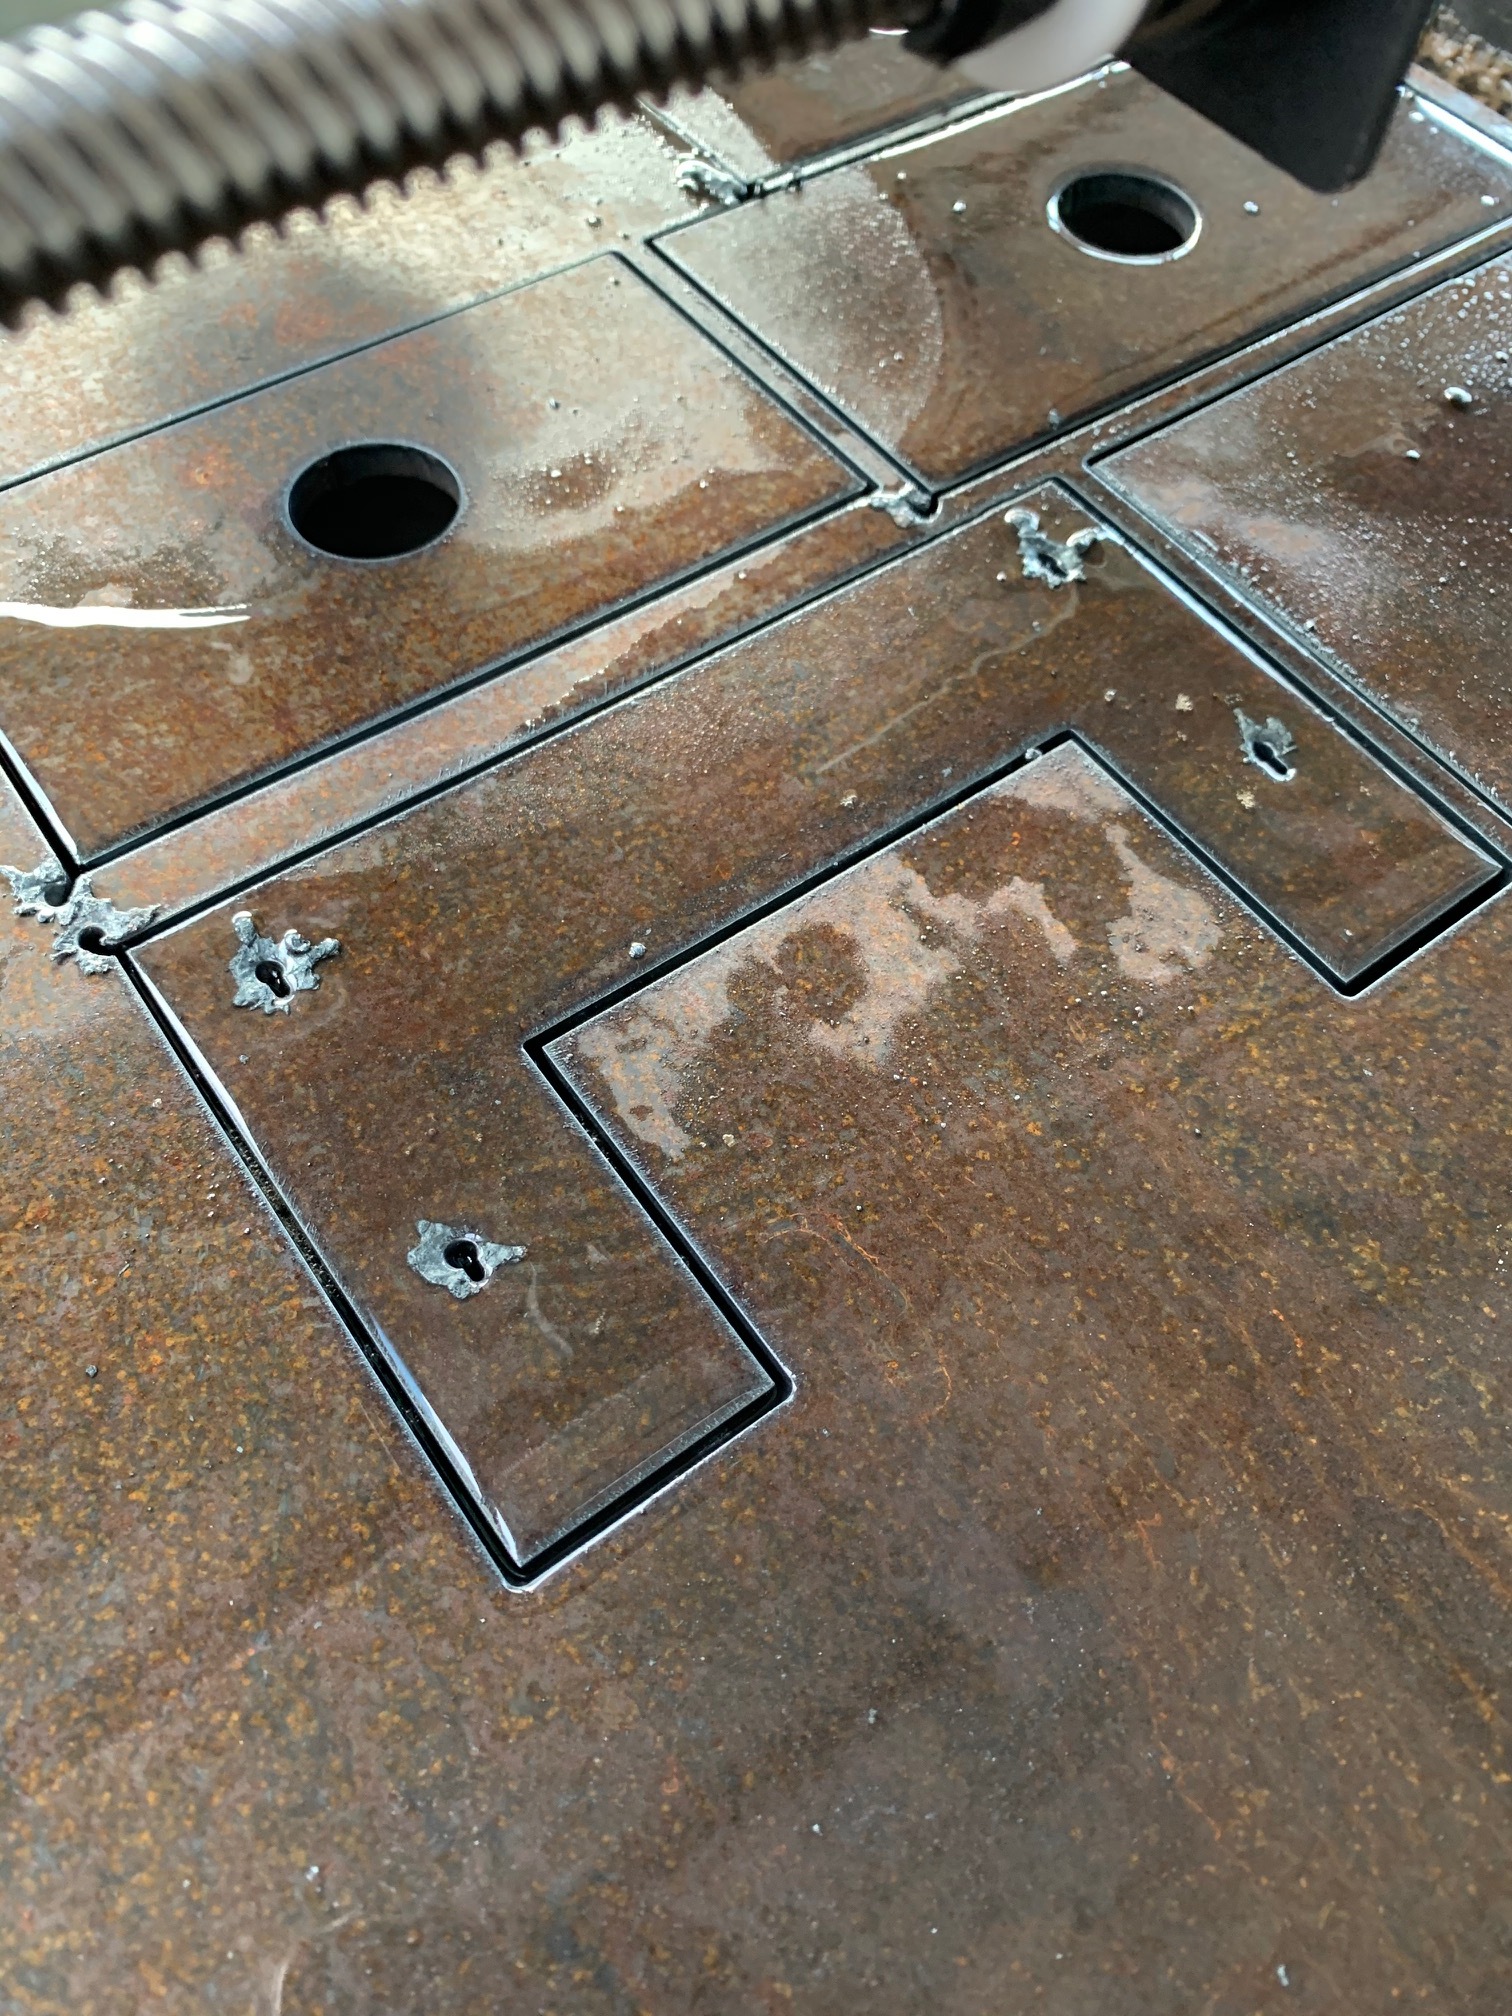
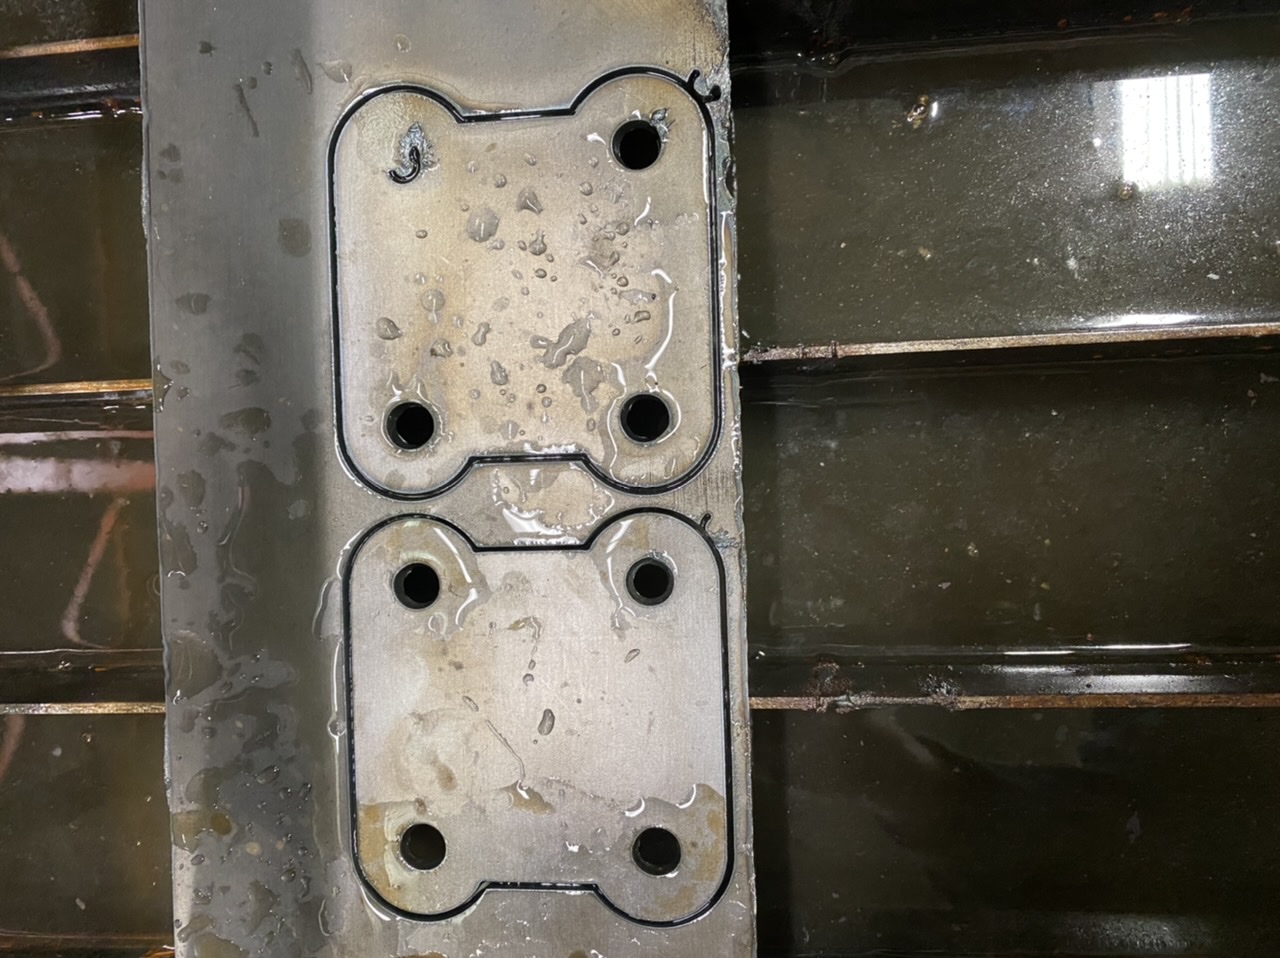
As the title says i was running some test cuts to dial in the machine and made a 2x2 square with holes in the 4 corners ran 2 full squares and on the 3rd one it would not cut the 2nd hole in the program it pierced and started the lead in than stopped and moved to the next hole ran it fine than failed to do the 4th hole the same way pierced started lead in and stopped … so I reloaded the program same thing happened… went back to sheet cam and watched the simulation and it showed it cutting everything as it did on the first 2 so I brushed it off and tried some other programs no problems but they did not have circles in them… went to cut out the the computer stand in fire share and it only cut 3 of the 8 holes for the tube clamps and did a few other programs with circles in them and same thing pierced lead in than moves on to next step
Brake down of info
Random between stuff I have programmed and stuff I grabbed from fire share
Will run a program fine than do this
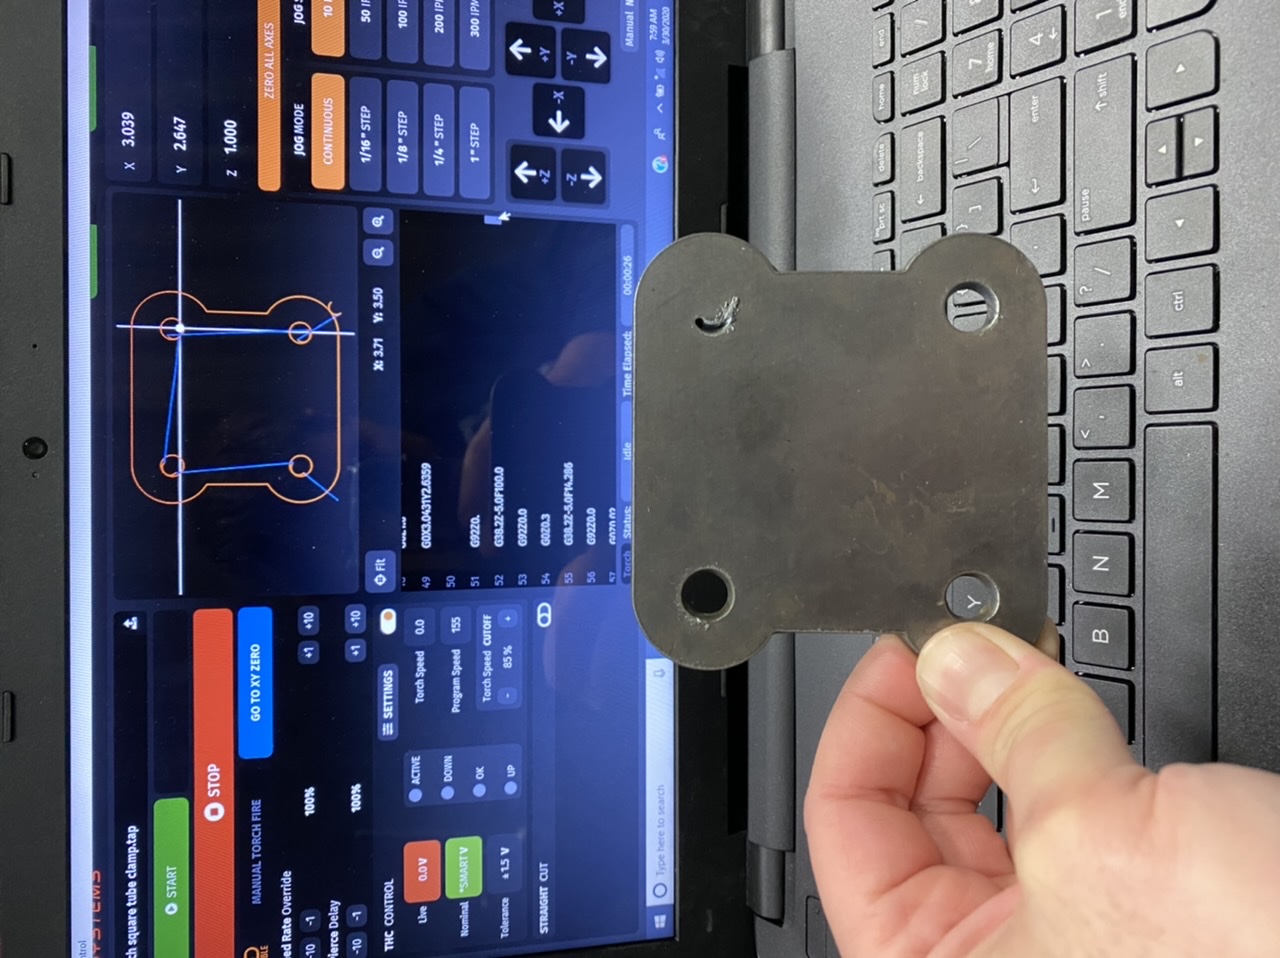
If you go thru the G code and click run from here it will repeat the problem and not cut the hole
I have ran the simulator In sheet cam and it all looks good
I can get it to cut the hole if I go back into sheet cam change where the lead in is than it will cut it but sometimes it takes 2 or 3 tries of placing the start point to get it to cut even though it just cut the same hole fine in the part before
Any thoughts?
I’ve experienced this same issue as well on a few occasions! Pierced and lead in on holes, but no actual hole cut. No errors either. And it had just cut the holes correctly in the part before it. Checked code and its definitely calling for a hole to be cut. Seems to be an issue on the Langmuir end. @langmuir-mike, I sent an email about this same issue a few days ago… Any chance you saw that? (Request 26773)
Can you please post your g-code file here so that we can take a look cutting on Monday?
Thanks!
Here is my file in case its helpful. It happened on the part pictured above starting at line 973-1089. Wild Oak Awning Brackets.tap (18.4 KB)
I will run some stuff tomorrow and when it does it I will post it up so you can see also I am running sheetcam what are you running @golferguy17?
Maybe sheetcam to fire control has something corrupt?
Also if you go back and re path it sometimes it takes a few tries but you can get it to cut the holes just make sure you keep your zero point and just scroll through the g code till you get to the hole and have it run from there
Was able to cut this hole Friday after changing the lead In and first try this morning it did not work I will post the g code as soon as my mobile hot spot gets in
@cblanchard811 please see my response in this thread (Machine torch randomly raises). I think it is what is causing your issue. Basically you will be flashing the THC firmware V1.06 which should solve your issue.
Thanks!
Mike
@langmuir-mike updated to 1.06 cut the same program first time it worked second time no joy … it did seem however to cut more of the hole but than stopped and moved on also I do not get any sort of error message when this is happening it just moves along as it was programmed that way
@cblanchard811 can you attach that g-code file here?
Thanks!
@cblanchard811 & @golferguy17
We did some testing today and we were able to replicate this issue. It’s caused by continuity between the DC ground in the USB motion control board and the AC ground of the power supply (the power supply case). It’s caused by the same issue we highlight in the below forum thread i.e. one of the mounting nuts rubbing through to the ground plane of the PCB. Fortunately the fix is quick and easy! Let us know if you have any questions.
https://forum.langmuirsystems.com/t/lower-than-expected-thc-voltage-readings-20-30v-and-how-to-fix-it/7950
Thanks @langmuir-mike I will do the repairs first thing tomorrow and report back!! You guys are doing an amazing job by the way keep up the good work!!
@langmuir-mike Just checked back into this thread to comment that I had this issue happen again last night. I followed the steps above and had no continuity between any of the nuts on the pcb and the usb housing. I did that test before running my parts last night, so I’m thinking it’s something else causing the issue for me…
So far it has only happened when cutting fairly small holes (5/16"-1/2") with a perpendicular lead in.
Should I isolate the nuts with plastic washers anyway just to be safe?
@golferguy17 I have had it happen to bigger holes like 1-1/2 and I’m using an arc lead in and out I’m gonna check my board tomorrow and may just isolate as a precaution also did you do the THC 1.06 version? I did it today and no changes… I’m wondering what we have in common that we are seeing this? I’m running solid edg for cad and sheet cam A miller 875 spectrum and an HP laptop how about you?
@cblanchard811 I’m having a hard time seeing how it could just be the nuts that need isolating, when it’s entirely possible the threads on the screw could be contacting the board as well…
I haven’t done 1.06 today. Been busy with other things. I do think it will help an issue I had yesterday where the program set 104v for smart voltage on a cut an immediately started ramping up to 156v before I was able to stop the program. (rapid upward z movement after a few loops).
I’m running Solidworks Premium for CAD and Sheetcam for CAM. I’ve got a Hypertherm 65 and a few year old dell laptop that is used solely to run firecontrol at the table itself ($500ish, so nothing fancy at all).
@golferguy17 the V1.06 firmware will fix the issue that you’re seeing.
@cblanchard811 There are basically two grounding situations that can cause issues.
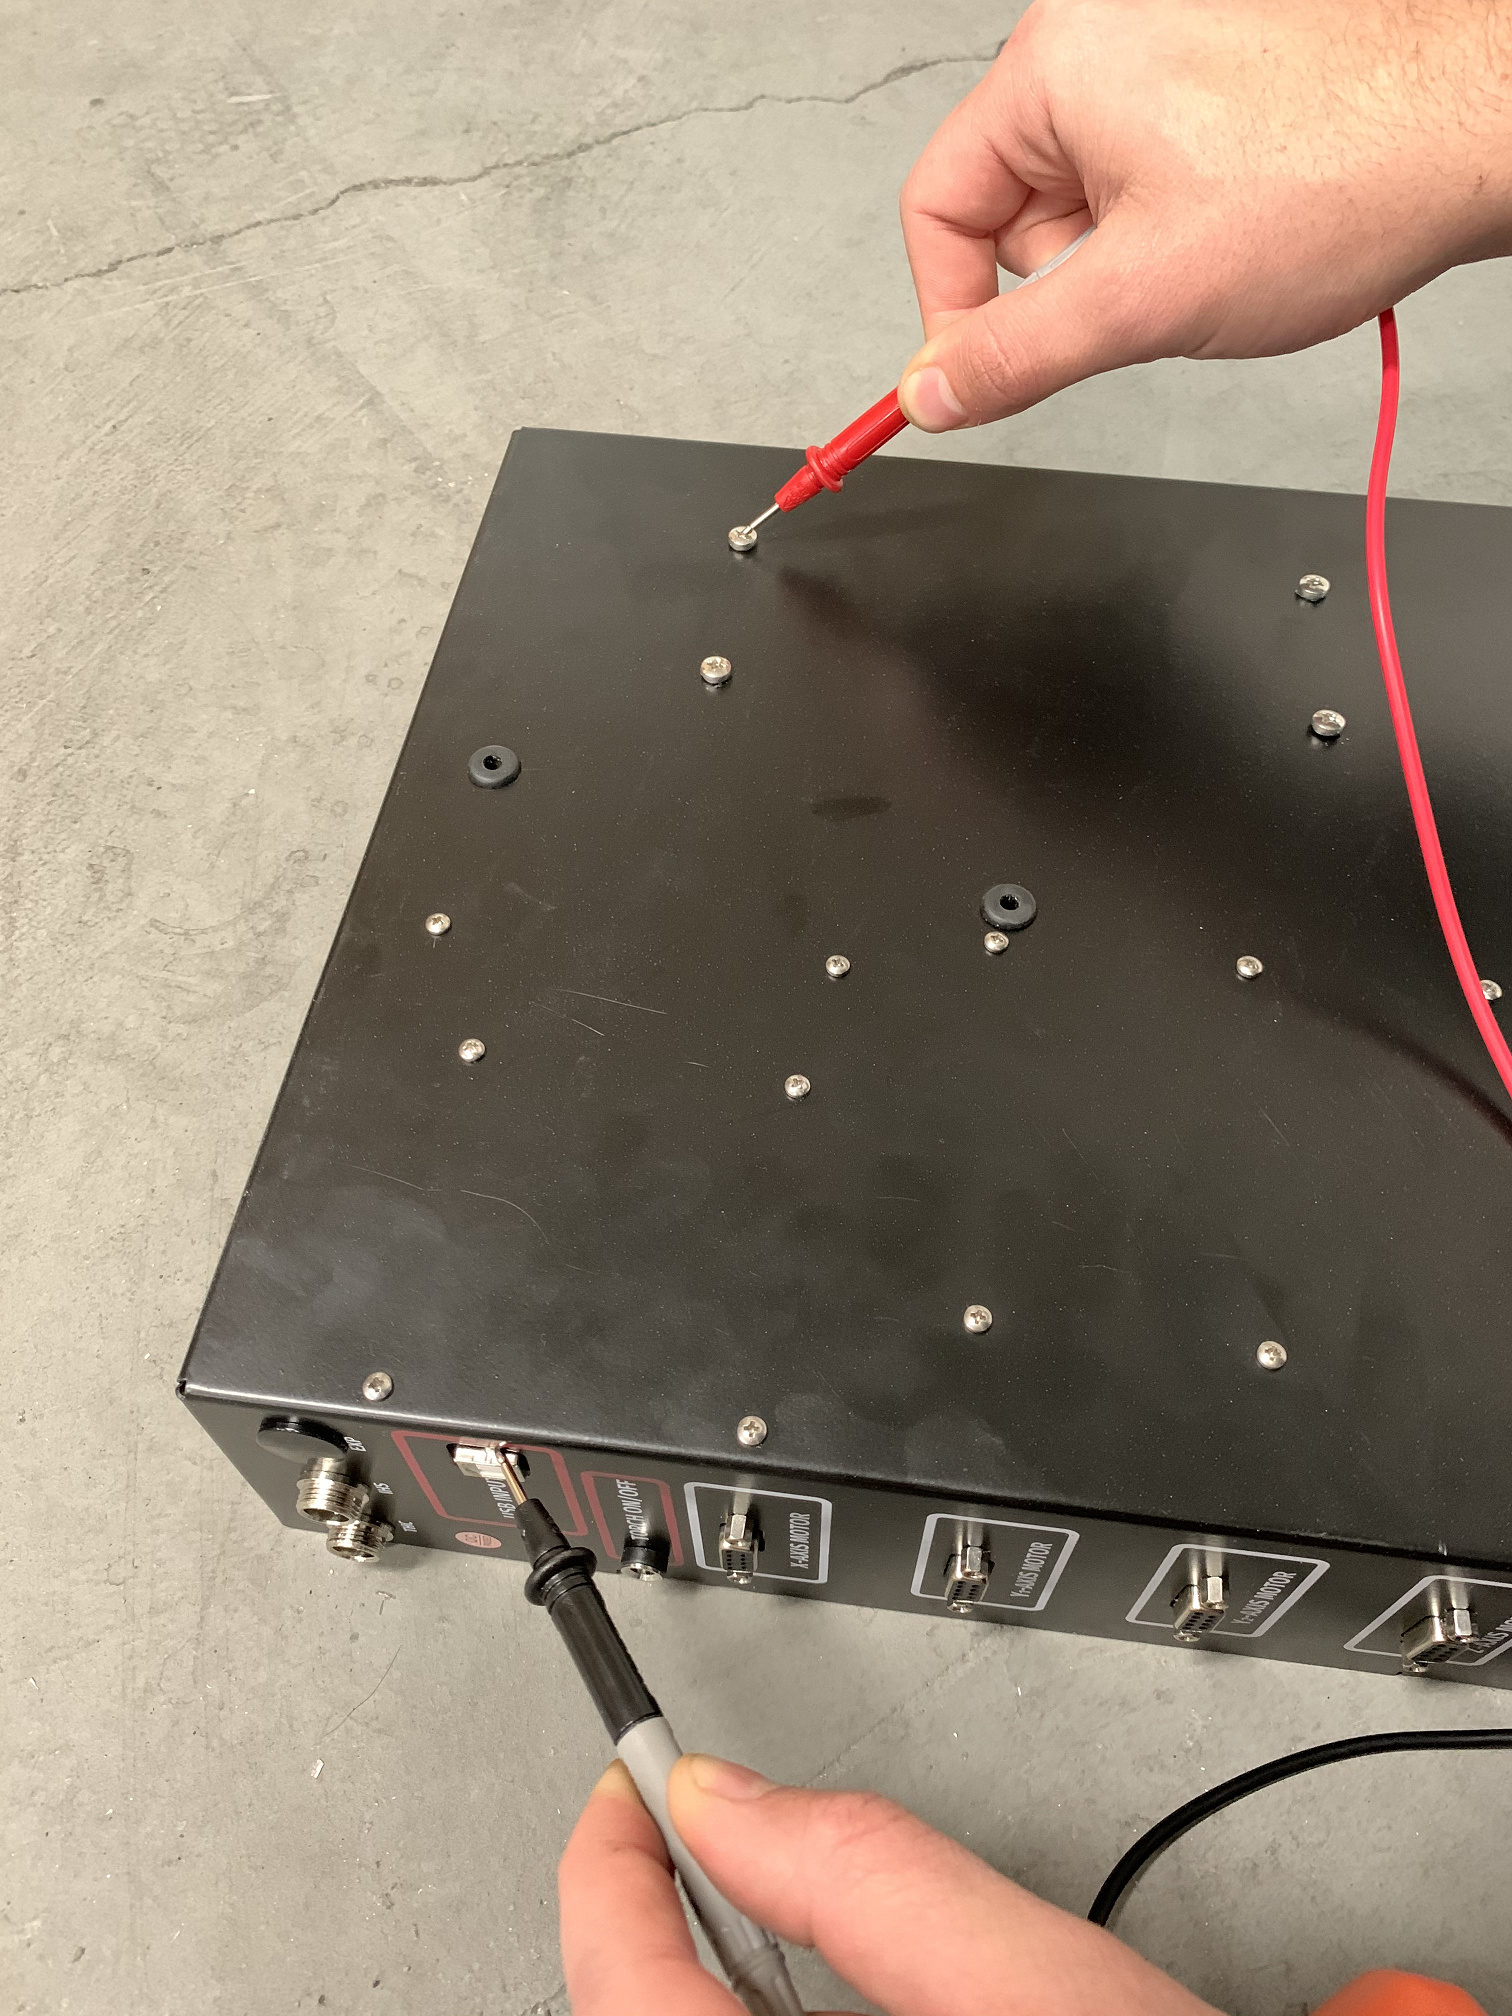
1.) The first is if the USB ground has continuity to AC power supply ground. This will cause the issue that you’re seeing where it will randomly give up on a hole and move to next cut loop. To check this, check for continuity between the USB plug shield and one of the 4 mounting screws for the Power Supply (picture below). Make sure that your electronics power cord is plugged into the box and that your USB cable is plugged into your computer when conducting these tests.
2.) The second potential issue is if USB ground has continuity to the machine frame (which then has continuity to the plasma cutter through the work clamp). This will result in lower than expected or bad THC voltage readings. To check this, check for continuity between the USB plug shield and the machine slat bed.
Ok @langmuir-mike @golferguy17 I checked all 4 nuts and screws and no continuity between them And the usb housing… I do have continuity between the work clamp and the usb housing and alll I read was to check it it does not say weather it is supposed to have continuity or not
Thanks @cblanchard811 see my post above when you get a chance!
We’re trying to understand where the continuity is coming from since your USB board is isolated. Can you try the following:
- Unplug the USB cable and check continuity between the USB port on the electronics box and the work clamp of your plasma cutter. If there is no continuity, plug the USB cable back into the electronics box and the computer.
- Unplug the THC cable and check for continuity between the USB port on the electronics box and the work clamp.
Note that the USB ground should NEVER have continuity to either the AC ground (power supply case and the electronics enclosure sheet metal) or the machine frame/work clamp.