For my one man show, I have zero complaints. Don’t push them beyond what they’re advertised capabilities are and you’ll be happy. I’ve read some people had bad experiences with manufacturing issues but I have not.
I’ve got their Elite 27” motorized bead roller, extended reach air cut off and rotary shear.
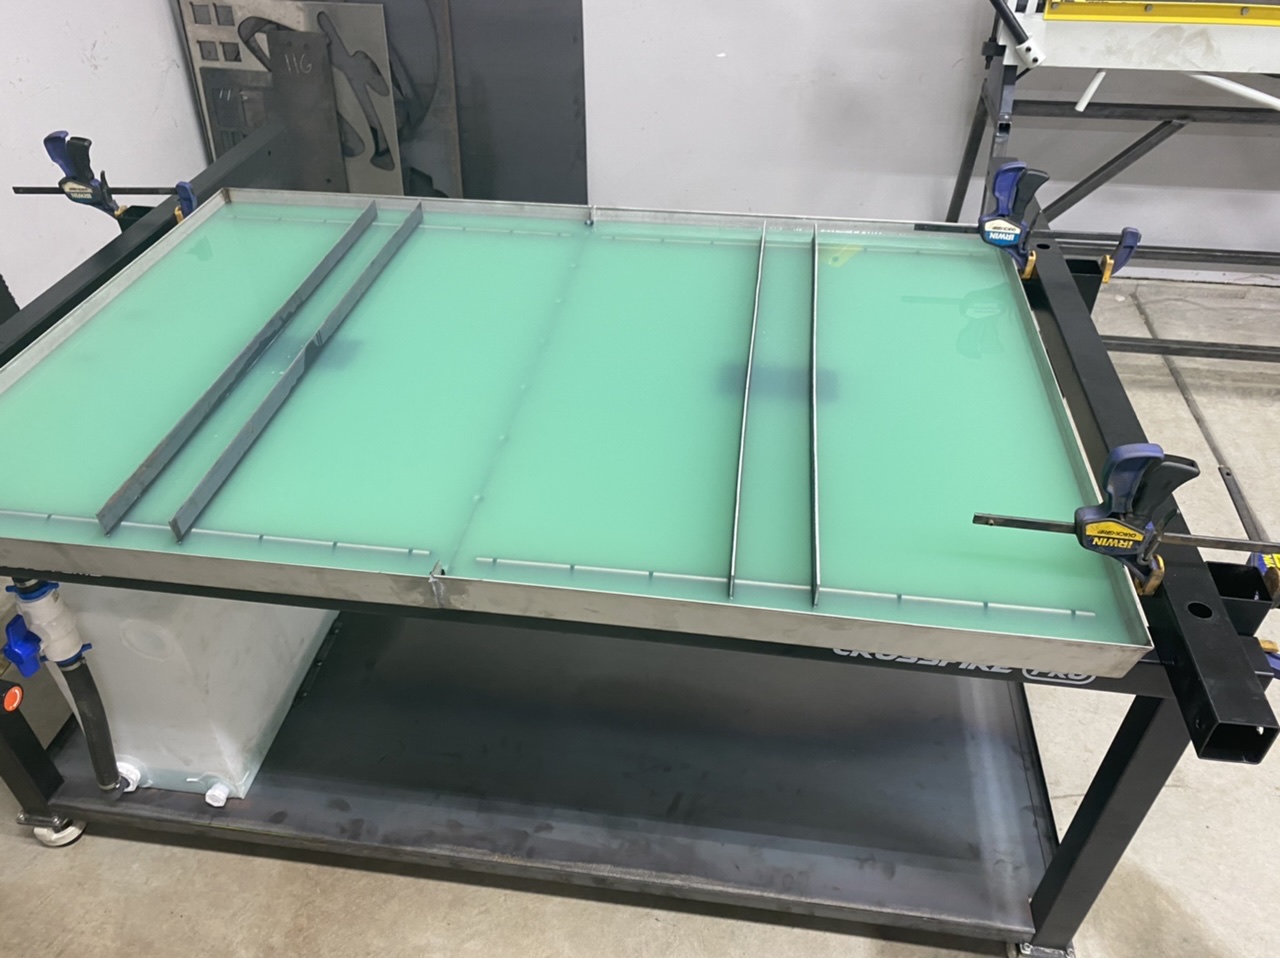
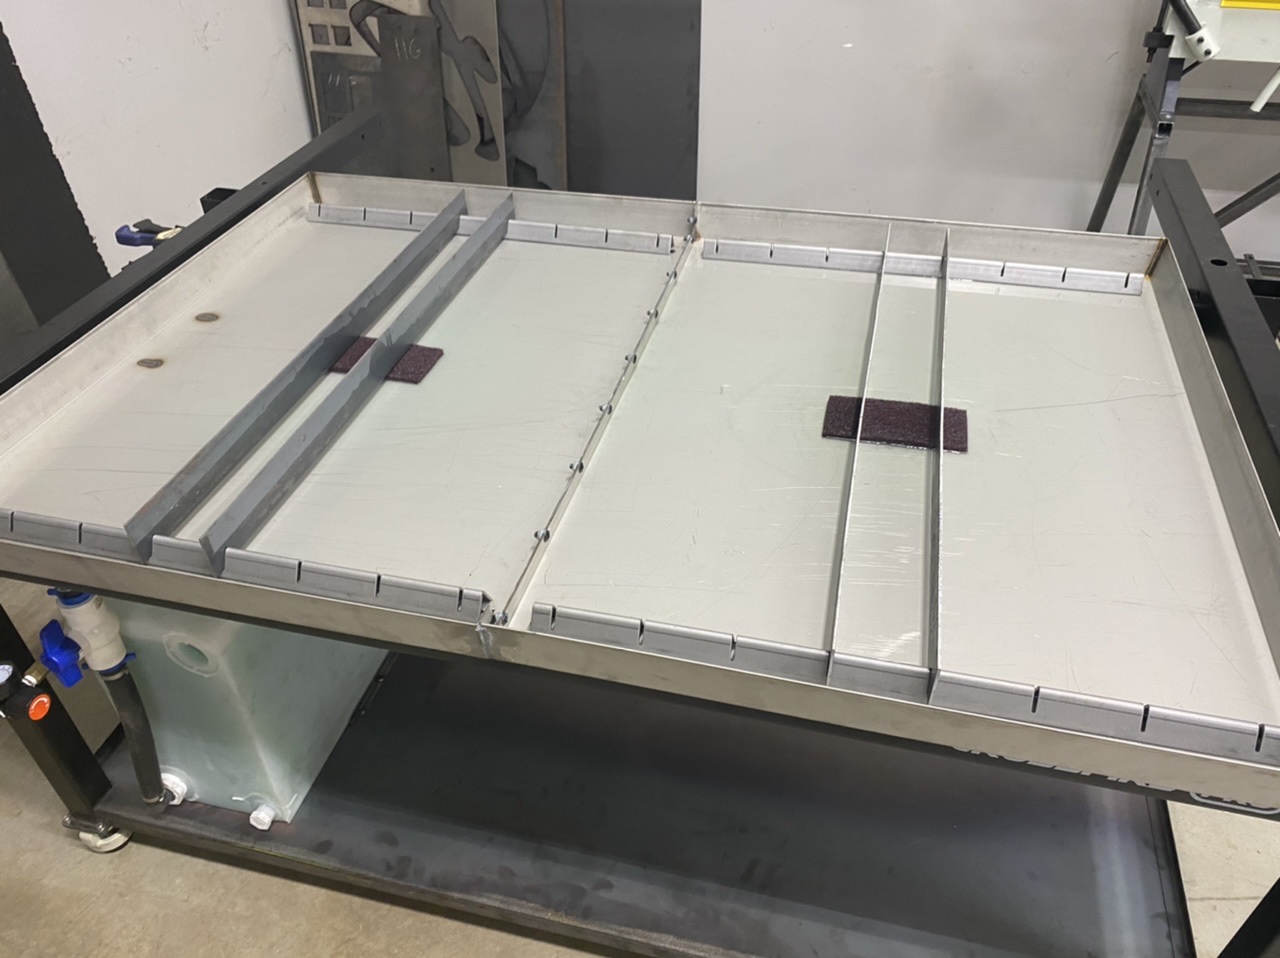
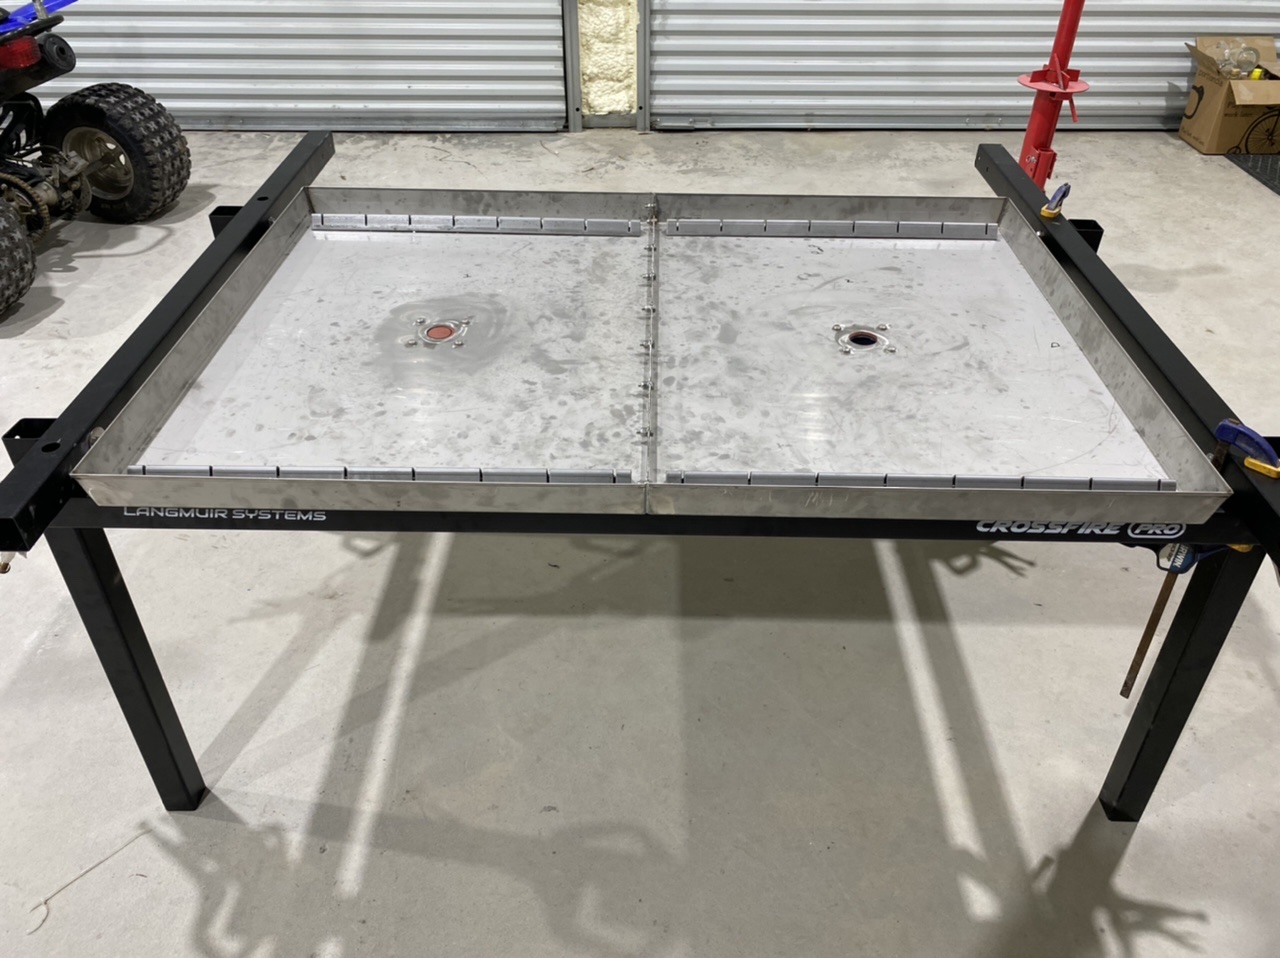
Sealed the table halves yesterday and tested fill and drain today. No issues with the height of the drains and the Scotchbrite simply held in place by the slats worked great as a fill-diffuser and future drain-filter.
The second shot is the table immediately after it has drained back to the tank.
I would venture to guess it’s between 11.5 and 12 gallons due to the tank size being 13g and if you look at the photo of the tank full it has about an inch of vacant space, then when the table is full (my full anyway) there is still about an inch of fluid in it due to air infiltrating the plumbing and thus losing the ability to push fluid further.
I always ran 5.5 gallons in my Crossfire so this setup is running the ideal volume I had targeted.
The next size up in tank size from where I got the tank is 16g and only $4 more than the 13g… for those wanting to run more fluid in their table.
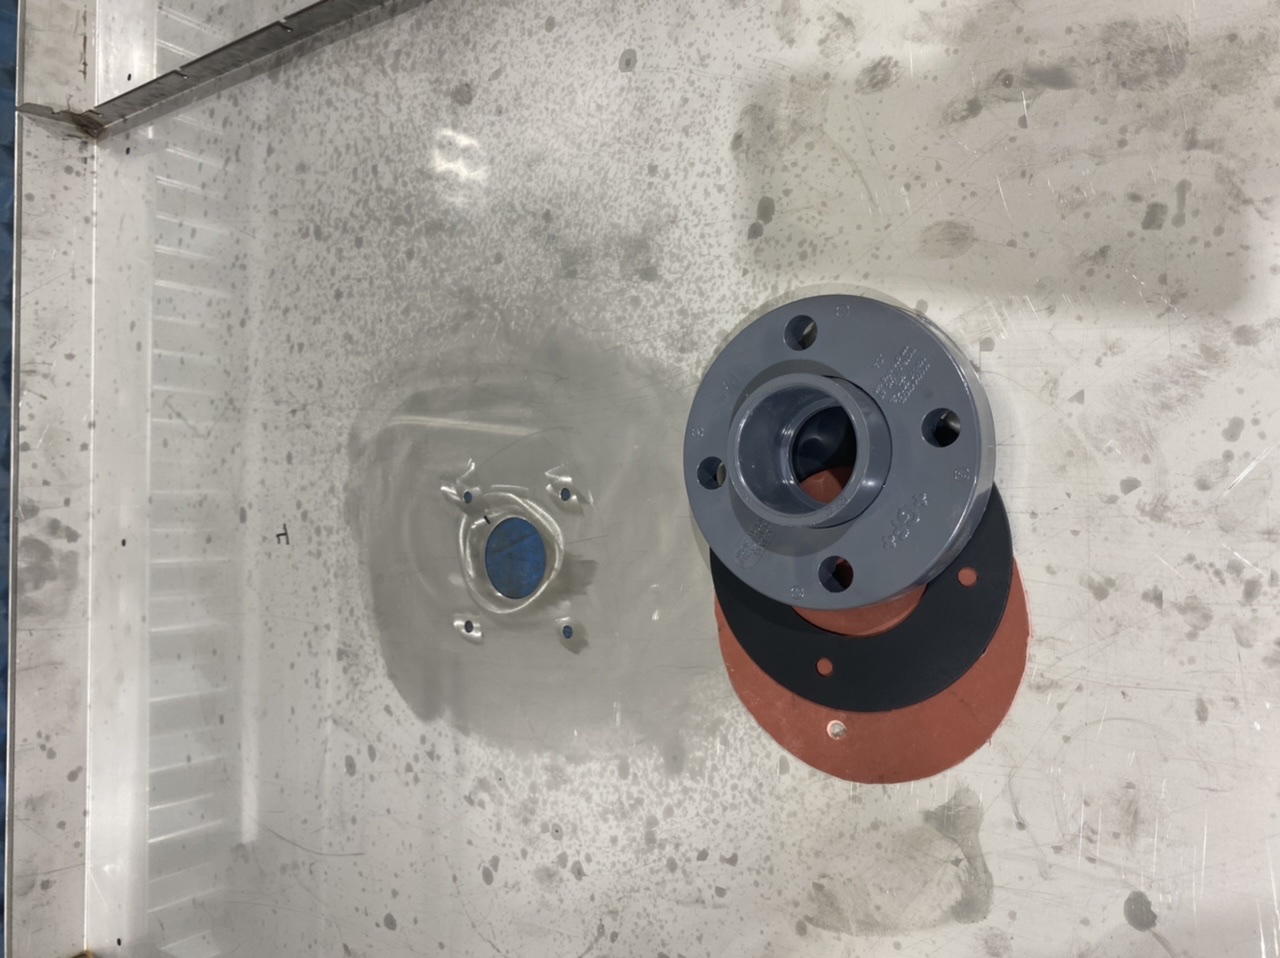
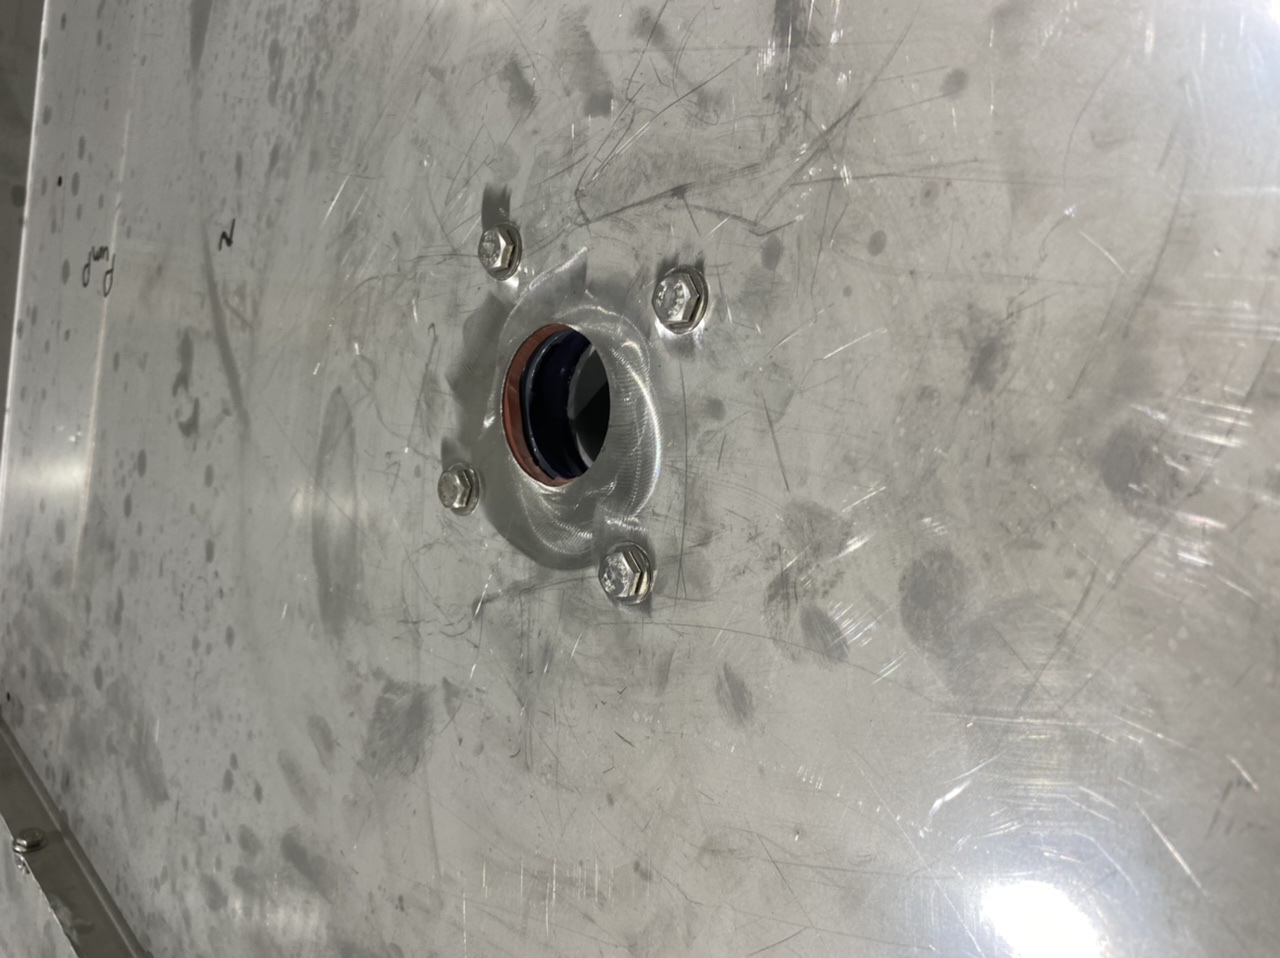
I make a little progress today. I went with 1 1/2” PVC pipe and a van stone flange for the drain. I like to keep it completely dried and clean when not in use. Also I ordered the 20 gal RV fresh water tank.
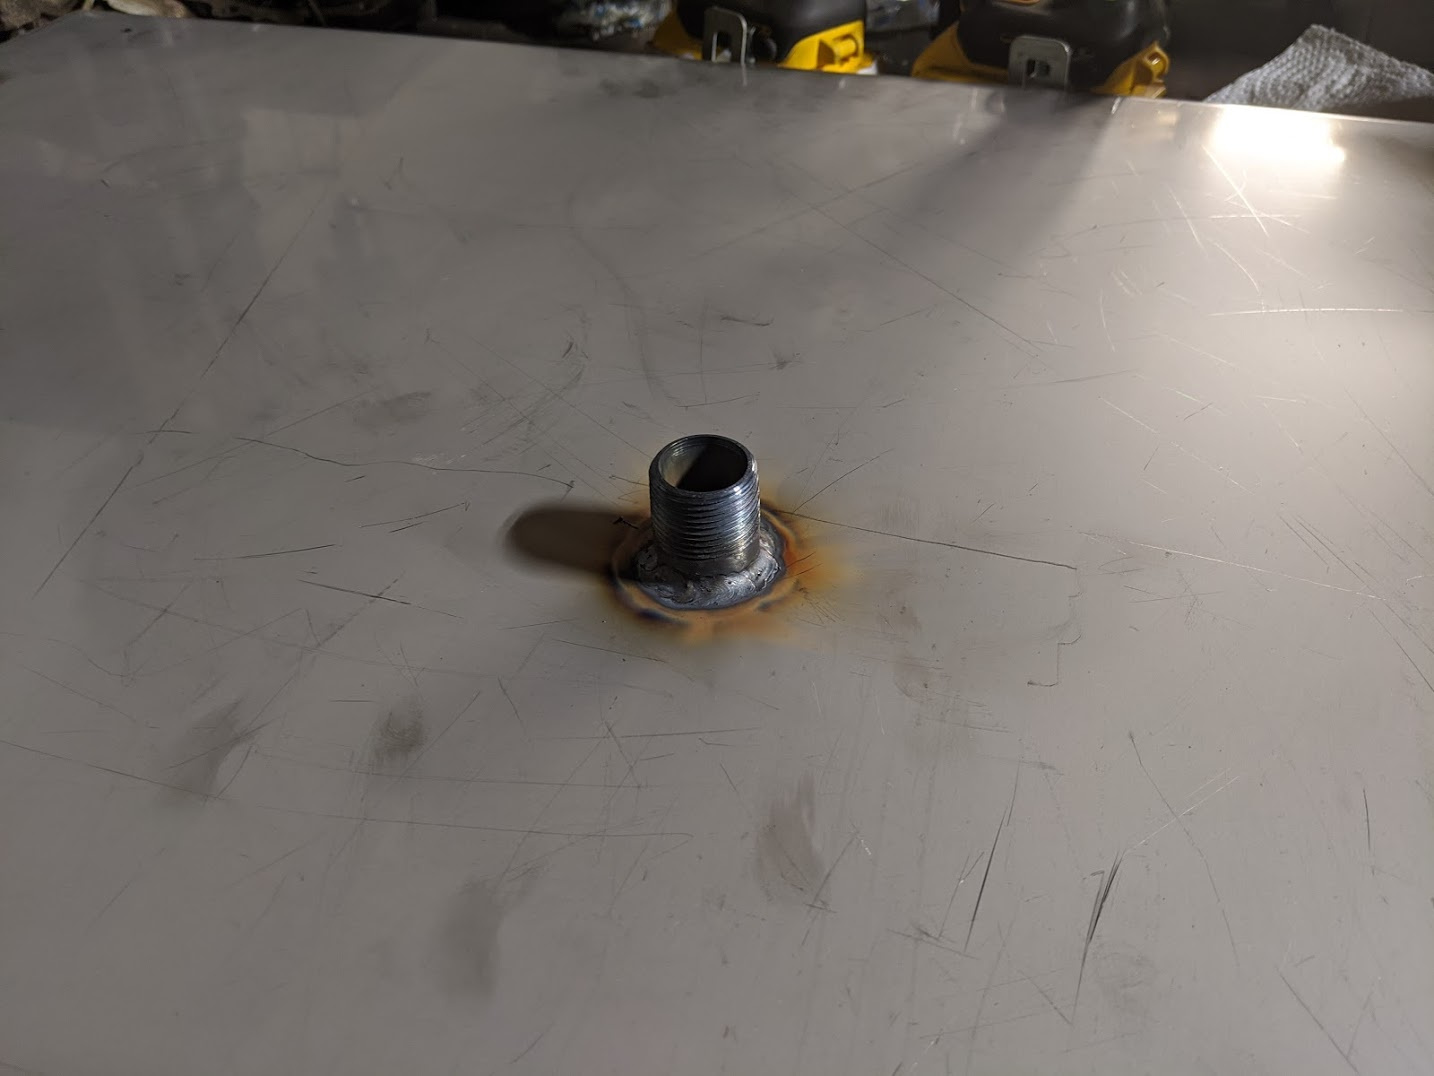
Couldn’t find 3/4" stainless pipe at lowes, so welded in some steel pipe. TIG’d it in place. No, I’m not great at TIG welding mild steel to thin stainless, but it won’t leak, lol. Yes, I know it’s not stainless, so it may rust at the weld and in the pipe, but I figure the slats and holders that go inside the table are all mild steel anyway.
It’s pretty basic.
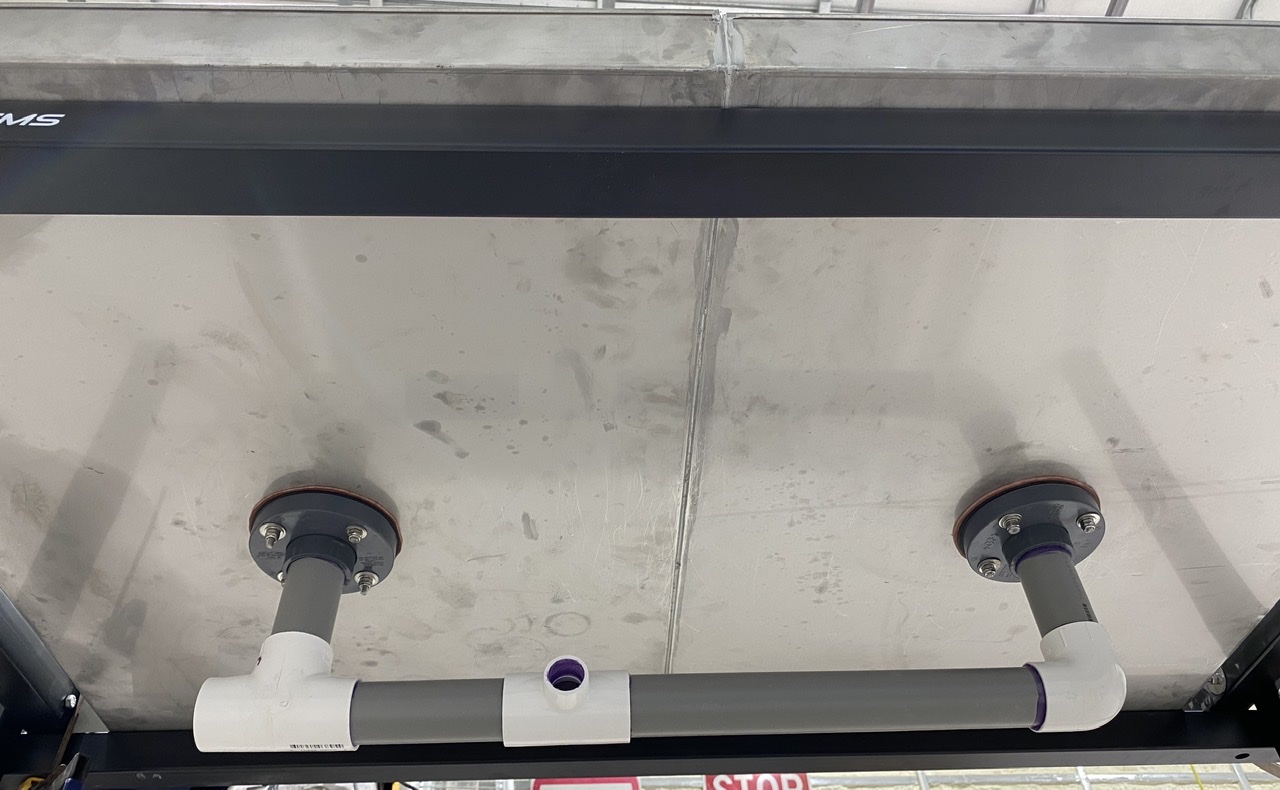
Essentially your creating a closed feed loop between the table and air tight “water” tank.
After plumbing the dual water table drains to the “water” tank. Close the ball valve, fill the water table to your desired volume.
To drain the water table:
Open the ball valve (in my setup, I open the air regulator so it acts as a vent for the water tank), as water drains via gravity into the “water” tank, the air in it escapes through the air regulator.
To fill the table:
Open the ball valve, connect air supply to CLOSED regulator on “water” tank, slowly open regulator to around 2psi and the air tight “water” tank fills with air and expands forcing the water table liquid through the path of least resistance(into the table).
Coordinate closing the ball valve and closing regulator simultaneously to not lose table fluid and also not stress the “water” tank and plumbing with unnecessary air pressure.
Now tig the 2 pans together. I used the silicone. 3 days later it started leaking. Pain in the butt, I got to drain it and fix it now. Wish I had a tig welder…
Here’s a time-lapse of the first time I actually used the system today to clean it out. Compared to my original XFire method, this is ZEN!
In real time it took about 5 minutes of actual labor. The most rewarding part of the setup is being able to continue working on other stuff while it does most of the job itself.
Broken down:
Drain tables: 10 minutes (keep working, which is why there’s a delay before I get to step 2)
Pull slatbeds and scrape into Homer bucket, re-place slatbeds (5mins)
Fill tables: 5 minutes
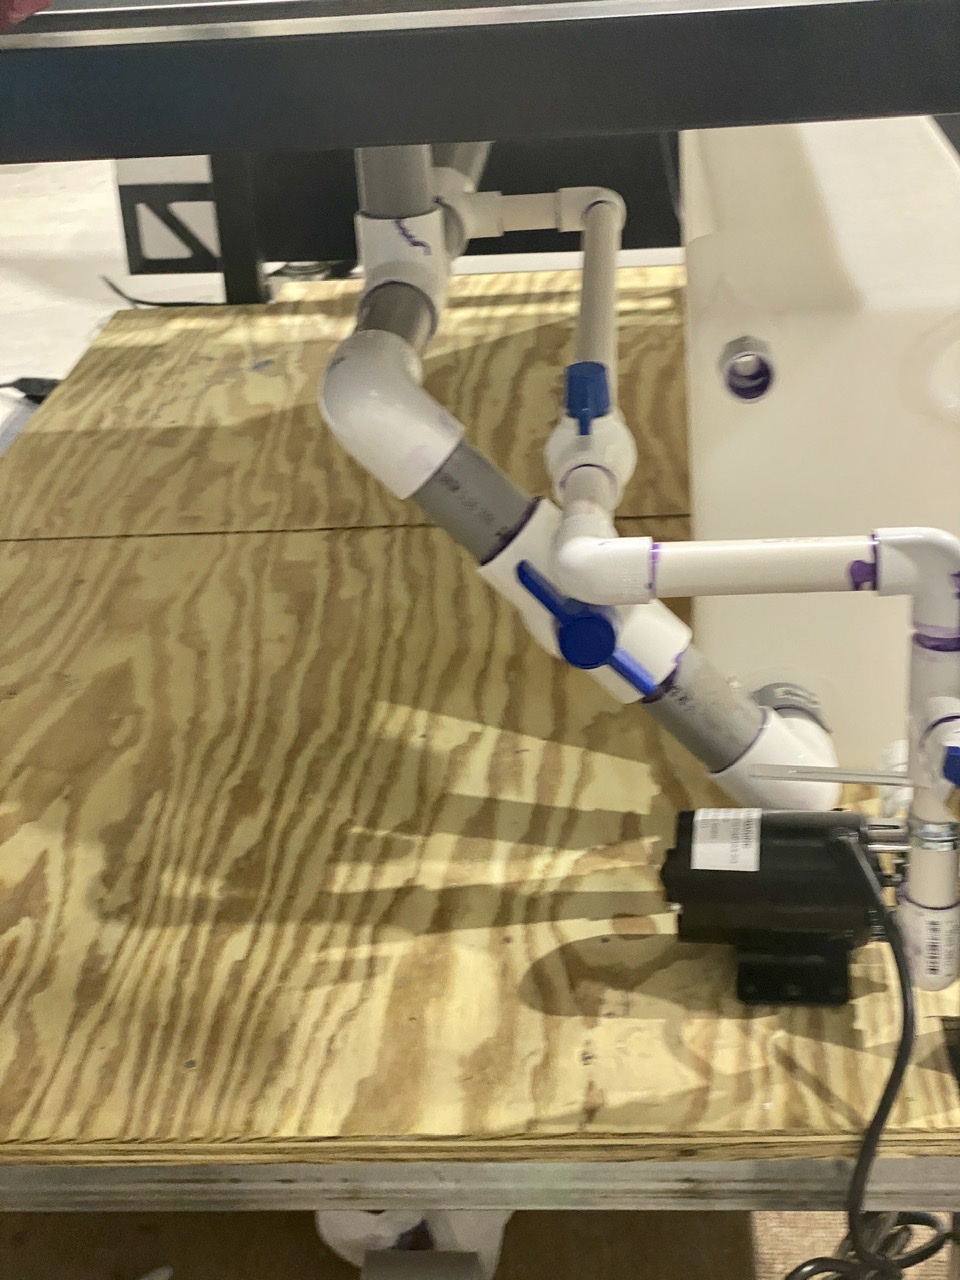
(Oh and just to clarify, my logo is just held there by little magnets so it is never “in the way”…)
The other stuff is is 1 1/2” pvc pipe, elbows, tees, 5/16” bolts, ect. That I already had in the shop handy. Here is a picture of the final setup, not the greatest picture but that’s what I handy at the moment. Can I take more later.