I asked for a quote on 3 different thickness, the size shown is how big the piece would be before bending. I would still have to weld the corners And do my own drain once o got it from them.
Thanks for sharing that info. I’m just trying to decide which way to go—1. Disassemble, clean silicone off and try again with another type of sealant, 2. Disassemble, clean and find someone to tig the seam as I don’t own a tig welder, or 3. Have a one-piece pan custom made locally.
I’m leaning more toward having a new water pan made. Has anyone done that yet on the Pro? Pics?
My pans arrived a little dinged up which seemed like no big deal, but one of the halves had a misformed flange and a I wonder if that was a contributing factor.
Also, can anyone confirm that high ph solutions break down silicone? I’ve been using the Pico Quench Guard and don’t always drain after use.
I haven’t got box 1 yet but I did install a silicone rubber gasket between the halves. I have not tested it yet since I can’t really finish setting it up but I think the silicone gasket at least for me is the answer. I had to bang the end tabs in to make them parallel. Time will tell.
Do you remember what settings you used to cut the 22 gauge? Also did you get any warping?
Don’t remember off the top of my head. Hypertherm fine cut consumables, and most likely used exactly what the book called since I don’t have much experience with stainless I haven’t experimented. I still had a little water left in the tray after draining it so that might have helped keep it cool but I didn’t notice any warping.
Here are a few pics of my table ready to go… took ideas from a couple of posts to come up with mine.
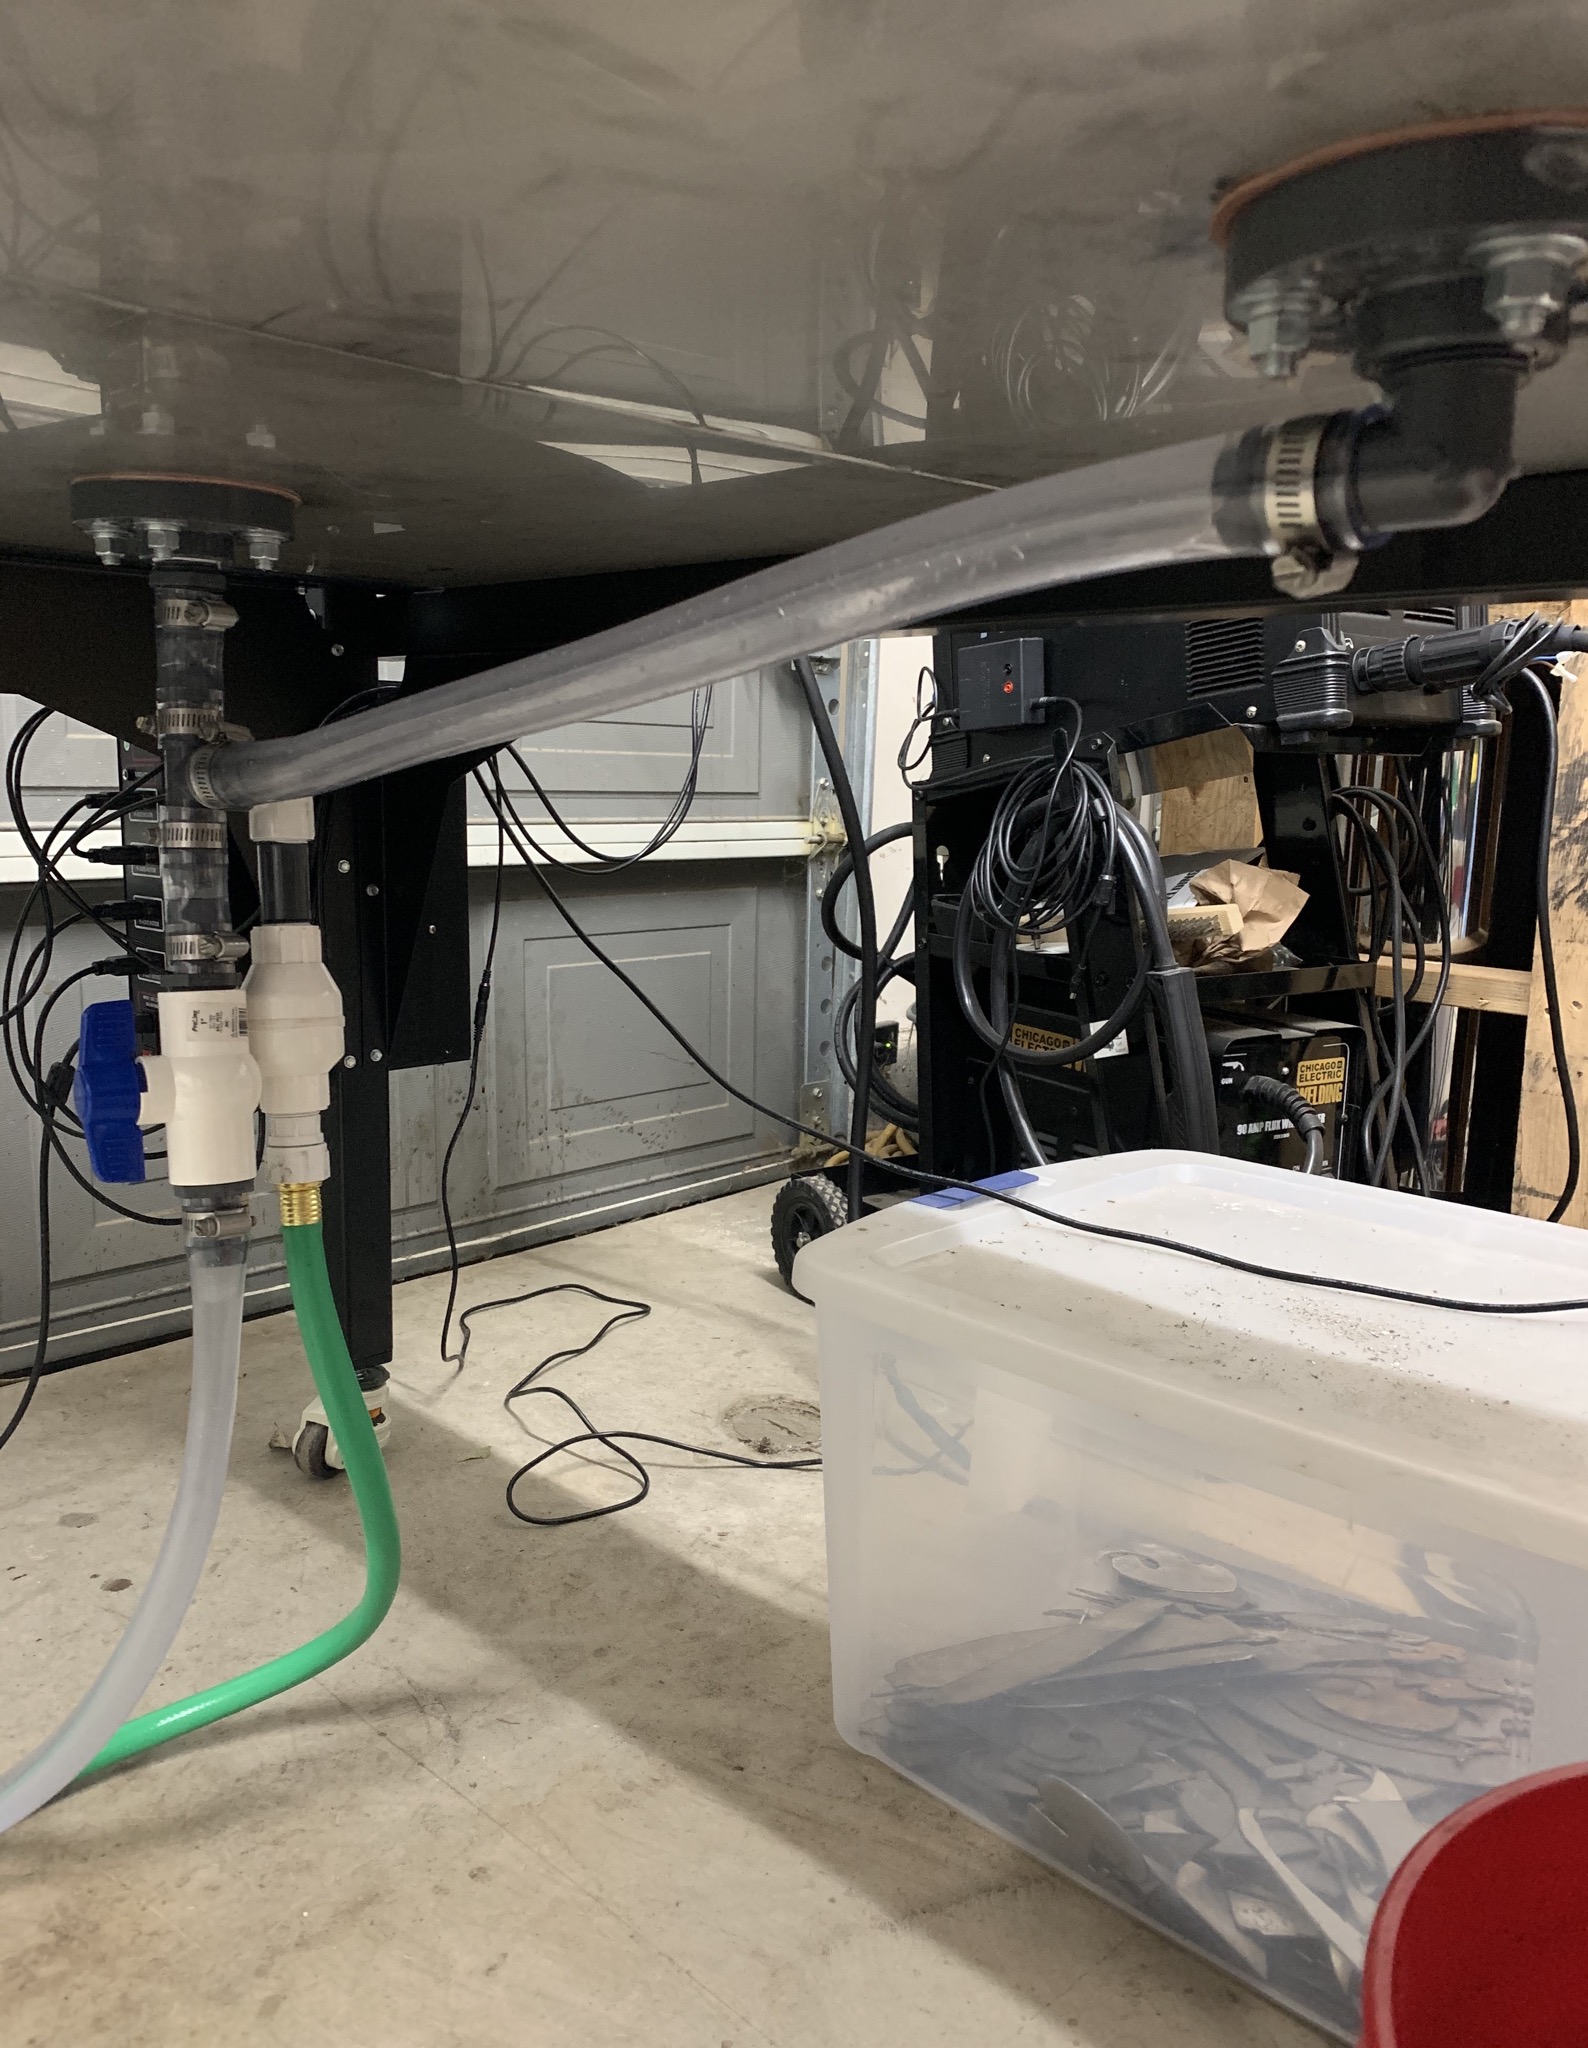
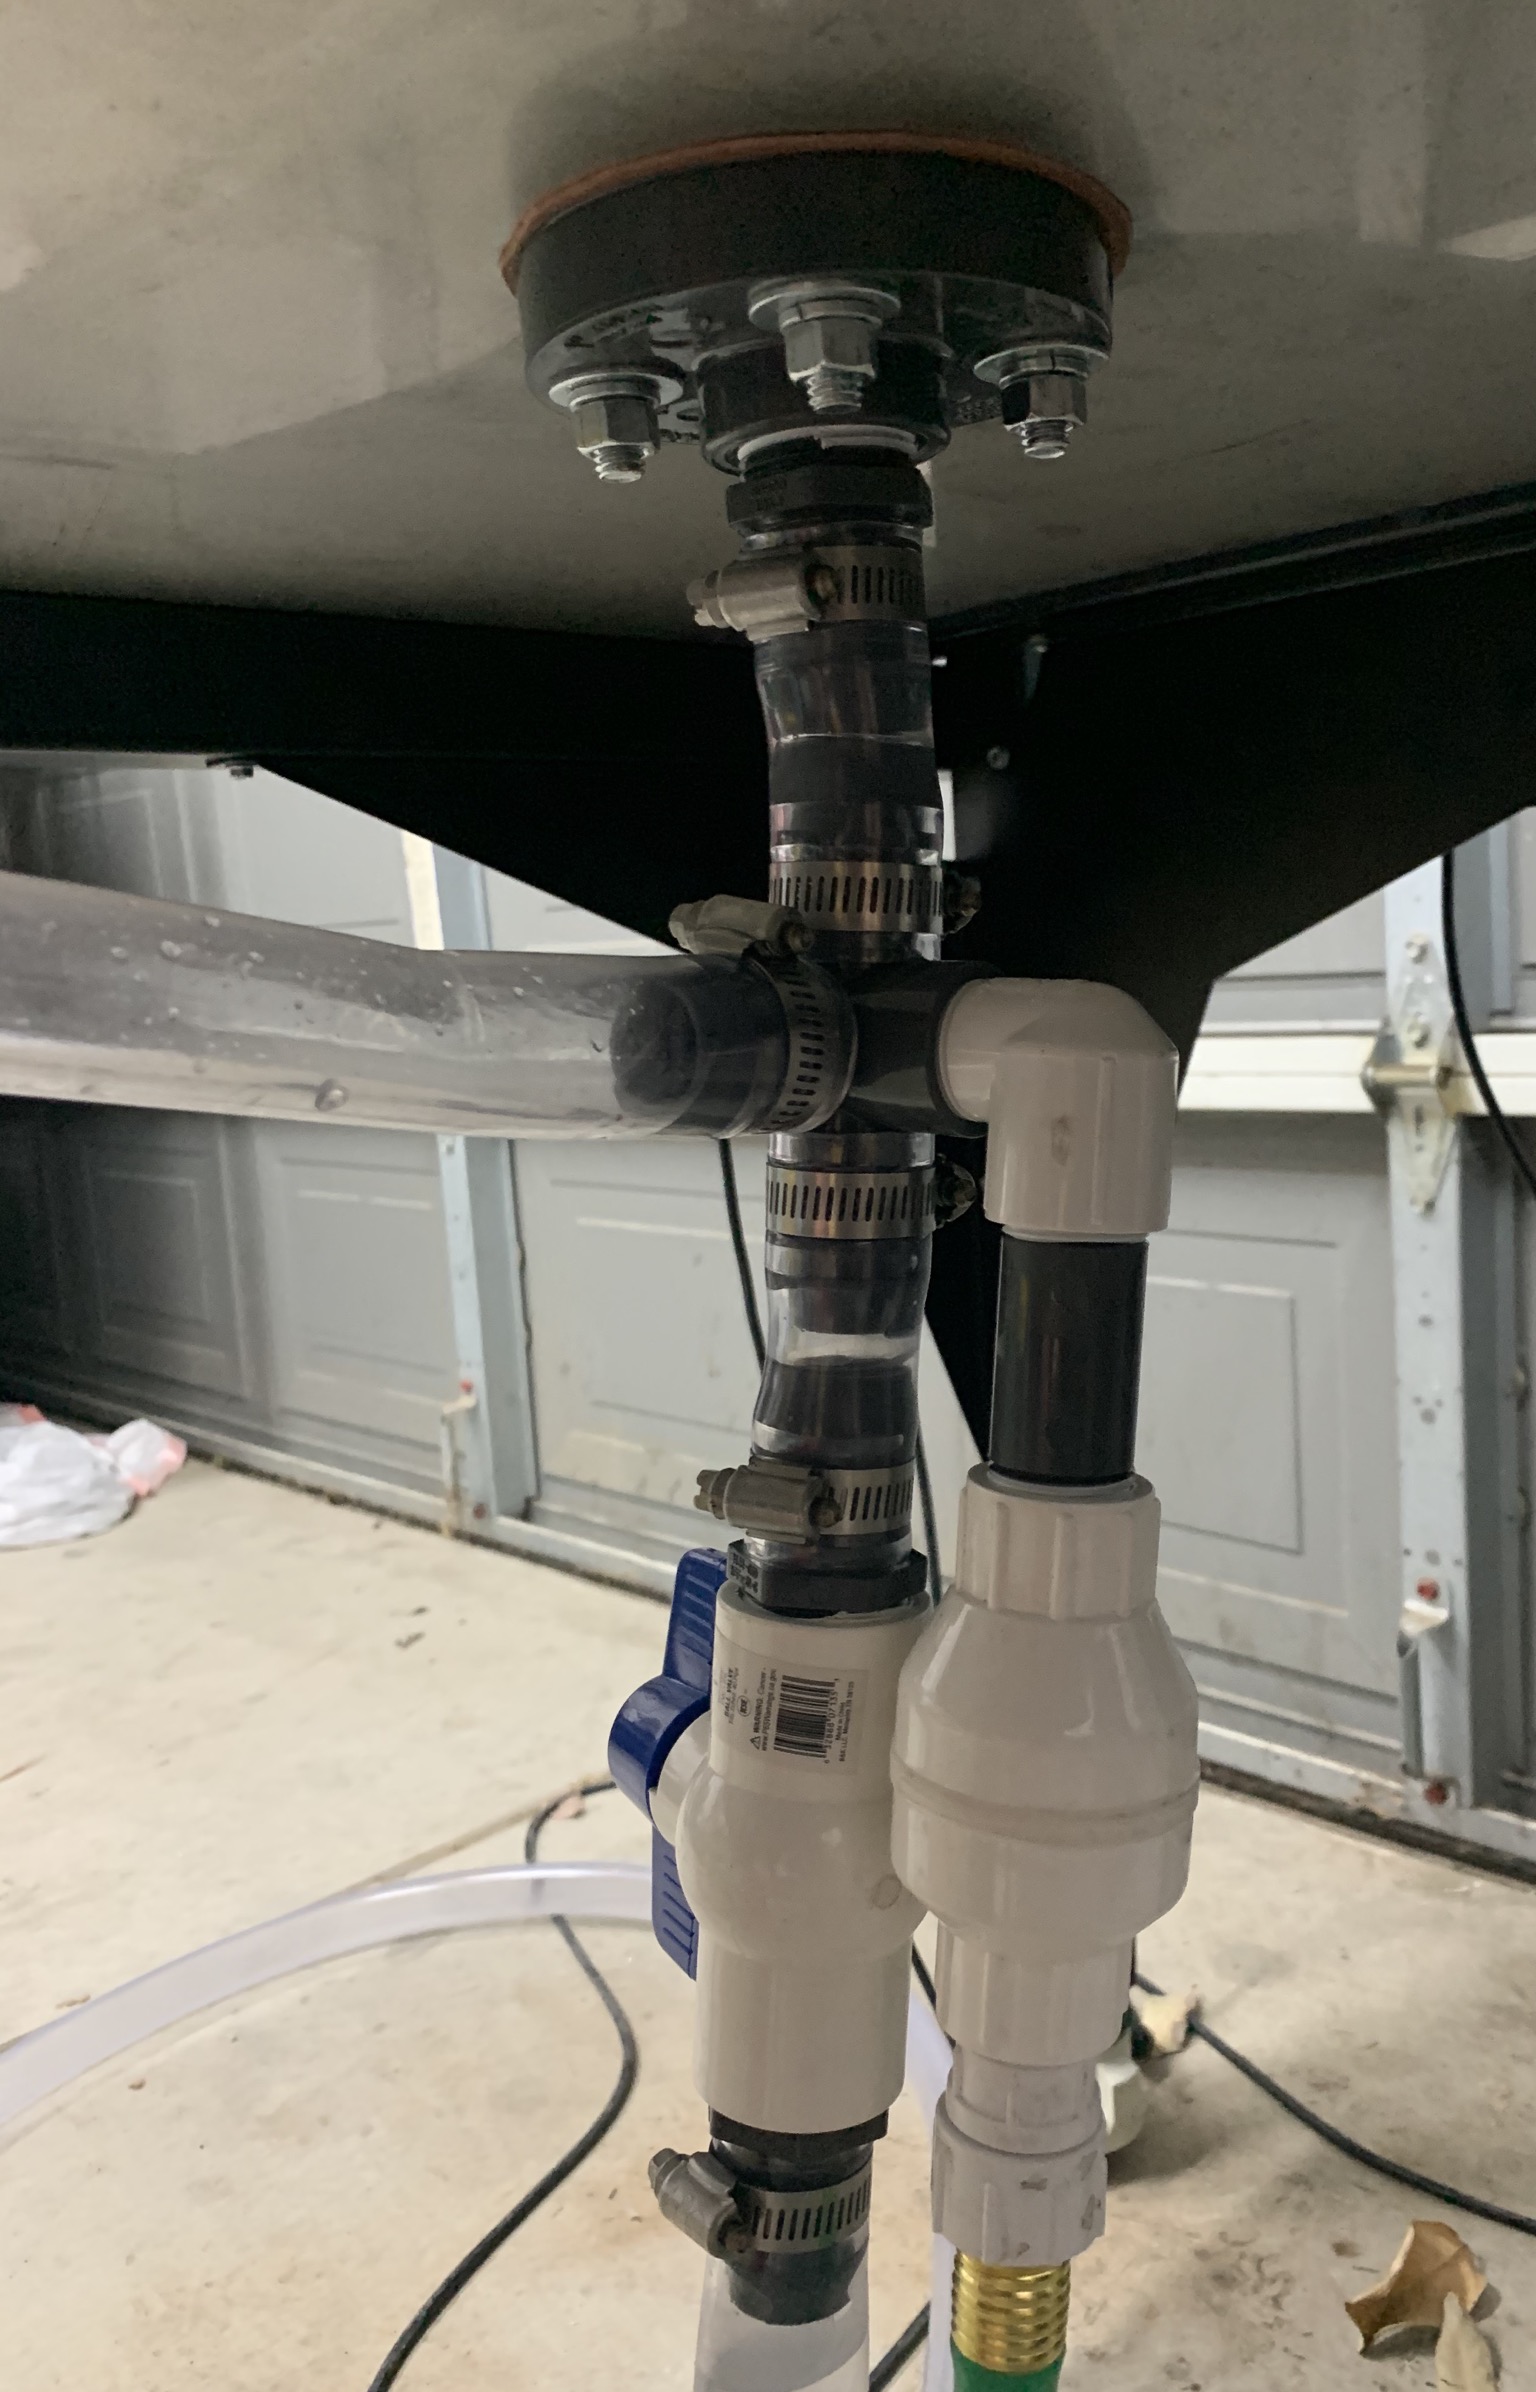
Used only 1 shut off valve for the drain and a check valve for the refill line
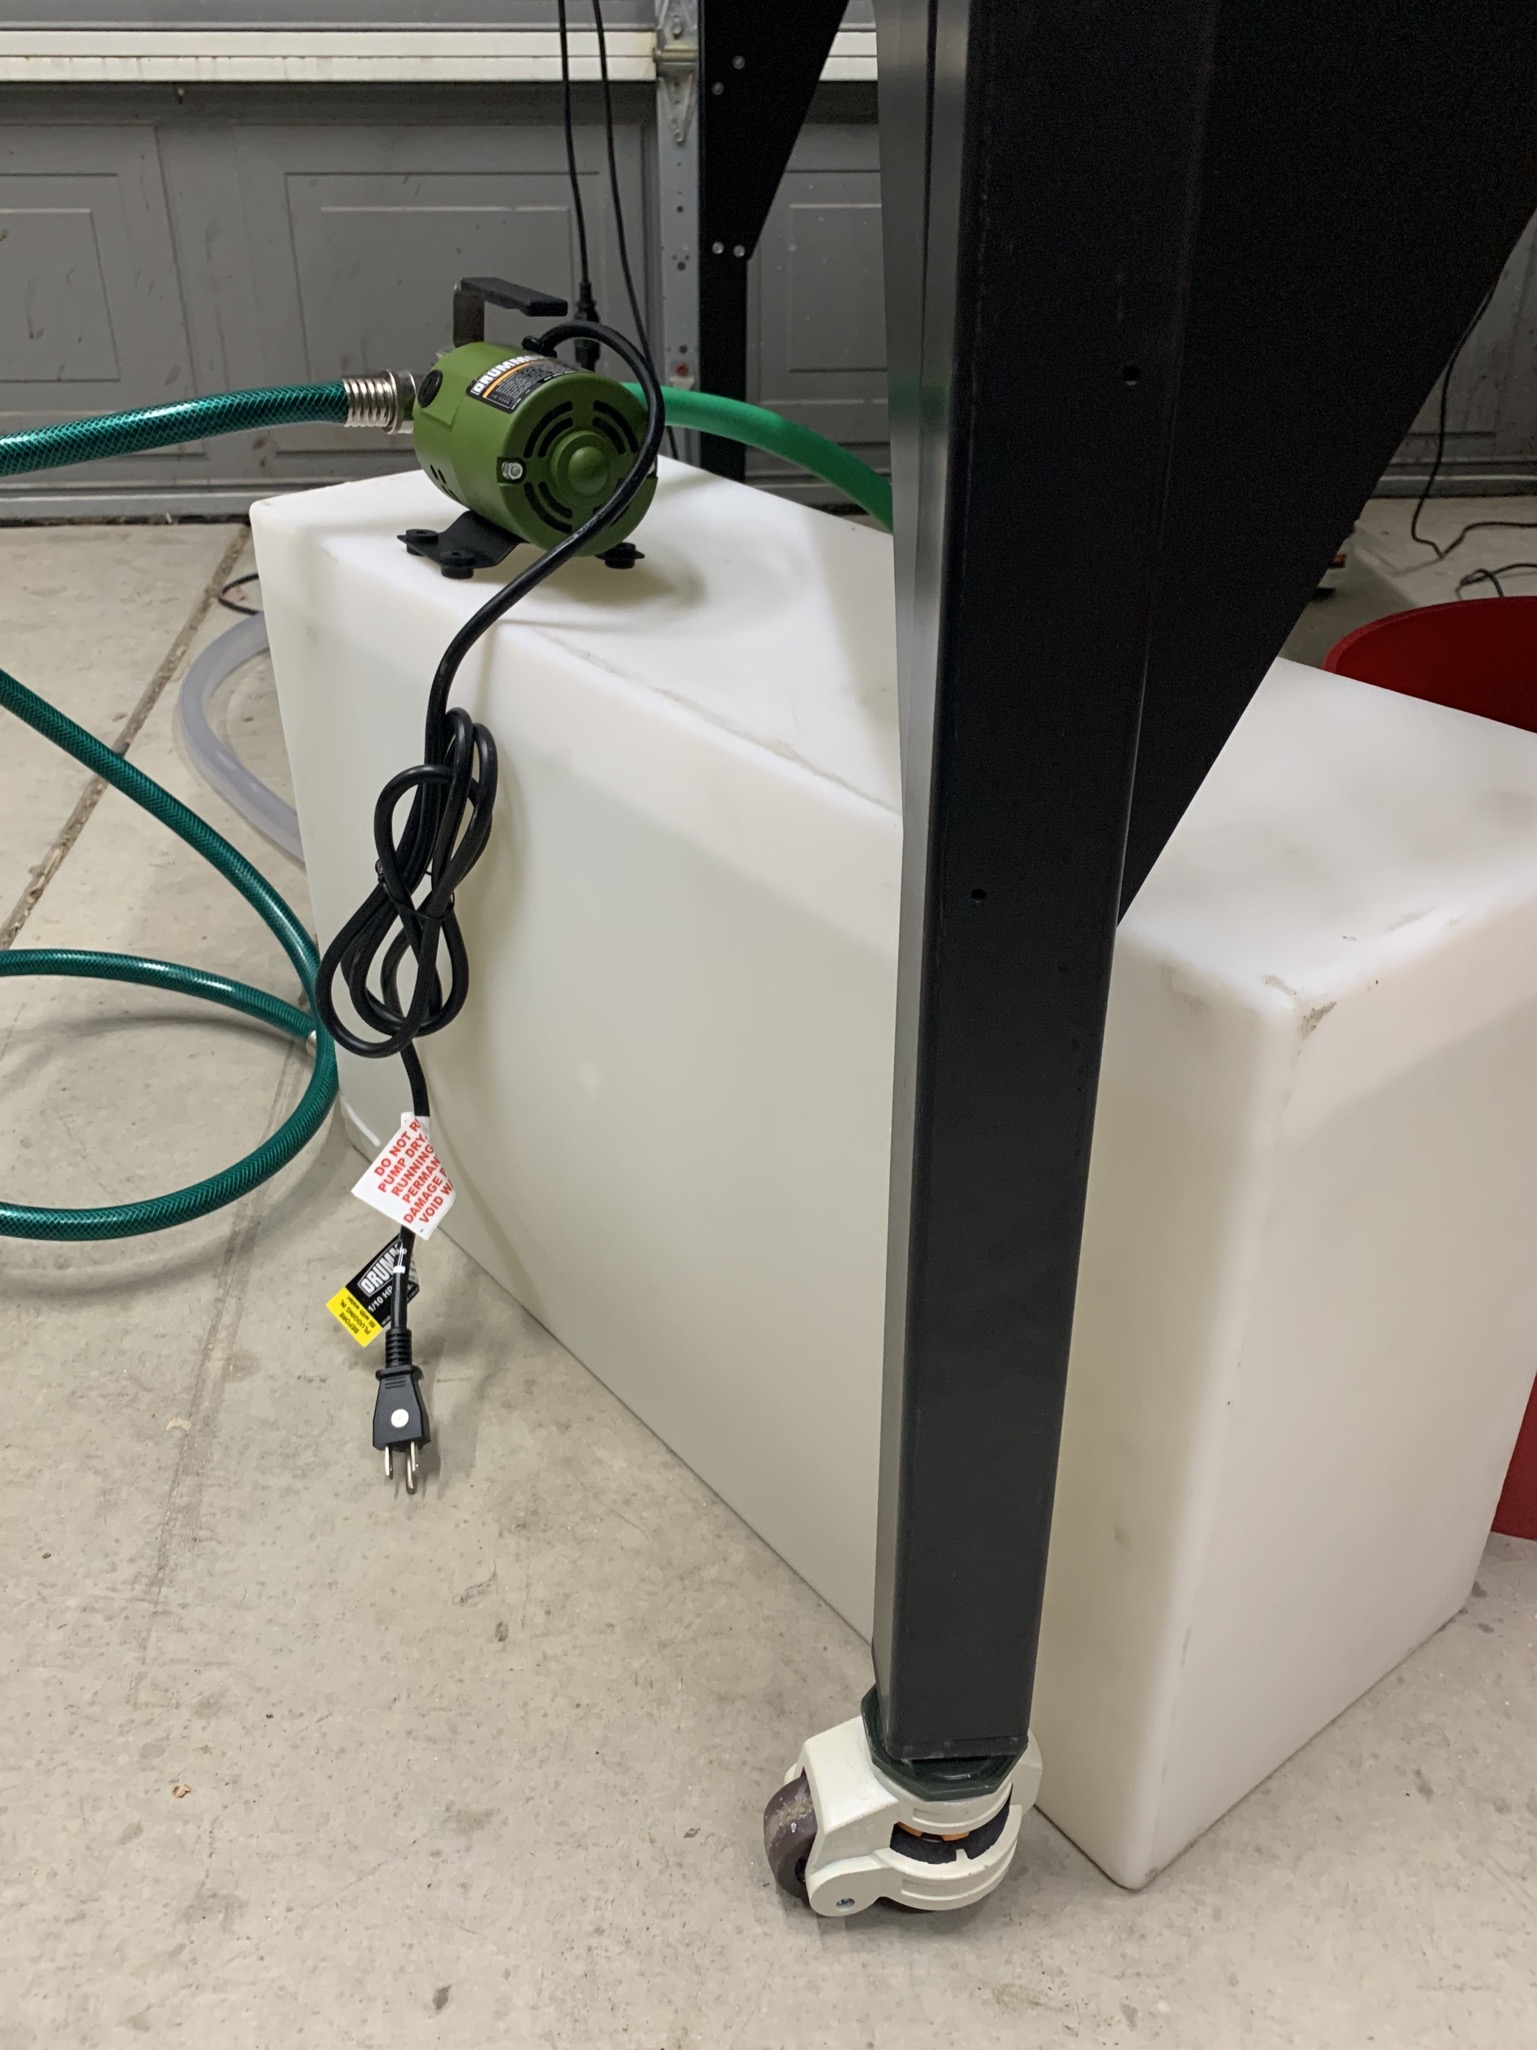
Leveling casters and inserts… water pump from harbor freight. On sale with coupon right now for $49.99
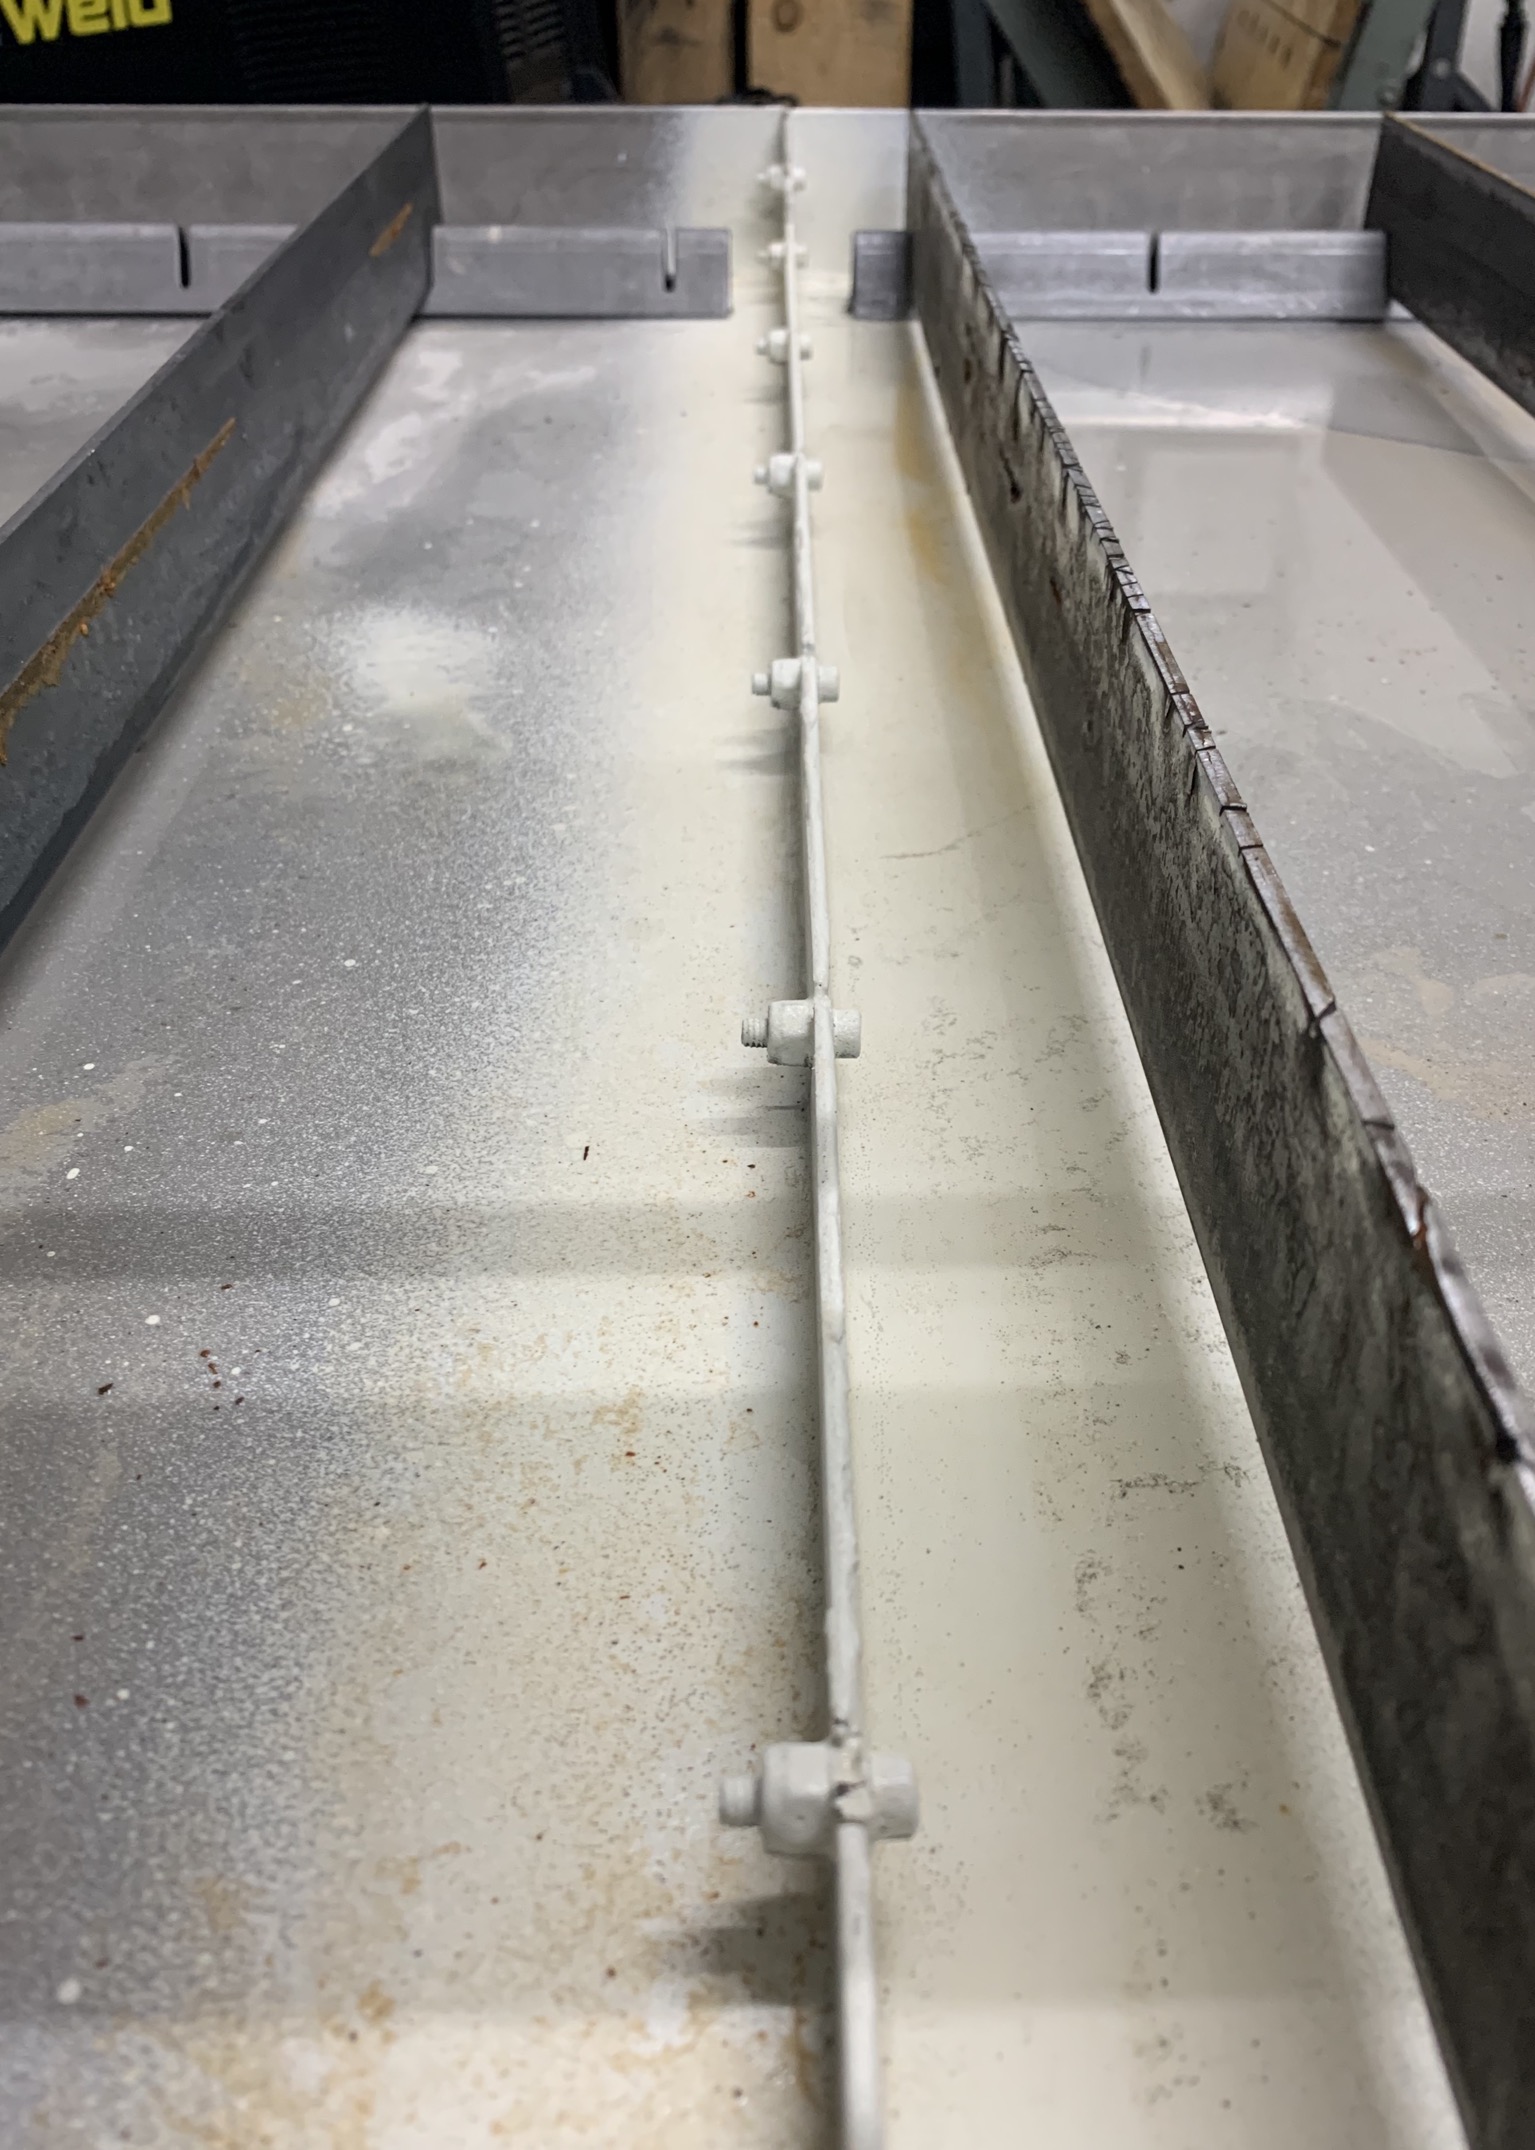
Sprayed on a couple of coats flex seal spray on the water tray seams after putting it together as instructed with silicone.
I like the Van Stone flanges. Think I’m going that way with my setup. Looks good!
I’m using flanges as well. Did you put gaskets under the bolt heads or just the one I can see on the bottom?
i put a bead of silicone around the bolt on the bottom of the top washer that meets the table top… it was leaking before I did that. I tightened it slowly to get an even seal of silicone all around the washer.
Now you can use the water table as a boat!
still holding strong.
I just ordered a Camco Rhino Heavy Duty 21 Gallon Portable RV Tote Tank from amazon. $109+tax free next day shipping. I liked the idea of having wheels to move a full tank around if needed. I’ll post more after I get it plumbed this weekend.
Got to bump this up, had to search the forum to find it again.
X2 on the pro flex recommended by @ramathorn15. Not a drip from mine.
The Van stone flanges are freaking amazing. I drained my table for the first tome today, took one look at what was left and said oh hell no, not doing this again. Van stone flanges for me tomorrow. Thanks for all the info guys!!!
I ordered this from Amazon when I saw this post, used it when I assembled my water table and it worked great. I had an unfortunate torch activation event and used it to plug the hole and apply a patch. Great recommendation.
Phase two, welded on my tc ferrules and just capped them for now. Got tired of waiting till I could plumb a whole tank refill system so this will allow me to add it at a later time without and tray removal.
Finally had some time this weekend and finished the water table drain and fill.
Solonoide valves…
Lamacoide switch plate…
Power indicator light…
Serious envy here…
Yeah - same. I saw the power drain switch I could only think what kind of black magic is this? Need more closeups!!!
That looks very nice