Got box 2 yesterday, hope to have it running this evening
1 Like
I was highly impressed with box #2 packaging
2 Likes
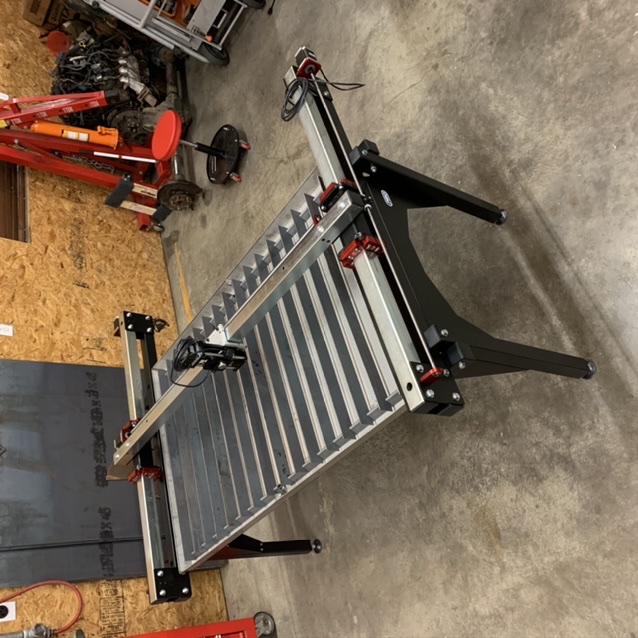
I started getting my table together, I miss the assembly videos y’all had with the original Crossfire. You can pause and actually see the proper orientation. It’s a pain to scroll all up and down, some of the pictures are not clear enough when printing. Not sure if you provided a printable options since some of these pictures require looking at the graph. There is sections where its mention to tighten then three sections down it tells you to go back and tighten the same things. Not sure if anyone else has had my problems but I was missing hardware, and some of the bolt threads were damaged. I am glad I happen to have the missing hardware on hand. Not trying to pile on here, but I had to remove the casters from the original crossfire and placed them on this, which makes way more sense having casters on this big table in which you can move instead of that tiny original crossfire that you can drag if need be. Last thing excuse my ignorance incase you have done so already but, it would have been nice to at a minimum provide a list of tools needed for this build. I have a ton of tools, I am making a point for those who don’t have the resources as I do. All I need is to finish installing the stepper motors, the electronic enclosure then running all the software hopefully everything works, the original Crossfire purchase I made in the second batch had a lot of the electronics jacked.
![]() I remember thinking the original one was pretty big when I got it set up.
I remember thinking the original one was pretty big when I got it set up.
The Pro is more traditionally designed I think where they don’t typically get setup on casters due to the size. But I’ve seen lots of us getting leveling casters for the big table so we can move it around. It’s bigger and heavier so you might want to get larger ones than the ones used on the original Crossfire.
Put a wire clamp here. Works perfect. Langmuir add one more clamp for future tables. Before this the wire over or under the screw wasnt working. It kept rubbing against the screw.

5 Likes
Thanks for the feedback, don’t feel like you are piling on!
There actually is a button on the assembly instructions page that allows you download them as a PDF and print everything in an organized format. Additionally, all of the tools needed for each step are listed.
The reason that we did not do video based instructions was primarily because of the large amount of frustrated customers wishing that the instructions were text based for the CrossFire. But the secondary reason was for the ability to easily make changes on the fly based on customer feedback. Updating written insurrections is much easier than remaking videos. We found that out the hard way with the CrossFire.
As far as the casters go, we are actually pretty surprised that many customers are putting them on casters. We’re looking into offer some heavy duty leveling casters as a kit but that’s a ways out.
Also we definitely want to make it right regarding the fasteners. I know you were able to borrow from your stock, but we will certainly send you replacements at your request.
1 Like
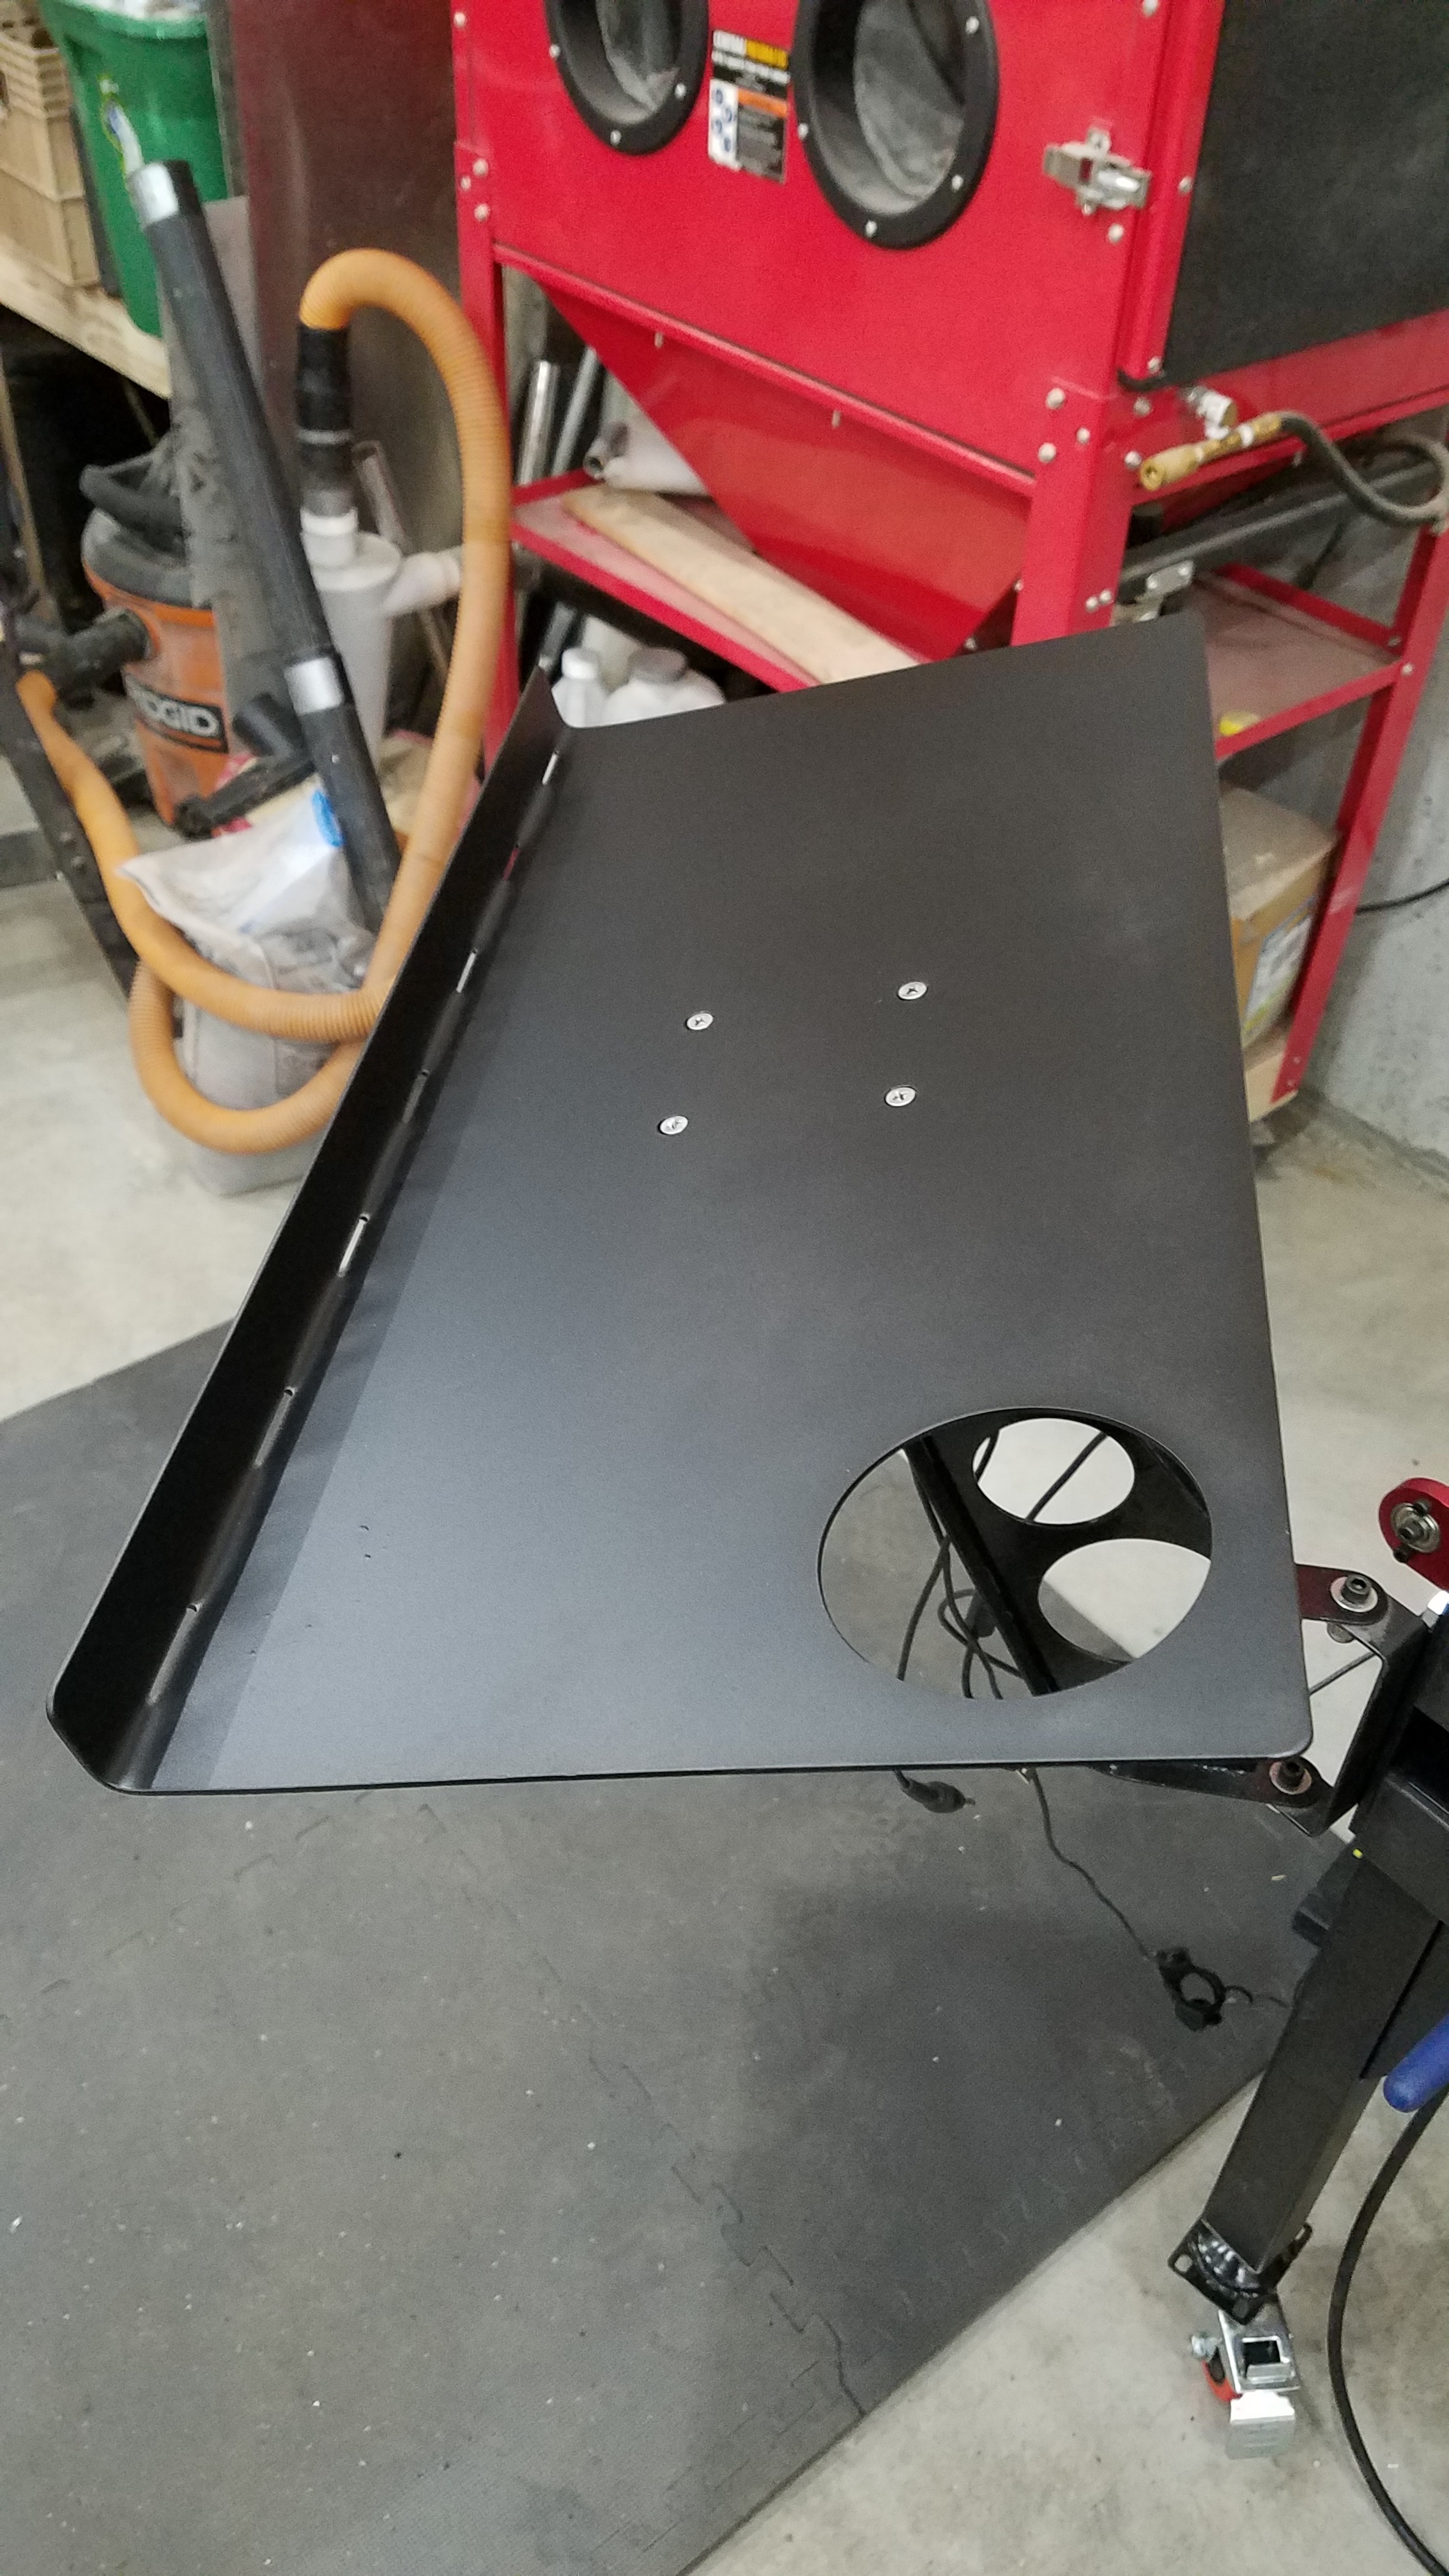
Also made a bigger laptop table. Its wider to fit my mouse which i never took into account. And since I made it bigger I ordered a cup holder insert off Amazon to stick in the hole. Bent the lip and made it a little taller than the stock one to hold my old thick laptop and mouse from sliding. Powdercoated it black to match


5 Likes
If you’re doing design work at the table that’s convenient. But if you leave it there while you’re cutting, you’re likely to get a fair amount of vaporized metal dust in your drink. (DAMHIK ![]() )
)
2 Likes
Water bottle with cap
One final question, I noticed that there is additional splicing to my original Razorweld45 without the port for the THC Is this gonna cause warranty issues?
The online instructions did say which tools were needed in each step. Even gave specific Allen wrench sizes
2 Likes
No warranty issues! We have discussed with Razorweld for the older machines that do not have a voltage divider port.
The splicing procedure is relatively simple on the Razorcut45 since the torch lead and work clamp terminals are located on the backside of the front panel. While we don’t directly support the specifics of this installation procedure, we ask that you please follow our LS-THC User Guide before performing the install. The biggest thing to keep in mind is protecting the Raw Voltage Pigtail Cables for strain relief where they exit the plasma cutter body. If you have a Razorcut45 that has the torch firing port then chances are you have a circular plug next to this port that makes a good exit point for these cables. If not, we recommend drilling a hole in your sheet metal cover and installing a cable grommet for protection.
2 Likes

If anyone would like the dxf to make your own here you go. The hole is 3-3/8"
6 Likes
Not sure I will ever use it . But thank you for the share.
1 Like
Thanks for the file. I like it.
1 Like
very impressed with box 2 packaging. also every different parts bag being labeled.
so far my table has the water tabled siliconed together. not enough time to play 
3 Likes

I found an issue that made me mind fuck this for about 15 minutes.
In the frame assembly, the illustration showing the lower tube is what side, and the holes large and small, the right side tube is drawn upside down.
1 Like
I did the same thing