Prepping for new Crossfire Pro

Hey all,
I thought I would post for other new purchasers and in case some of you with experience have additional or other recommendations. I have just received my Crossfire Pro, but have been preparing for and buying and installing all of the other accoutrements and necessities and niceties to go along with it, mostly based on community information and suggestions.

It just seemed like it might be hard for someone looking into it to glean what all is (or could be) involved in it, aside from the initial purchase of the “machine”. Specifically I had the goal of trying to “do it right” or not cheap out too much :slight_smile:

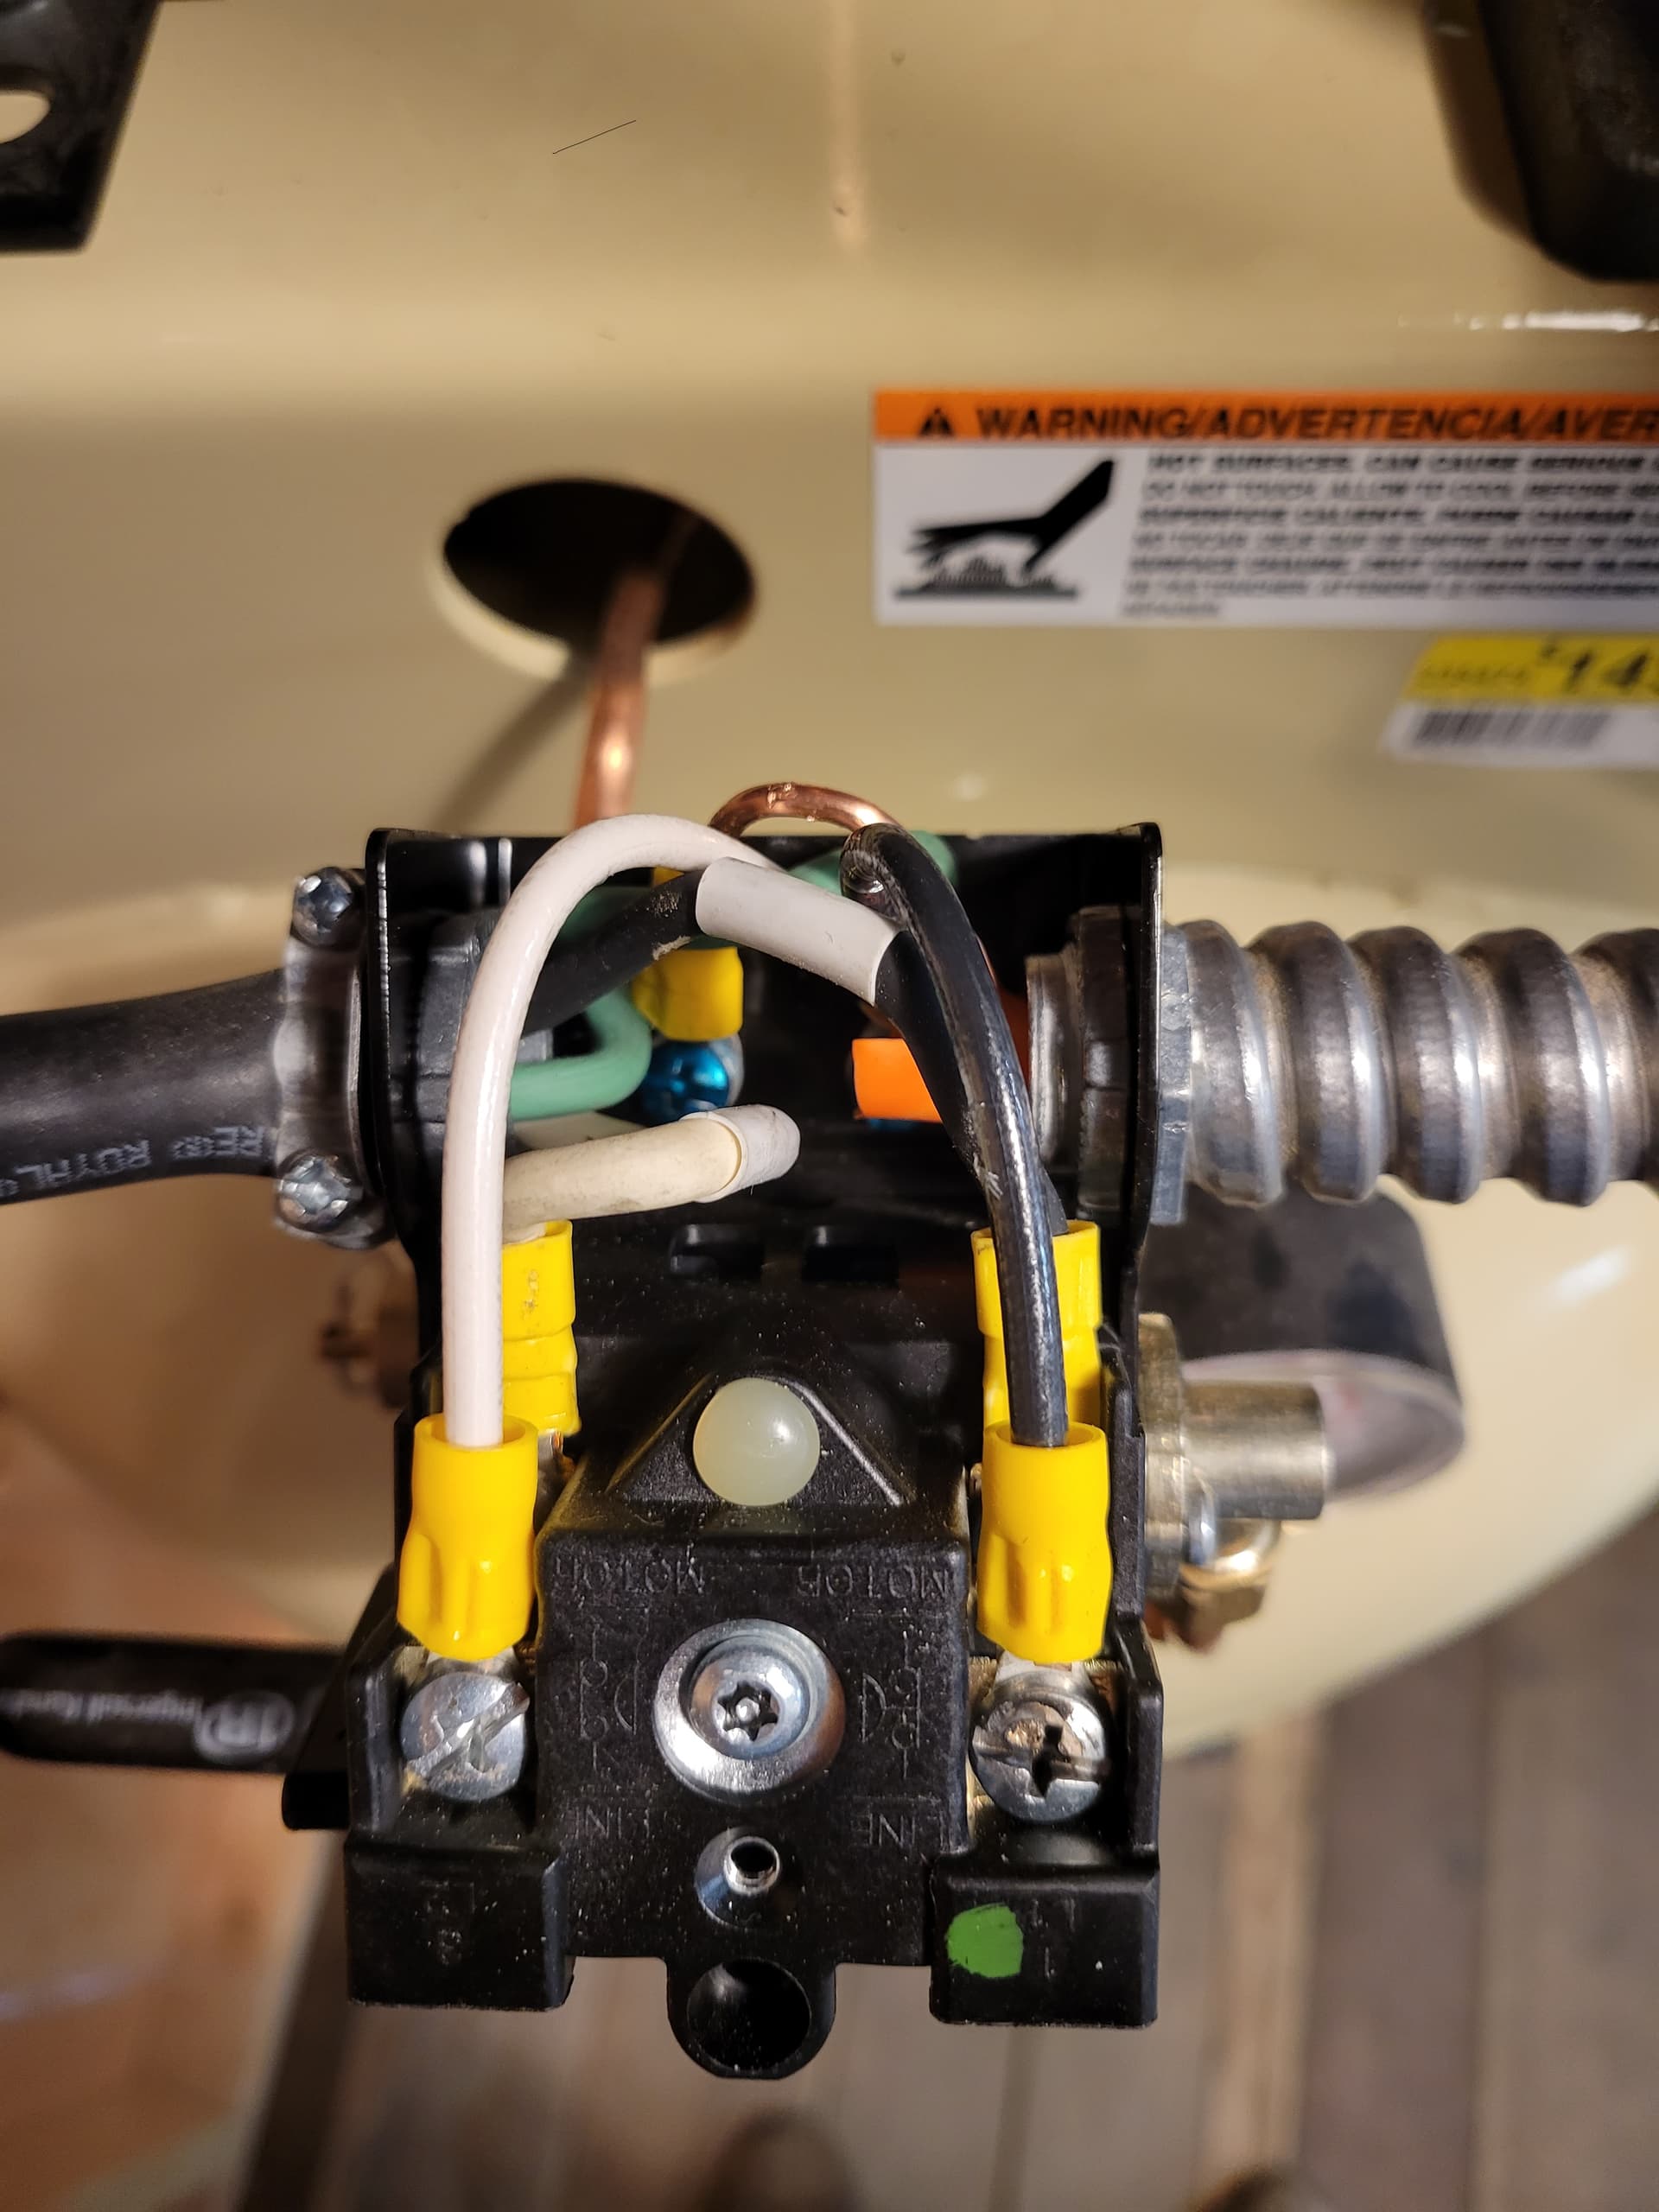
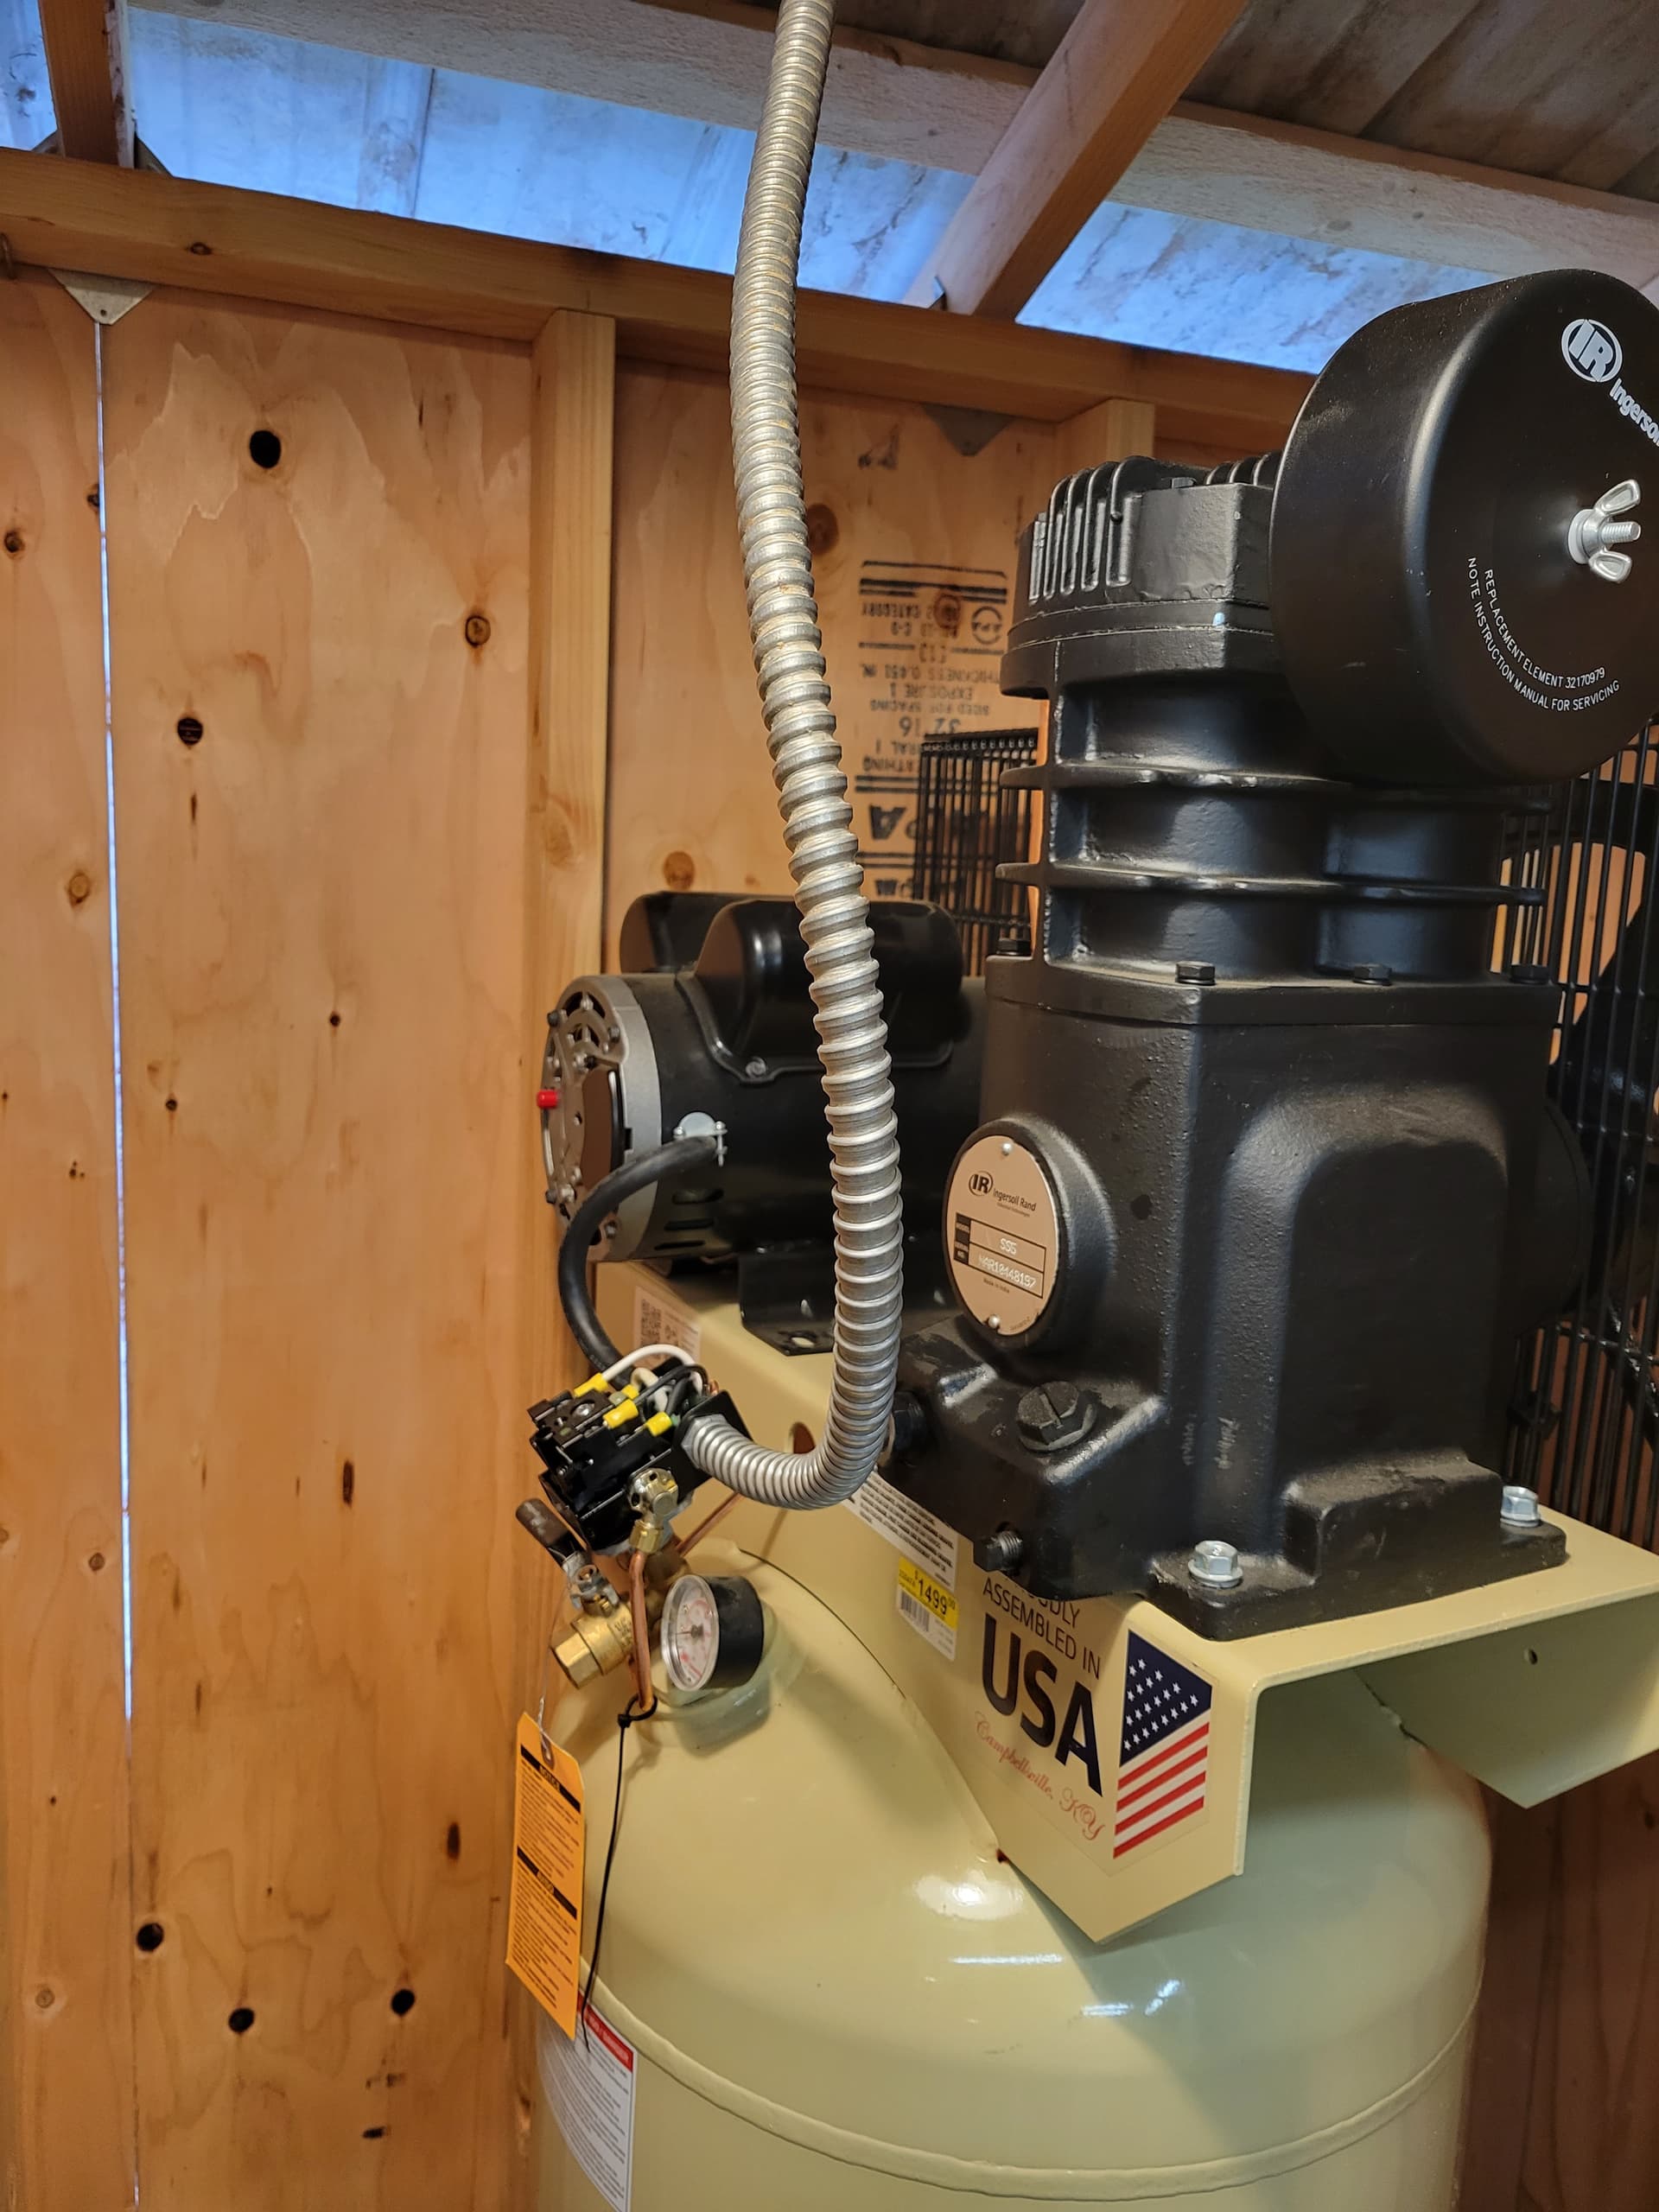
Firstly, I tried to deal with the air supply. So I upgraded to a more appropriate compressor, an Ingersoll Rand SS5L rated at 18SCFM@90psi, figuring I would not be left wanting for air. Was a good deal at $1500 for what it is.

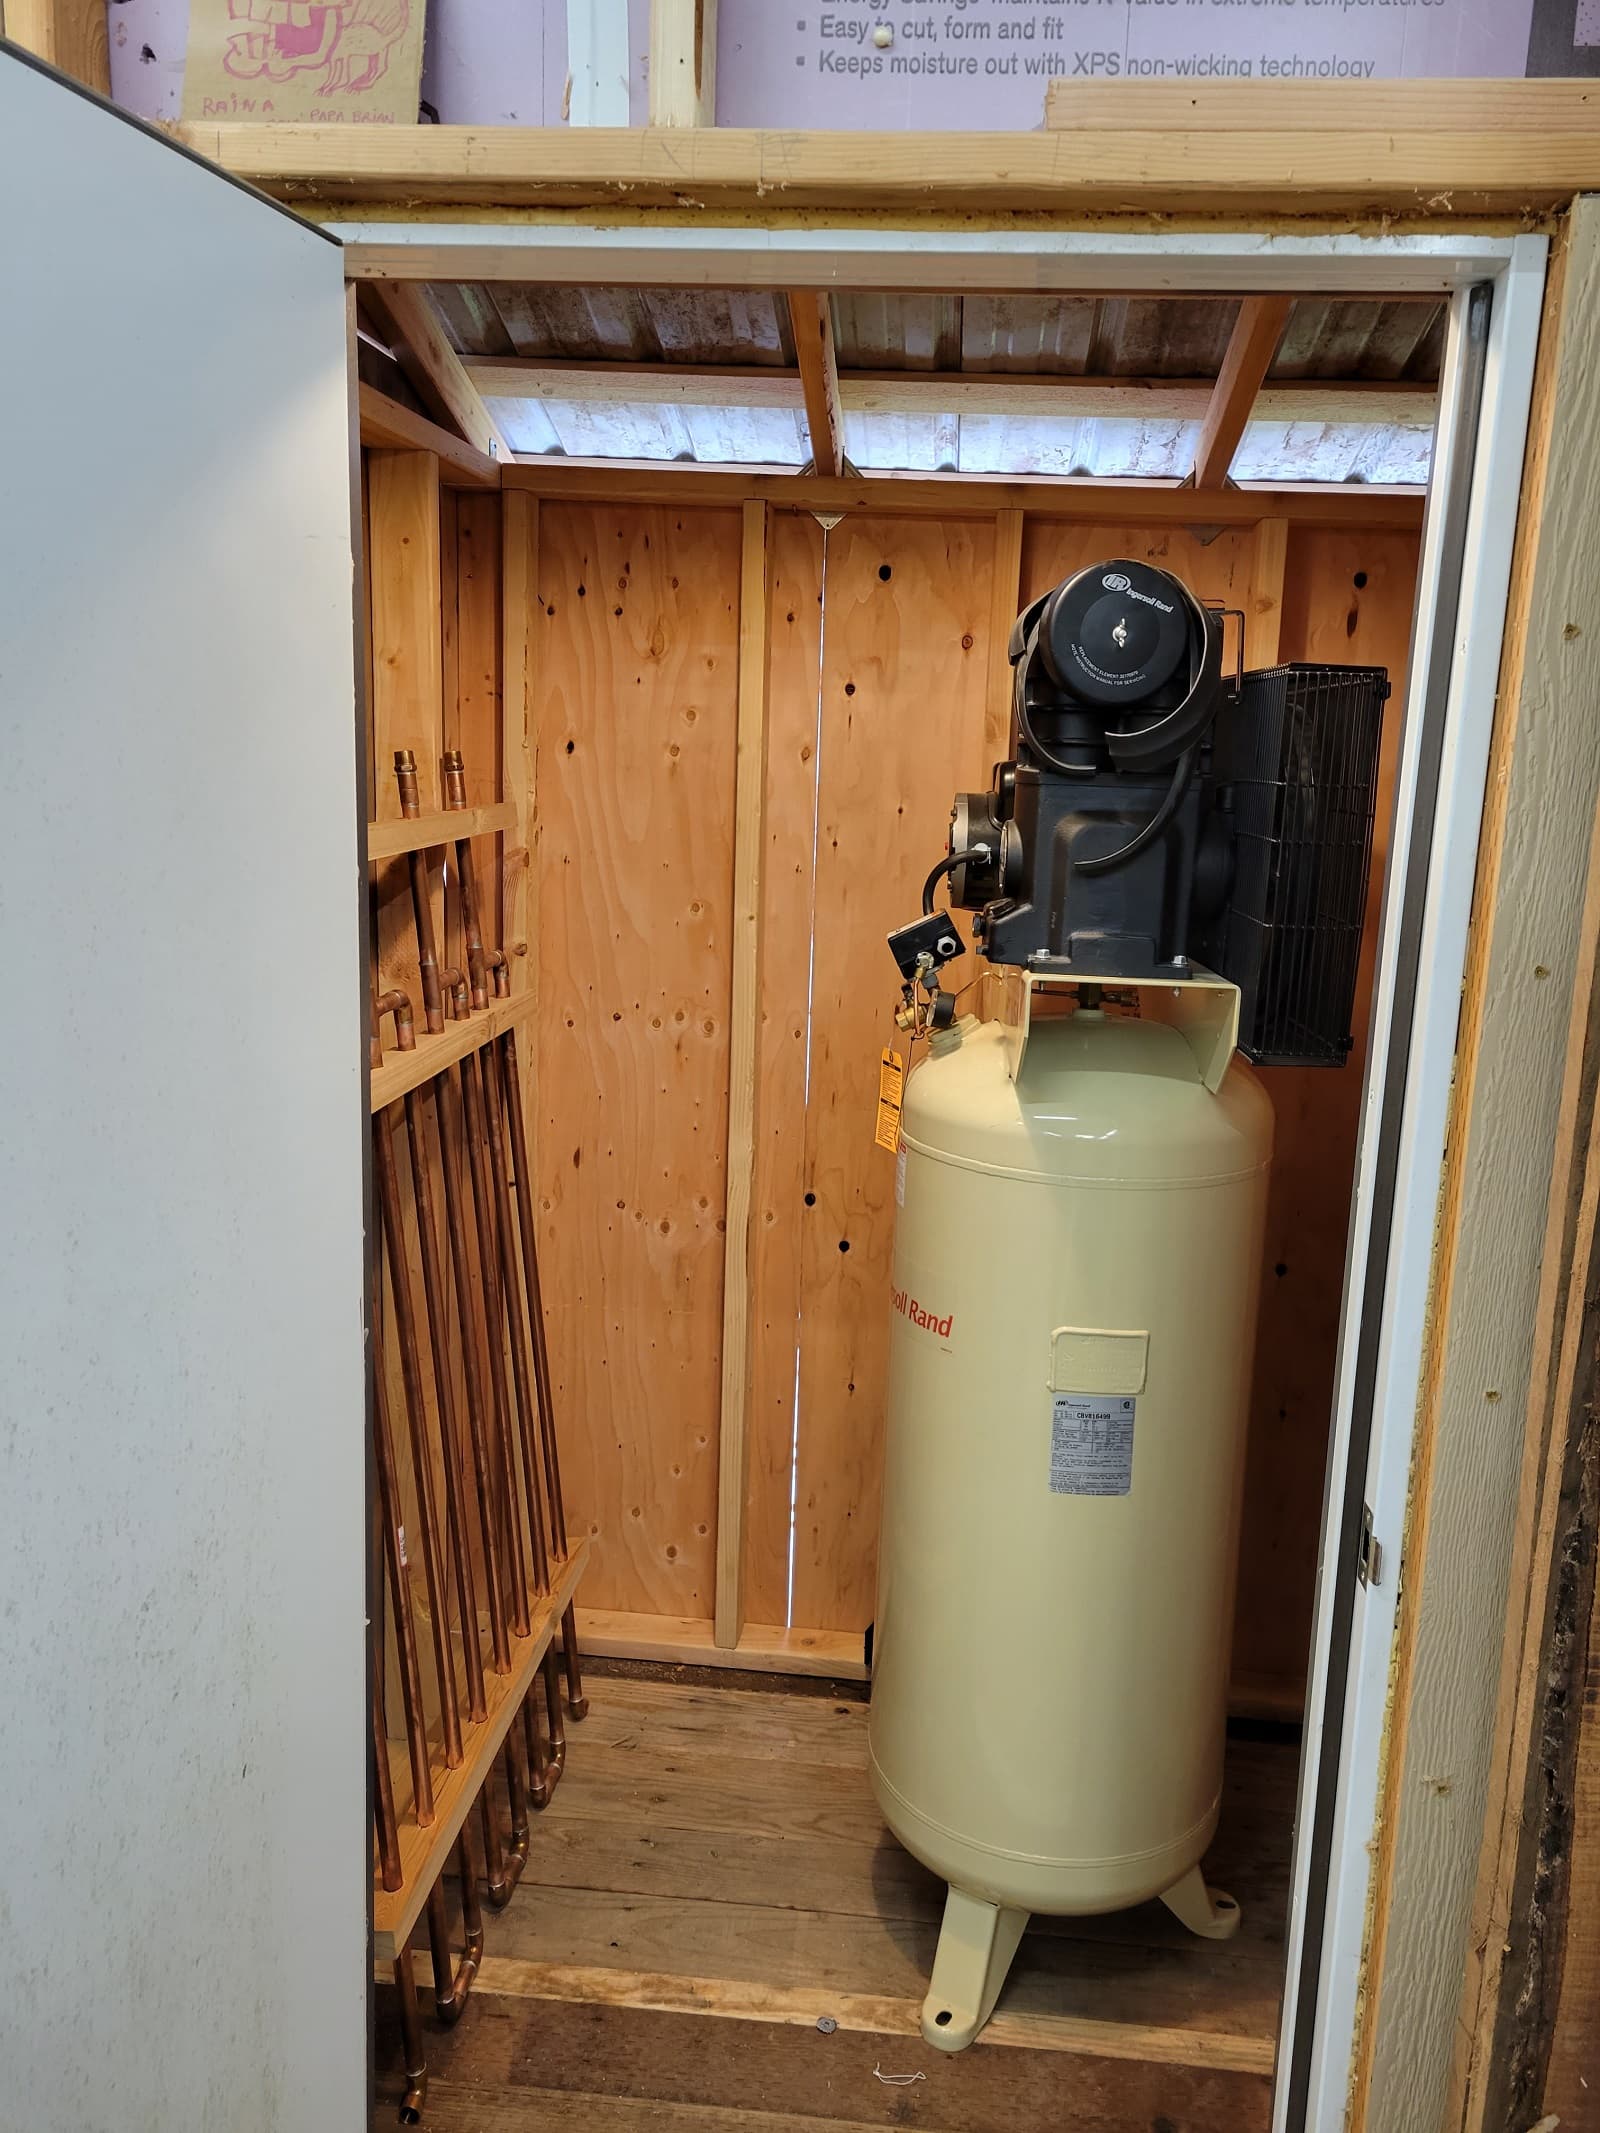
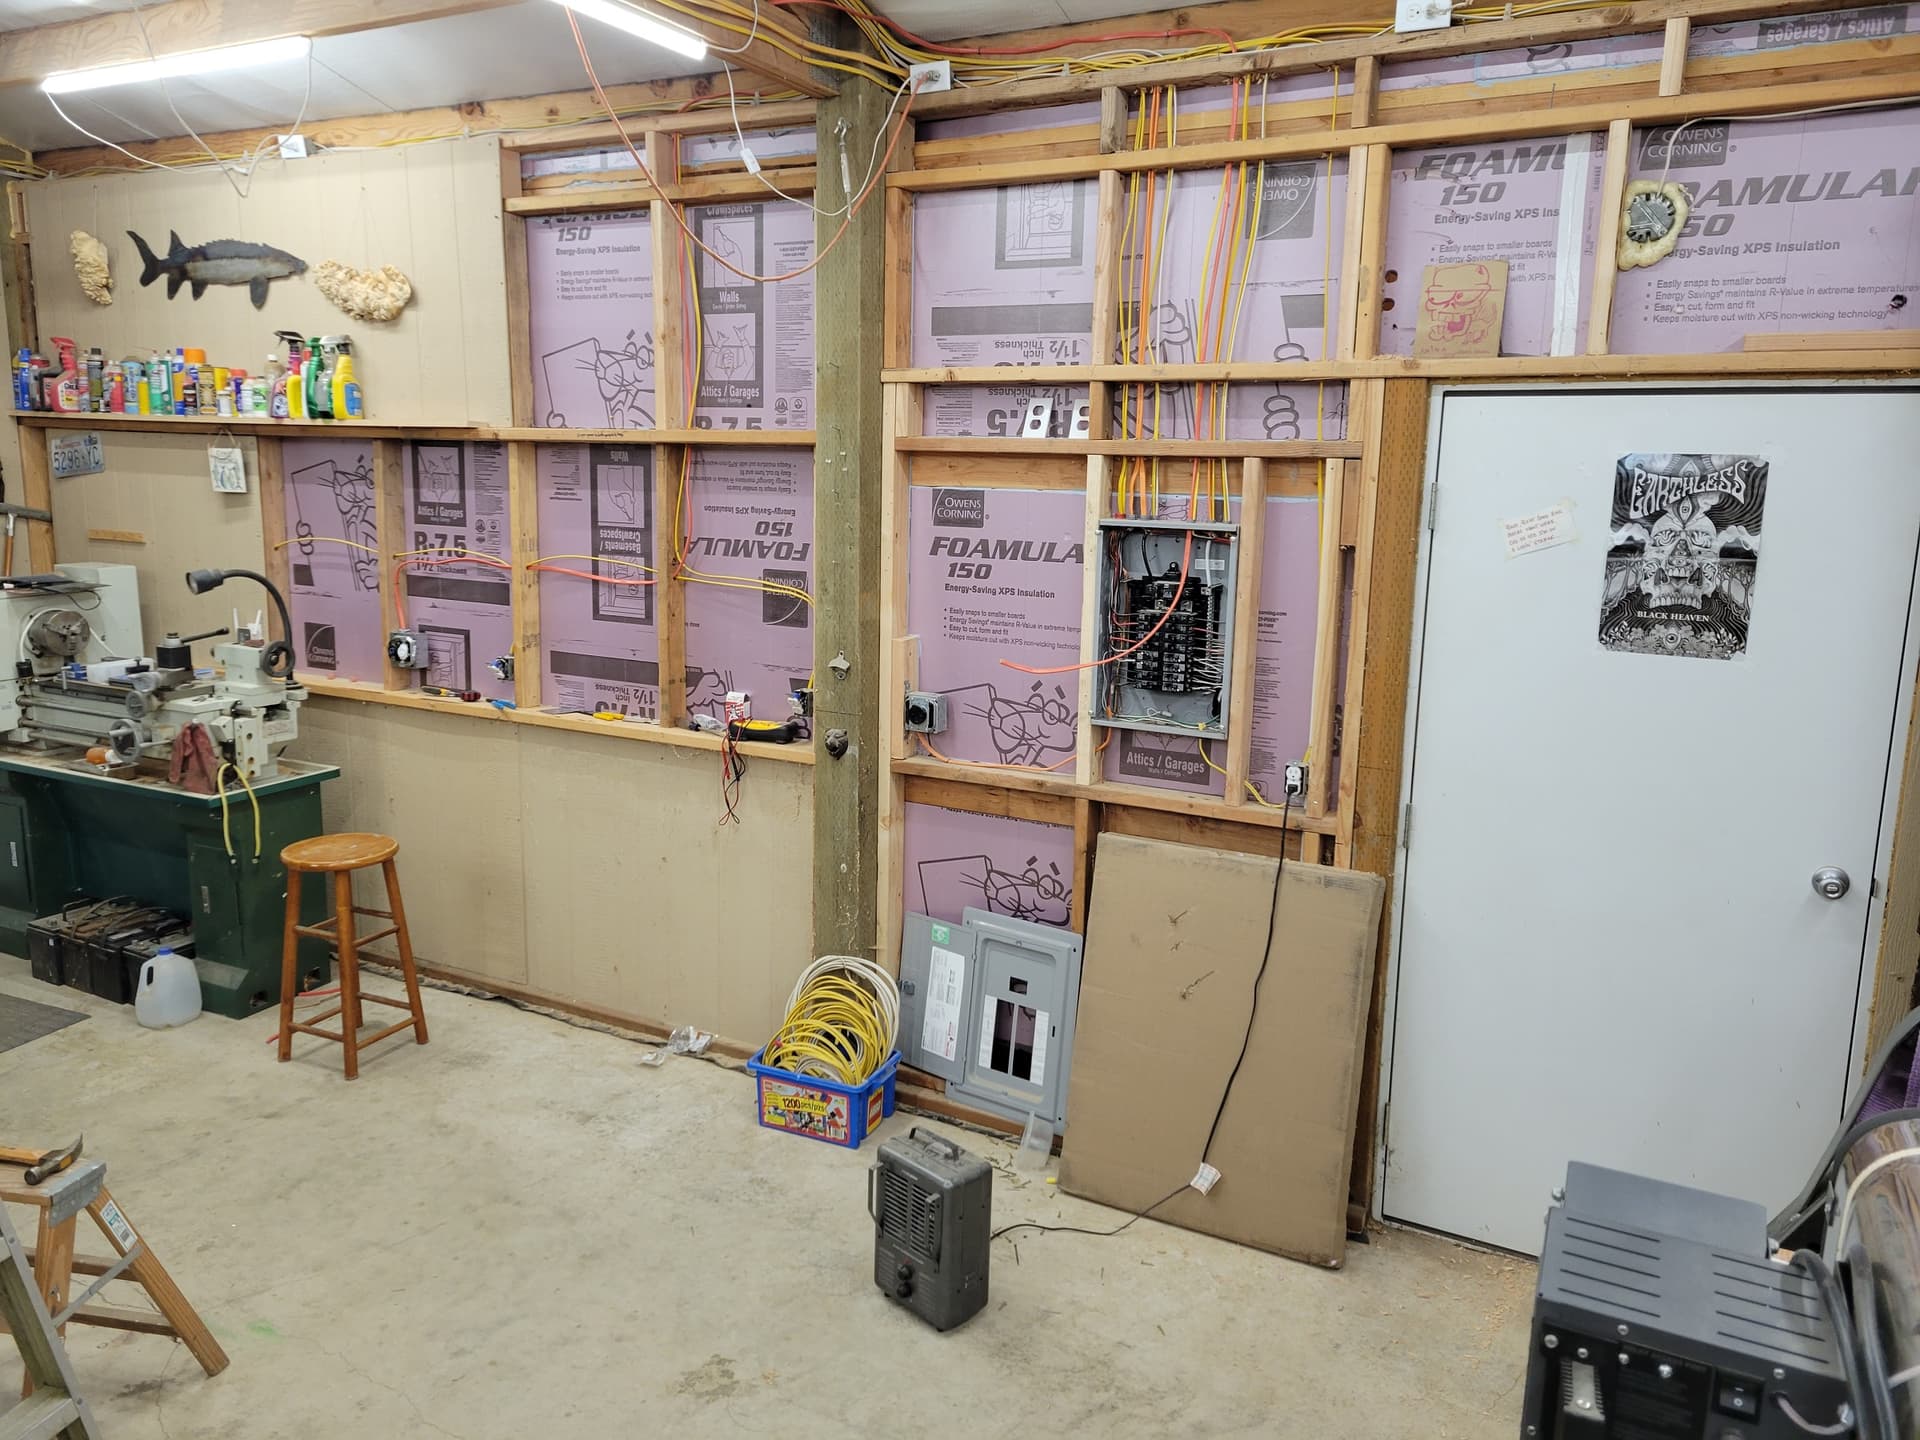
Since my shop is small, I pretty much had to build a compressor shed off the side of it. Of course that turned into a new run of 240V, when copper is at near $2 an LF, and 2x4’s at $8 per

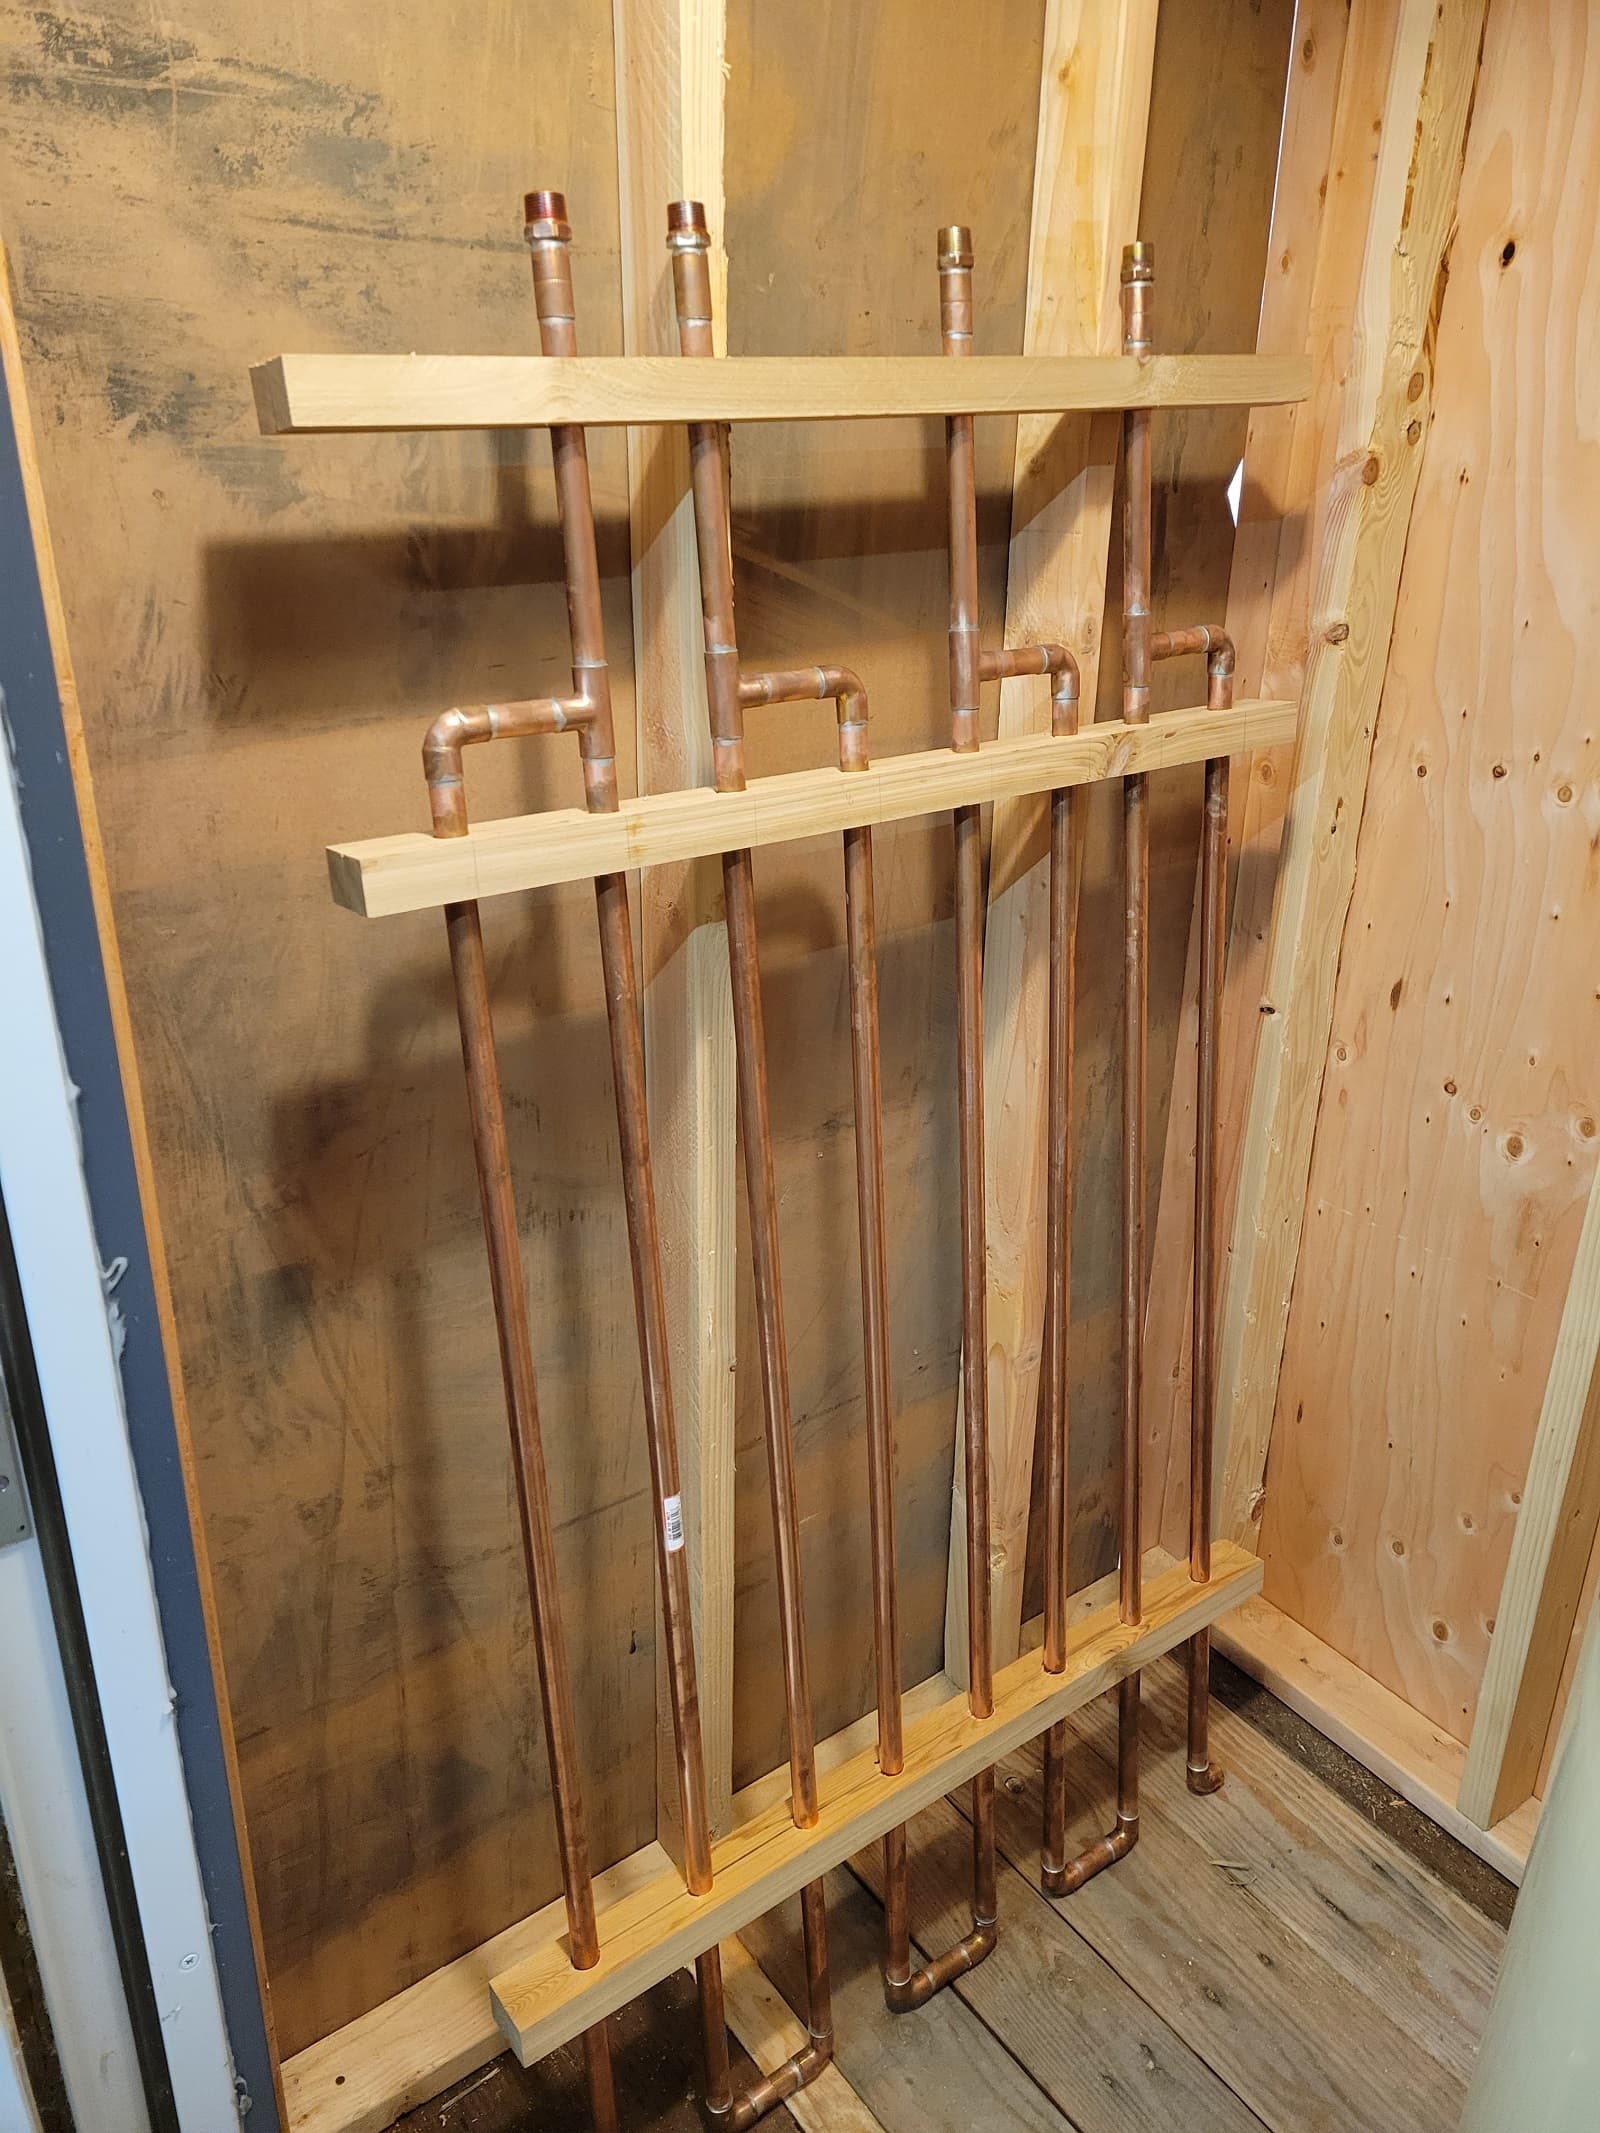
Then the moisture issue. Refrigerated dryers (especially high heat ones) are expensive, so I opted for a DIY copper after cooler based on numerous peoples past experience. Of course, copper pipe is at an all time high of $40+ per stick. still working/deciding on between compressor/tank cooling options.

Then the runs of 240v 10/2 romex and hardware for plasma cutter and re-routing existing stuff.

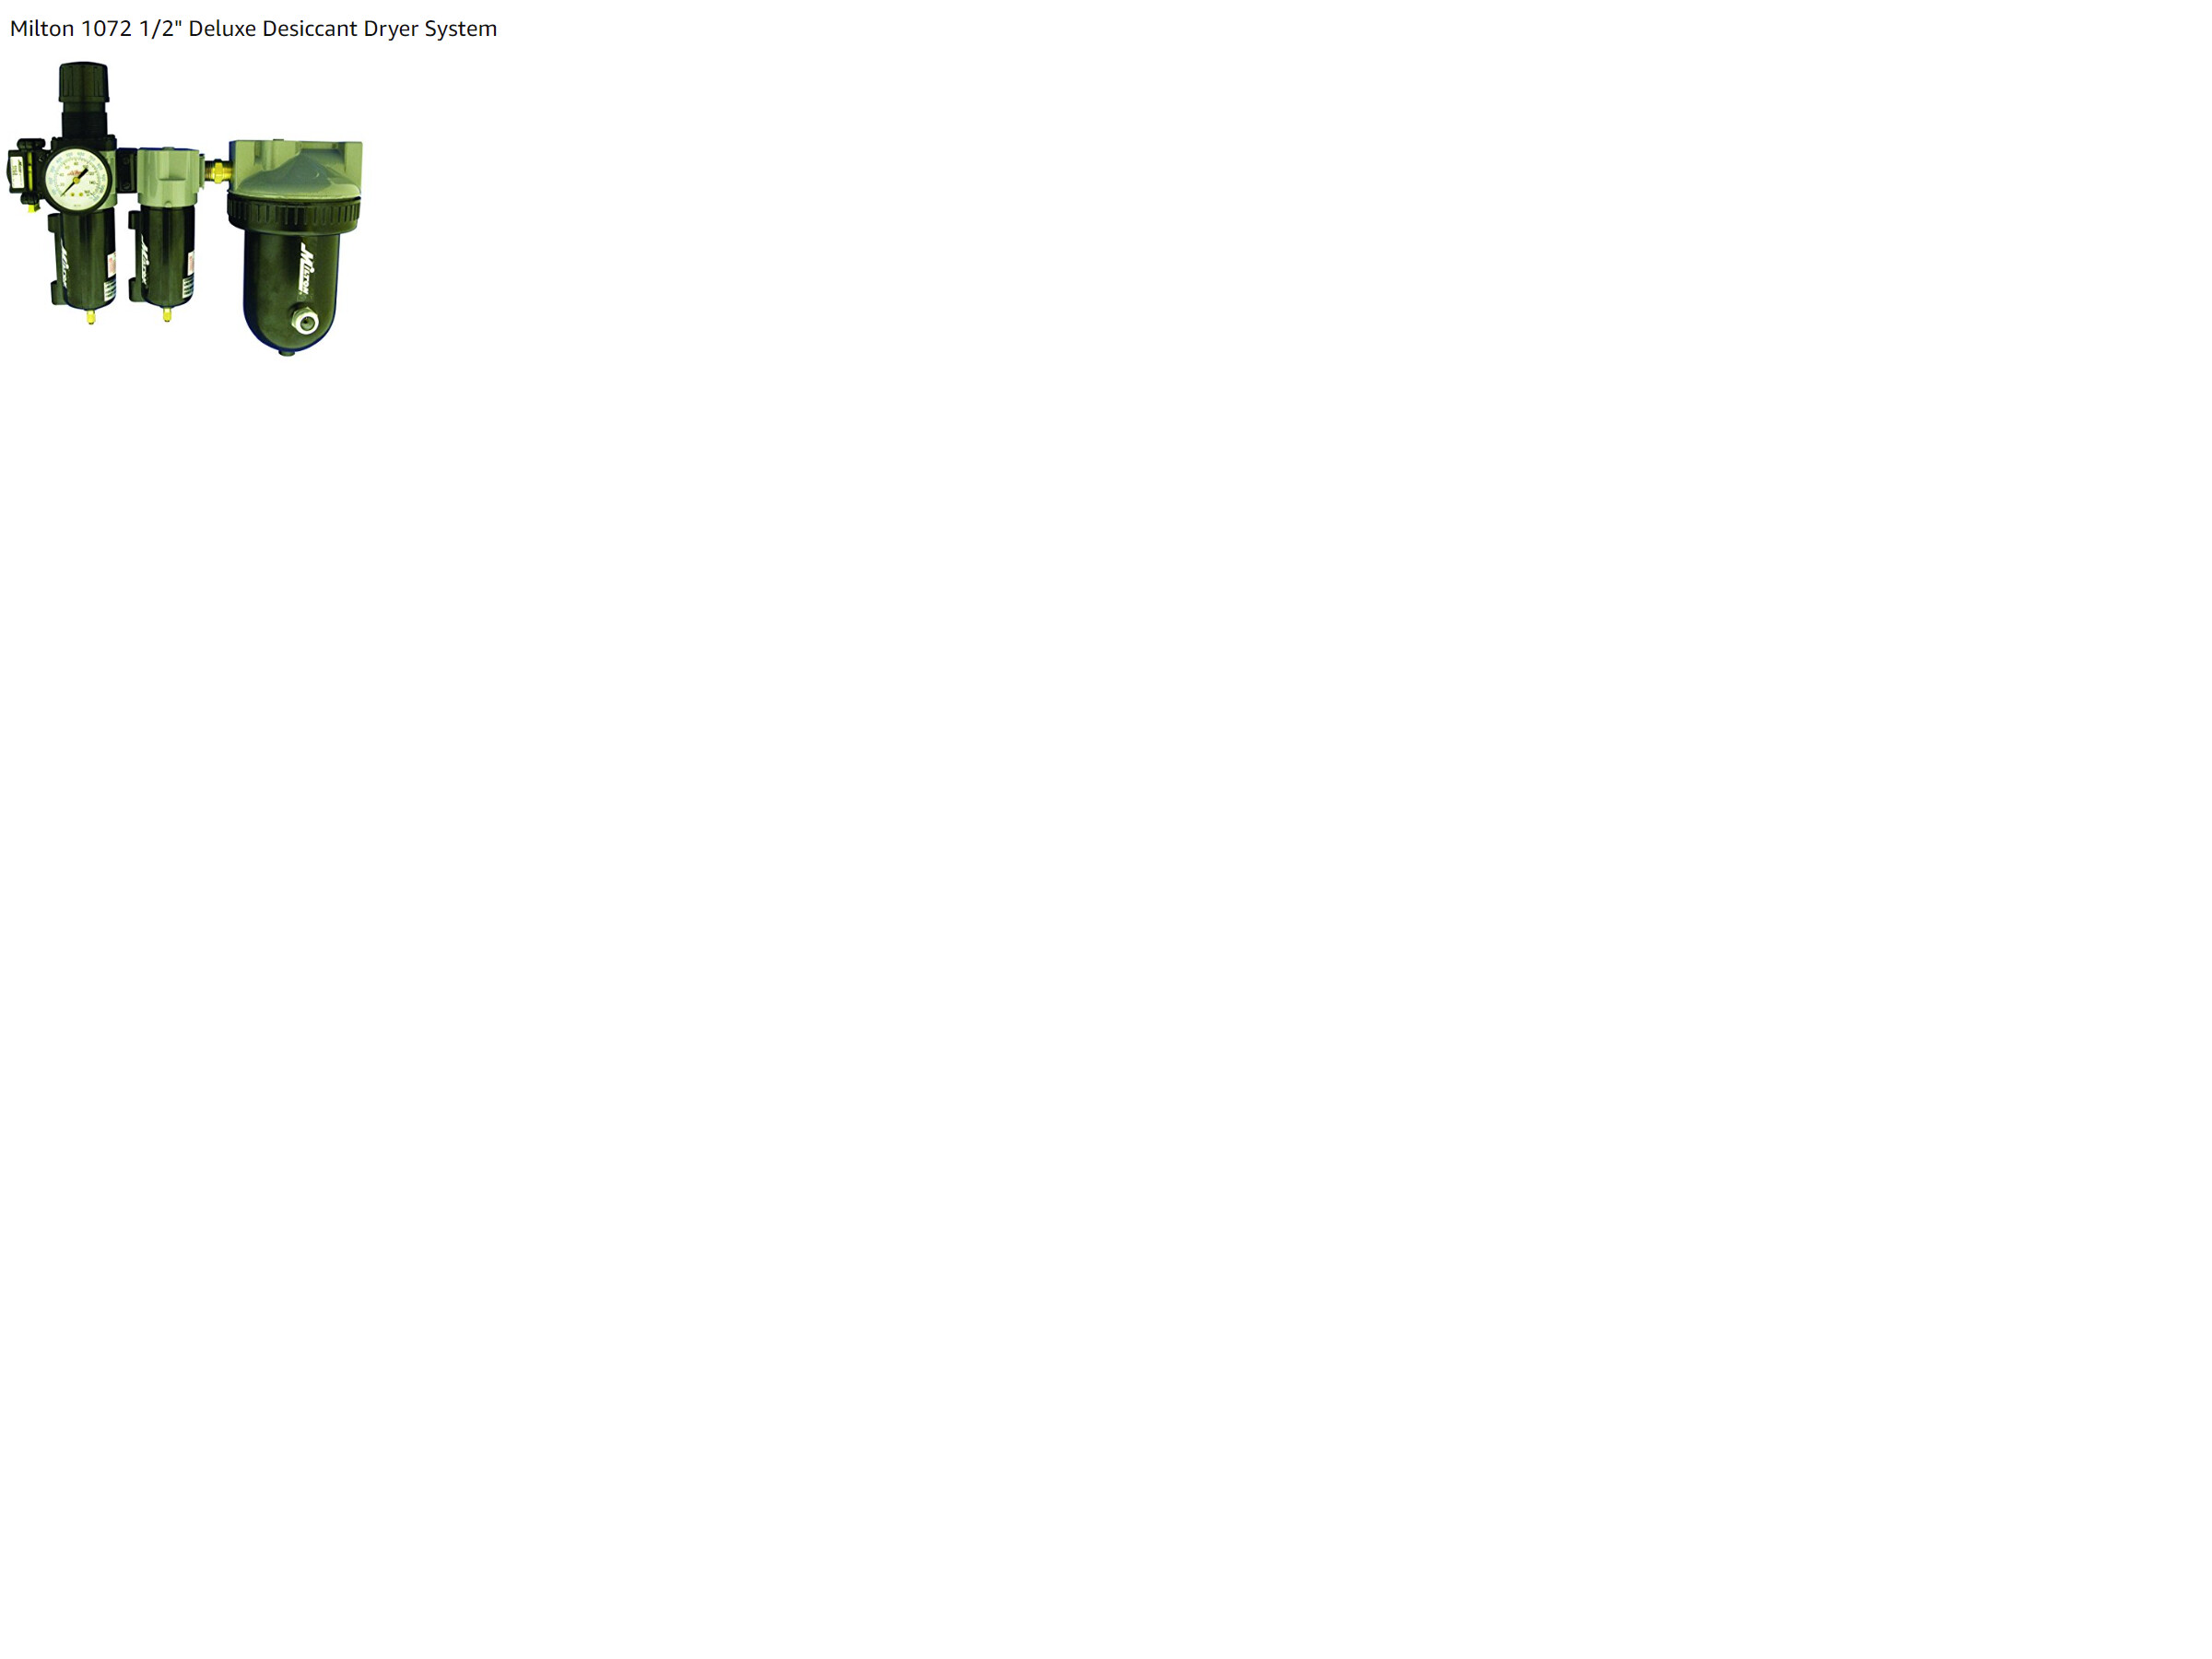
Then some filter, regulator, desiccant dryer hardware…

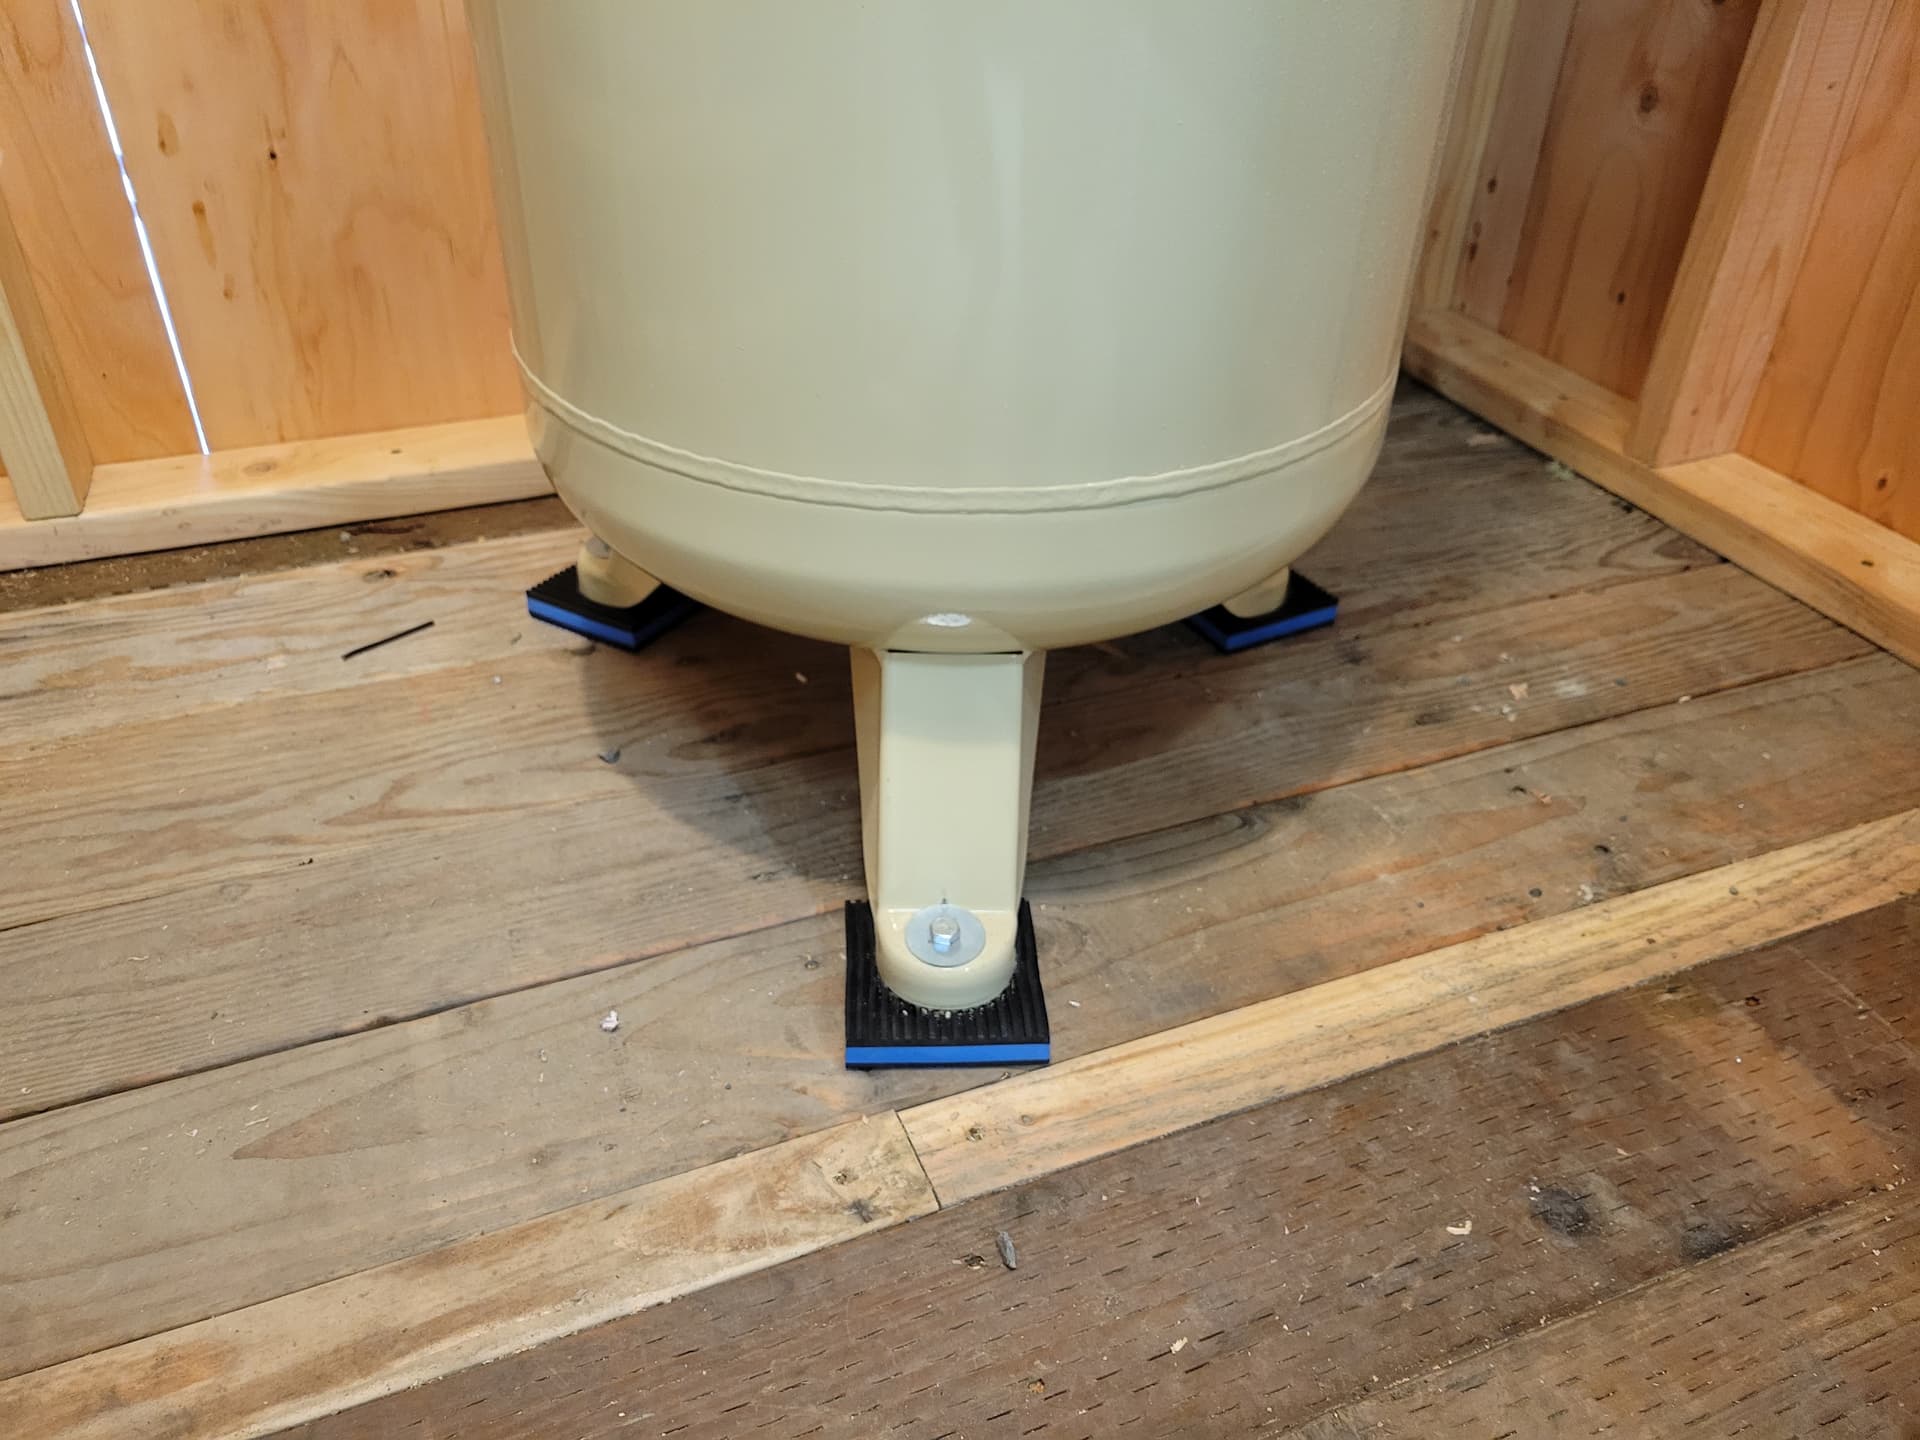
and finally leveling casters, because my shop is too small for permanently mounted ANYTHING

I already have a plasma cutter (Everlast PowerPLasma 50S, but may be upgrading)

In short, aside from just purchasing the unit, there was a lot of stuff to figure out, 80% from the great forums here, with all the OTHER stuff that goes into it (or can go into it, depending on where you want to end up).

I ended up reorganizing 1/2 my shop to accommodate the equipment, wiring, air plumbing, etc. (not a bad thing).

So I just thought I would share where I am at.

6 Likes

looking good. my pro shipped today. should have table next week. but ill be in FL of course. :slight smile: so hopefully ill have boxes to open when i get back. it will be like Chanukah in May. CAN’T WAIT.

1 Like

Looks good! Always nice to be able to build into a shop rather than retrofit.
Quick question: how much current will your plasma cutter draw? I think you are saying that you are using 10/2 Romex for it. I believe that is fine for 30amps. 40 amps requires 8/2 and 50 amps wants 6/2.
Just checking. Don’t want you to burn the place down . . . :woozy_face:

Thanks,Yes the 10/2 is for compressor

Keep in mind, the input amps will be considerably less than the output amps. Check the manual and see what the max input amps are.

For example a Hypertherm Powermax 45:

Input voltages (±10%)
200–240 V, 1-PH, 50–60 Hz 480 V, 3-PH, 50–60 Hz
Input current @ 5.95 kW
200/230 V, 1-PH, 34/28 A 480 V, 3-PH, 9 A
Output current
20–45 A
16.75" D; 6.75" W; 13.7" H
37 lbs
Clean, dry, oil-free air or nitrogen
10’
Inverter–IGBT
8 kW for full 45 A output
132 VDC

1 Like

I am currently running a Powerplasma 50S, on a 10/2. Sometimes I run it on a 20ft 8ga extension cord.

The new circuit is 8/2 and 10ft from the panel, so that seems pretty safe?

I might upgrade to a PP 62i, but the specs are similar.

From manual:

Maximum Rated (I1EFF ) Inrush Amps

  • 120V: 32.1A
  • 240V: 35.8A

Maximum Rated (I1EFF ) Input Amps:

  • 120V: 24.9A
  • 240V: 27.9
1 Like

Ampacity Chart.pdf (1.2 MB)

Hopefully this chart comes through. I know the output is not what to size the wiring to.
But my cutter states that a 50amp breaker is required. If that is the case, 6/2 is called for in all my charts. Since I’m not an electrician (and I can’t seem to get one to do any work for me, he at least told me what gauges to use. My welder requires a 40amp breaker, so that only requires an 8/2 wire. For the Powermax 45, the manual calls for a 50 amp breaker (since it pulls 33amps), hence I would use 6/2, this is for single phase (Bill_A’s shows specs for 3phase. For the Powermax 65, single phase 240, it pulls an input current of something like 50-55 amps. I believe the manual indicates changing the cable to a 6 gauge for single phase.
Just trying to do what is right here. Hopefully a real electrician can chime in here.
It would be nice to get clarification. I’m just spec-ing out the wire gauges from the breaker size and the socket (NEMA-50).

OK, that works!

I am also N.A.E. ( not an electrician / not an engineer),
But it seems odd For it to require a 50A breaker, if it is rated at max 33A in. I thought the general rule was about 20% higher ? which seems like 40A. (e.g. what good is it to put a light bulb on a 100A breaker?)

Like you, it would be good to get more input from a pro sparky. I had an electrician do the original shop electrical work including all 240v circuits for welders, kilns, etc.

1 Like

I got the compressor hooked up to power in shed.
The wiring inside the connection box is incredibly tight!

Found some isolation pads on Amazon and bolted to floor (the shed does not have a concrete pad - it is two layers of 2x6"s crosswise). seems very stable and does not vibrate a lot when running, or less than I expected anyway.

Had a roll of flex metal conduit so I used that because I am not 100% sure I won’t move it x-inches over here or there…

Will see if these were good decisions…

2 Likes

They use the exact same pads
I use underneath my compressor.

Same pads I use when I install air conditioning condensers as well.

They seem to work great.

The Razor Weld Cut 45 comes with a 50Amp plug, so I installed a 50 Amp breaker, just to be safe.

I’m going to look for those isolation pads for my compressor. It sure is great that everyone shares on the form, to help those like me who are just starting out,

Rusty1 - here is link to the pads:

1 Like

I used hockey pucks under mine they worked great got 12 for 20 bucks from eBay. I had extras for my brother and his son’s compressors…just FYI

2 Likes

Interesting, I can think of other places to try that. They are’nt too hard?

Nice build I am looking at doing this to my garage this summer thanks for the pictures/…

Well, I ordered an official Everlast Machine torch and consumables from Everlast today.

I went through a couple of weeks finding cheaper alternatives, and not being able to get a hold of anyone to talk to about compatability, etc.

That and I keep reading posts about issues people have with sub-par consumables.

So I finally said scrw it, I just wasted 12 hours of all that, which negates my savings and potential headache.

I am sure down the road as I am making more parts, I will find a less expensive alternative. (Been using current cutter for four years, but not much consumable replacement)

As for the torch, I could have saved $200. But again, it was impossible to find someone to verify/answer questions. So I bit the bullet and paid $475.

I did ask around, and the replies are like most anything. A wide spread from “cheap stuff works great” to " youll be sorry". So without overwhelming response, I opted for OEM, for now.

For now, initially, it is a drop in the bucket difference in the grand $$$ scheme of things. But I realize that will change (consumables) as I produce more parts.

Anyway, any feedback appreciated!

Are you going to build a lean-to/shed for compressor?

Everlast is definitely the best economical grade plasma cutter going.

1 Like

TinWhisperer, I have zero complaints on mine, albeit before trying to use it on the Pro. I also have an Everlast MF welding unit which I like, and have no complaints. Neither has ever failed me.

2 Likes