I know that @Bigdaddy2166 has the Everlast. He may have a chart/settings to share but I realized he has the 82i. @toolboy has the 62i.
I have read that Primeweld Cut 60 might be a chart that would serve as a good starting point.
I know that @Bigdaddy2166 has the Everlast. He may have a chart/settings to share but I realized he has the 82i. @toolboy has the 62i.
I have read that Primeweld Cut 60 might be a chart that would serve as a good starting point.
Thanks, that would be awesome if he did. Kinda keeping my woes confined to this thread at least till I get up and running as to no chat up the board with baby problems, so maybe being in the intro section, won’t have high visibility. I’ll wait to create a fresh thread when/if I have a more significant issue or problem that I am stumped on.
I figure that a majority of my work to start will be between 18ga and .25" Mild steel between signage and fabrication projects. Then if I get into any stainless or alum, I will at least have some working knowledge to base judgements on…
Some of this stuff I realize that I have to just muddle through and learn, but some starting points would be ideal! Actively digging still in hopes that I can try a test cut today, but not going to get ahead of myself if I am still unclear. I have screwed up way too much stuff that way… ![]()
I did read some of the parameters that @toolboy posted in older threads, but maybe I need to stalk both of their profiles a bit for some enlightenment in regard to Everlast. Thanks!
Since @mechanic416 suggests Primeweld CUT 60 might be a reasonable starting point for Everlast 62i.
Here is a link with a recent posting for CUT 60 chart a forum member was creating:
For what my advice is worth. Start out cutting small pieces circles and squares and such. Use that to confirm you machine is cutting consistent and square. Circles will be one of the best ways to make sure no motor couplings are slipping. The you can measure the pieces and make sure that your kerf is correct.
Several people ruin metal not confirming these things. They will hope on fireshare and download a project then have machine trouble. In my opinion it is best to always cad and cam your first few projects so you can get a good grasp of the concept. The cut ready fire share stuff some have issues that new people may not understand.
Here is the 82i chart.
Everlast PowerPlasma 82i cut chart.pdf (47.1 KB)
Perfect, thank you @ChelanJim
I know that I saw somebody reference it in previous searches, but couldn’t remember exactly which one was most similar. Saved… And I found the Crossfire/Fusion360 the post processor in the Langmuir download section. Didn’t know what I was looking at prior. ![]() That’ll get me pointed in the right direction.
That’ll get me pointed in the right direction.
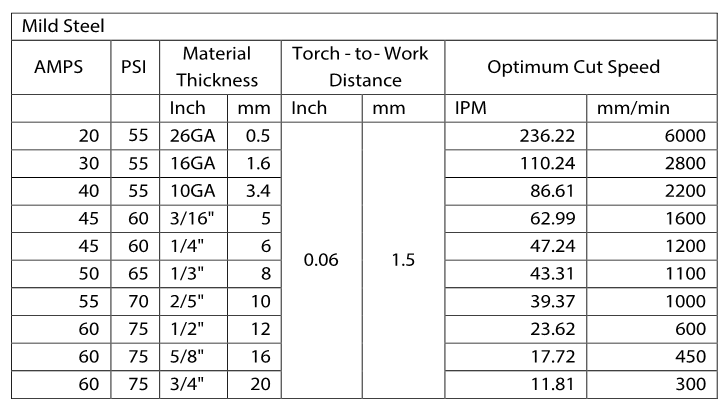
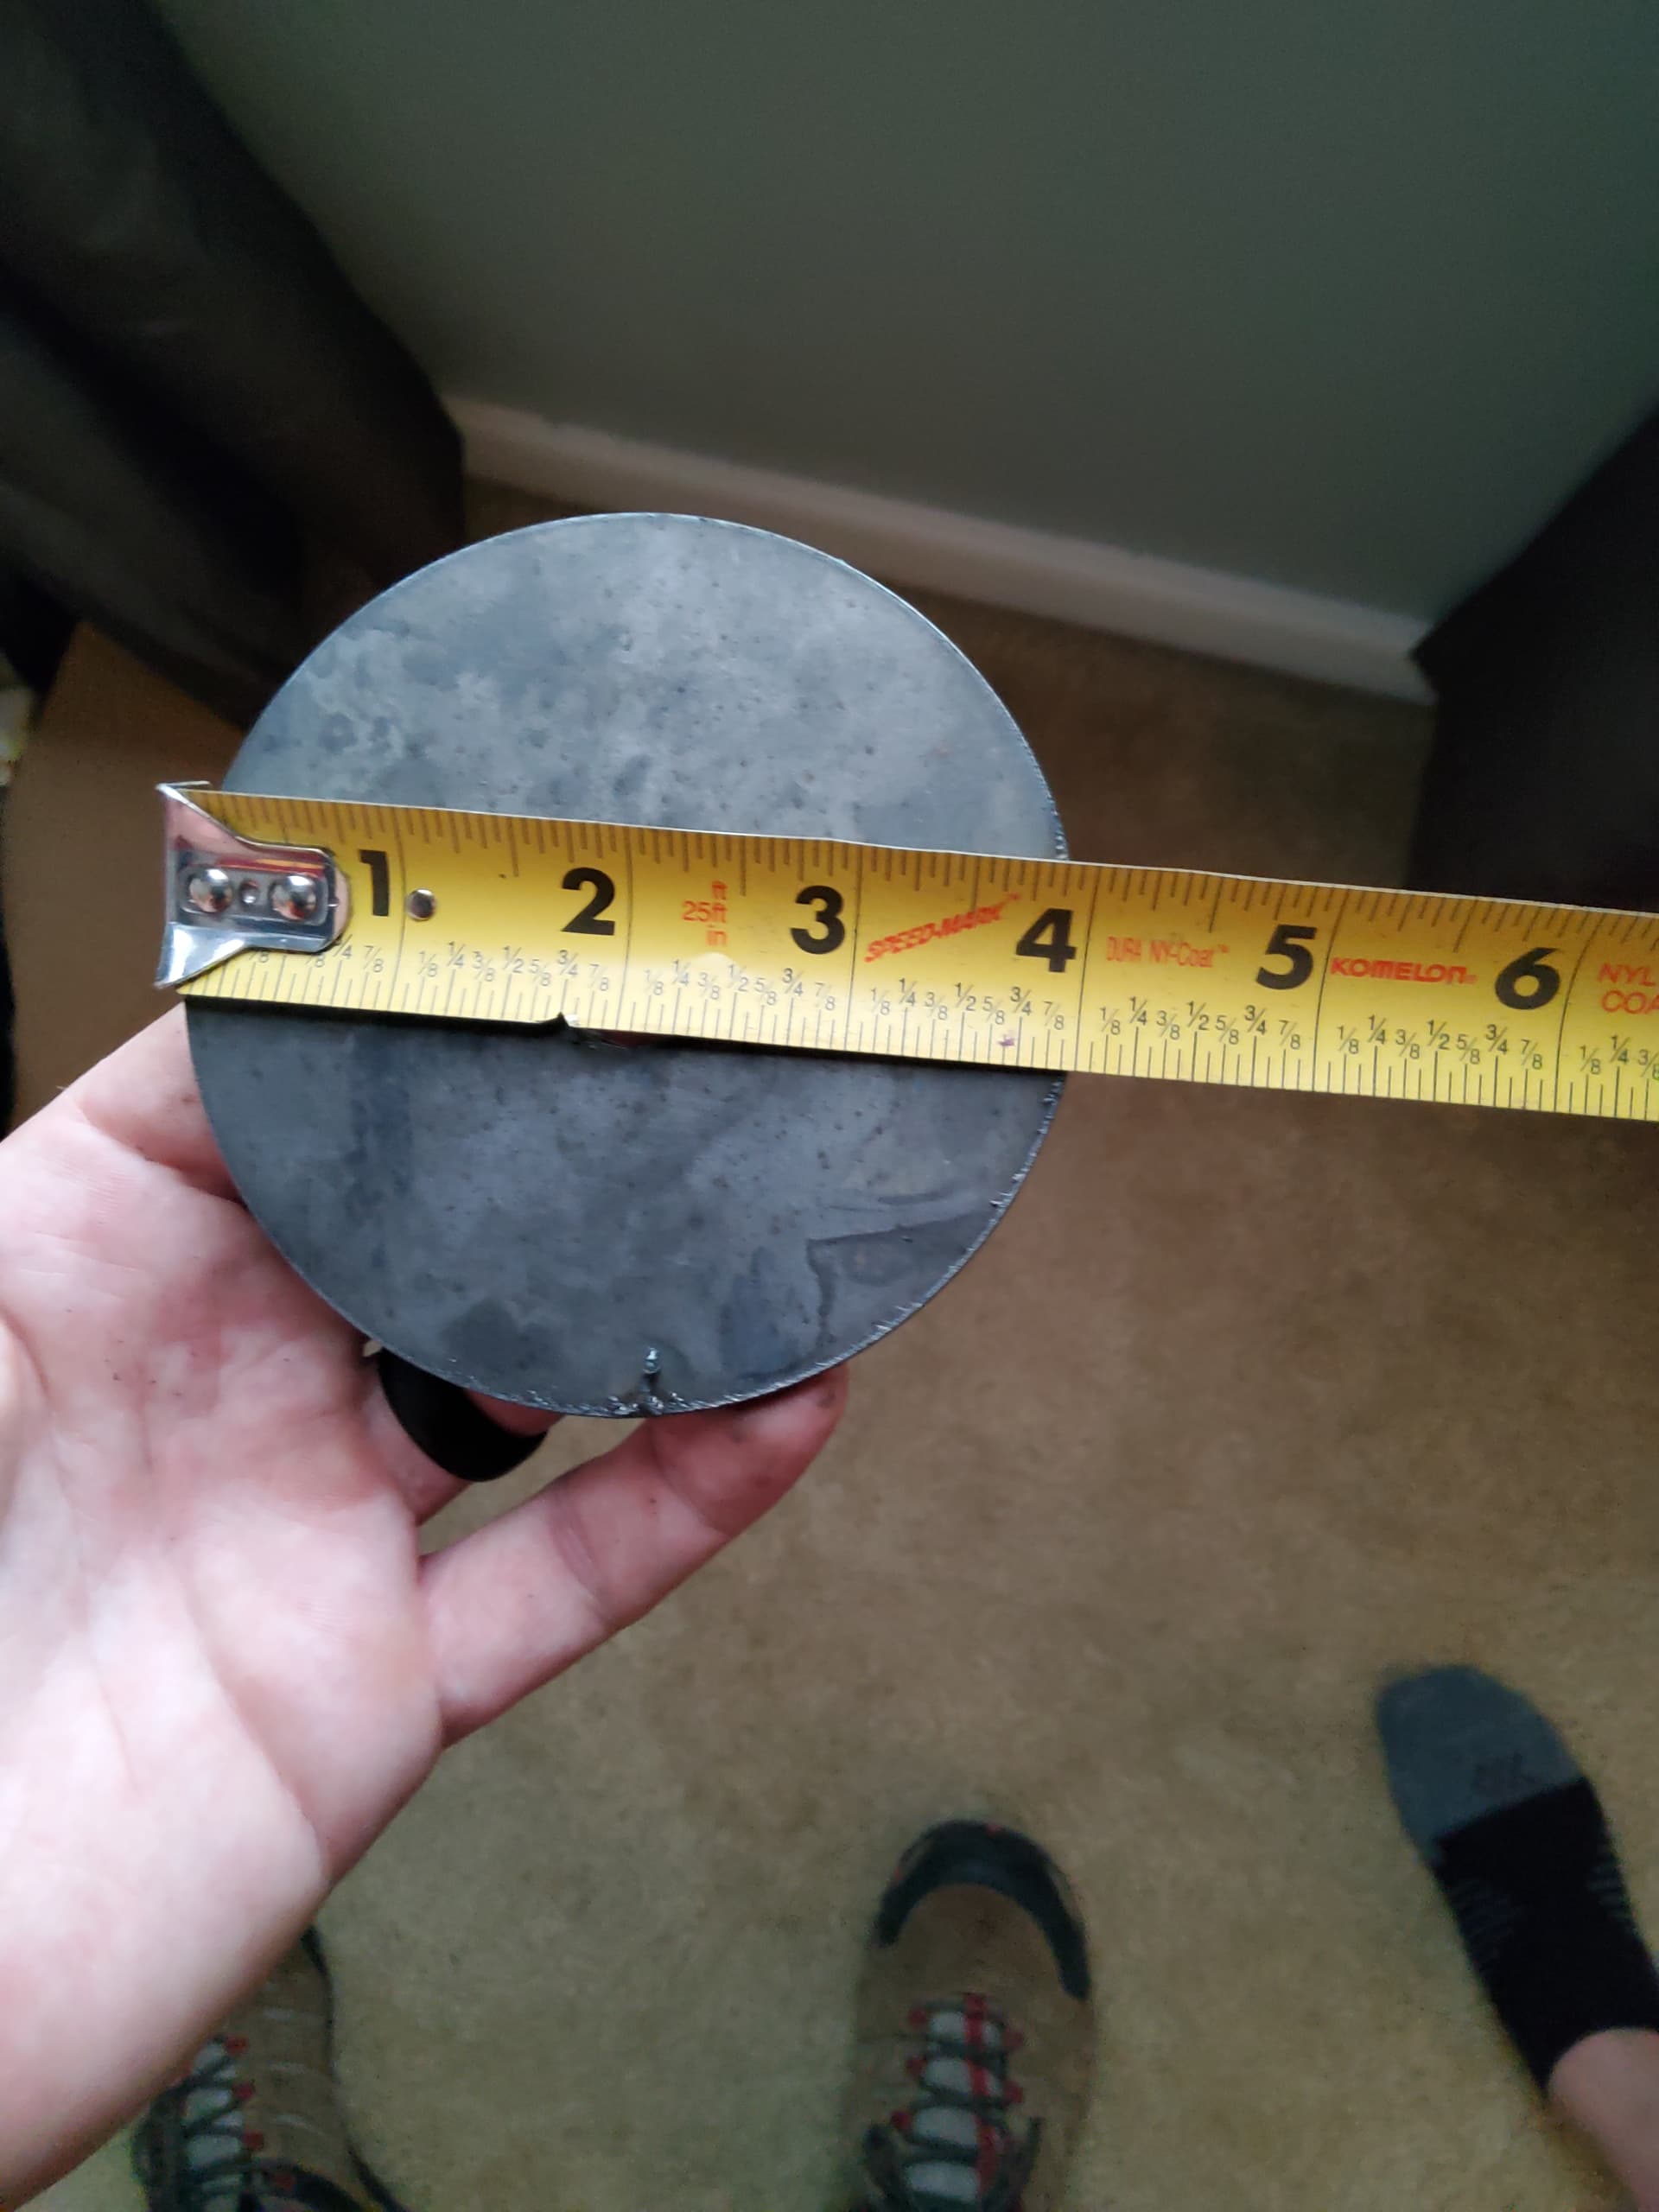
@Phillipw Thanks for the tips! Ironically my compressor feet shims are little 4" circles with a 3/4 hole in the middle. I have some scrap 12ga that I plan on trying to burn them out of. But yeah, aside from that I planned on little squares, stars and circles just to test out the table and see what adjustments I might need to make from the results. I was thinking that it might be a good idea to have test cut file handy to do these cuts on any new metals just prior to any project that I might be working on in an effort to get the money cuts right prior to cutting into the production material. ![]()
Ahh, thank you for popping in @Bigdaddy2166 and thank you for the chart!
I might get to do a little cutting this weekend before it’s all over with! Thank you all! Very kind community.
.
The output voltage for the cut 60 and the 62i are the same so this should get you pretty close.
Snip of the PW cut chart. You can interpolate to get values for thickness not shown.
Here is a link to the PW manual
Thanks @72Pony, I believe that I have that one along with it’s Stainless and Alum companions from yesterdays chat. I have been collecting and cataloging words of wisdom snippets from multiple threads, along with any/all charts or spreadsheets submitted. I think that I am just about ready to get started anyway and see where I land. ![]() . I was able to create a g-code cut file for my shims, loaded into Firecontrol, ran a dry run and it seemed to run “good” considering there was no torch touchdown.
. I was able to create a g-code cut file for my shims, loaded into Firecontrol, ran a dry run and it seemed to run “good” considering there was no torch touchdown. ![]()
Trying to get to the bottom of a jittery up/down z-axis currently. I adjusted the eccentrics, cleaned and lubed the lead screw, so I suppose my next thing will be loosening and re-tightening the lead screw coupler. Ehh, we’ll get there hopefully. Learning a lot along the way! ![]()
Welp, here we go! The rubber just met the road and I’m STOKED!!
I had a piece of 16/18ga laying around, yeah lets do that first! The cut speed I presume was a little slow, as I had it set for 11Ga at 40A, 86ipm.
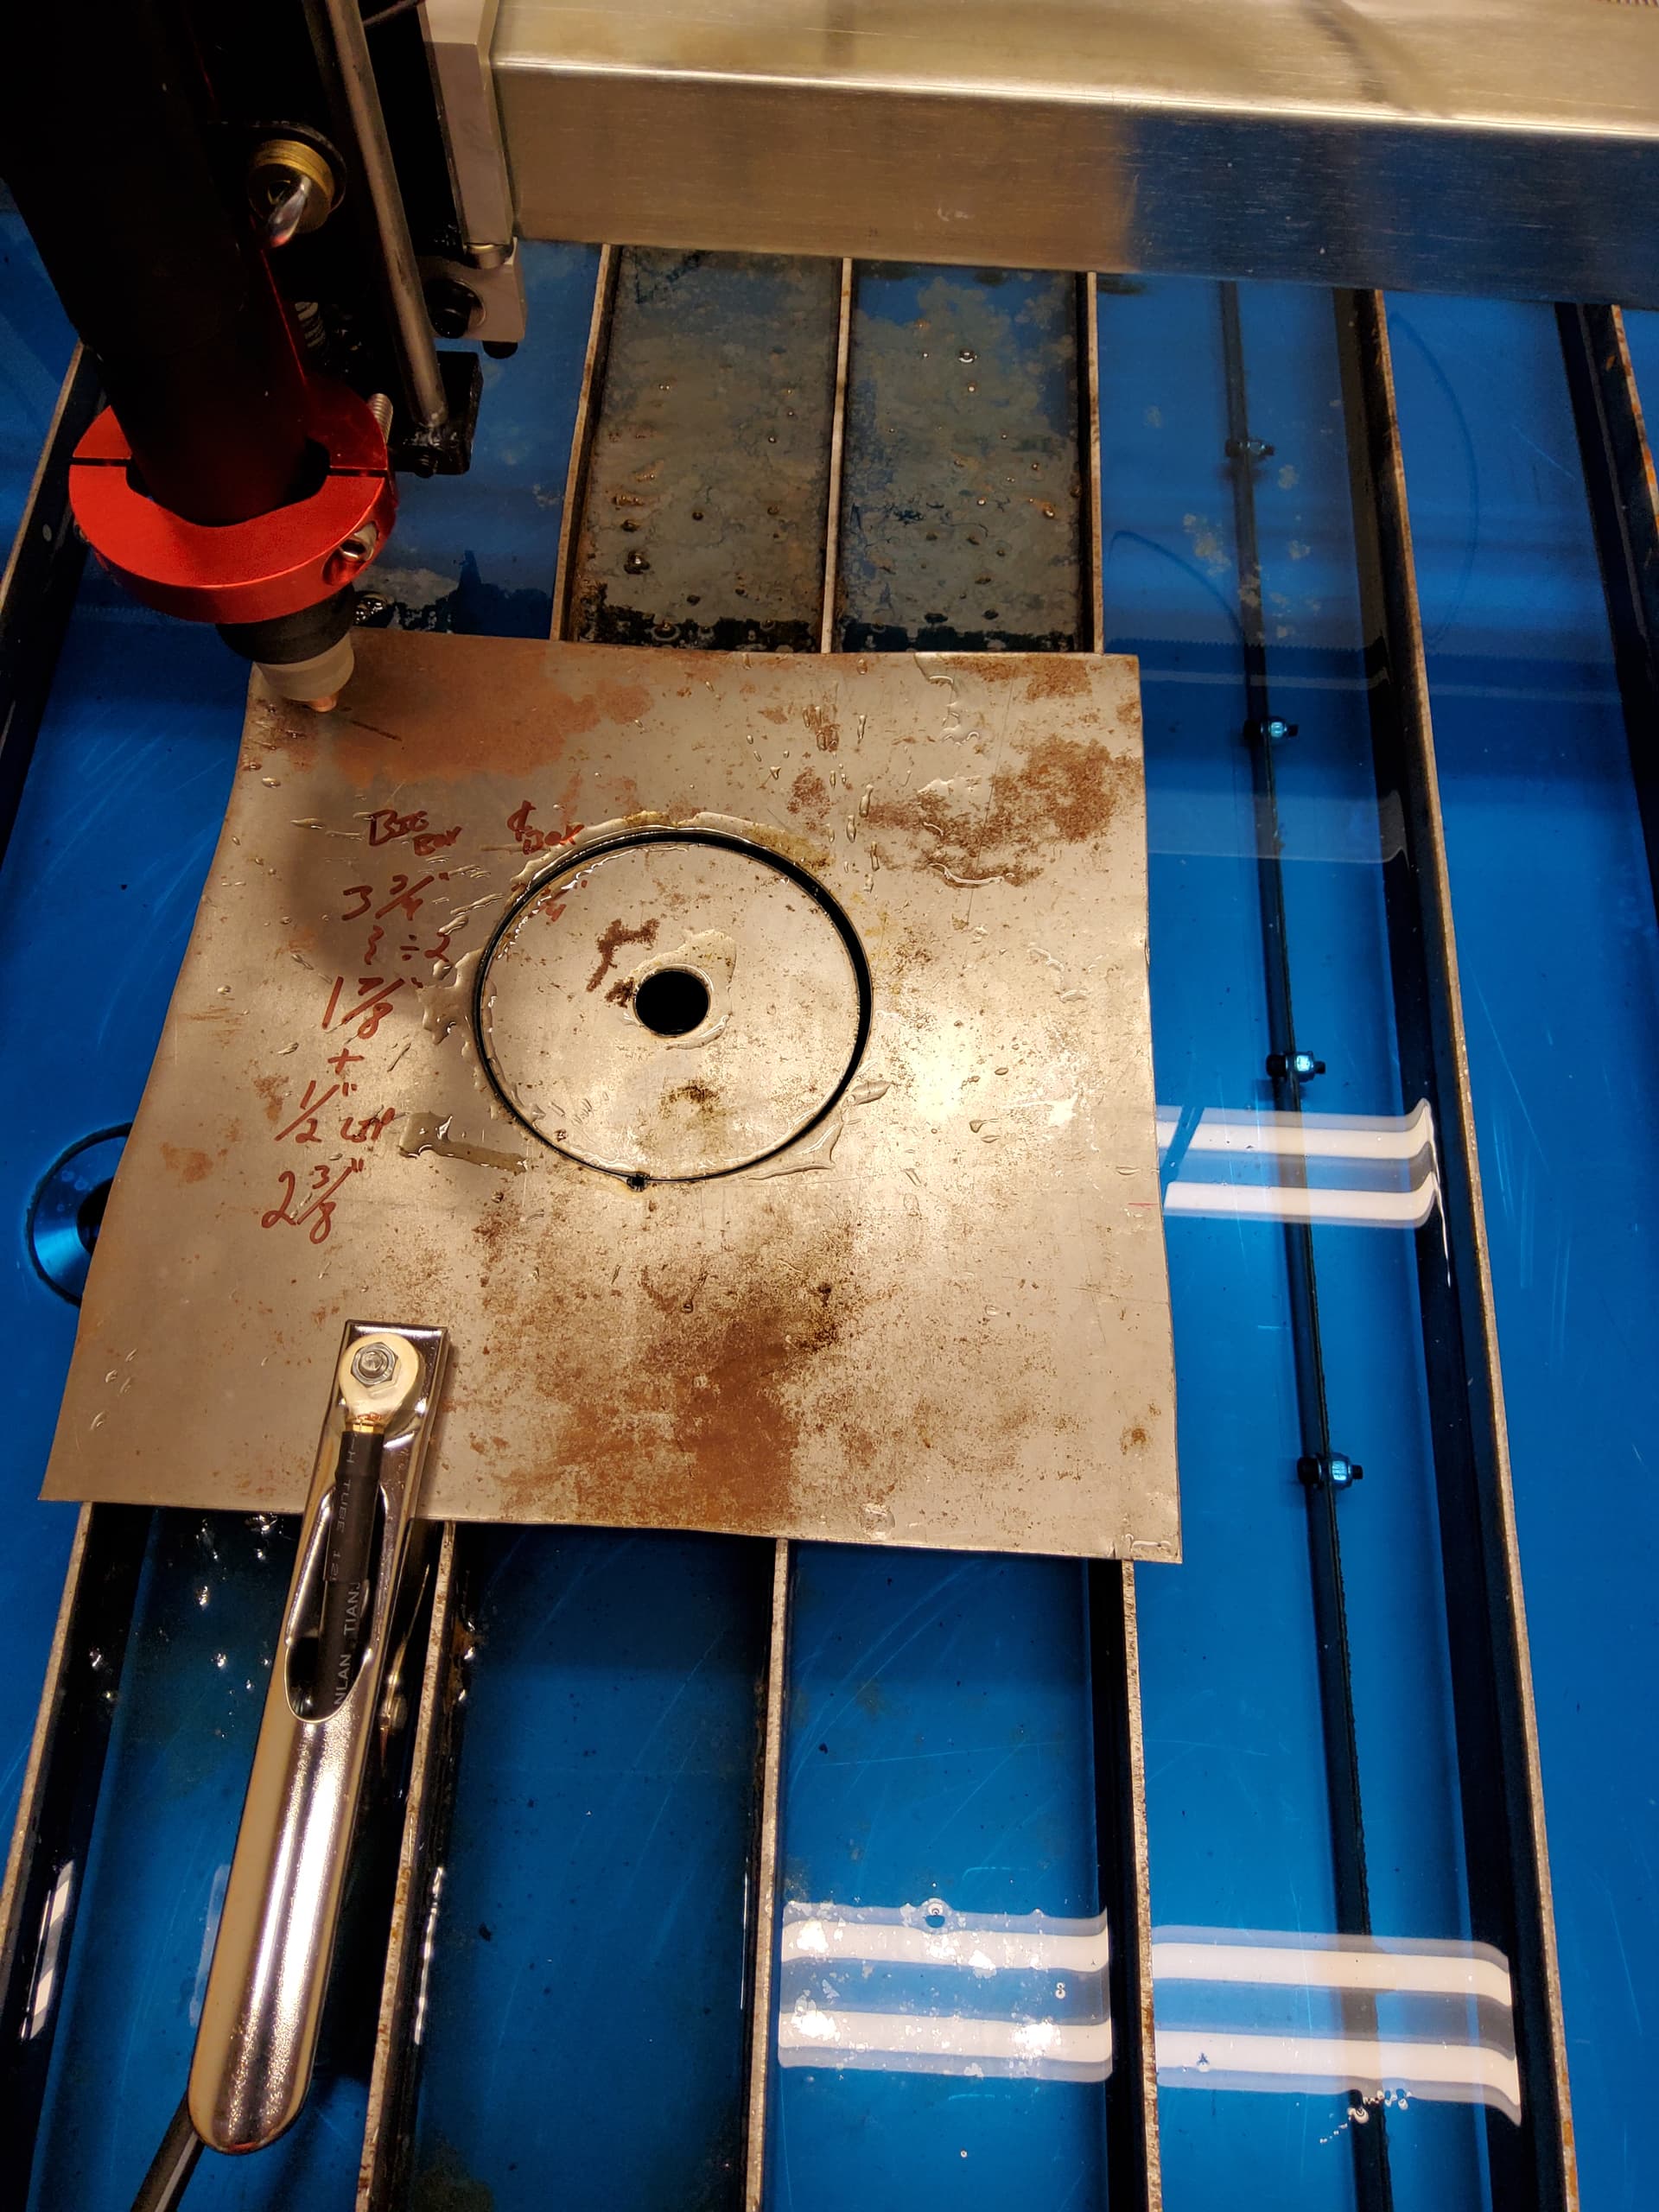
Not bad for a test piece I suppose. On to the actual cuts.
12ga Mild Steel. The machine only came with 1.1 tips, so doing the best I can with what I have for now. I swore that I wouldn’t invest another dollar until it is up and running about $1k ago. I’ll be hitting up @mechanic416 ebay store front here soon.
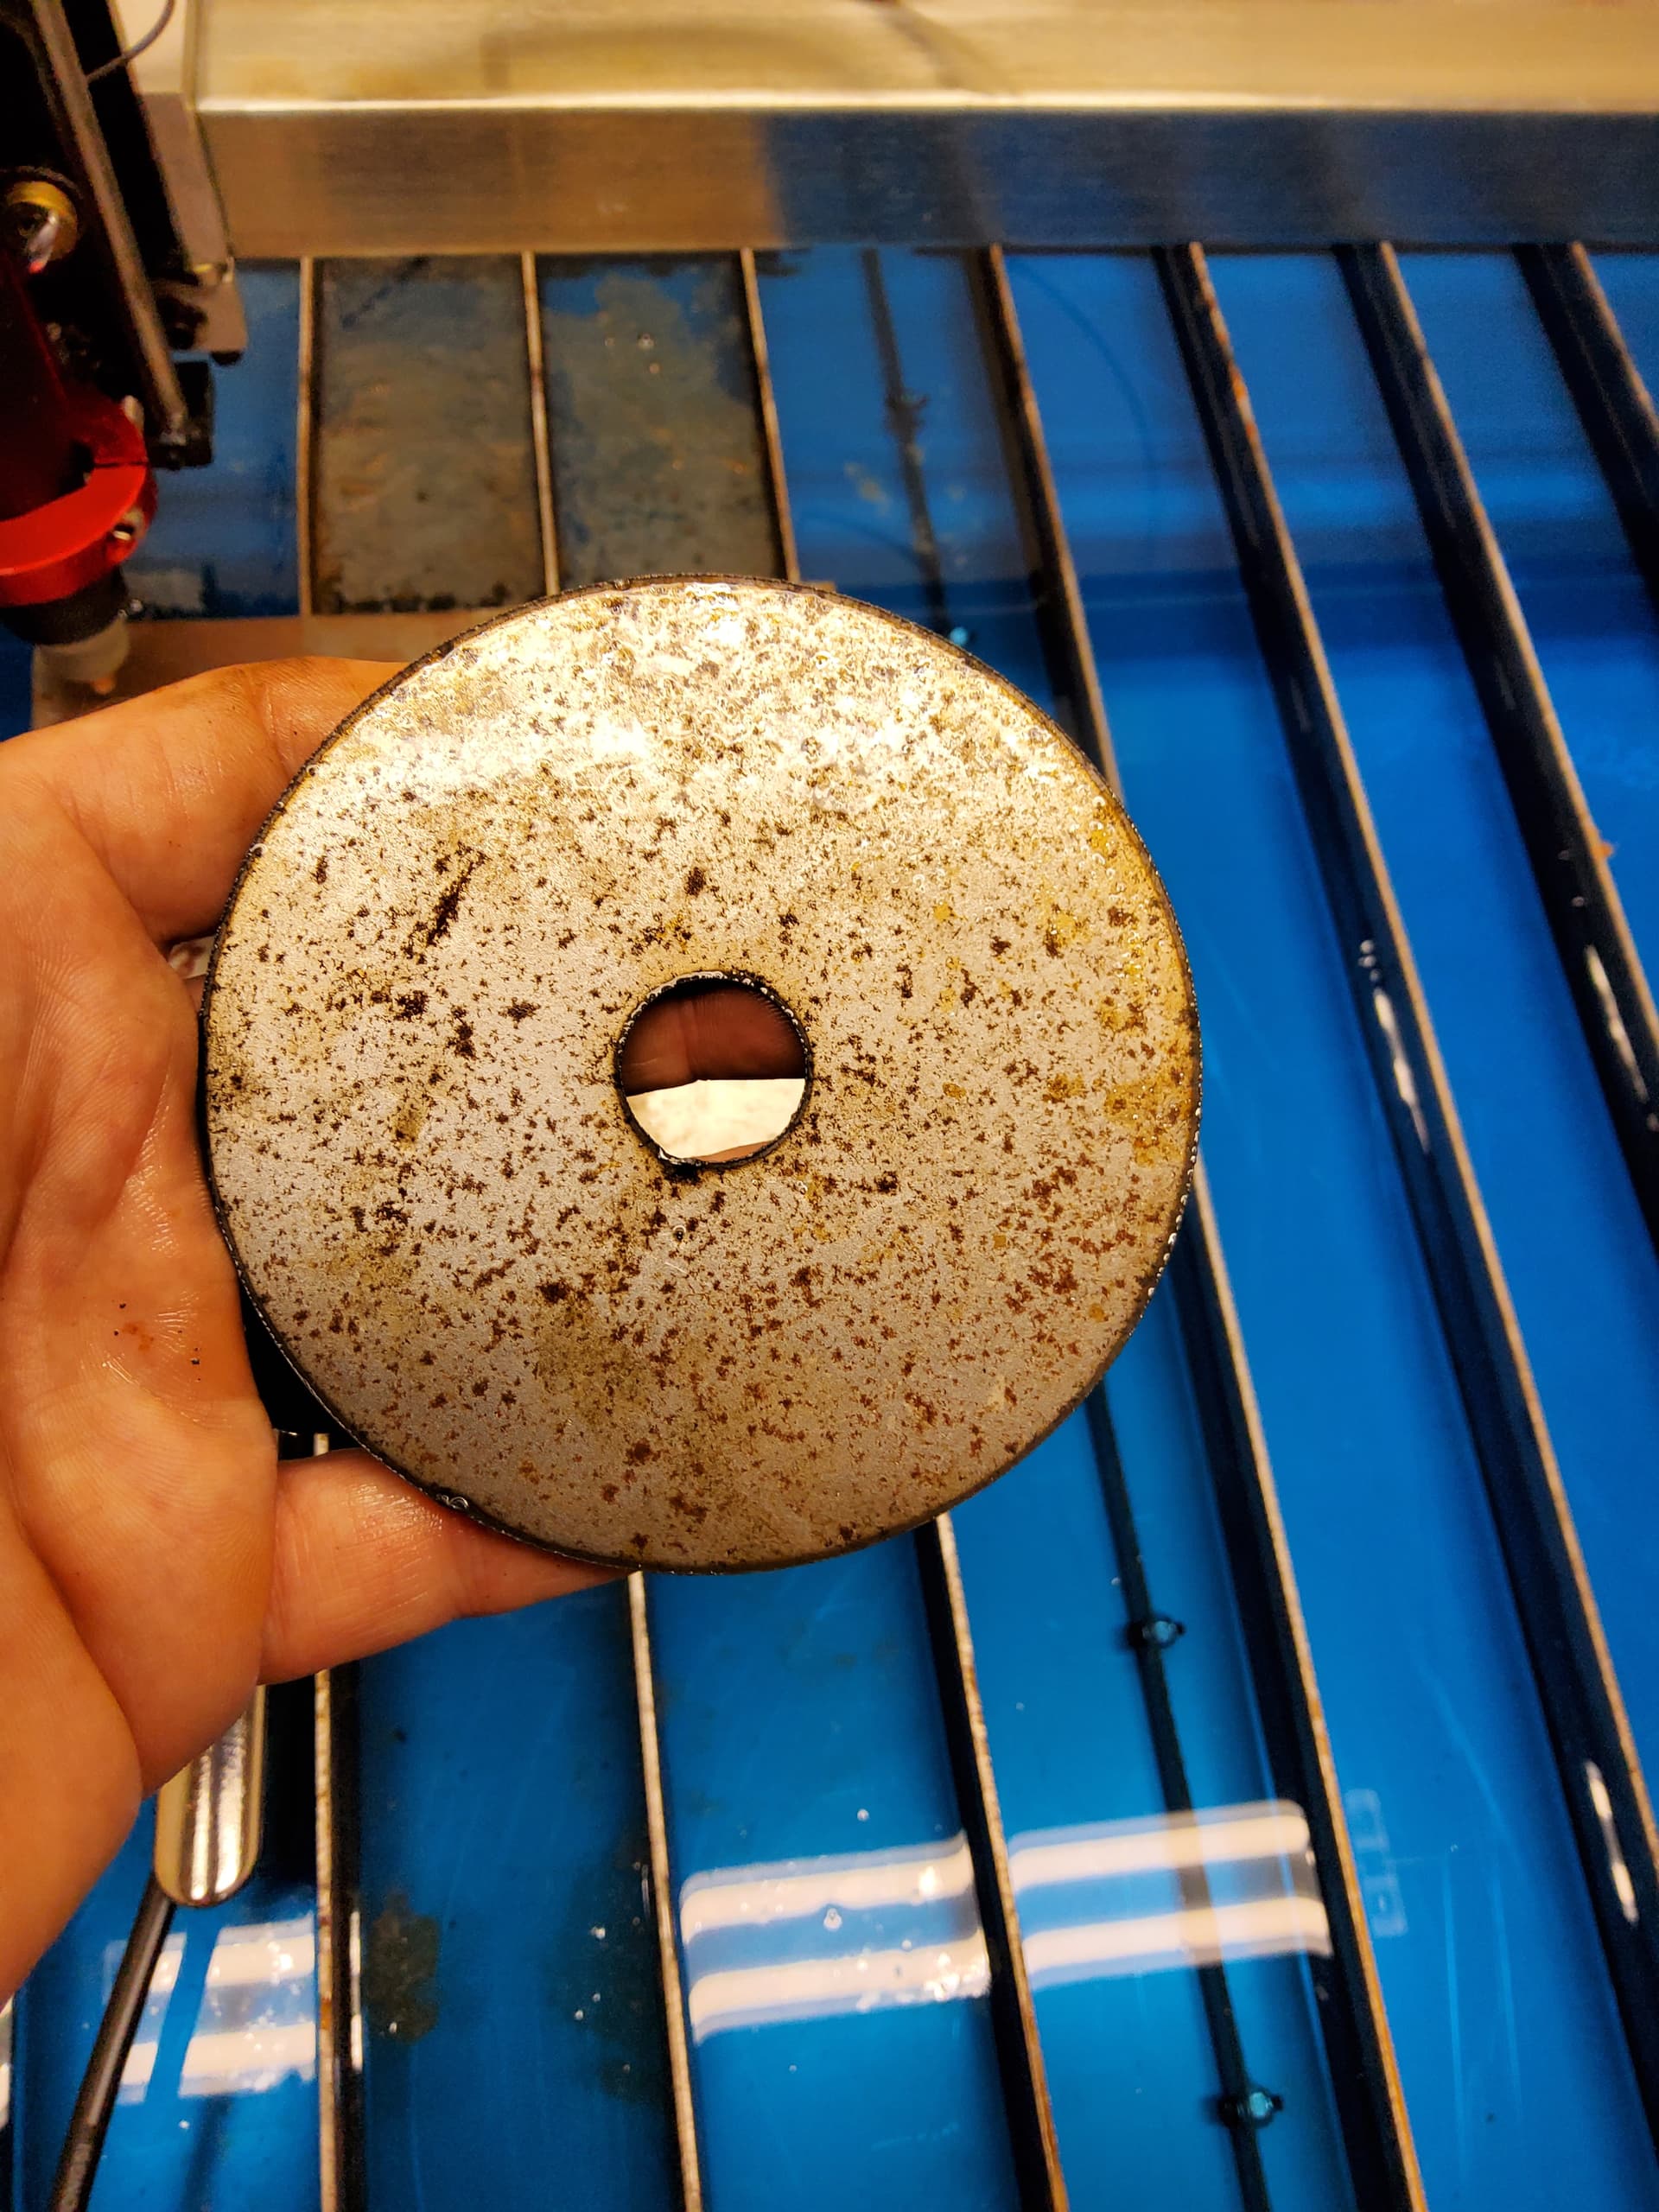
Lead in… Need to soften perhaps?
Cam angle is a little off, as I had to go awaken sleeping beauty to act as my third hand, and had to make it quick at that; short and curly is that she’s dead balls on at 4". Happy Dance! ![]()
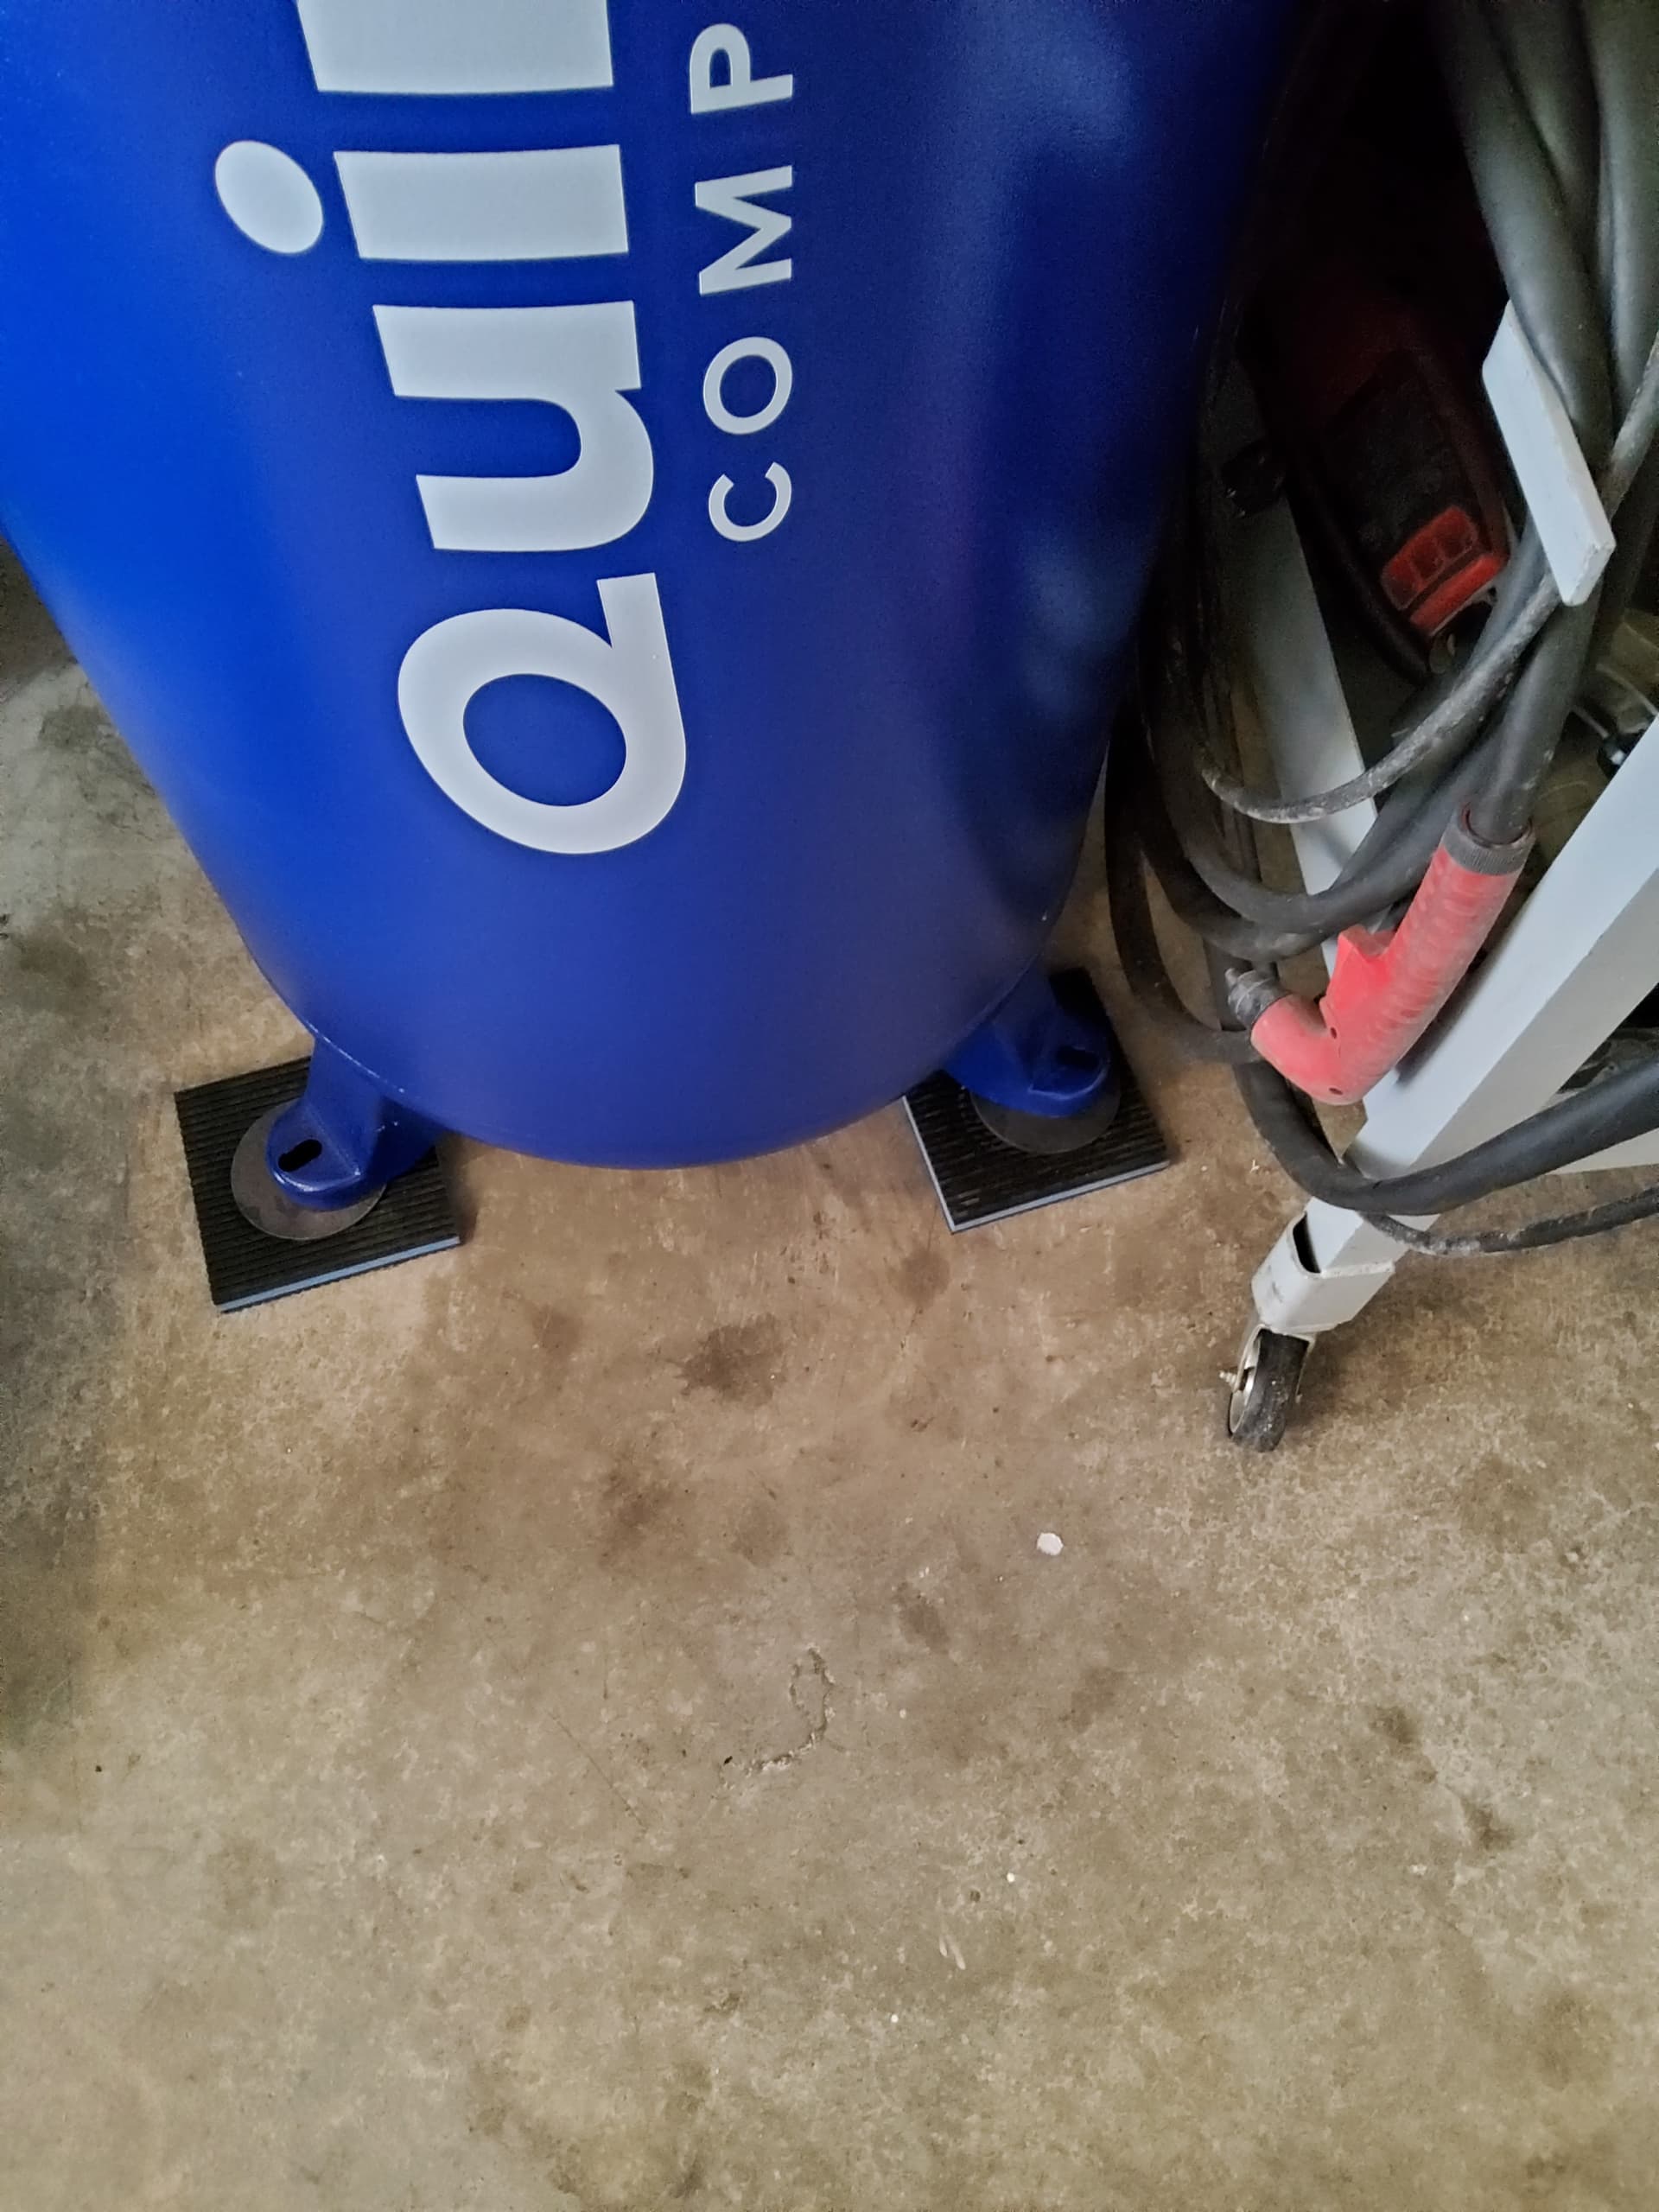
Popped the shims under my compressor feet and my guestimate served to be close enough. No more gangsta lean anyway. Just need to borrow a hammer drill to to drop some anchors in there and call it done. ![]()
Very exciting getting the first successful cut!
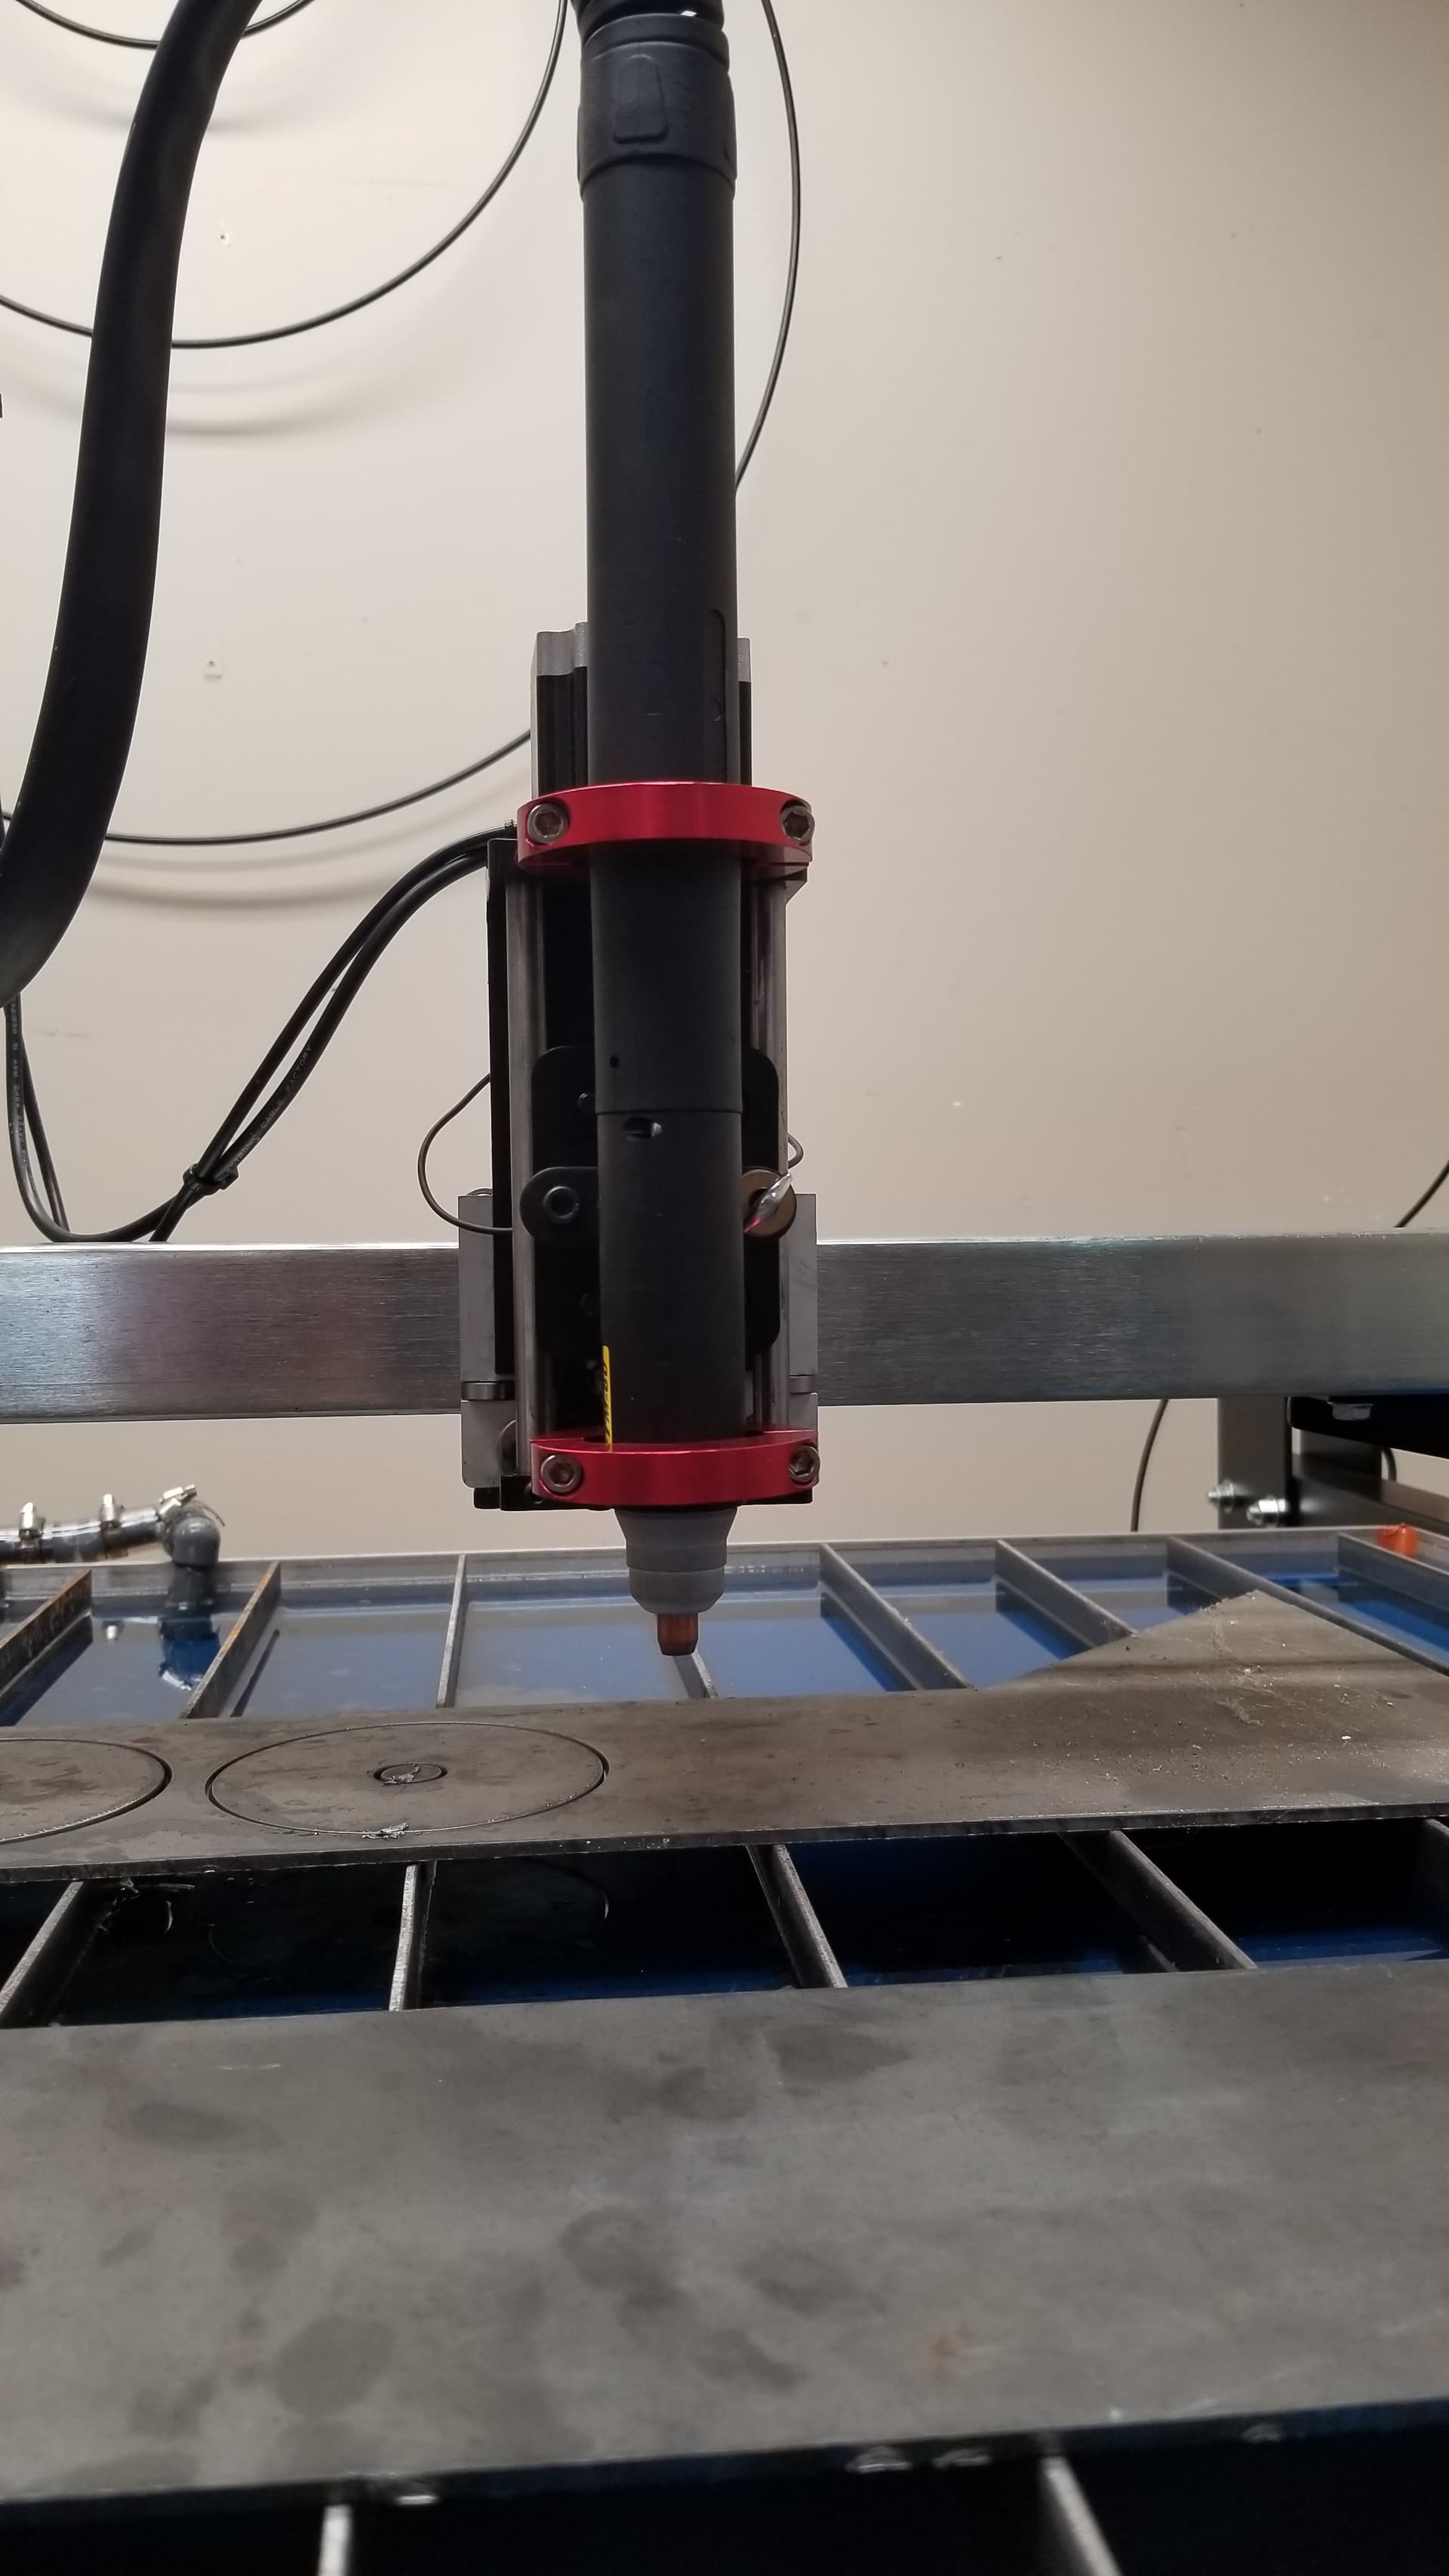
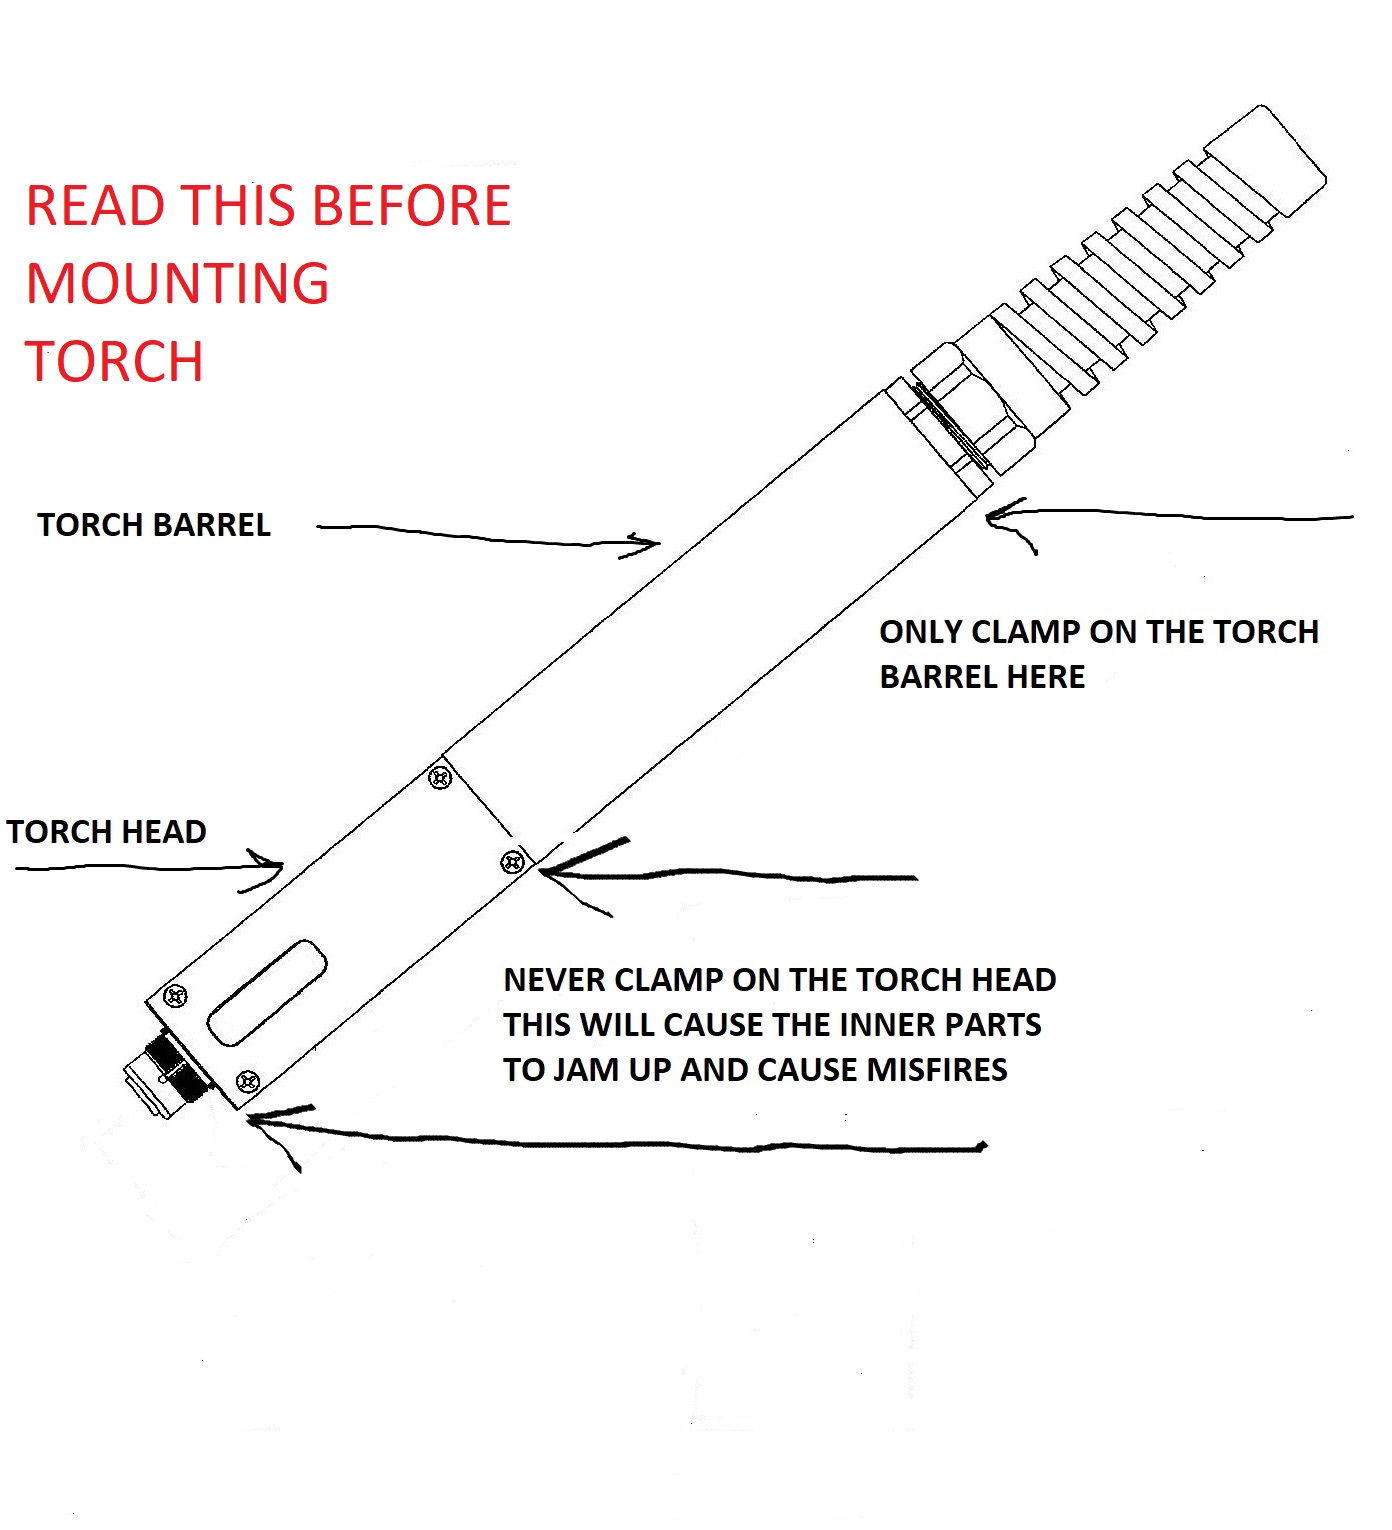
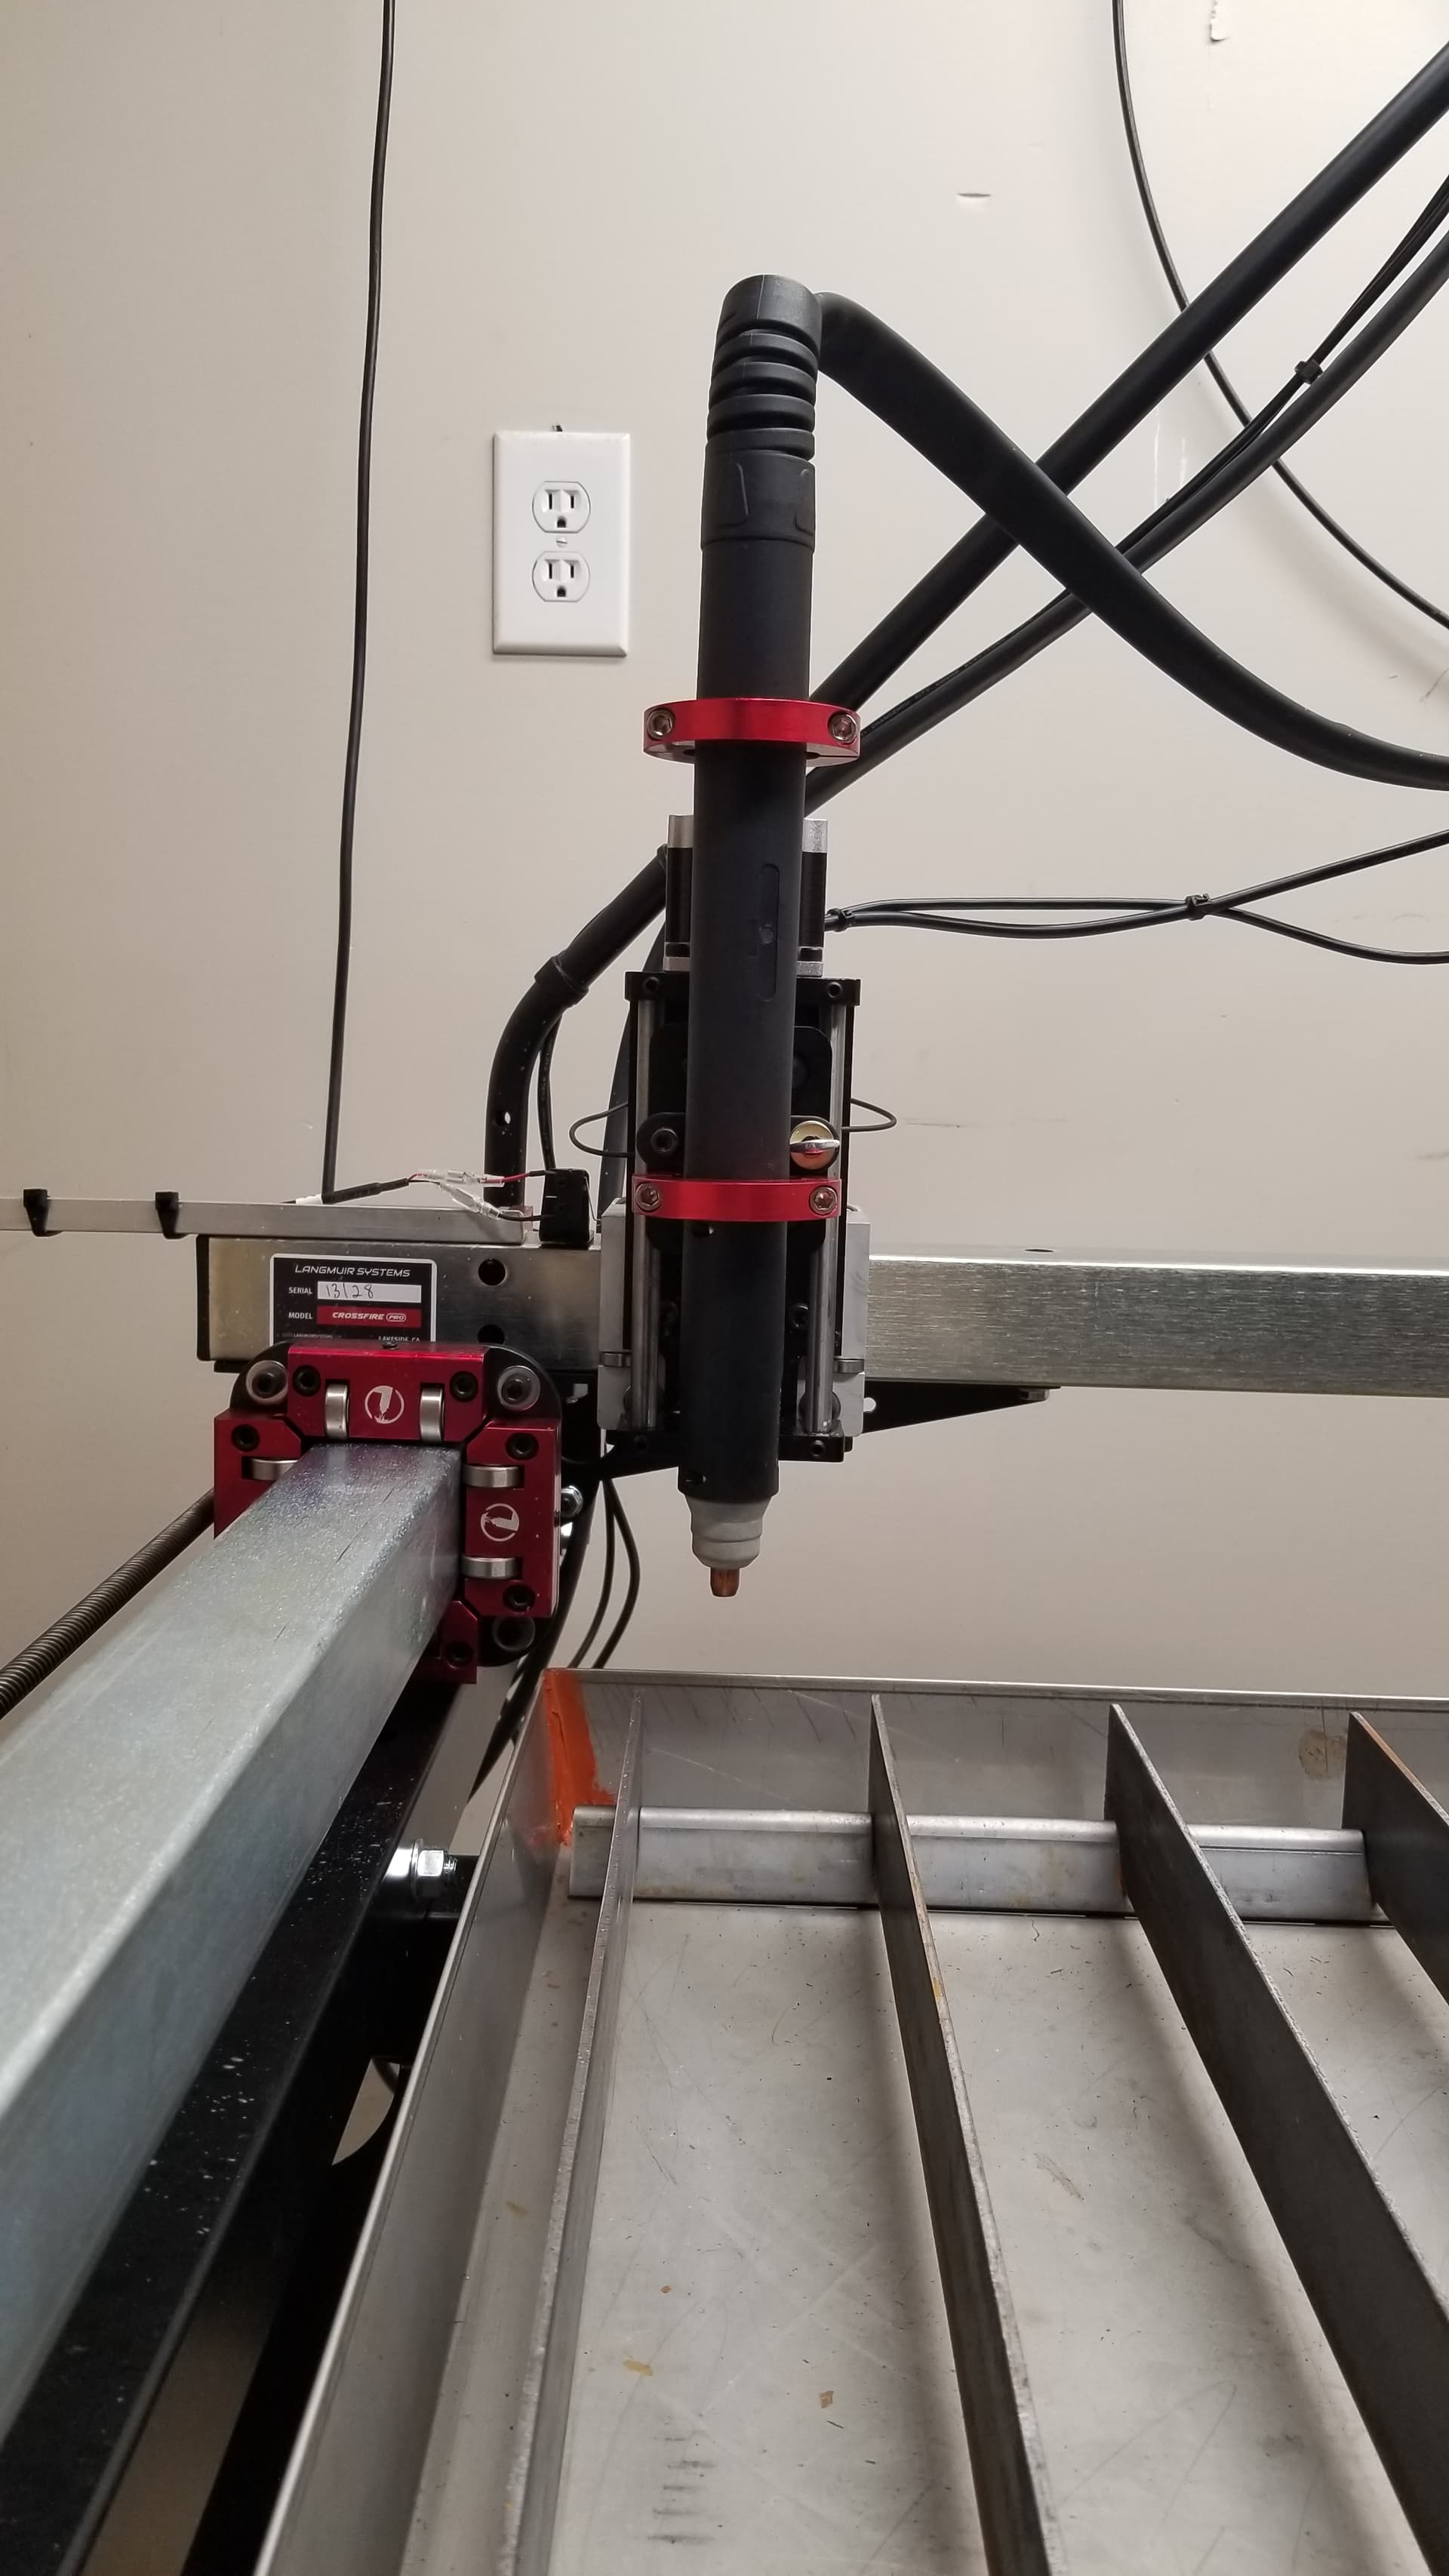
Well I am glad your up and running. Just to let you know you have your torch mounted wrong, the lower clamp should be on the barrel not the torch head.
@mechanic416 Oh, thank you for that. Like this?
Uaieee… I see. Thank you. Will adjust accordingly. ![]()
You had to post the RTFM bit didn’t you? ![]() I’ll have to go back and see if Everlast ever defined this, but none the less, THANK YOU!
I’ll have to go back and see if Everlast ever defined this, but none the less, THANK YOU! ![]()
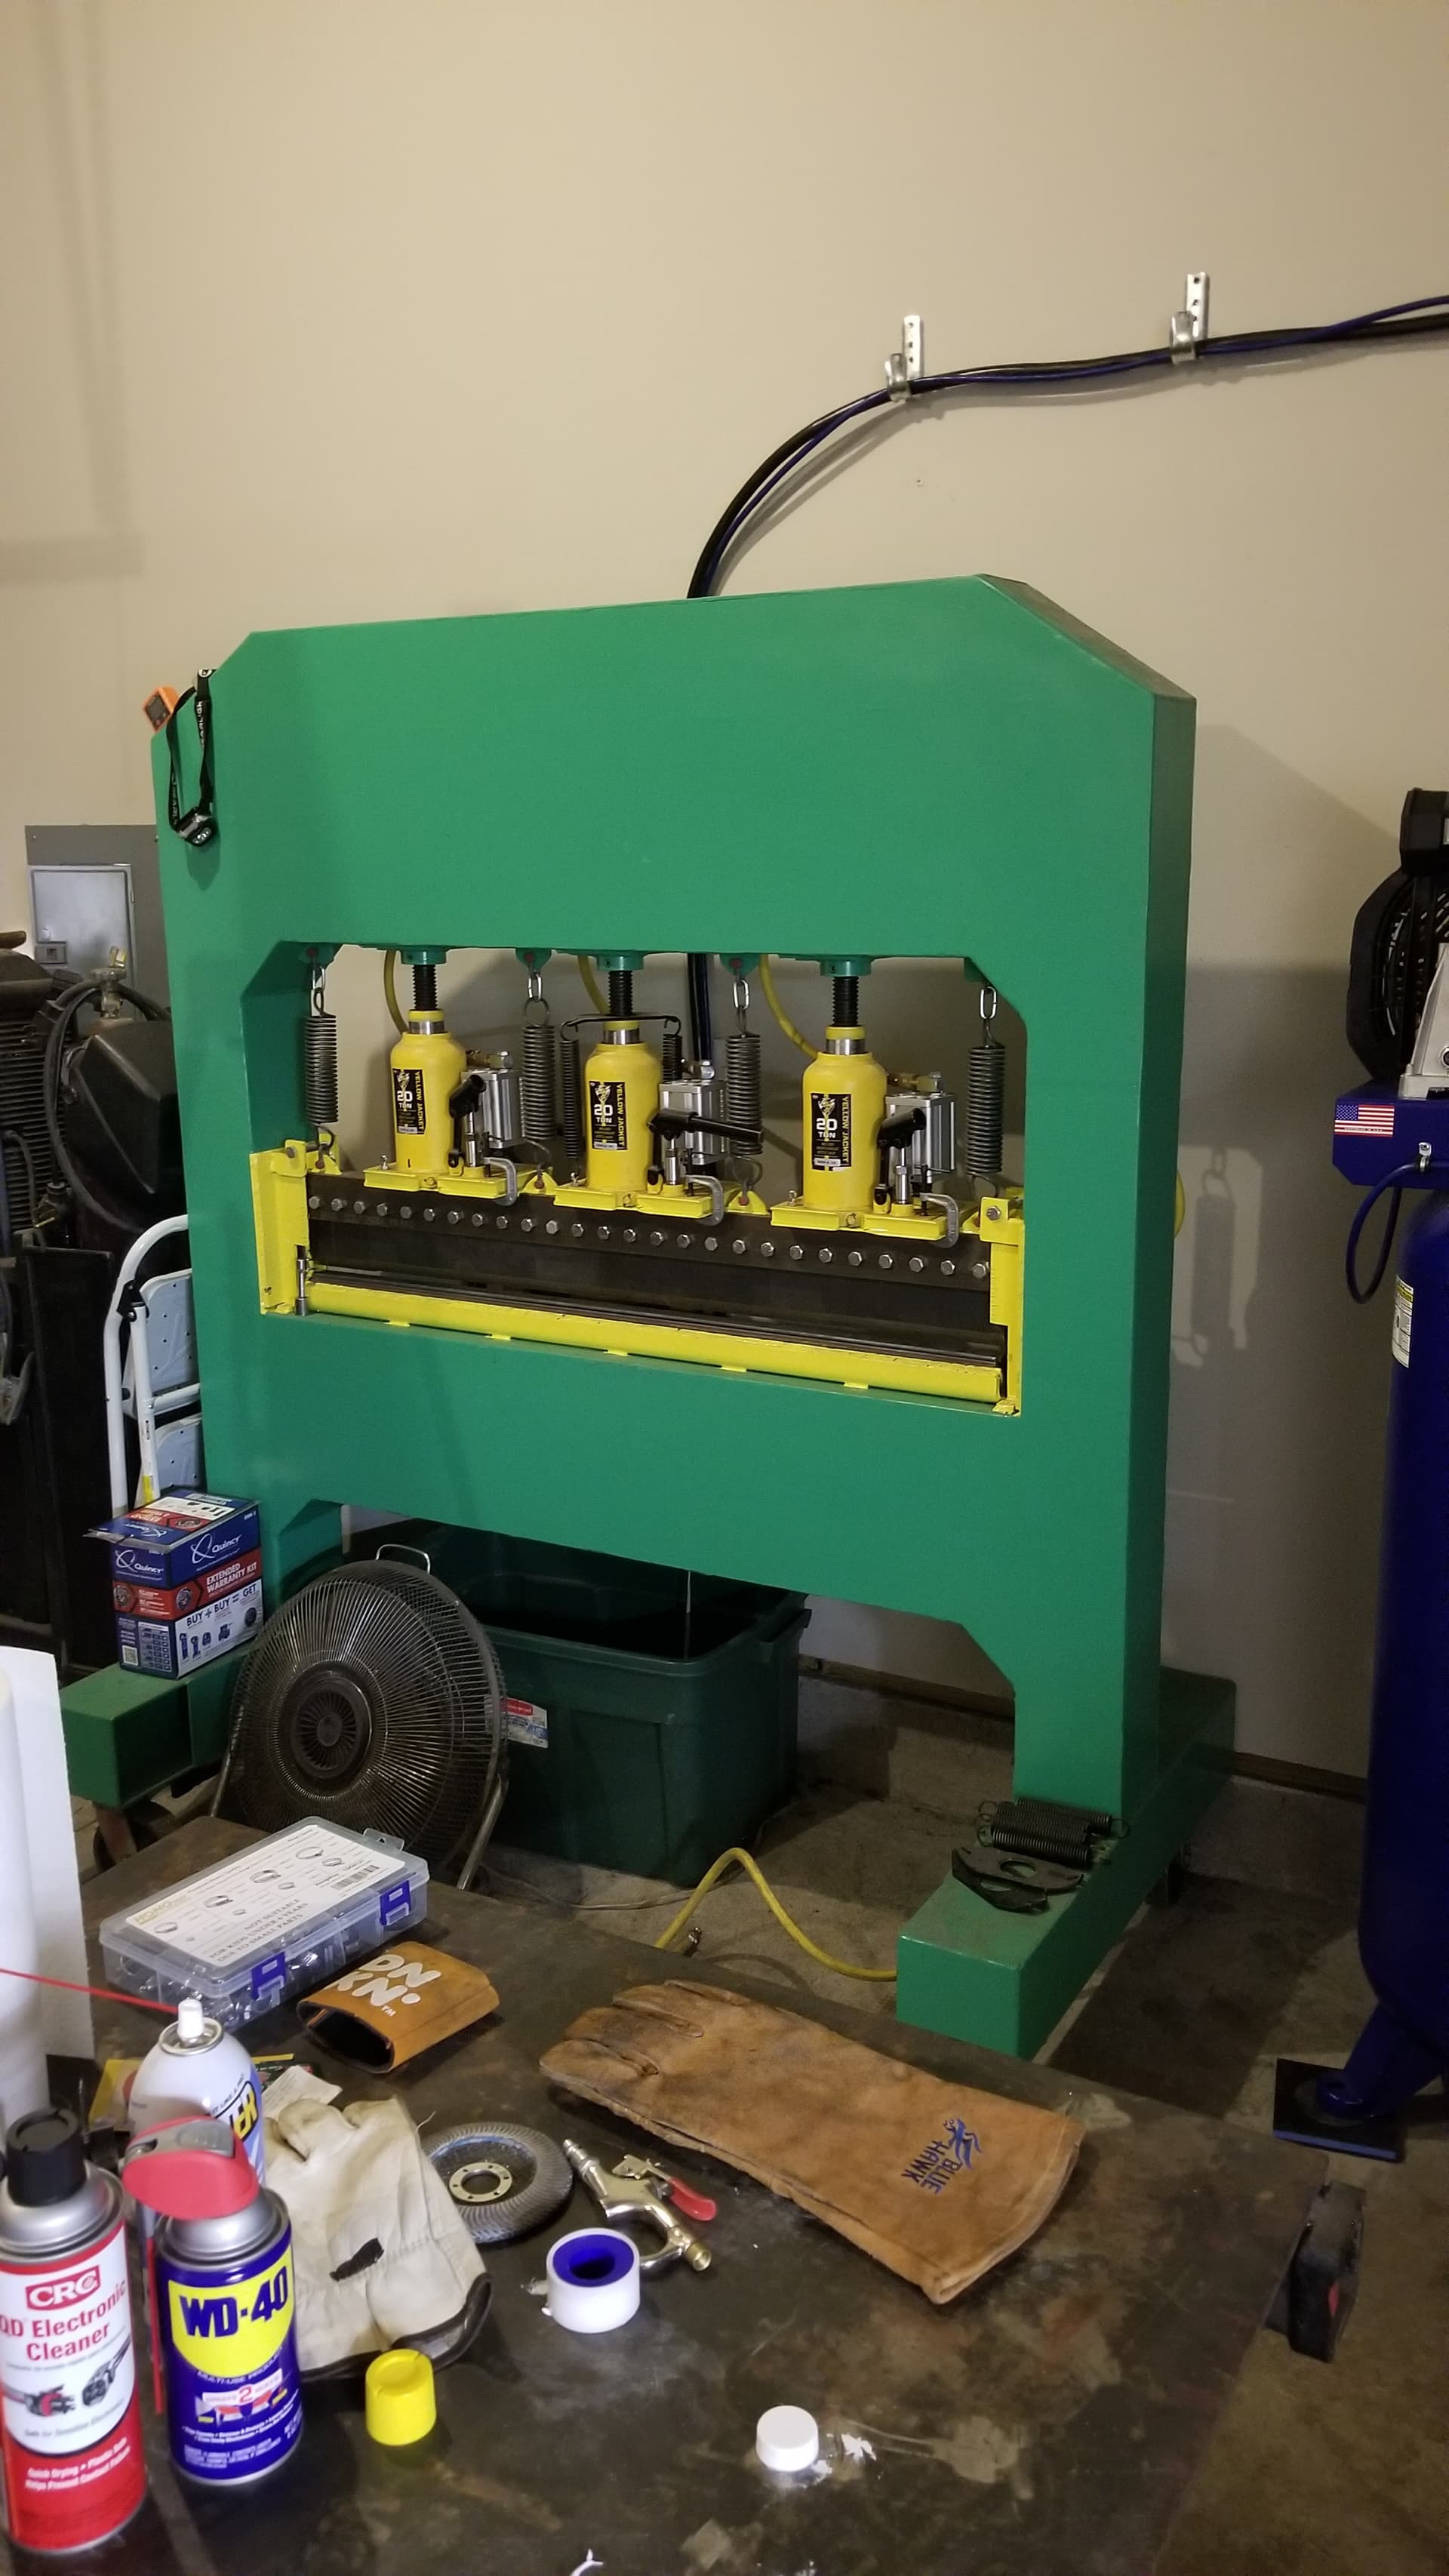
lets see some pictures of that press brake
I noticed that brake as well. @Domo has some serious equipment!
Torch mounted properly now. Thanks again @mechanic416
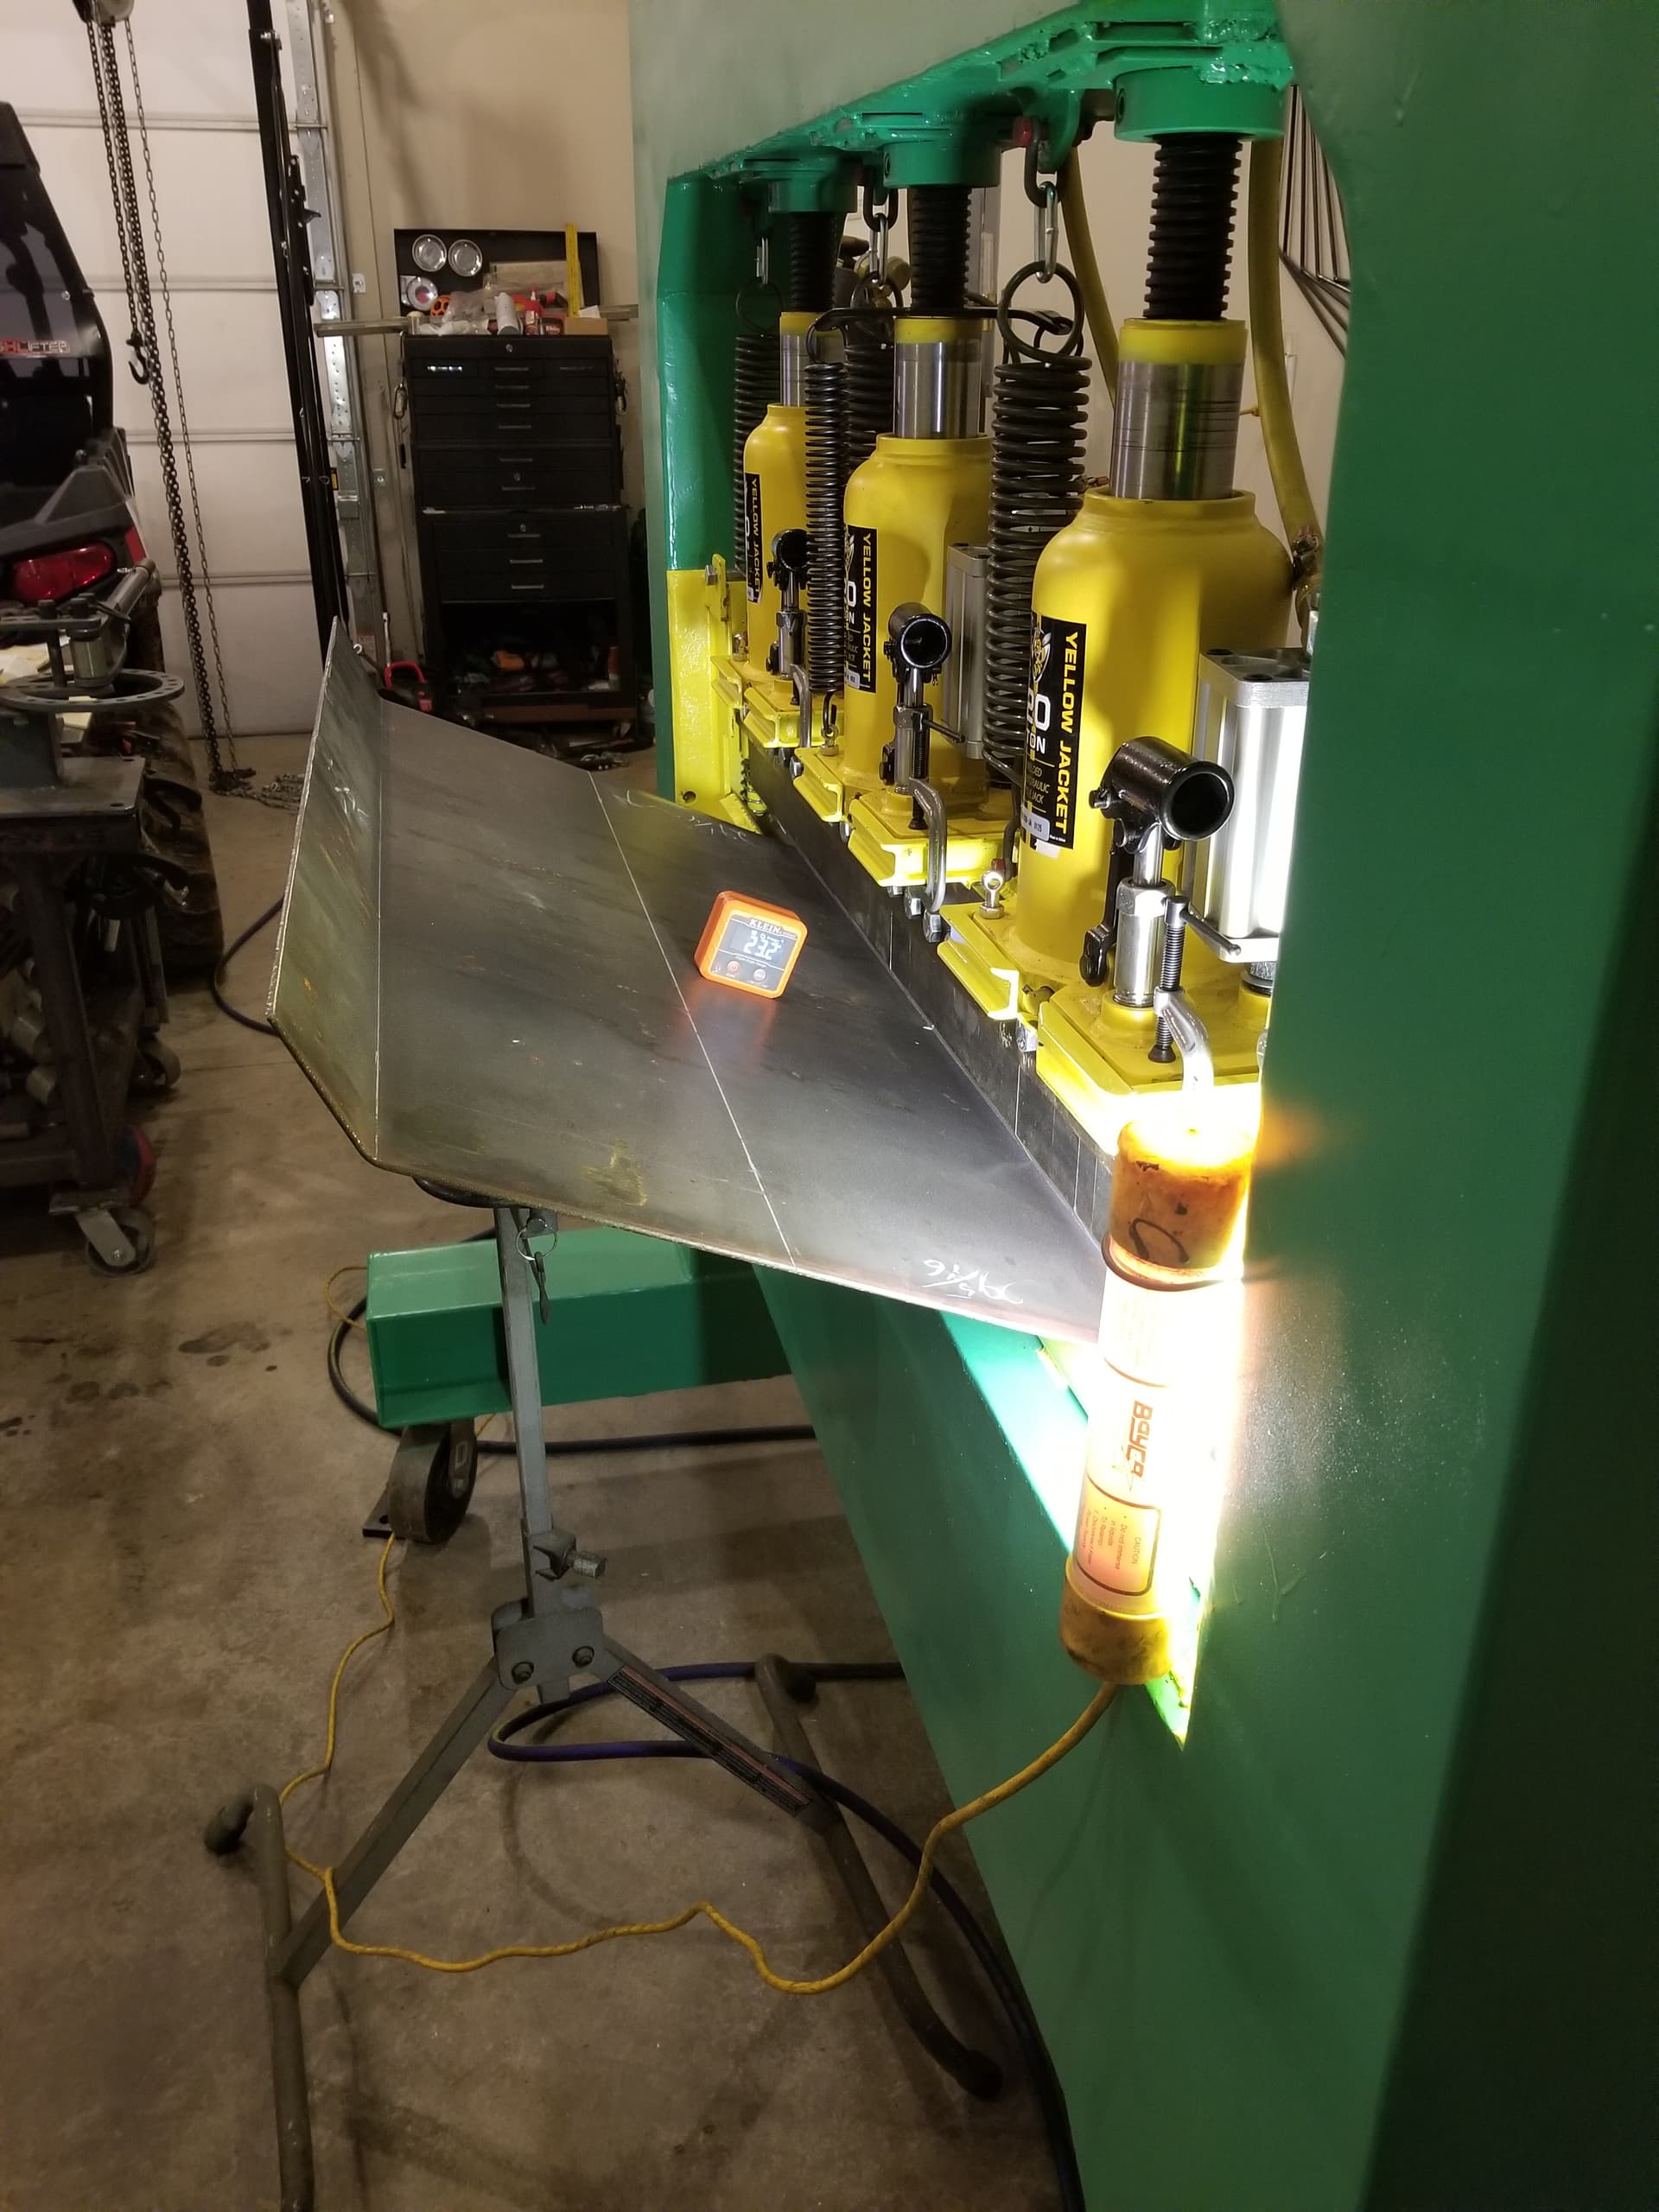
The brake is just a SWAG Offroad 48". I built a frame around with wide flange beams and plated it up. Three beams tall above, double beamed below (people have issues with these things bowing the frames I guess). ![]() Certainly a bit of an art to use. It has three 20T pneumatic jacks tied to a foot pedal. Valves before each jack to adjust/compensate for variance. Kinda slow, sometimes have to finish with a manual stroke on one jack or another, but with patience it can get a few things done. I have yet to get the special dies, as I have only done a few projects with it. I think that may change now that I have a plasma table to push jobs to it.
Certainly a bit of an art to use. It has three 20T pneumatic jacks tied to a foot pedal. Valves before each jack to adjust/compensate for variance. Kinda slow, sometimes have to finish with a manual stroke on one jack or another, but with patience it can get a few things done. I have yet to get the special dies, as I have only done a few projects with it. I think that may change now that I have a plasma table to push jobs to it.
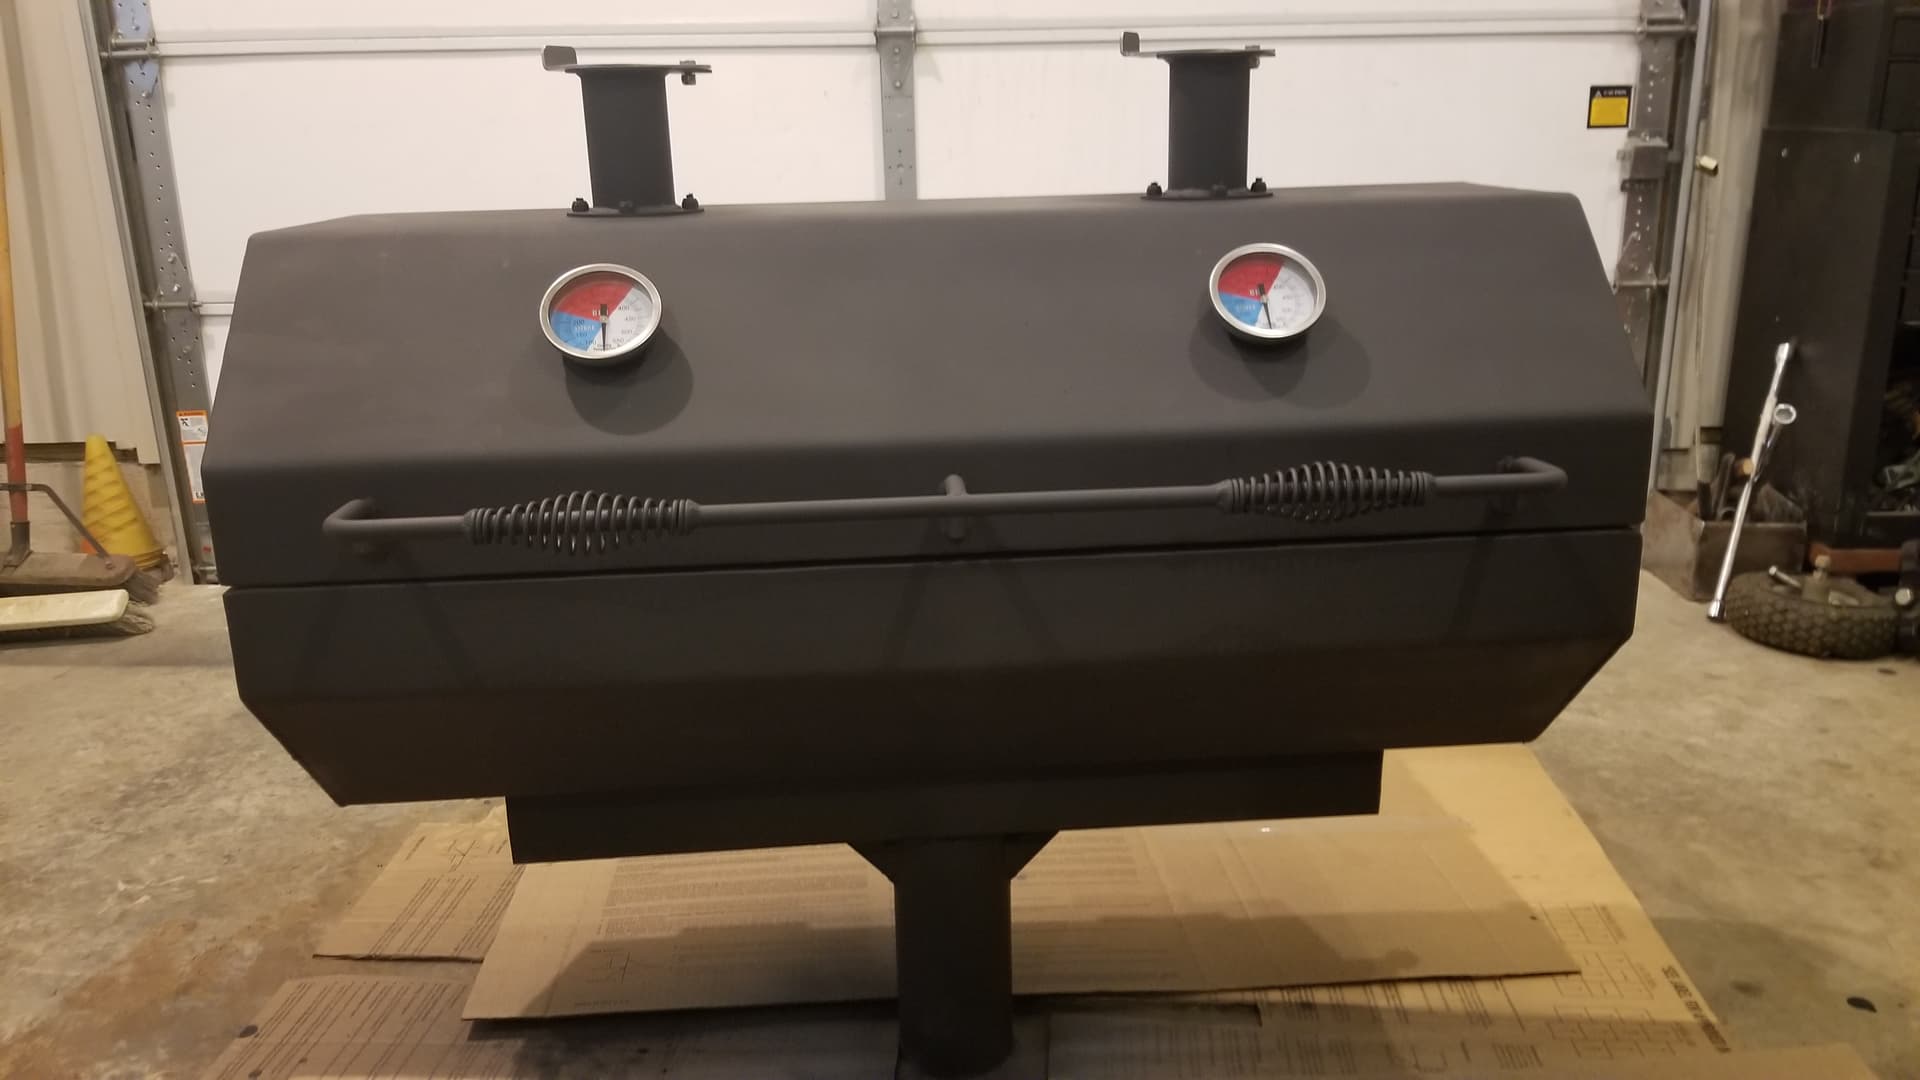
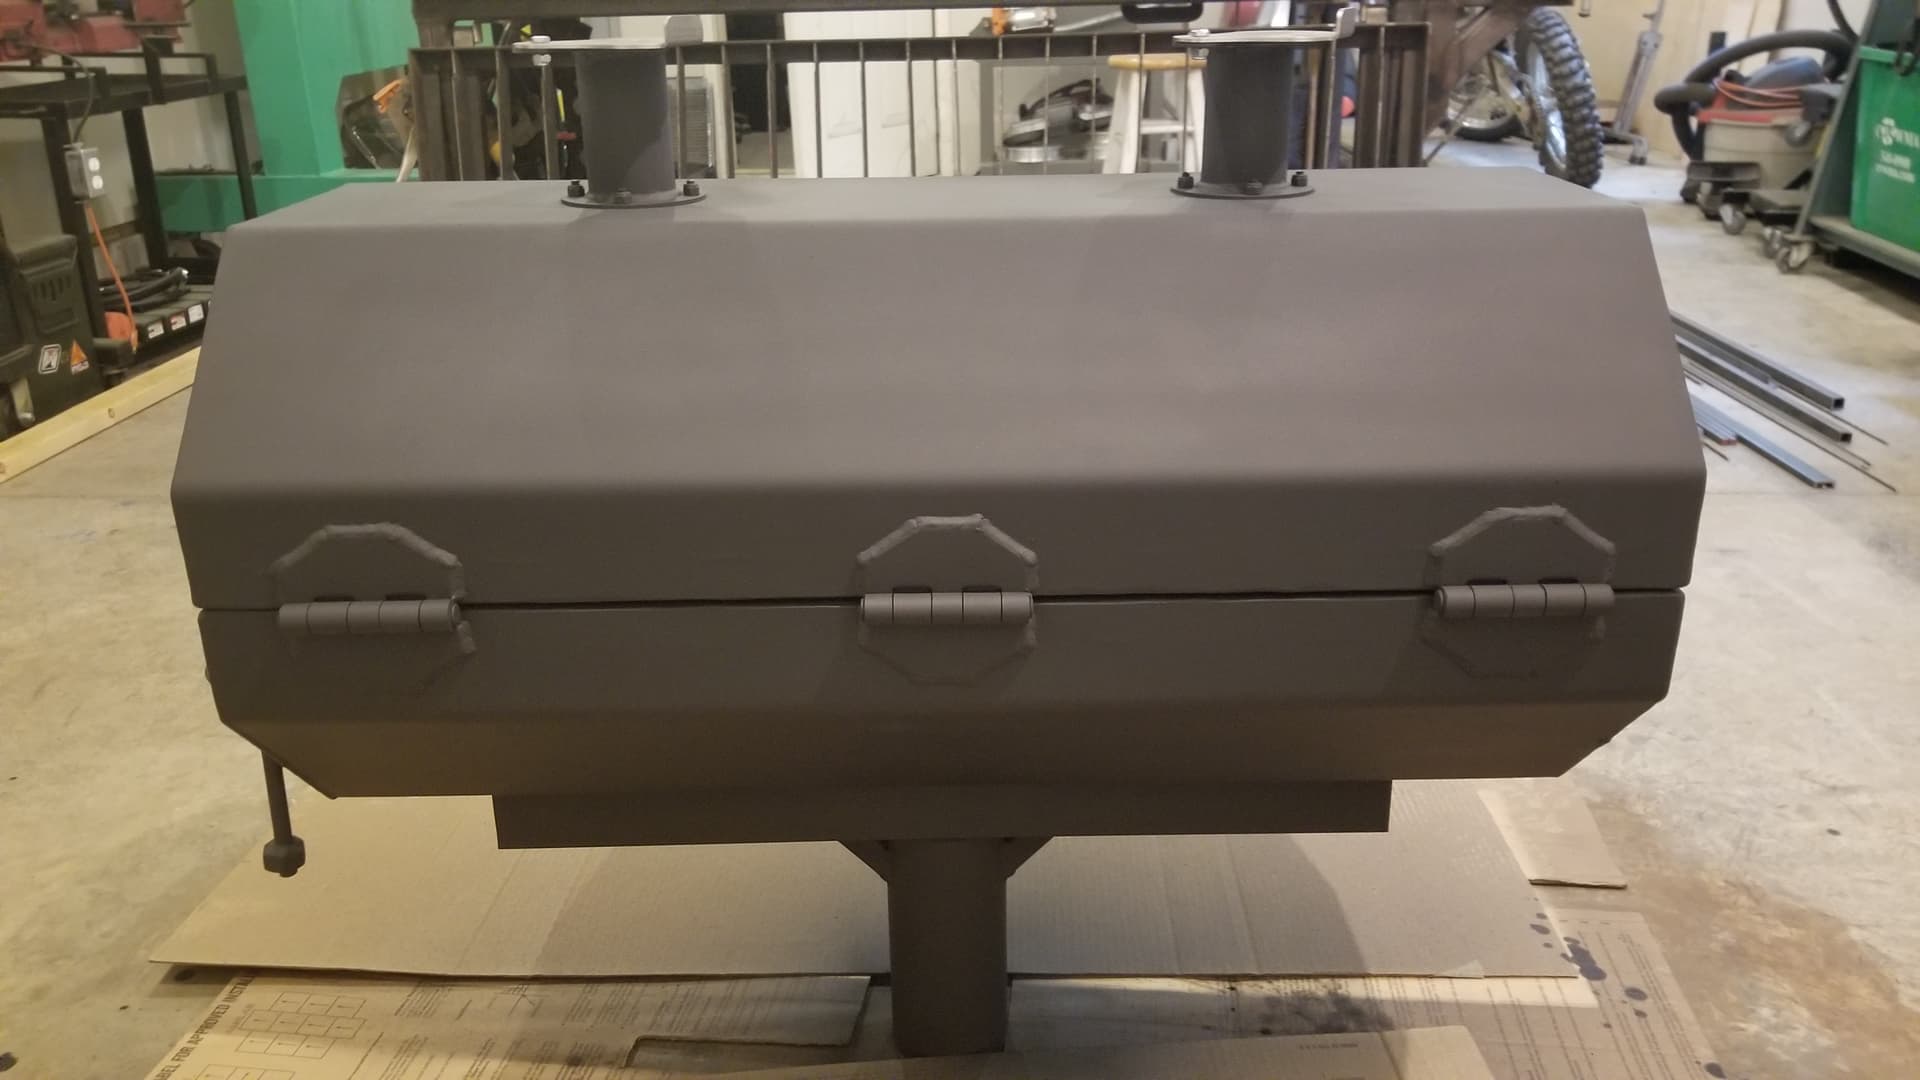
Here are a few pics of the brake and of a big boy grill that I made for somebody a couple years back.
I can’t find pics of the grates off hand, but their made of 1/2" round stock like a park model.